
Screw gun storage/charging station
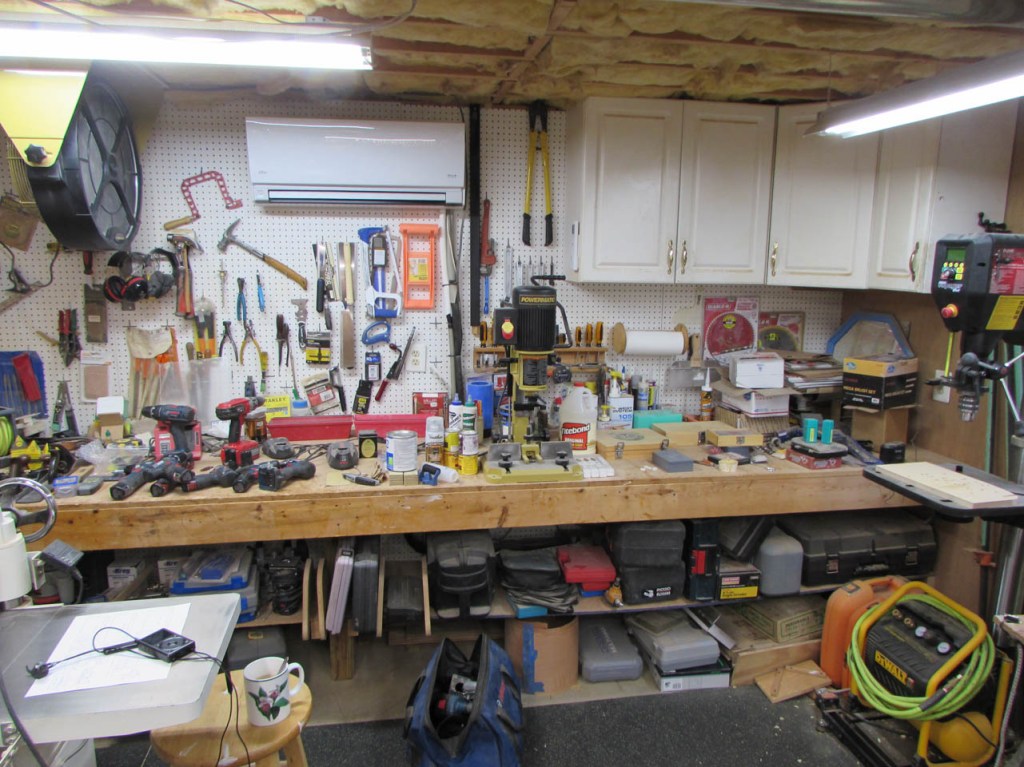
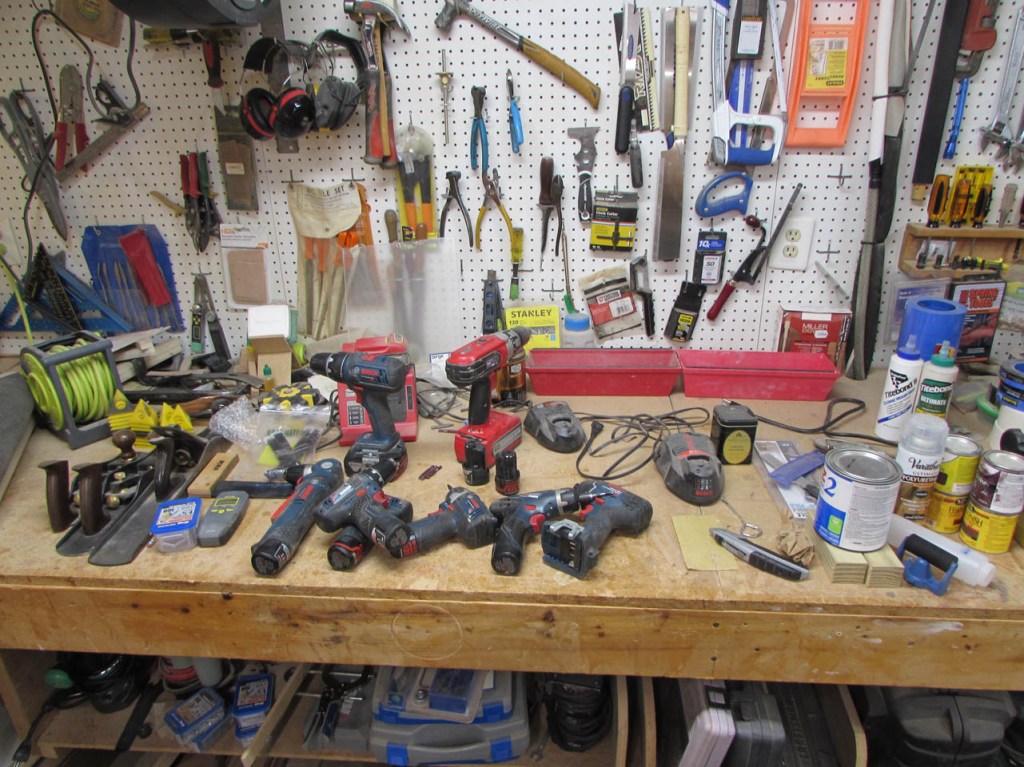
At first glance, you may think that my workbench is a disorganized mess. You, of course would be wrong. It is a completely organized mess. I honestly do know where everything is, I just don’t know where else to put it. I want to expand my shop, but until I can, I need to reclaim some space. Today, I am going to start with my screw gun collection. And, yes, I really do need eight of them…
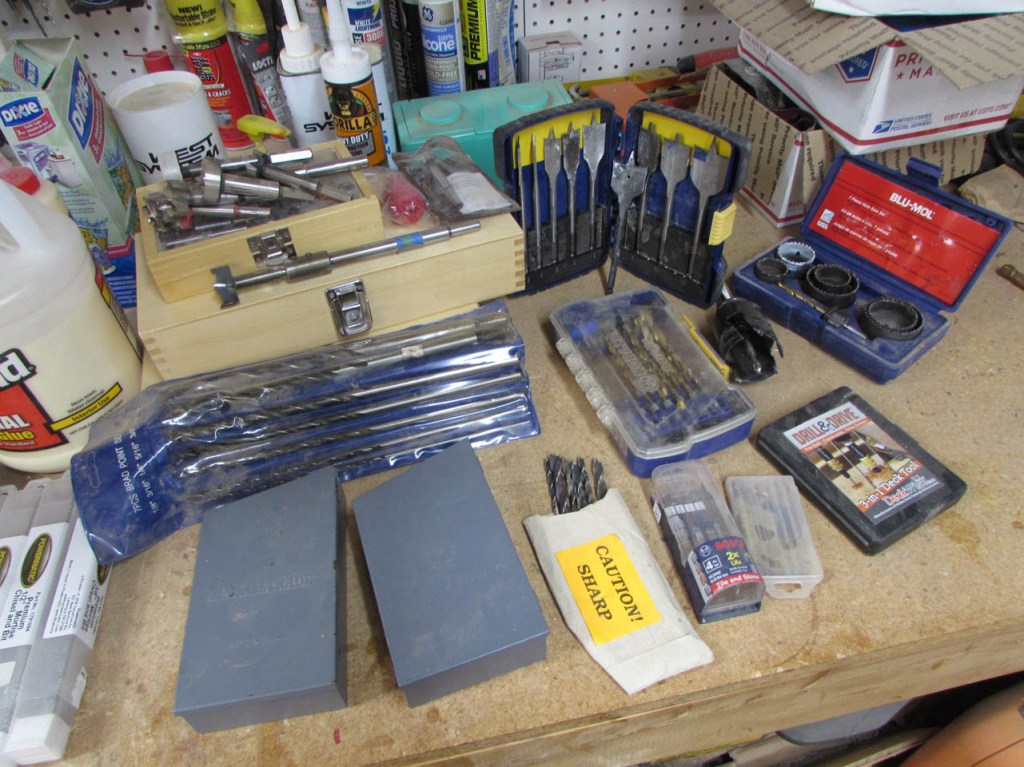
This corner, on the right end of the bench, is where I keep all of my bits and saw blades. I think it would be a good location for some kind of storage rack that could hold all of the guns as well as the chargers.
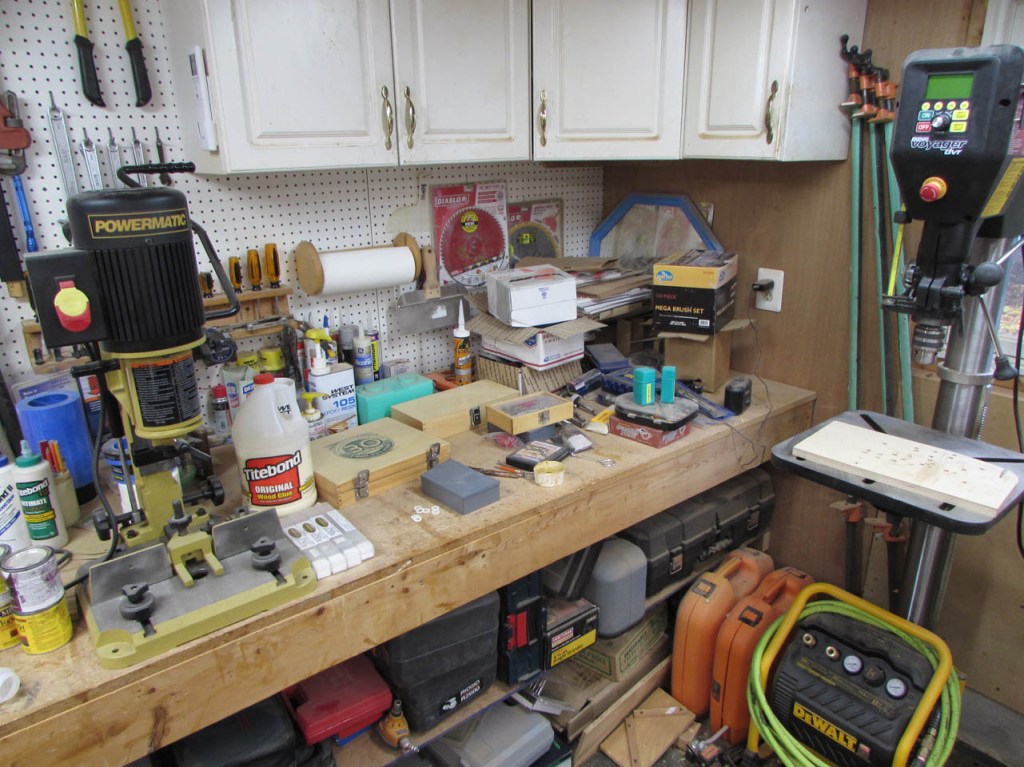
If I raise it up off of the bench, I should be able to locate my bits below it. If you think this is bad, you should see my router bit collection…
I sketched up what I needed on a large note pad and took dimensions of all of my screw guns. Then I moved to the computer and came up with a plan. This is what I came up with:
Another mess that I hope to clean up a bit is my scrap plywood area. This will be my source of materials. Since it is a shop project, I really don’t care if the materials match. I have about six different kinds of plywood back in this stack.
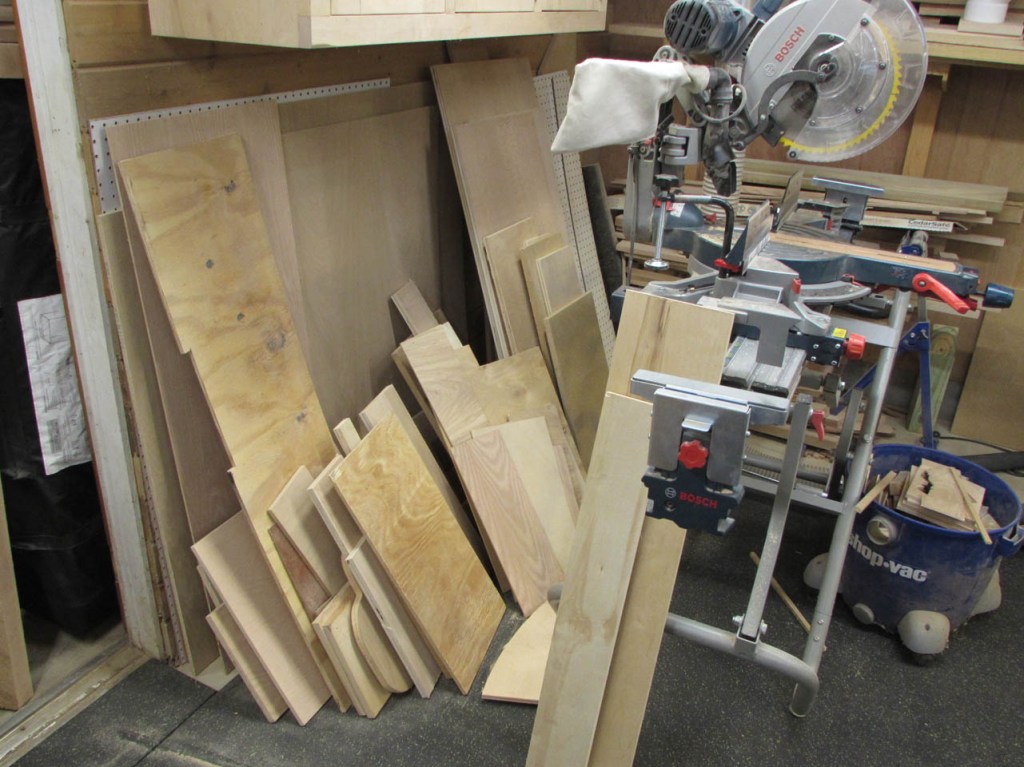
I am going to start with the back piece, since it is the largest.
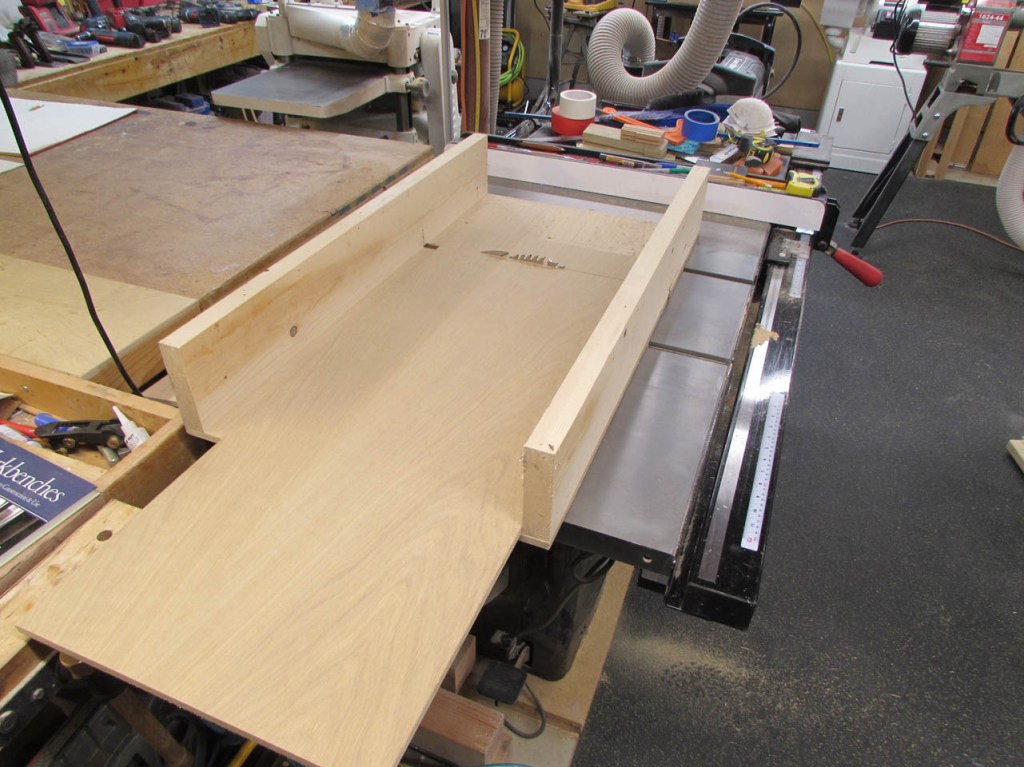
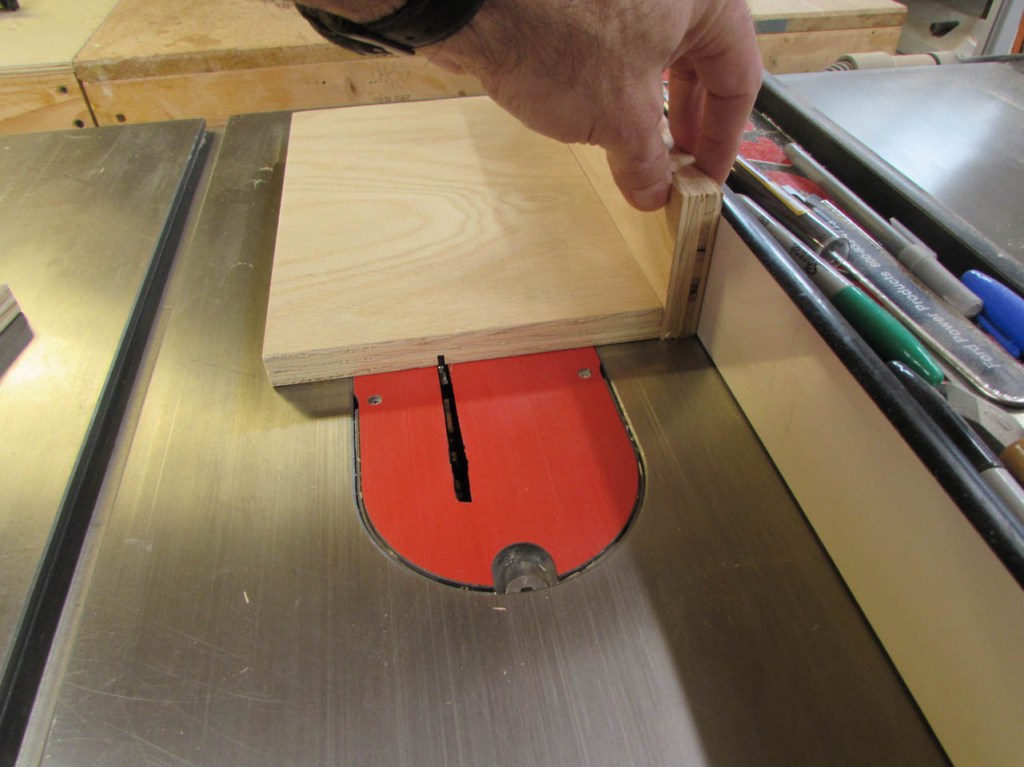
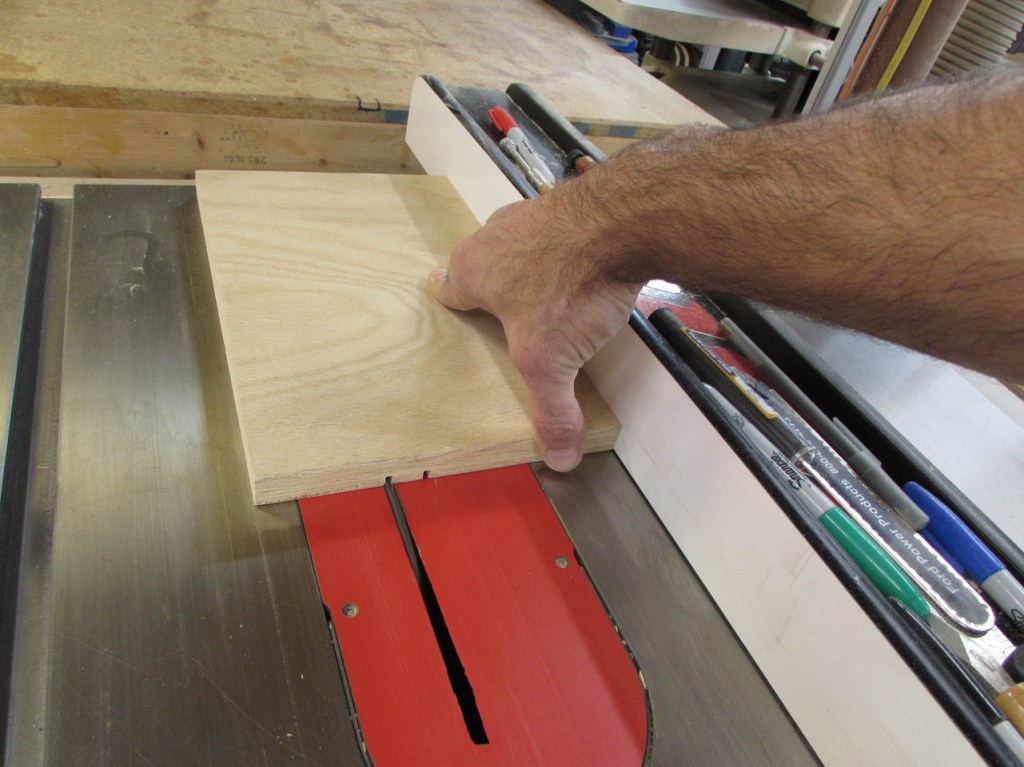
To keep the edges clean and square, I will use my cross-cut sled.
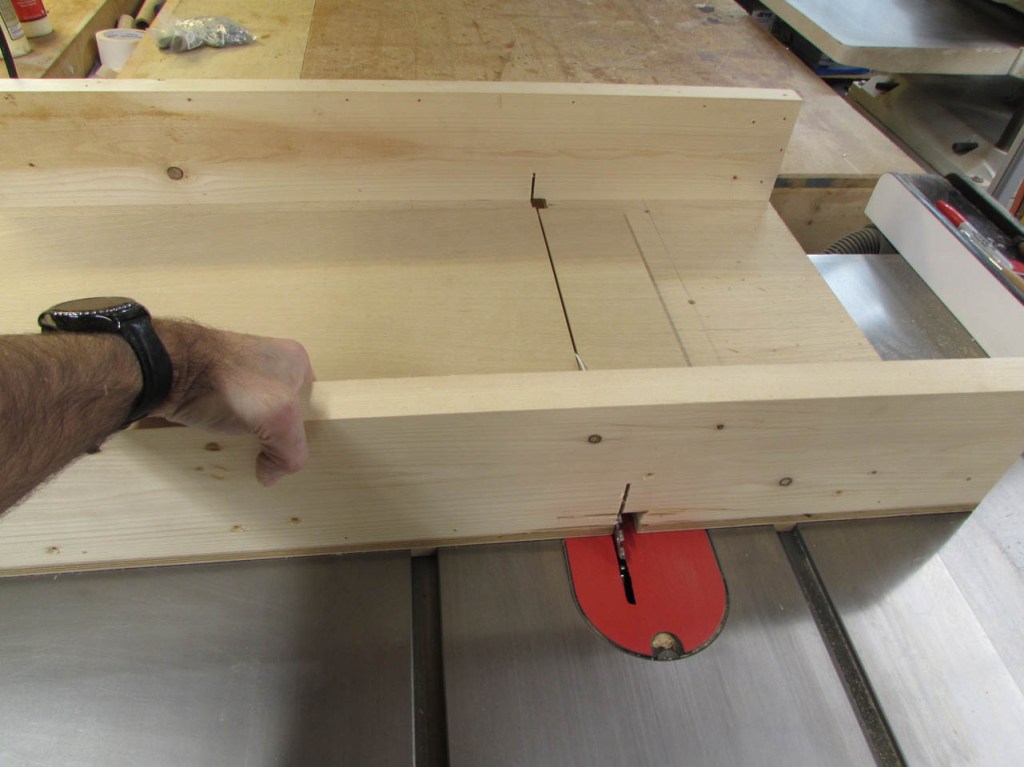
Once this piece is cut square, I can cut it down to the proper width.
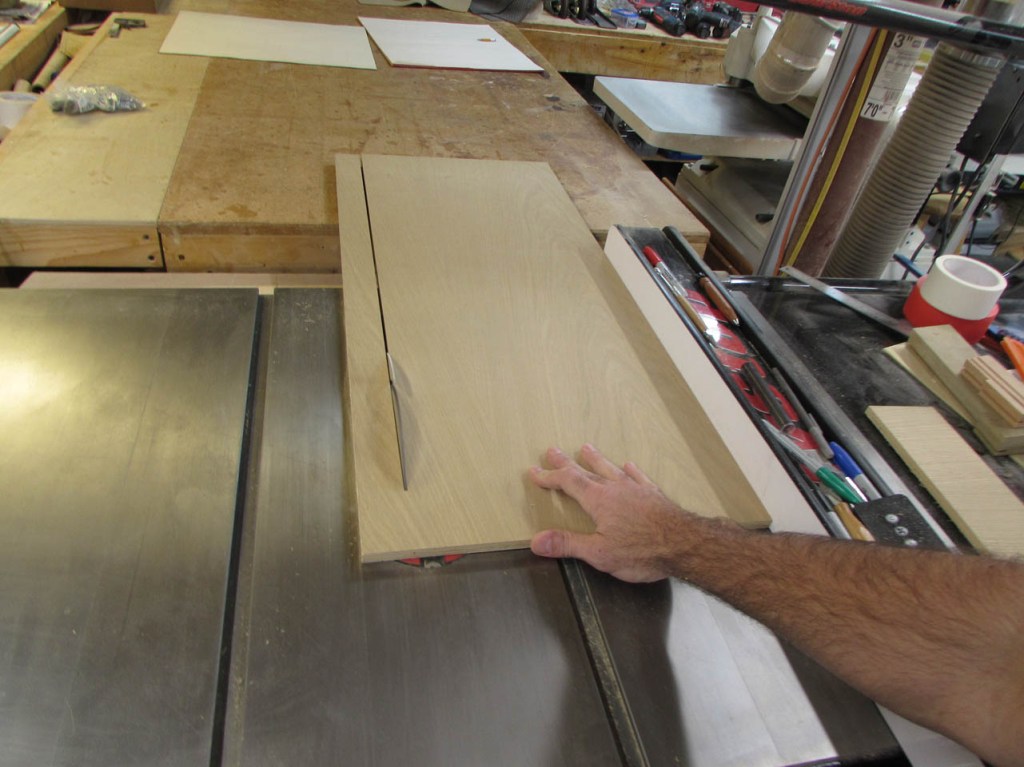
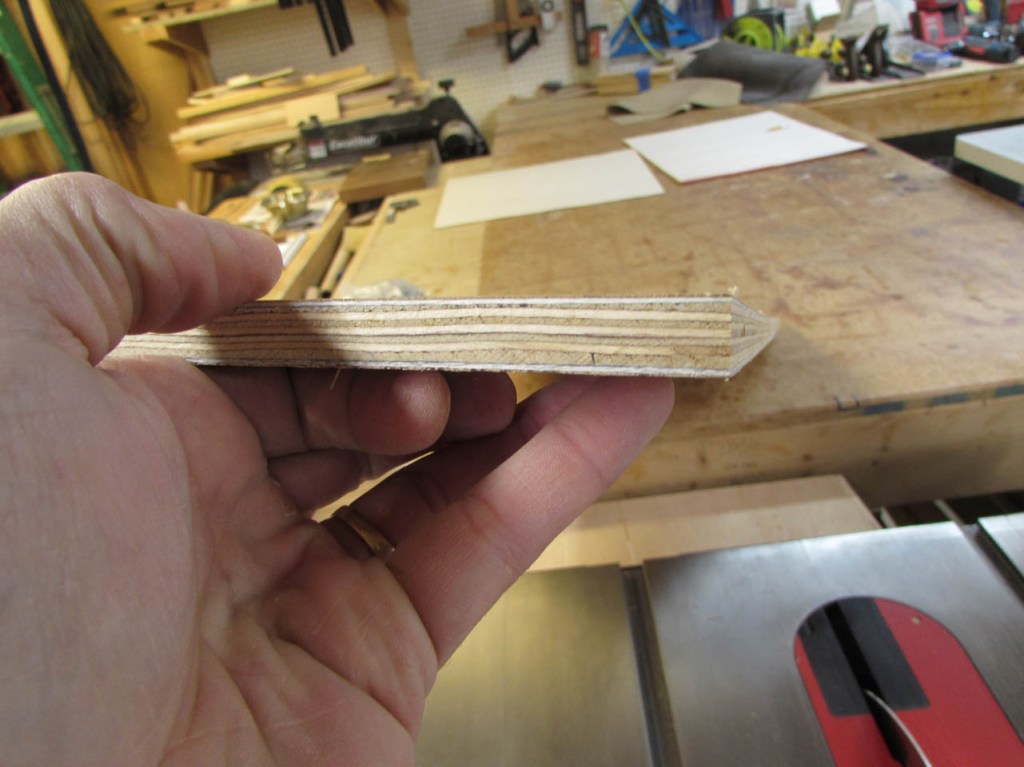
I chose a lovely piece of 1/2″ white oak plywood that is made up of quite a few layers with almost no voids. It was rather expensive and I have been saving it for probably 5-6 years because I didn’t want to waste it, but I am sick of storing it. It will make a very rigid back to start with.
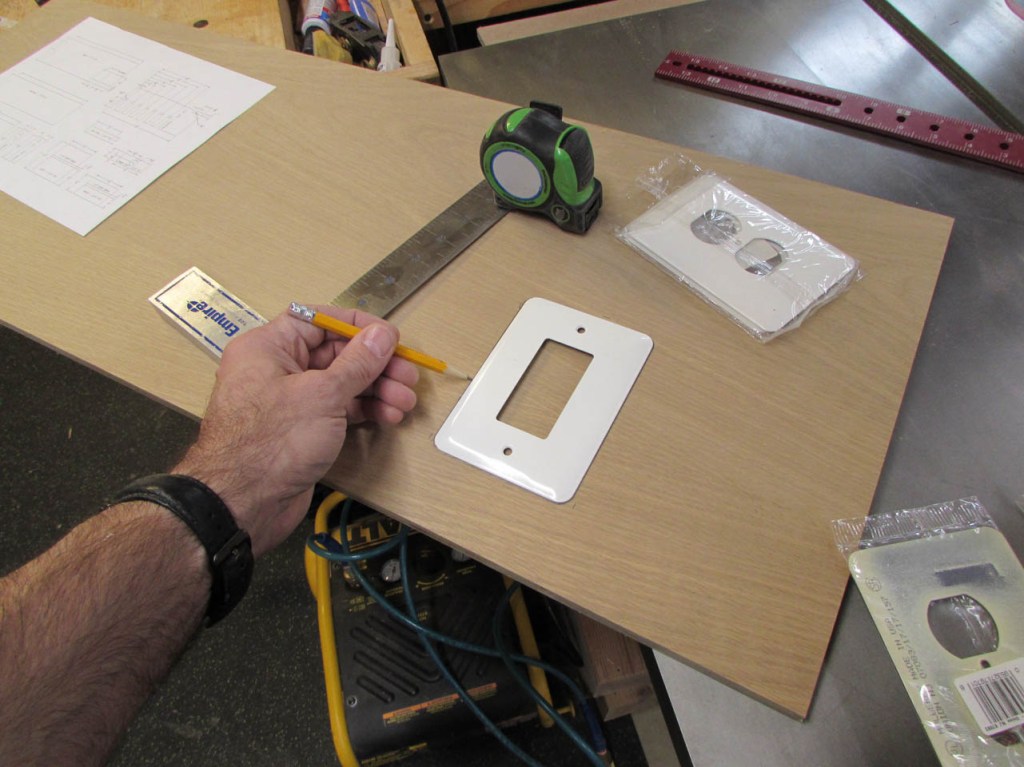
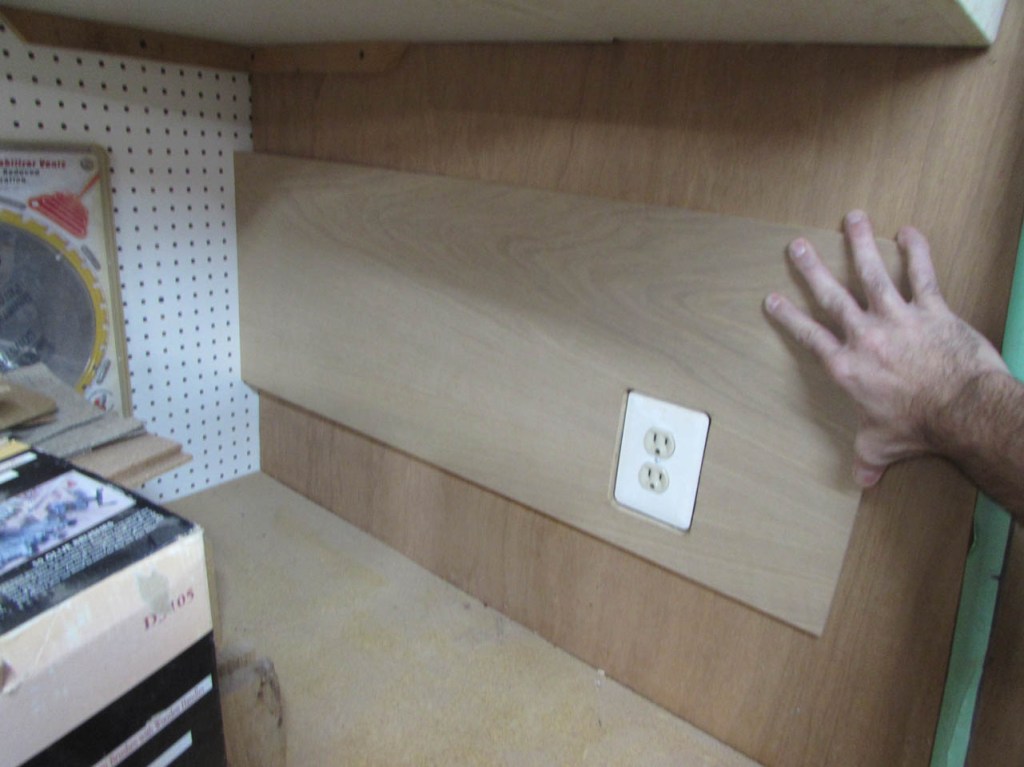
Since this is a charging station as well, I am locating it near a receptacle. Actually the receptacle is kind of in the way, so I have to cut a hole to access it. I marked the location, then traced a plate of the same size as the one on the wall.
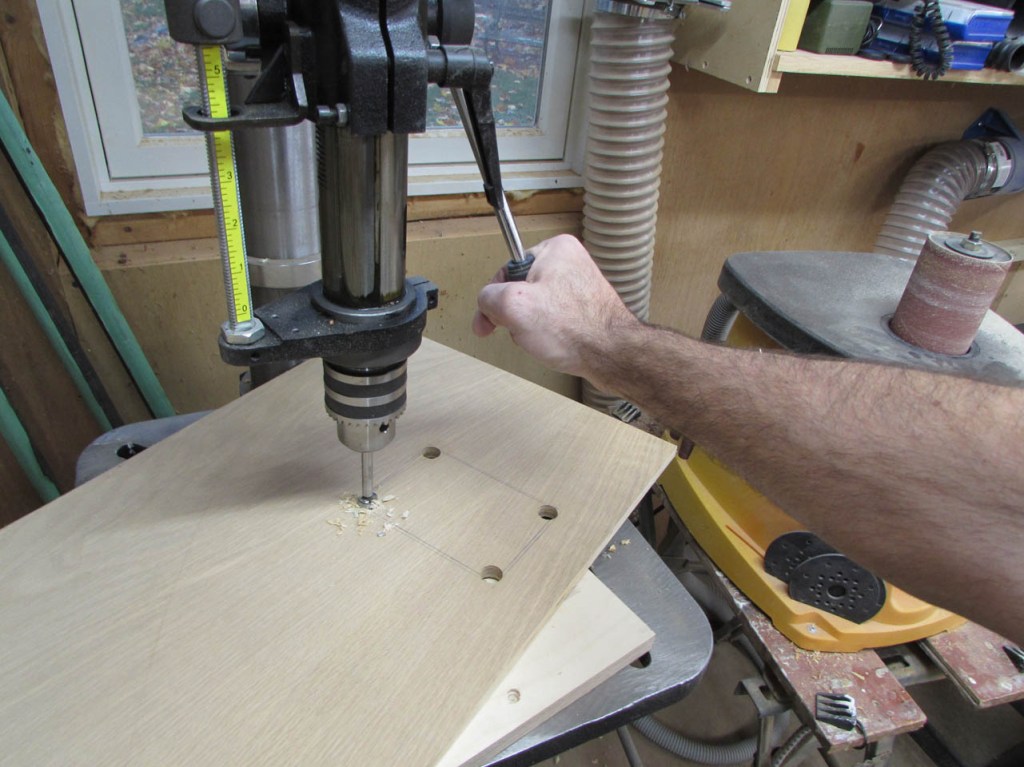
I added about 1/8″ around the outside of the plate for my cut line. Since the plate’s corners are round, I drilled a 1/2″ hole in each corner.
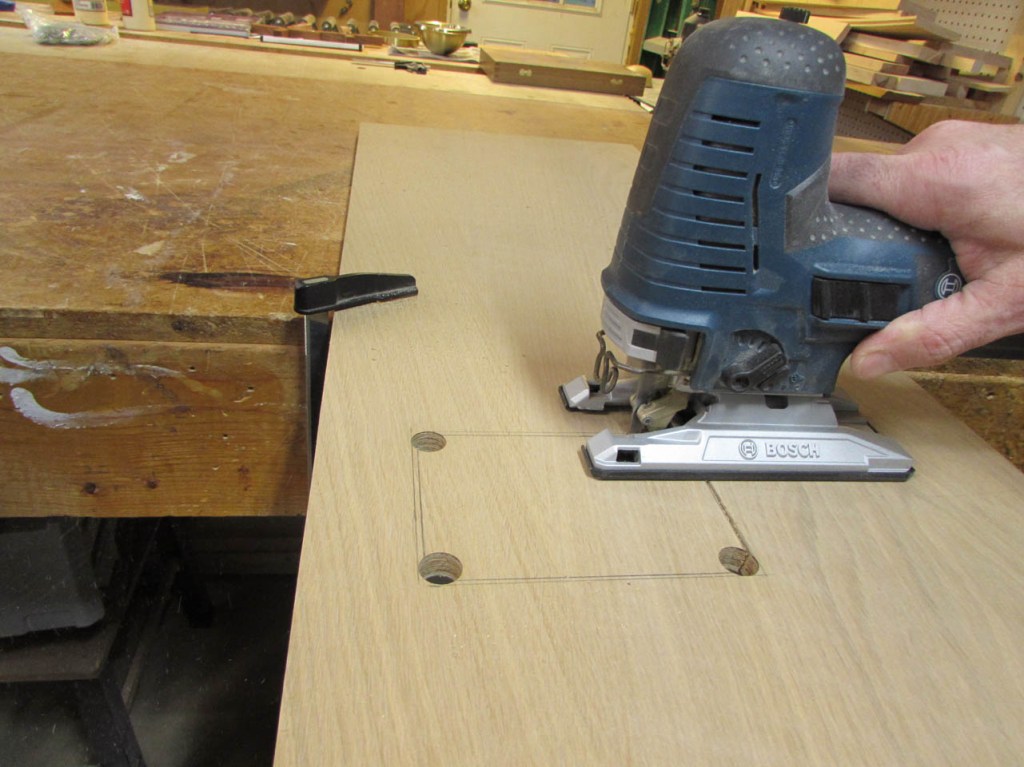
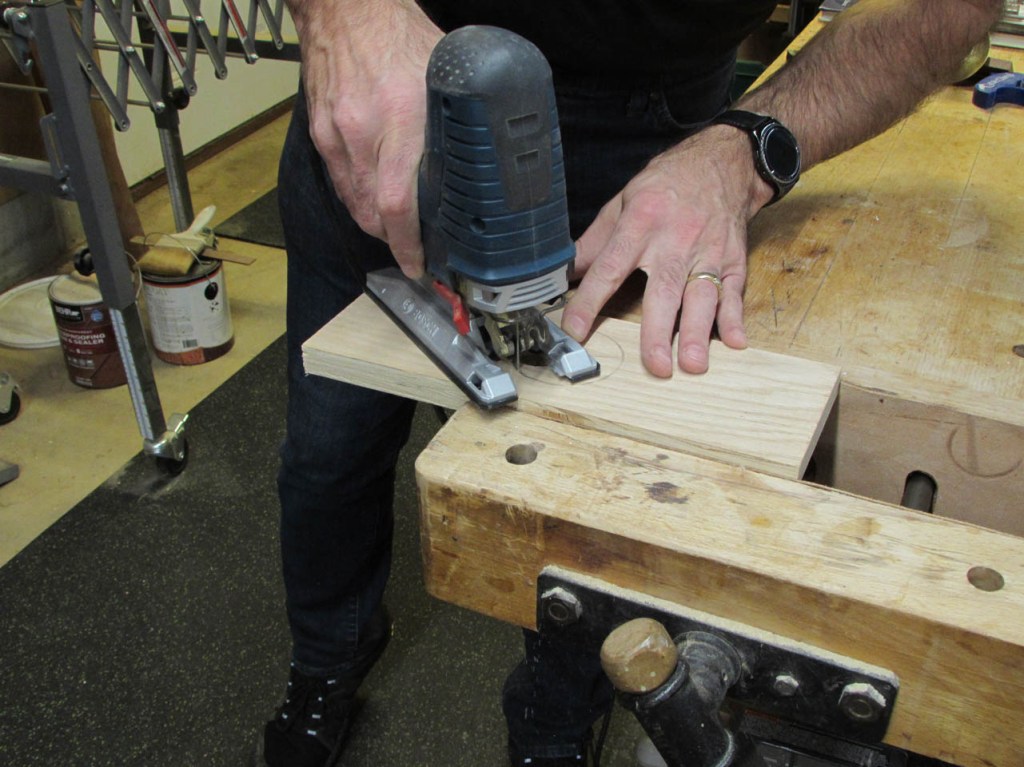
I used my jigsaw to cut away the waste in the middle.
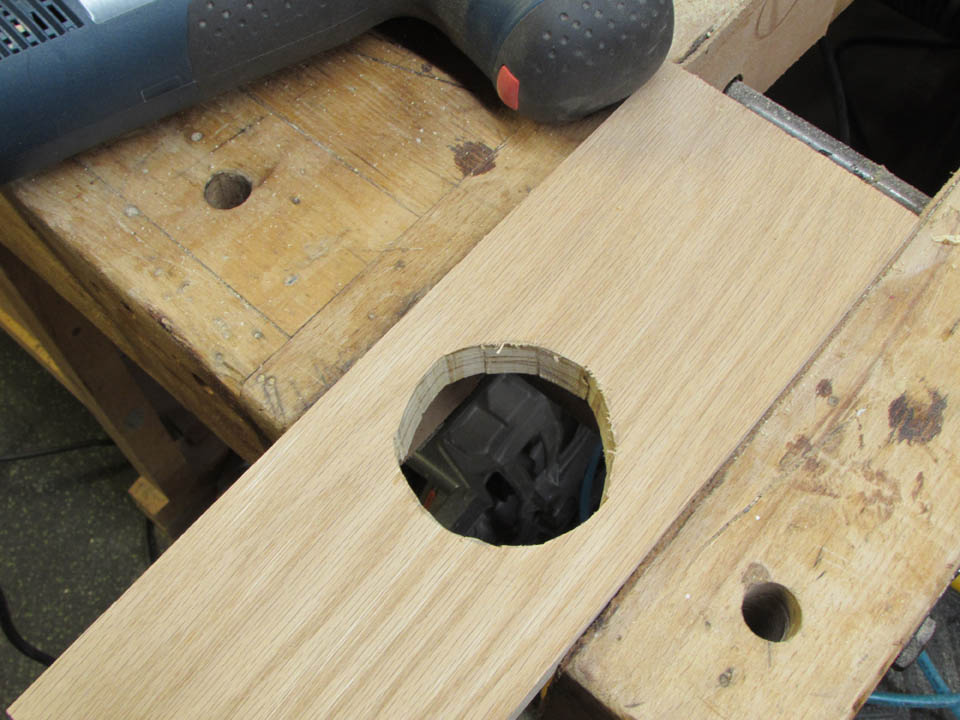
Then I did a test fit to make sure I got it right.
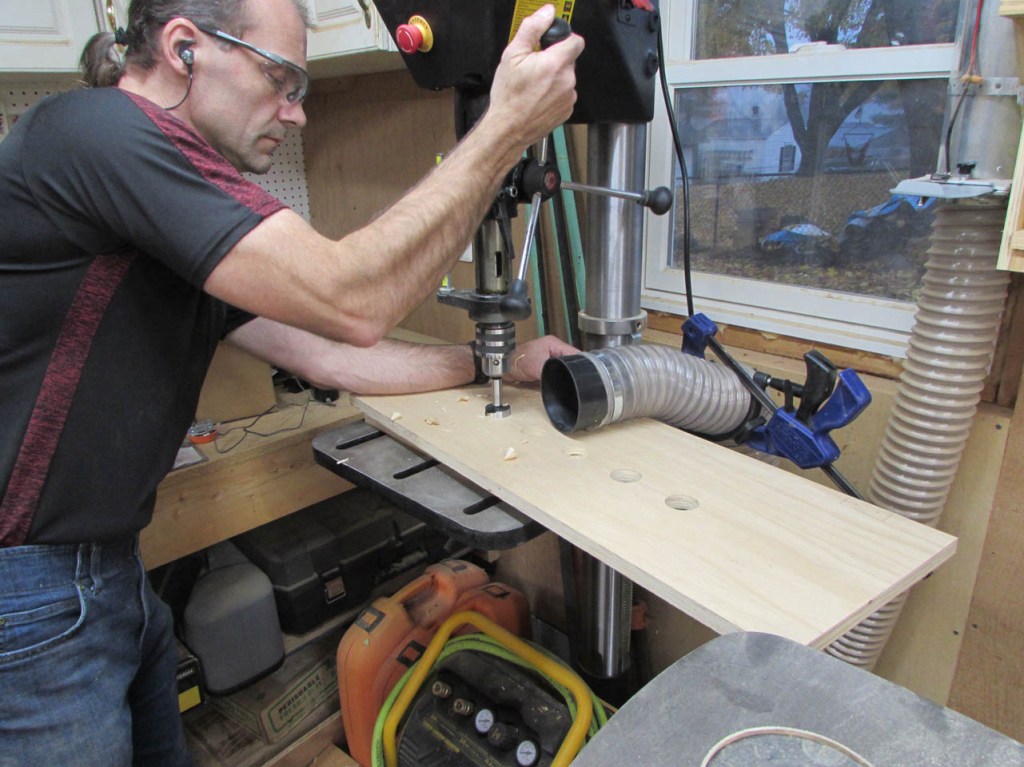
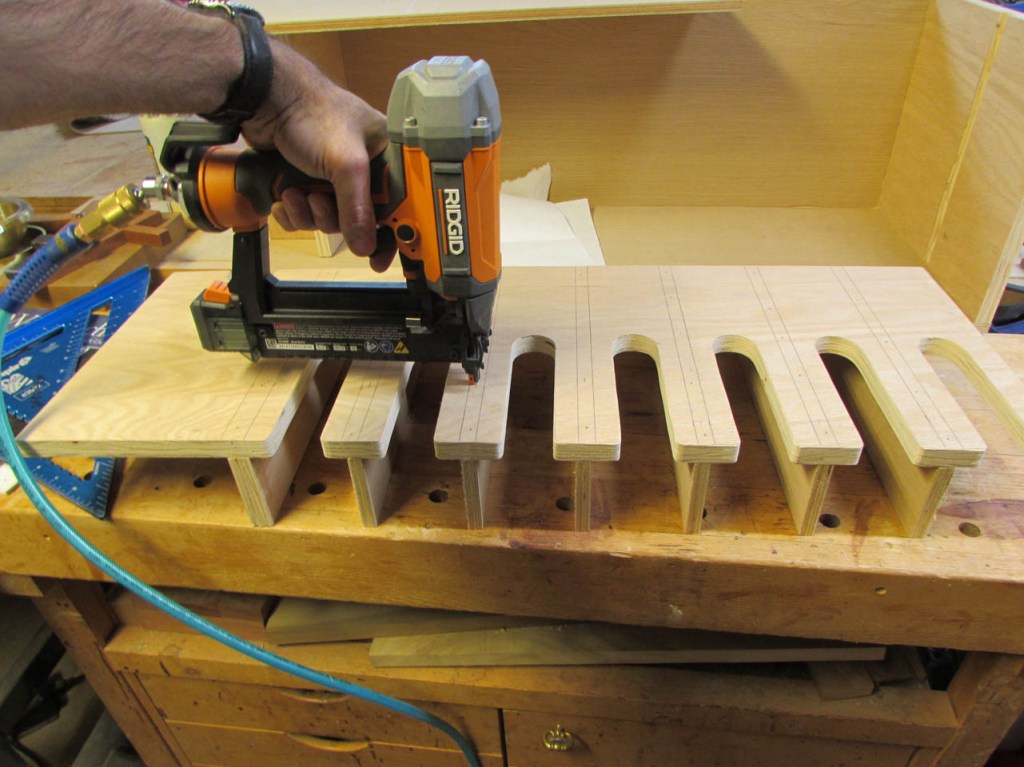
Next, I laid out the grooves for the screw gun shelf. I will cut a “U” shape that is 1-1/2″ wide for each of the guns. This is an average that should work for all seven of the pistol-grip style guns. The longer angle-head gun will sit in a hole on the side. The bottom of the “U” will be drilled out with a forstner bit.
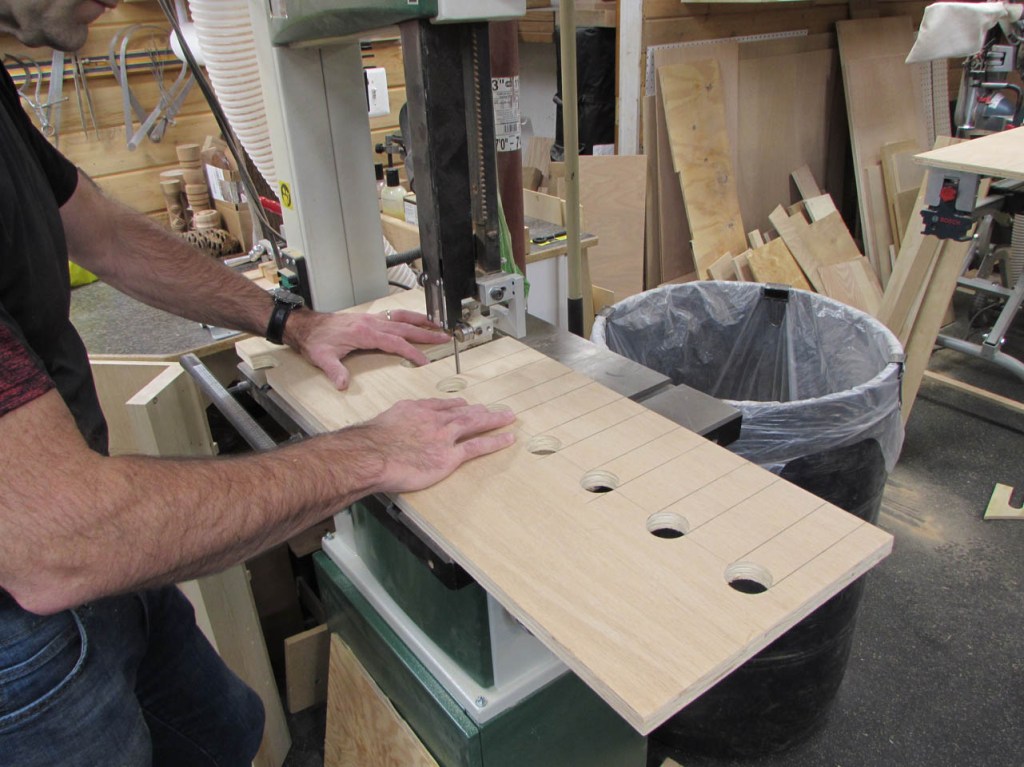
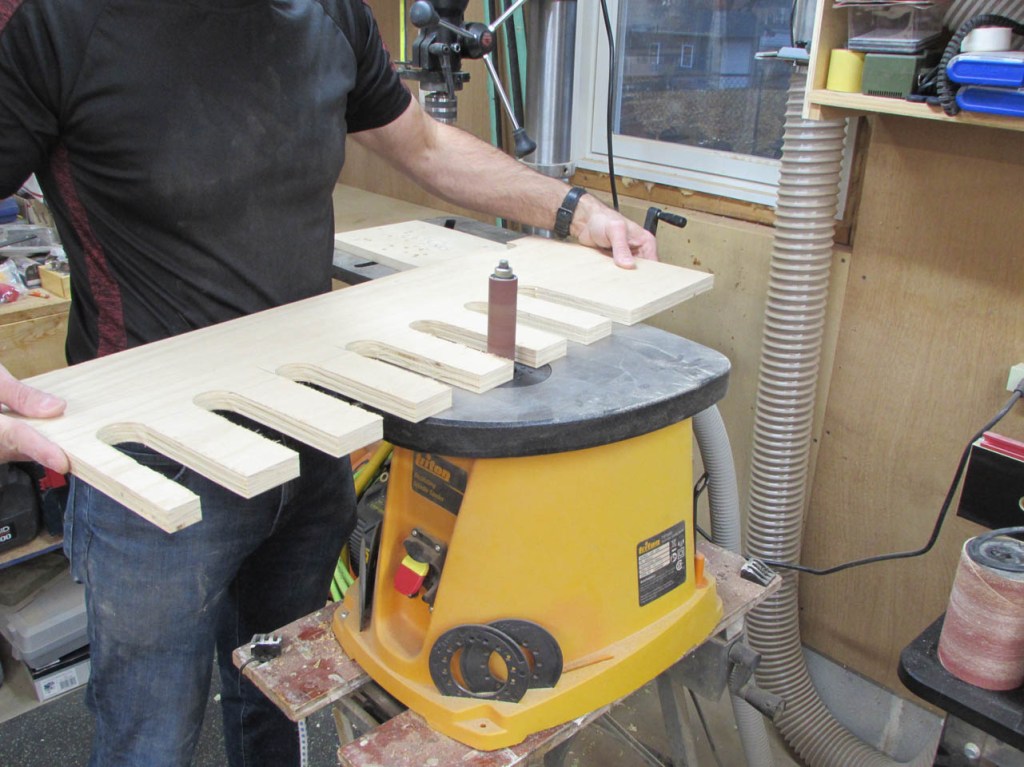
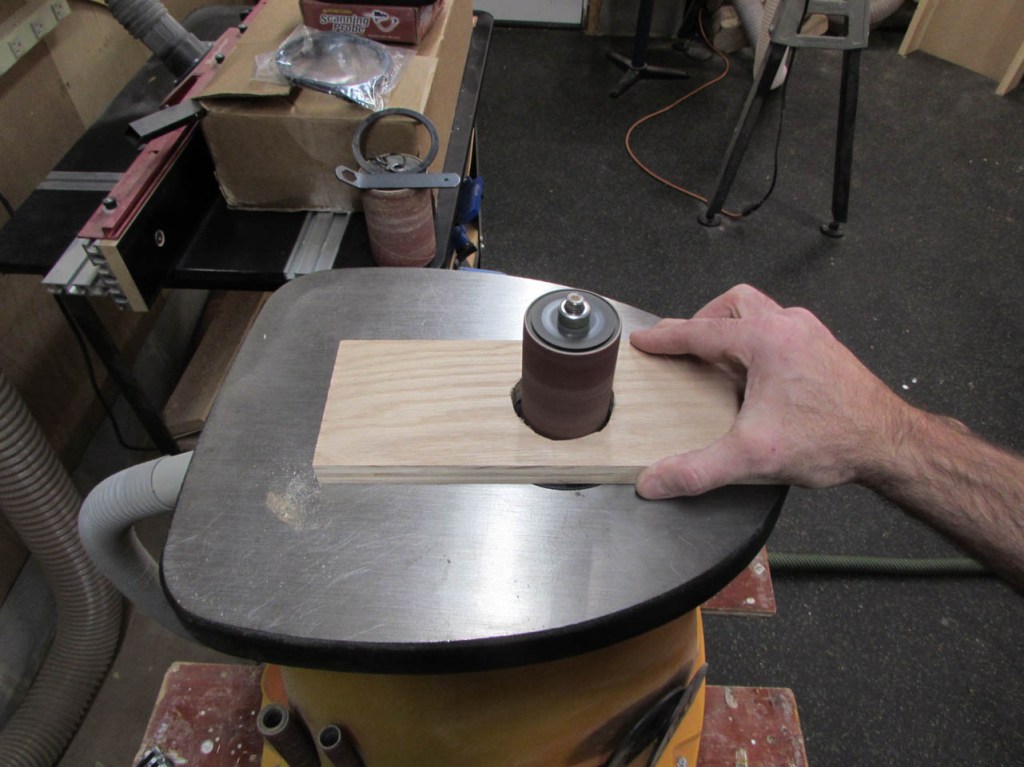
Then it will be finished with the band saw. Once all seven slots are cut, I use my spindle sander to clean them up.
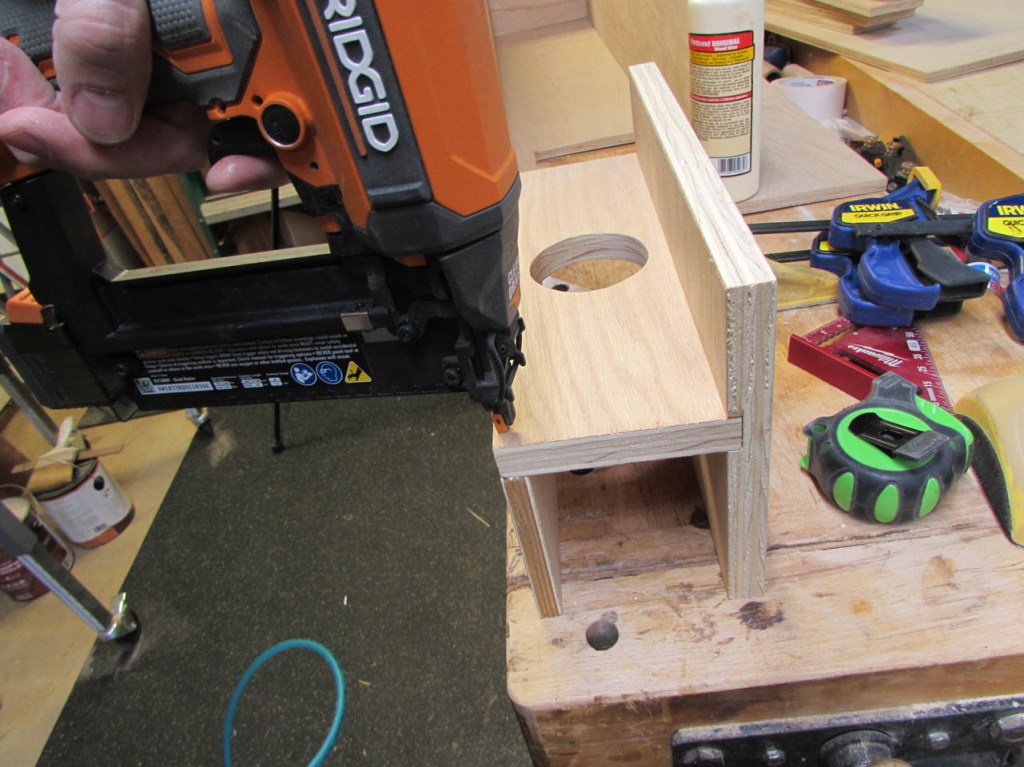
I don’t have a 2-1/2″ hole saw so I use a jigsaw to cut the round holder.
It is a little rough, so I clean it up with the spindle sander as well.
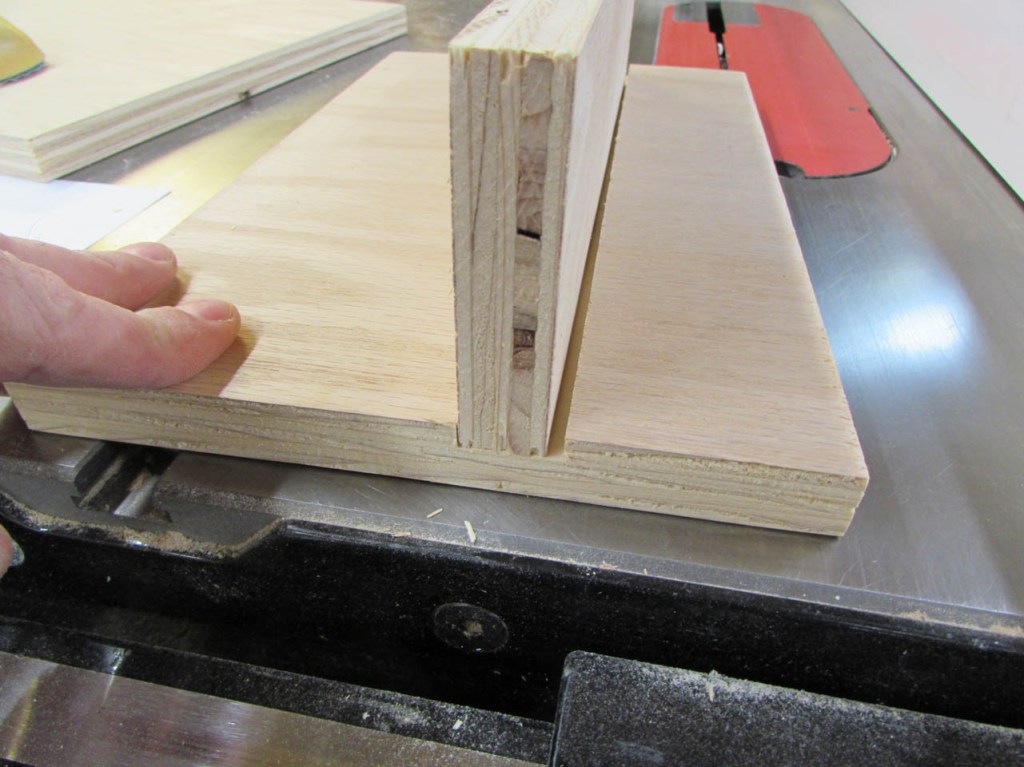
There are two side pieces that require a dado. After making the first cut, I thought I would be clever and use a piece of 3/4″ plywood as a spacer to set the far side of the dado.
That was kind of stupid. I forgot to account for the blade width.
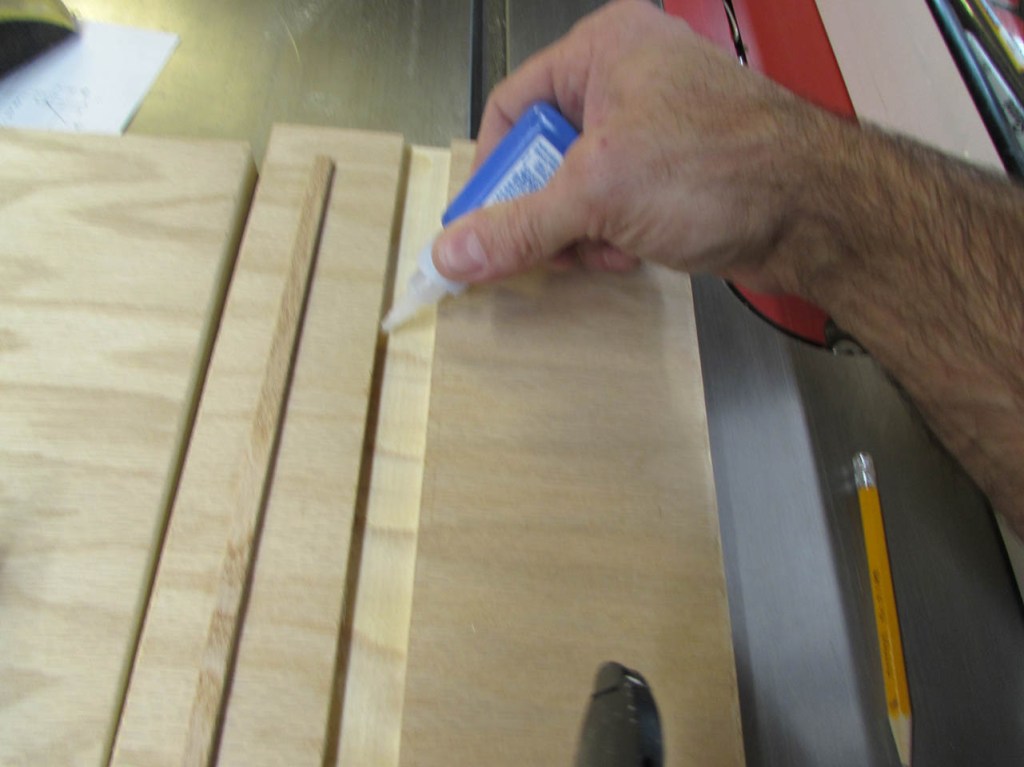
Luckily this is a shop project and I can just cut a 1/8″ wide strip and glue it in place, to fill the gap.
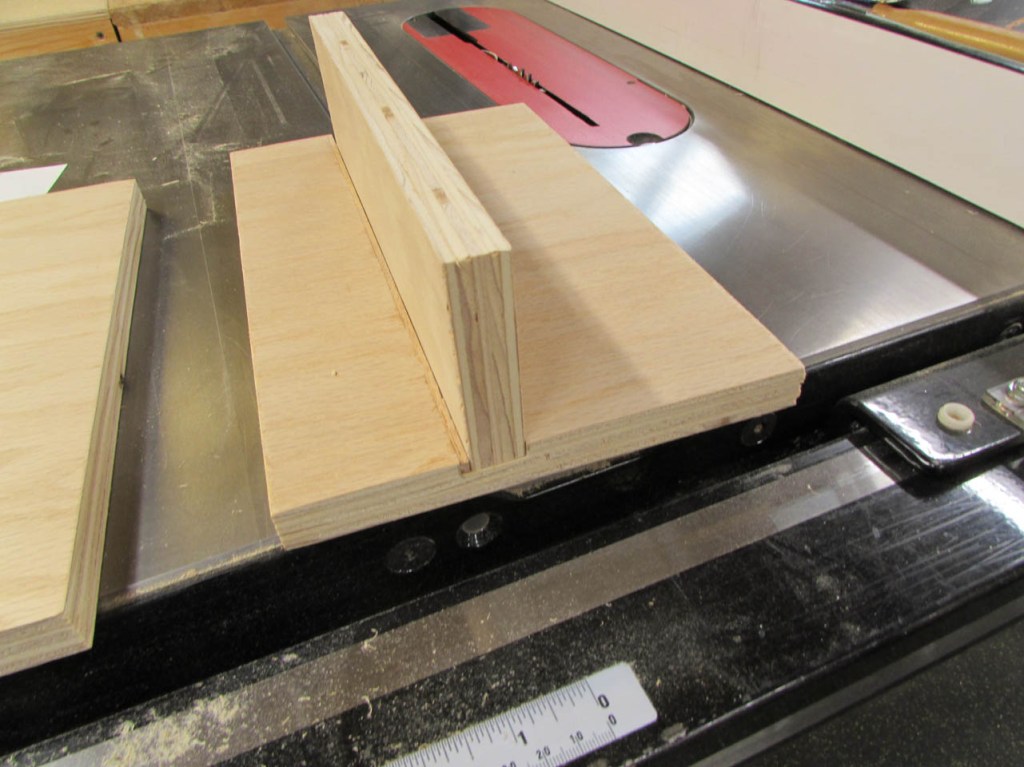
A few swipes with the block plane and the dado is fixed.

Not attractive as I prefer, but acceptable.
After cutting everything out, I did a dry-fit to check dimensions.
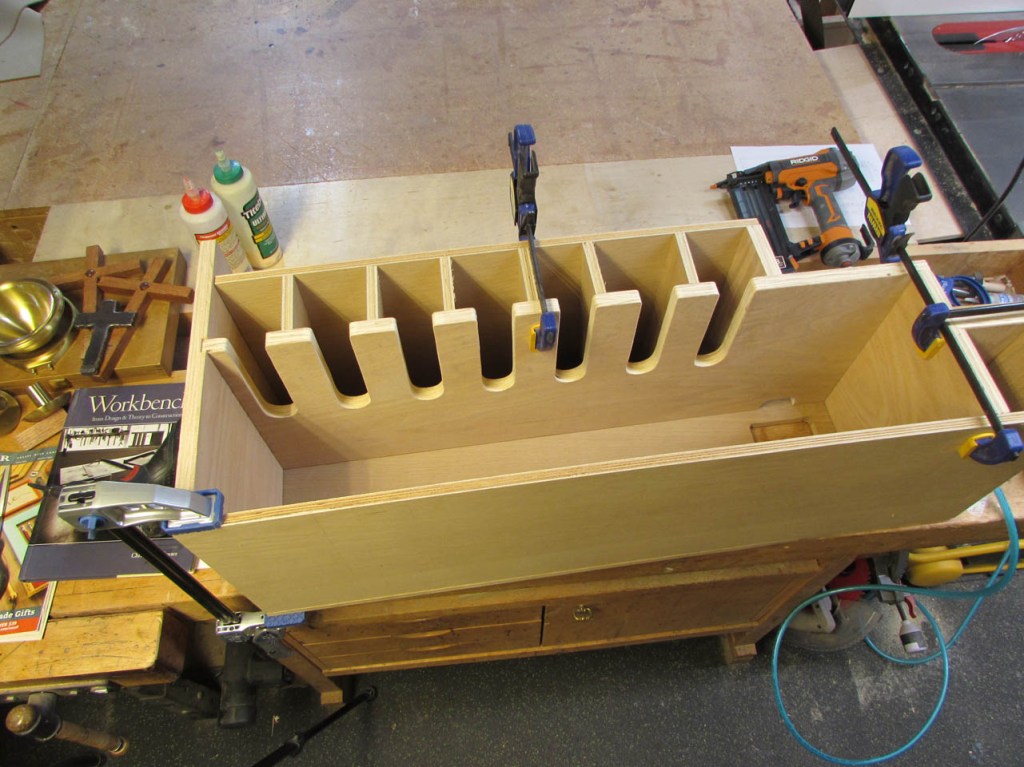
Then, with glue and brad nails, I start assembling components.
I find it easier to make up small sub-assemblies first.
It makes it easier to access attachment points that the nail gun would not fit into if I worked from the bottom up.
I used a support block and a level to hold the rack in place while I screwed it to the wall. It does not have to be level, but I do want it to look good.
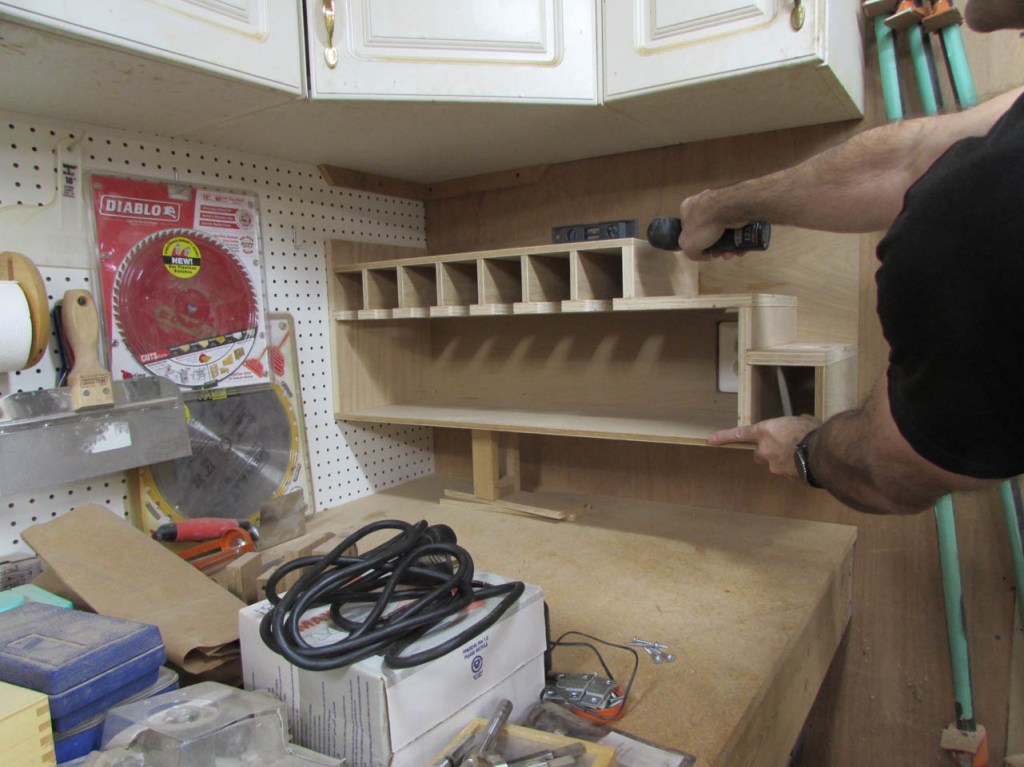

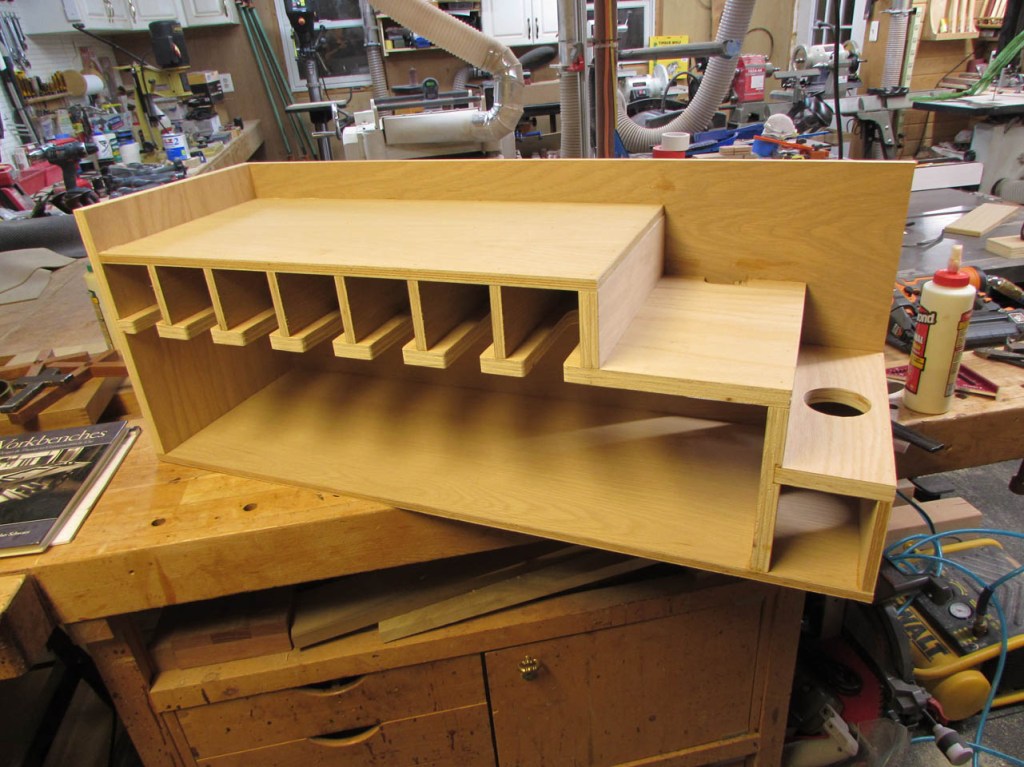
Perfect fit for all of my guns. There is room for three or four different chargers on top and a small shelf to hold my extra batteries. There is about 7″ below the shelf to organize all of my drill bits.
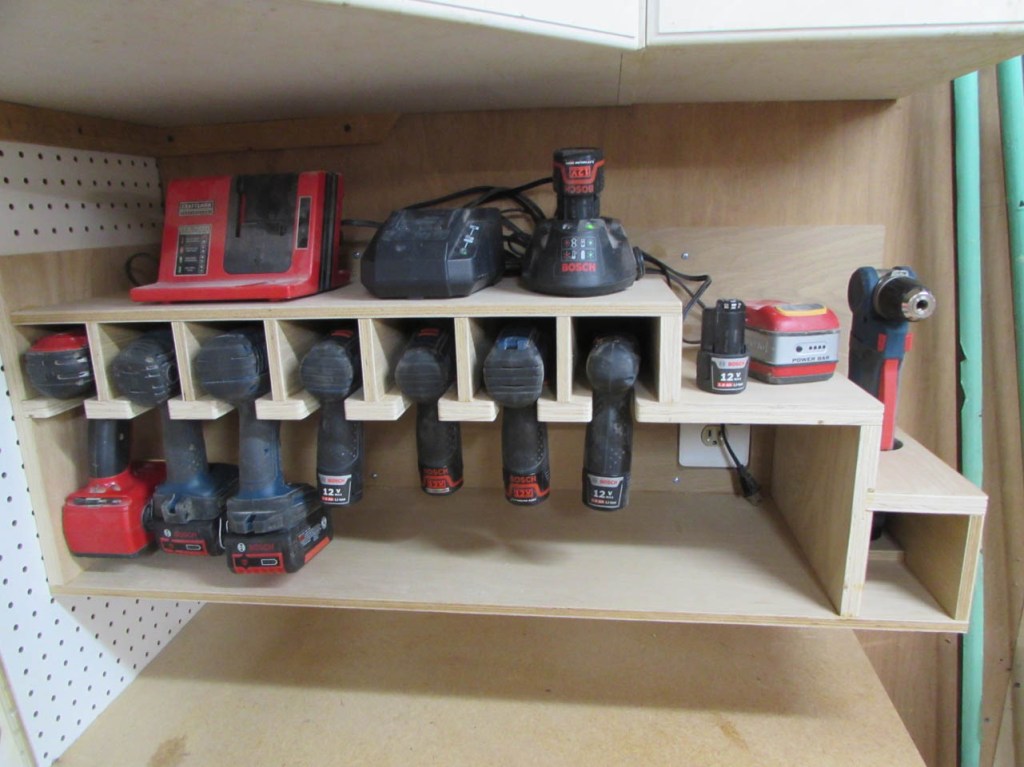
I also intend to add a power strip to the bottom of the cabinet above so that I can plug in all of the chargers at the same time, then turn them all on or off with the same switch.
This was a fun little project and it did clean up some of my scrap. I will continue working on organizing the workbench, but I don’t expect that to be done as quickly…
