
Chris’s little train table – part 3
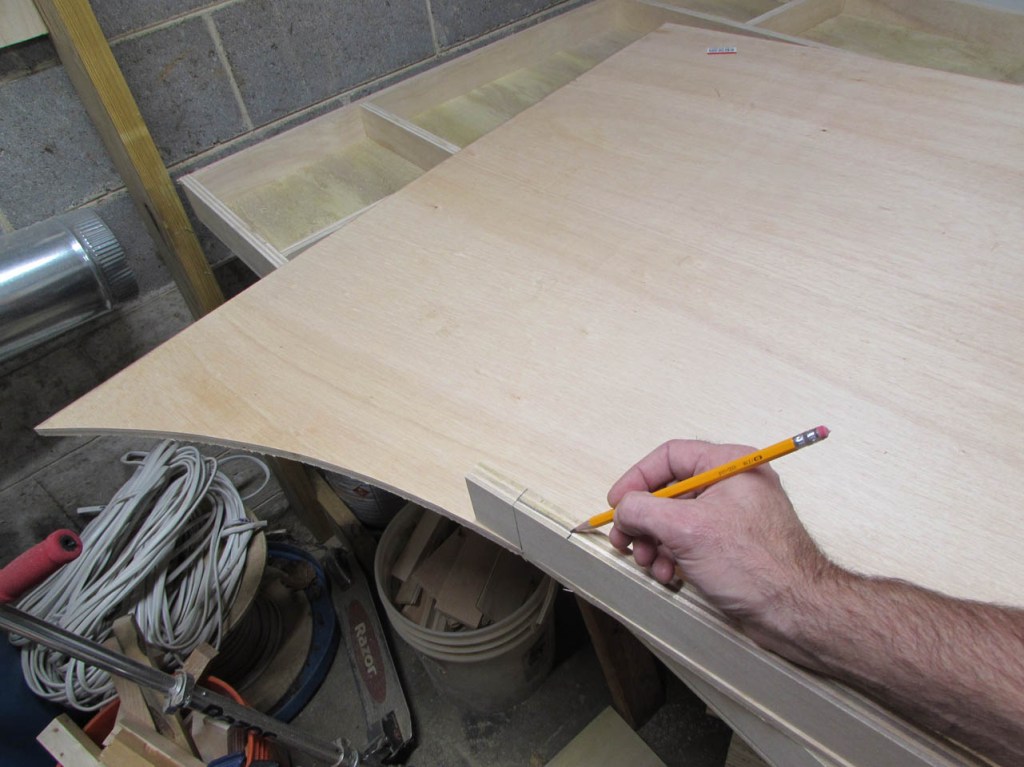
I am not going to go into too much detail on the construction of all ten of the tables I have to make, but I will highlight the more interesting challenges. The next two tables are pretty much mirror opposites of each other. The most challenging part of these two is transitioning from a straight edge to a curve. It would be simple if I had 9′ long strips of 1/4″ plywood. Unfortunately I do not. I could just butt the curved lamination to the straight section, but I wanted to try connecting them…
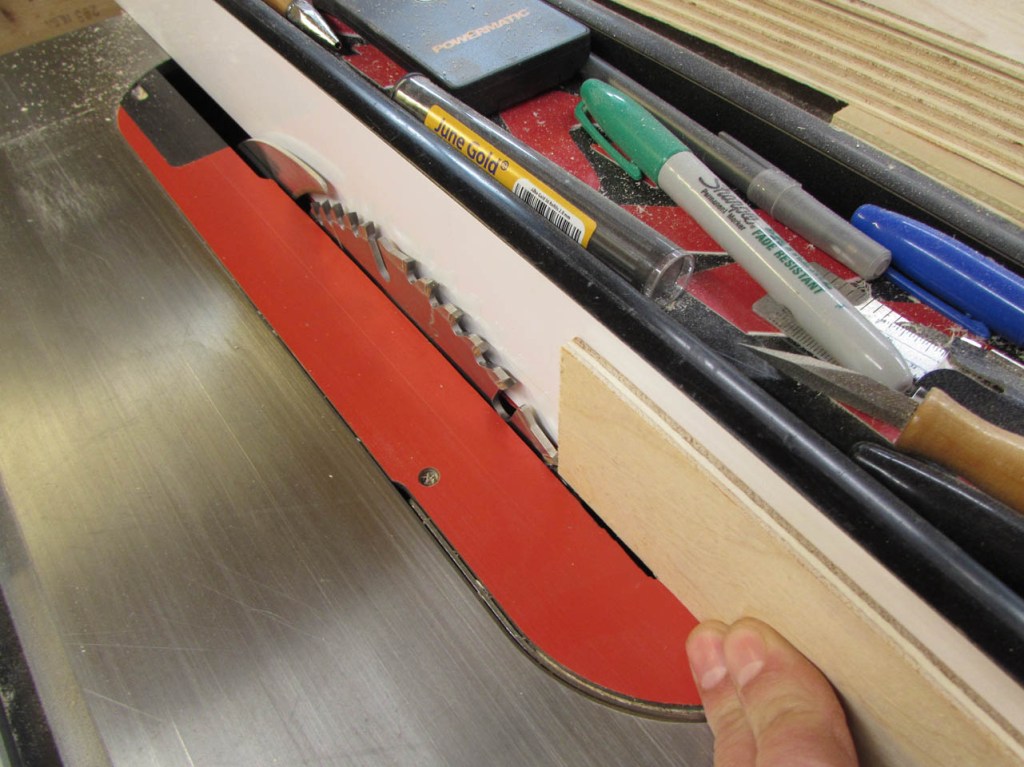
I set the fence of the table saw to match the thickness of the 1/4″ plywood, then raised the blade all the way up.

I ran my 3/4″ plywood strip about 2″ in, then pulled it back out.


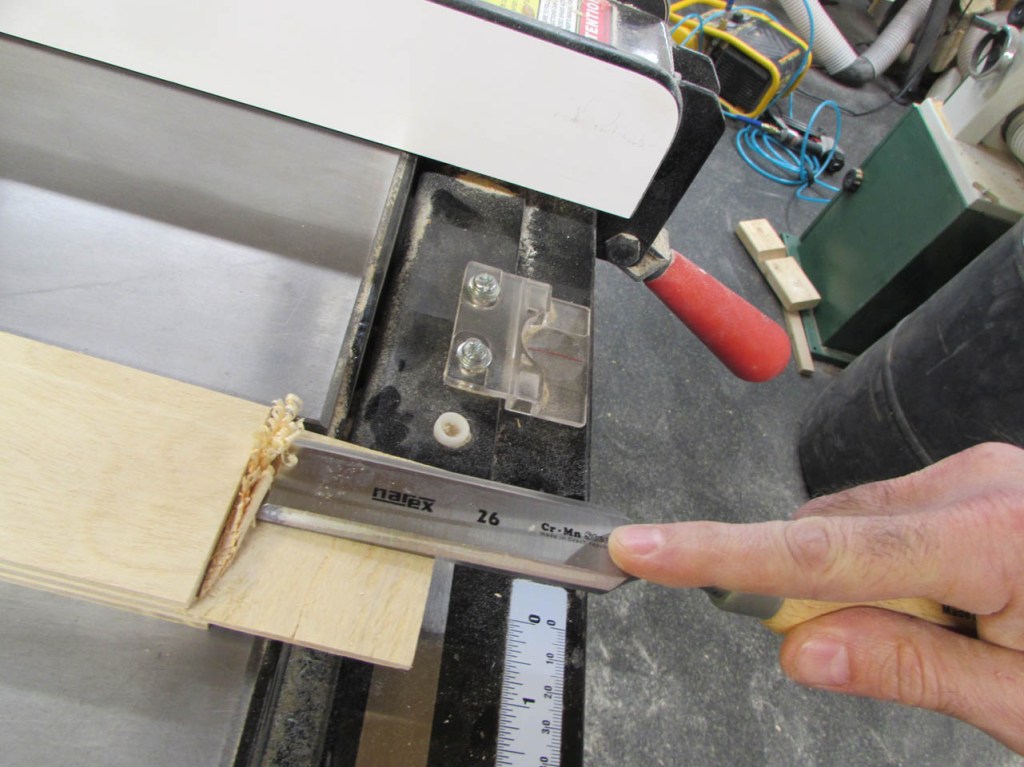
Using my Japanese pull saw, I first cut the face, lining the blade up with a speed square, then laid the blade on the saw cut to cut horizontally back to the face cut.

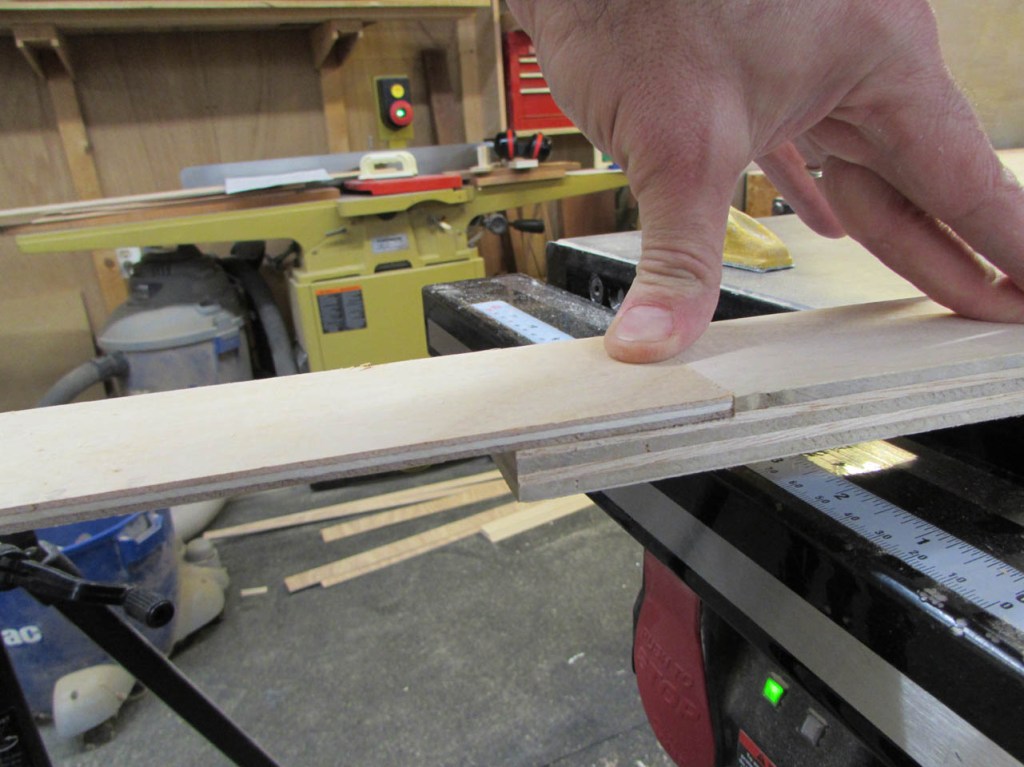
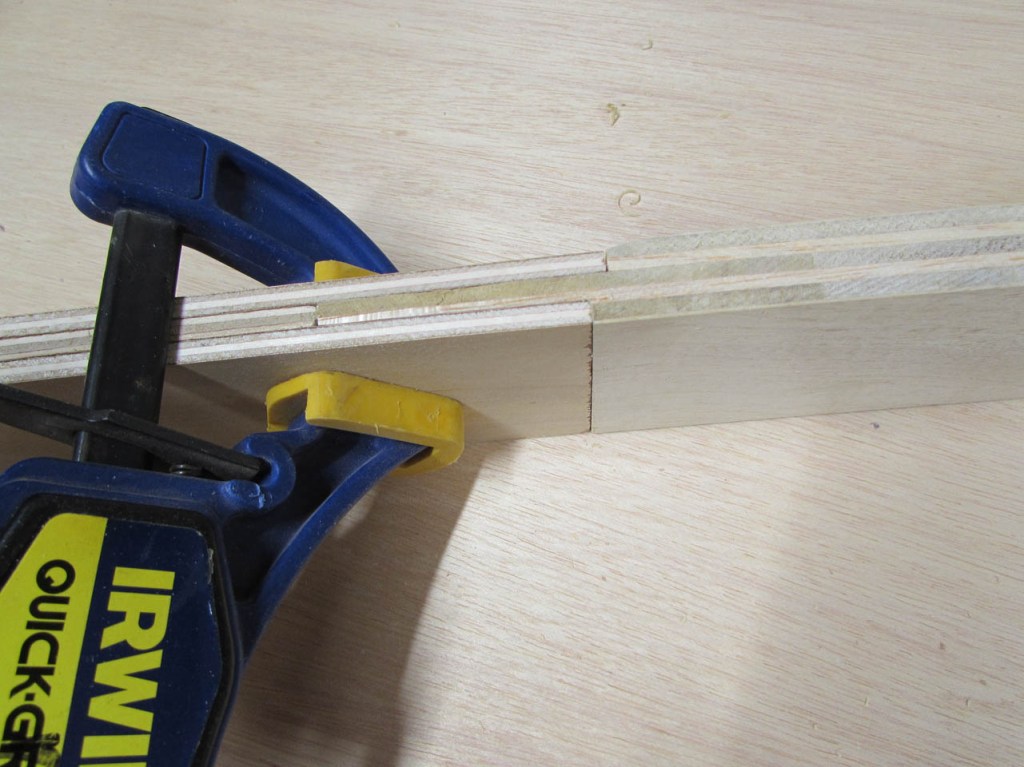
That worked far better than I expected.

The thin piece of plywood lays in perfectly flush.
I repeated the process for the back, setting the fence to the depth of two plys and cut the back side in the same way. I used a chisel to clean up the face when I cut away the excess.
Since three pieces of the thinner plywood does not quite match the thickness of the 3/4″ stuff, I used my block plane to bevel the back side for a smoother transition.

That looks like it will laminate well.
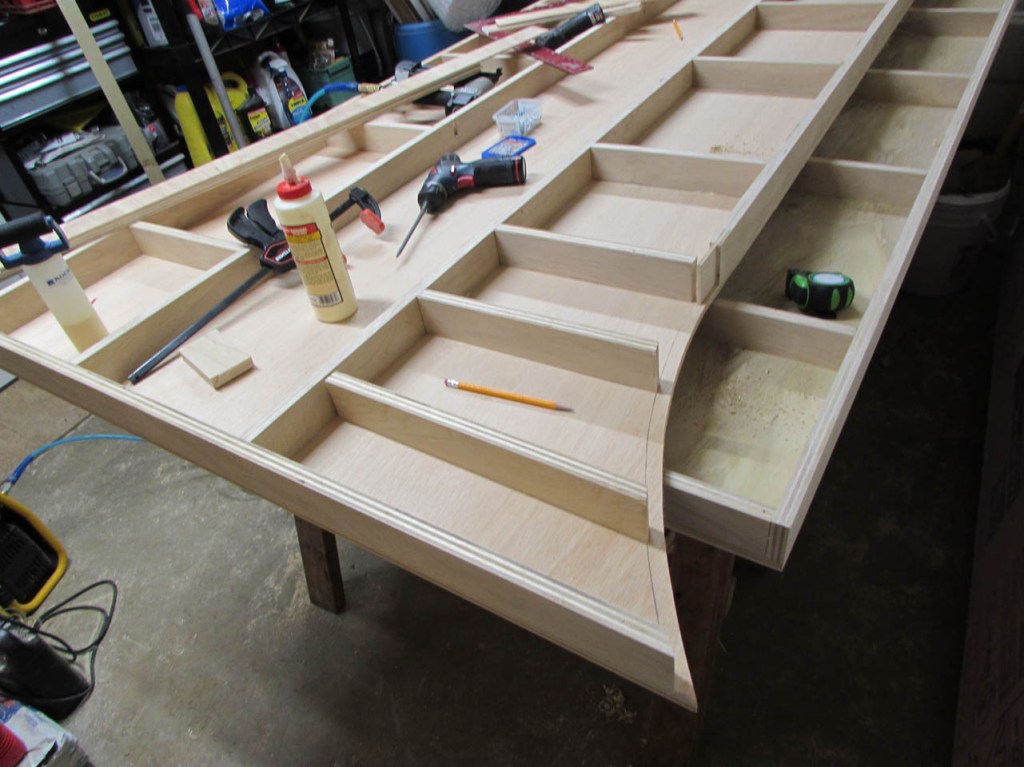
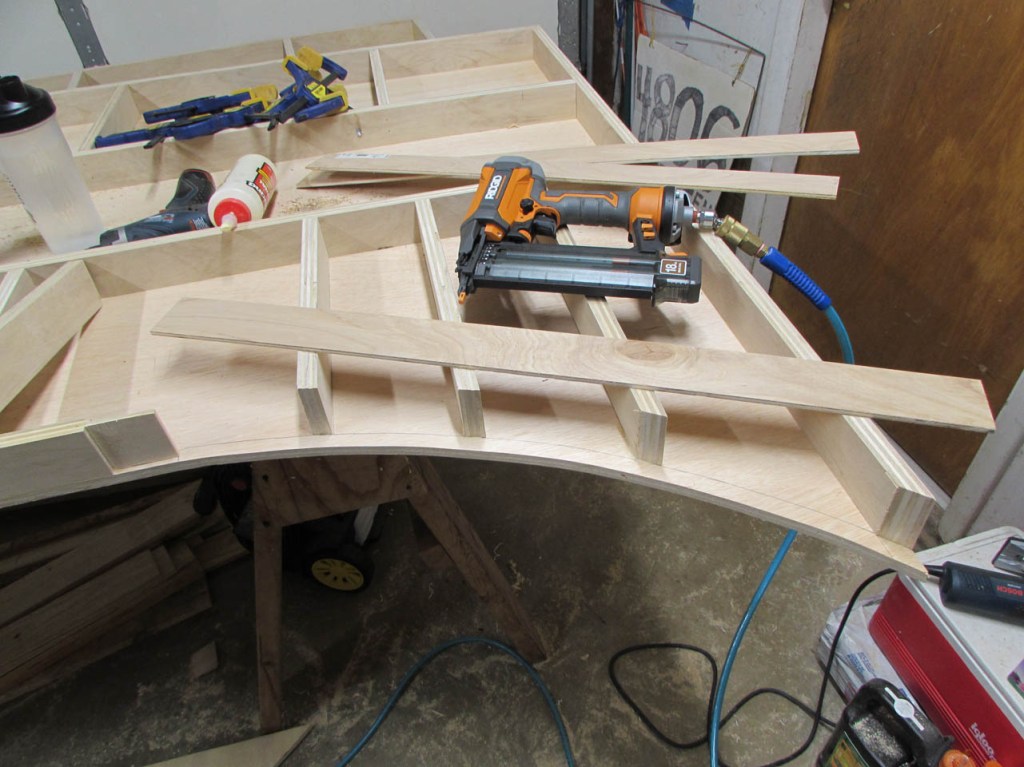
Using a similar method to the last two tops, I framed up the structure, leaving the curve for last.

I did remember to take a few photos of how the pocket holes were made. I marked the locations of where I wanted my screws, making sure to avoid placing them at the intersection of the ribs. I want to brad nail the ribs to the center structure and that is easier if there are not any screws in the way.
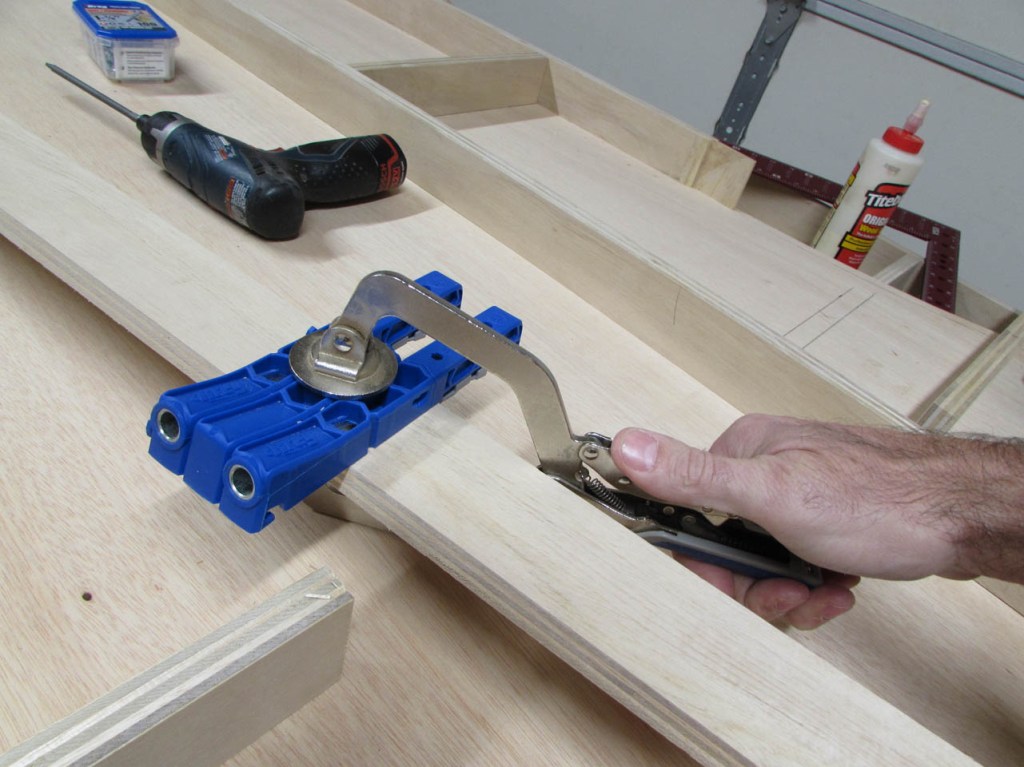
I lined up the pocket hole jig and clamped it in place, then used the long, brad-point drill bit to drill the stopped hole.
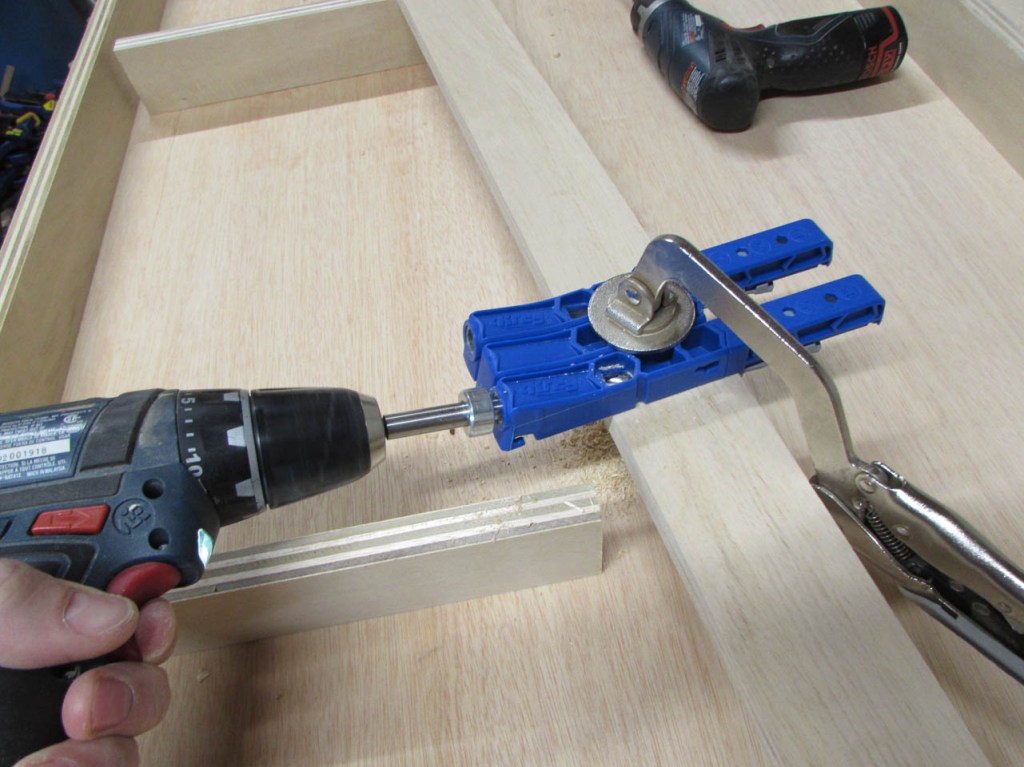

The hole is set to the exact depth to prevent the screw from penetrating the far side of the plywood.
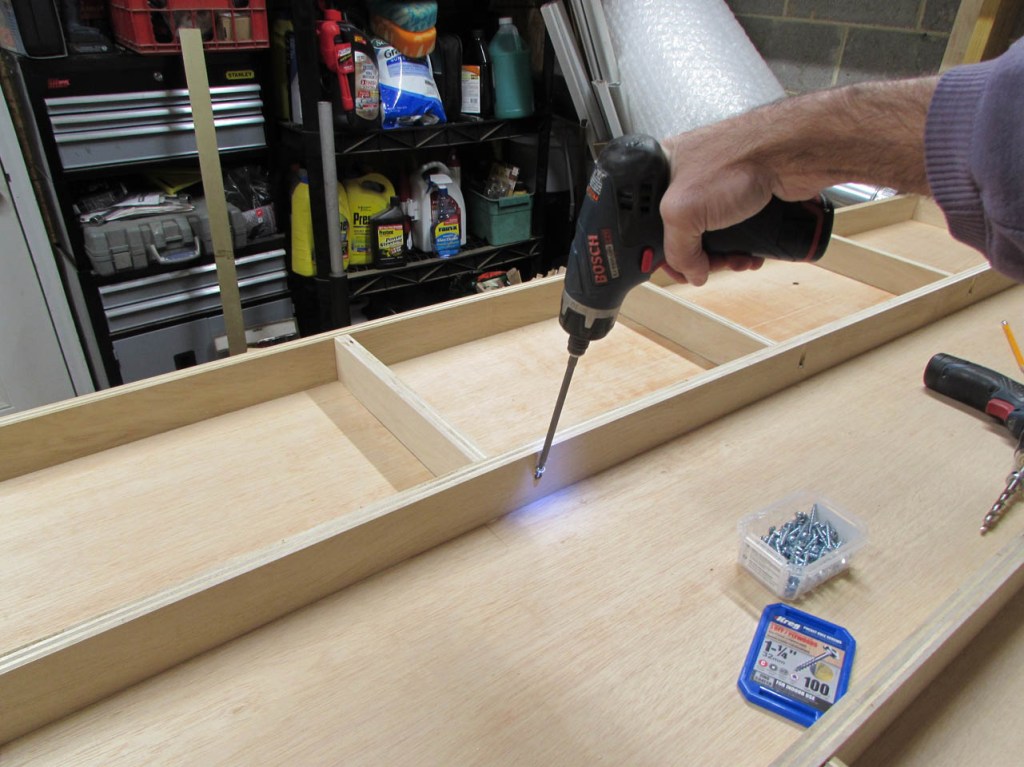
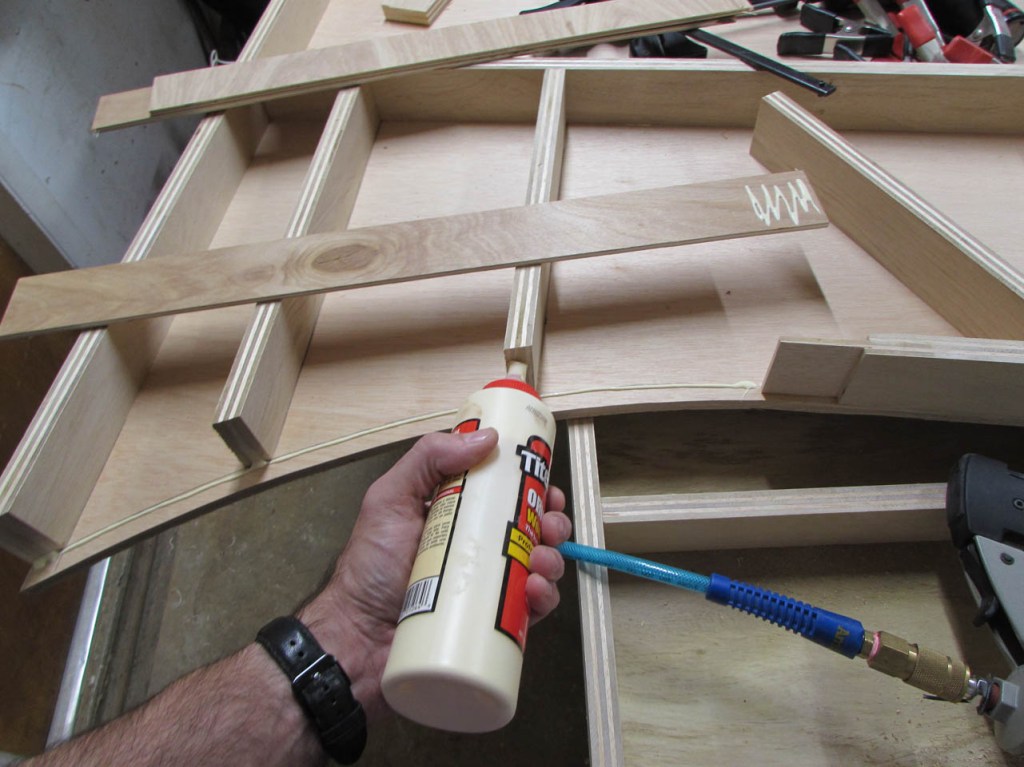
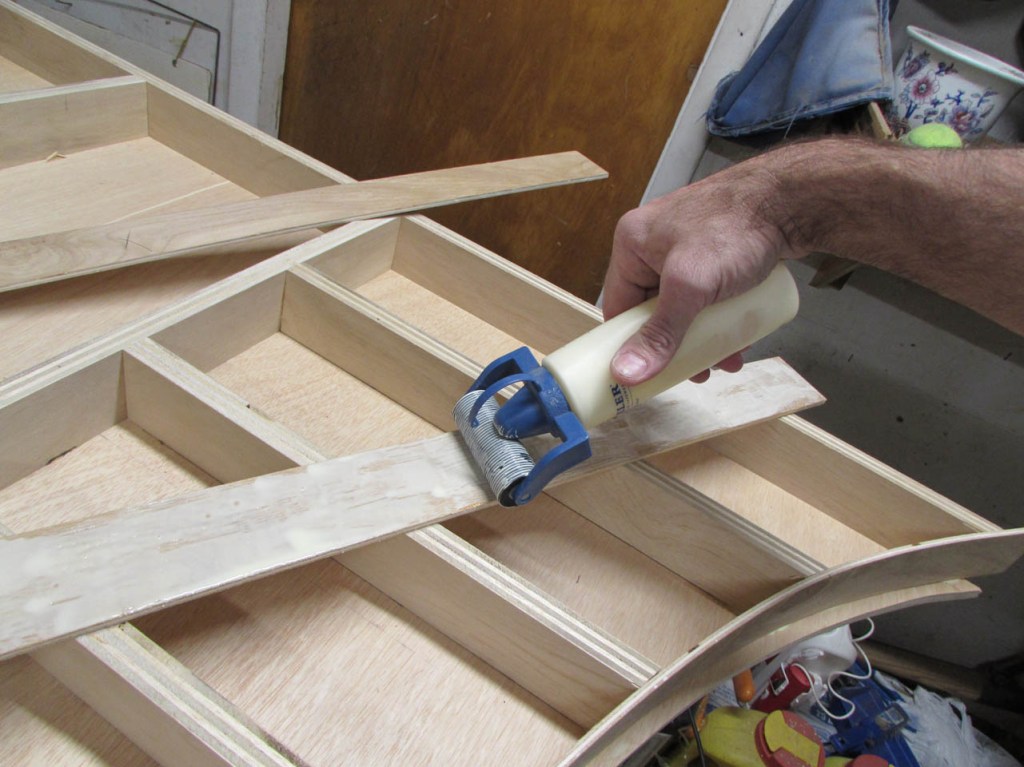
After applying glue to the ribs and setting them in place, I held the center strip tightly to the ribs and screwed down all of the screws. Afterwards, I placed two brad nails through the strip into the end of each rib, front side and back. This holds the rib in place while the glue dries.
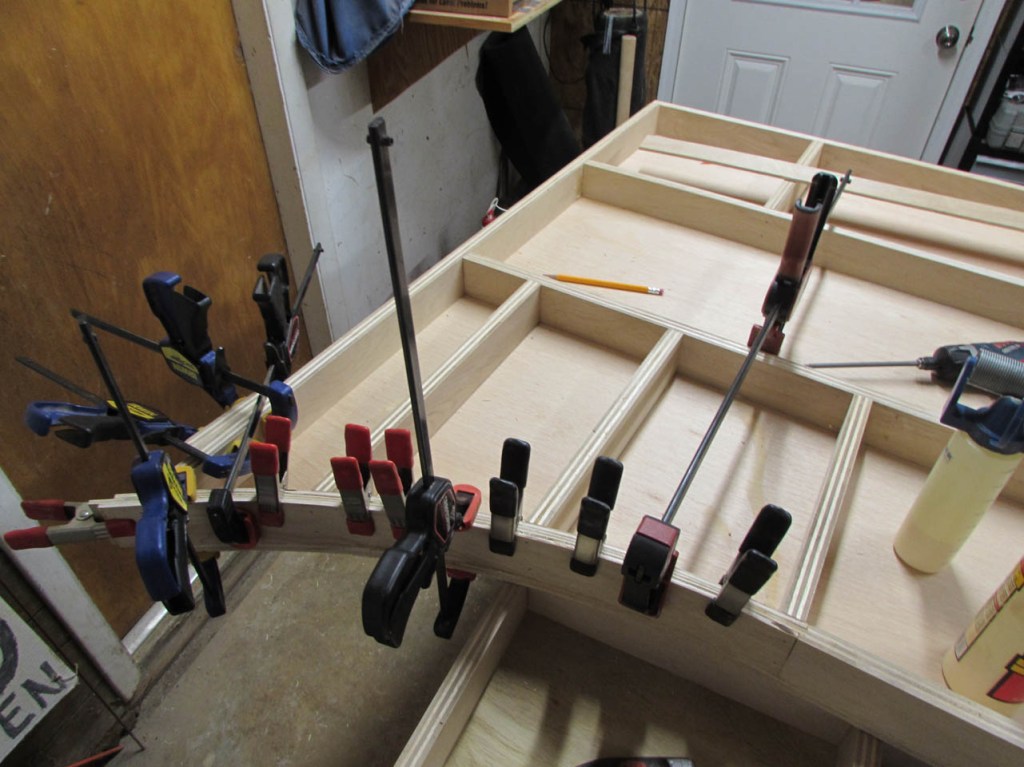
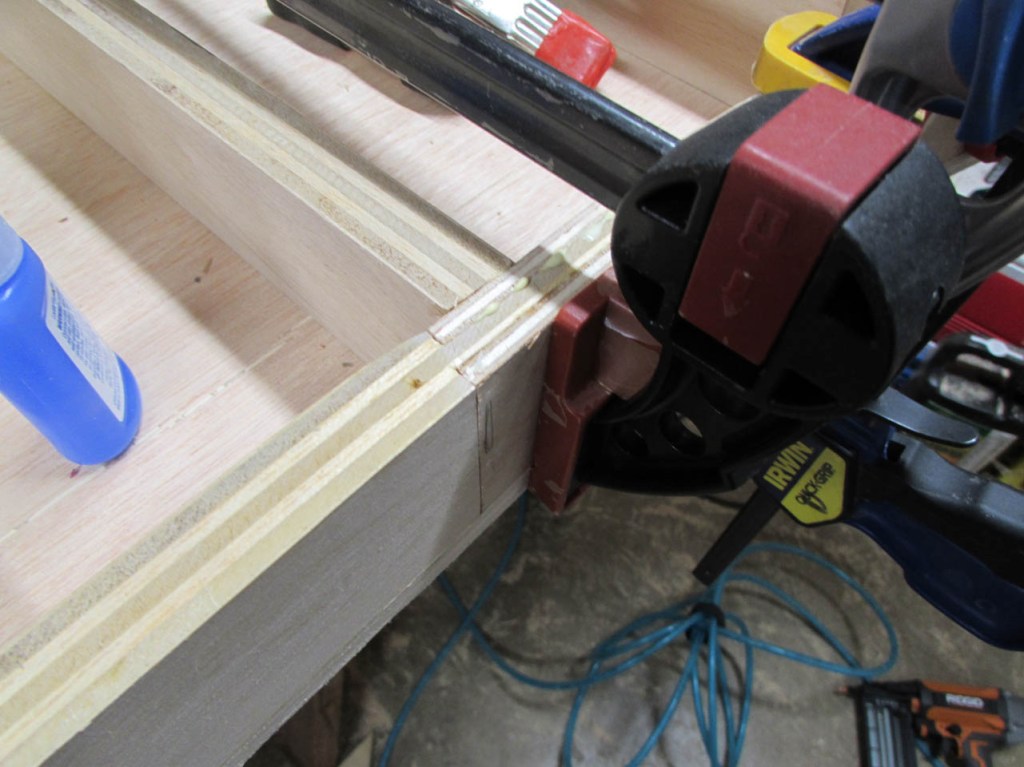
Now all that is left is the curve. I marked and cut all of the ribs supporting the bend of the curve, then I glued them in place. I added a few brad nails to hold the ribs so I could remove the clamps.
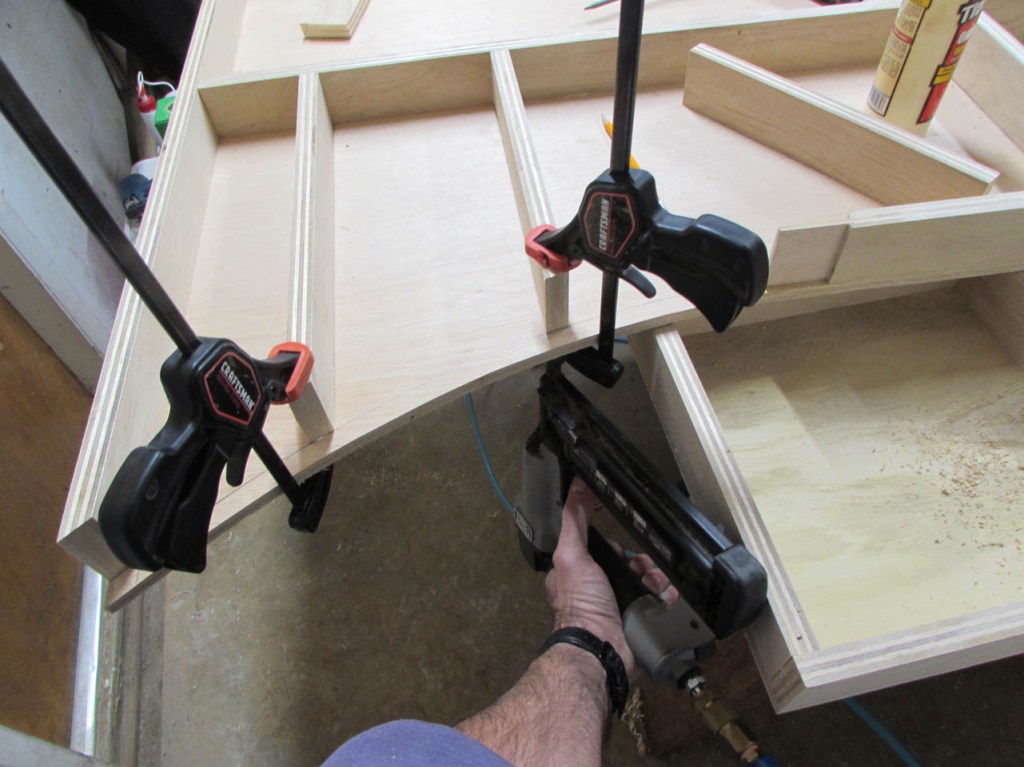
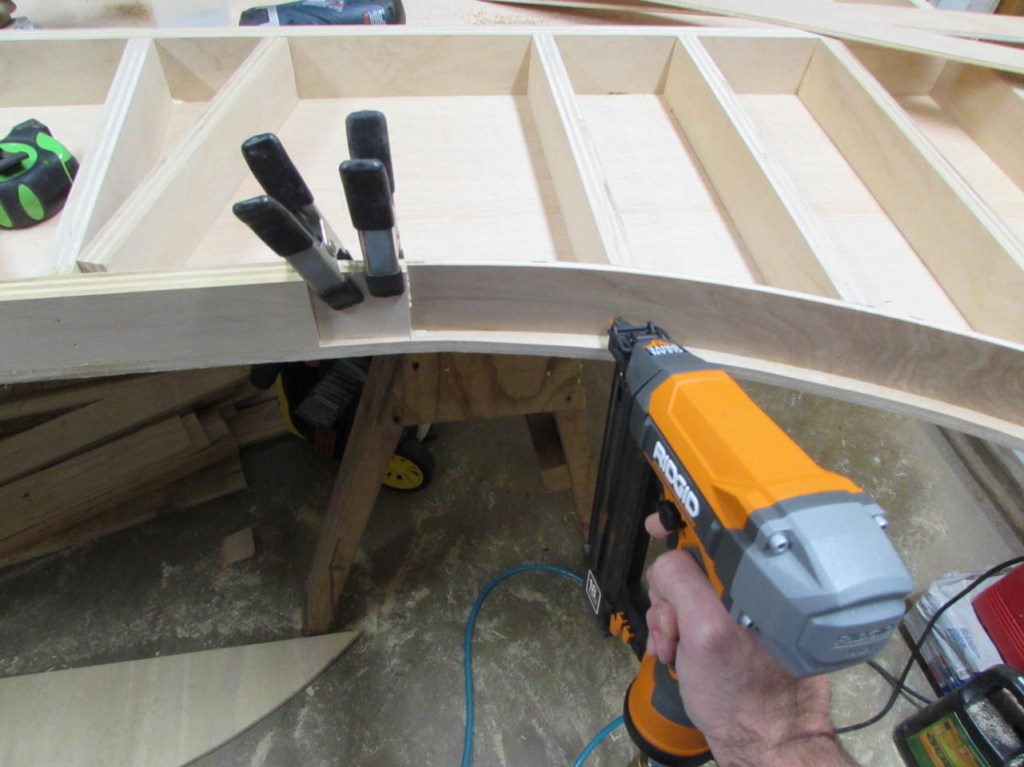
I left the last rib loose, to be attached later, after the spliced pieces were placed. I applied a bit of glue to each of the contact points, then started clamping the first strip in place.
Unfortunately, as I started attaching the strip with brad nails, my 18 ga. brad nailer died. I had to finish attaching the strips manually, with a hammer.

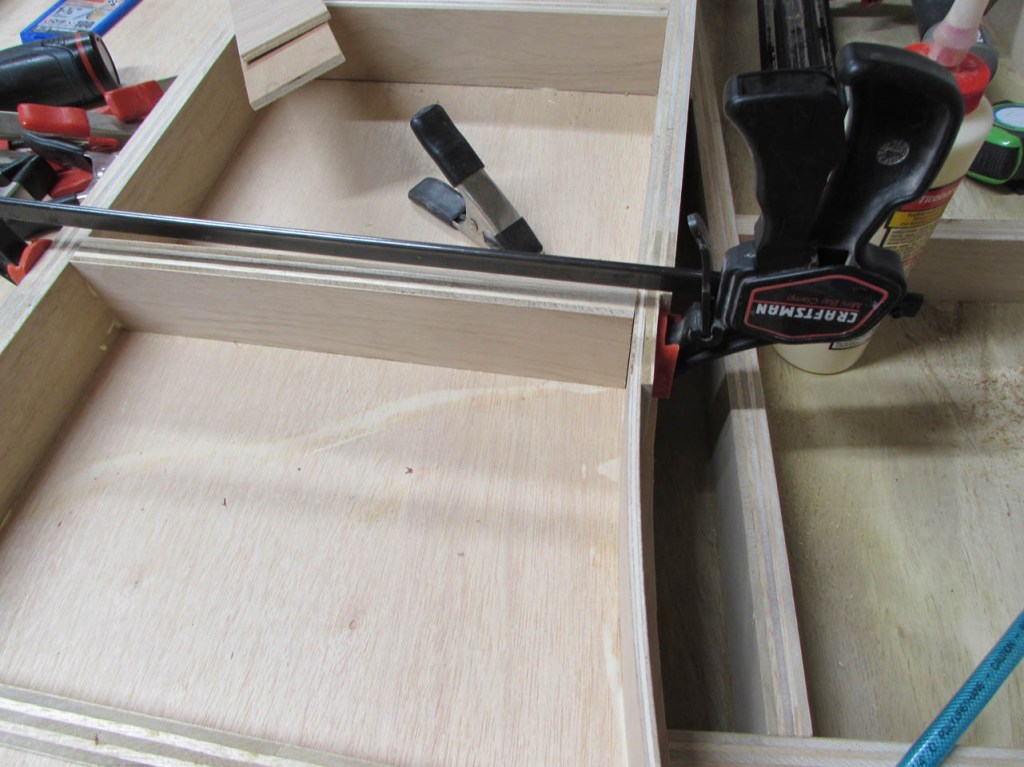
I was not happy because it slowed me way down, in the middle of a glue-up. I had to break up a strip of nails into tiny, individual nails which are not designed to be used with a hammer. They bend easily if not hit perfectly straight, and everything I am doing is on a curve… After a bit of patience and a lot of creative clamping, my curve was complete.
While that was drying, I ran out to the local big box store and picked up a replacement. To be fair, my Porter Cable was about 20 years old and in the last month, all of the plastic bits started breaking off. It was time for a replacement anyway. What I brought home was the Rigid 18-Gauge 2-1/8 in. Brad Nailer. I was hoping to find an alternative to air-powered, but I just couldn’t justify the cost. This new one has a few promising features:
-It is oil-free so i don’t have to oil it and it will not vent vaporized oil.
-It has a swiveling air connection that helps prevent the air hose coupling from bending too sharply and leaking air.
-A semi-transparent side so I can see how many nails are left.
-It stops nailing when the nails are gone. The old one didn’t…
It looks promising, and it cost about 1/3 of what the Porter Cable cost originally.

After the glue had dried, I used my pull saw to cut away the excess.

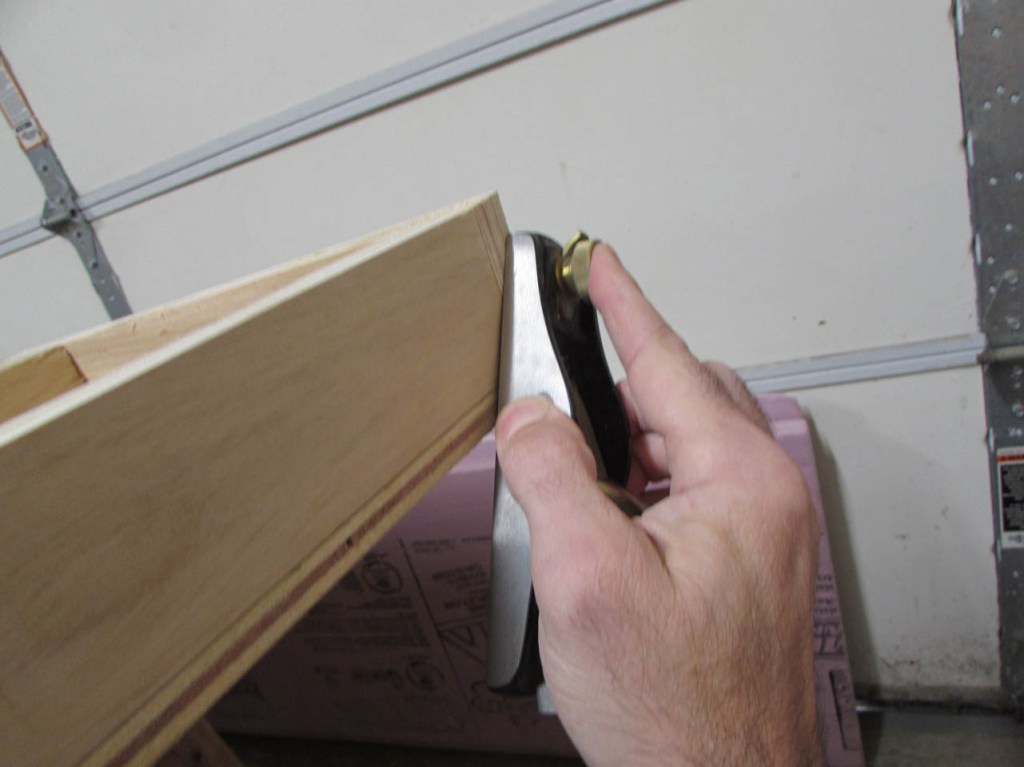
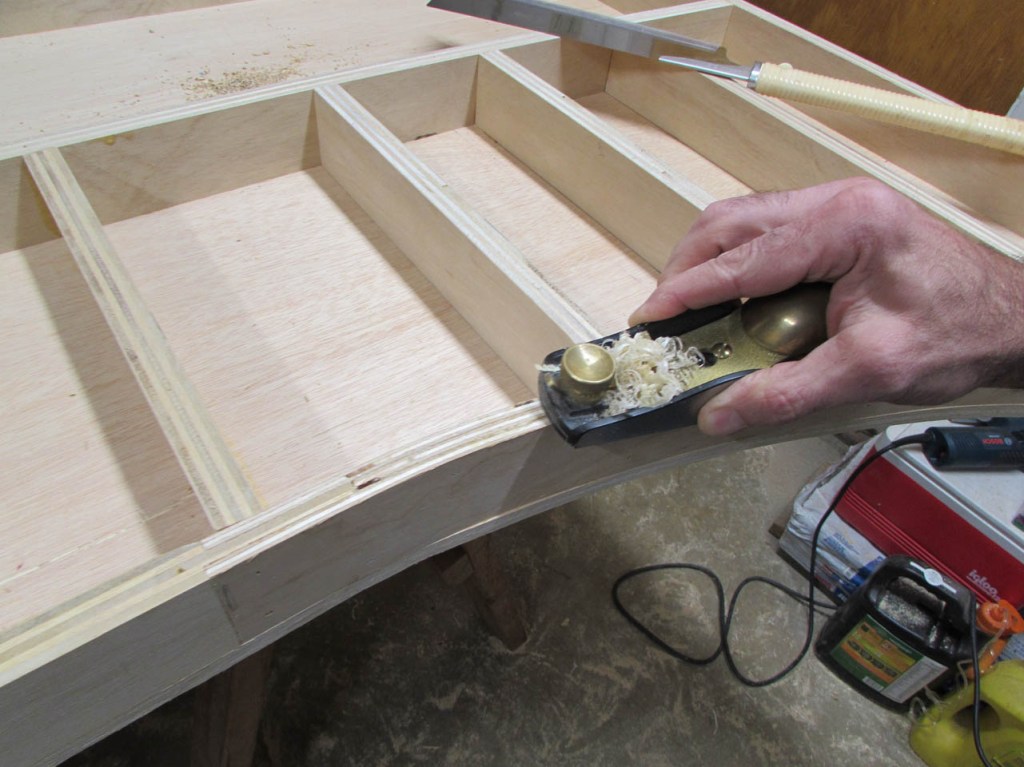
I cleaned all the joints and edges up with my block plane.


Then just a little bit of sanding and I have an acceptable curve.
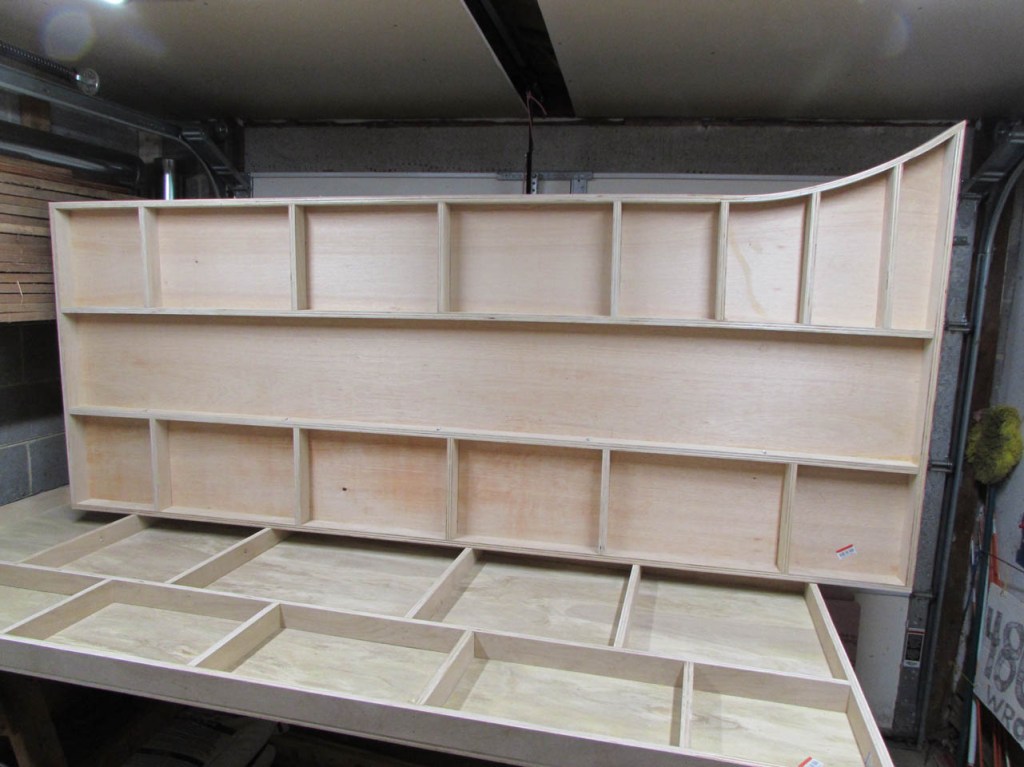
The next day, I repeated the process on the mirror opposite top.
Hopefully, with the use of the new brad nailer, this one will go smoother.
I took my time and carefully laminated each layer. The new nailer worked really well.


With some more creative clamping, the curve came together very nicely.
After several hours, I planed and sanded this one as well. In hind-sight, it may have been smarter to move the splice down to the next rib, on the flat section. There would have been a lot less stress on the joint and it may have made everything a lot easier. Oh well, maybe on the next table…

Five tops down, and five more to go.

