
Chris’s little train table – part 2

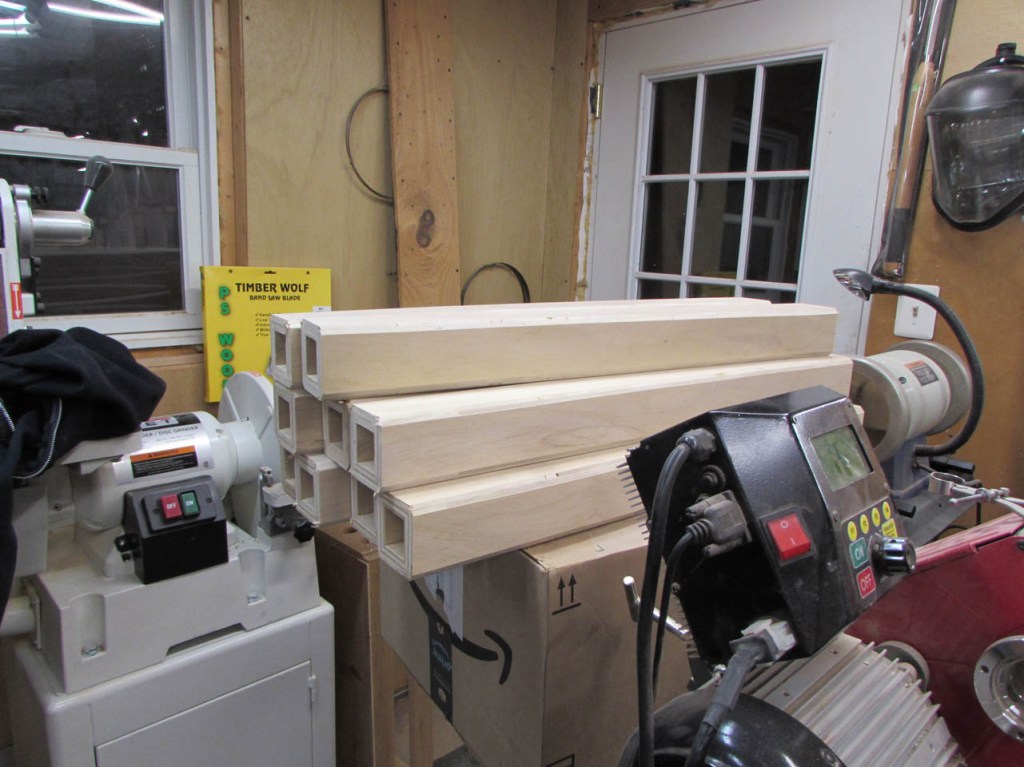
To create the under structure of the tables I am ripping 3/4″ finished plywood down to 2-1/4″ wide strips. Since the sheets are so heavy, I start by ripping them in half.
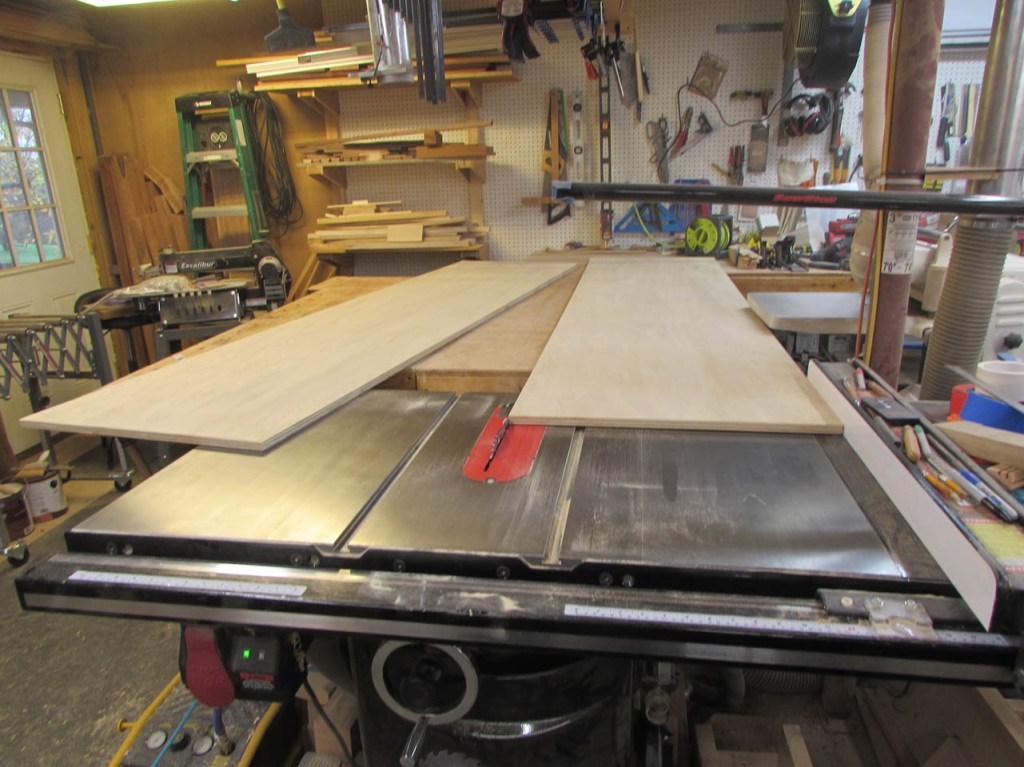
This makes it a lot easier to maneuver the boards around to cut the individual strips.

After a lot of careful cutting, I now have a large pile of strips. Hopefully I estimated correctly or I will have just wasted a lot of plywood…
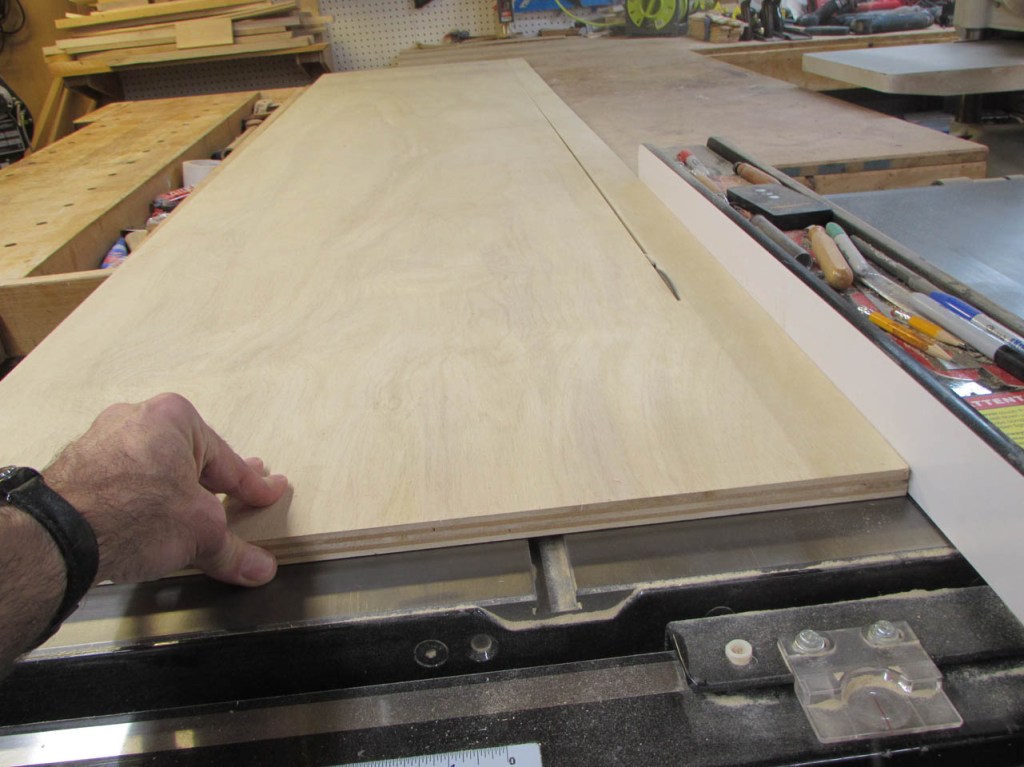
The idea behind using these as the structure comes from the micro-lam beams that are now used as structural support in houses. The wood is kiln dried to a much higher level than standard 2x4s. Also, the grain direction is alternated with each layer of the plywood preventing expansion and contraction of the wood. The glue lamination of each layer adds a lot of strength. If I construct the structure correctly and glue everything together, the tops should be flat and very stable.

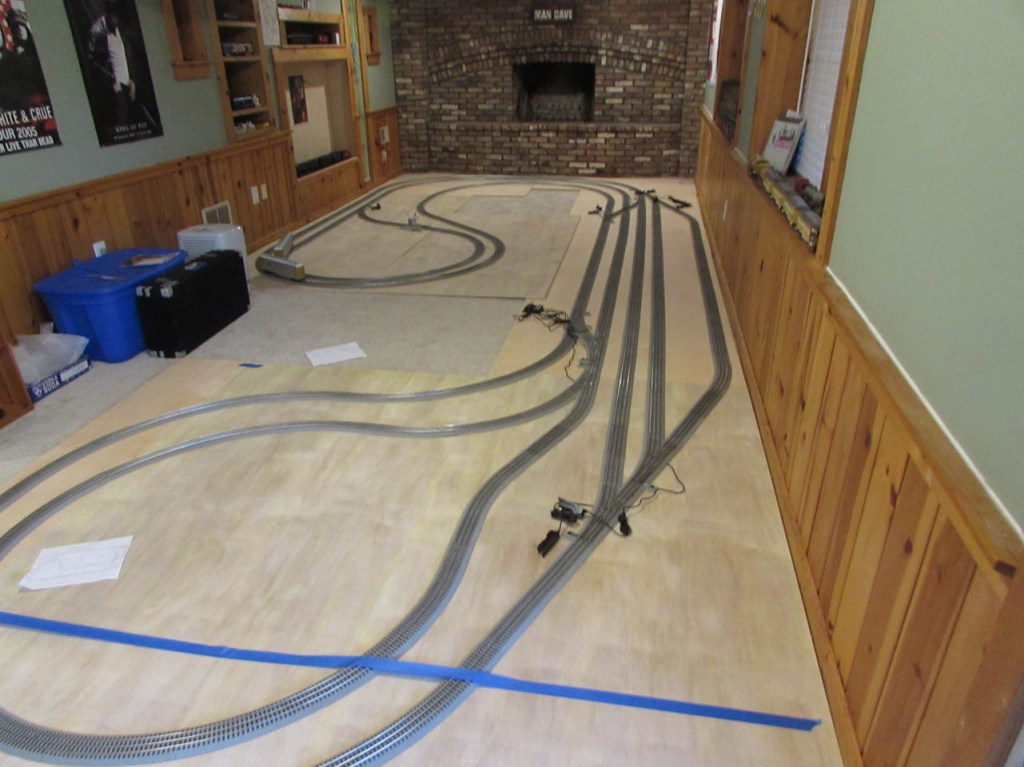
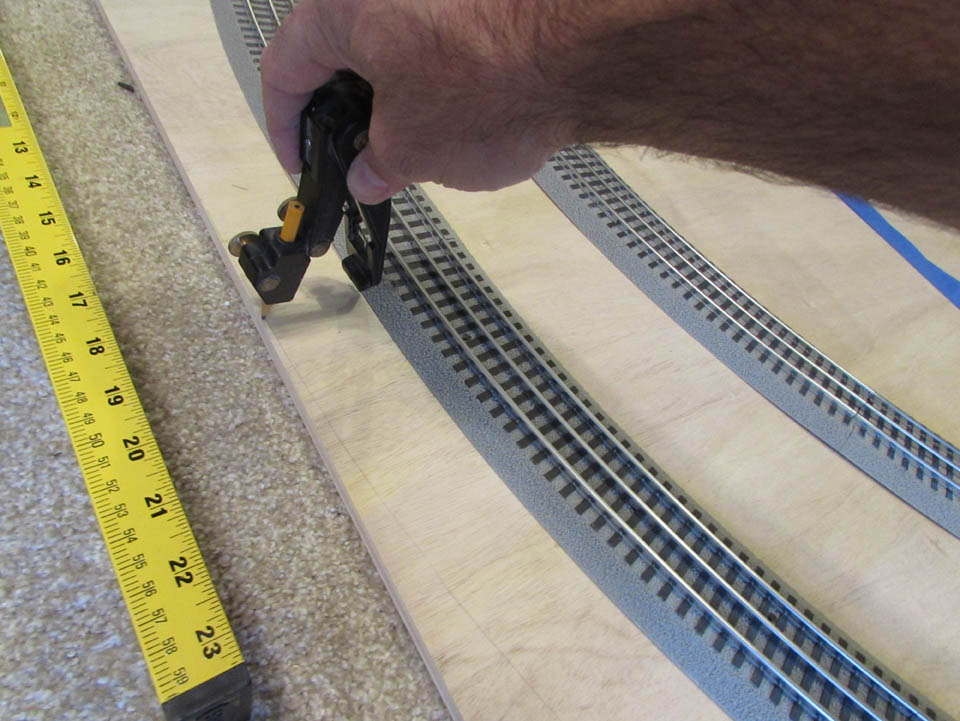
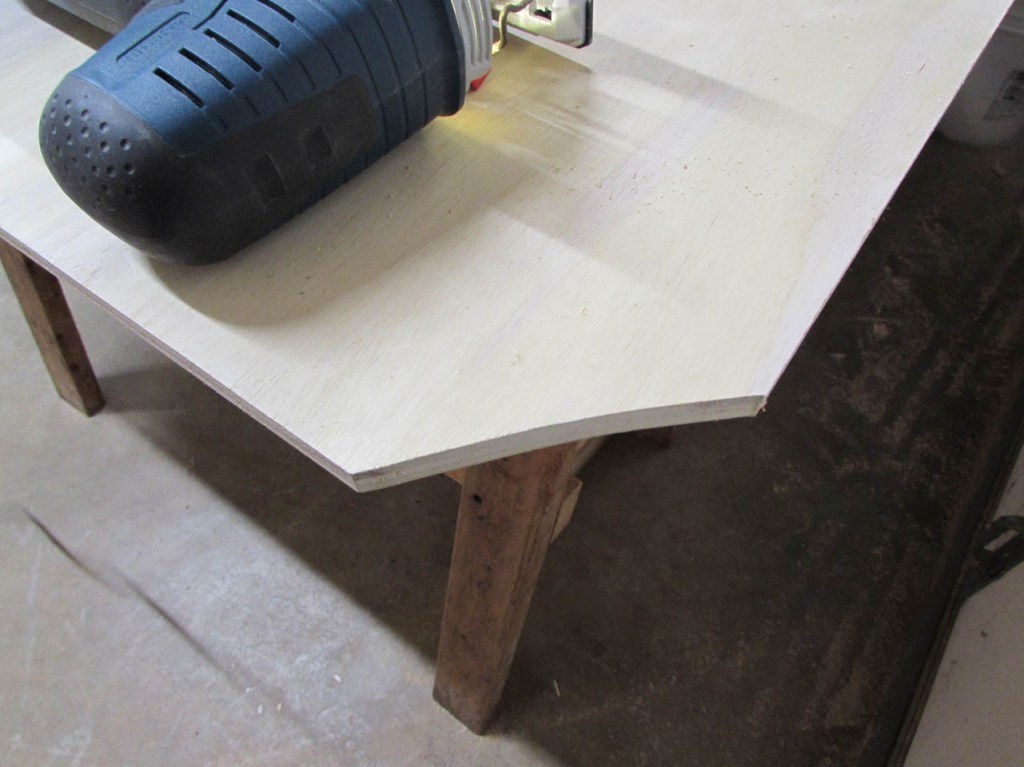
Chris has finished making his adjustments to the track layout. He even managed to add 10″ to the length of the shorter loop. Before I move anything, I need to mark the outer edge of the train table. This dimension is determined by the one of Chris’ trains that cantilevers out past the tracks the most, while going around curves. We cannot have the train hitting a wall or a person. After determining the dimensions required, I set my compass to the necessary width (about 1-1/2″), then scribe along the track where we want to cut away the excess. As you see in the picture above, if we did not cut some of it away, you would not be able to reach the far side of the tracks.
While I was here, I brought my first leg and did a test fit against the wall to make sure the top of the table would be at the correct height.

Back at the shop, I did a quick preliminary layout of the structure. This was mainly to figure out where to start laying out the legs. I want them to be in at least 12″ from the edge so that there is more support in towards the middle then keeping them at the edges. I also did not want anyone kicking them if they got too close. I am sure some of this will change as I figure out what I am doing with the curves.


I am starting with the largest, and possibly the easiest one. It remains an entire piece of plywood except one small corner.

I use my jigsaw, with a “clean” wood blade, to cut the curve.
I was amazed at how clean the cut really was.

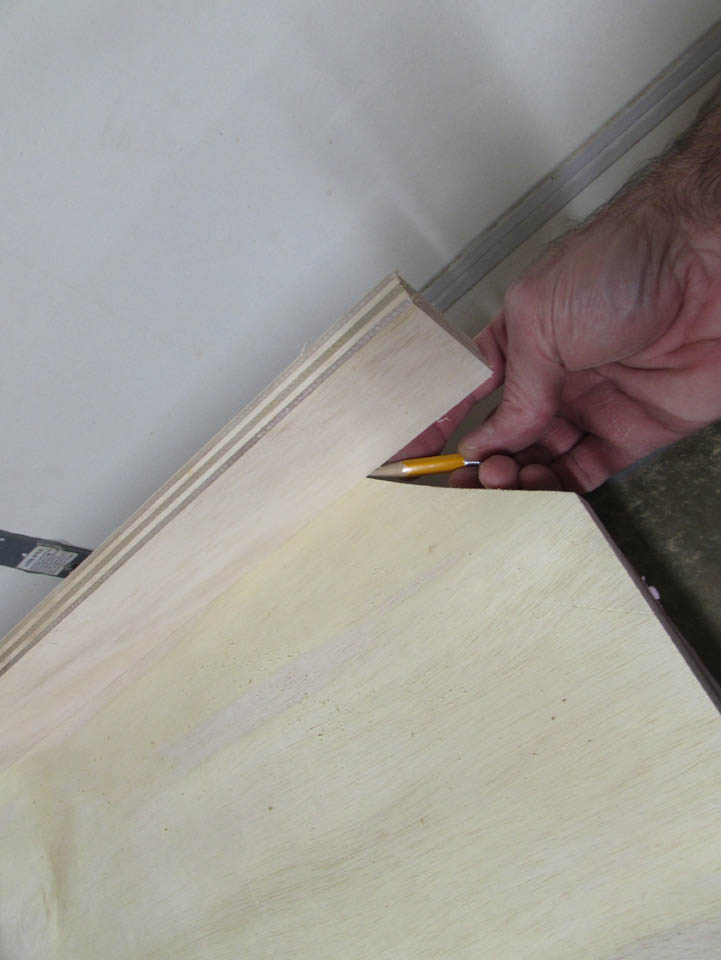
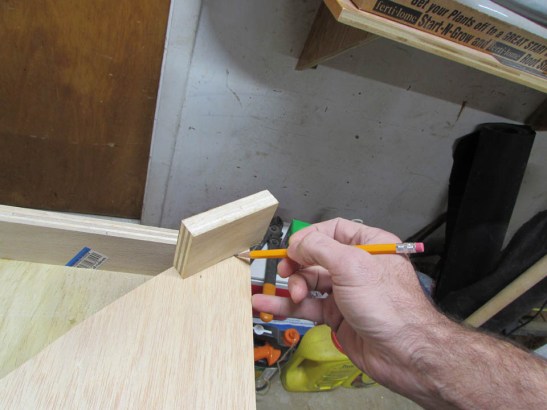
I laid out my edge piece and marked the angle to cut.

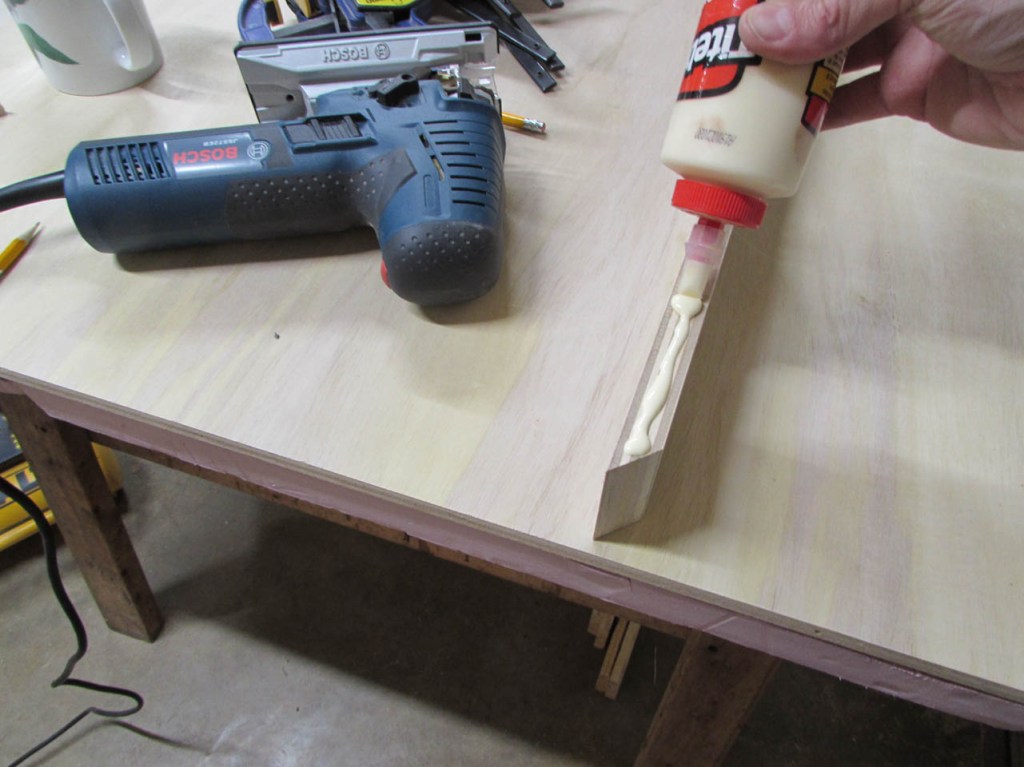
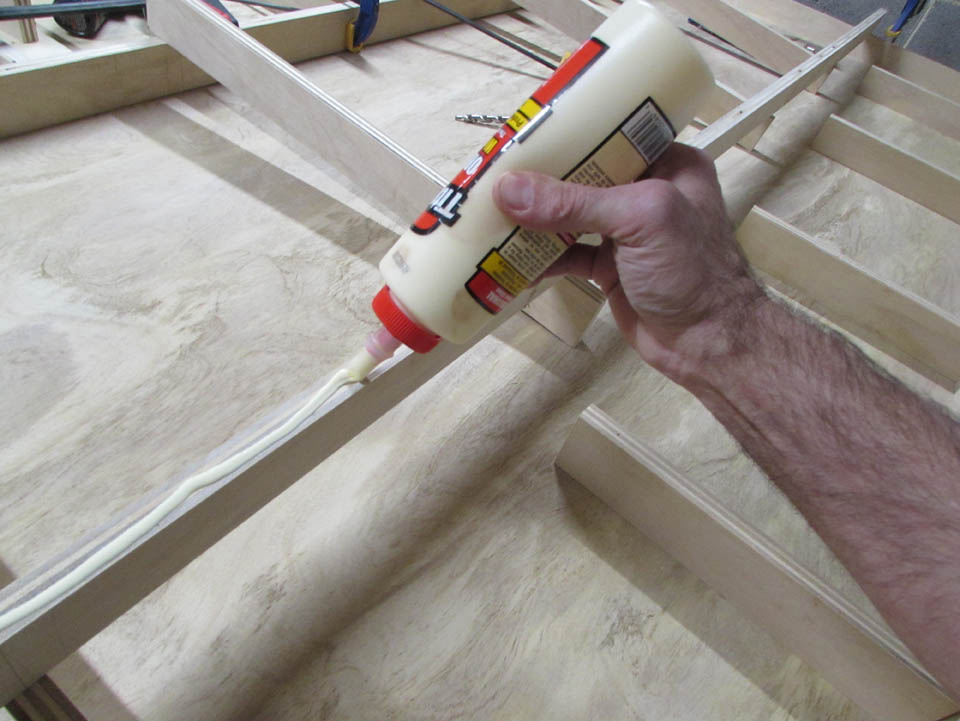
I applied glue and clamped it along the edge of the plywood, leaving 3/4″ at the end to attach the curved piece.

Instead of waiting for the glue to dry, I placed an 18 gauge brad nail every 6″ along the edge and removed the clamps.


I flipped the board around and attached the far end piece the same way.


After all four sides were attached, I only had the curve to figure out. I started with cutting kerfs in some plywood, but it did a lot of cracking when I bent it. so, for this small piece, I used a solid piece of fir. I set it in place and marked the curve and the ends.


After cutting the curve on the bandsaw and the angles on the miter saw, I sanded it and set it in place. Then I attached it with glue and brad nails.

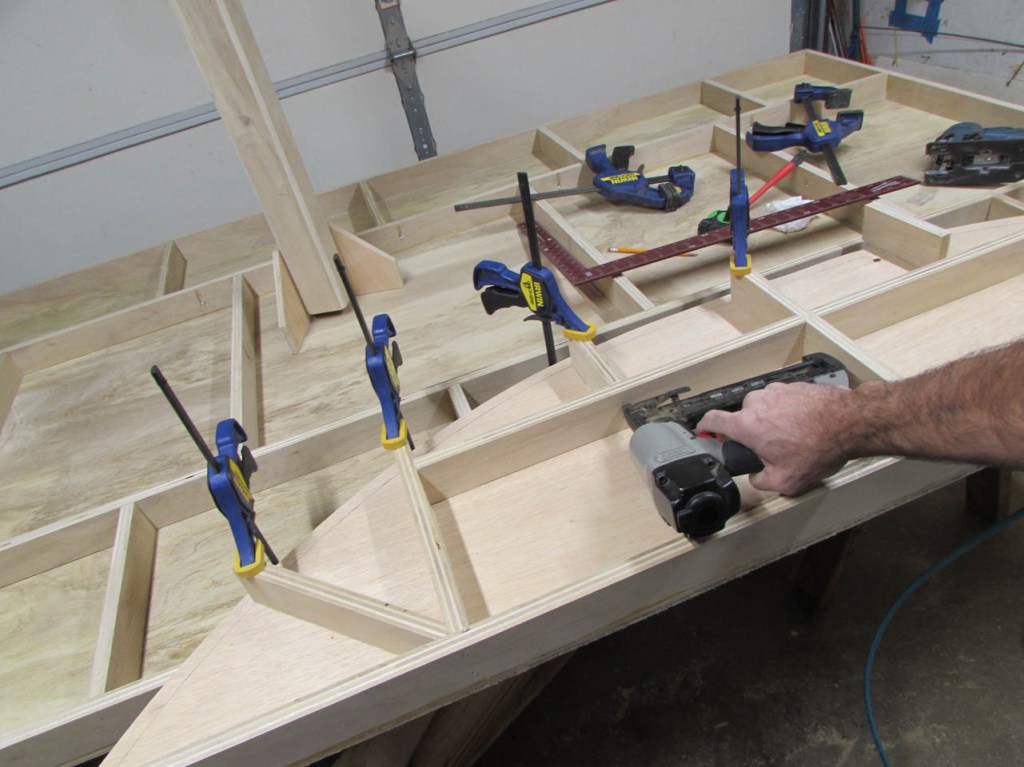
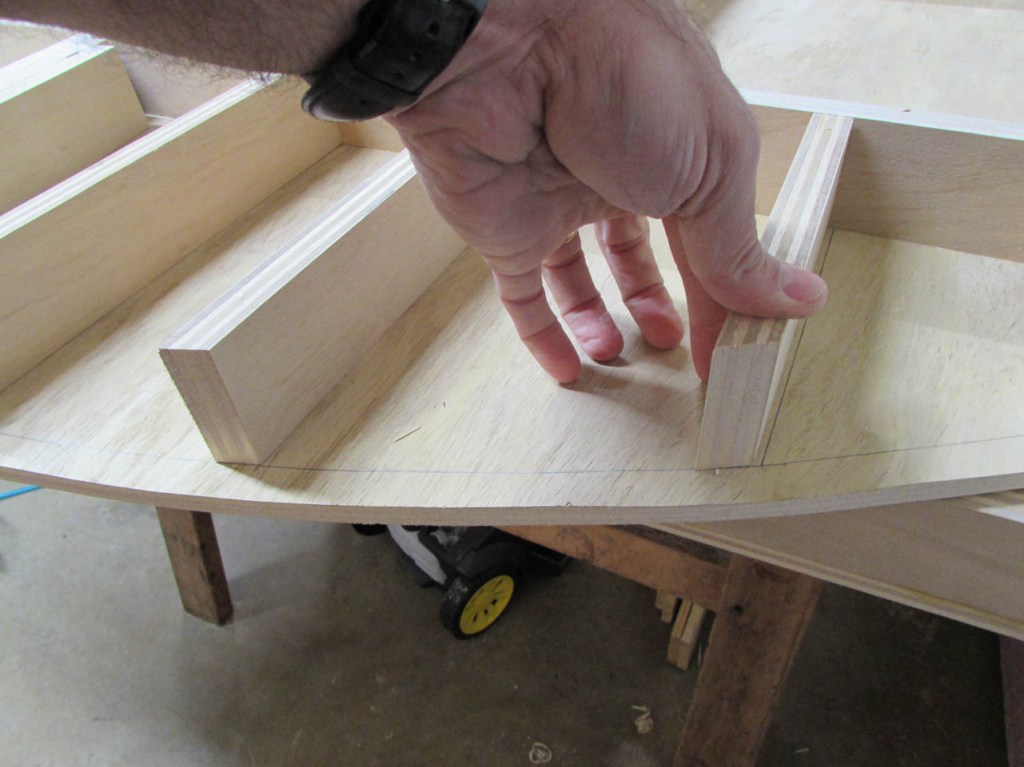
With the perimeter in place, I could start laying out the inner structure.

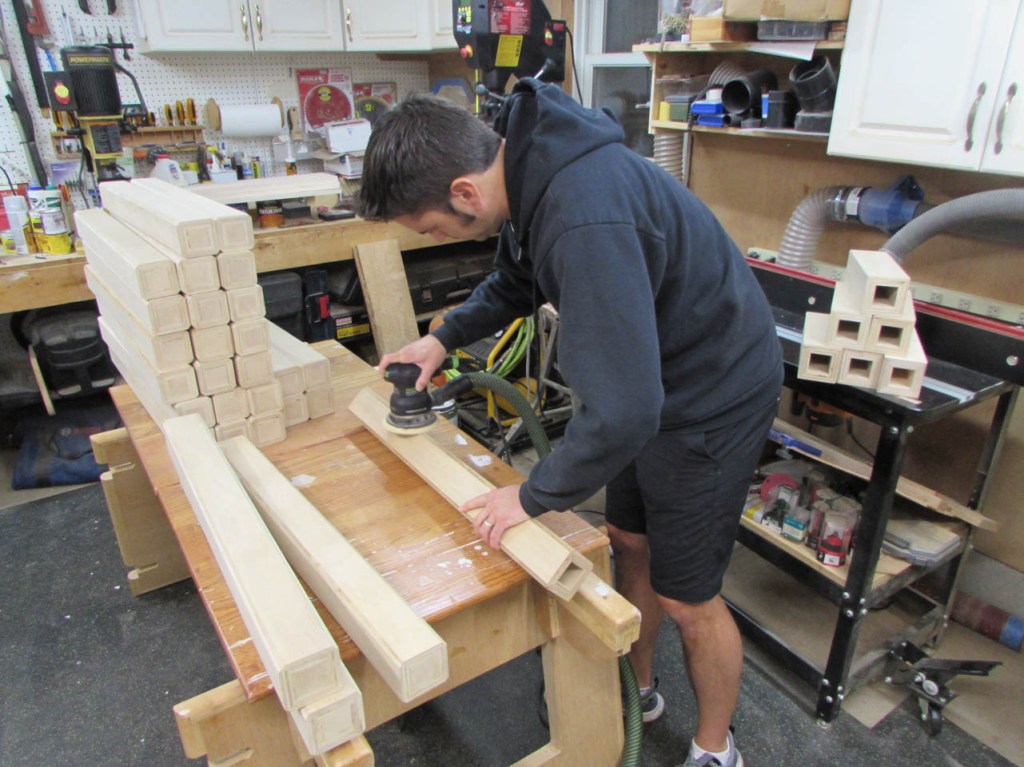
Chris came over to help so I put him in charge of sanding down the very large pile of legs.

Since I don’t have X-ray vision, I don’t really want to brad nail the ribs from below so I experimented with my pocket hole jig until I had a setting that would work for attaching 3/4″ plywood to 1/2″ plywood.

Once that was figured out, I marked all the ribs to locate the pocket holes and pulled it apart to drill the pocket holes.
Apparently I forgot to take a picture of this process. Sorry, I will get it in a later post. Next, I proceeded to apply glue and relocate all of the ribs.

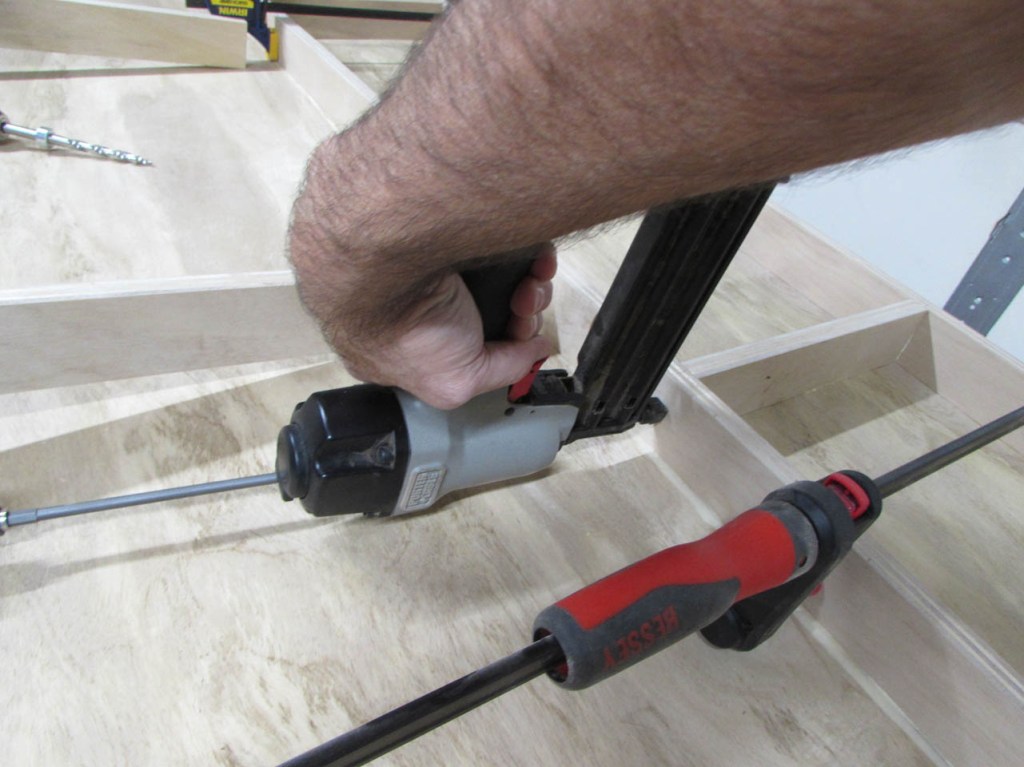
I screwed down all of the middle ribs and attached the shorter side pieces with brad nails, to the sides of the ribs.

After the first side was successfully completed, I moved on to the rest of it.

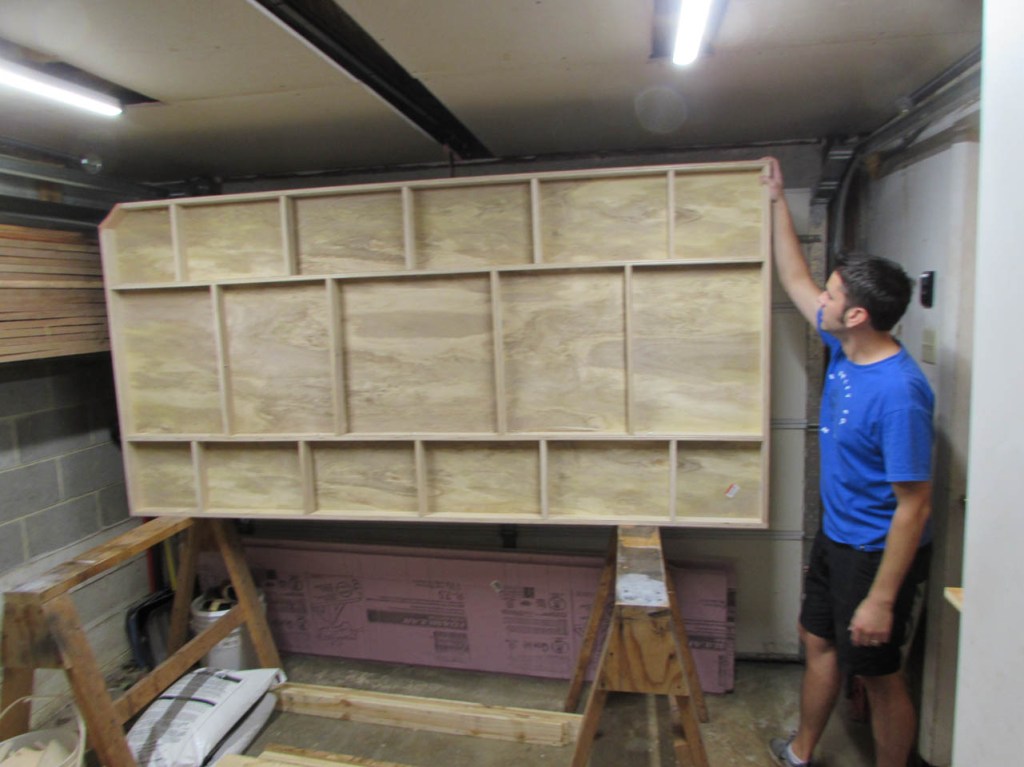
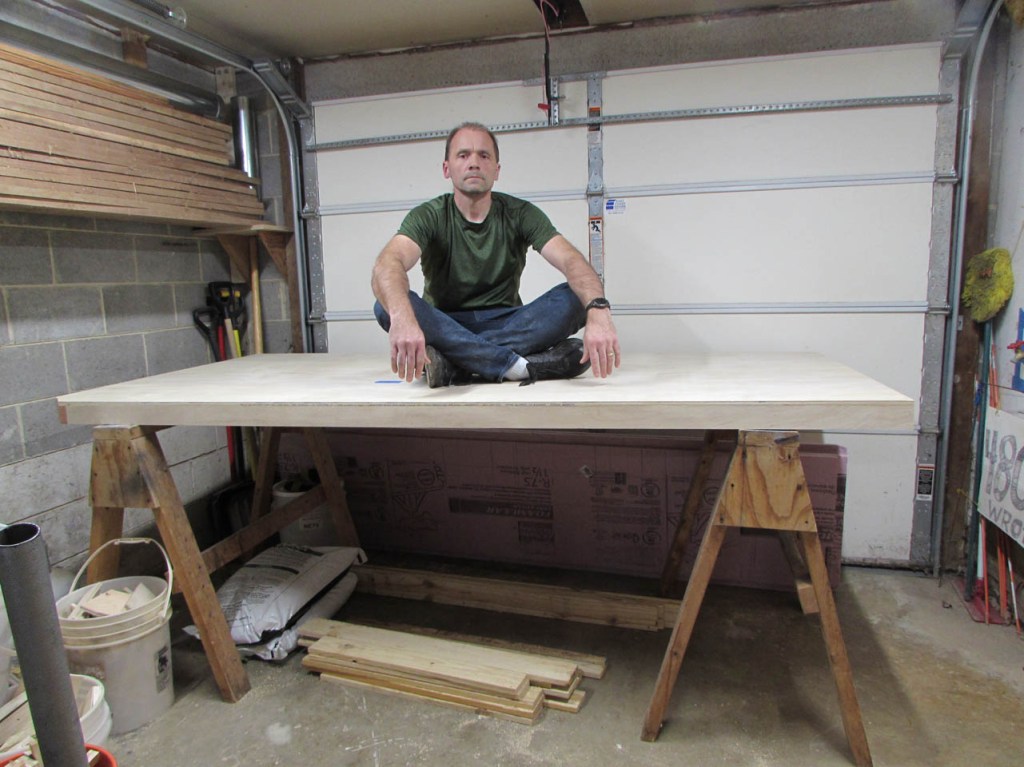
After final inspection, I did a load test. There did not seem to be any deflection, and the glue was still wet. After it dries, it should be solid.

I sent Chris back to sanding while I started playing with the next table section.

I figured I would do the small one next so that I could figure out the curve. Again, I used the jigsaw and it did a beautiful job.

I decided to lay out the structure with a pencil first. I used a scrap of plywood to mark where to start the long edge.
I spent a while on the structure and brad nailed it all in place since it was small enough to eyeball the location from the back side.
I still wasn’t sure what method to use to create the curve. I experimented for a while but finally gave up around 1:00am and went to bed. I woke up a few hours later and laid there thinking about it the rest of the night.
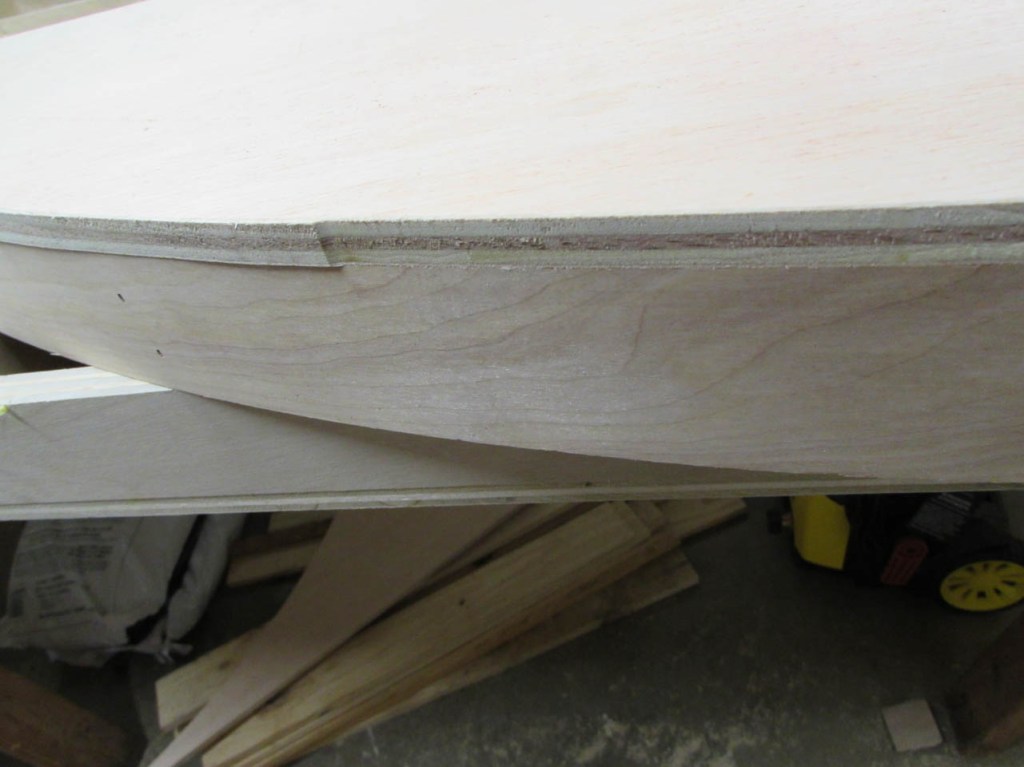
I was a little rough in the morning after only 2 hours of sleep, but I had an idea. I ripped down some pieces of 1/4″ lauan plywood, that I had in my scrap pile. Laminating 3 of them together, they easily made the bend around the curve.

I now had a plan! I applied glue to the ends of the ribs and along the curve, then started attaching the first strip with a single 3/4″ brad nail in the center of each rib.
I used a roller to coat the next strip of plywood and attached it to the first, using spring clamps along the curve and additional brad nails at the ribs.

Then the third layer was added in a similar fashion, except this time I used 1-1/4″ brad nails in shifted locations so they would not hit brad nails below. I clamped the edges tightly down to the top and let it dry for a couple of hours.


After pulling the clamps, I used a razor saw to trim away the excess at the ends.

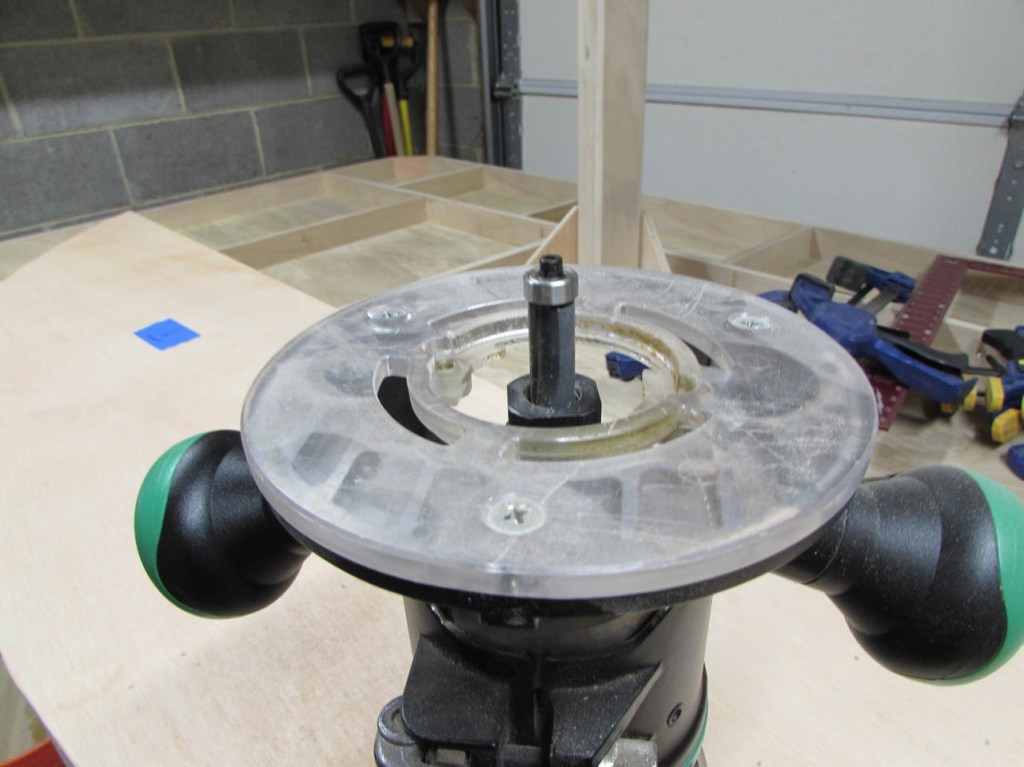
My curve wasn’t perfect, I needed to add more ribs, but it was only slightly off so I set up my flush-trim bit in my router, and ran it along the edge of the 1/2″ plywood top.

This flushed up the edge nicely. Then I sanded it to clean it up a bit.

Only a few slight problems, but I now know how to deal with them.

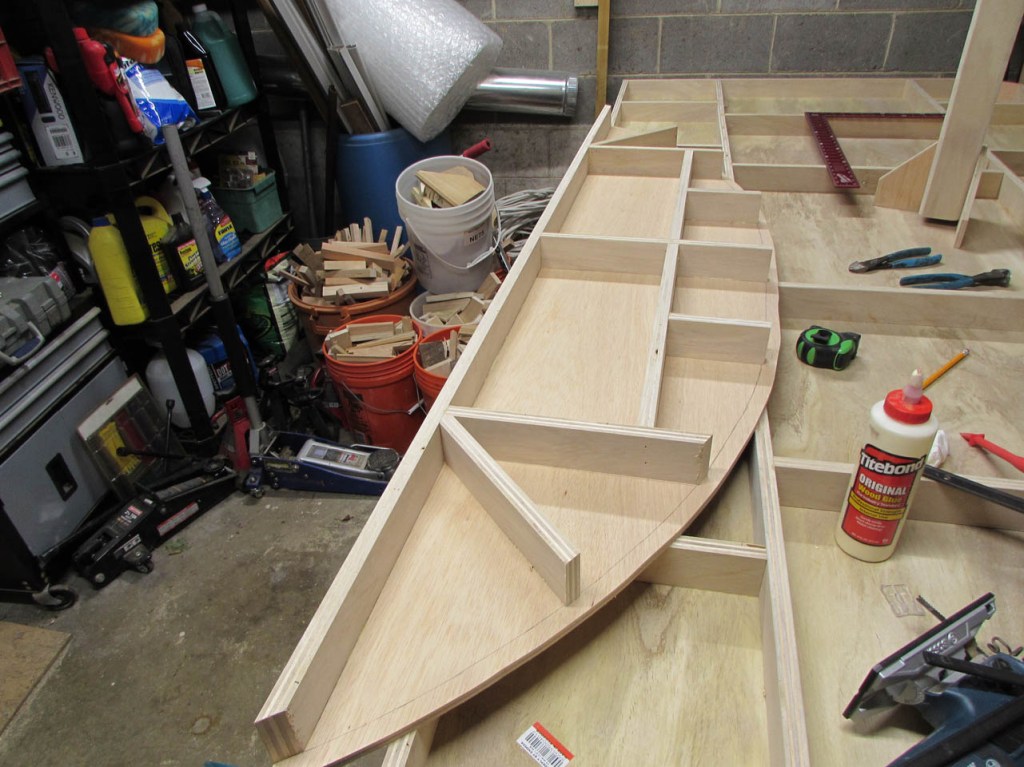
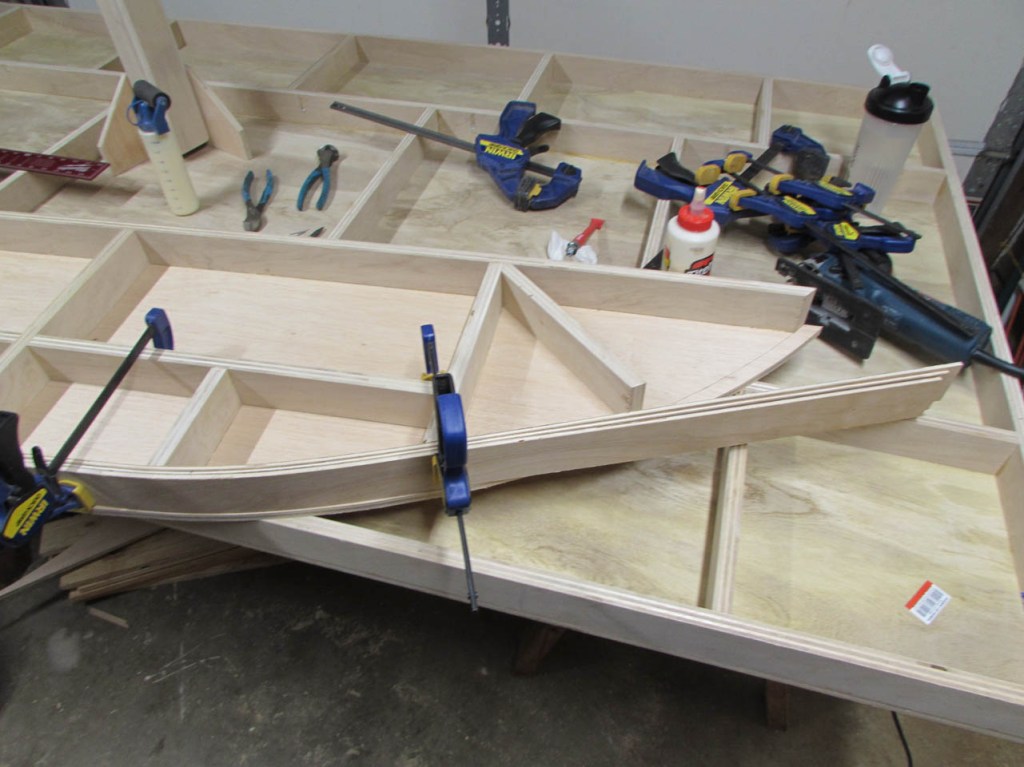
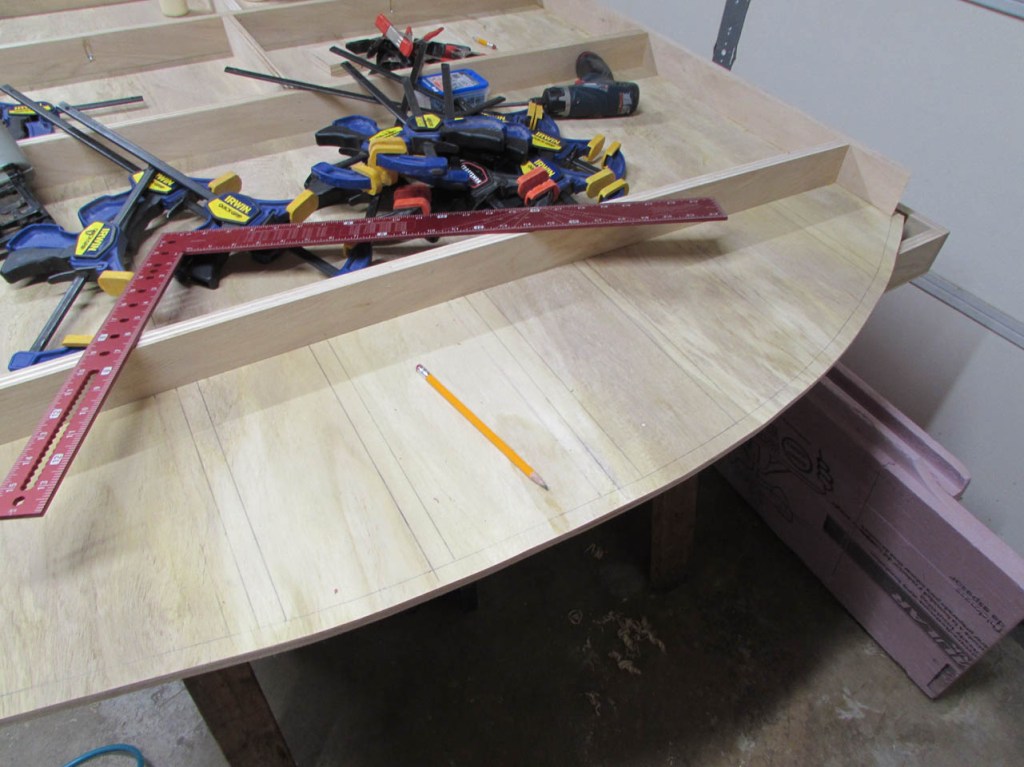
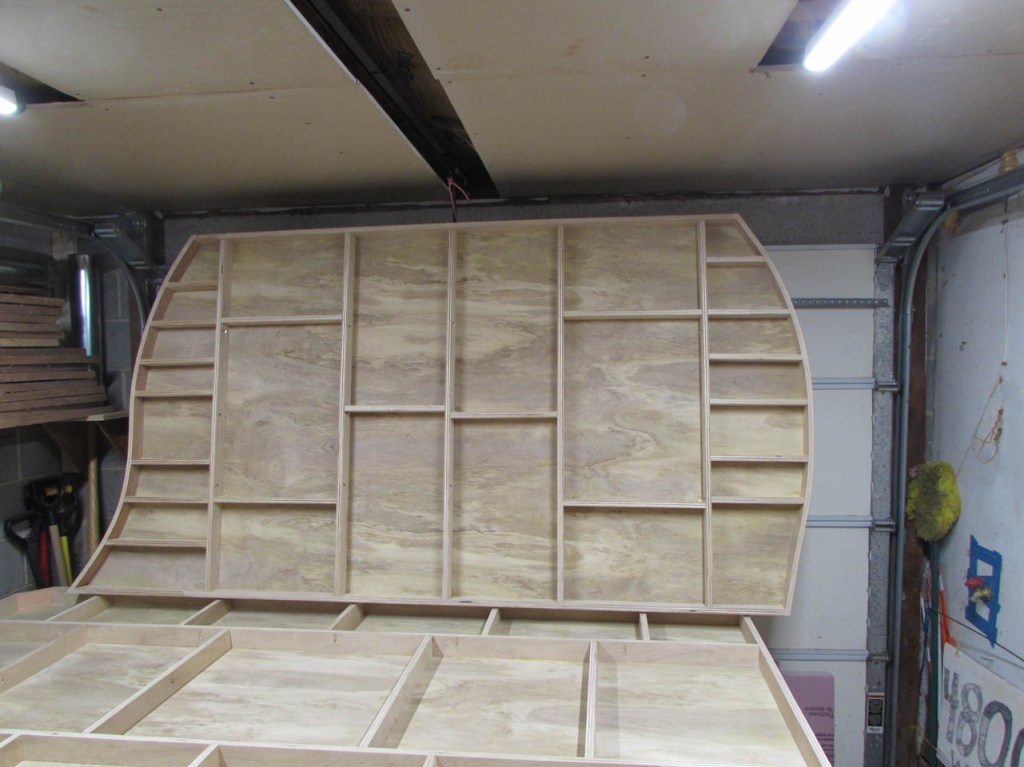
I decided to move on to a more complicated top next and finish out the 3 end pieces. This one has curves on both sides.

Since this one is attached between two others, I reasoned that that would really strengthen the long sides so I made all my main structure run from front to back.

I spent a lot of time figuring out the first curvy side and apparently forgot to take any pictures, but I fully documented the second side. Also, I found that my block plane (properly sharpened) cleans up the glue squeeze-out on the laminated plys nicely. Also, as you can see from the picture below, I added a lot of additional ribs to create attachment points along the curve.

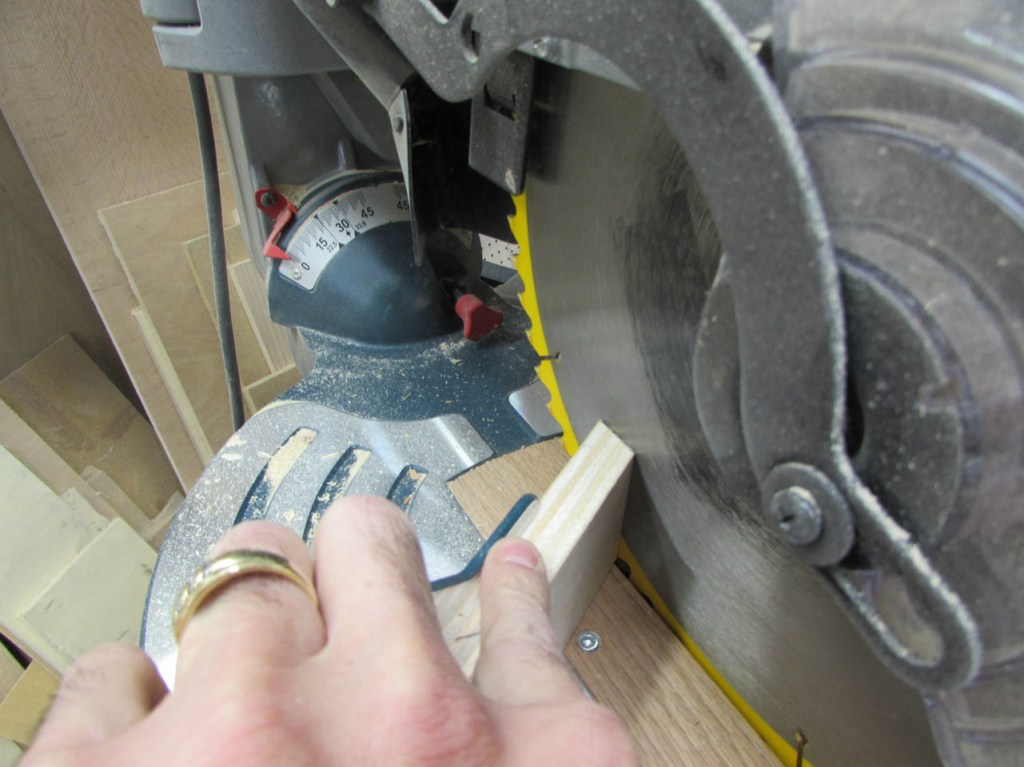
I laid out the second side in a similar fashion. I laminated together 3 pieces of lauan into a straight section with a curve at the end to trace along the edge. The three pieces of lauan plywood are about 1/8″ thinner than the 3/4″ plywood and I needed a mark to get the exact length of the ribs. Once the location of each rib was established, I made a list of cut lengths by adding 1/2″ to the length of each rib.

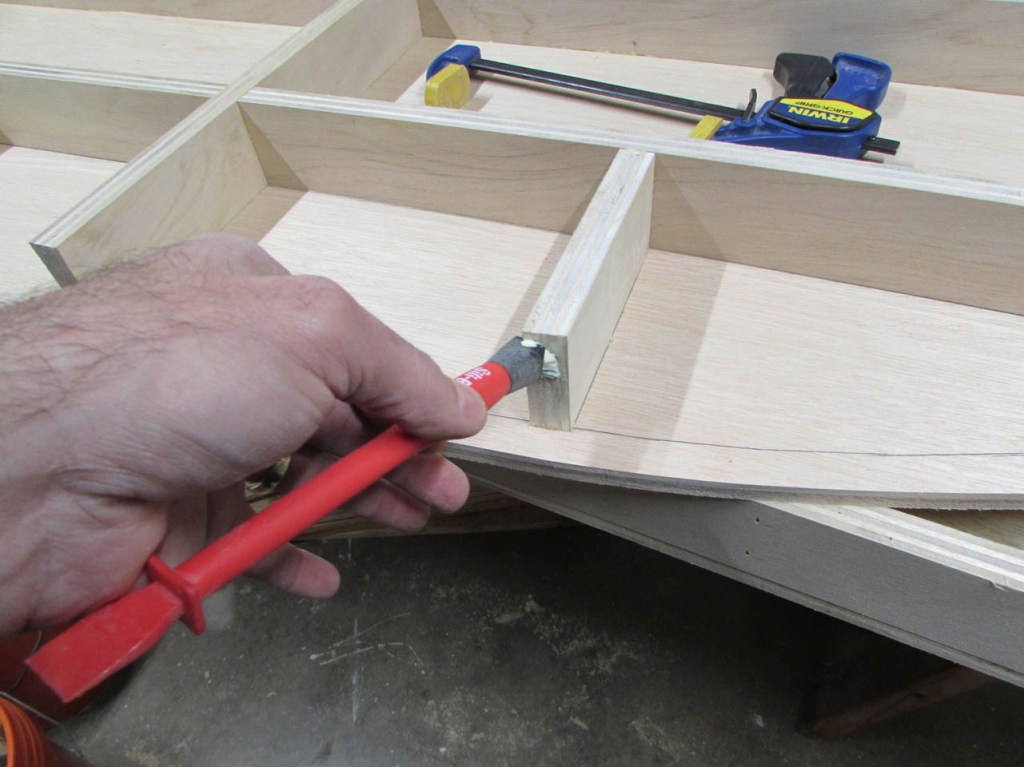
Next, I took each rib and marked where it met the curve on each side, then flipped the board over and connected the two points, creating the cut angle for the end of the board.
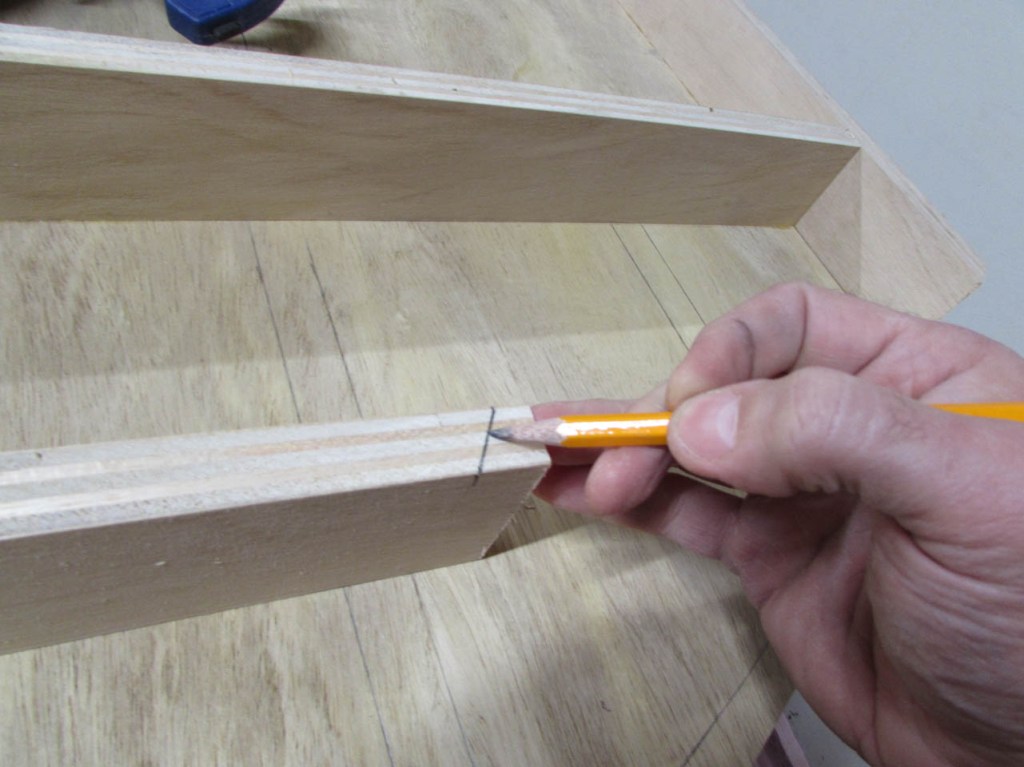
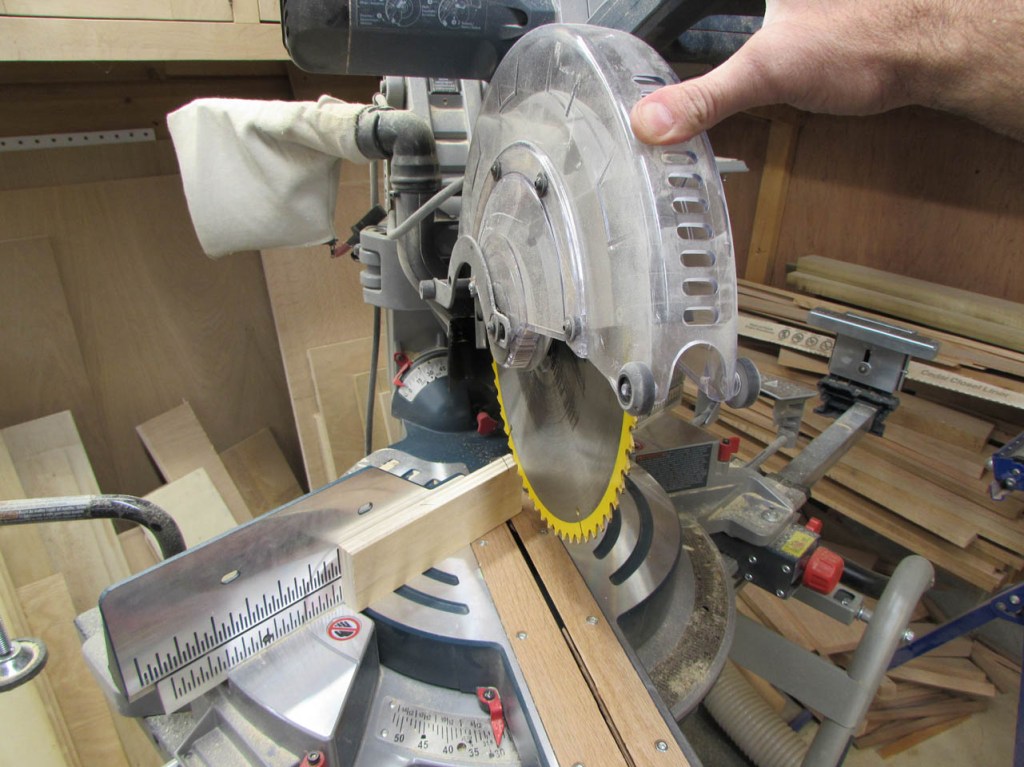
I carefully adjusted the miter saw to align with my mark and cut it.
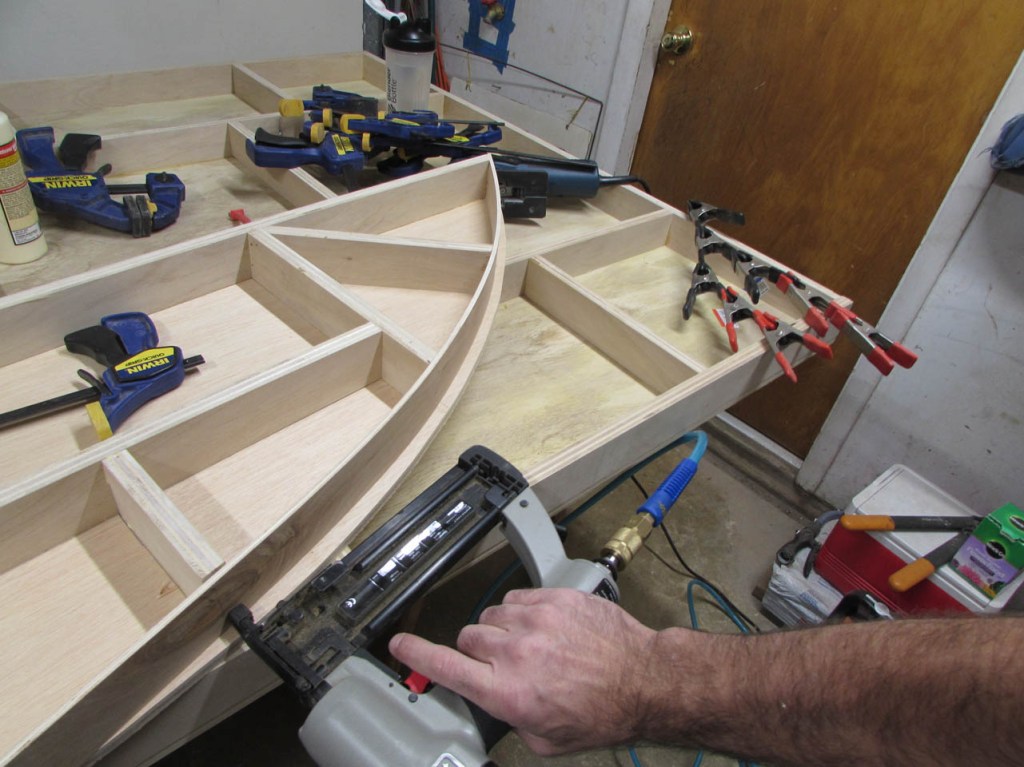
I applied glue to each rib and clamped it in place, then attached the rib with brad nails.

Then I repeated the process of attaching the laminations of lauan plywood.

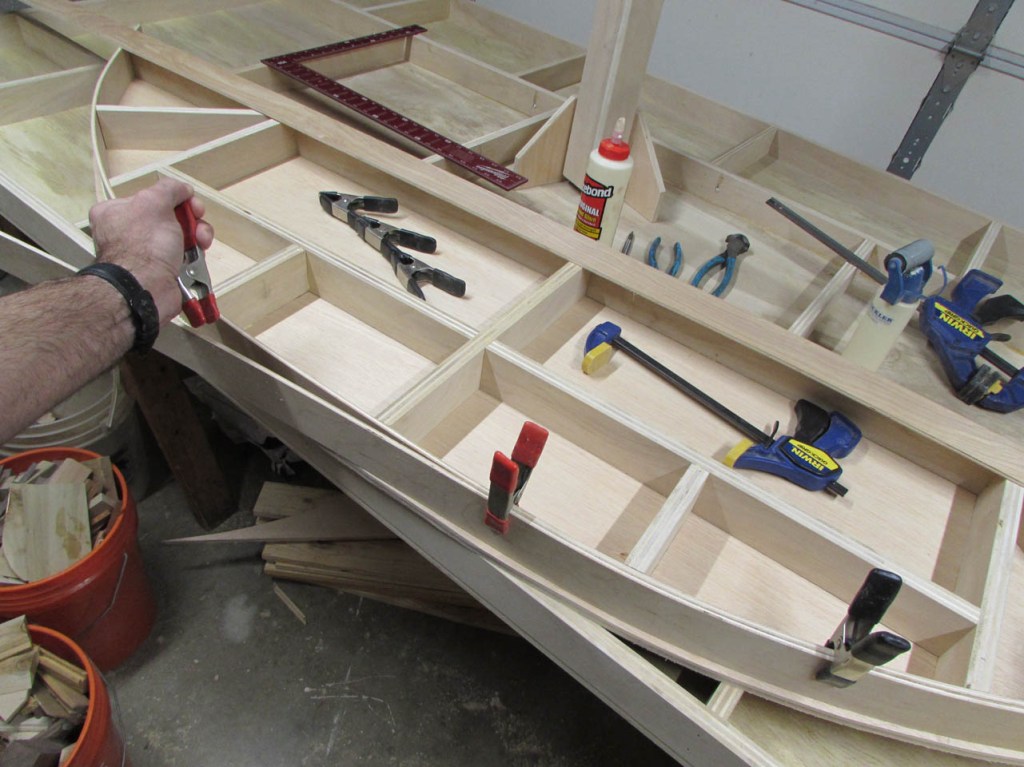
I used a lot of clamps to make sure I followed the edge as closely as possible.

When dry, I ran the router along the curved edges to make all the sides perfectly flush. Here is the final product. I have my ribs set in at 12″ for the locations of my legs, and a bunch of ribs to make the curve smooth.

My wife dropped in and wanted to help so I showed her how the gussets needed to be attached.


We started by standing the post on a 1″ block to get the desired height, then lined up the gussets.
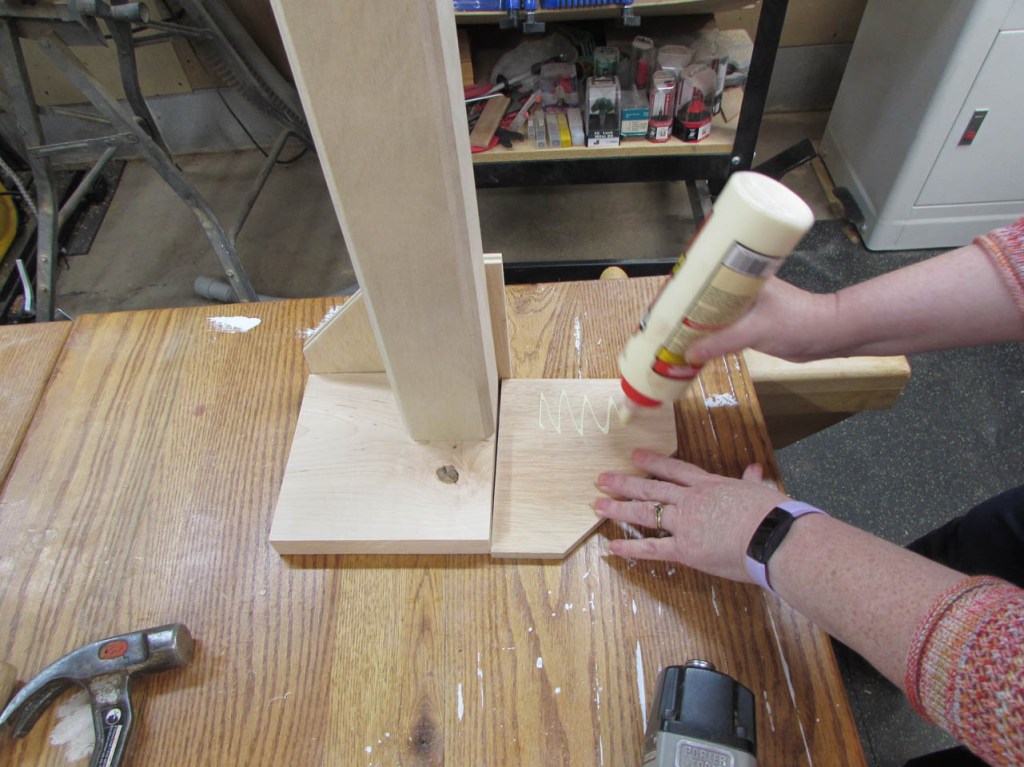
Once she could see where the glue needed to be applied, she spread on the glue and I attached the gusset with some 3/4″ brad nails.

We worked on them for about an hour and got them knocked out.

Chris came by as we were finishing up for the day to take the legs home with him and start applying polyurethane to them. We are going to use Minwax oil-based semi-gloss polyurethane and hope for a nice golden color.


This is just amazing brings Train bench work to a whole new level.