Chris’s little train table – part 1
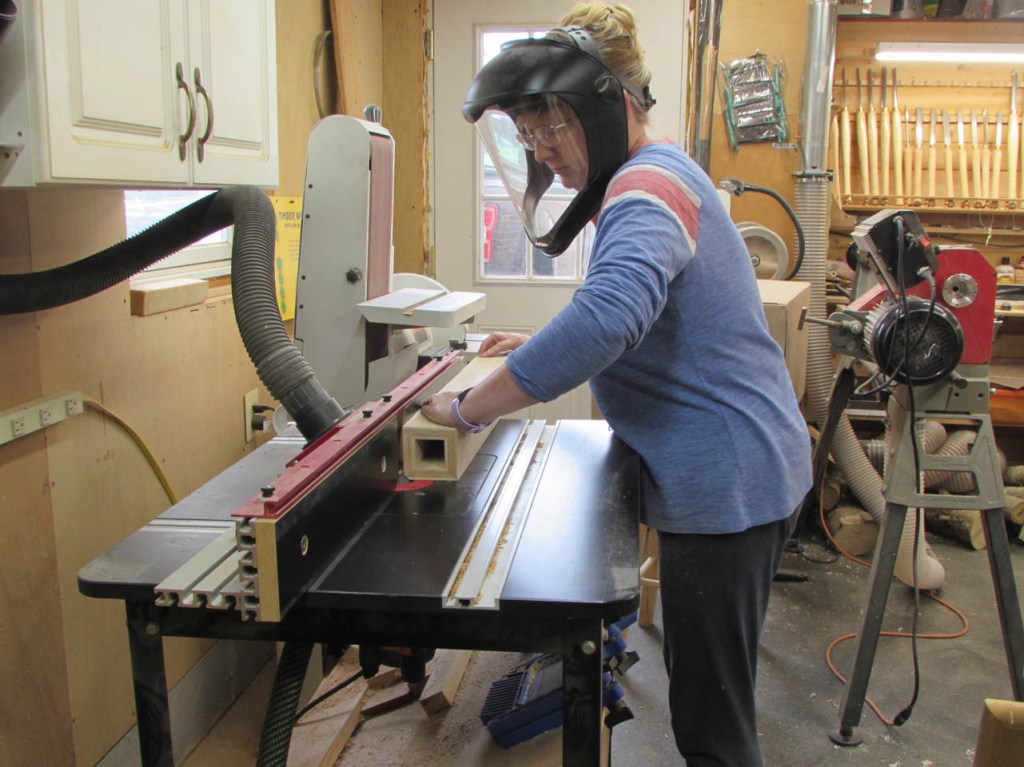
Welcome to the Man Cave.
My friend Chris asked me to help him build a train table. I wasn’t entirely sure what the scope of the project was, but I said “Sure, why not?” I had seen a couple of the tables he and his father used when they set up a train garden at Christmas time. Couple of 2×4’s and some plywood, maybe a little paint…

When I went over to Chris’ house, he had the tracks laid out in the man cave, in his basement. The entire layout was just under 12’x26′, all O-gauge track. Apparently this is just the first level… The first thing we did was go to the store to figure out what materials to use. The top is going to be 1/2″ plywood. To figure out what exactly we needed, I did an initial design and determined we would need at least nine full size sheets of plywood. I cut a few pieces down to fit around the fireplace, then laid out full sheets from there. We messed up the layout a bit so I left the plywood there for Chris to finalize the layout, then I went home to work on the legs.

The legs presented a different problem. With the COVID epidemic, a lot of the lumber mills shut down for a while and are slowly getting back up to production levels. The result of that is that standard framing lumber like 2x4s and 4x4s cost about three times what they did six months ago, due to shortages. I did some calculating and determined that I could get three legs from one 4″x4″x8′ timber. With the supply shortages, the quality was even worse than normal and a single post cost $16. That means each leg would cost $5.33 each. A Sheet of 3/4″ finished plywood was only about $40. If I was careful with my cuts, I could make 14 legs from each sheet. That would only cost $2.85 per leg. Of course there would be a bit more labor involved, but when you are on a budget and you can get a much nicer looking product, it seemed like a good idea.
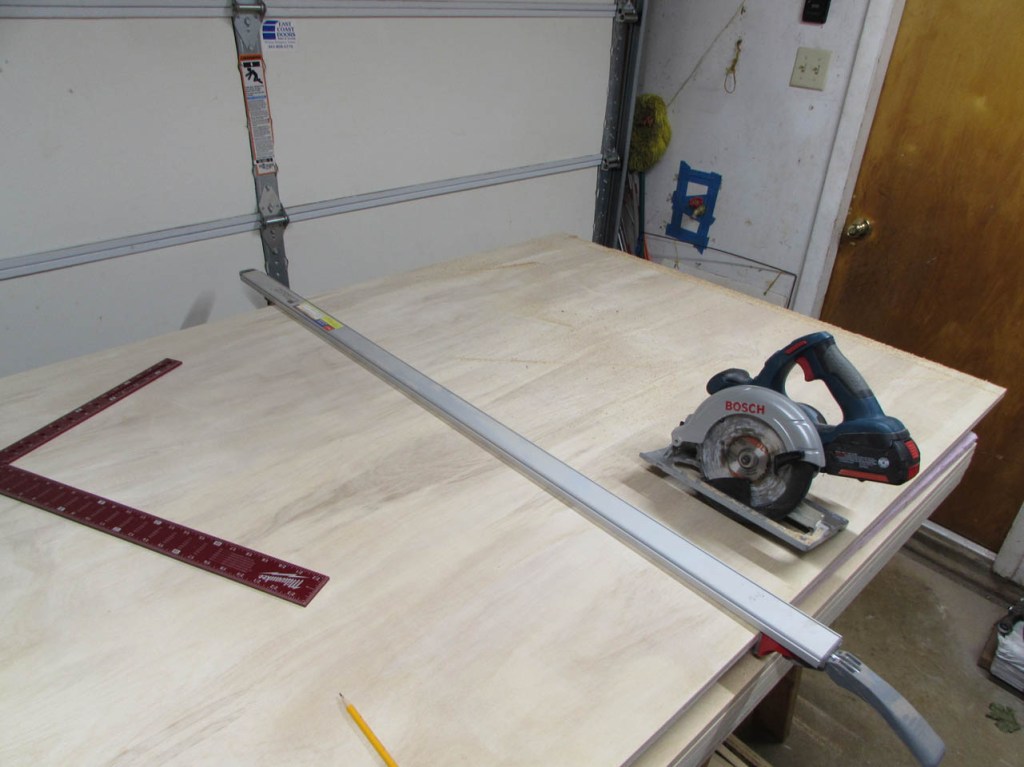
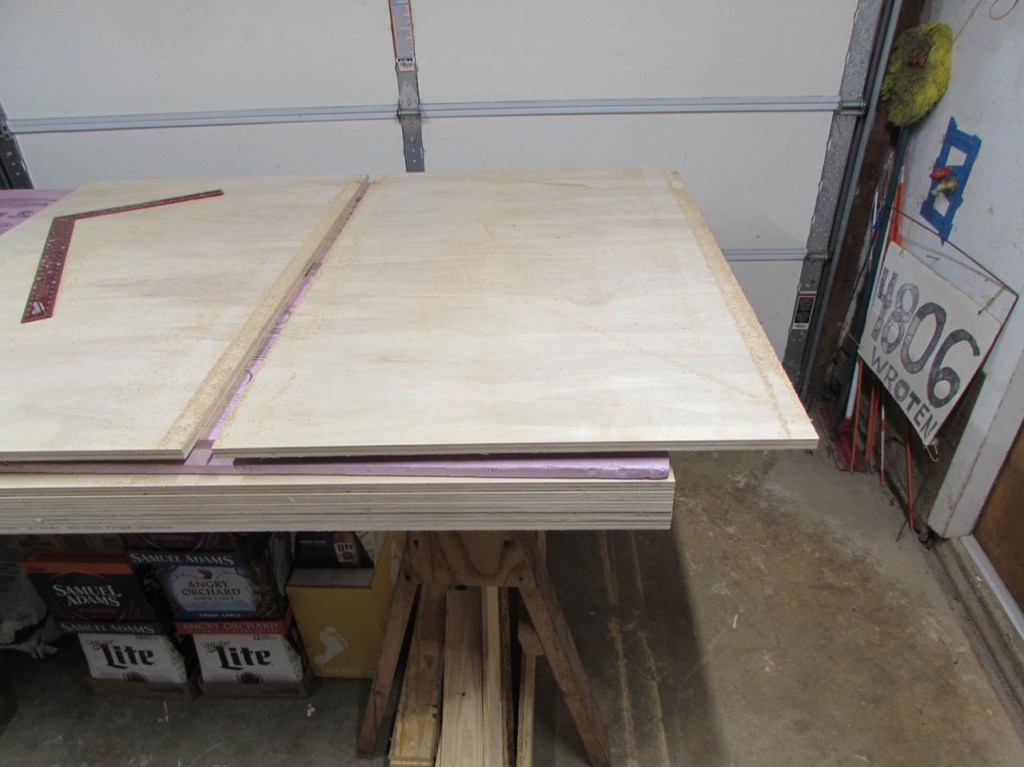
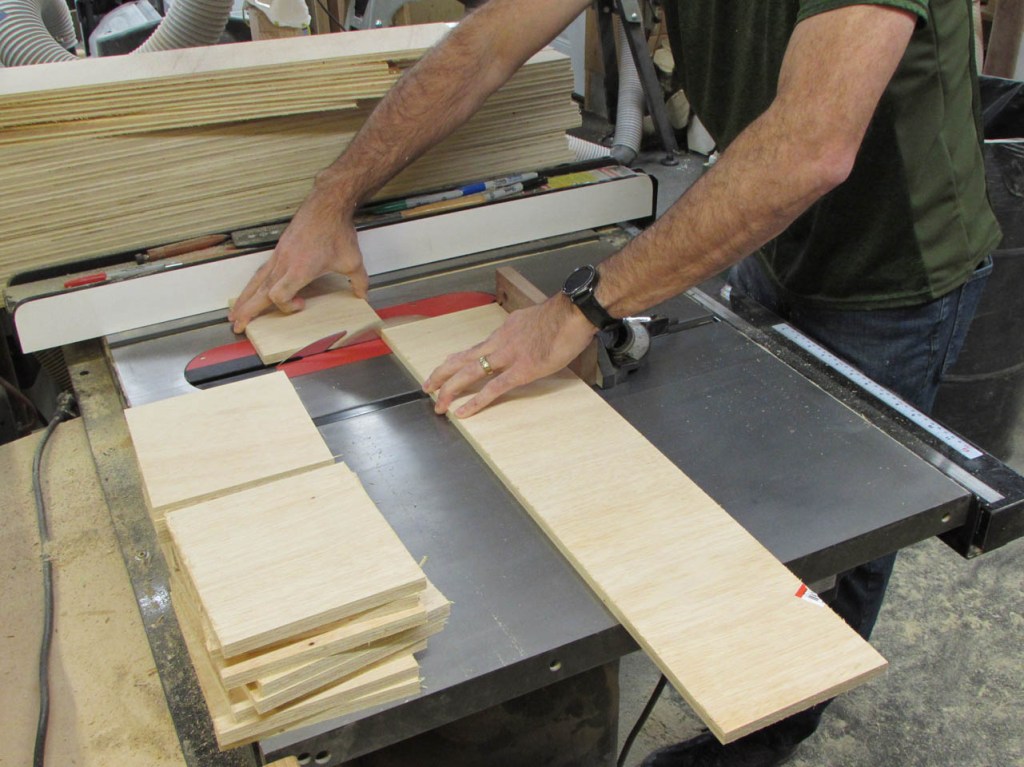
I started by cutting two sheets of plywood down to 32″ lengths with a straight edge and a circular saw.

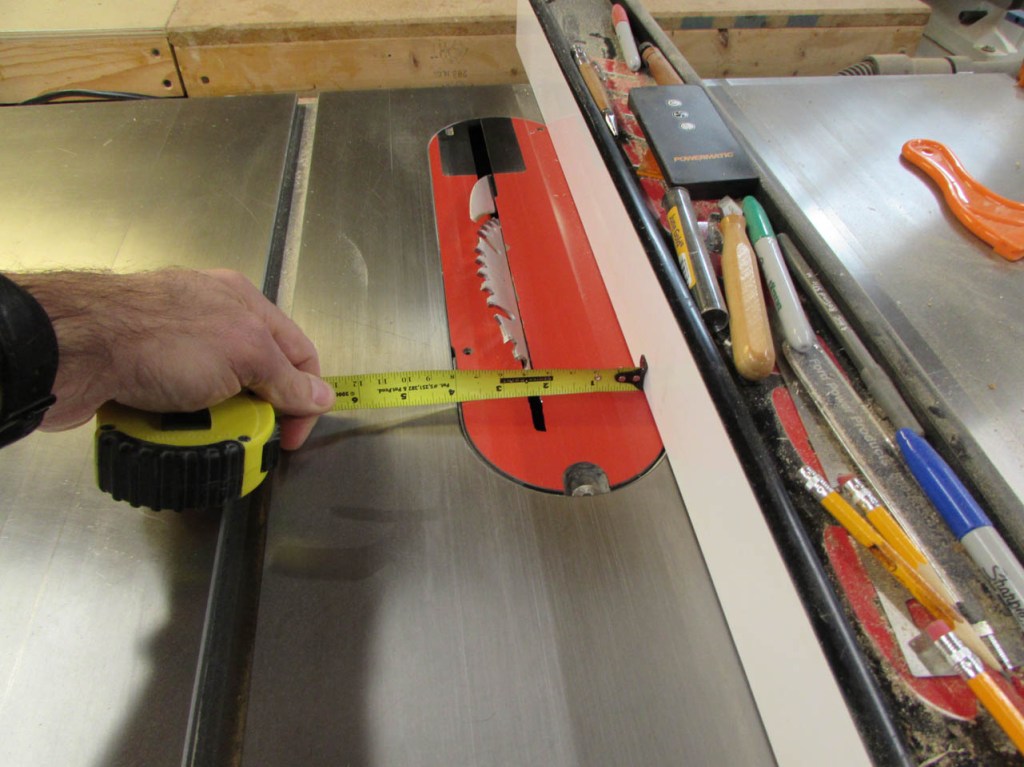
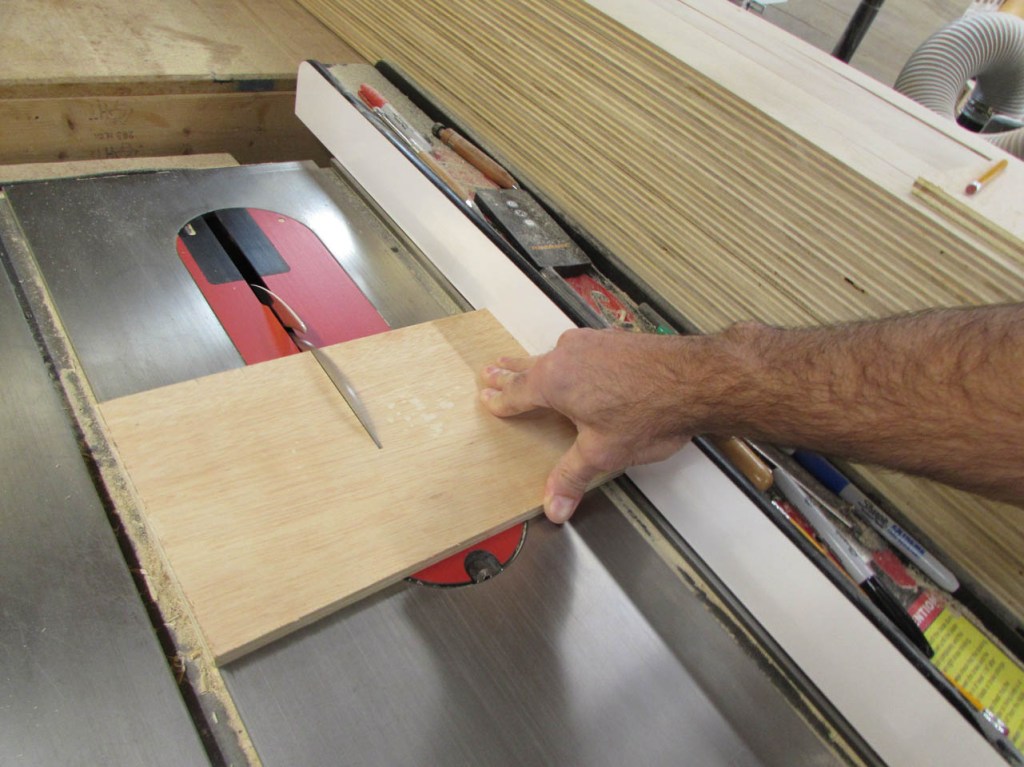
Once cut, I set the table saw blade to 45° and the fence to 2-5/16″

I ripped the first piece, then flipped it around and cut the opposite side as well. This gave me the first 3″ wide face of leg #1.

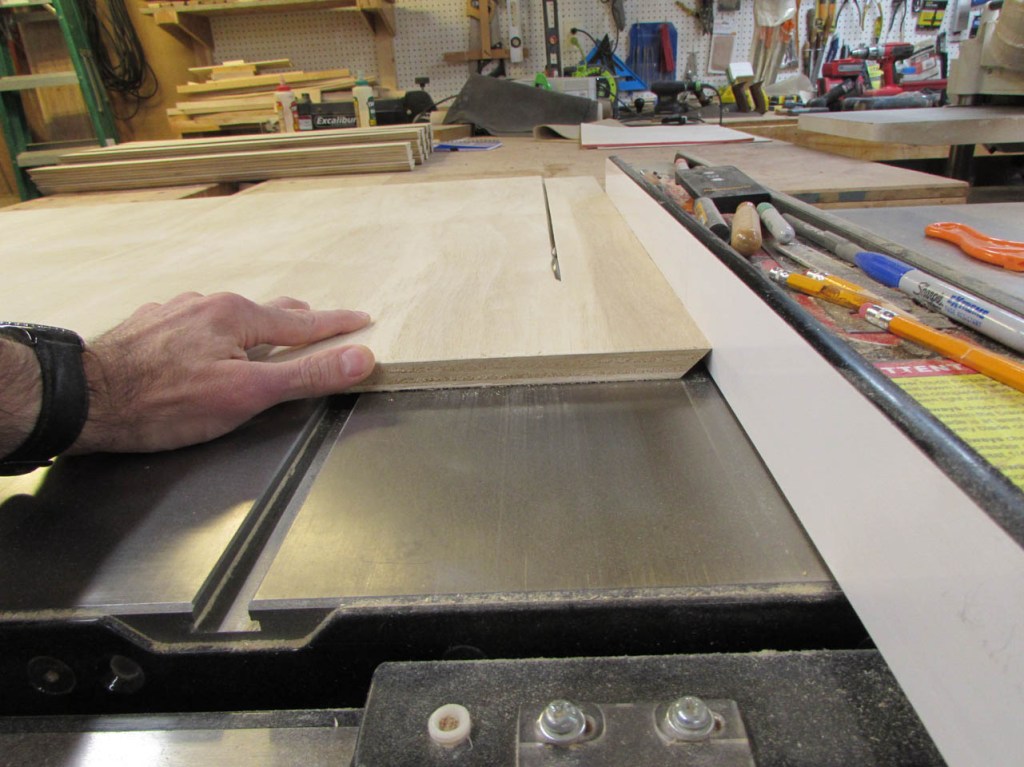
By flipping the plywood sheet over and cutting it again, I can continue cutting sides until I finished the sheet.
My wife came down to the shop to help, so I started her on making legs.
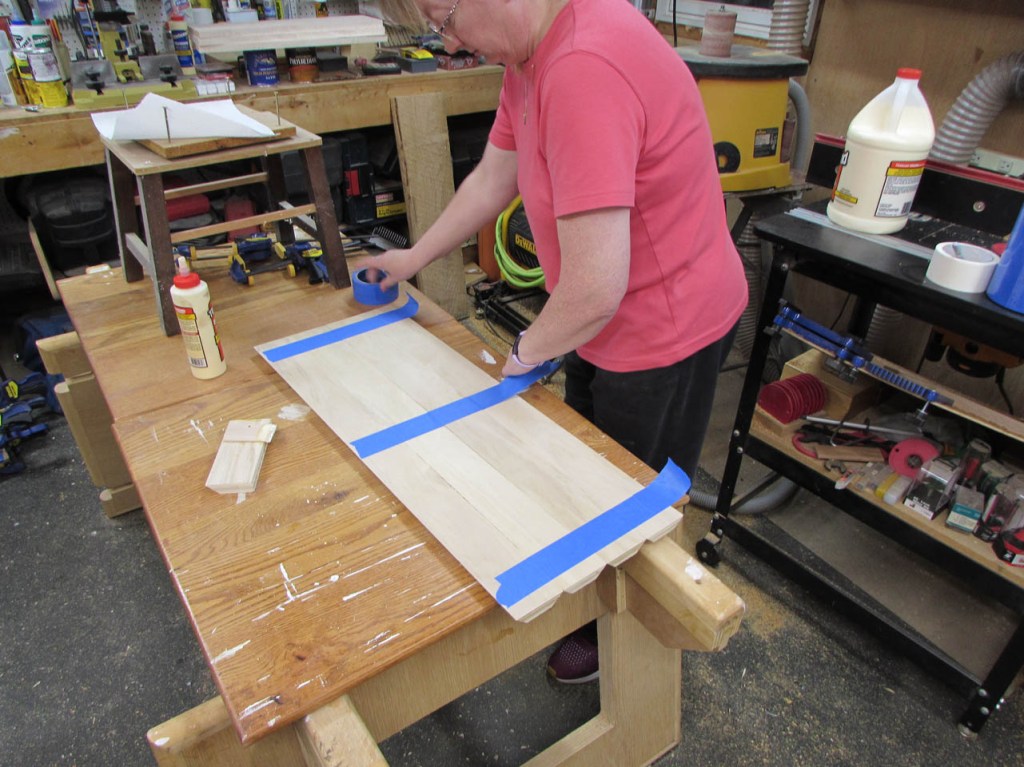
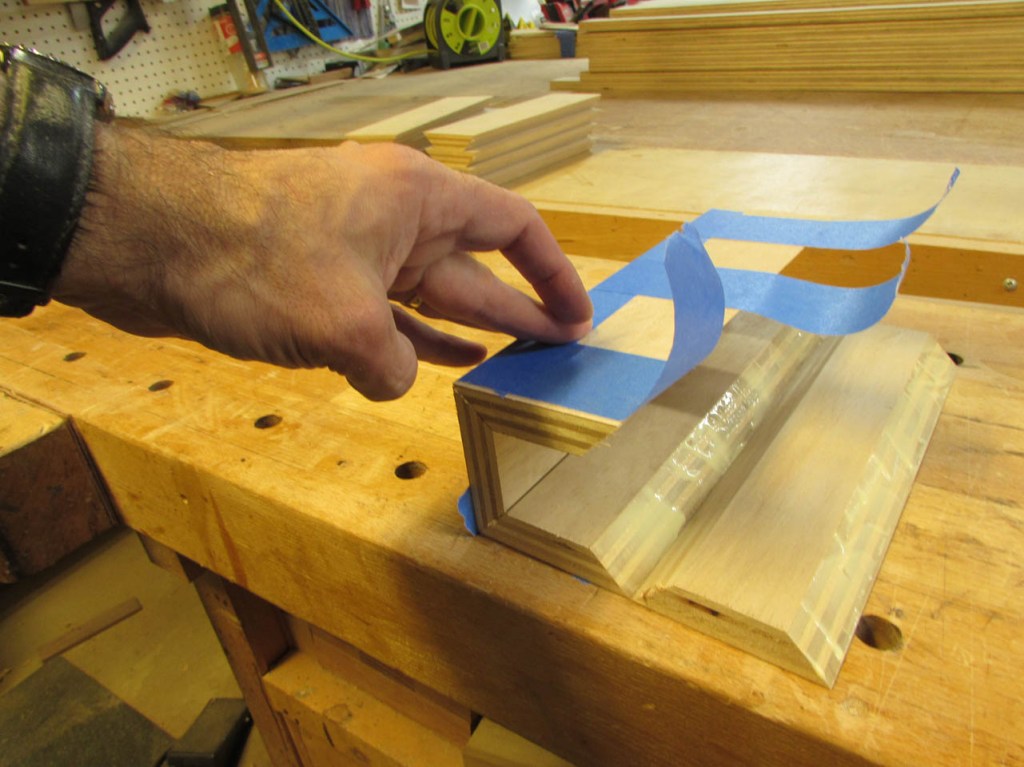
We laid out four strips, side by side and aligned the ends. Then we taped the seams and ran a couple of strips in the opposite direction.

We flipped the assembly over and applied glue to each angled face, then rolled it tightly together.

By squeezing the final seam and taping that one closed as well, we completed the square leg.

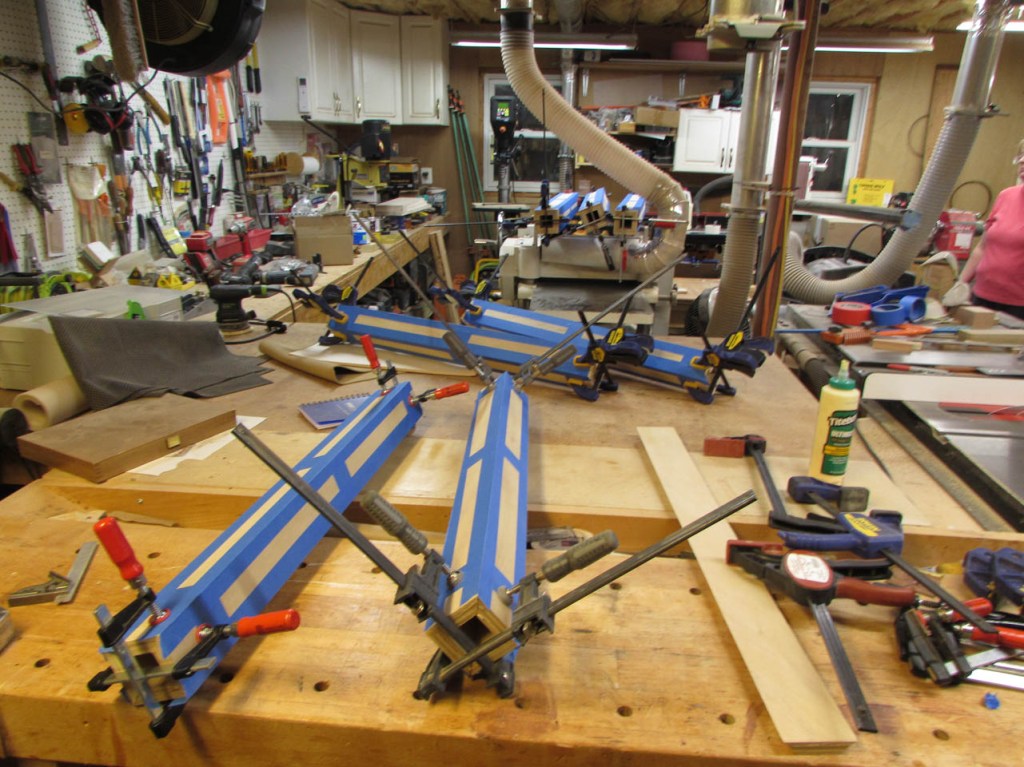
The tape holds pretty well, but I added a couple of clamps to the ends as well, until the glue had set. This will help avoid any gaps.
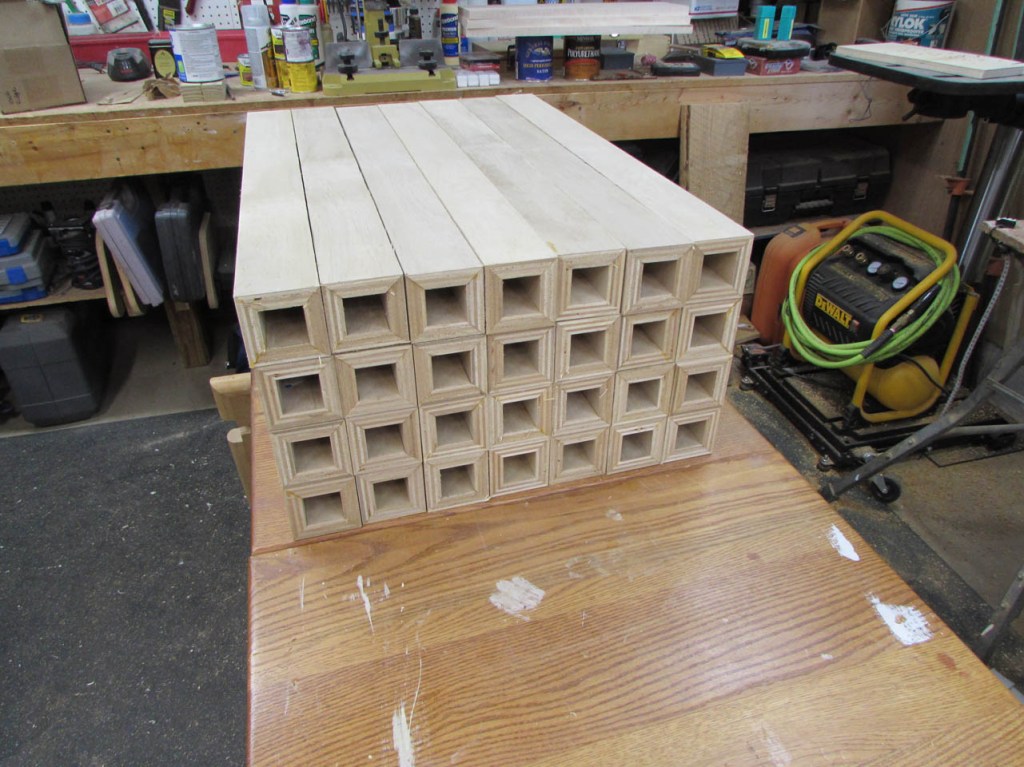
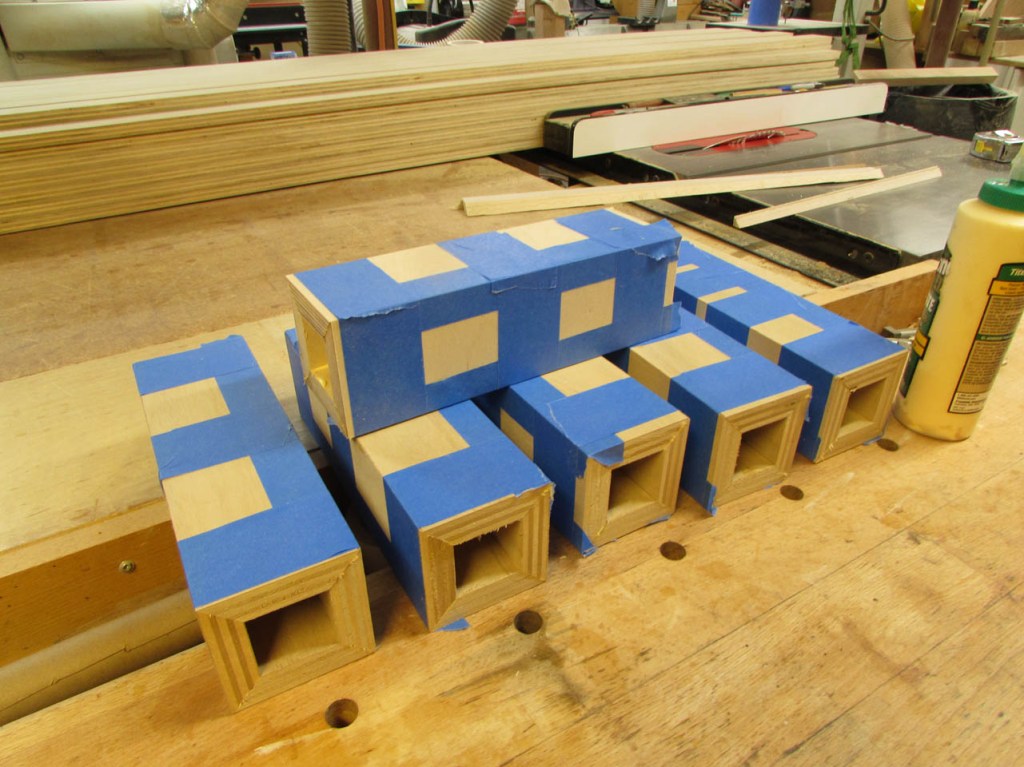
She and I did that for a couple of hours until we had enough legs for the ten separate tables that I have to build.

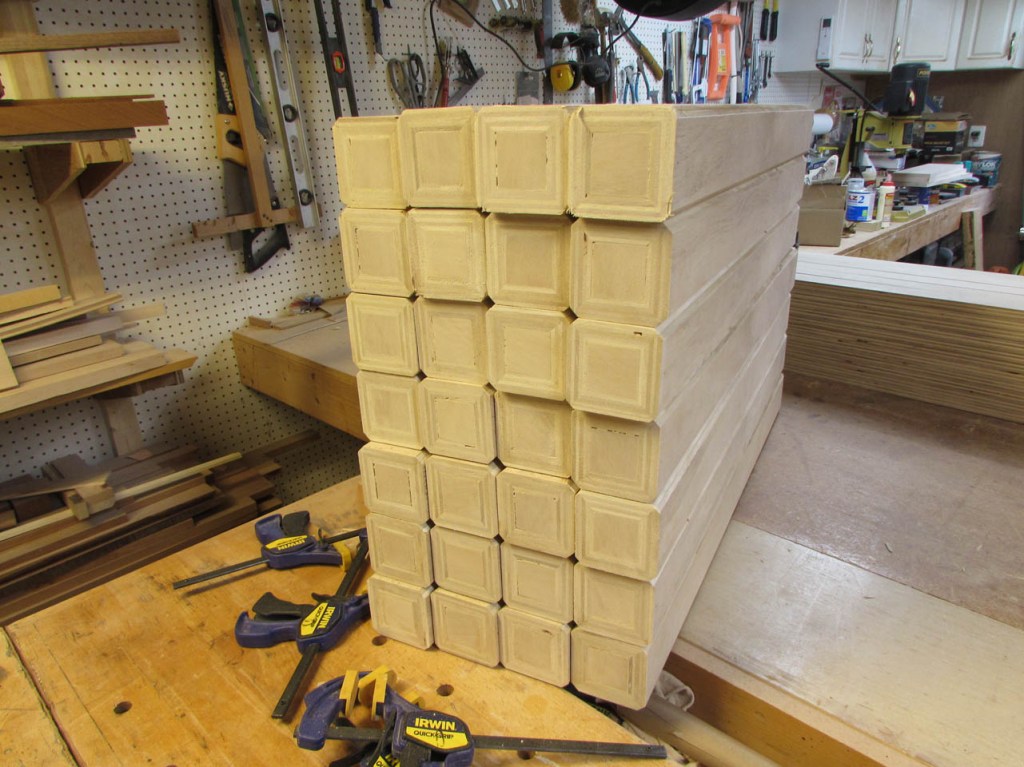
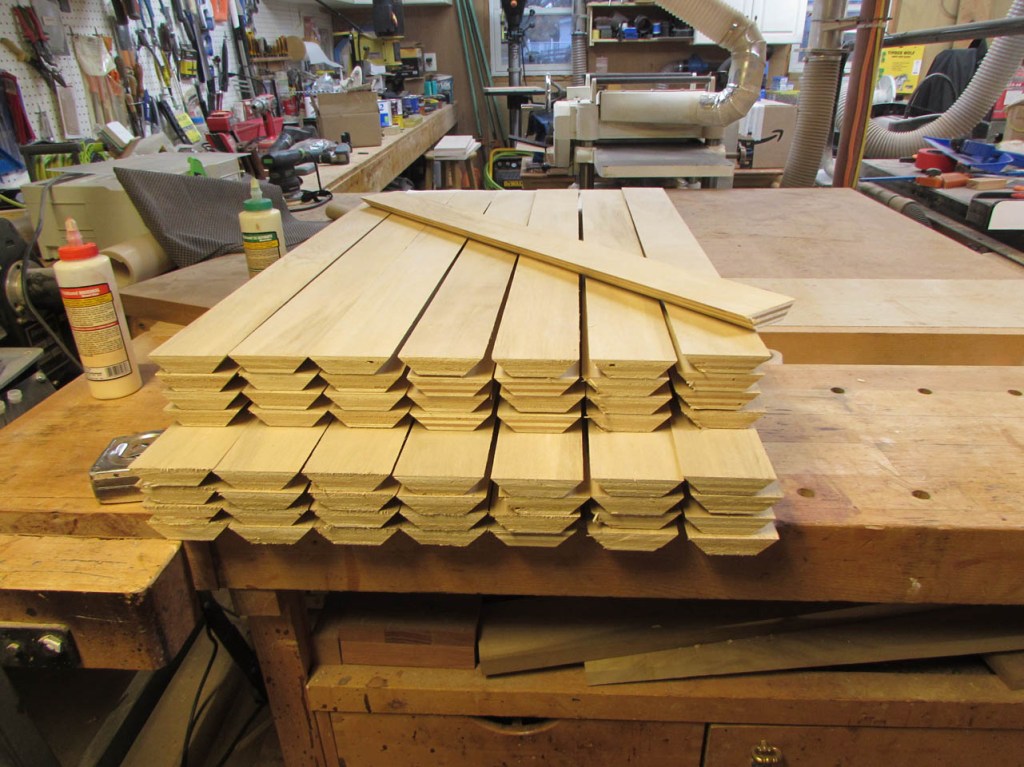
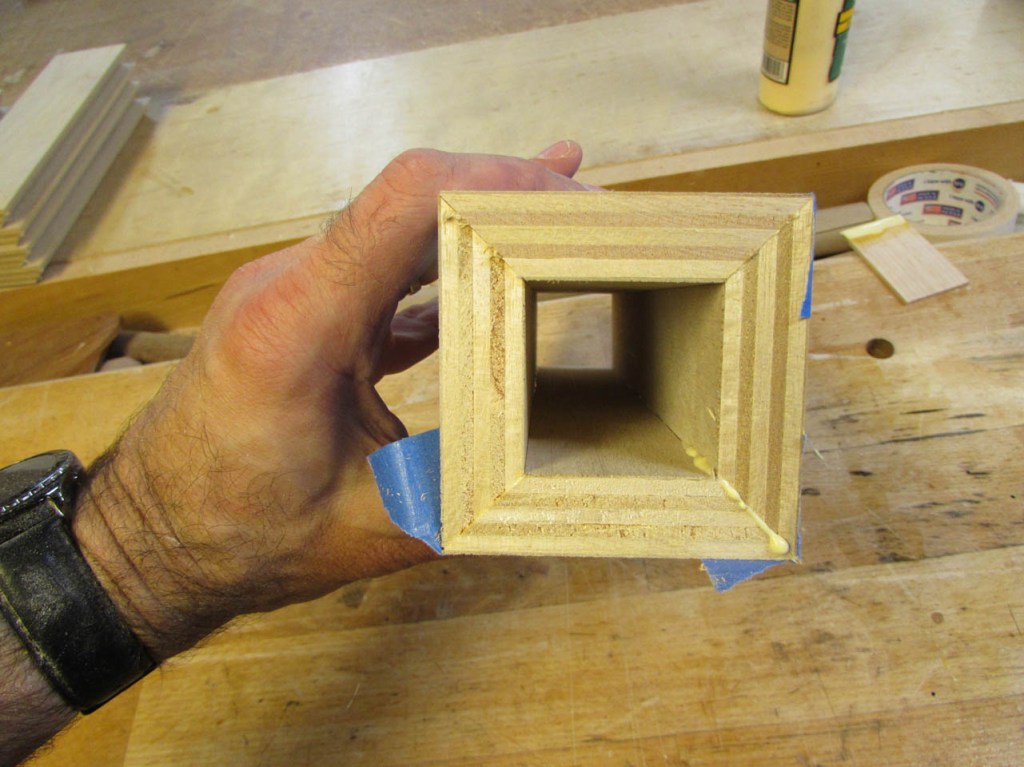
I let the legs dry over night, then pulled all the tape off.
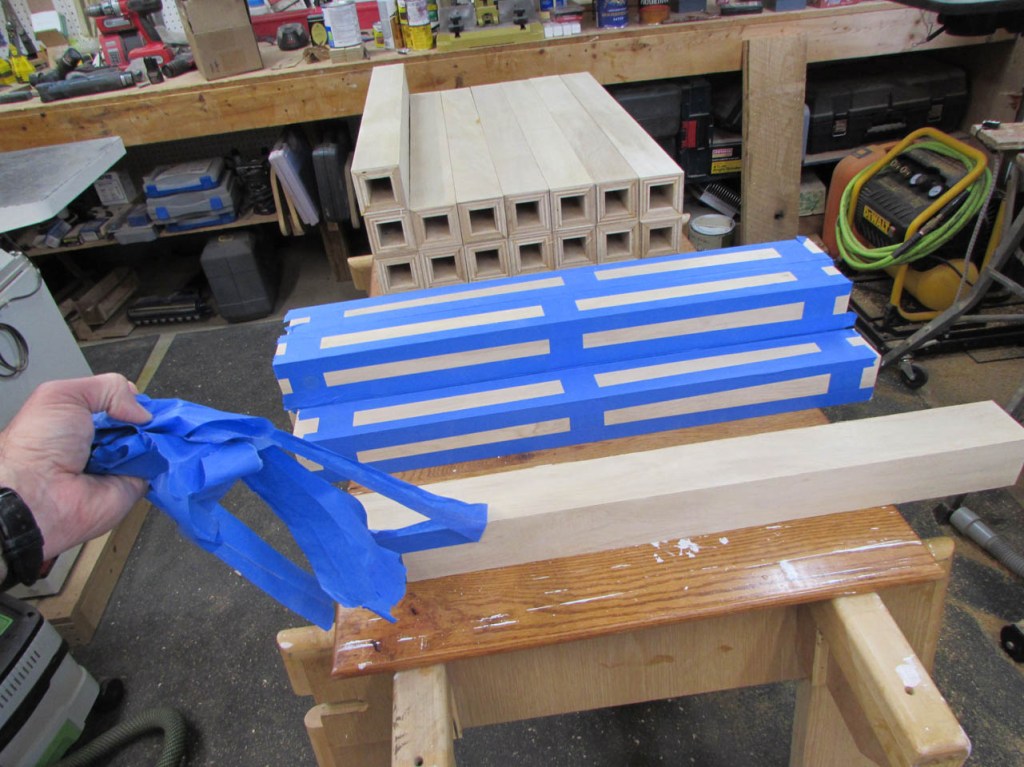
Very few gaps and almost no glue squeeze-out. The legs look good.
Not all of them had their ends perfectly aligned, so I flush cut each end so they were all nice and flat.


Since Chris’ children will likely be building forts below the train tables, we decided to apply a beveled edge to the corners so nobody banged their heads into anything sharp. To do this, I put a 45° chamfer bit into the router table and ran each corner of the leg across it.

The bevel is cut across end-grain so it looks a bit rough.

But with a little sanding, it looks a lot better.

I will leave the final sanding, of the rest of them, for Chris. I spent some time working on the structure under the tables and the layout of the legs and determined that I was one leg short and I needed some short legs for support, above the hearth. So I went back to the table saw and the scrap pile and pulled together the rest of the leg parts.

The short legs were a lot easier to glue up.
I know you saw this process before, but I wanted to give you a close-up.

The short legs did not require any clamps, just the tape to hold them while they dried.
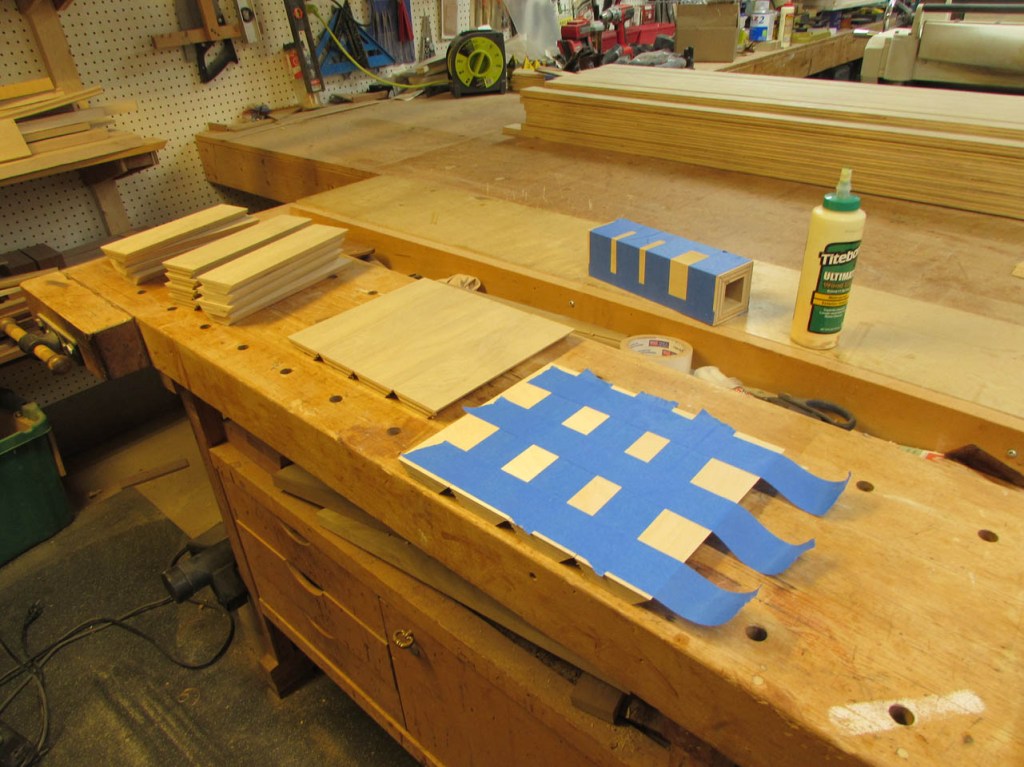
To give the legs more attachment points, I am making some gussets from the scrap 1/2″ plywood.
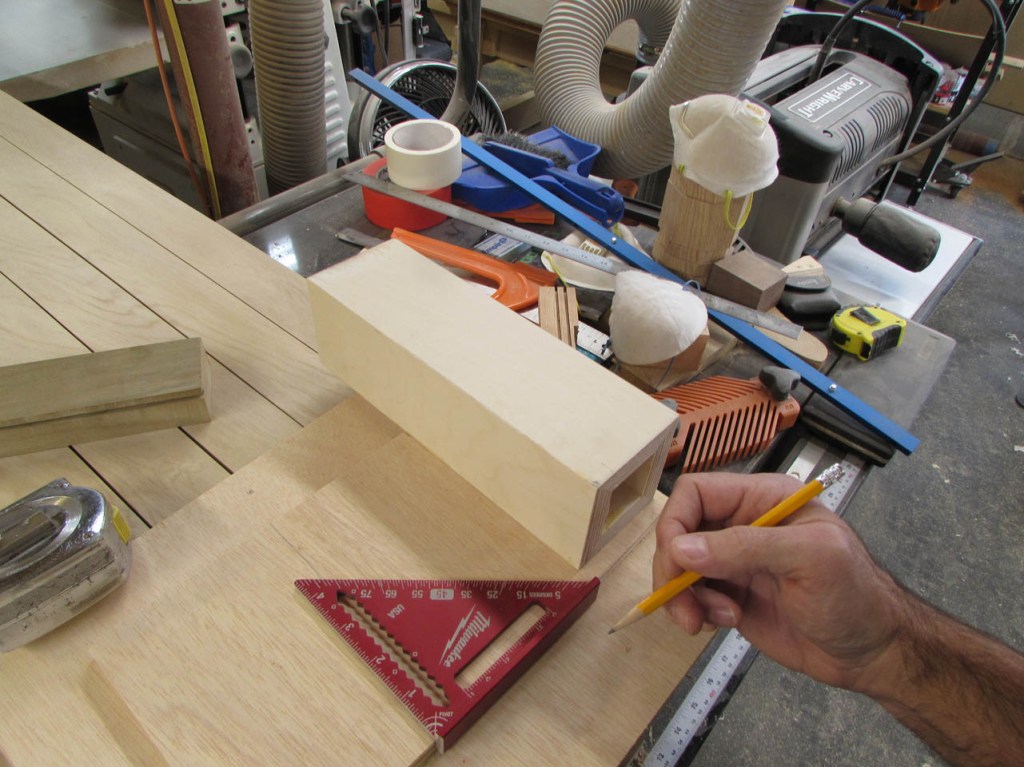
I cut, measured, and marked two different size gussets. One will be 1/2″ longer to overlap the other, when attached to the leg.
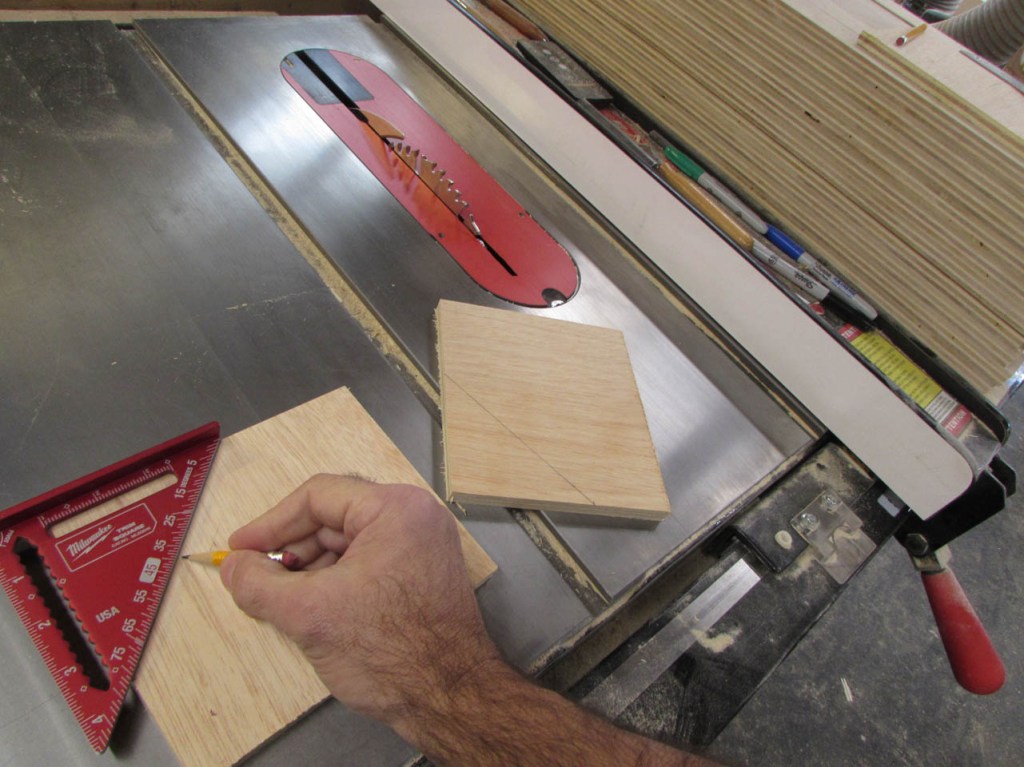

After cutting the first two, I did a dry-fit.

I have also determined that the under-structure for the table will be cut from 3/4″ plywood instead of 2x4s for the same financial reason as the legs. Also, the plywood will not warp and should make a dead-flat table top if I assemble it correctly. Apparently train tables have to stay perfectly flat or the trains can bottom out or get bumped off the tracks. The picture below shows how the legs and gussets will set within the under structure.

The first one worked well so I cut 28 more pairs of gussets.

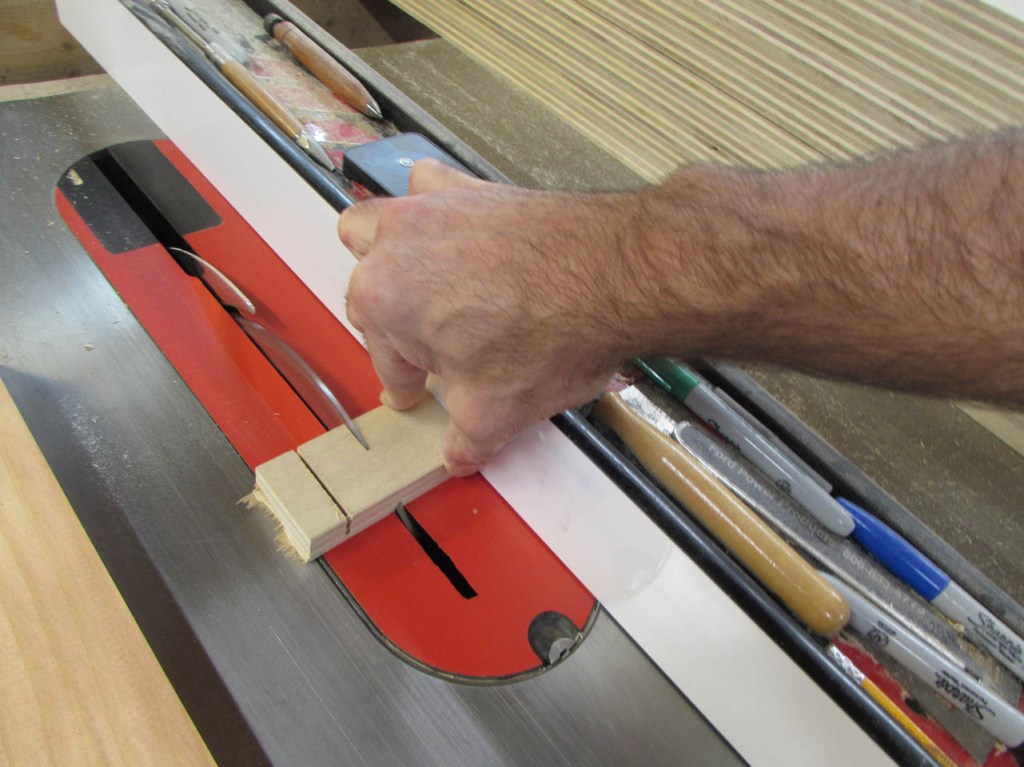
I clamped a stop in place to repeat the 45° cut for each gusset. We could have left the square point, but little kids would bang their heads into them. Also, they wouldn’t look as nice…

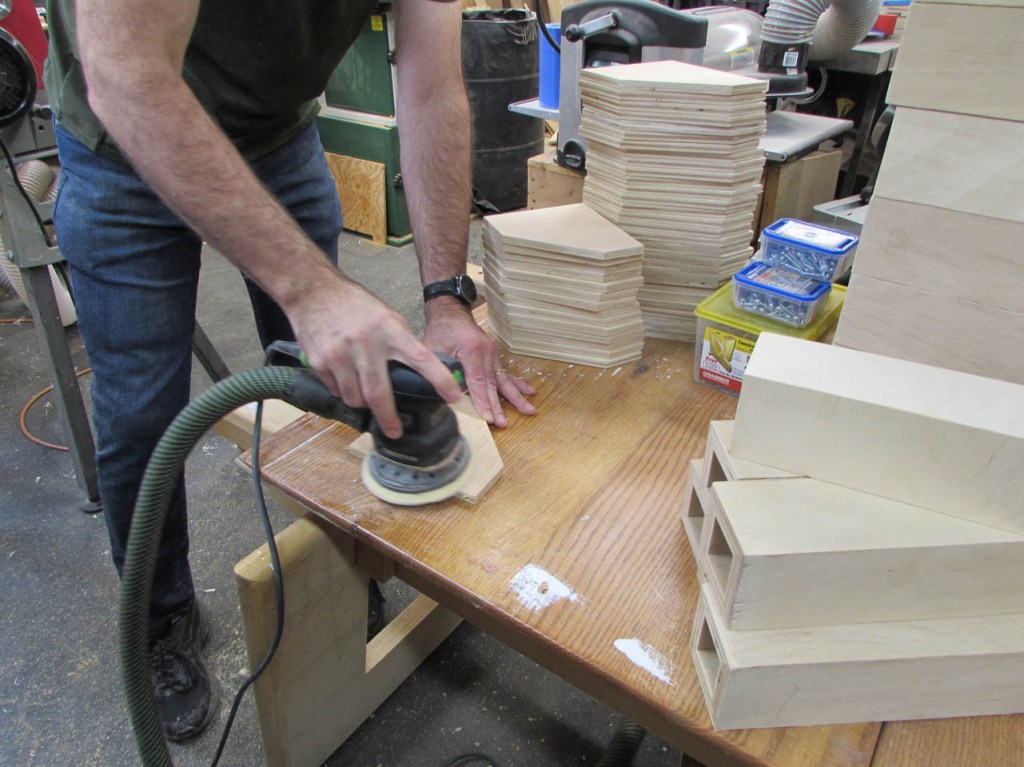
My wife stopped by to help again so I set her on beveling all of the legs while I sanded all of the gussets.

I actually needed 33″ long legs, so I cheated by sitting the legs up on a 1″ block before marking and attaching the gusset.

For attachment, I am using wood glue and a few brads to hold everything in place while the glue dries.


The top looks good, but I have one more thing to do on the bottom.
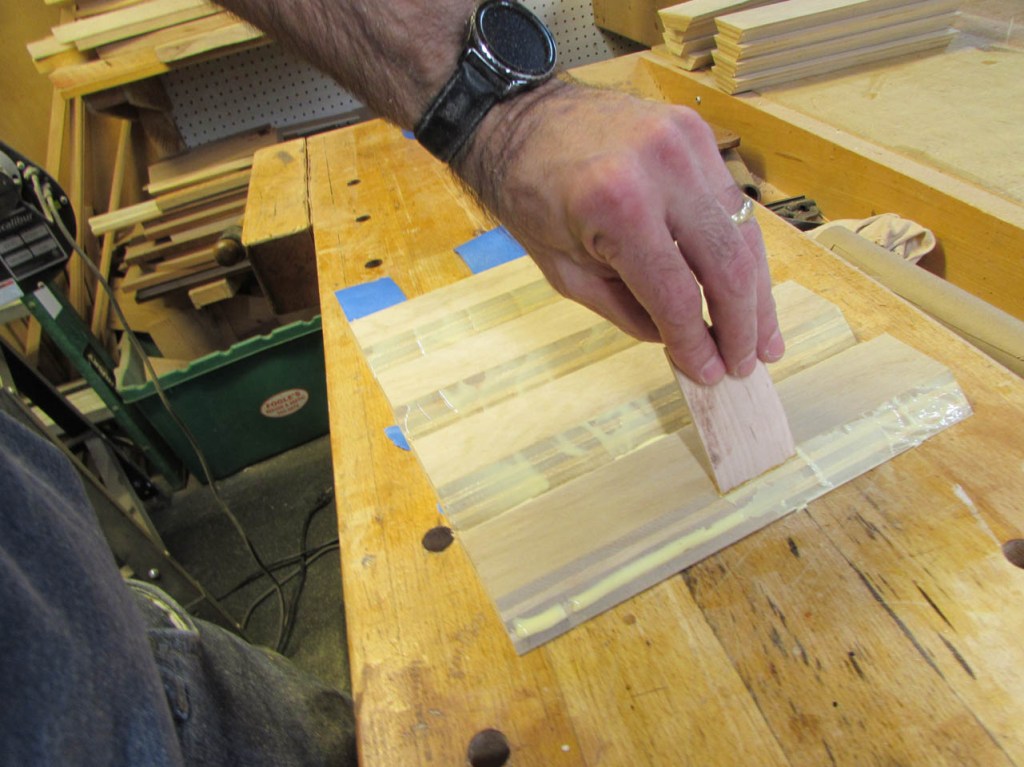
I want to add a square plug, cut from my scraps. This will help prevent the leg from sinking into the pile of the carpet by presenting a larger flat area to the carpet.
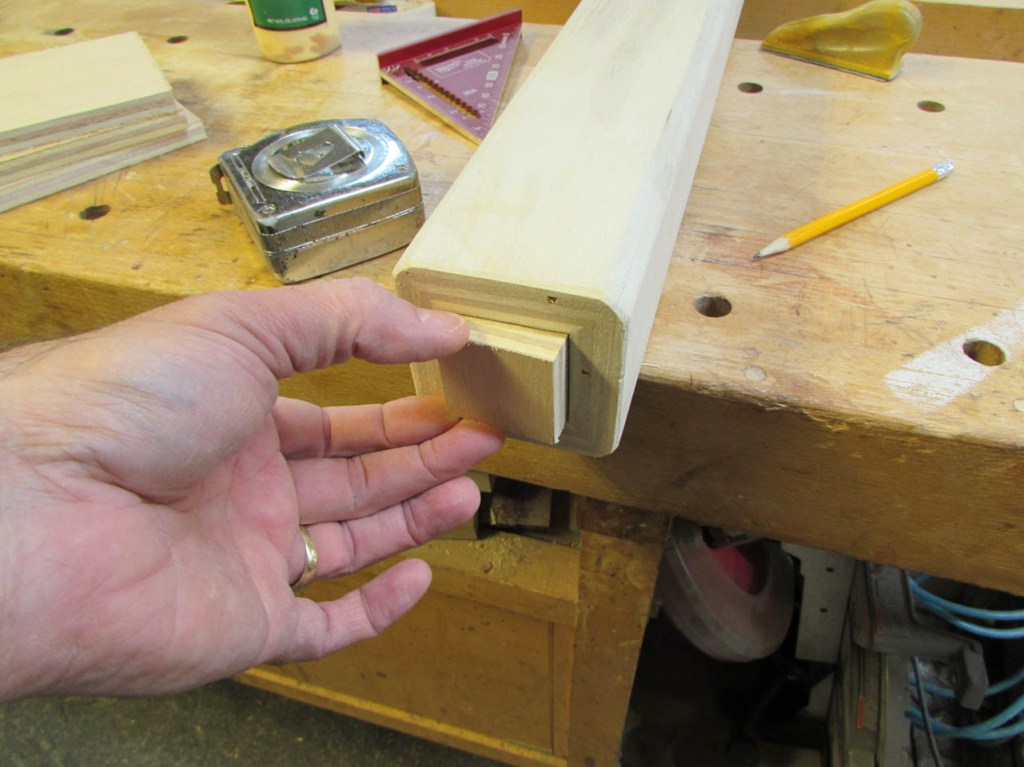

I started by applying glue to the plug and pressing it in place.
This got very messy with all the glue squeezing out and dripping down the face.

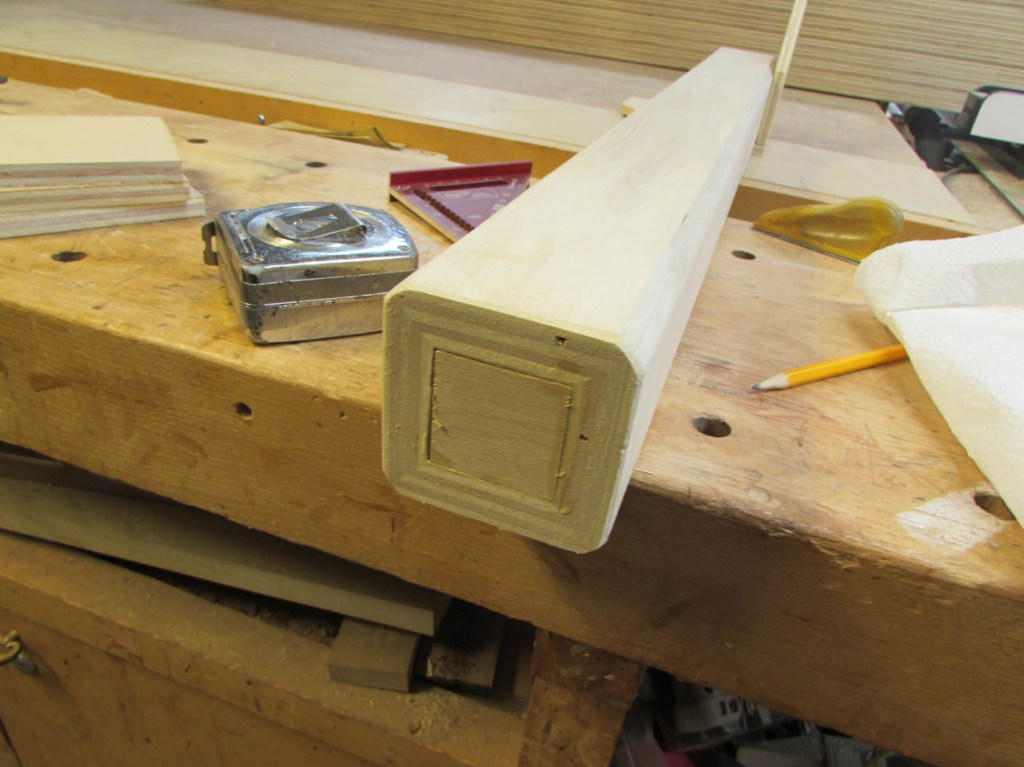
I avoided this on the rest by lining the hole with glue instead and tapping the plug gently into place.
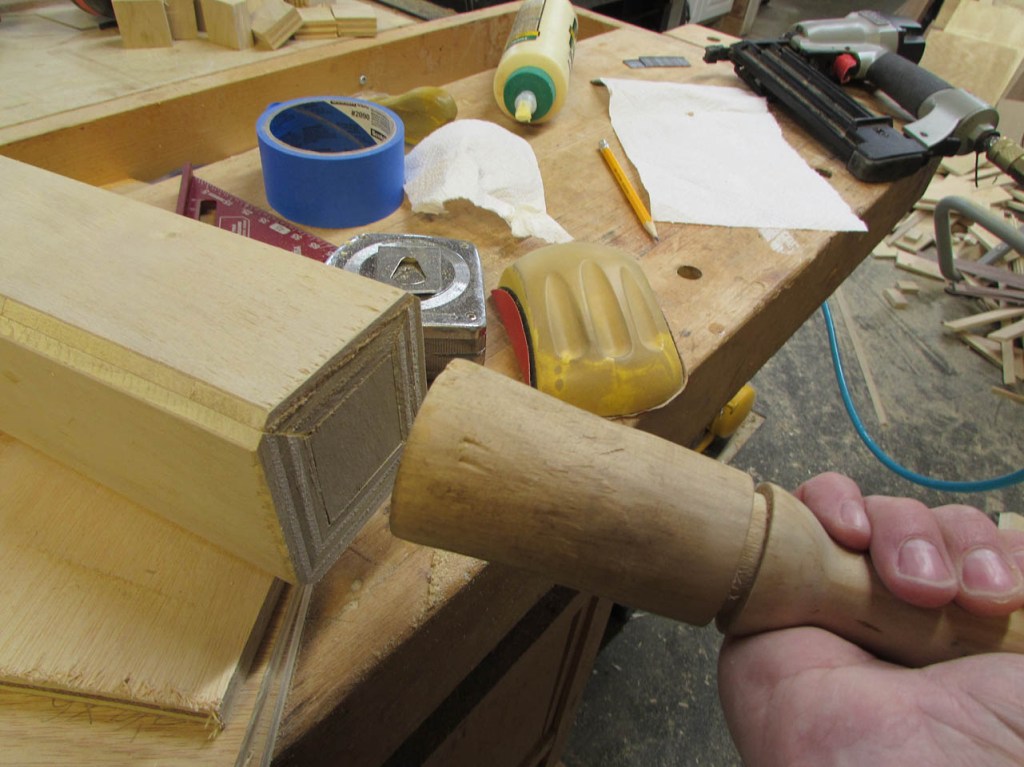
I put a single brad nail into each side to make sure it stayed put.

All of the legs are done except for the sanding and final assembling of the gussets. I will wait for Chris to have time to come over and help.