
Holly cake stand
My son got married this past weekend to a lovely young lady. They used the Wedding and Cupcake stands from my last post.
Left over from that last build was a holly base that was not used.

My wife expressed an interest in giving it a home so I asked her to purchase a dome and I would make the stand to fit it. She purchased an acrylic dome and I sorted through my pile of holly for just the right piece.

Holly is tricky to dry properly. It tends to cup and twist. My smaller pieces dried fairly well, but I wanted to use a single piece so I found the best slab with the least amount of knots and cracks, then marked out what I needed.
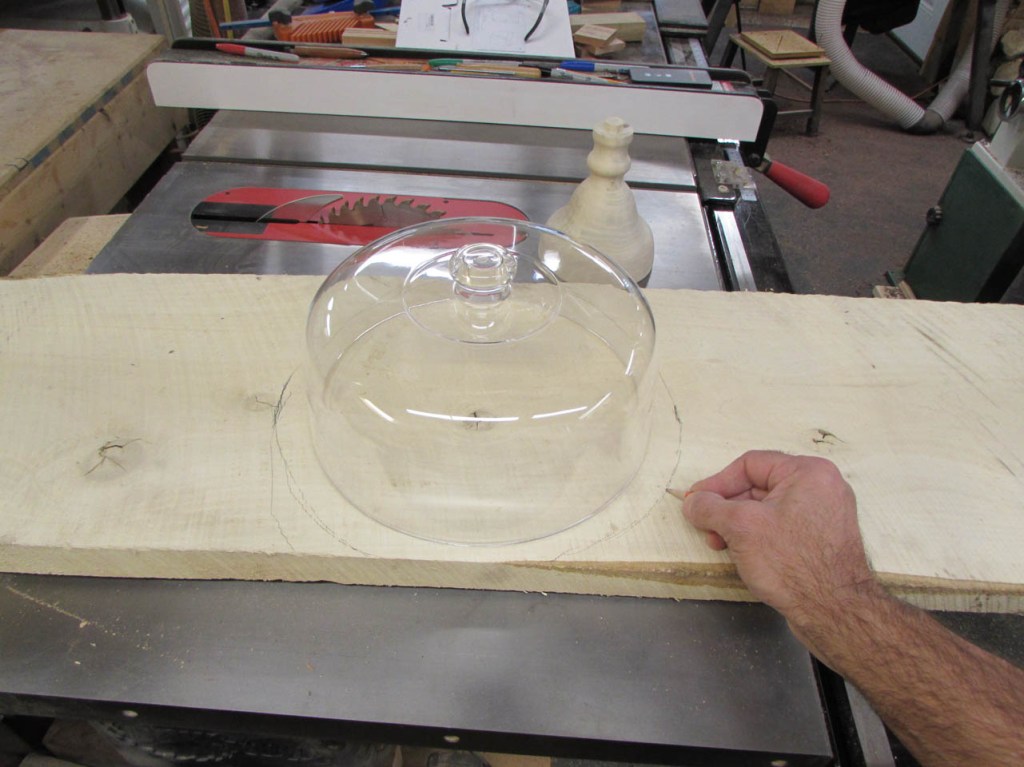
I cut the section of holly out with my miter saw. I cut it a little over-size so I had room to play with the location of the knot. I wanted it closer to the center so that it would be less visible on the bottom of the cake plate.

There is some heavy cupping going on with this board so I started by taking down two of the corners so when I flipped the board over, it sat flat without rocking.

After flipping the board, I used my jack plane to flatten a spot in the middle of the board.
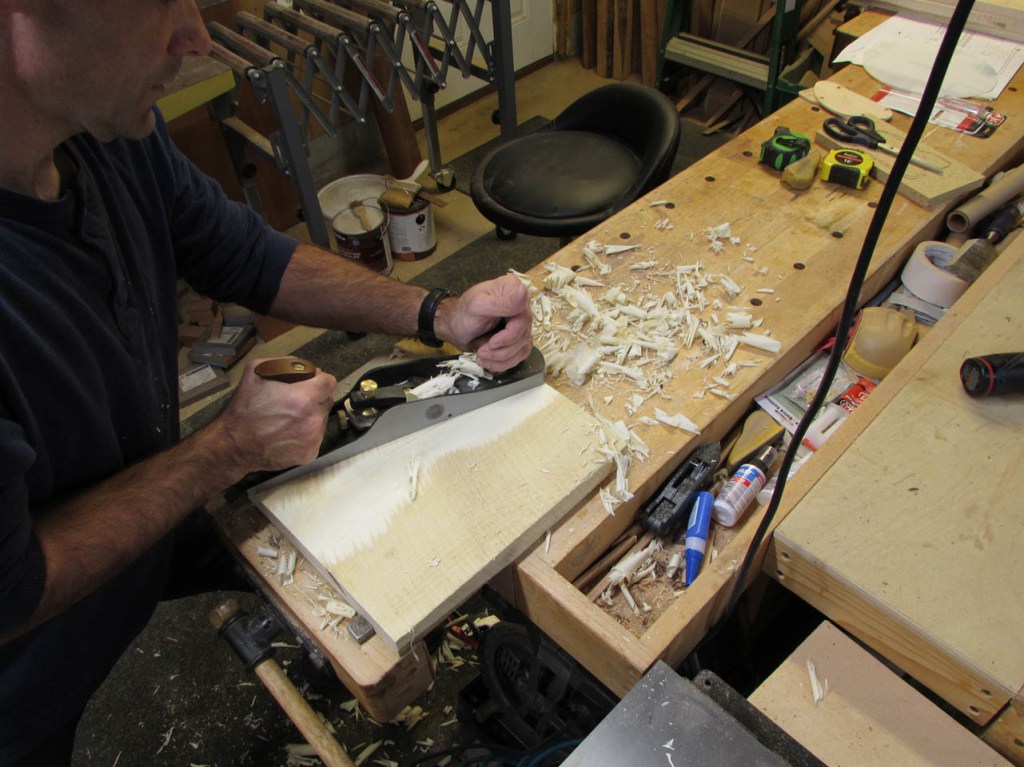
This spot is just large enough to mount my faceplate.

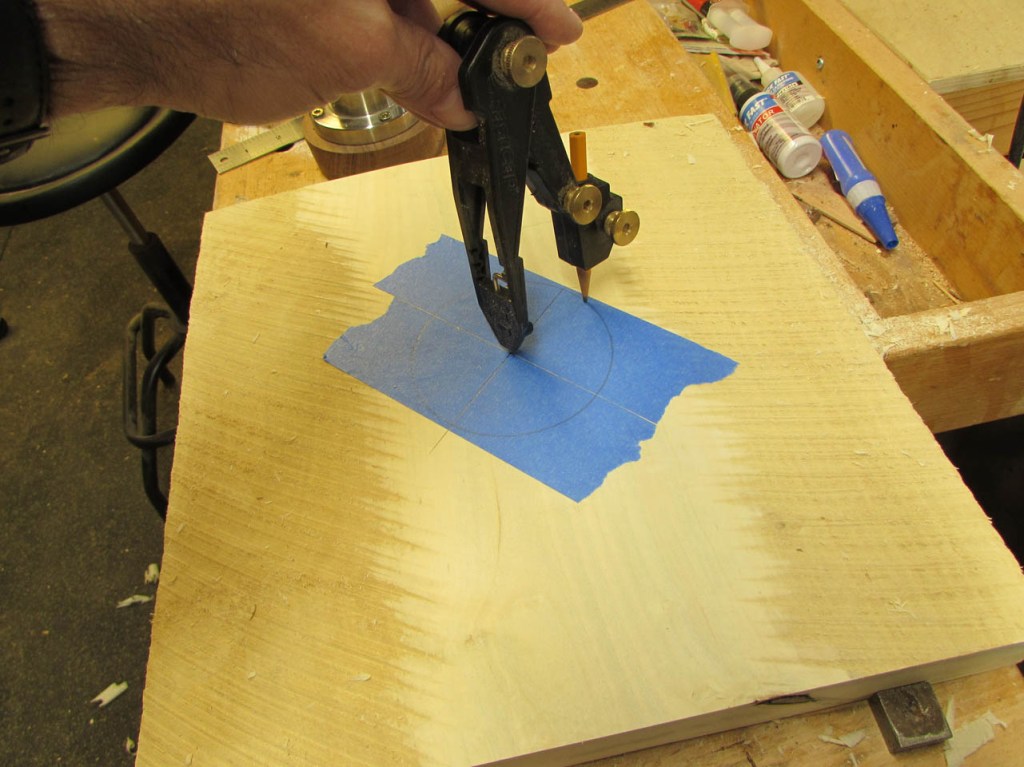
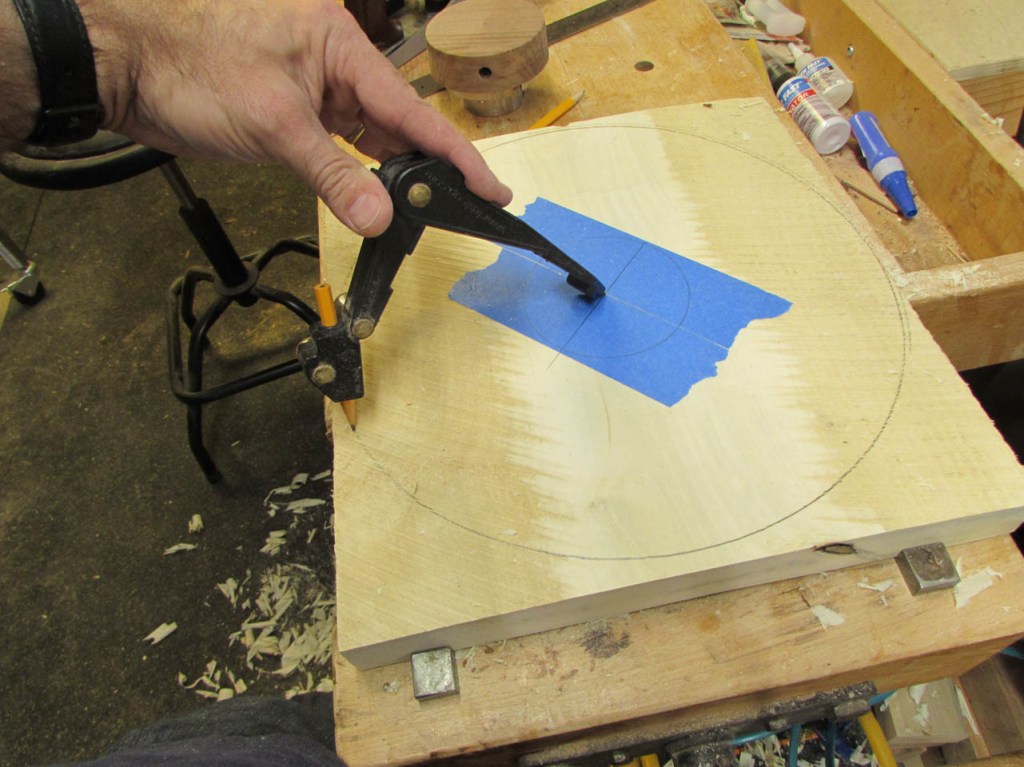
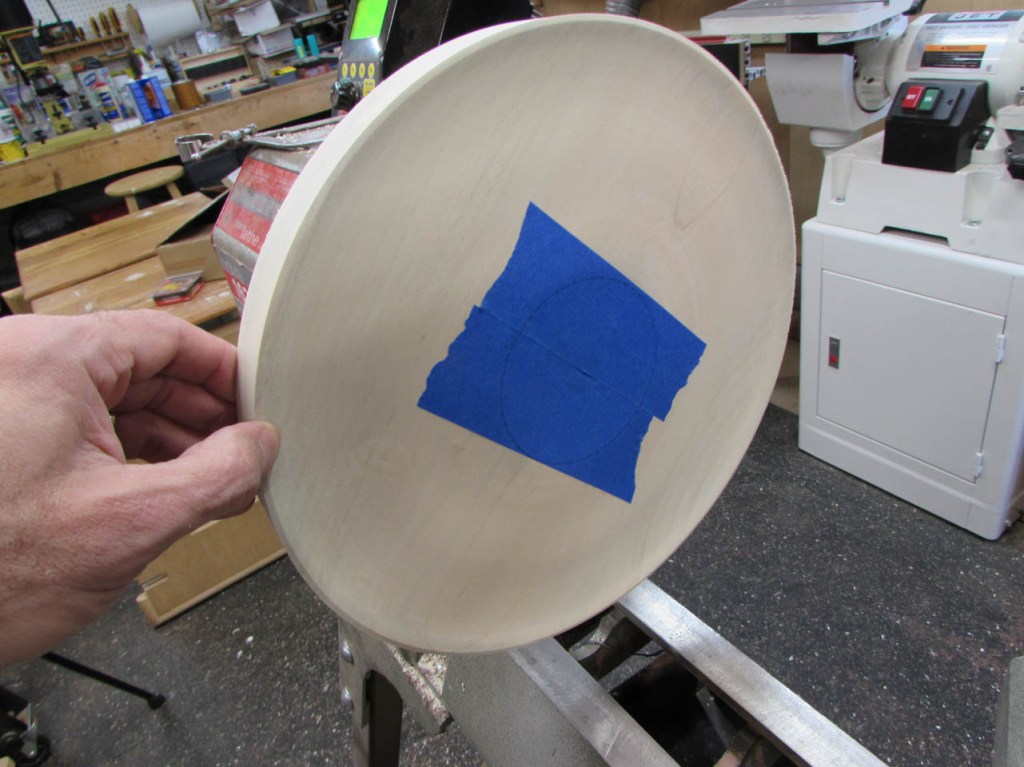
I applied a couple of pieces of painter’s tape to the center area and used my compass to scribe a 3-5/8″ circle and a 12-1/2″ circle on the board.
After the holly was prepped, I added some tape to the faceplate as well.
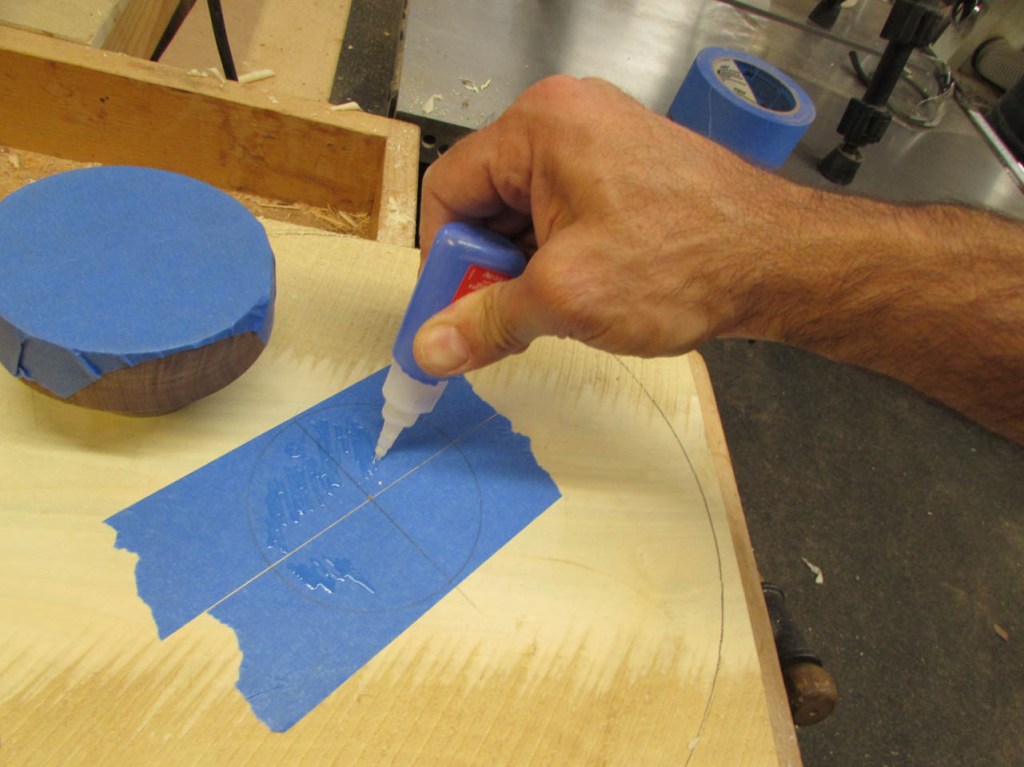
In the small circle, I applied some CA glue and then sprayed activator on the faceplate.

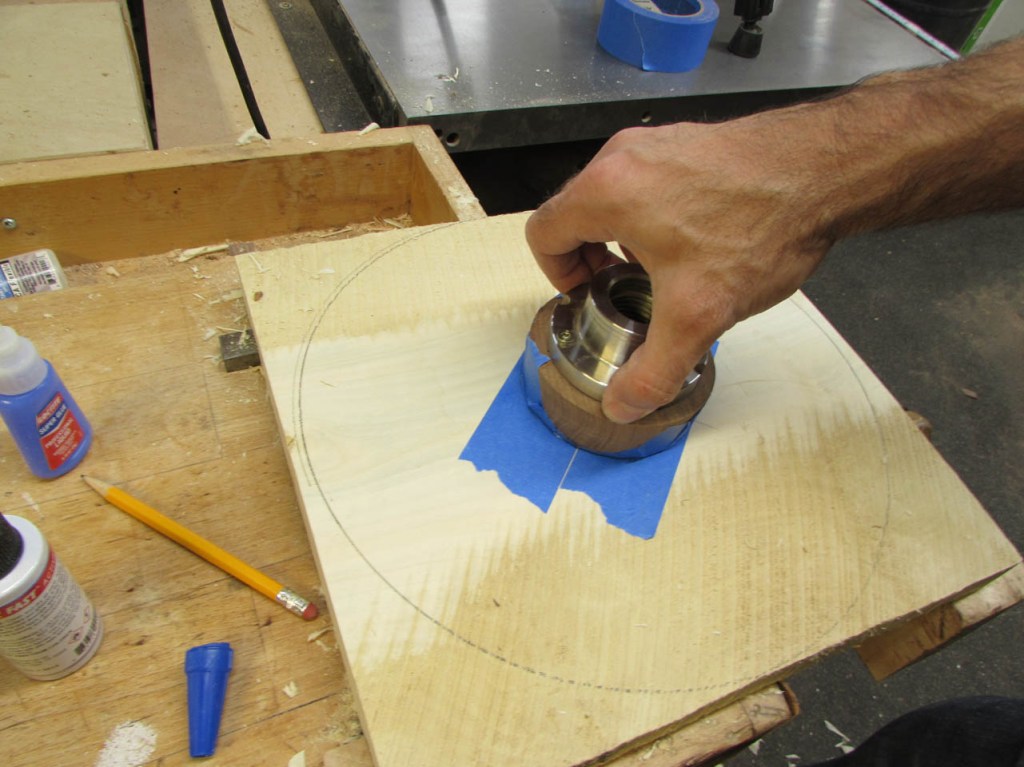
I lined the faceplate up with the small circle and pressed firmly for 10 seconds or so, until the glue had bonded.
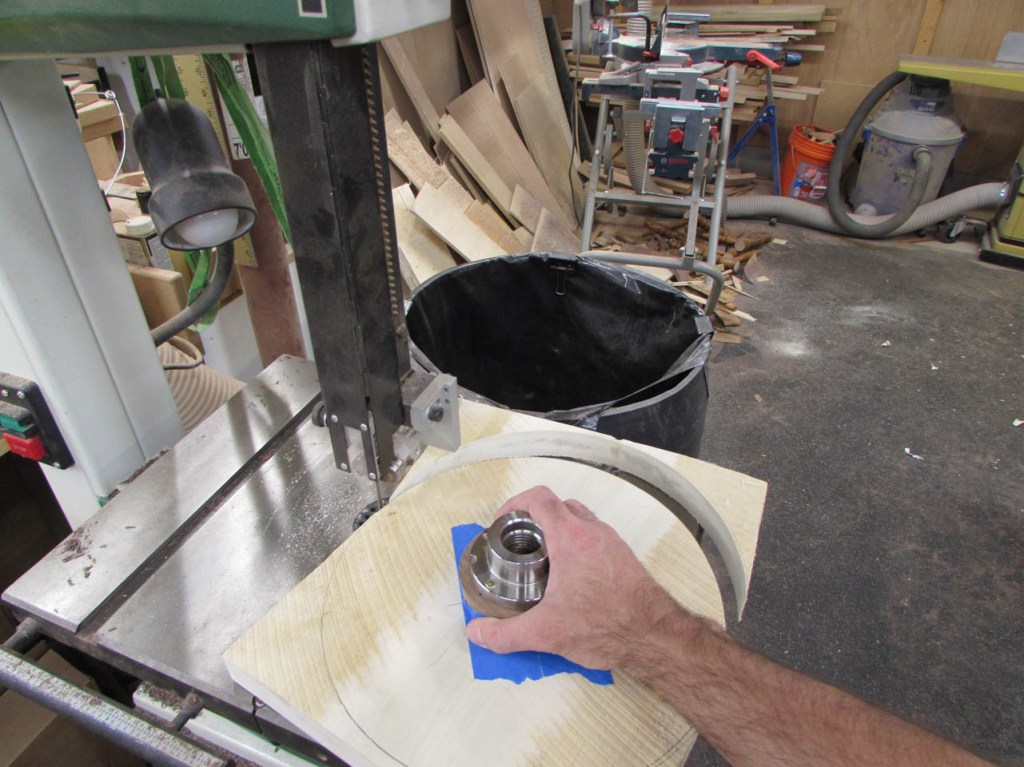
Next, I took the assembly to the bandsaw and rough-cut the outer circle on the holly.
I then attached the faceplate to the lathe.


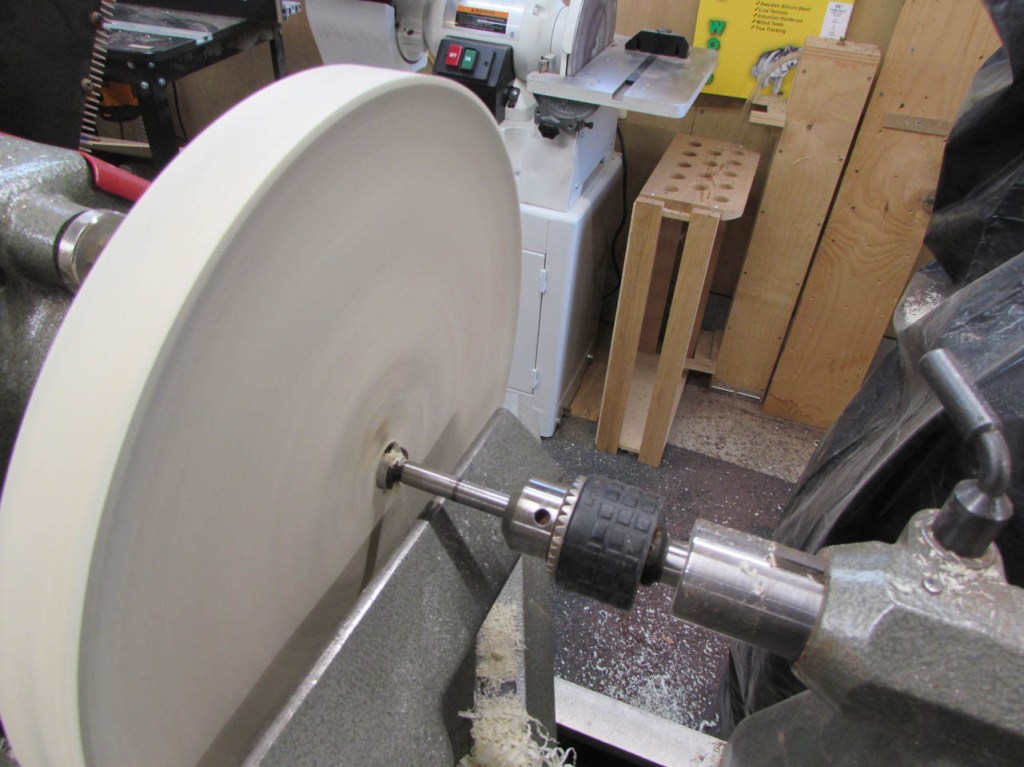
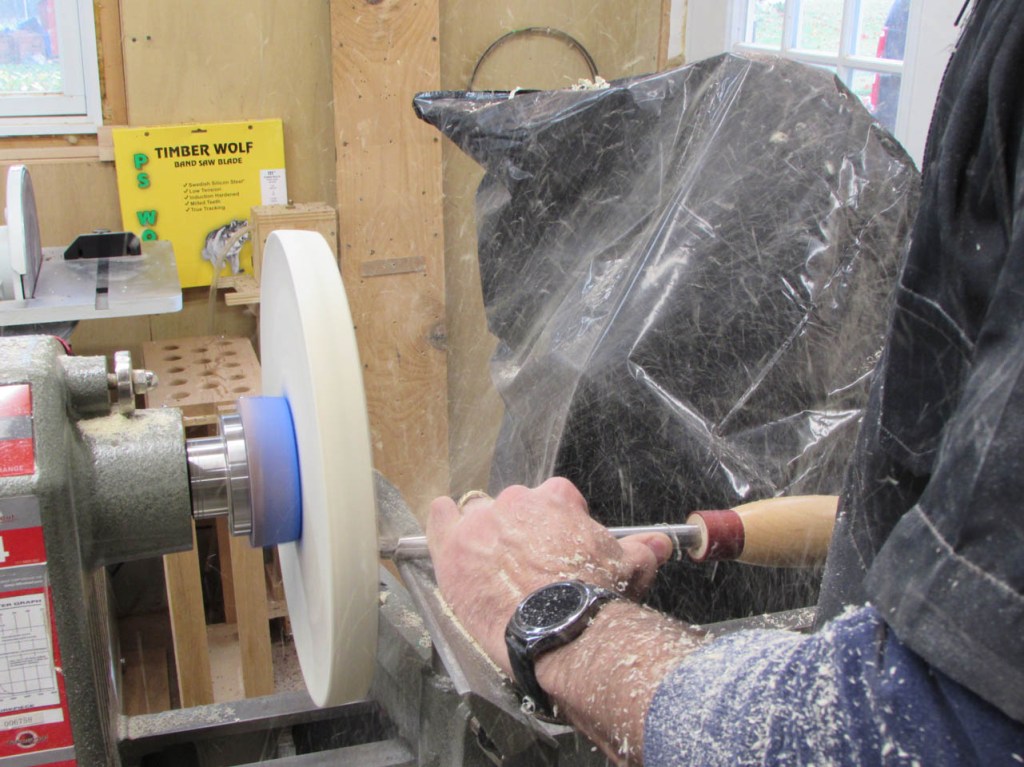
Standing out of the way, I carefully started up the lathe and sped it up to about 1,700 rpms.

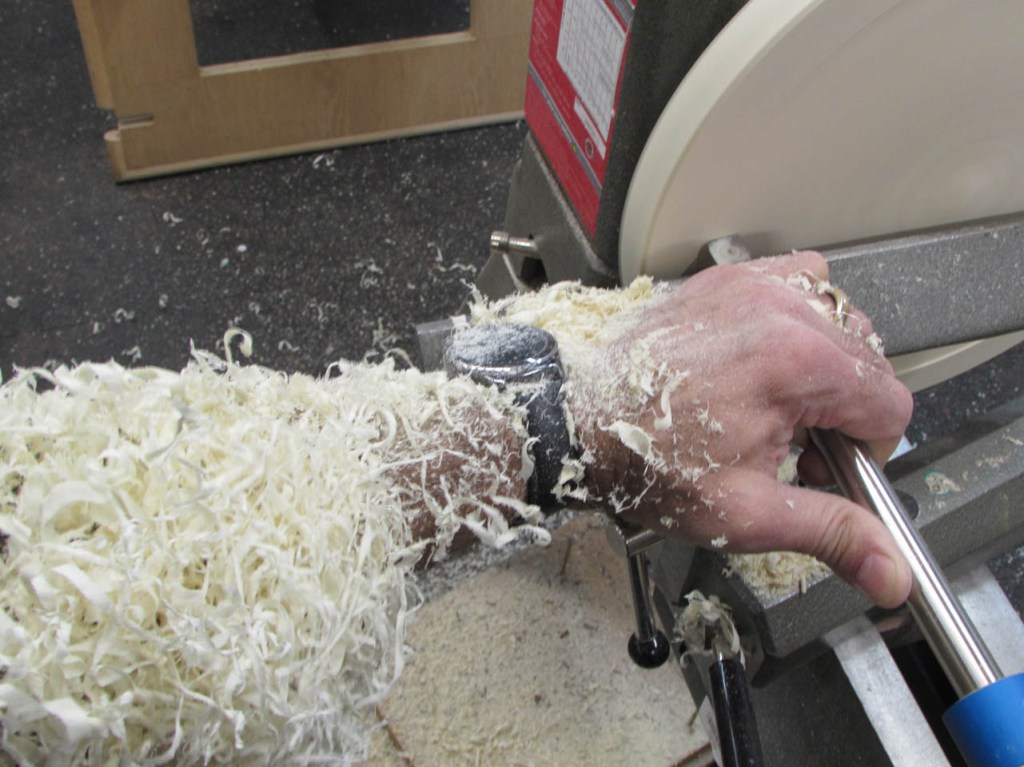
Using a carbide roughing tool, I started cleaning up the bottom face as well as the edge.

Once the edge was clean, I started working on the bottom face.


I left a flat spot in the center, large enough for the faceplate to mount to, then undercut the rest of the bottom.

I installed the Jacobs chuck into the tailstock with a 3/4″ forstner bit in it.
I drilled a hole about 1/2″ deep to receive the base that I made in my last project.

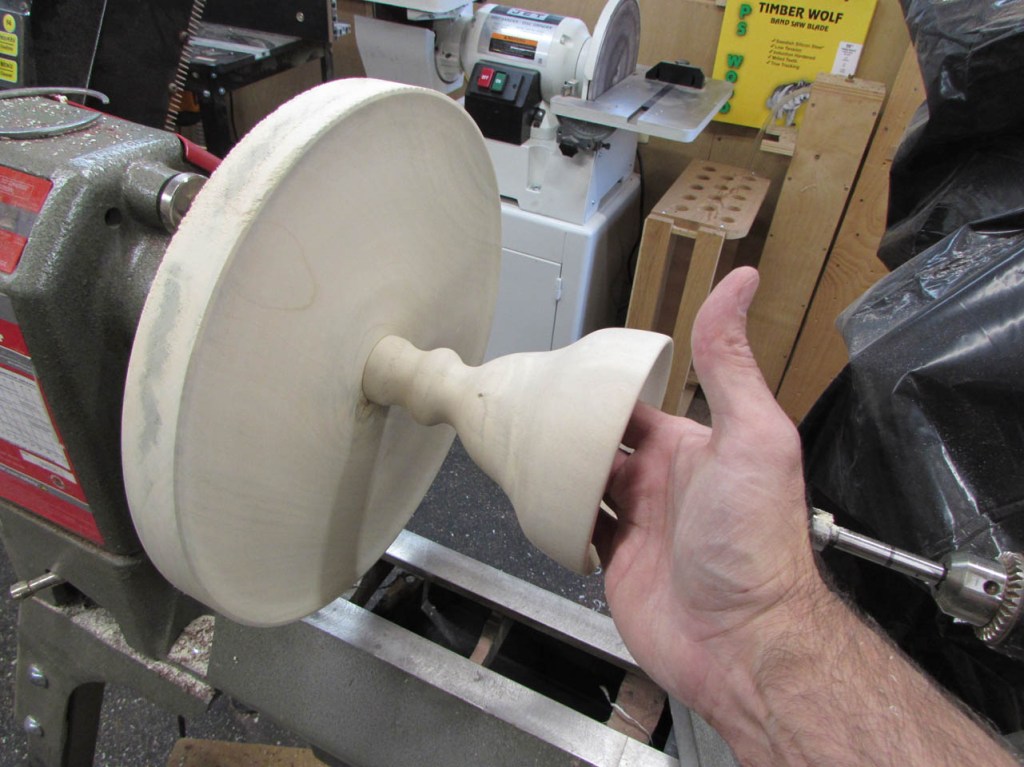
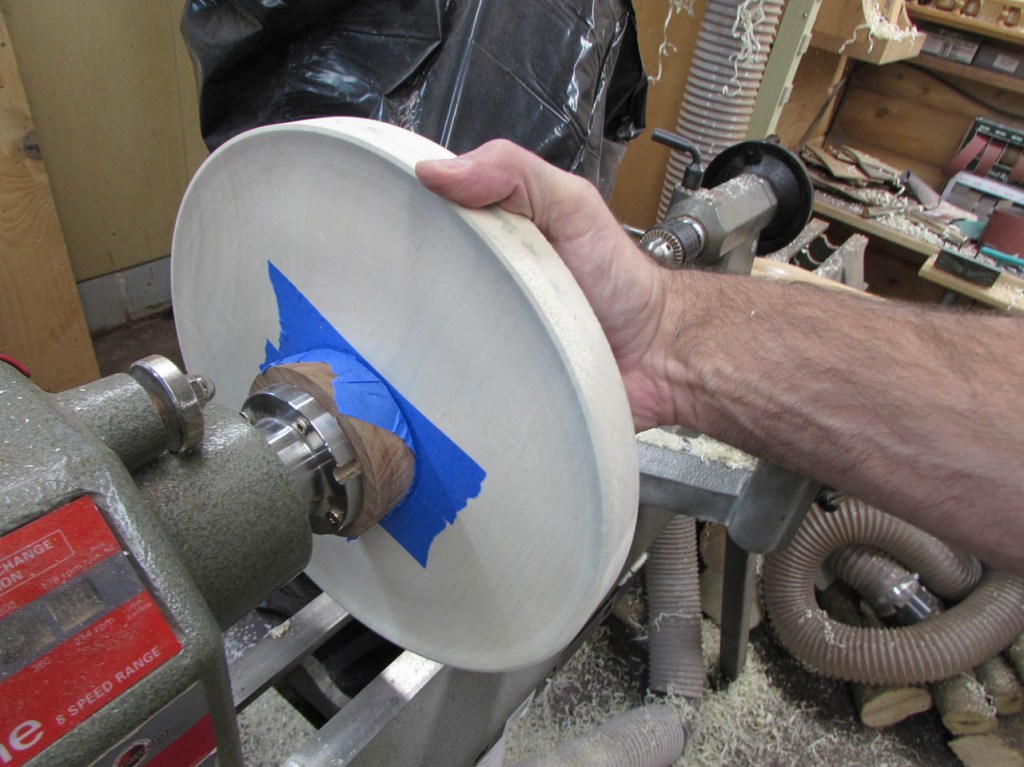
After a dry-fit to make sure it fit perfectly, I applied painter’s tape to the flat spot and marked a circle to locate the faceplate on this side.
After peeling back some of the painter’s tape from the other side, the plate pulls away easily.

I repeated the CA glue application process and flipped the plate around.
Then I flattened the opposite face.
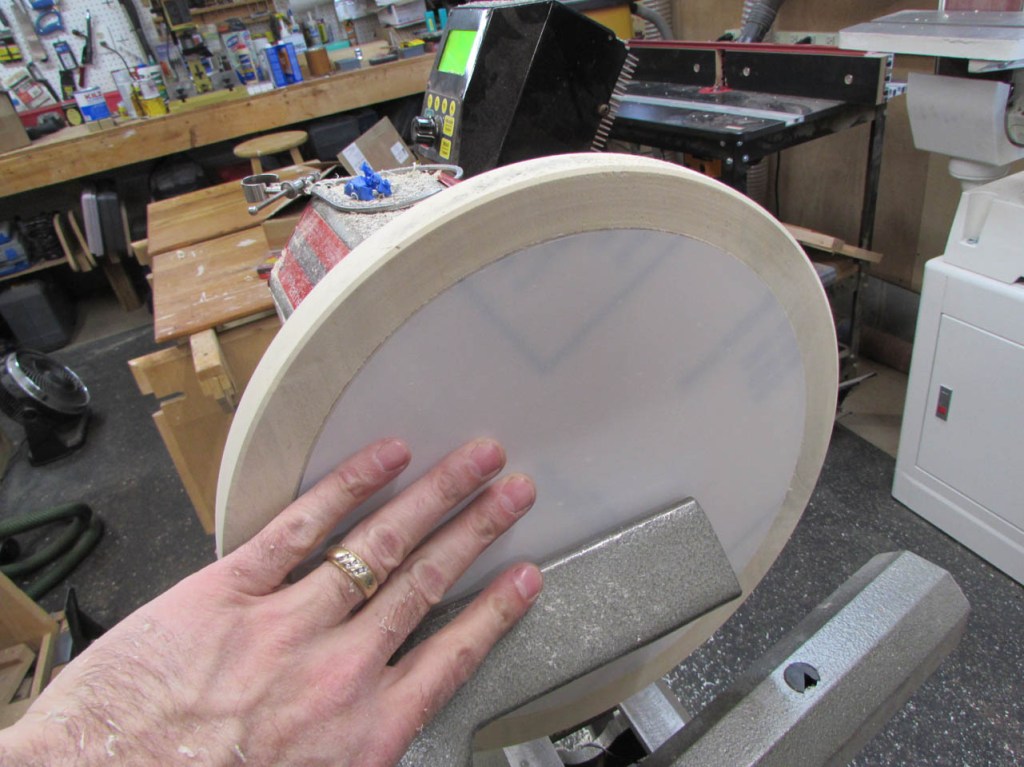
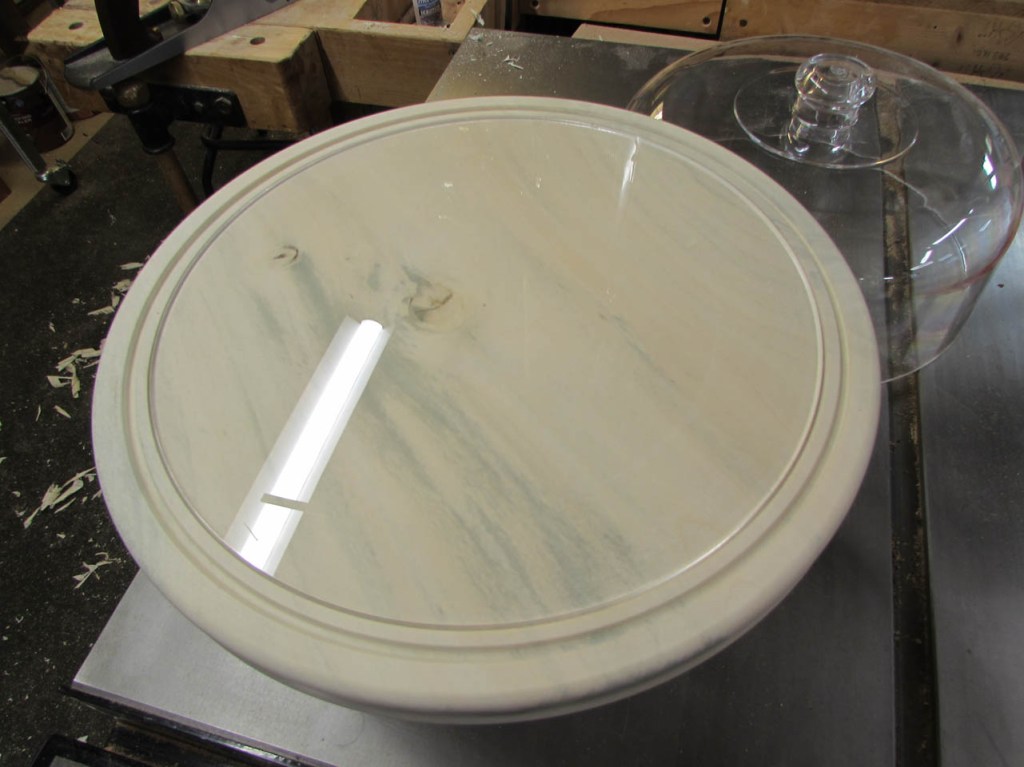
It occurred to me that holly is a bit softer than the walnut of the last cake plate so I came up with the idea of inserting a piece of cast acrylic into a recess to prevent the wood from being scratched by cake knives. I cut a shallow recess, just slightly larger than the diameter of the acrylic.
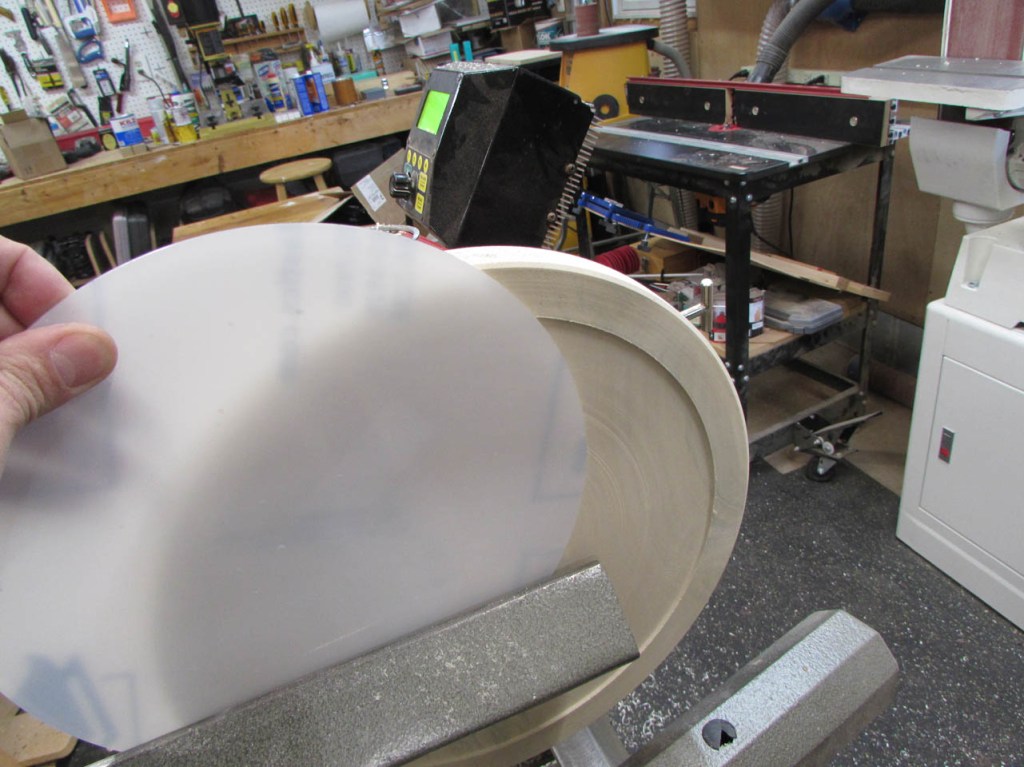
It set in place perfectly with just a bit of slop that will be taken up when I apply a few coats of finish.

The next step was to carefully cut a groove that would receive the dome. I made the sides slightly tapered so that the dome tightens as it is set in place, forming a fairly air-tight connection.
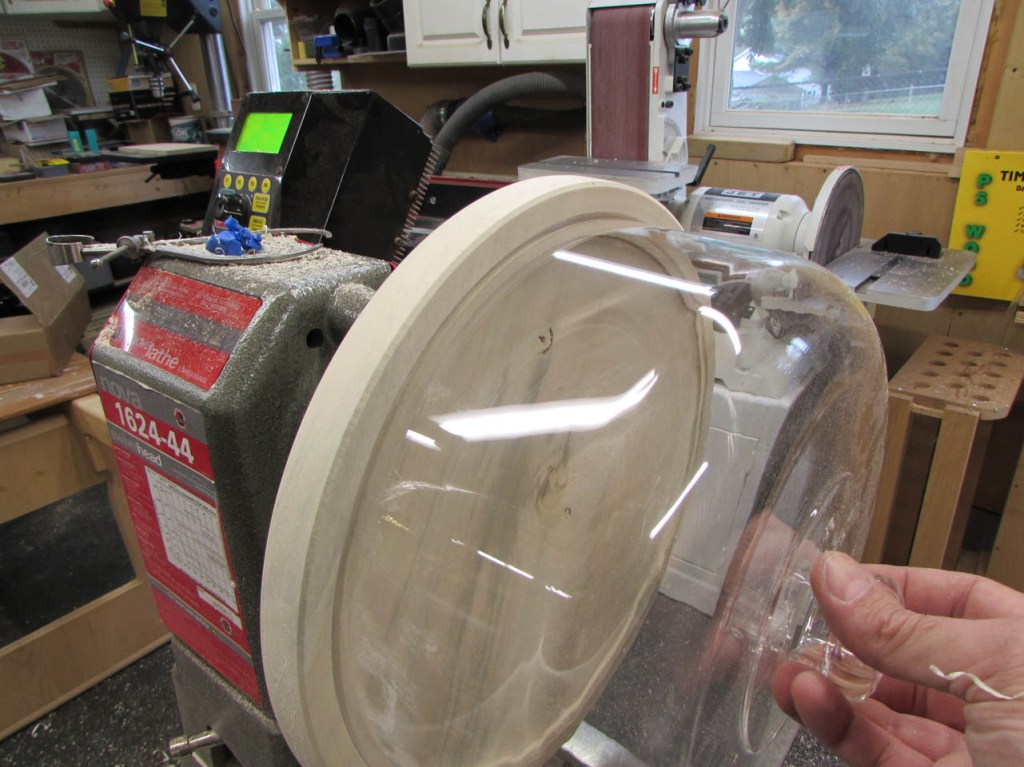
With the basic shape defined, it was time to finish adding any details to the edges and flattening of the face.
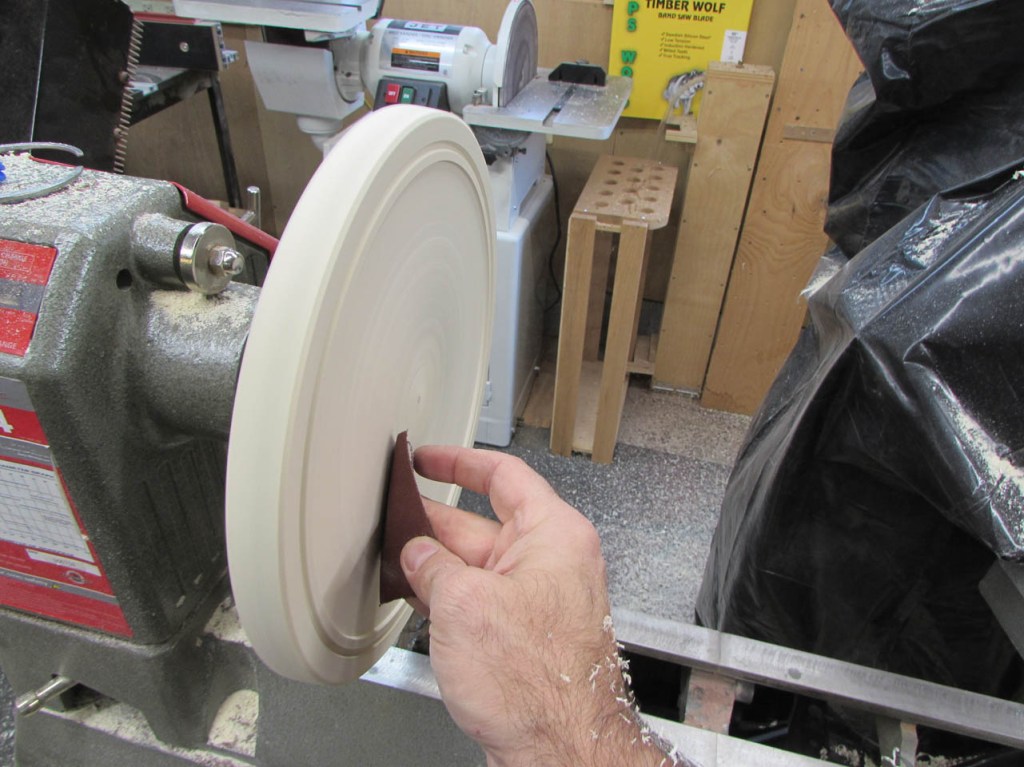
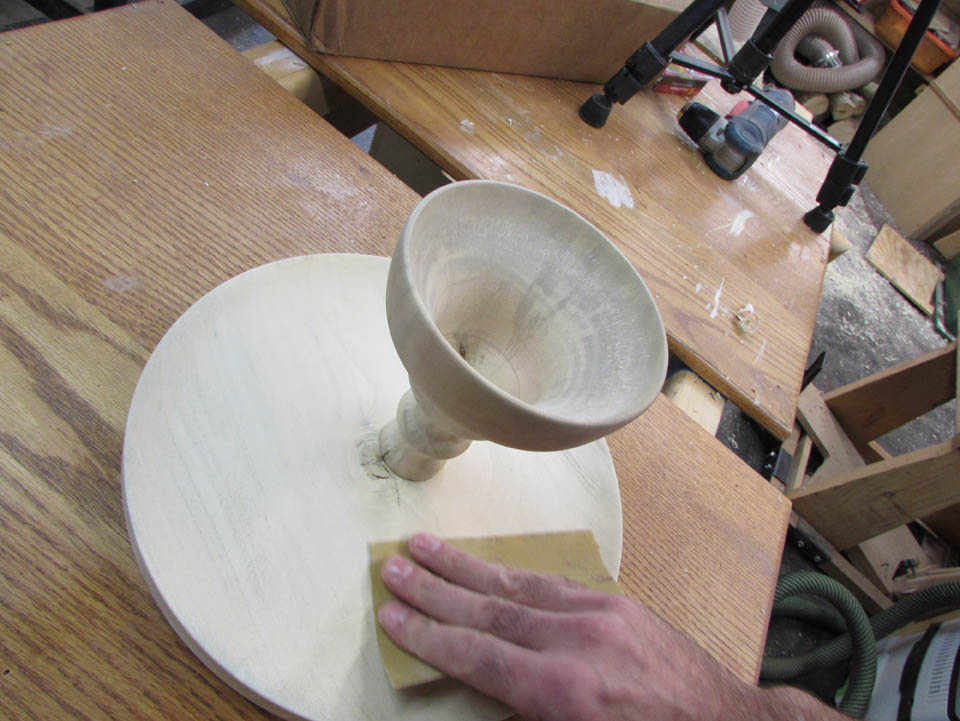
Then it was on to sanding. Working my way through the grits from 150-320 grit paper. I also have the ability to run the lathe in reverse which also helps with sanding and it has the added benefit of throwing the dust down towards the dust collection, below.

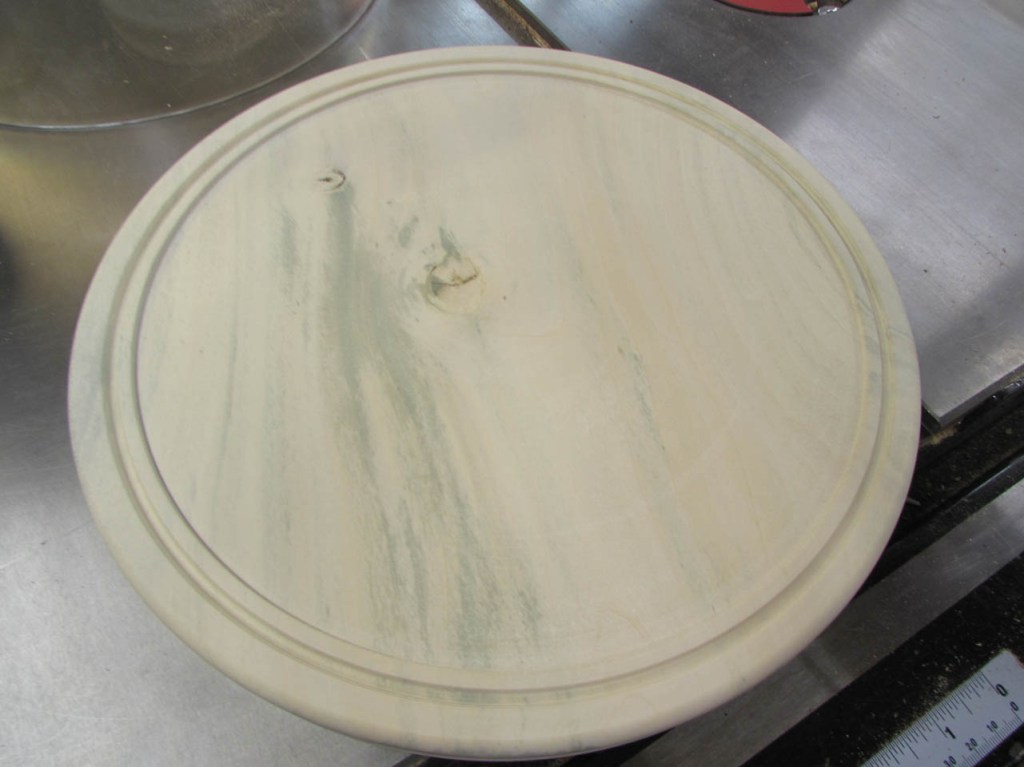
I love the look of the holly. White and green do not usually show up in a lot of domestic American woods, and holly sands so nicely.


I did a quick dry-fit before mixing up a bit of epoxy to attach the base with.

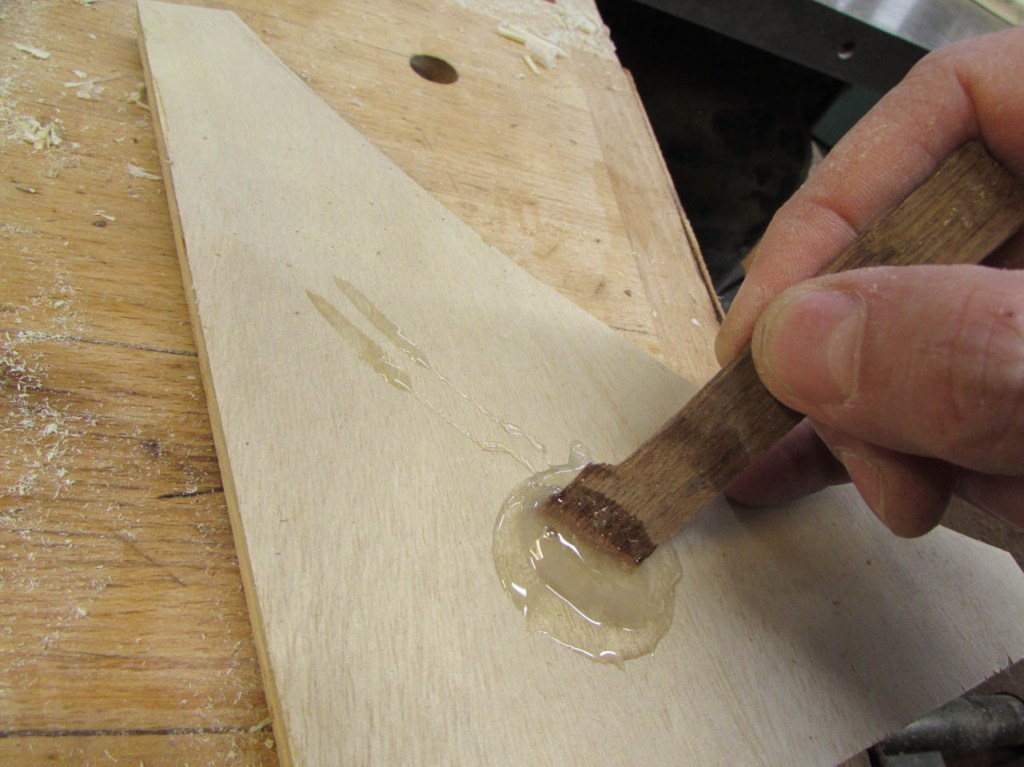
I only need a bit of epoxy to hold this together.
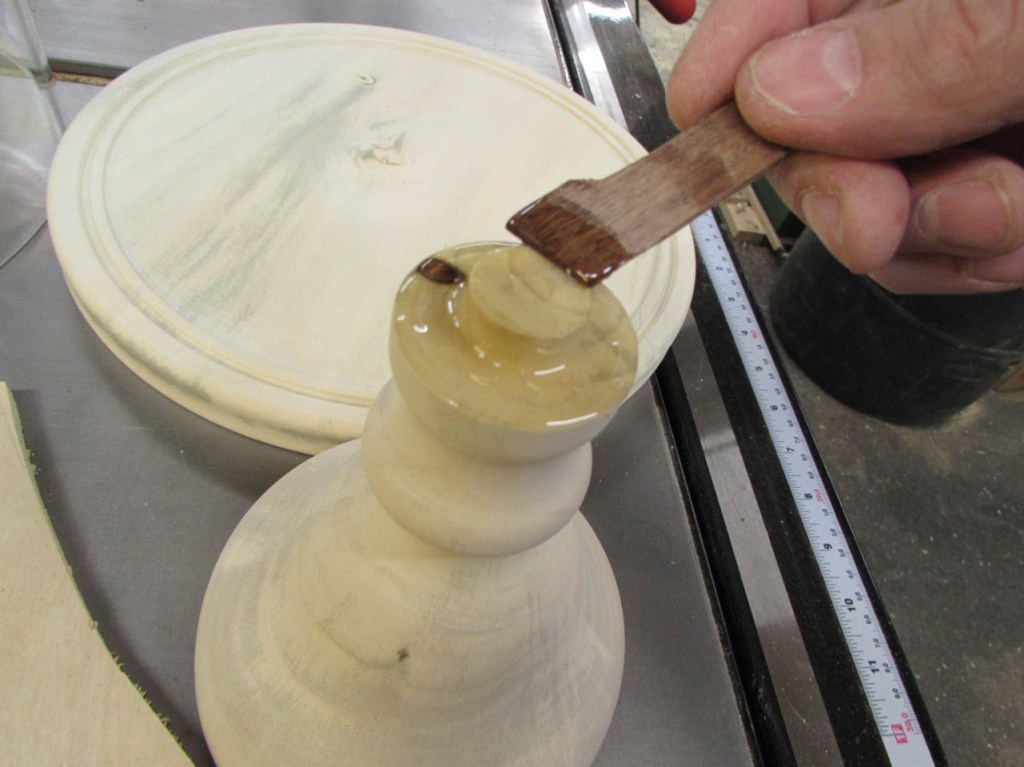
After applying it, I held the base in place for five minutes until the epoxy had set. Sometimes the epoxy will heat and bubble causing parts to shift if you do not weigh them down until set.

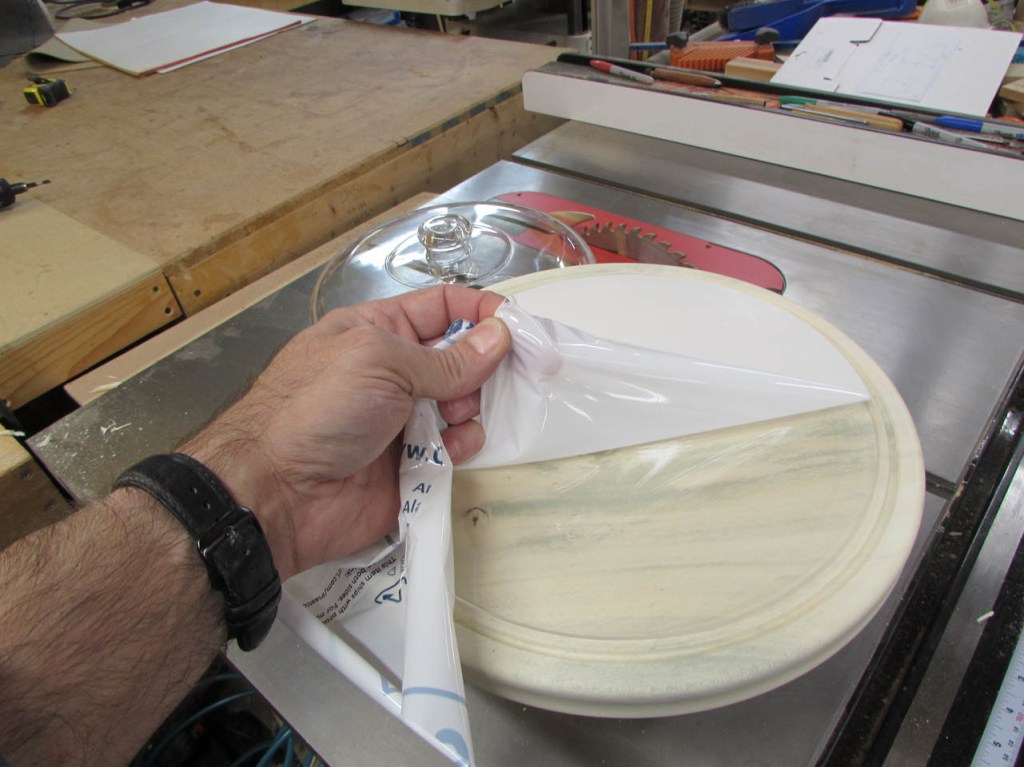
I peeled the protective plastic off of the acrylic plate and installed it to see how it looked.
Then it was time to start applying finish. I like the holly the way it looks now so I don’t want to apply a finish that will change the color in any way. That typically means a water-based polyurethane. I also have a tiny bit of spray-on lacquer that will dry quickly and not change the color. I figured that it would make a good, protective first coat.

I sprayed it on the bottom first, they flipped the stand over onto two triangular strips, to keep the bottom from making much contact with anything while it was wet. Then I sprayed the top and sides.

After a half hour or so, the lacquer was dry enough to sand back with 400 grit paper.

After the dust nibs were knocked down and everything was smooth again, I loaded some water-based, Satin polyurethane into my sprayer.
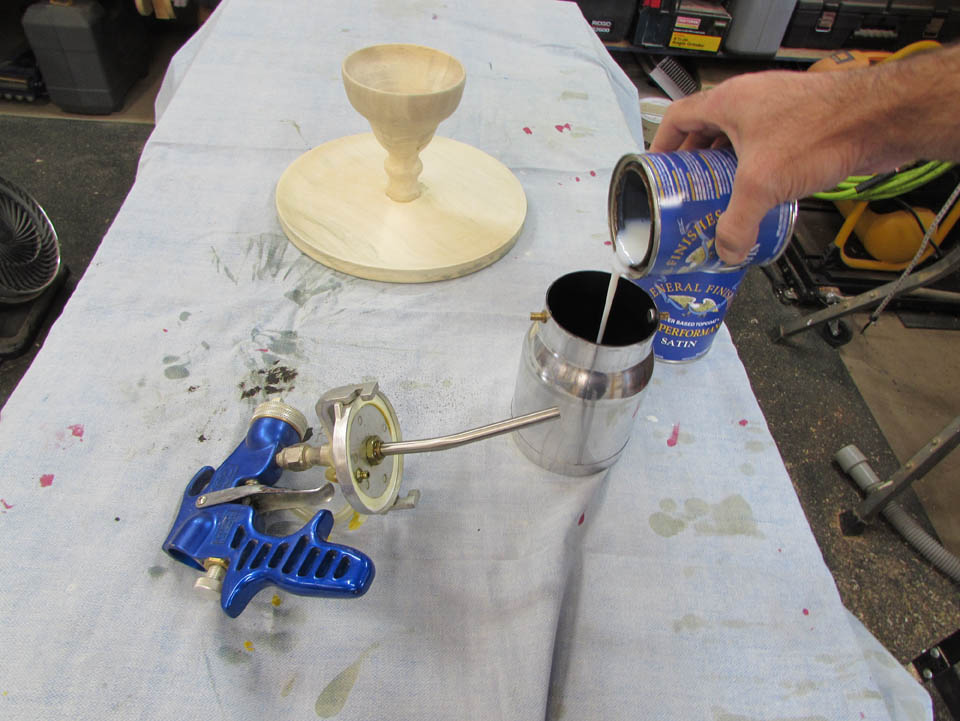
I didn’t bother setting up the spray booth for such a small spray job, mainly because it was water-based. Even though there are not a lot of harmful fumes, I still wear my respirator.


I repeated the process of spraying the bottom, then the top and sides.


After letting the finish dry for an hour or so, I sanded and sprayed again.

After three coats, I had a nice satin finish. I used some crumpled brown paper to buff out the finish and remove any dust particles that may have dried on the surface.

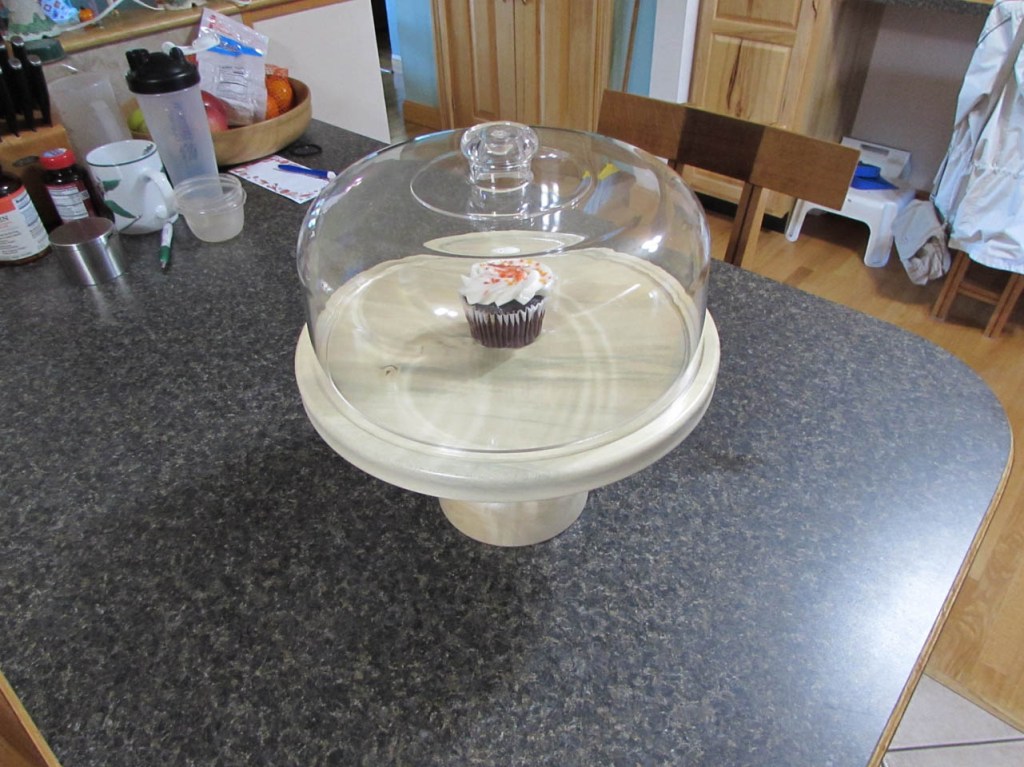
And, here is the finished cake stand, displaying the last cupcake from the wedding.
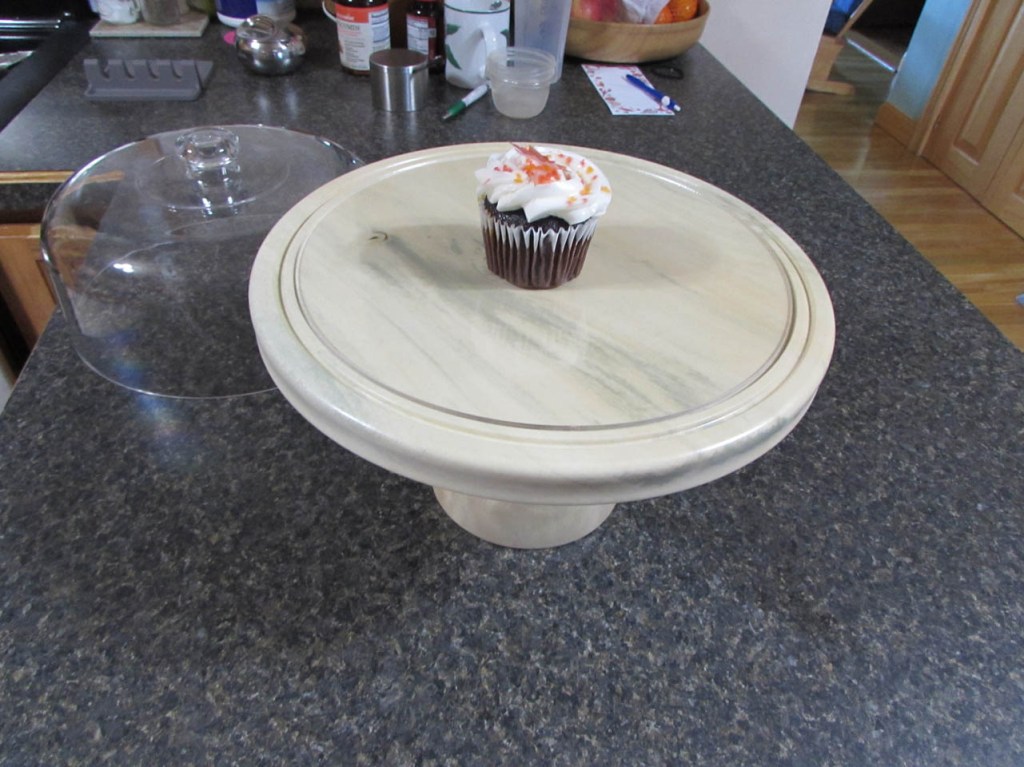
My wife was happy to give a home to the left-over holly base from the last cake stand. I think she really likes it. Now we just need more cake to test this baby out!
