
Wedding and cupcake stand
My middle son will be getting married in two weeks and I offered to make the cake stand. The current plan for the wedding cake is a small two-layer cake, 8″ base and a 6″ top, with about 100 or so cupcakes. There isn’t a distinct plan yet, so I am just going to jump onto the lathe and get started. The plan will evolve as I go, depending on input from the bride to be.

I know the top plate will be made from walnut, but I want to play around with the base a bit, and maybe make a hollow form. I have not done a lot of lathe work so I need to step out of my comfort zone to learn something new. I have a few chunks of holy that I have been drying in the shop for a couple of years now. I figured that would be a good place to start for the base.

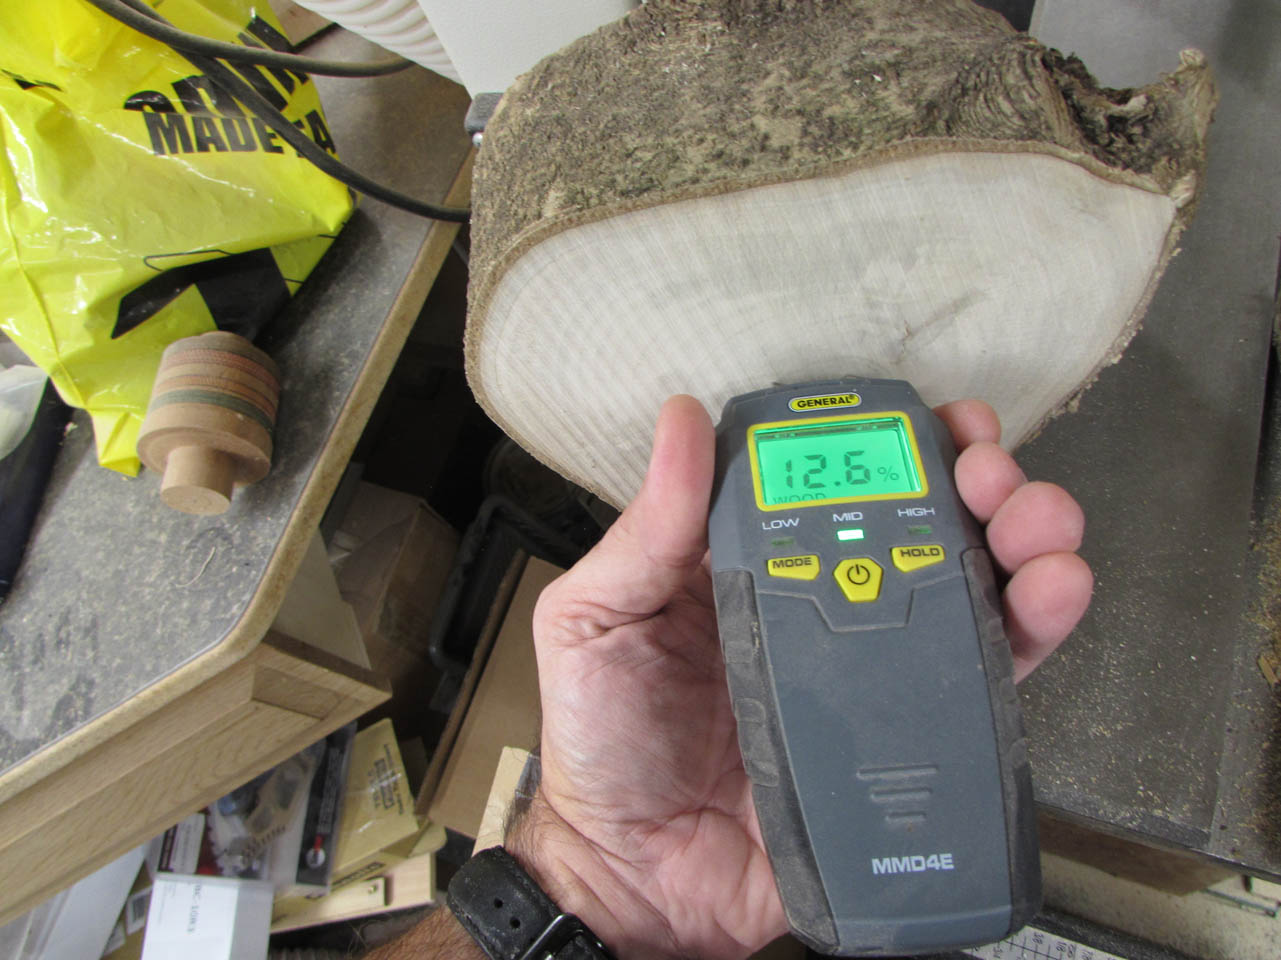
I used the band saw to cut one of my logs in half and checked the moisture level in the center. 12.6% isn’t bad and most of the center will be removed leaving the dryer stuff. It shouldn’t have to dry much so this piece will be good.

I found the center of the log and determined that I can get a 5-1/2″ circle for the base.


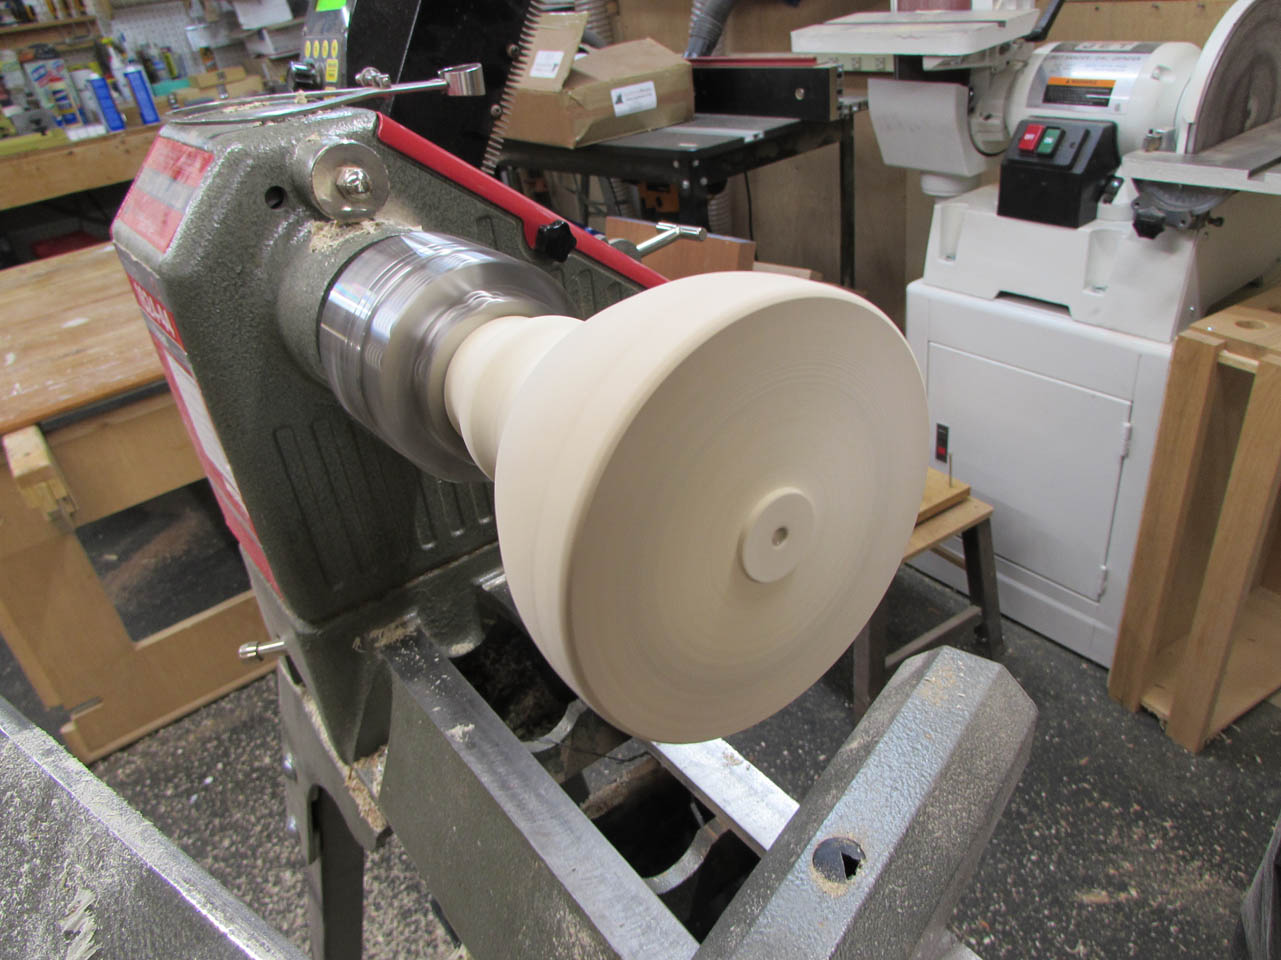
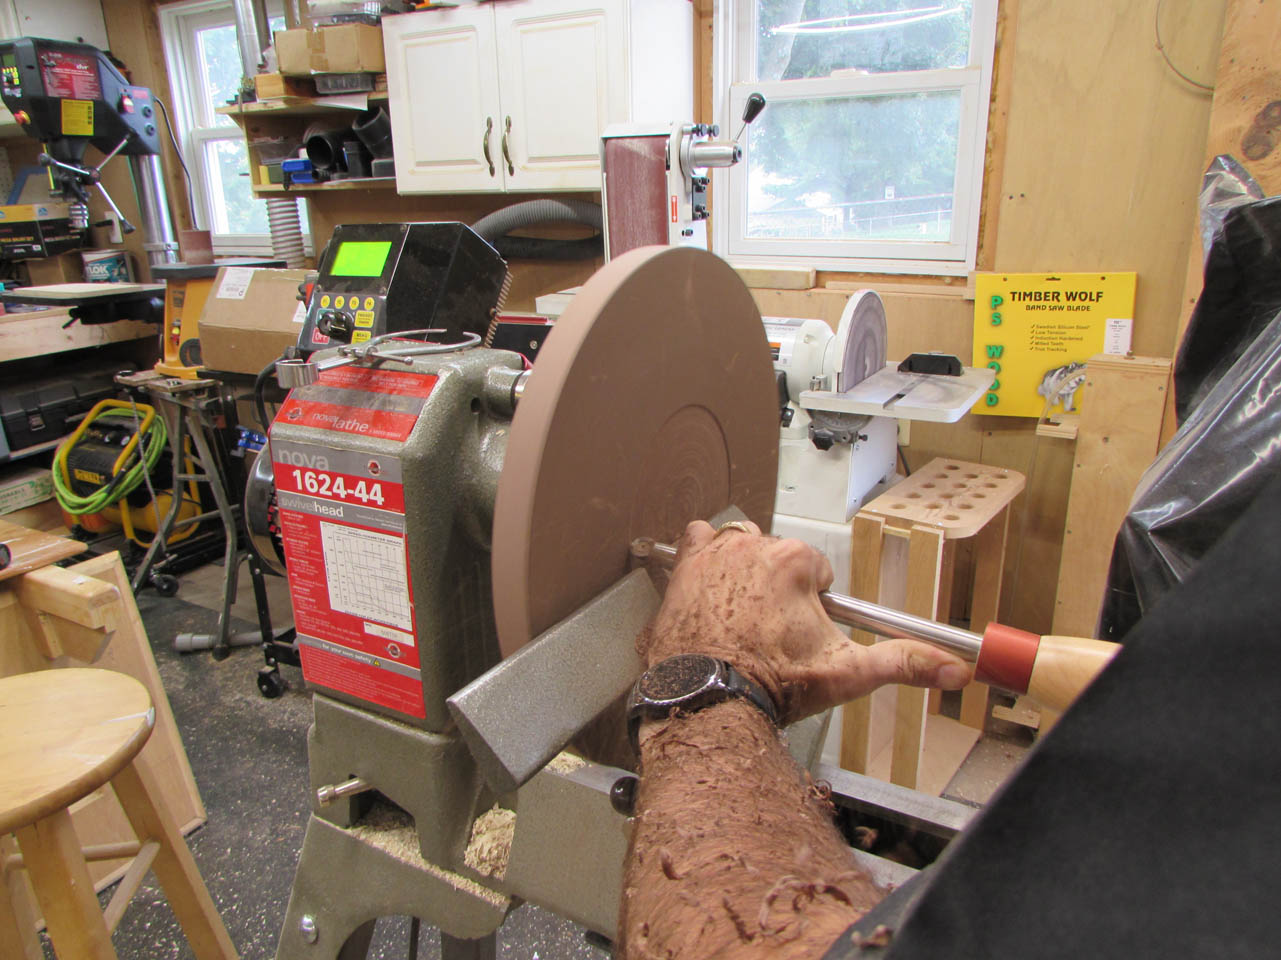
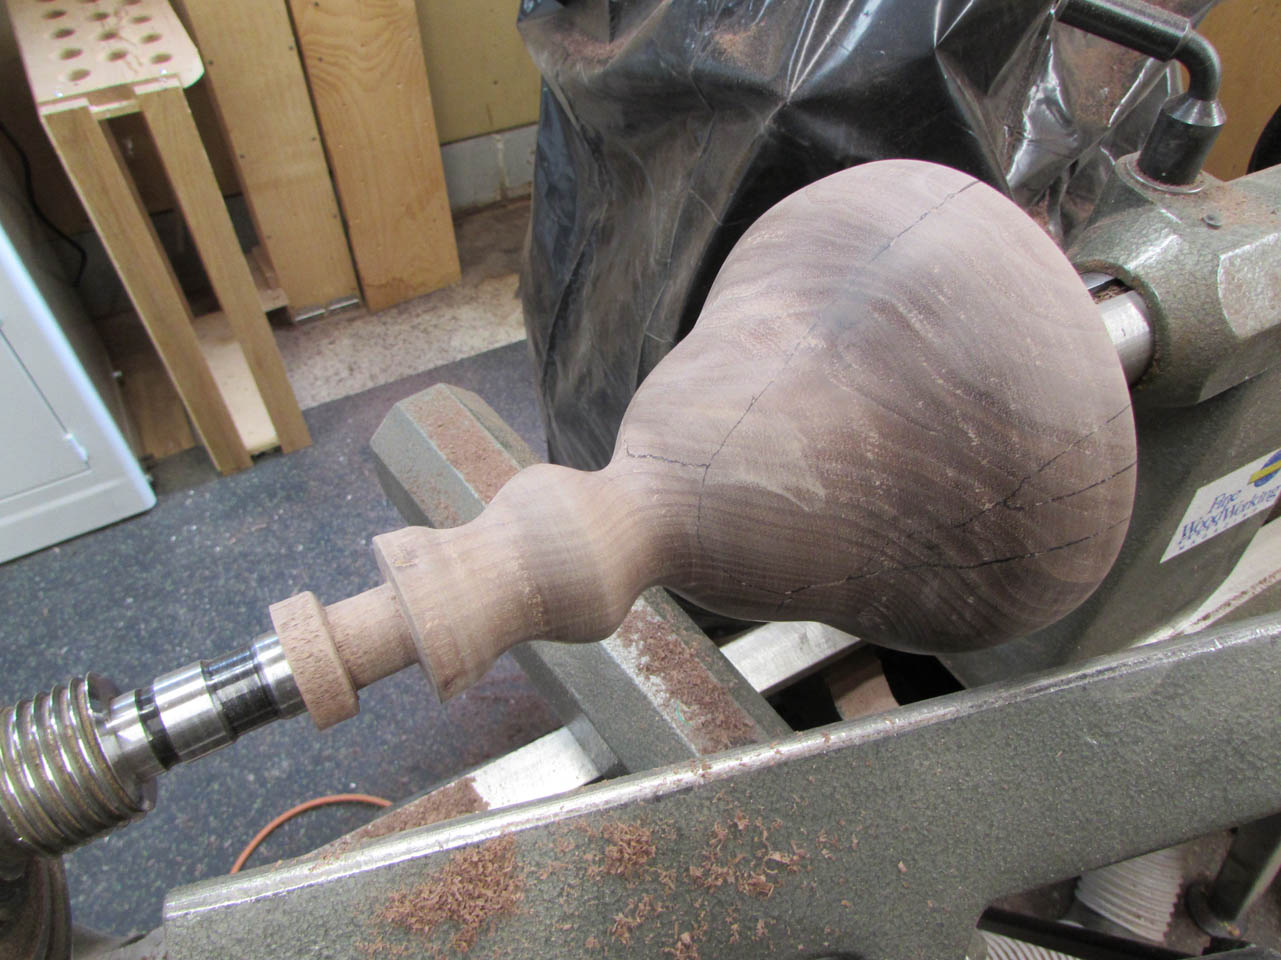
After locating the center on each end and determining which end would be the base, I loaded it on the lathe between two centers and started roughing out the shape.


I like holy, it is soft and it sands up very easily. It also cuts quickly and easily.

I got the log completely round and looked for things like this knot hole to drive the design. I will have to cut the diameter, at that point, deep enough to remove that knot.


After removing any knots and checks, I squared up the small end and turned the last inch down to a diameter that would fit into my chuck jaws.

I made the base a bit long so I would have an area to grab with the teeth of the jaws. This area will be turned down or removed later so it doesn’t have to be pretty.

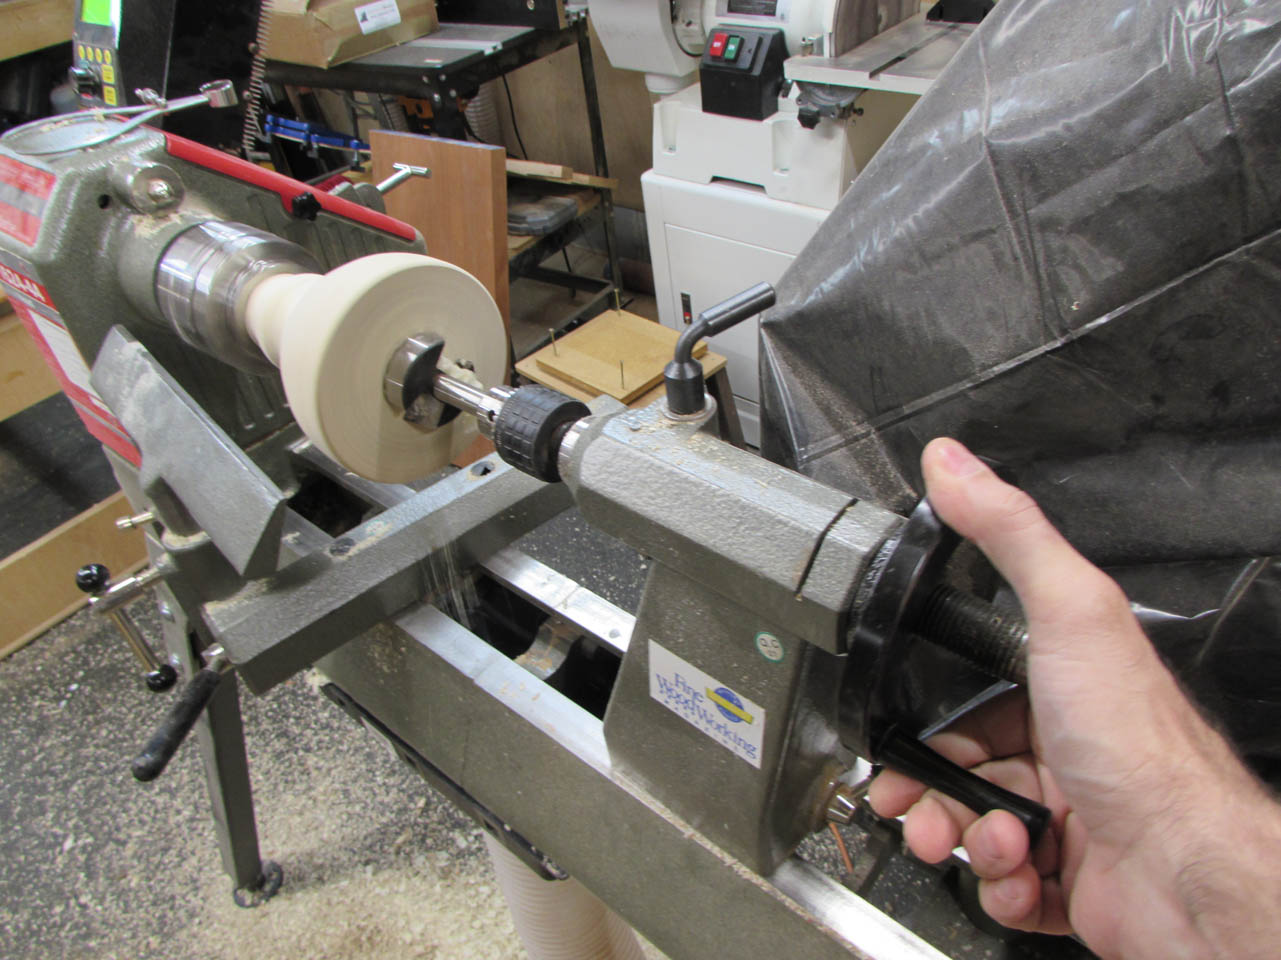
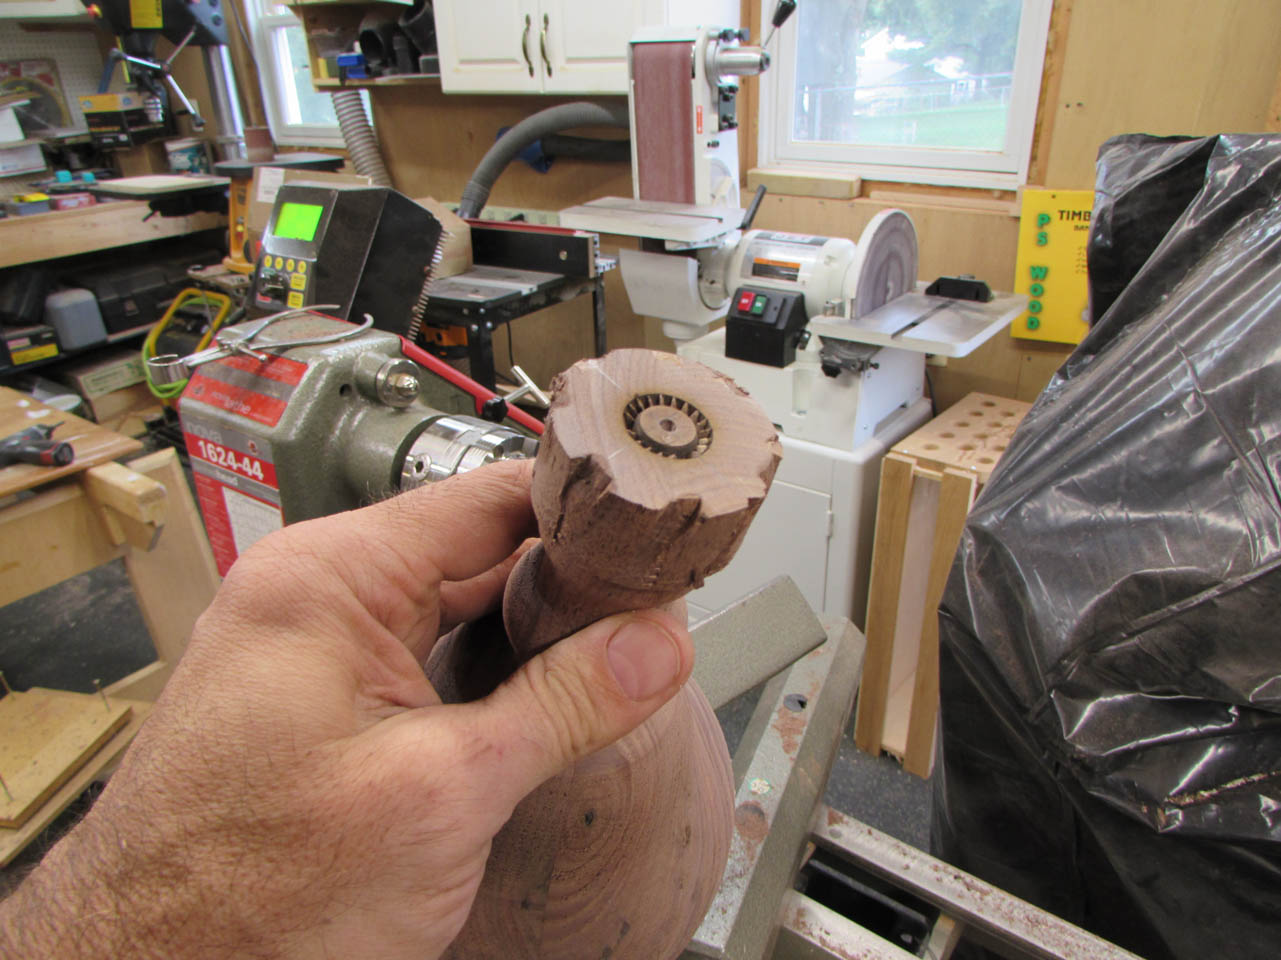
I used the live center in the tail stock to re-center the log, then clamped the jaws of the chuck tight and removed the tail stock.
I replaced the live center with a drill chuck and put in my largest forstner bit, about 2-1/2″.
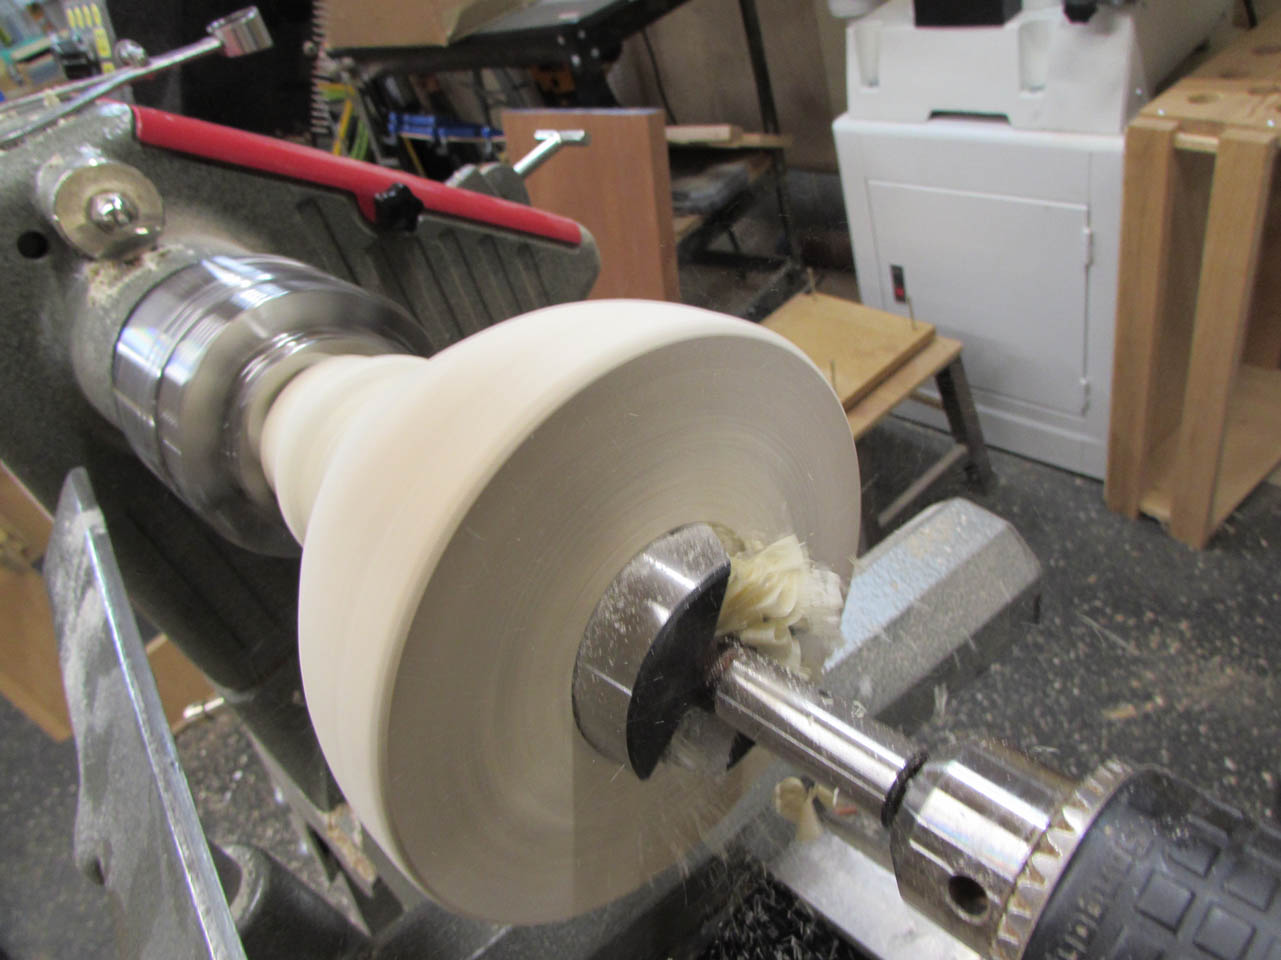
I used the bit to drill about 3″ deep into the base.


This removes a lot of stock and makes it easier to start hollowing out the middle.
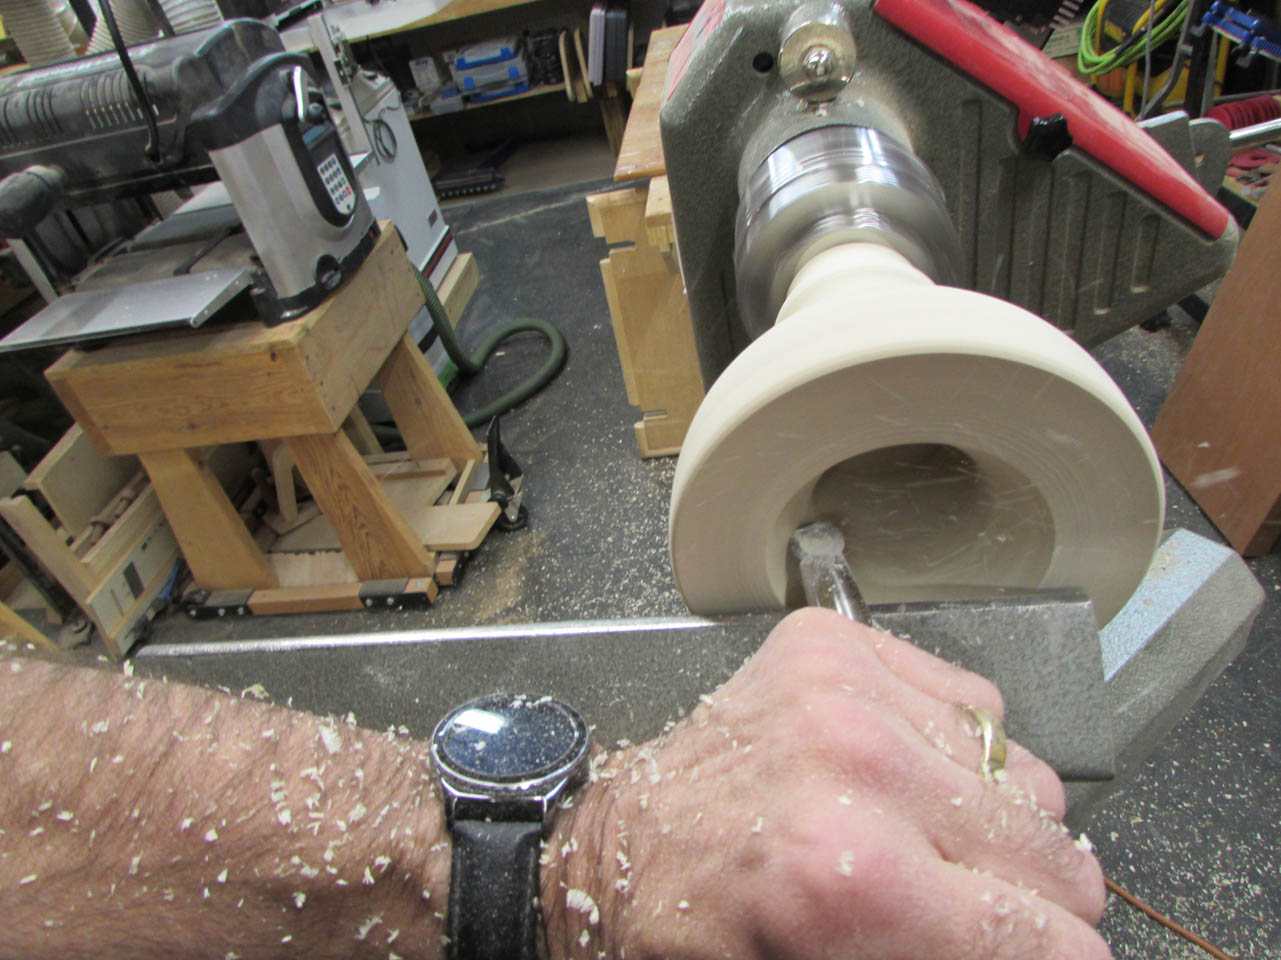
This is a lighter wood so I left the sides fairly thick.

when I was happy with the shape I sanded out the center.

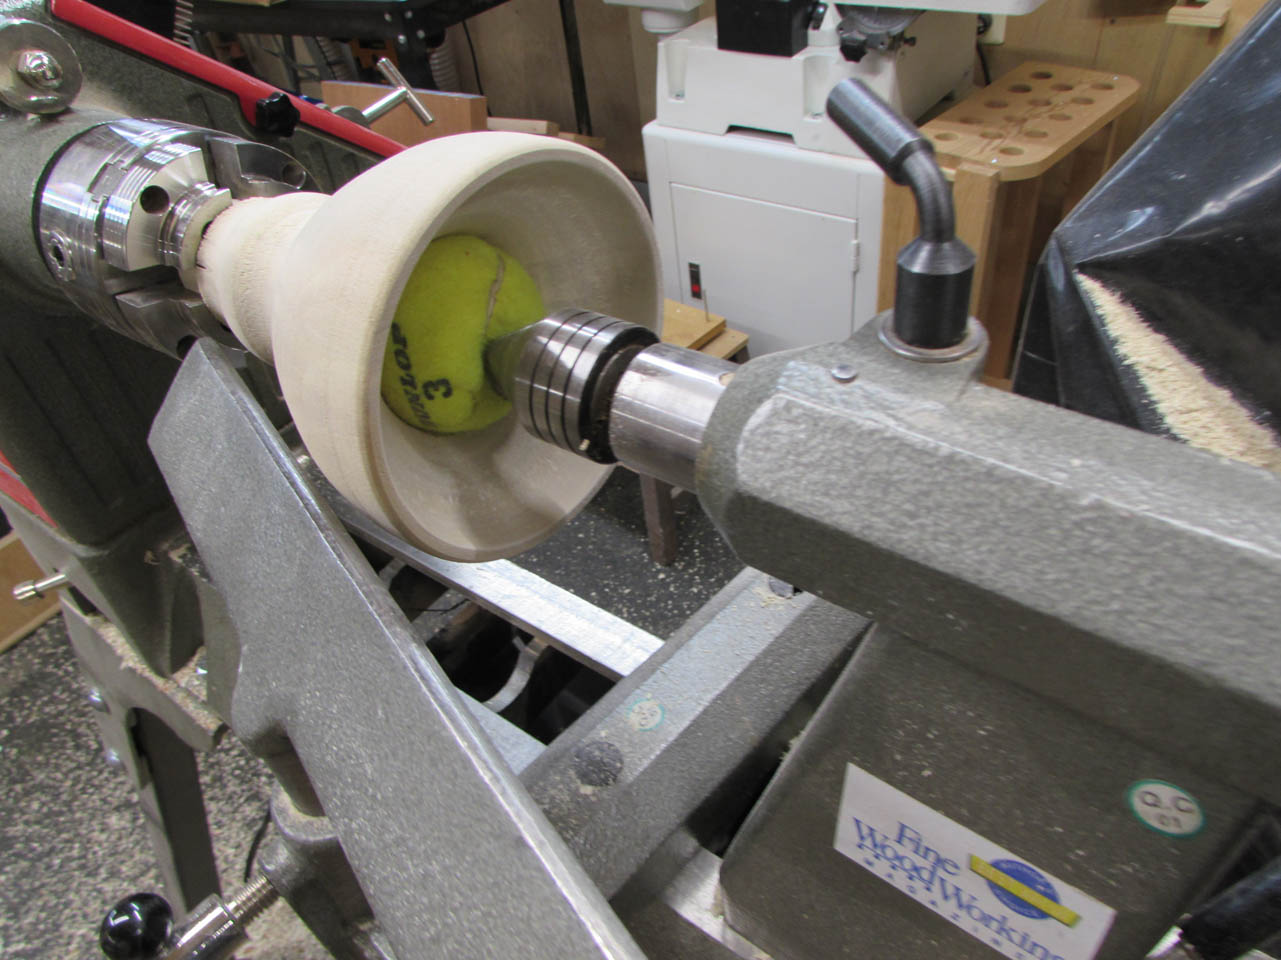
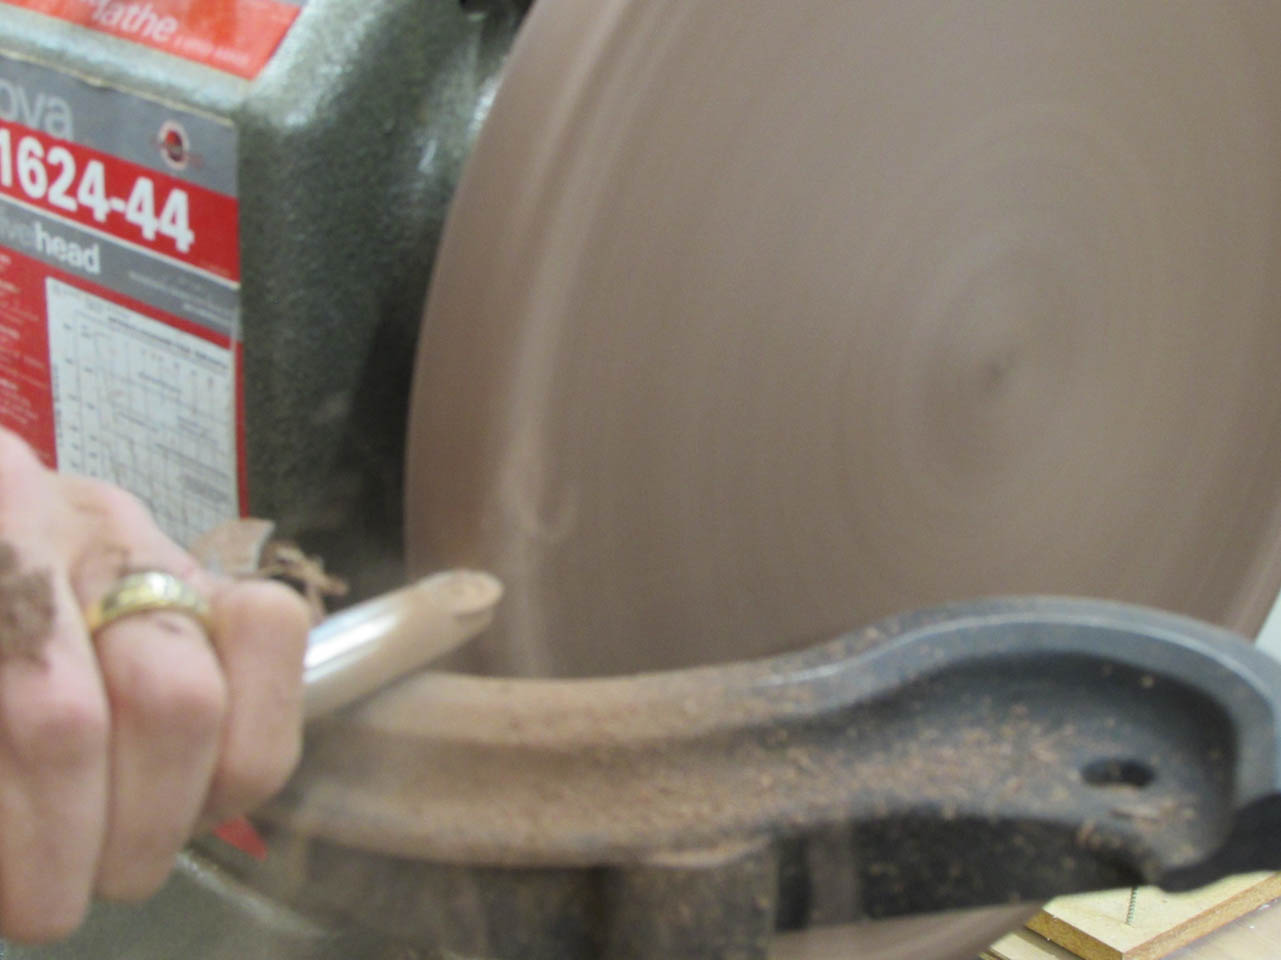
Next, I stabilized the form by inserting a tennis ball and pressing it in place with the live center. This should help prevent the piece from getting loose as I cut the outside down a bit more.
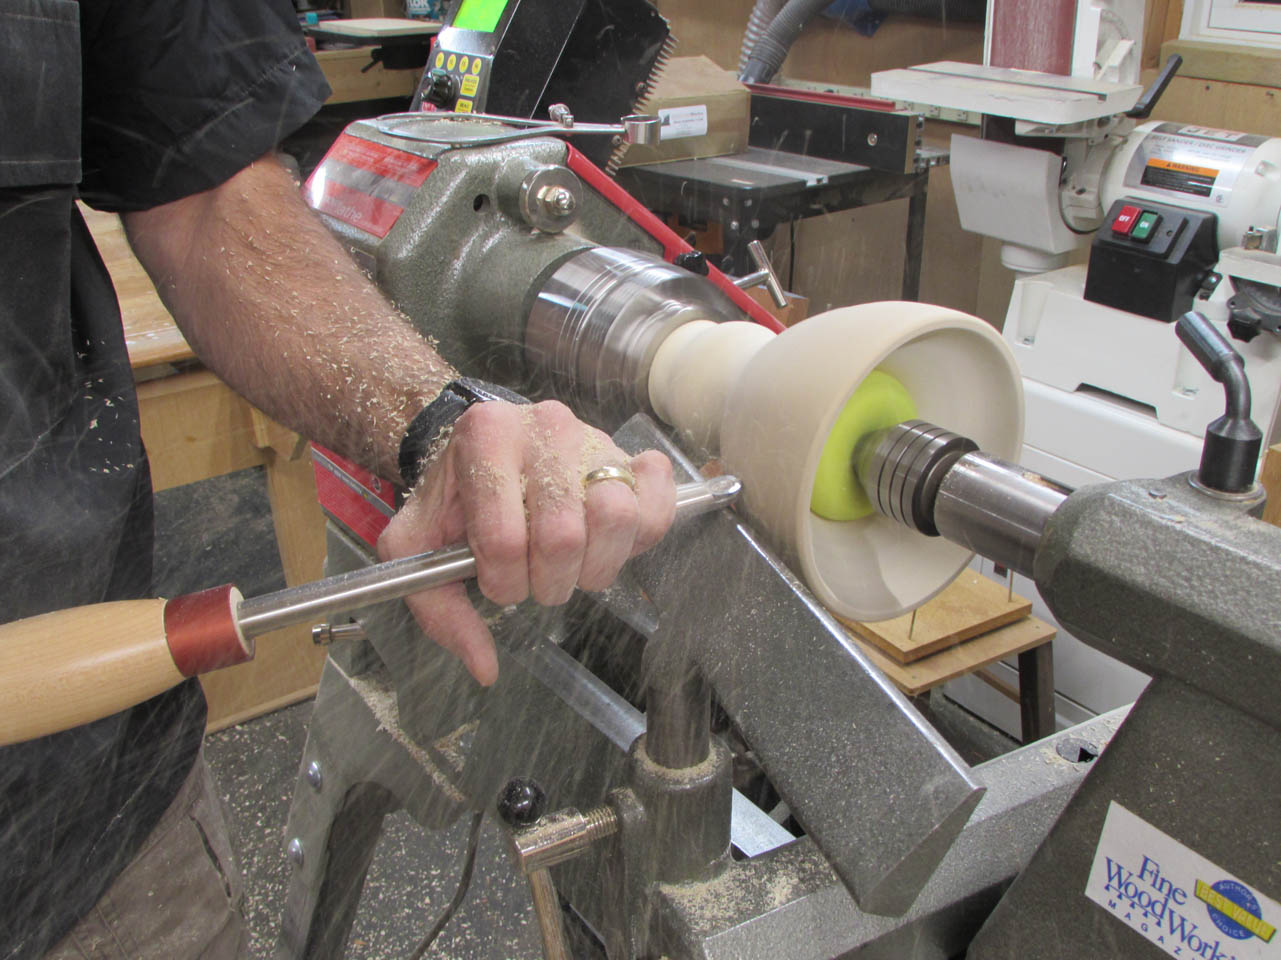
I continued shaping the outside until the sides were a bit thinner and more shapely.

Then I cut a 3/4″ nub on the end to be glued into the cake plate later.

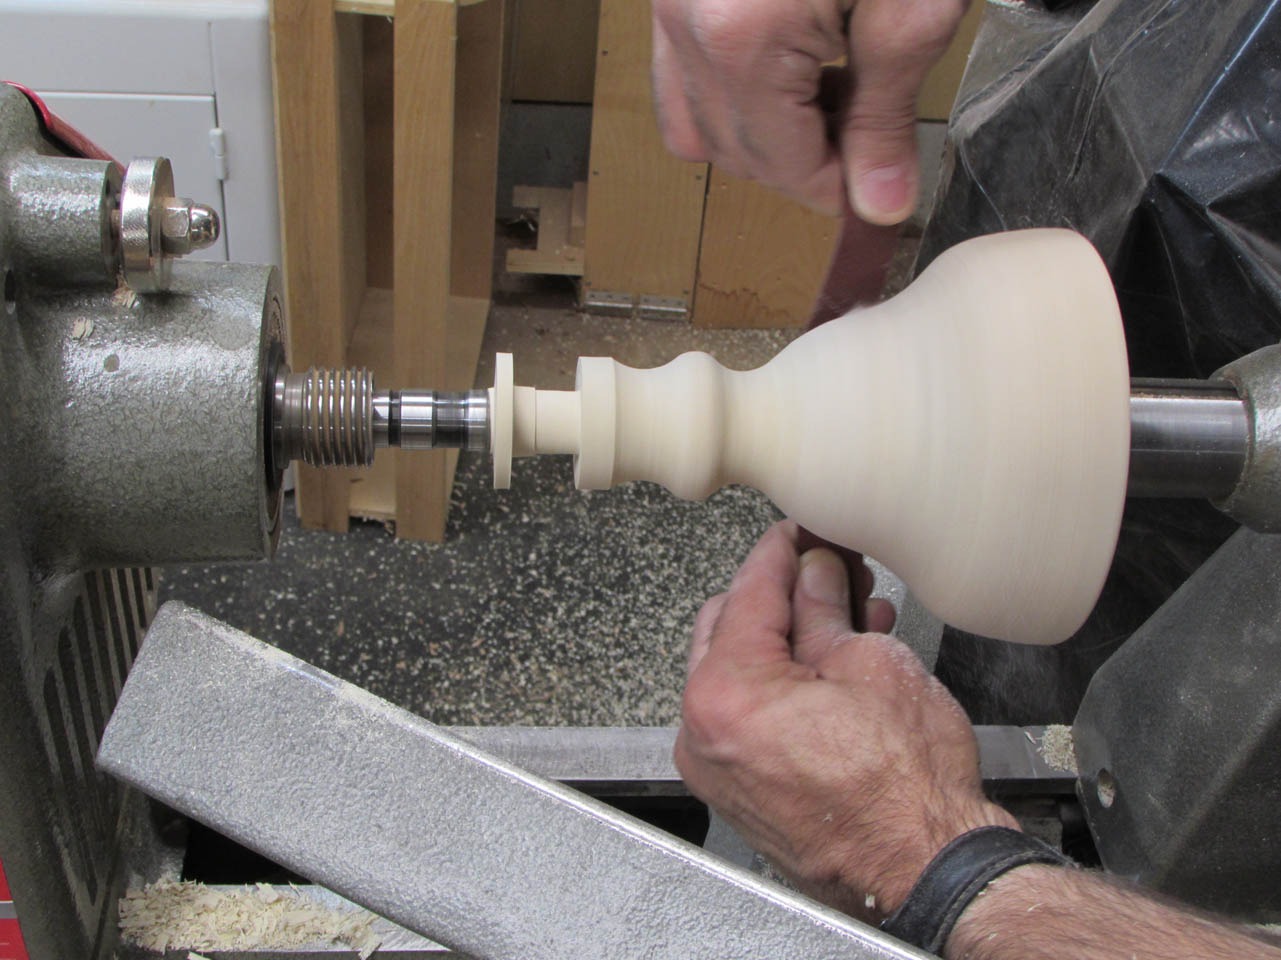
I sanded the rest of the base and used a parting tool to cut away the excess.
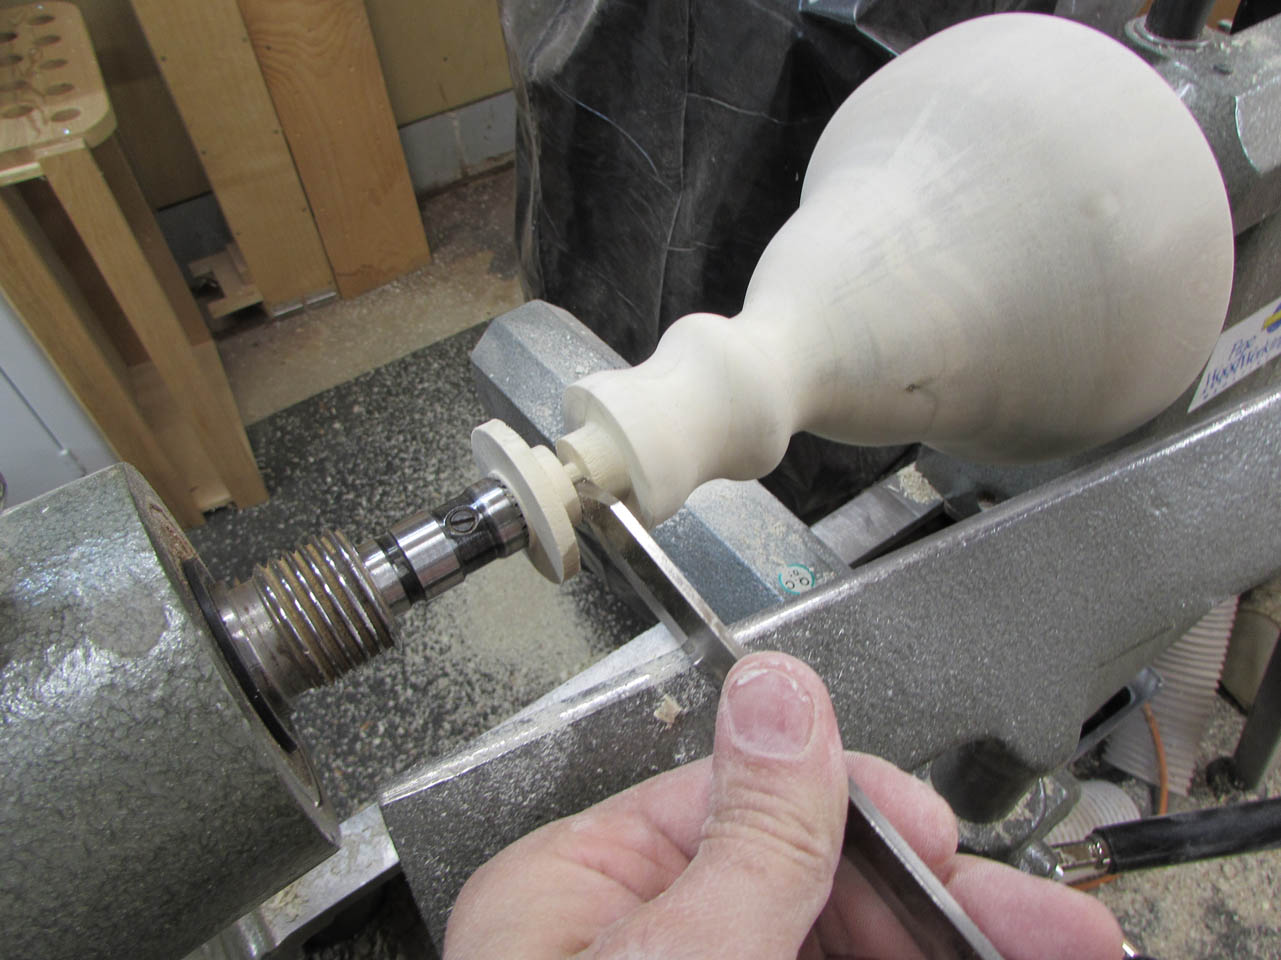
I didn’t want to cut all the way through so I finished up with a hand saw.
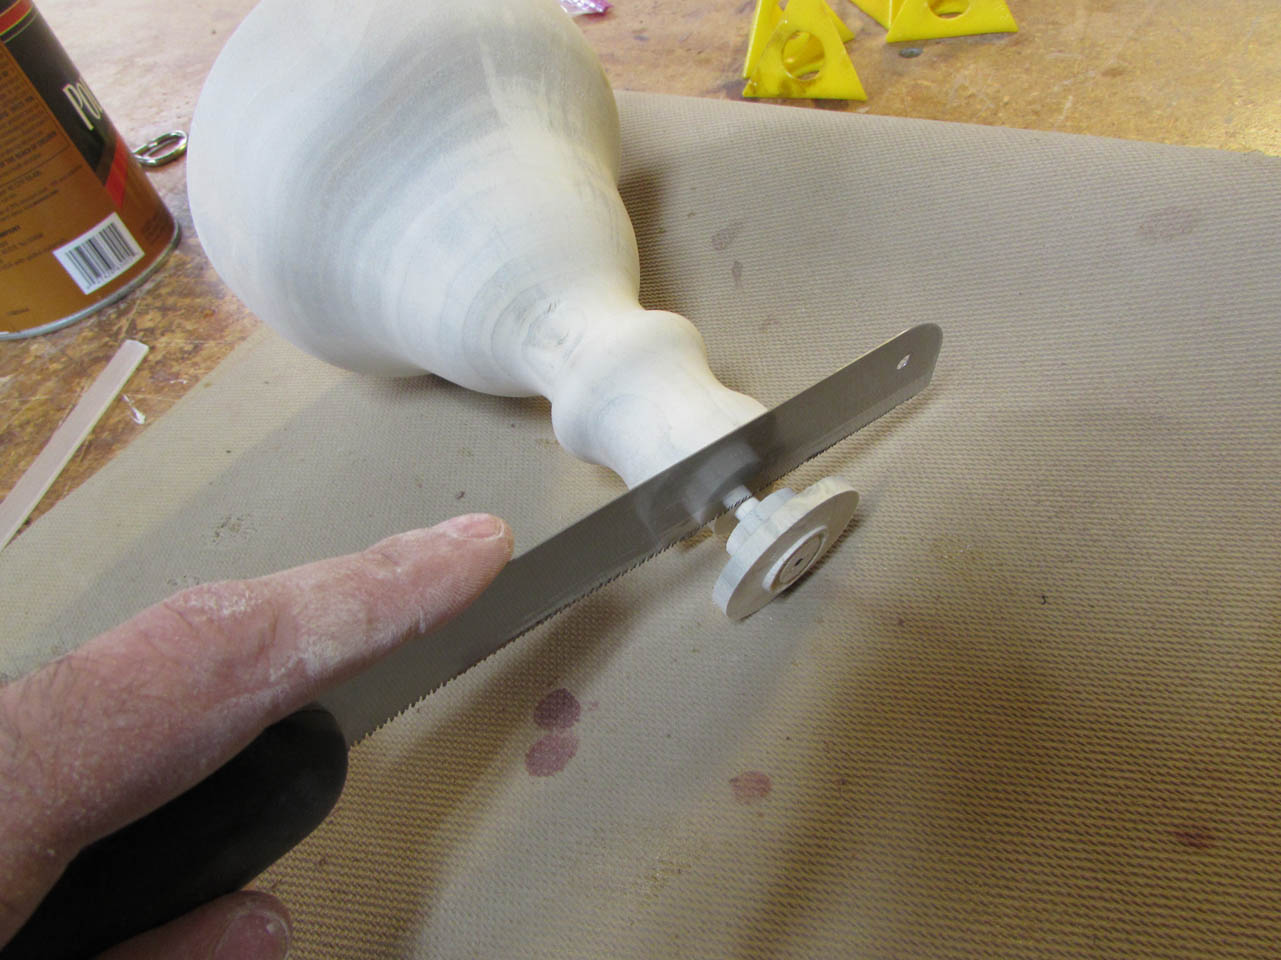
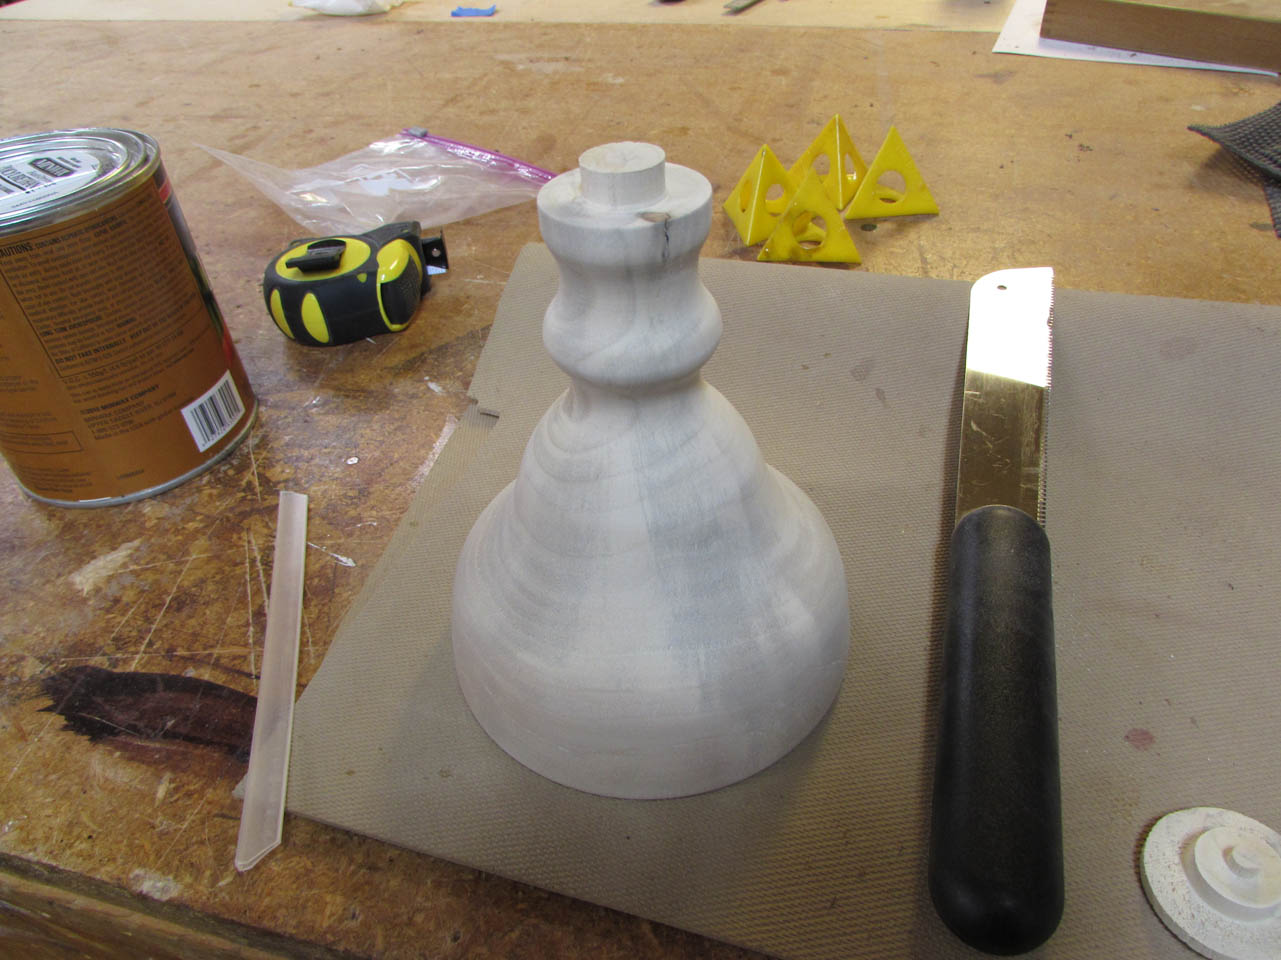
Base complete, onto the top.
I had a large piece of walnut with some nice character and a lot of mill marks. I wanted to use this piece because it was large enough to make the plate from just one piece.

I clamped the board to my bench and used a jack plane to create a smooth, flat area in the center.


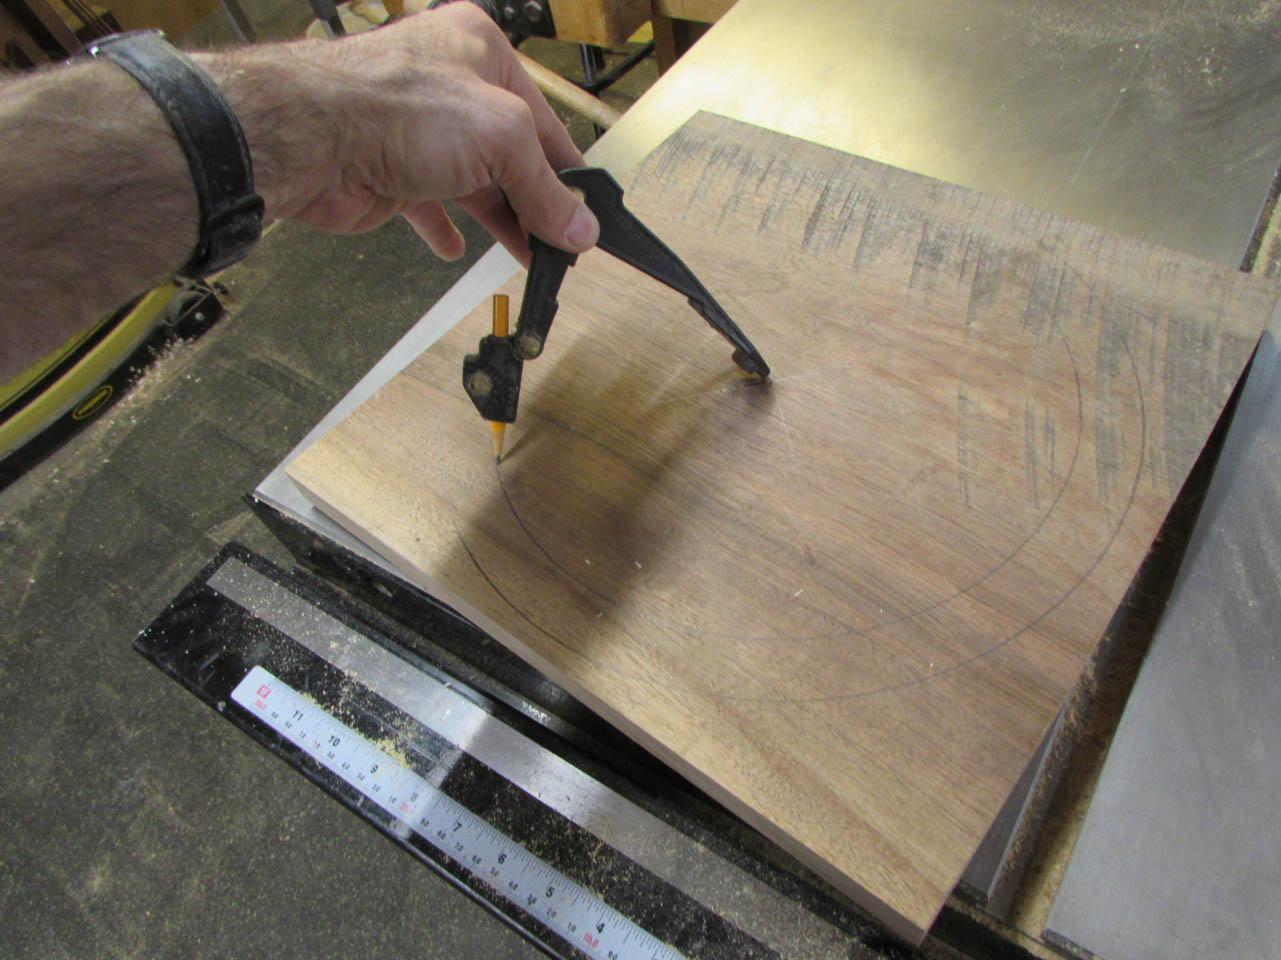
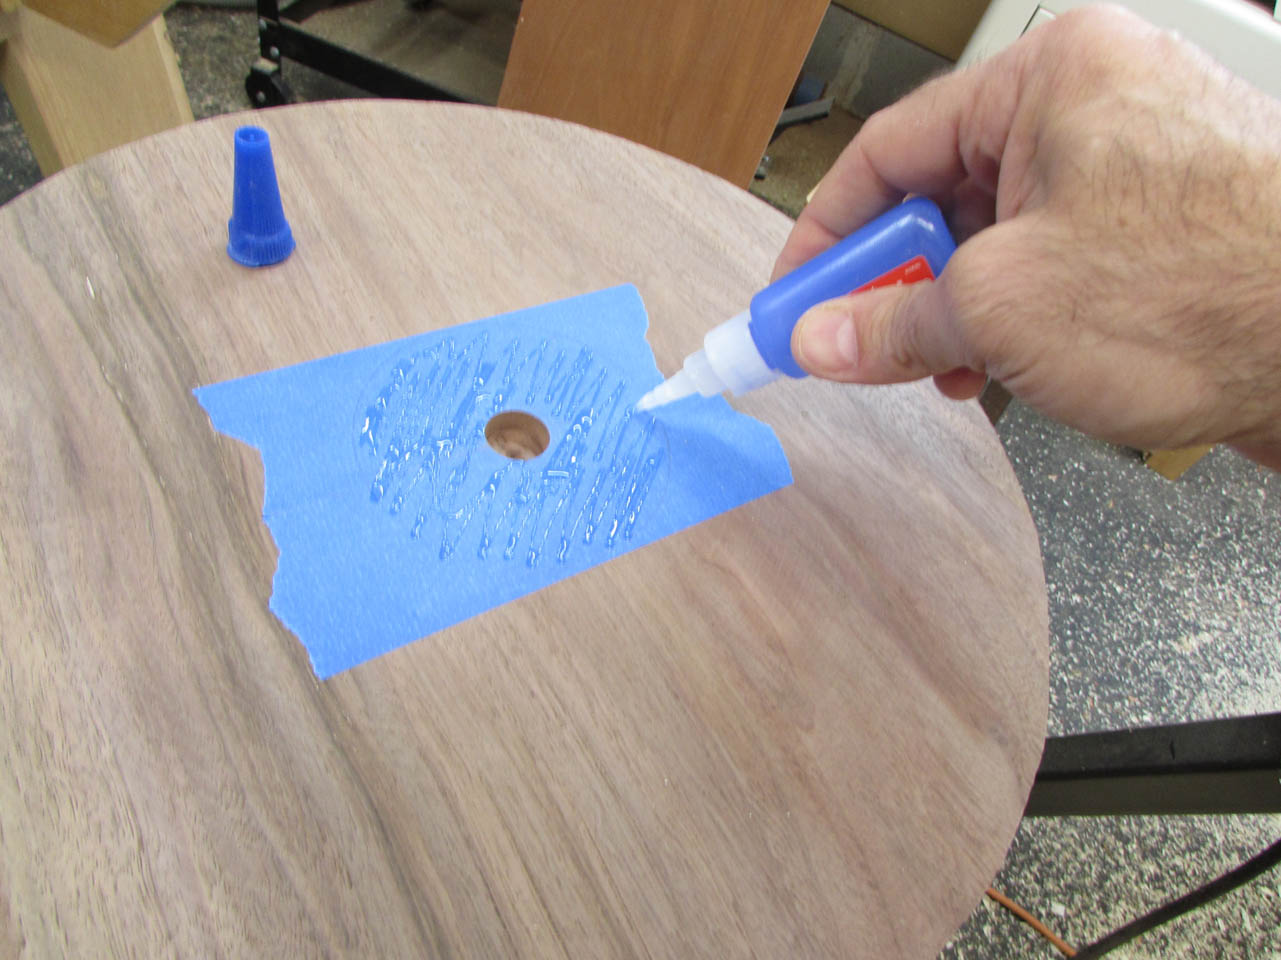
My plan is to turn the plate using a sacrificial block, glued to the face and attached to a faceplate. I placed painter’s tape in the freshly planed location as well as onto my block. I located the center and scribed a circle about the size of my block so I knew where to attach. I also scribed a circle as far out as I could, about 13″ in diameter.
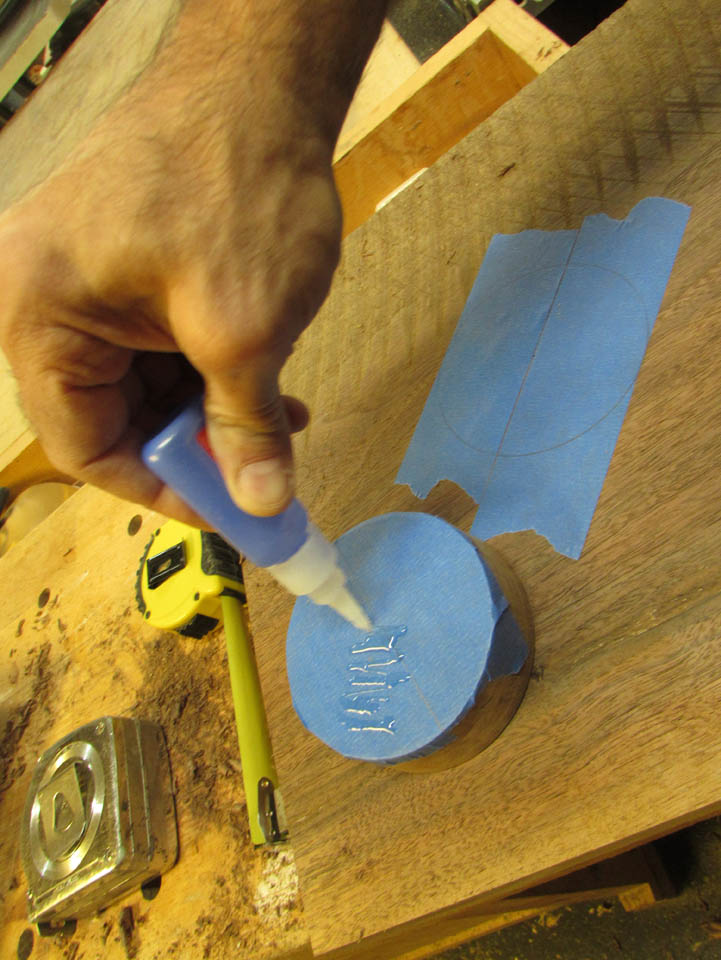
I spread CA glue onto the block and pressed it into place for a few seconds as it set up.

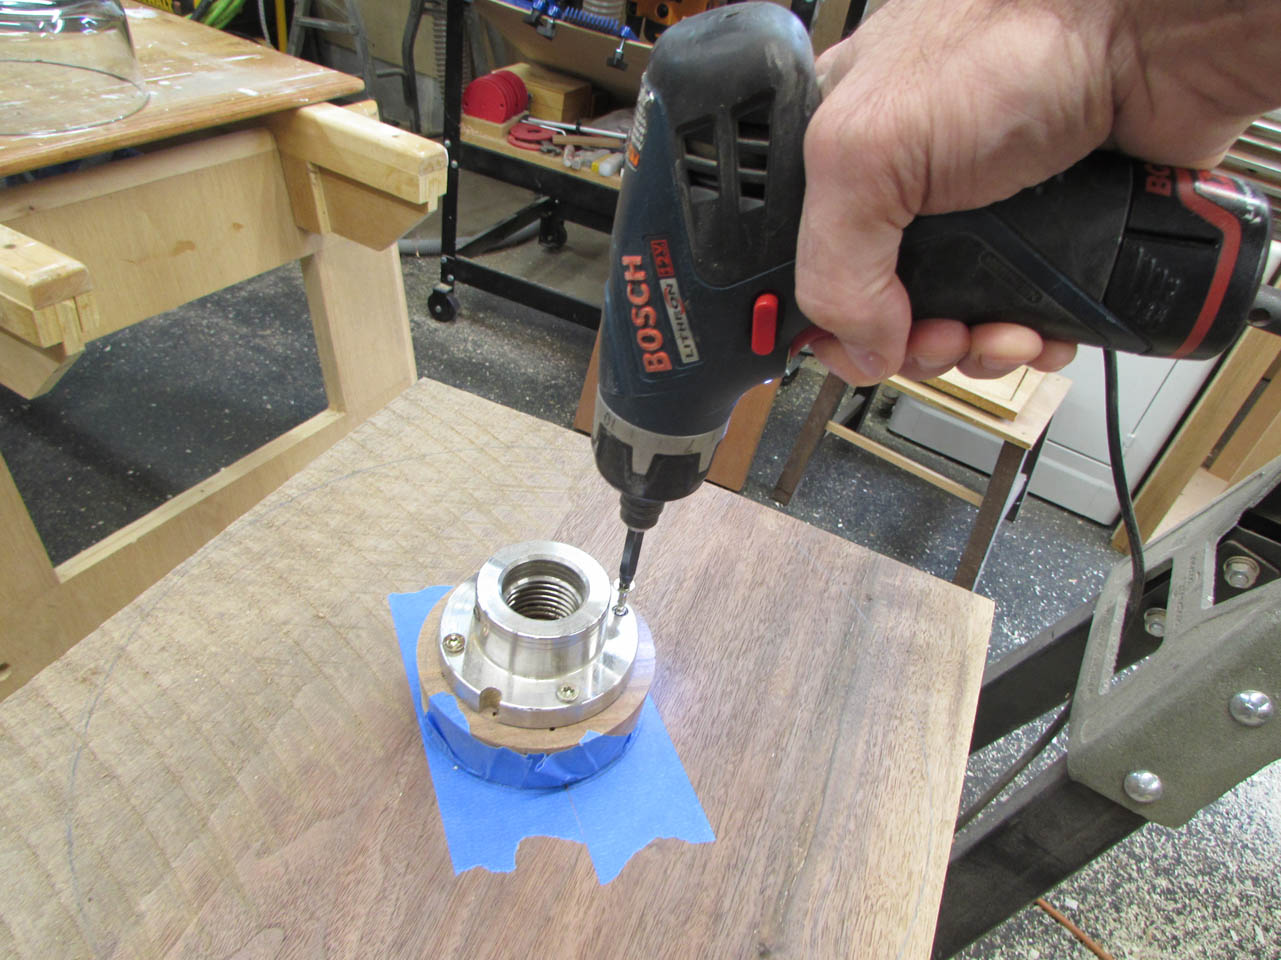
Next, I screwed on the faceplate and went to the band saw to cut out the 13″ circle.


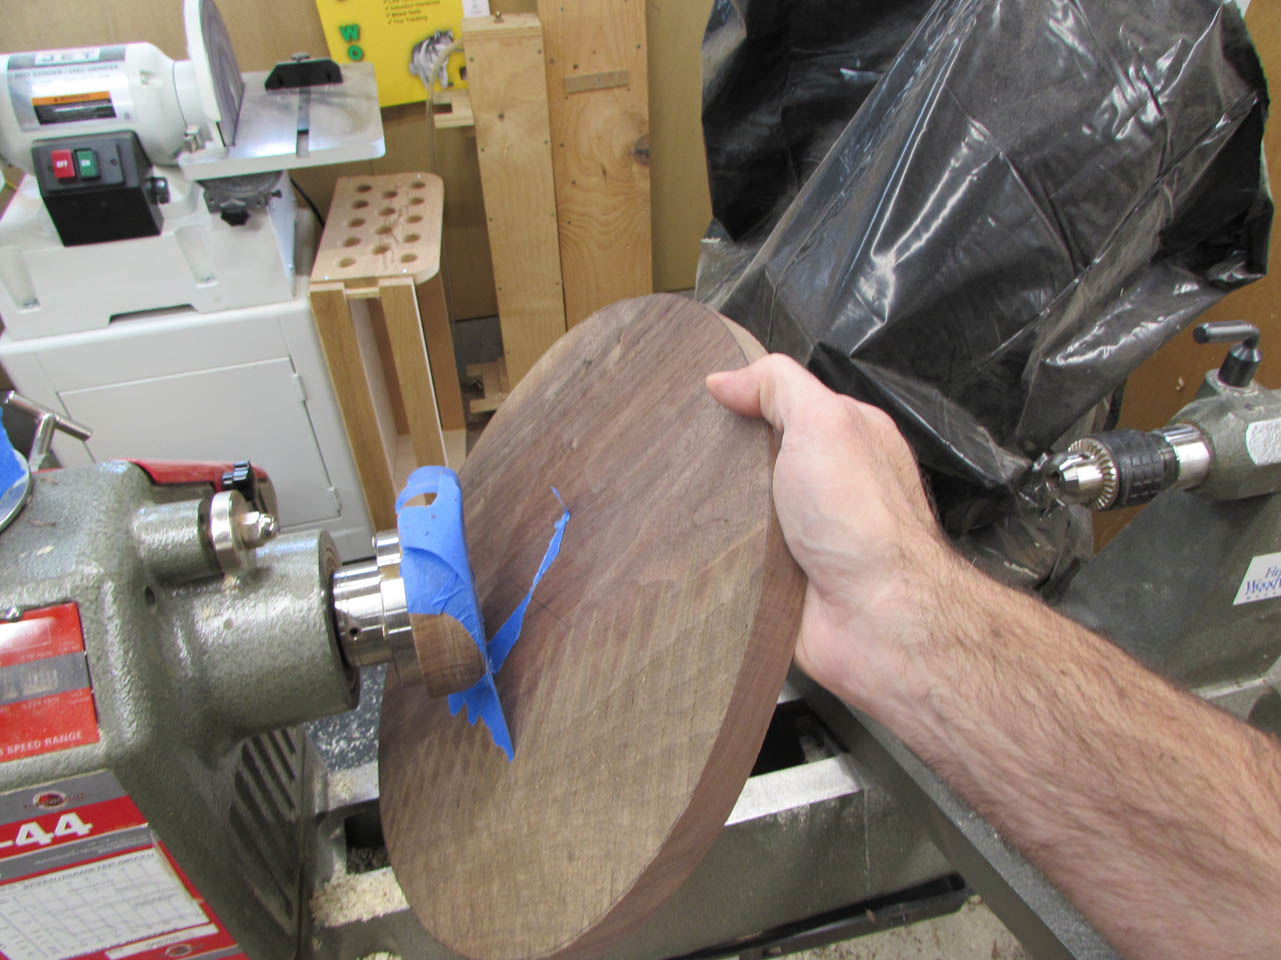
Now that my plate is round, I can mount it on the lathe.

You wouldn’t think that painter’s tape could stand up to the force of cutting at over 2000rpm’s, but it works really well as long as I am not putting too much force on the plate towards the tail stock.

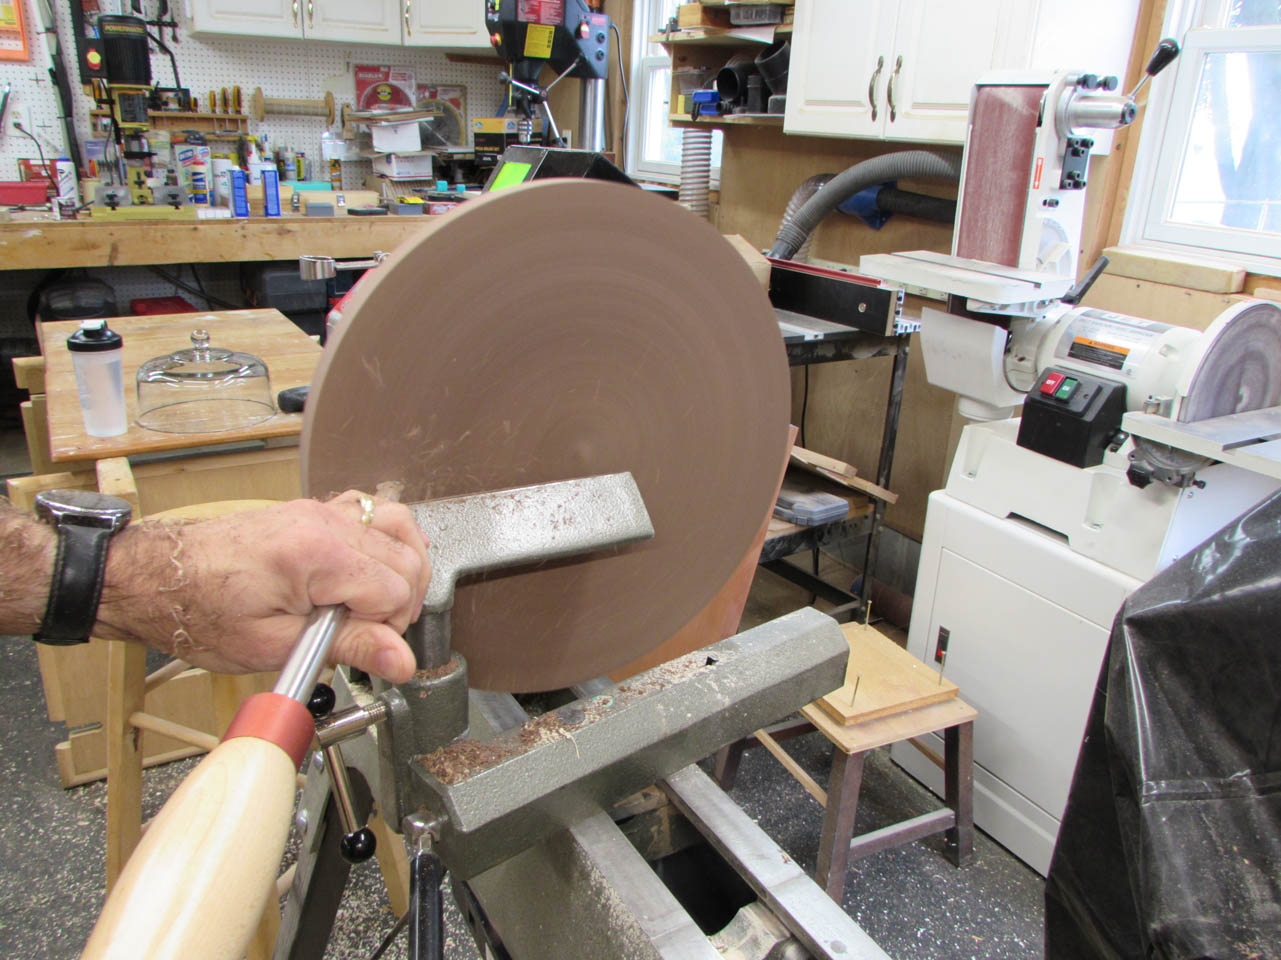
I started by flattening the face and removing the mill marks.
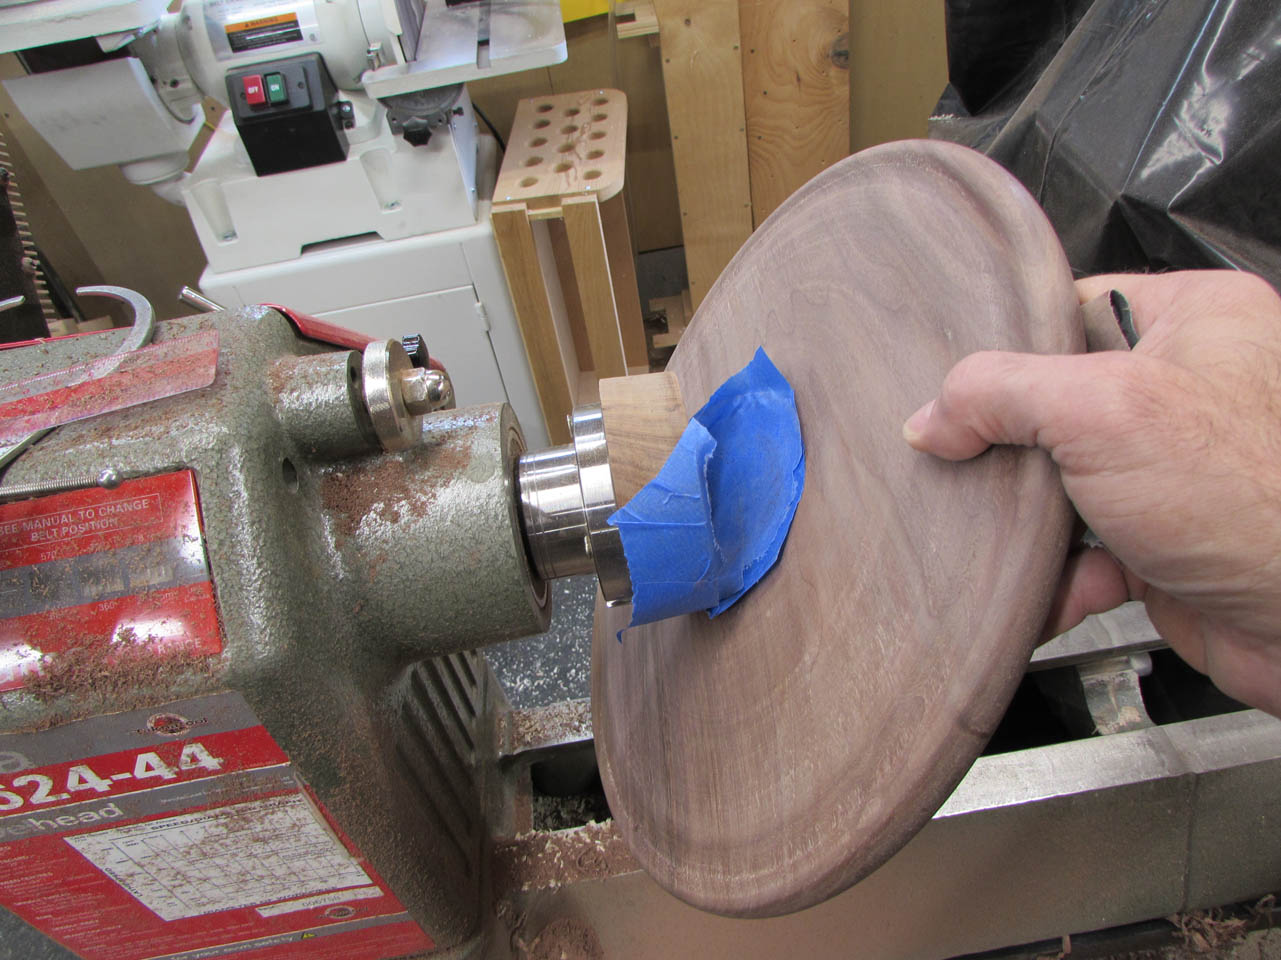
This will be the bottom so, once it was scraped and sanded, I applied tape to the center area and scribed another location circle for the faceplate block.
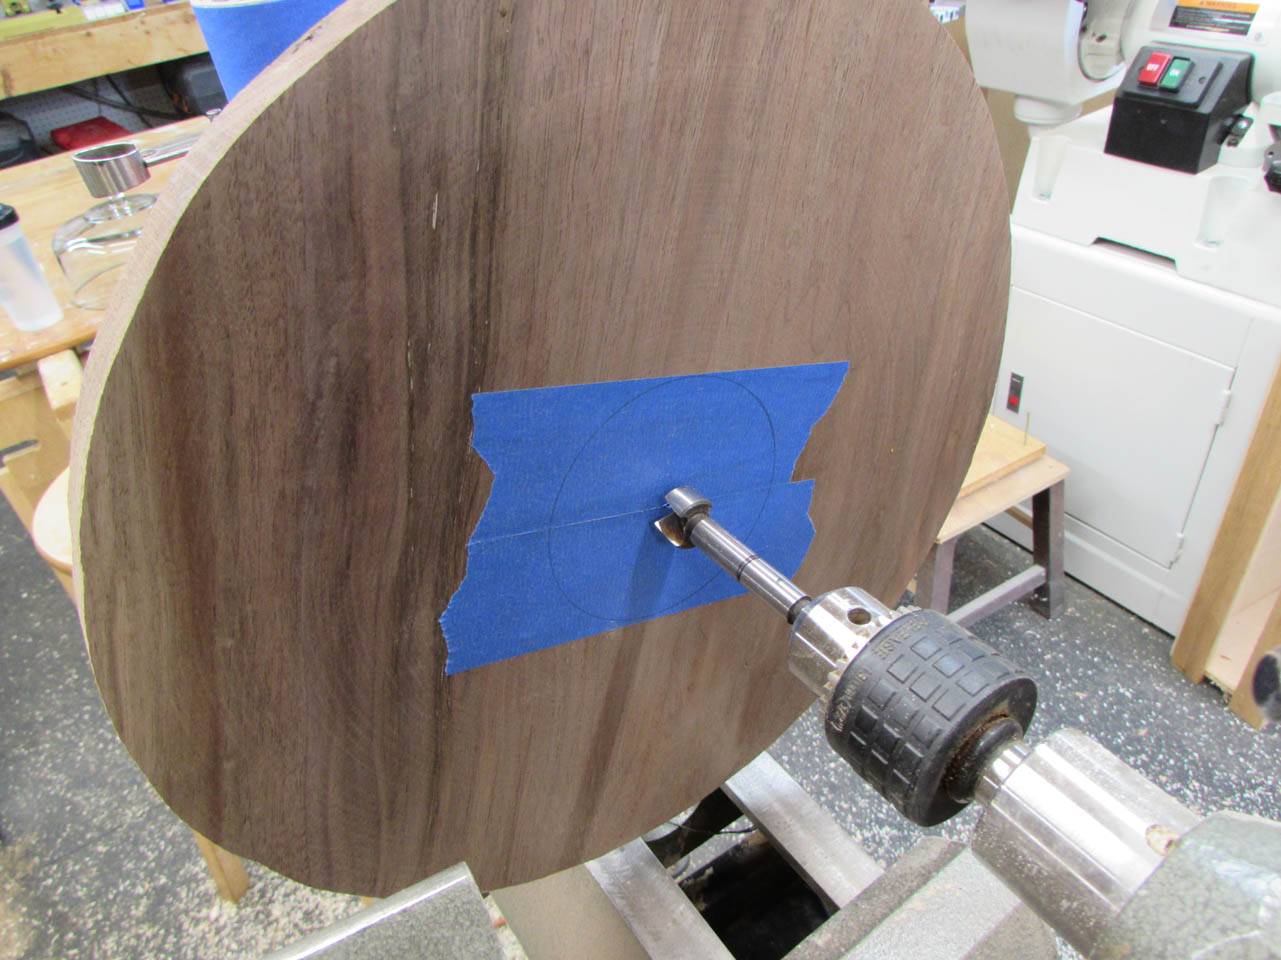
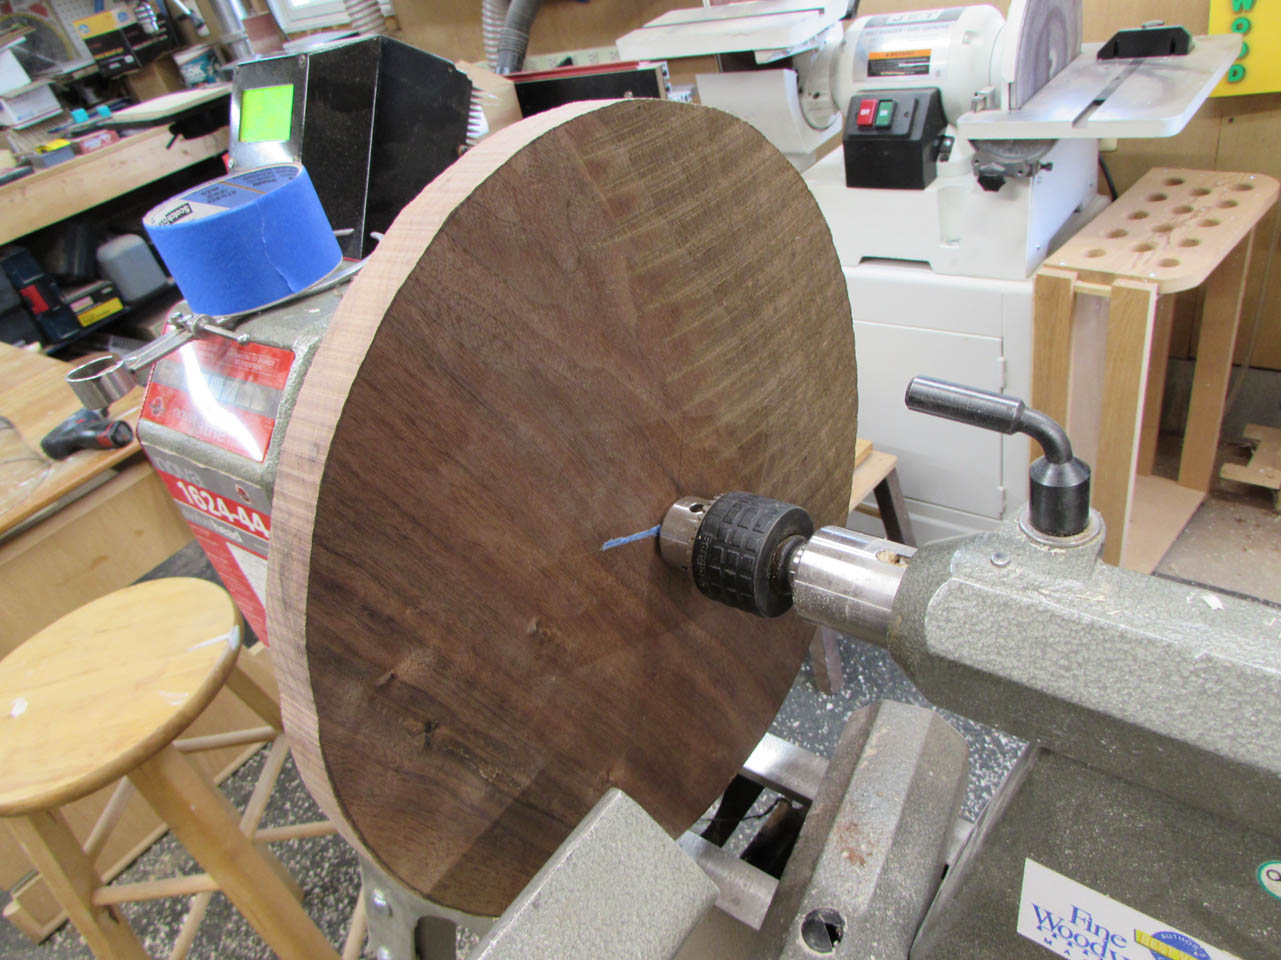
Before flipping the plate around, I drilled a 3/4″ hole about halfway into the plate for the base to be mounted to later.


Then I just pulled the tape off and flipped the plate over.
I added some more CA glue and centered up the plate.
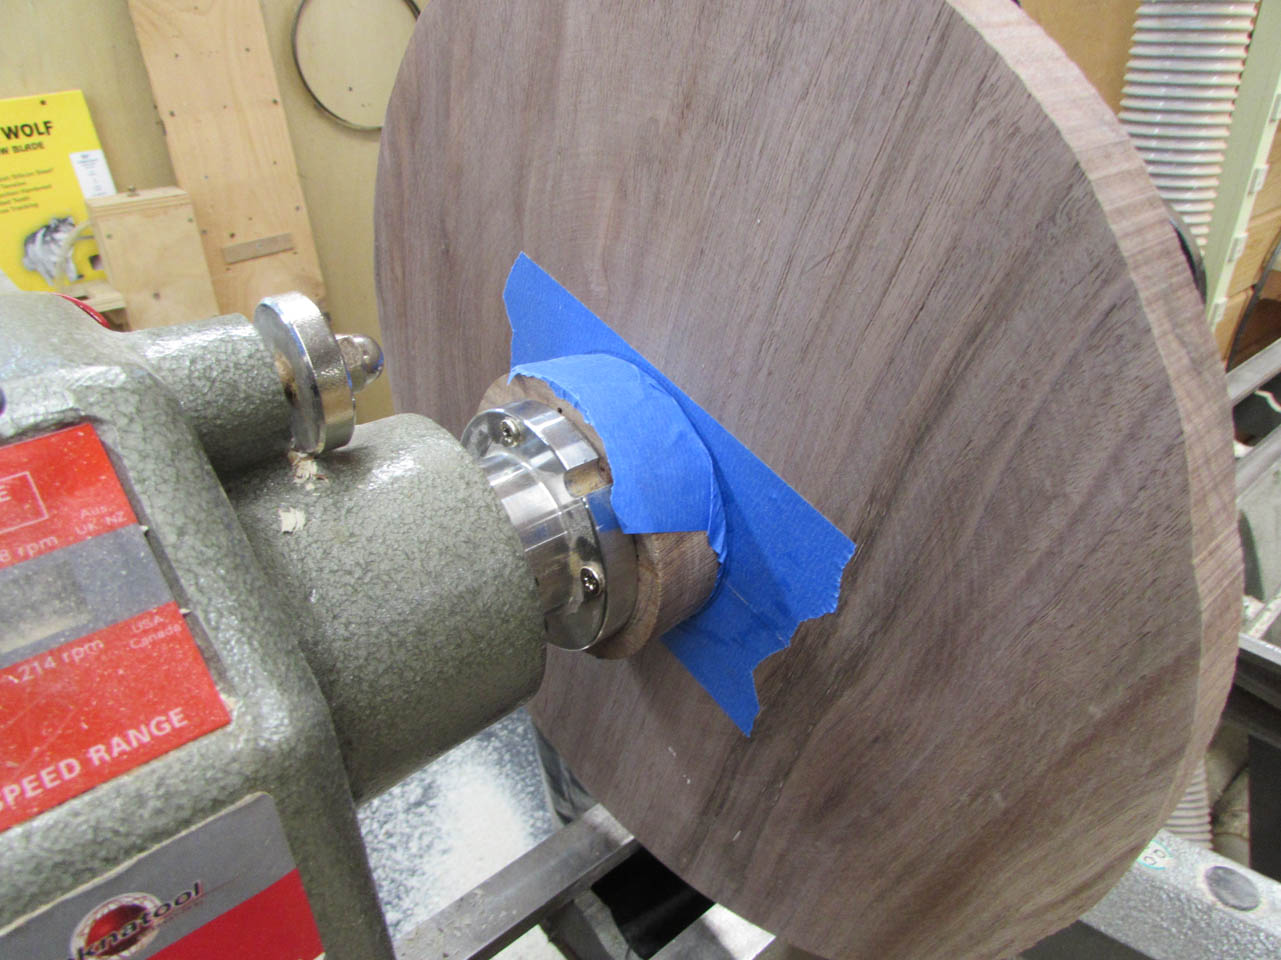
I used the drill chuck to hold pressure in the center.
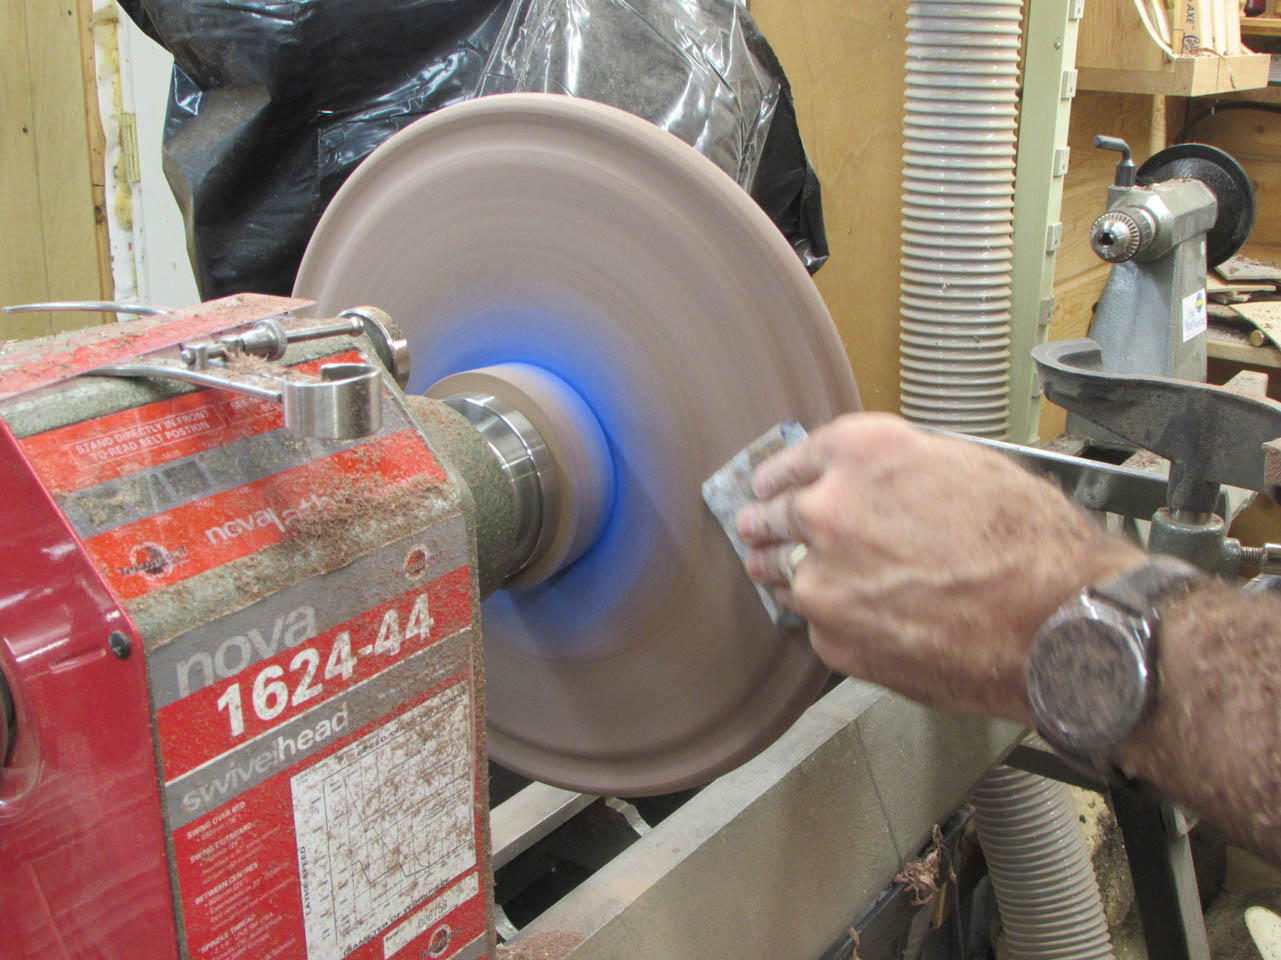
A minute later, when it was dry, I spun it up and started cleaning up the face.
I picked up a glass cake stand and stole the top for this one. It was actually cheaper to buy a whole stand than just the top, go figure…

I used the top to mark a groove that it will eventually sit in.

Then I cleaned up the rest of the face as well as the edge.

I switched out the tool rest to a curved one to get a safer approach to cutting the edge all the way around.

I even cut a small grip lip on the bottom, just because it looked nice.
Then it was time to sand it all down and remove the tape.
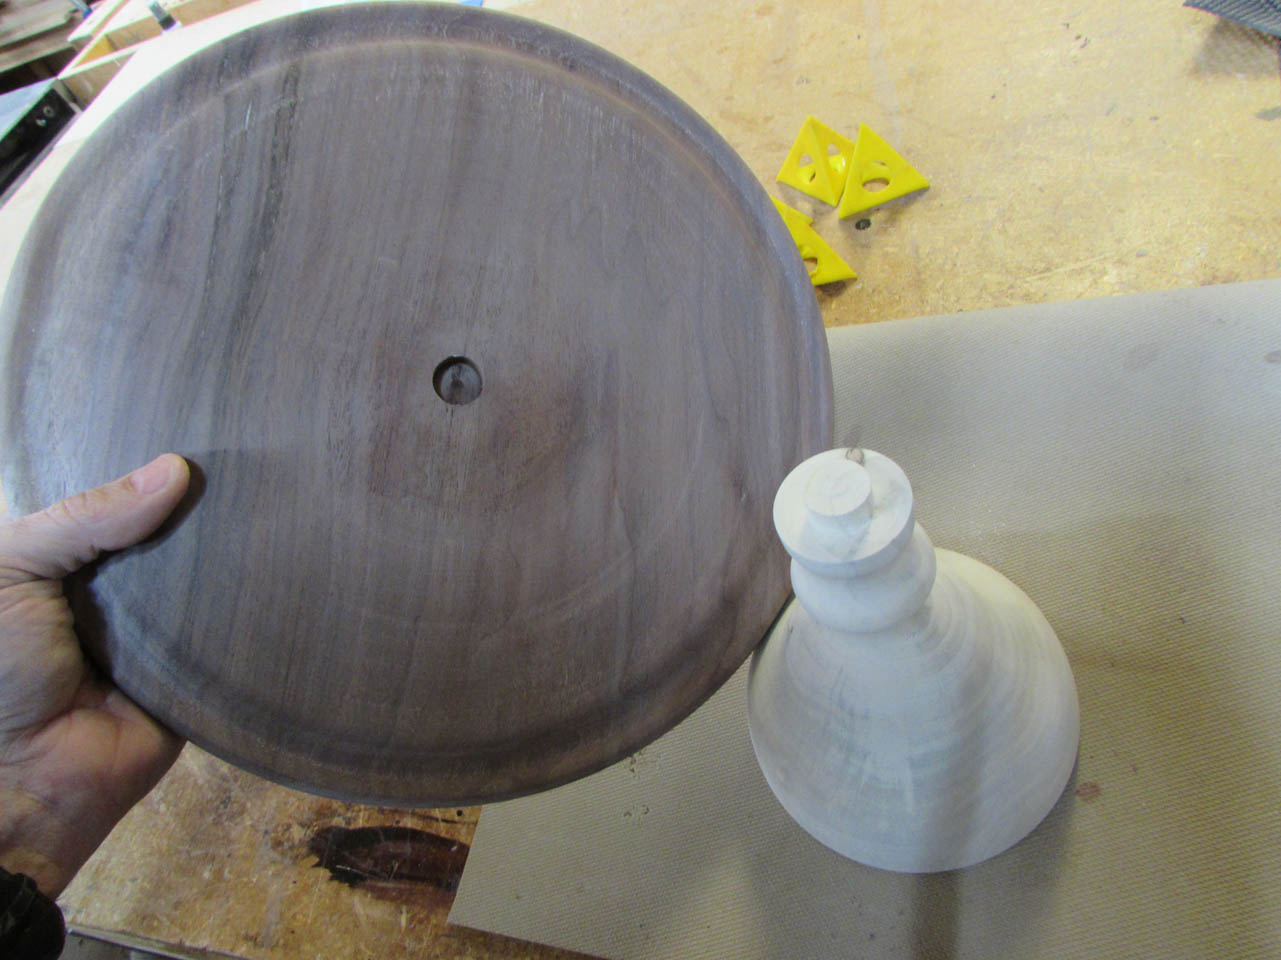
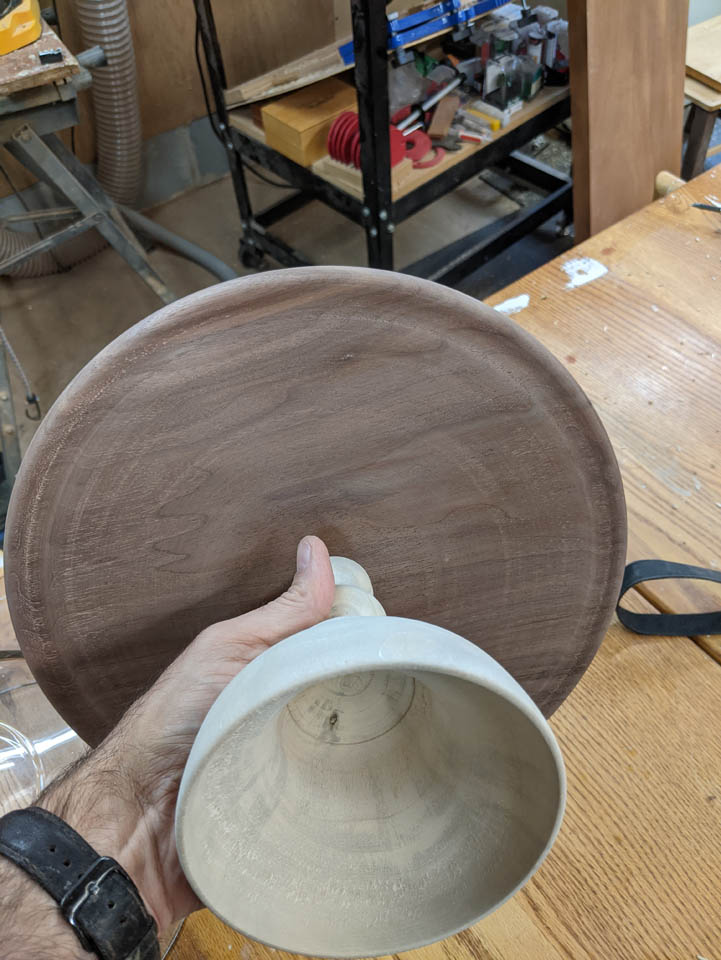
The holy base pressed perfectly into place.

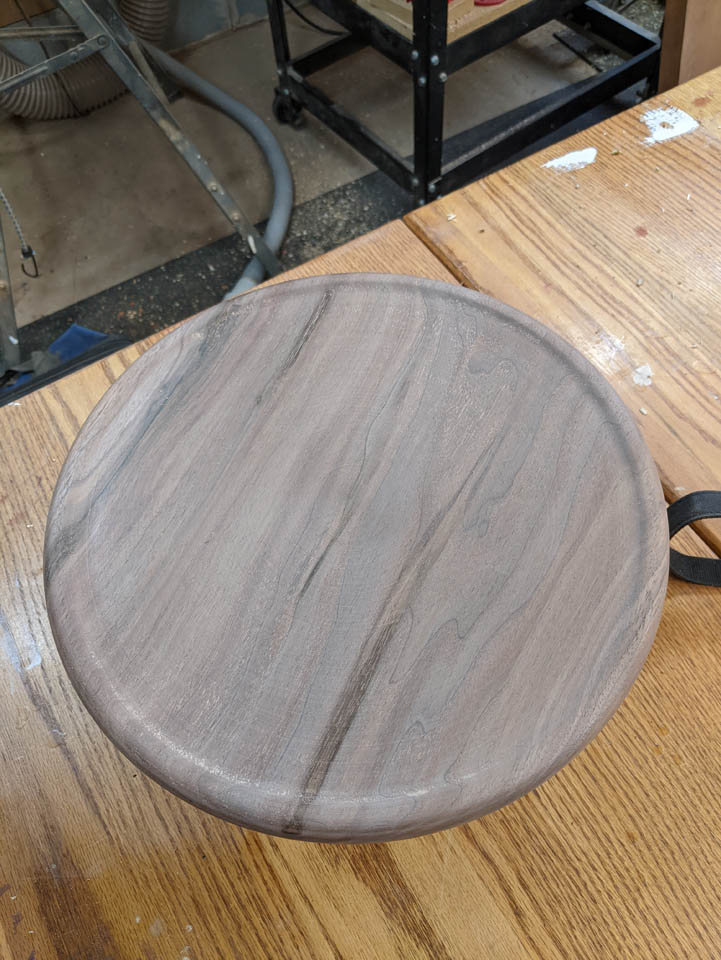
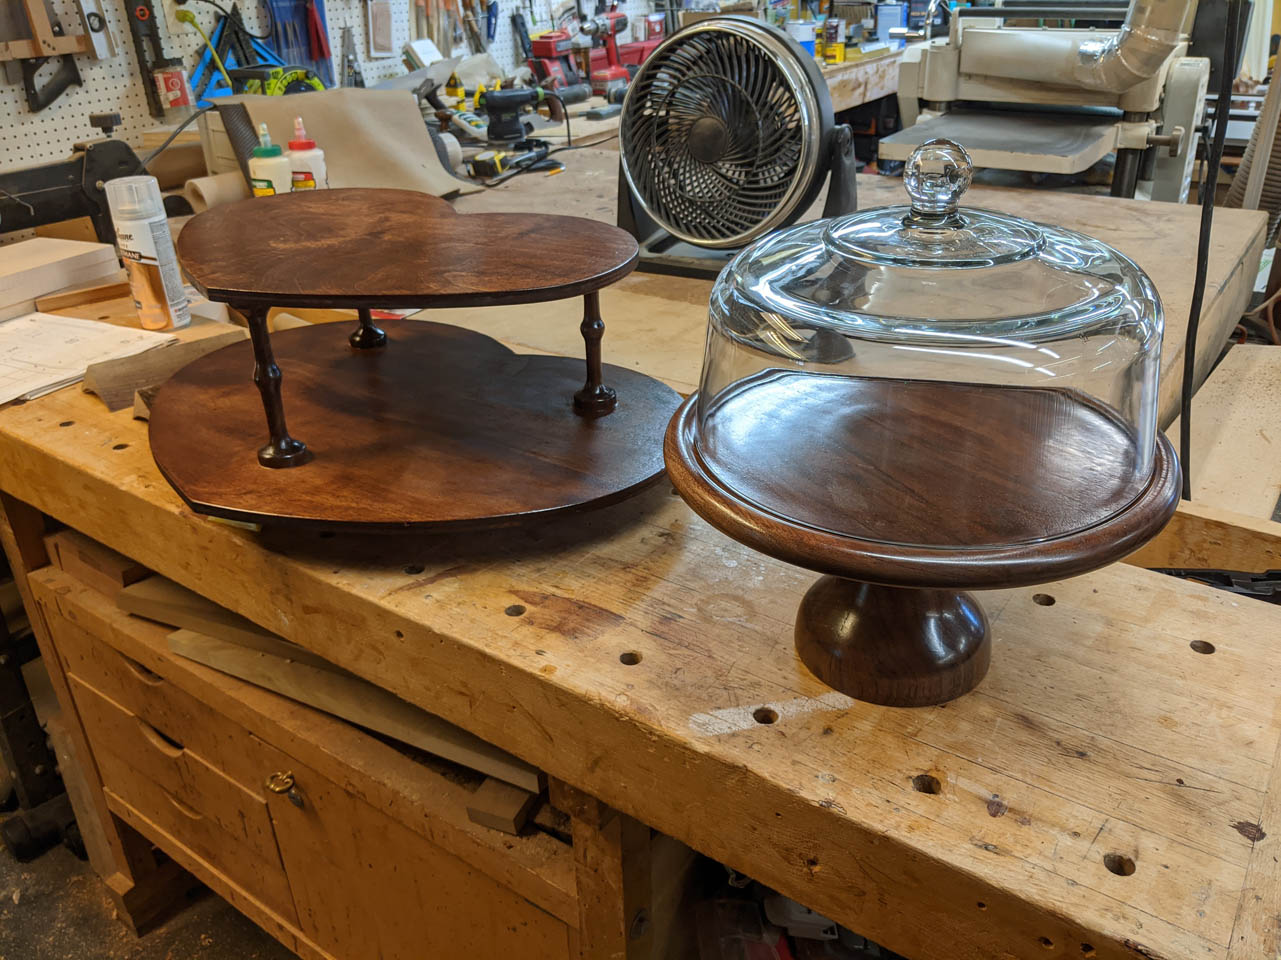
And, here is the cake stand.

I really like the walnut top. the dark staining gives it a nice look.
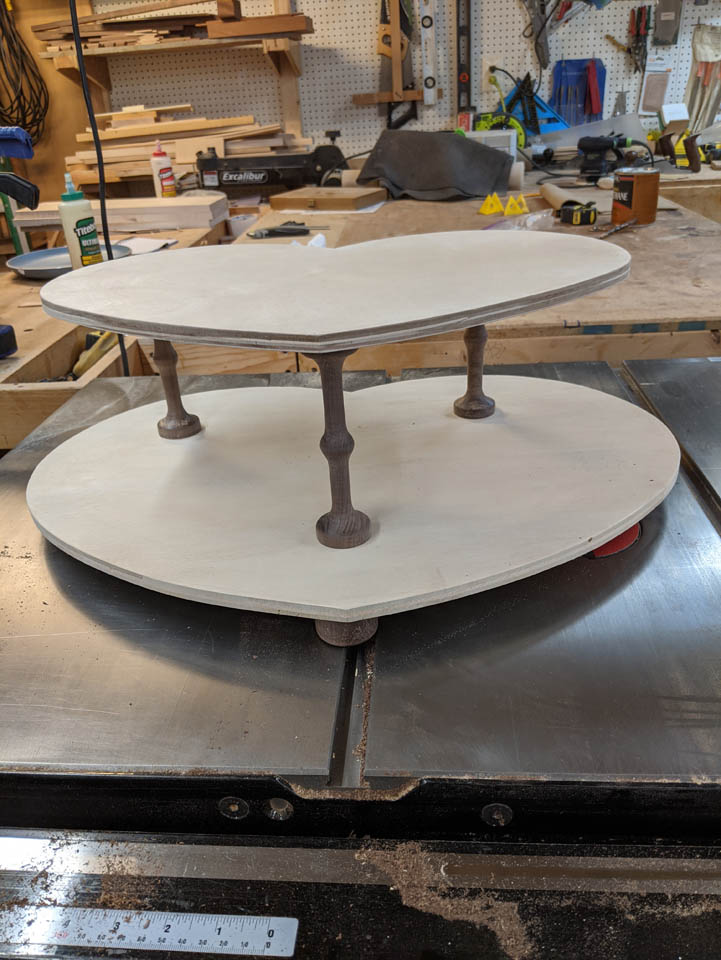
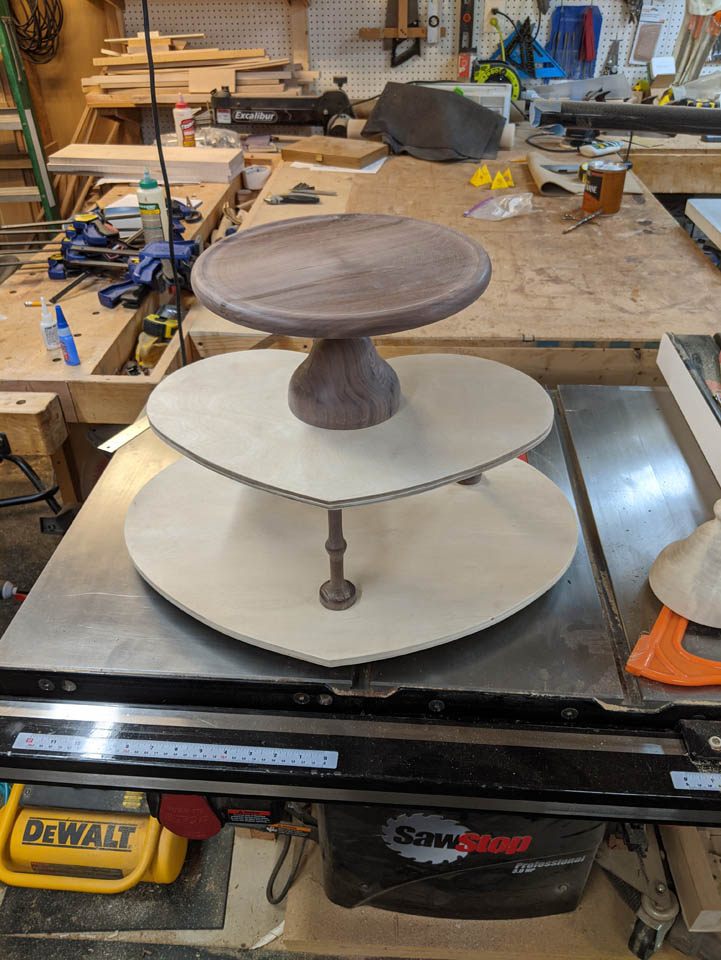
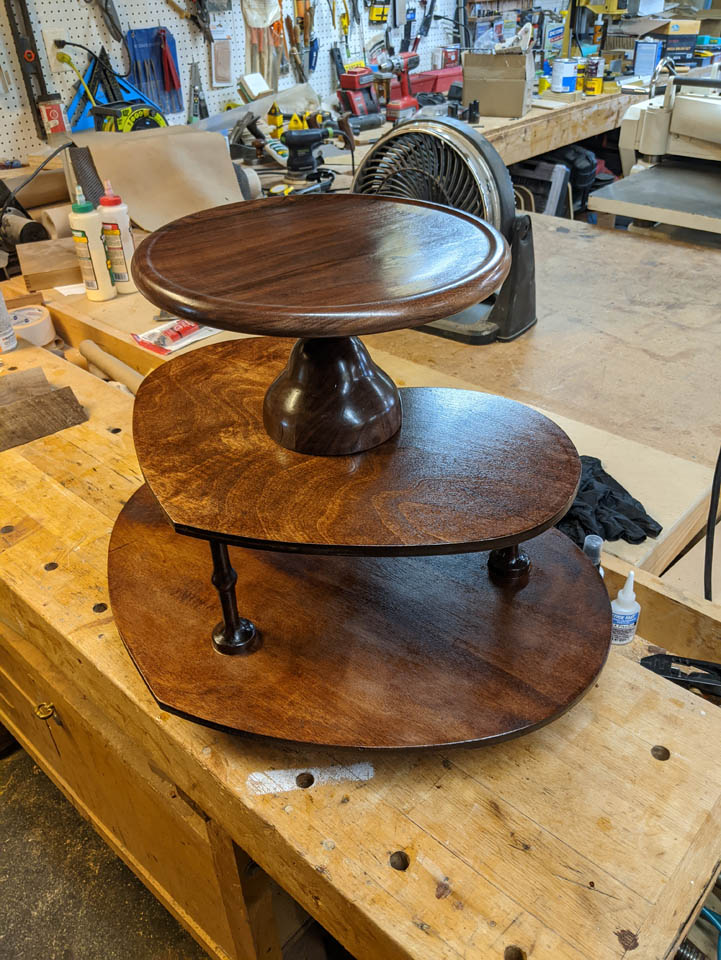
I did not take any pictures of making the cupcake stand. I simply sketched out two hearts on 1/2″ birch plywood and cut them out on the band saw. I also made three matching 6″ long spindles, on the lathe and three 1″ tall feet.
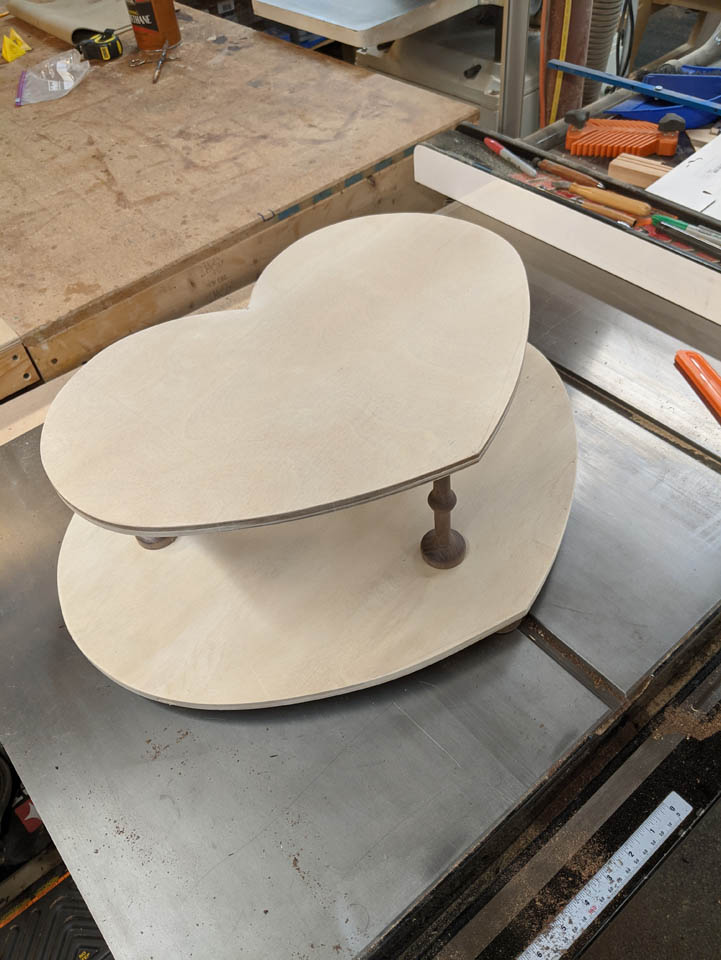
This is where the cupcakes will sit and the cake stand will be on top of that.
Time to fire off pictures to the groom and bride-to-be and see if this is what they want.
Meanwhile I have a very large mess to clean up…

So the verdict came back and they want to go with all walnut.
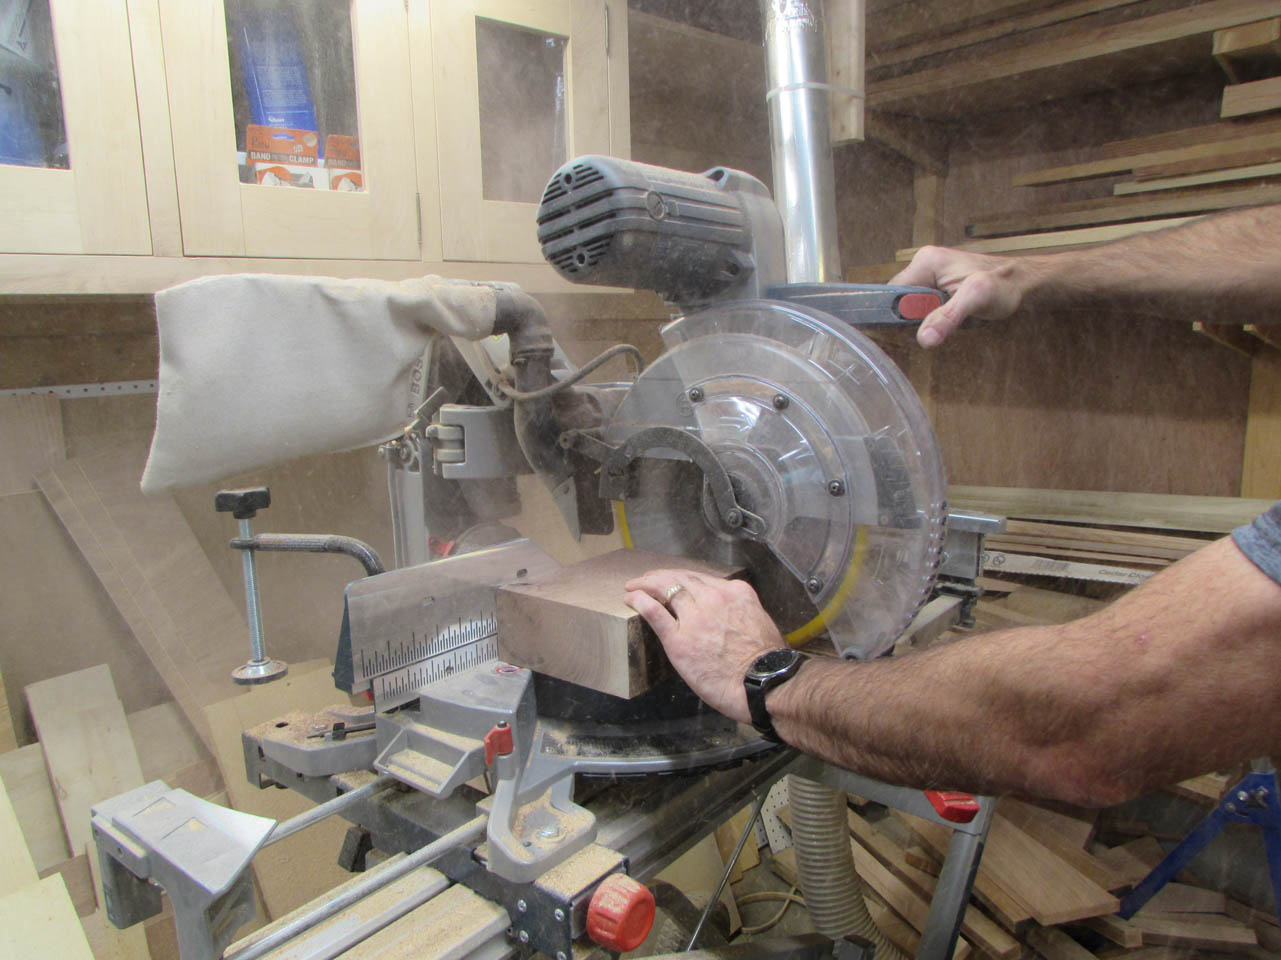
I do not have any dry walnut logs, just laying around so I grabbed a 2-3/4″ thick chunk and cut it in half.

It is just large enough to glue back together and make the same size base.

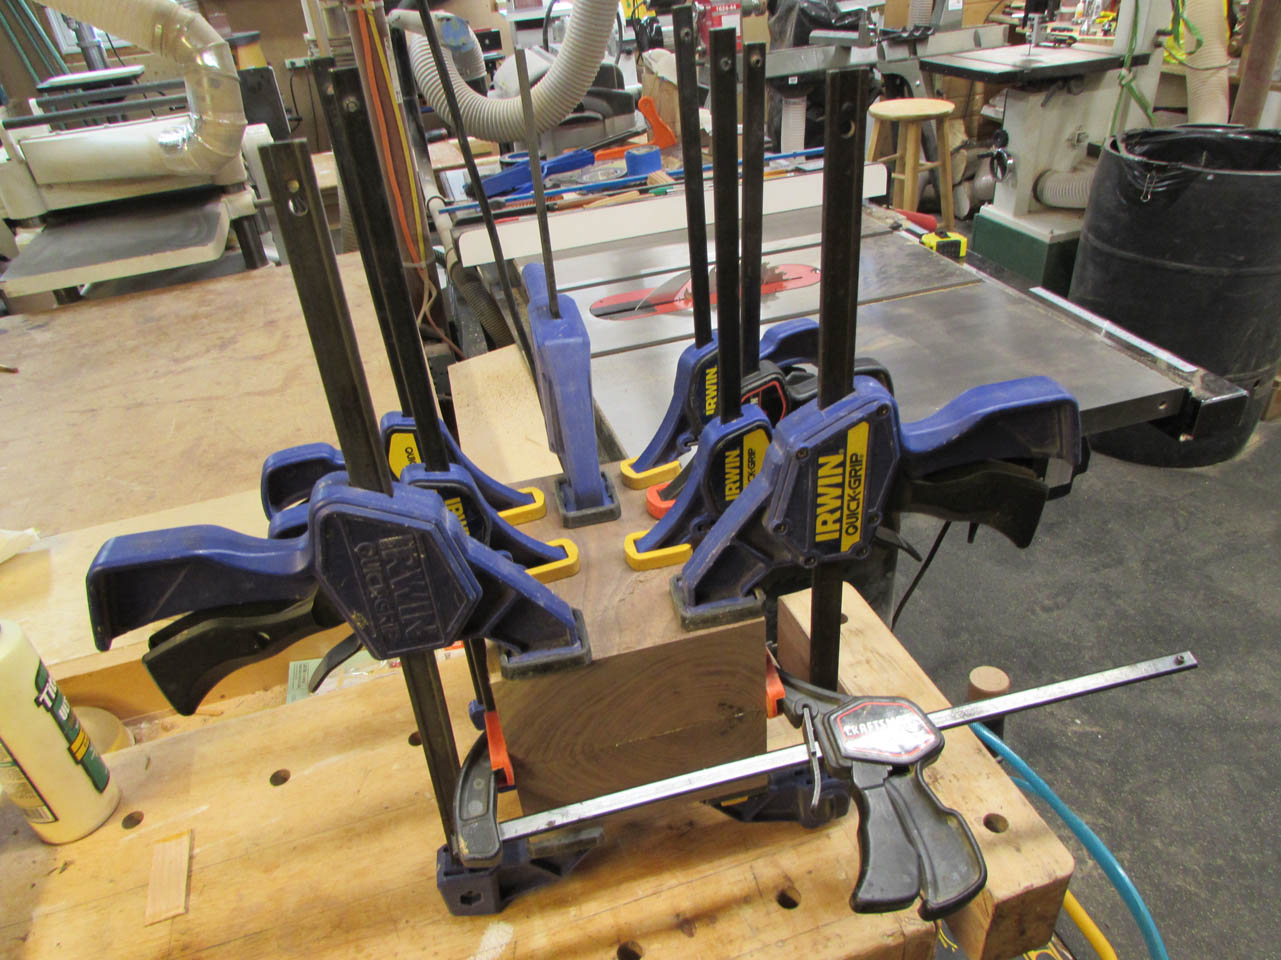
I spread the glue and clamped up the two halves. The one end gets a nice book-match.
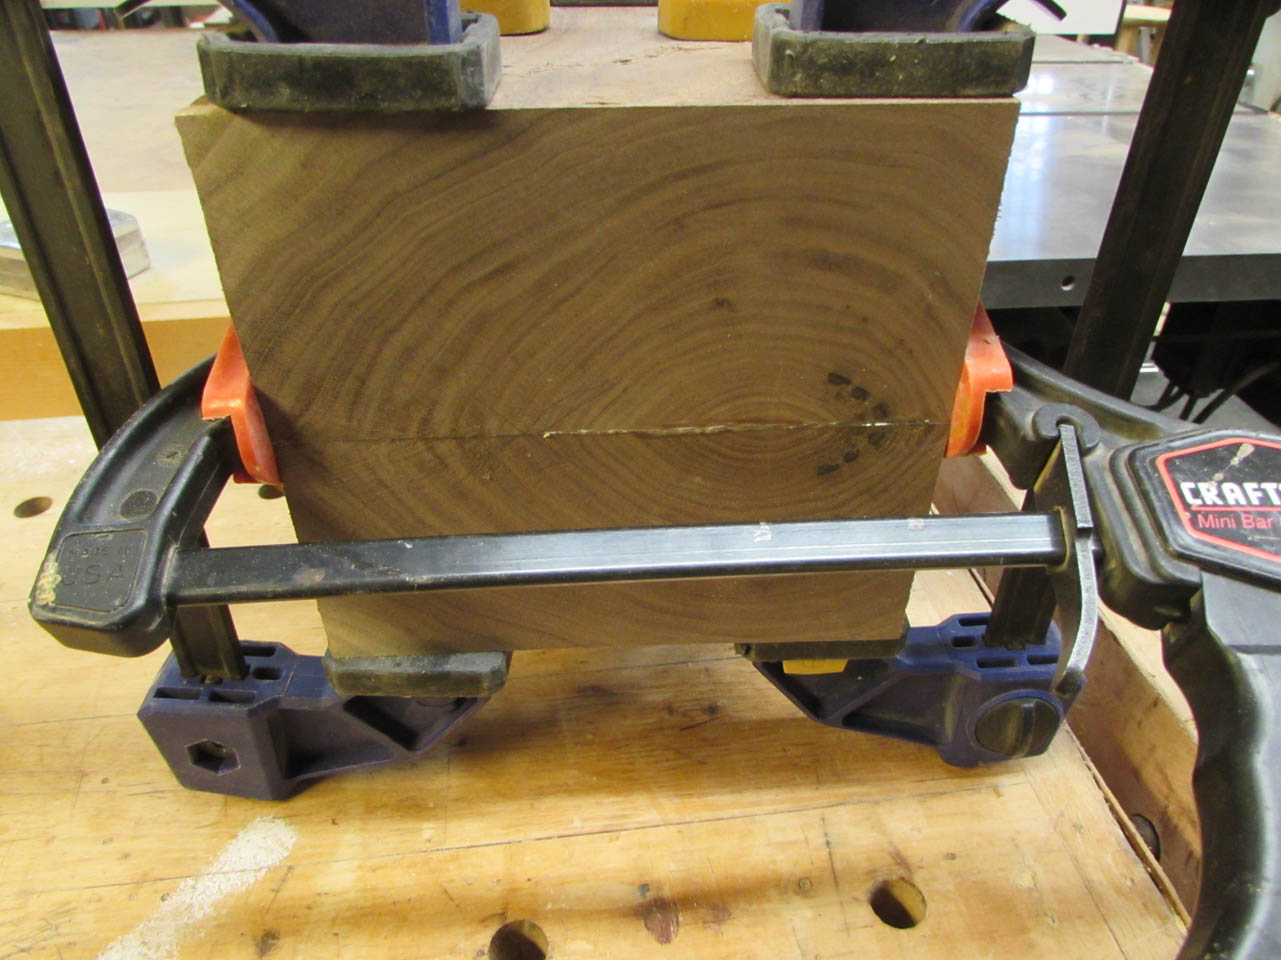
I marked the center and outer radius on both sides with a compass.


Then I cut away the corners to make a new log for turning.

It is a lot easier to turn, starting with a round shape, rather than turning a square…


I start making a new mess and rough out the shape.

I am trying to duplicate the shape of the first base since they liked it’s unique form.


Then I repeated the process of hollowing.

Walnut is harder than holy and the jaws of the chuck do not clamp as deeply into it. I had the base get away from me and fly across the shop once, but I was able to reseat it in the chuck and finish 95% of the cutting.
Before my chisel caught a defect in the wood and it blew up on me into six or seven pieces. Luckily, most of them hit me in the shoulder so I didn’t lose any of them…

This is starting to become a less-fun project…

I decided to attempt a glue-up and see if it could be salvaged.

I was happy to see that it came apart in chunks. Nothing splintered so I was able to glue it all back together.

Well, all but one piece. I scoured the shop for an hour looking. I even sifted through the 6″ deep pile of shavings below the lathe. My younger son, Adam, spent all of five seconds looking and found it on the bench behind me. (Jerk!) I mean, Thanks Adam.

Final glue up was a success.
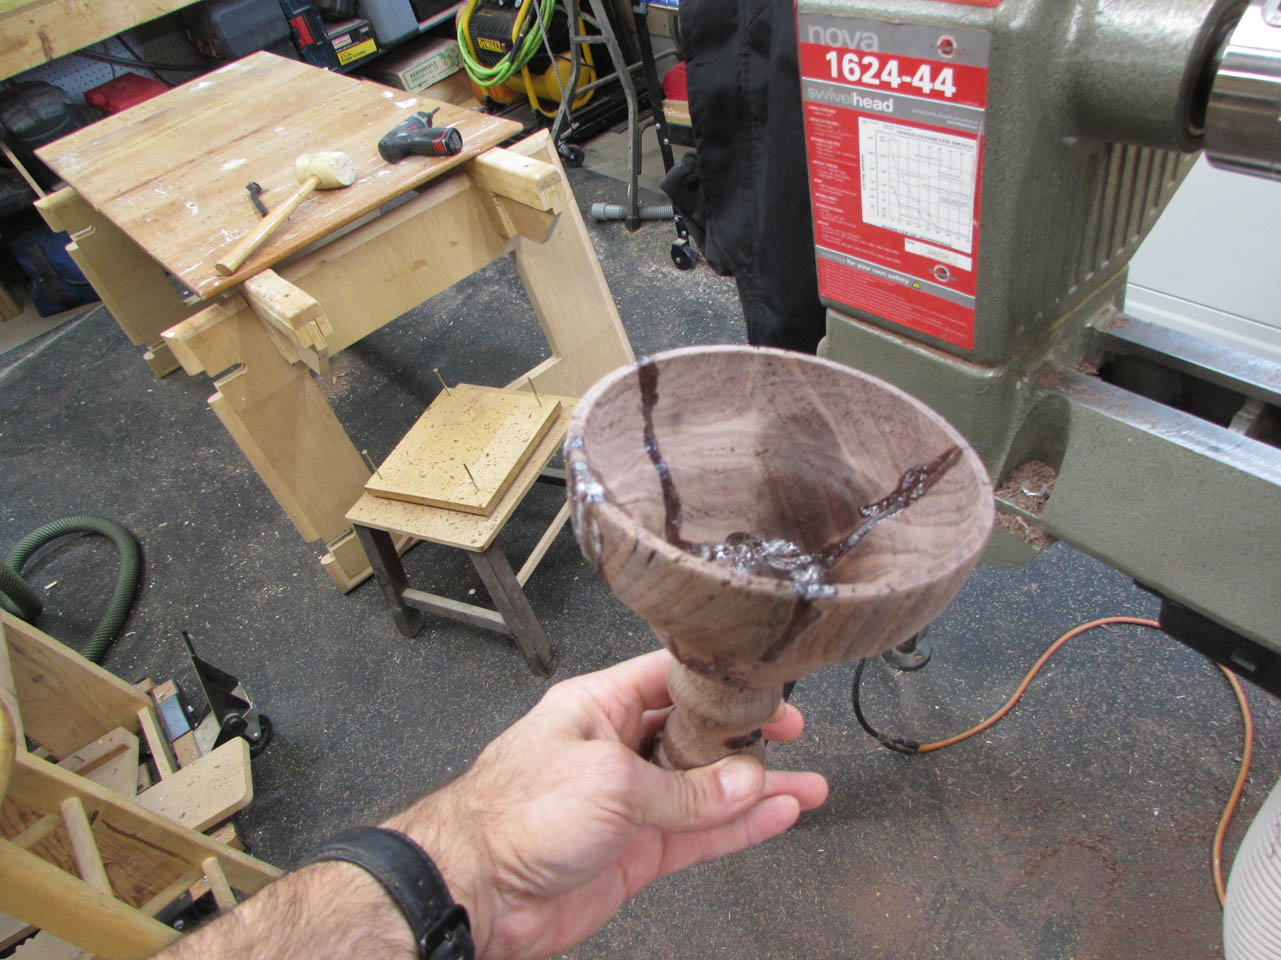
Looks like hell, but you need to look beyond that to see it’s potential… I knew it was a successful glue-up because it did not explode at 3,000 rpms.

I did some careful cutting and re-gluing and achieved a much better result than I really expected.


I spent a lot of time sanding.
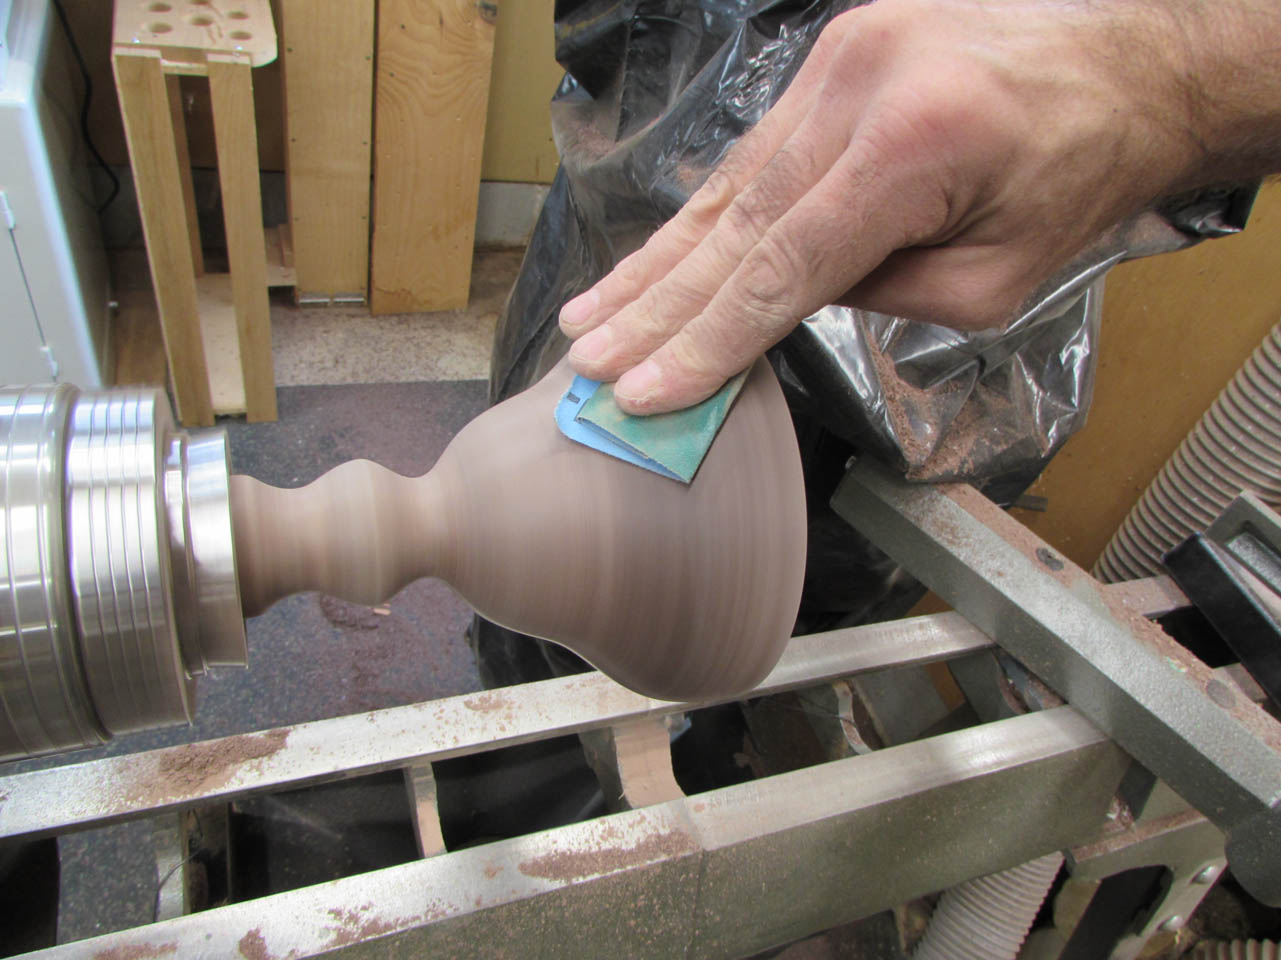
Then I sanded some more…
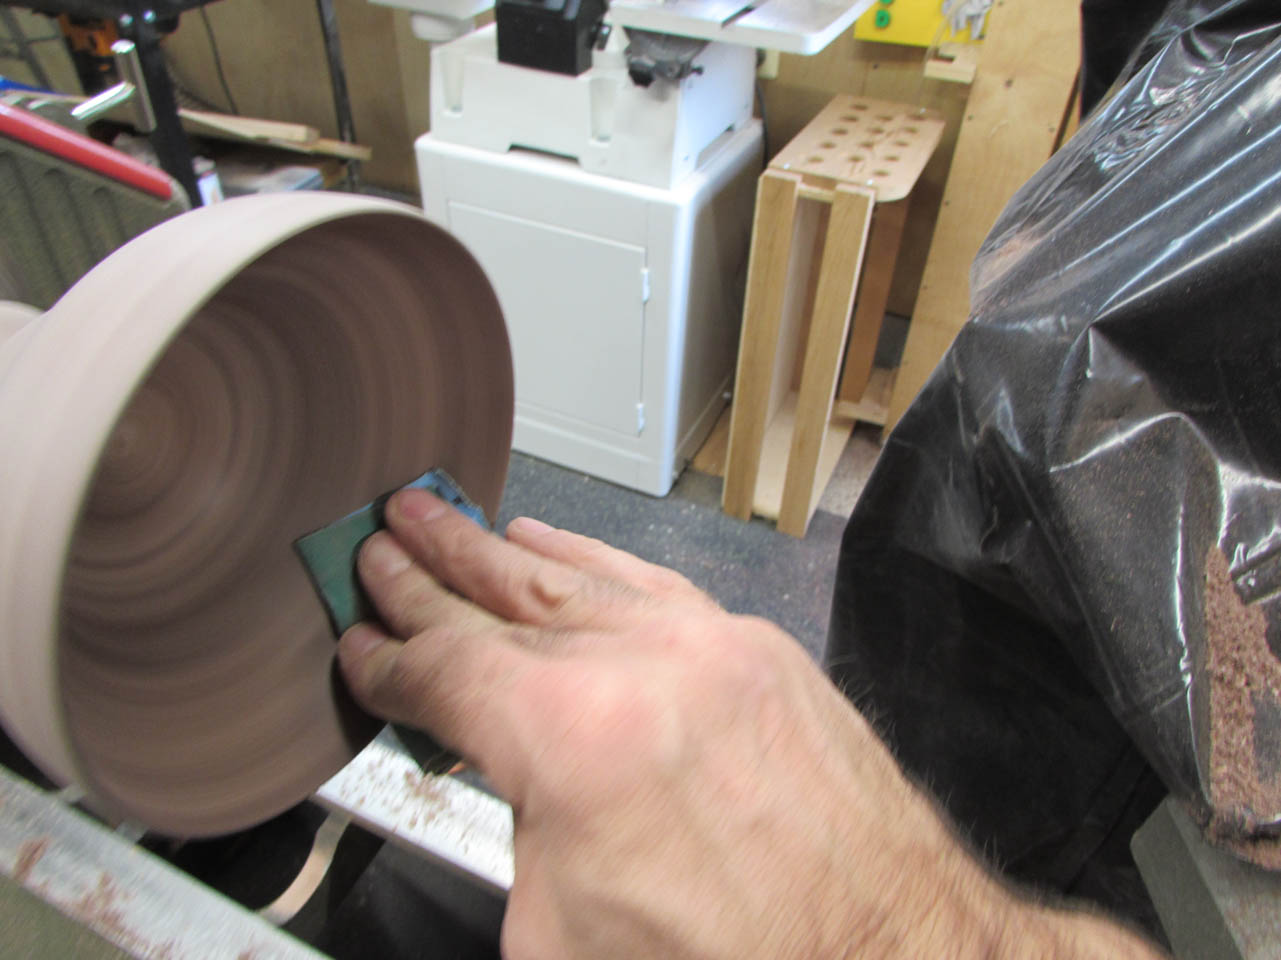

I rammed the tennis ball back into place and shaped the end.

Darn thing is looking pretty good. Time to cut off the excess and see how it looks.

That is pretty good. You can see the cracks, but the finish will darken it up and they will be less noticeable. I can always remake it if they don’t like it.

Here is the final arrangement.
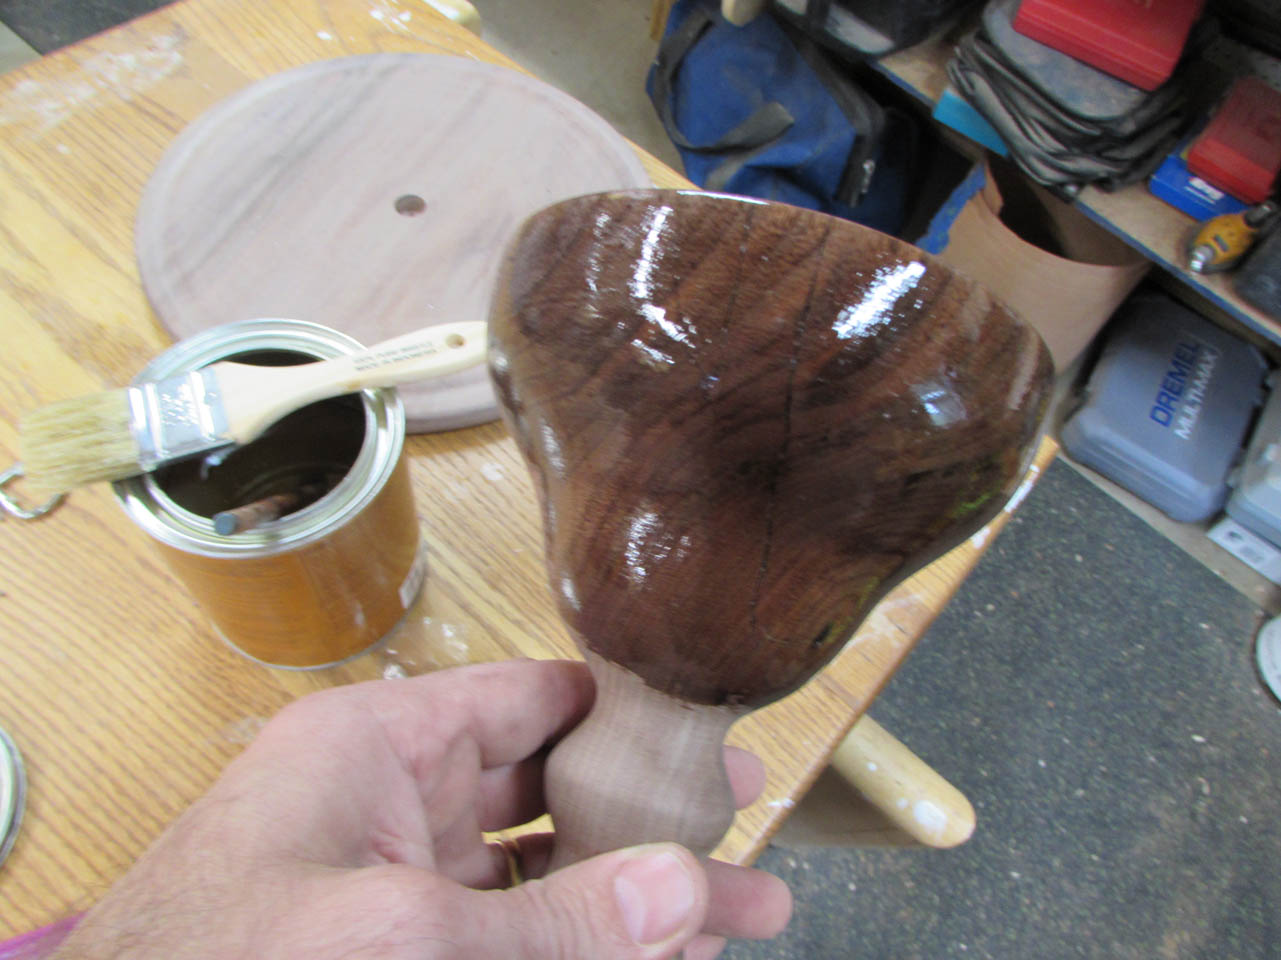
I started applying a coat of polyurethane so the happy couple could see the final product.


I finished the pieces separately in case they didn’t like the cracks.

They actually really liked the “rustic” look of the cracked base so I don’t have to make a third one… Yeah! but the cupcake stand has to match the color of the walnut so I applied some dark brown stain to it.

I also epoxied the base to the top plate and let that set up before applying more coats.
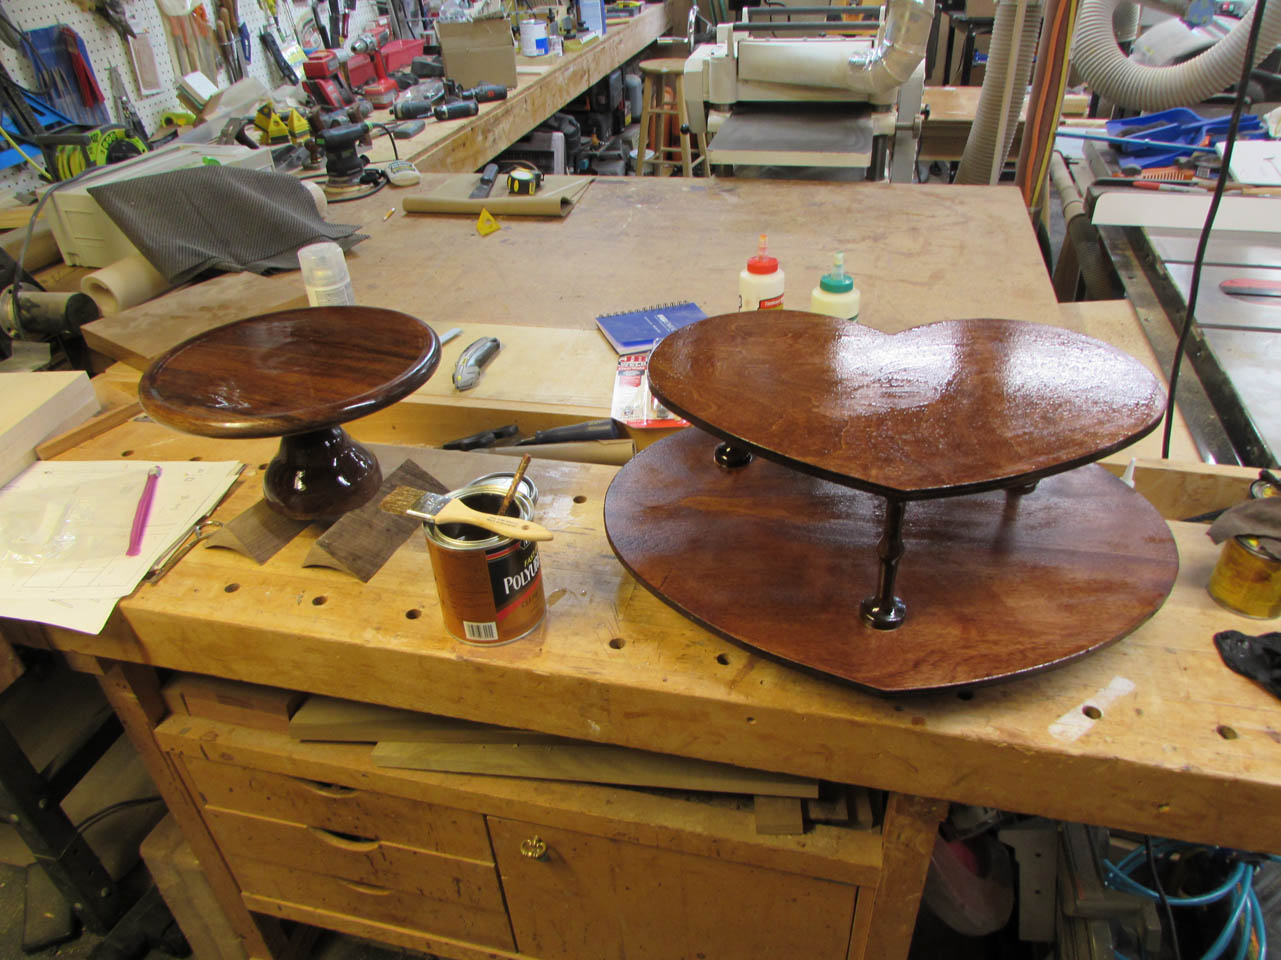
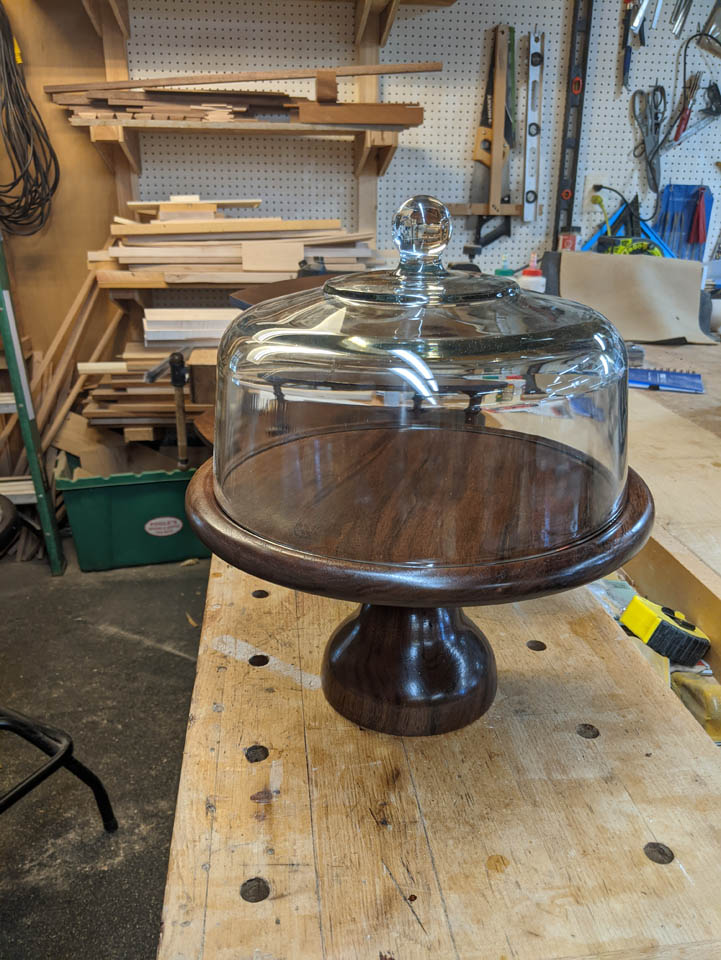
Two or three coats of polyurethane later, we have out cake stands.
After the wedding, the cake stand will go home with them and they can used the glass top to keep their cakes fresh. I am not entirely sure where the heart base will wind up, but it was made from scraps so I won’t miss it if nobody has a use for it.
Now, my wife felt sorry for the first base and now she wants a holy cake stand…


Pingback: Holly cake stand | Midnight Woodworking