
St. Kilian chapel – Tabernacle stand – part 3
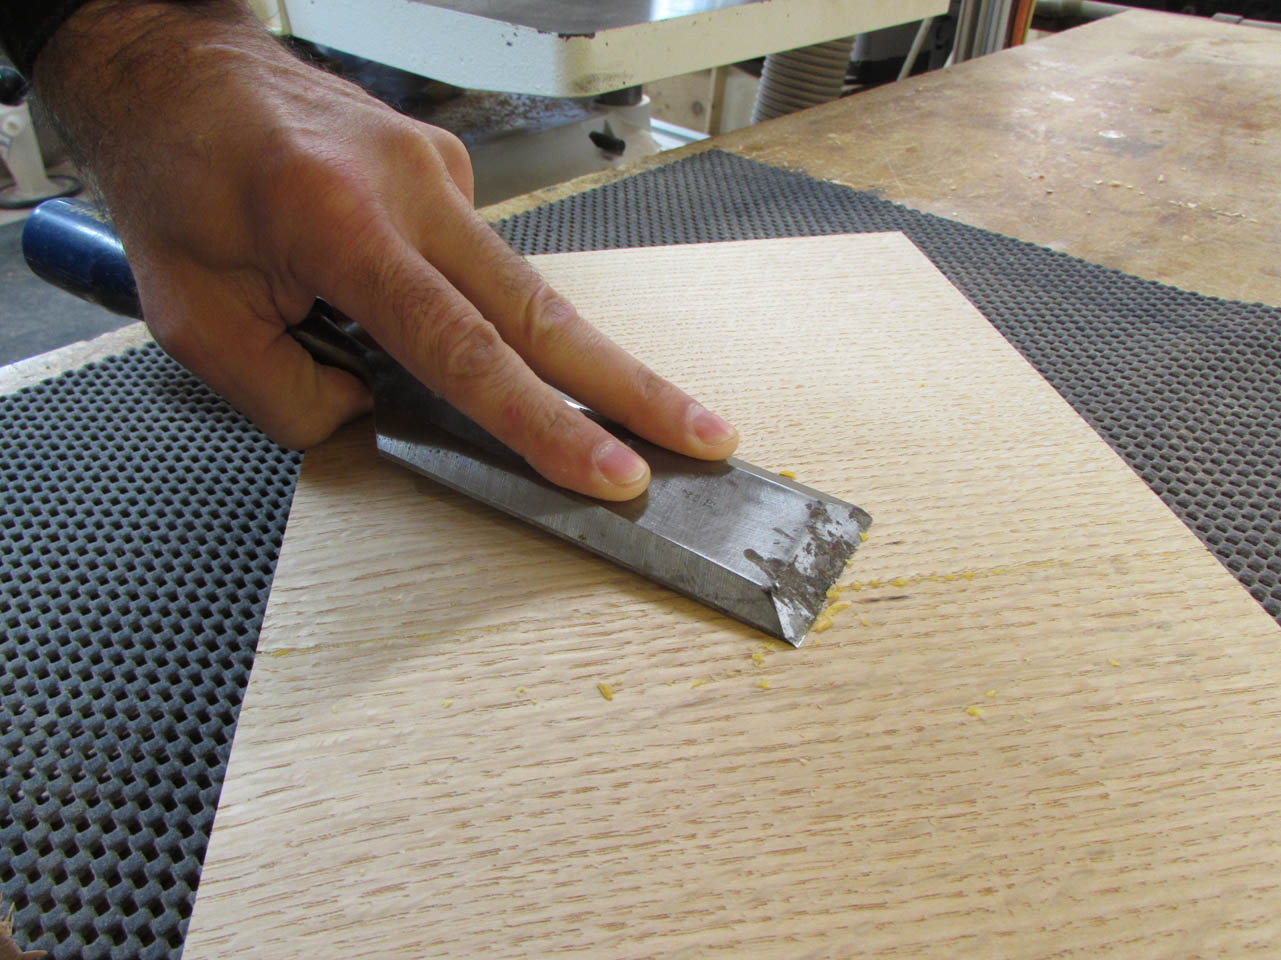
Everything sat overnight, so the glue is all dry. I pulled the clamps and started cleaning up the glue squeeze-out at the center seam of my panels.

I noticed that the base cap bent up in the middle slightly. My jointer must have been off 90° slightly. I will have to fix that. Since the board was already down to the correct thickness, I am not going to bother trying to fix it. I wasn’t really happy about the dark lines anyway.
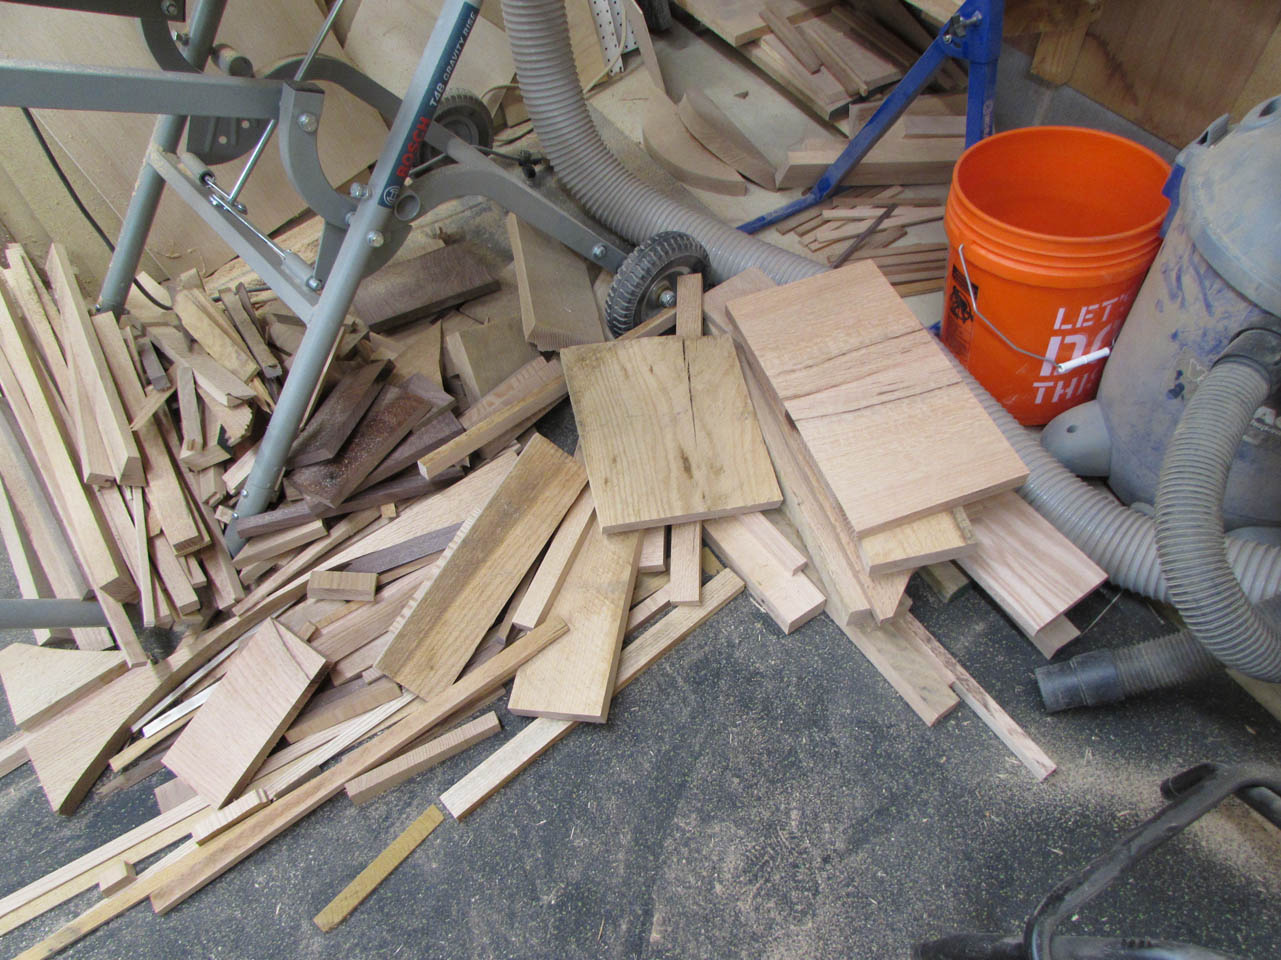
I threw it in the scrap pile and made up a new panel. By the time I get everything else pulled apart and sanded, this one will be ready to work with anyway.

About an hour later, I had the new base cap out of the clamps and cleaned up.

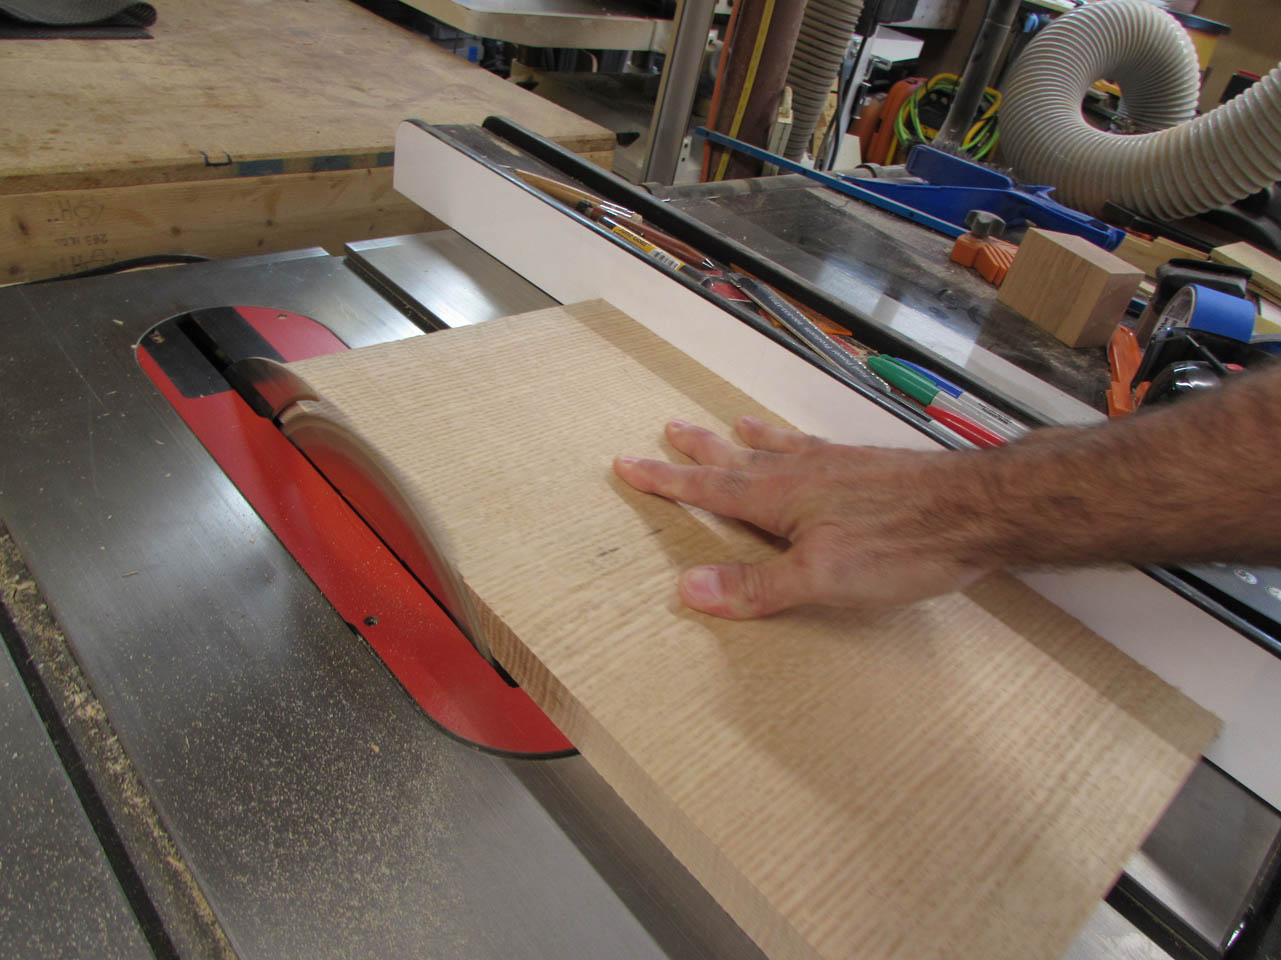
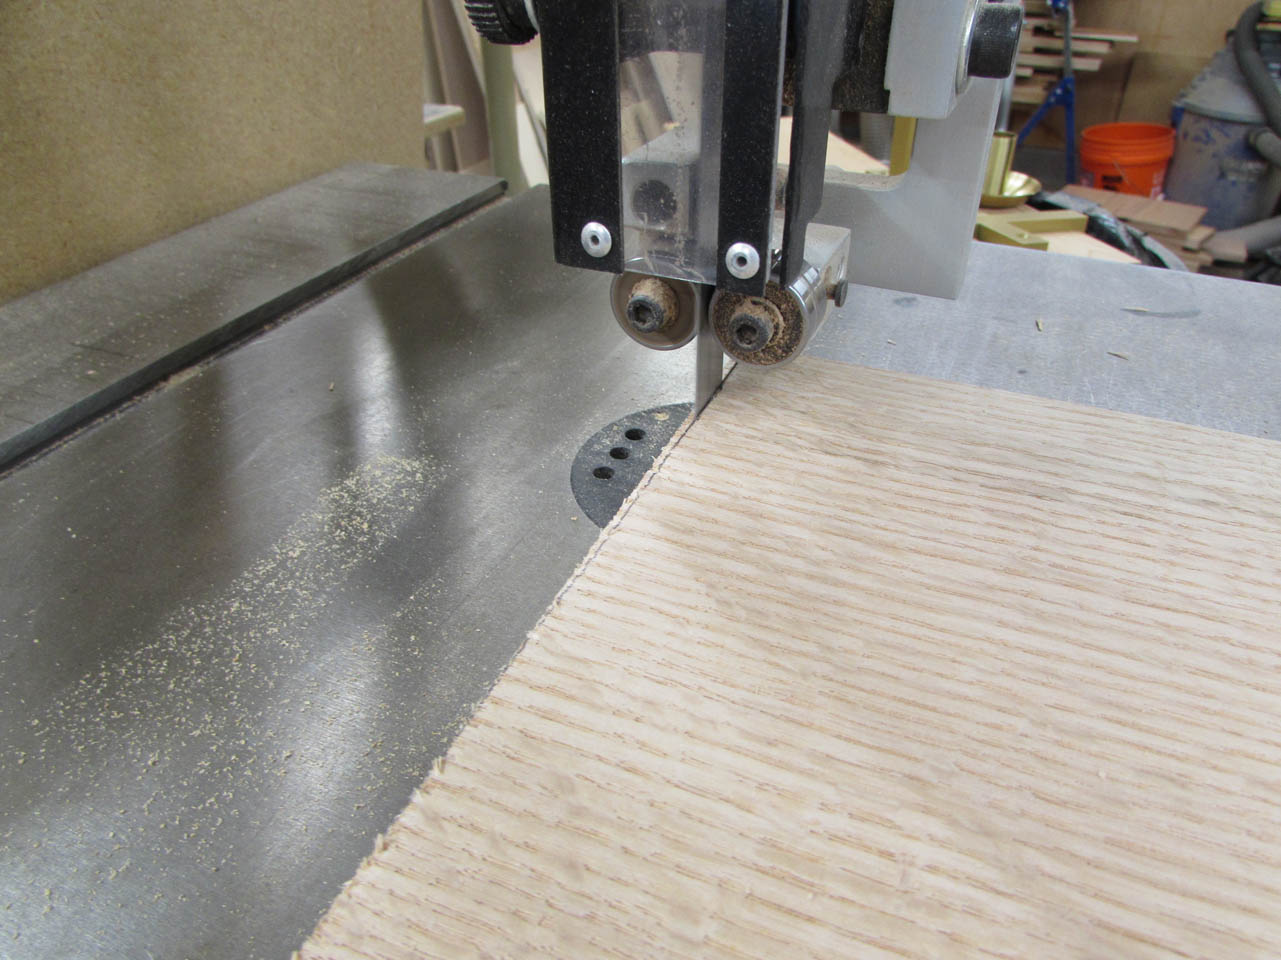
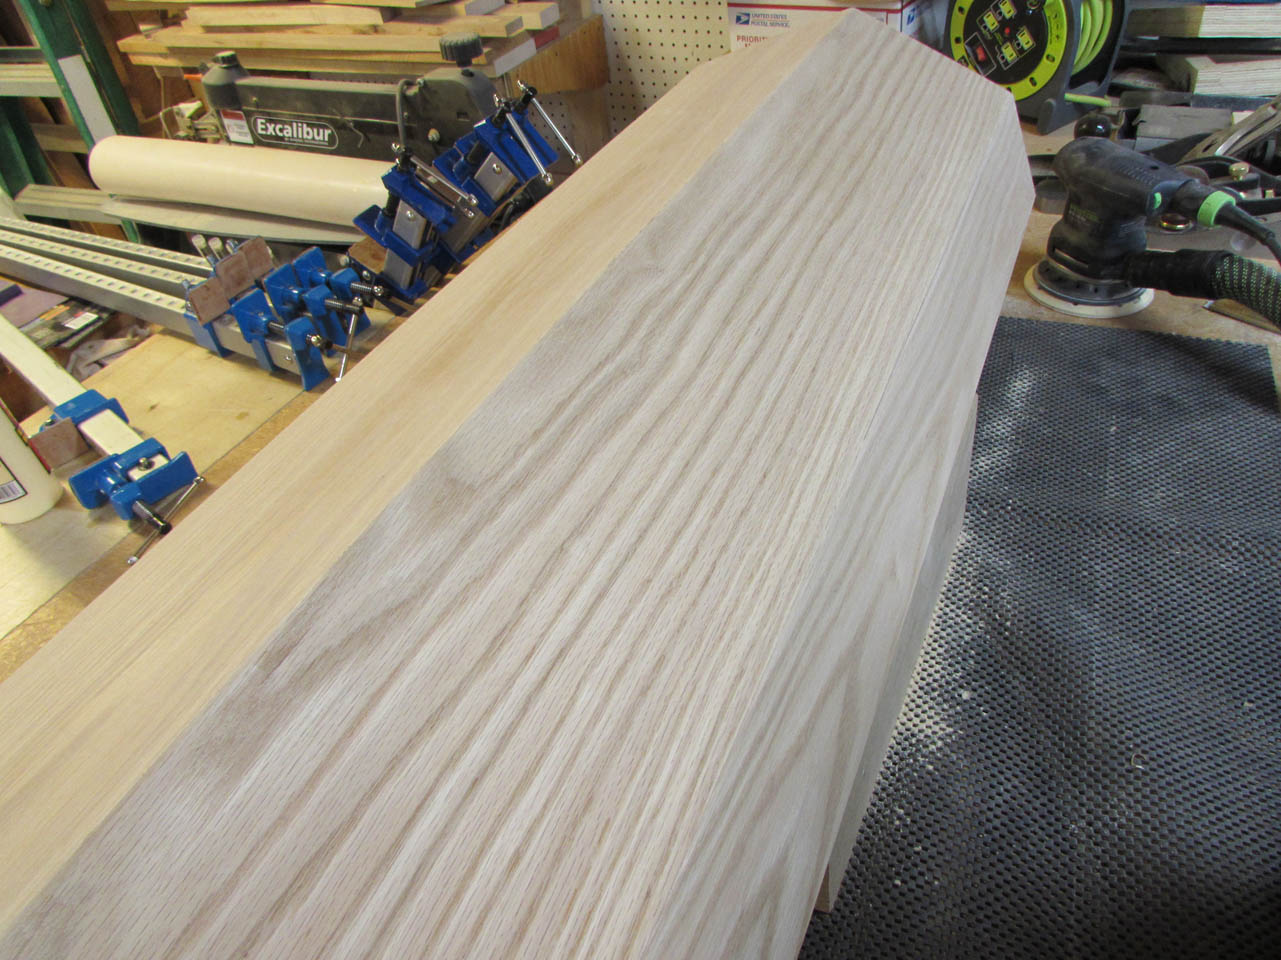
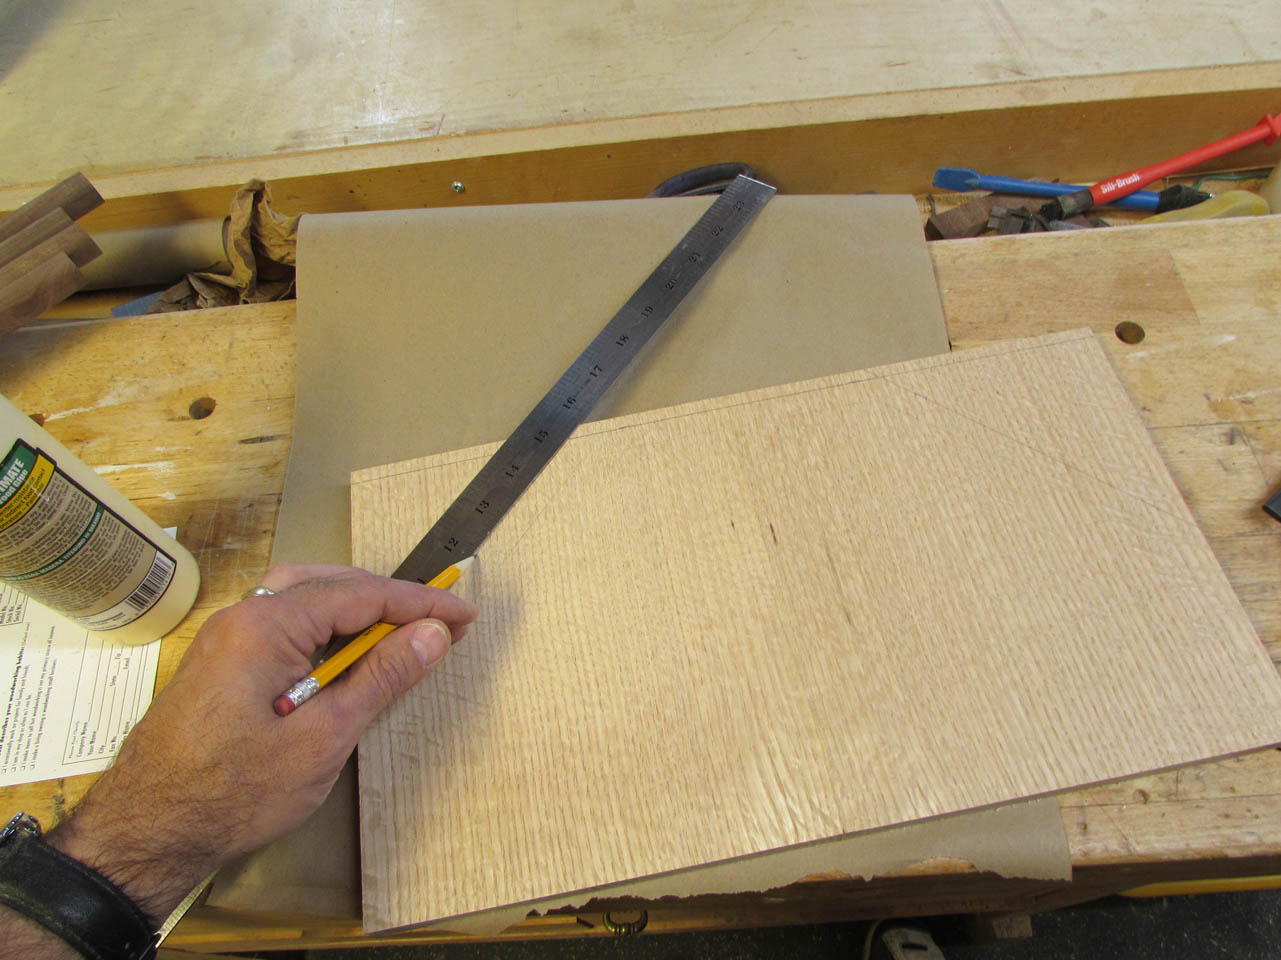
To make the facets on the back match the base, I just lined one up on top of the other and traced the back edge, then cut the waste off on my band saw.
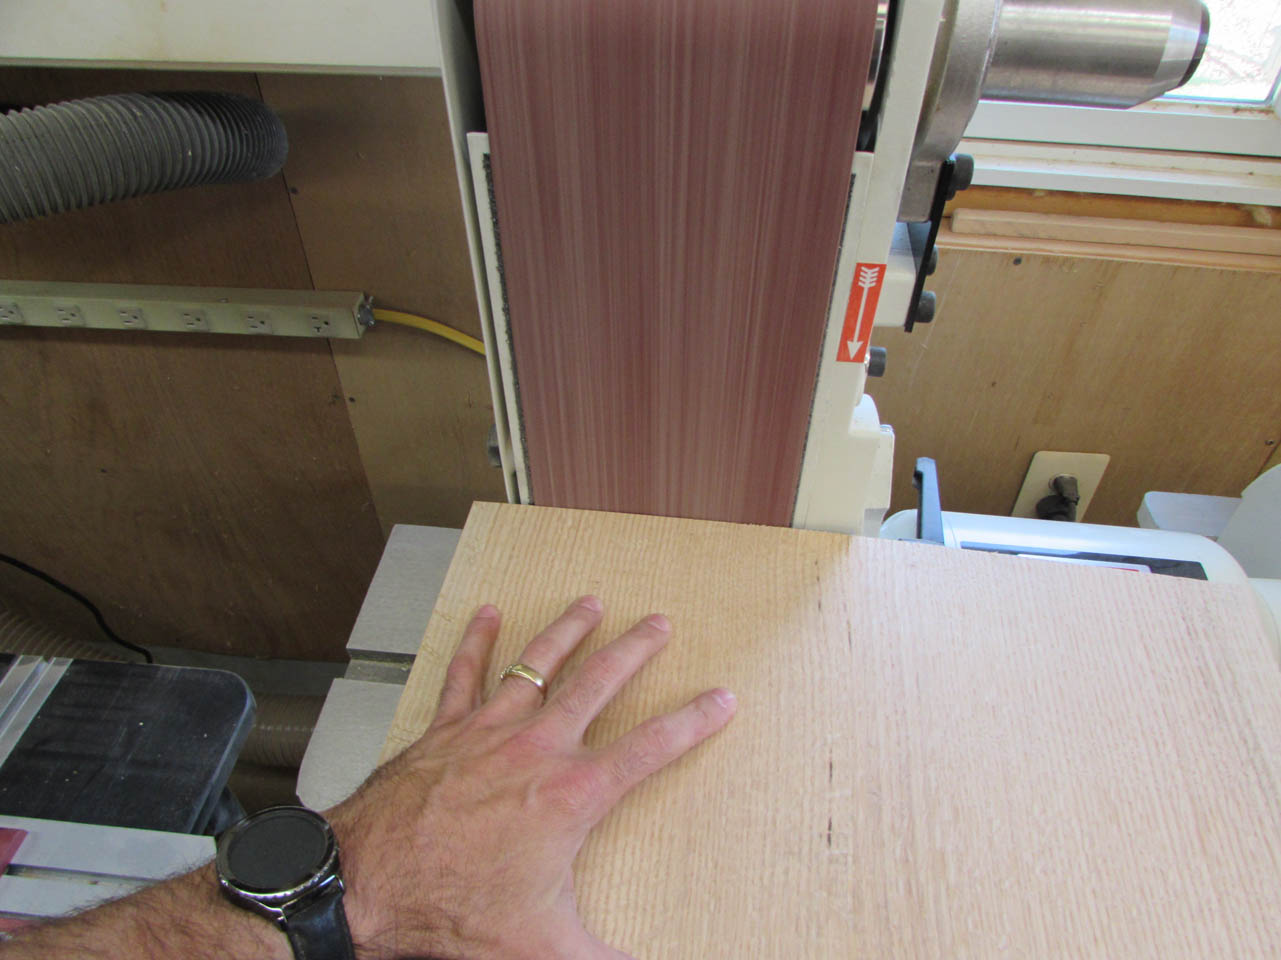
After a quick sanding, I loaded the 3/4″ round-over bit into the router table and cut a radius along the front and sides of the board.
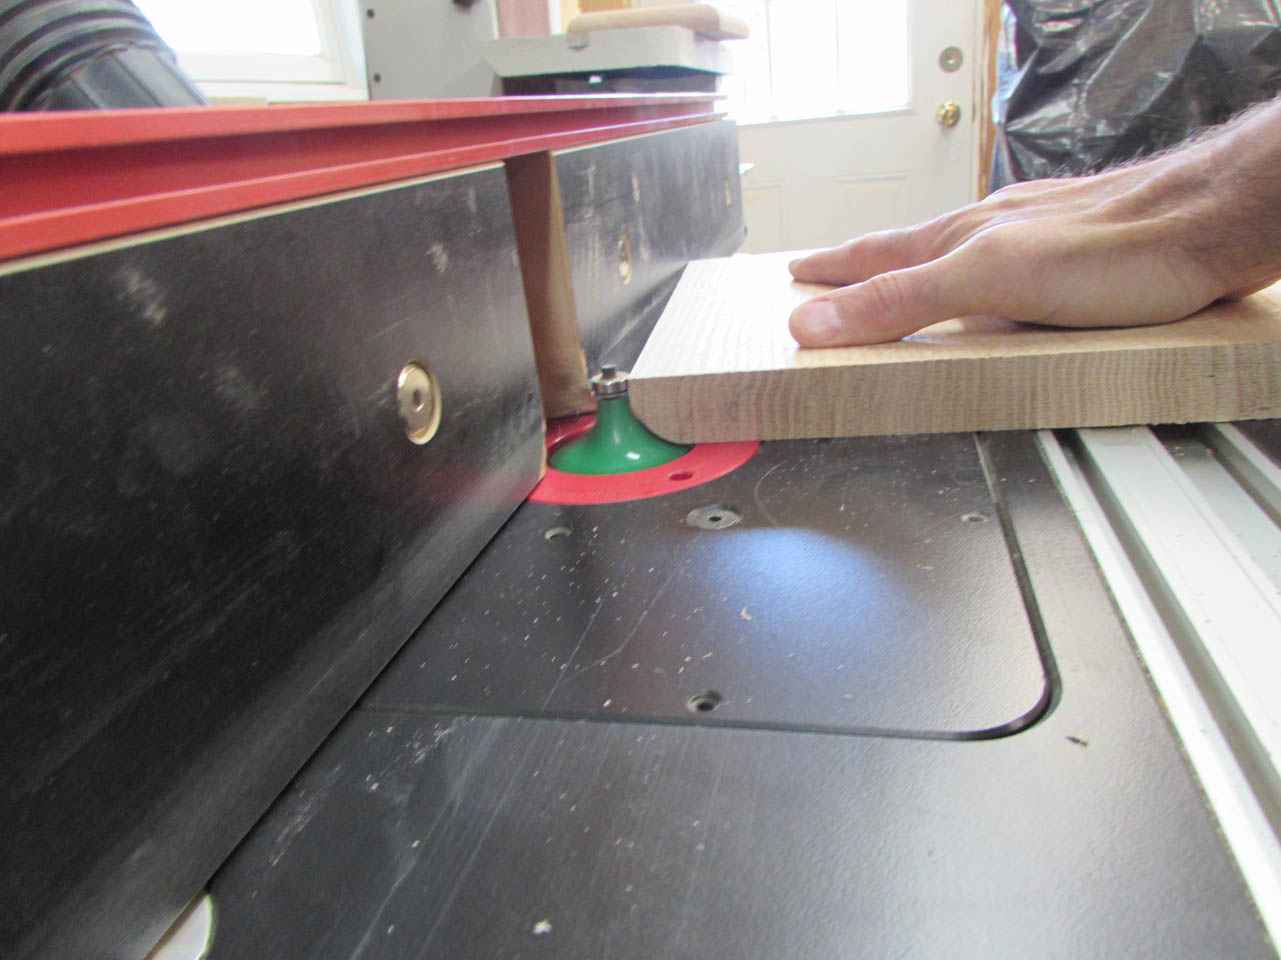
All it now needs is a final sanding then it can be set aside for final assembly later.

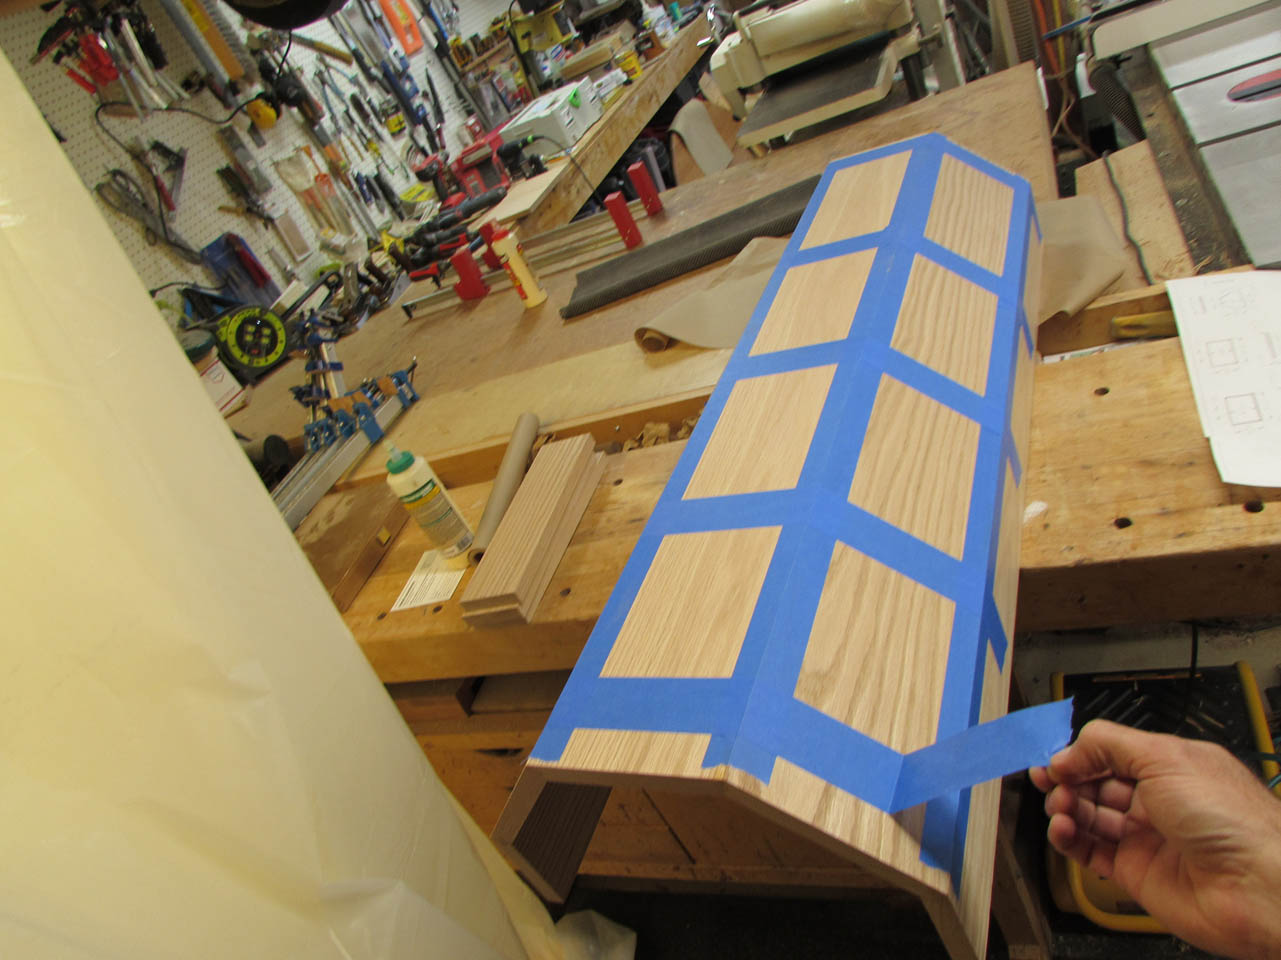
Time to pull the tape from the column and see how well it clamped up.
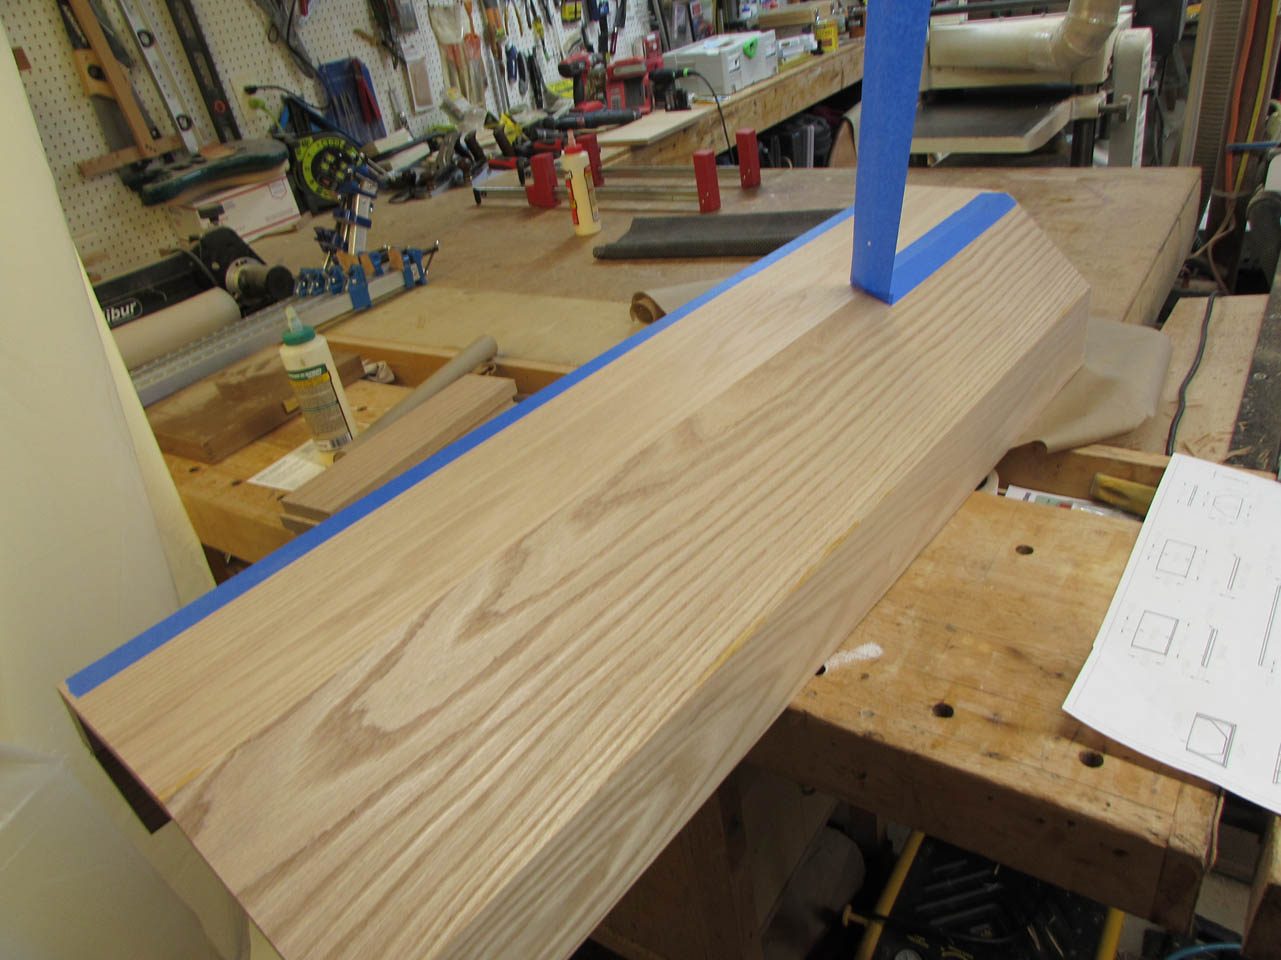
Not too bad, everything seems straight and the bottom is nice and flat so it sets on the base well.
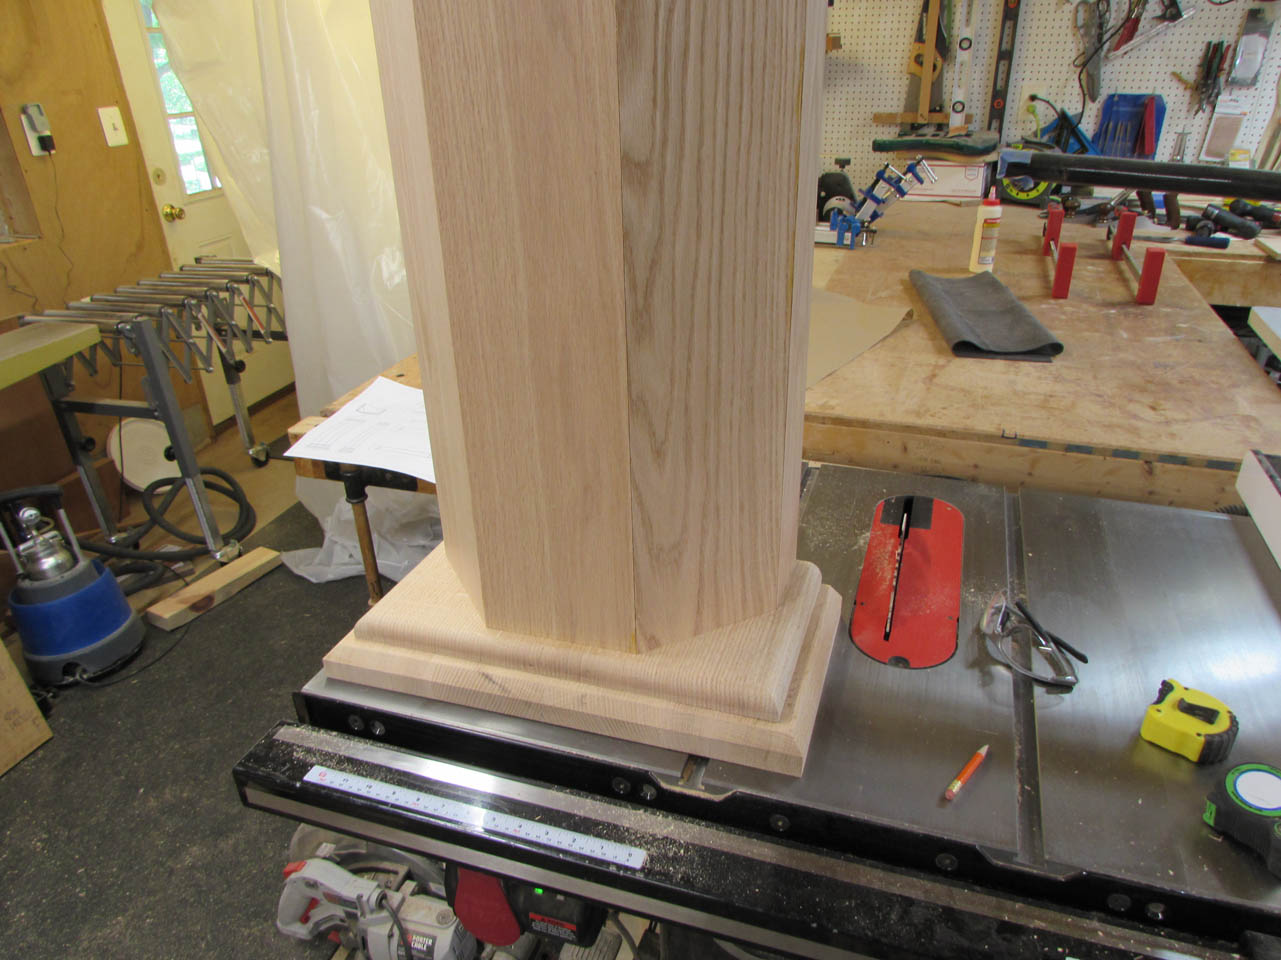

Only real problem I see is the slight gap in one or two of the joints.

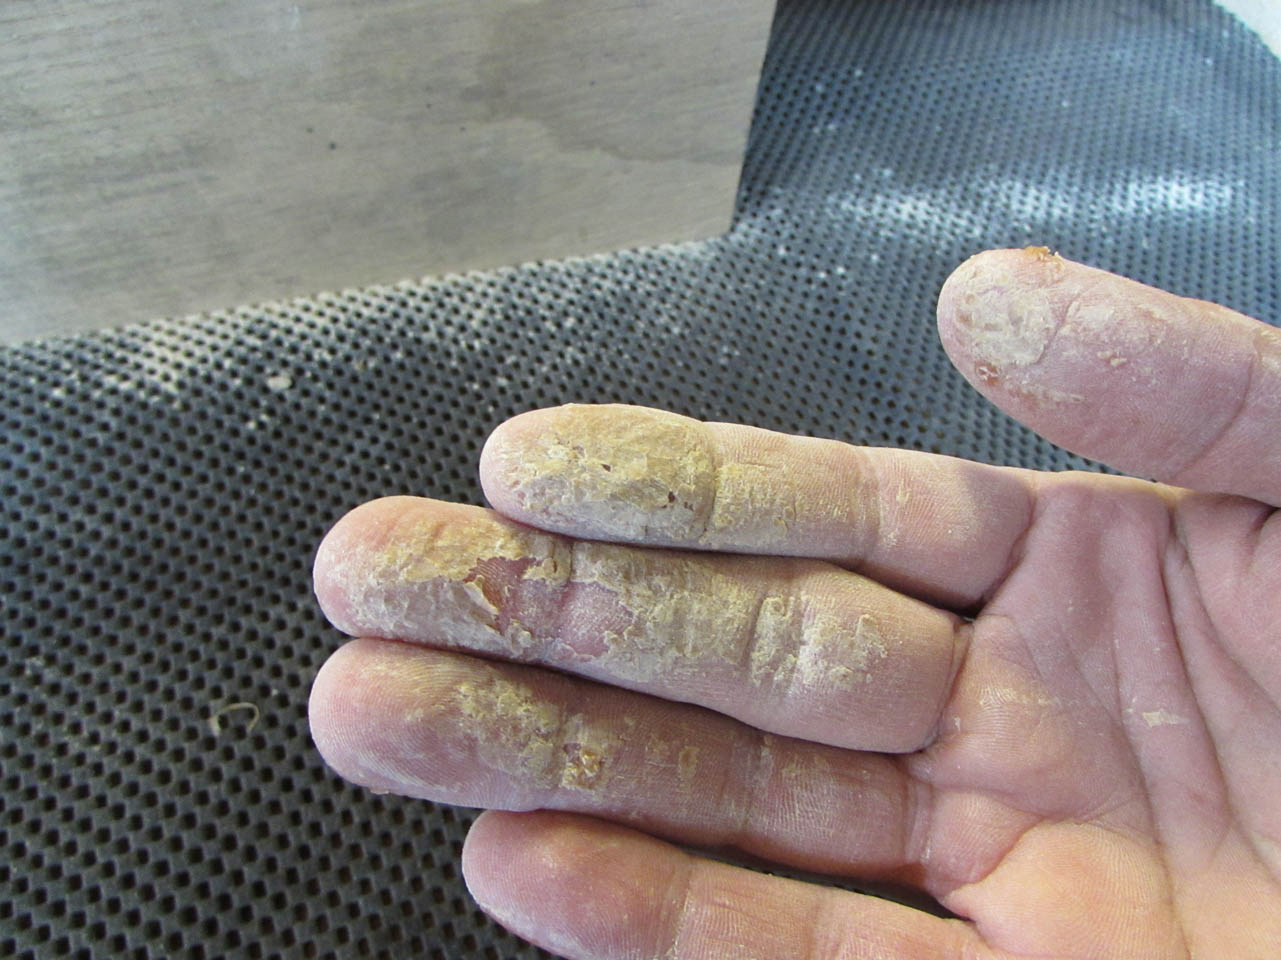
My usual method of infill is to flood the gap with CA glue, then add fine sawdust, harvested from the dust collection bag on my orbital sander.

It dries pretty quickly then can be sanded smooth.


If any gaps are left, the process can be repeated.
The fill blends in with the wood and will hold a stain. The only real draw-back is that my fingers get caked with glue and dust. I usually have to wash them with acetone to get it off.
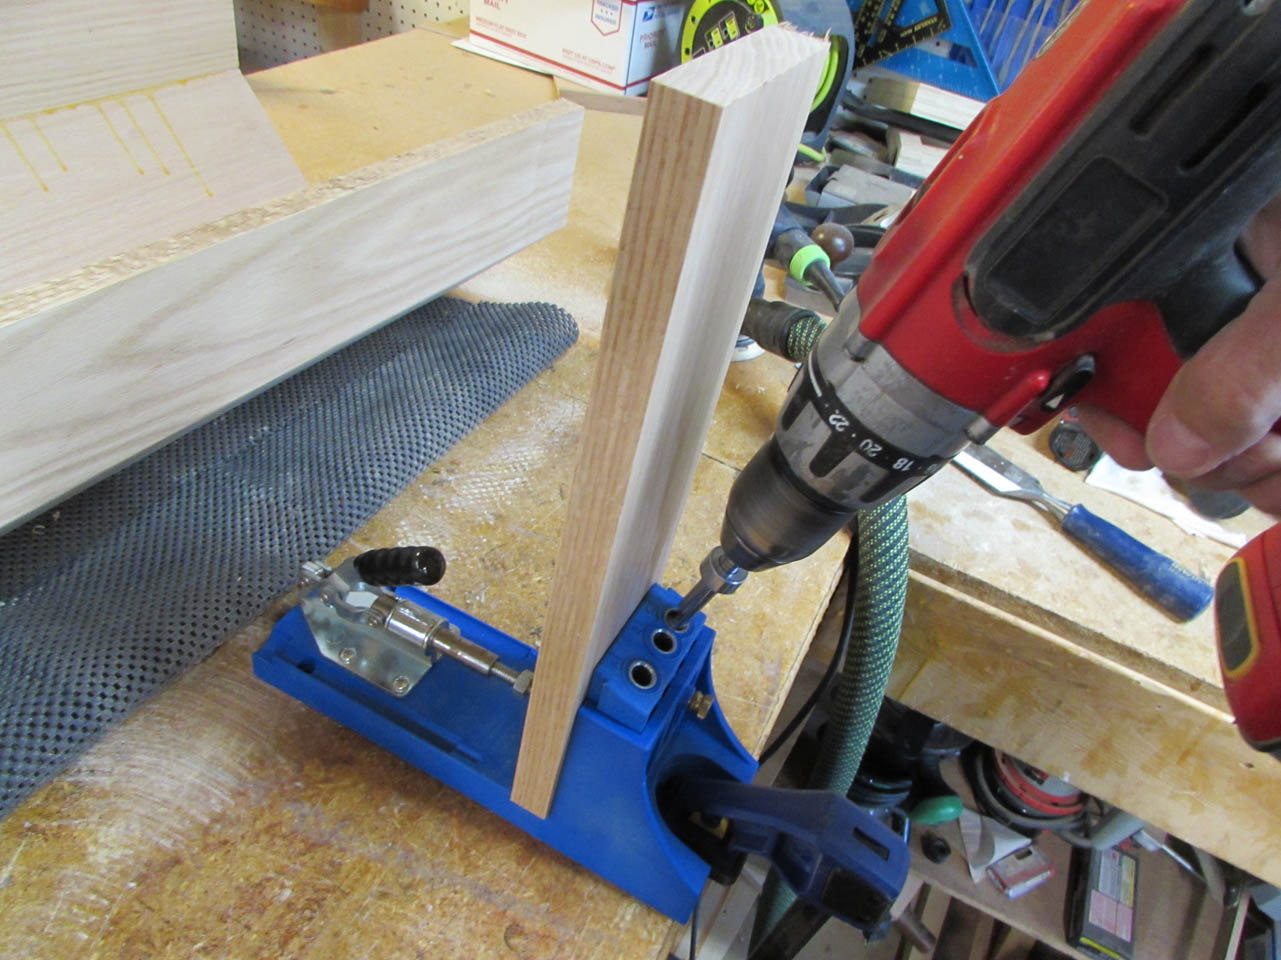
I decided that I would like to install my cross braces in the back of the column but an end-grain glue-up would be useless. Since it is in the back, against the wall, I figured pocket holes would work the best.
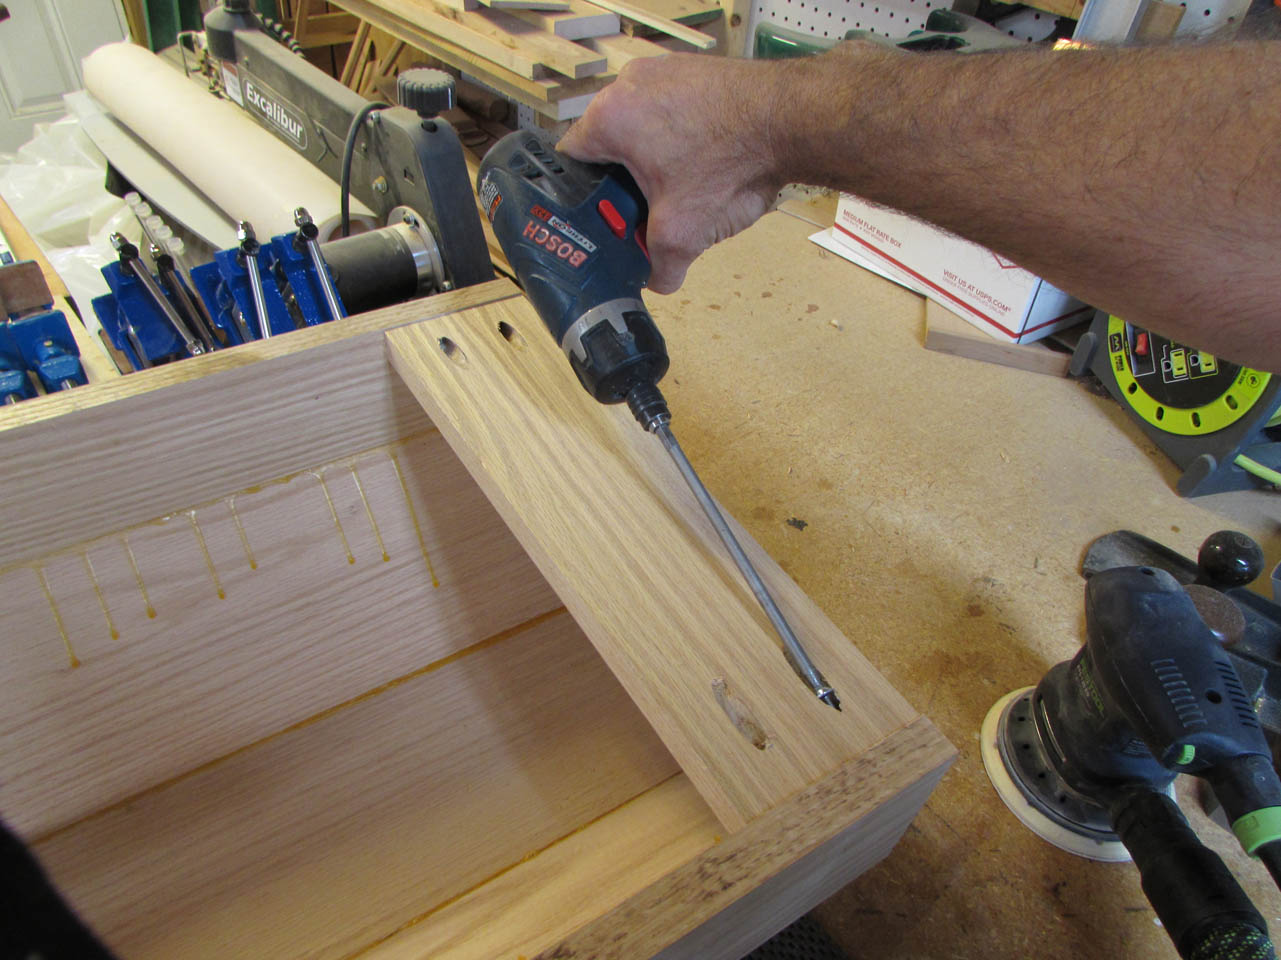
This should help prevent the column from spreading if there is any expansion due to humidity. It also gives me an attachment point across the back for the base cap and top plate.

That reminds me that I need to cut the octagon shape into the top plate.
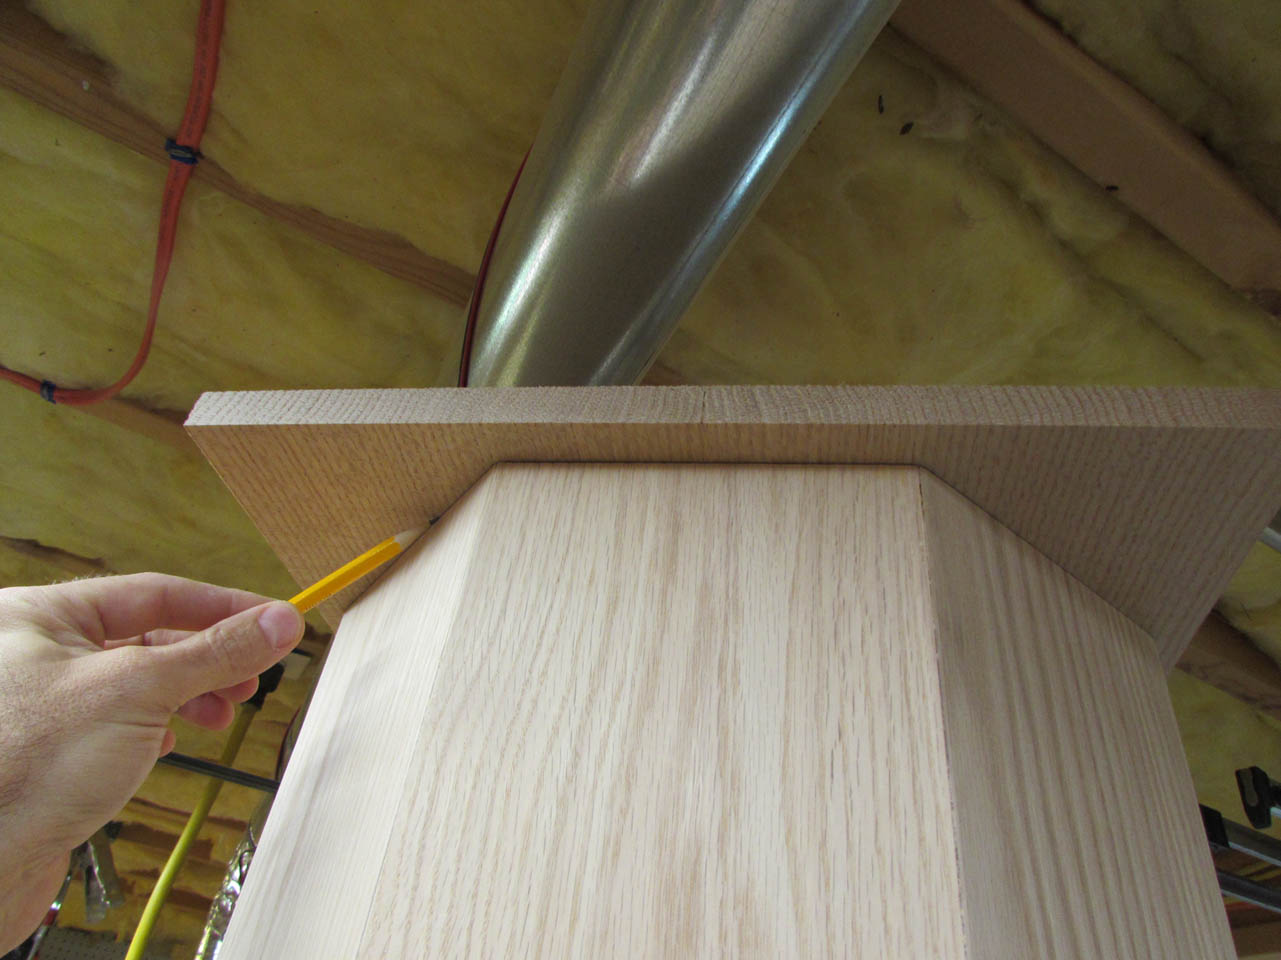
I line up the back edge with the back of the column and center the plate on top. Then I trace lightly around the column top.
I measure off the line another 1/2″ all the way around and make a new outline.

After cutting along the new line, I have a top plate that matches the column shape.
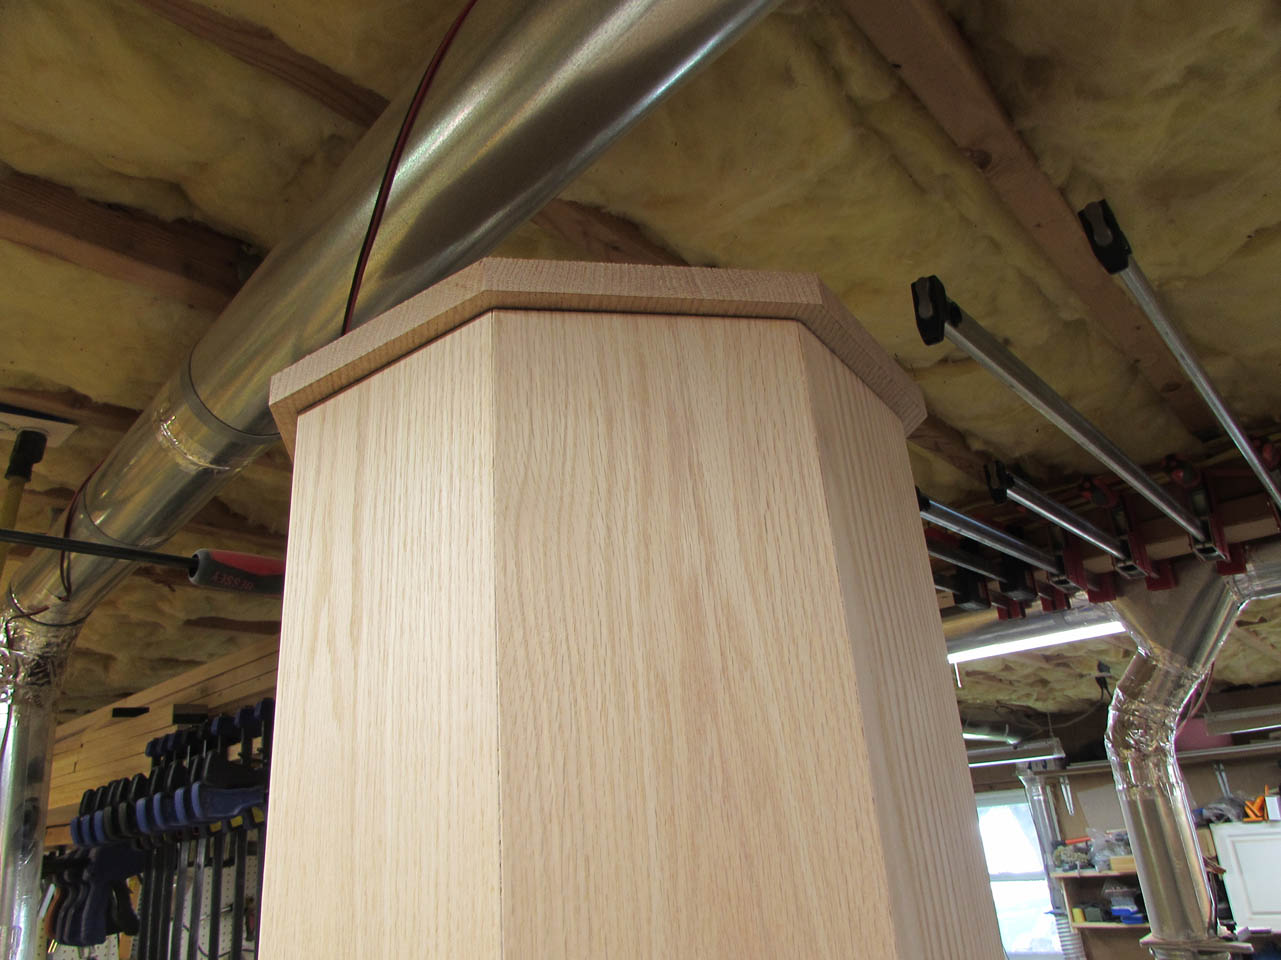
Everything is ready for assembly and trim once I get the final height dimension. Hopefully that will be in the next few days. Maybe I will squeeze in another project while waiting…
