
St. Kilian chapel – Tabernacle stand – part 2
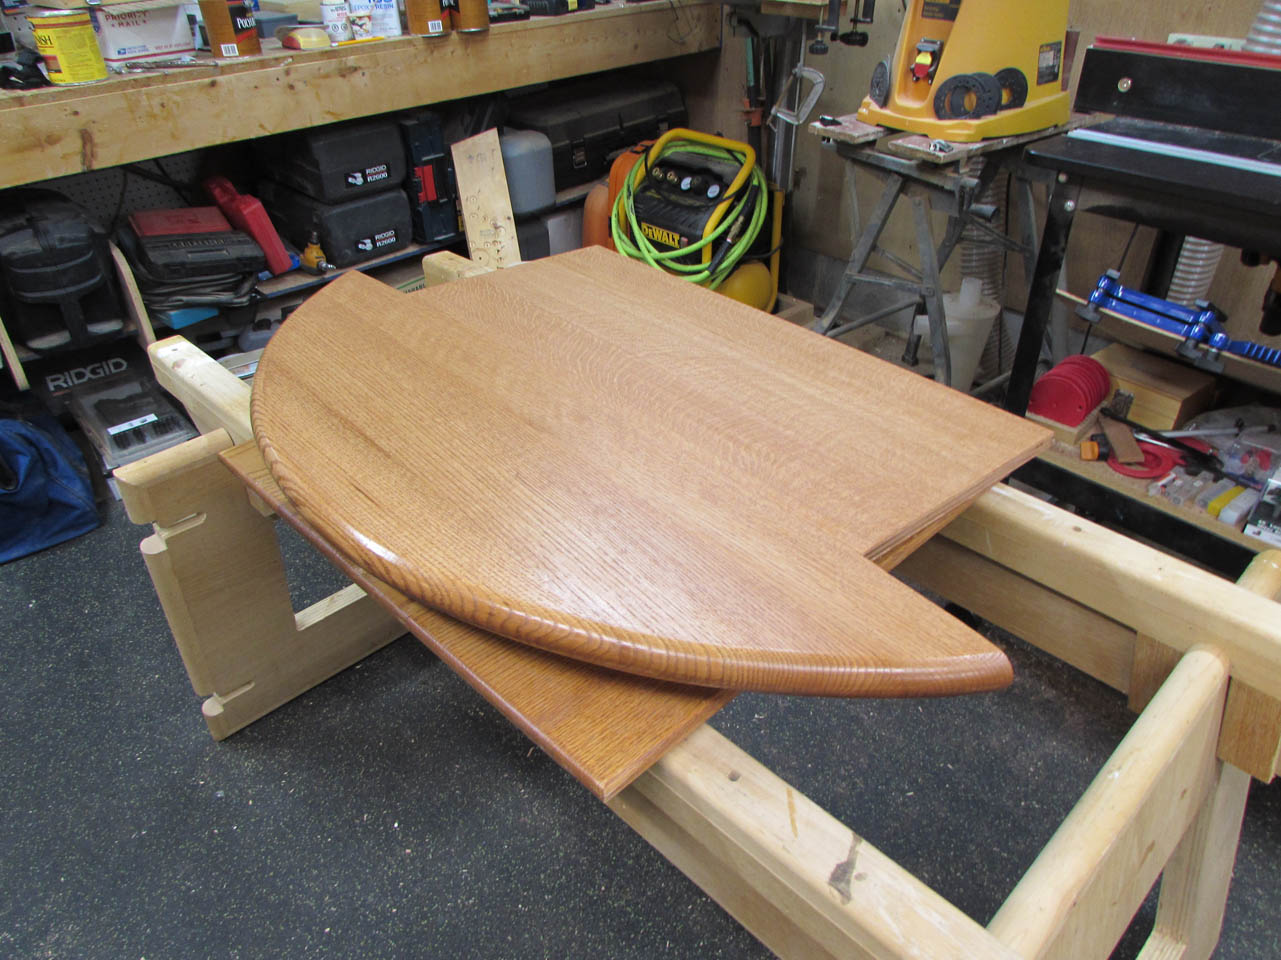
Before I get started on the base, I wanted to stain the top and see how well the grain matches.

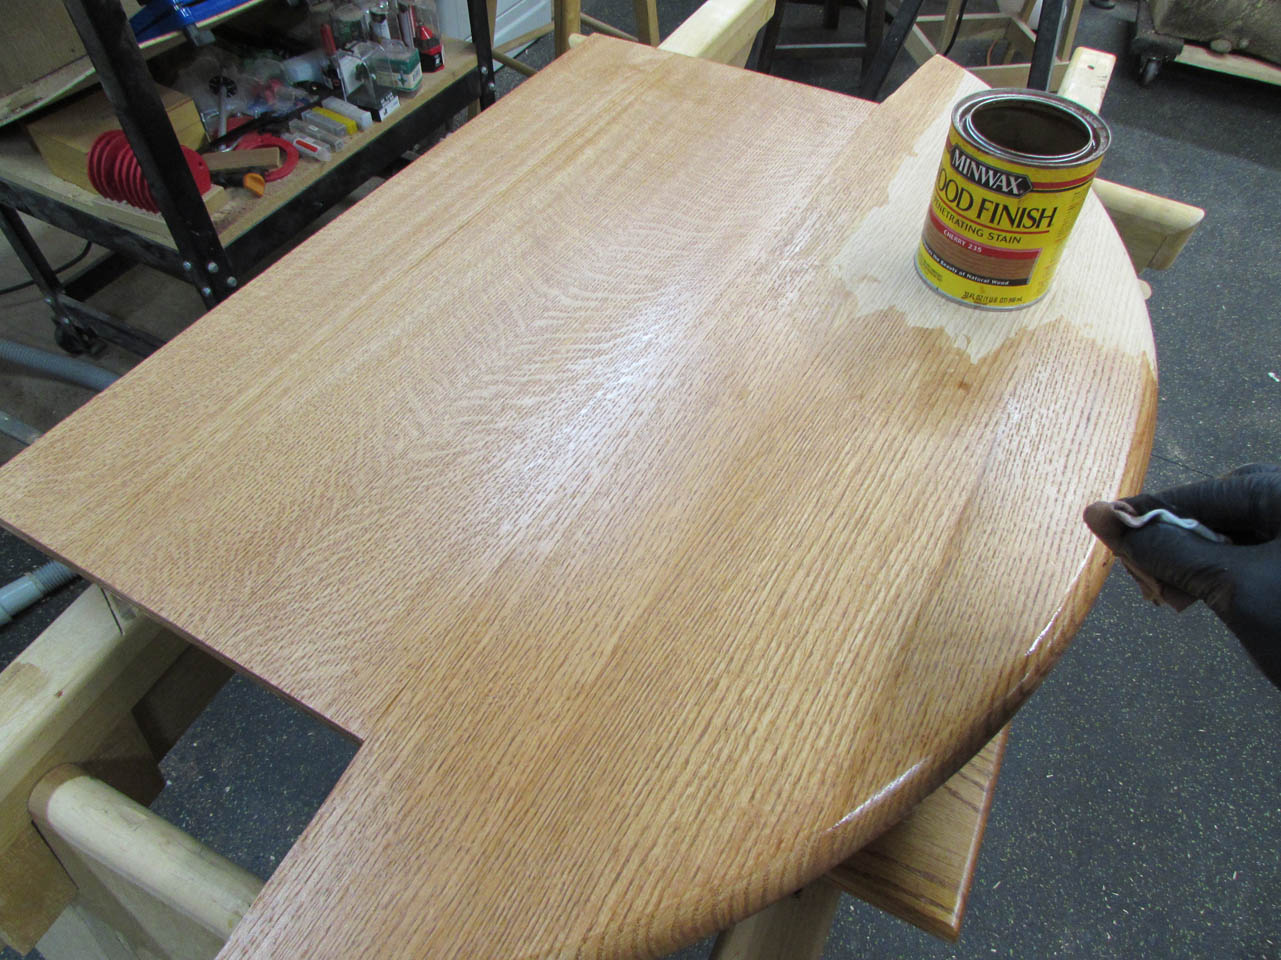
I think the solid wood and the plywood blend really well. I am quite happy with it.
Moving on to the base, I put together a design here: tabernacle stand – parts.pdf I am still waiting on a final dimension for the column height, but I can get started and cut that down later.
I cut down the base I glued up and laid out the facets along the back to be trimmed off on the band saw.

Then I set up the 45° bit in the router table and chamfered the front and two sides.

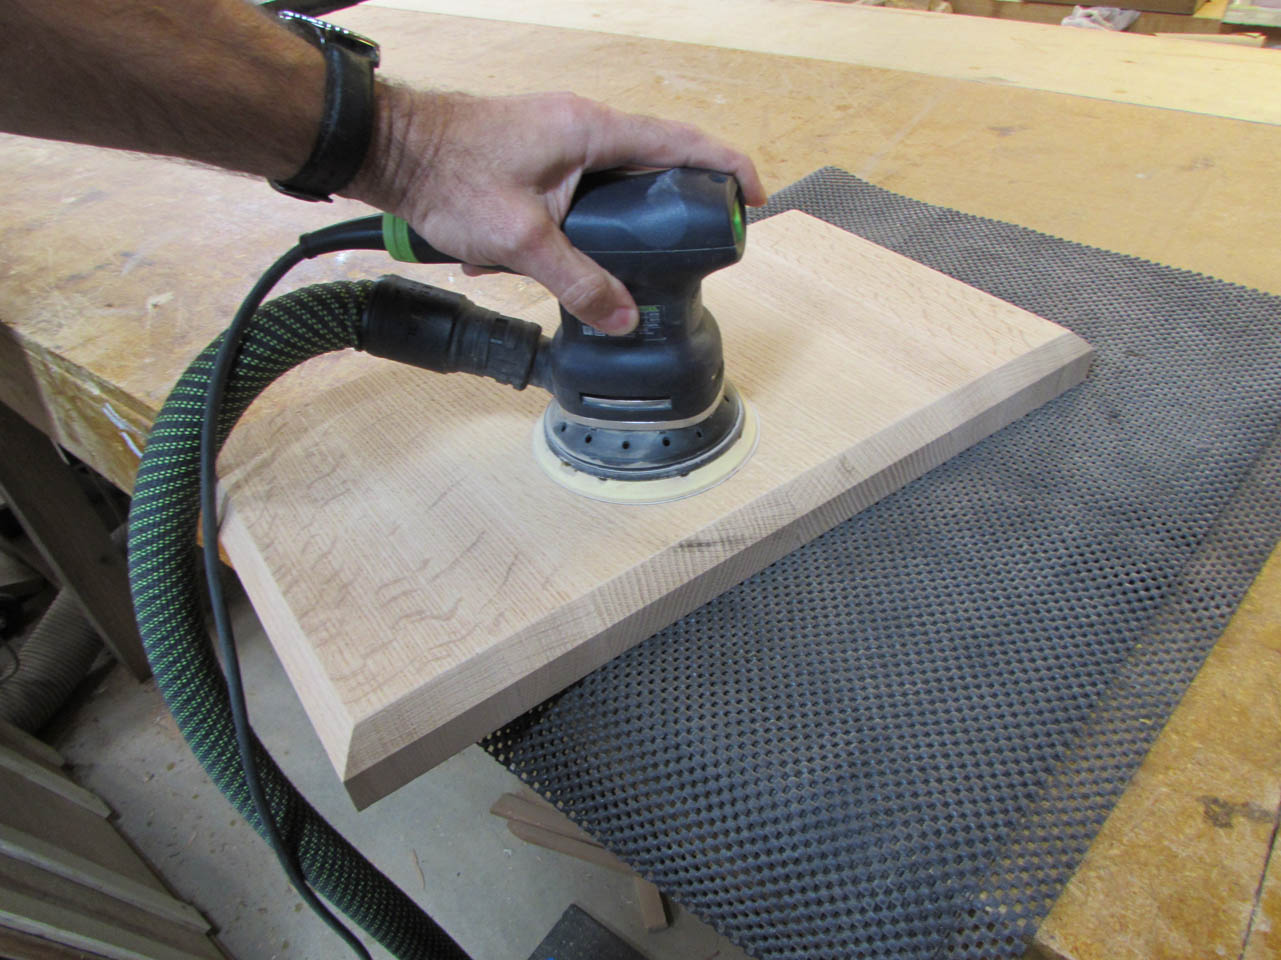
Just a little bit of sanding, and the base is done for now.
Time to mill down some more boards to create the half column.
I don’t have an exact height for the shelf yet so I am making the column about 4″ taller than I expect it will need to be. It is easier to cut down later rather than try to make it grow.

This will be a half column so the 3 facets across the front are 6-1/4″ wide and the two sides are approximately 4″ wide each. In order to make it easier to remember that one of the 4″ sides will get a tongue and the other will get a groove, I just made one 8-1/4″ wide board and I will mill it the same as the 6-1/4″ wide ones, then cut it in half later.
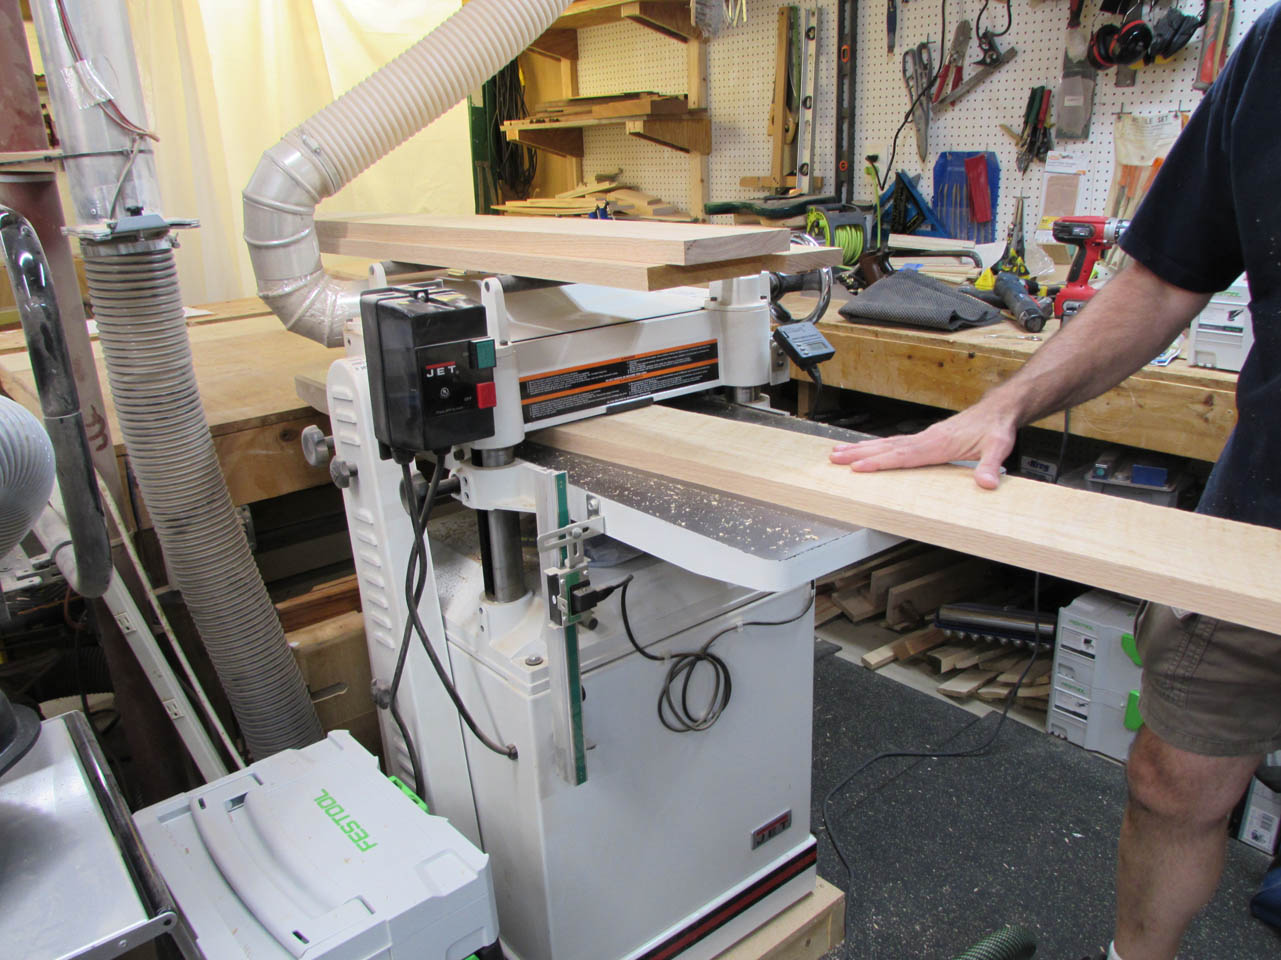
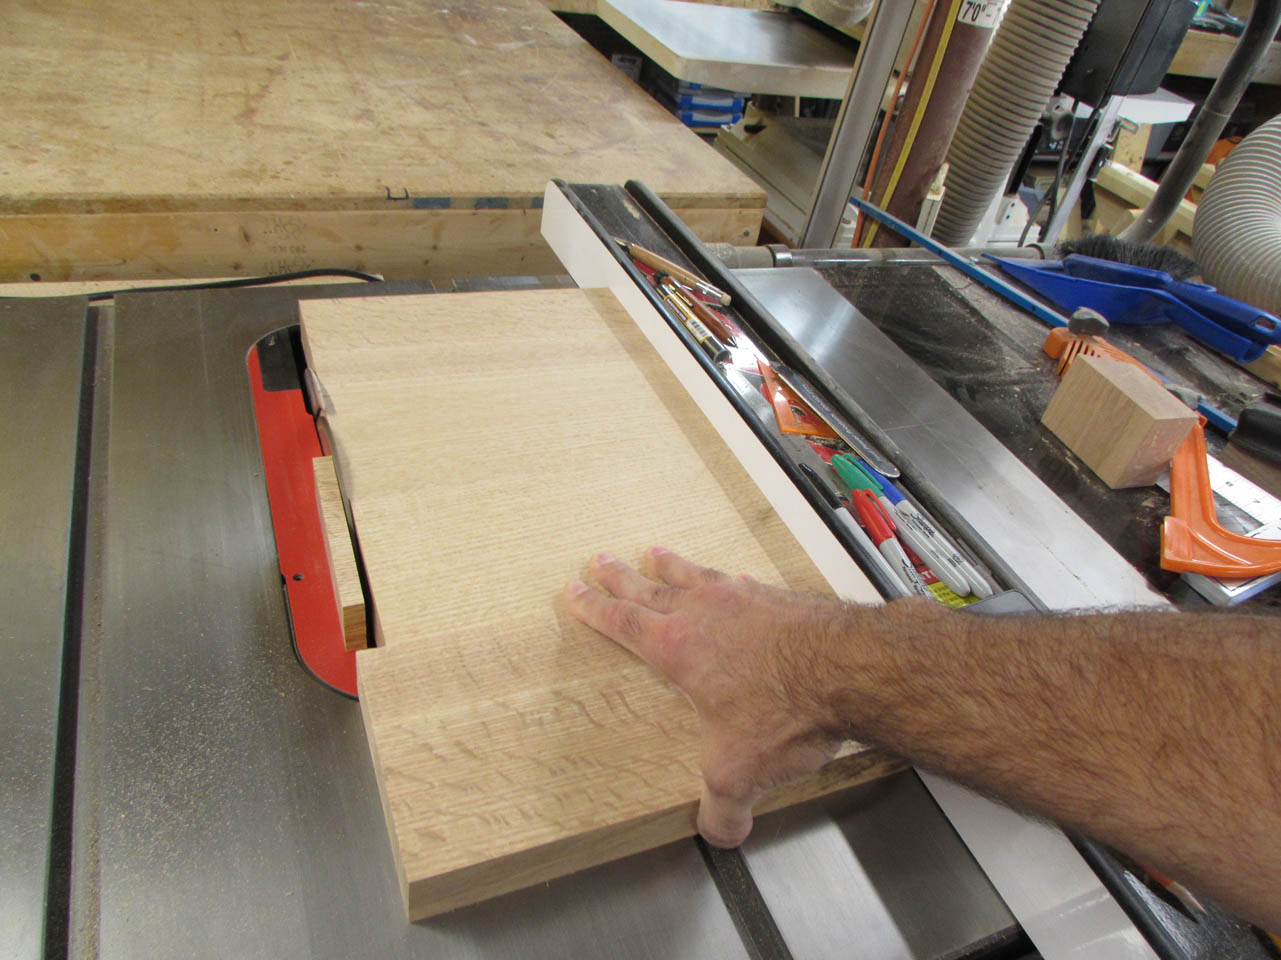
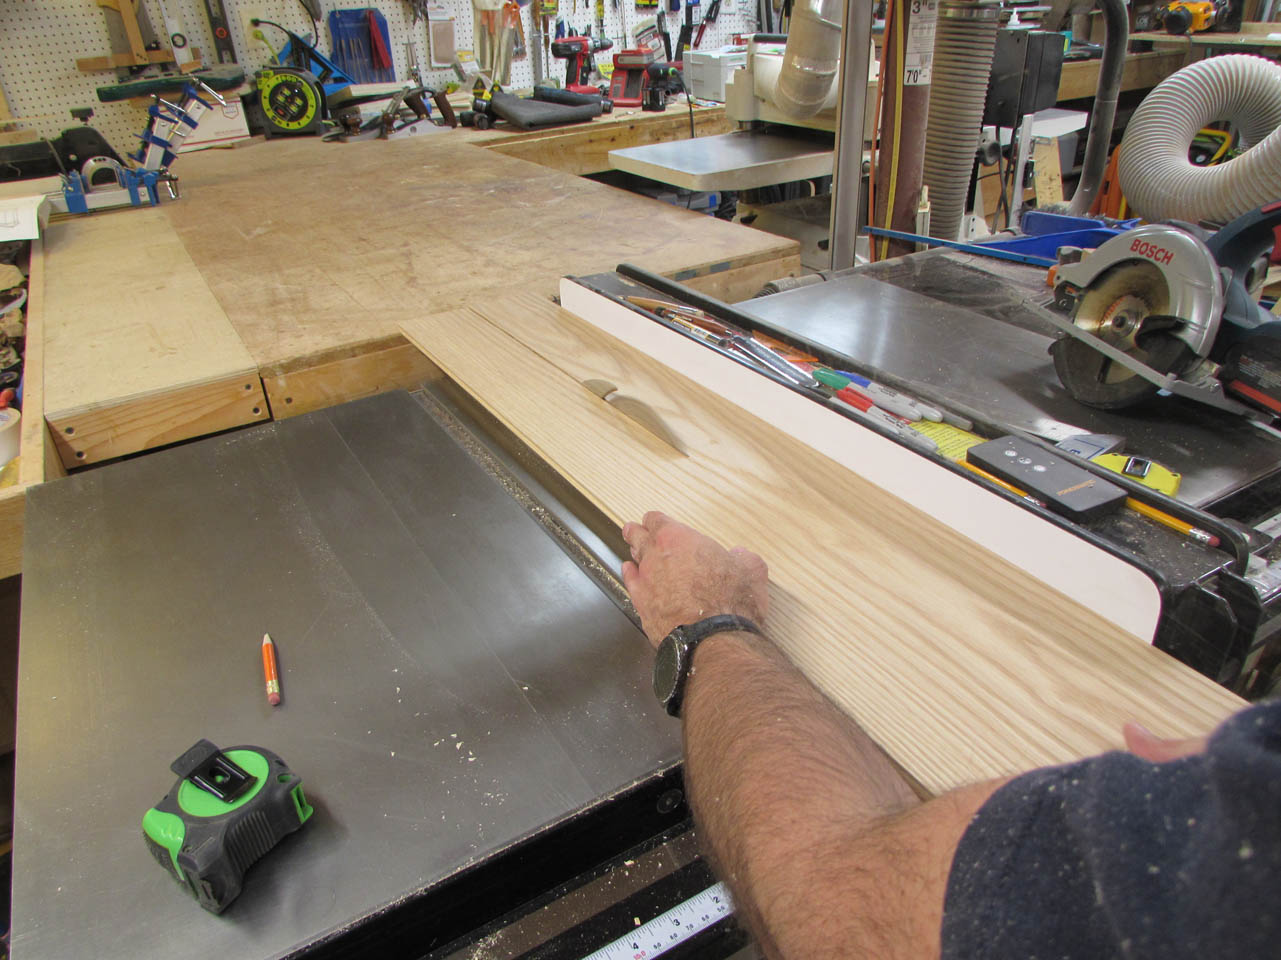
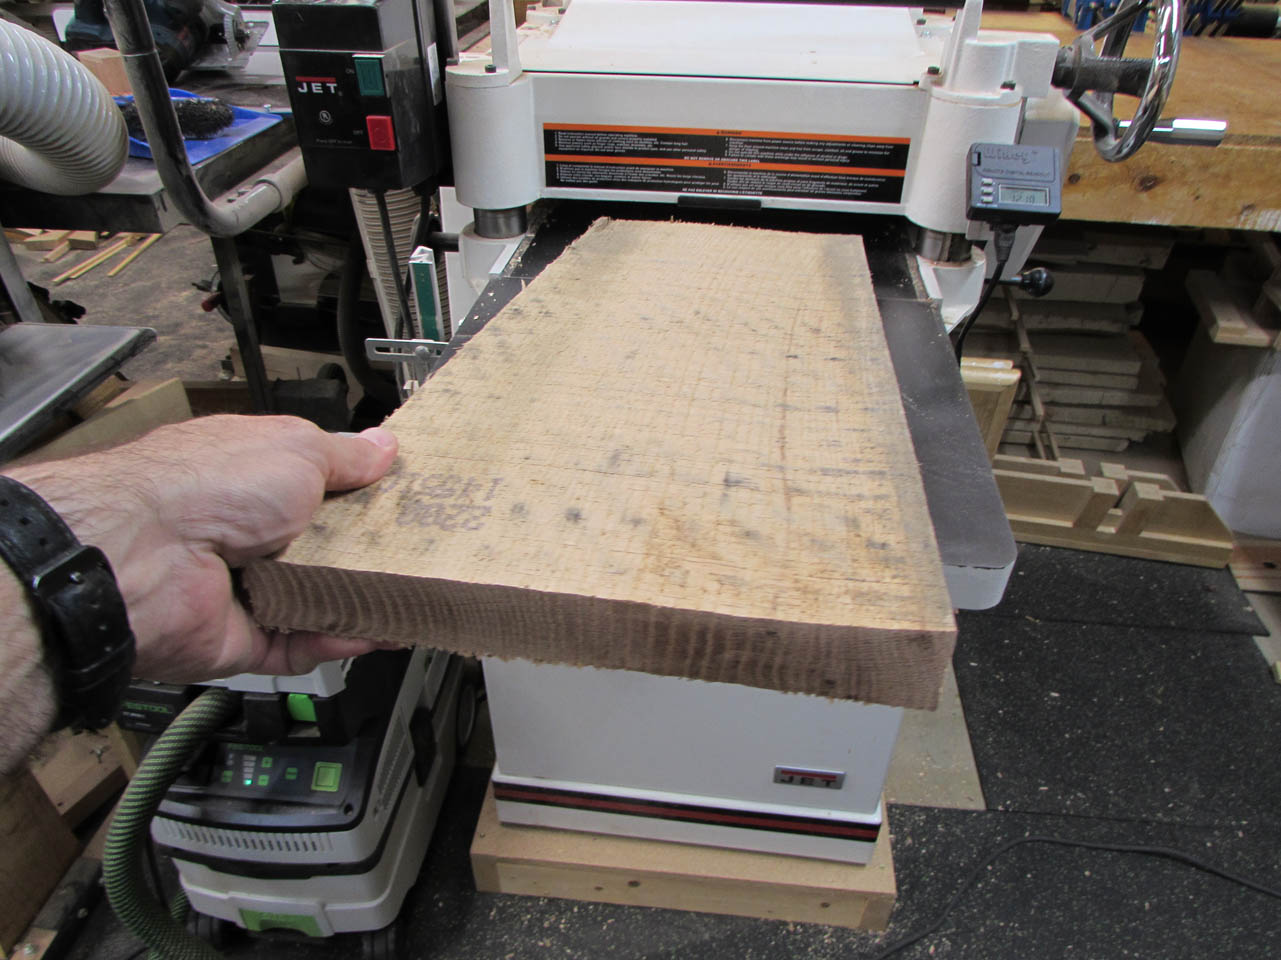
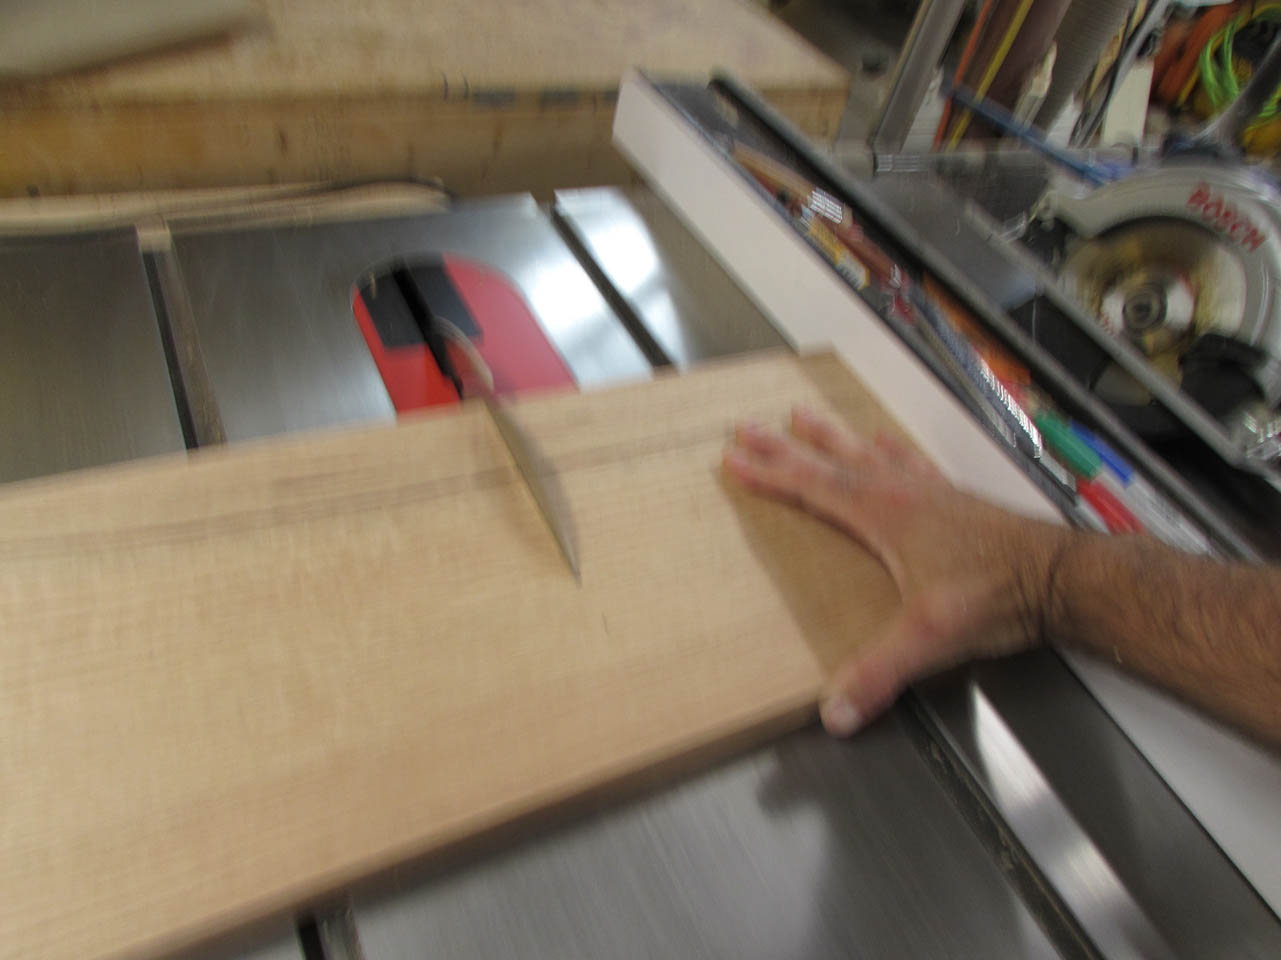
After planing and jointing all of the rough stock, I cut each board down to it’s final width.


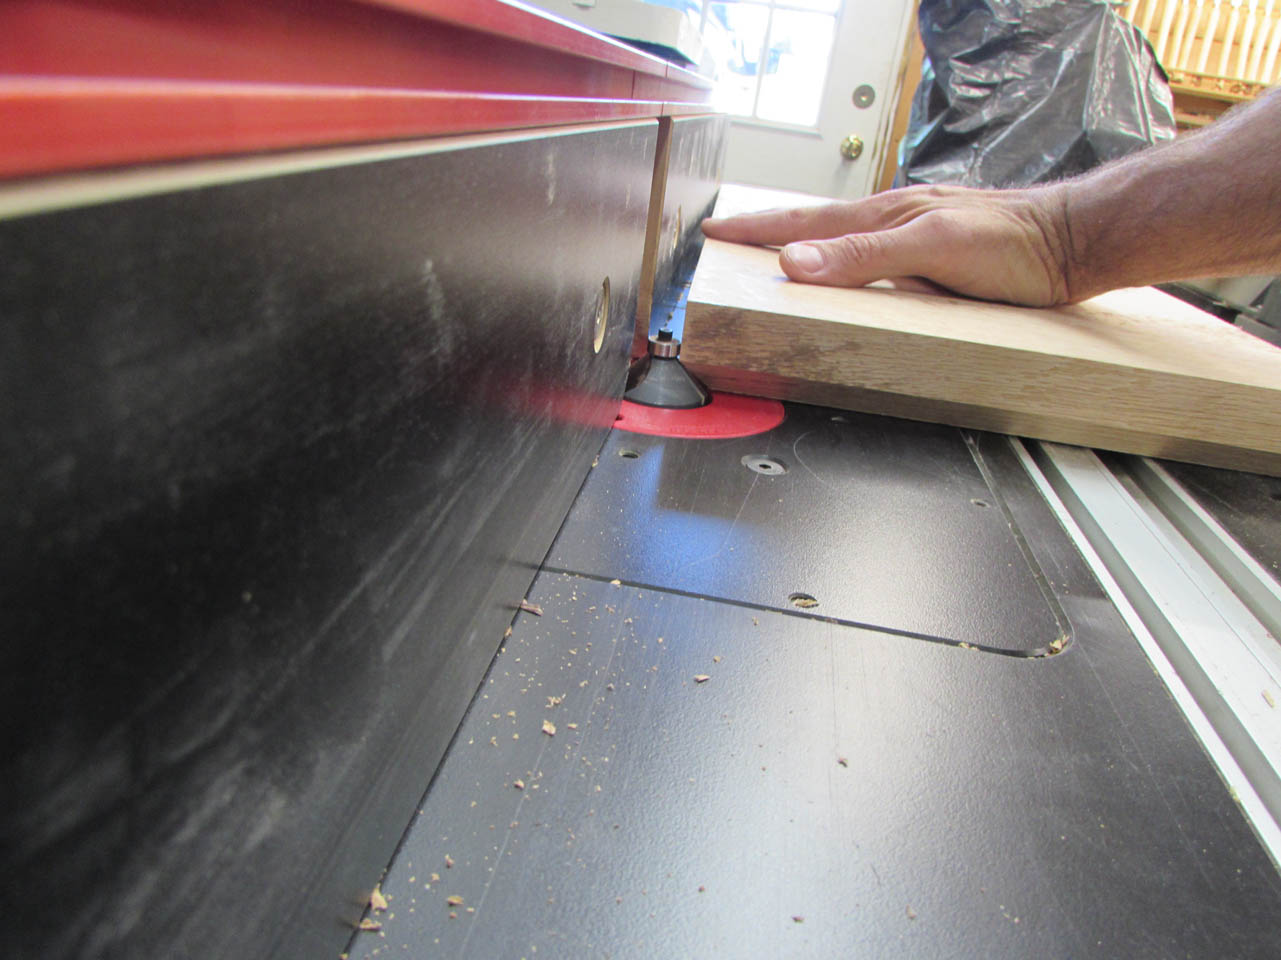
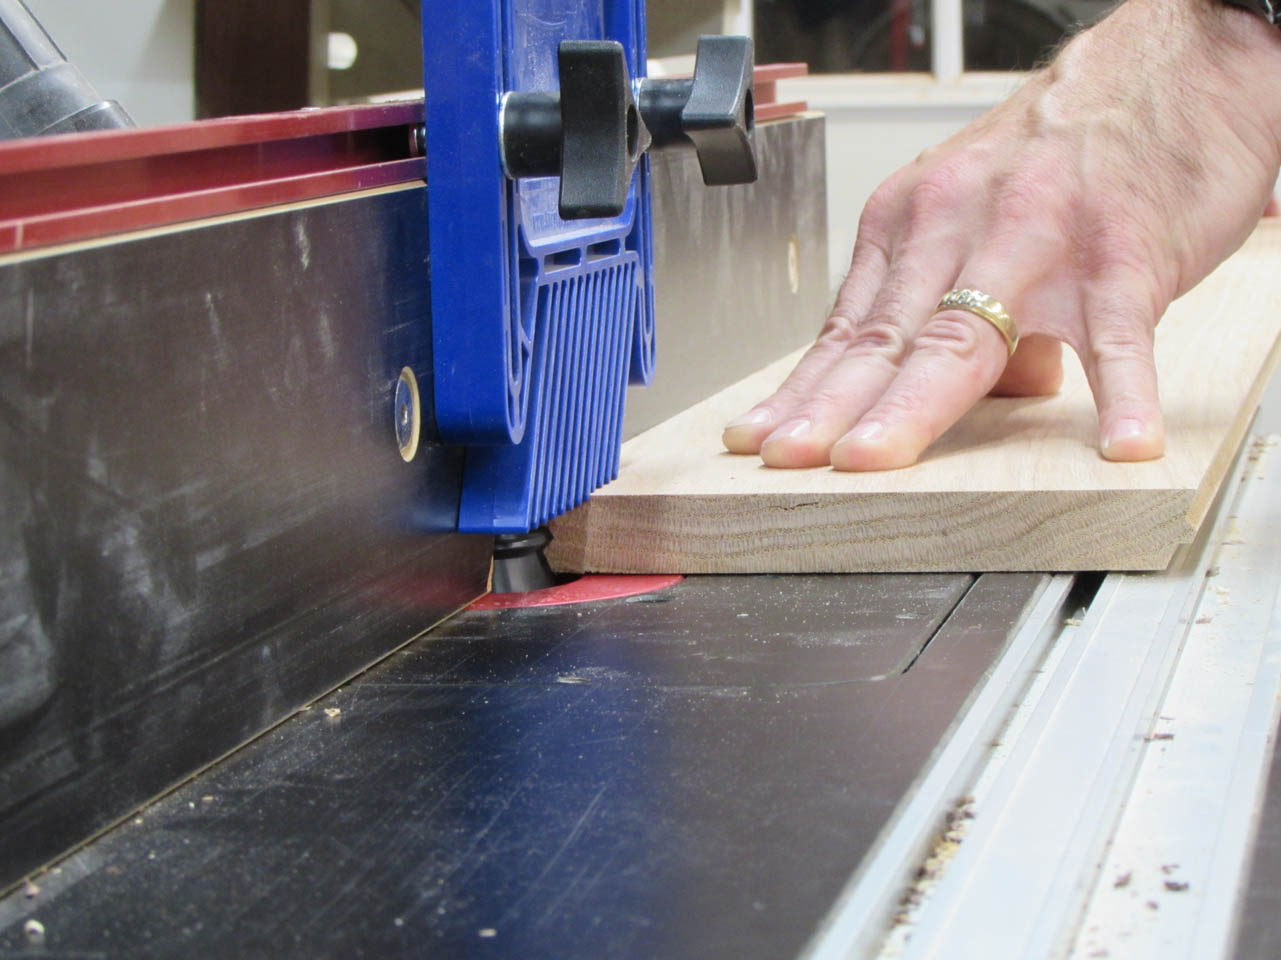
Like I did on the baptismal font, I am using 22.5° lock miter bits. They have matching tongue and groove joints angled at 22.5° which makes them perfect for an octagonal column.

I use a setup block to set the bits at the correct height, on two different routers.


After running all of the boards through the first cutter, I switch routers and run all of the boards through again on the opposite edge.

And, in just a matter of minutes, I have all of the sides of my column.


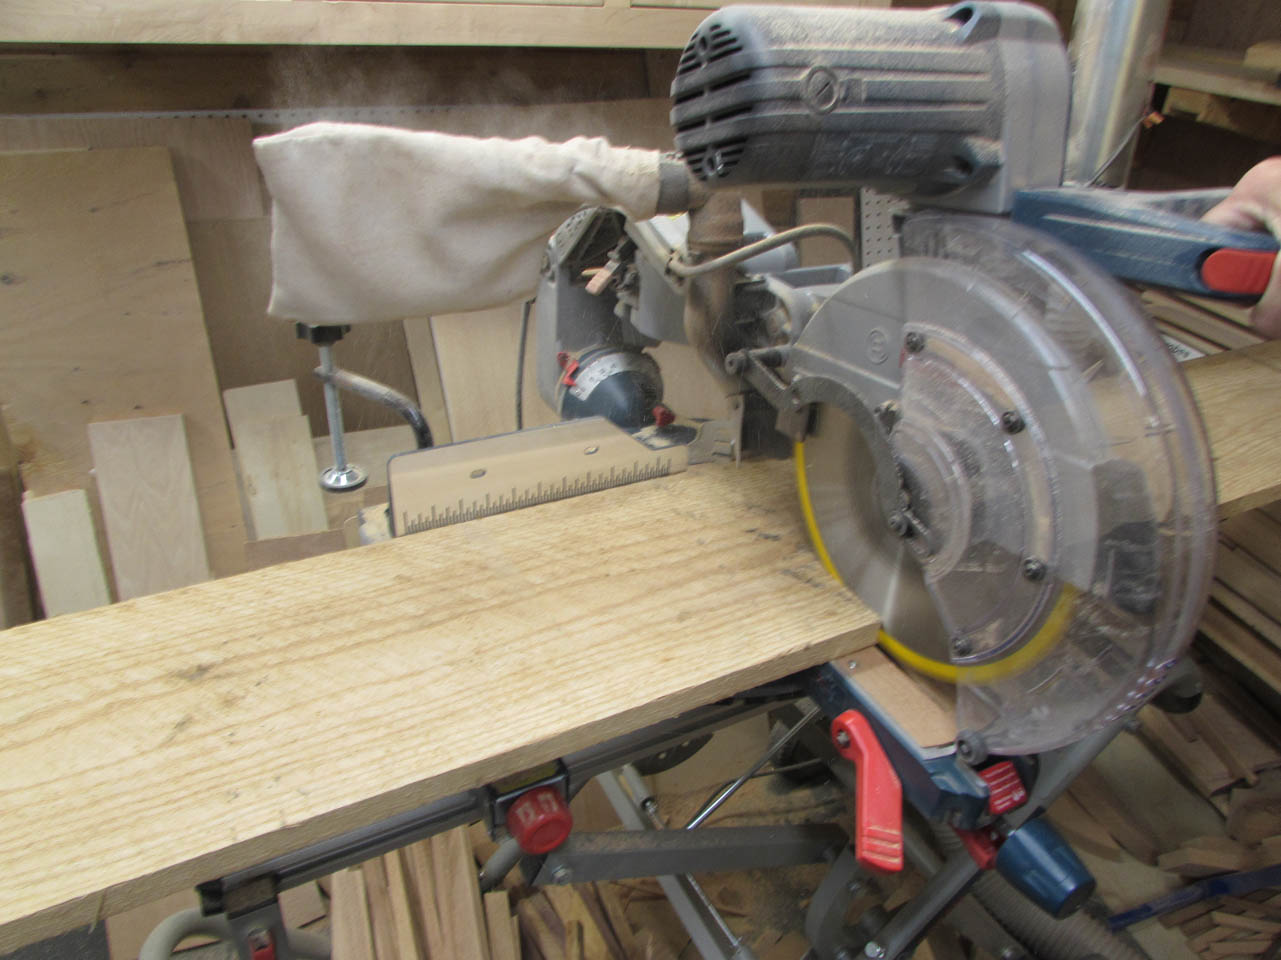
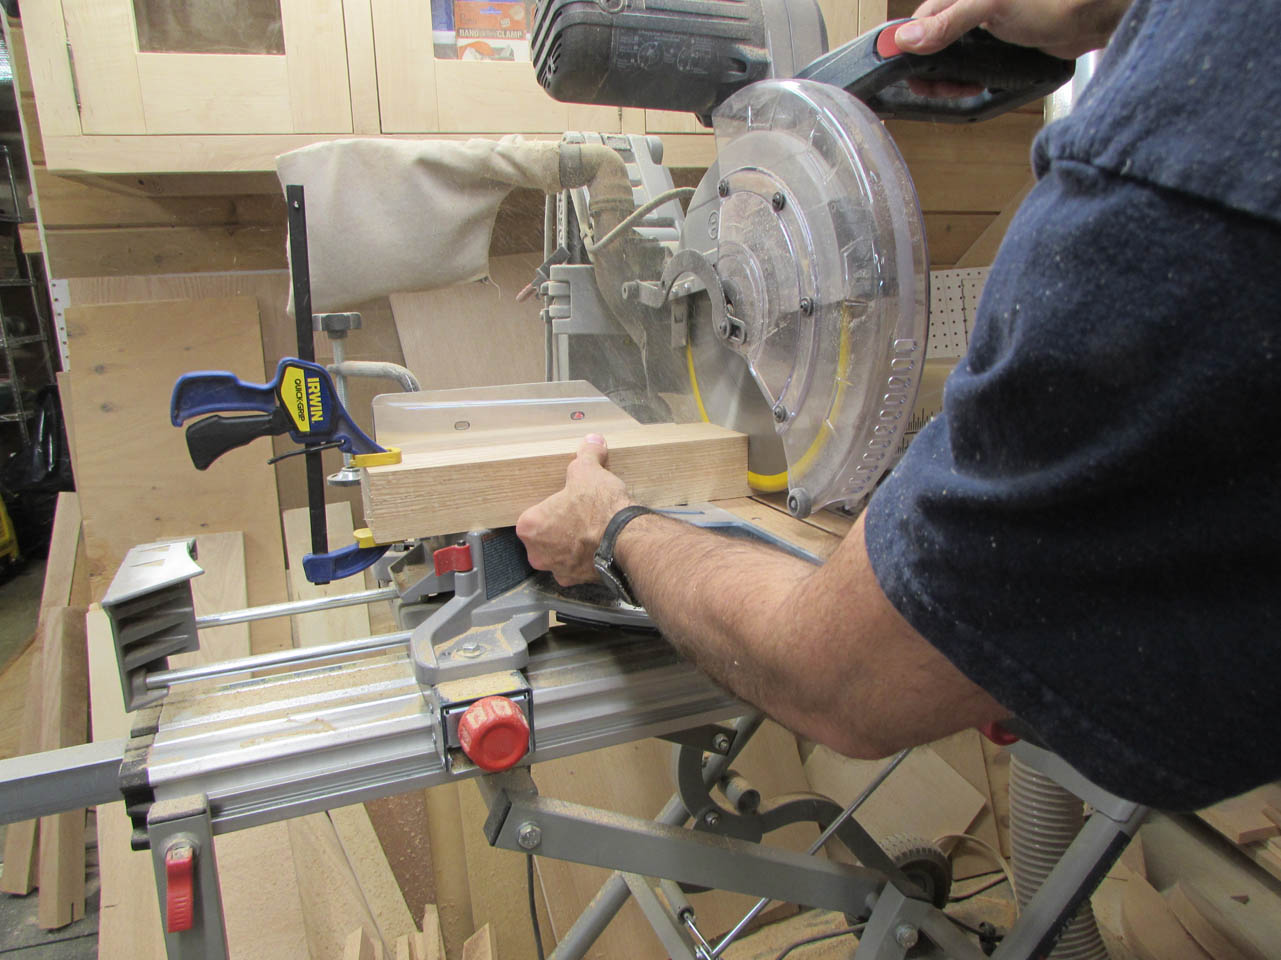
Two things to do before assembly: First is to cut all of the boards to the exact same length. They are longer than needed so I can carefully cut off any splits or snipe from the ends. Second, I need to rip the wide board in half to create my two half sides.
To align all of the facets of the column, I clamp a straight edge down and use a framing square. I butt the first side to both and carefully match the grain while laying the rest of the sides in place.
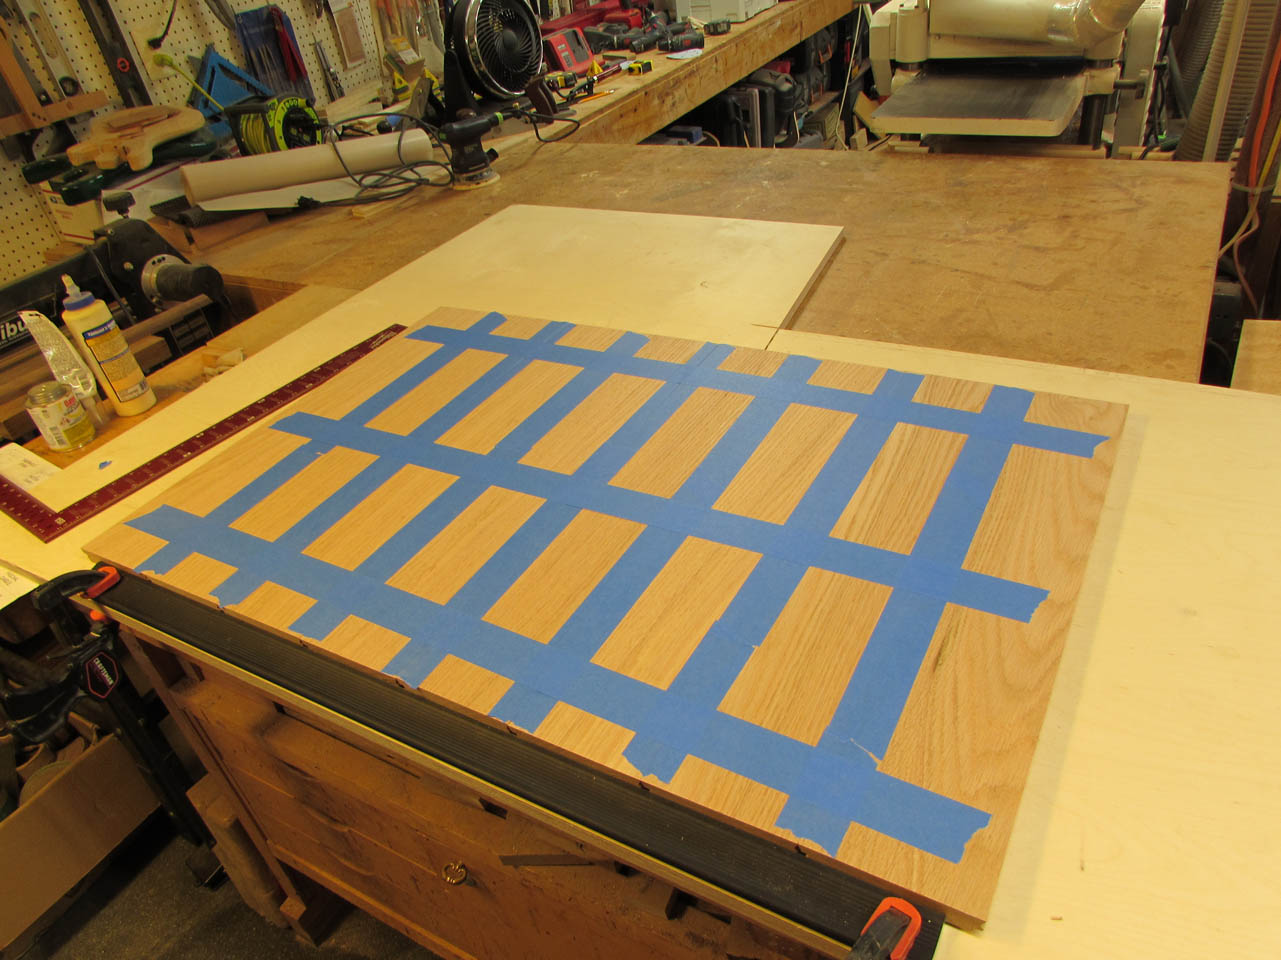
Apparently I forgot to photograph taping all of the joints together, sorry about that. I grabbed a photo of the tape up of the baptismal font as a replacement though. Basically you butt all of the sharp edges together and they will become your outside surface. All of the open tongue and groove gaps will face down so that you can tape the outside.
Once you have everything taped up, you carefully flip the entire thing over and roll it up, using the tape as a hinge.

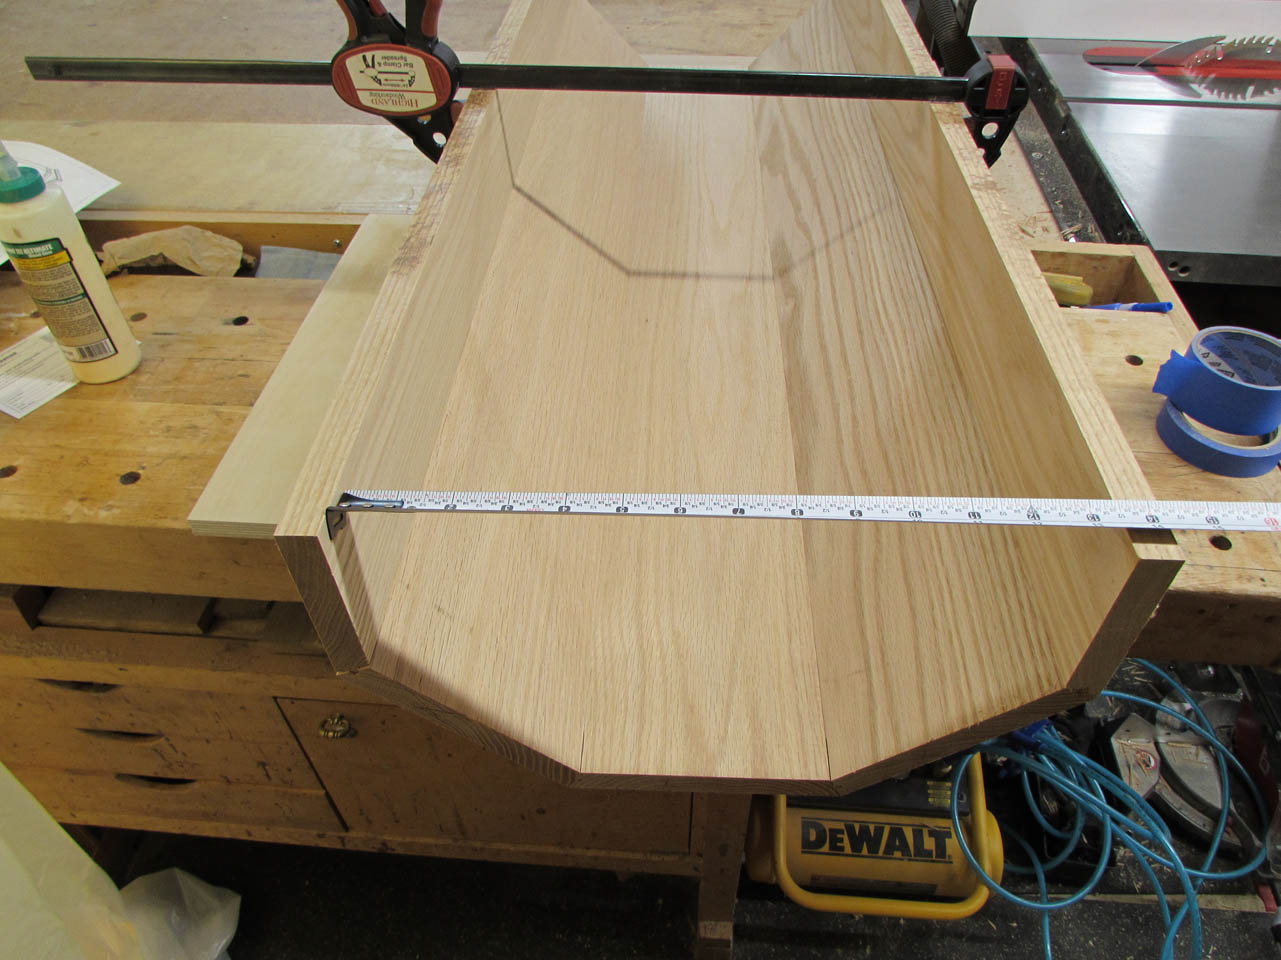
I pulled the half-column together and used a clamp to hold it in place. I measured the outside dimension and adjusted the clamp until I hit my desired 15″. According to my design, That is when the sides should be parallel.

While that is clamped up, I double-check the inside measurement and cut three blocks about 3-1/2″ wide and 13-1/2″ long to be cross-braces.
This will prevent the column from being over-clamped during the glue-up.


I flooded the grooves with glue. (yes, it is messy, but carefully painting the glue to each surface takes too long and this needs to be a quick glue-up) The tape along each joint usually prevents squeeze-out along the outside. I really don’t care if the glue squeezes all over the place on the inside.

After the glue is spread, I roll the column back up and place my cross-braces as I clamp. I am using band clamps to squeeze it all together. They are very effective on full columns, so we will see how they do on half columns. With three clamps in place, I set the column aside and move on to the rest of the pieces of the column.

I have the base plate done, but I still need the base cap and top plate. I am using quarter-sawn wood, so that the base and top do not expand much, but to get a wide enough piece, I will have to join a couple of boards together.
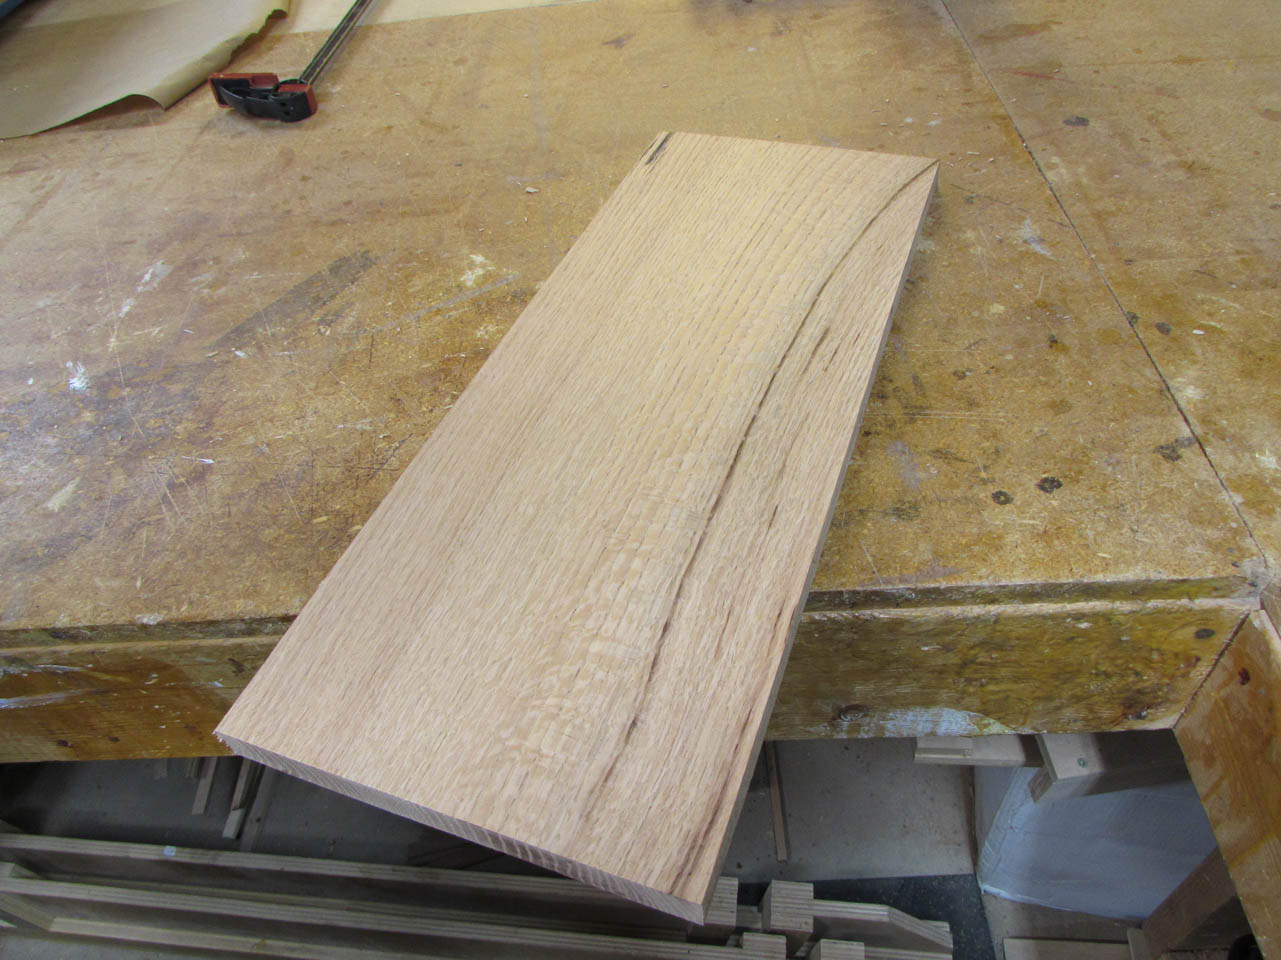
Unfortunately, you cannot always tell there is a dark streak running through your board when it is rough-sawn… I won’t see much of this board, so I am going to try it anyway.
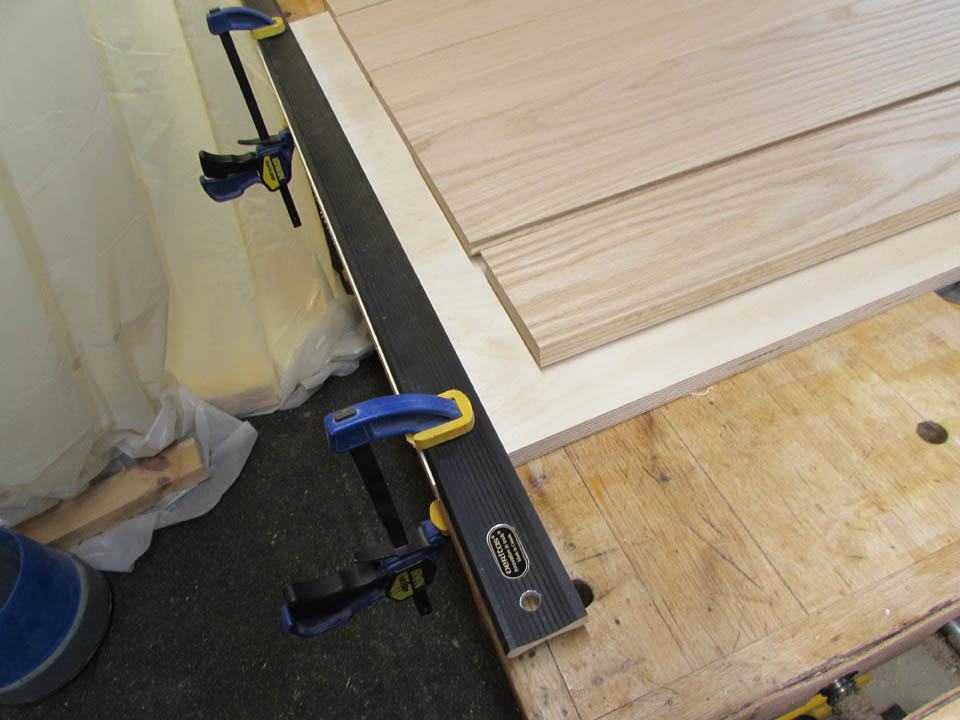
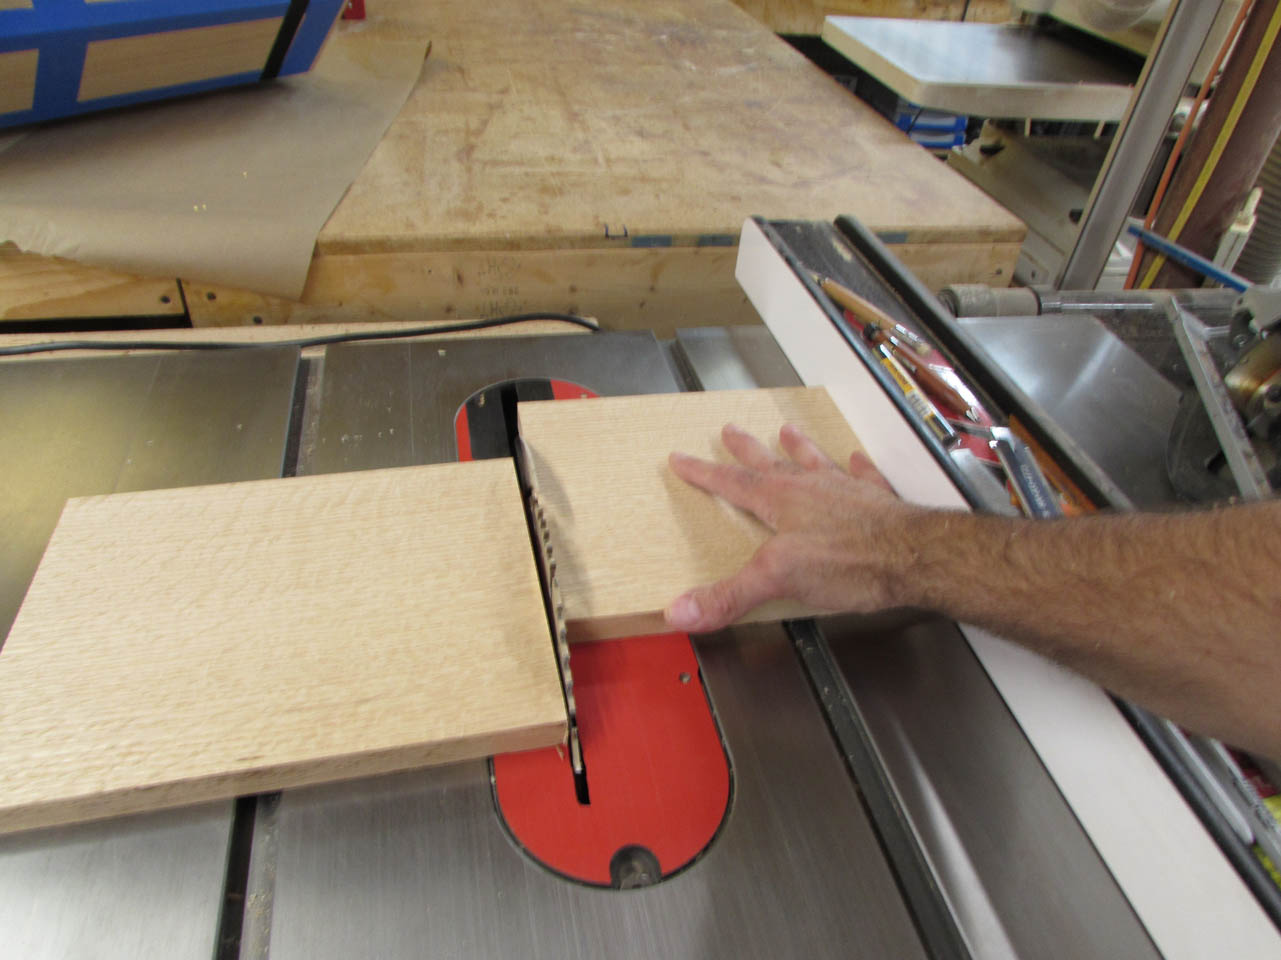
I rip my board down to the proper length and flip the two pieces around to create a book-match.


Some glue and a couple of clamps and that one is done for now.


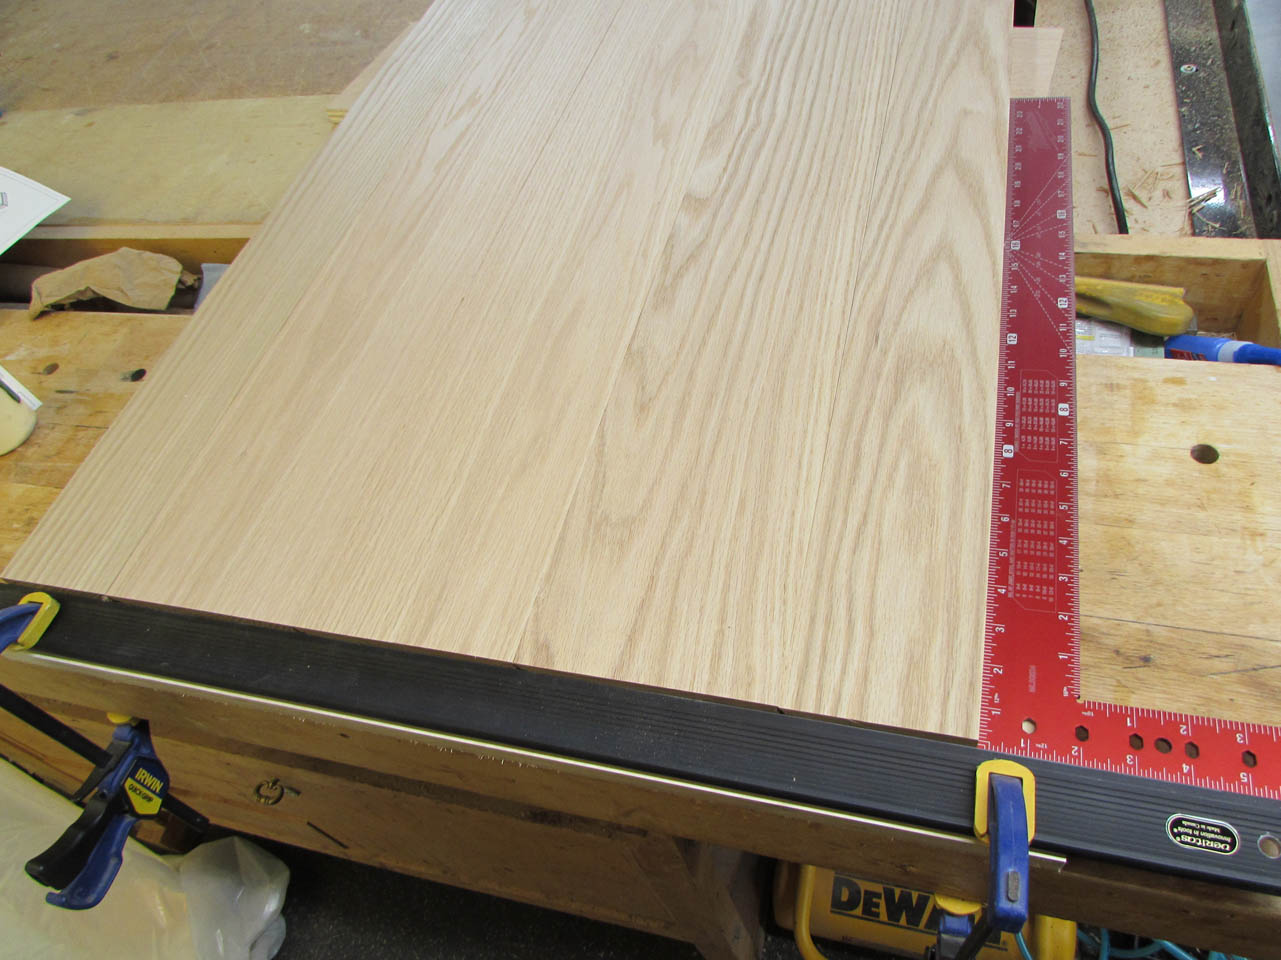
For the top plate, I can use a thinner board. The piece I chose has a much cleaner look than the last one.

I repeat the process for this piece as well and leave everything to dry overnight.

Before finally quitting for the day, I stop to empty another 30 gallons of sawdust. My second just from today’s milling… Wish I had a use for this stuff.

