
St. Kilian chapel – Altar – part 4
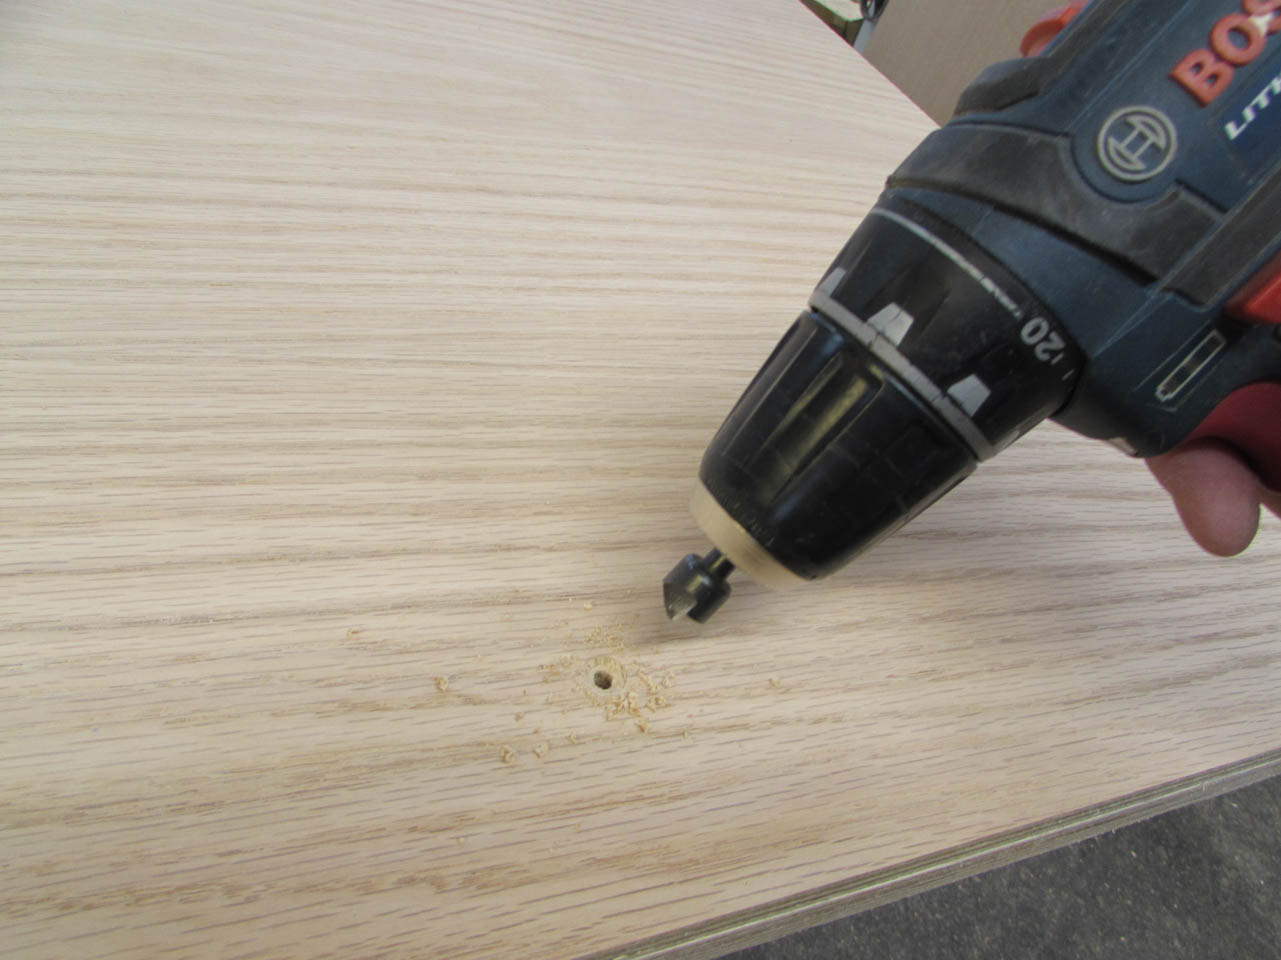
Now that the glue on the transition plate is dry, I can flip the plate over and drill a counter-sink into each of the pilot holes that will be used to mount the transition plate to the altar top.

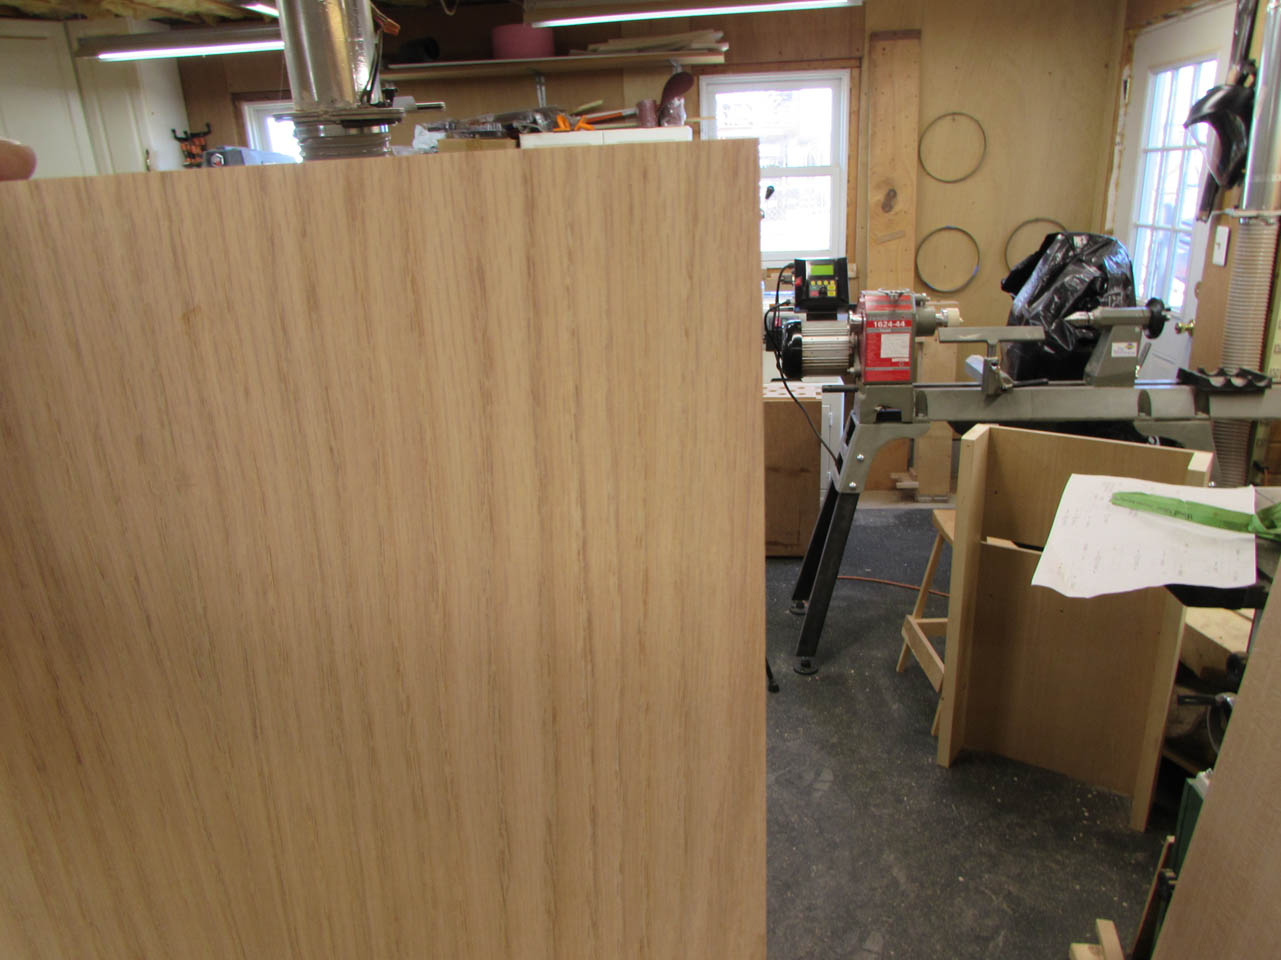
To cut the panels to their final length, I am using my track saw. In order to get a clean cut with no tear-out on the finished side, I flip the panels finish side down. The blade cuts upward so it will pull any fibers into the board leaving a clean edge.

I repeated this on both ends of both boards. Now I have four clean edges on each plate.

I glued my short locating dowels into the transition plate and set it aside to dry. In retrospect, I should have done this last since they did get in the way for other processes…
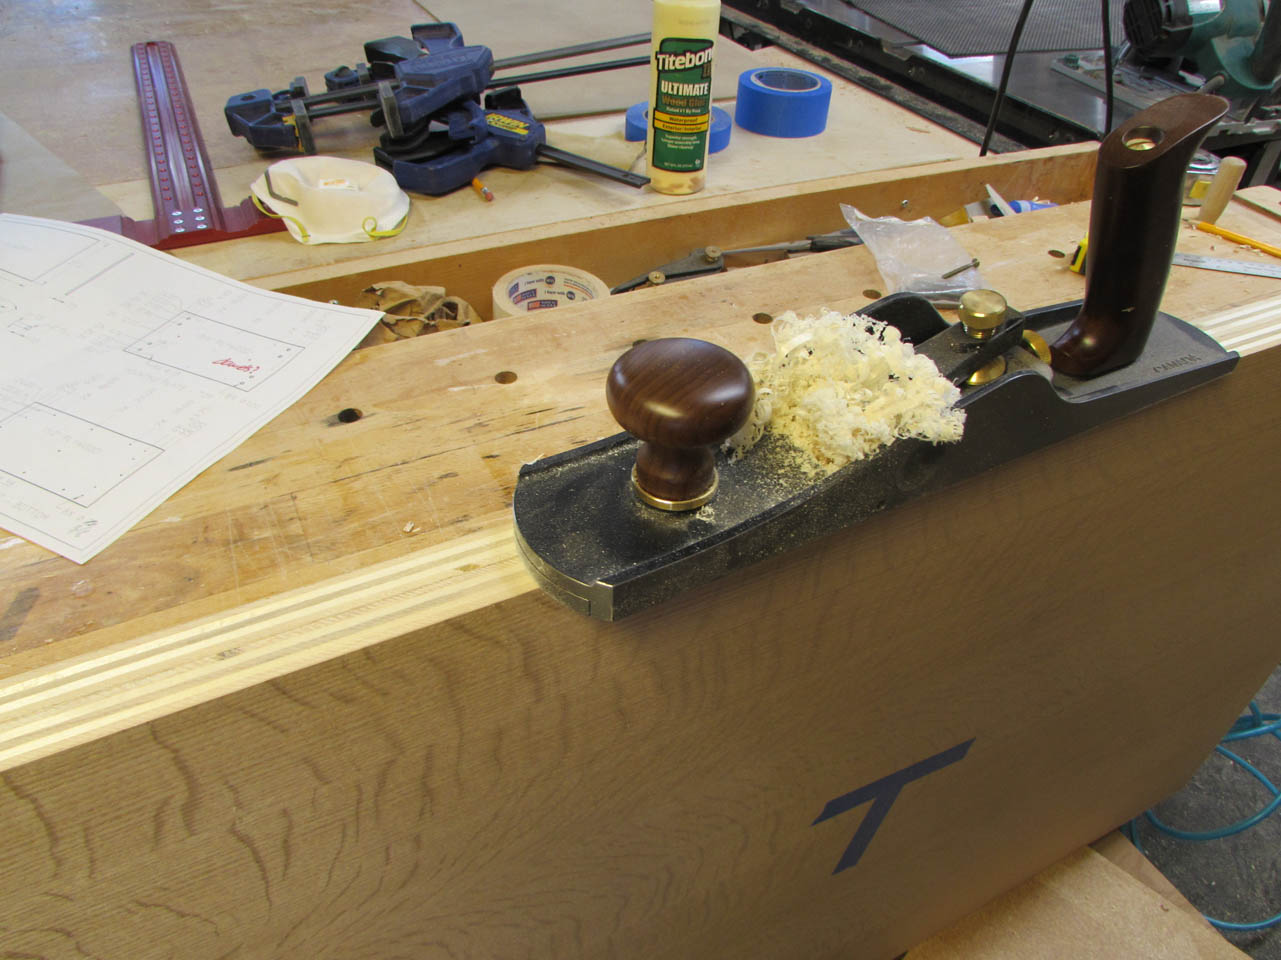
The sides were lined up pretty well, but I hit them with my hand plane just to make sure they were flat.

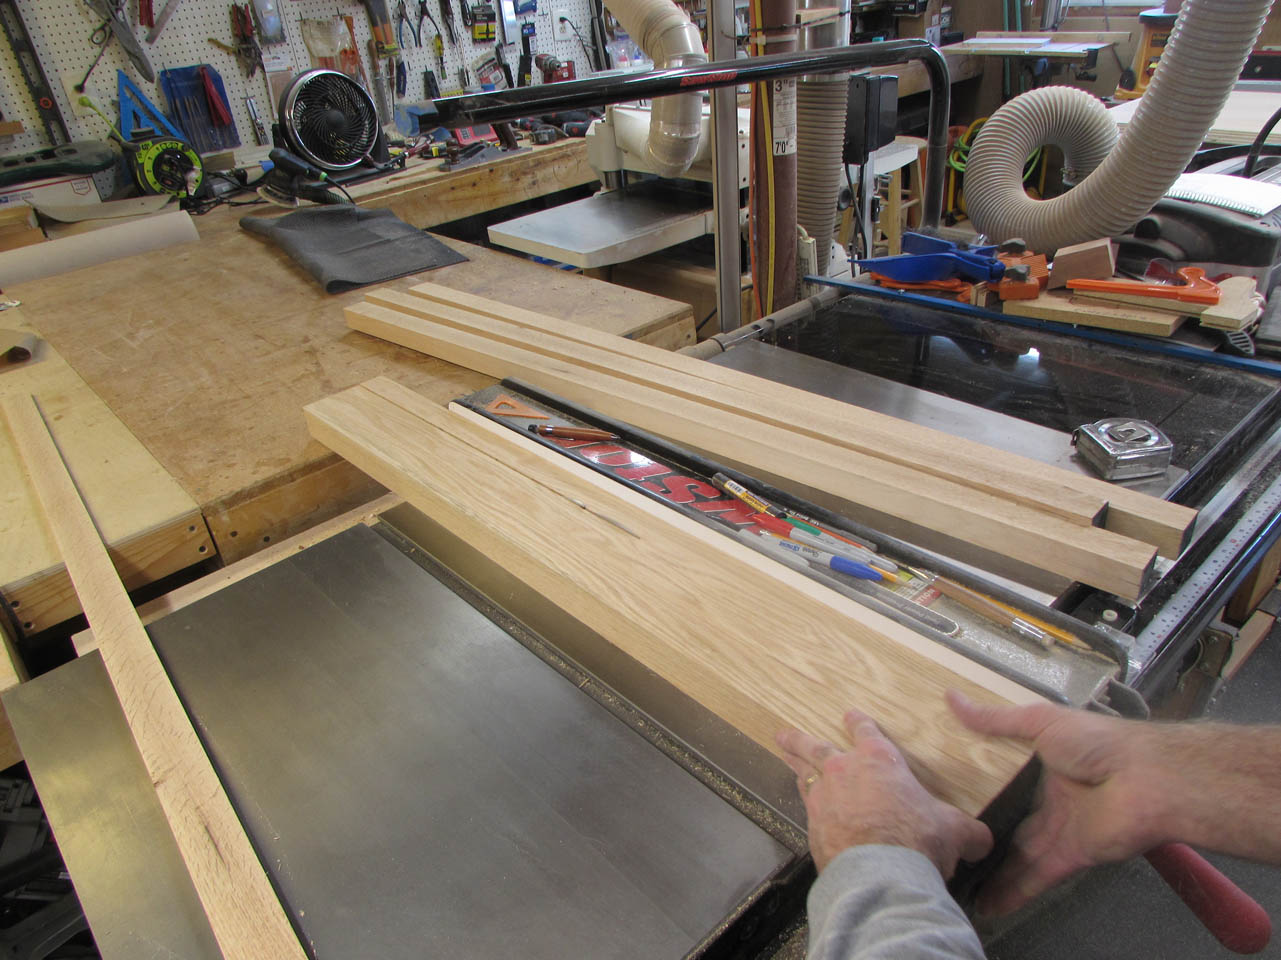
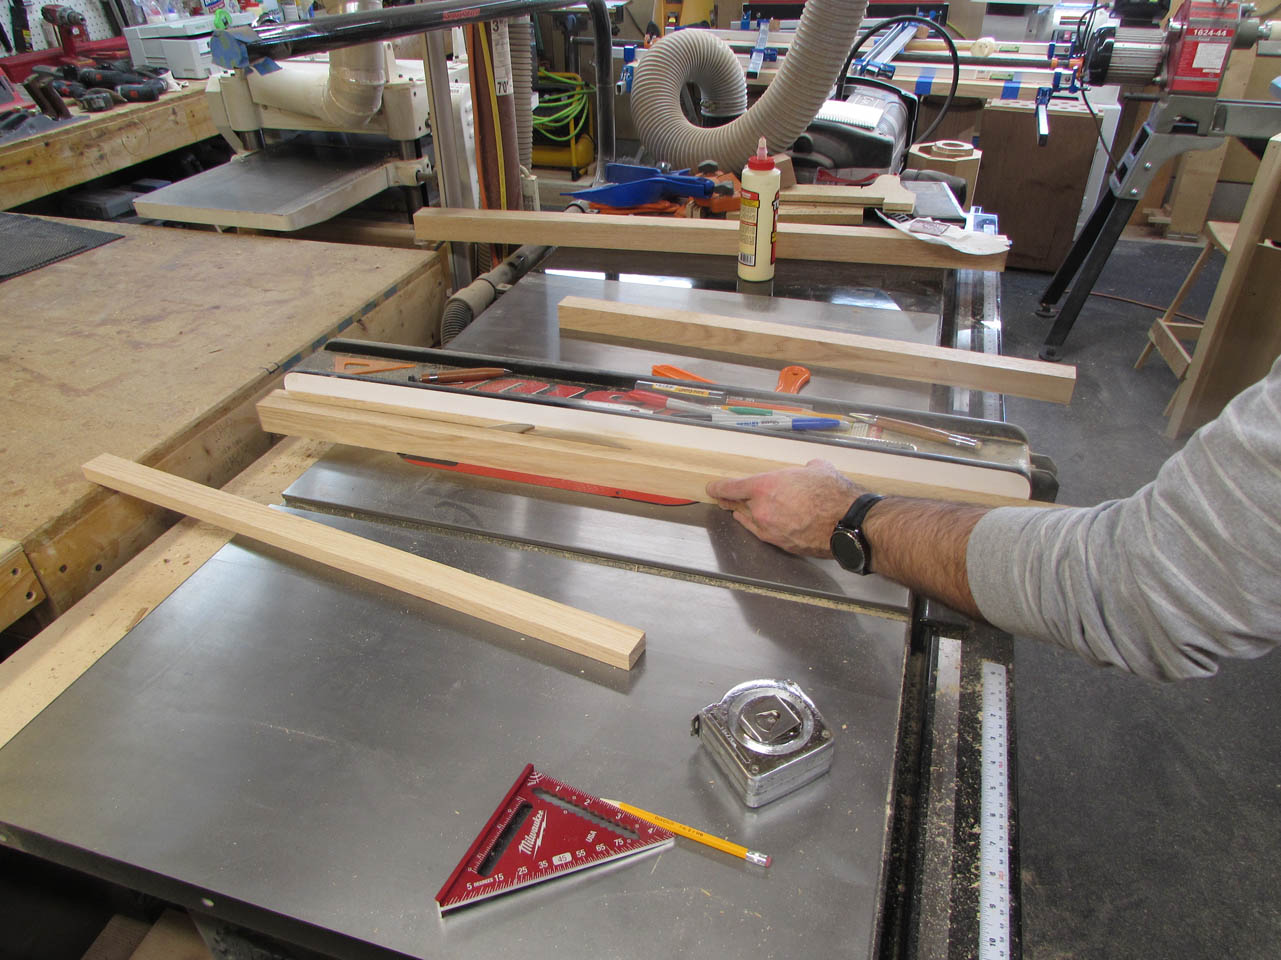
Then I started cutting down some 8/4 oak to make my 1-1/2″ edge banding for the top plate.

After planing and jointing it down to size, I ripped enough 1-1/2″ pieces to wrap the top plate.
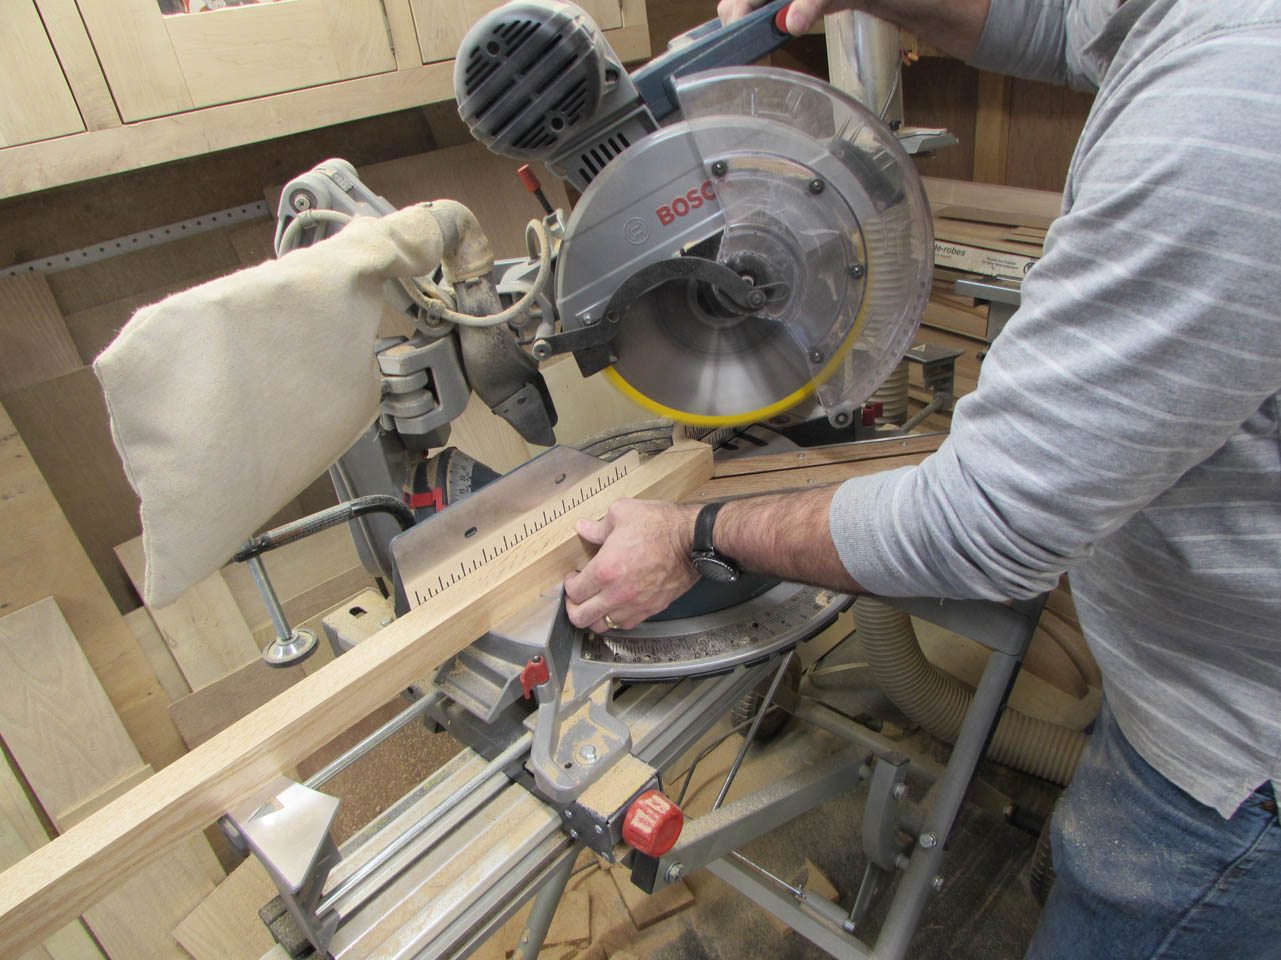
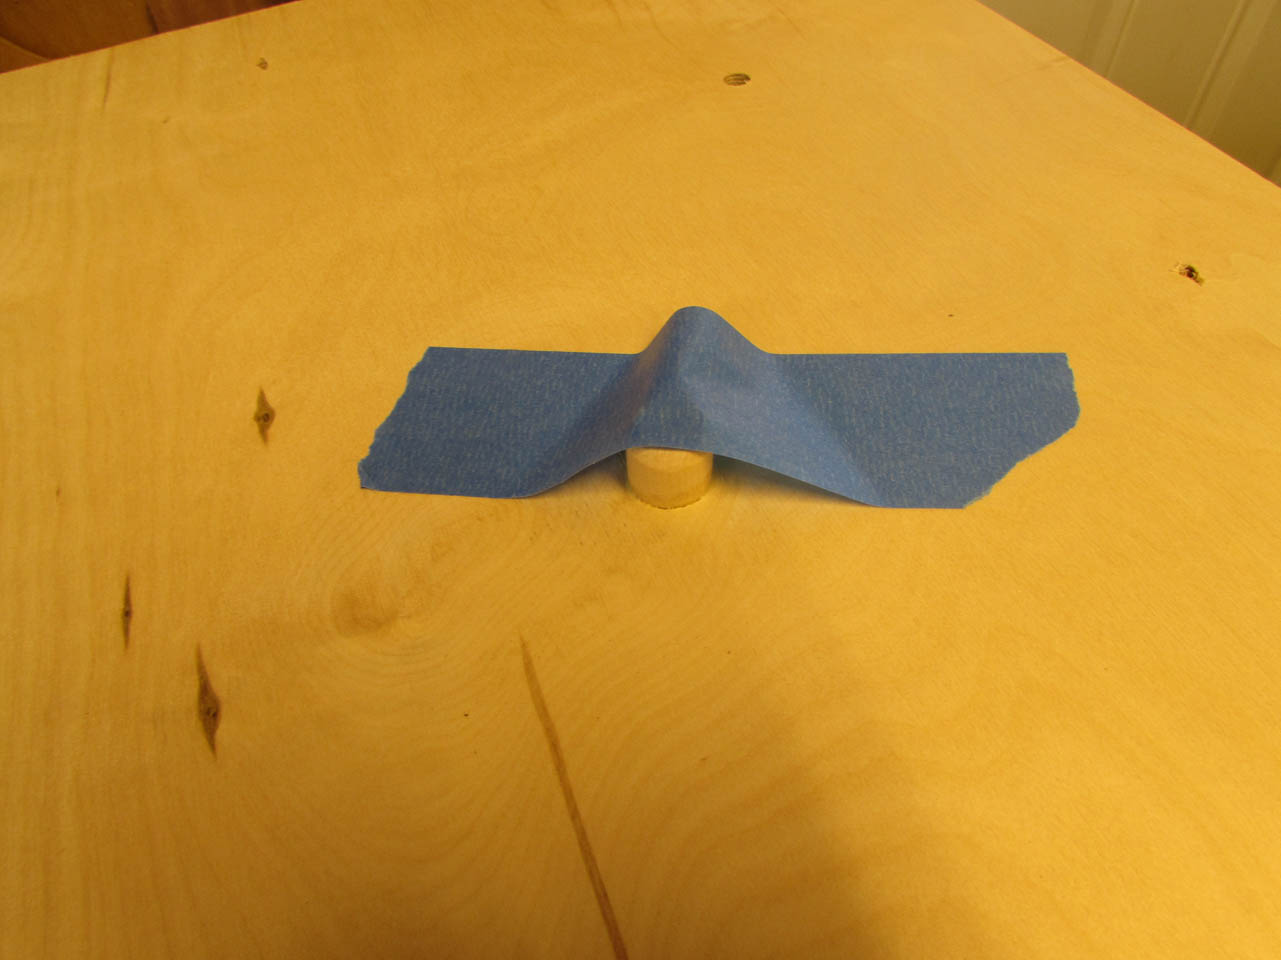
I cut a 45° bevel on each end of my first piece and applied glue to the back side.

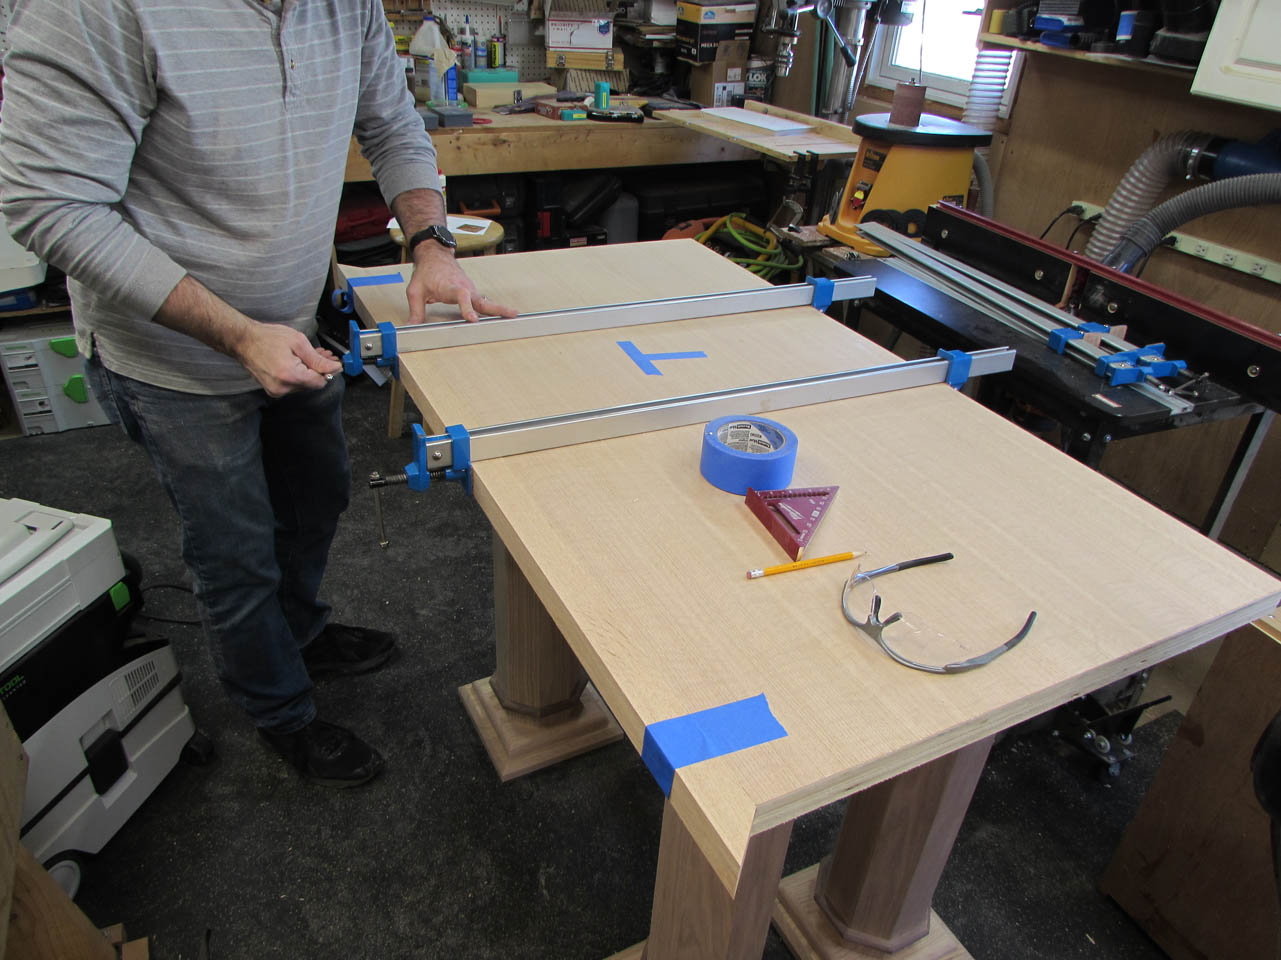
I used tape to locate the band exactly, then clamped it in place until it was dry.
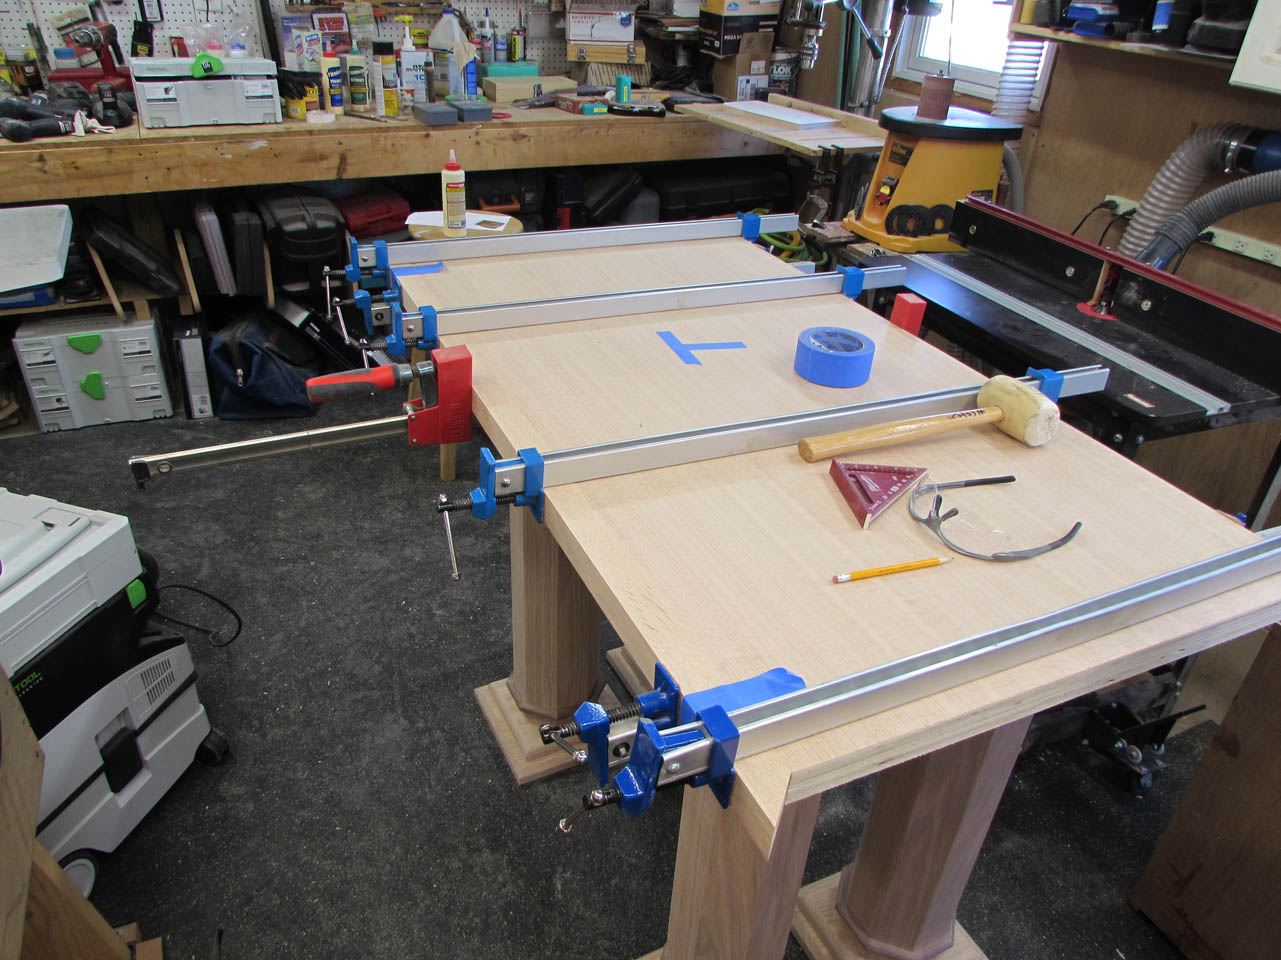
Then I repeated the process on the opposite side.
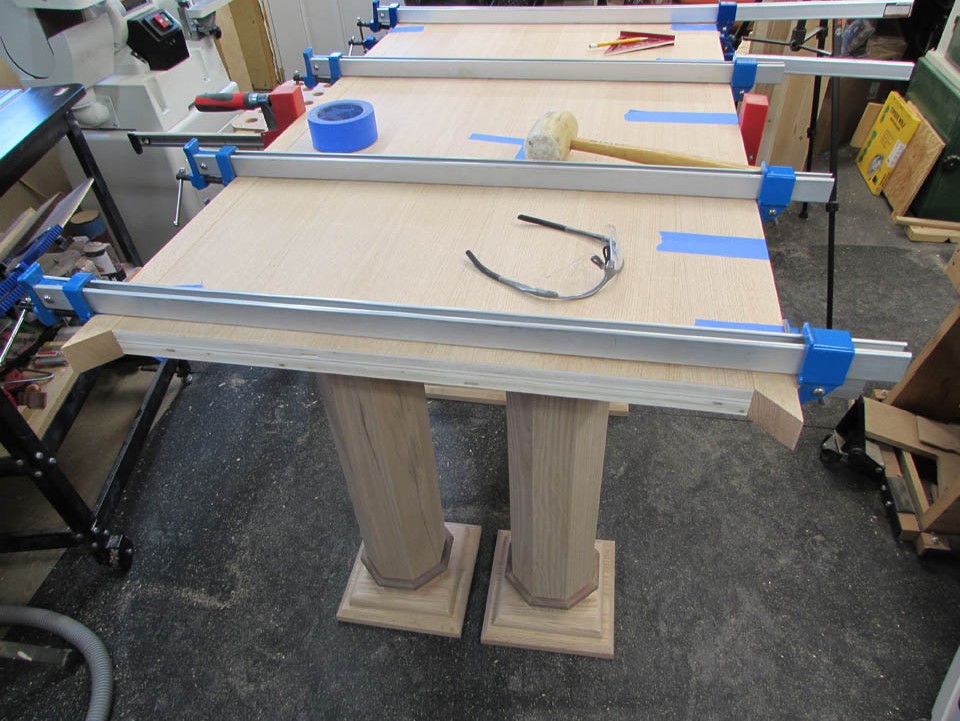
For the short sides, I cut my pieces slightly long, then removed about 1/64″ at a time until I had a perfect fit.


Then these two were glued and attached in a similar fashion.
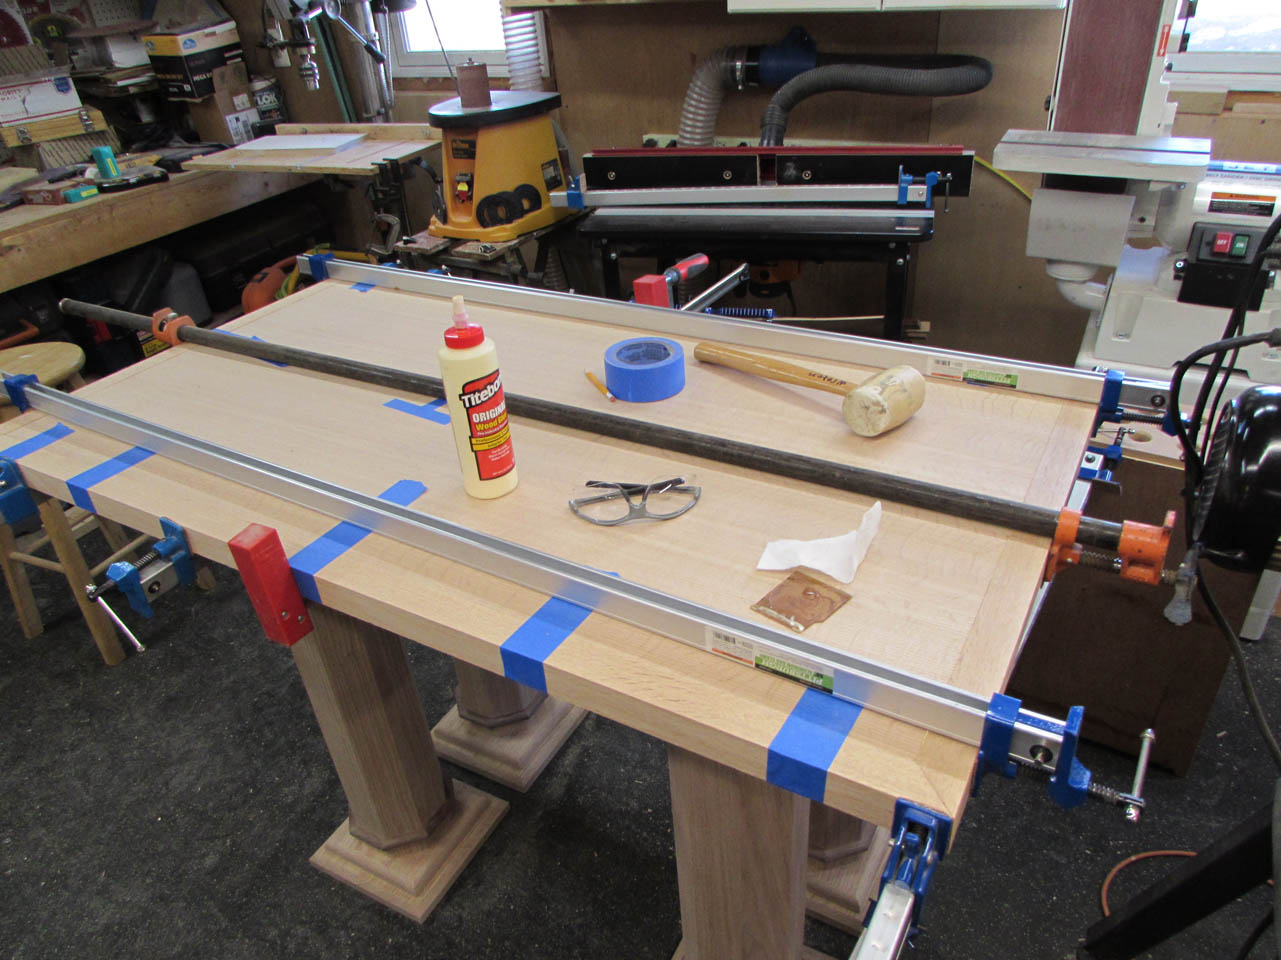
While that was drying, I cut the 3/4″ wide strips that will edge band the transition plate.


When I could steal the clamps off the top plate, I repeated the assembly process on the smaller plate.

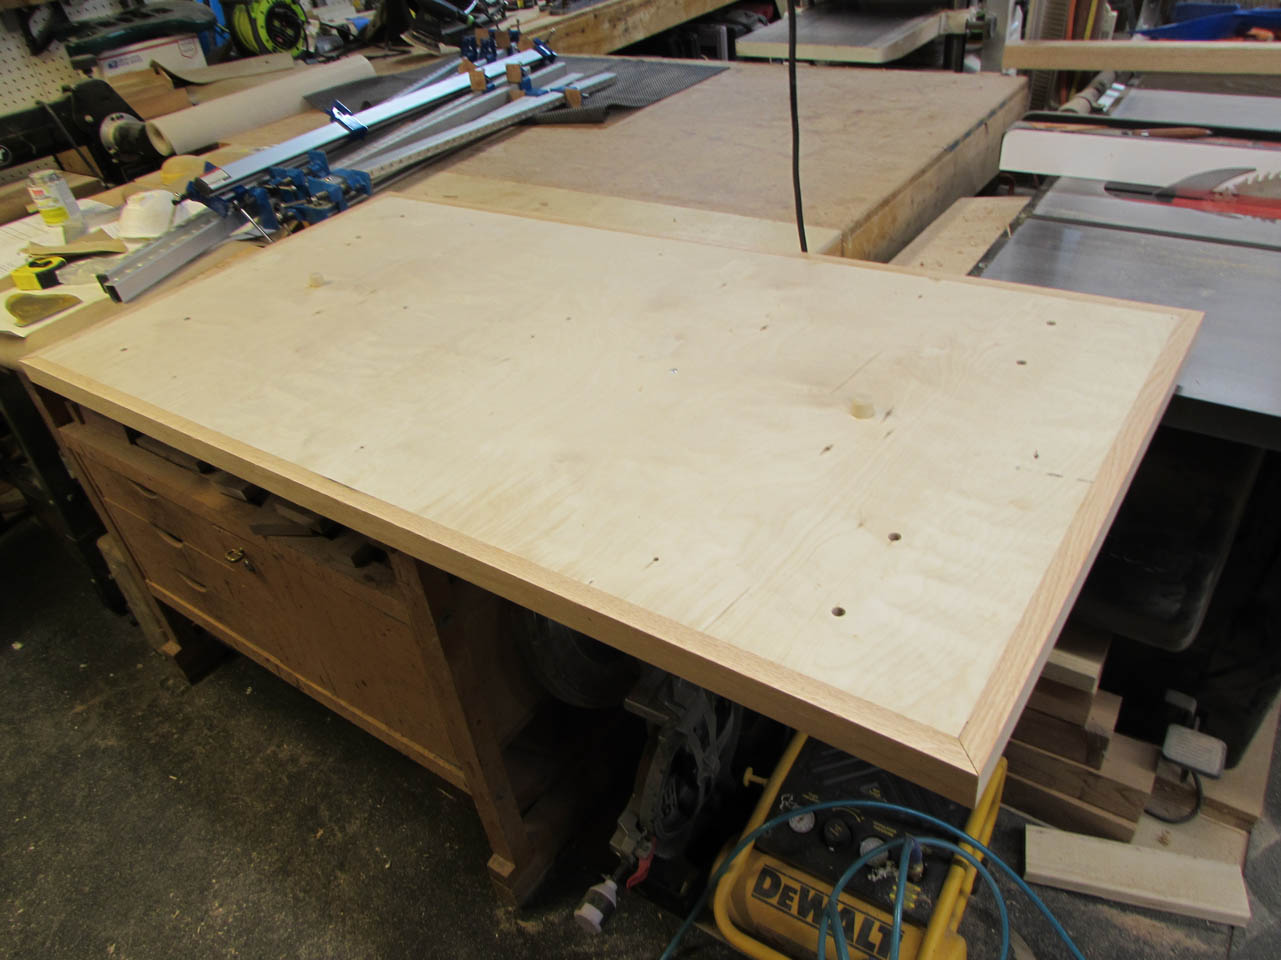
Both pieces are now dry and looking pretty good.
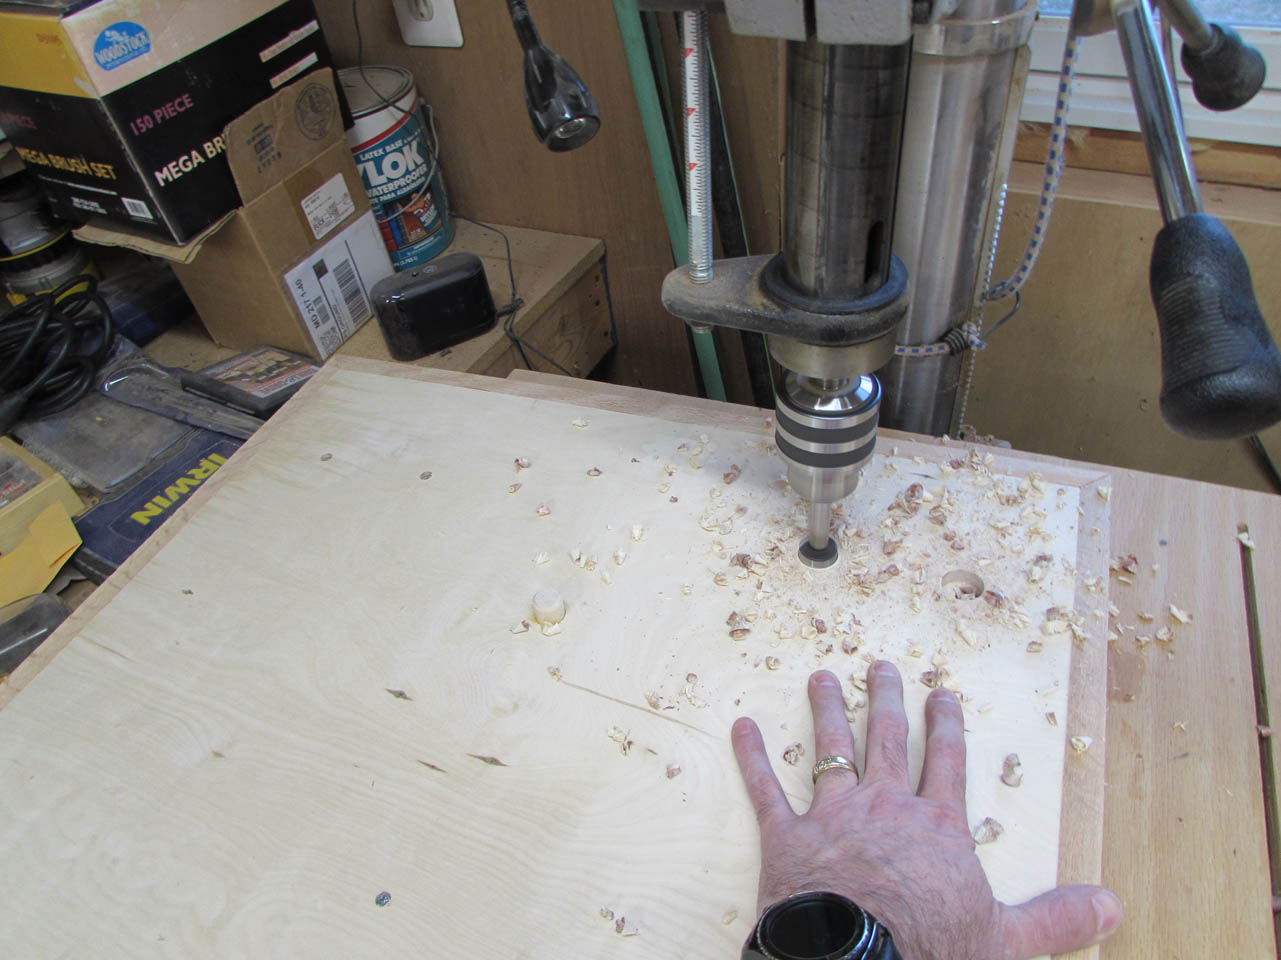
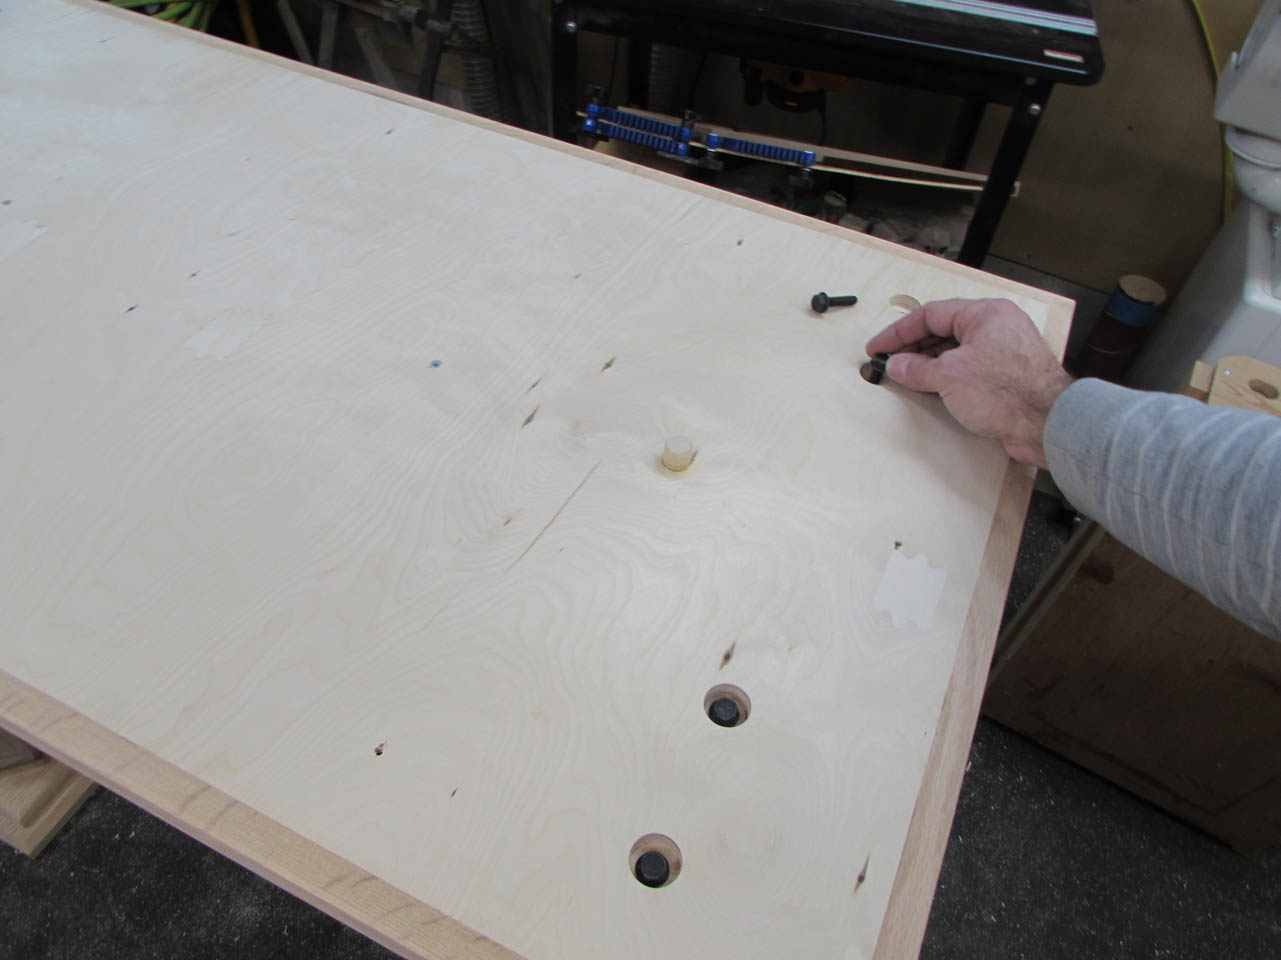
In order to do a test fit of everything, I need to drill the 1″ counter-bores where the bolt heads will sit. I use my Forstner bit on the drill press so the bit doesn’t walk. It is awkward, but it works well.

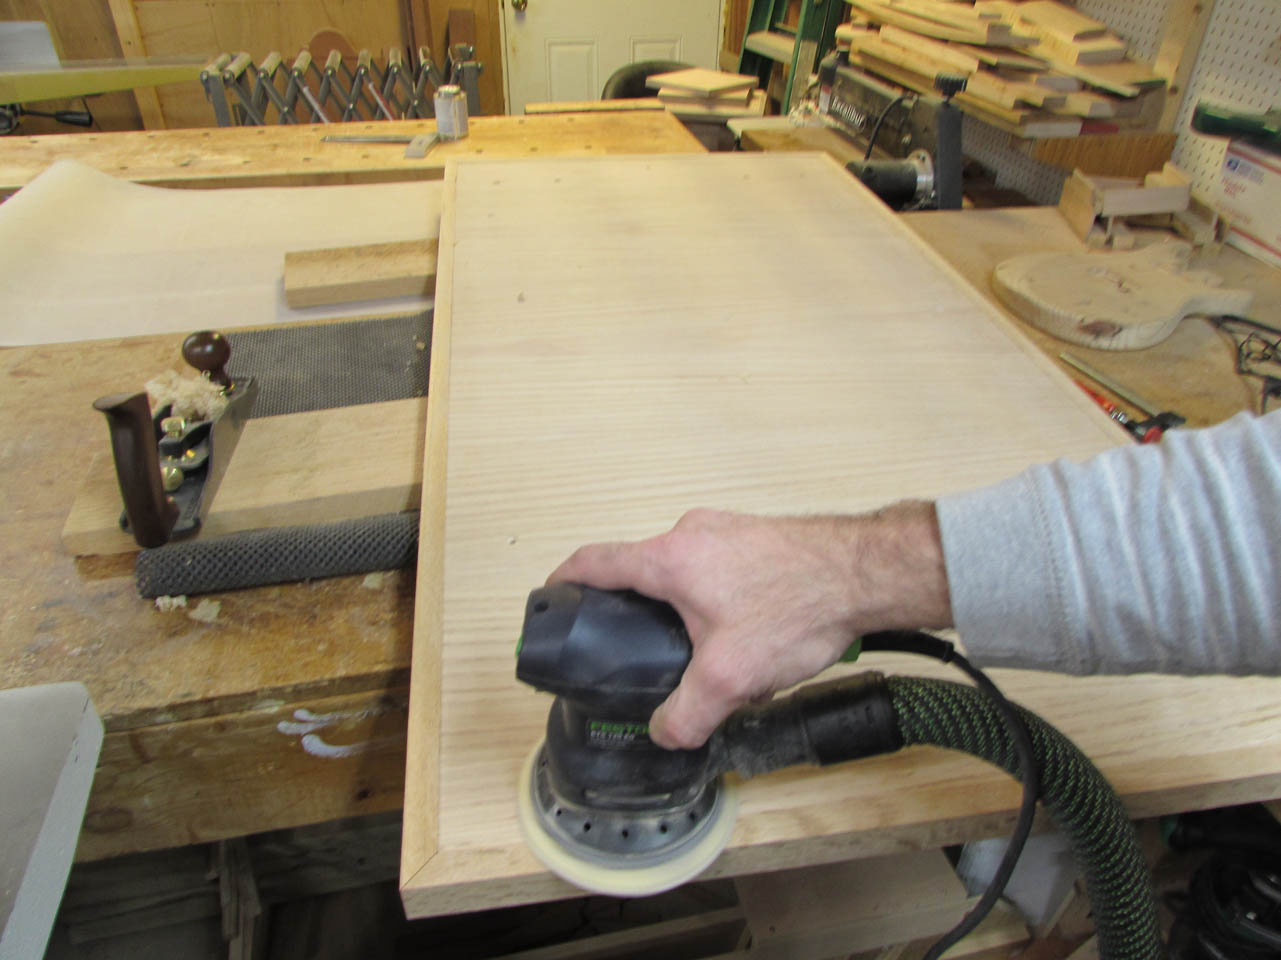
I used my sander to smooth everything and used my hand plane to to take down any high spots.

Then I bolted the transition plate to the tops of the columns.
Everything lined up perfectly.

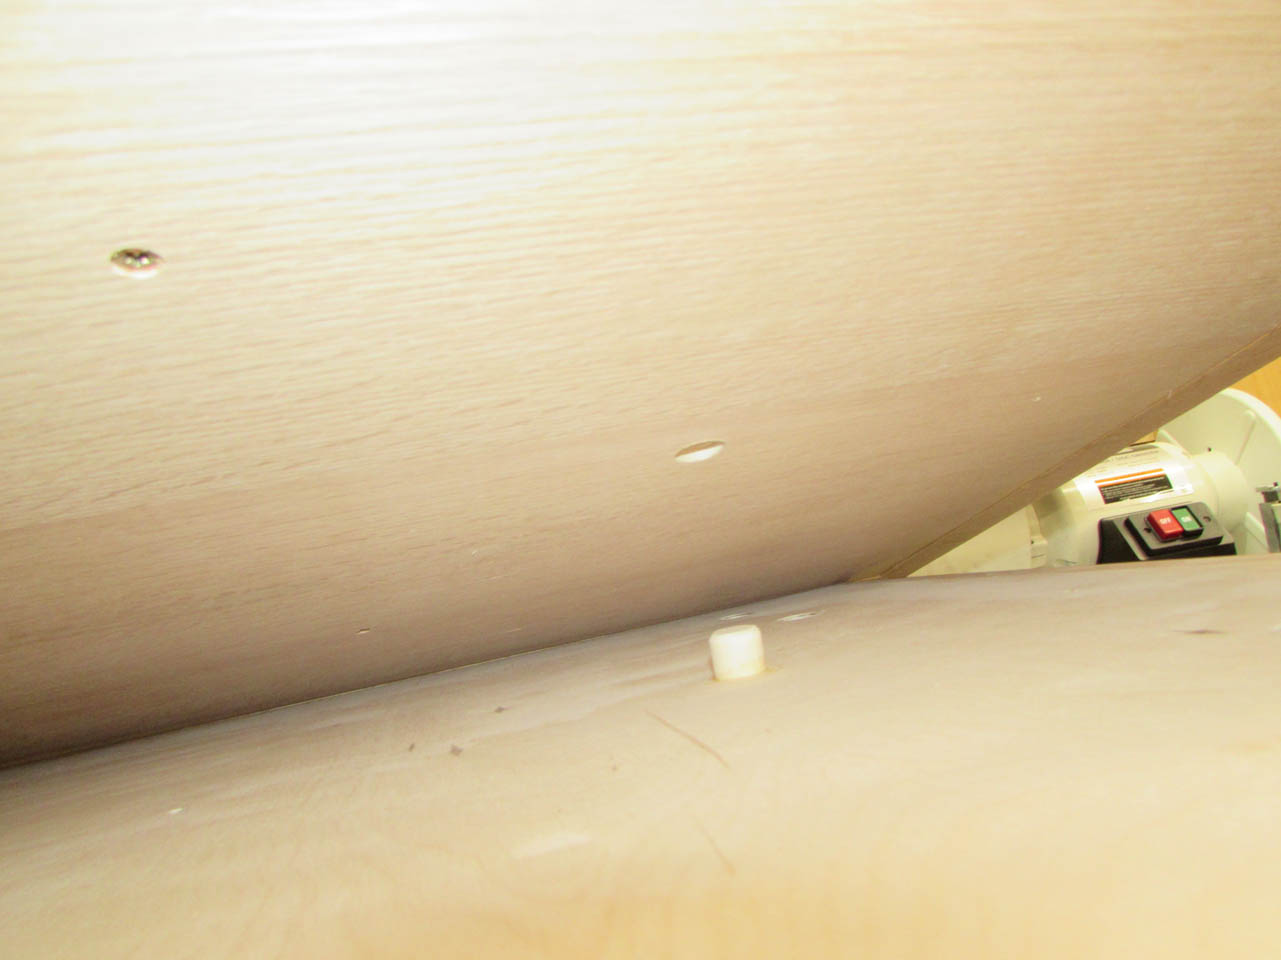
Then I lined up the dowels with the locating holes and set the top in place.


A couple of 2″ long screws draws the two plates tightly together.

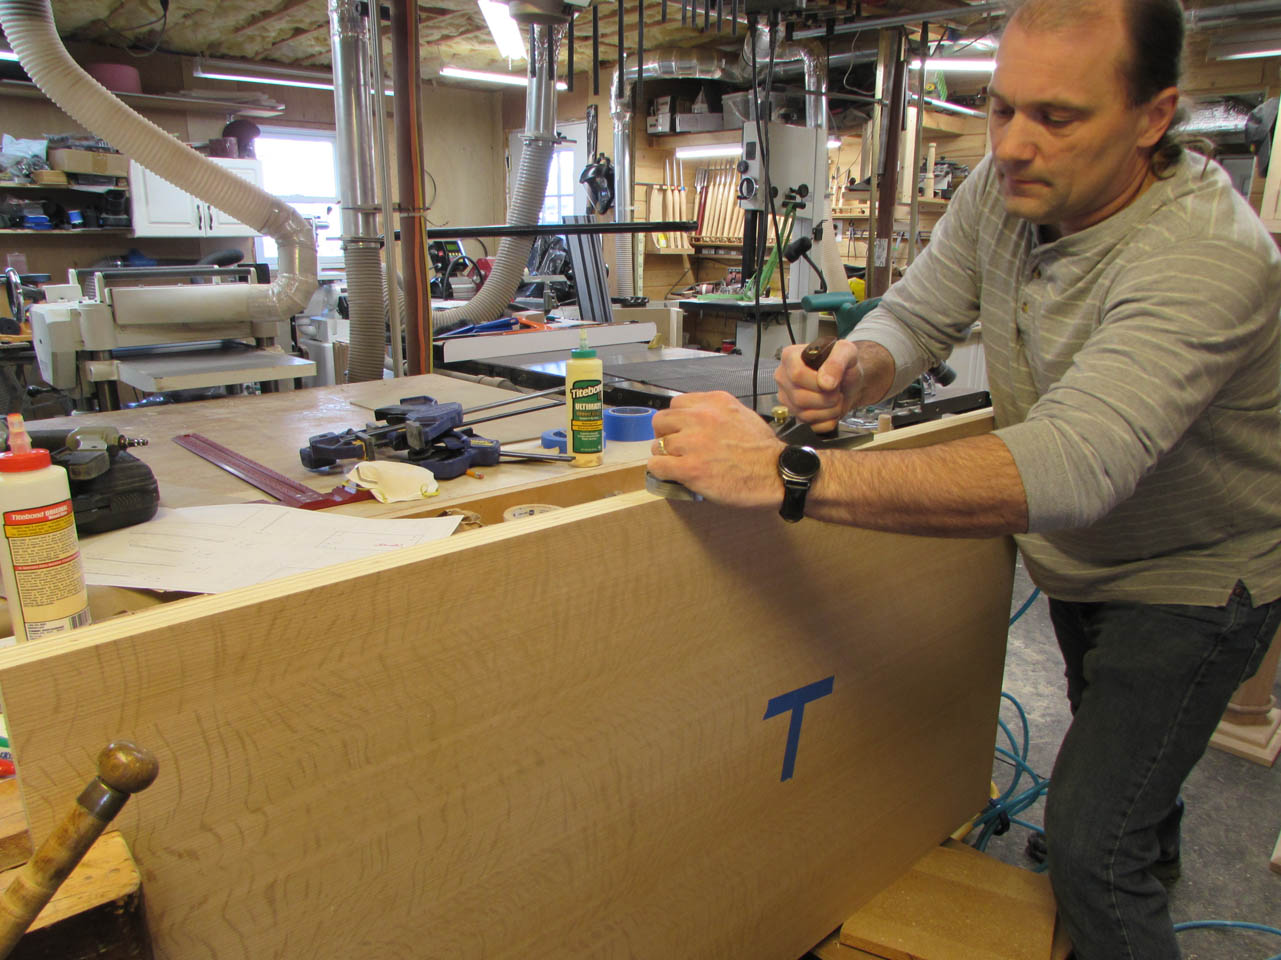
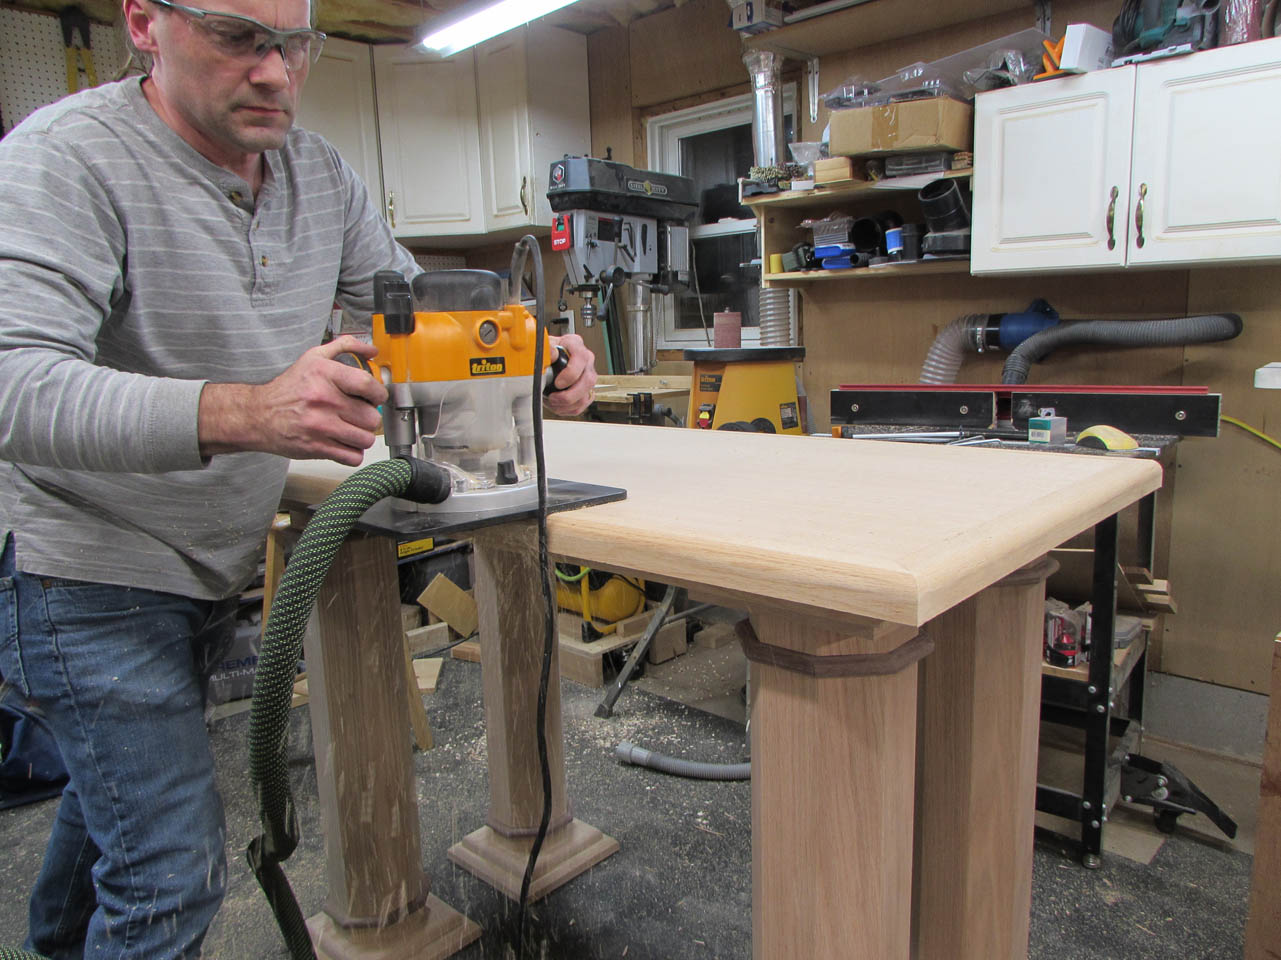
Now it is time to route the bullnose around the top. I set the 3/4″ round-over bit in my big router and walked it around the top.
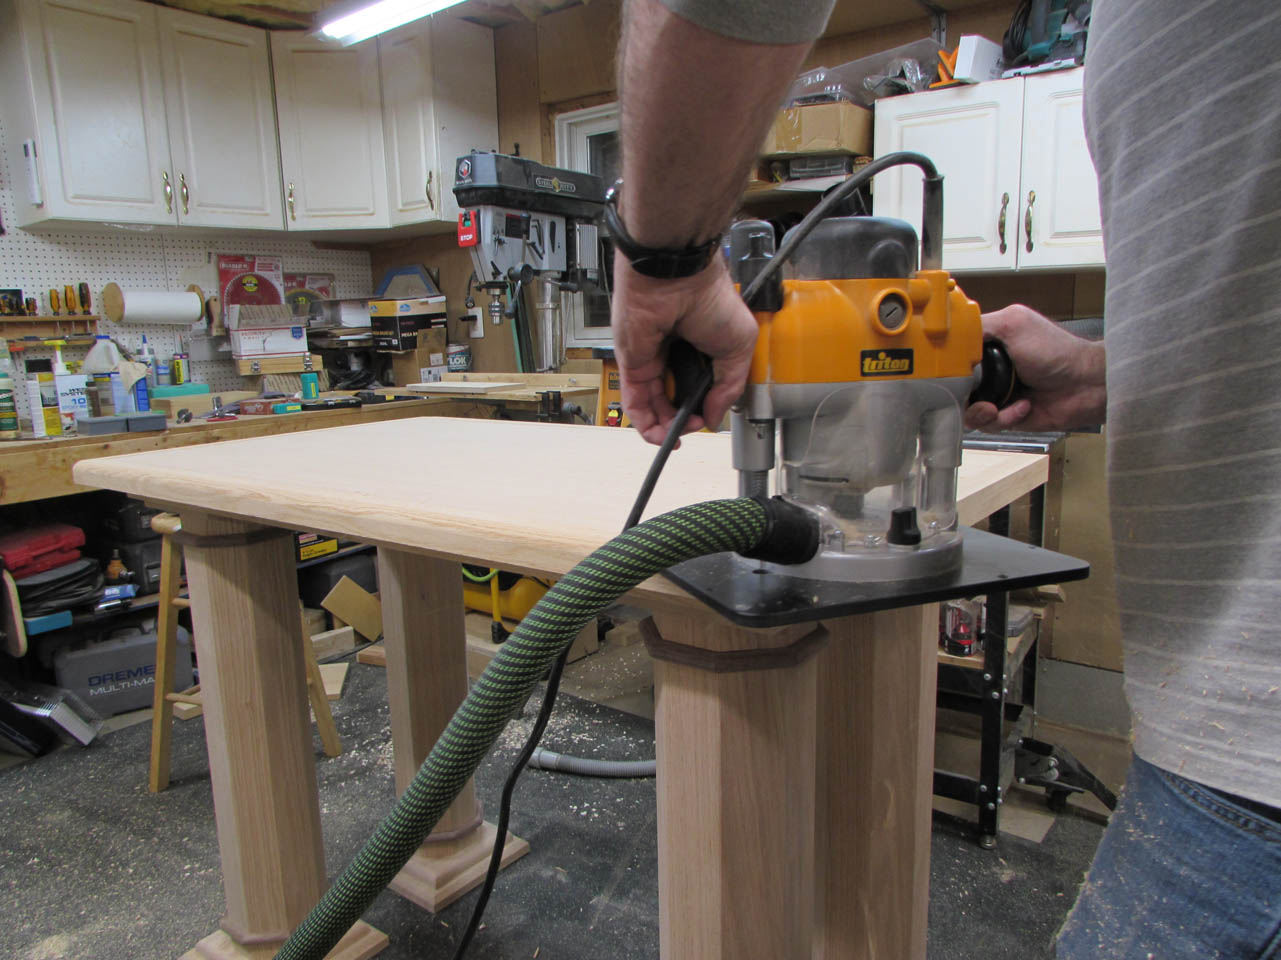
I did this in two passes so that I didn’t have any major tear-out.

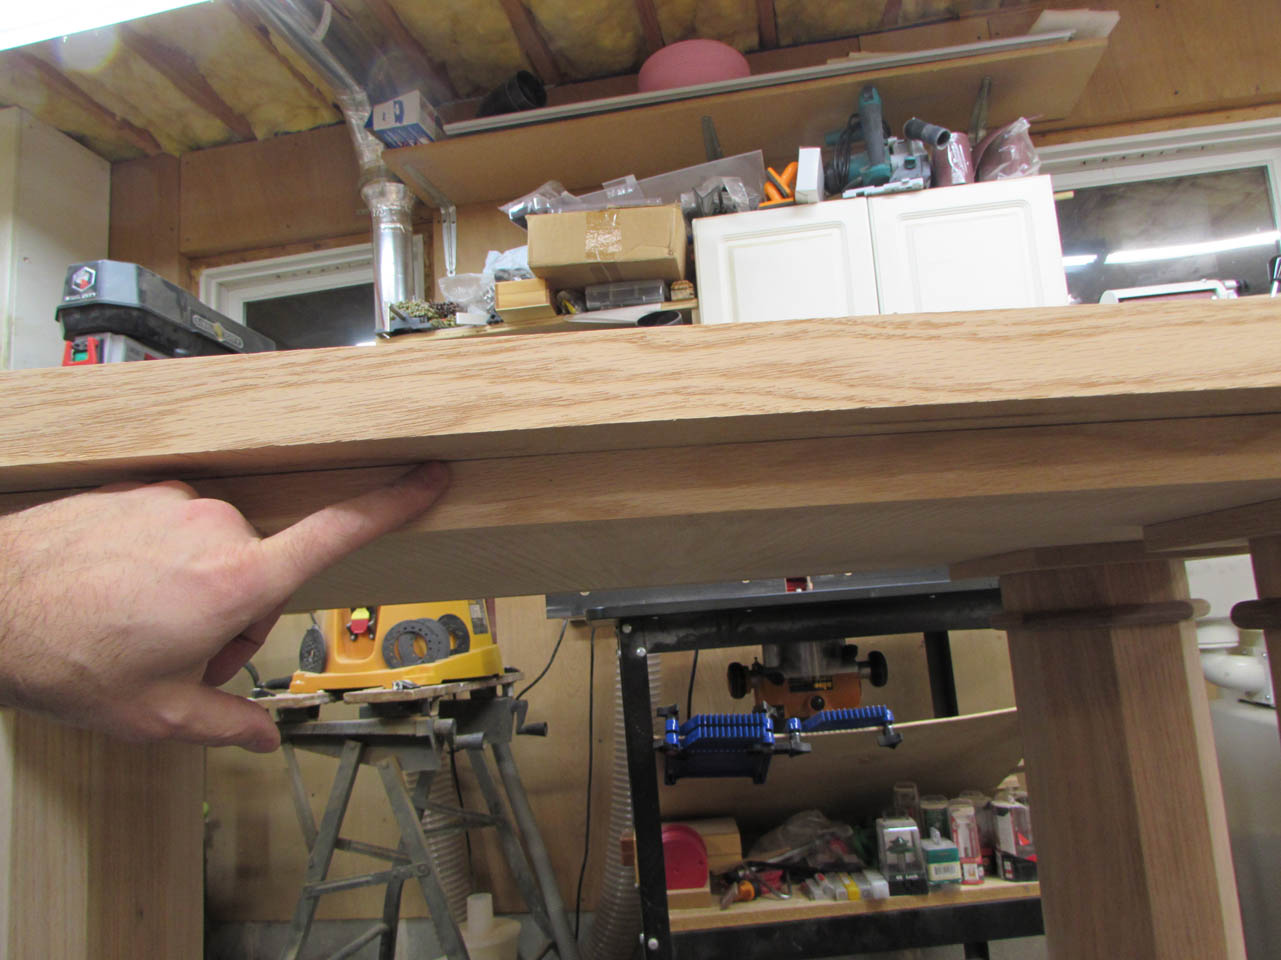
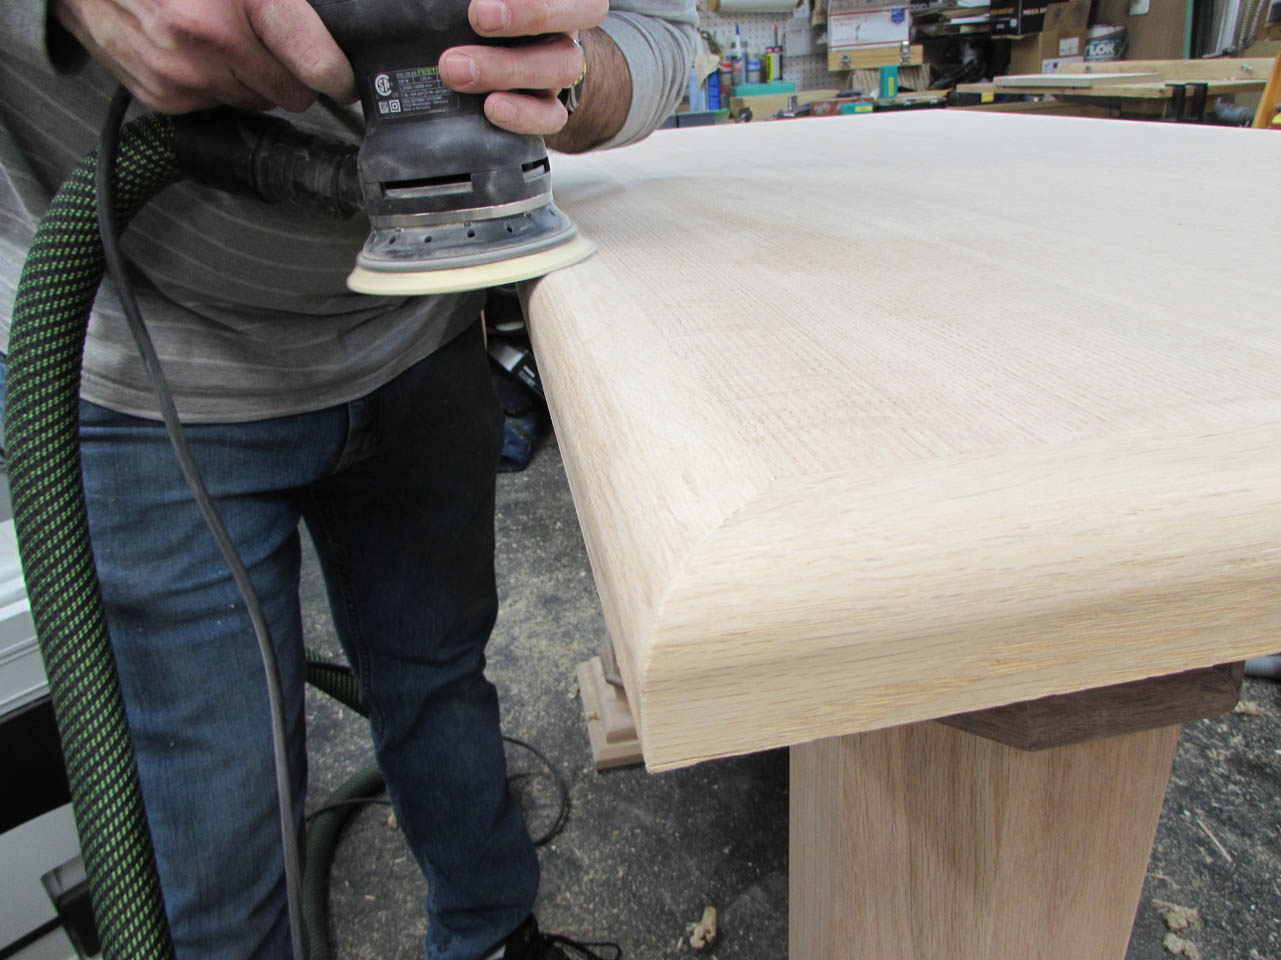
The trim was a bit proud of the surface so I planed it down flat to the top then finish sanded this side.

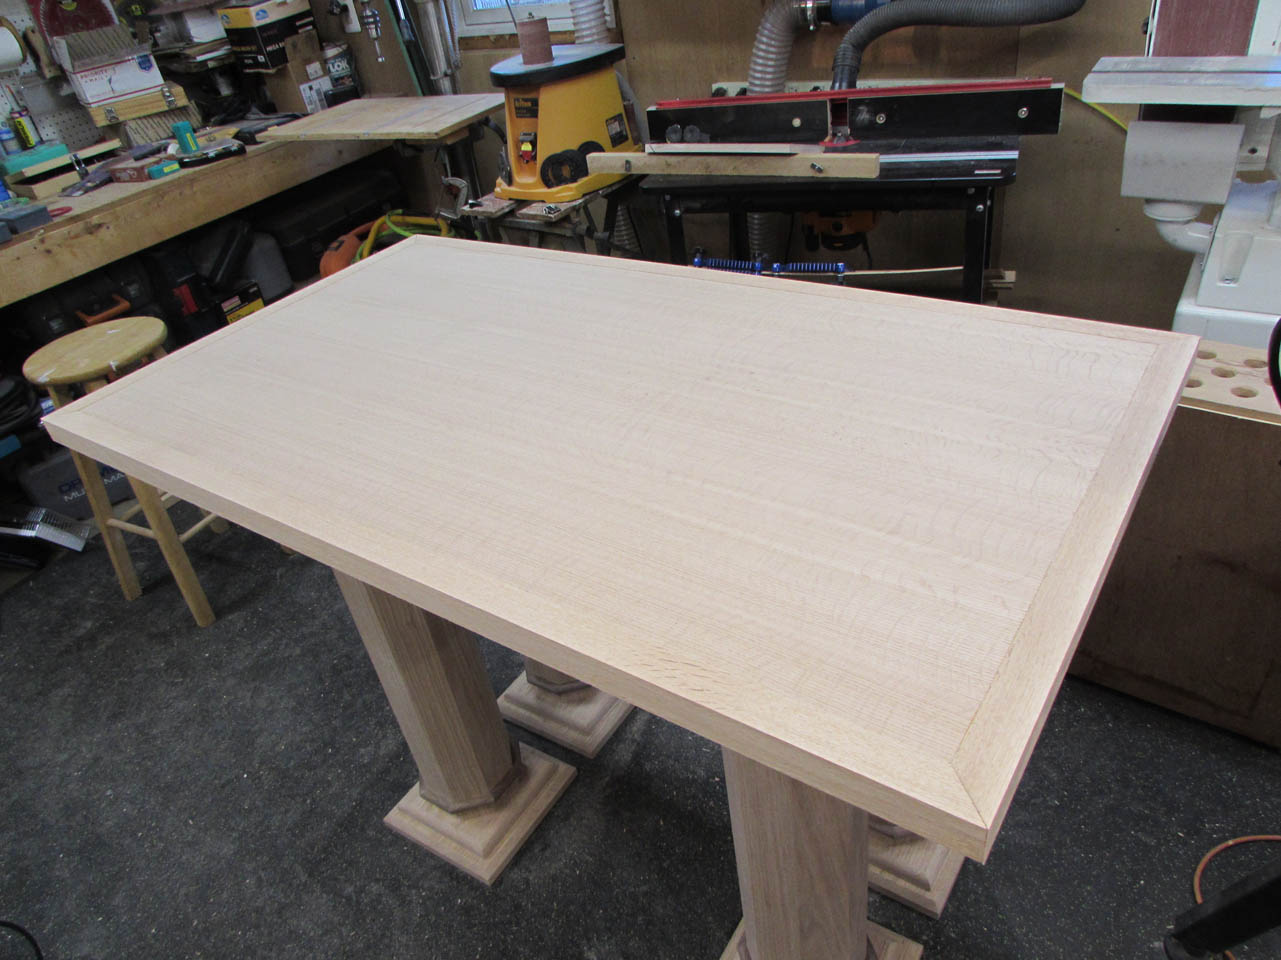
Turned out really nice.
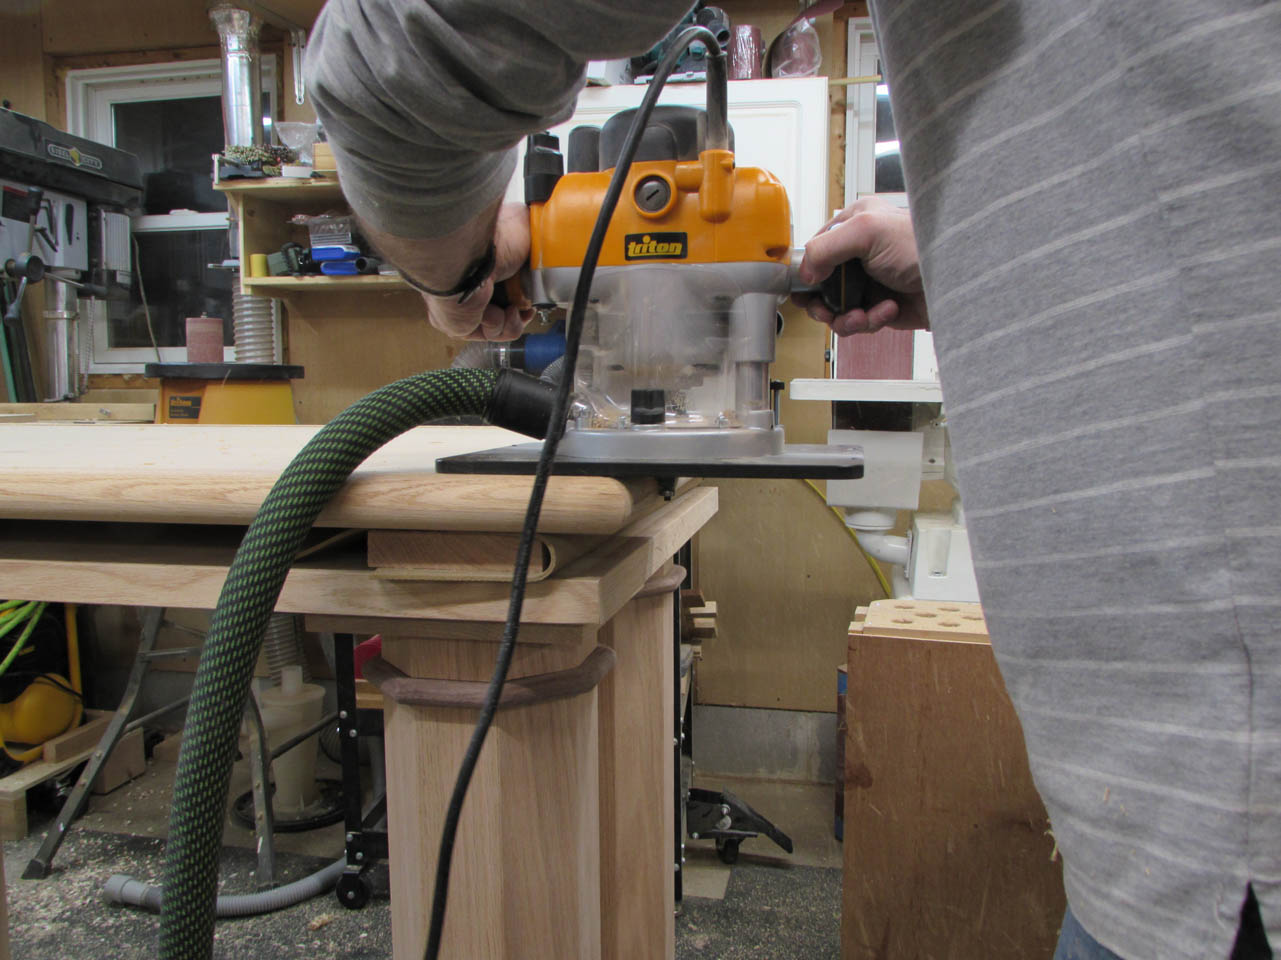
When the top was done, I flipped it over (on blocks because of the locating pins…) and repeated the routing and sanding.

Then I did a bit of hand-sanding on the miters, at the corners, so that I didn’t leave a shape edge to bump into.
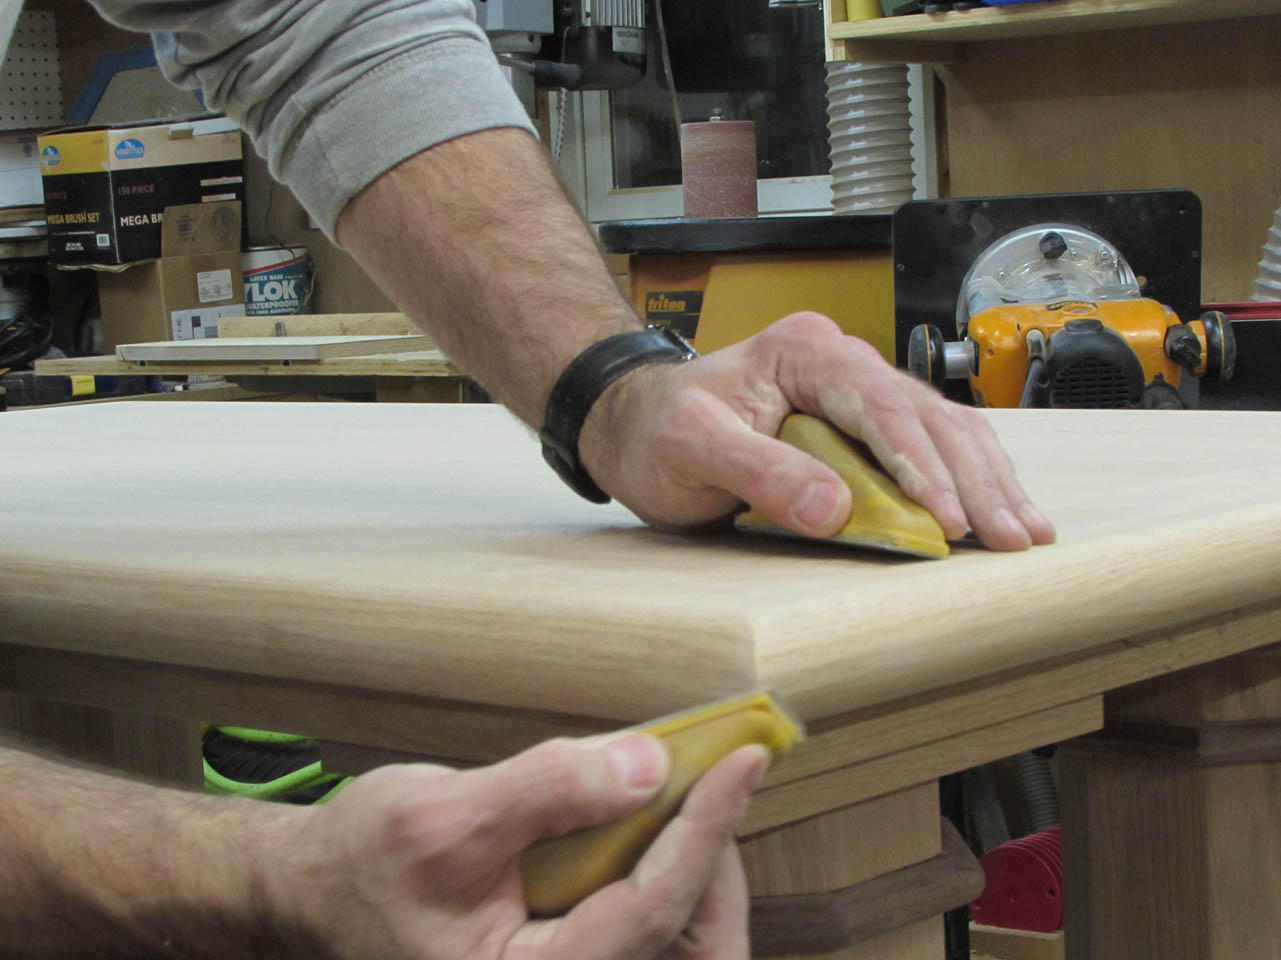
And the top is done.
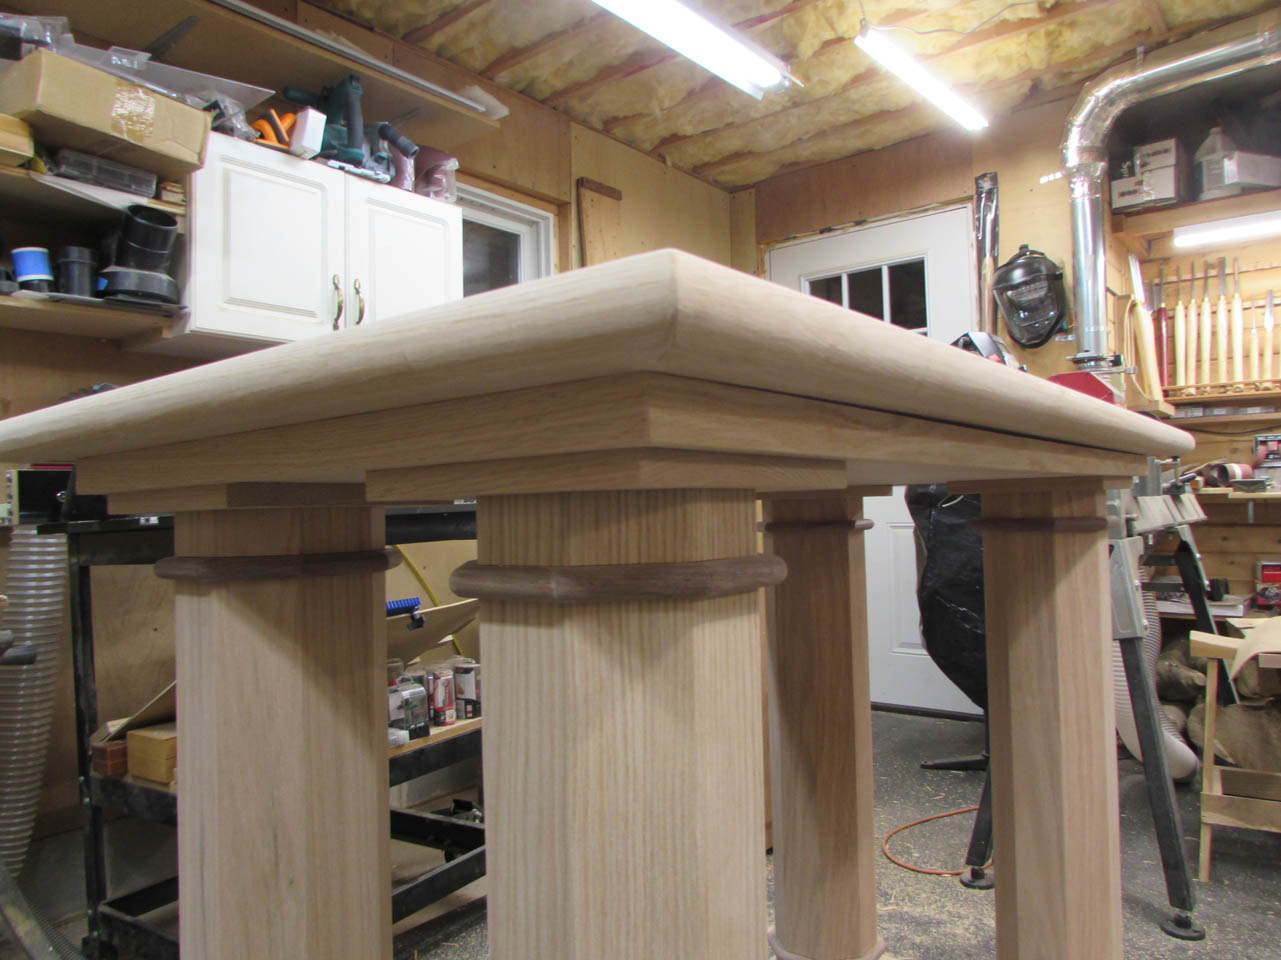

The shop is a complete mess, but the altar is done…

The only thing left before finishing is to make a top piece for the short column, to display the relic. I need to get dimensions for that first, so that is a project for another day.
