
St. Kilian chapel – Altar – part 3
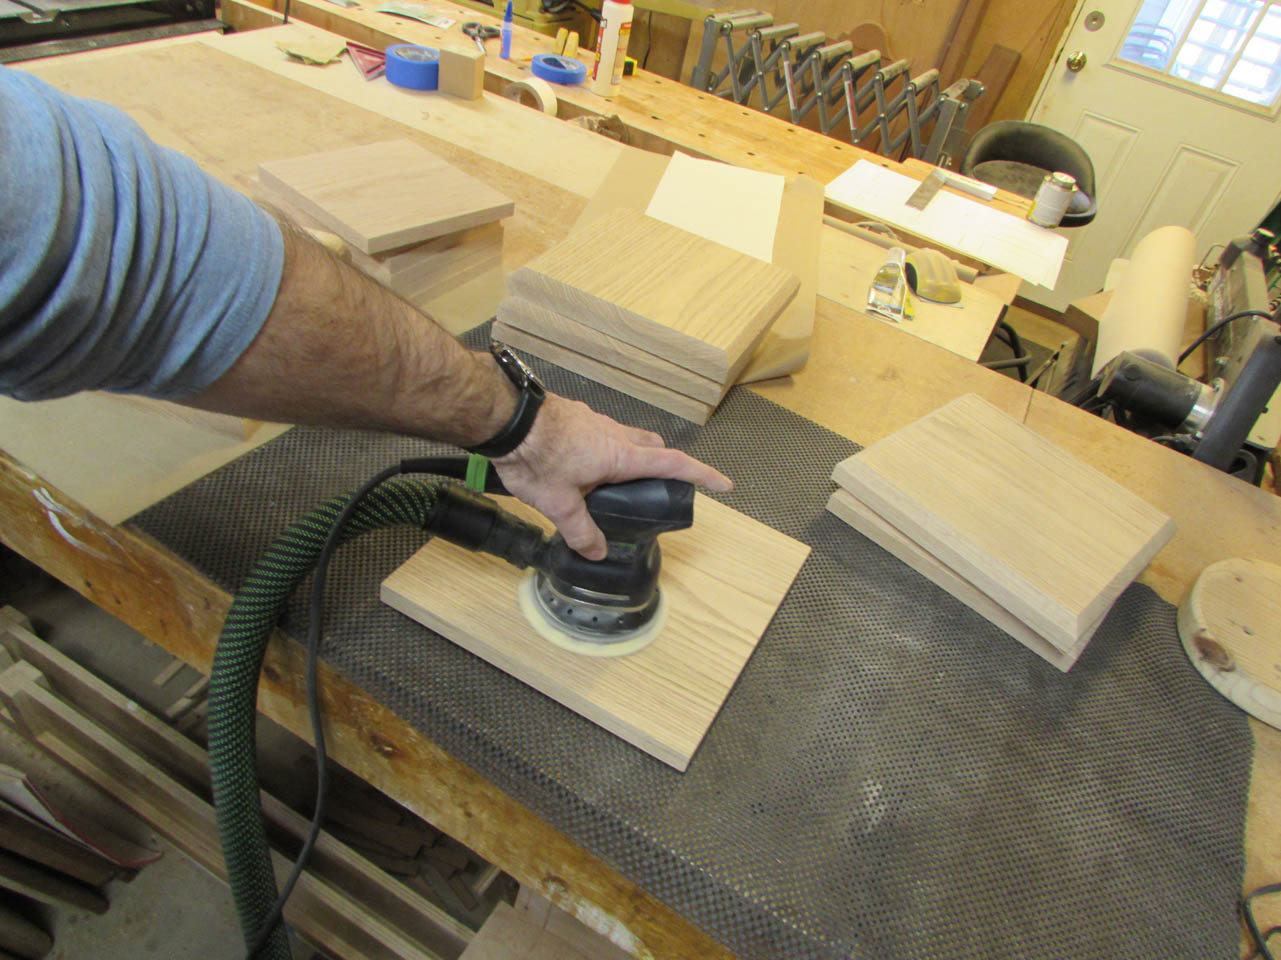
Before assembling the bases to the columns, I take some time to sand them all. It is a lot easier to sand a flat square then to try sanding the columns when they are all assembled…
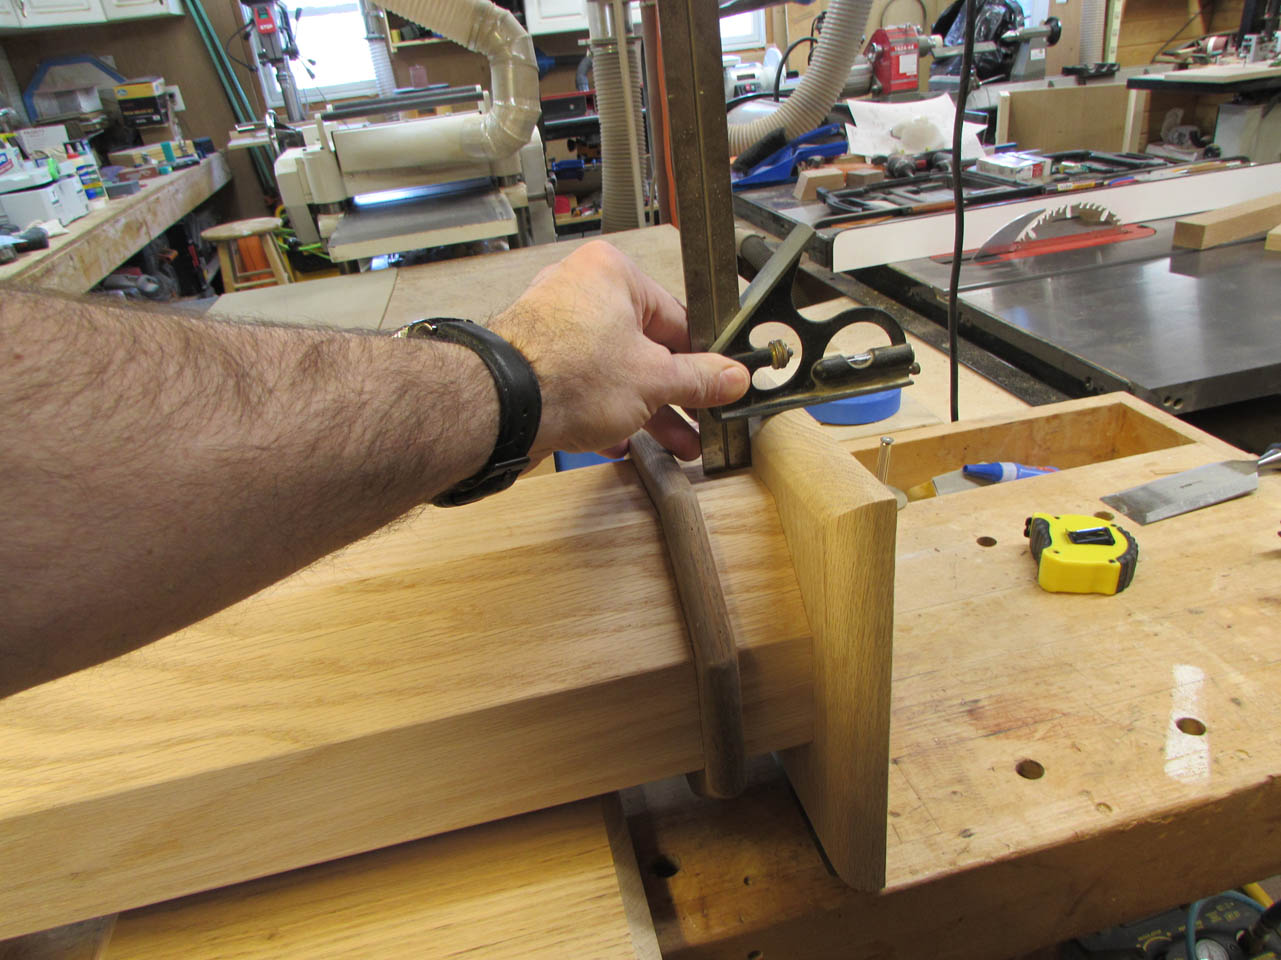
To assemble the base cap to the column, I elevate the column so that the base is centered vertically, then set my combination square to the depth from edge to column.

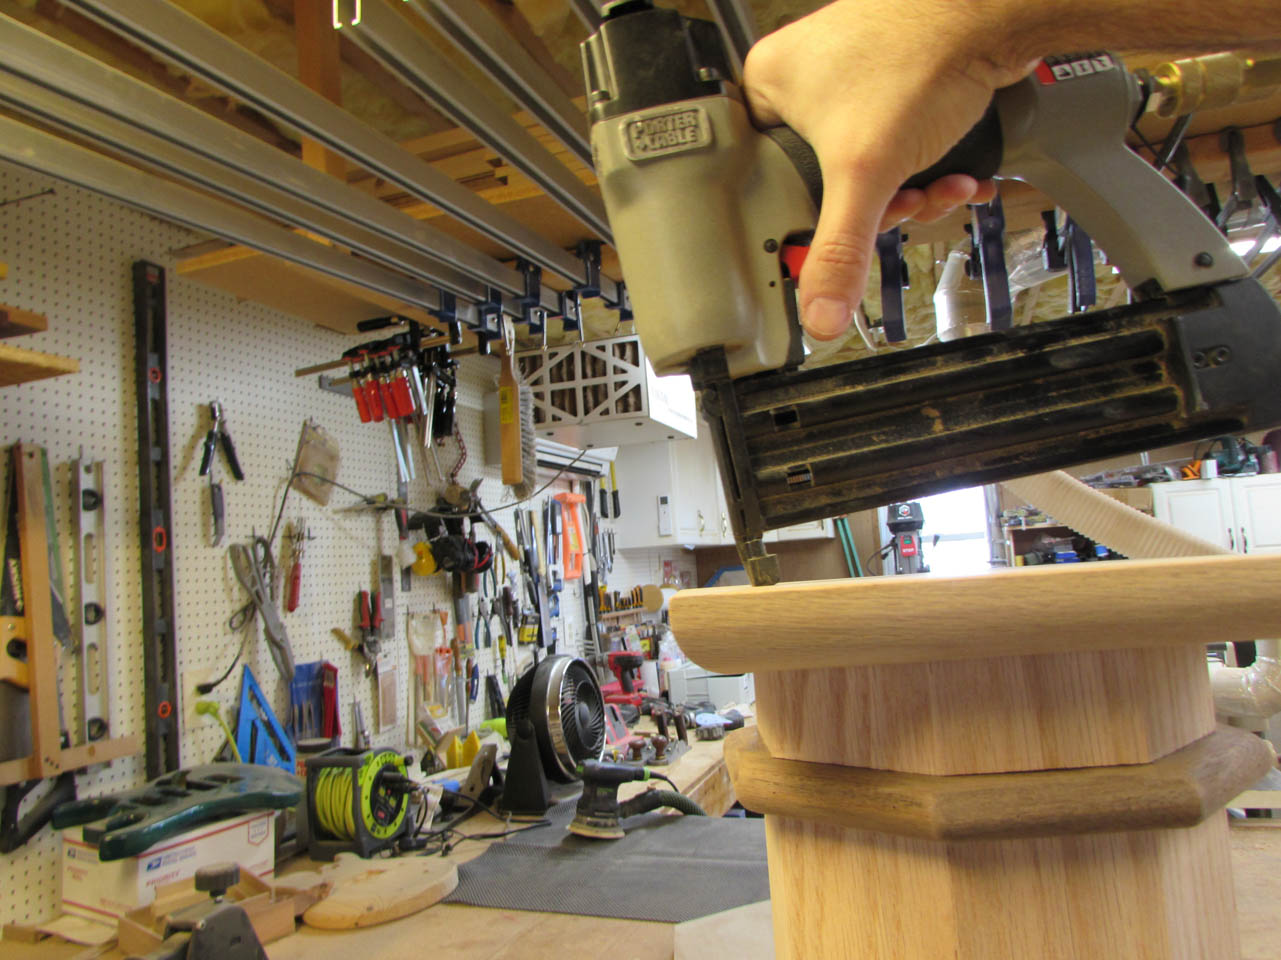
Next, I apply a bead of wood glue to the bottom of the column then press the base cap up against the glue after centering the cap horizontally with the combination square.
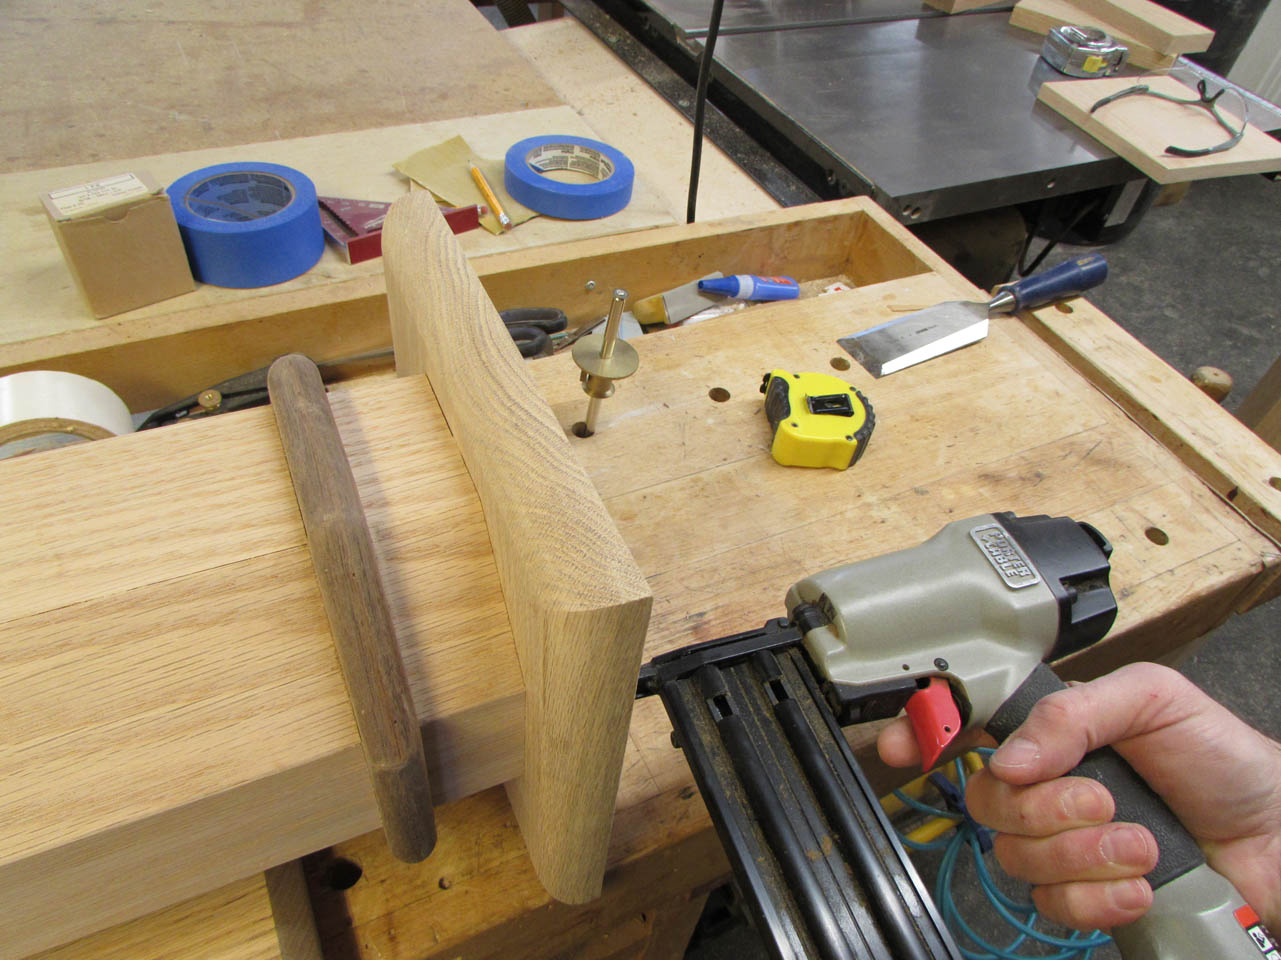
Then I use two brad nails to hold the base in place and stand the column up so I can then more easily aim the brad nailer to angle the nails in toward the center of the column to place a brad nail into each of the eight sides.

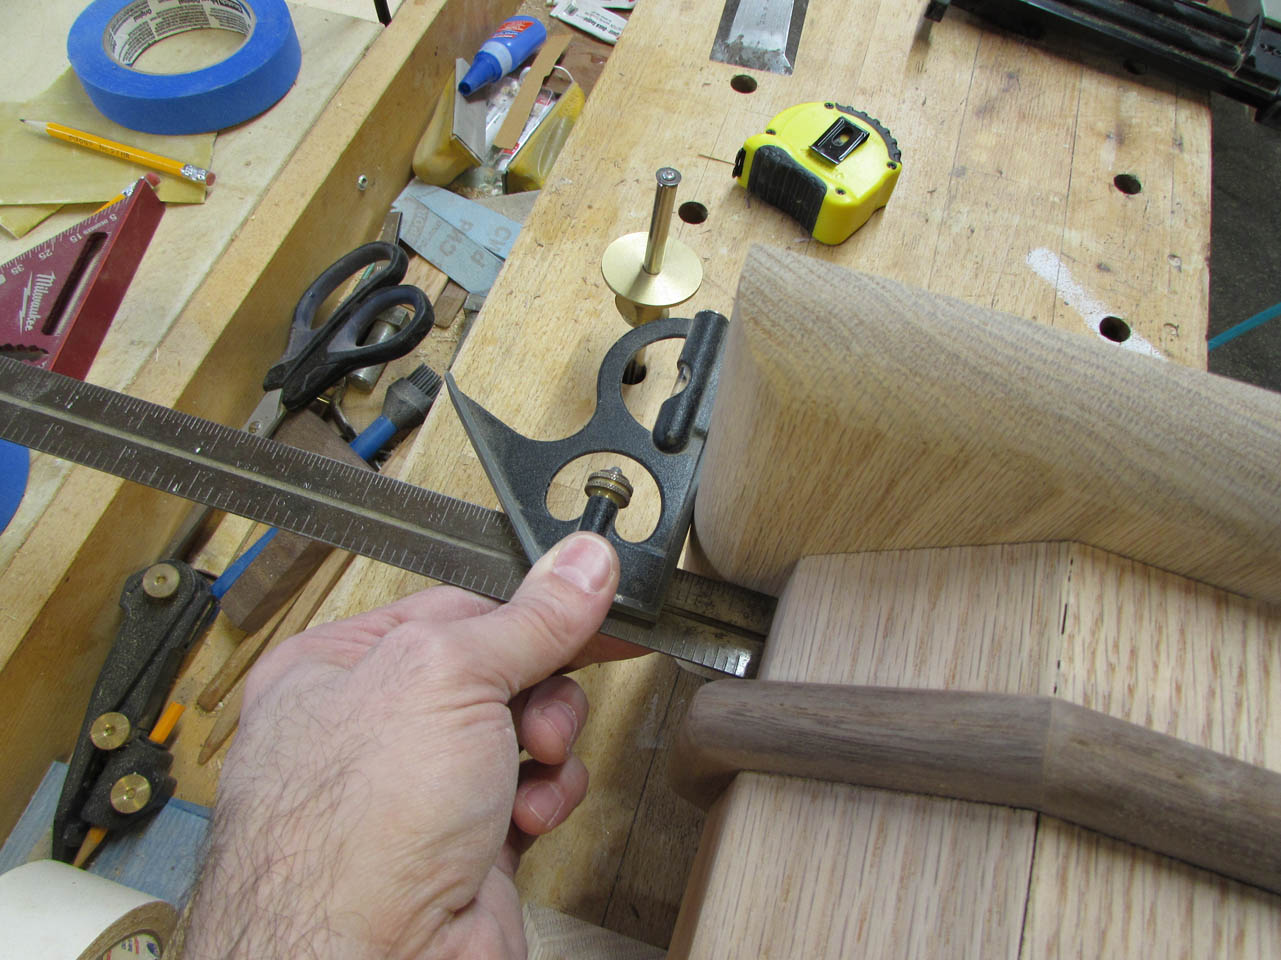
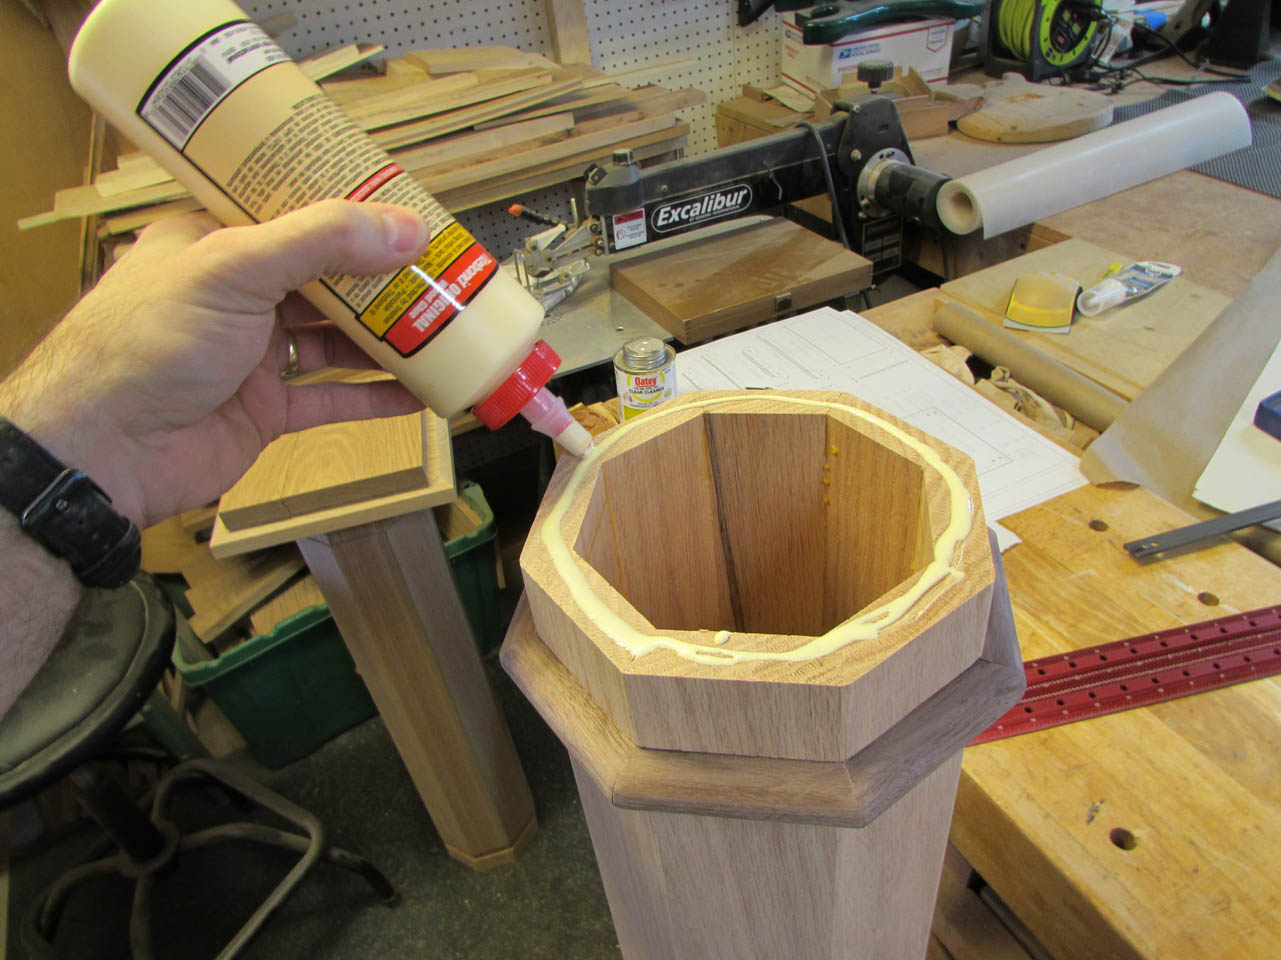
After applying glue to the base cap, I then raise the column up to center it on the base plate.


I align it with the same process, then nail it in place.
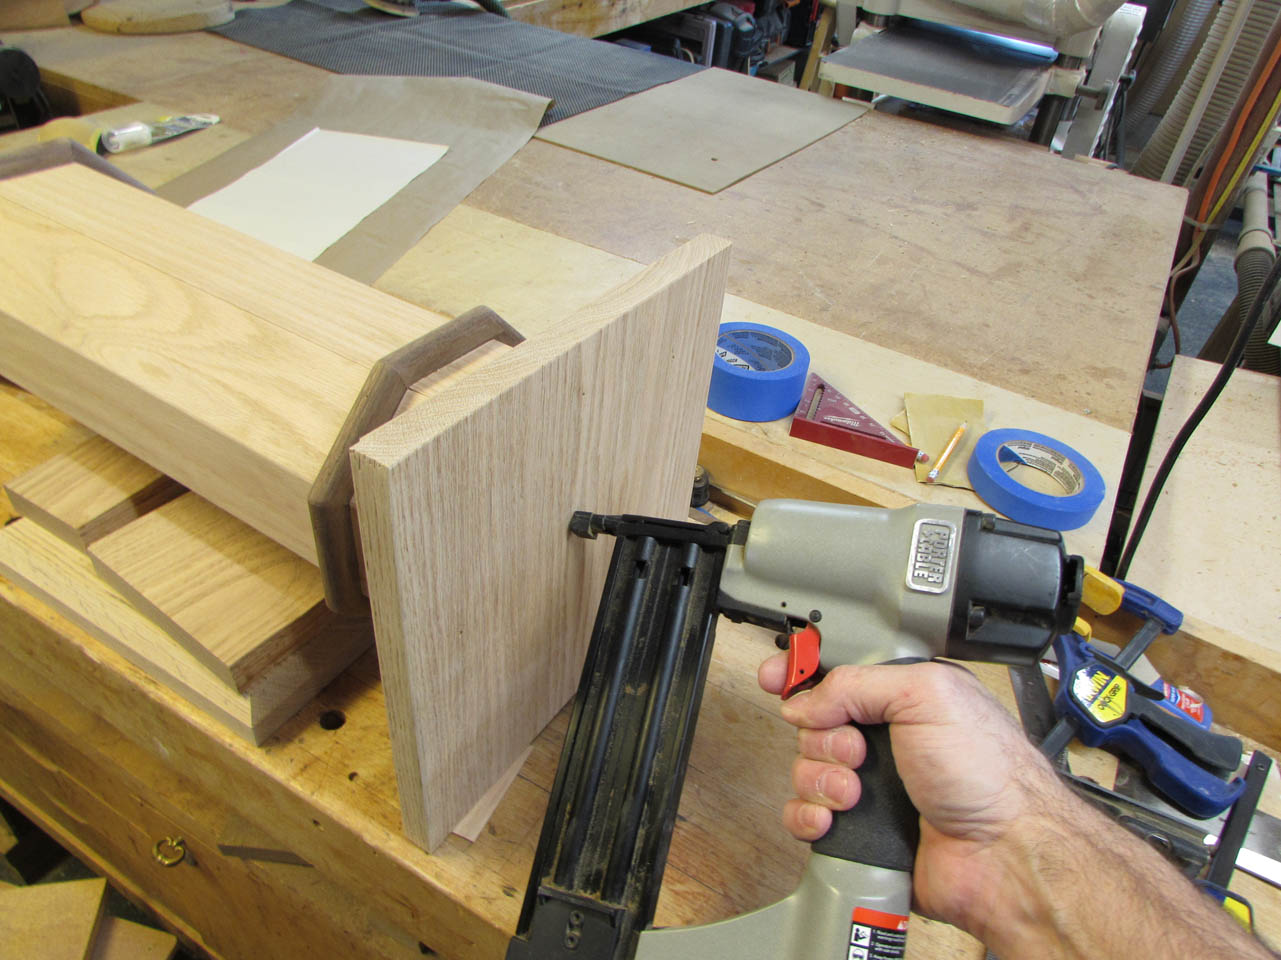
The same process was used to add the cap to the short column.
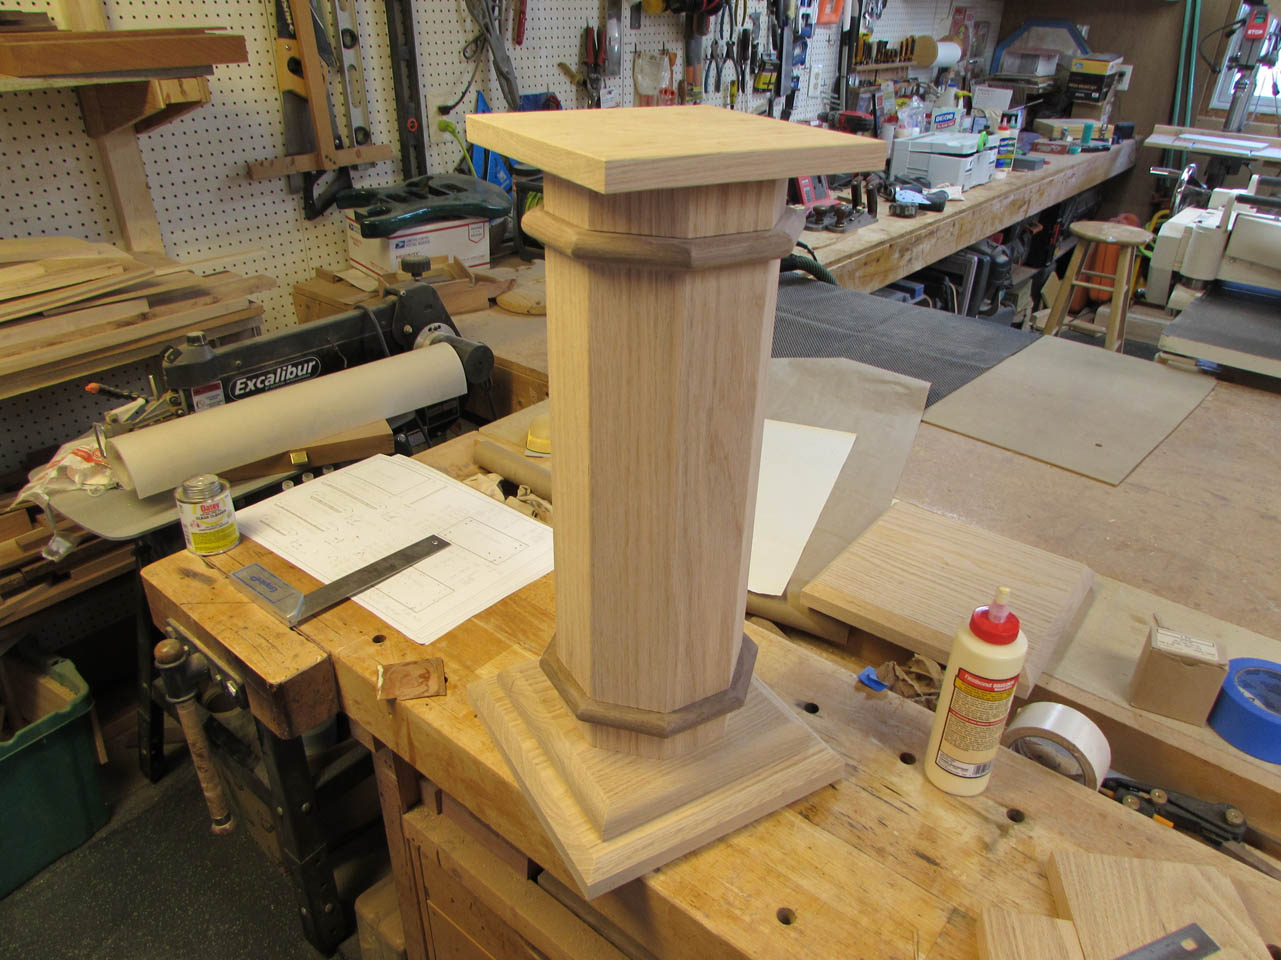
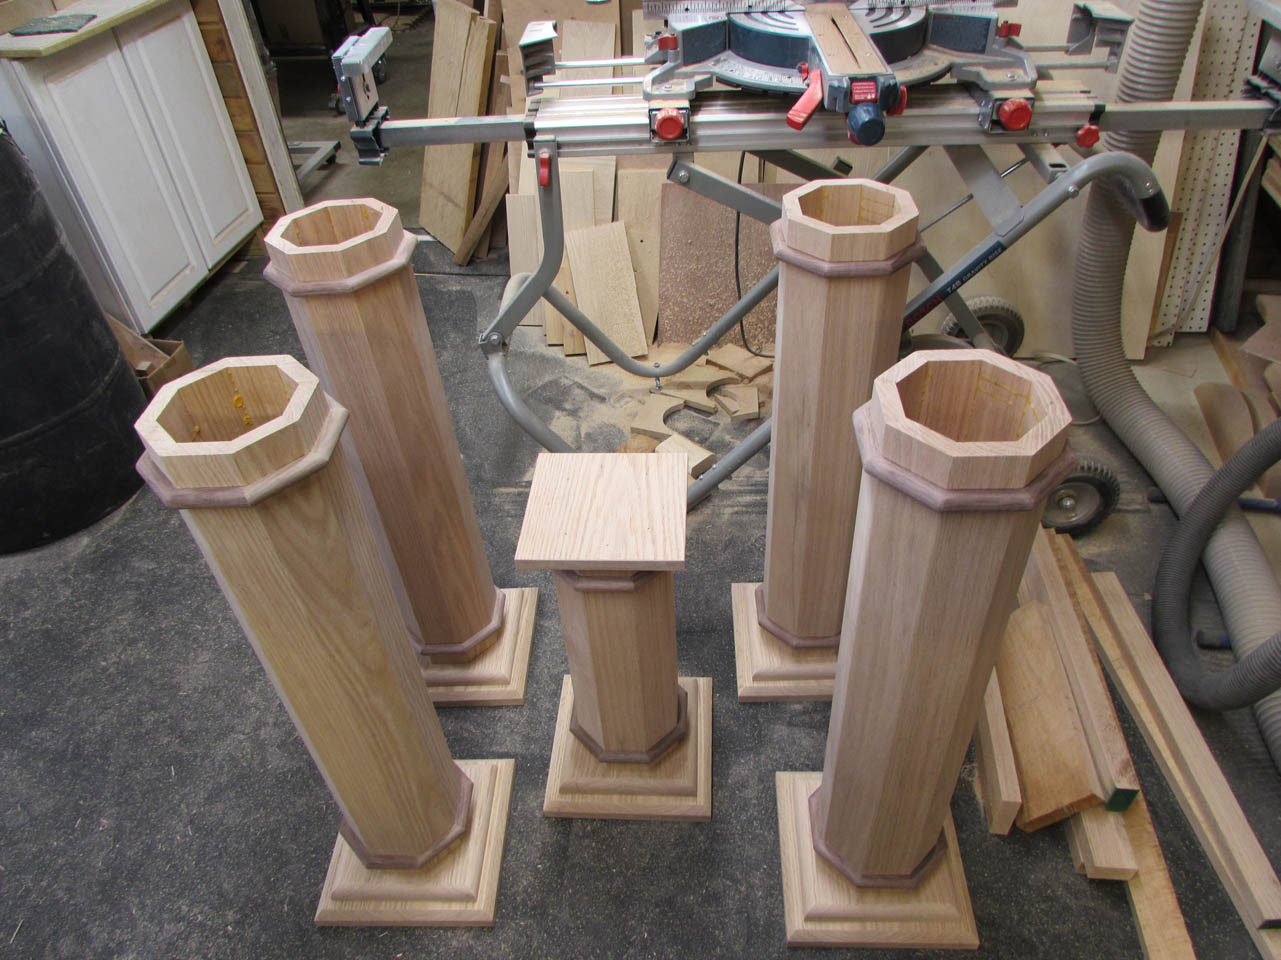
The short column is done for now so I set it aside and installed the bases on the four tall columns.

When this alter is complete, it will probably weigh around 180 pounds. I need to be able to assemble and disassemble it so that it can be easily transported. Disassembled, it will also be easier to stain and finish.

My plan is to have a transition plate between the top of the altar and the top of the columns. The top of the columns will have threaded inserts installed for the transition plate to bolt to.
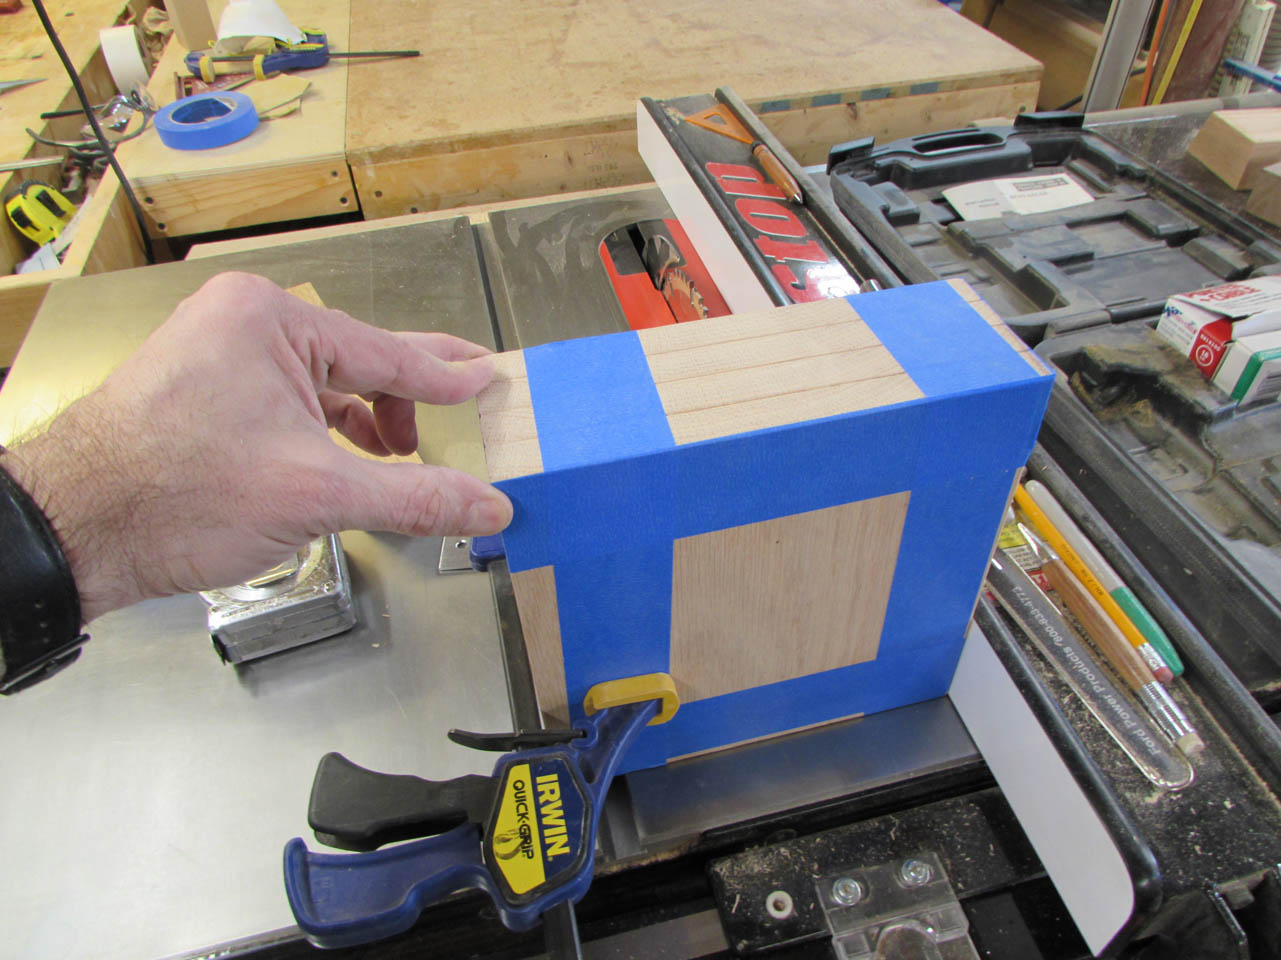
So that they are all exactly the same, I taped all four top plates together and marked the location of the holes.


I drilled two 7/16″ holes that the threaded inserts will be mounted in.
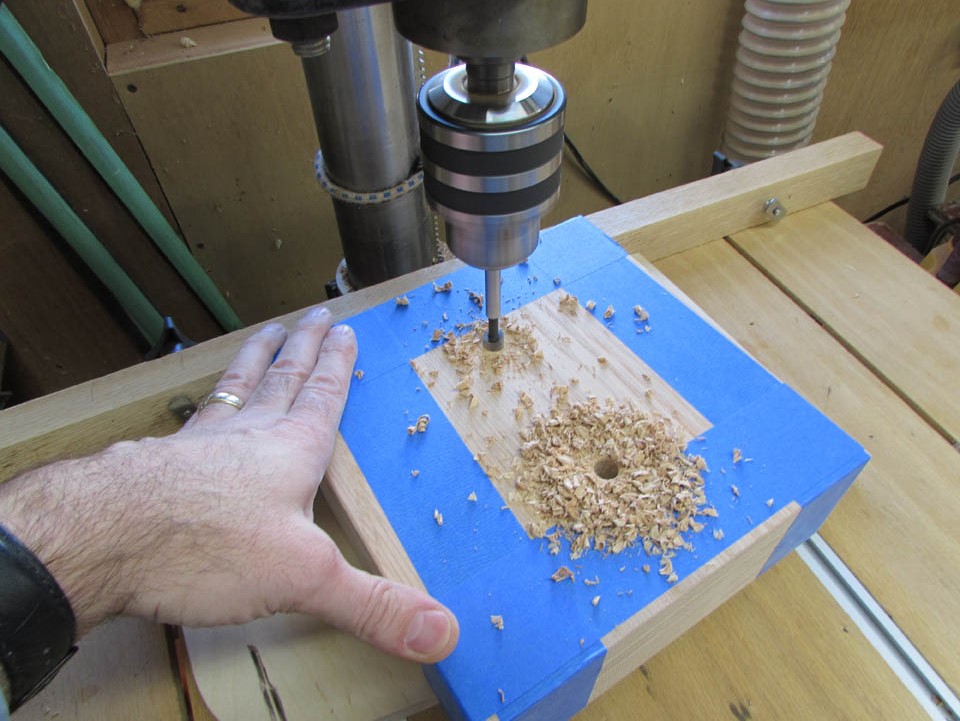

The drill bit wasn’t quite long enough so I broke the stack apart and drilled out the final plate.

There is a flare at the top of the insert so I used a counter-sink bit to create a recess for it.
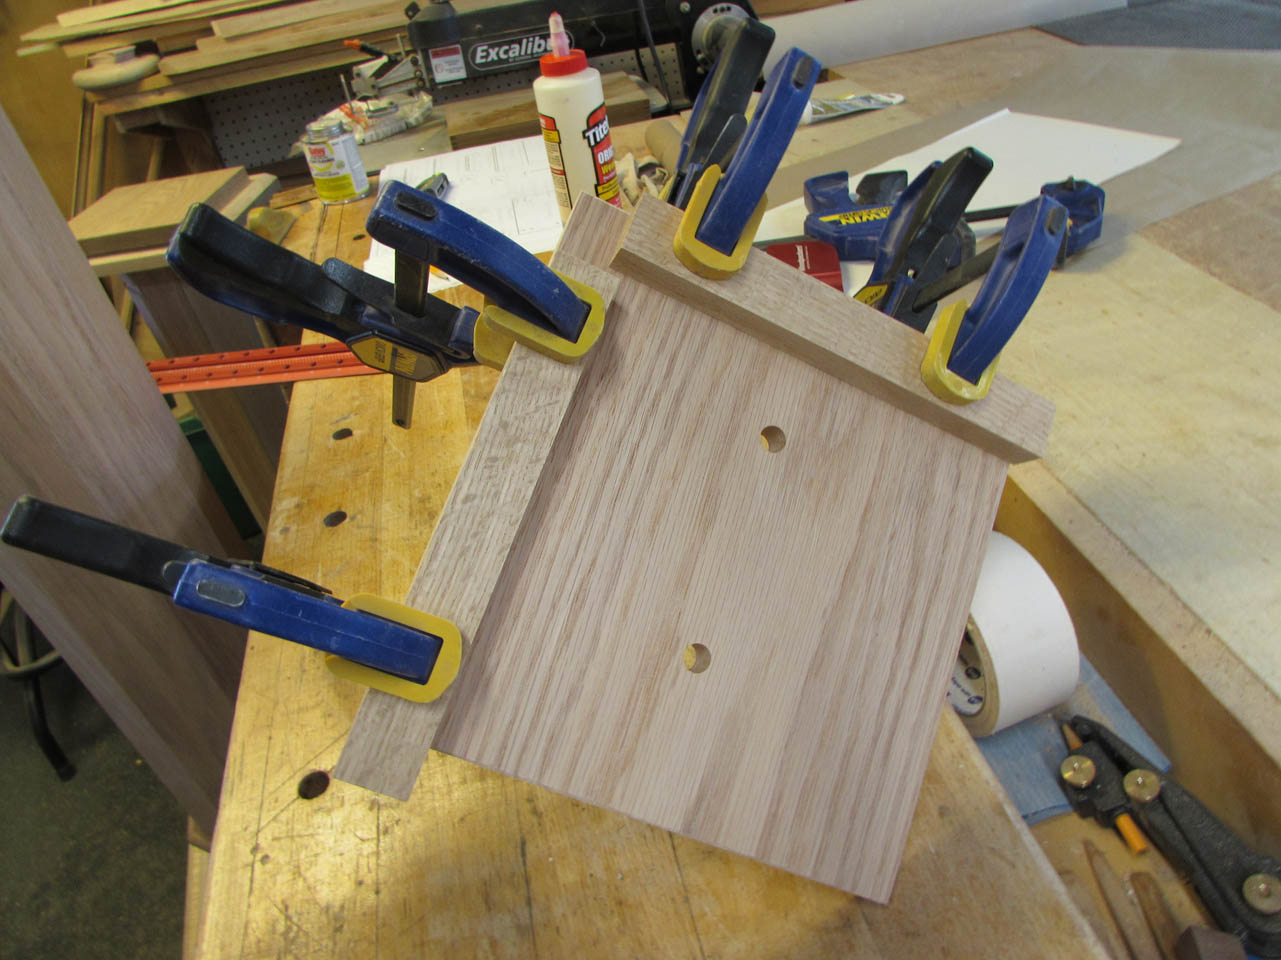
To locate the top plate, I clamped a 1″ block to either side.
I applied a bead of glue to the top of the column then placed the top plate up against the blocks.

Once located, I used my brad nailer to attach the plate.


I have an insert tool that threads into the inserts. To insure the inserts stay in place, I mixed up some quick-set epoxy.


I applied a light coat of epoxy to the threads then screwed them in place. While the tool was still inserted, I wiped away the excess epoxy. This prevents any of the excess from getting onto the internal threads.


When the epoxy had set, I tested the bolts I intend to use to make sure all the threads were clear.

The columns are done for now so it is time to move on to the top pieces.

I previously cut four pieces of plywood to their exact width on the table saw and approximate length with my track saw.

I laid the first top piece on the flattest surface in my shop, my table saw.
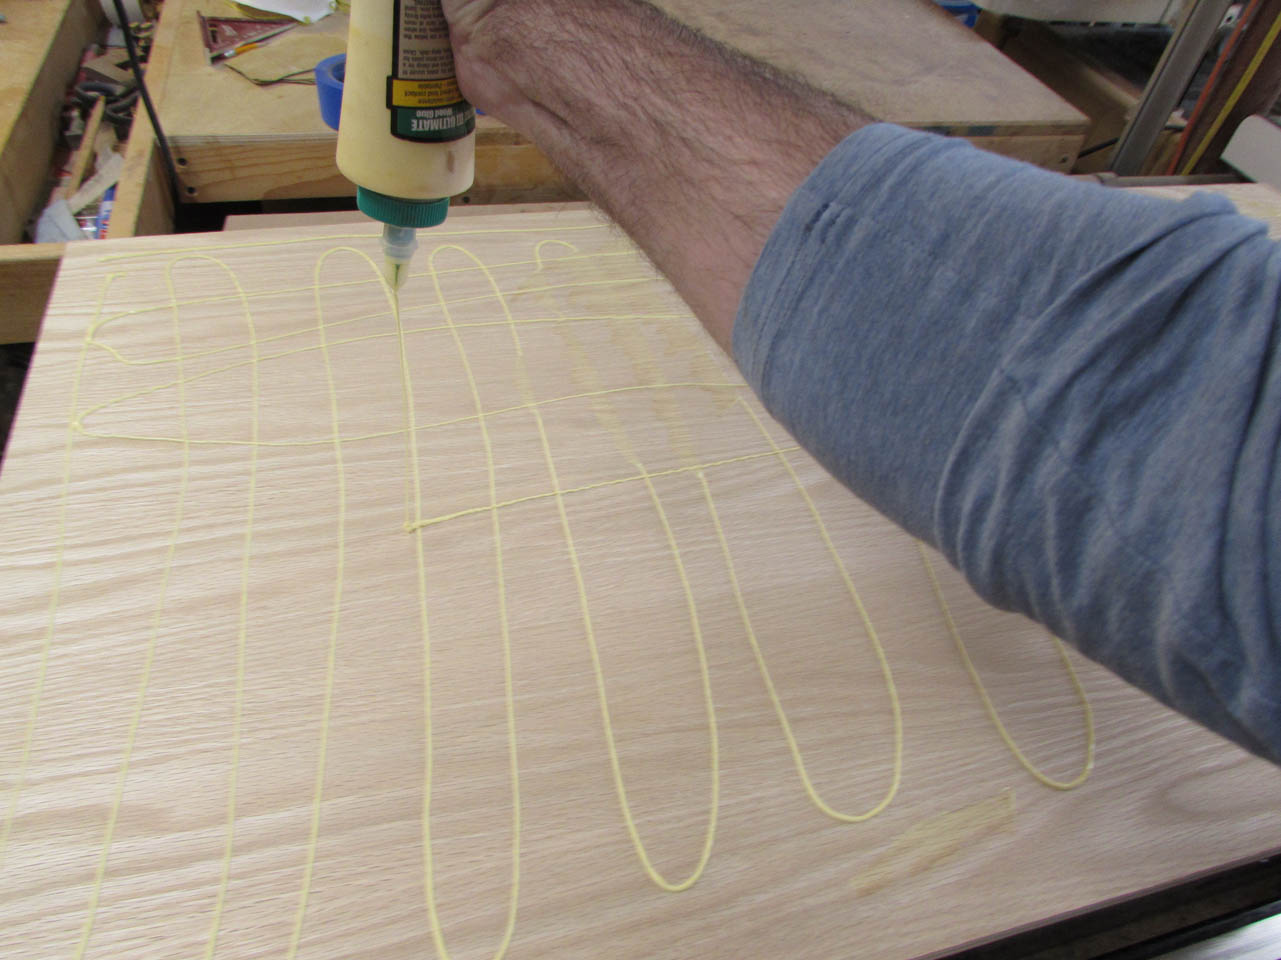
Next, I applied a lot of glue and spread it out smooth.


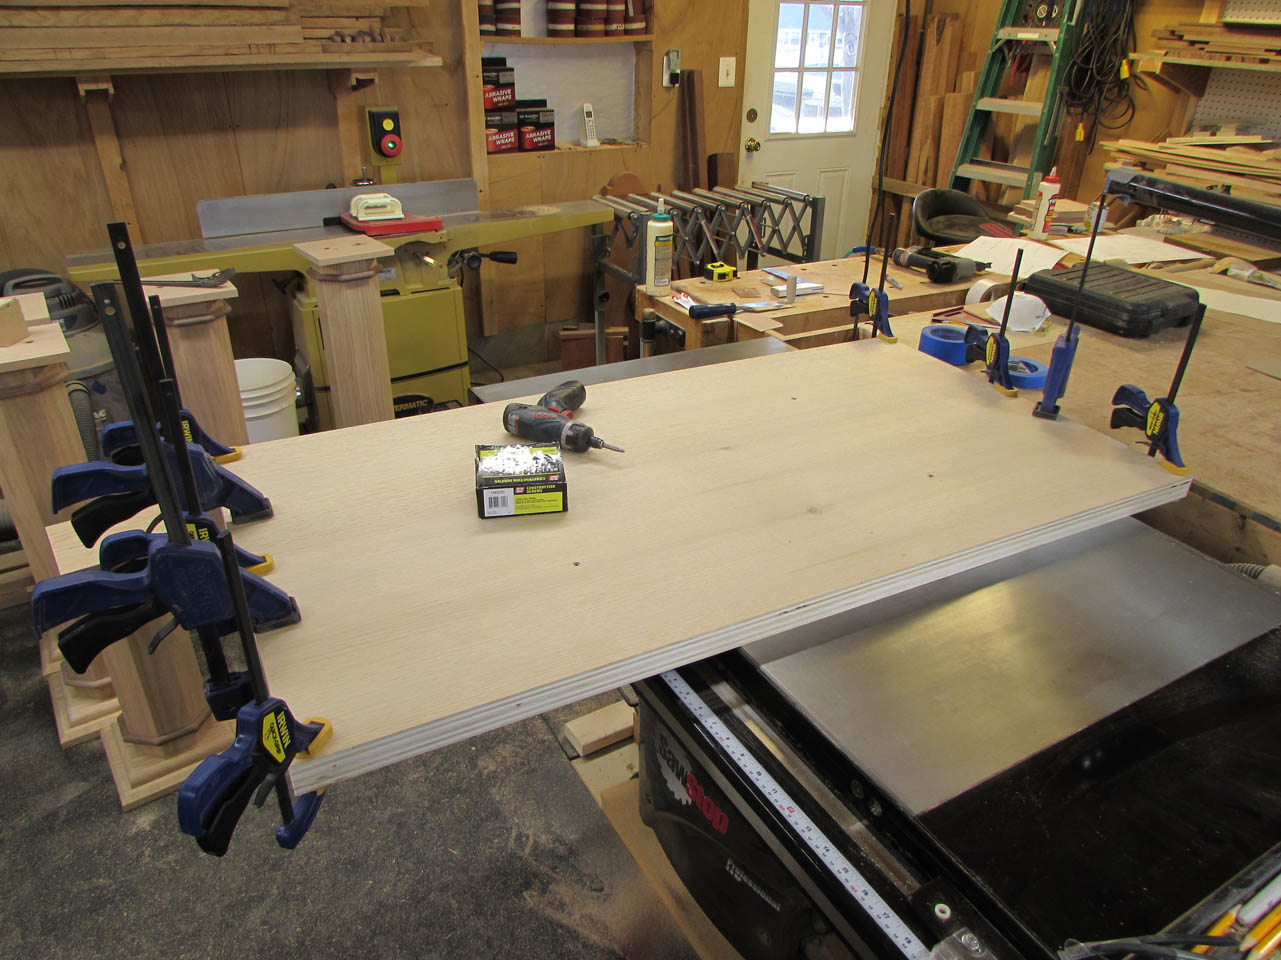
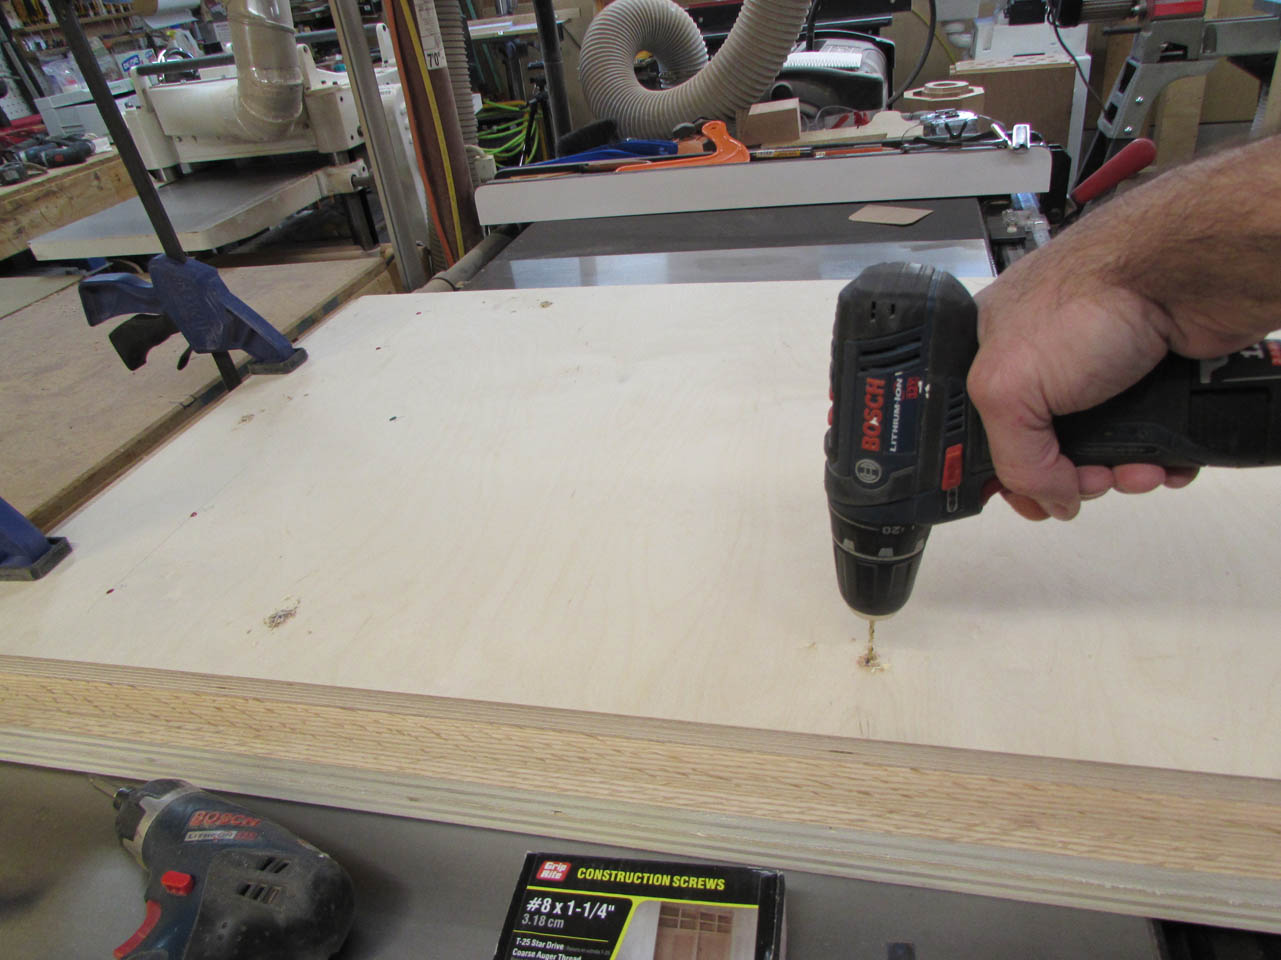
Working quickly, while it was all still wet, I stacked the second sheet on top of the first and placed four screws around the center area to draw it tightly together.

Then I clamped the edges. The screws will be covered by the transition plate during final assembly, so they will not be visible.
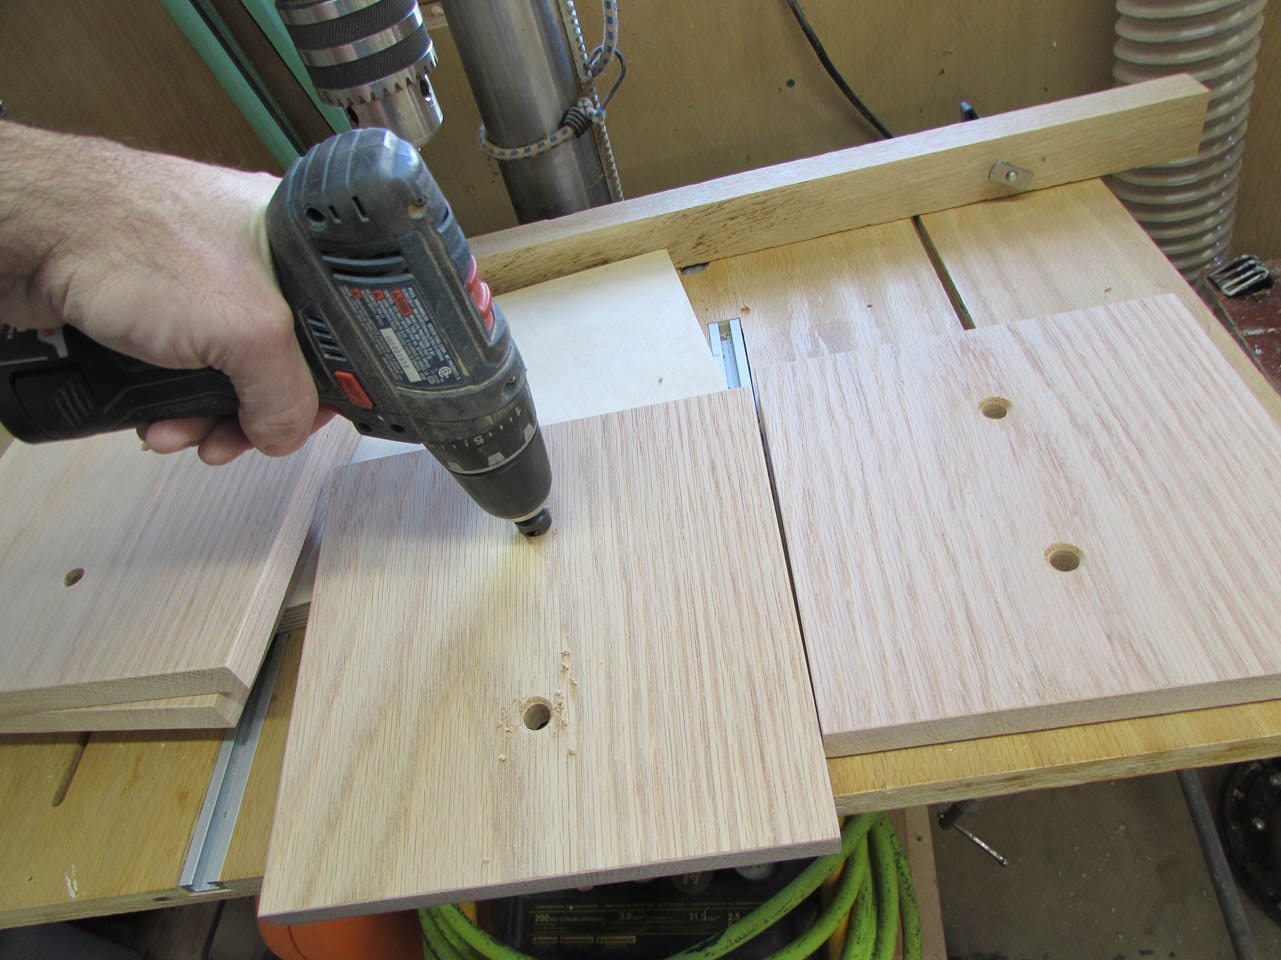
While that was drying, I laid out the holes on the top piece of the transition plate.
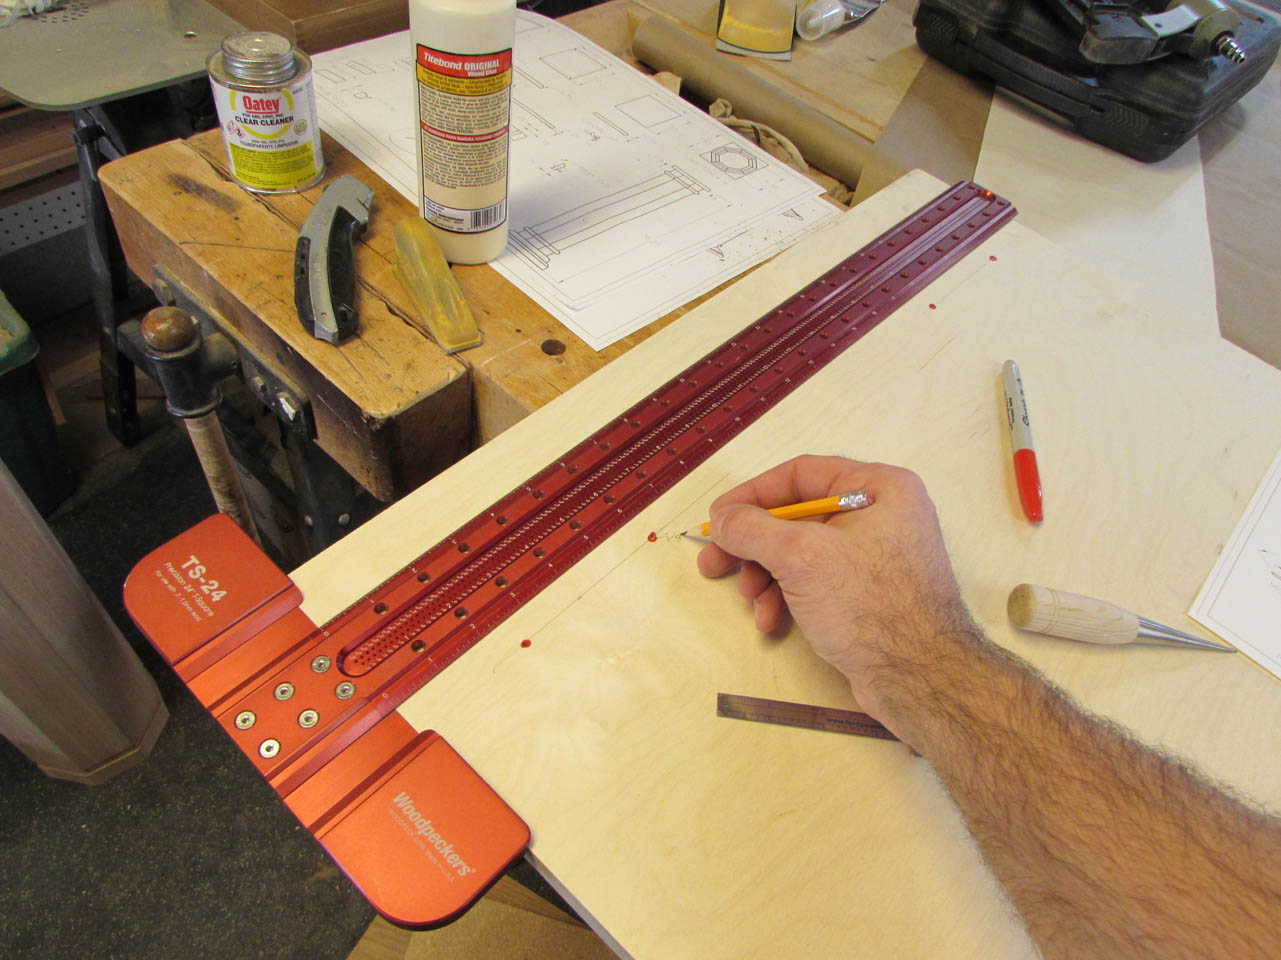
I located all of the holes and marked each different size with a different color, then center-punched each hole.


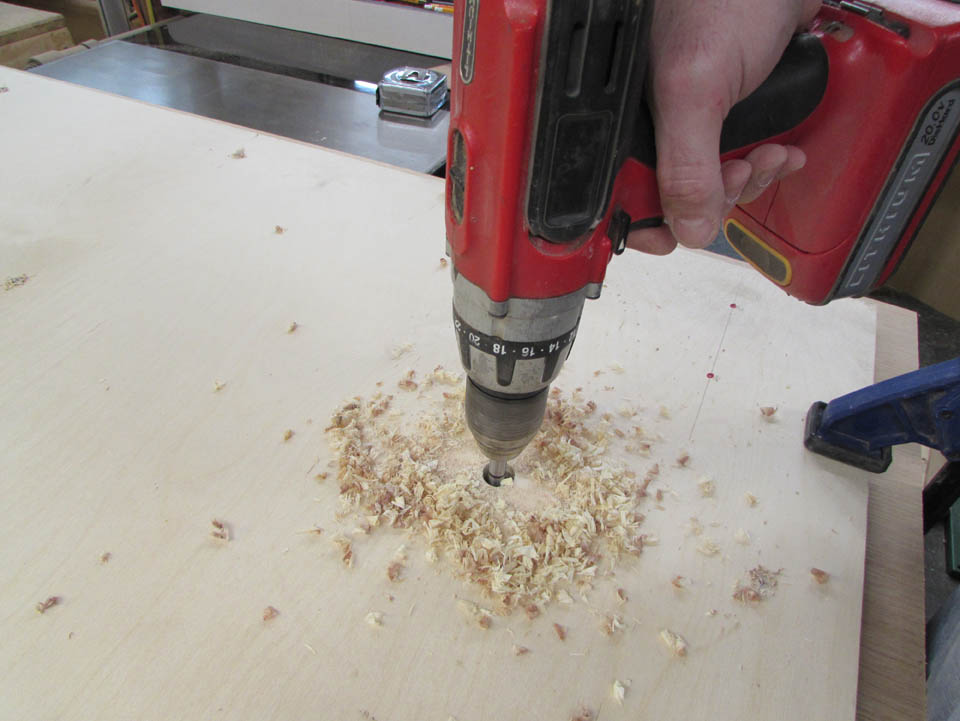
I clamped this plate to the top plate and used it as a drill template to drill pilot holes for all of the attachment points.

Then I used a 3/4″ bit to drill two holes through the transition plate and halfway into the top plate.
I will install two dowels into the transition plate later and these will locate the top to the transition plate repeatably so that my holes will always line up.


Removing the transition plate from the top, I finished drilling out the 3/8″ through holes for the column mounts.

Then I did a test fit to make sure the holes were in the correct locations.


Then it was time to glue the two pieces of the transition plate together.

While the glue was drying, I drilled all of the holes through the second layer, using the same sheet as a drill template again.

Tomorrow, when all the glue is dry, I can finish the drilling.
