
Bleached walnut dining table – day 1
This new project is for a friend of mine that is on sabbatical in the United States. He and his wife want a new dining room table built for them, to take back home to Israel next month. The biggest challenge is wood movement from the change in relative humidity. Building the table here in Maryland, shipping it over seas, then delivering it to its new home in a dessert. The wood will expand, then shrink. The design has to allow for that. We have decided on a trestle table that can be disassembled and flat-packed to take up the least amount of room. My friends want the table to be made from walnut, but they want it bleached back to a blonde color. It should be interesting.
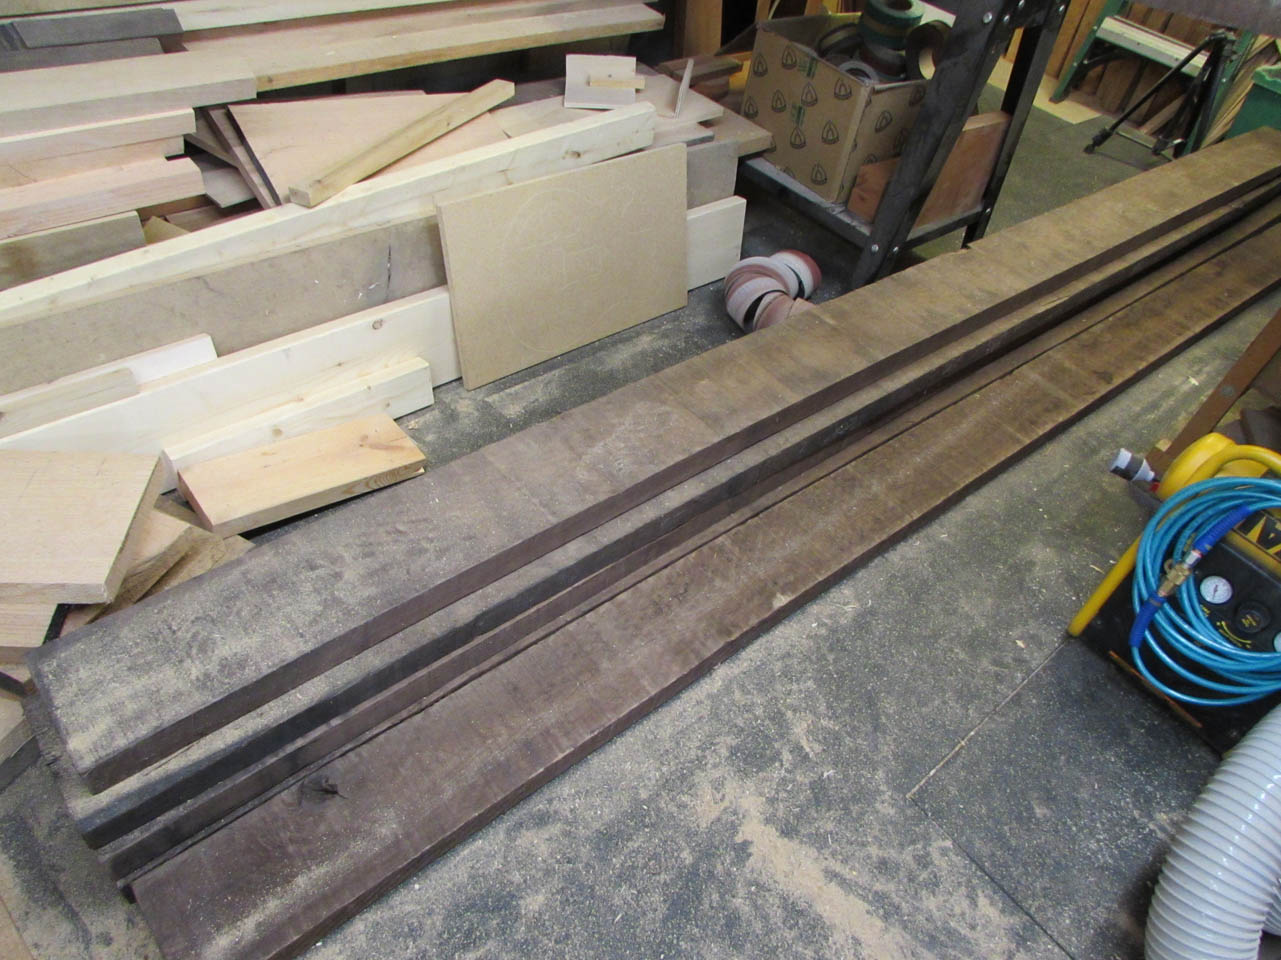
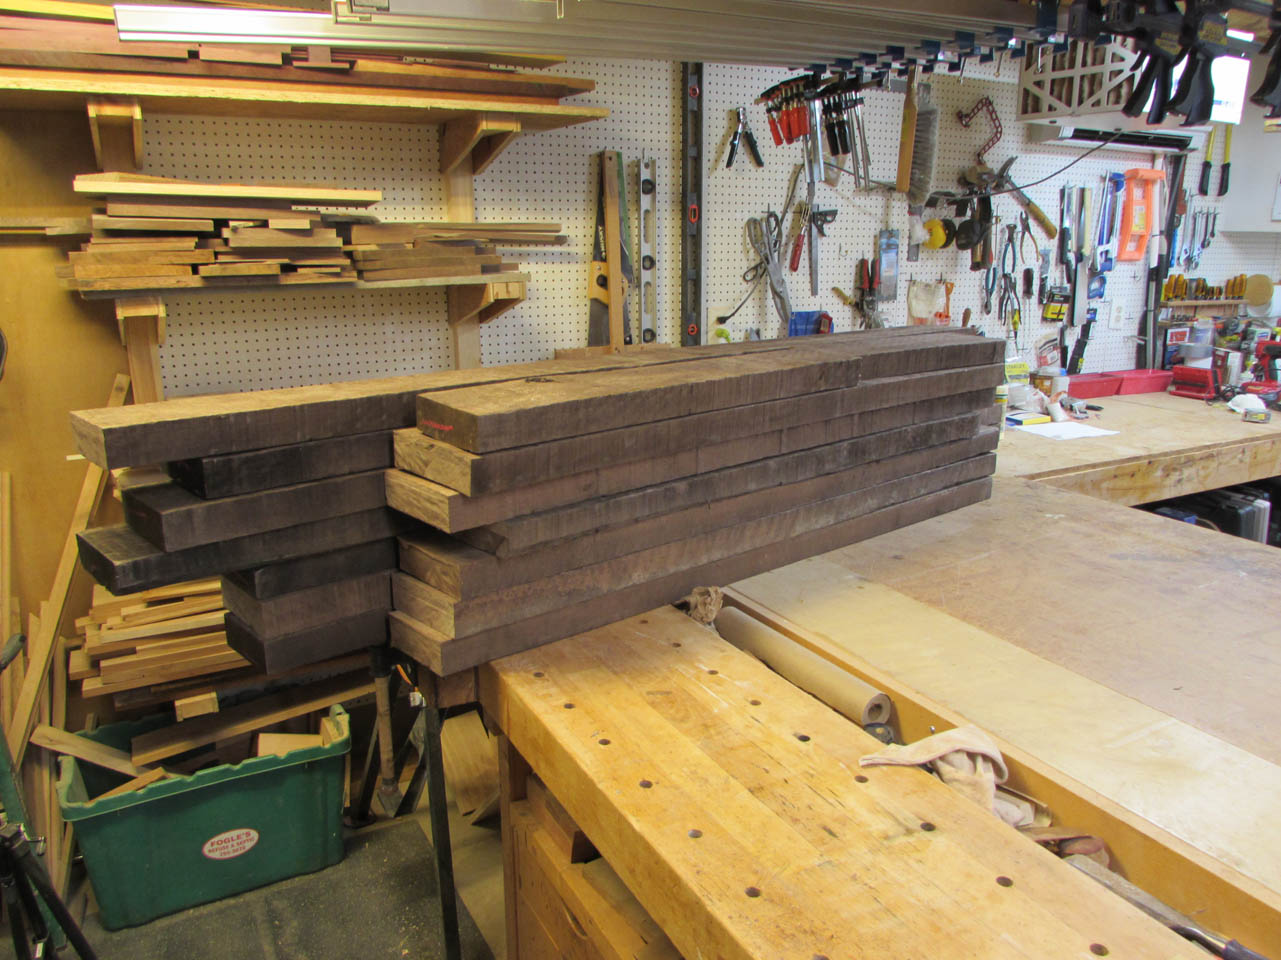
I went walnut shopping and found some kiln-dried 8/4 walnut that was 12′ long. They want a 44″x80″ one-piece top that is 2″ thick. This was the thickest stock that I could find, so it will have to do.
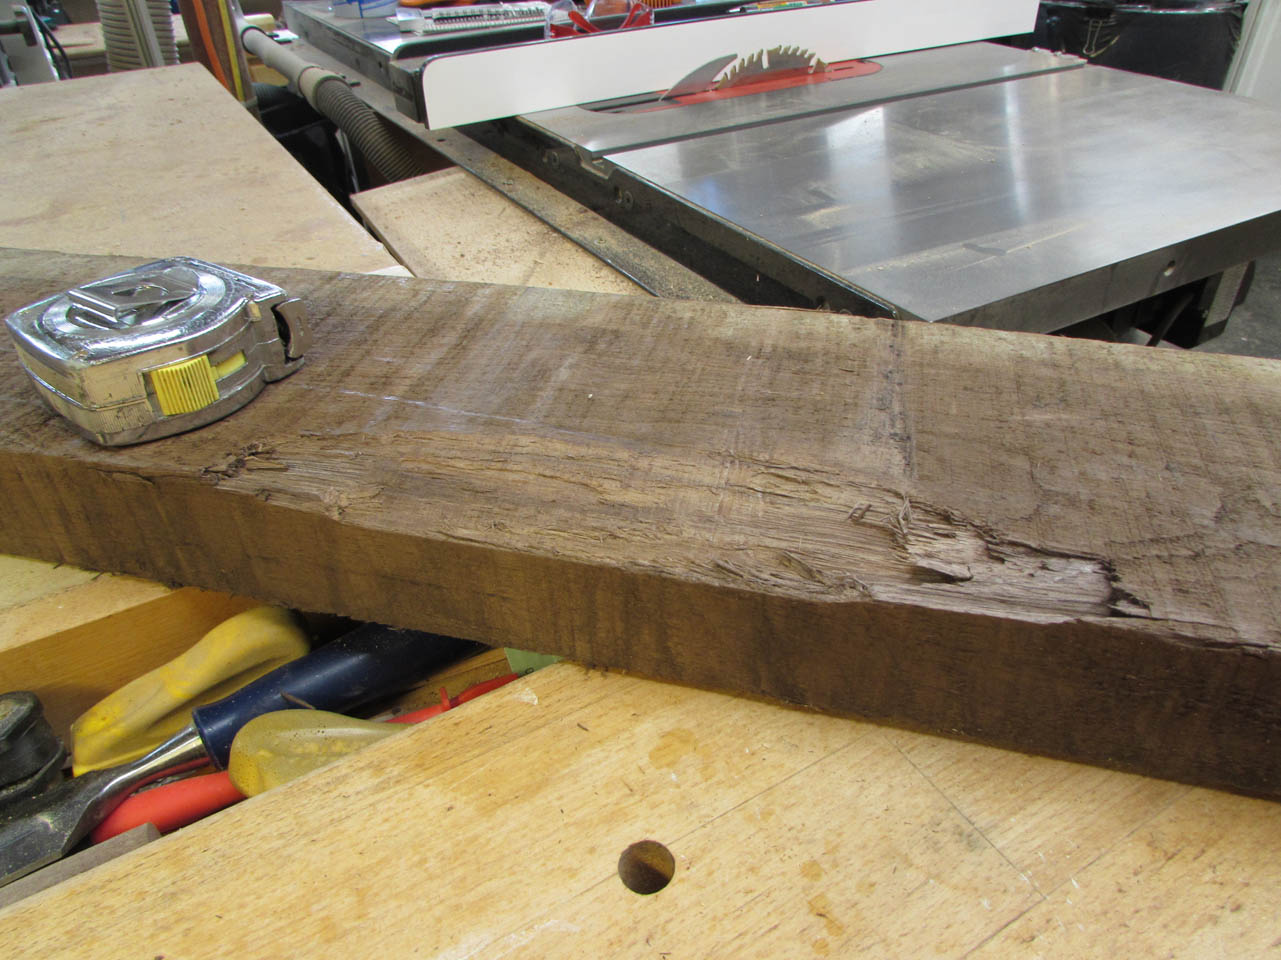
I picked through the pile to find the straightest wood, but several pieces had large chunks torn out, probably from a fork-lift. I did my best to cut around these sections to make roughly 84″ long sections for the top.
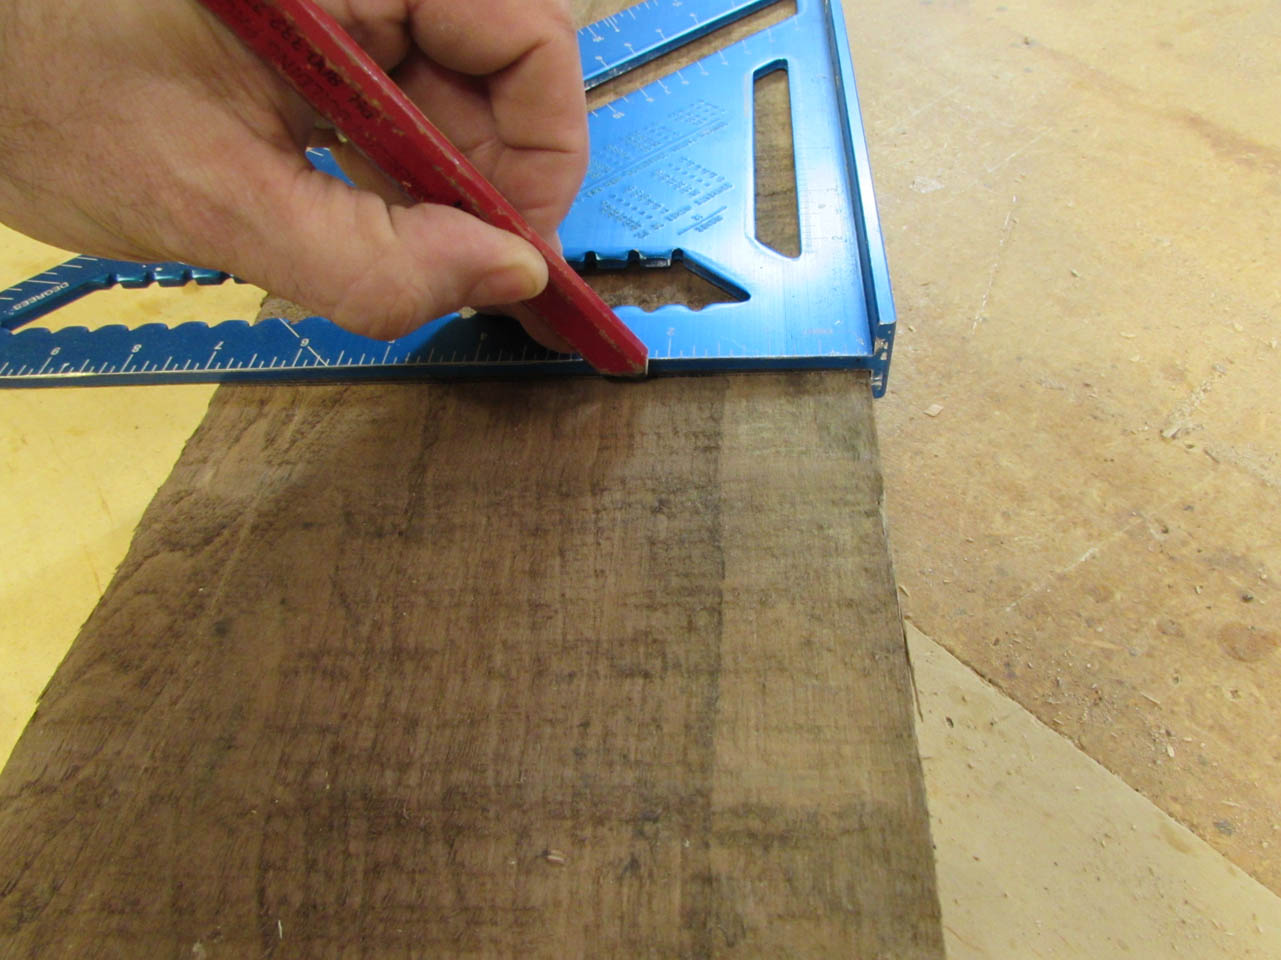
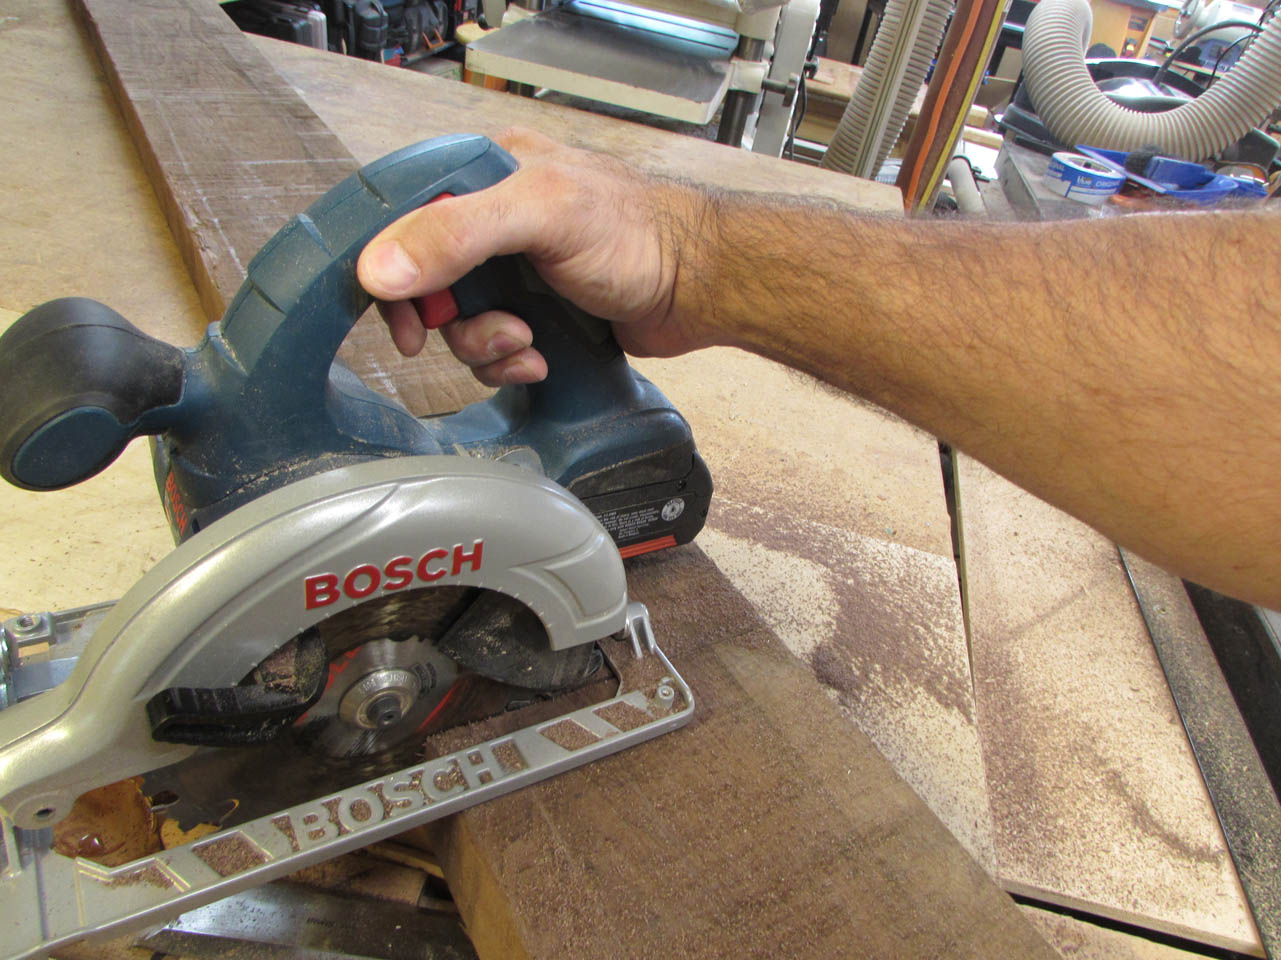
Then I used my circular saw to cut them down to size. I am leaving them a few inches long in case I have cracks in the ends or snipe from the planer. I will cut them to the actual size once the table is glued up. This walnut is all rough-sawn from the saw mill and needs to be milled flat on all four sides. I usually use the table saw to joint the edges and my planer, with an adjustable sled to mill the faces flat and parallel. To save a lot of time and effort, I decided to purchase a jointer. It will make it easier to get that first face perfectly flat, then to make the sides perfectly straight, as well as 90 degrees from the flat face. This is possible with the tools I have, but it is very time consuming.
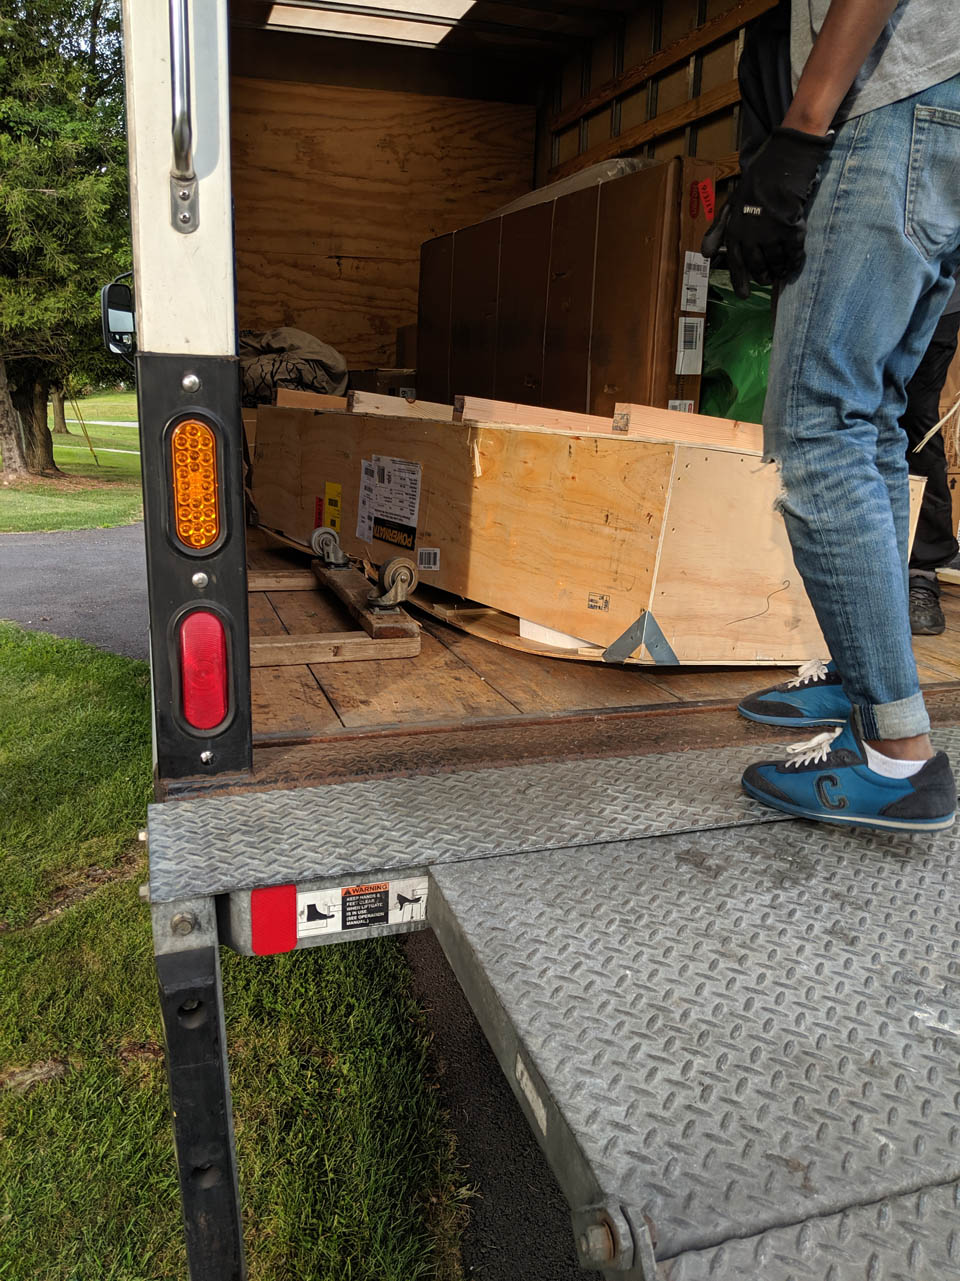
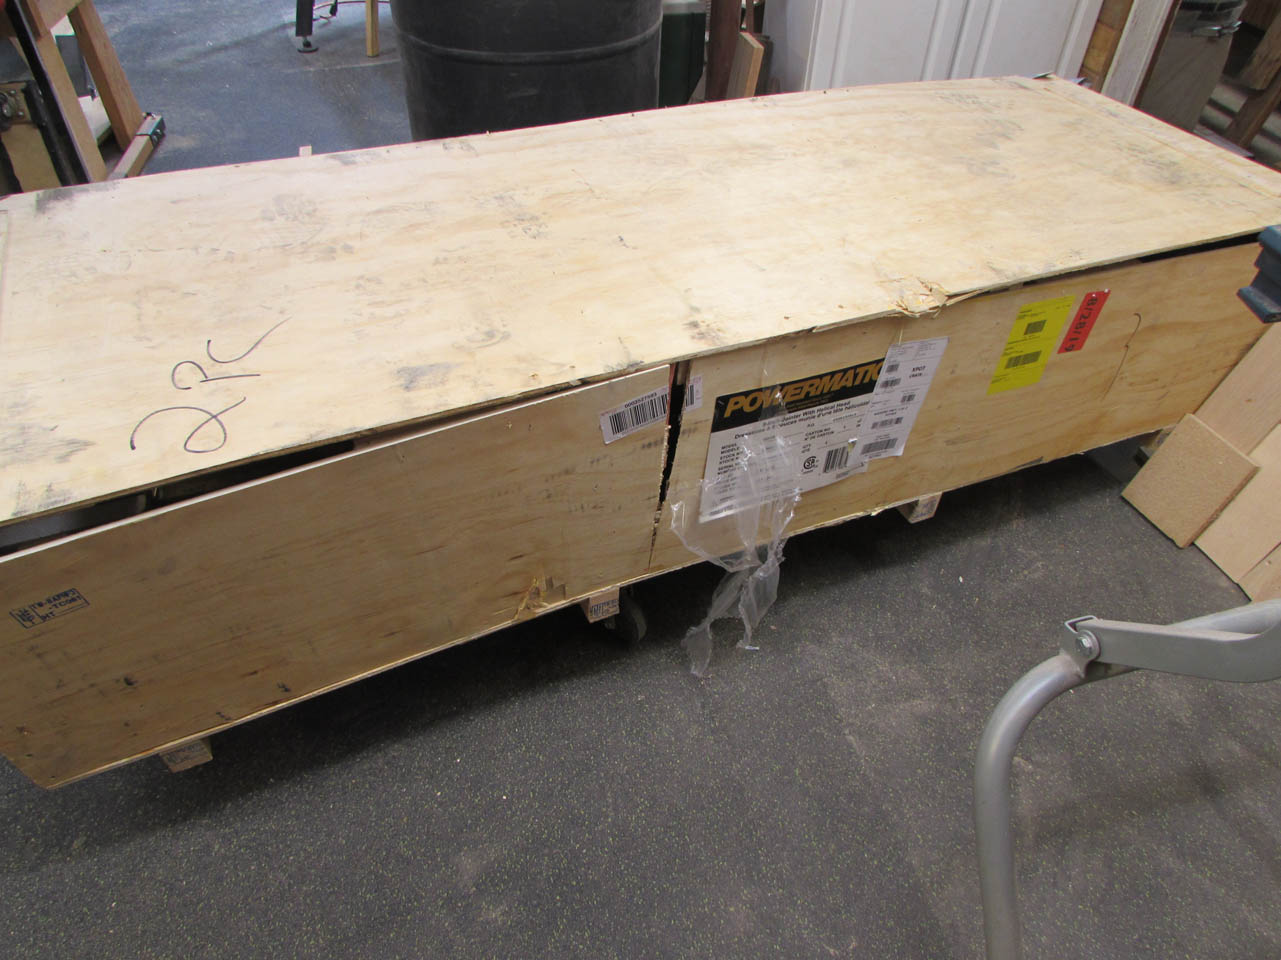
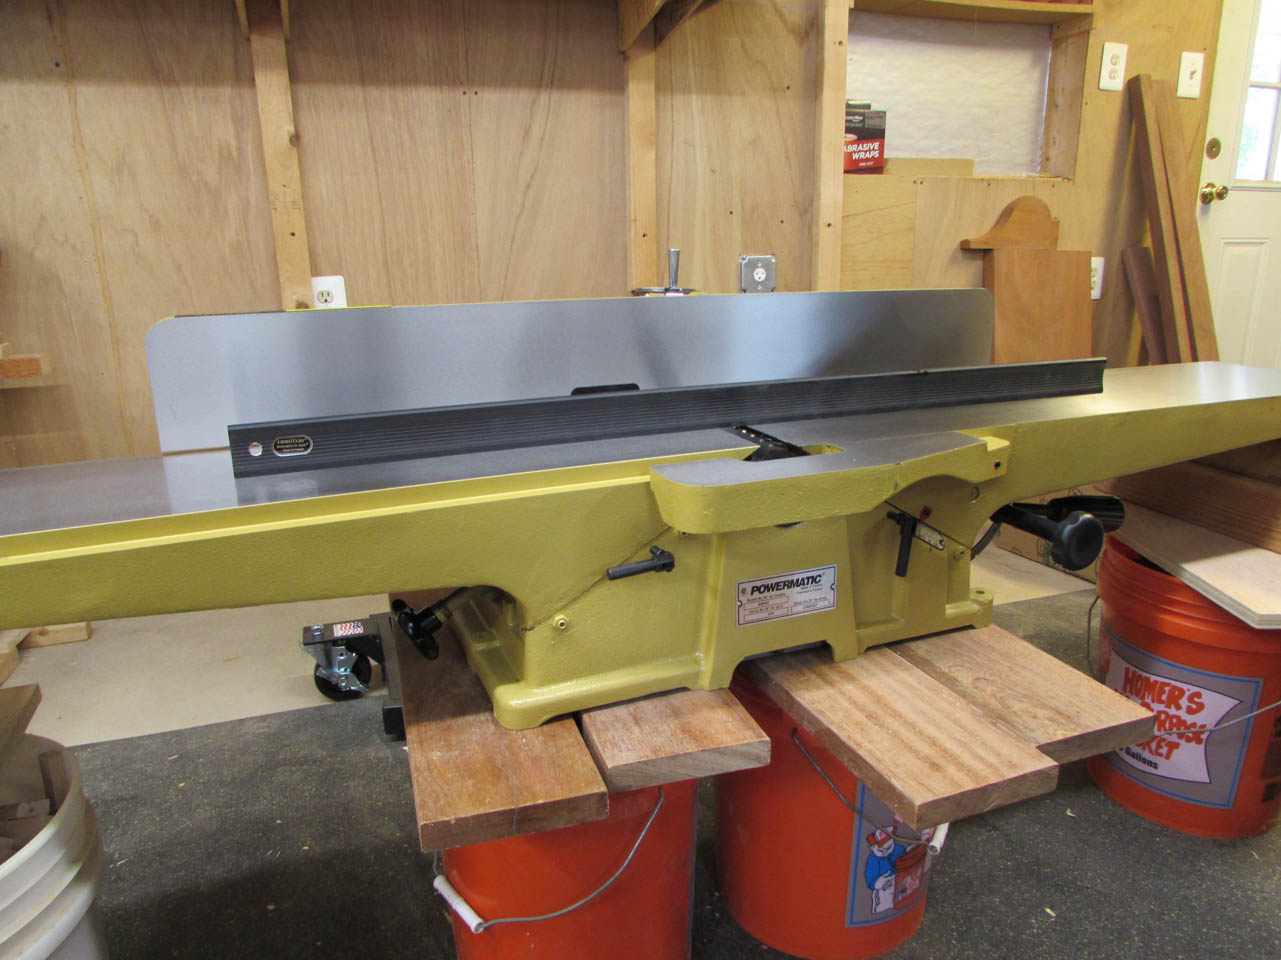
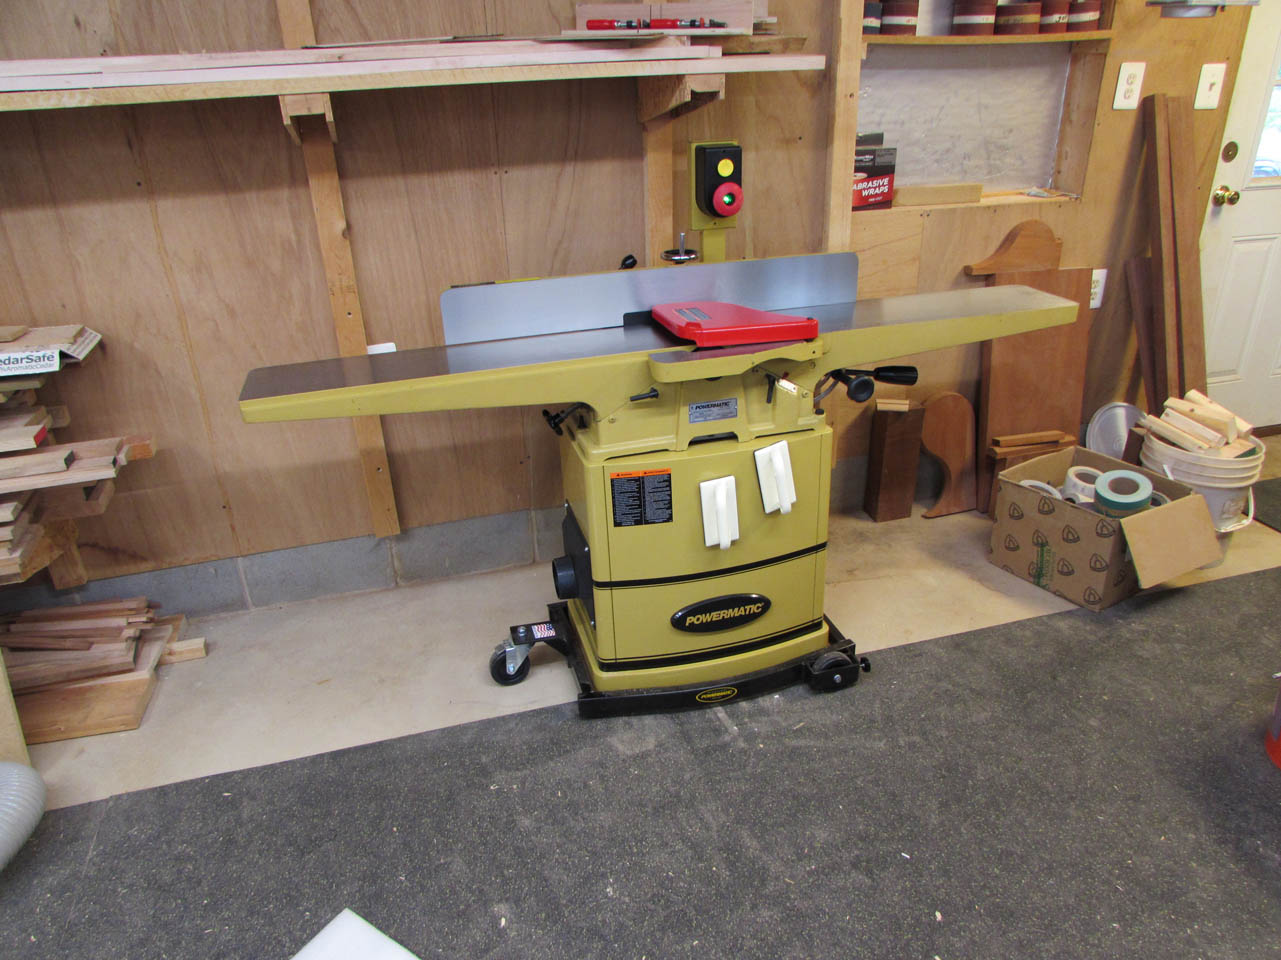
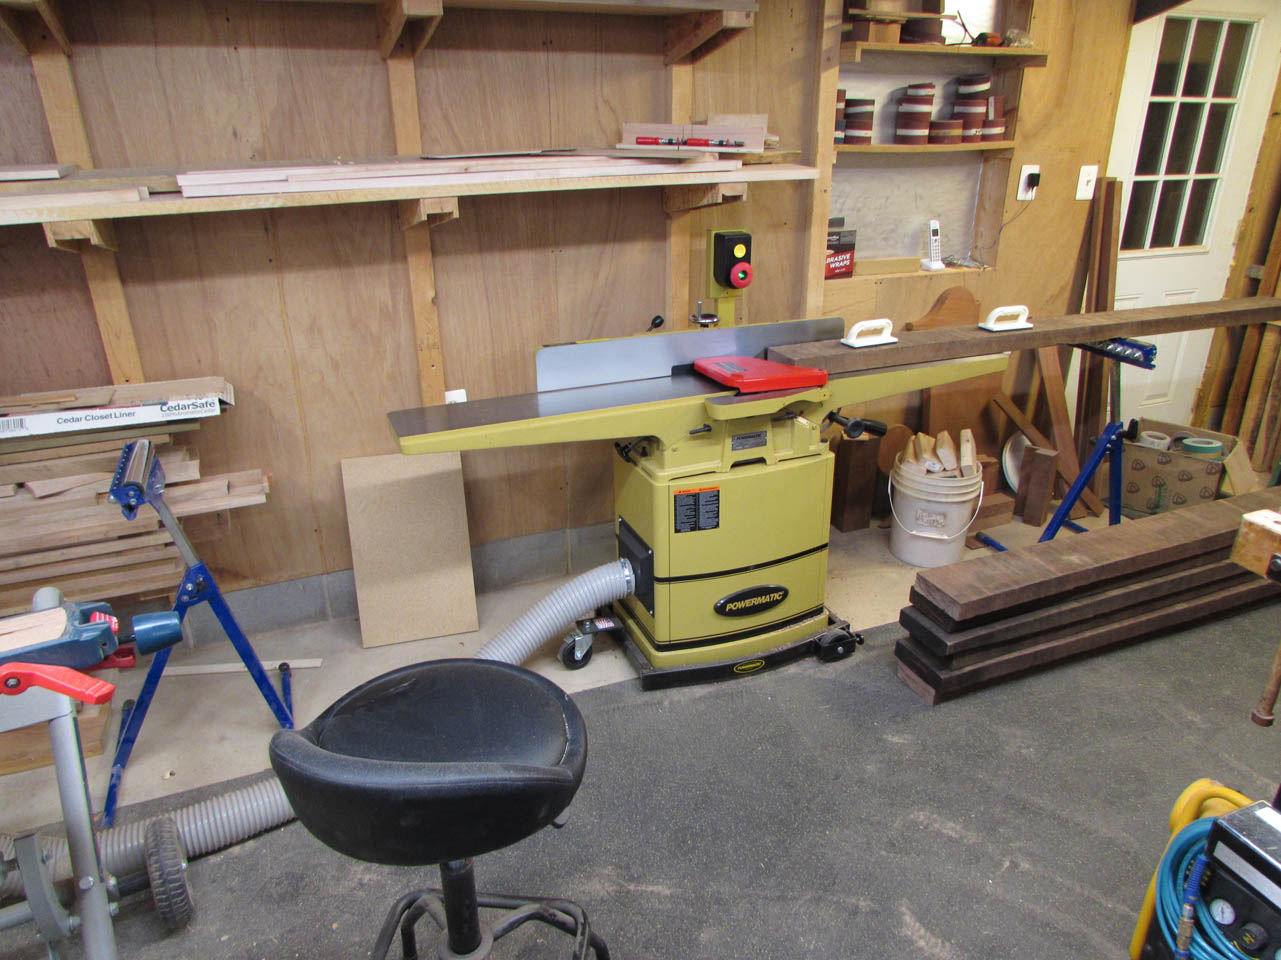
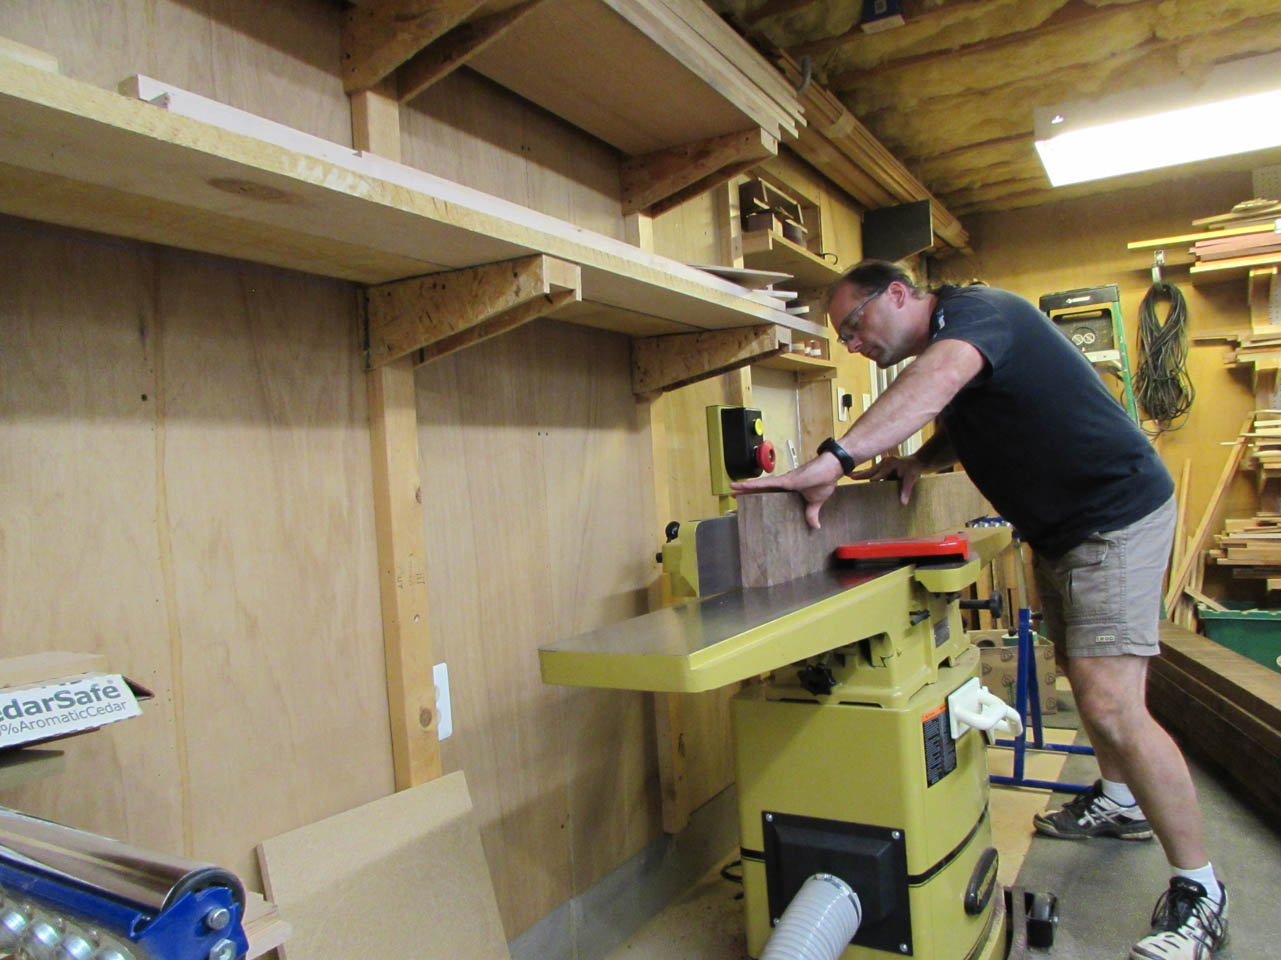
I did some research and decided on a Powermatic 8″ jointer with a helical cutter head. Everybody sells them for the same price so I went with Amazon because they offered free shipping. In retrospect, I probably should have just paid the extra $150 to have it shipped by someone more capable. It arrived upside down and in a damaged crate. This jointer weighs about 400 pounds, it really shouldn’t have been tossed into the back of a rented van, on its side. It actually fell over onto its top during the trip to my house. They didn’t even have a pallet jack. The delivery guys had to muscle it out of the truck, while complaining how heavy it was, then flip it over onto a dolly…
They even delivered the base upside down…
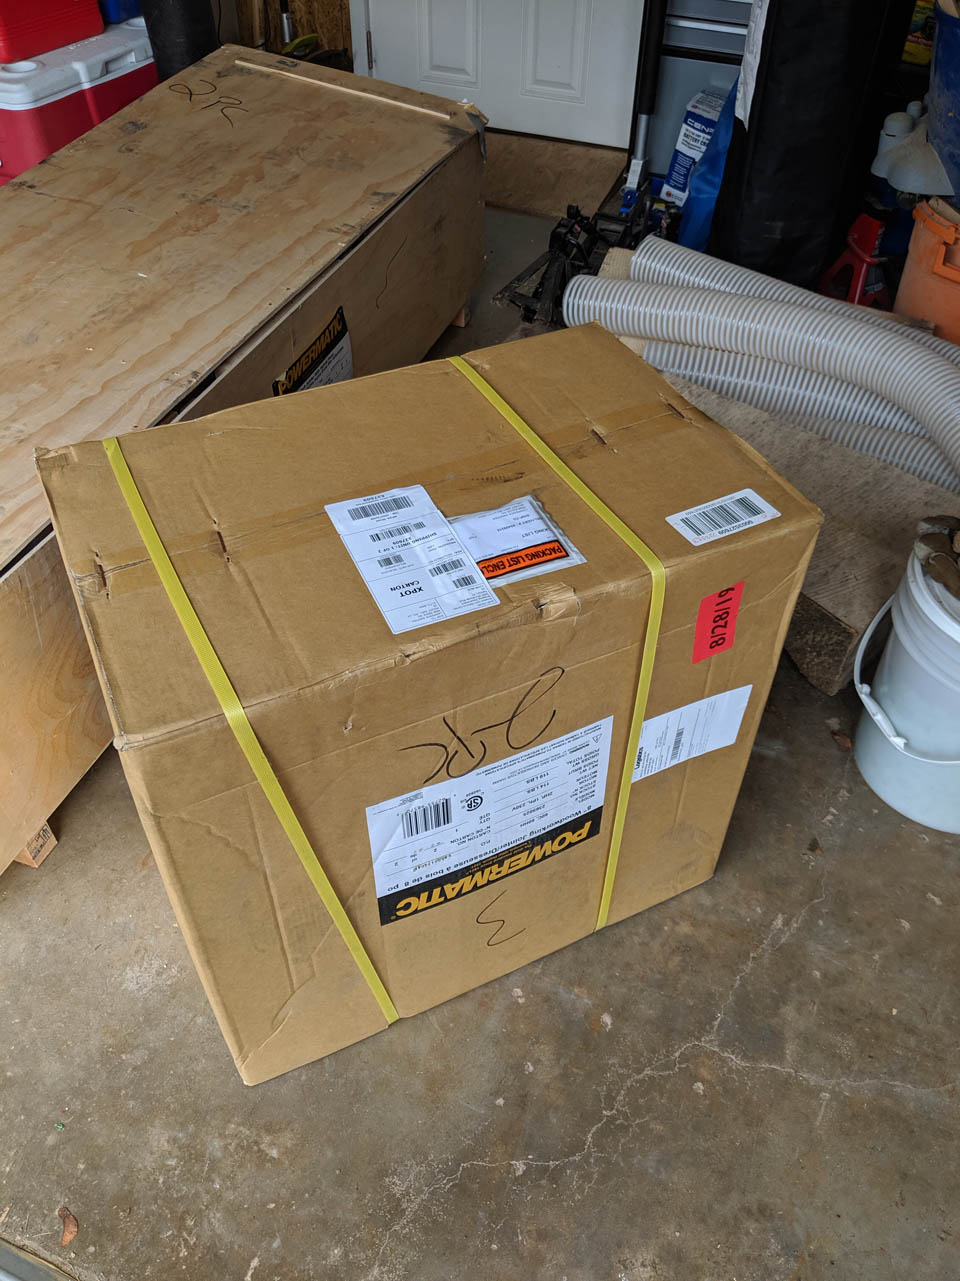
I was utterly amazed, when I opened it, to find it undamaged.
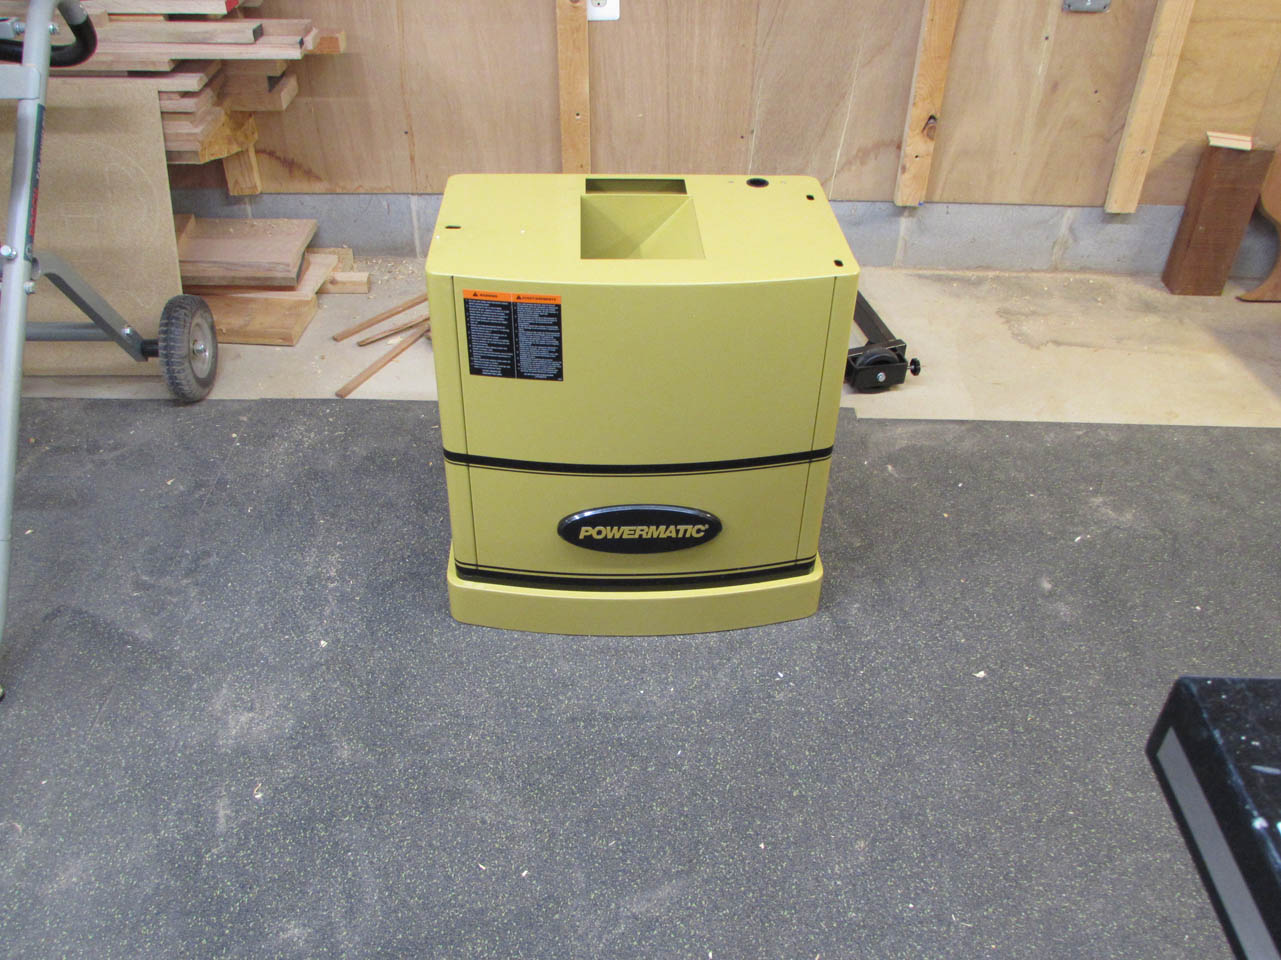
I did not get photos of the un-boxing, but I do want to commend Powermatic on the large pieces of foam that are placed around the jointer, to prevent damage from ill-equipped delivery companies.
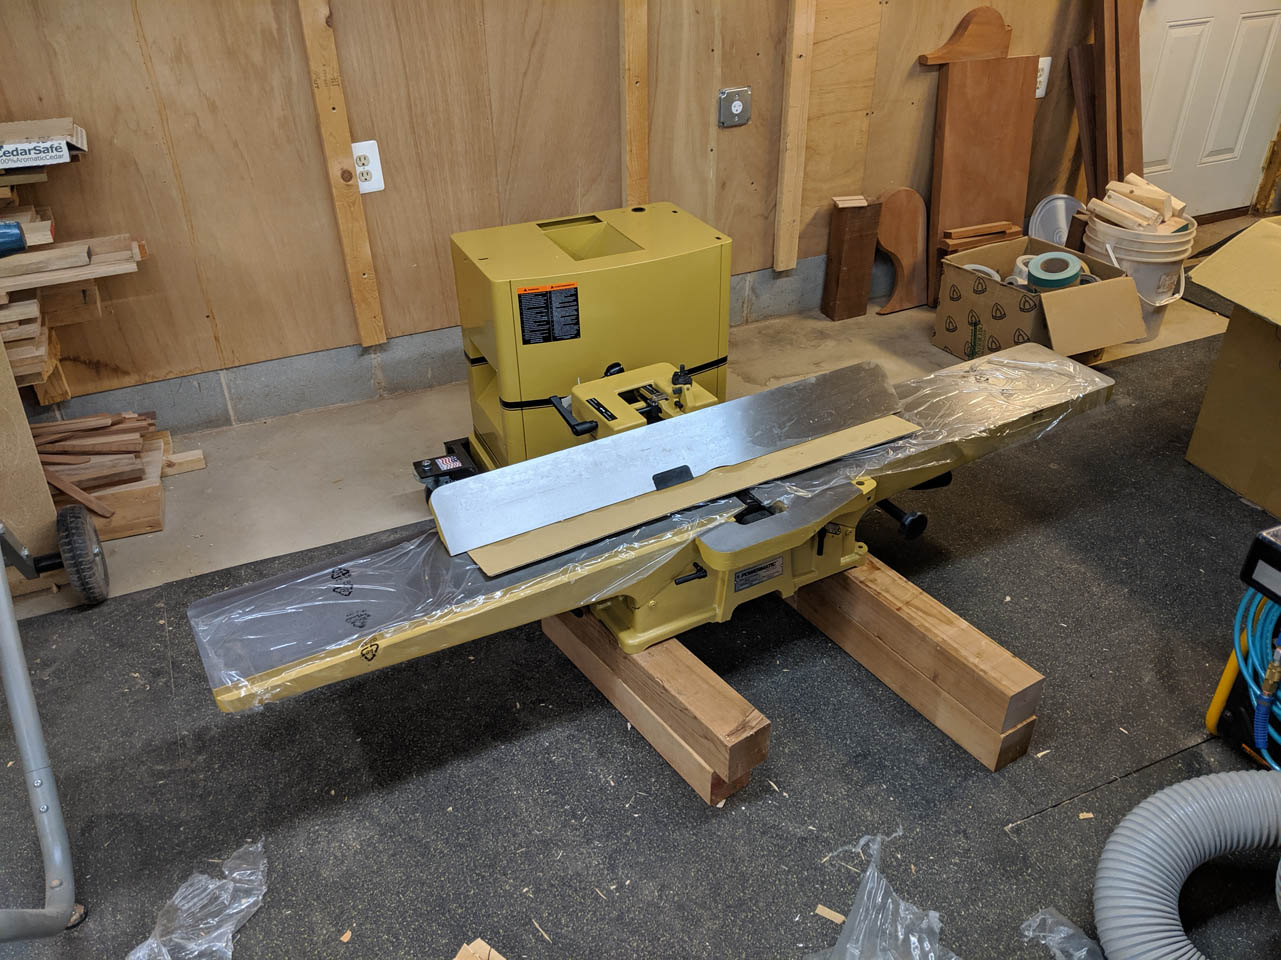
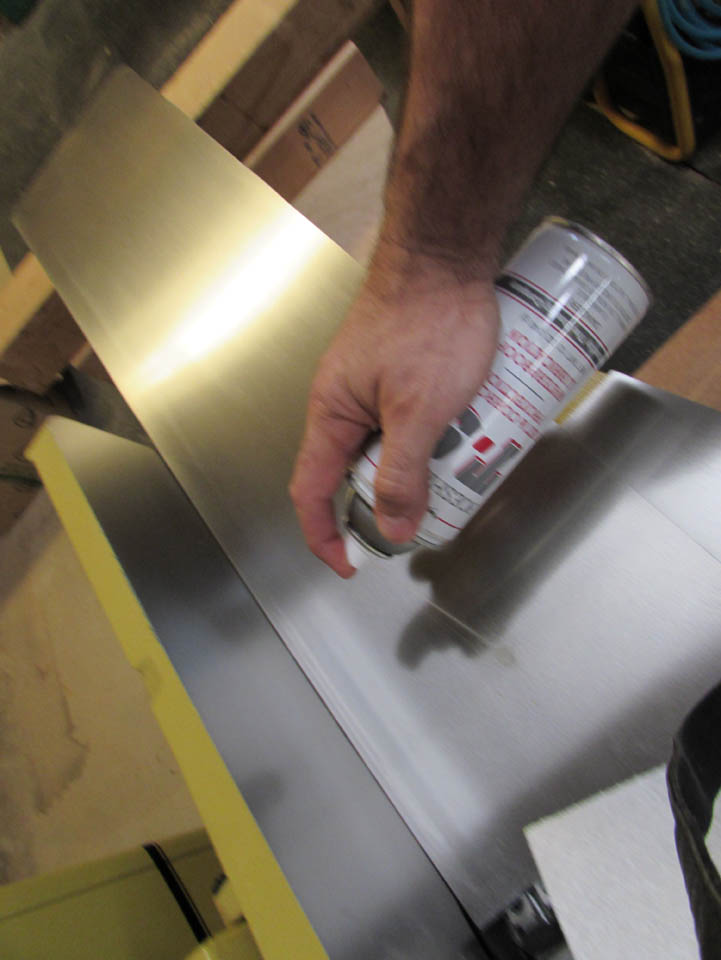
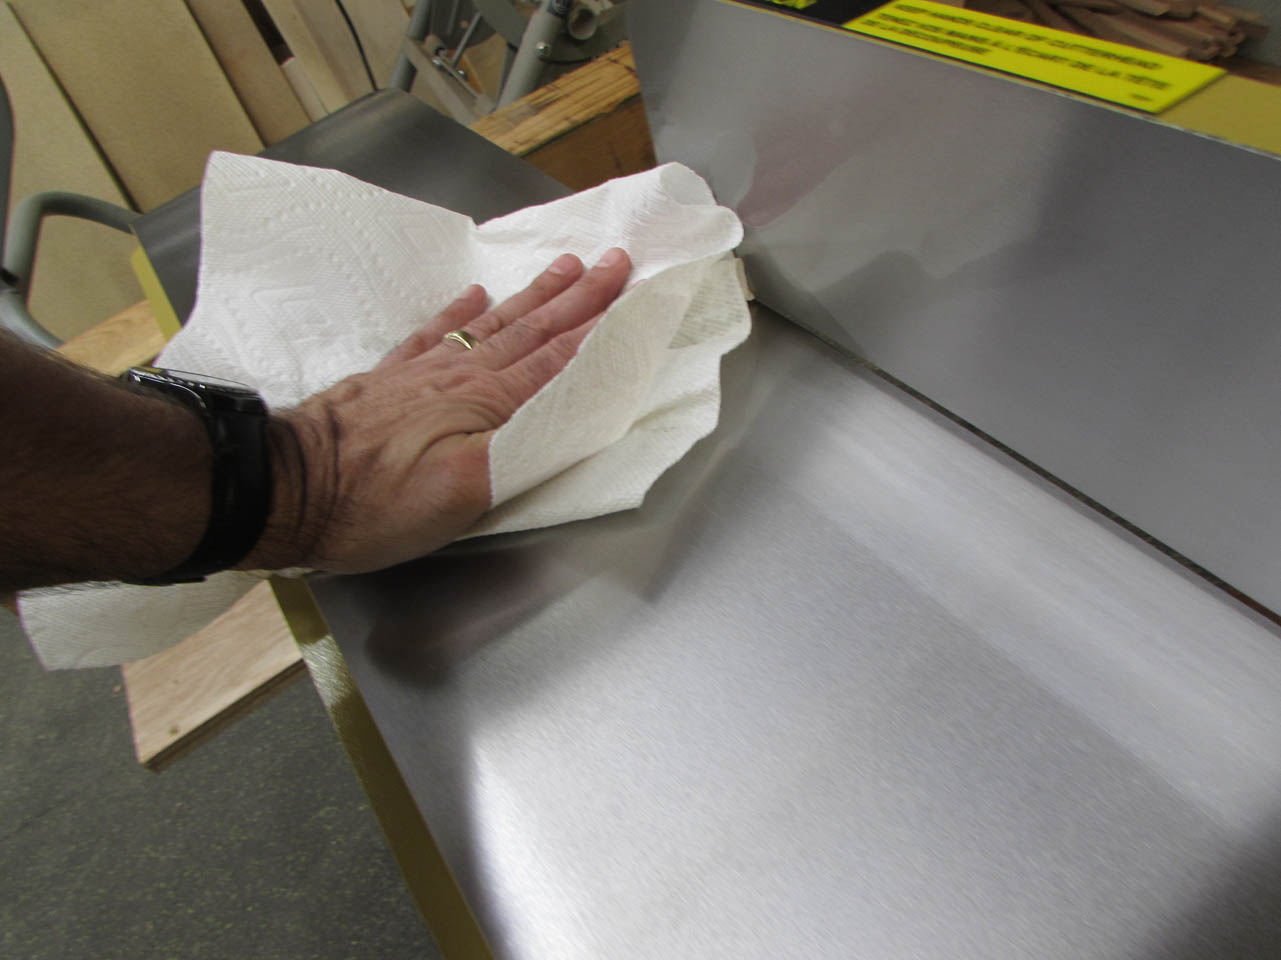
After I got it unwrapped and cleaned the rust-preventing goo off, I sprayed all the exposed steel down with some T-9 Boeshield to slick up the surface.
Amazingly through all of the trauma of delivery, the tables were still perfectly calibrated.
I had to get my wife and younger son to come help me get it lifted into place to complete setting up the unit.
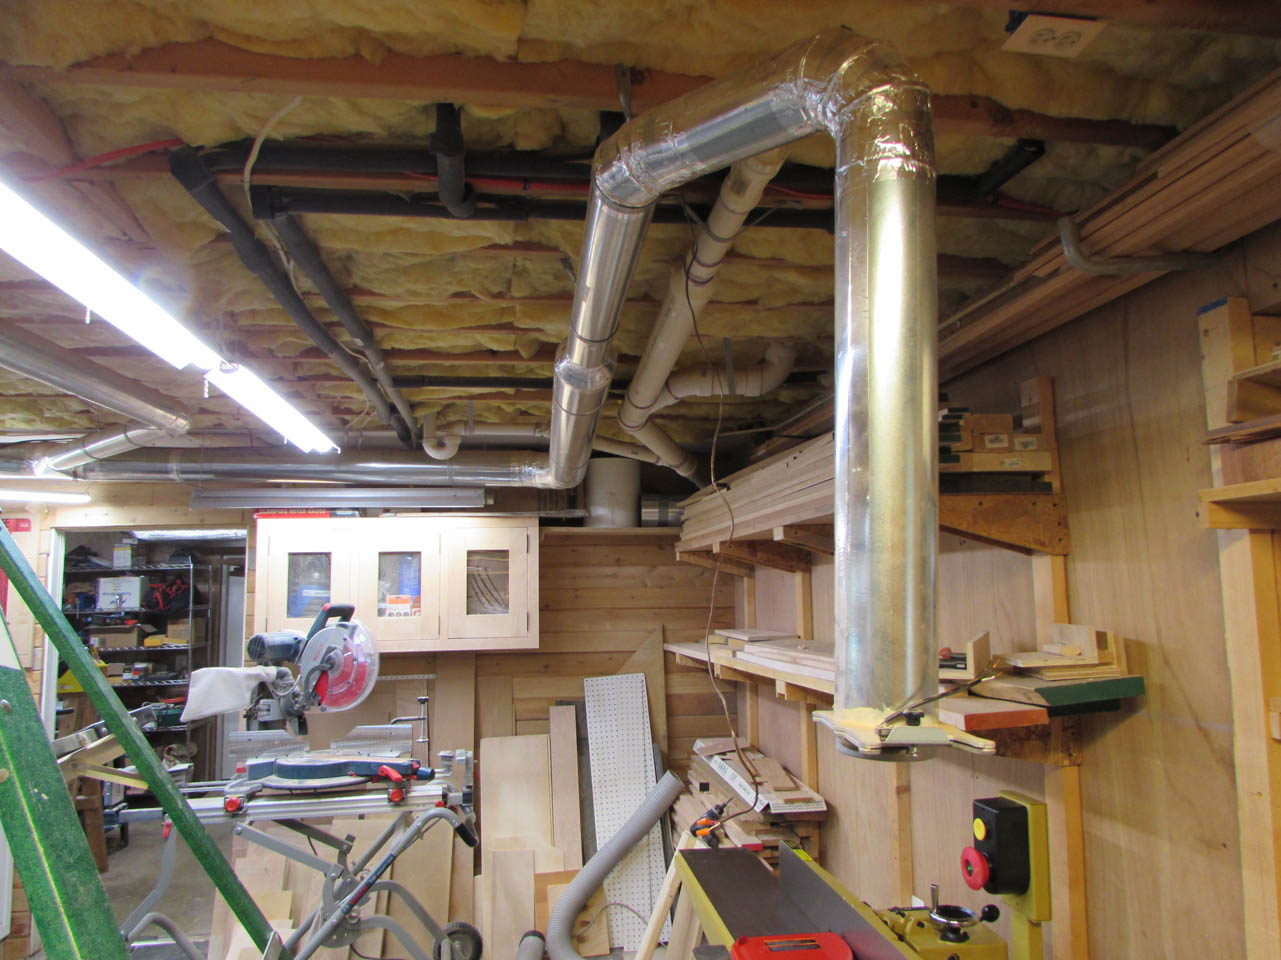
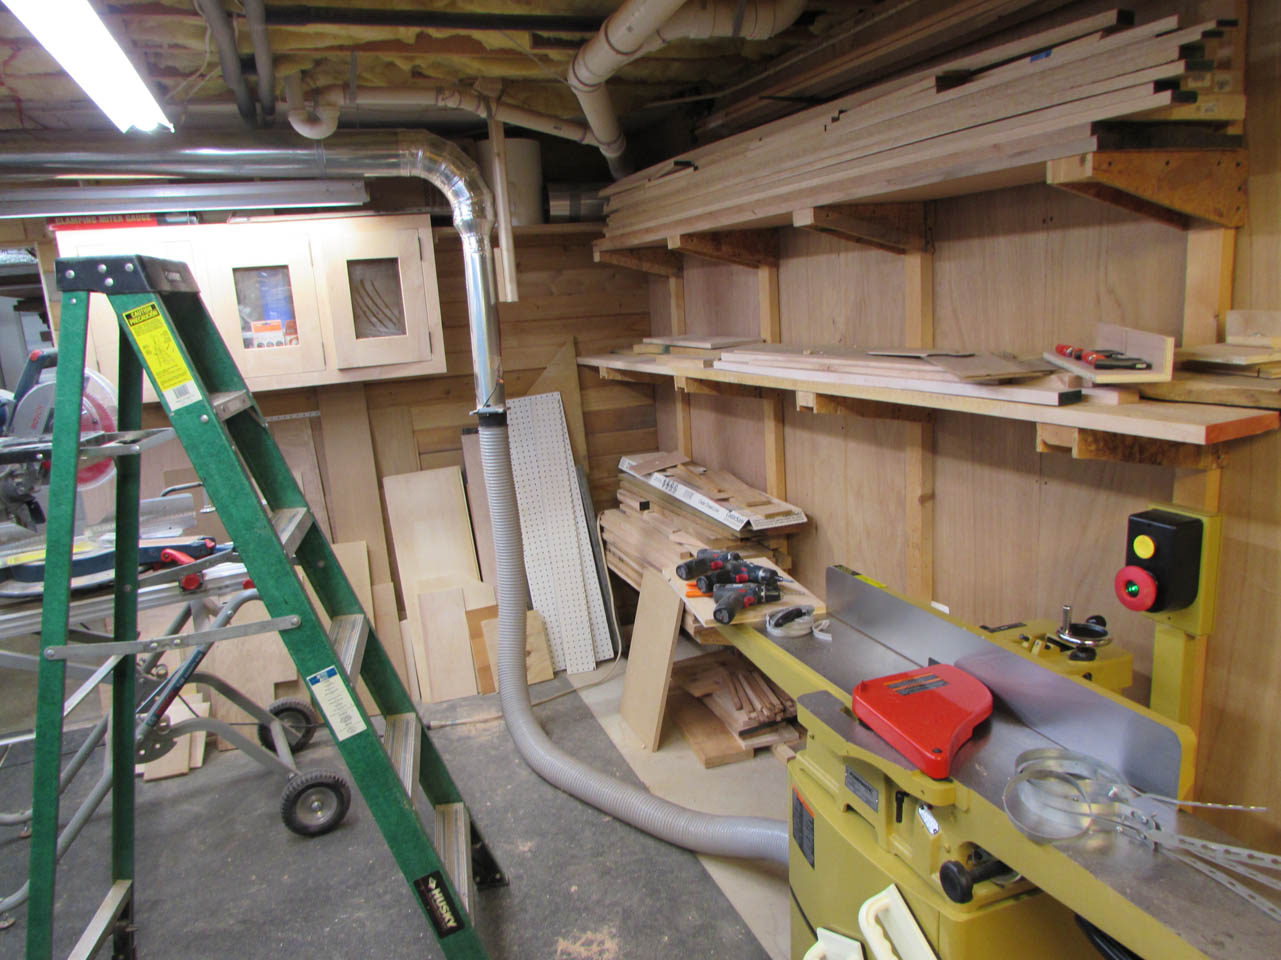
With that done, I now had to redirect my dust collection. I had to relocate my wood rack and drum sander to make room for the new jointer and the dust port was on top of the drum sander, now it was on the bottom of the jointer so I had to cut it down and rout it along the floor.
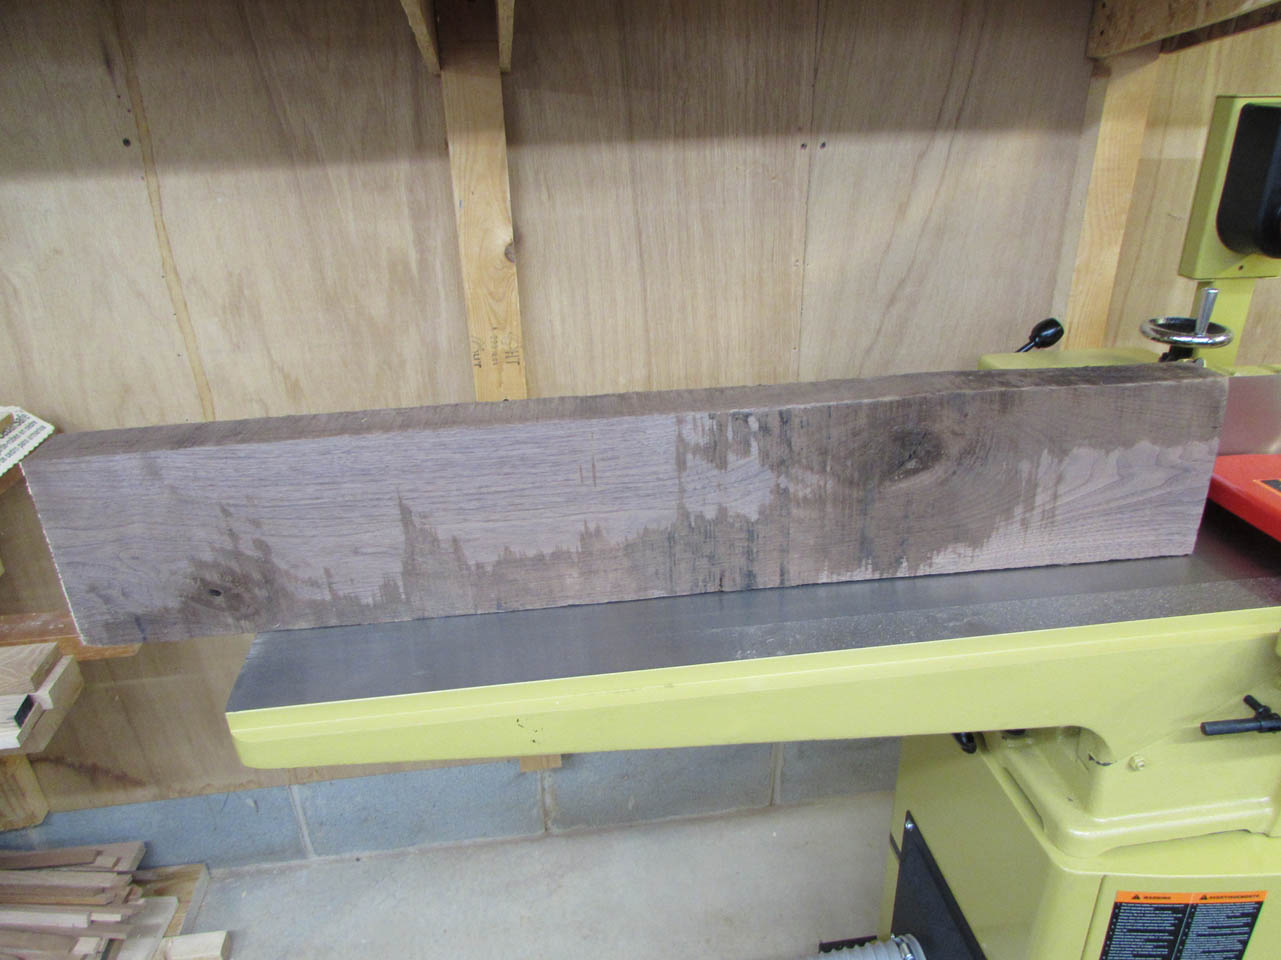
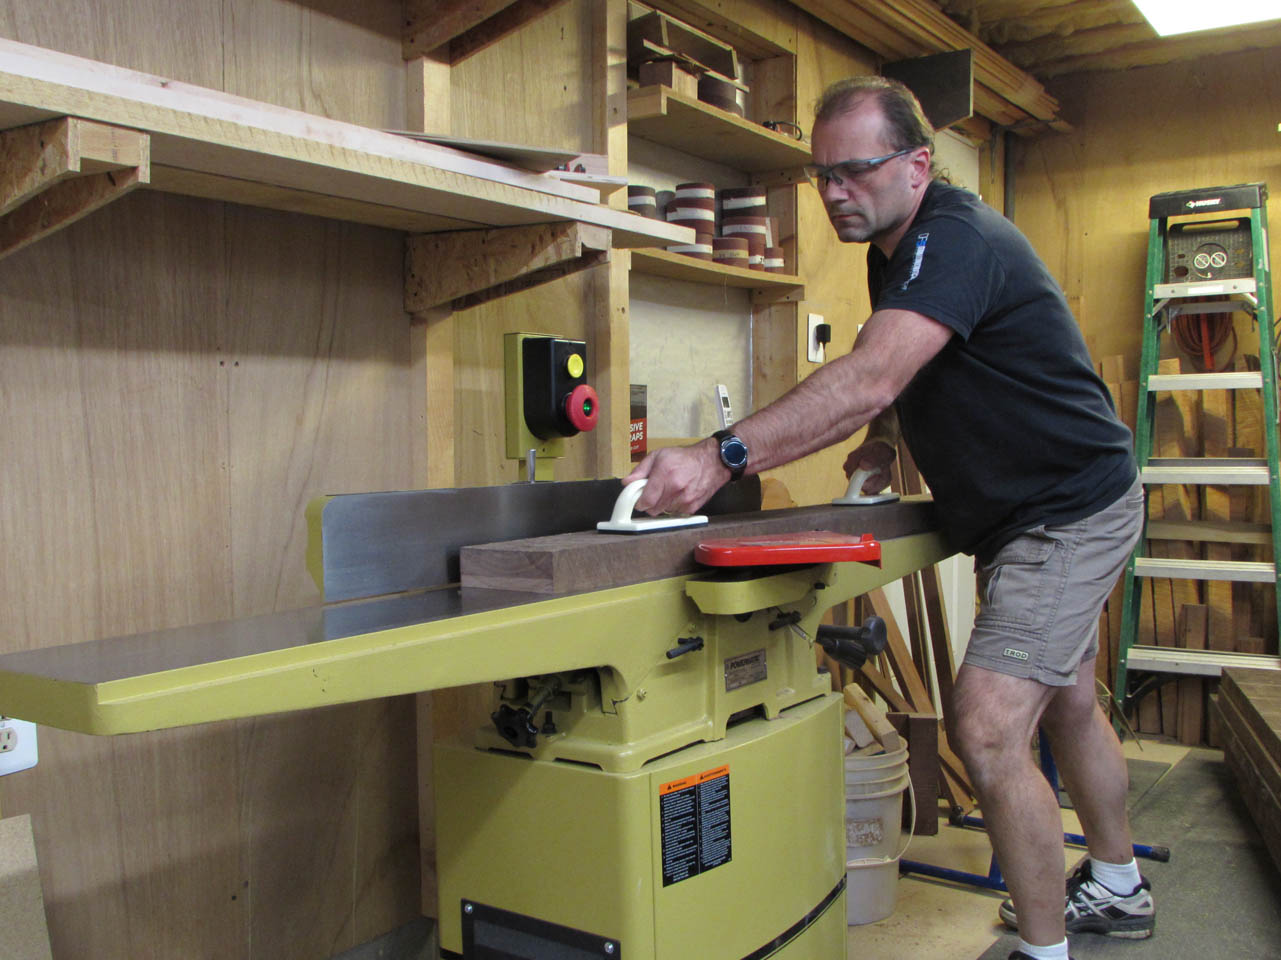
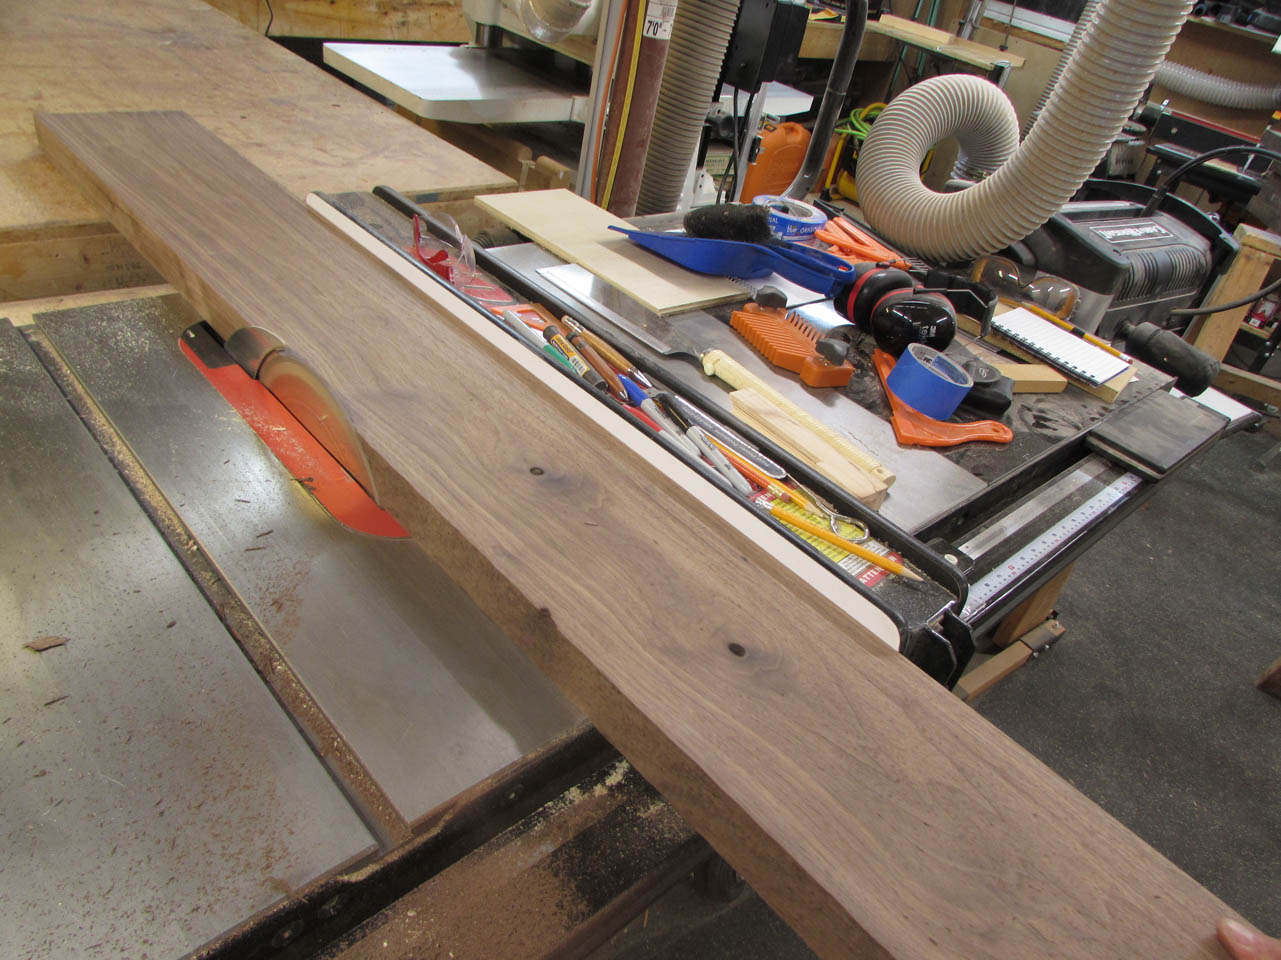
For the first cut, I grabbed a smaller piece of the new walnut and ran it through. The helical head is very quiet compared to a straight knife cutter head, and the board slid through with ease. I took a 1/32″ cut and removed the high spots.

Two more passes and I had a perfectly flat surface to work from.
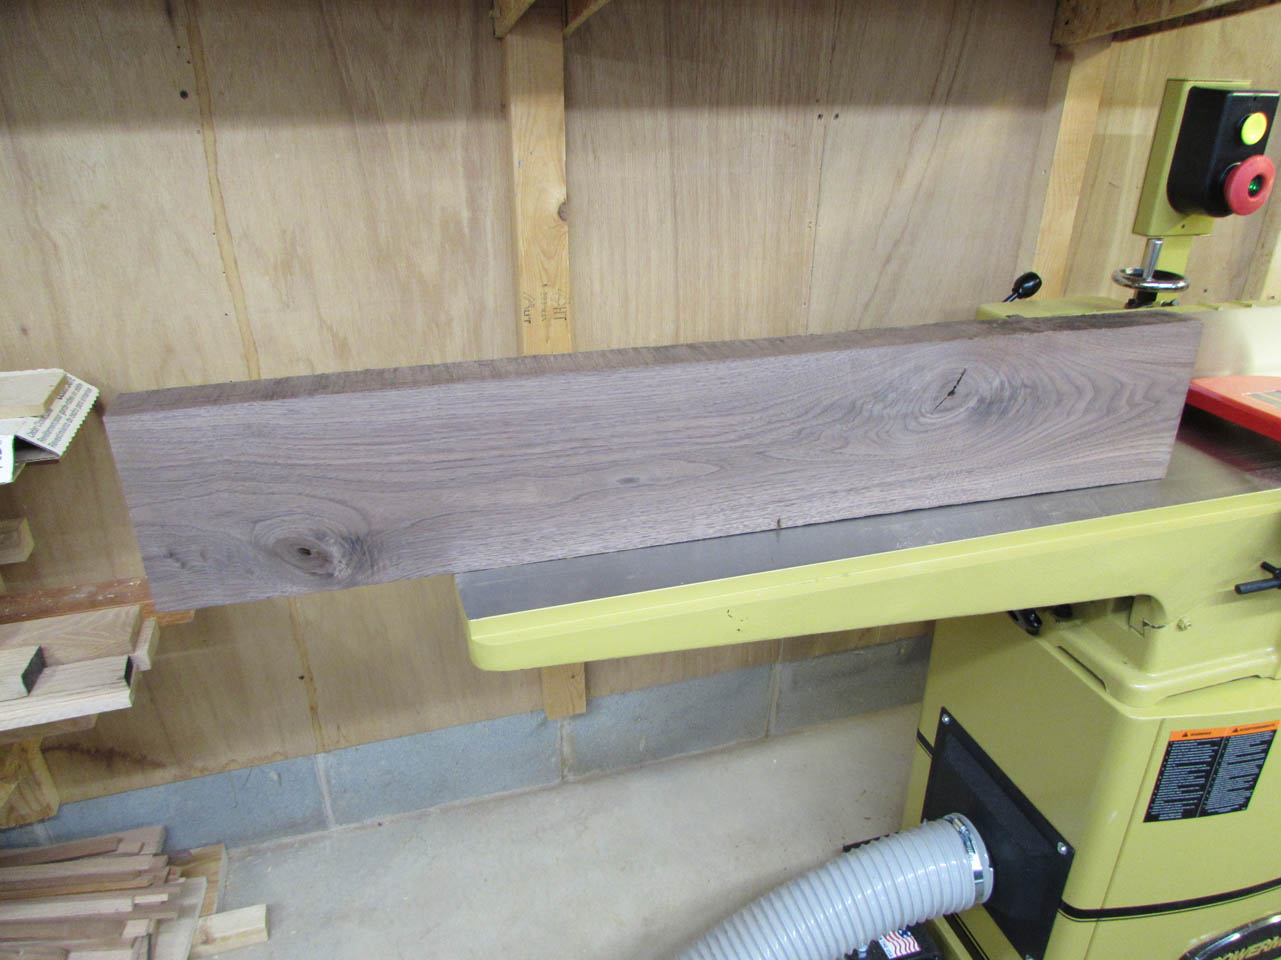
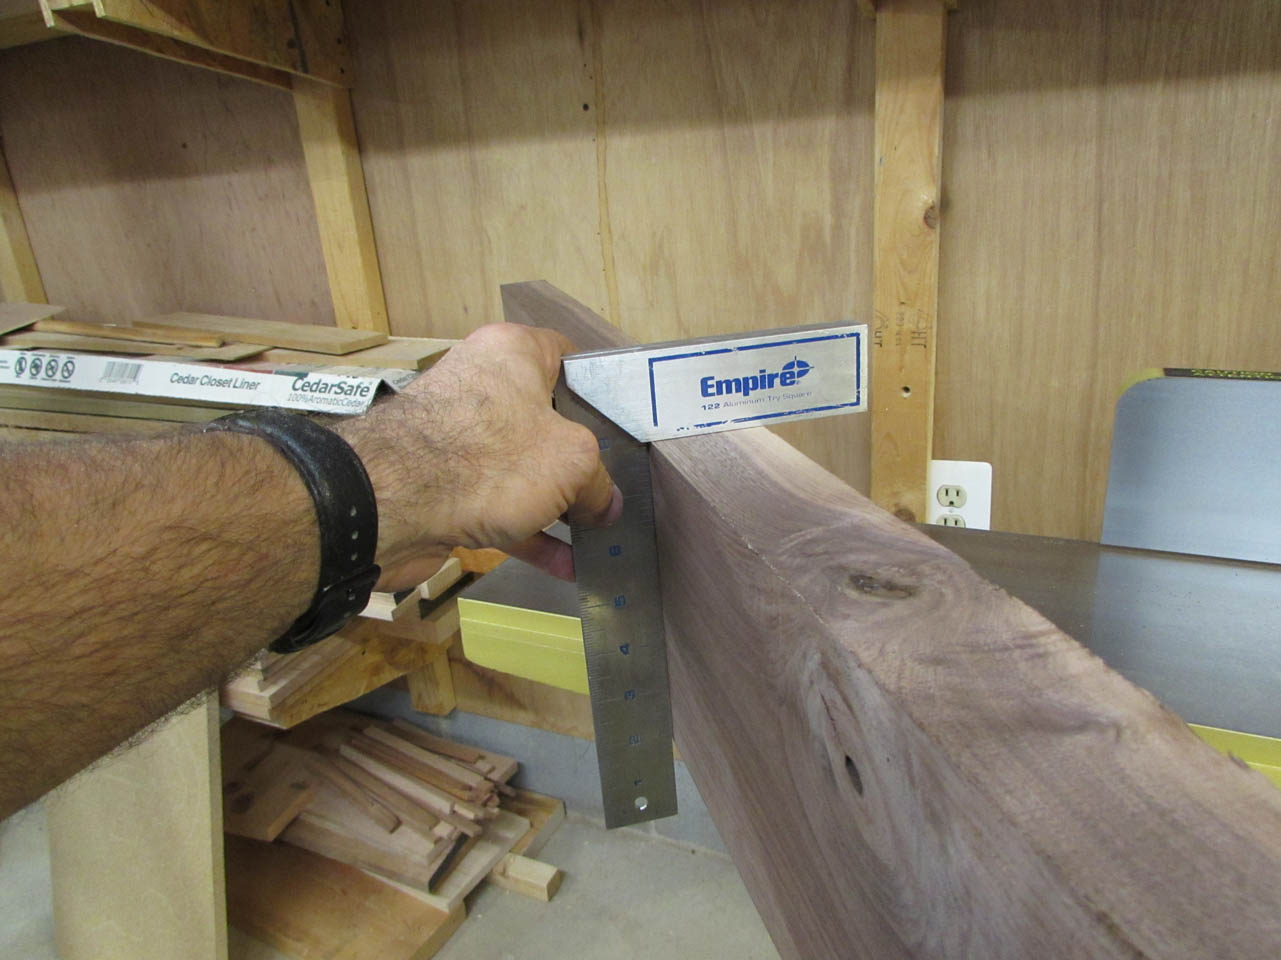
Holding the newly milled face to the fence, I had a perfectly flat, 90 degree edge as well after only two more passes.
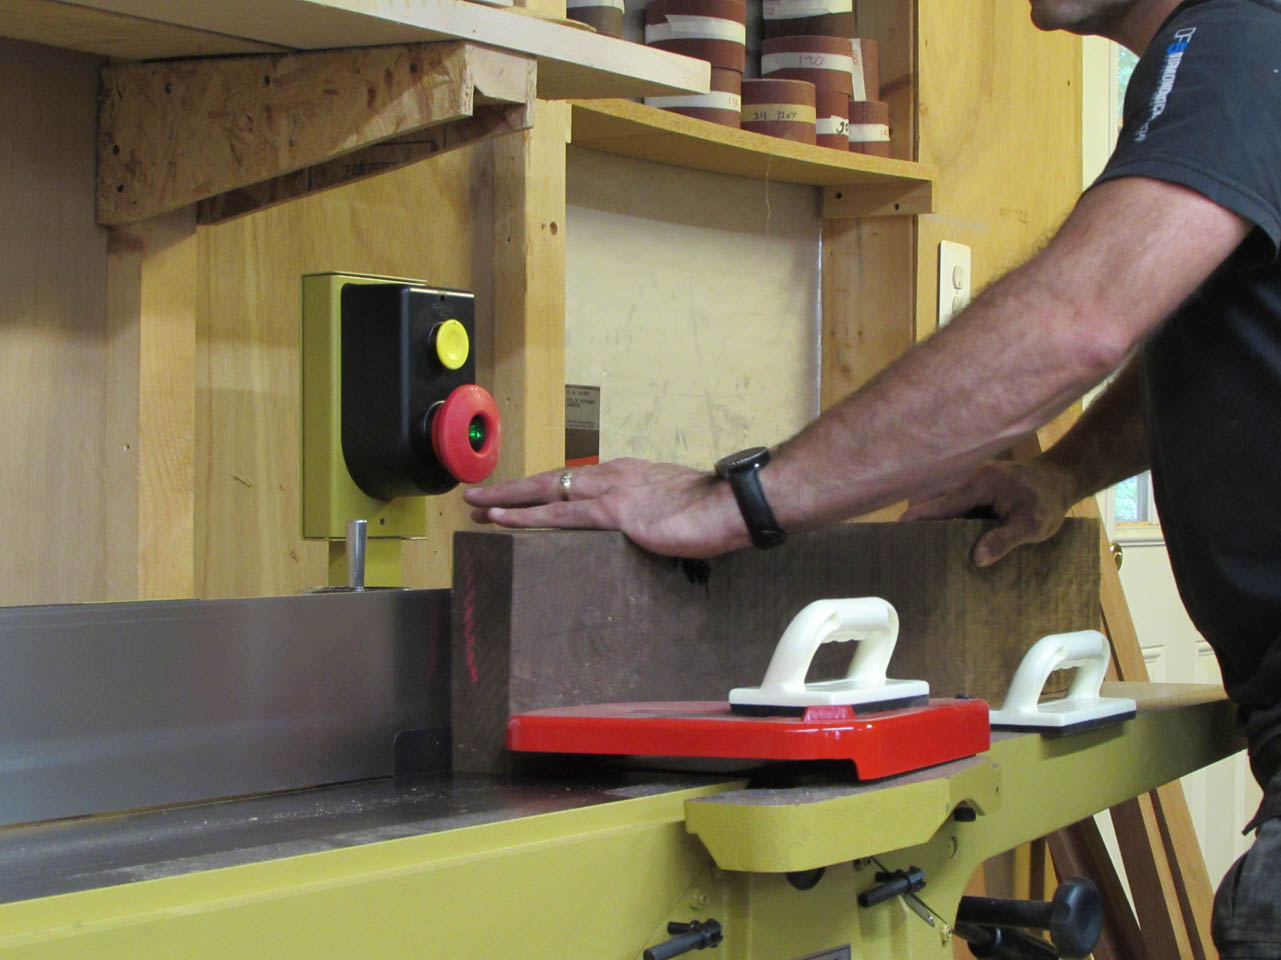
To cut the 7′ long boards, I added some in-feed and out-feed supports. Maybe I will build tables to handle the longer pieces in the future, but for now this worked well enough.
First pass…
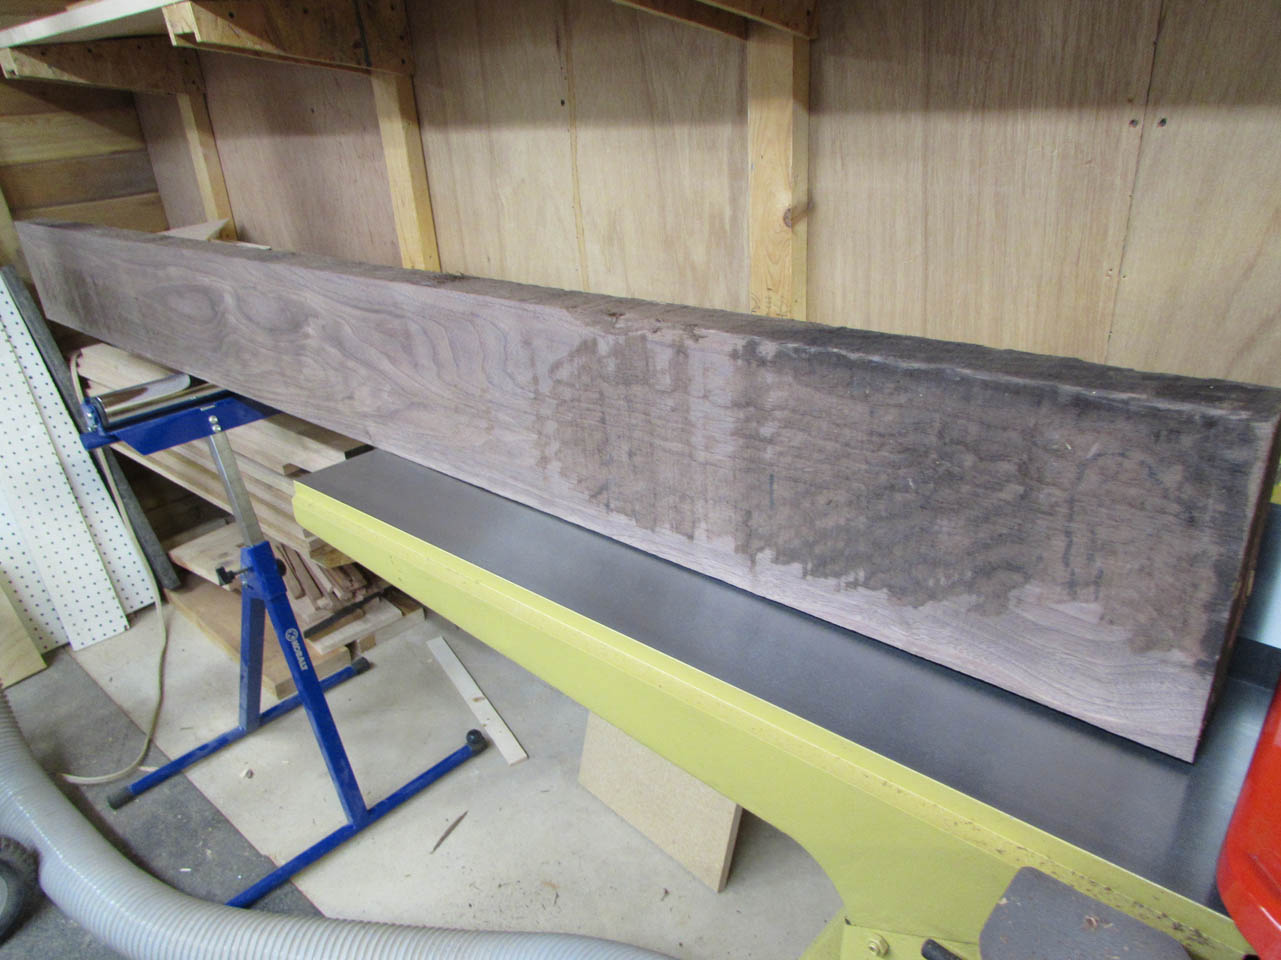
Second pass…

Third pass, done…
Then the first edge.
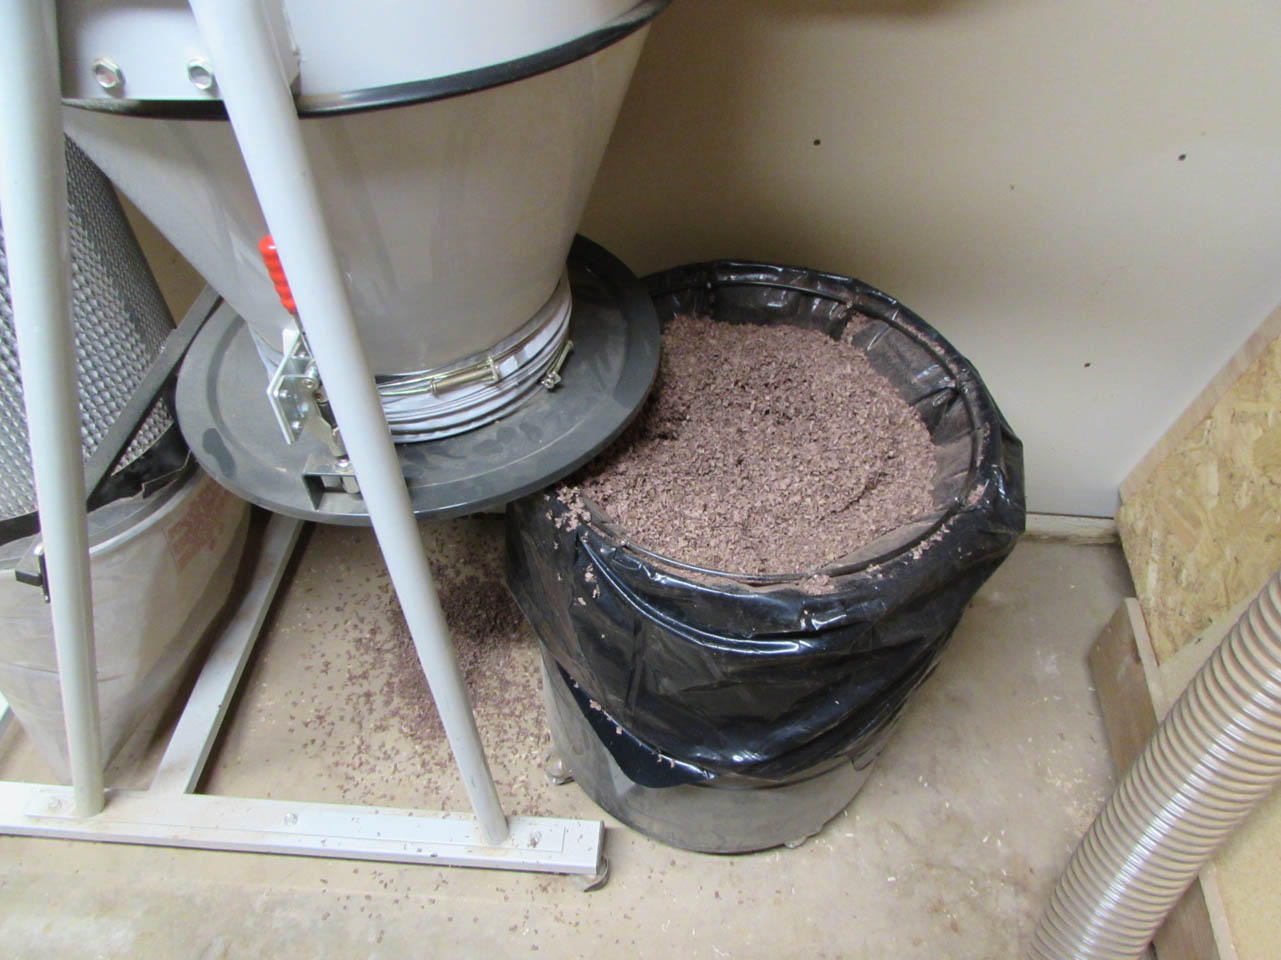
After the first four boards, I decided to check on the dust collector. Good thing I did too. Milling down the seven boards to make the top created over 80 gallons of saw dust. The Trash man is not going to be happy this week…
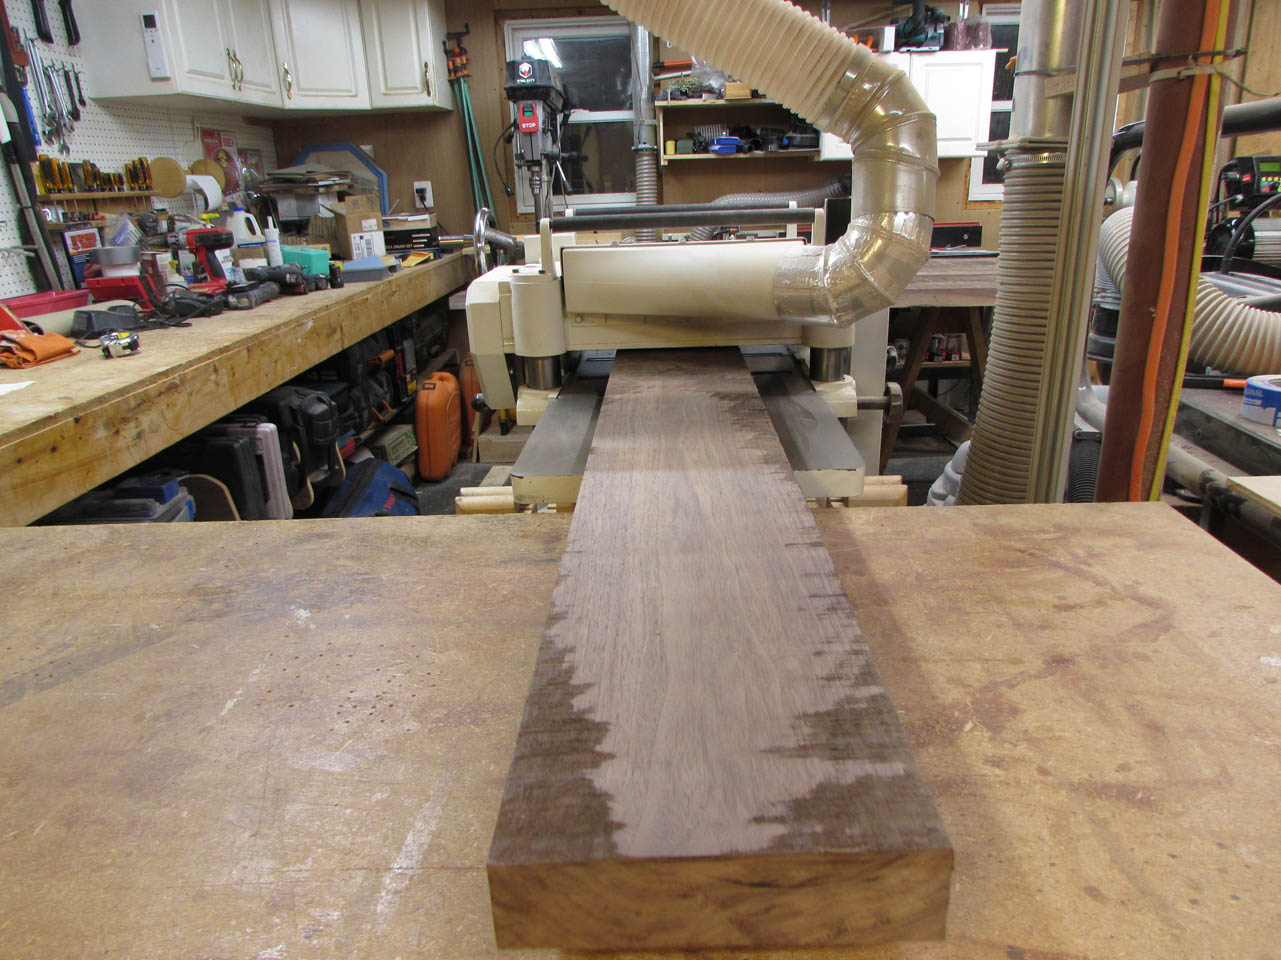
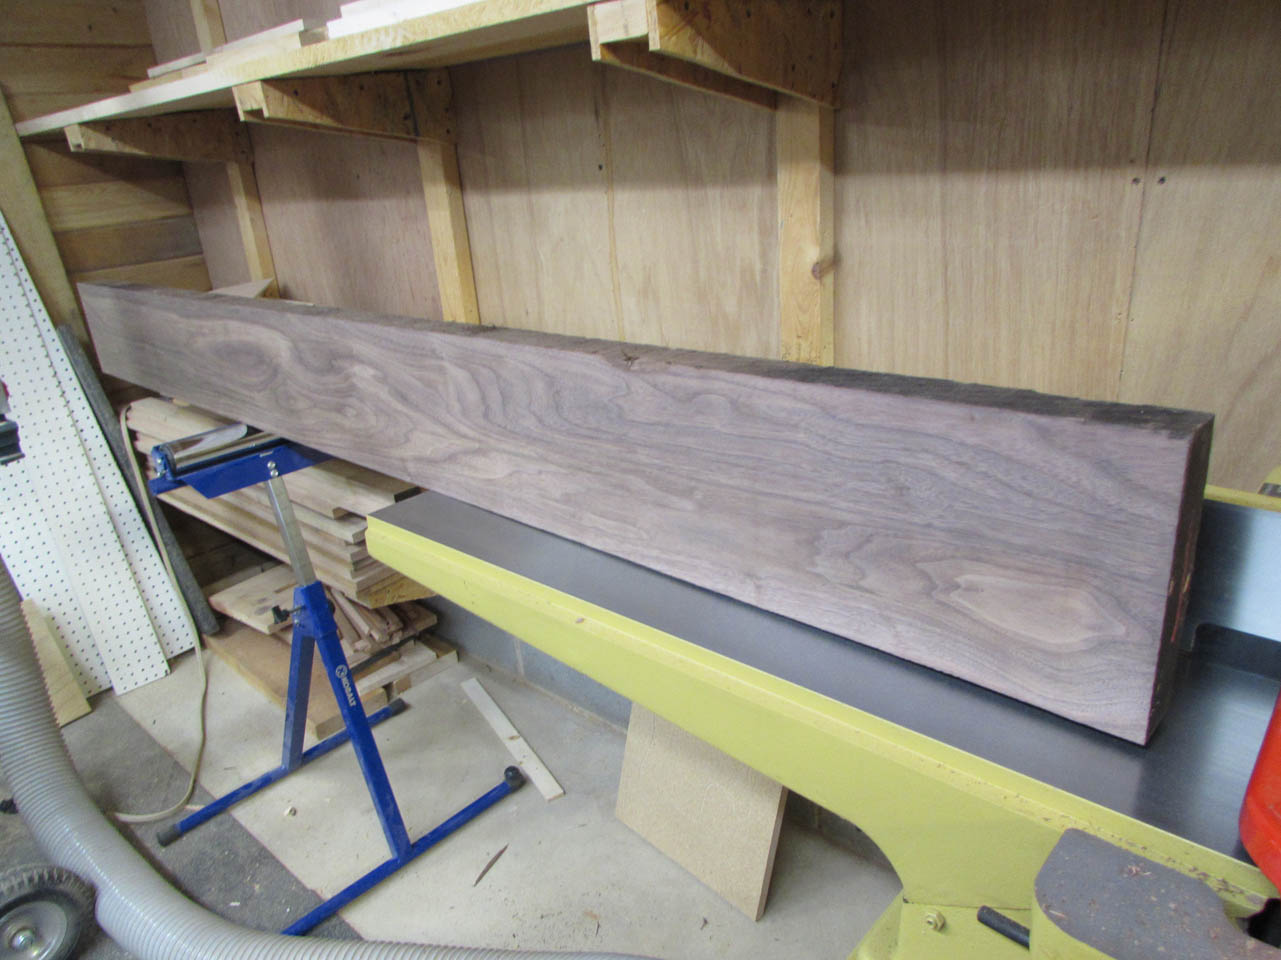
With one side perfectly flat, I ran the boards through the planer to make the opposite side perfectly parallel to the first.
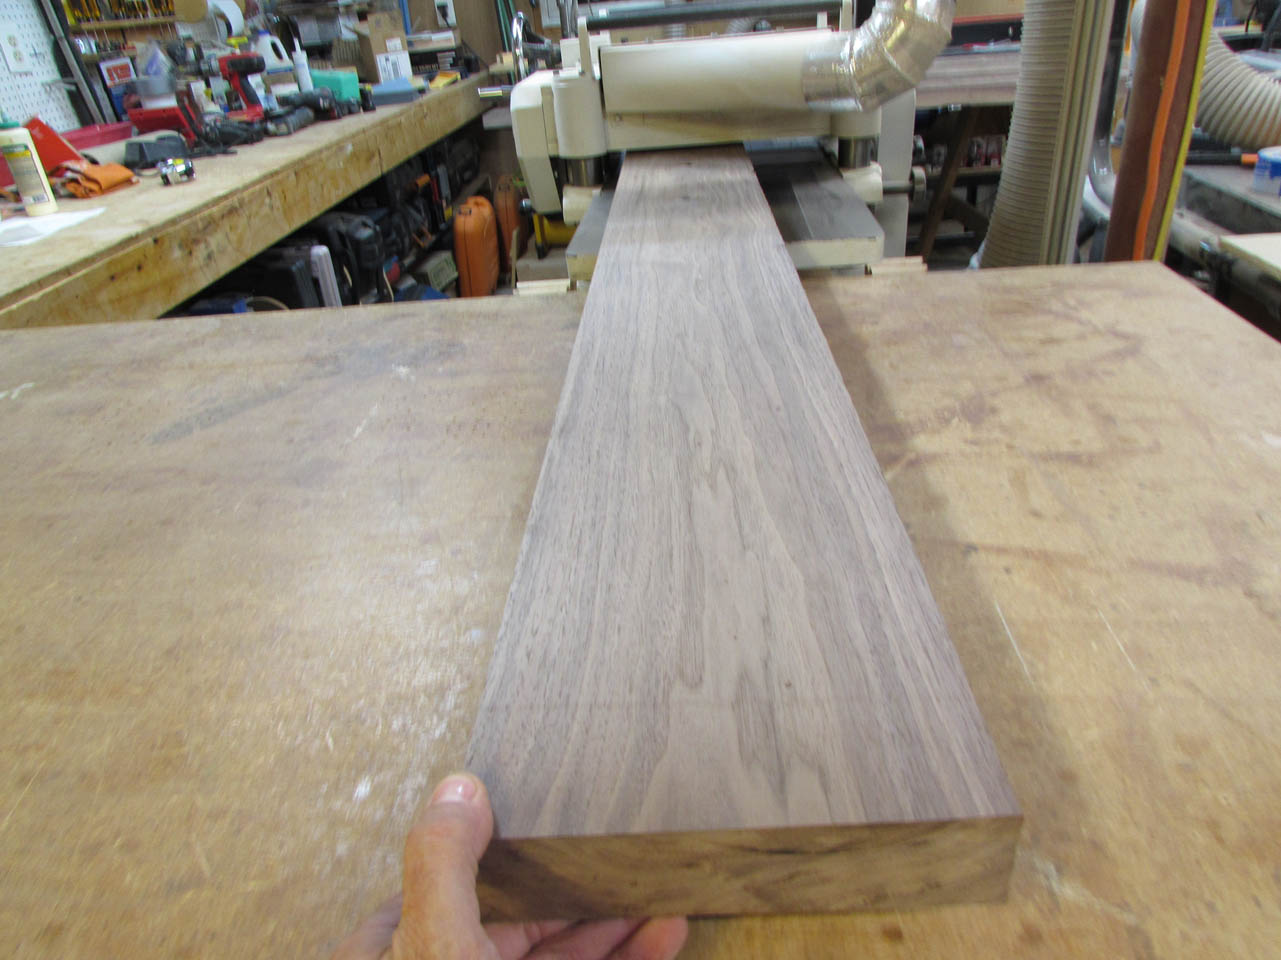
Then I cut the final edge on the table saw to make it parallel as well. Then one final pass on the jointer to clean up the saw-cut edge.
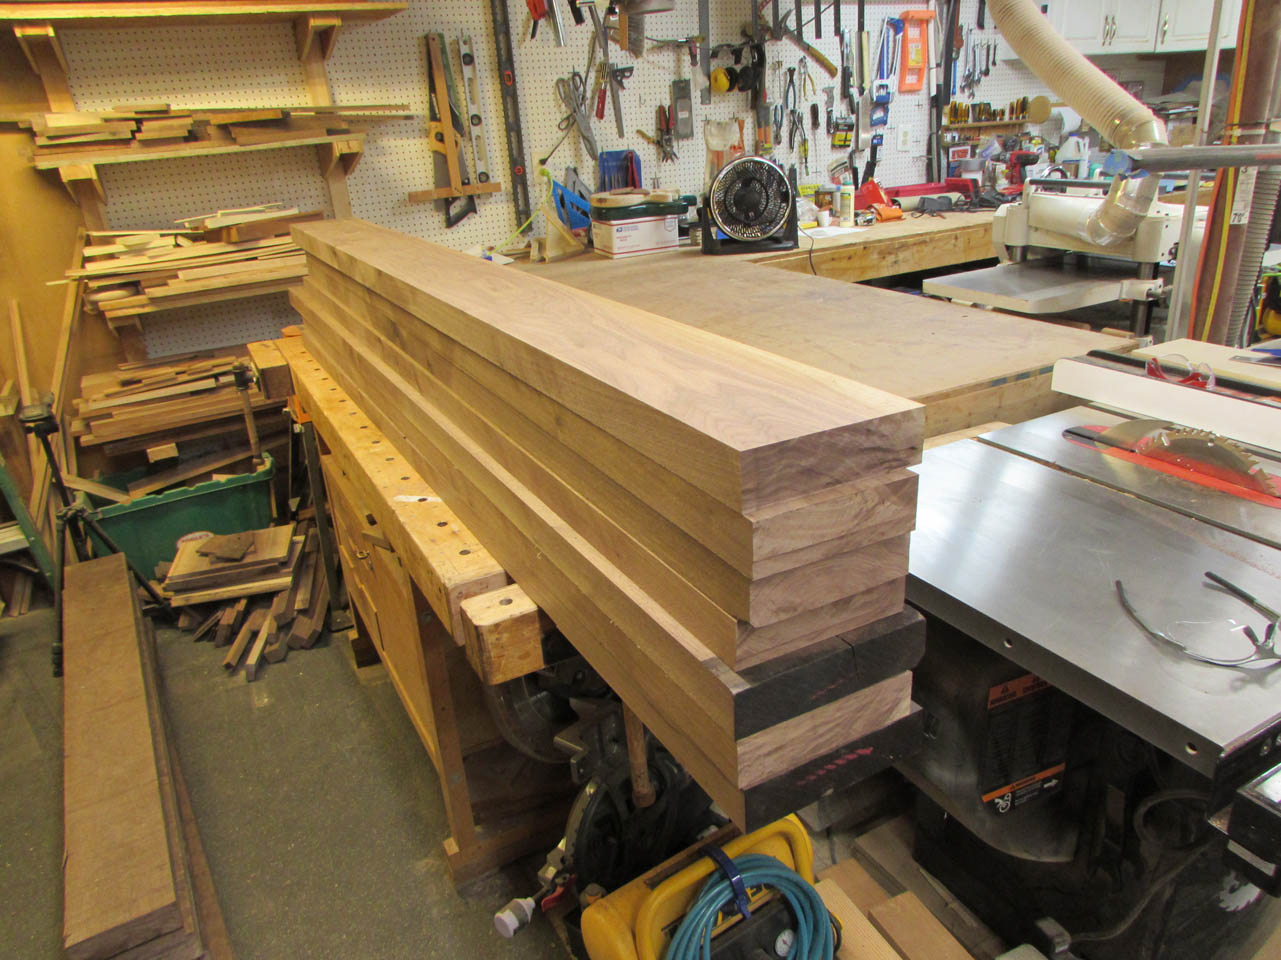
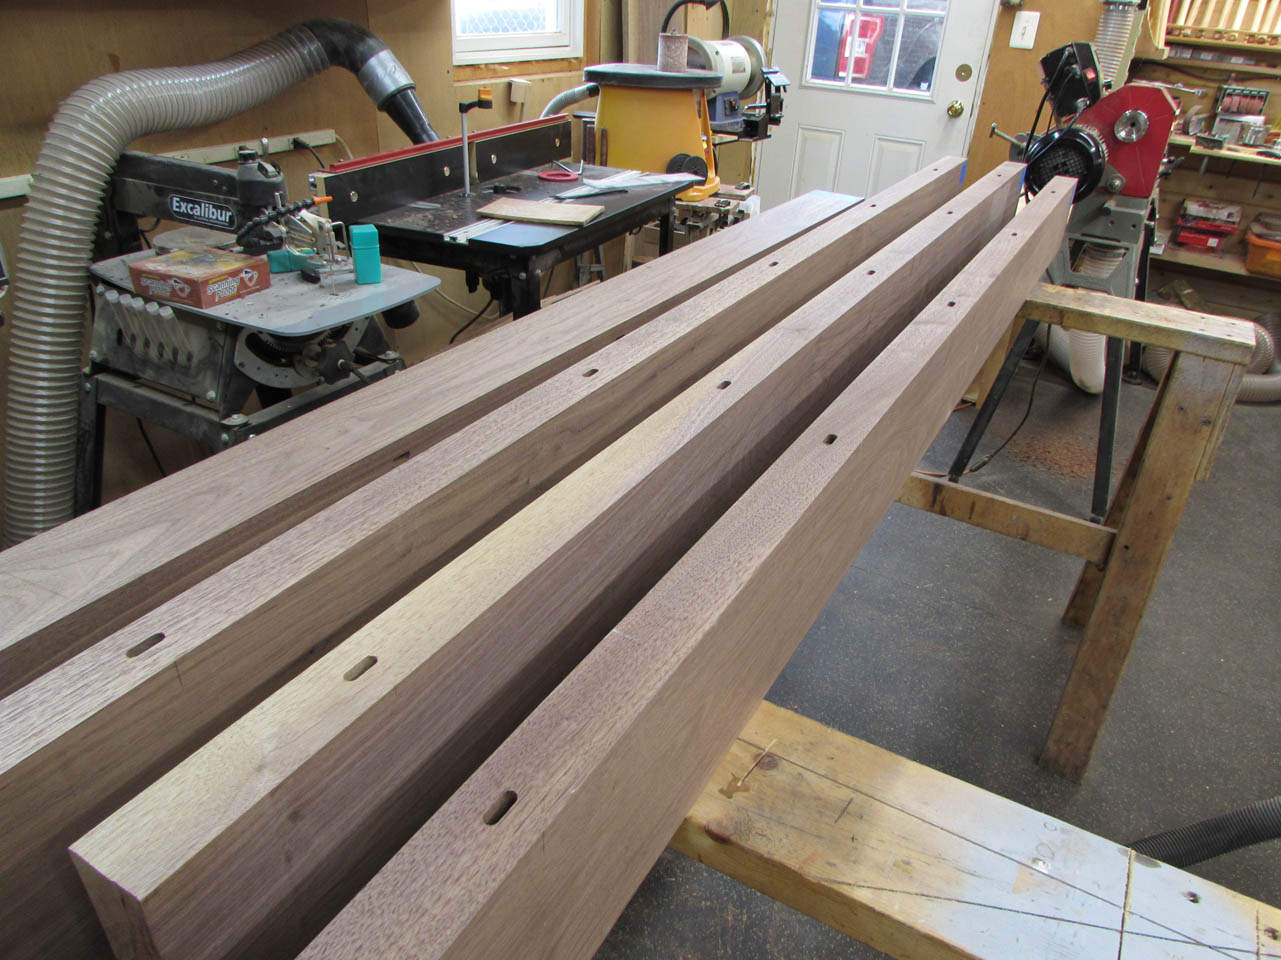
And just a couple of hours later I had seven perfect boards, ready to be joined up.
Since my client wants a bleached blonde colored top, I flipped all of the boards to have any knots on the bottom. I will be filling them with epoxy and they will stay black so I wanted to avoid them on the top. One problem: I was stuck with a large knot that came all the way through to the center of the table.
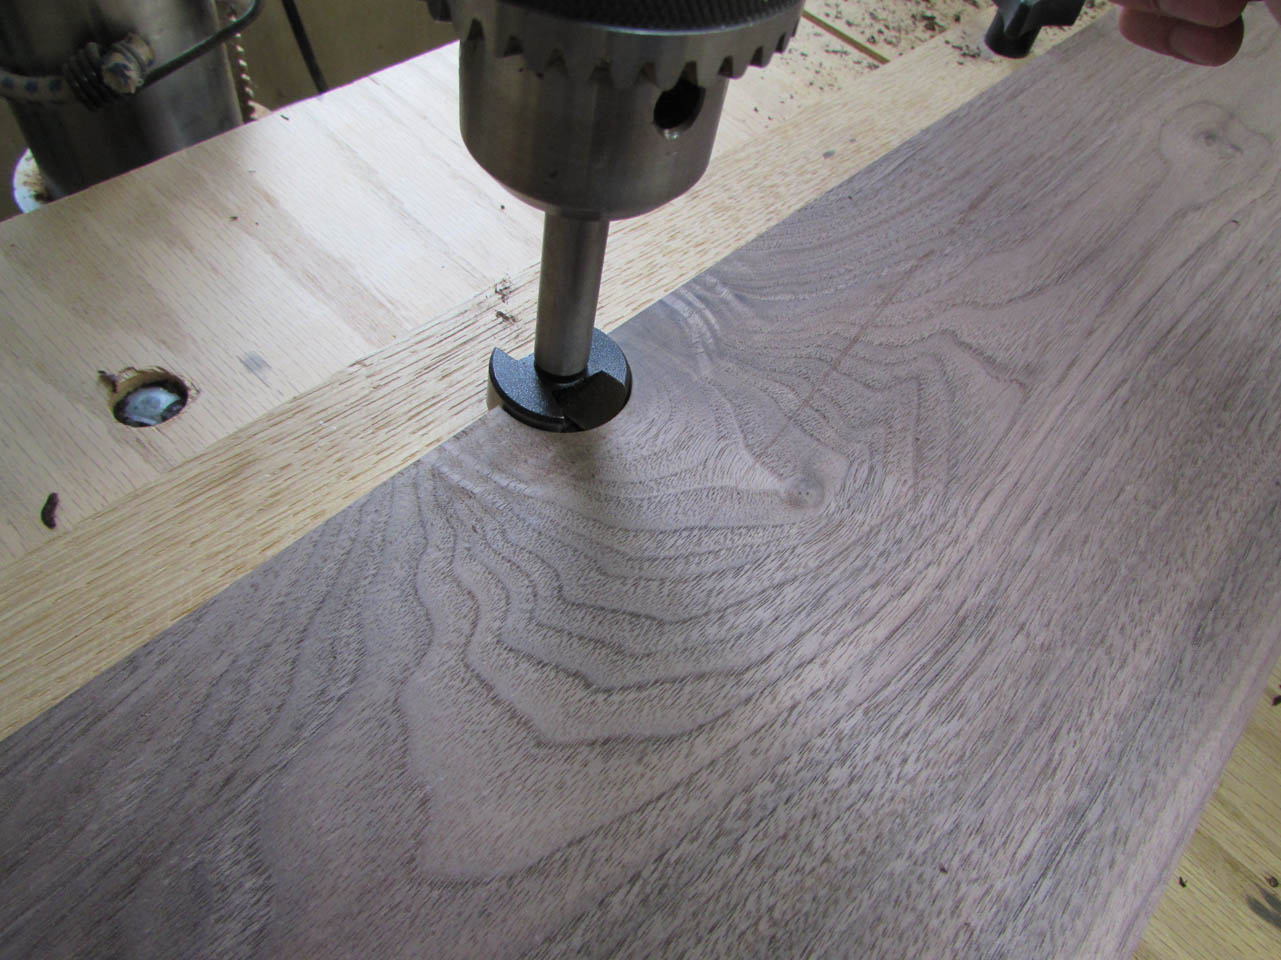
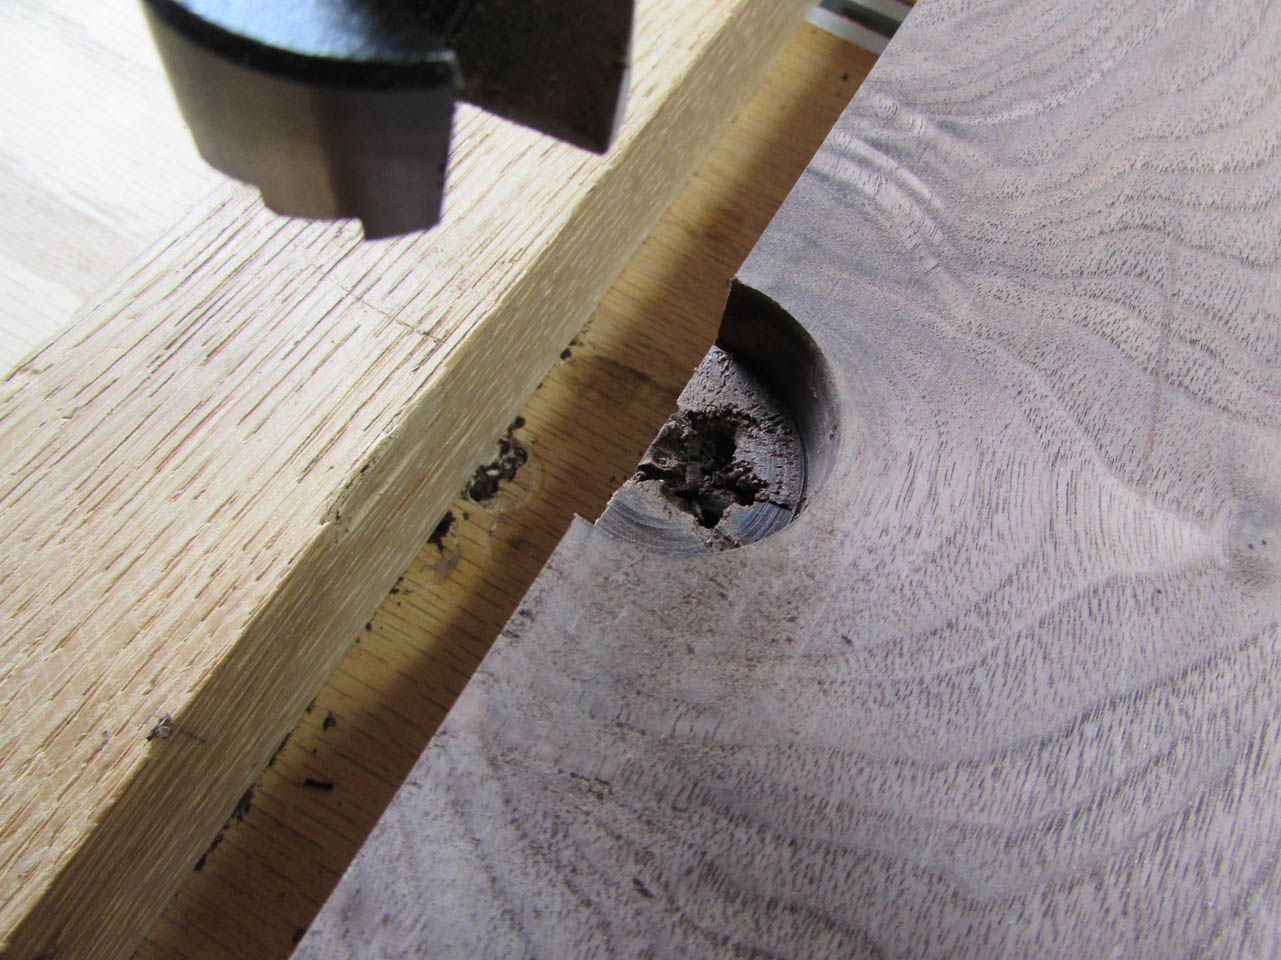
I decided to drill it out and plug it rather than having a black dot in the center of the table. I have never done this before so I thought I would give it a try. If it fails, I will just cut an inch off the board and the table will be slightly smaller. I used a 1-1/4″ forstner bit on my drill press to drill a 1/2″ deep pocket.
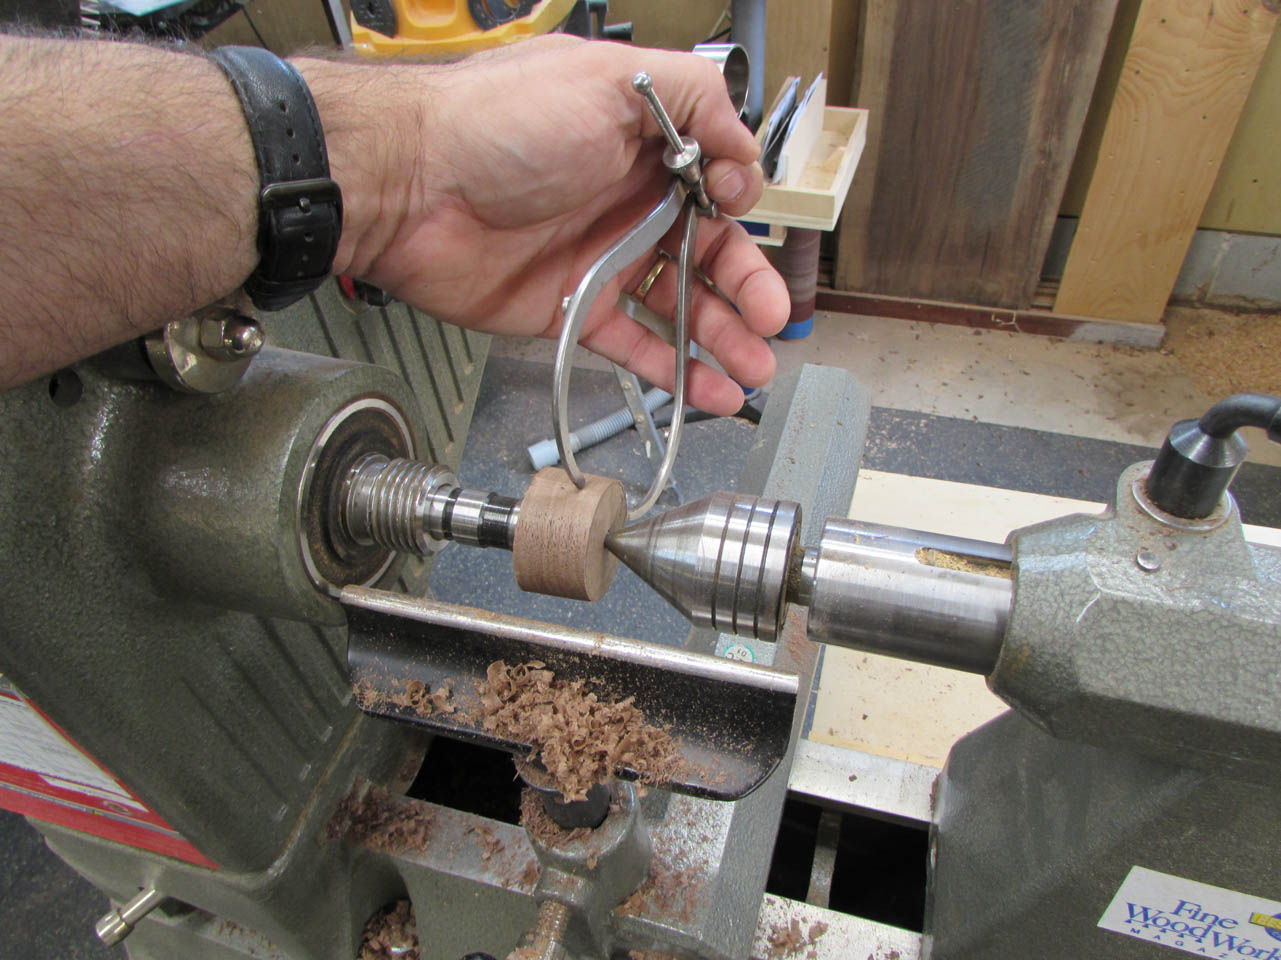
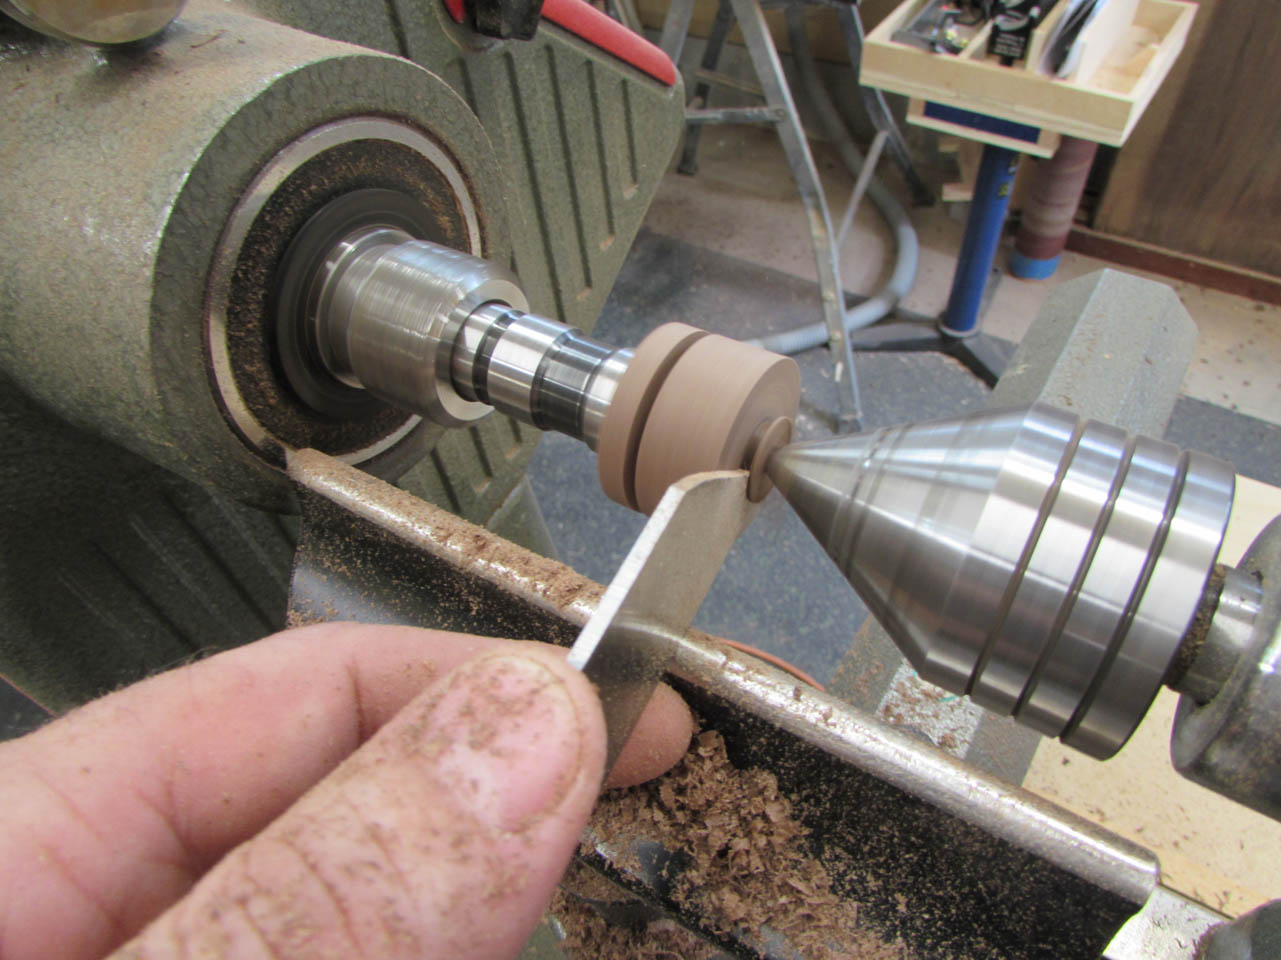
Then I cut a rough plug from a swirly-grained board and put it on the lathe.
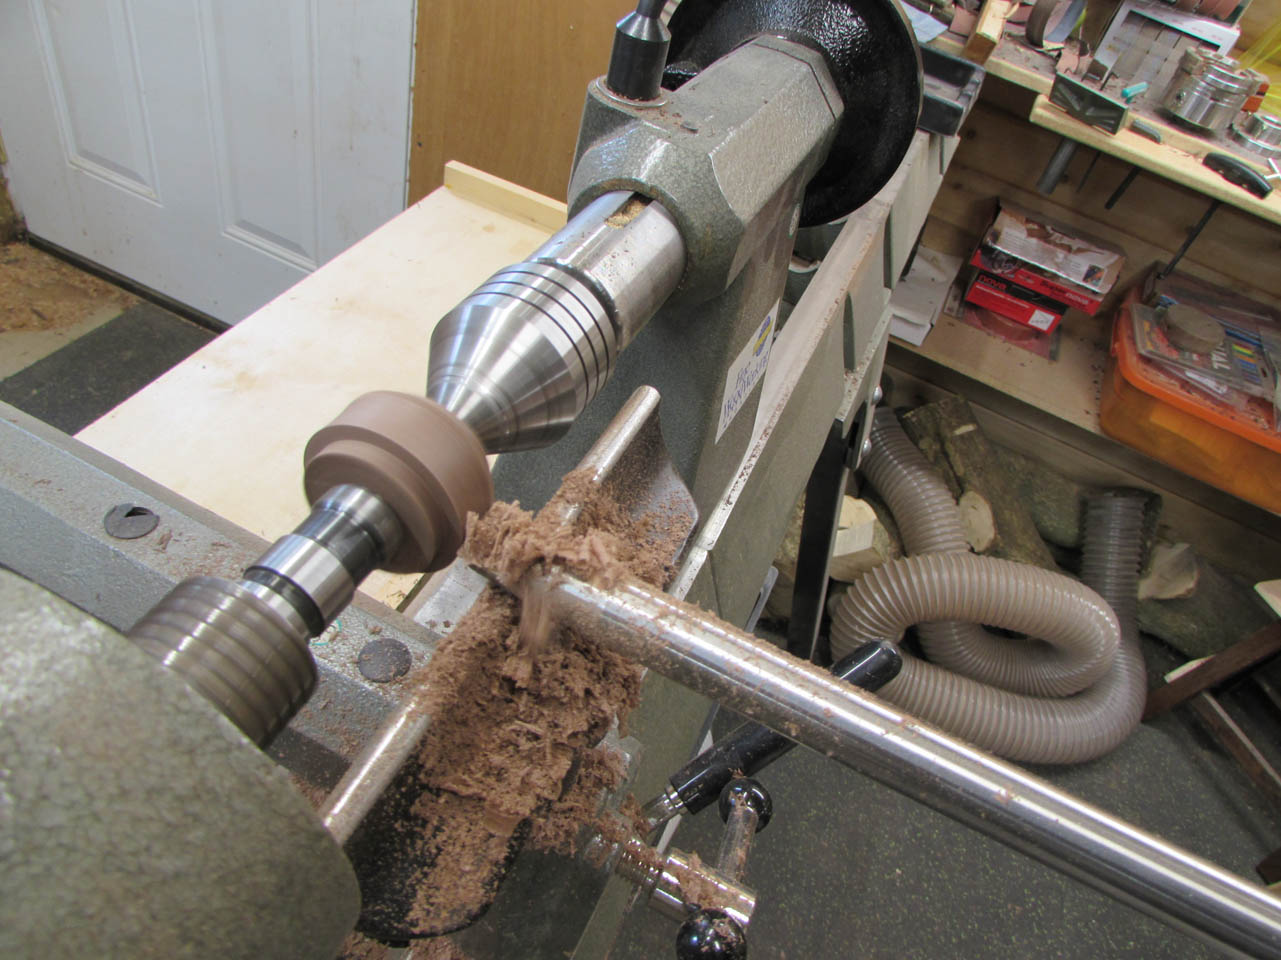
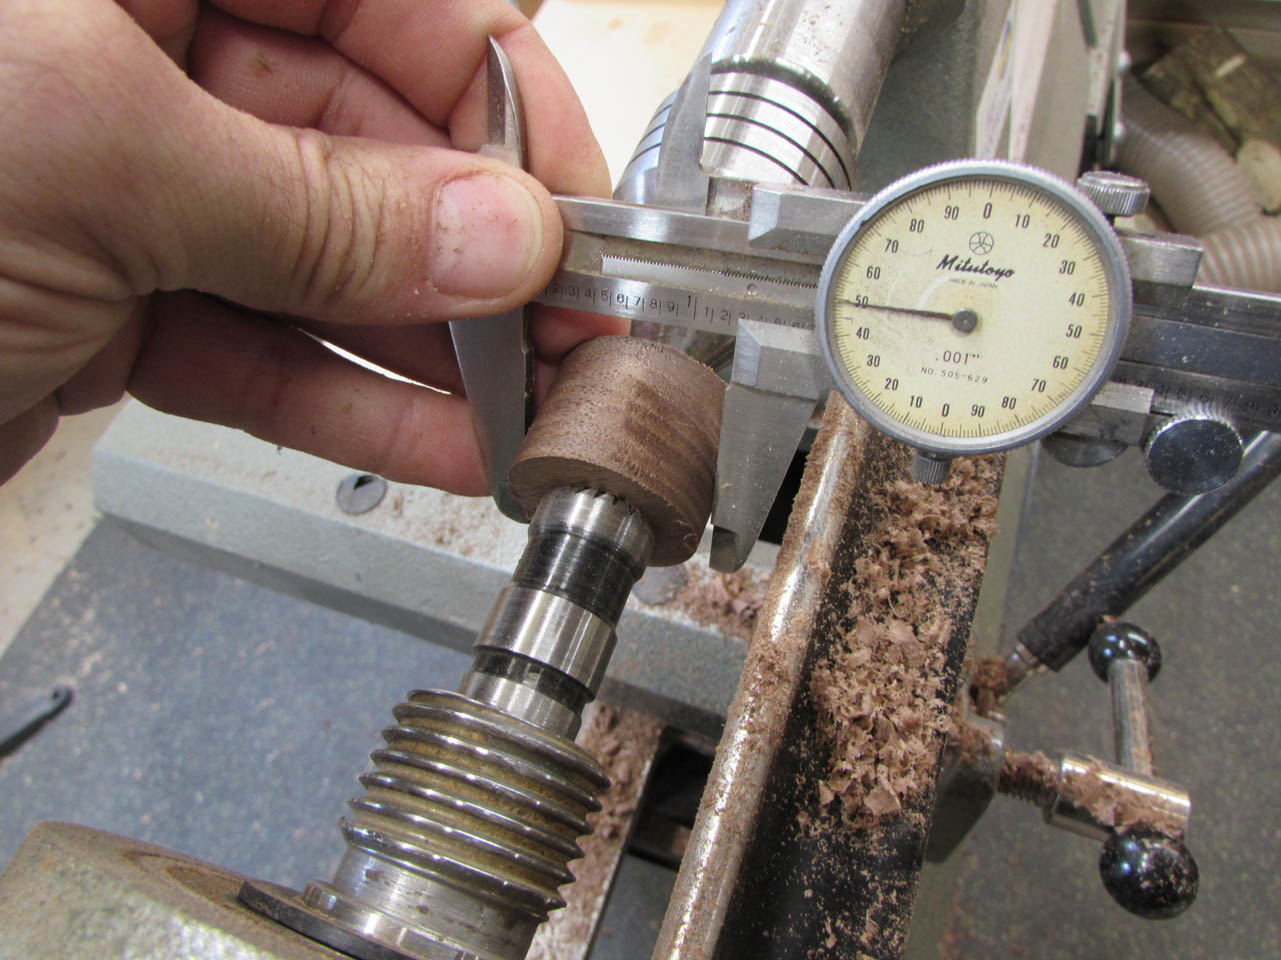
I took my time and cut it down to 1-1/4″ with a very slight taper on one end to leave a tiny bit of room for glue.
I drilled a test hole and did a test fit, perfect!
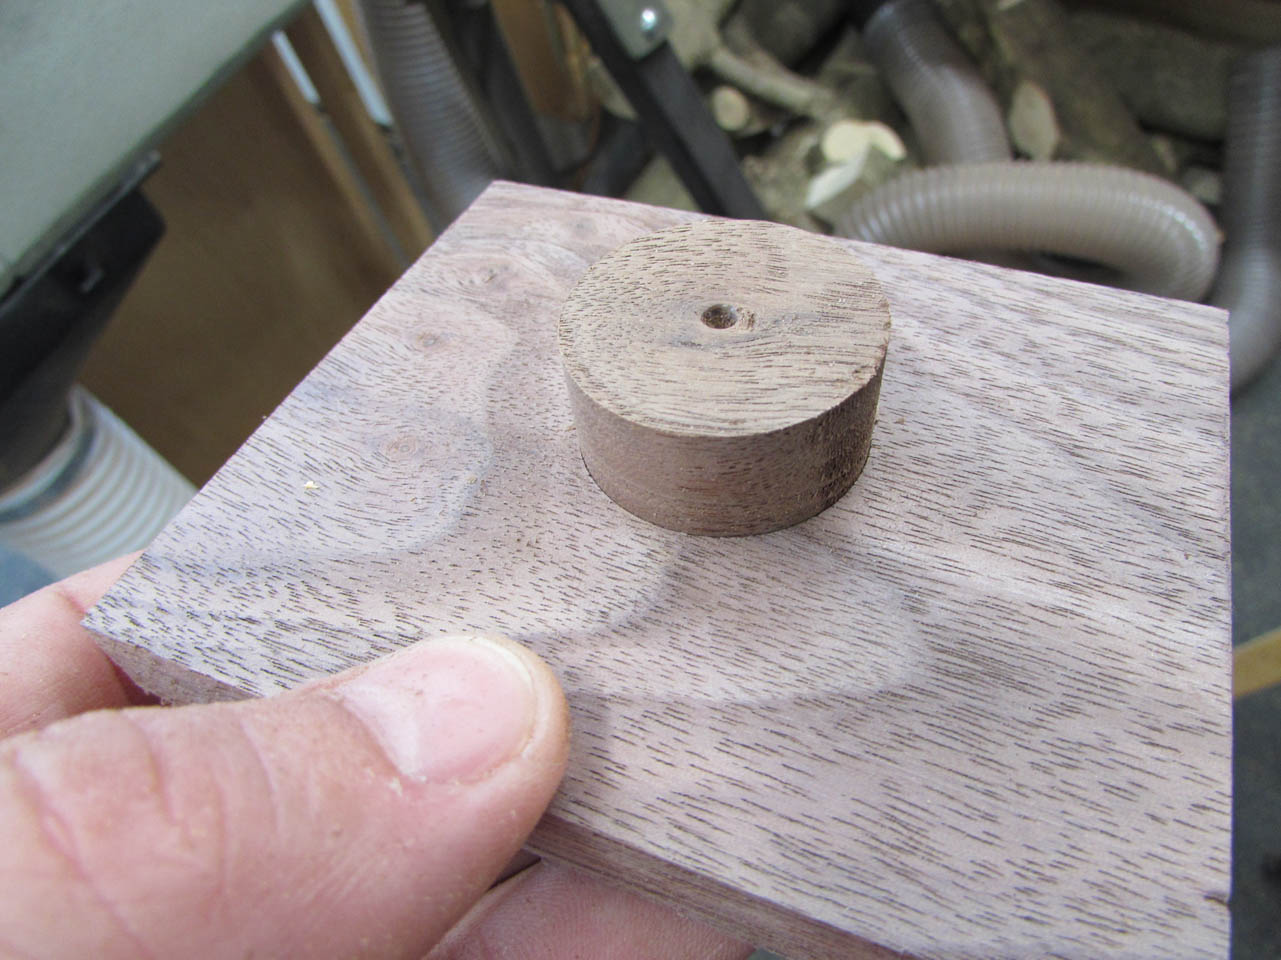
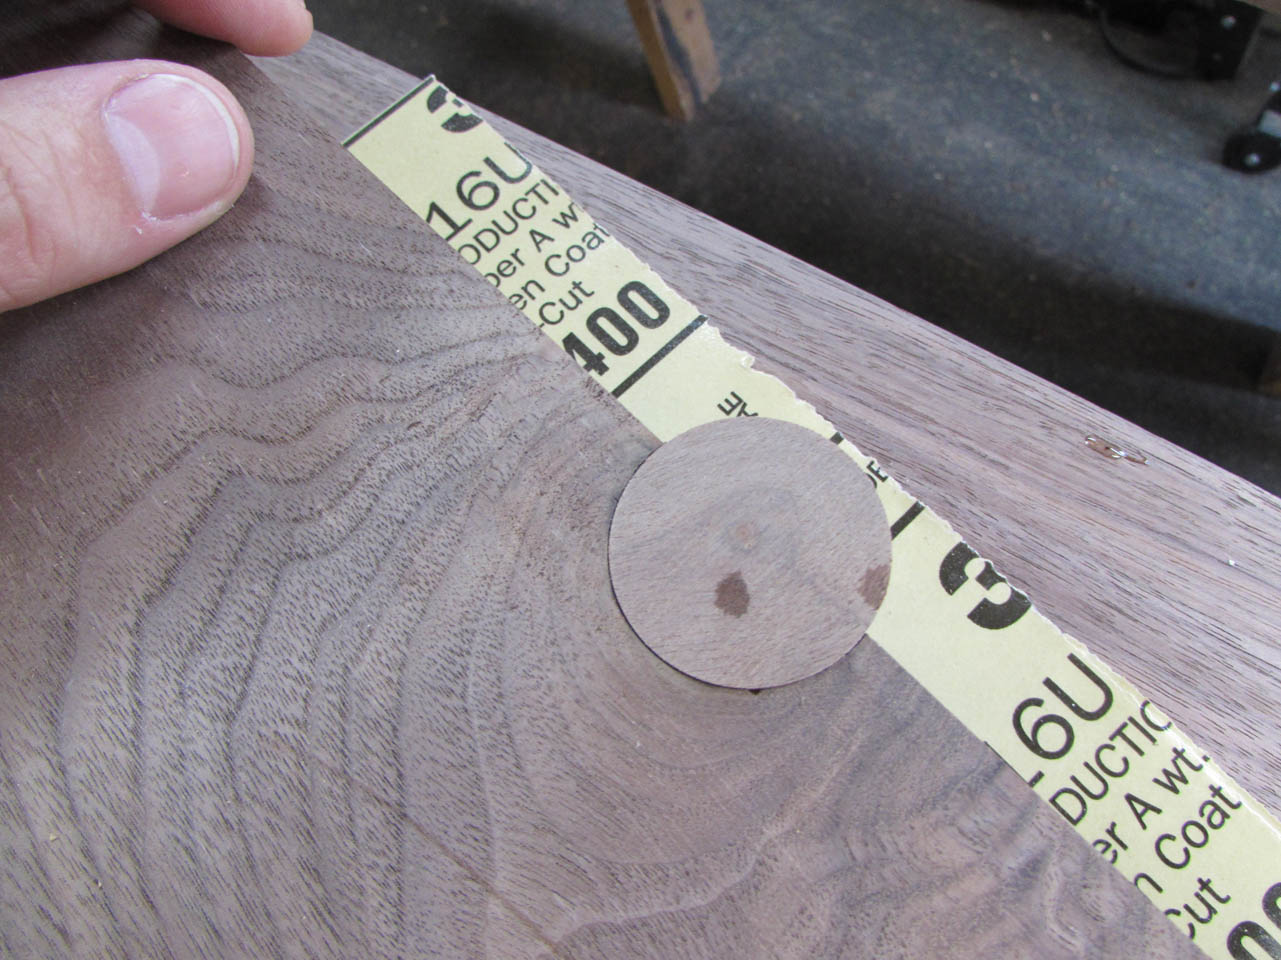
After making sure the fit was good and the grain blended fairly well, I cut the plug down to just slightly over-size.
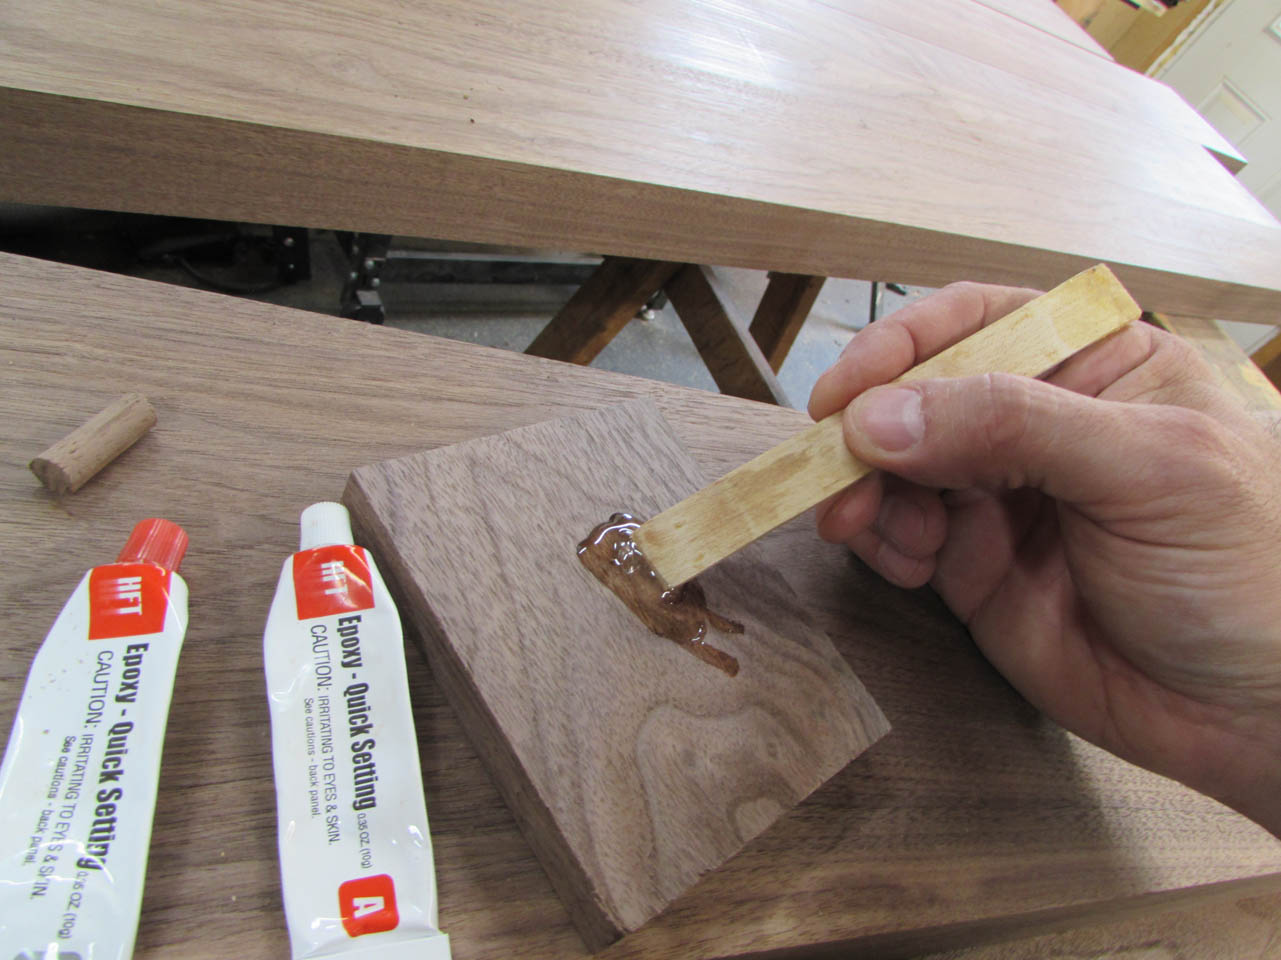
I mixed up some 2-part epoxy and spread it around the hole.
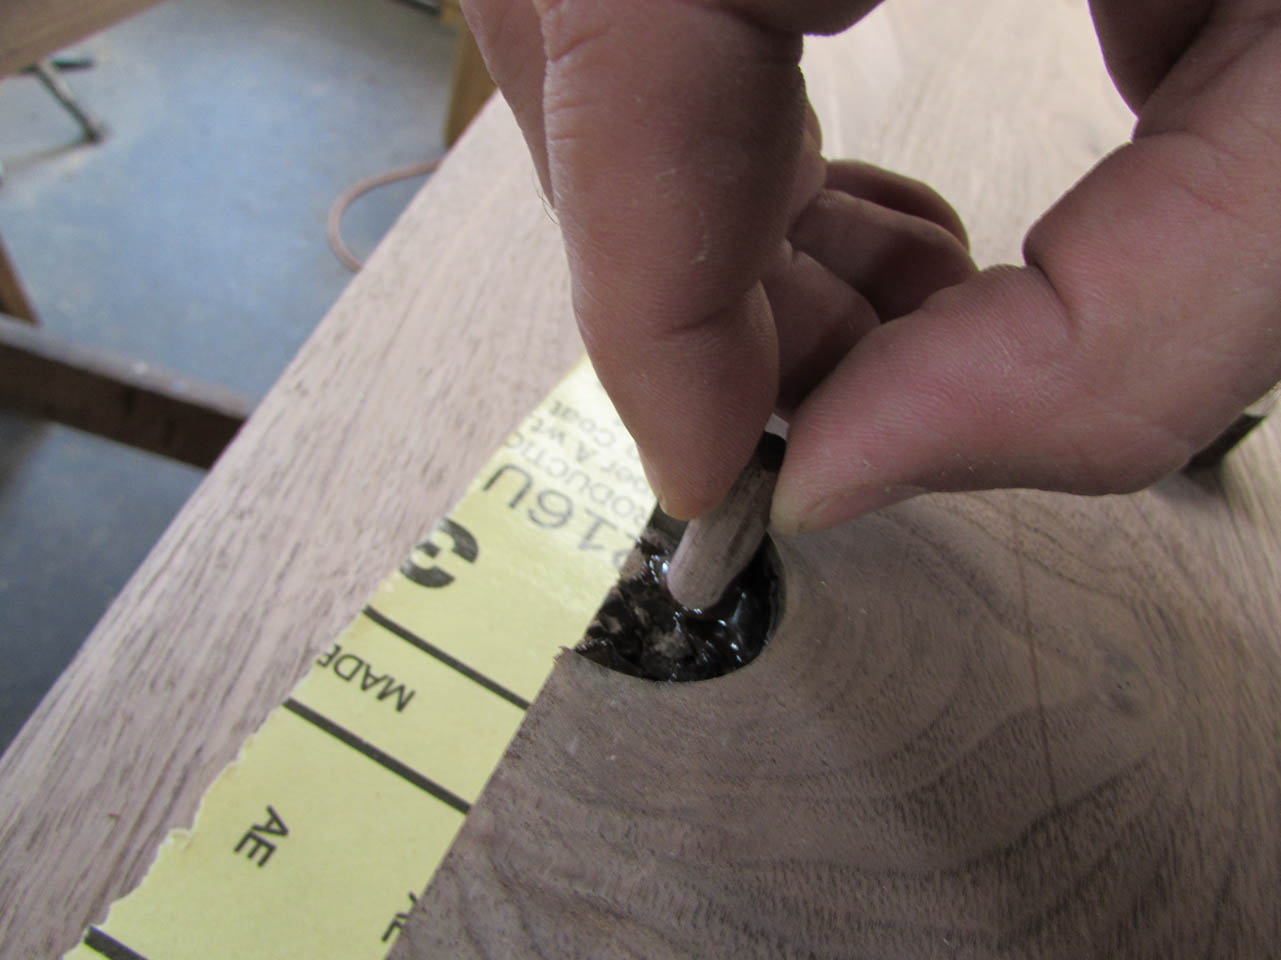
I pressed the plug into place and sanded the face to make some fine sawdust to press into the joining edges so that it stuck to the thin edge of epoxy squeezing out.
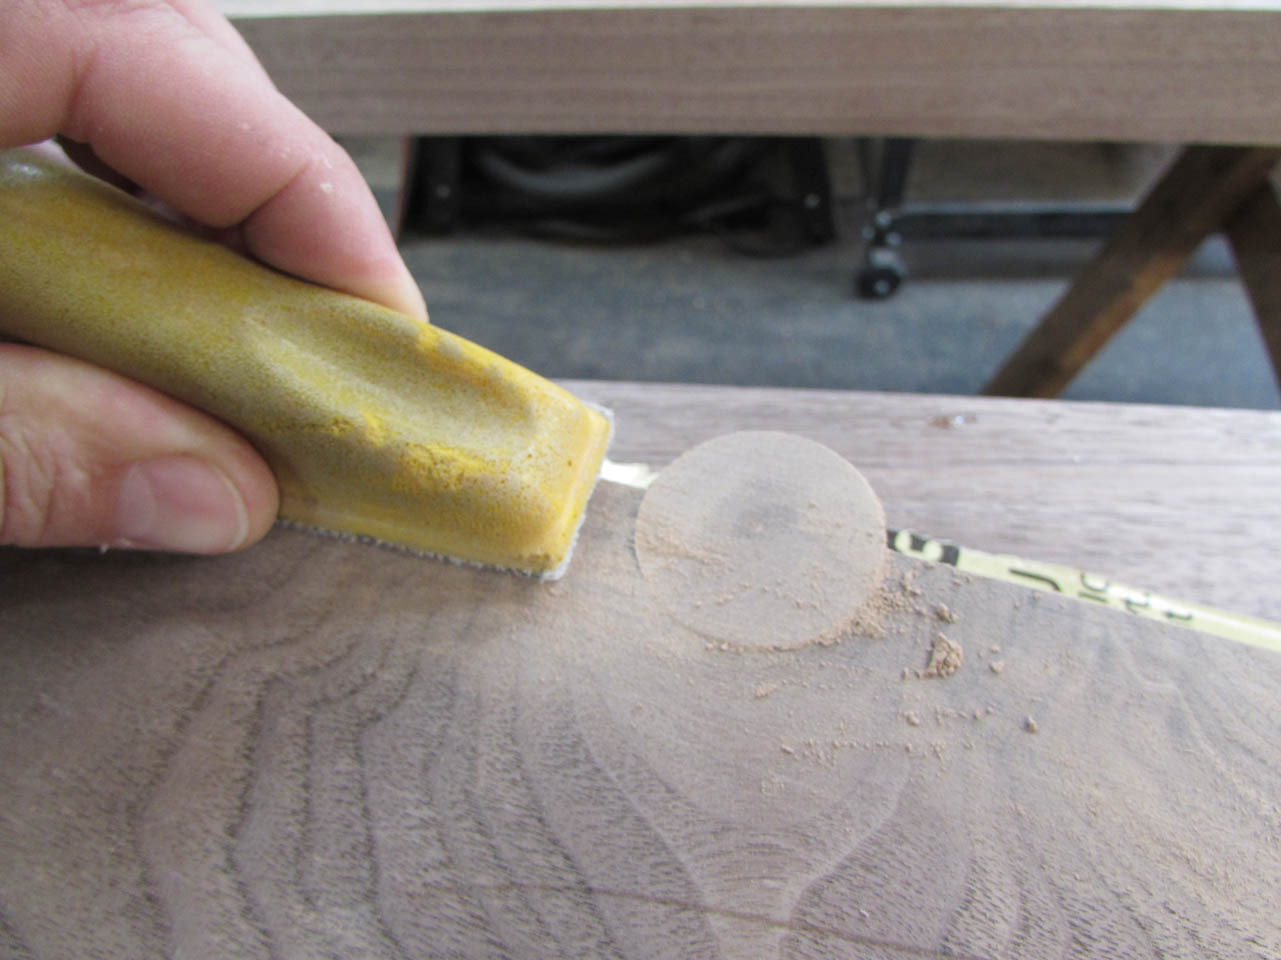

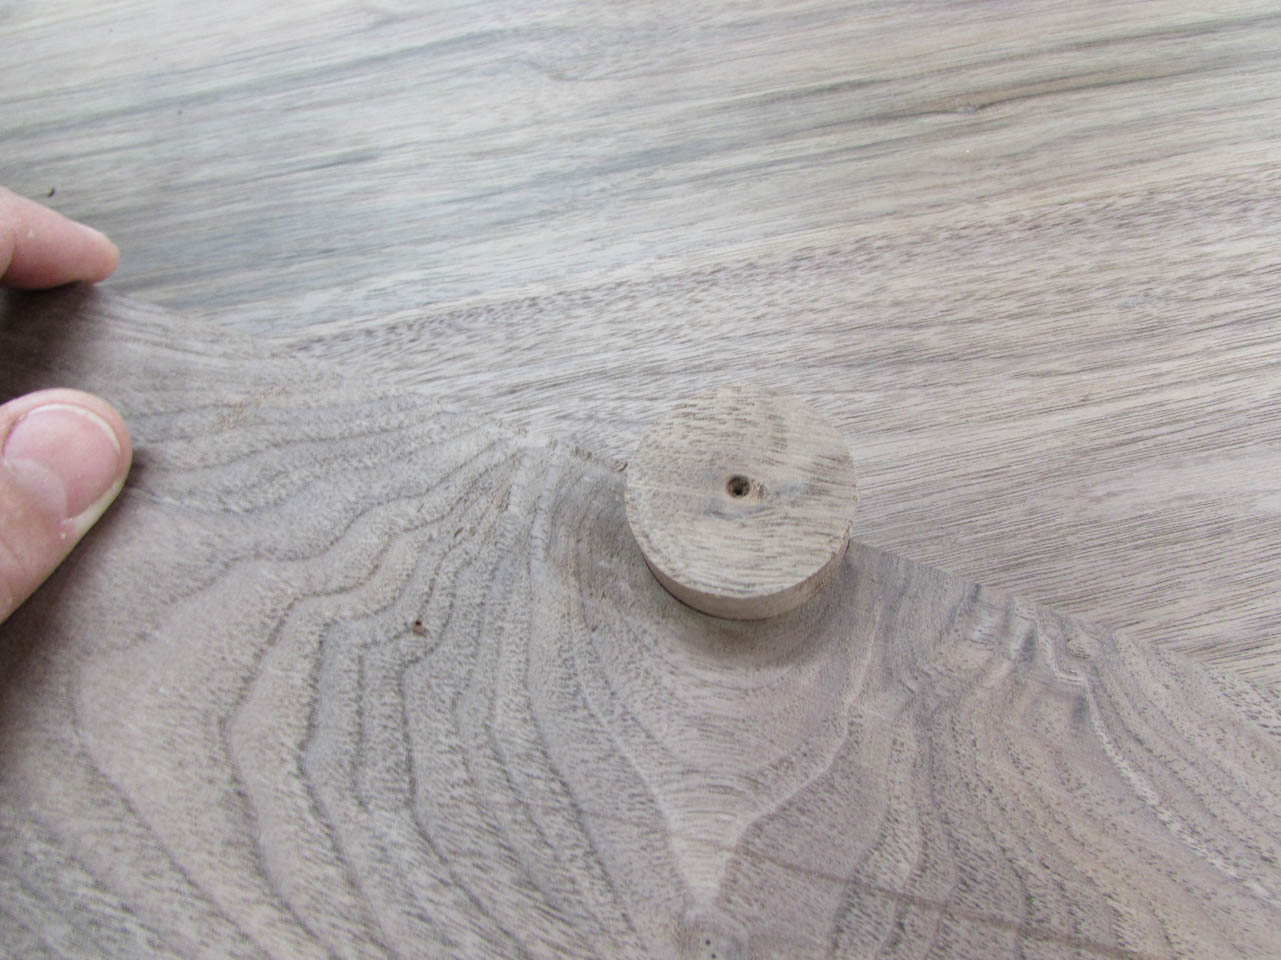
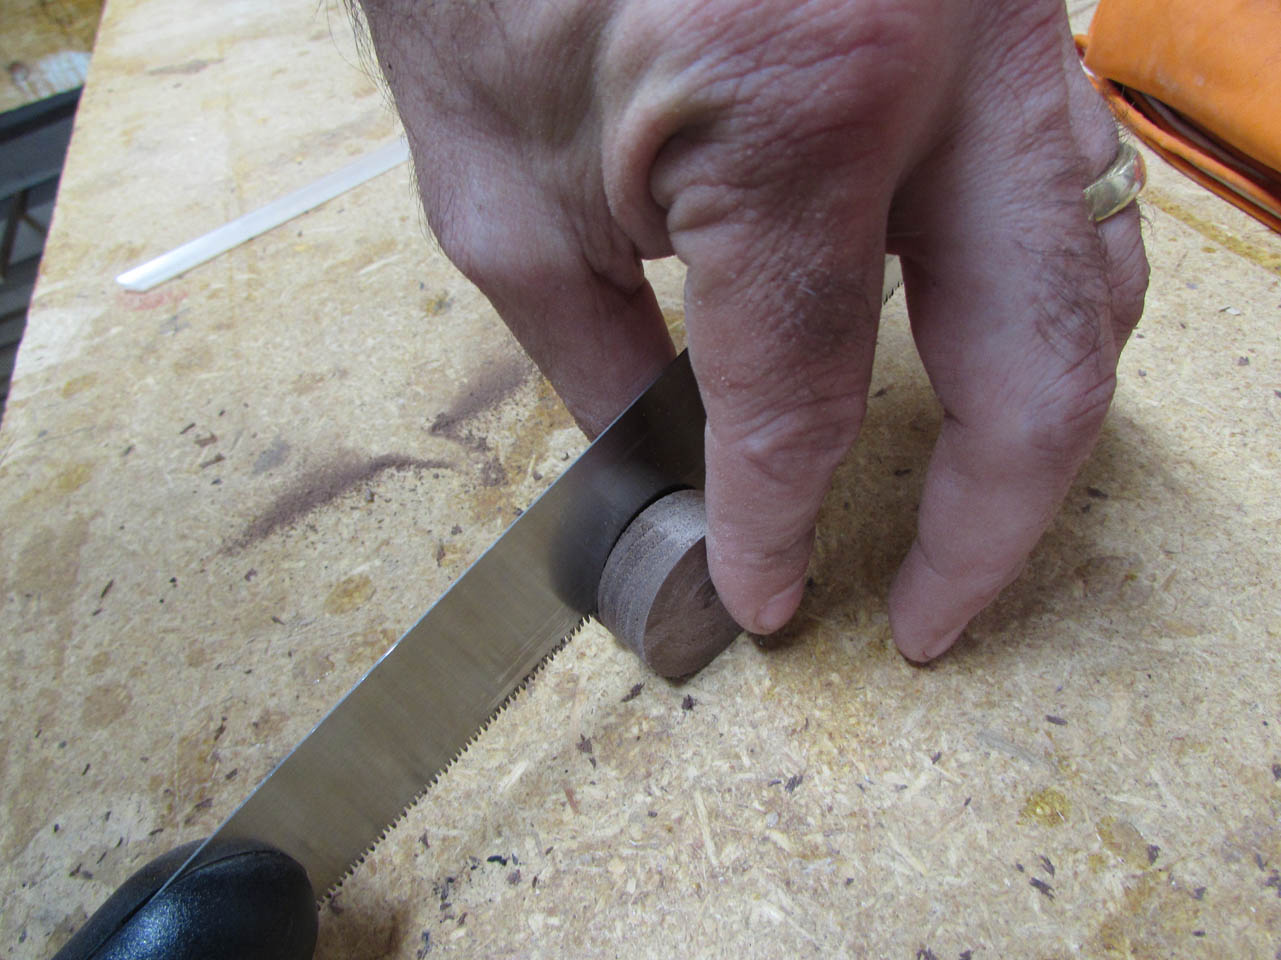
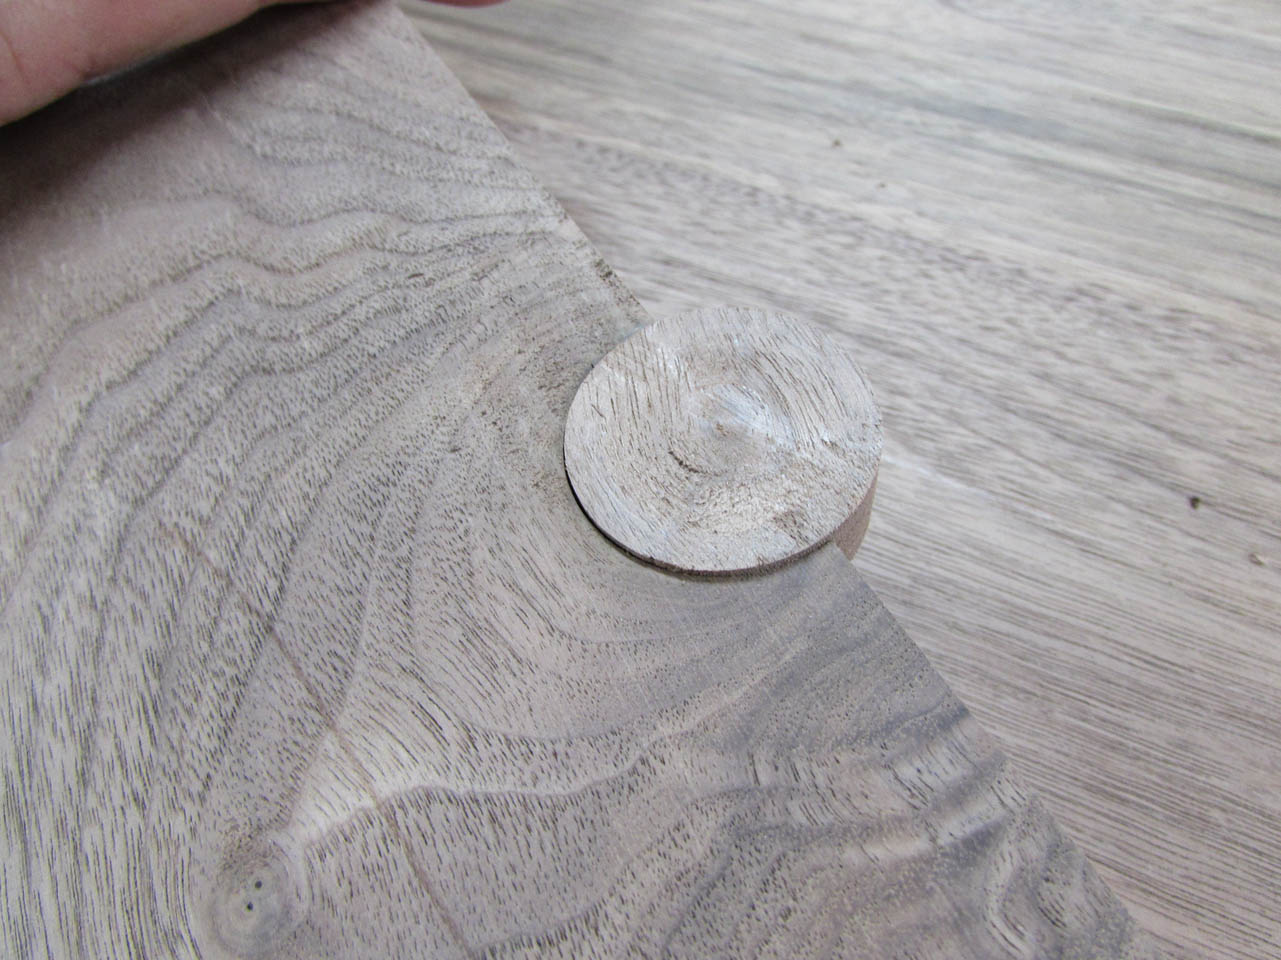
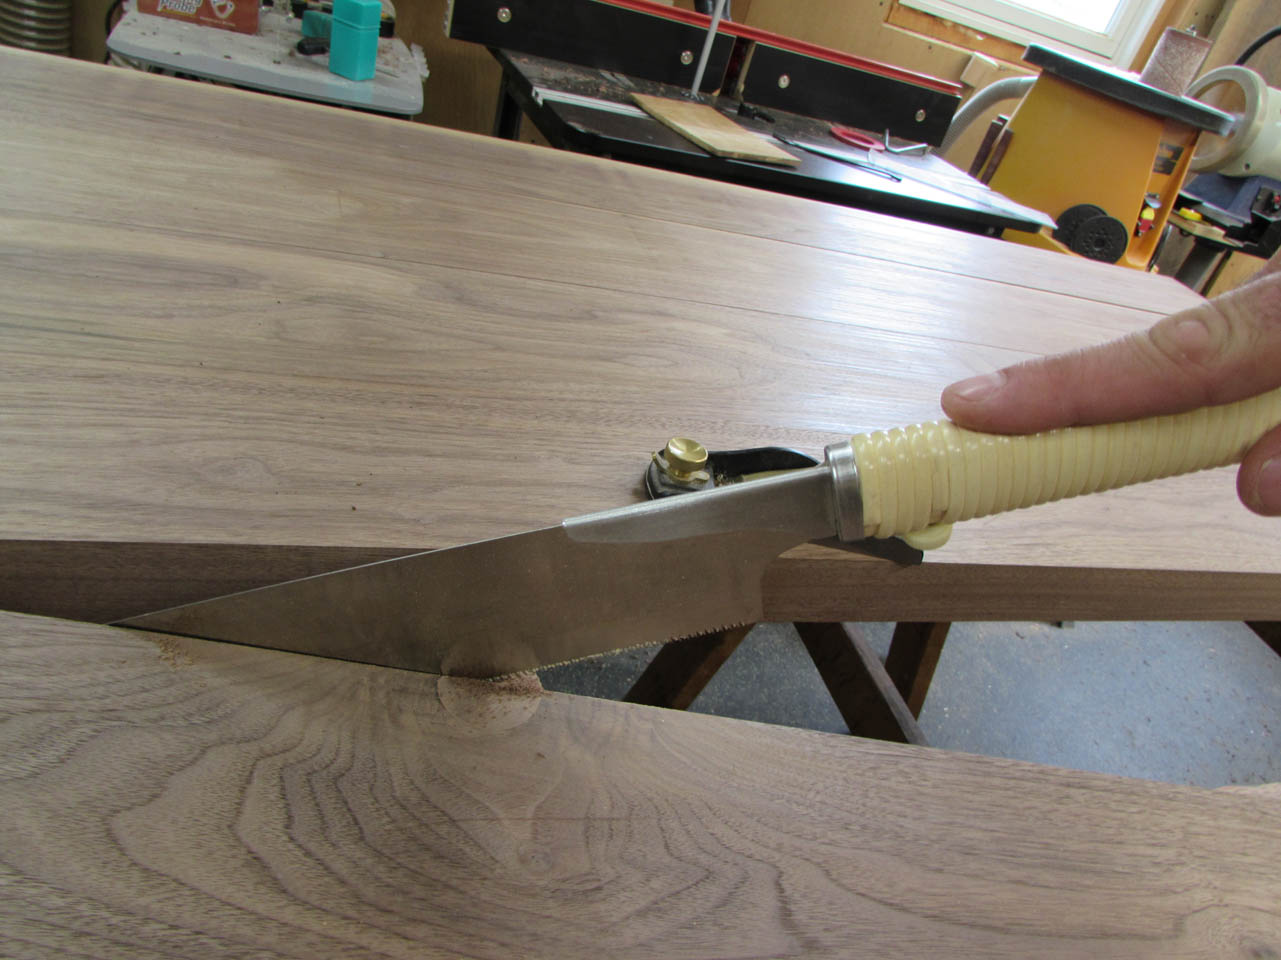
I used my block plane to flatten the plug the rest of the way, and my pull saw to cut the plug flush to the side of the board.

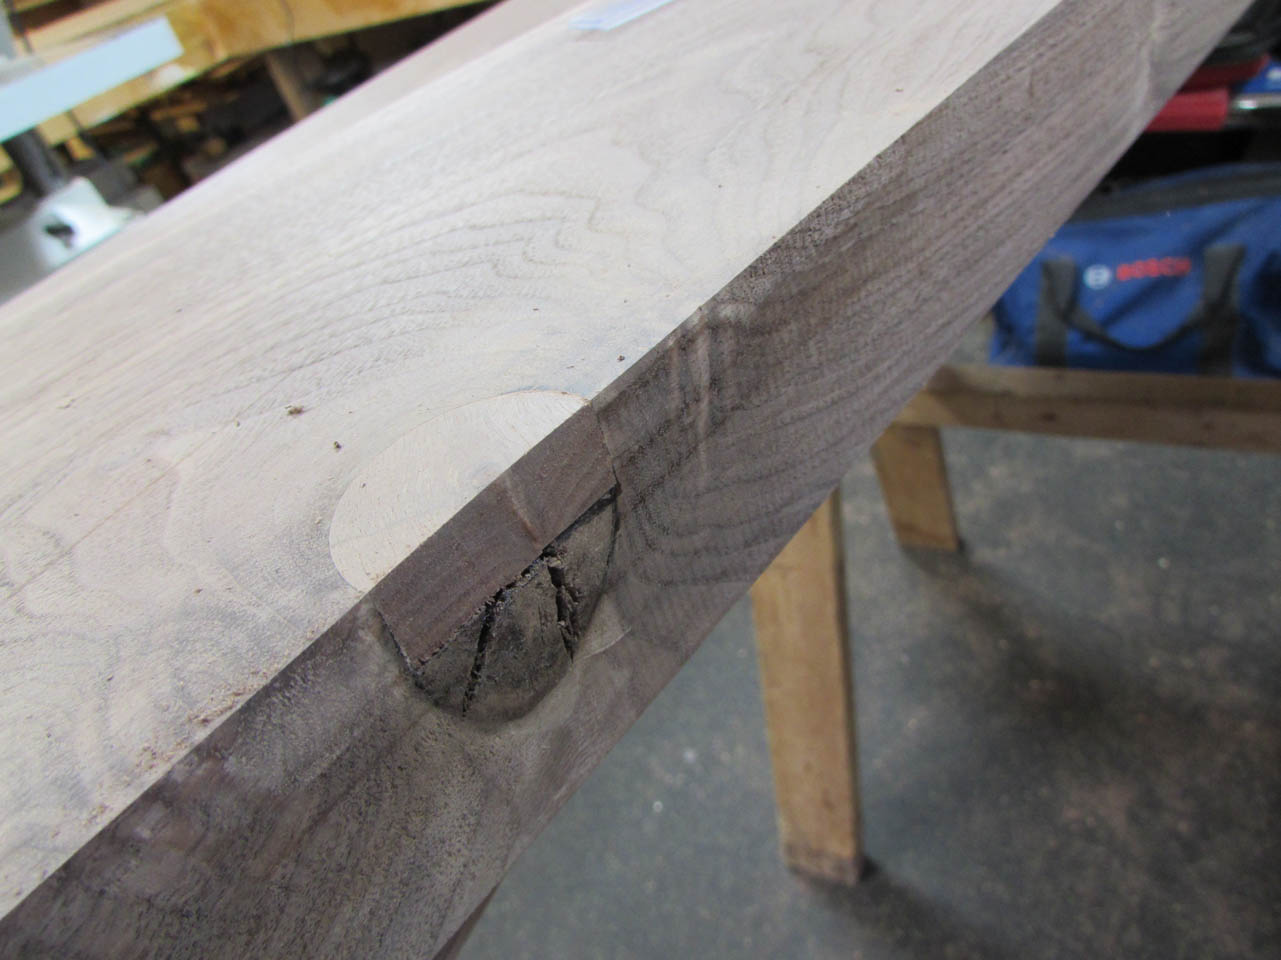
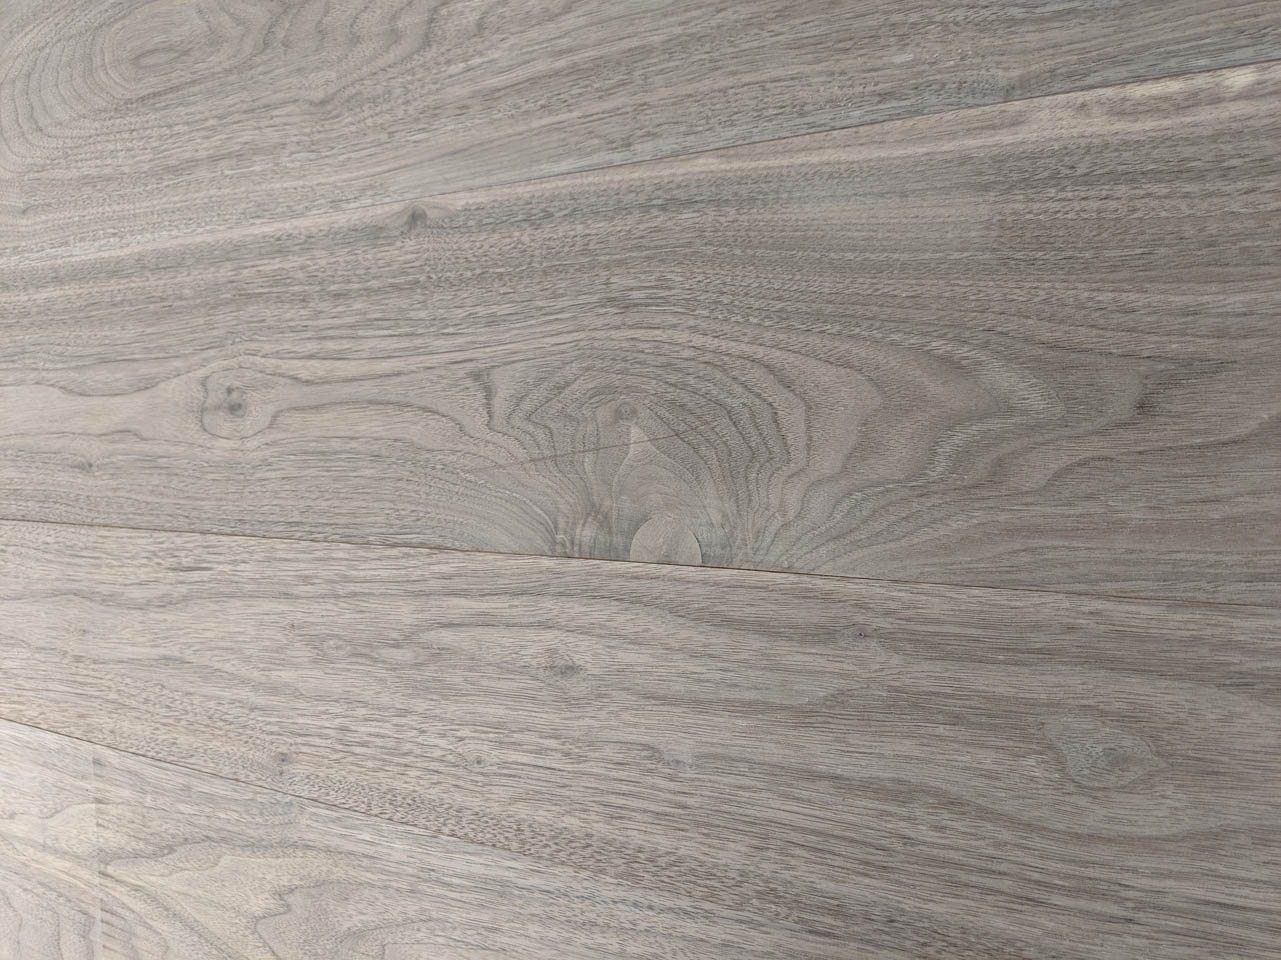
Not a bad looking repair. Hopefully it will all blend together when bleached.
To help with alignment, when jointing these boards together, I am using floating tenons.
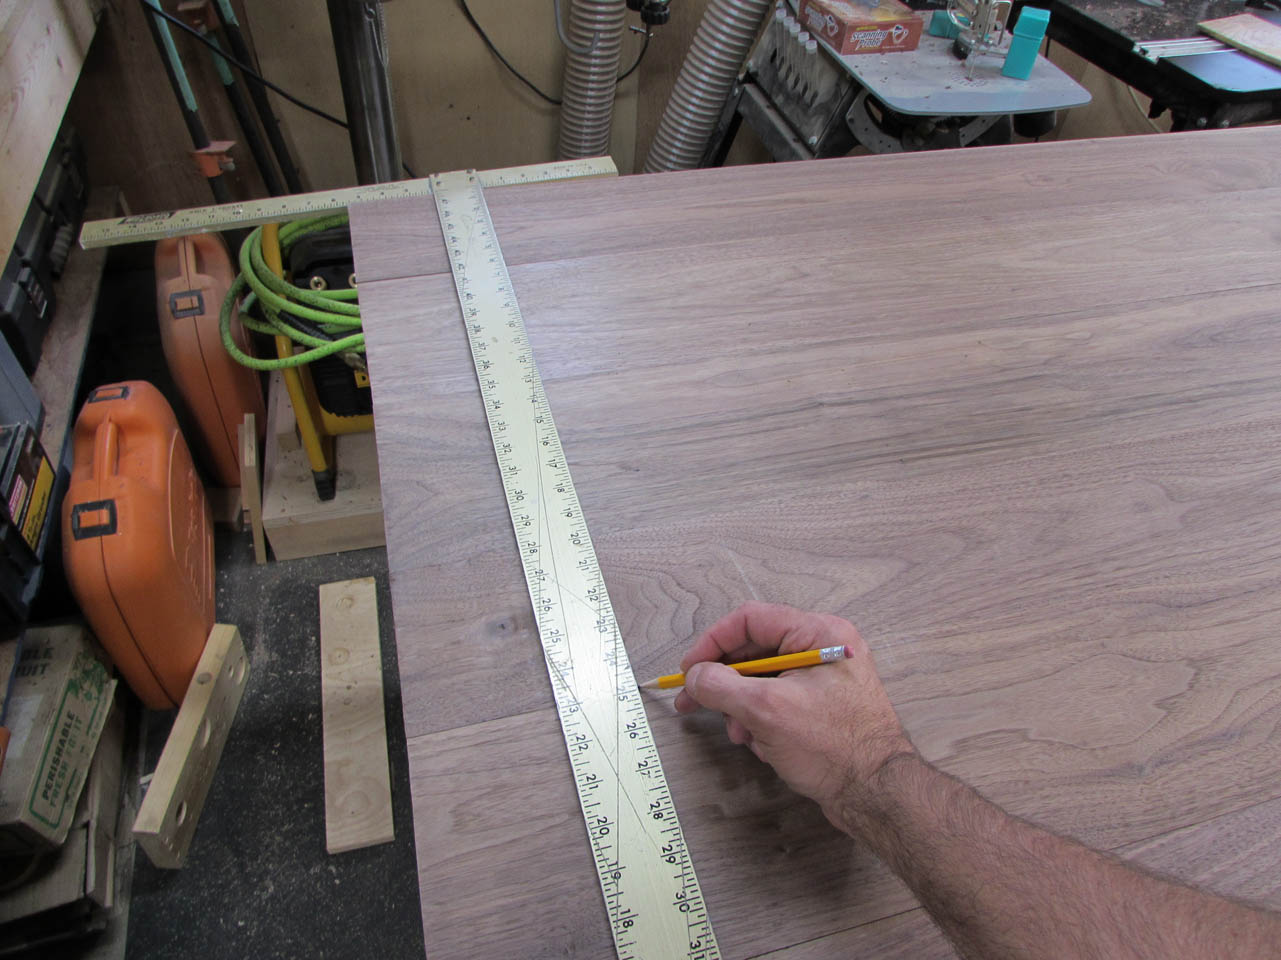
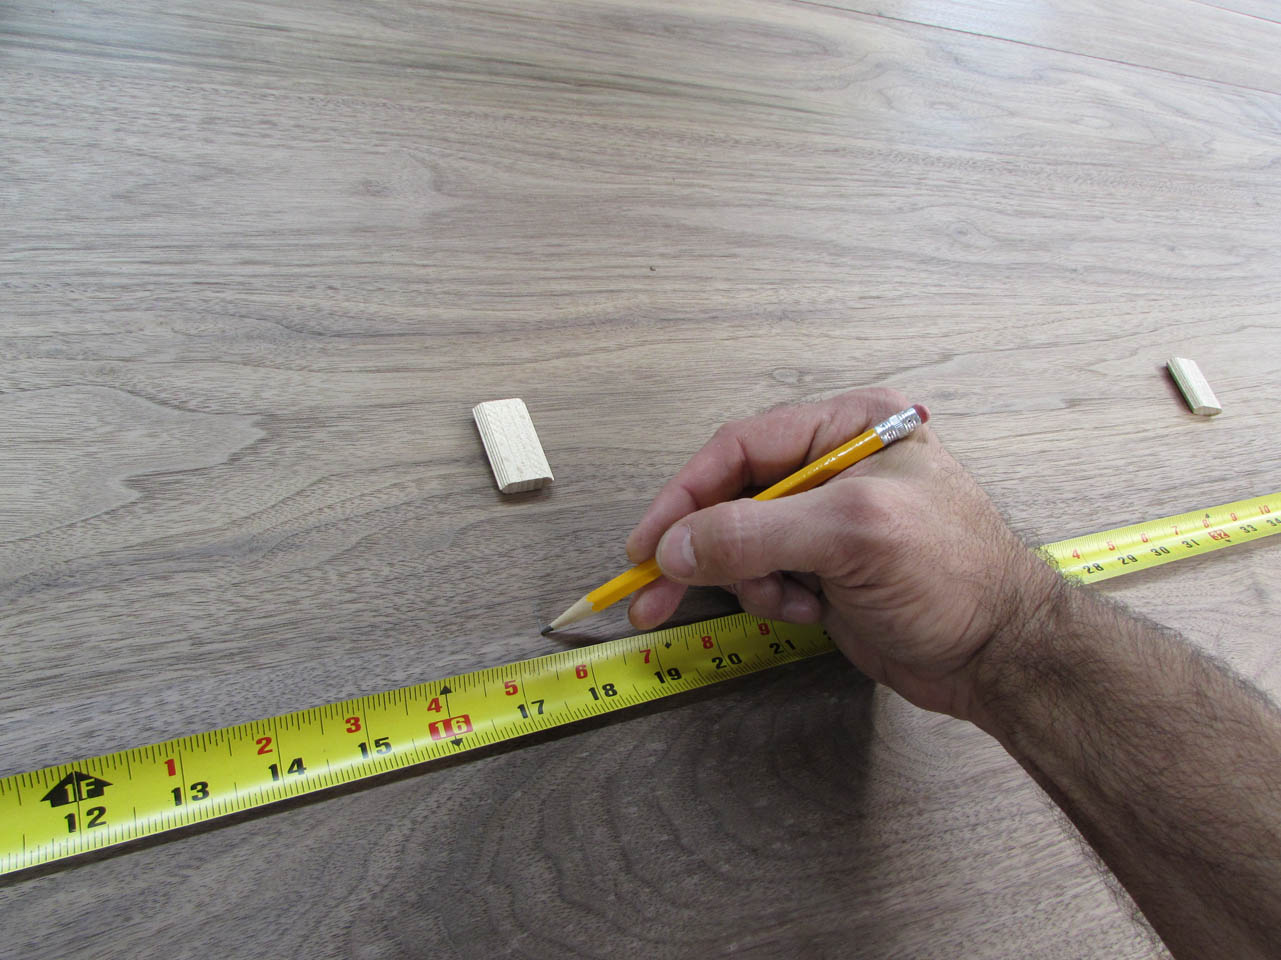
I marked five evenly spaced locations across each joint.
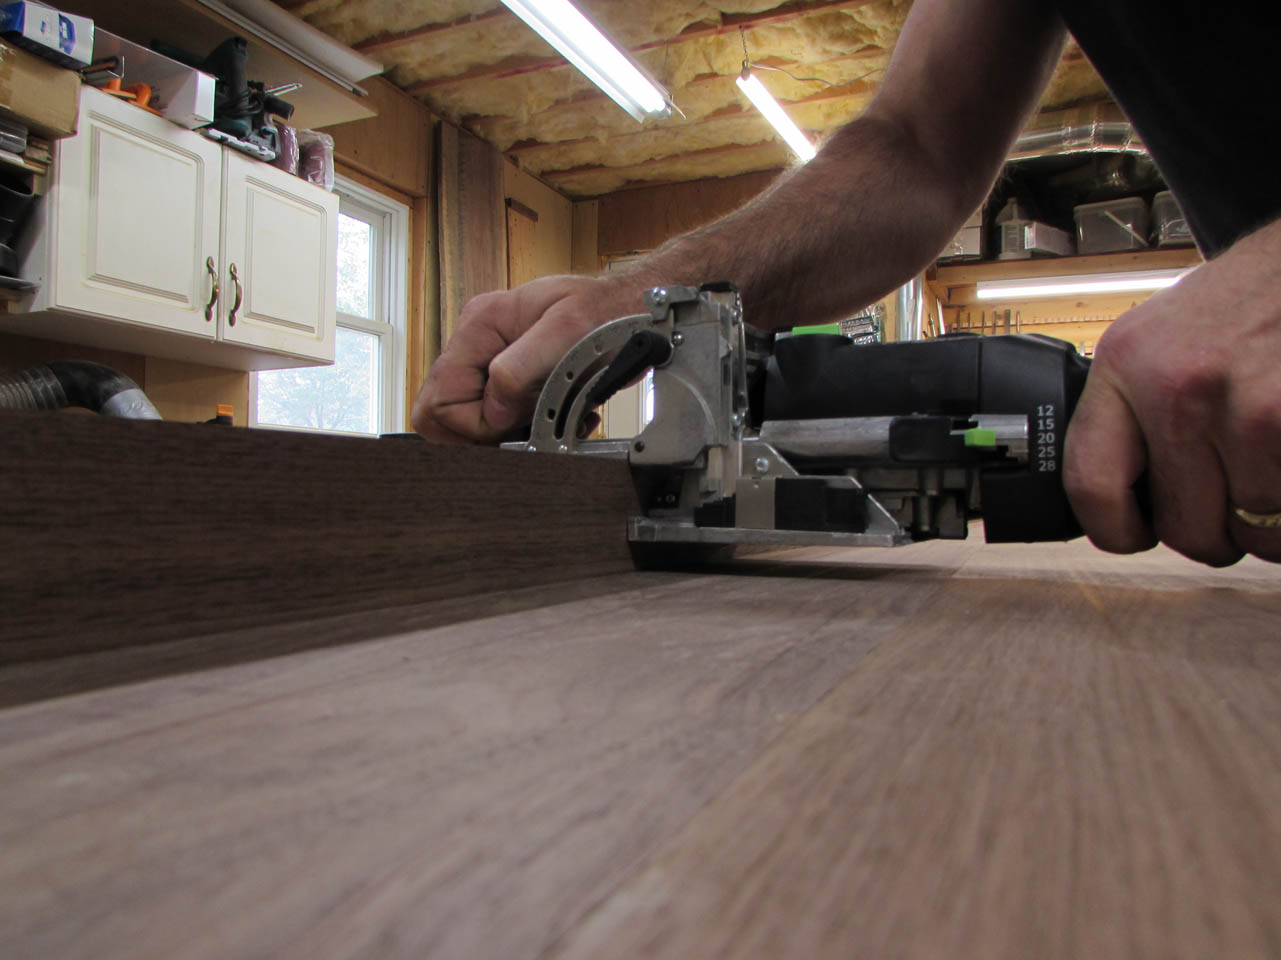
Then I used my Domino to cut a mortise for each.

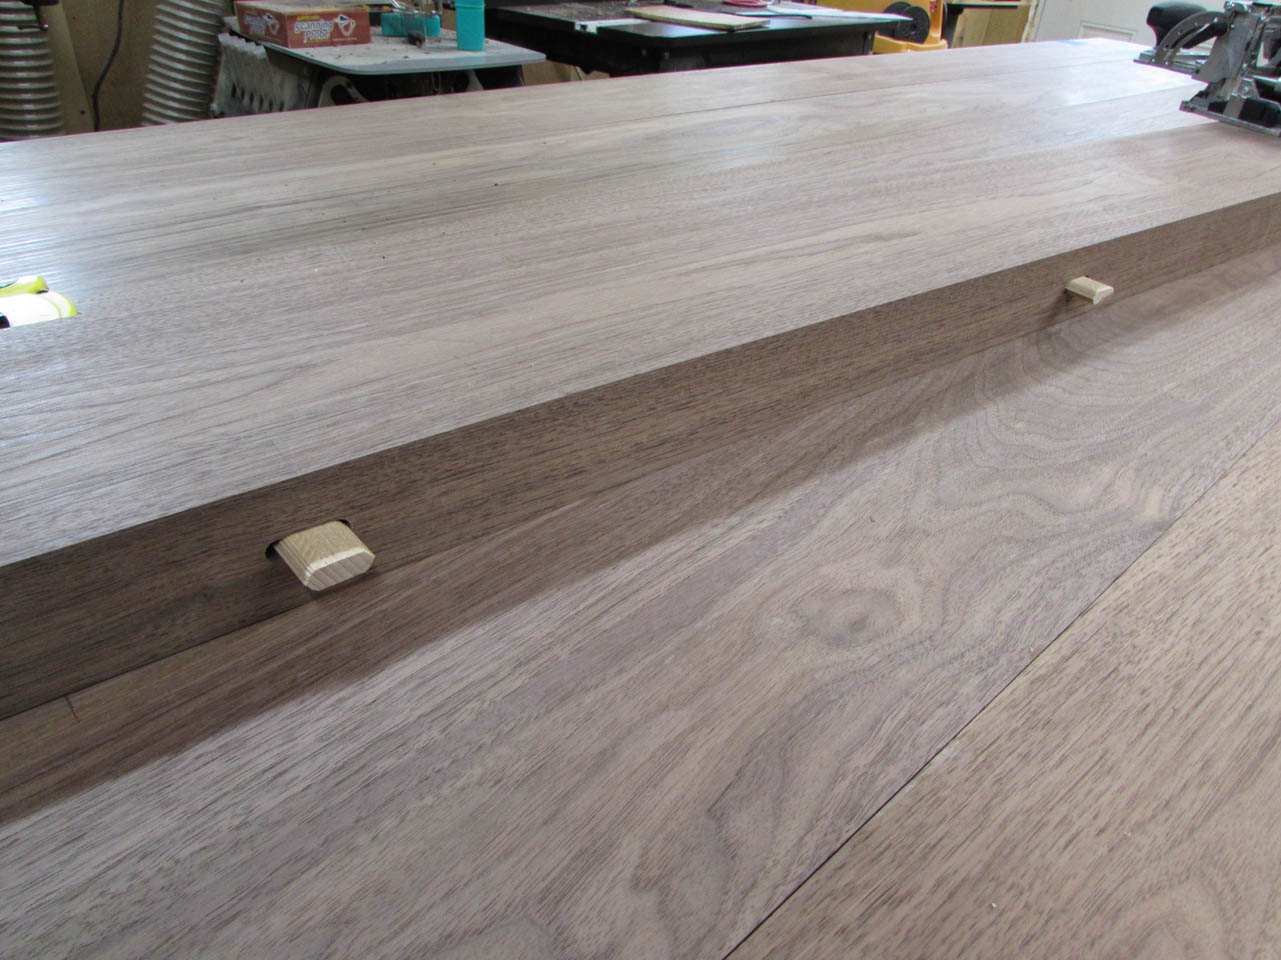
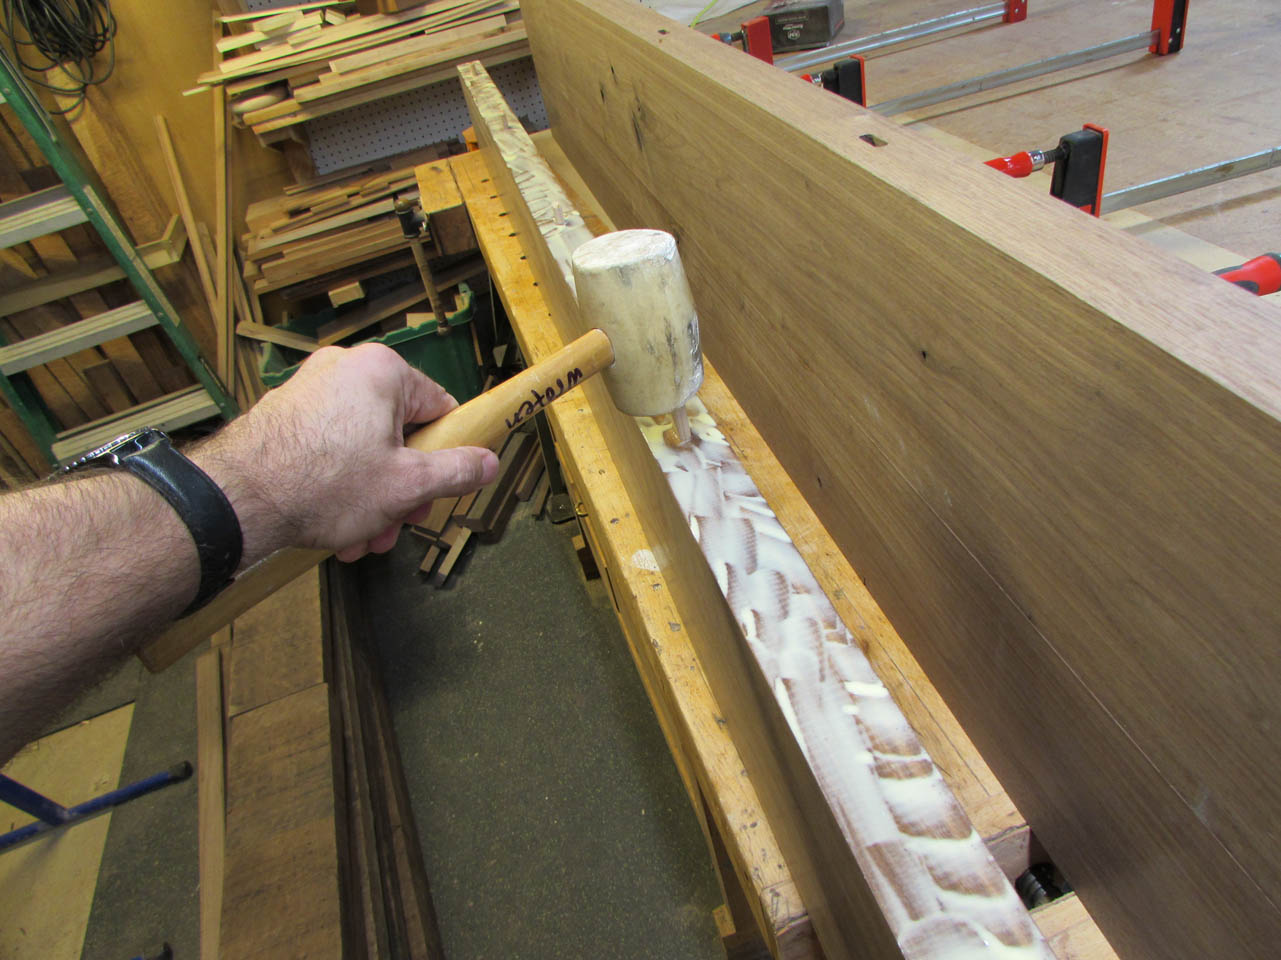
On one side of the joint I cut a tight mortise, just big enough to hammer the tenon into. Then on the other side, I made the mortise slightly wider to make assembling the boards during the glue-up easier.
With all of the mortises cut, I started applying glue.
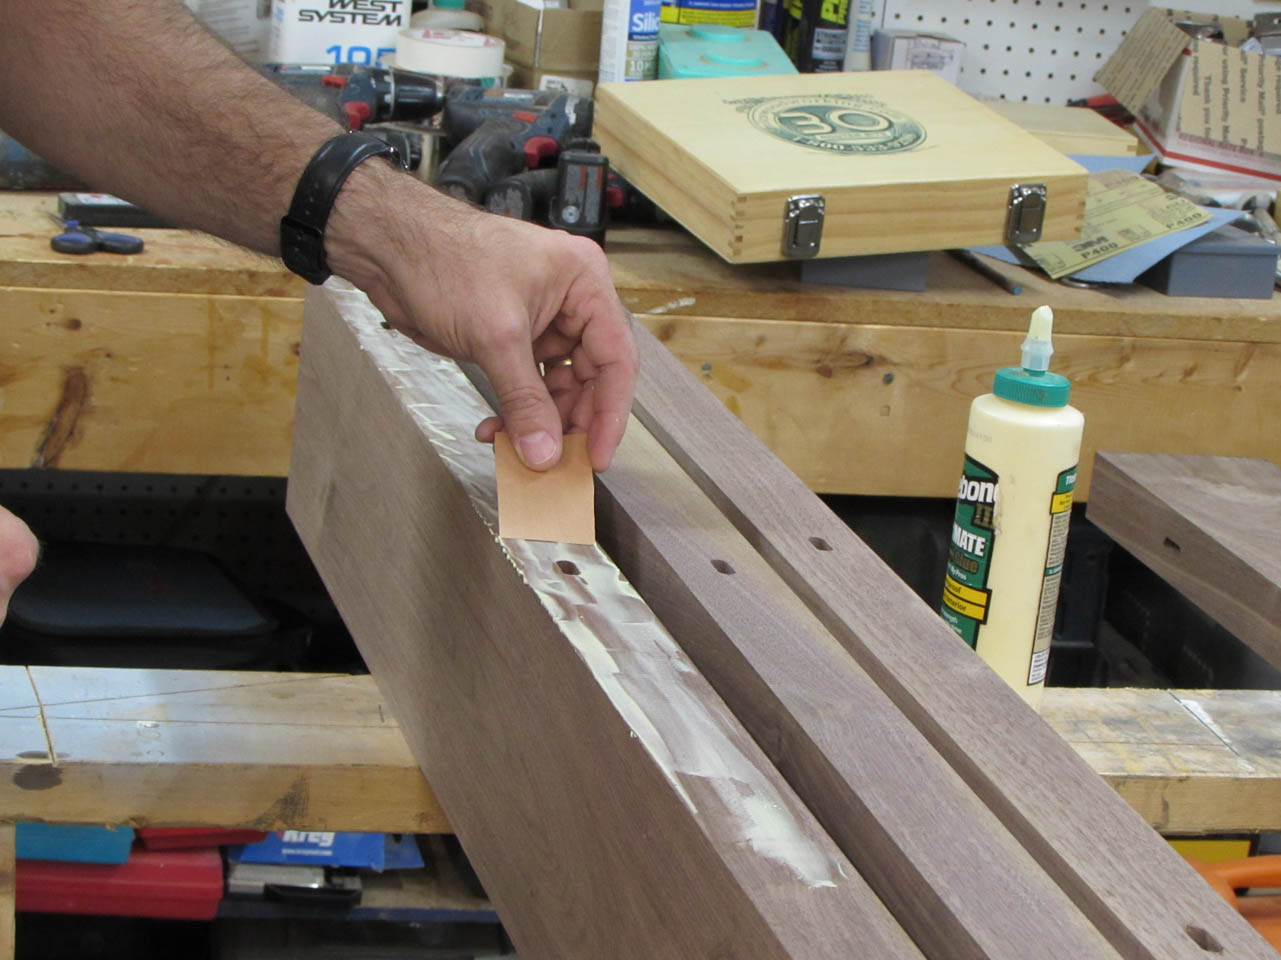
I lay it on a little thick with a thin slice of veneer, used as a spreader. If I apply it to thinly one end will start to dry before I finish spreading glue down at the other end.
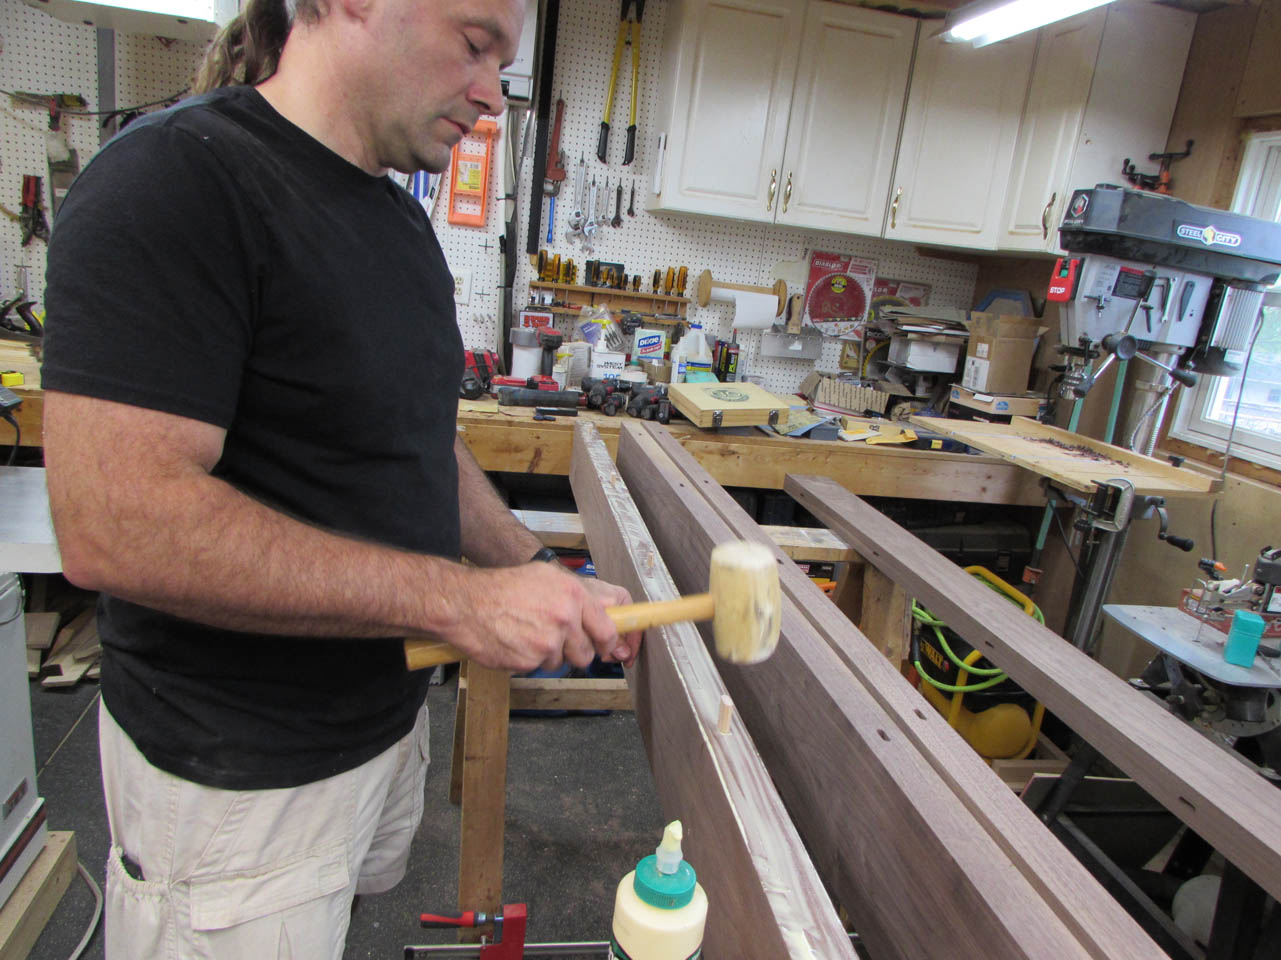
I quickly assemble the first joint and move on to the second, then the third.

To make life a little easier, I am assembling half the table at a time.

The first half was assembled on my saw horses and the second on my work bench. I really don’t have the space for a full glue-up. Nor do I have enough large clamps.
After about a half of an hour, I use my 2″ wide chisel to scrape off any glue squeeze-out while it is still soft.

I checked both panels to make sure they were dead flat (before the glue dried…)

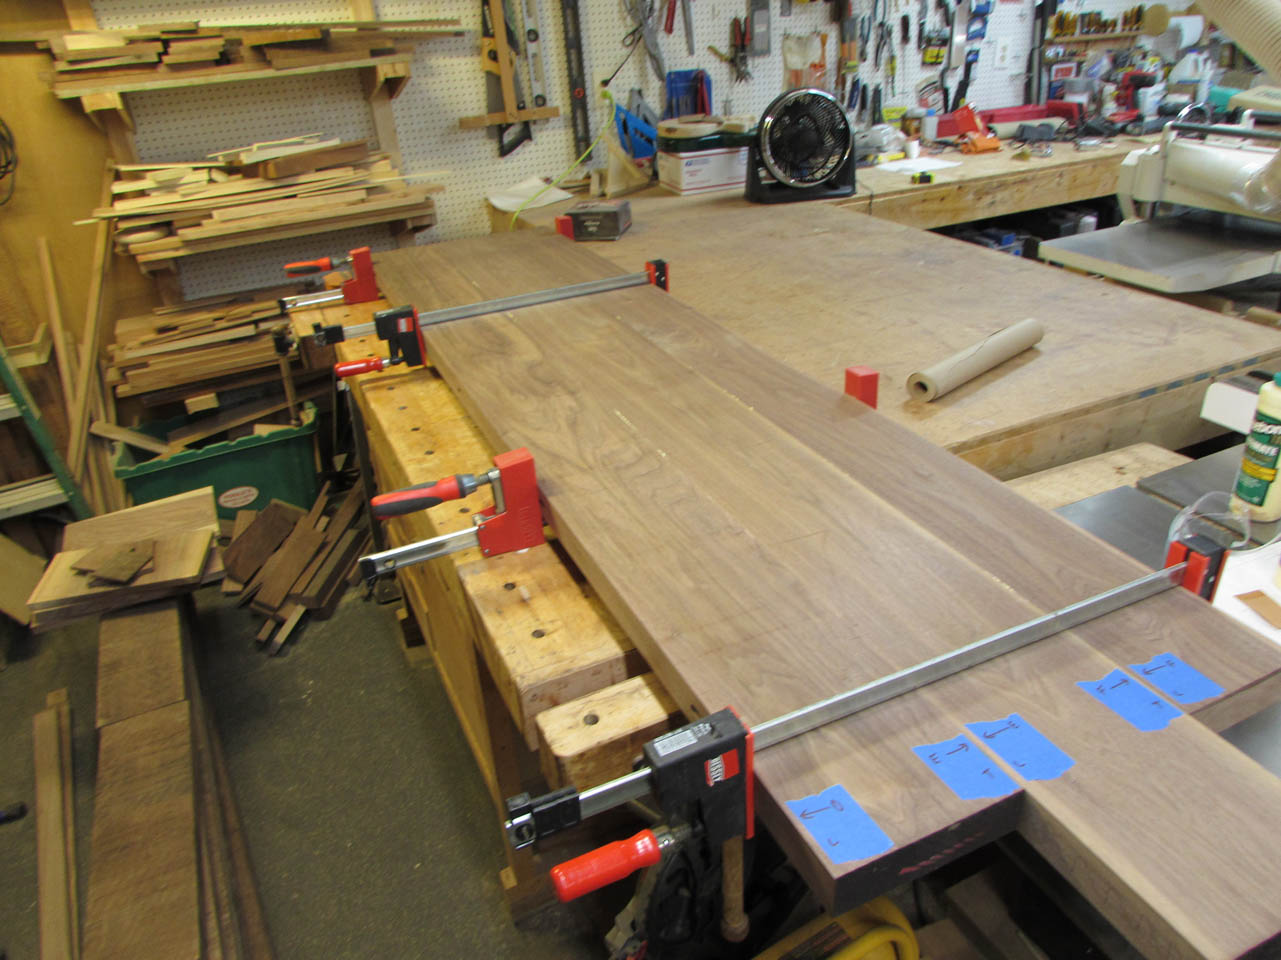
Then, when they were dried, I glued the two panels together. The three pipe clamps force a bow into the panel so I added a couple of other clamps to the opposite face to force the boards flat.
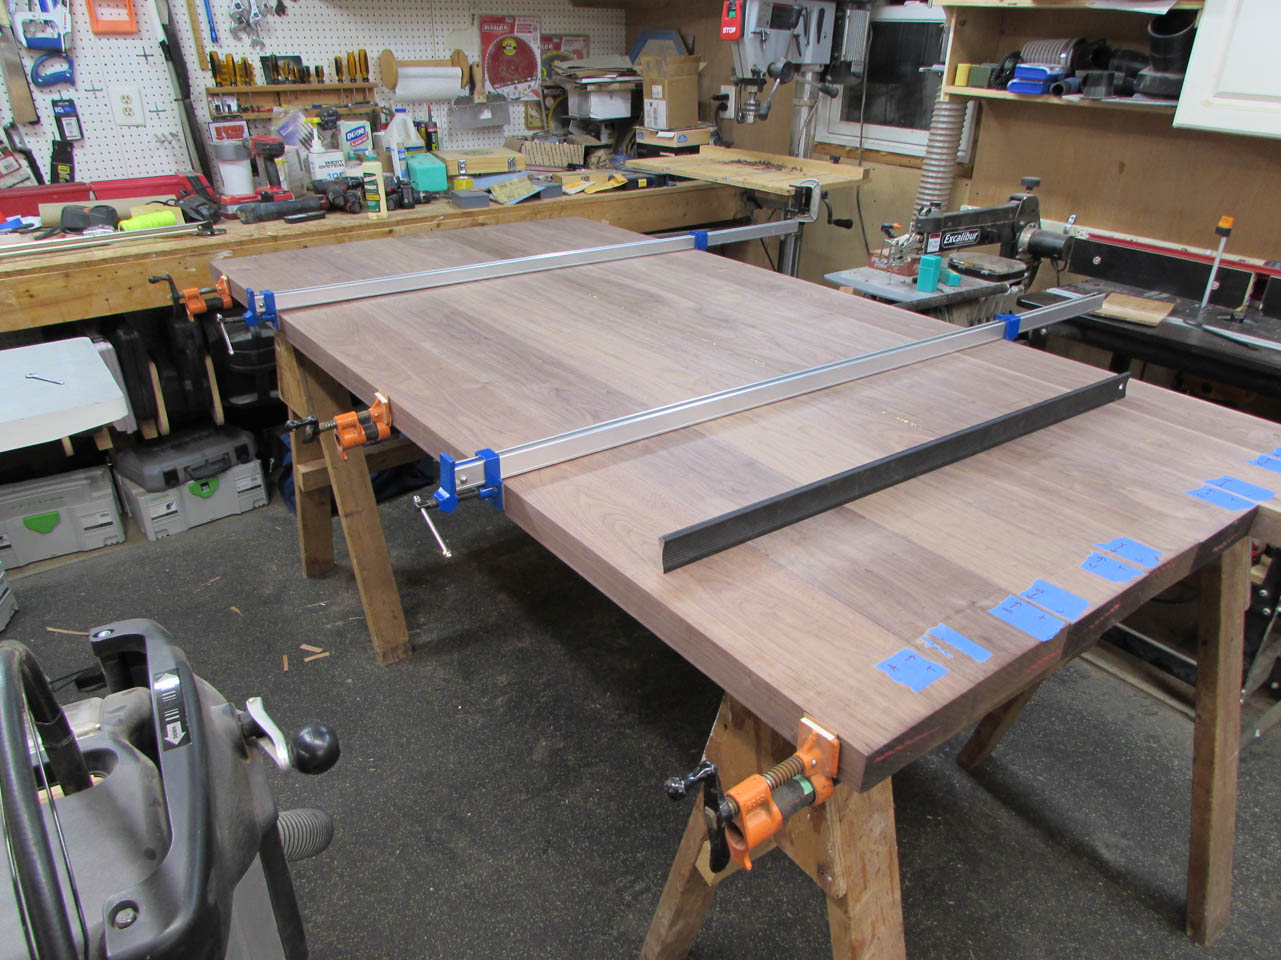
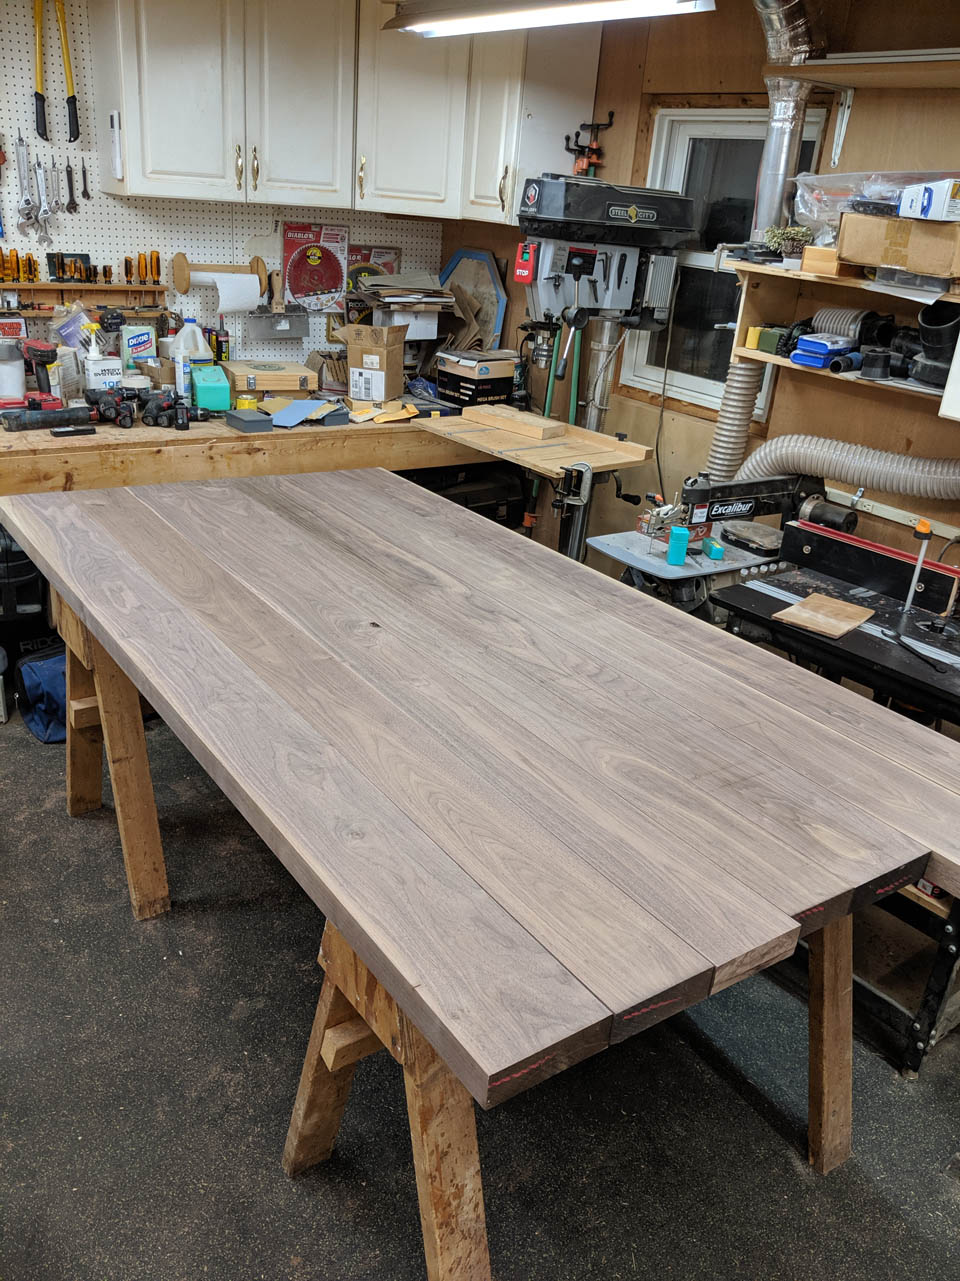
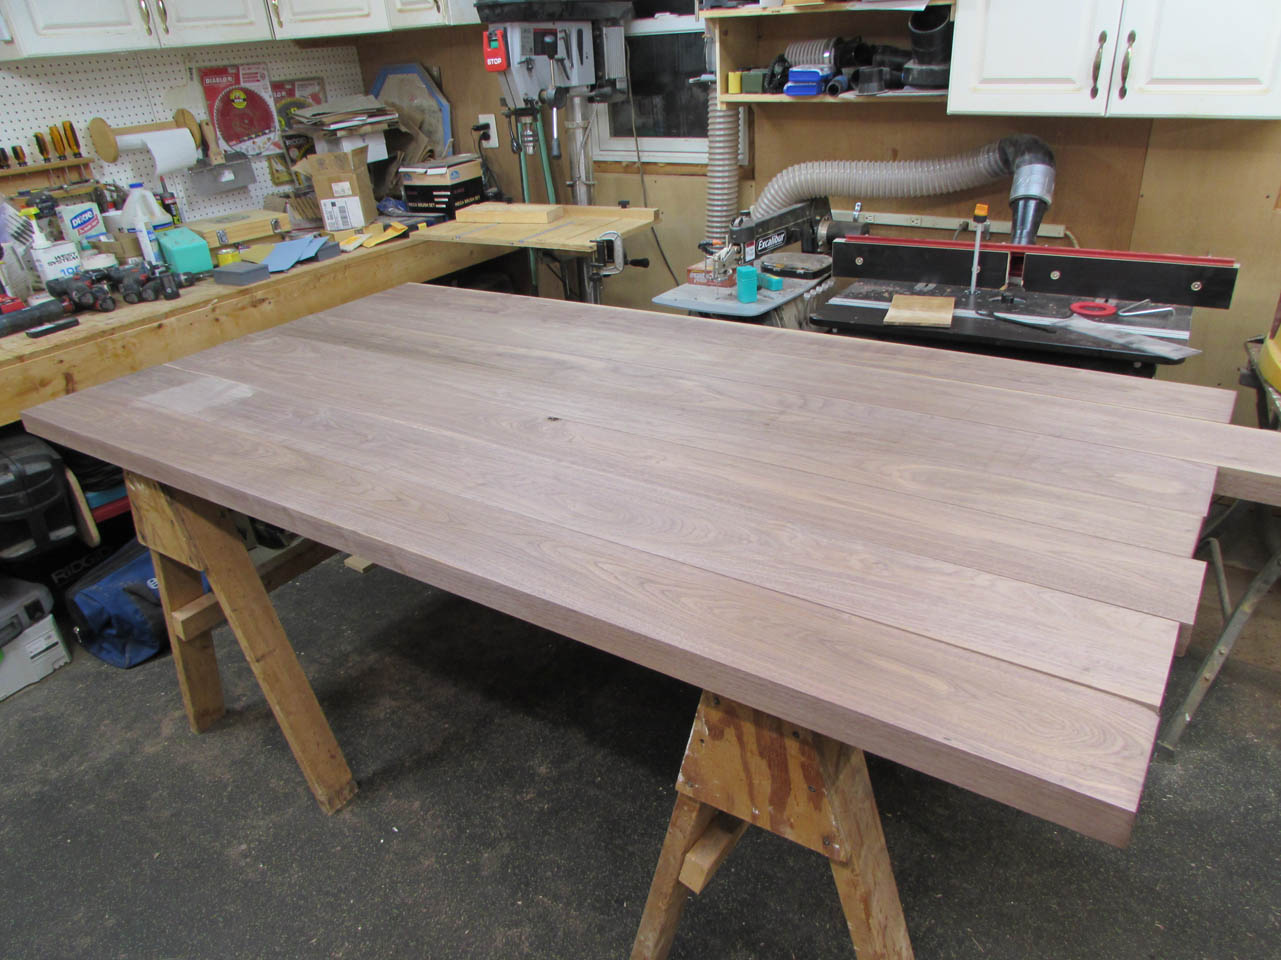
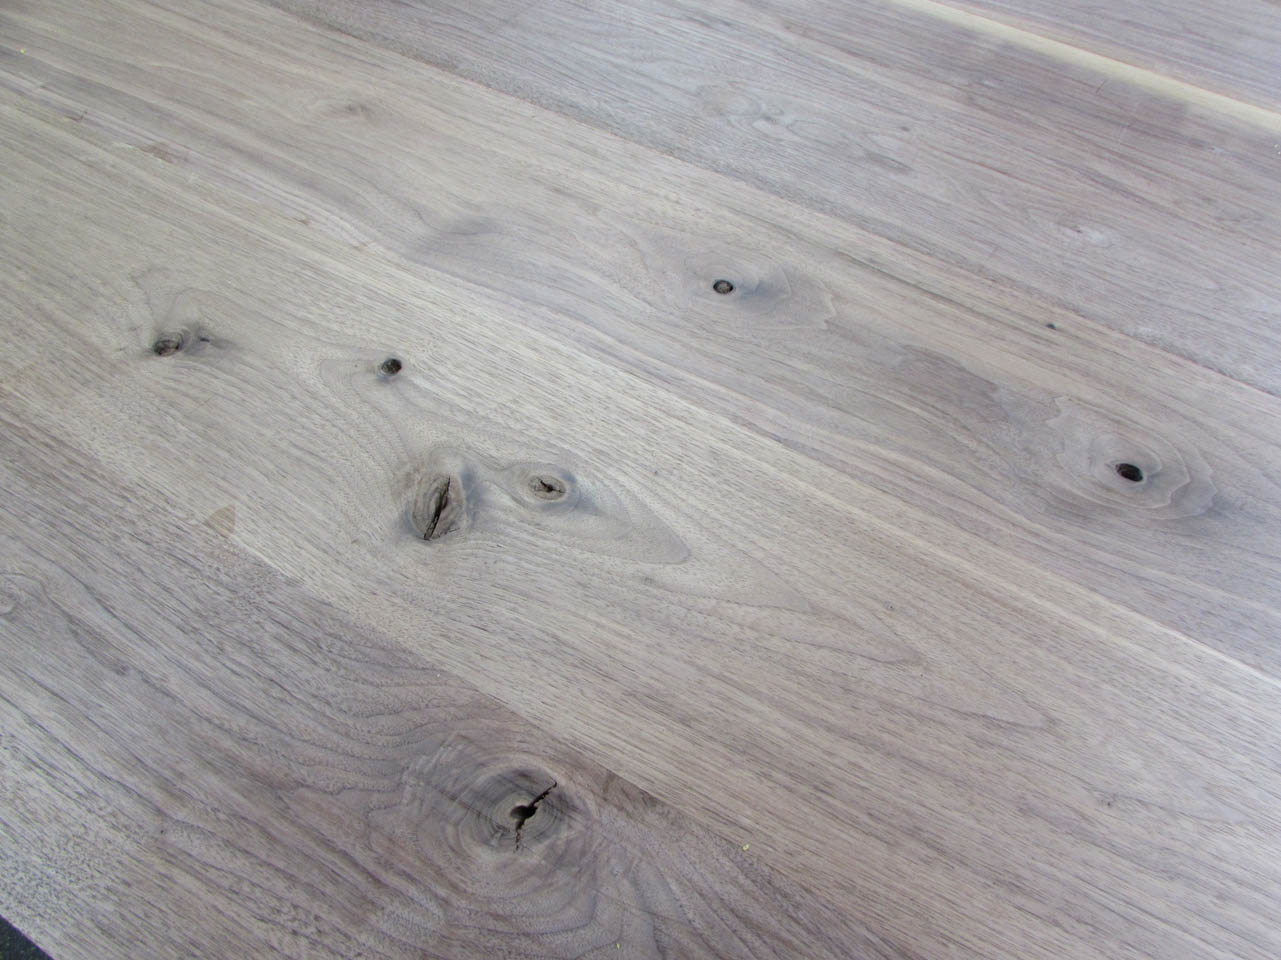
Clamps removed, and I have a large flat panel. See the plug in the picture below? Doesn’t look too bad.
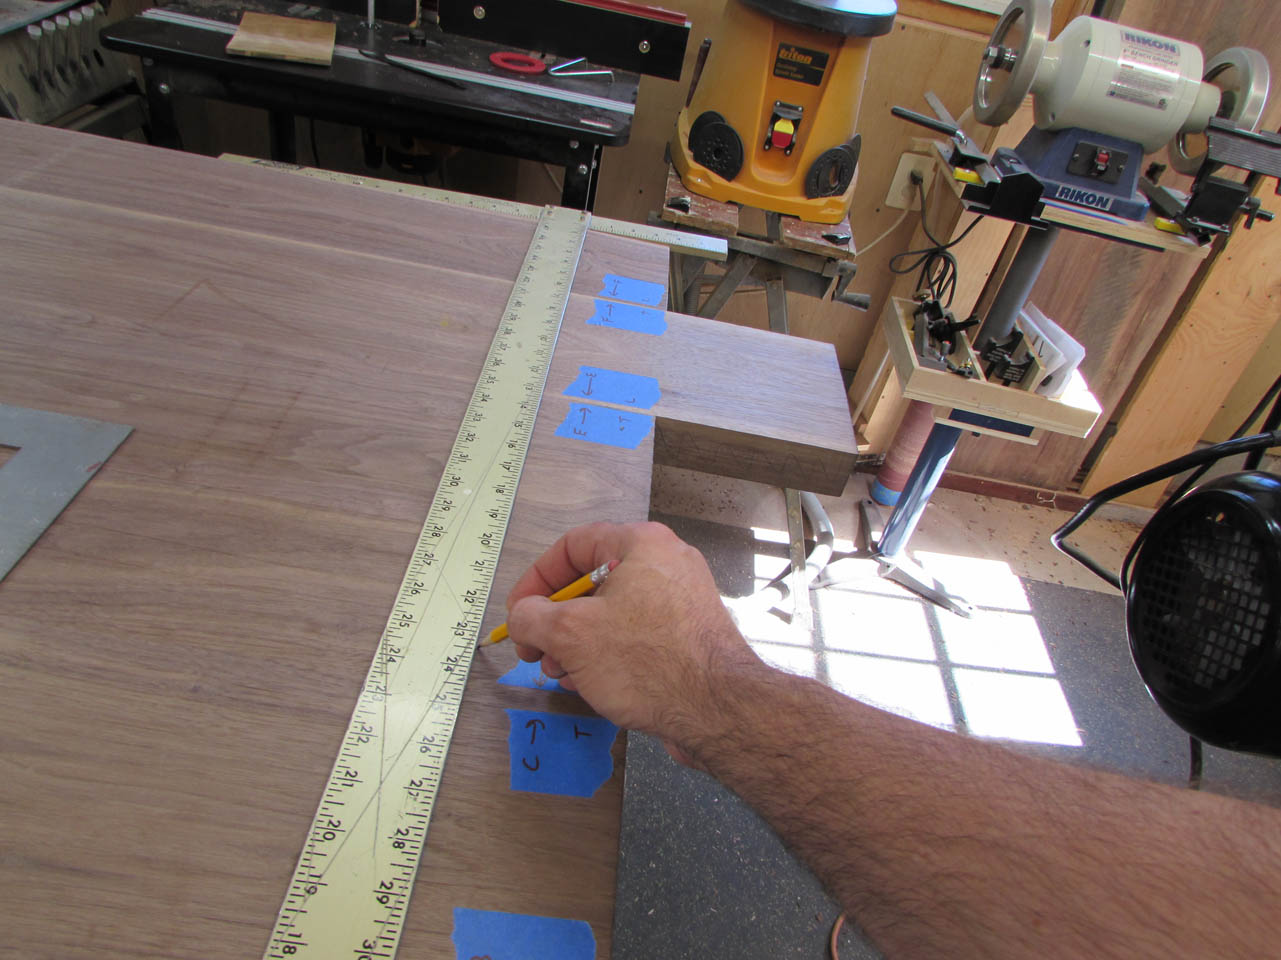
Time to cut the panel down to size. I laid out my cut line and clamped down my track.
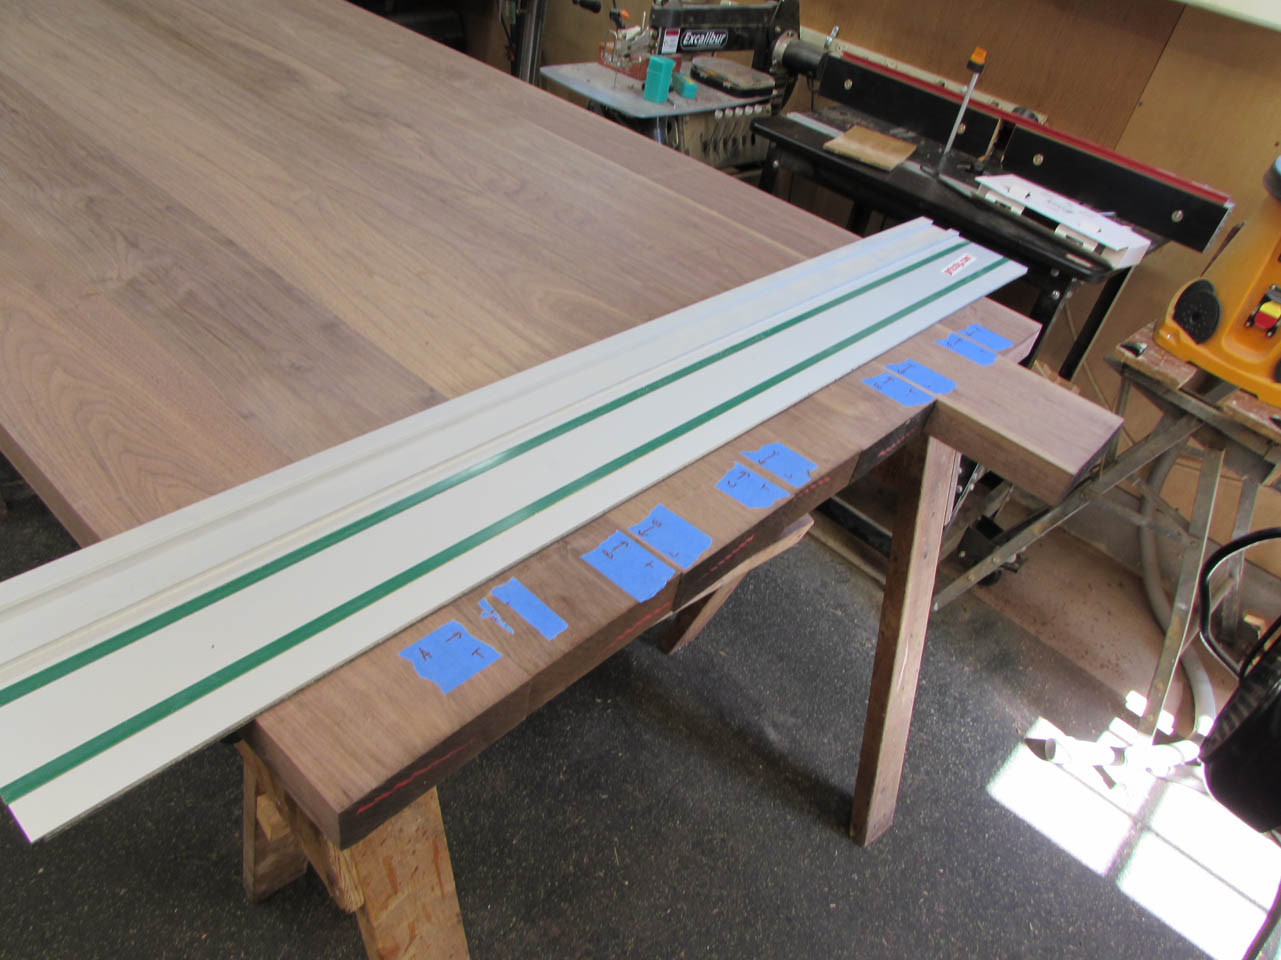
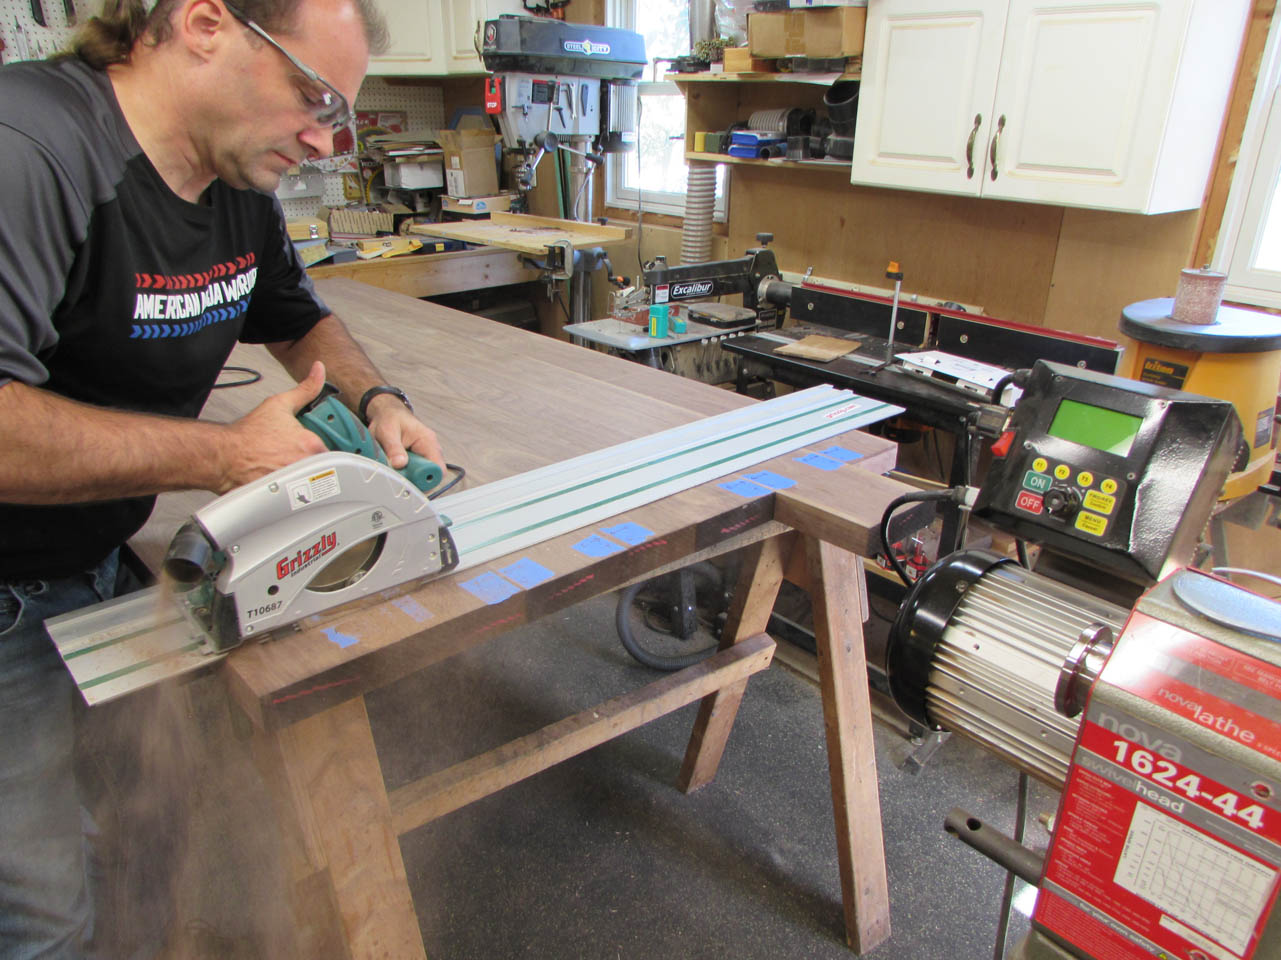
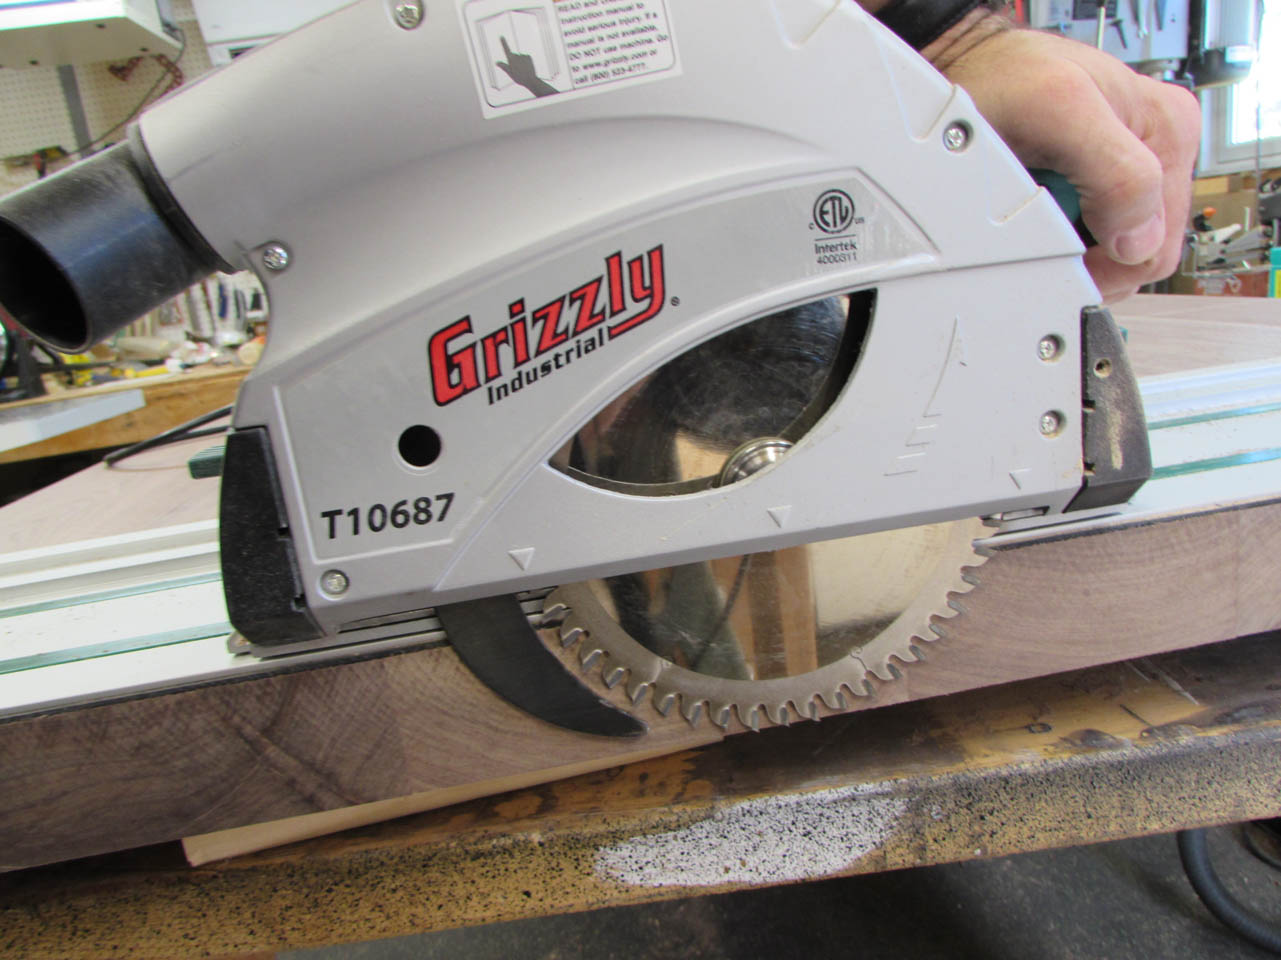
Then I made a single cut with my Grizzly track saw.
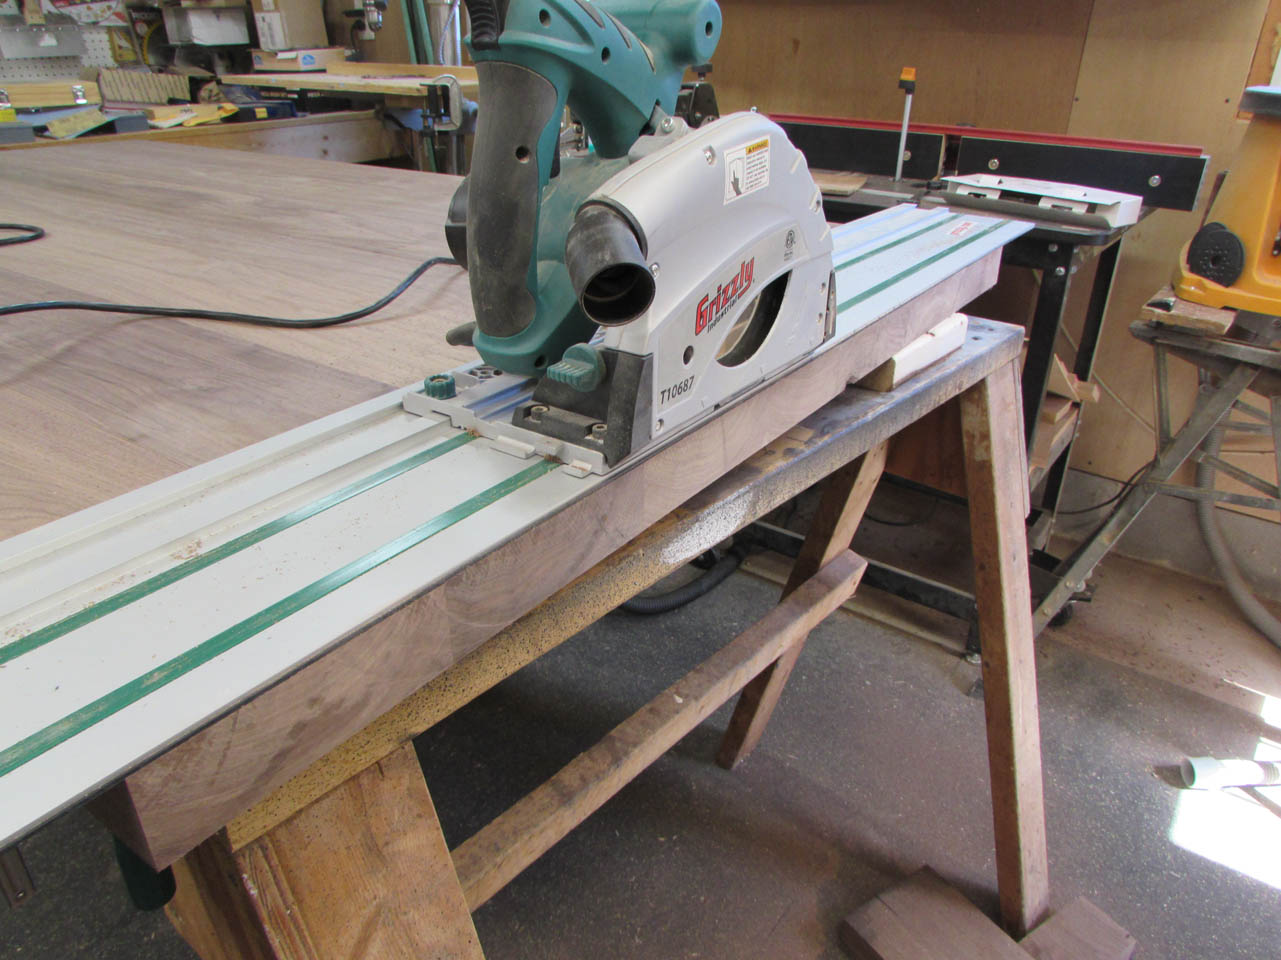
It was barely deep enough to cut all the way through.
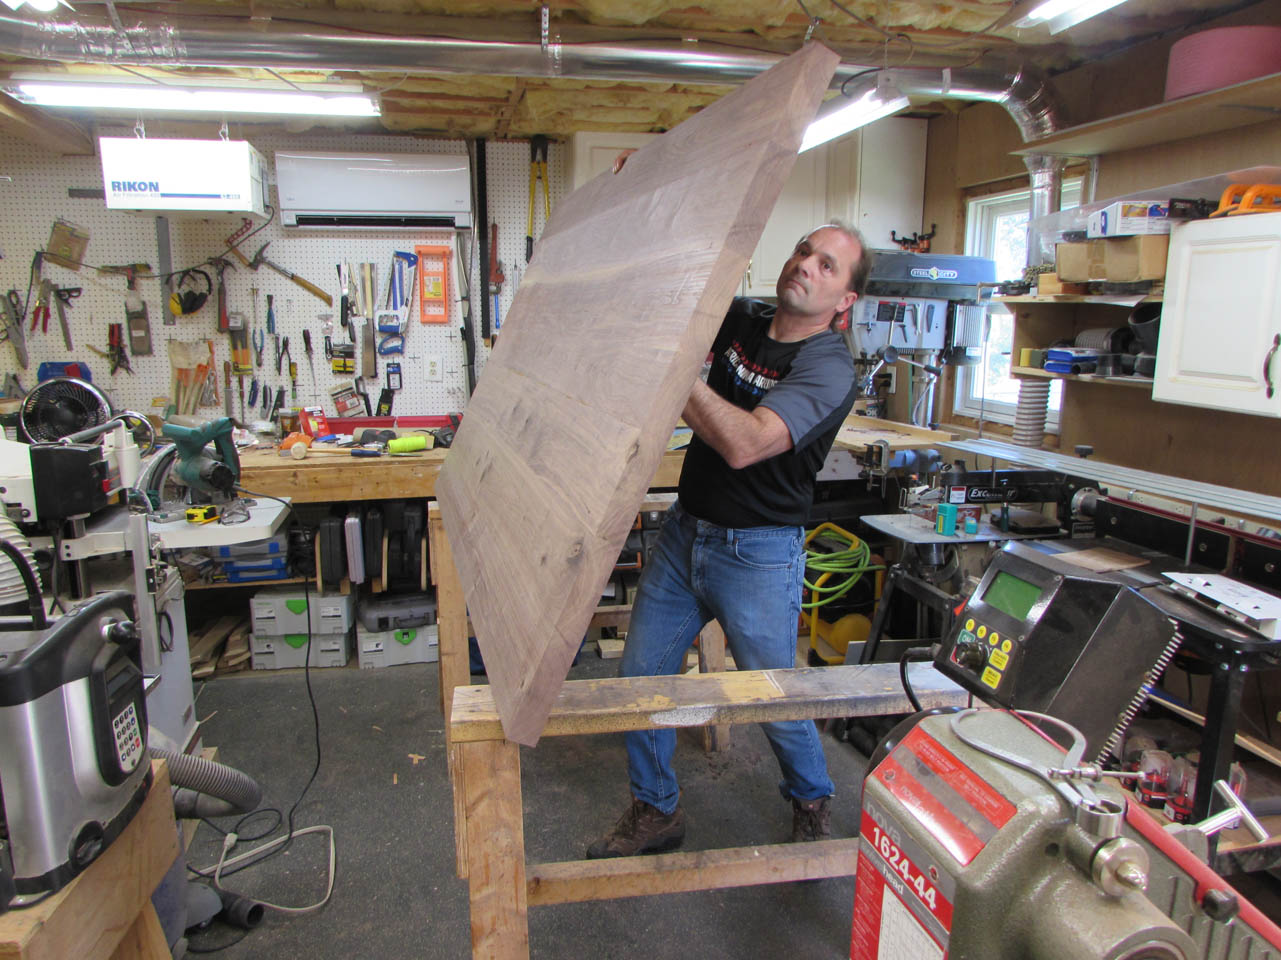
Before cutting the other side, I decided to flip the panel over. This is an incredibly heavy panel. I would estimate close to 300 pounds (136Kg).
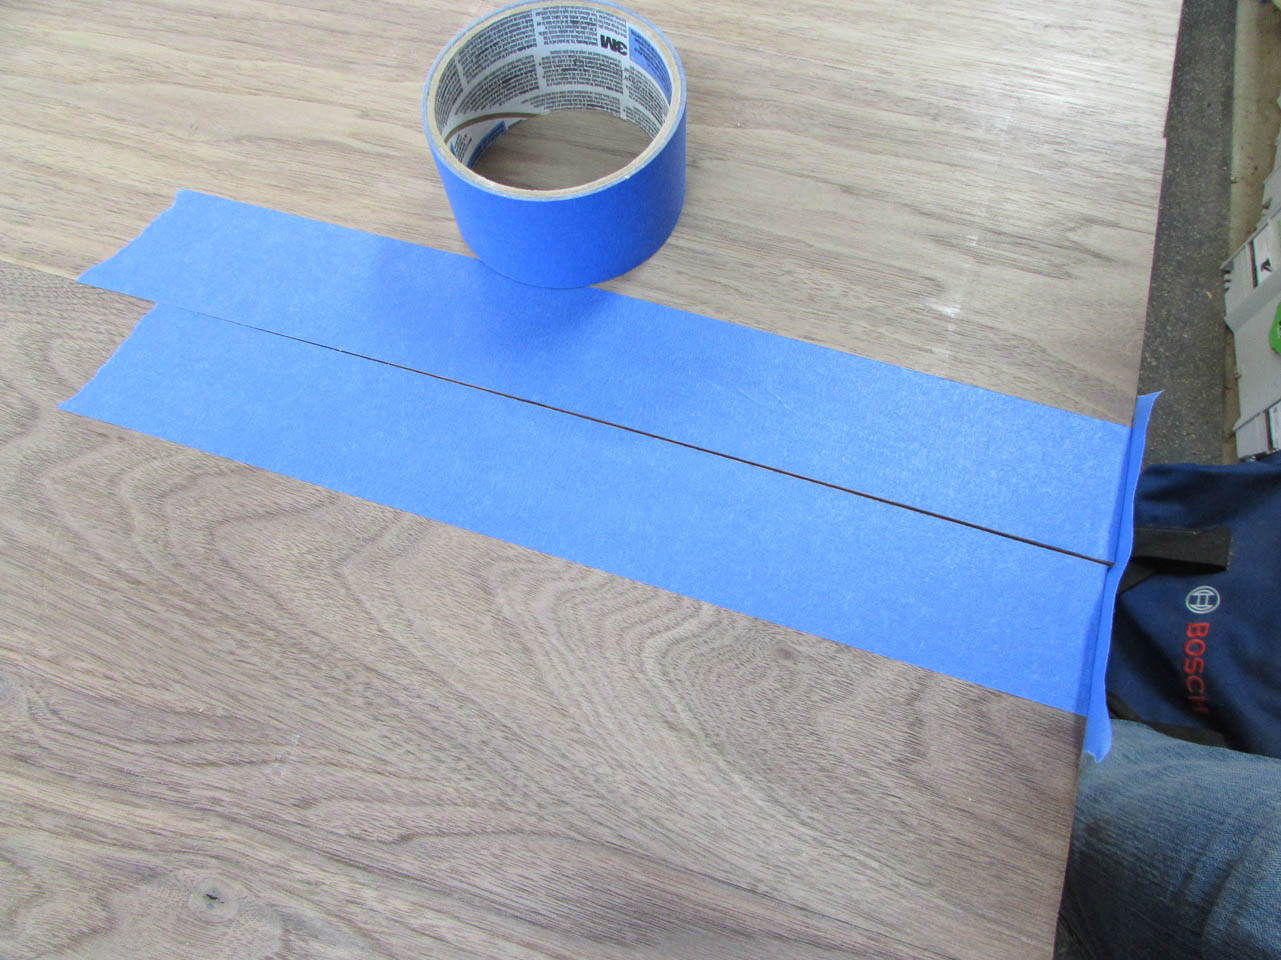
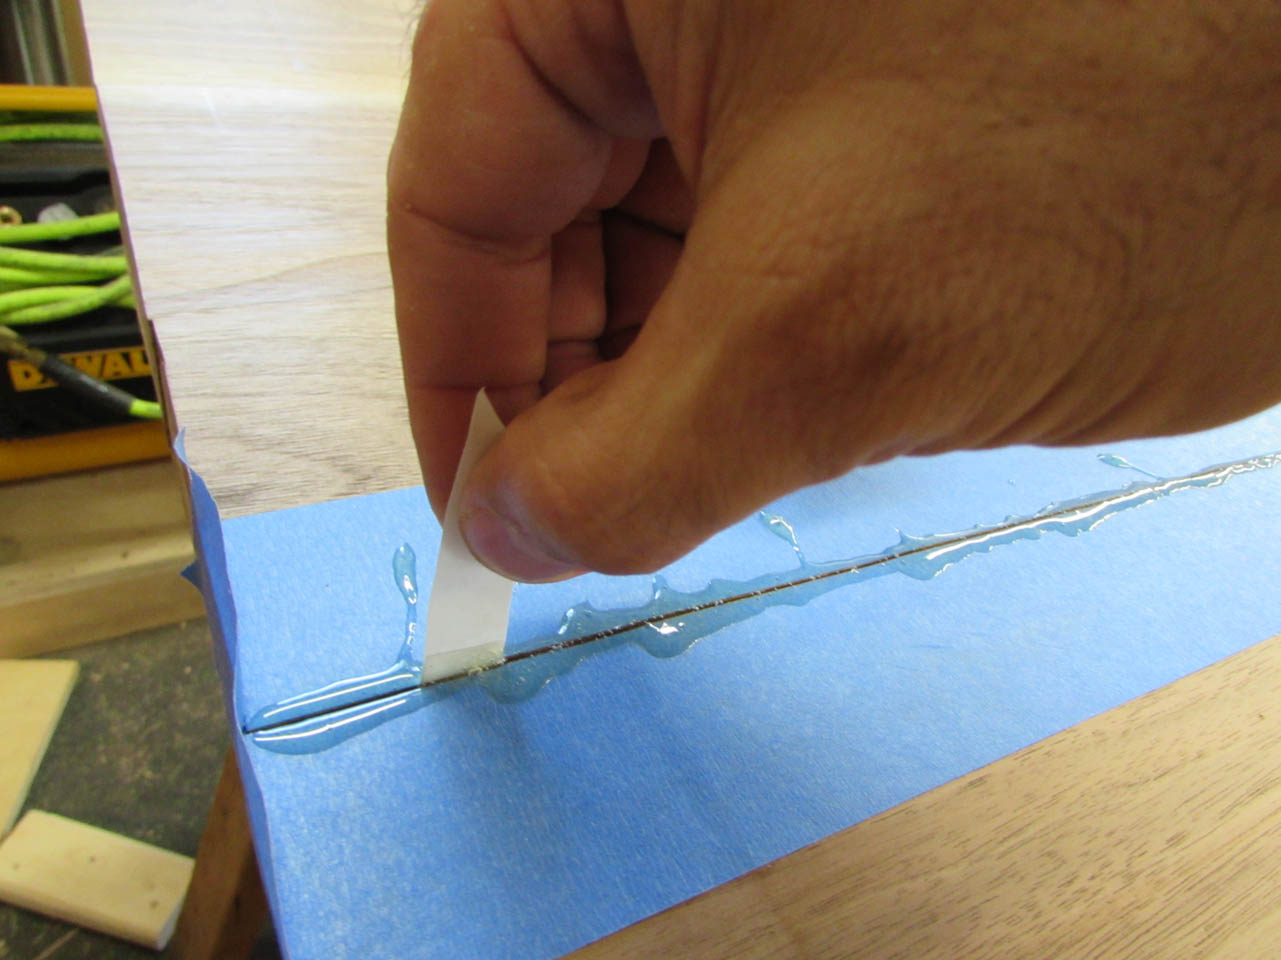
The back side had several small knot holes that I want to fill with epoxy, but it also had a gap at the center glue joint. That also needs to be filled with epoxy to prevent that split from growing.

This is why I did not cut the opposite end yet. Instead I masked off the area. If any epoxy leaks out and stains the end grain, it will all be cut away later.
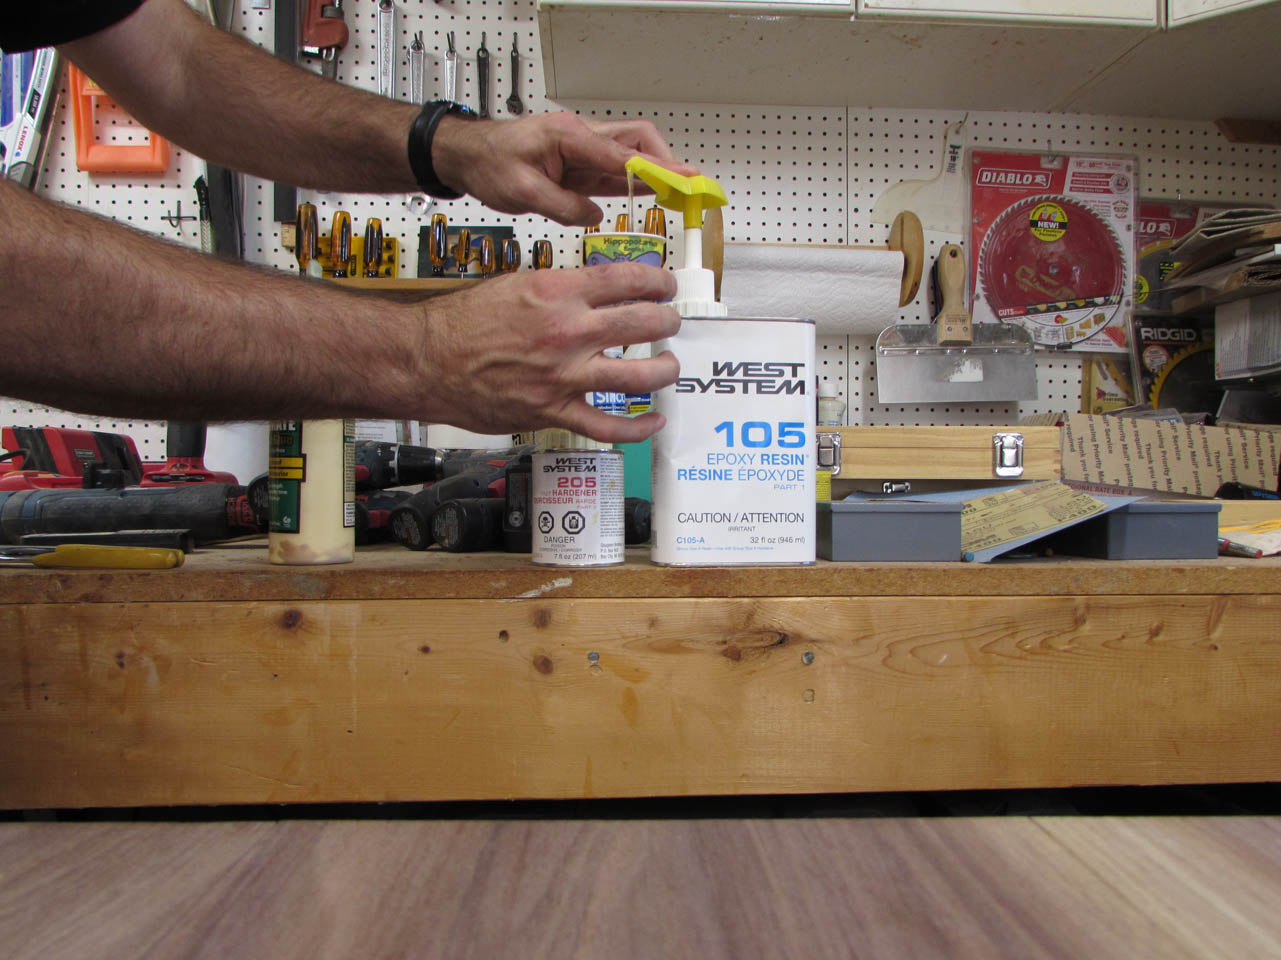
I mixed up about an ounce of West Systems 2-part epoxy and dribbled it along the joint.

Then I used a stiff piece of paper to force the epoxy down into the crack. I let it settle, then repeated the process until the crack wouldn’t take any more.
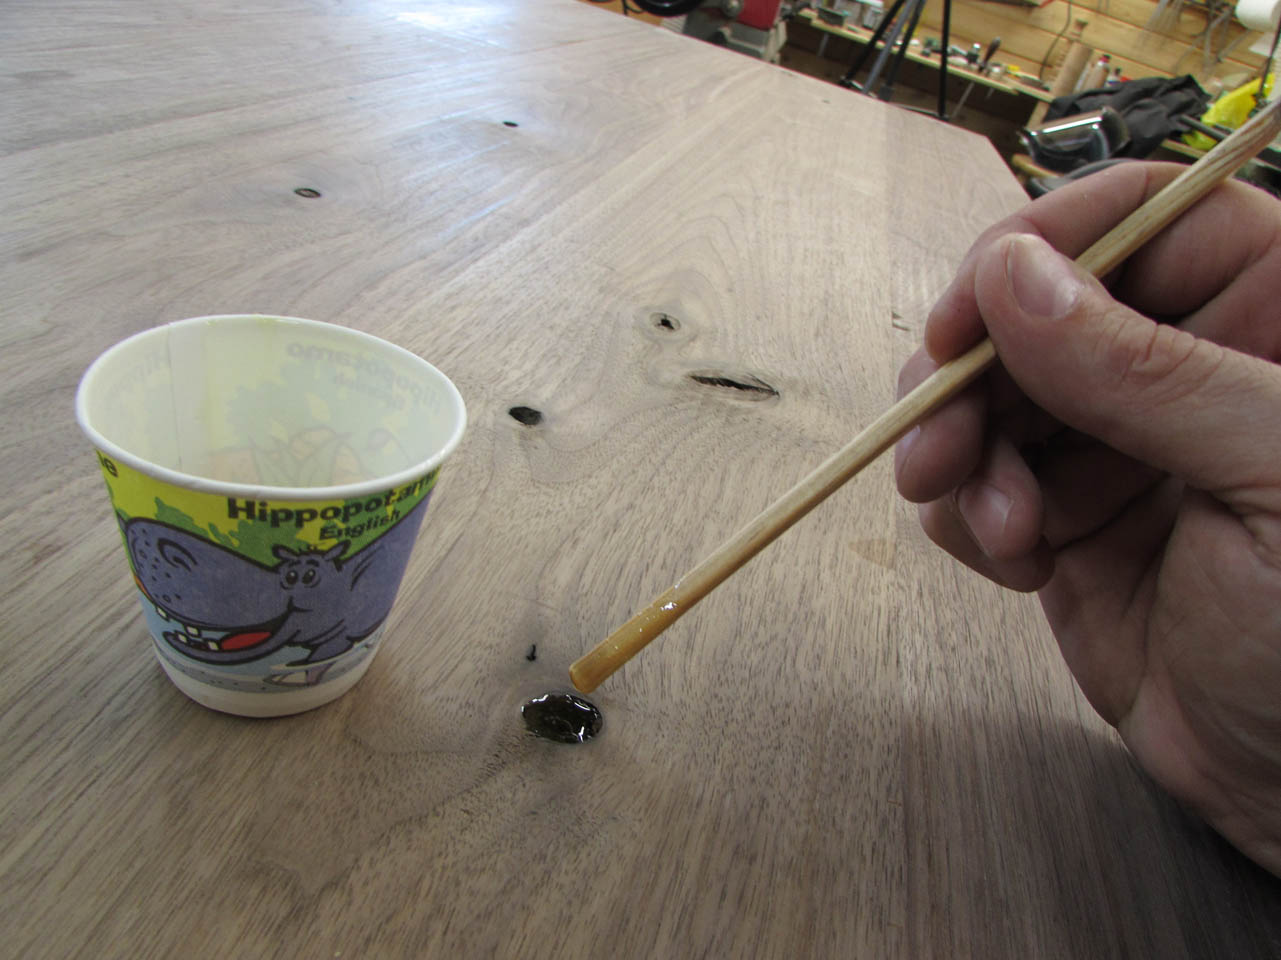
With the rest of the epoxy, I carefully filled each of the knot holes. I waited patiently for bubbles to rise out, or epoxy to sink into all the cracks, then over-filled each hole.
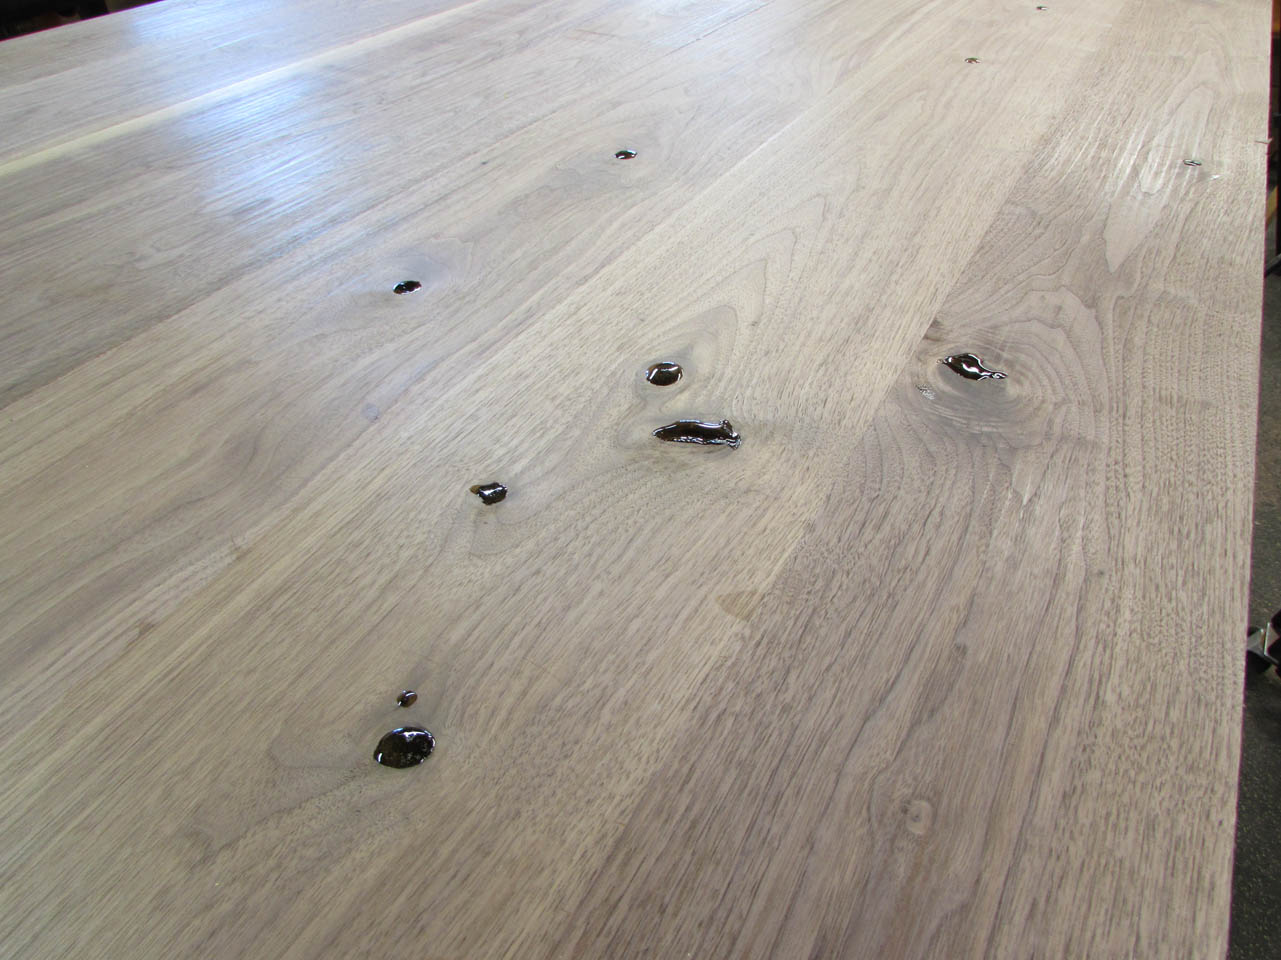
I have to let these dry for about 24 hours, then I will sand them flat and finish cutting the panel to length.
