
Sword display case
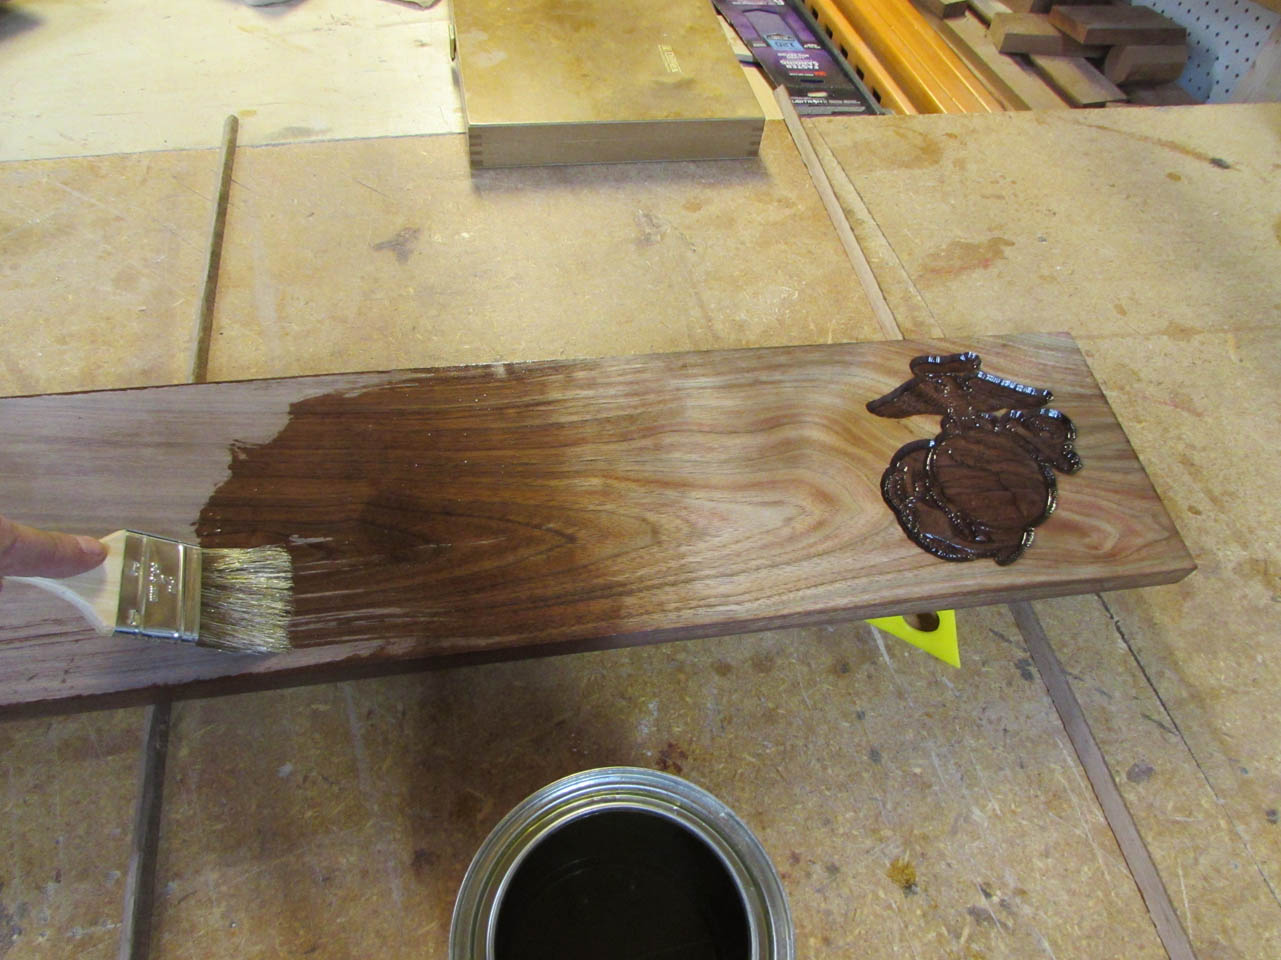
I had a request to make a shadow box to display a sword. At first I thought this would be a simple task, but the more I thought about the project, the less sure I was. The difficult part for me was figuring out how to display the sword in a way that was personal. The owner of the sword received it after his brother passed away. It was actually their father’s. He had acquired it in the Vietnam war, where he served as a United States Marine. I wanted a way to display the sword in a way that indicated that it was used by a Marine. I decided to carve the Marine Eagle Globe and Anchor into the back panel of the display. The request was for a dark wood, so I am making it from walnut. I wanted a way to make the Marine logo stand out, so I decided to experiment with wood bleach. This would lighten the surface of the wood in an area so that when I carve through it, it would highlight the carve.
The bleach I am trying is a 2-part solution. One part contains Borax & Sodium Hydroxide and the other part is Hydrogen Peroxide. I am not a chemist so I don’t know exactly how it works, But I thought I would give it a try, making sure to wear gloves and a respirator.
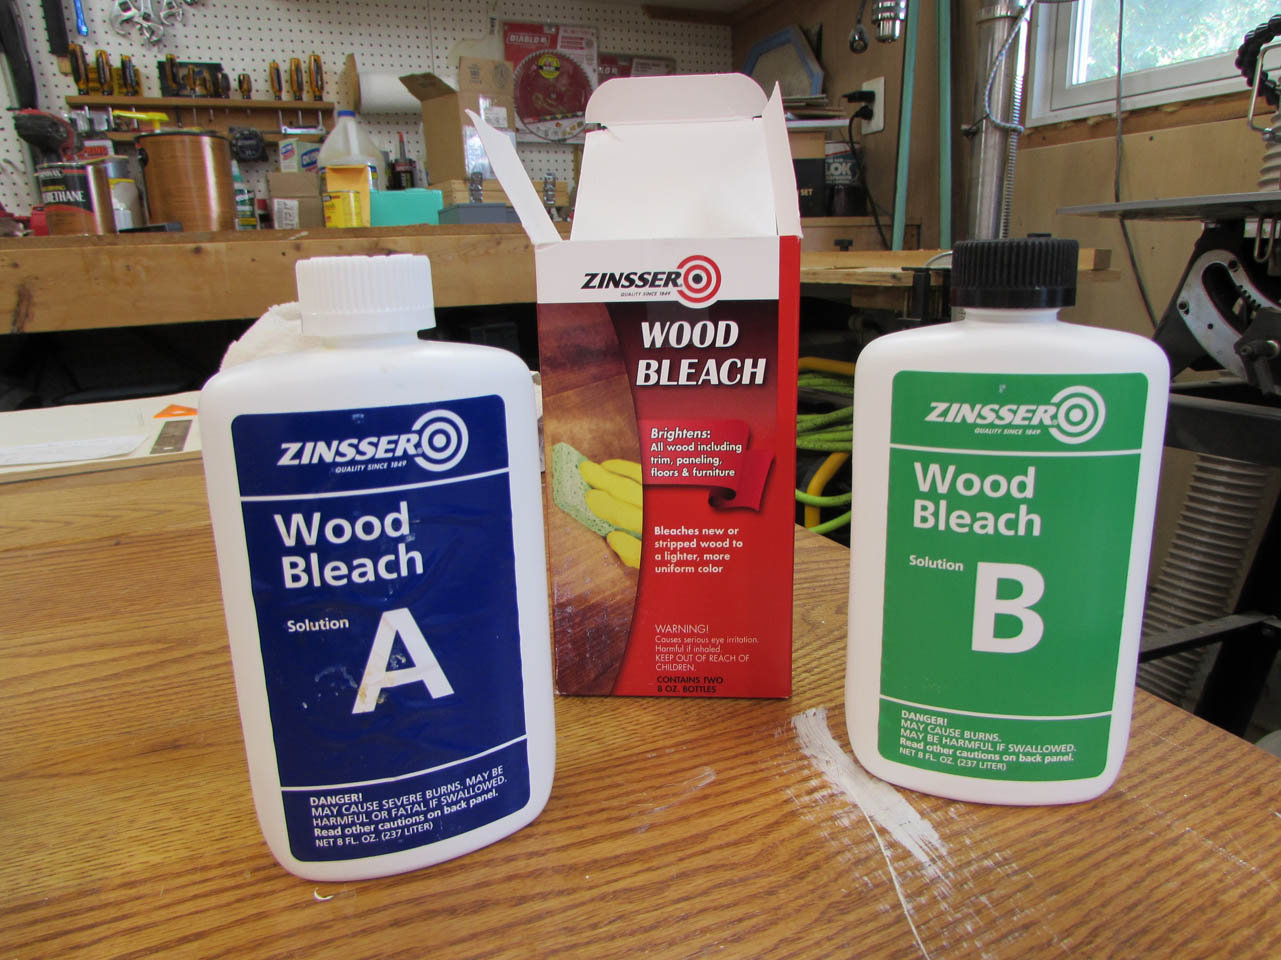

The instructions were pretty simple, using bottle “A”, wet a cloth or sponge and wipe down the area you are treating, getting it pretty wet.

Wait 5-10 minutes and then apply bottle “B” in the same fashion.

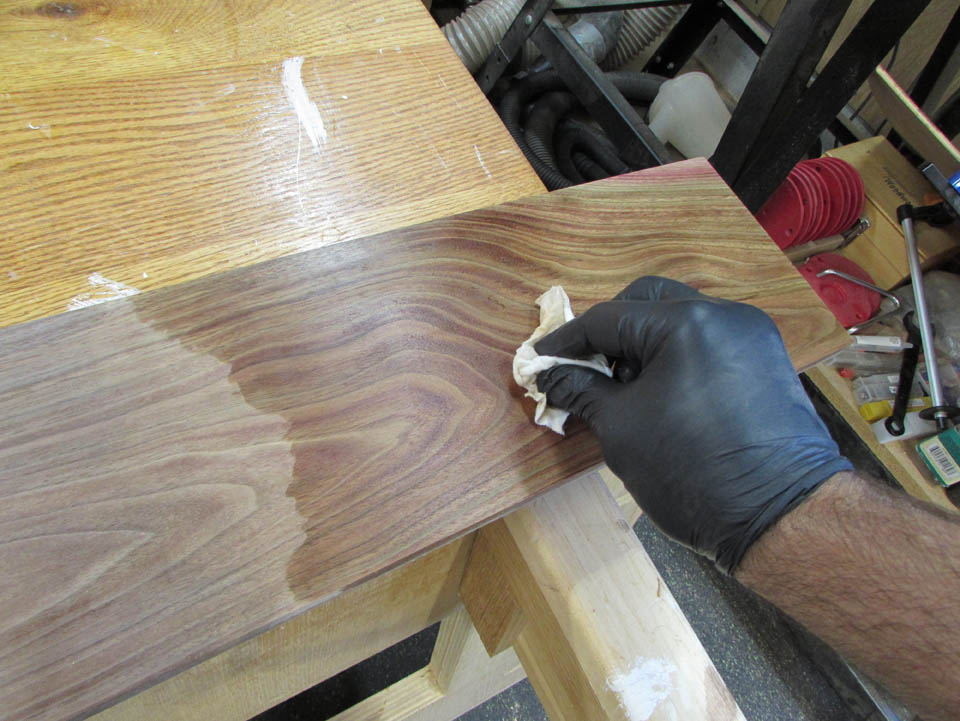
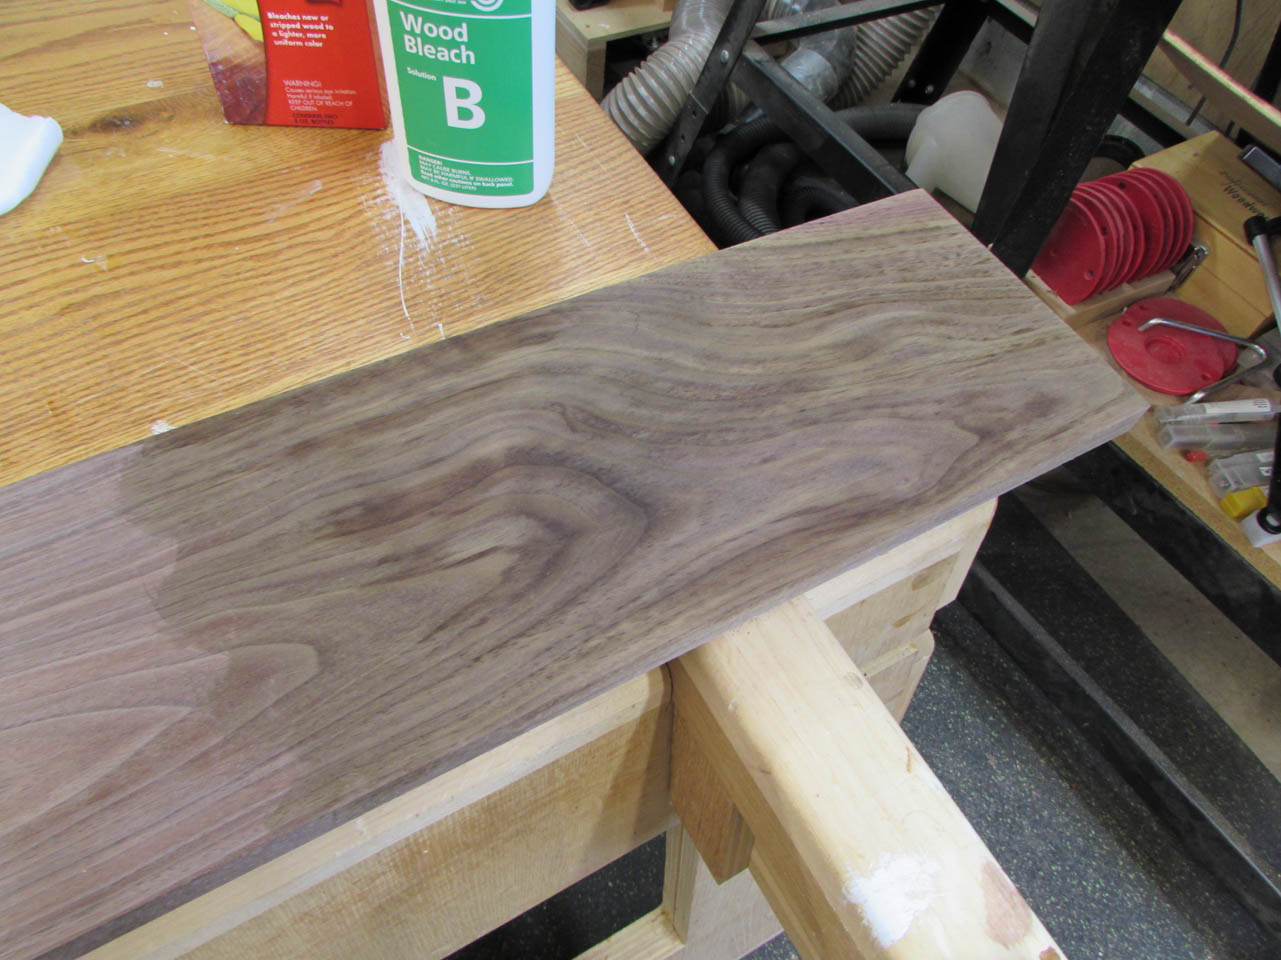
After letting the board dry out, you get some pretty good results. I actually applied a second coat, shifting the wet area about an inch or two to the right, further lightening the area. This had the affect of feathering the the bleaching a bit so it looked like a more natural transition from dark to light.
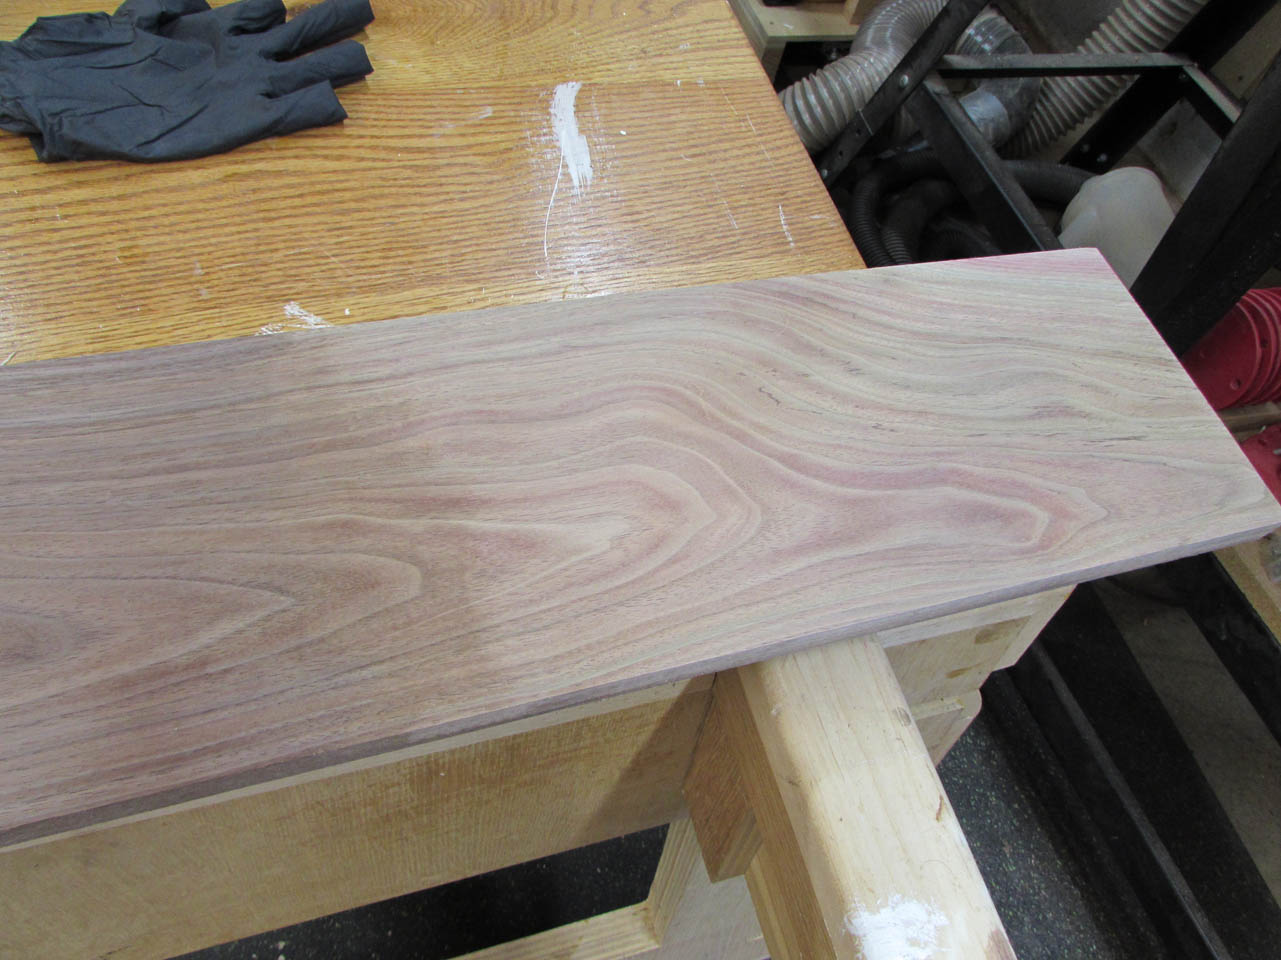
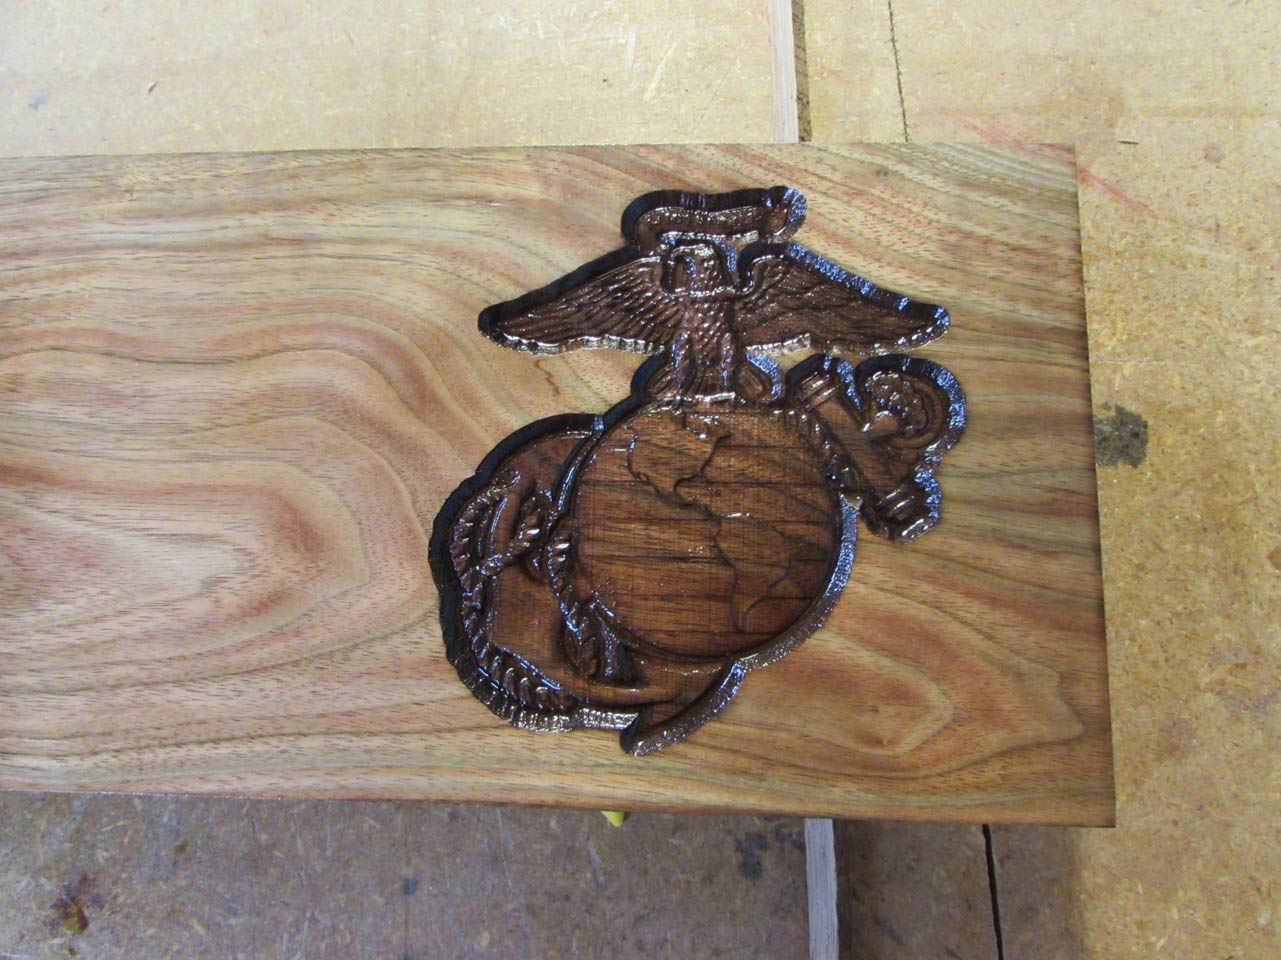
After a light sanding to smooth out the raised grain, I loaded the bleached board into the CNC to start the carve.
I was really happy with the outcome. The logo stands out really well.


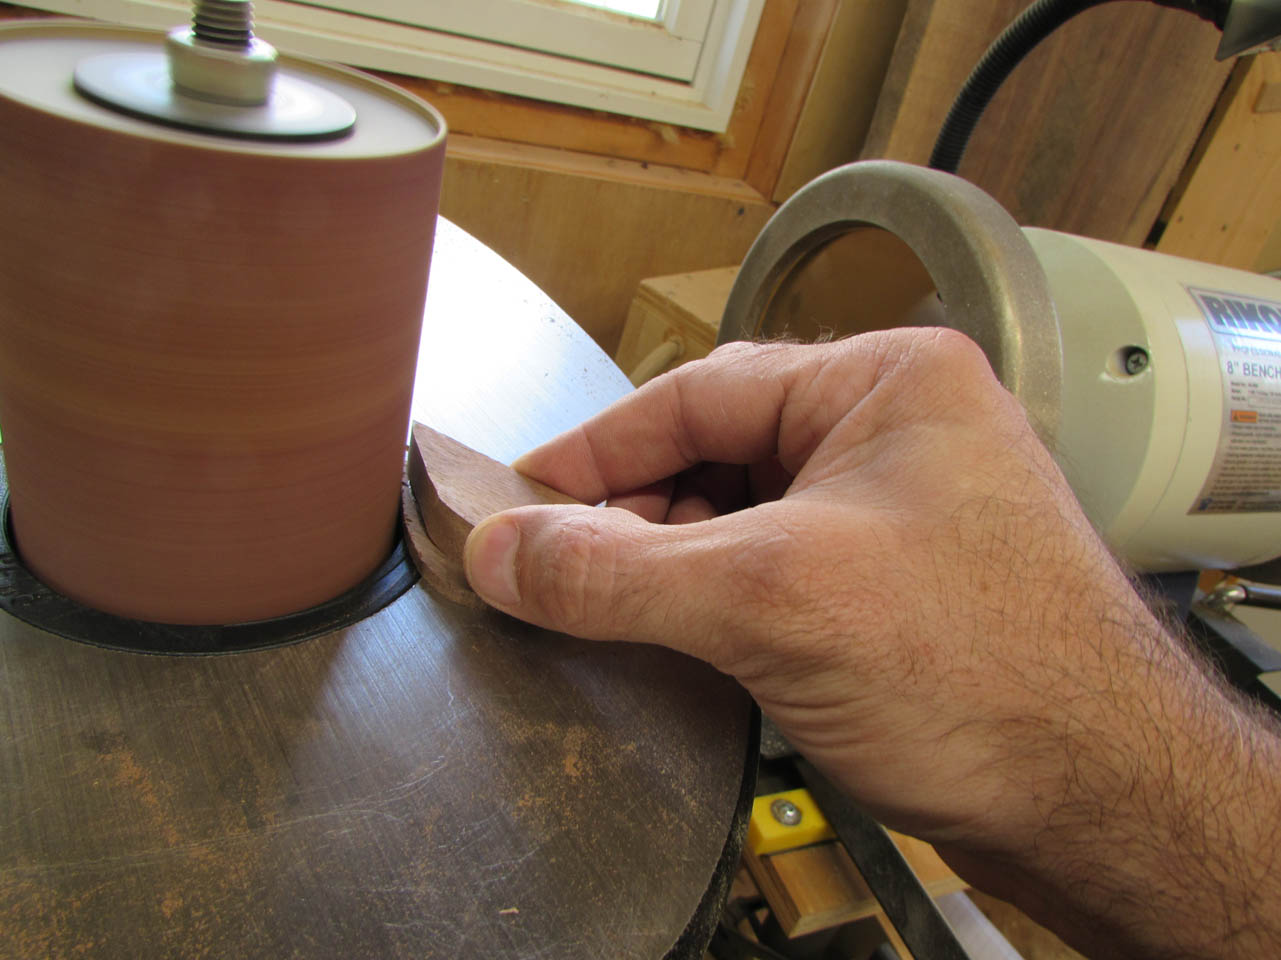
I used my mop sander to knock down the fuzziness left behind by the cutter on the CNC. I was fairly pleased with the carve.


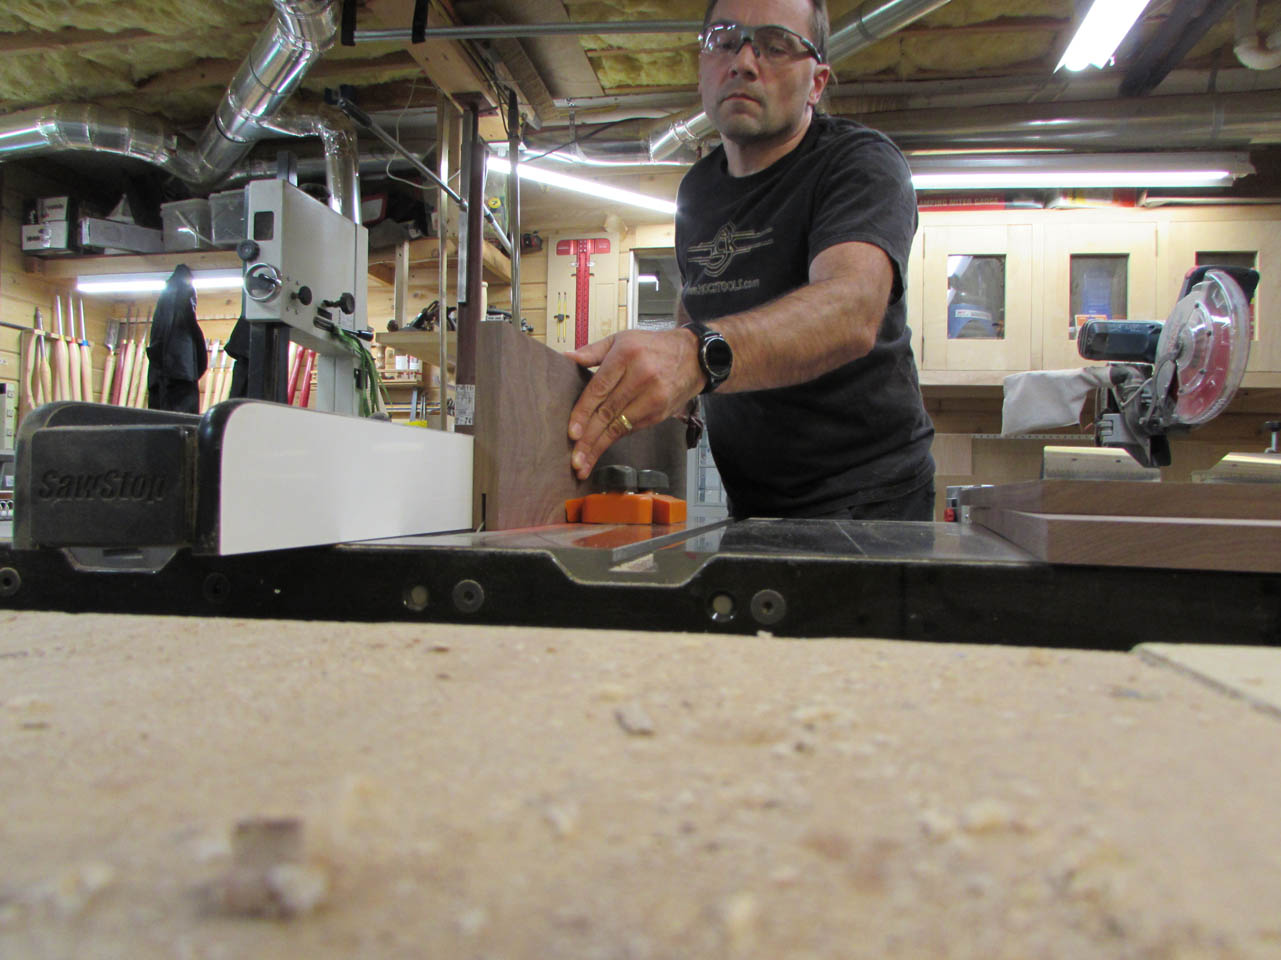
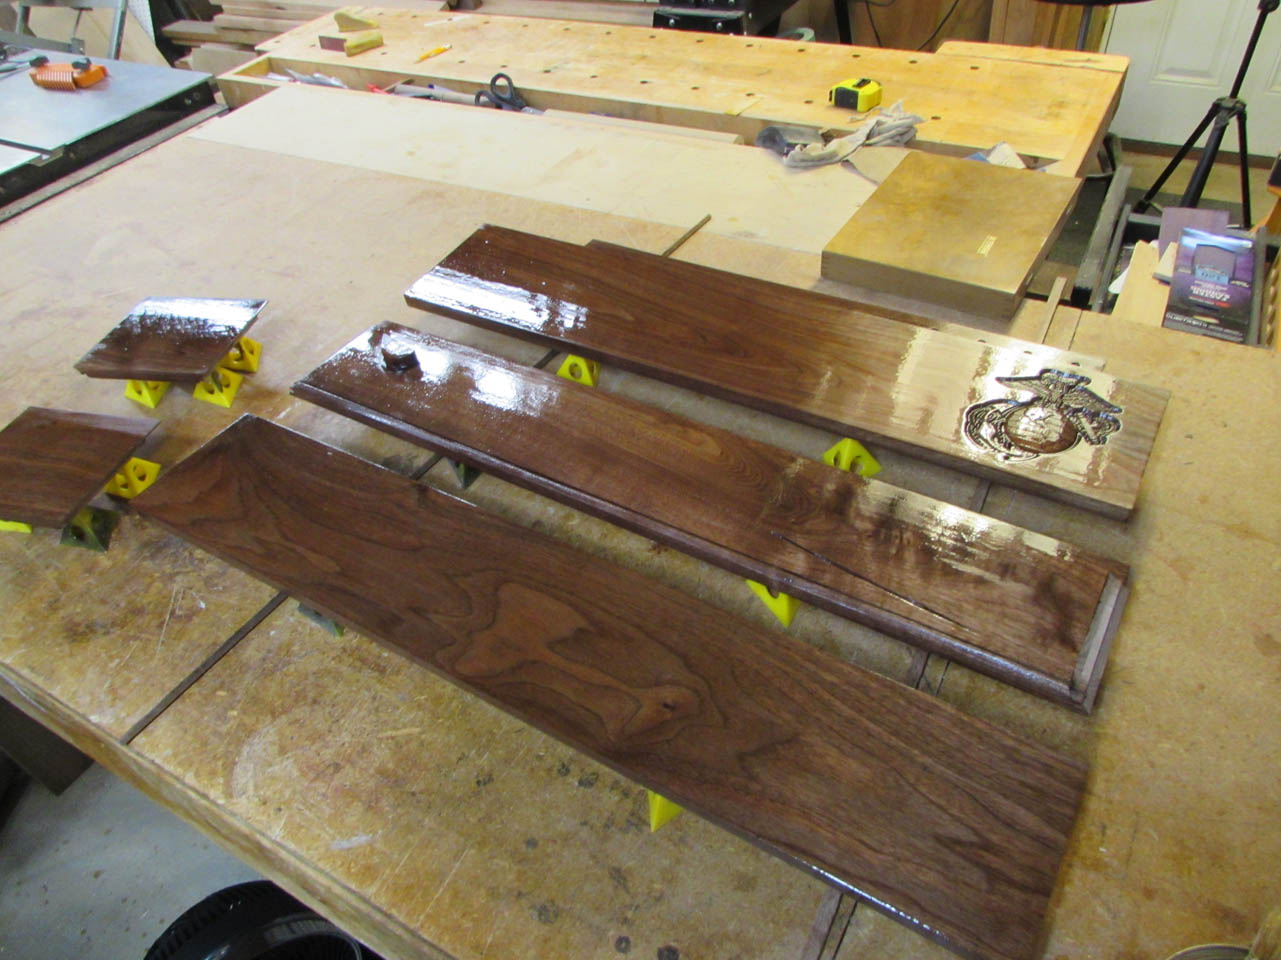
Setting that aside for now, it was time to cut down the wood for the rest of the case. I cut down three boards to the same height and width.

Next I cut out a rabbet to receive the back board.

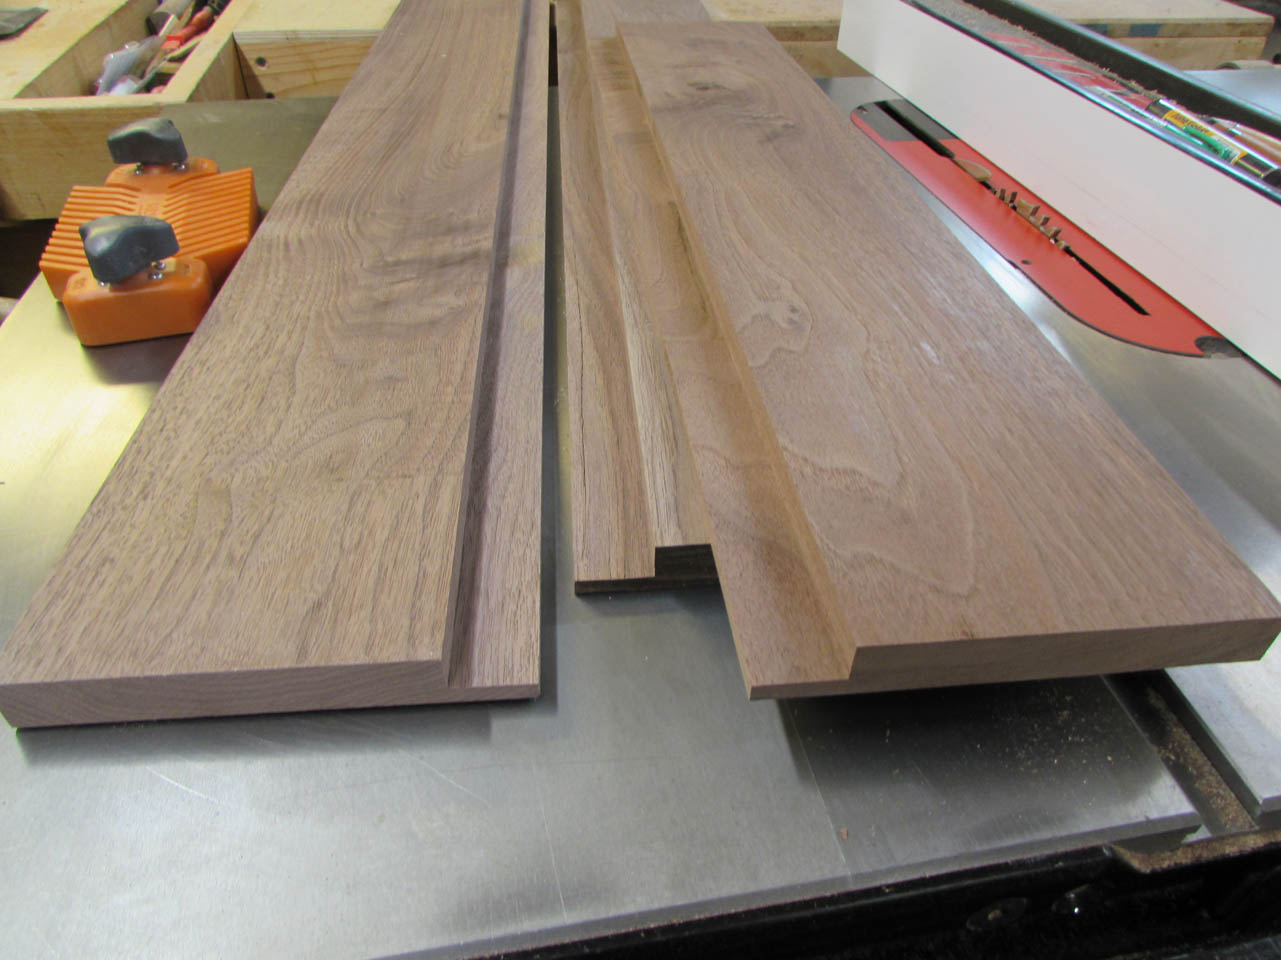

The clear acrylic that I bought is only .093″ thick, and I realized that I couldn’t use my 1/8″ thick saw blade to make the receiver groove, so I switched out the blade for a thin kerf blade.

This made a groove that was a little tight, but with a slight adjustment to the fence and a second pass the groove was now the perfect width to capture the acrylic.

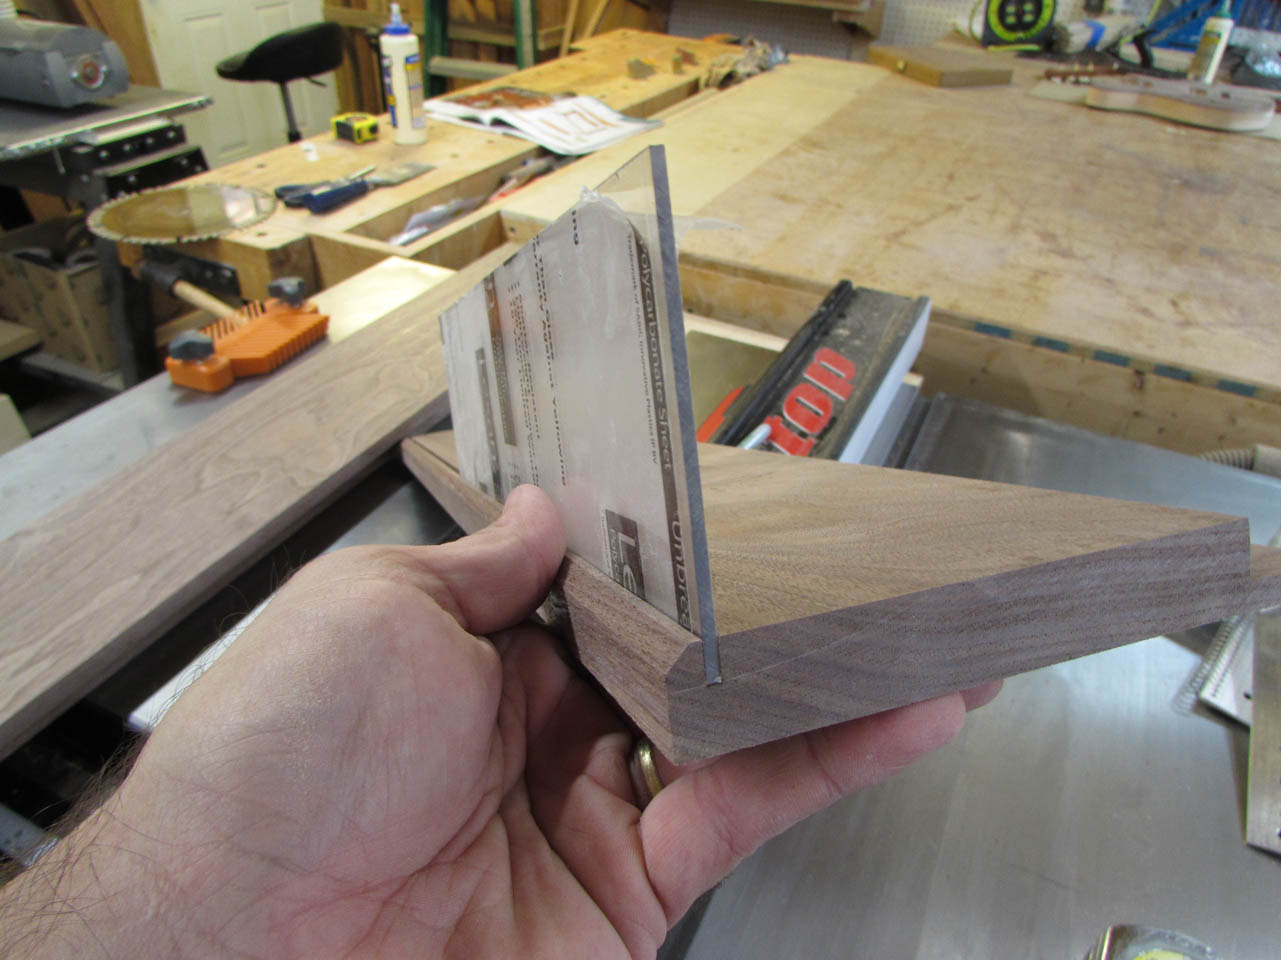
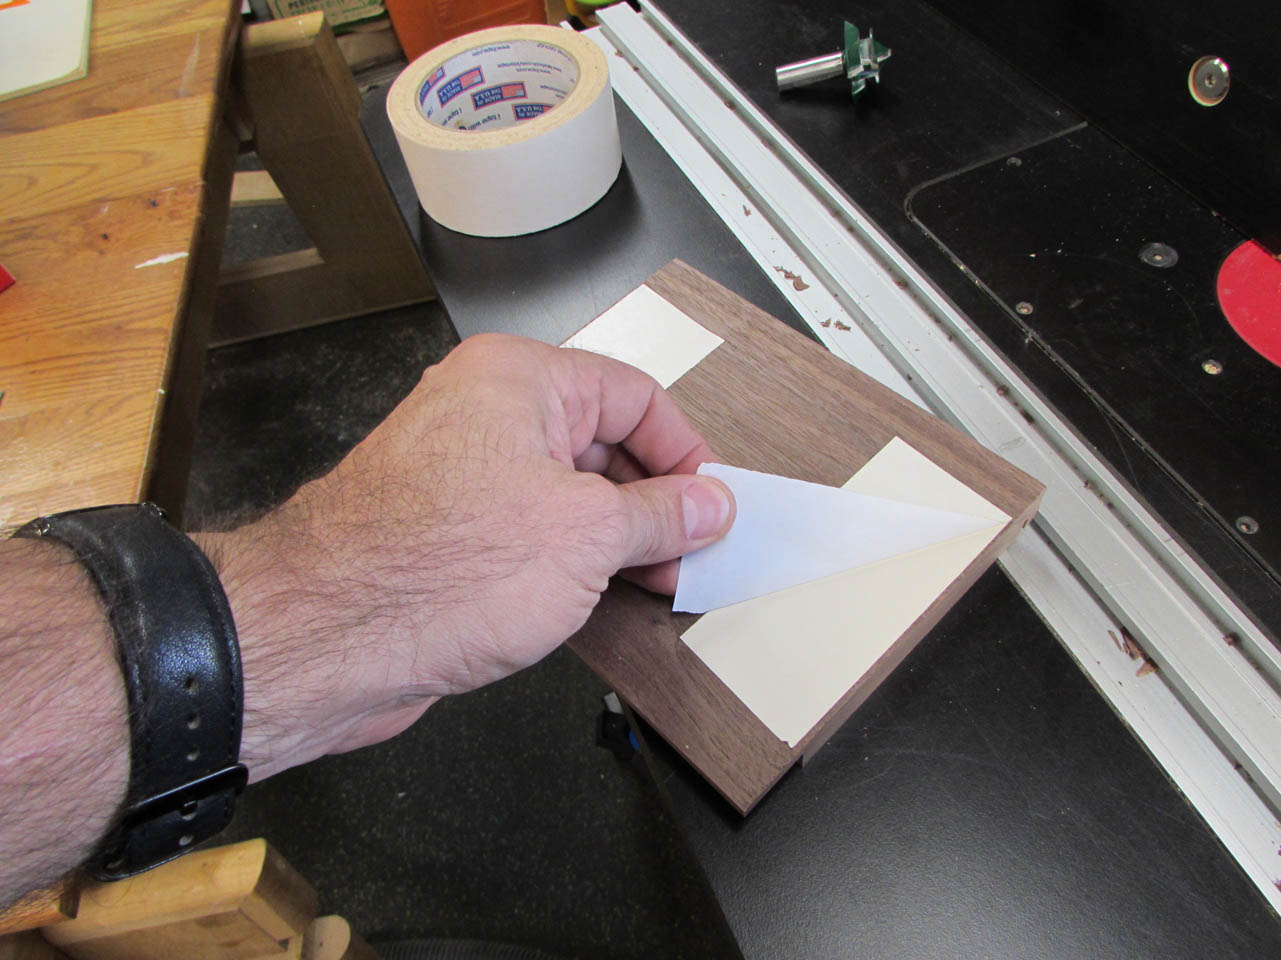
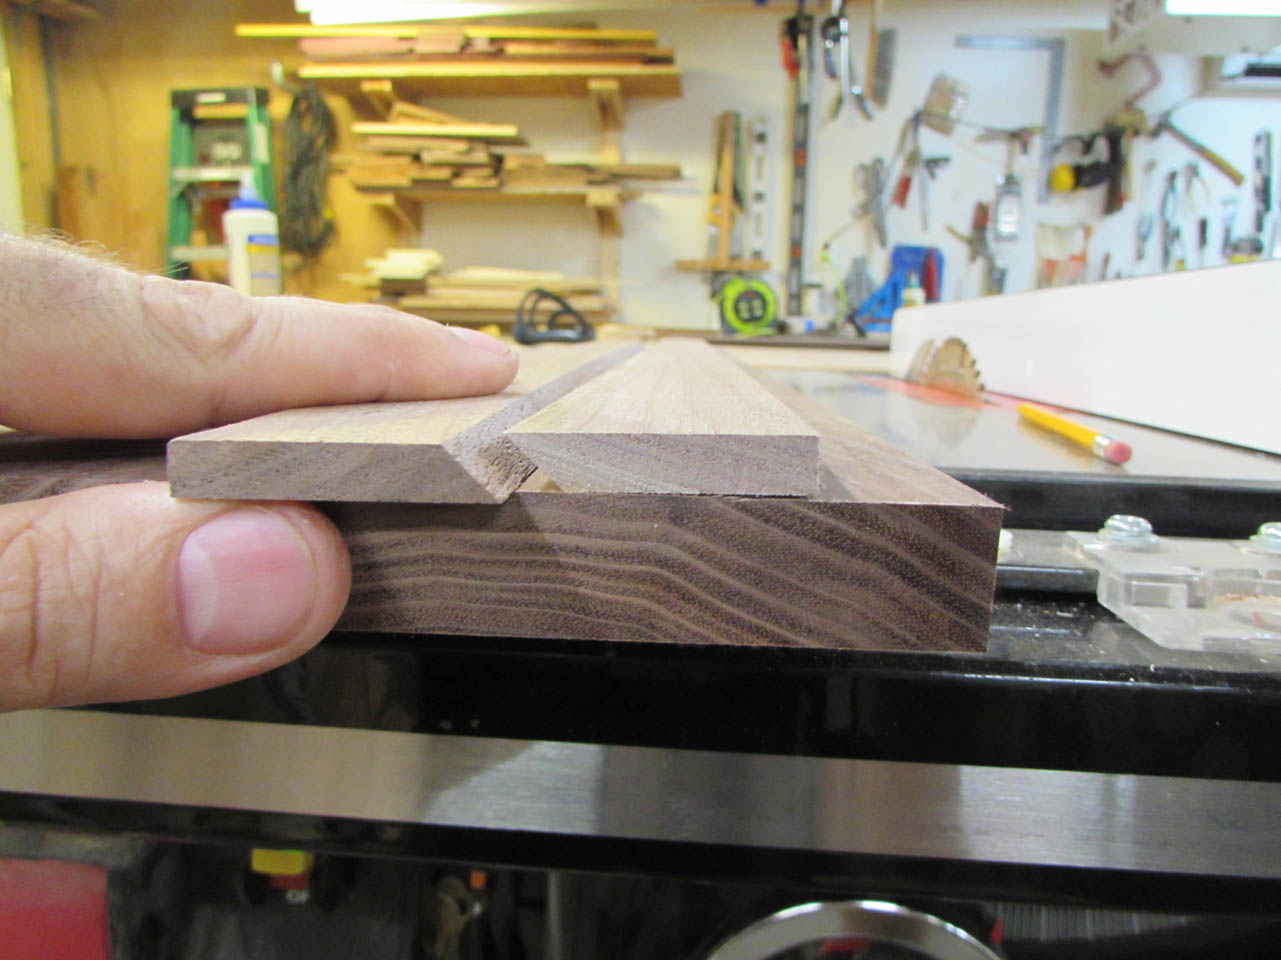
Before cutting that groove into the sides of the case, I added a small chamfer to the front edge.

Then I went back to the table saw to cut in the groove.


The chamfer will make a nice little frame around the acrylic.
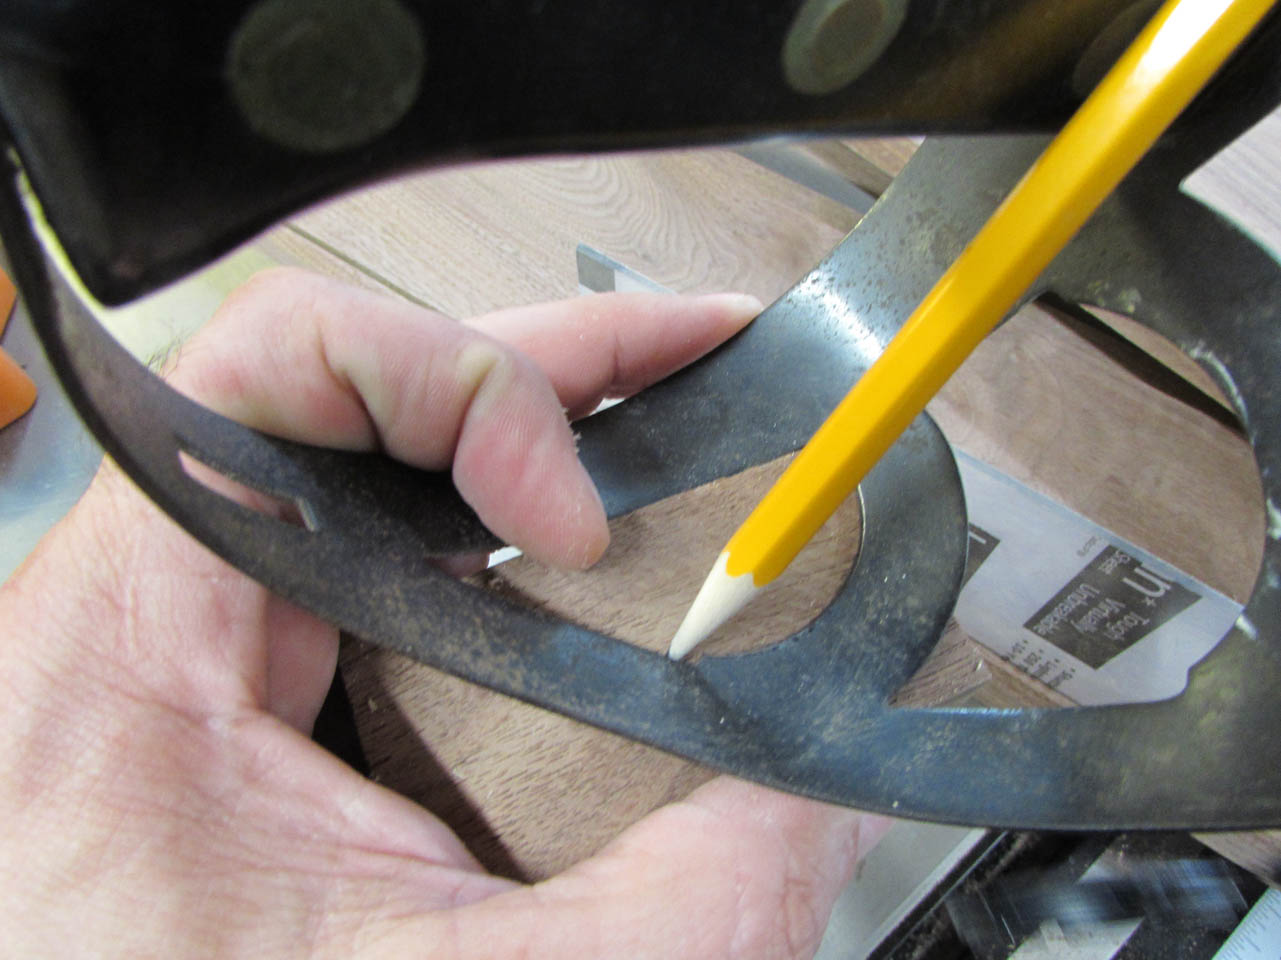
I have been really racking my brains, trying to come up with a way to support the sword in a way that would not be too obvious, but would be supportive and stable. I rejected several options before I settled on an idea. The hilt of the sword has several holes cut into it so I traced one of them out and cut a block to fit within it.

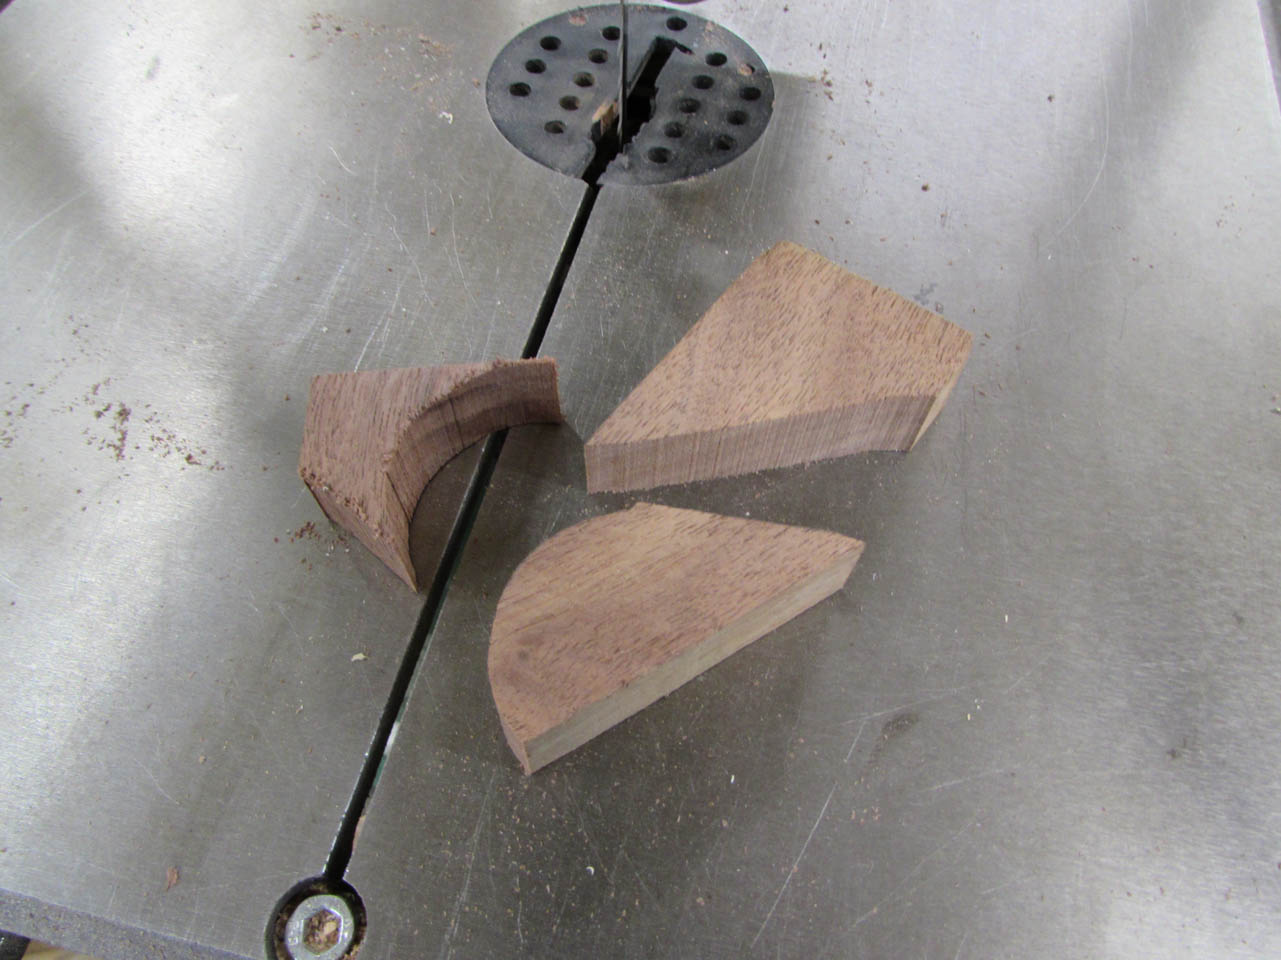
I shimmed up the front of the hilt until it sat straight.
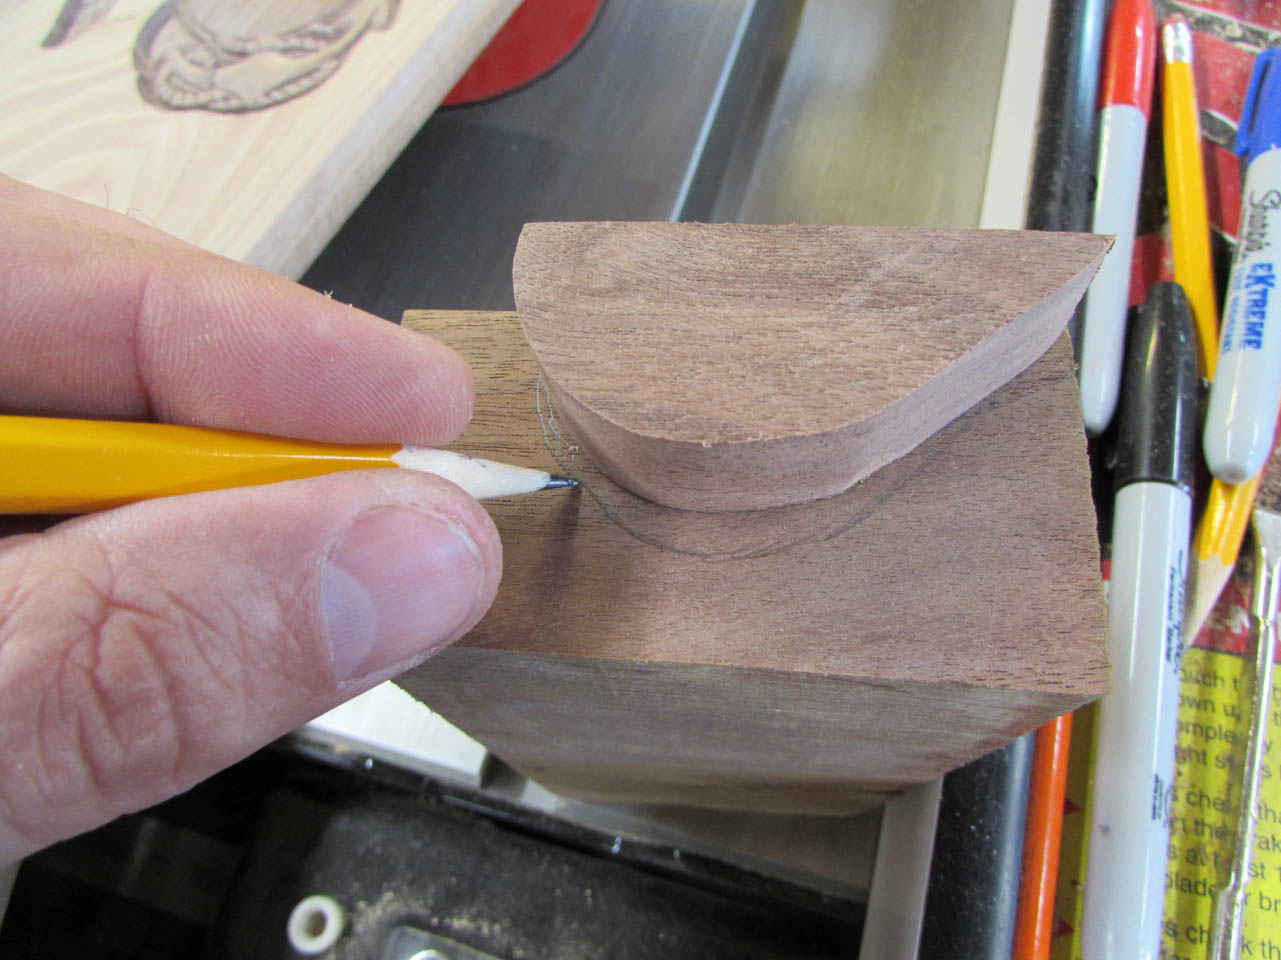
Then I cut a new piece to attach to the bottom of the other that was as thick as my shim.


I glued those two pieces together, then sanded them until they looked like one piece with a lip on one side.

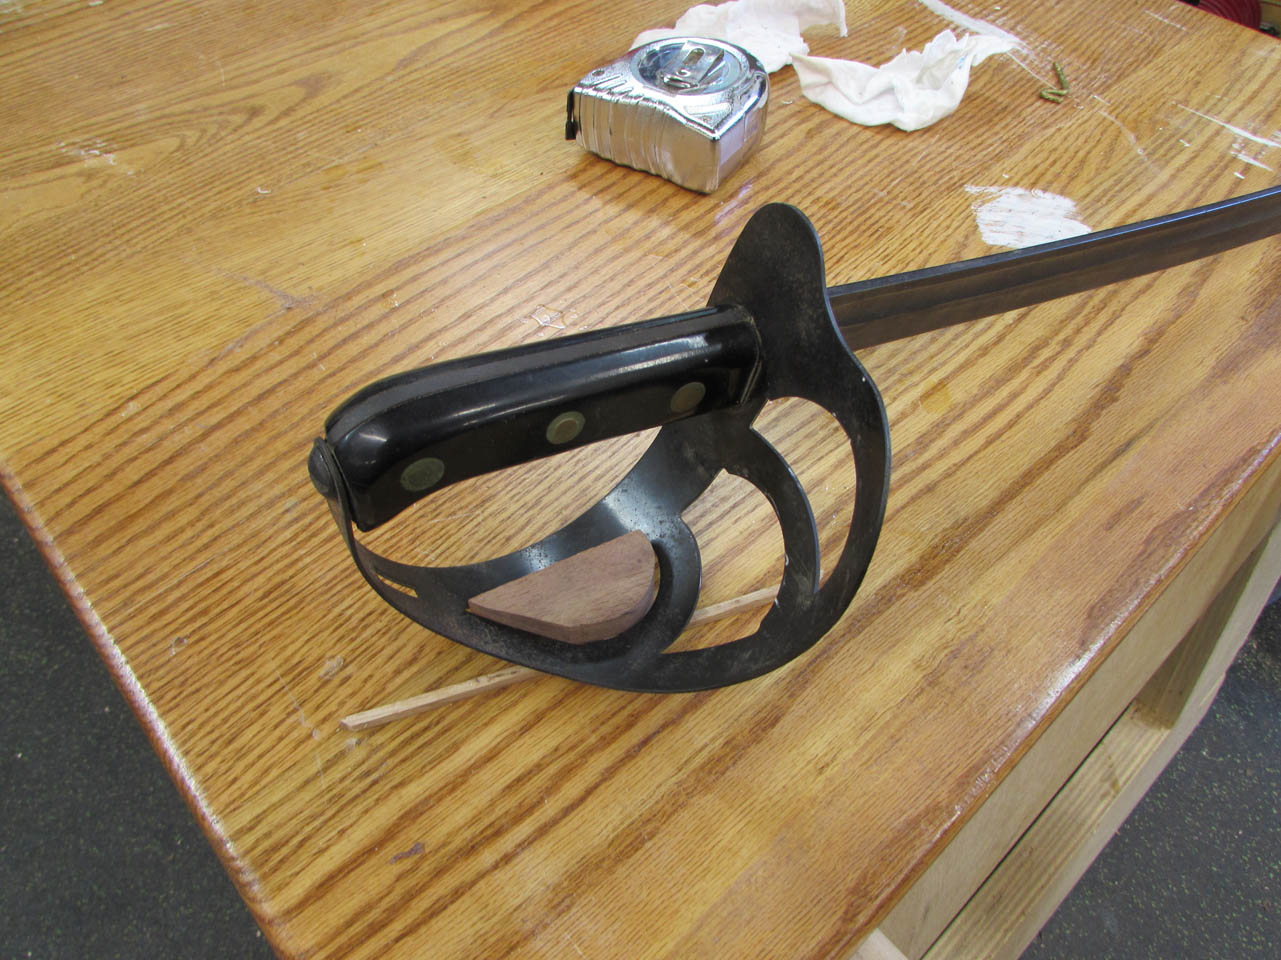
This gave me a stand that would hold the sword straight, and not let it rock because the block rose up through the hole in the hilt.


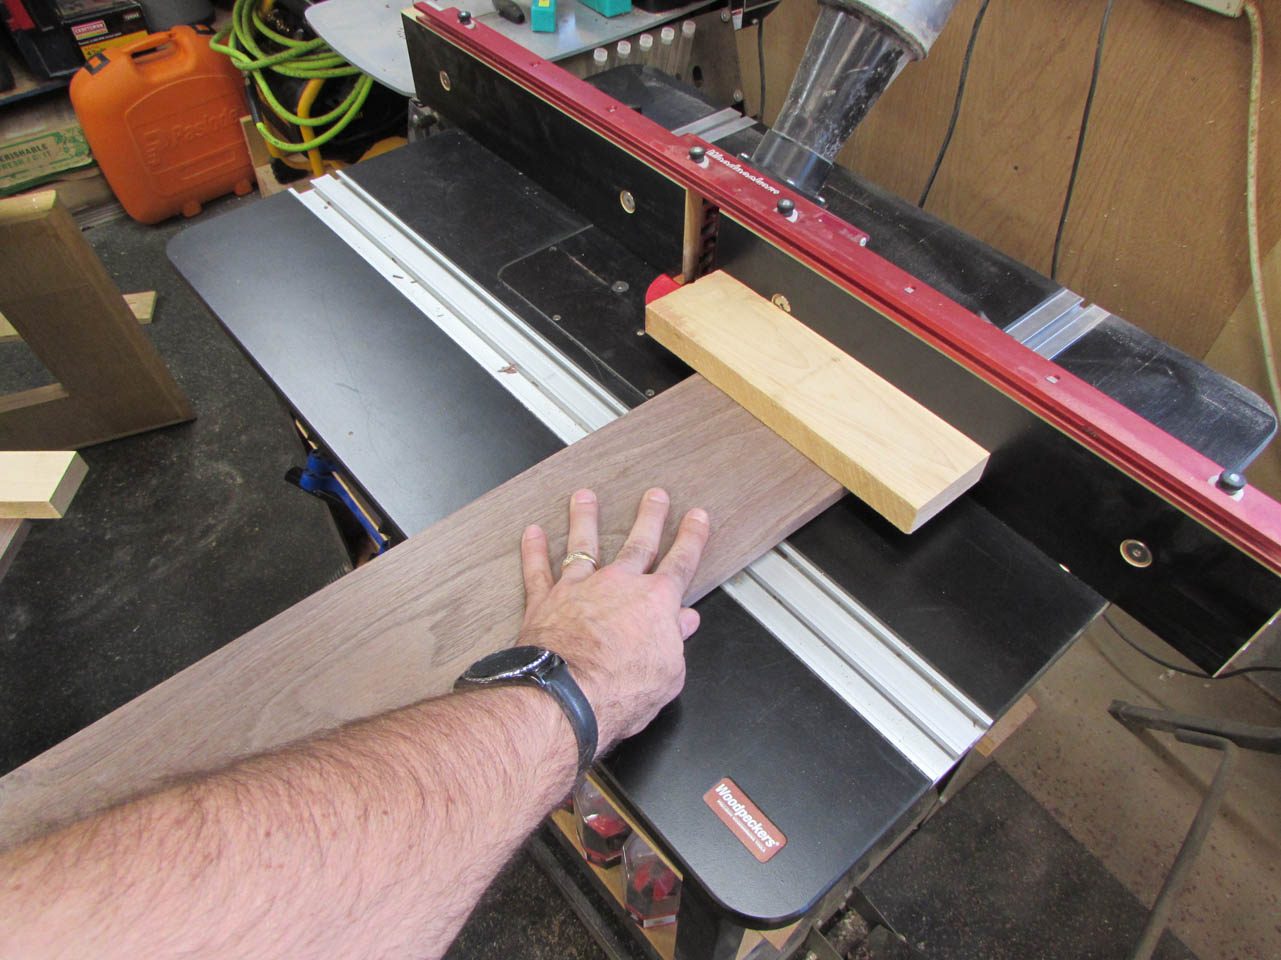
I switched back to the three boards I made for the box, and clamped two of them together then cut them to the exact length I needed for the top and bottom.
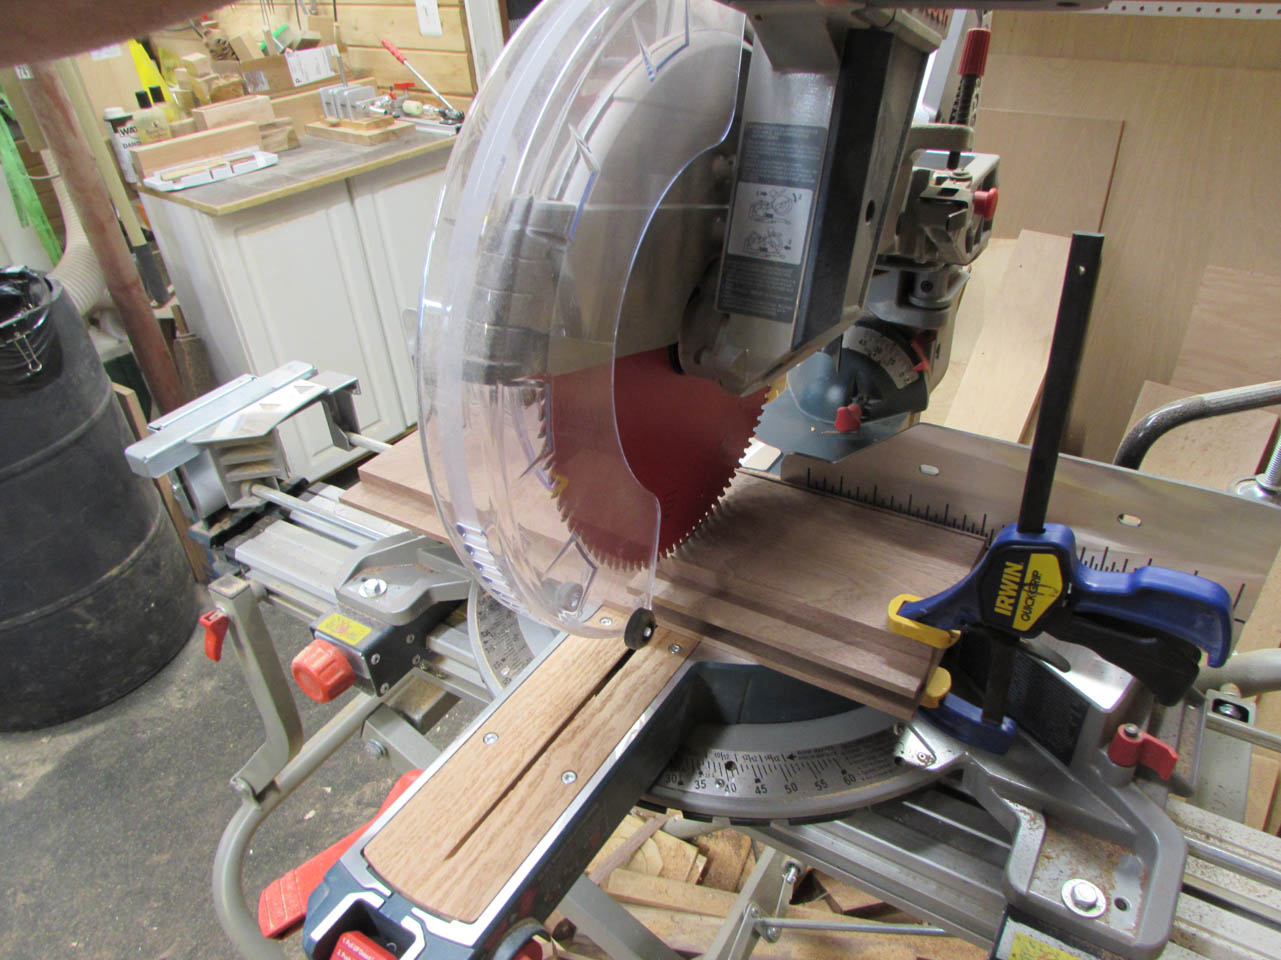
Then I cut the shorter board down to make the side pieces.

With the back and bottom pieces dry-fit together, I placed the sword onto the mounting block and located the sword exactly where I wanted it. When I was happy with the location, I marked where the blade touched the wood.
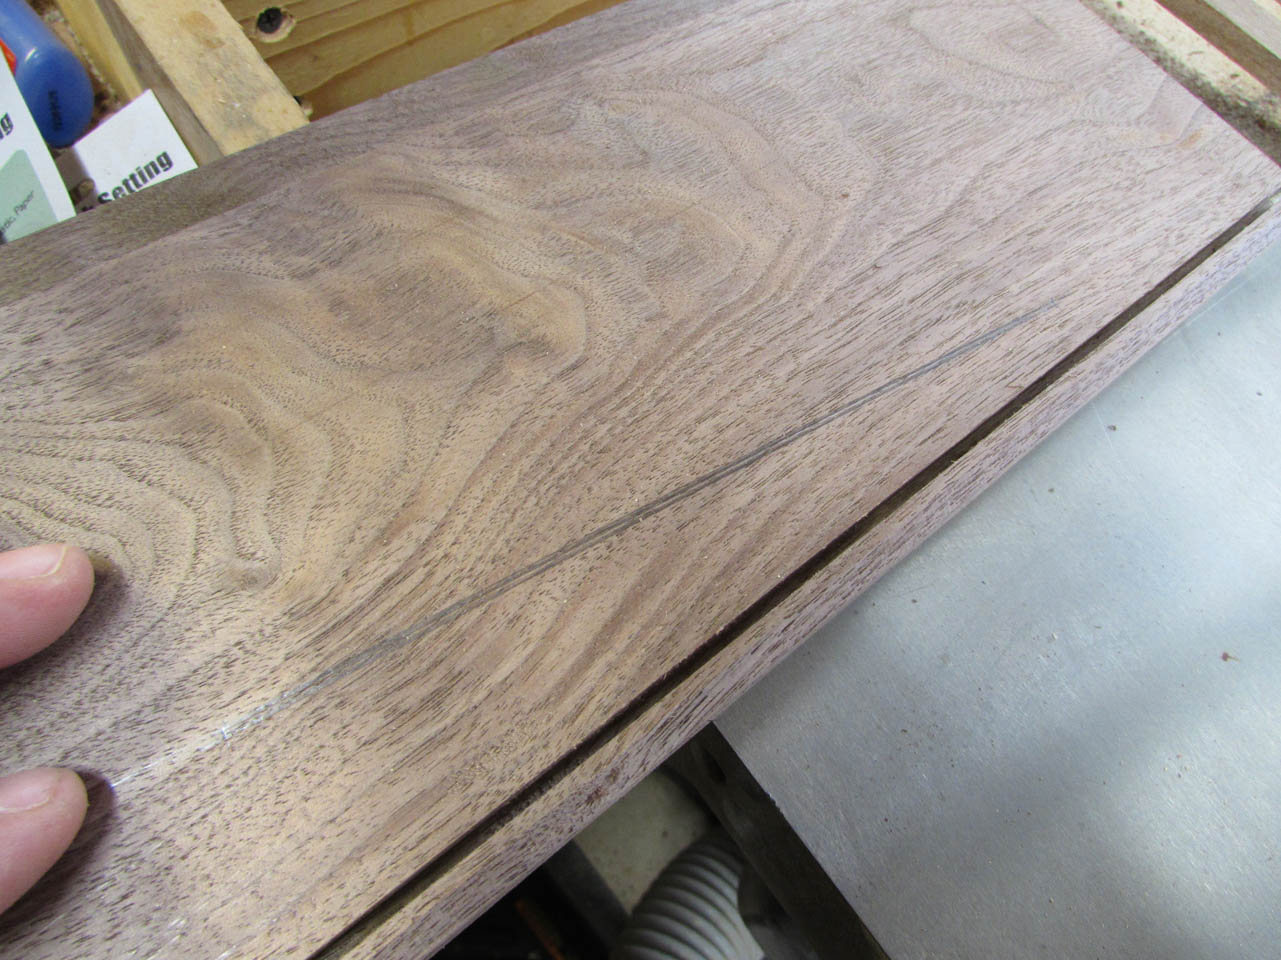

I set my circular saw to a depth of 1/8″ and cut along that line.

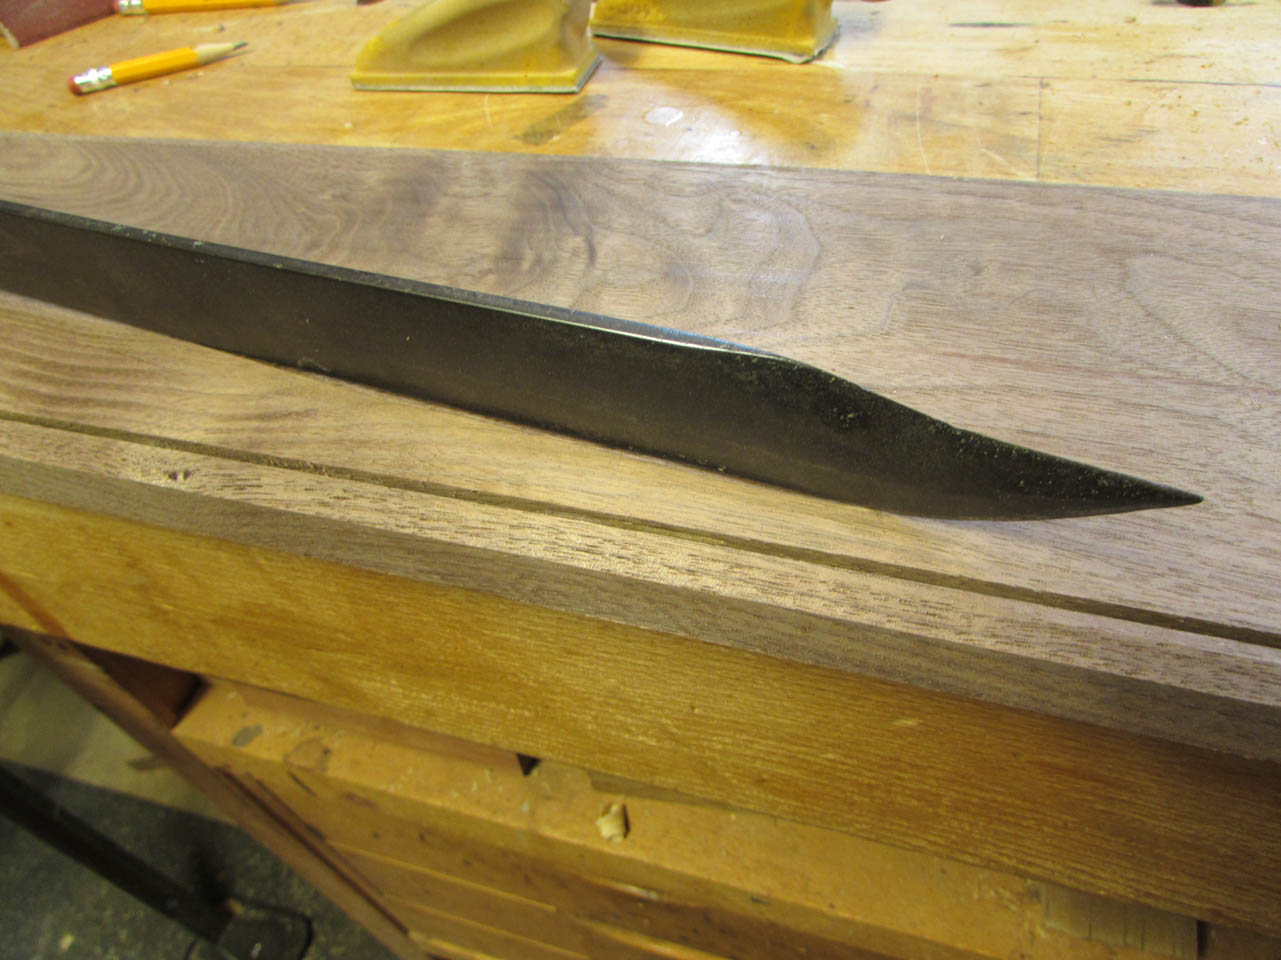
This gives me a shallow groove that the blade will rest in, that will prevent the blade from moving if the box gets bumped.

Mounting the sword this way, instead of mounting it on brackets, allows the sword to sit down, out of the way of the U.S. Marines logo.

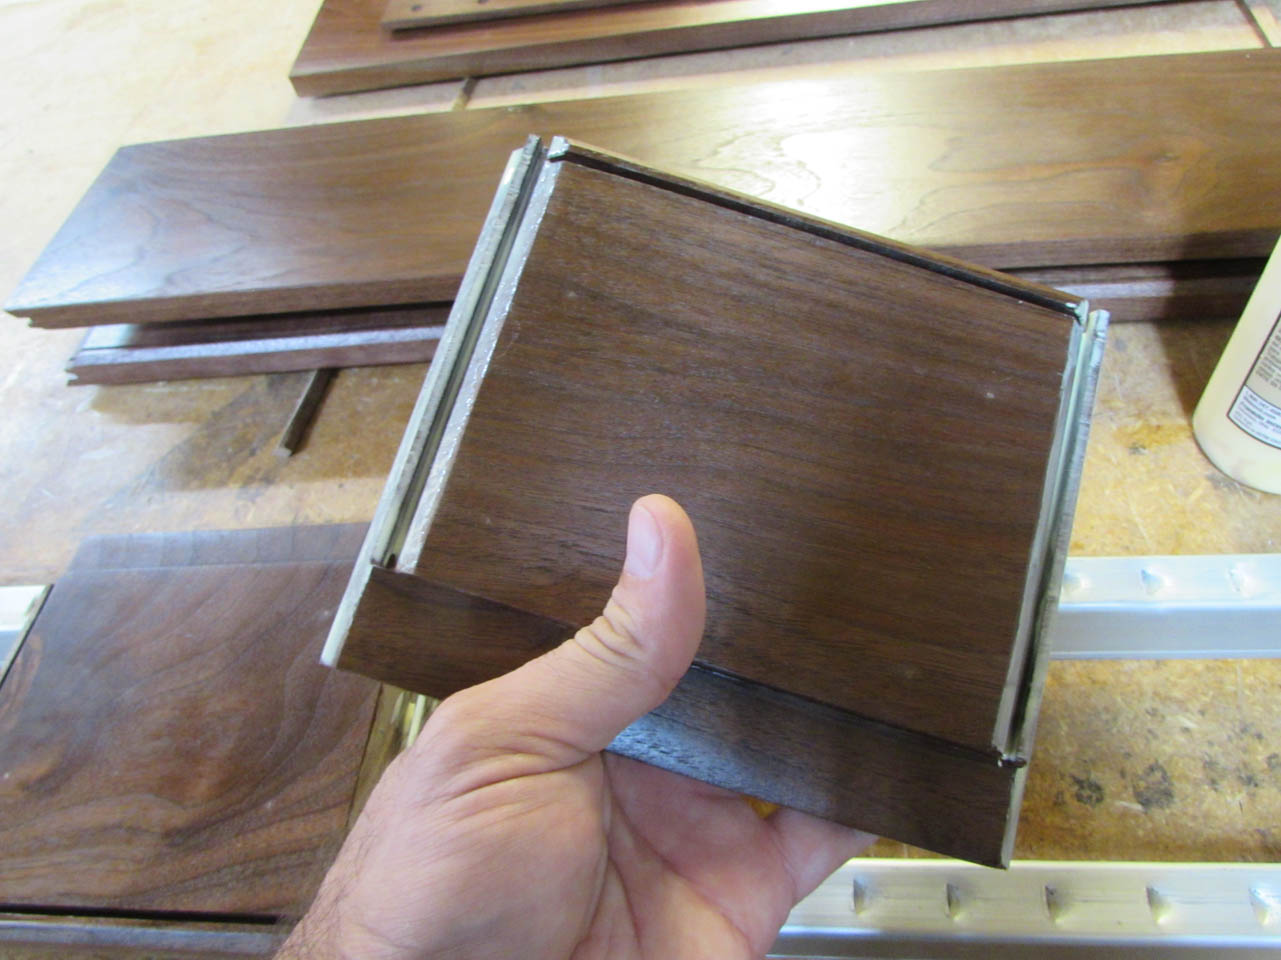
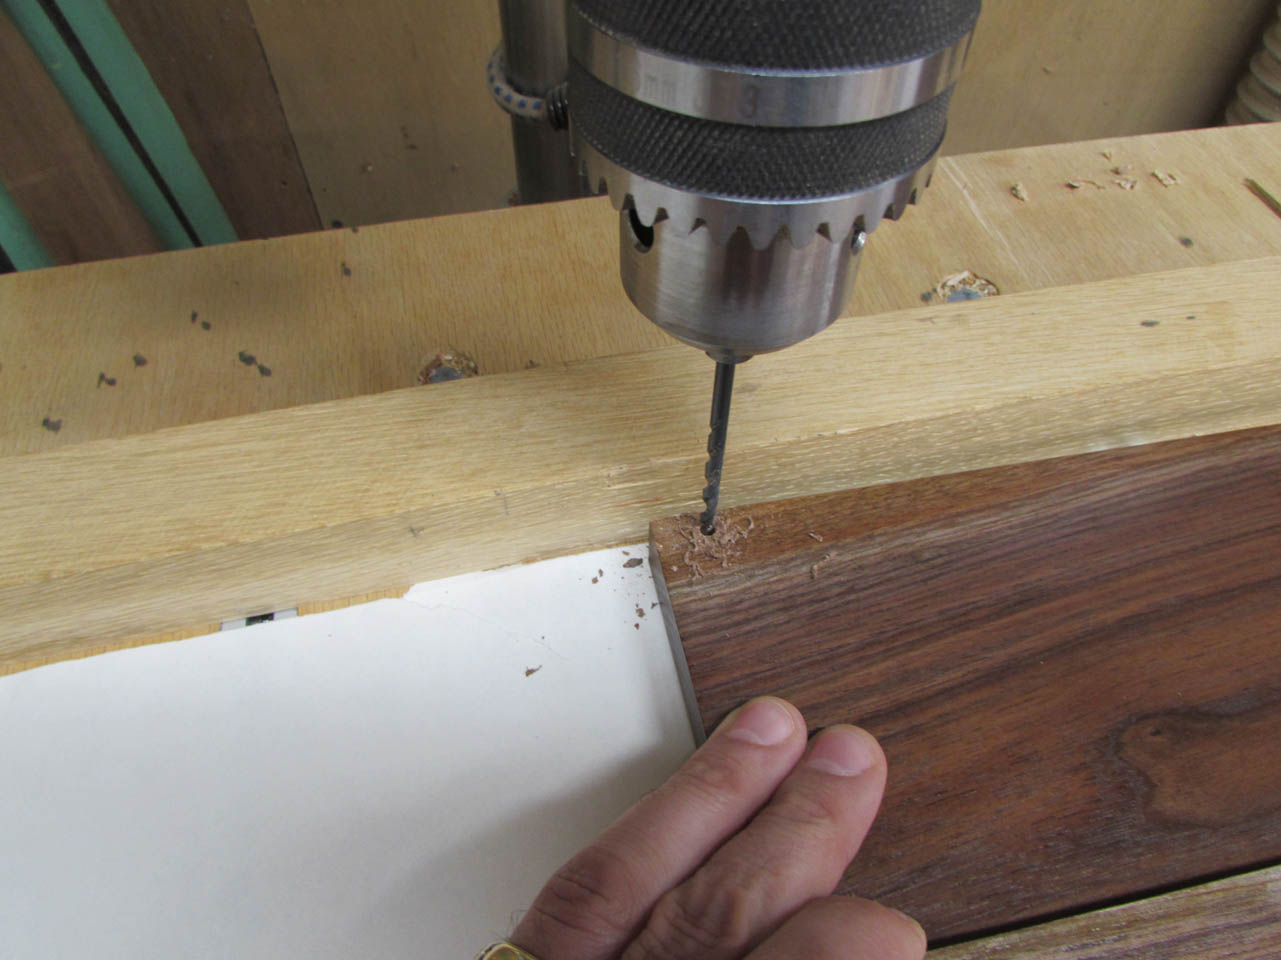
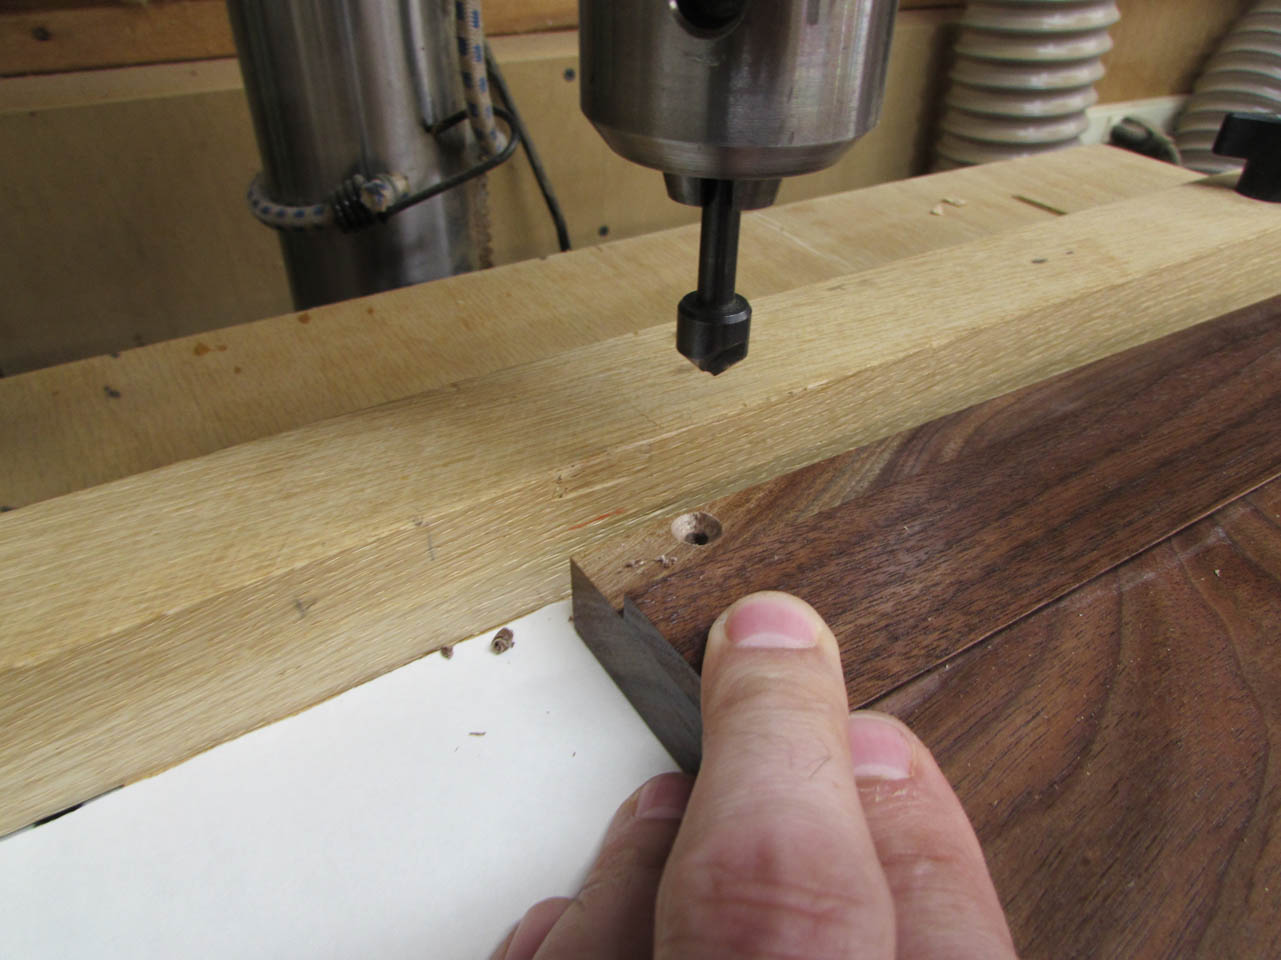
Before I attach the mounting block, I need to figure out how I am assembling the box. I want to miter the corners so that no end grain is showing, but they never quite work out perfectly on the table saw or miter saw. One way I have had a lot of success is with using the lock-miter bit on my router table.
To cut the lock miter, I temporarily attach some maple boards to give me stability. Since I miter away the entire edge, I need something to sit on or ride the fence.


I have a set-up block I made for setting the bit height and fence location.

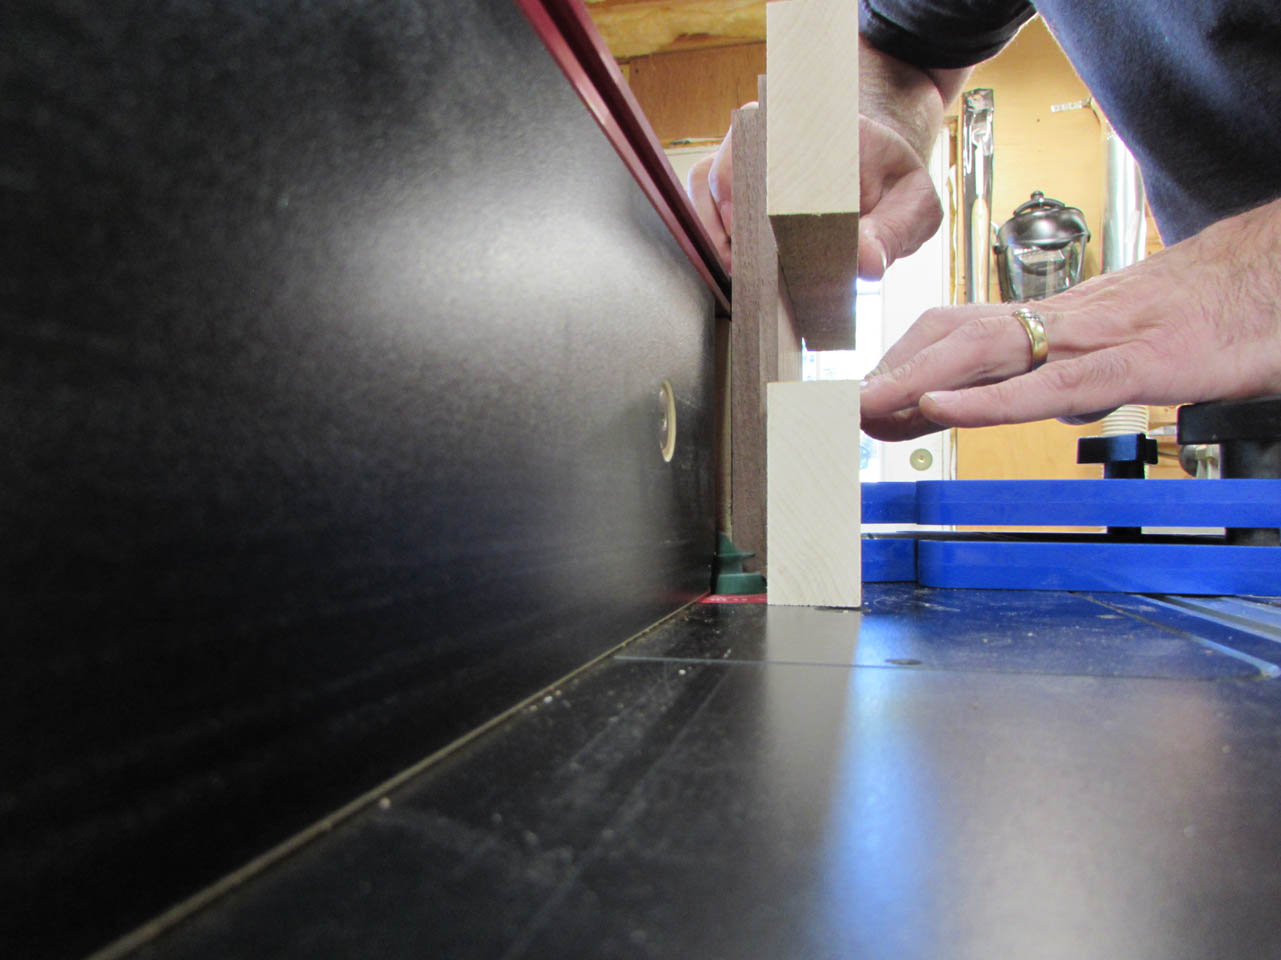
I run the short sides through vertically, taking my time. If you cut too fast, you get a lot of tear-out when the bit exits the board.
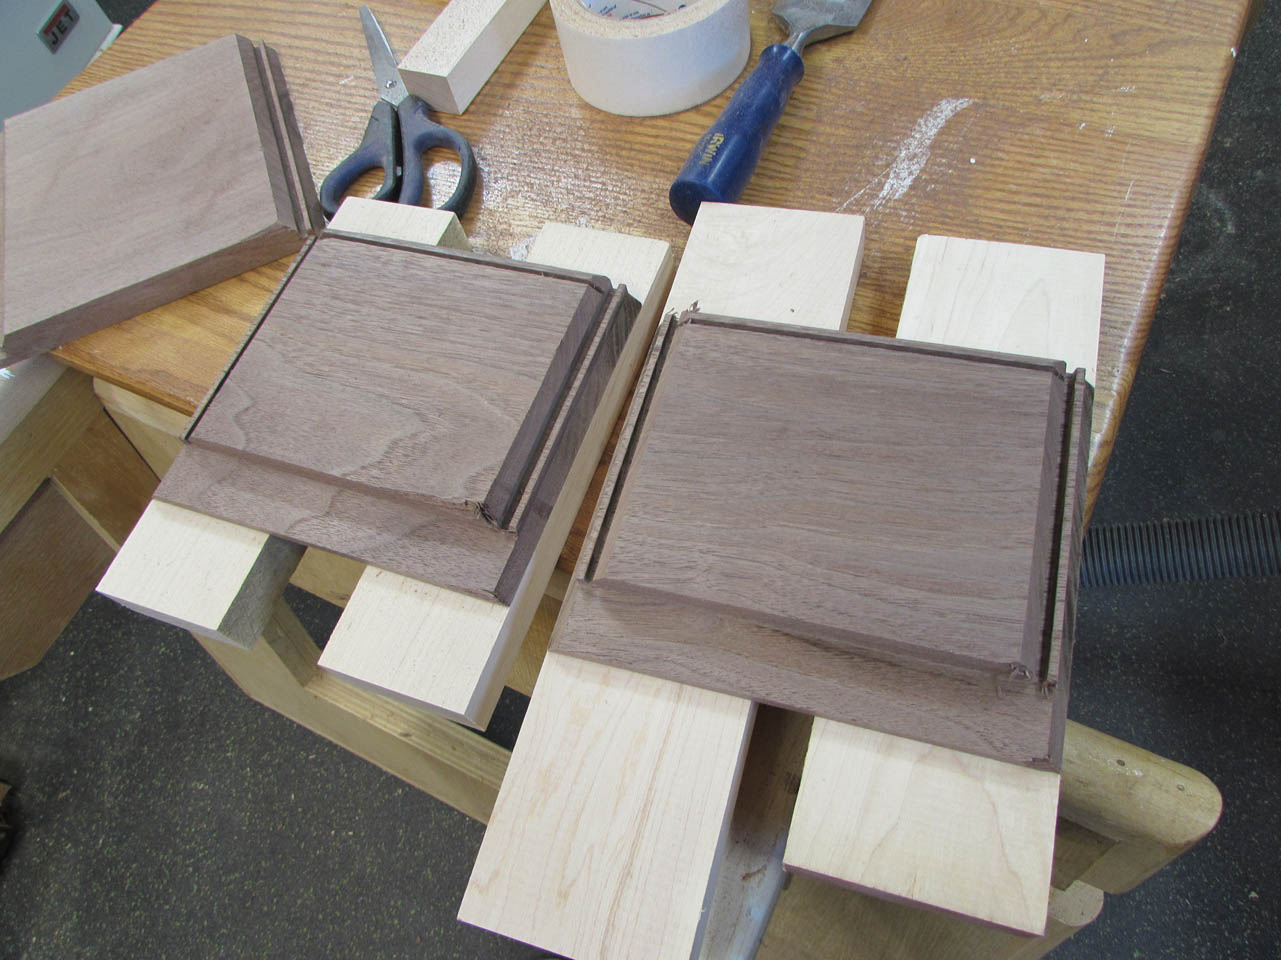
The long sides are run through horizontally.
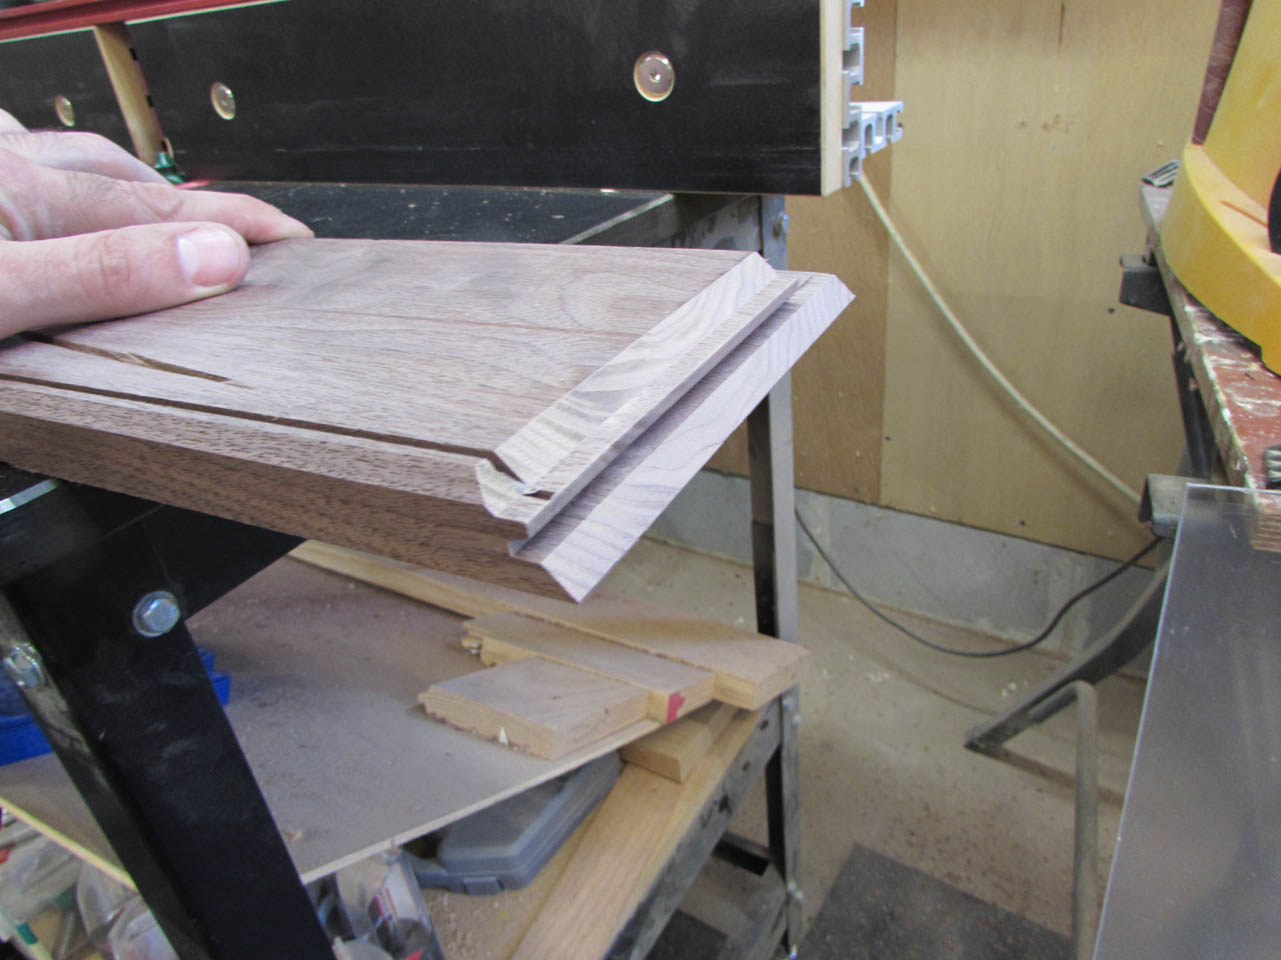
The lock-miter cut gives me a perfect 45 degree engagement as well as a lot of glue surface in the joints.

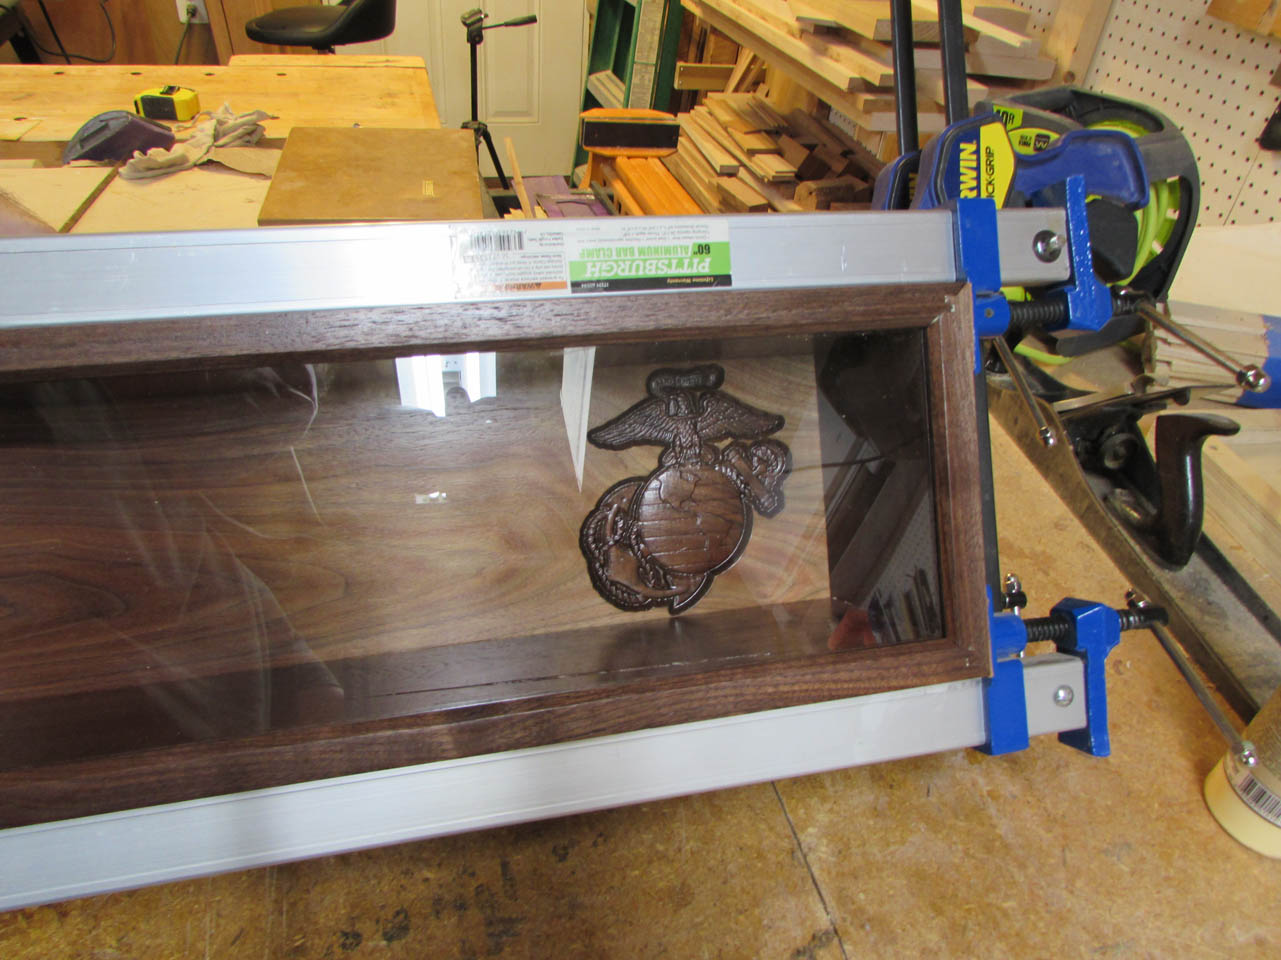
A quick dry-fit and everything looks good.

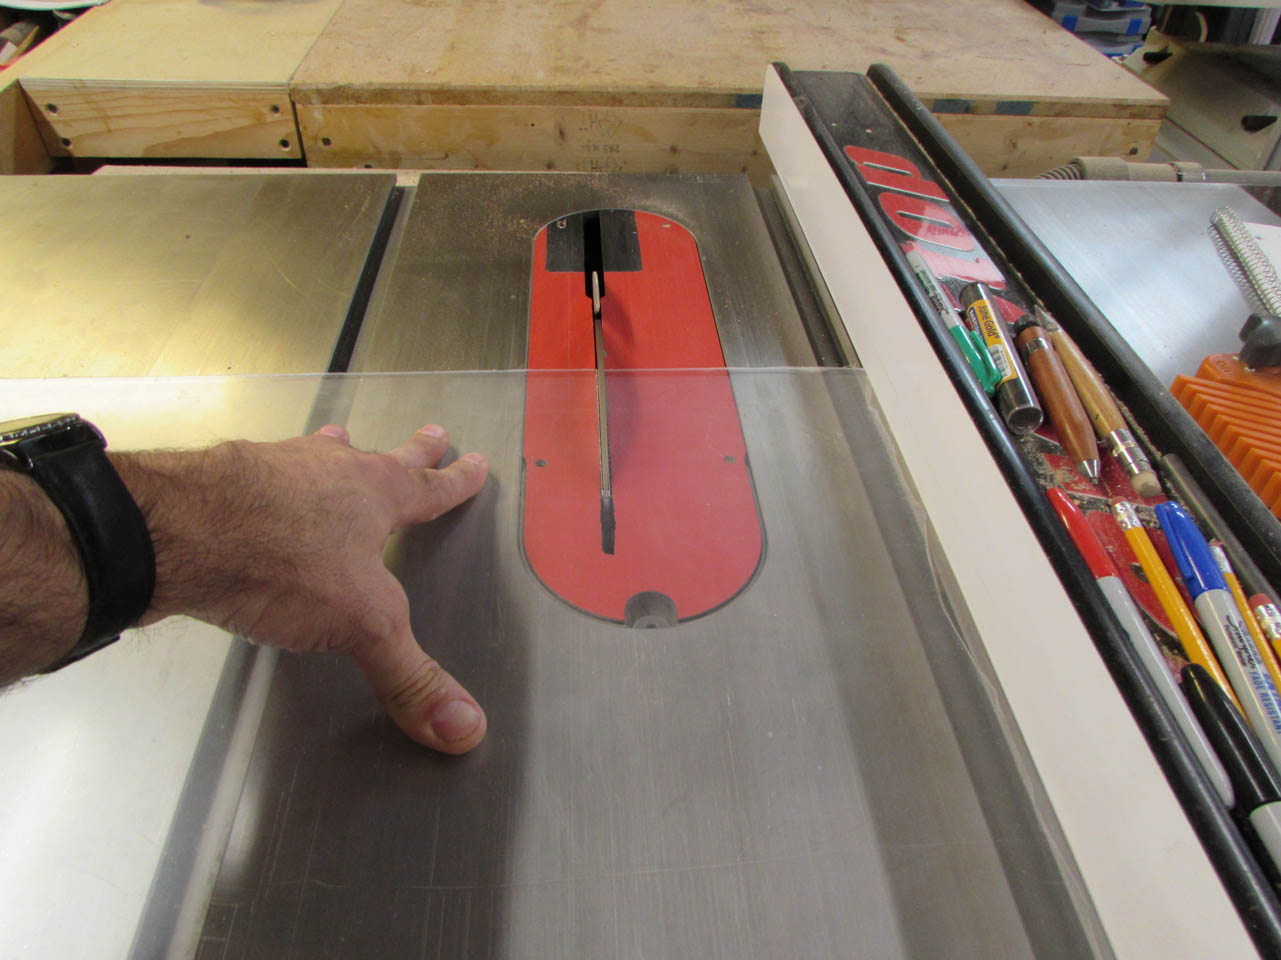
After everything was assembled, I measured for the final dimensions of the acrylic, then cut it down on my table saw.

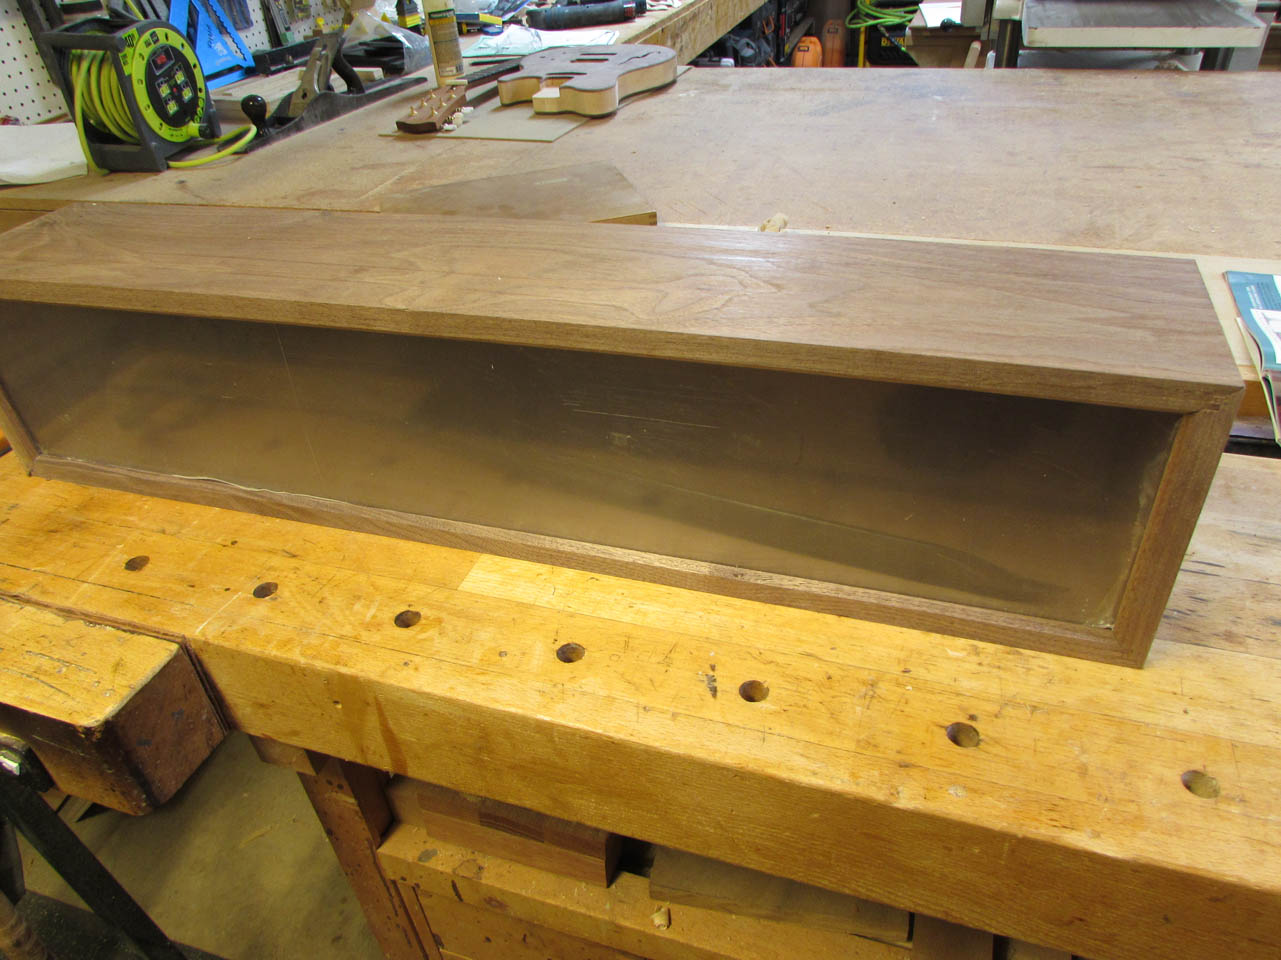
I removed one end and slid the acrylic tightly into place. Perfect fit.
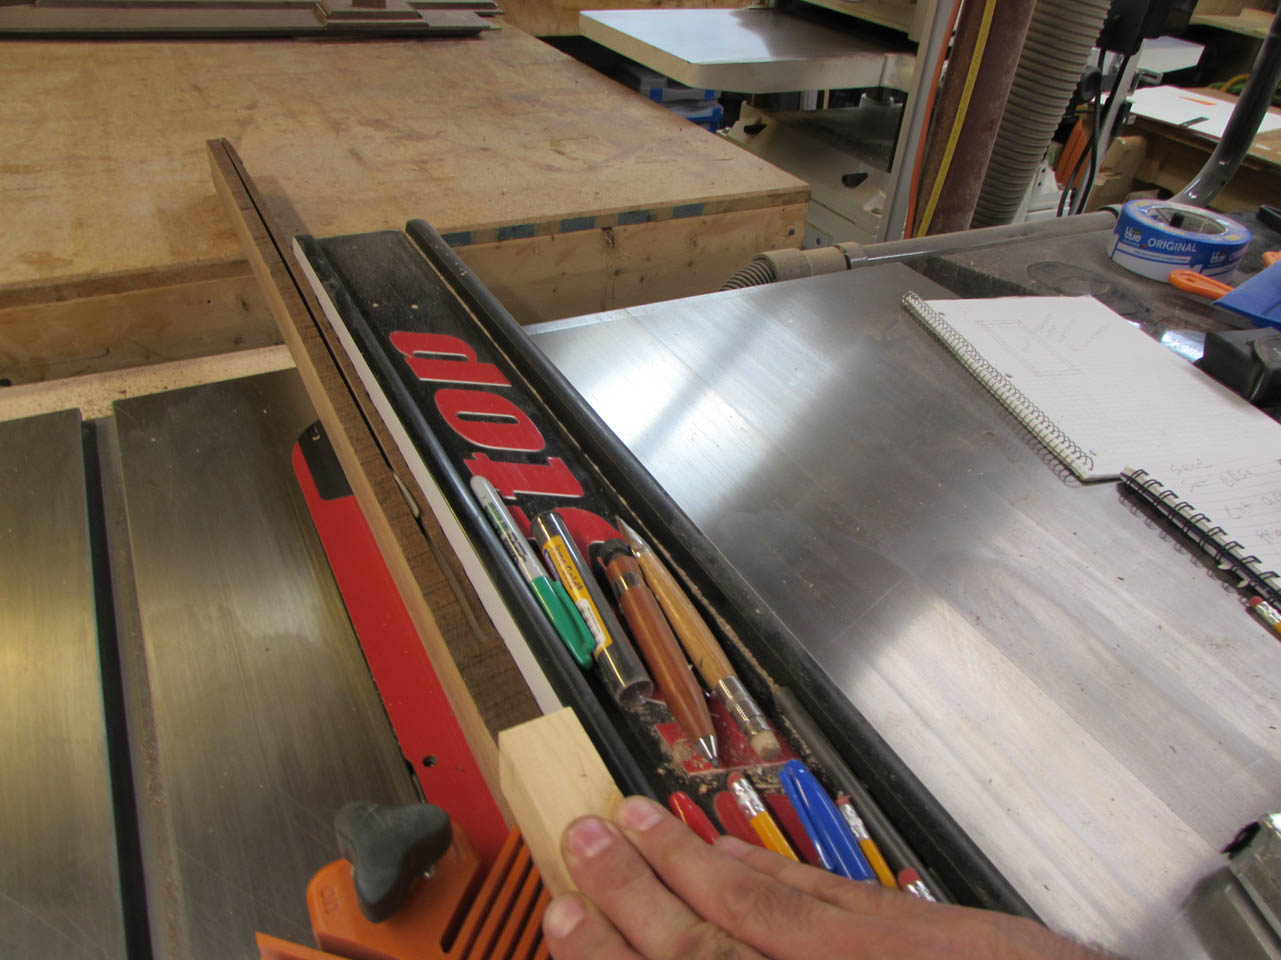
This box is designed to sit on a shelf or to hang on a wall. To hang it, I cut two 1/4″ thick strips of wood, then cut a 45 degree angle on one side of each.


I intend to make a French cleat that runs the full length of the box.
I cut the second piece down to about 26″ long. This piece will mount onto a wall.

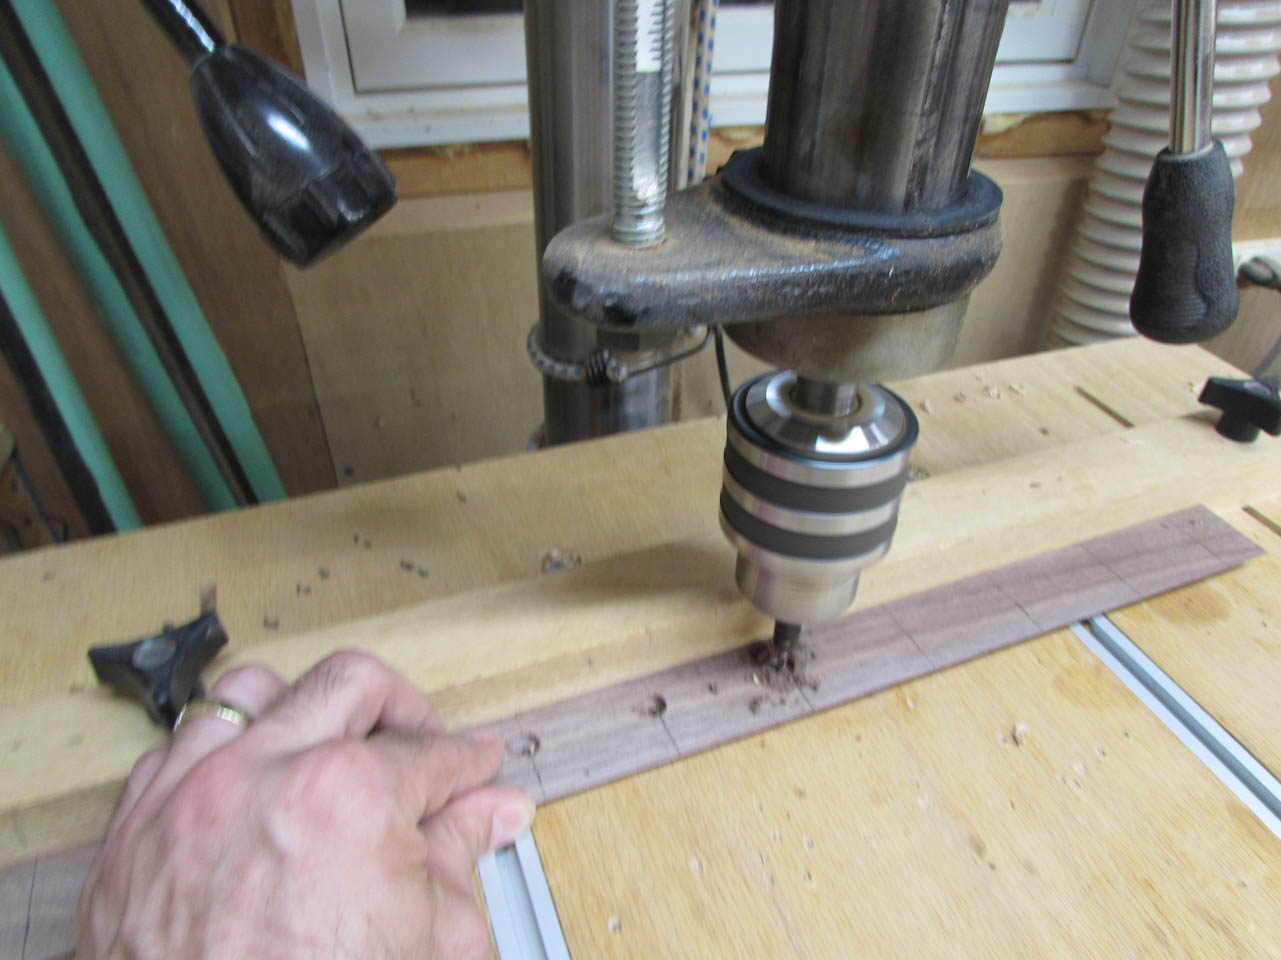
Since I don’t know where it will eventually be mounted, I drilled and countersunk a hole every 2″ along the strip. This should be long enough to be attached to two studs in a wall.

The longer cleat is getting glued to the back board. I held it down about 3/4″ from the top to allow me room to attach the back plate to the box.
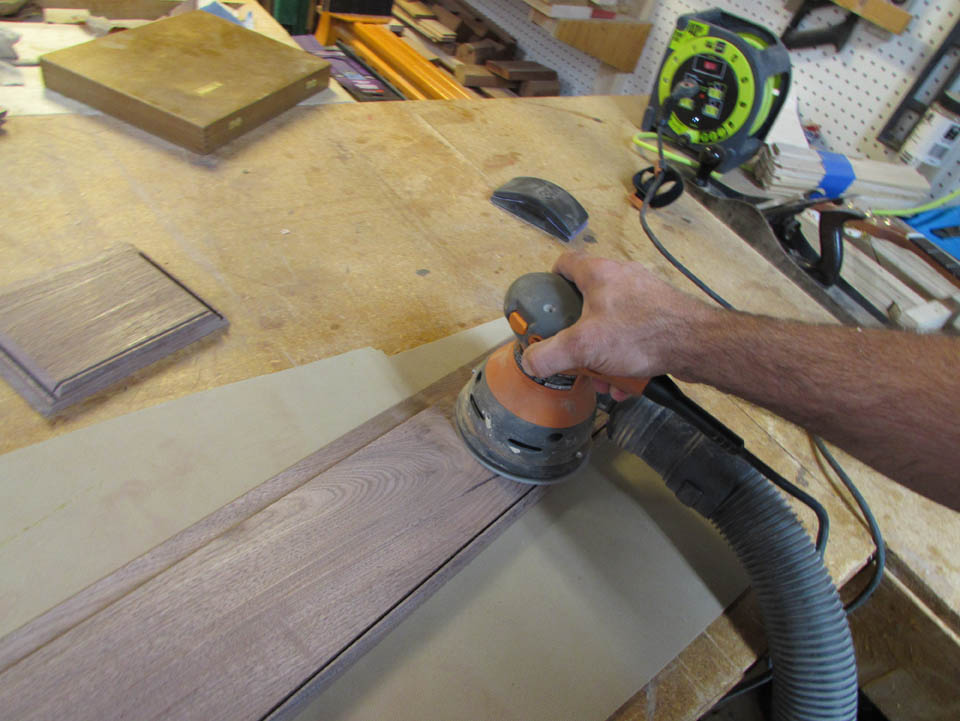
The next step was to sand everything down.
To attach the mounting block, I used regular wood glue along with a few drops of quick-setting CA glue.


This allowed me to press it into place and hold it for 30 seconds. Once the CA glue is set, it will hold the block in place while the wood glue cures.


Before applying finish, I clearly marked the cleat that mounts to the wall, with instructions for mounting.

I am using a semi-gloss polyurethane finish for this project.
The bleached grain really pops out to highlight the Eagle, Globe, and Anchor.
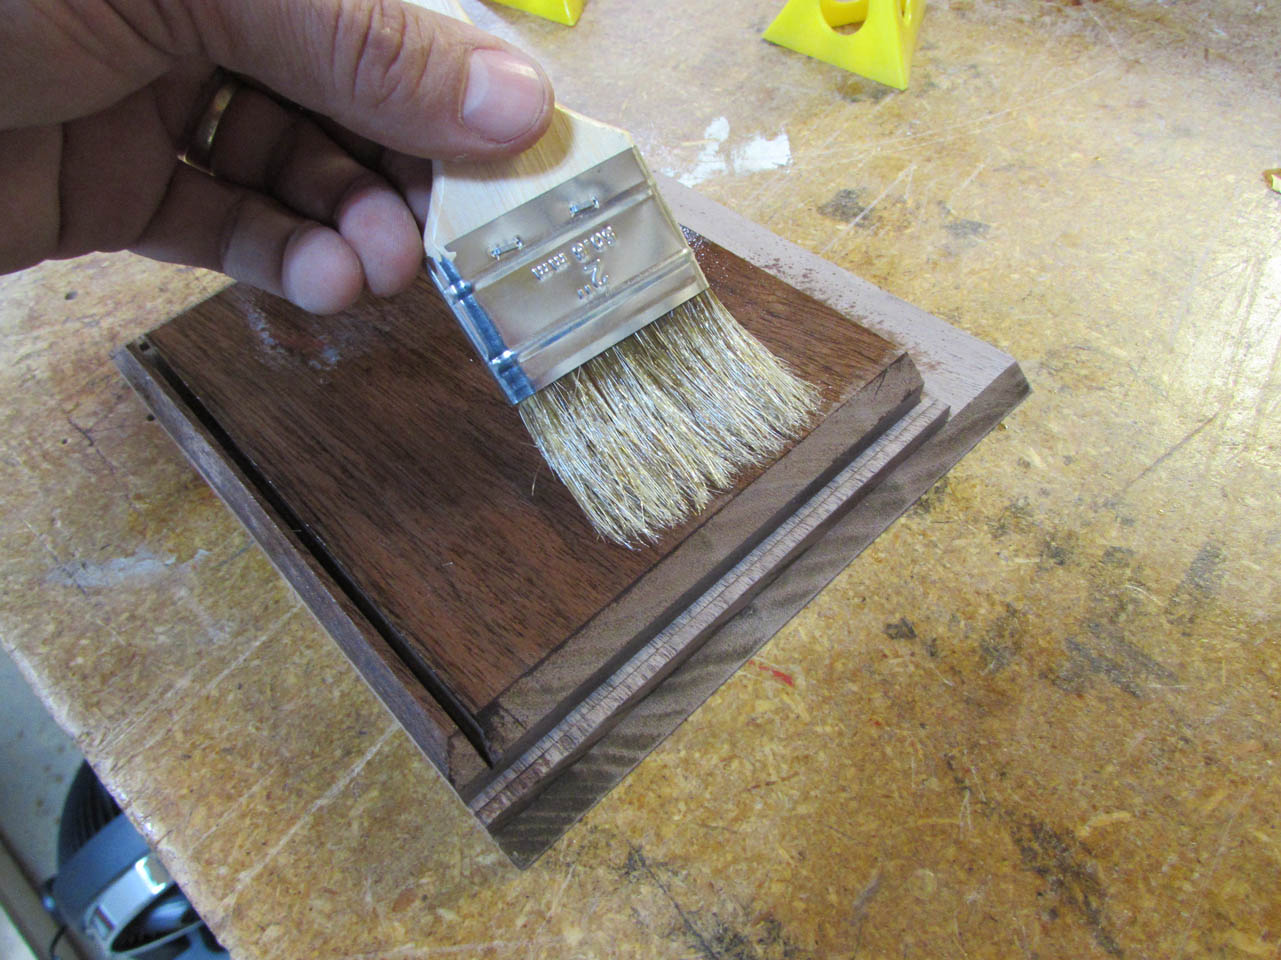
I decided to pre-finish all of these parts before assembly to make is easier to avoid getting polyurethane on the acrylic. I was careful to not apply finish to the lock-miter. The glue will not adhere as well on finish.

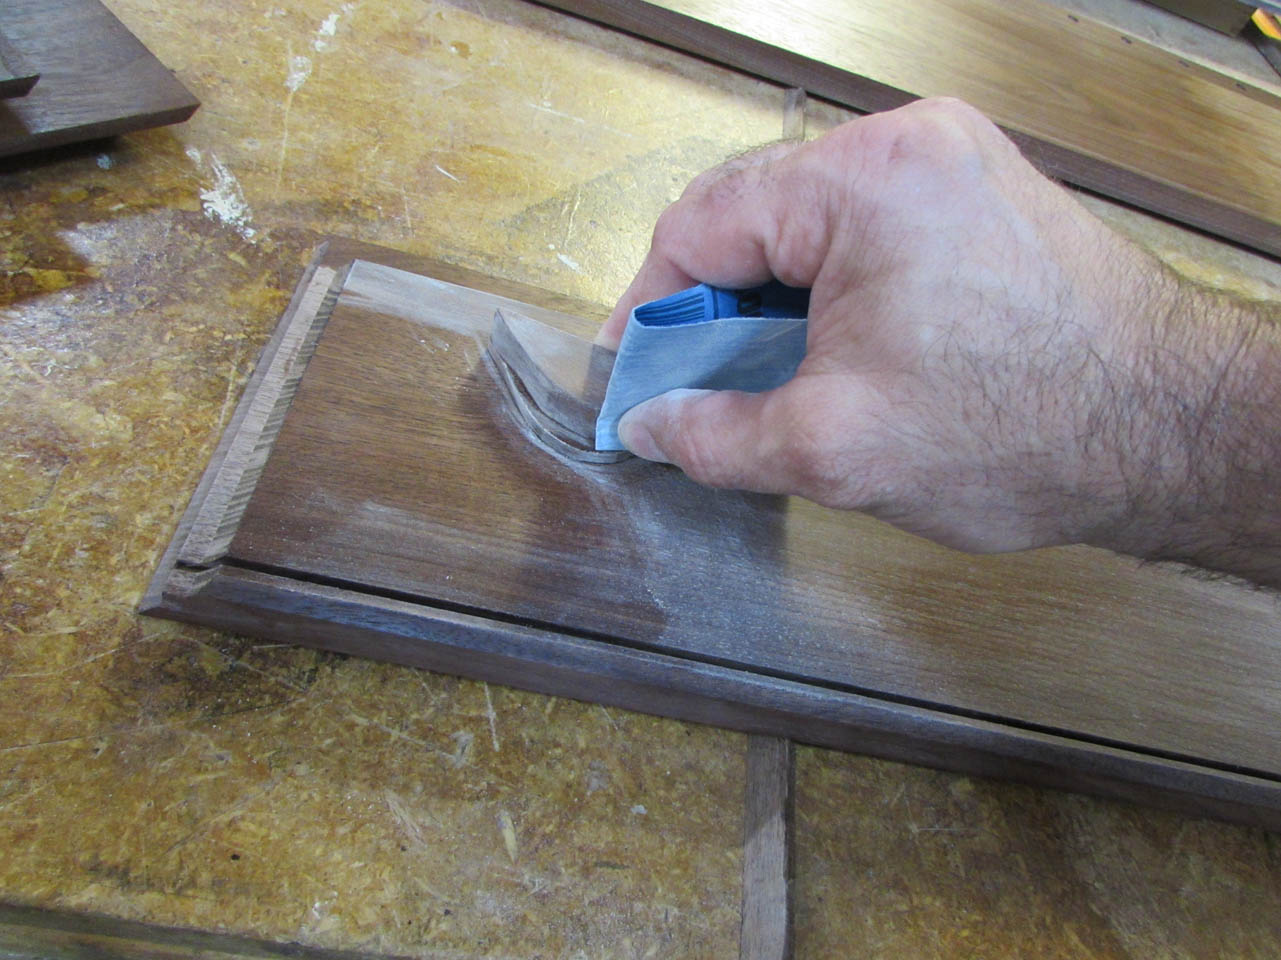
Before the second coat, I sand everything back with 400 grit paper.


Then brush on the second coat.
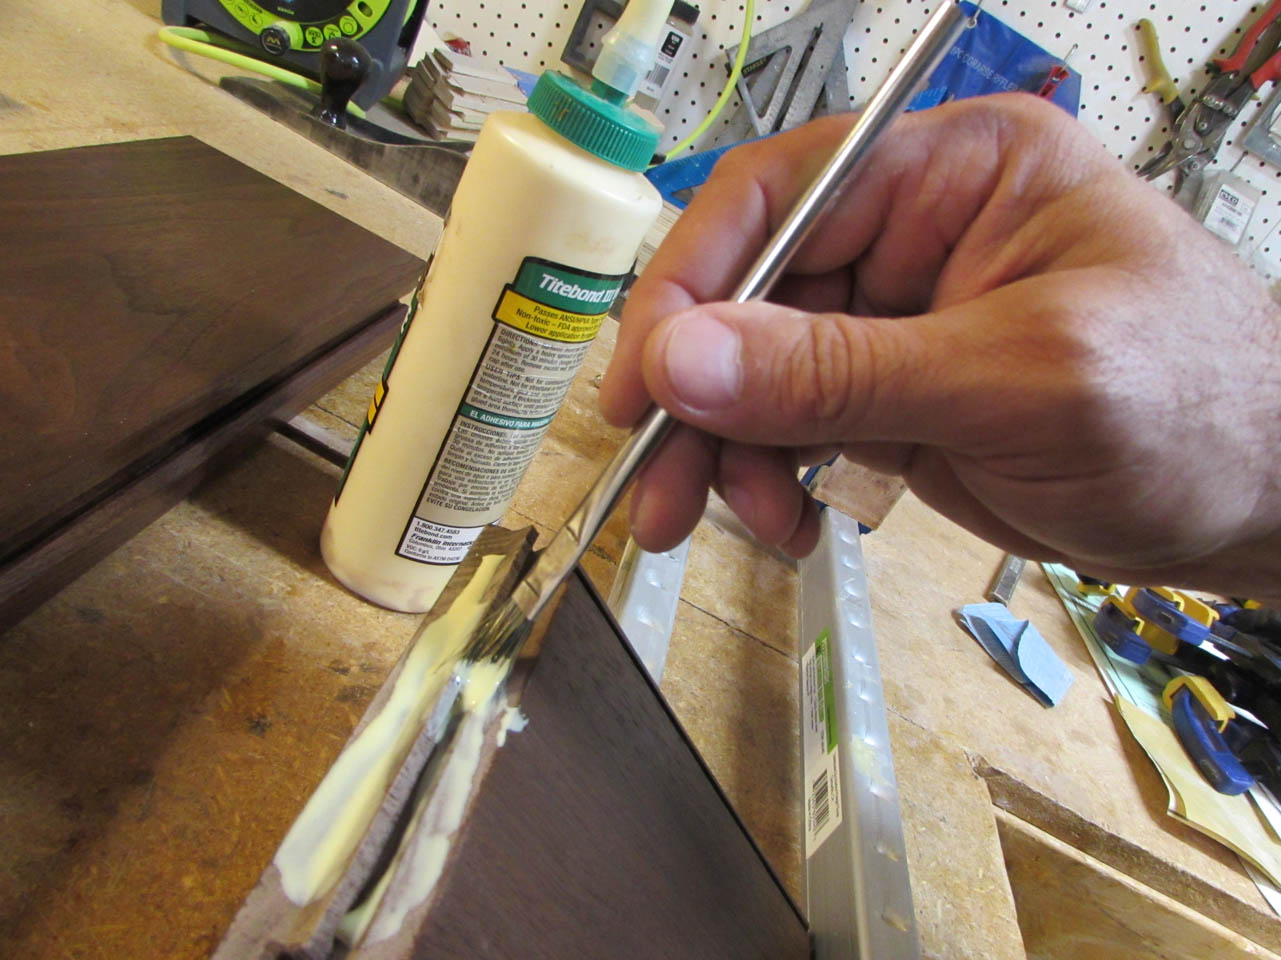
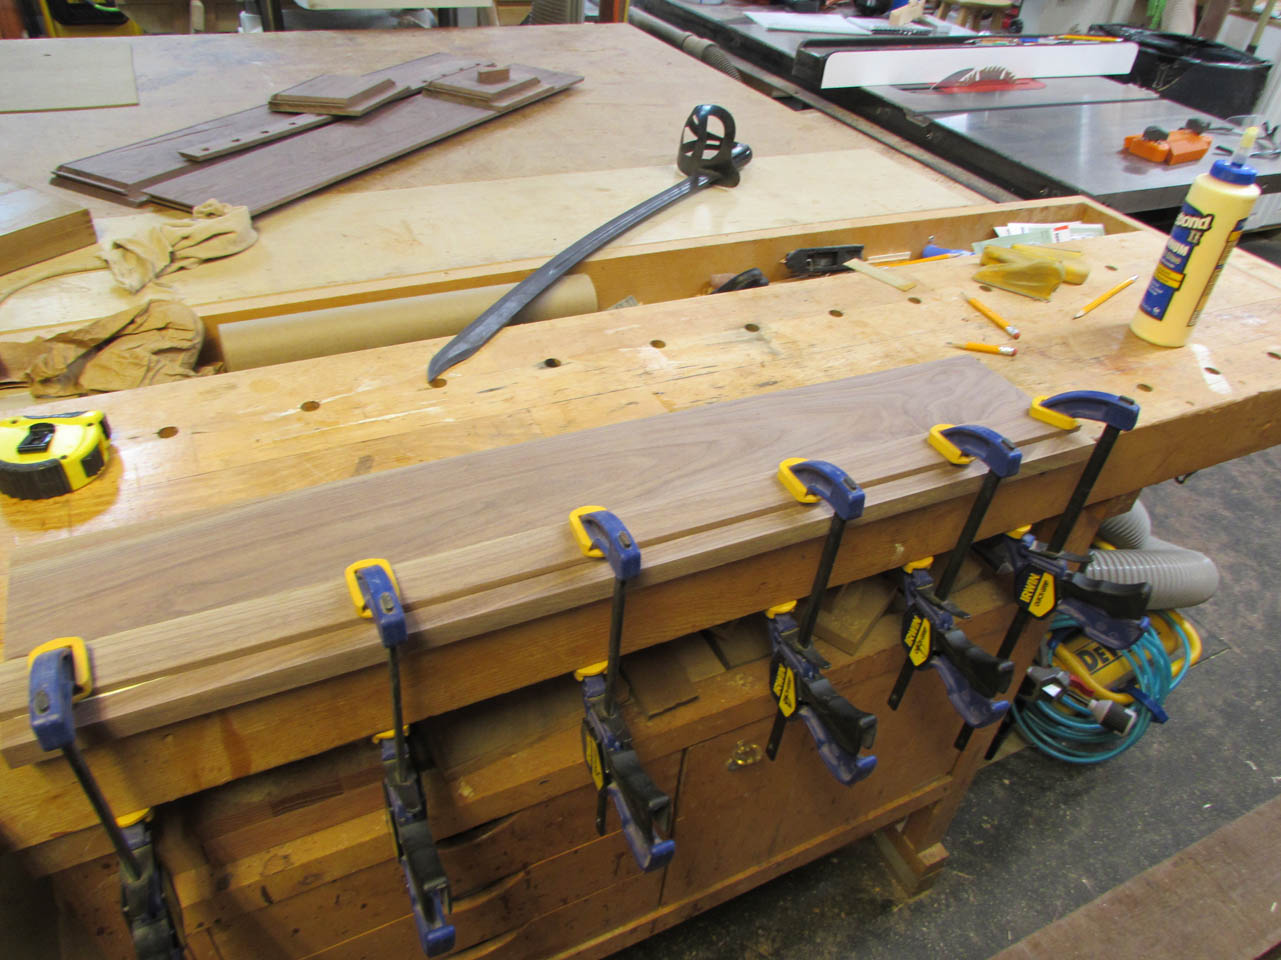
When everything is dry, I brush glue onto the lock-mitered ends.

I peeled off the protective coating from the acrylic and installed it before clamping the sides together.
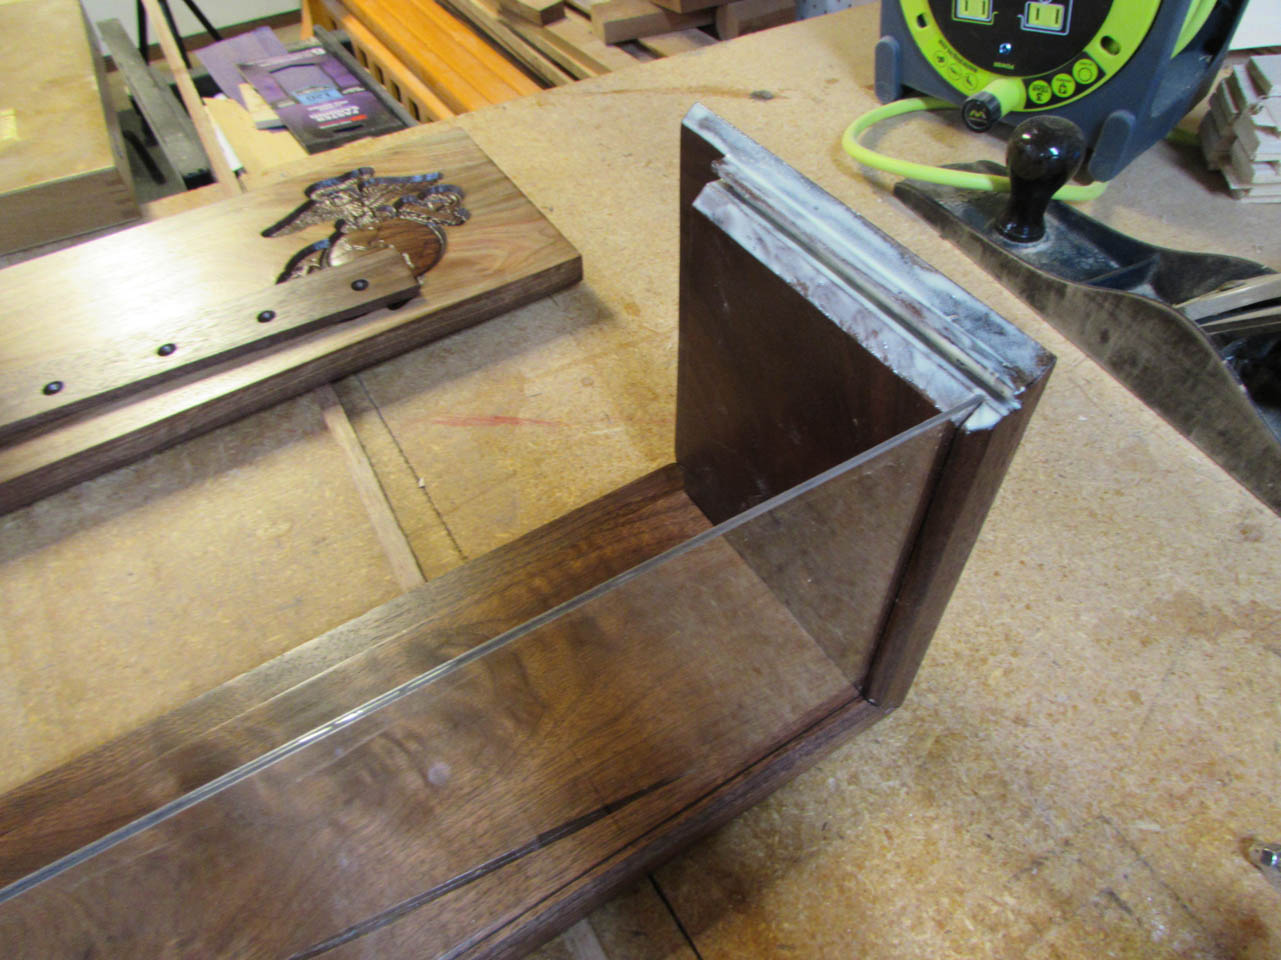

After I clamped it up, I set the back board in place to insure the box was square.


After the glue was dry, I pre-drilled pilot holes through the back board into the box.

Then I removed the panel and drilled larger through holes where the pilot holes were, then I counter-sunk them.

Using two 1″ wood screws, I attached the removable back.

Looks pretty good all finished.

To test the French cleat, I screwed the wall strip to my work bench, then hung the display on it. It works perfectly, and can even handle additional weight in case someone places something on top of it.

I don’t have a picture of it mounted on the wall yet, but here is the completed display. I am thinking that a little LED back lighting could be added if needed, but we will see once it has been placed in it’s new location.

