
Bier build – day 3
The stain has set over night. It is not quite cured enough to apply finish, but it is dry enough that you can touch it without staining your clothes. I have the statue on loan for an hour, so we did a test fit. Everything worked as planned, but we decided to make a few adjustments.
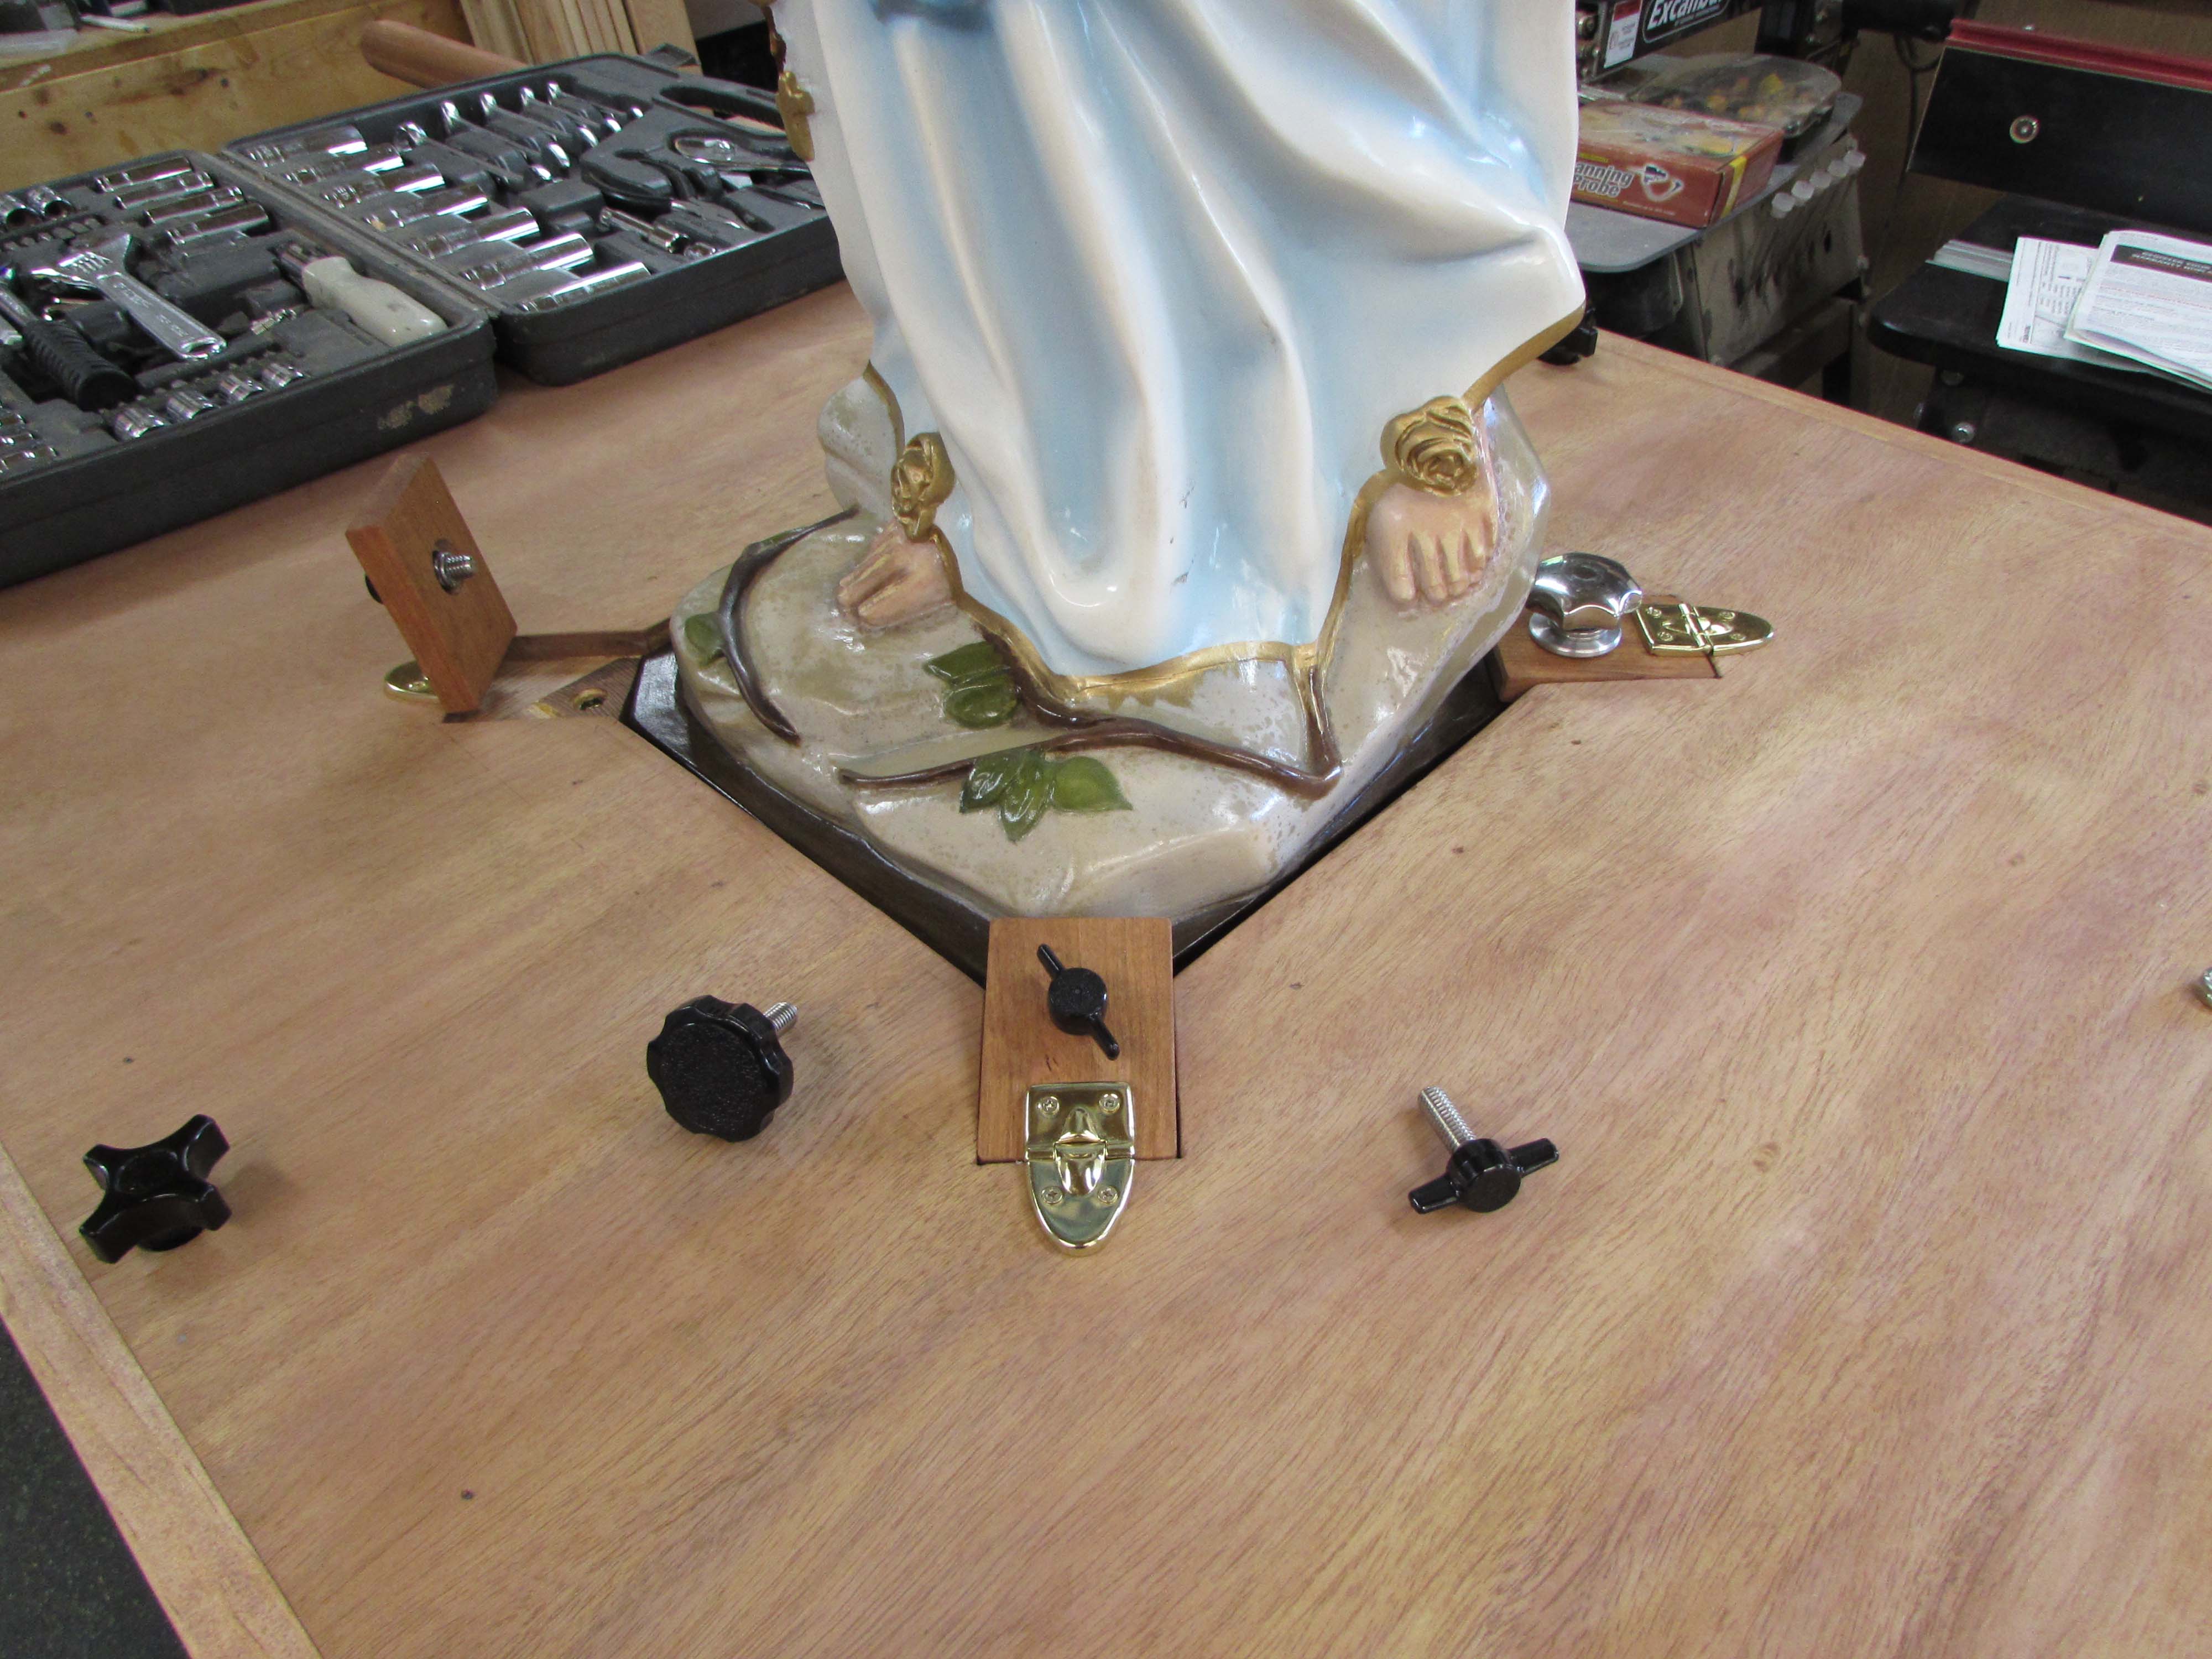
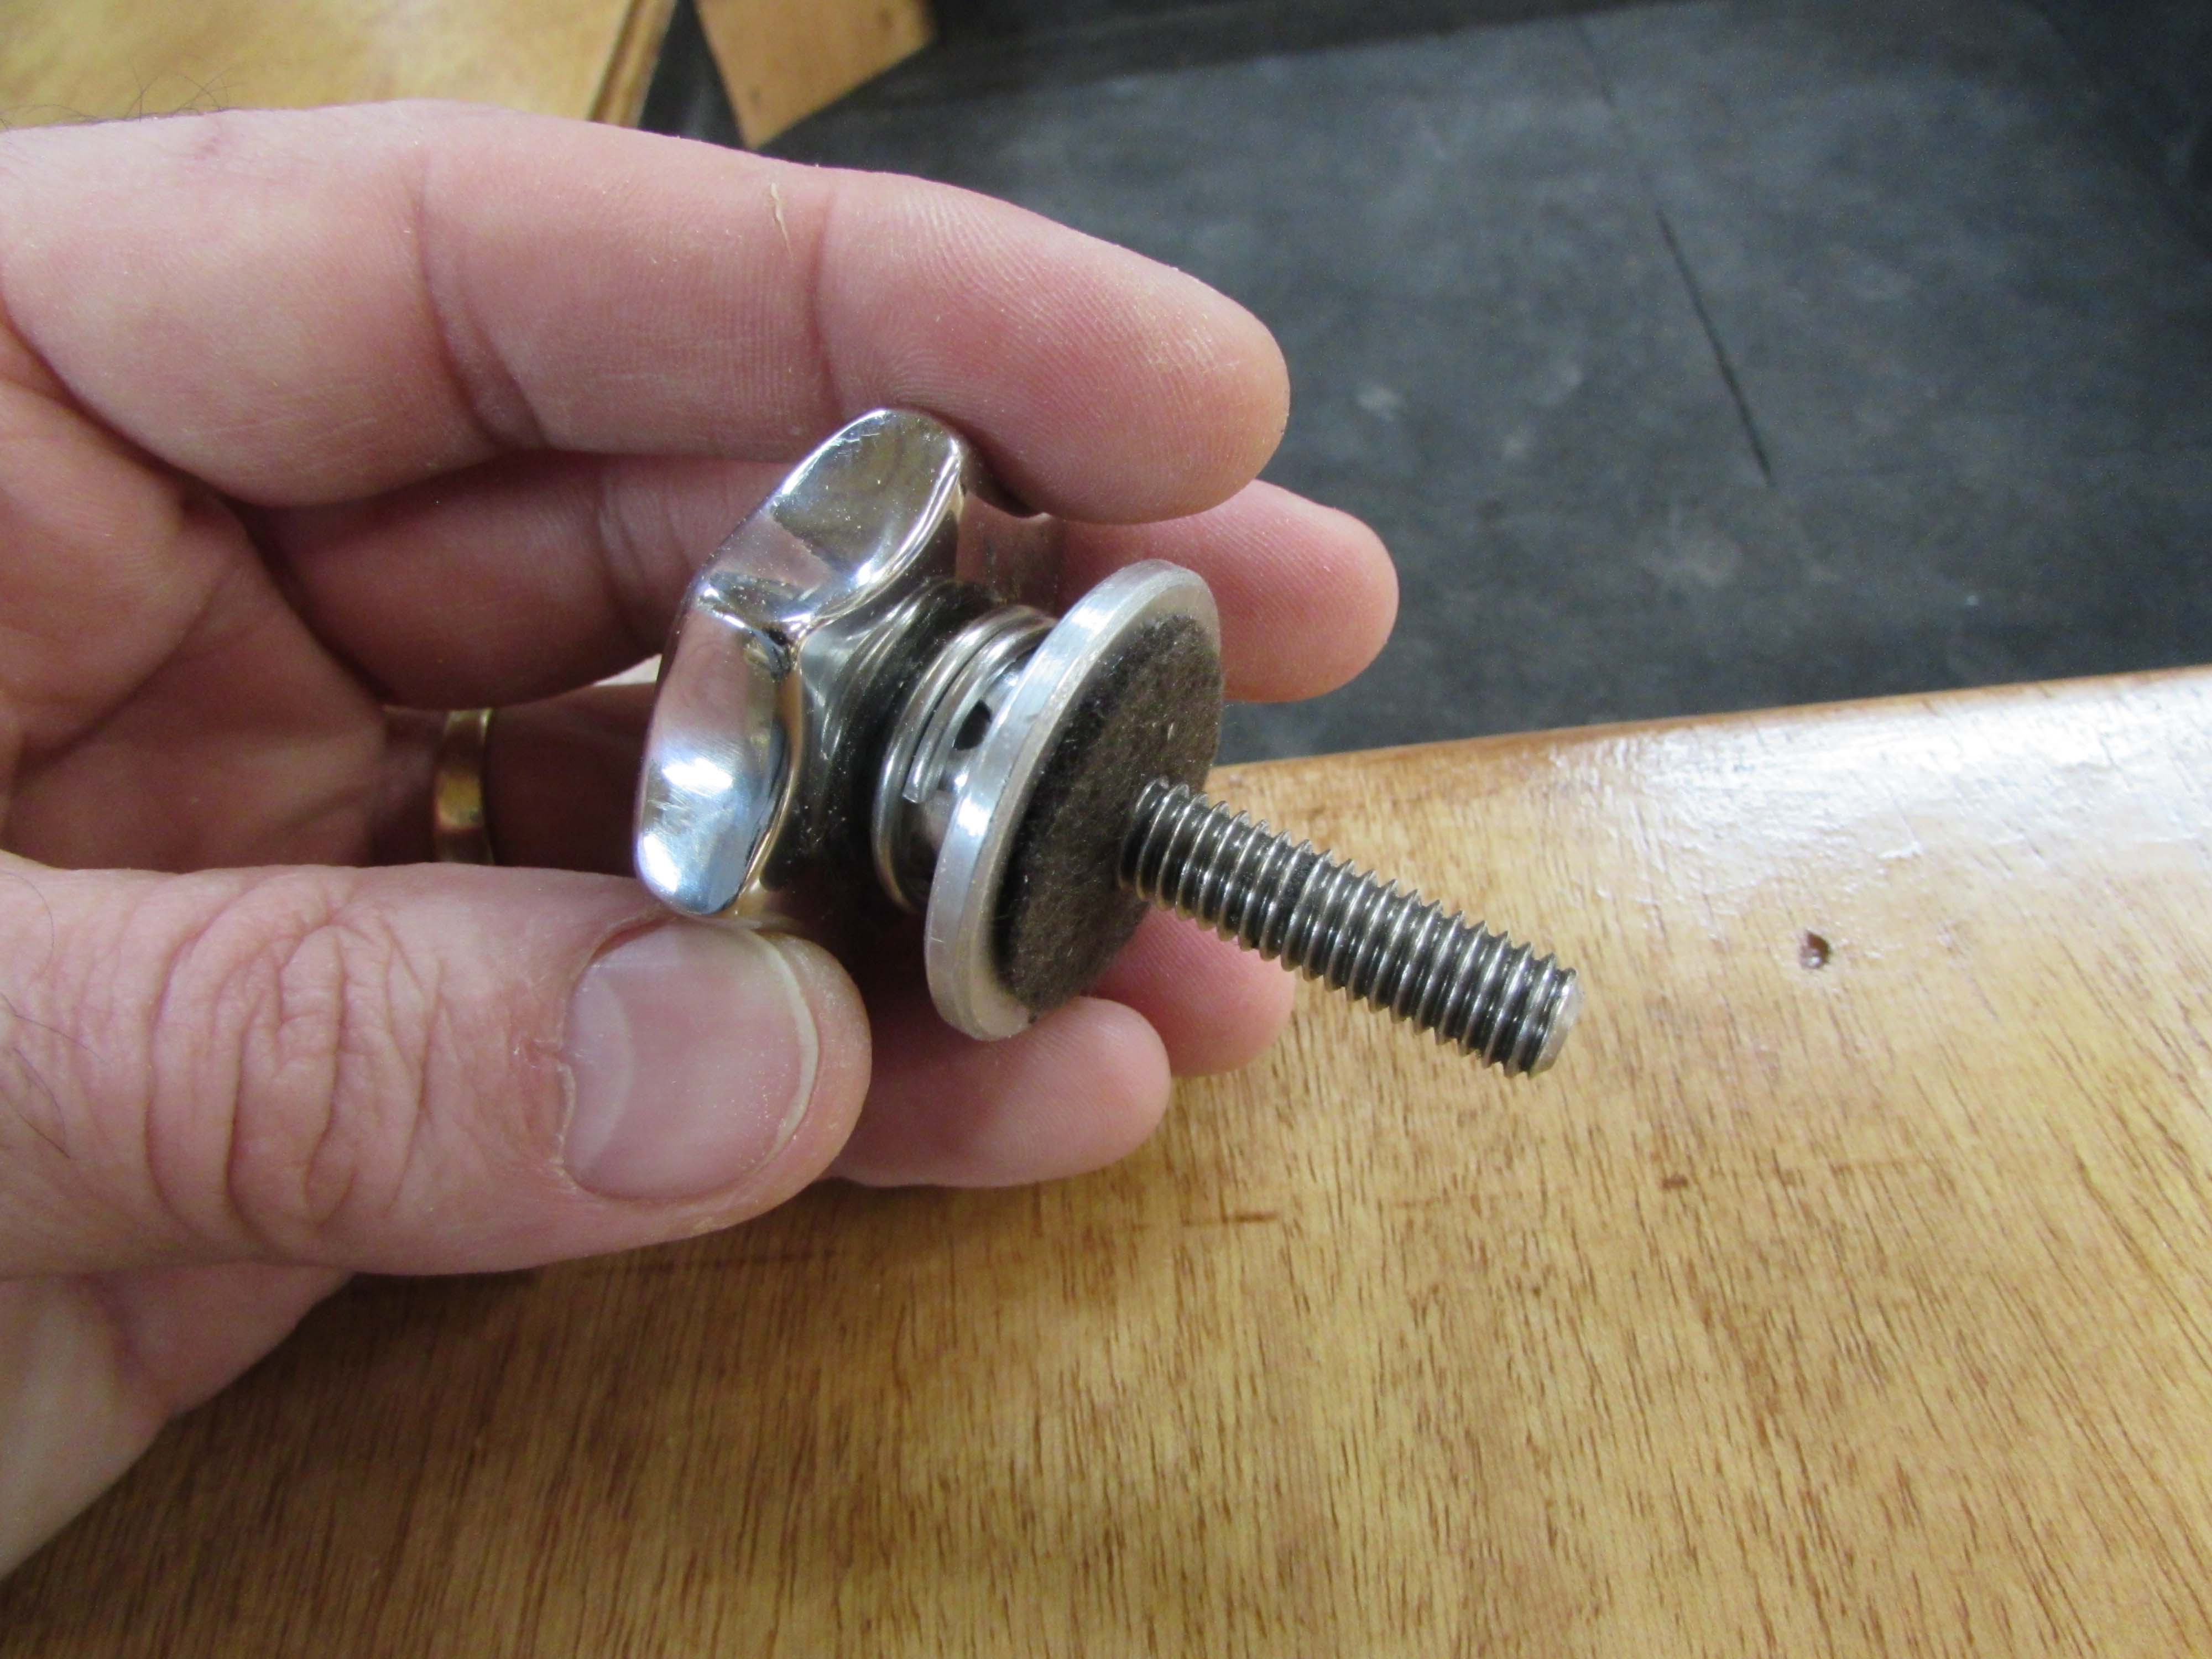
The captive thumb screws do work, but they have to be angled slightly and carefully threaded in. If not they will be easily cross-threaded. This will be a problem because you can not always control who will be doing the tightening. We decided on a different approach. I had a couple of different thumb screw options lying around the shop and we settled on this stainless steel knob that I had modified to add a captive key ring around the boss. We decided to tie a clear nylon string (fishing line) to the key ring and attach the other end to the bier. The ring spins freely so you can tighten without binding the string around it. I also added an adhesive-backed fuzzy pad to the bottom so it wouldn’t scratch up the cleat.
The statue fit well in any direction, but the stone at the base of the statue overhung on one corner and was in the path of a cleat as it was being lowered to the base. It would close just fine if the statue was leaned over a bit, but we decided to take about 1/8″ off of the end of each cleat. The other problem is that the base is 1/8″ taller in the rear which currently leaves two cleats flush and the other two up in the air a bit.

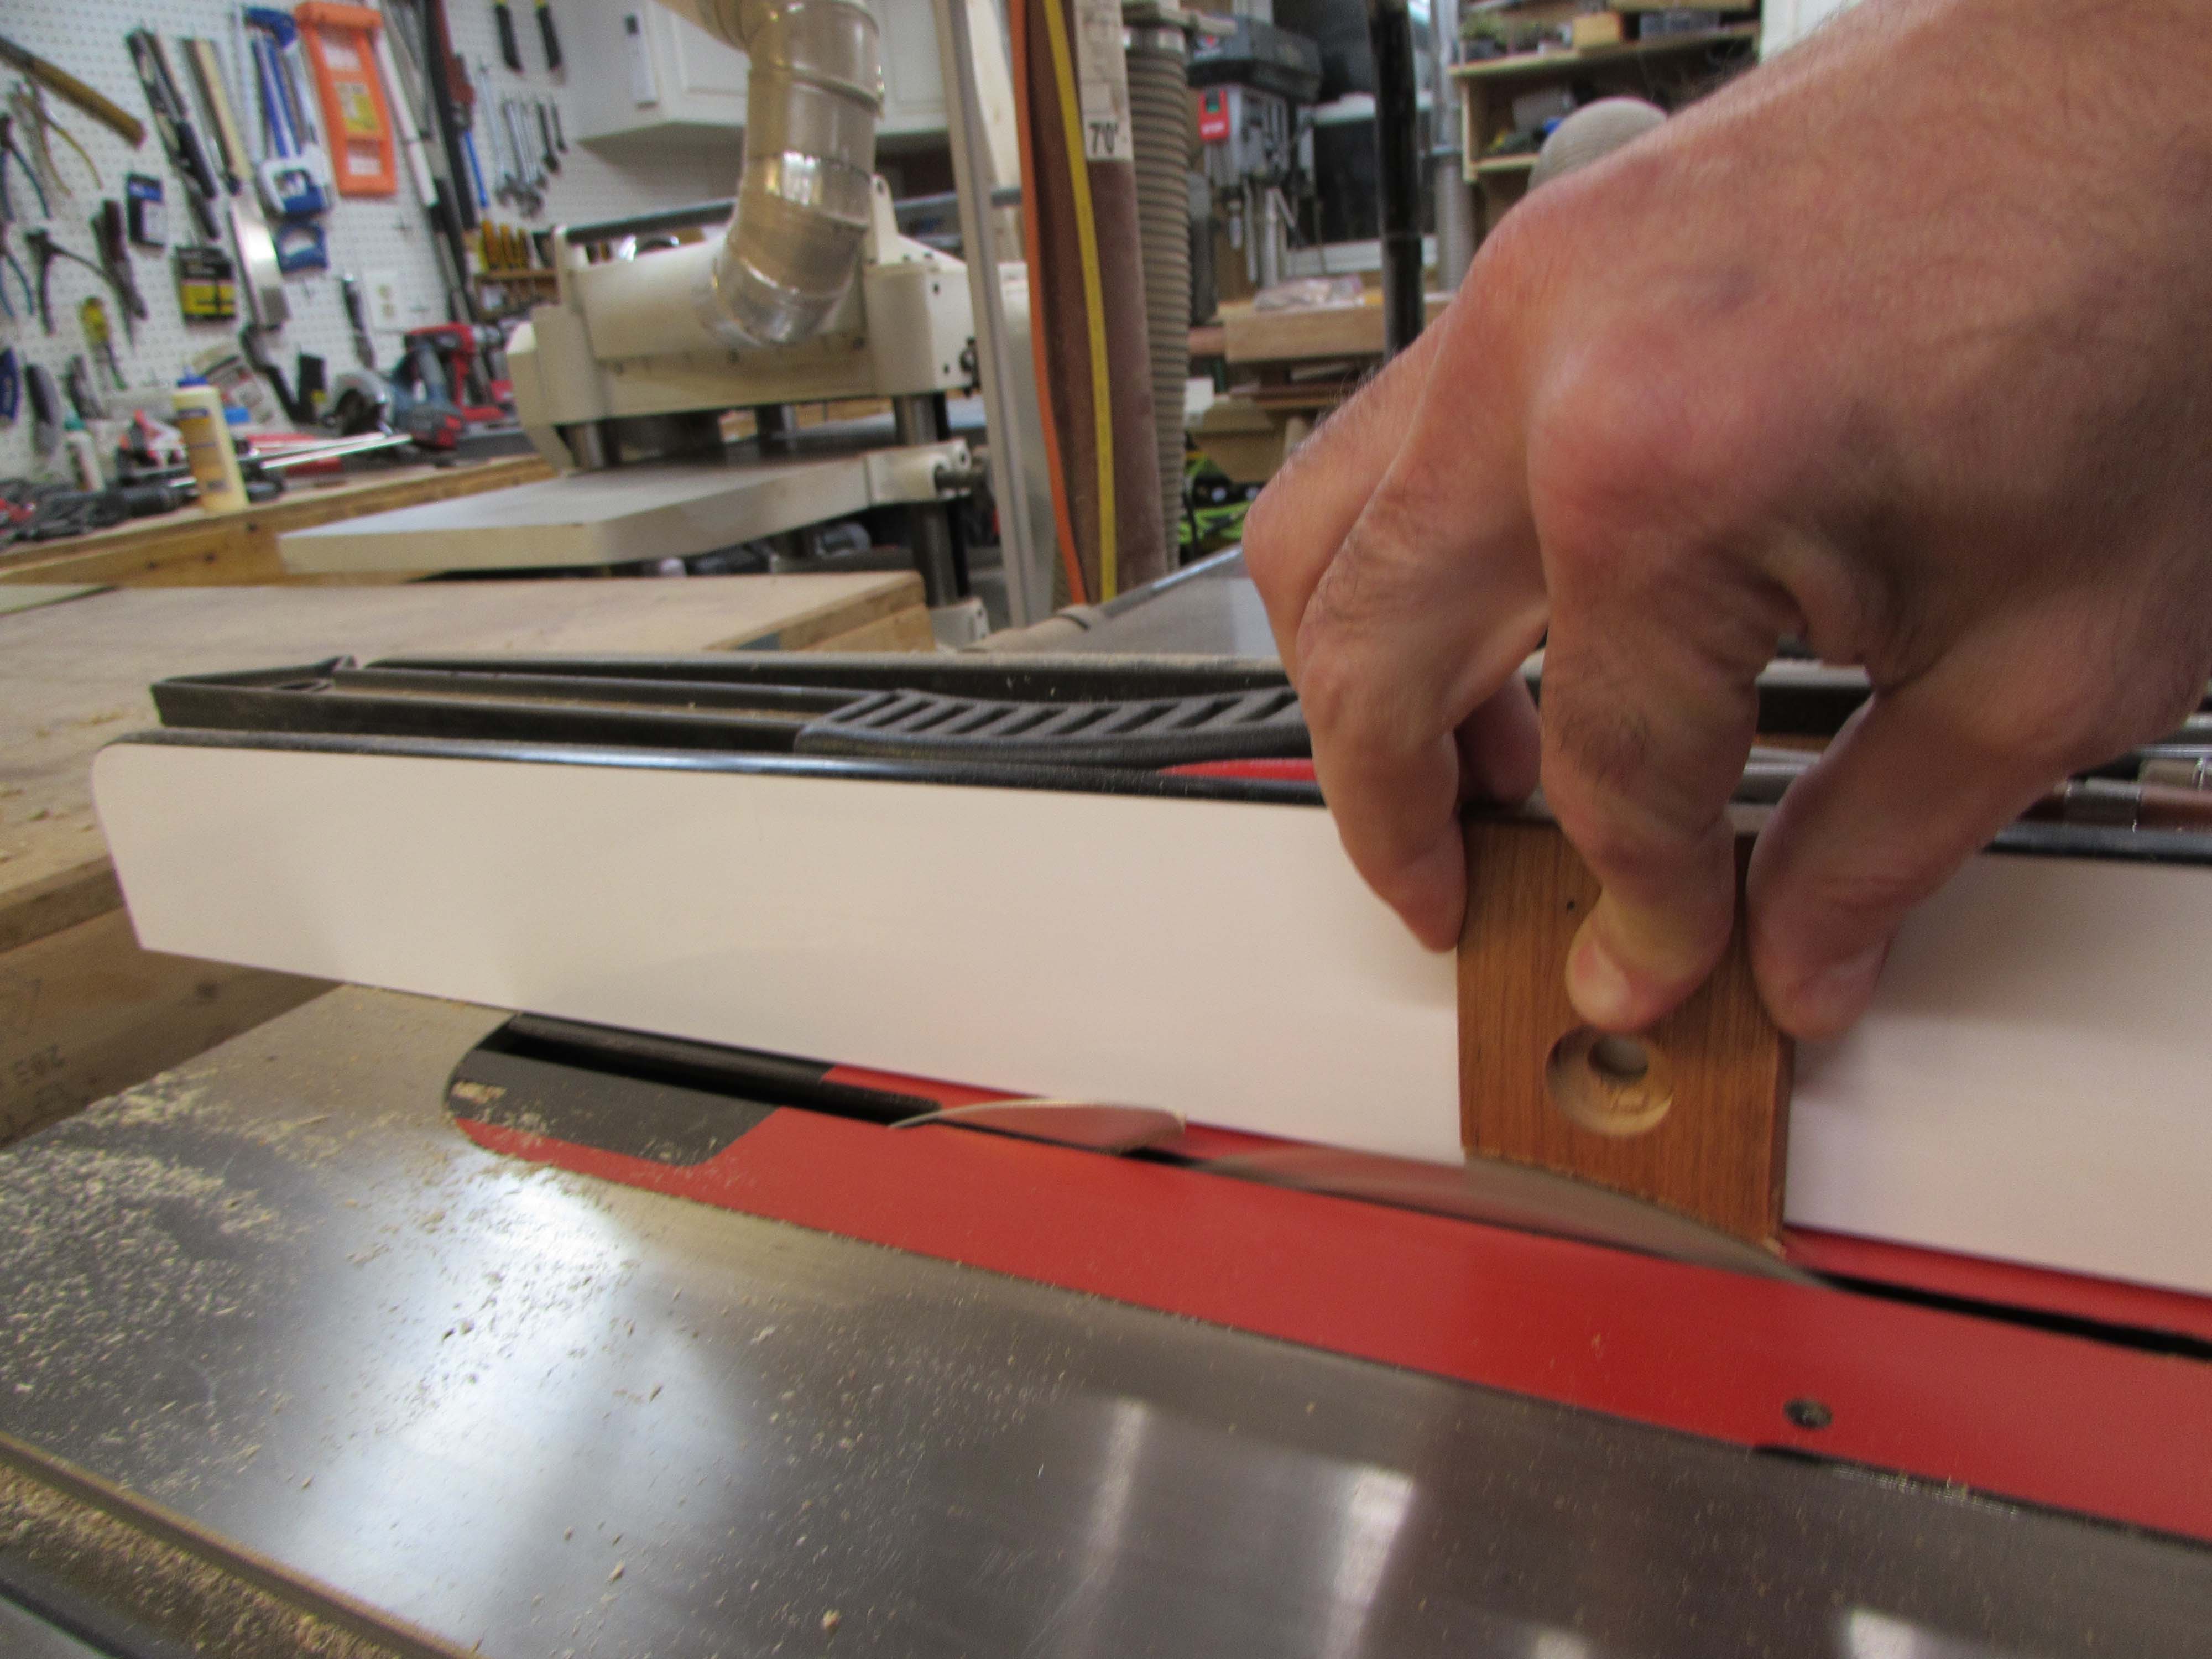
I think this can be resolved by cutting a 1/8″ notch off the under-side and adding a compressible pad. This should allow all of the cleats to sit flat.

I carefully cut this notch away on the table saw. Then I cut off a corner of the non-slip mat that I use on my bench.
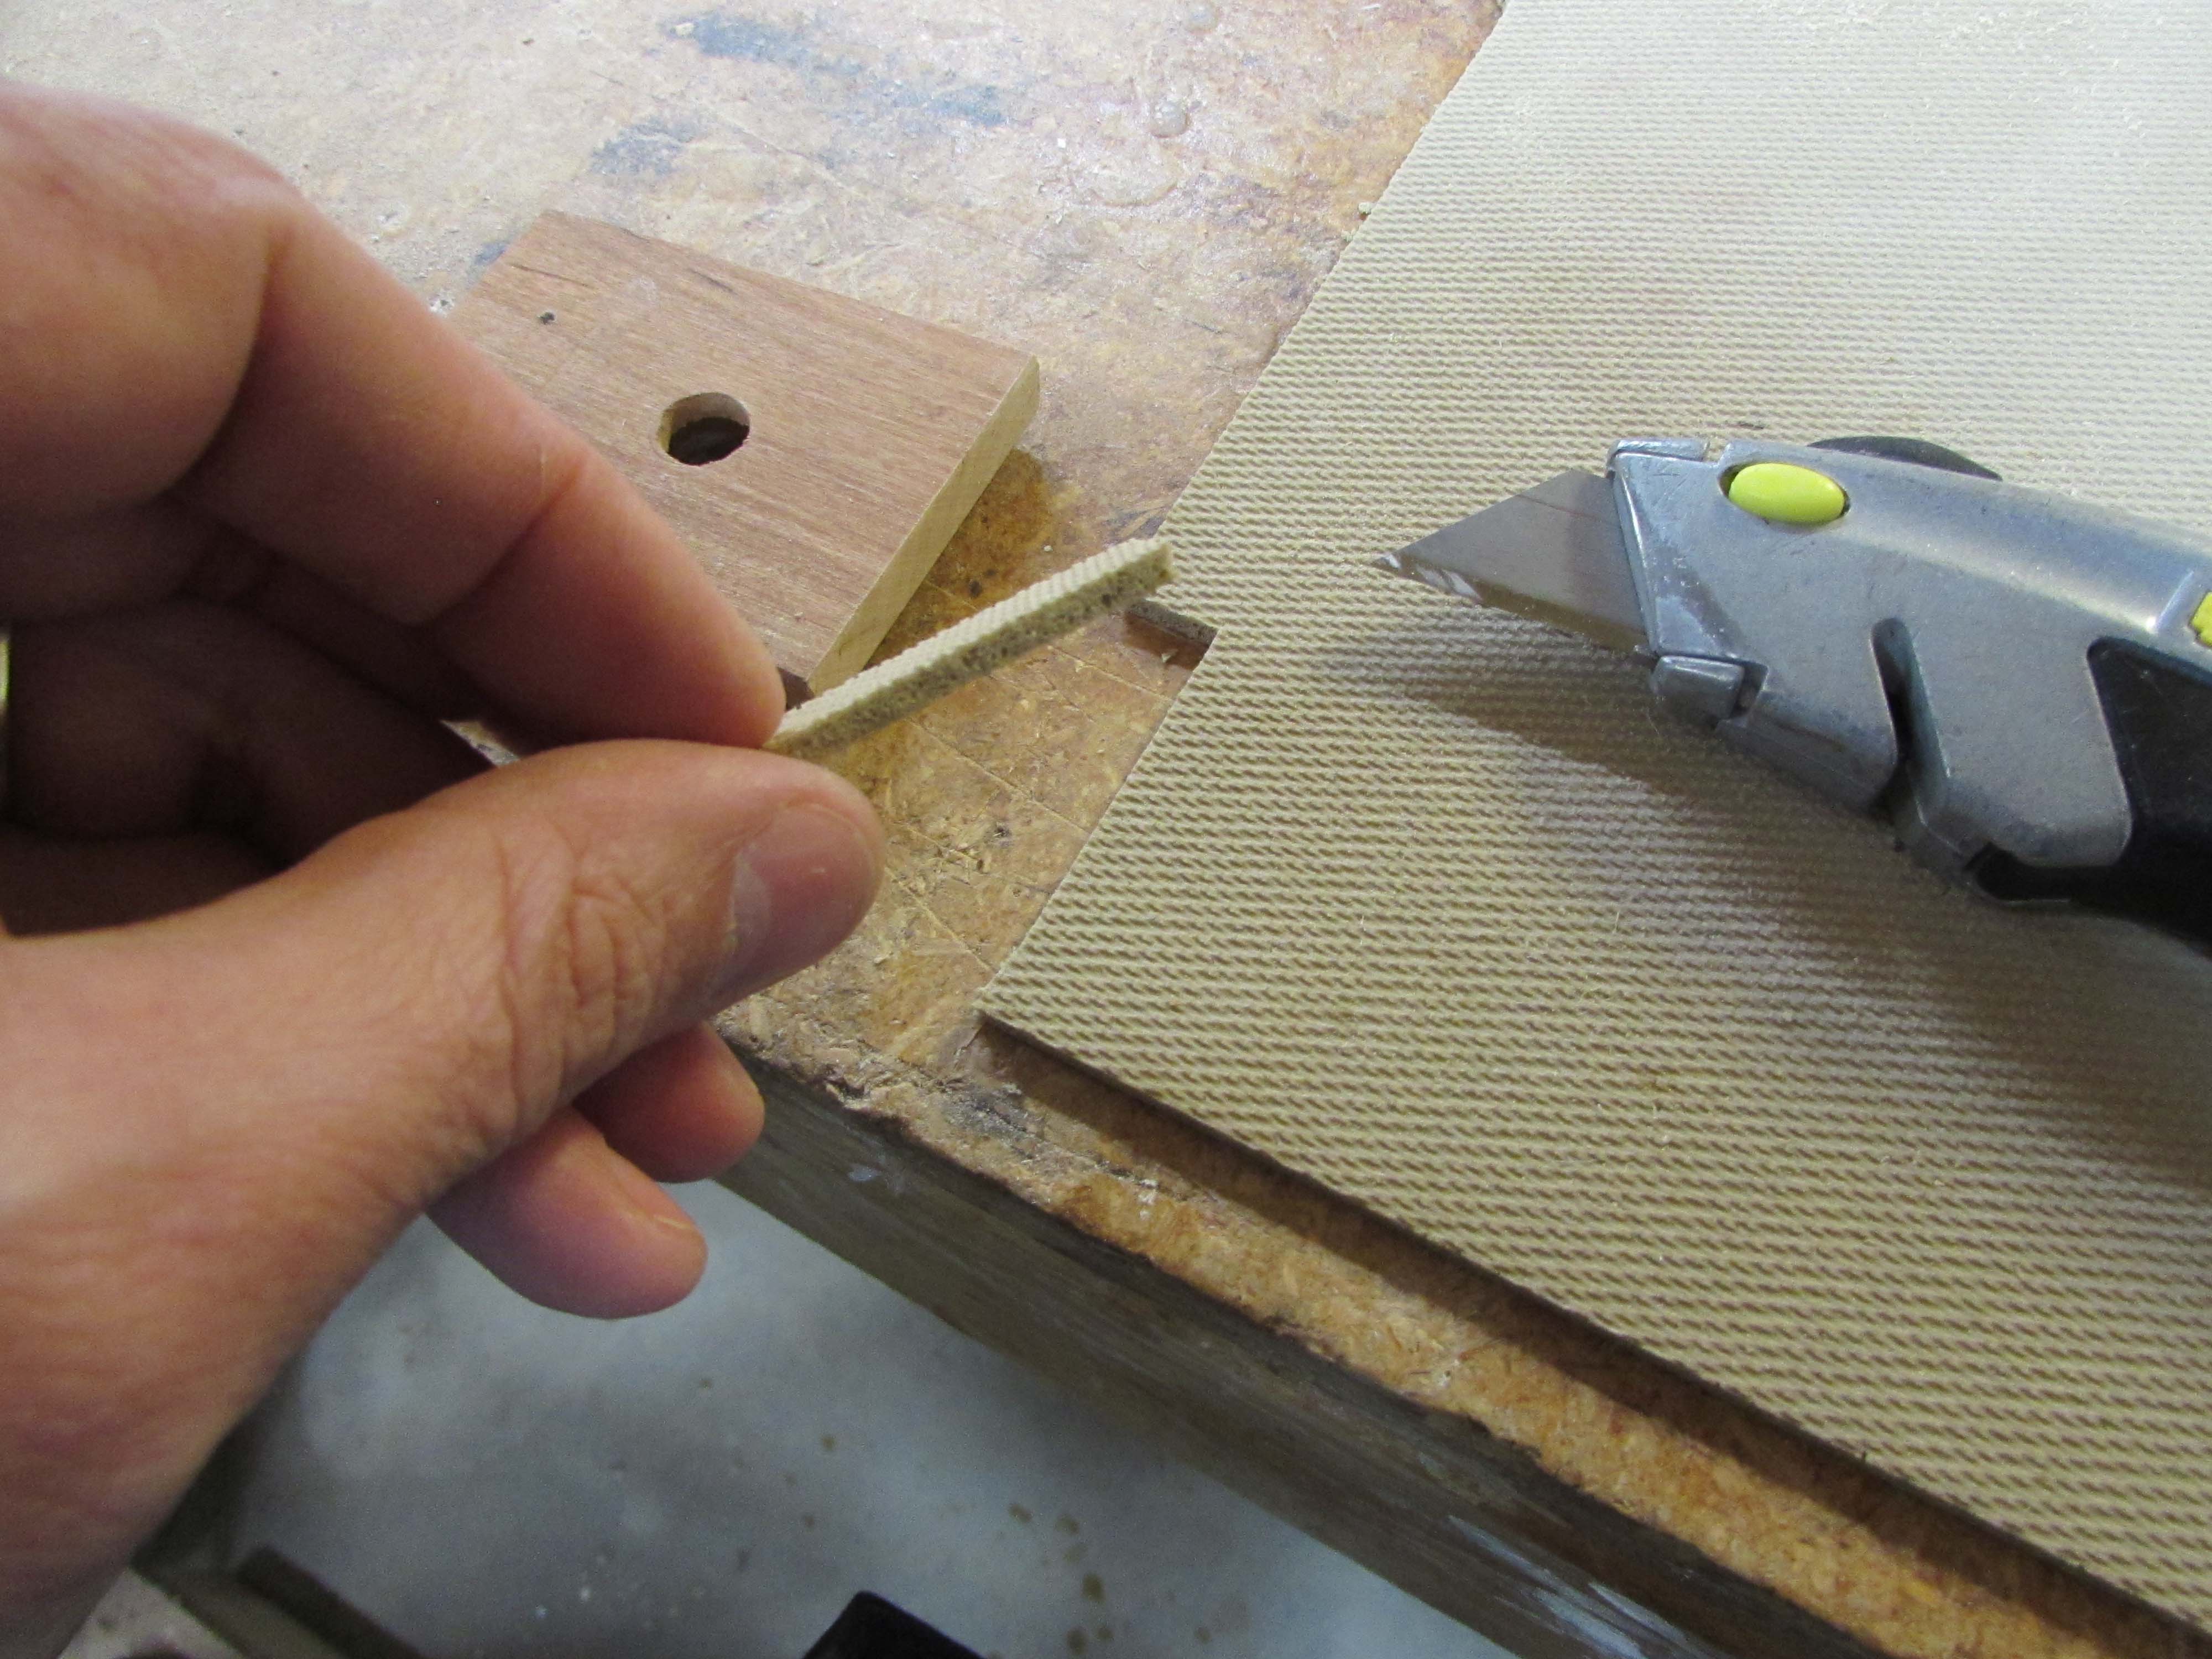
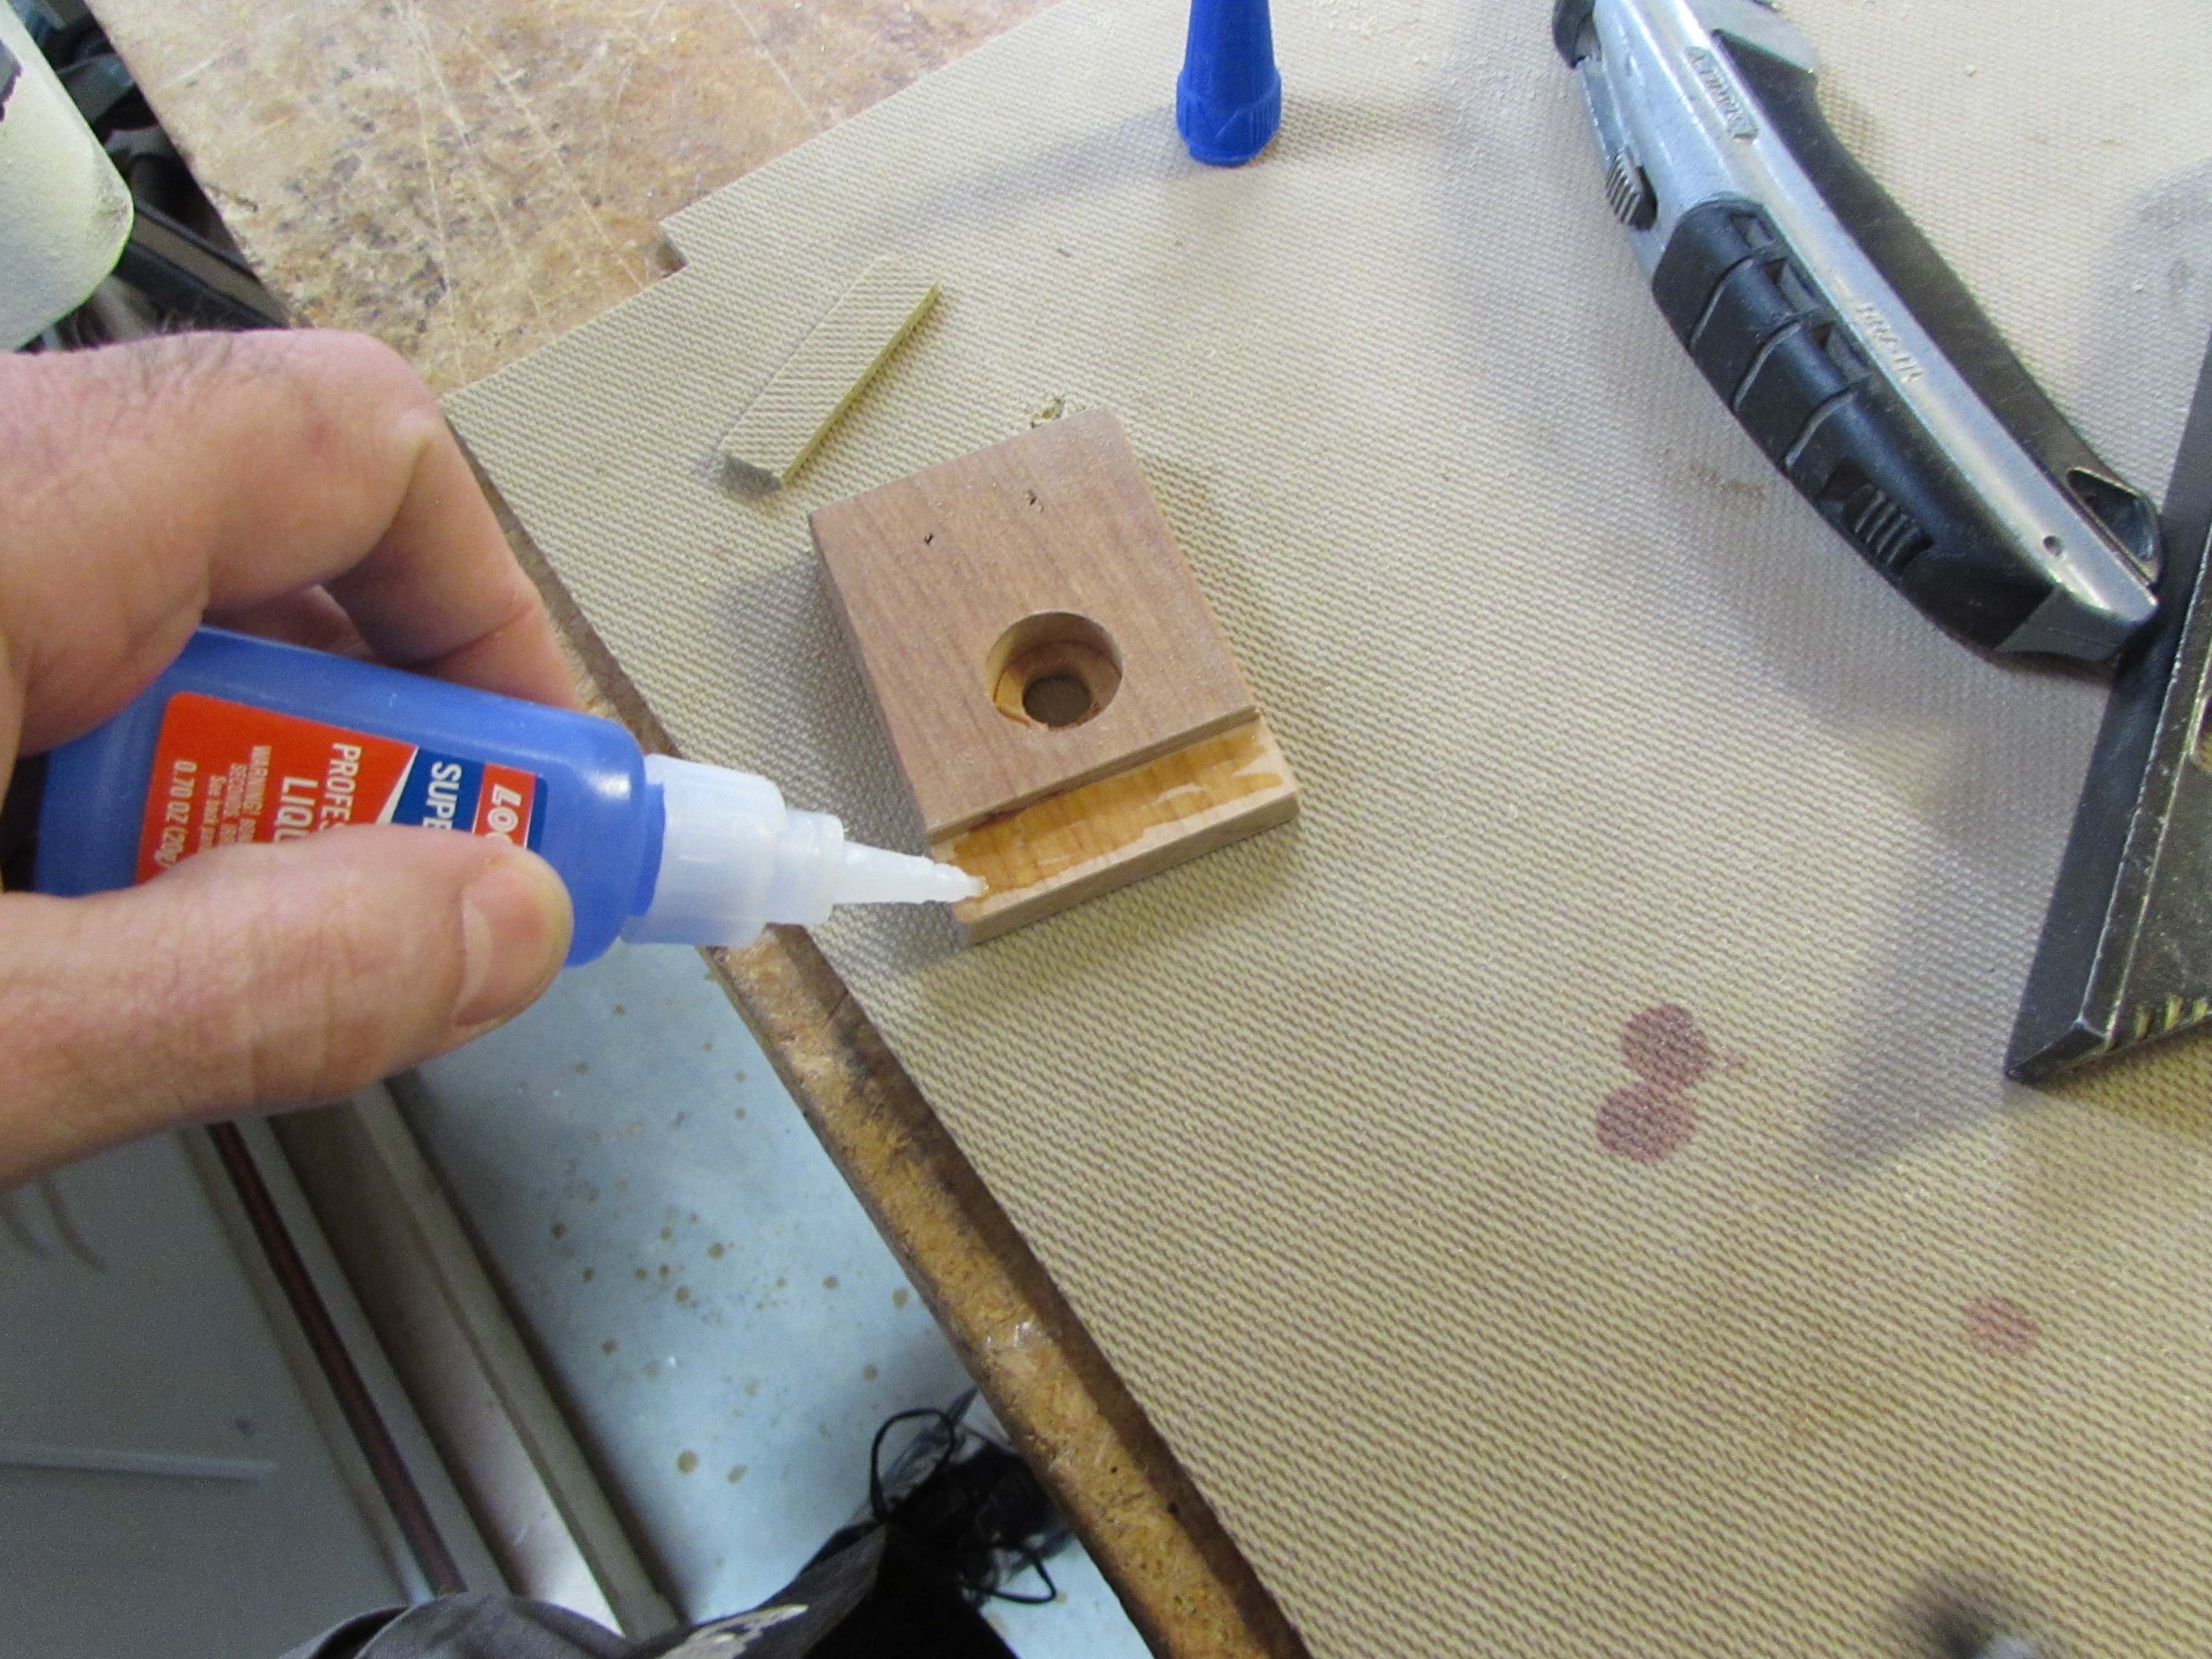
I coated the notch with CA glue and pressed the pad into place.
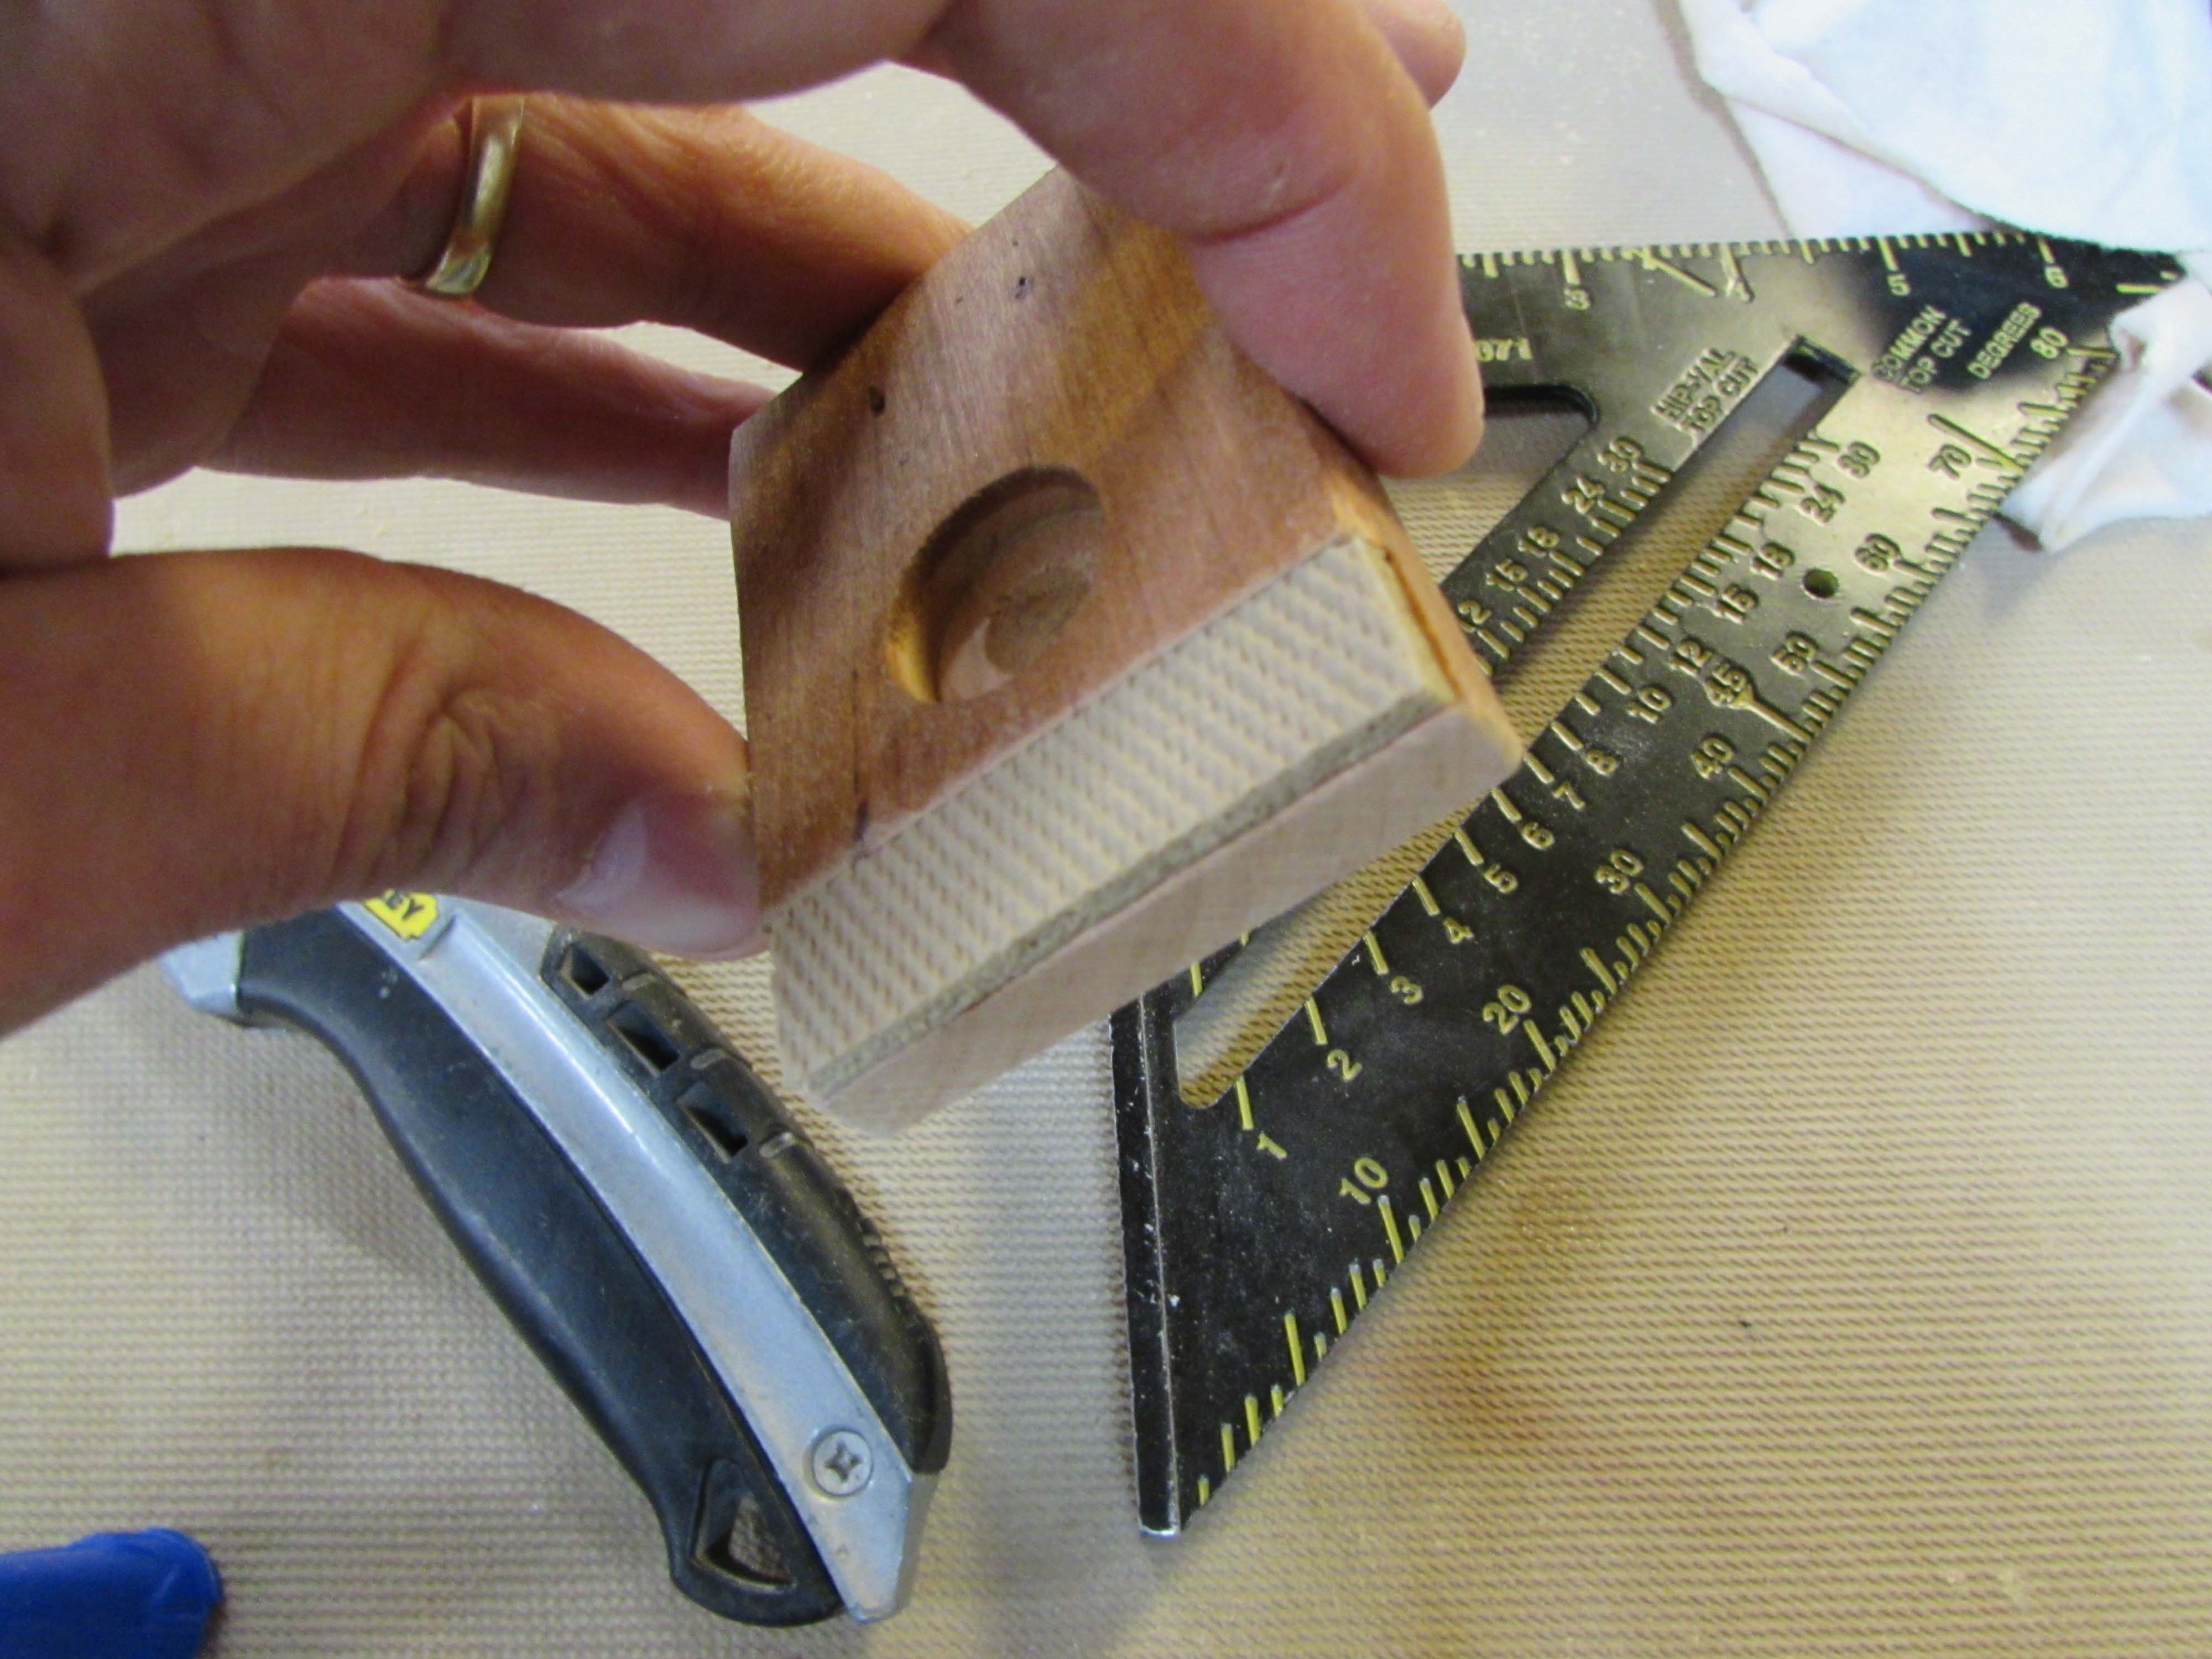
It seemed to hold very well, so I repeated the process on the other three.


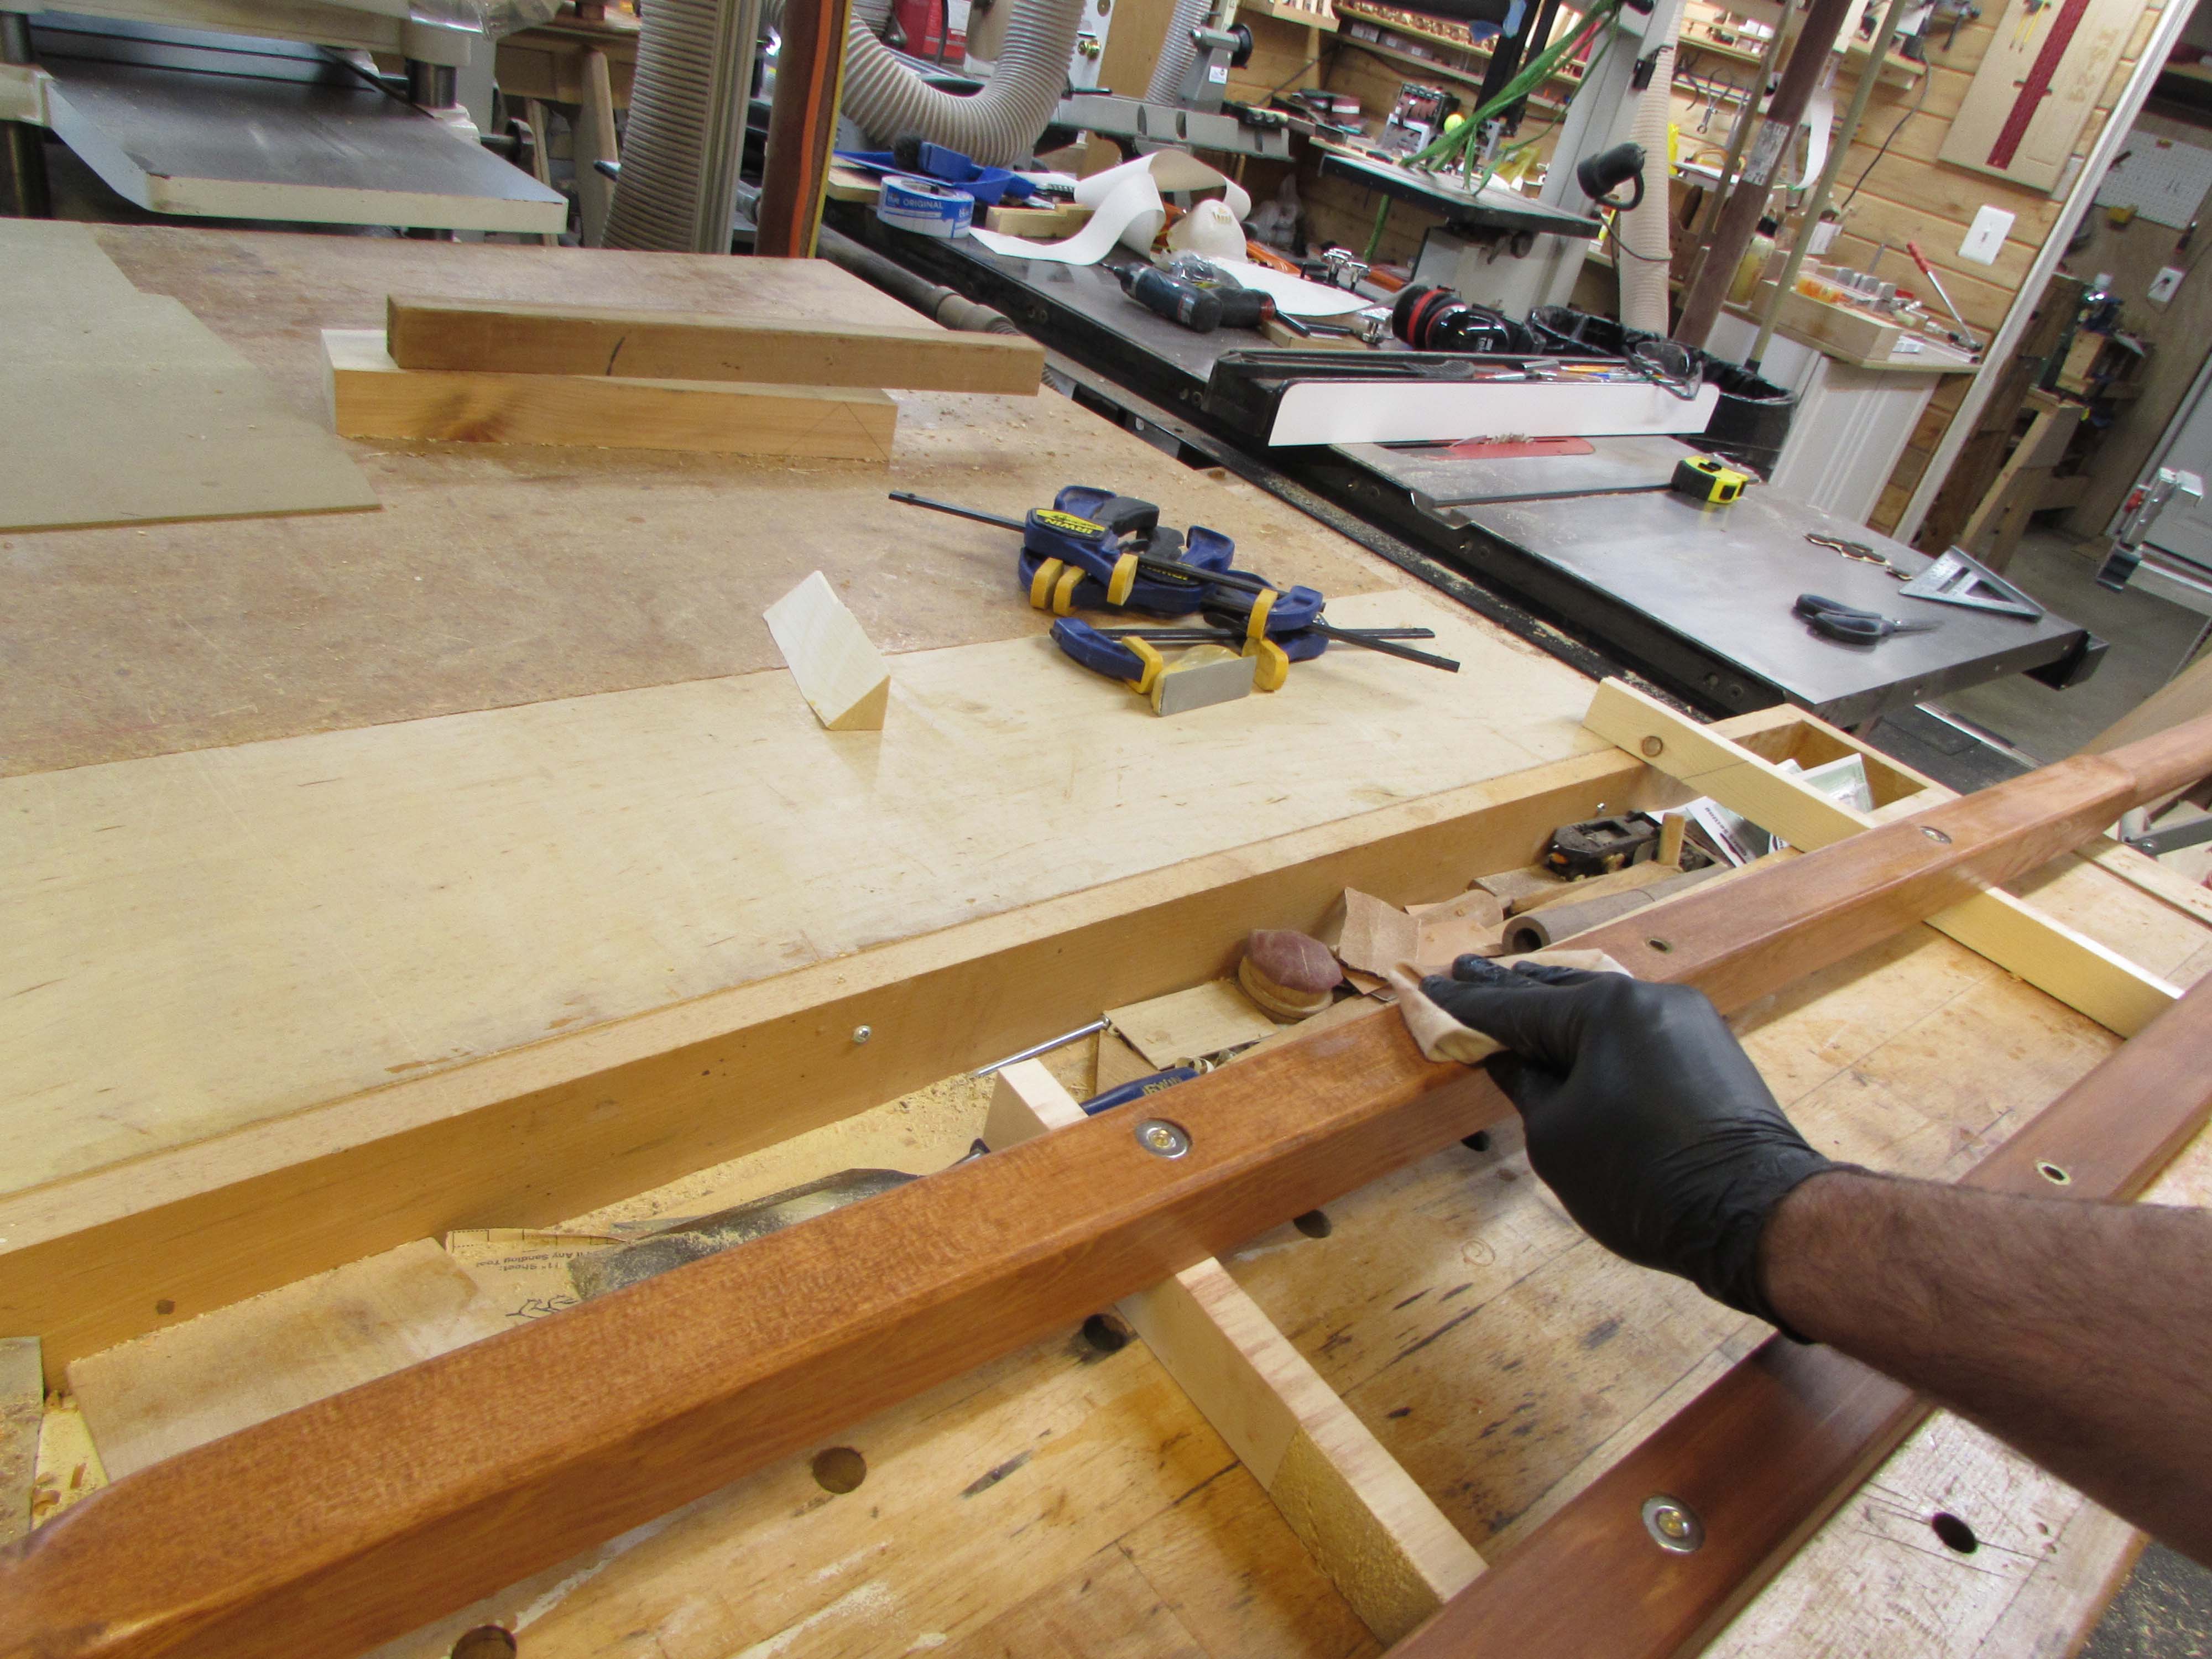
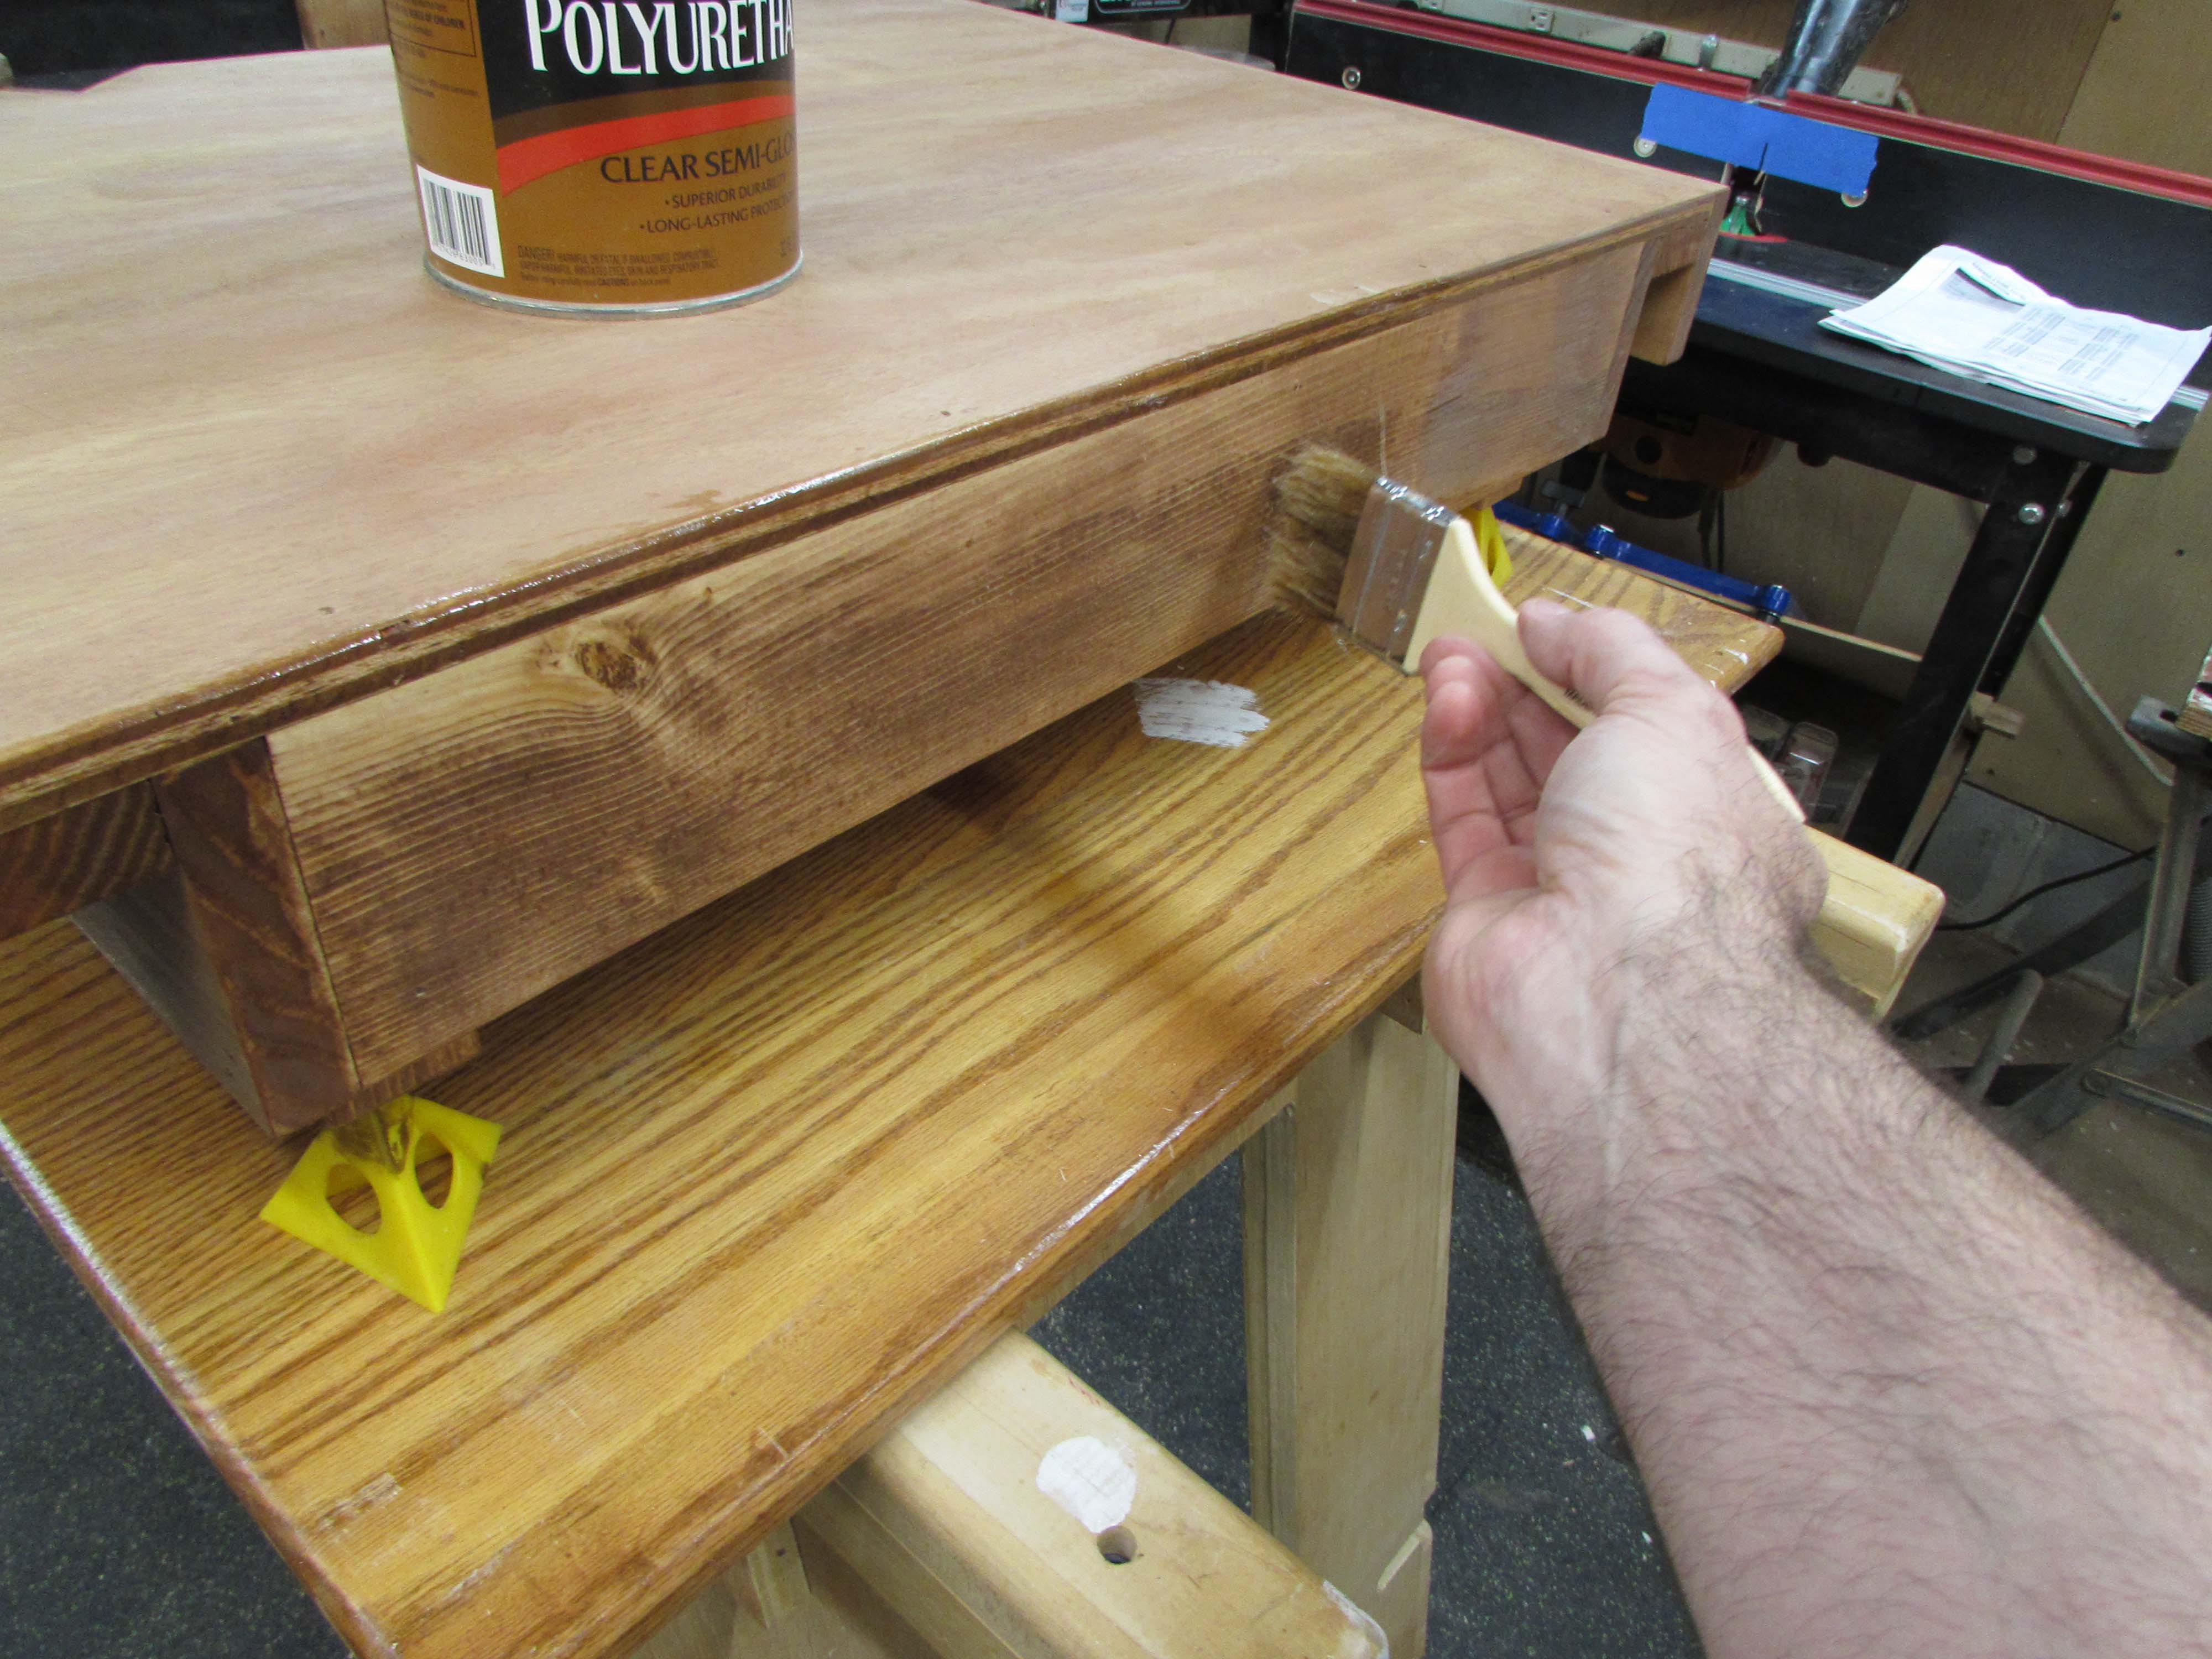
After removing all of the hardware, I started to apply the finish. I have two components of this project that have close tolerance fits. The cleats and the rails. If I use a finish that builds a film, they will jamb in place and get stuck, so for these areas, I am applying two coats of polymerized Tung oil. The first two or three coats actually soak into the wood and harden below the surface. So I applied Tung oil to the square section of the rails as well as the sides and under-side of the cleats. I also applied Tung oil in the cleat pockets as well. Those areas won’t be visible, but I wanted a bit of protection in case the bier was used in the rain or something. A coat or two will help to protect against moisture entering the wood and causing swelling.

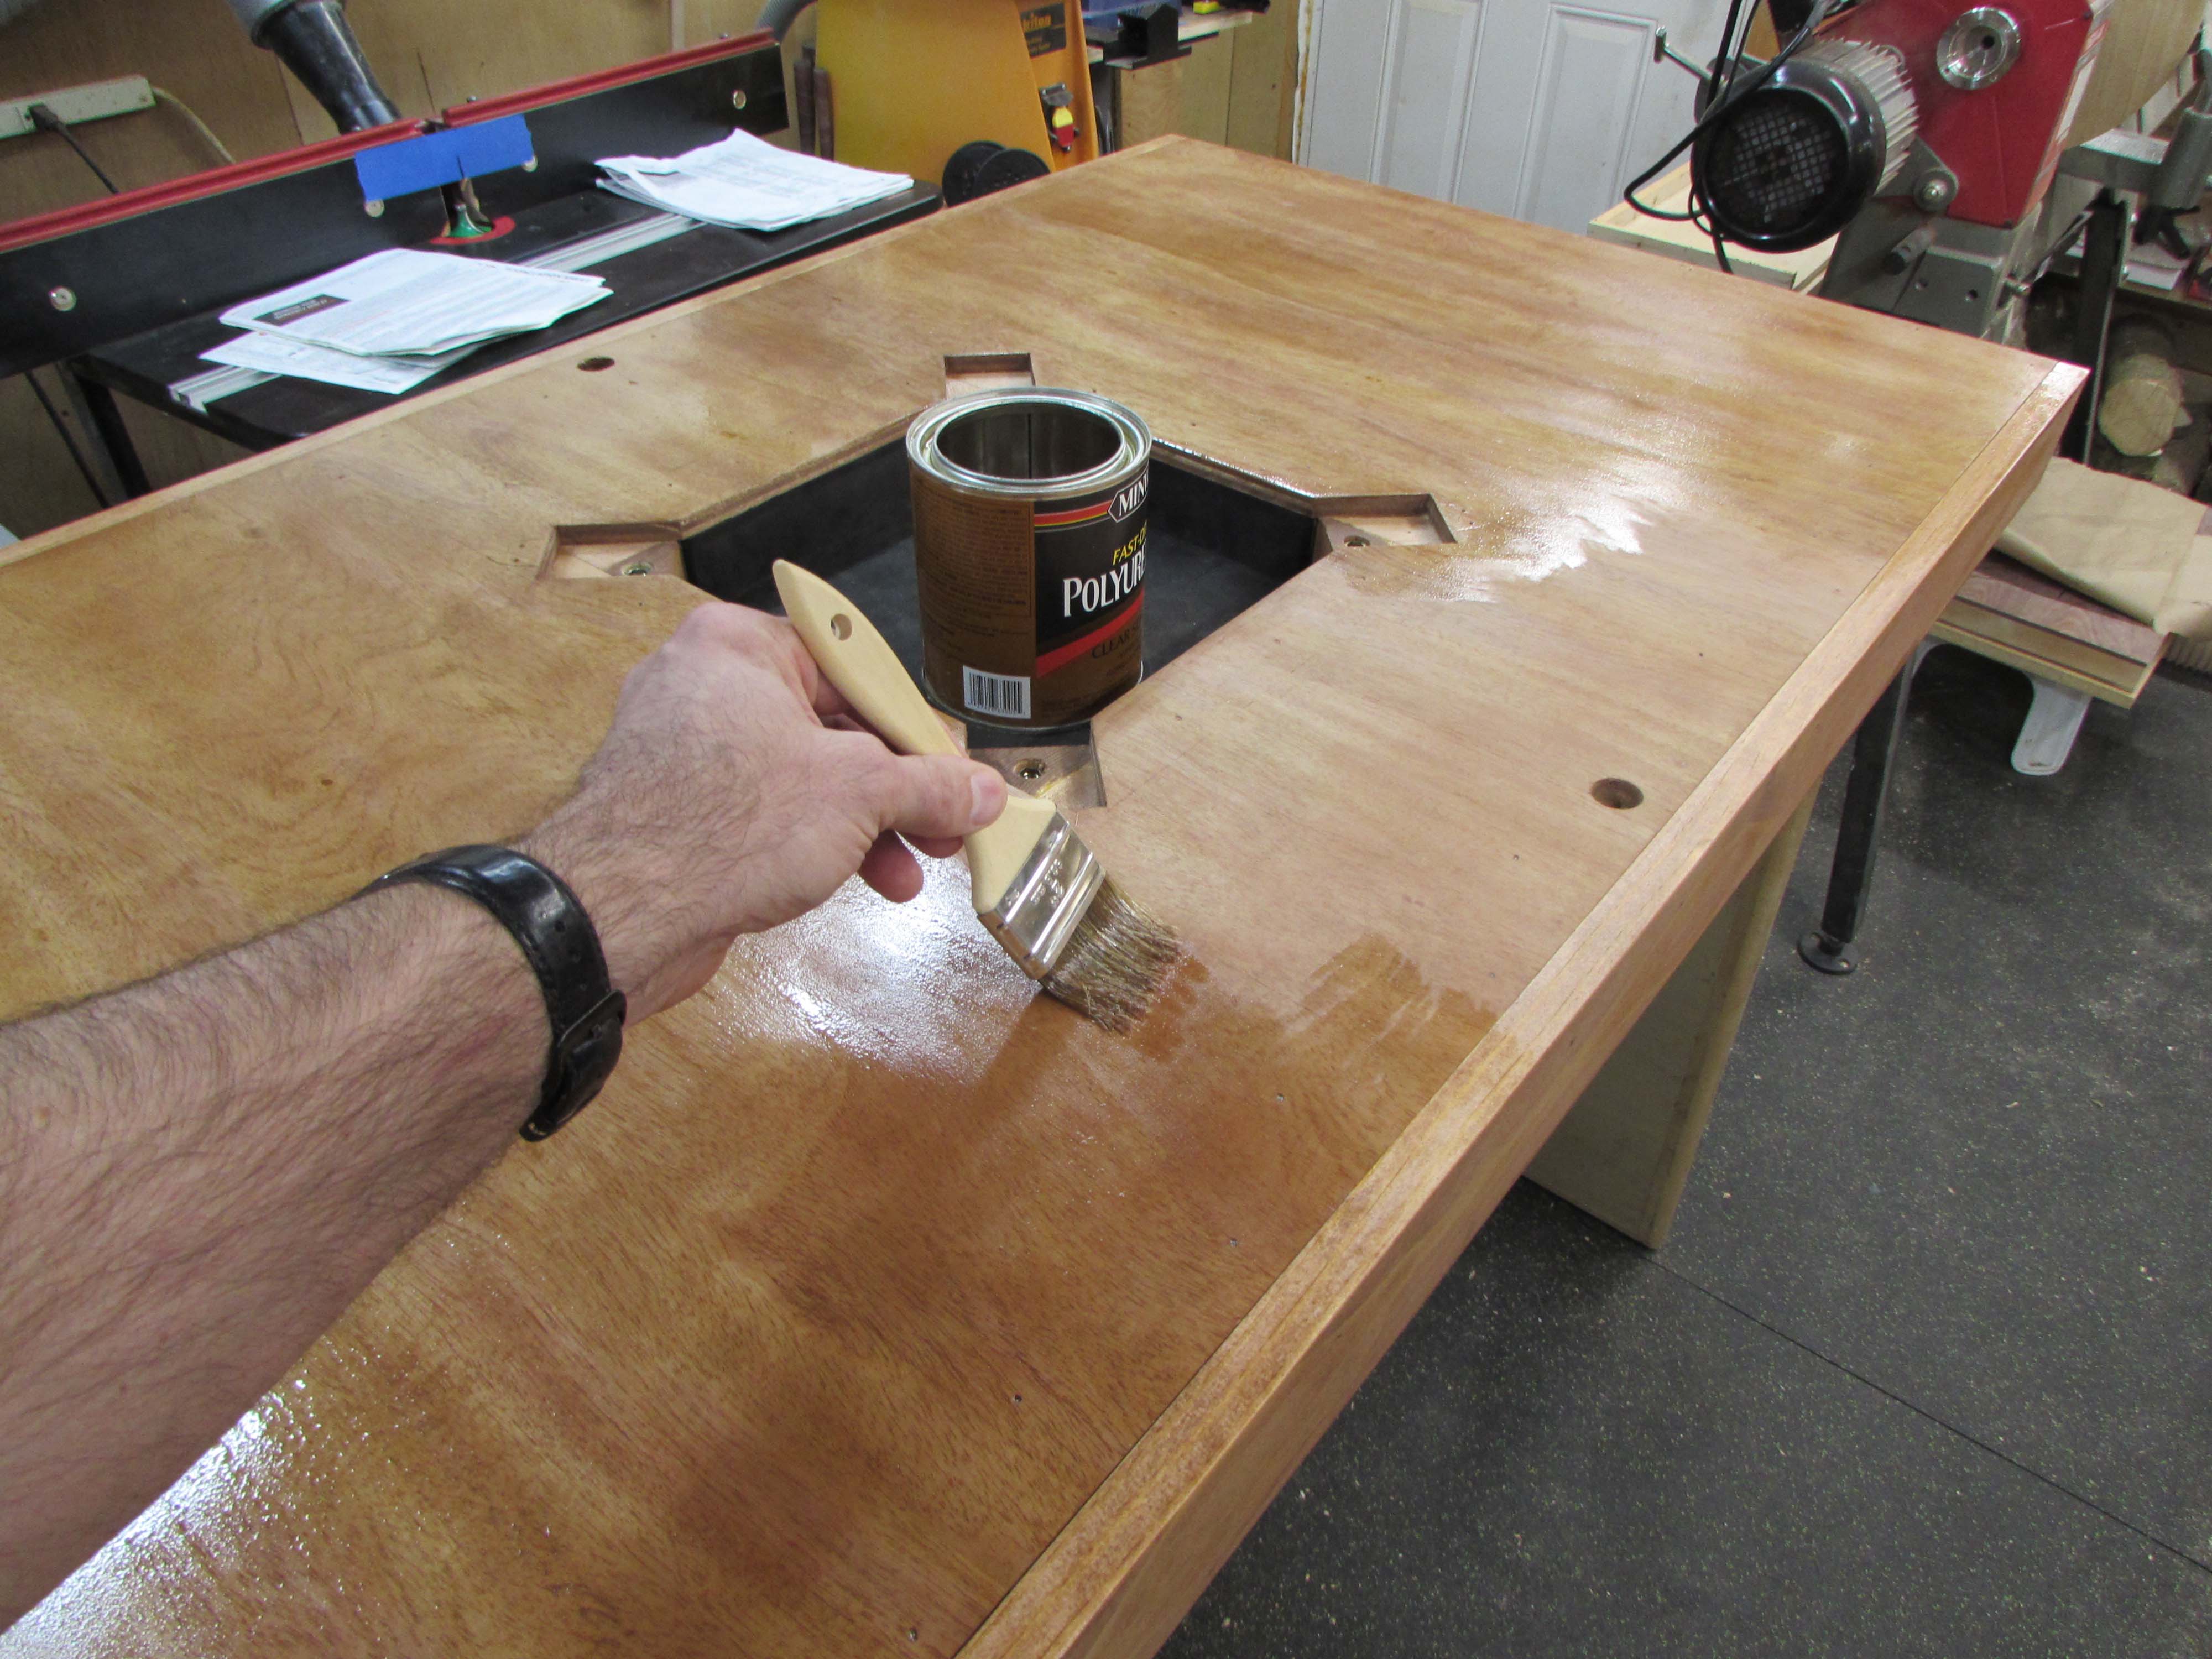
For the rest of the rails and the bier, I am using a semi-gloss polyurethane.
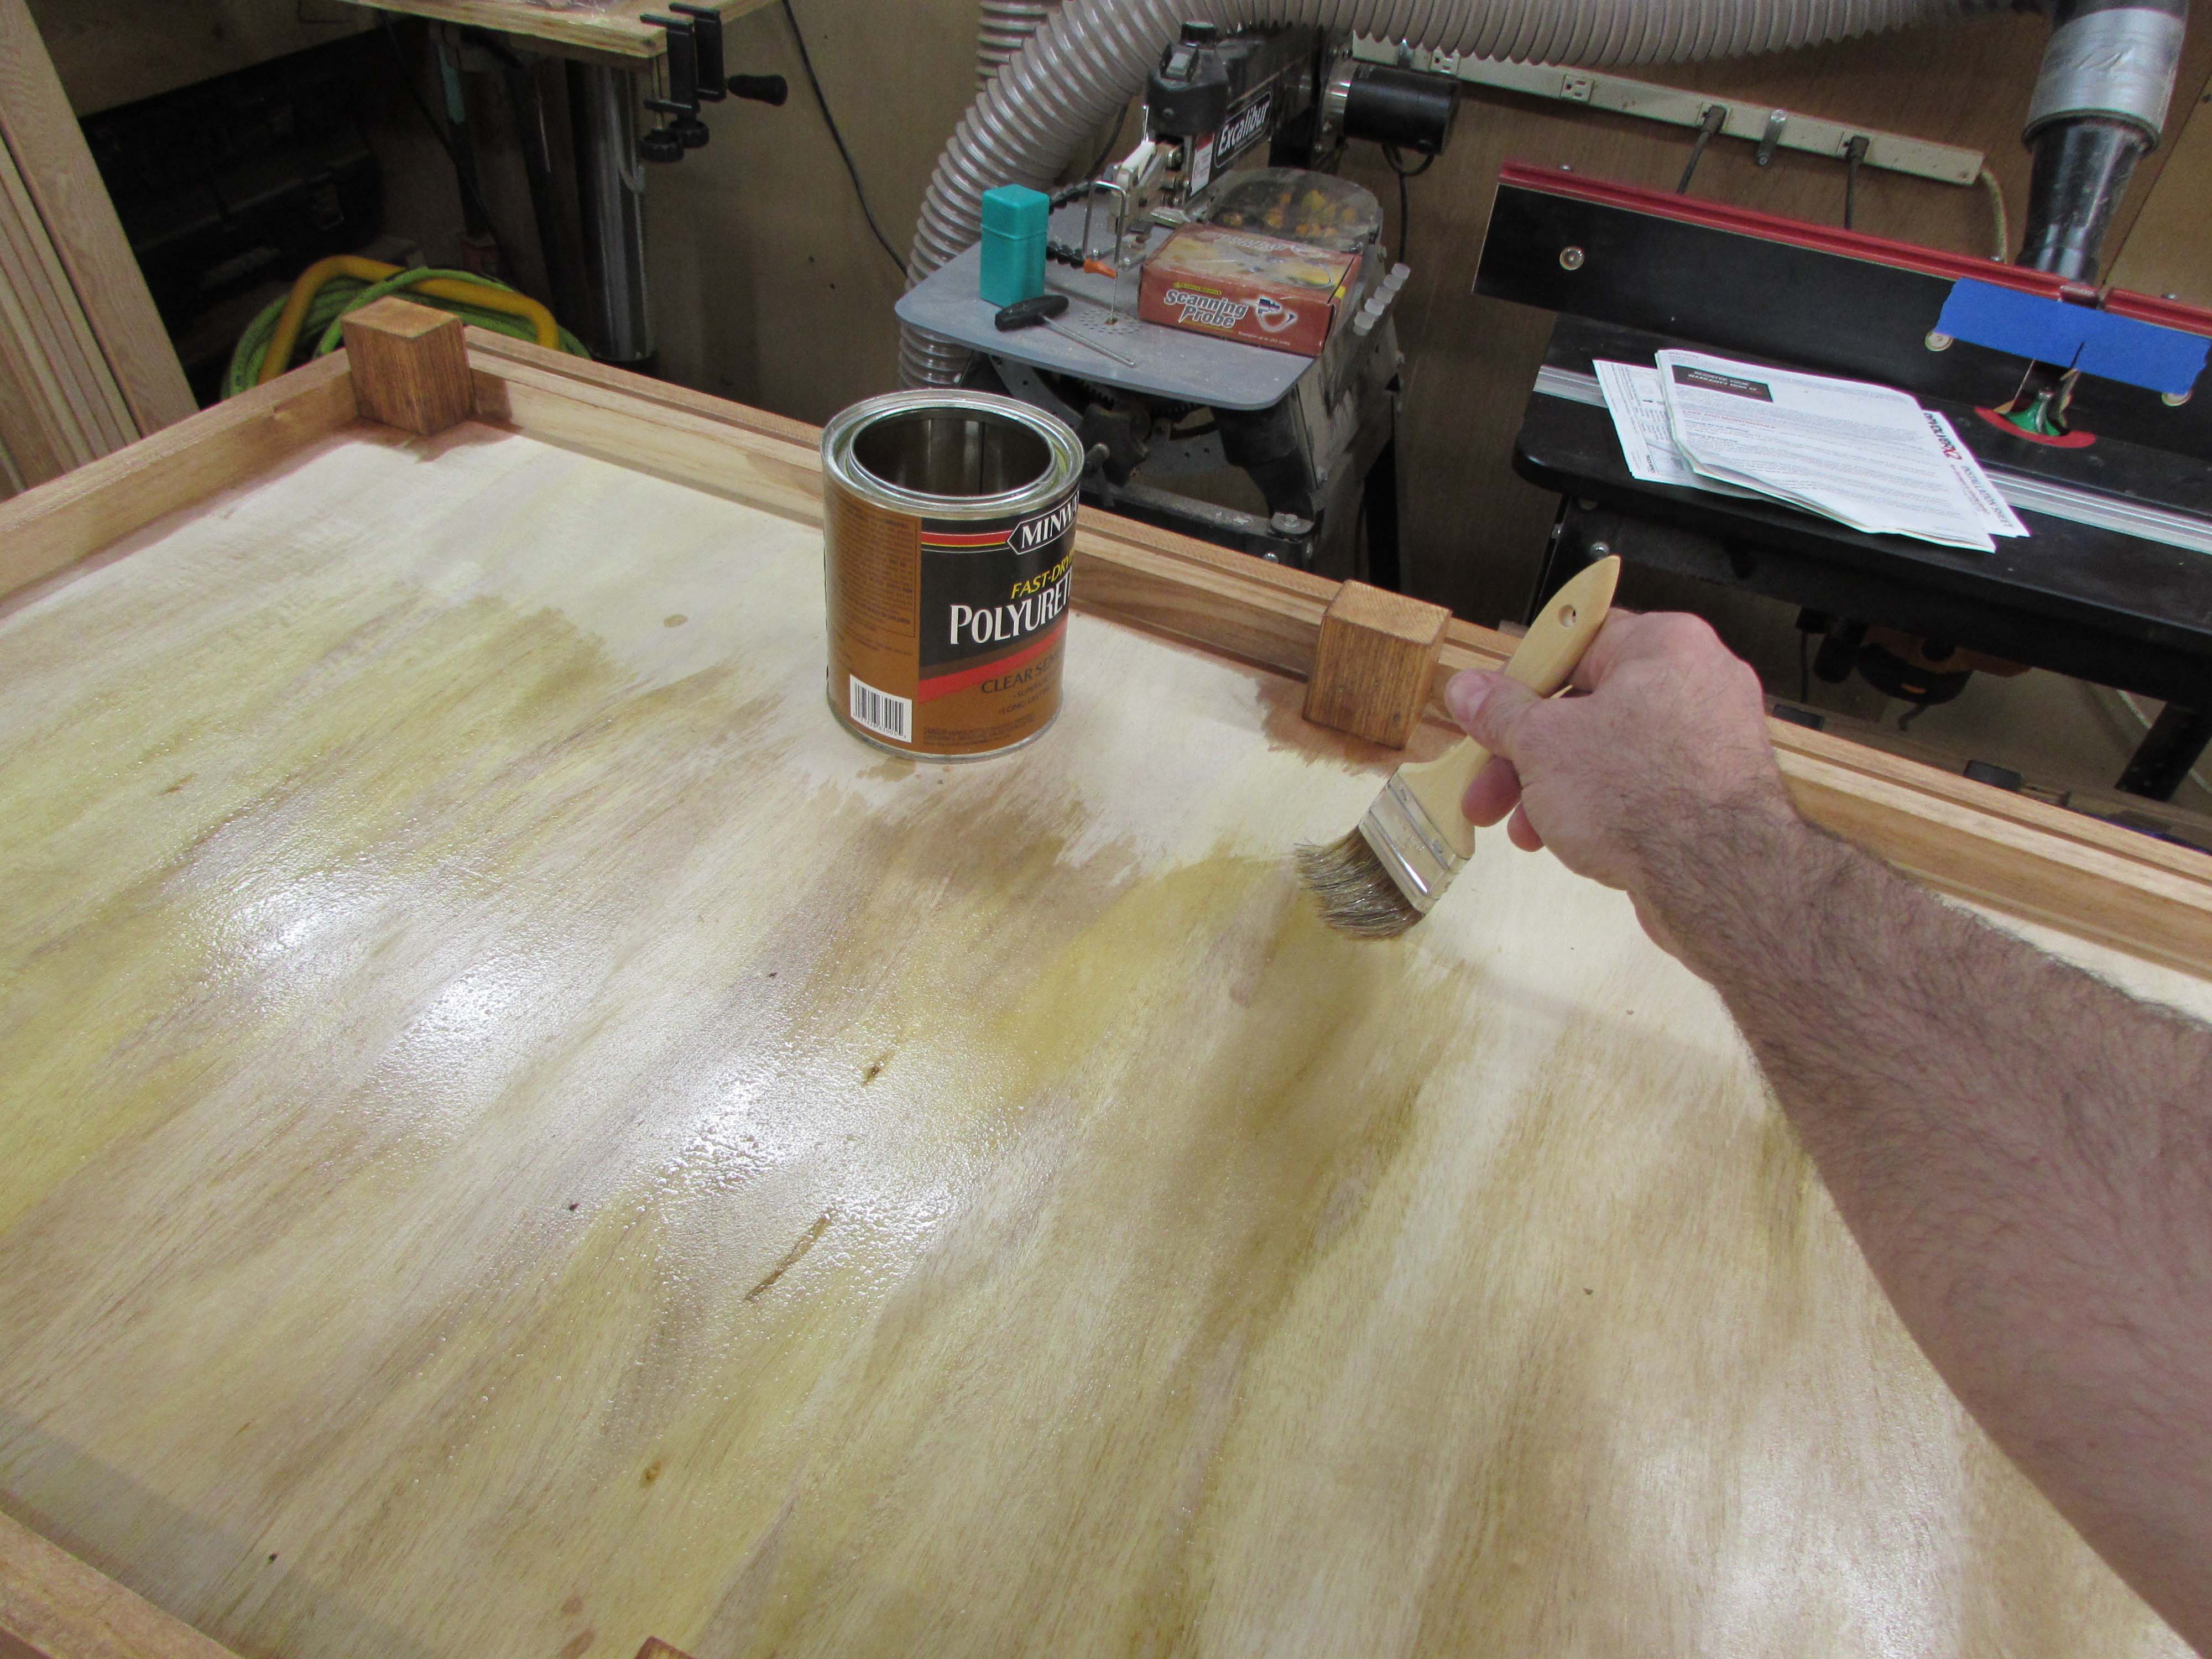
I am going to apply a at least one coat to the bottom just to seal the surfaces against moisture and three coats to the outer exposed areas. The bier will likely be wrapped in cloth and have artificial flowers pinned to the cloth. Three coats will help to prevent the pins from getting to the wood very easily.

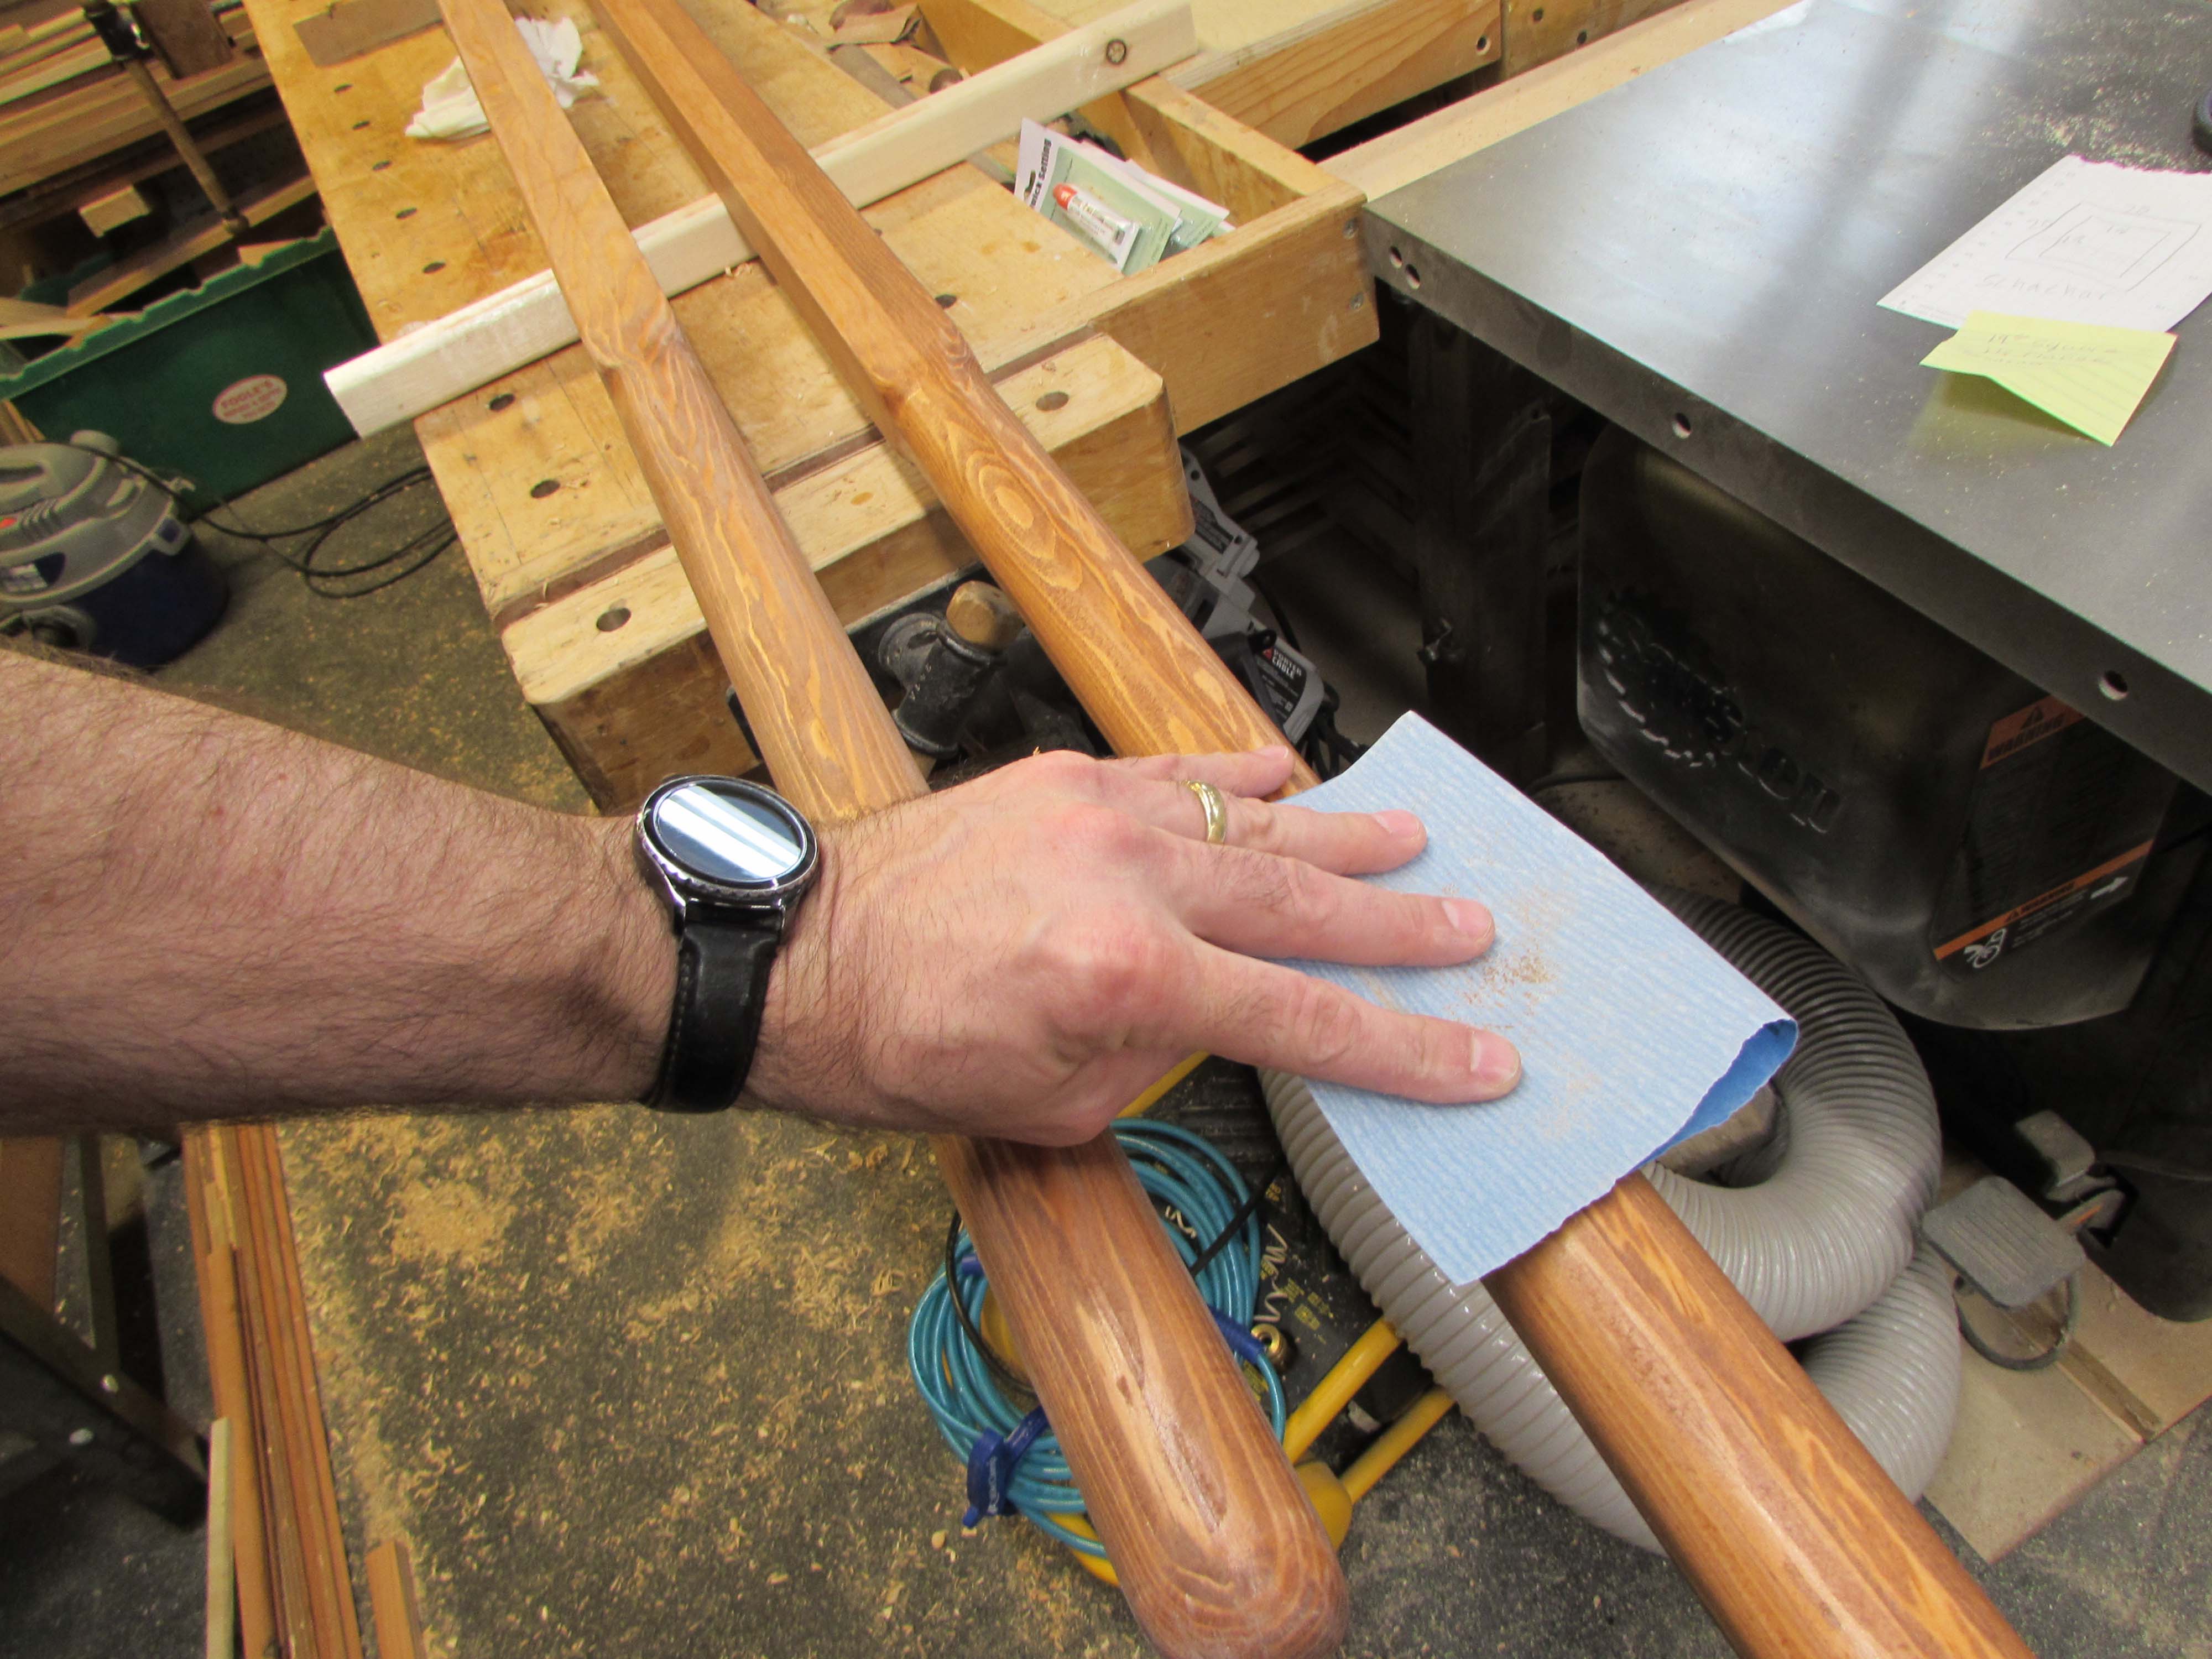
After the first coat was applied and allowed to dry, I sanded all of the surfaces down with 400 grit paper to prep for the second coat.
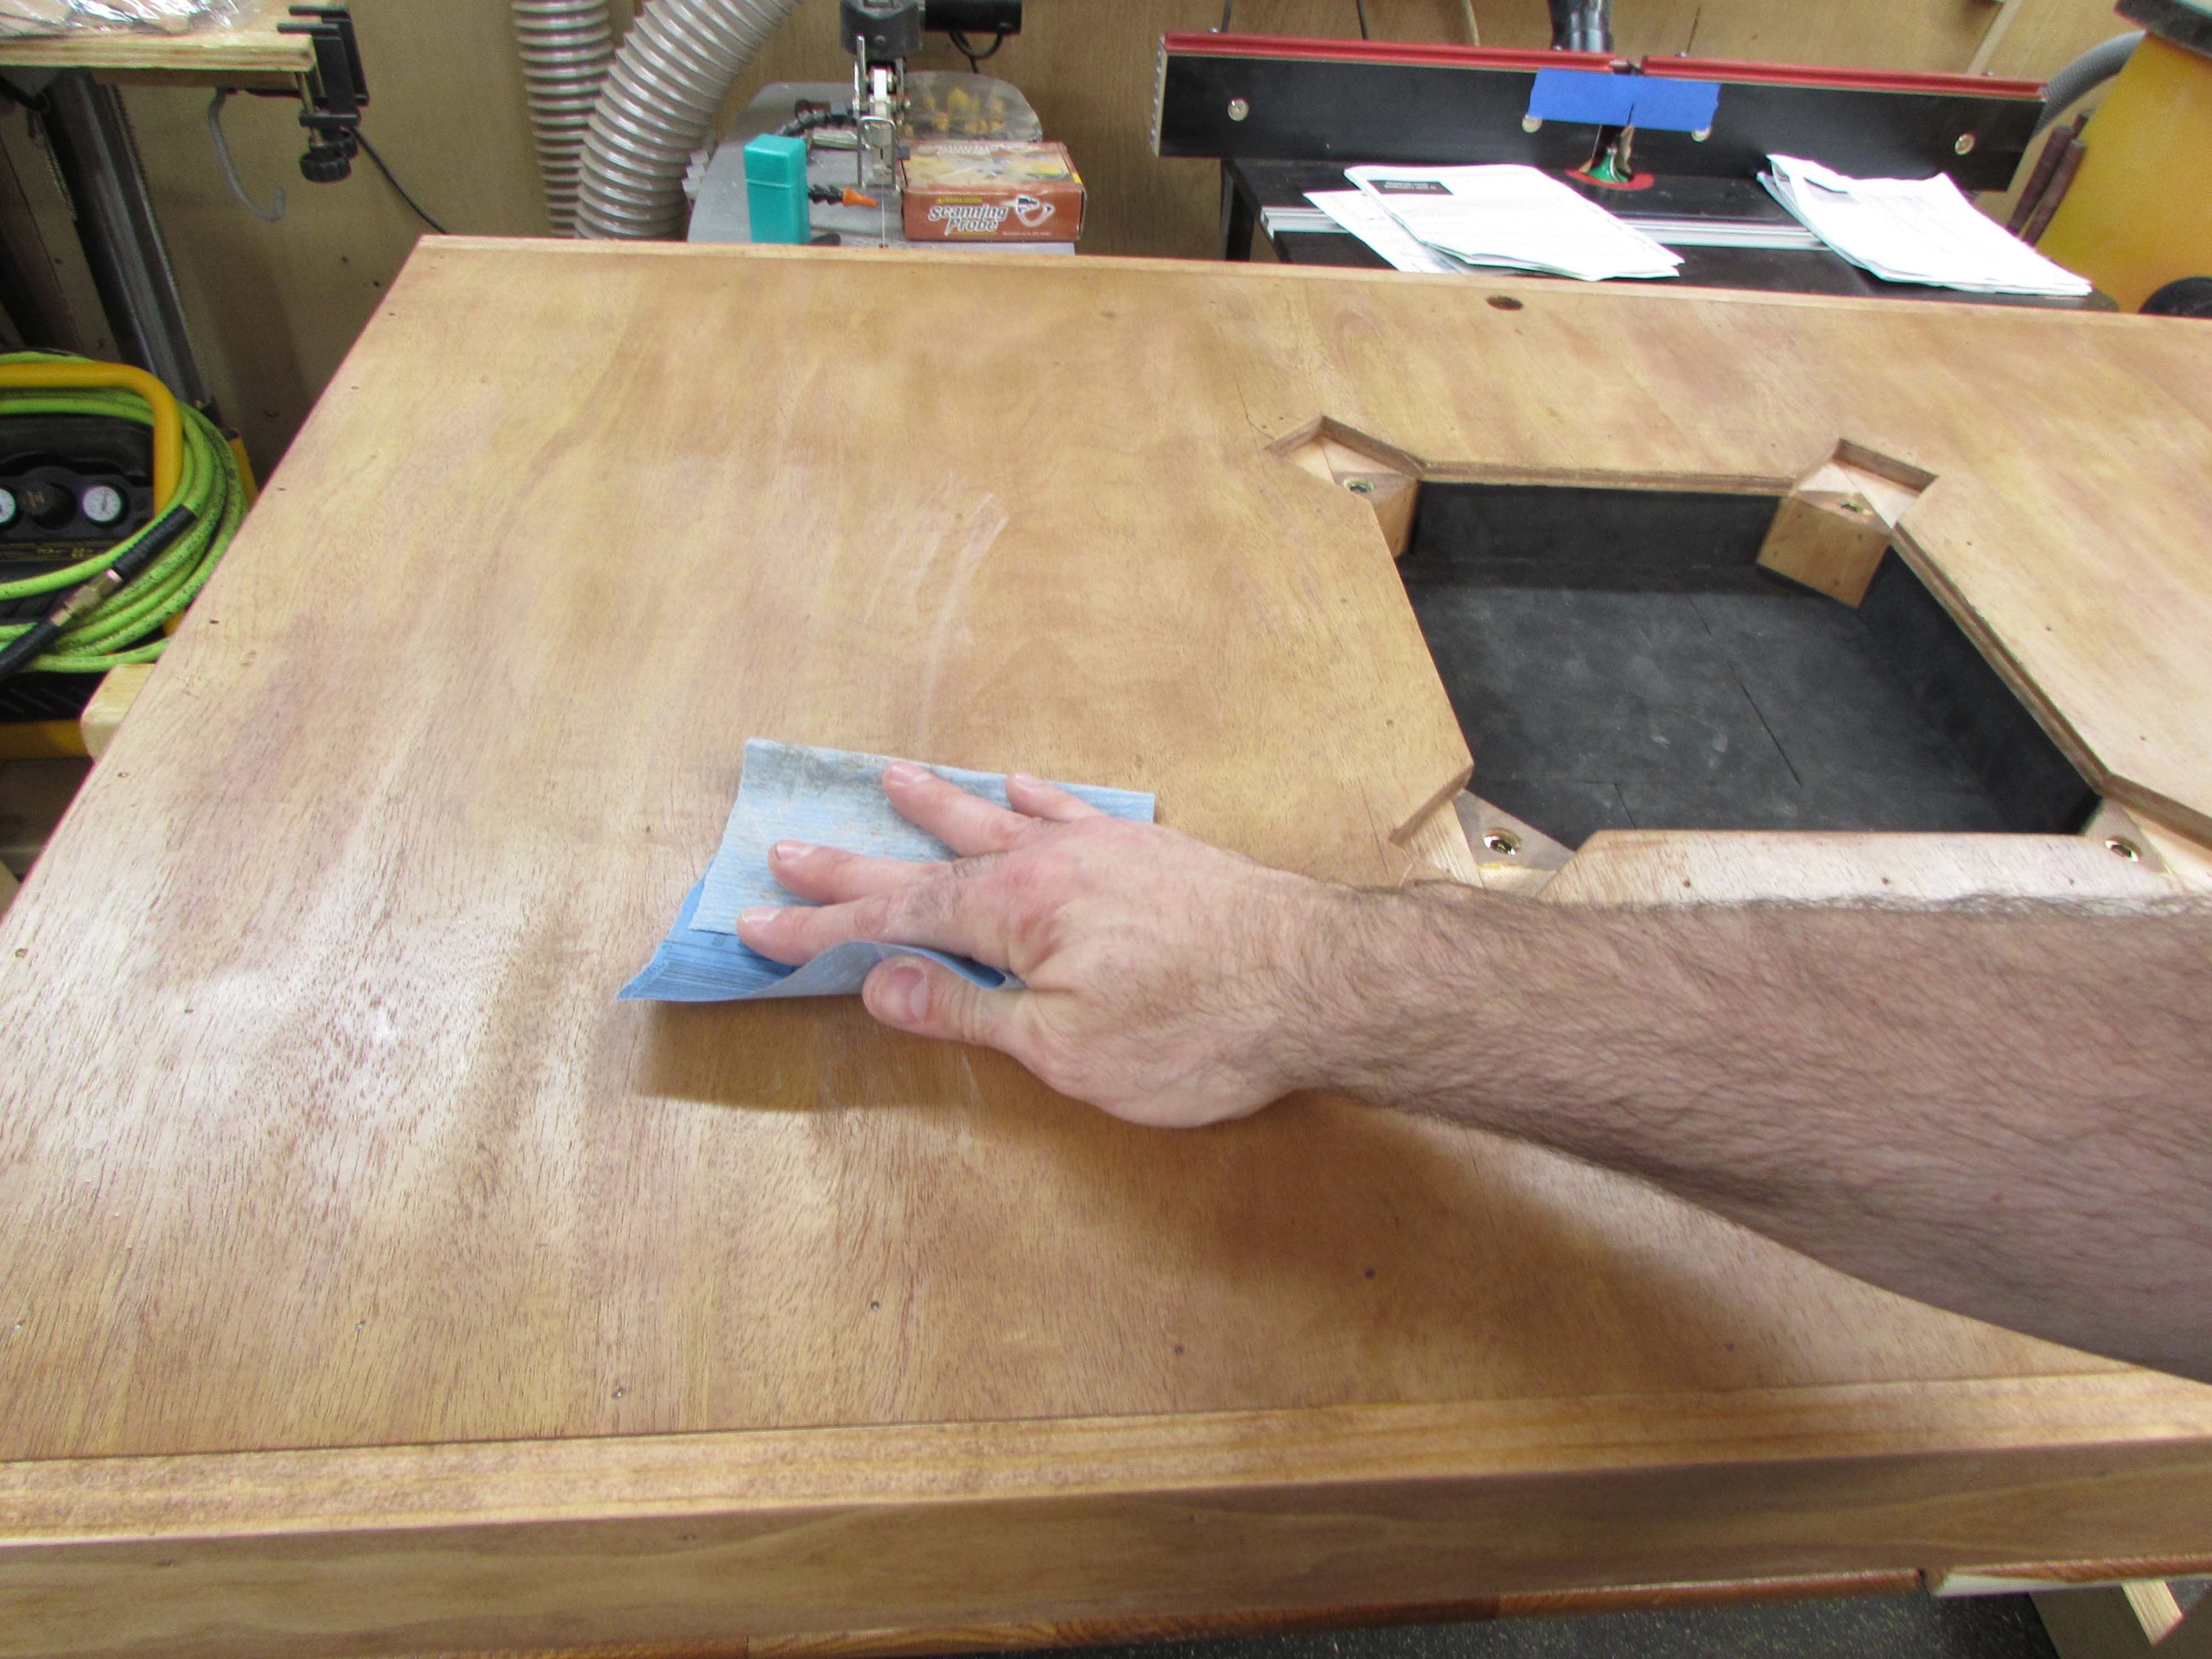


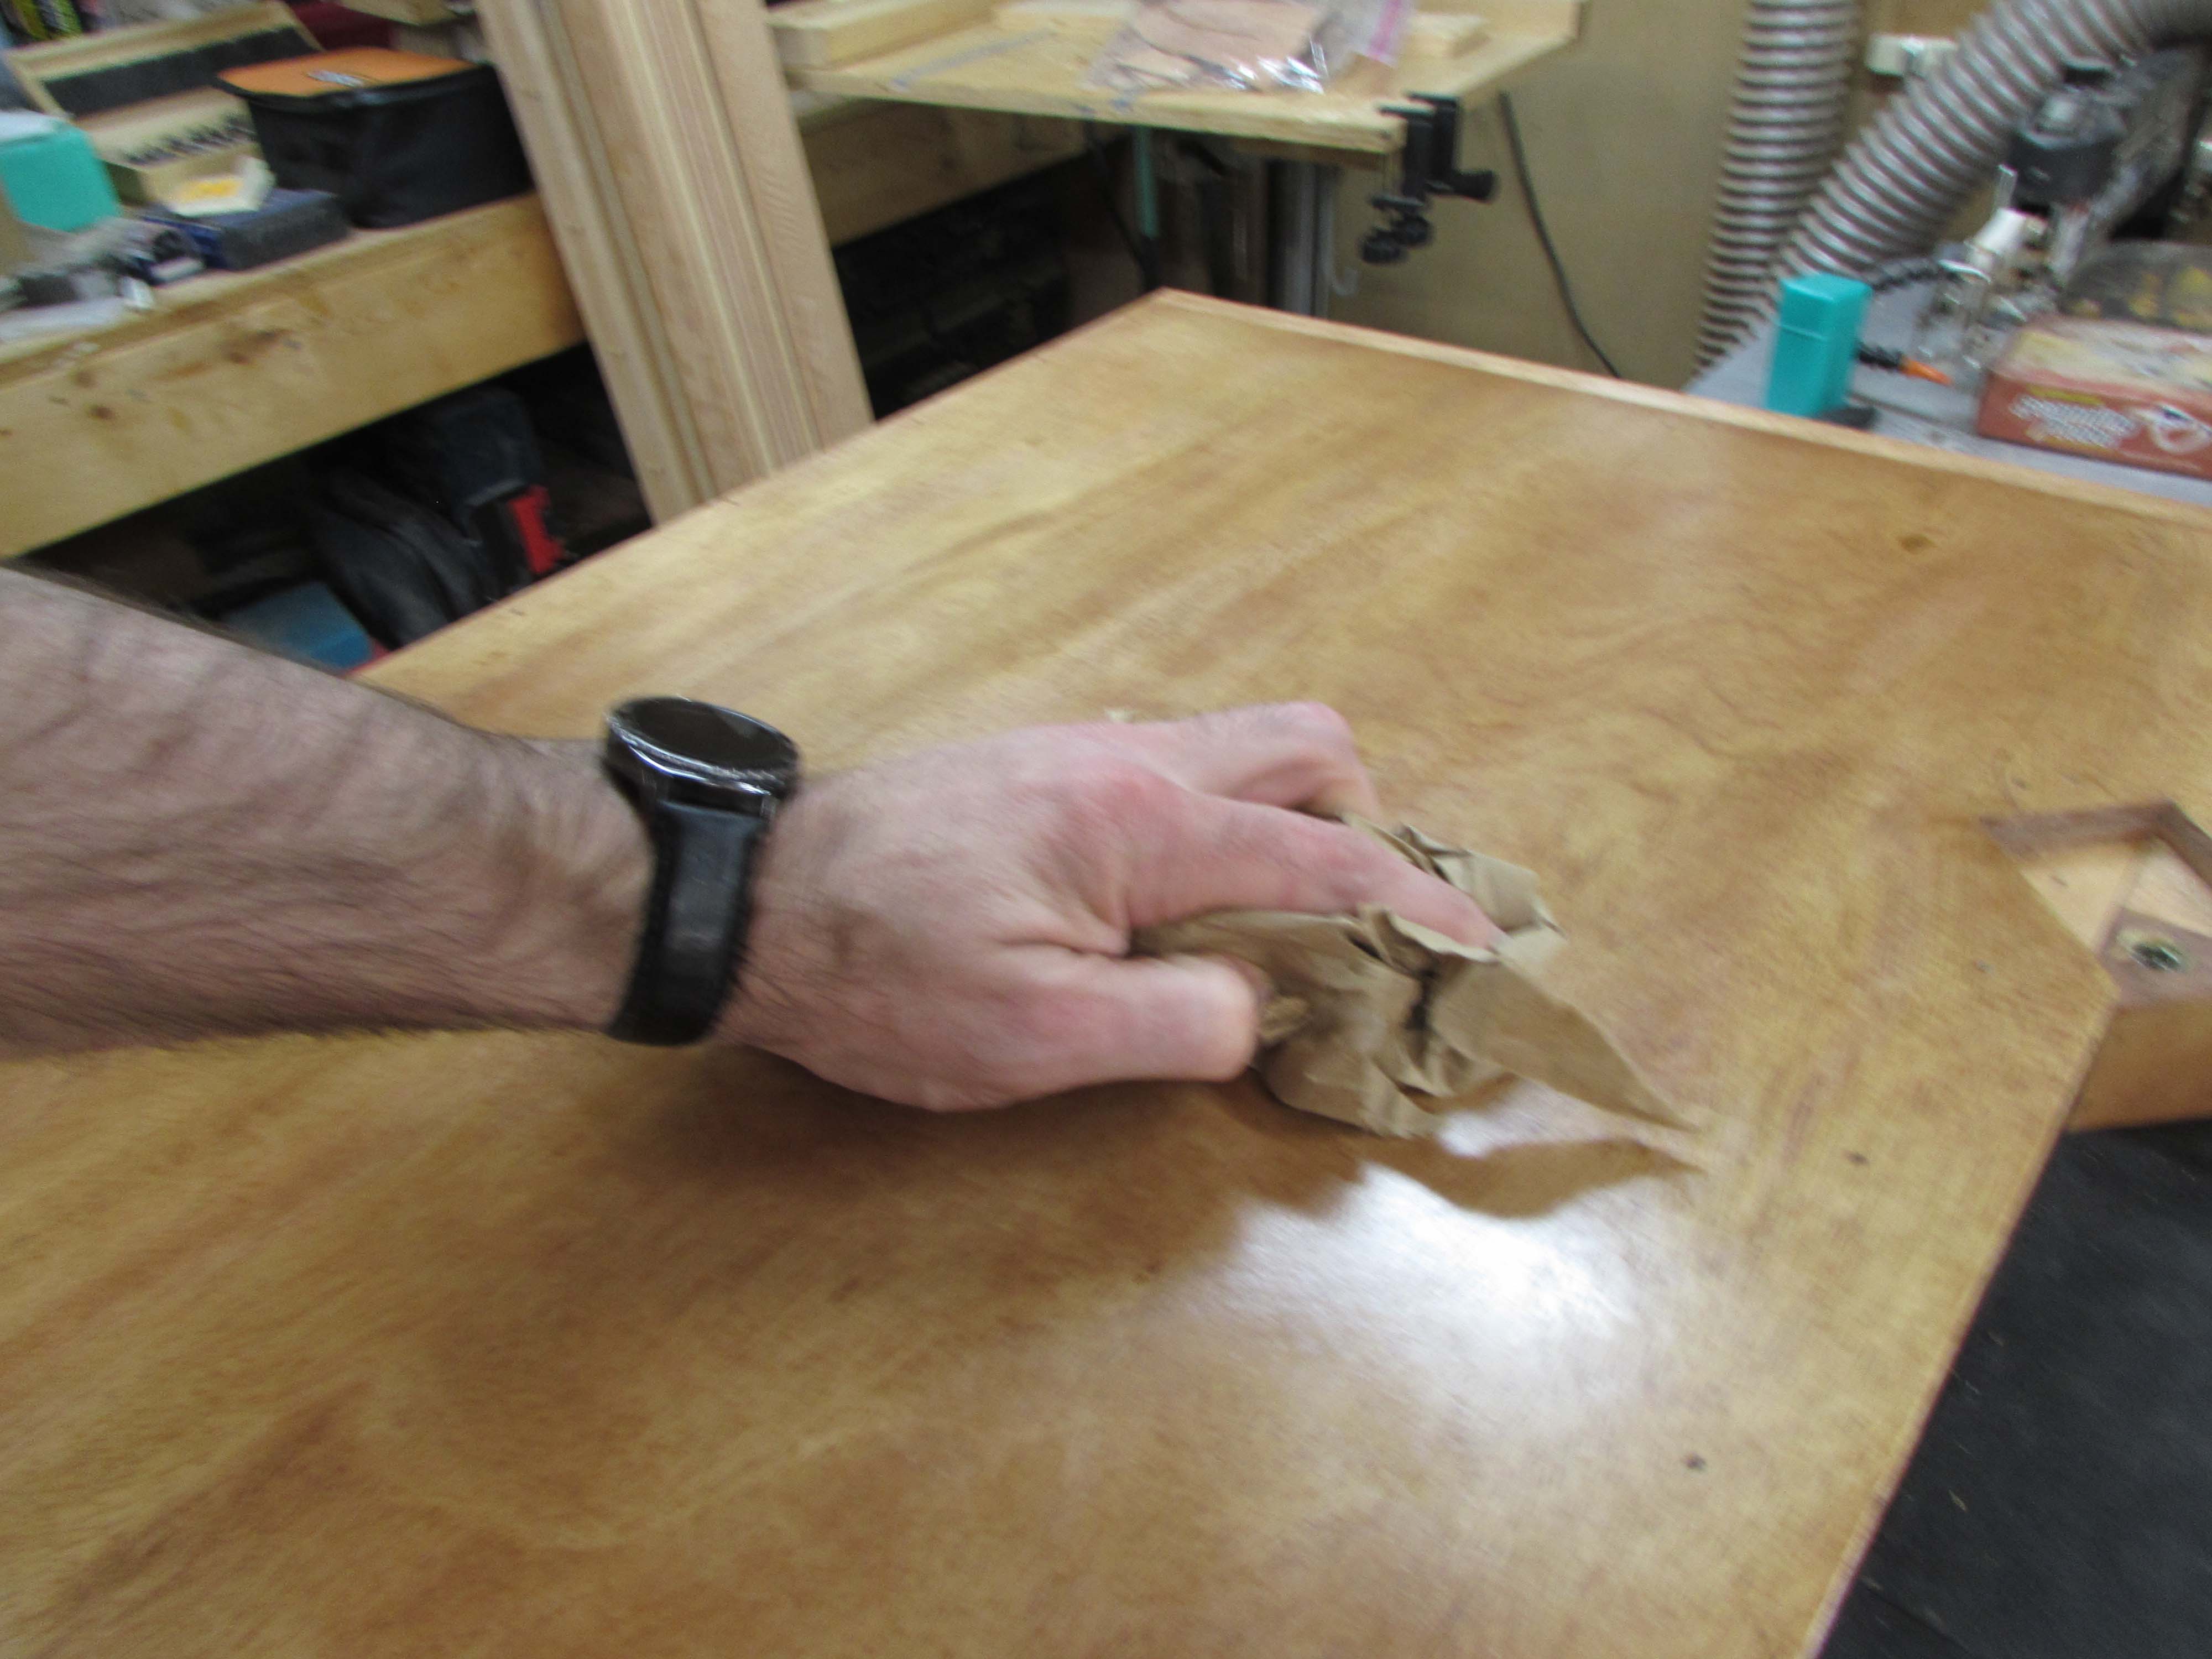
The process was repeated again for the third coat and when that was dry, I rubbed down all of the urethaned surfaces with a crumpled piece of brown paper to remove any remaining dust nibs and polish up the surface a bit.

The last thing I need to do is install the non-skid protective feet. This just required pre-drilling a pilot hole then installing a single screw at the center of each.


After I re-installed the hardware, the bier was complete.

I handed the bier over and they sent me some pictures of the May procession. Looks like it held up pretty good in the rain.


