
Kyle’s Guitar – day 2
Kyle gave me the neck and hardware, that he bought for the guitar, so that I could get exact measurements.
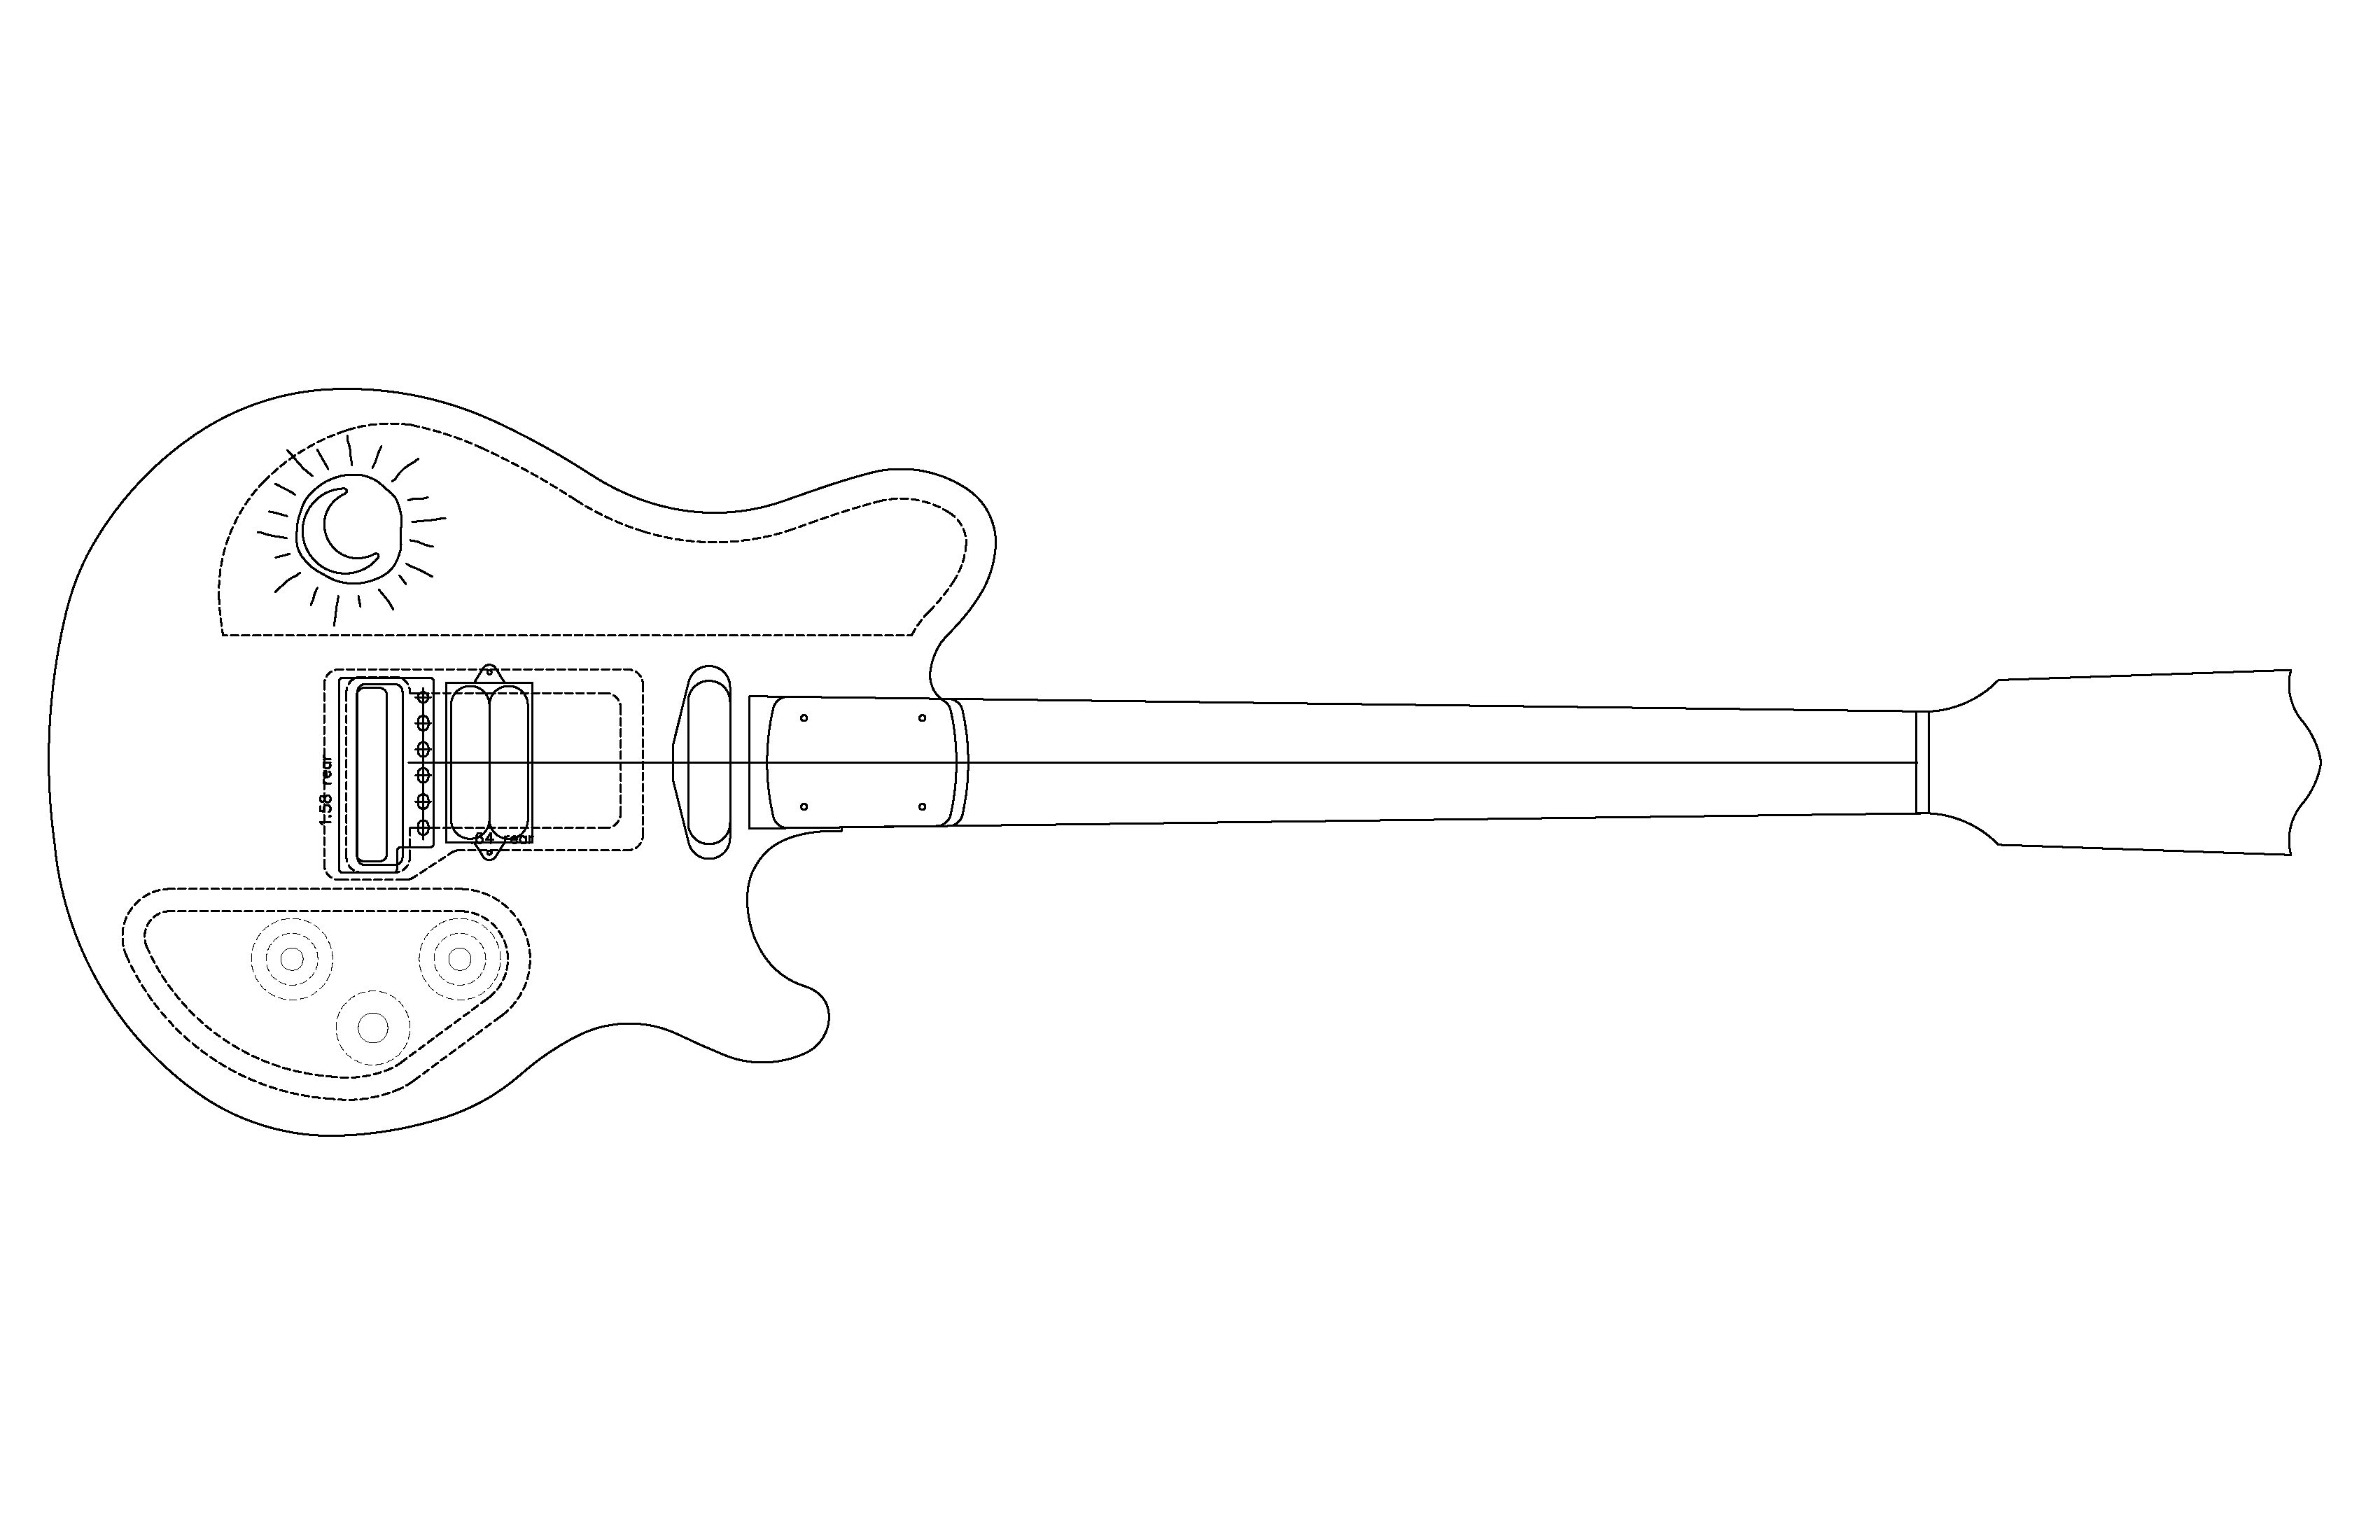
Then I drew everything up and did a test carve. I wanted to test the fit of the neck and make sure the pickup pockets were as tight as possible.
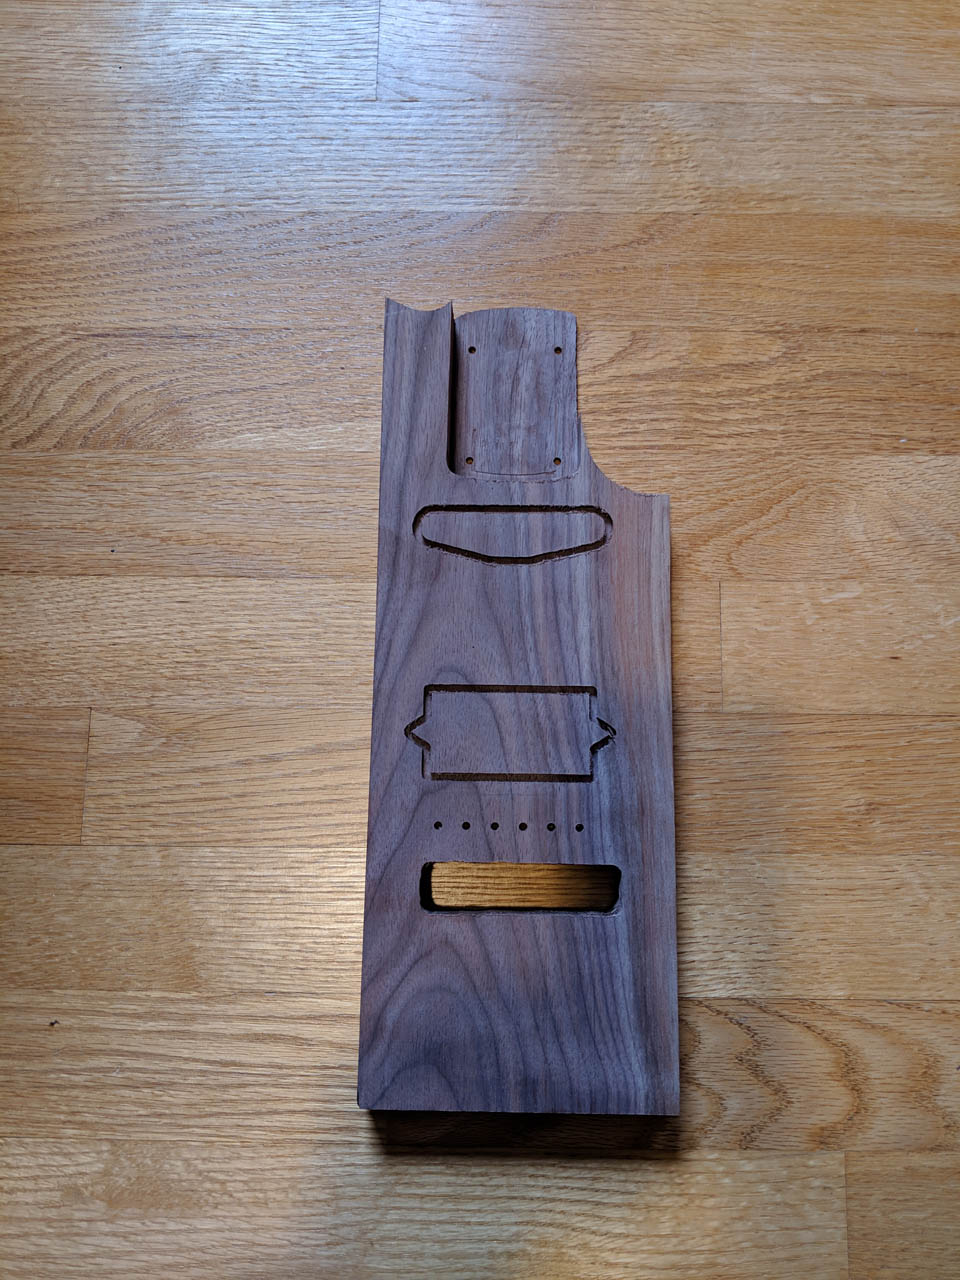
I took careful measurements but I was still surprised when everything cut out perfectly. I usually have a few mistakes on the first try. The neck was tight, the pickups have about a 1/32″ clearance, and the mounting holes for the tail piece were in the right spot.

We decided to do some inlay of crushed malachite for the “sun” in the graphic Kyle designed, and the moon would be cut through to the hollowed out cavity in the guitar body, creating an F-hole. This will need to be a multi-step process because the inlay will have to be completed before the F-hole can be carved. Hopefully my CNC will align the multiple carves correctly, like it is supposed to. Sometimes it can be a bit obstinate…

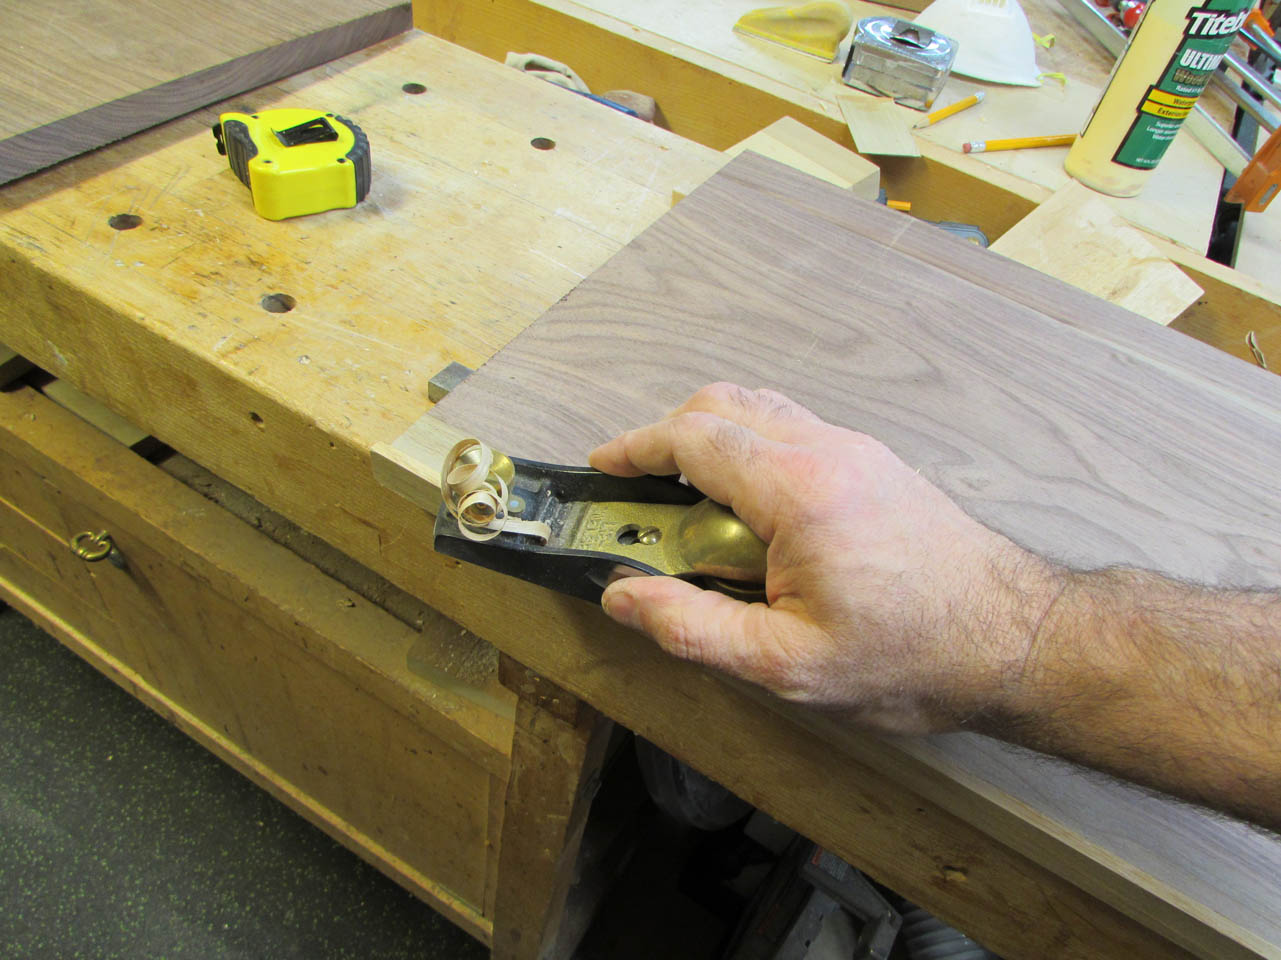
Before I can carve out the sun, I need to widen the board, just a bit. Since the CNC requires at least 1/2″ extra on each side, it doesn’t matter what kind of wood I use. I grabbed a strip of oak and used some CA glue to attach it quickly to the side of the panel.


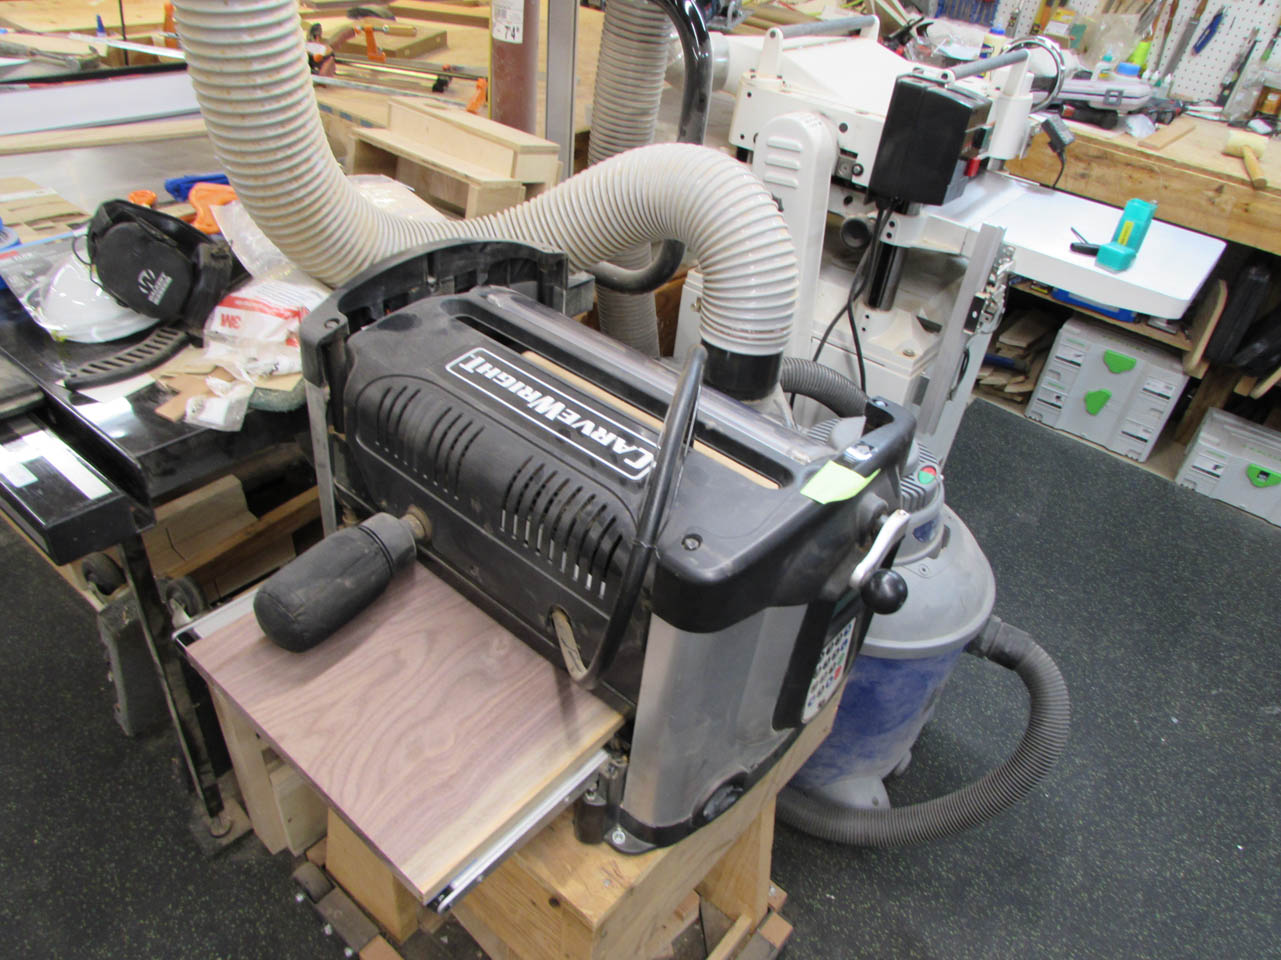
Once it was planed down flush, I loaded it into the CNC and set the carve running.
About 15 minutes later, we had our sun.


I did a little sanding to clean up the fuzzy bits of tear-out, always left over from a carve, then pre-heated the wood with my heat gun, set on “low”.

I found this helps cut down on the bubbles, that form when the epoxy heats up, during the curing process.


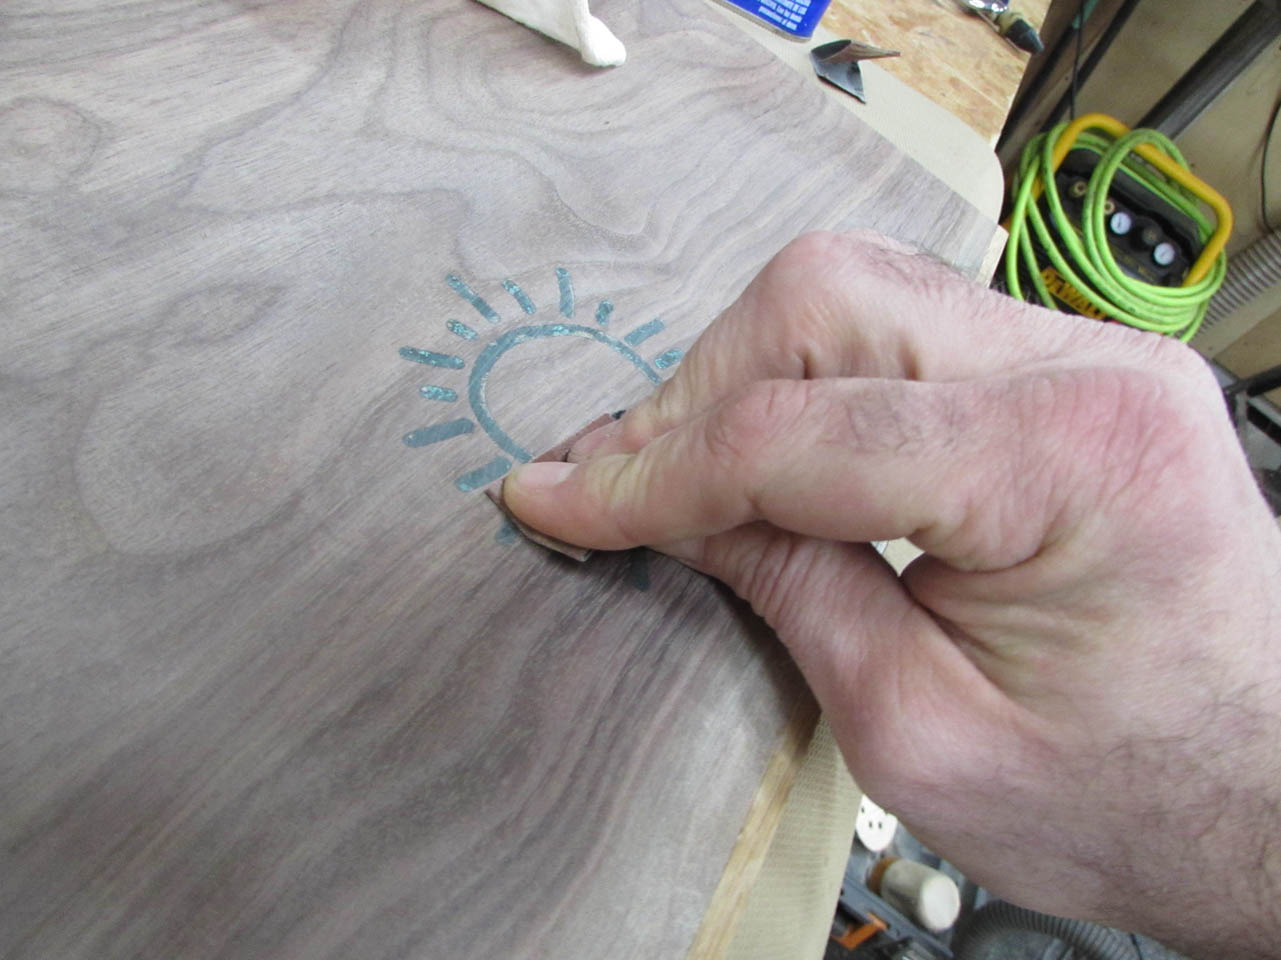
I filled the grooves with some crushed malachite, then used a razor blade to scrape away the excess.


I mixed and poured the West System epoxy over the entire area, then used the heat gun to pop the few additional bubbles that formed afterwards.


The next day, when the epoxy was fully cured, I started sanding away the excess. Then my trusty old Rigid orbital sander just stopped working. This was very sad because I really liked that sander. I switched over to my Festool sander to finish up the sanding. It is a more expensive sander, and works just as well, but it doesn’t fit my hand the same, and it doesn’t take a 2″ dust hose, or the same sand paper…

I sanded the epoxy away, then moved through the grits till I got to the finest I had on the orbital, 320. I then switched to hand sanding to 600 grit, making the scratches in the epoxy as small as possible.


I wet the entire area with naphtha to see how it would look when finished. Not bad at all.


There were, of course, a few bubbles that I had missed so I mixed up a bit of quick-drying epoxy and filled them in.
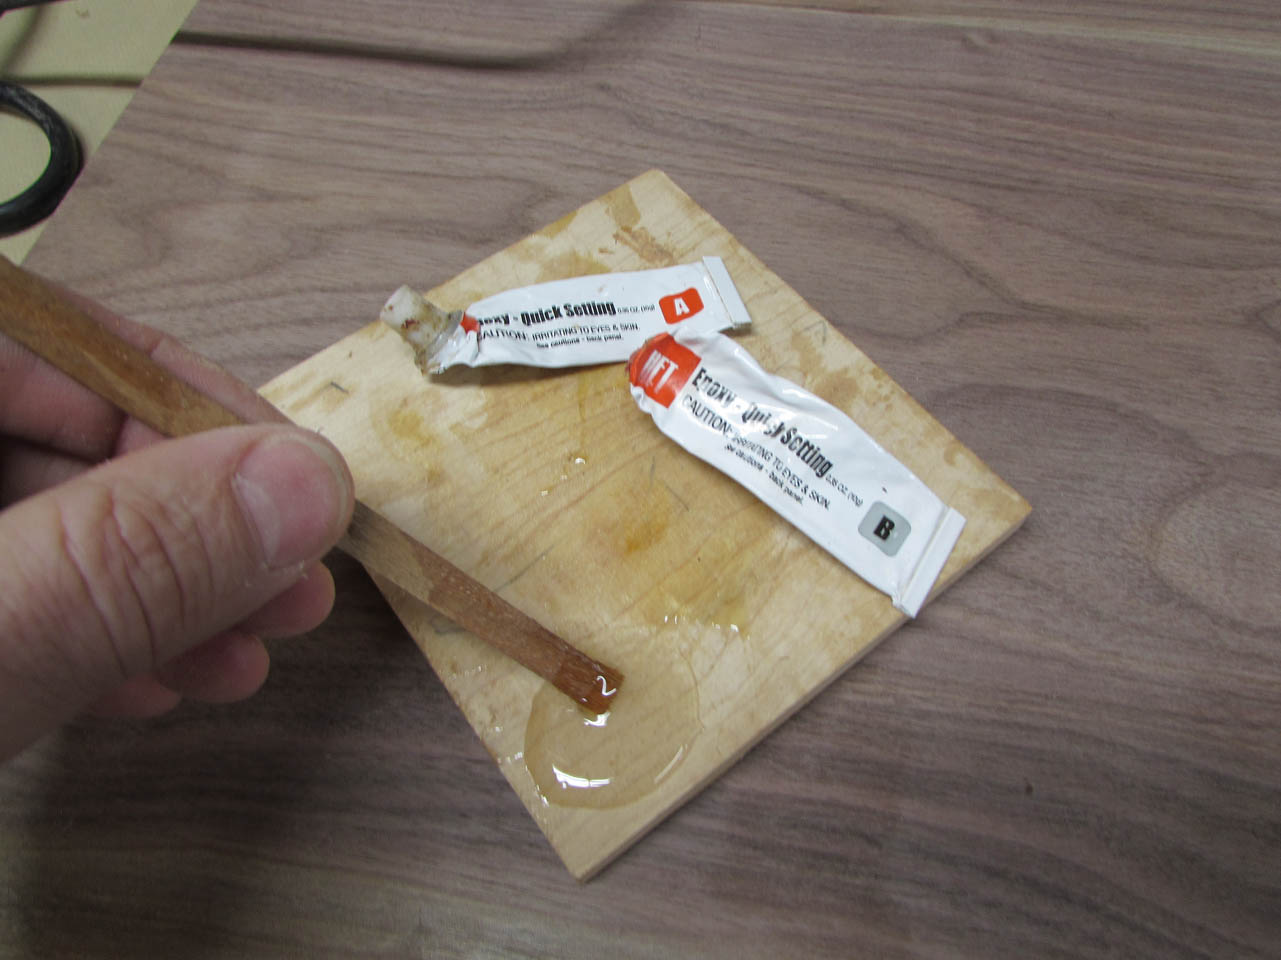

I went through the sanding regiment again when that had cured.
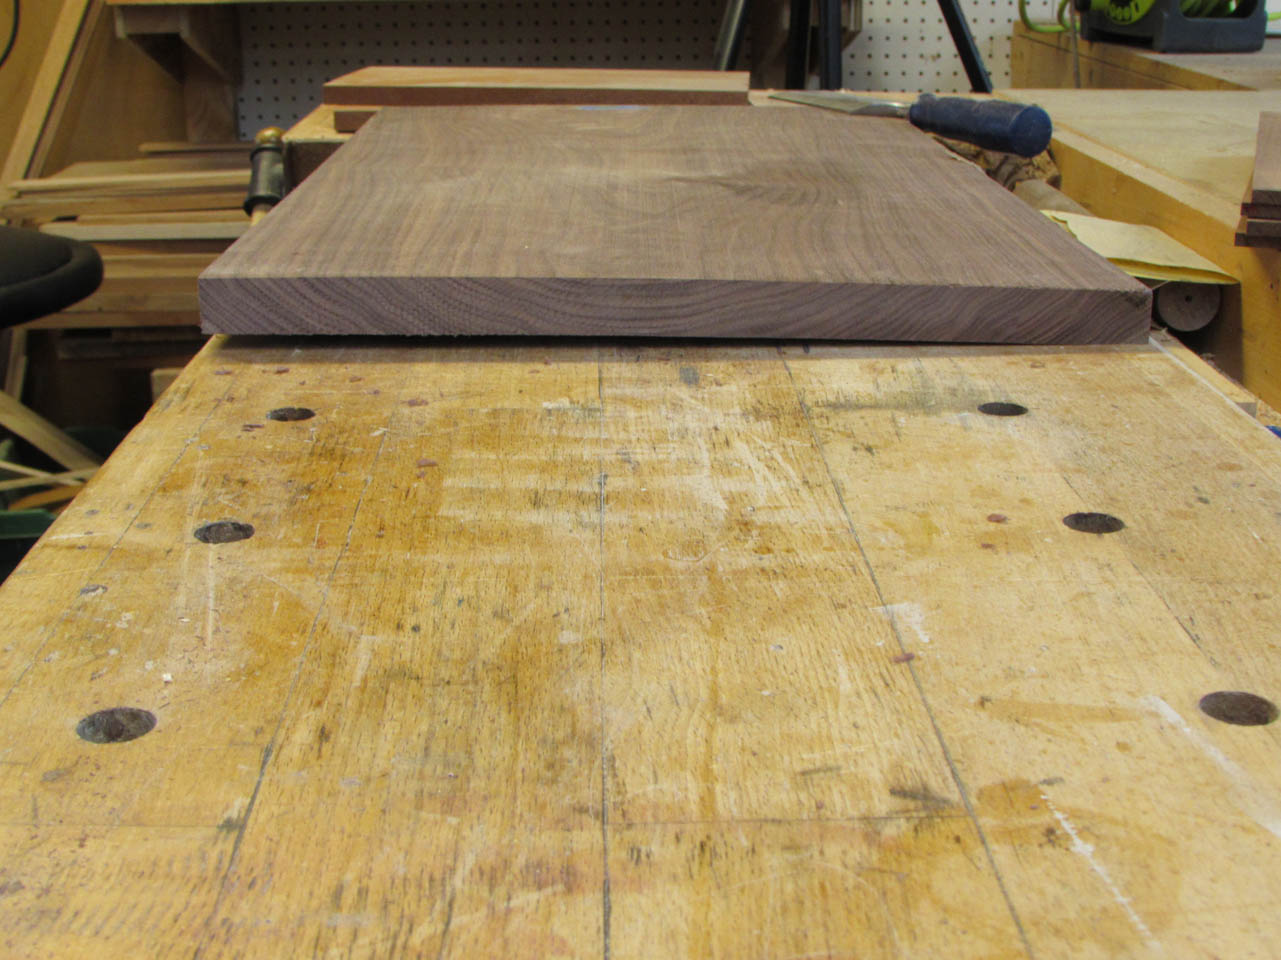
That panel is done for now. So I moved on to the other panel. I Was planning on attaching the mahogany to the top piece, for carving, but then I saw that the back panel had developed a fairly big twist.
If I clamp it down flat, then glue the mahogany to it, theoretically it should remain flat, once it dries.
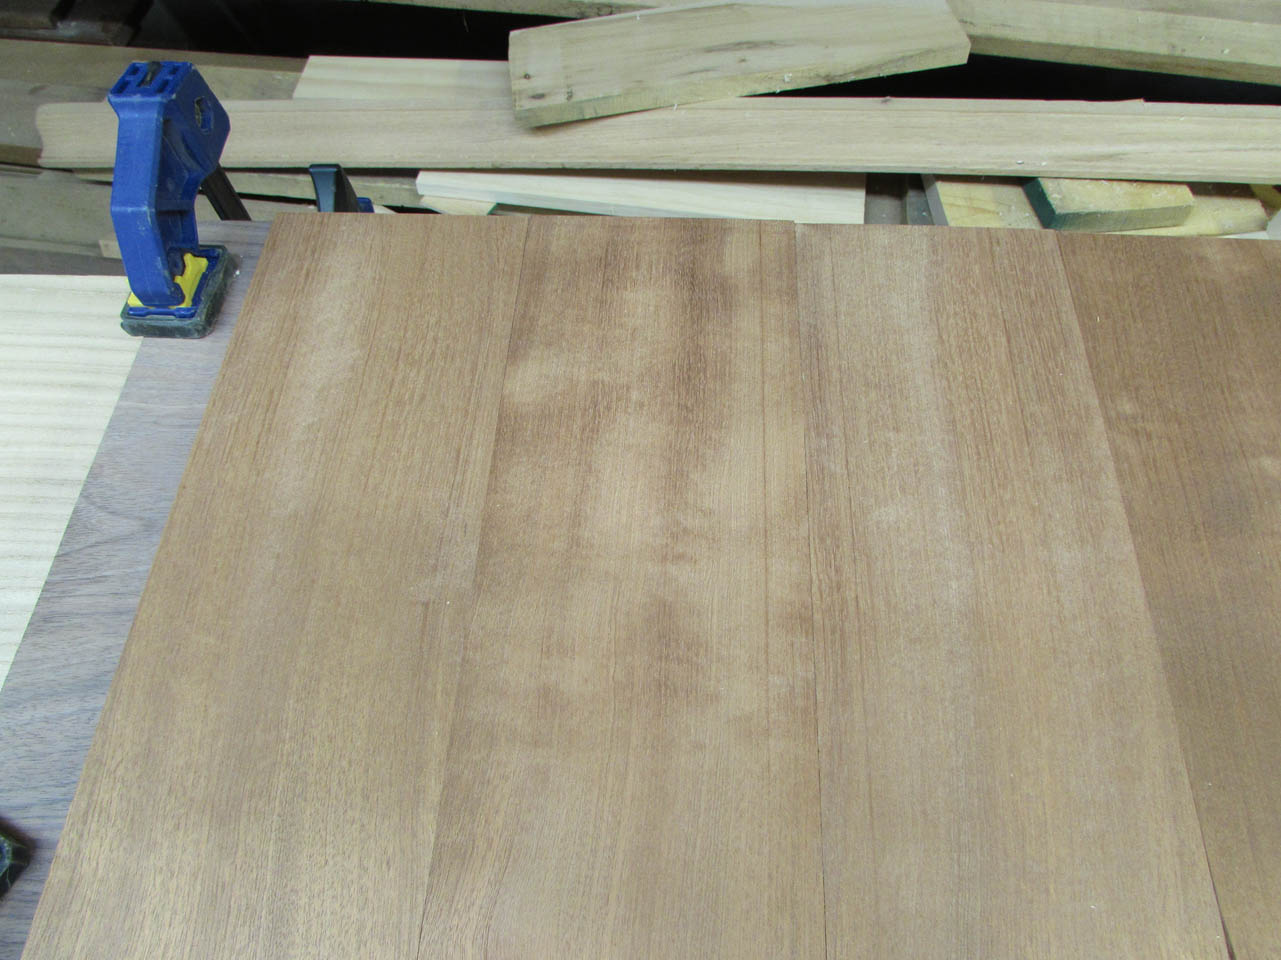
I have a large slab of Paulownia that is just about the right size to do this, and it is thick enough that it will not twist. I clamped the walnut at the corners, then lined up the mahogany. I noticed some small gaps at the joints. That means my edges are not meeting up perfectly.


I gave each edge a quick pass with my #8 jointer plane, then tried again. That looked a lot better.
I decided to use epoxy to attach the mahogany. The epoxy is a better gap filler than wood glue. Just in case I missed any spots when clamping everything up.
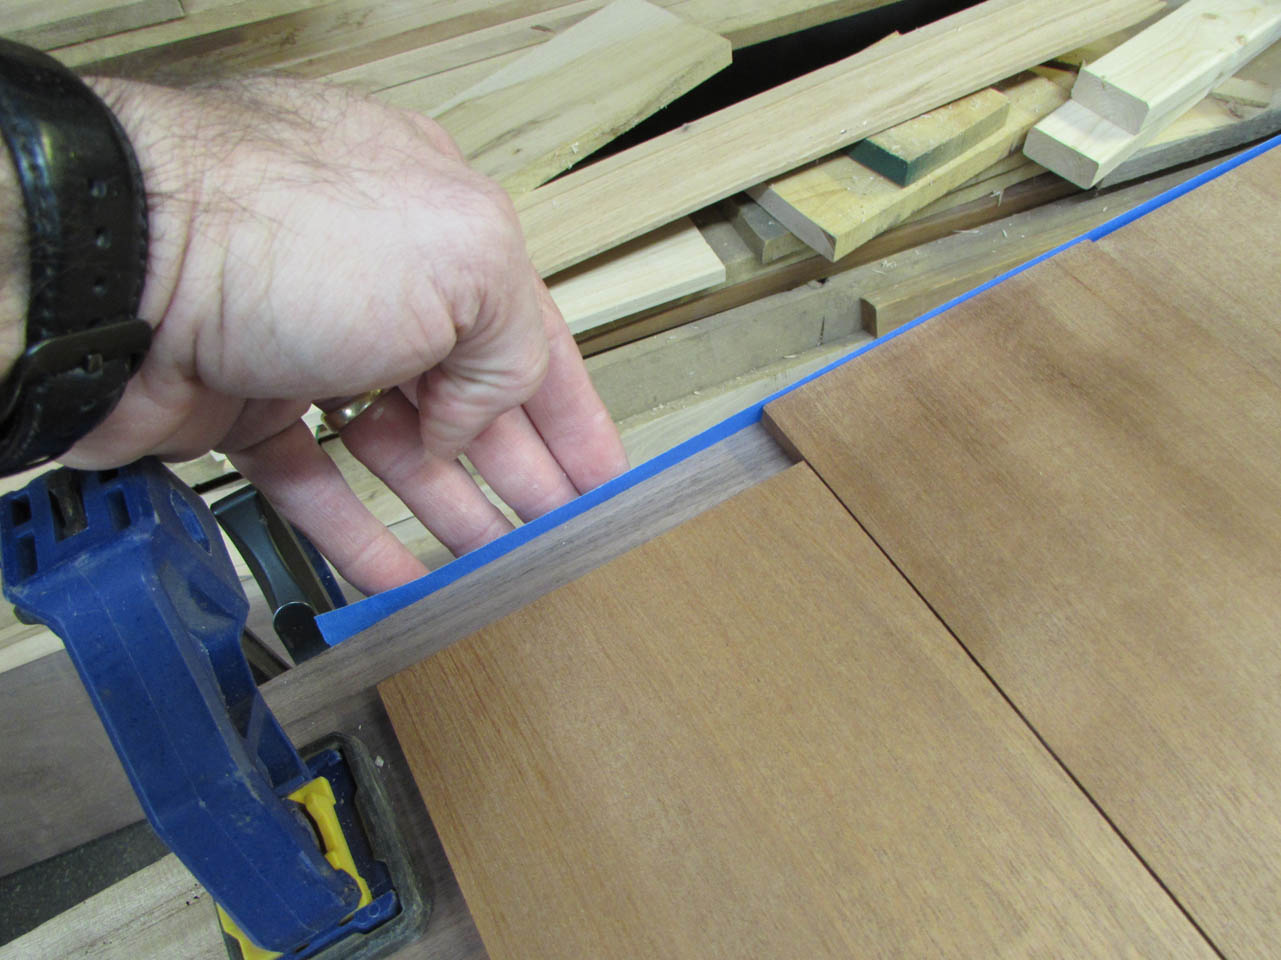
To prevent epoxy from running down the sides, I attached some painter’s tape to the front and back.
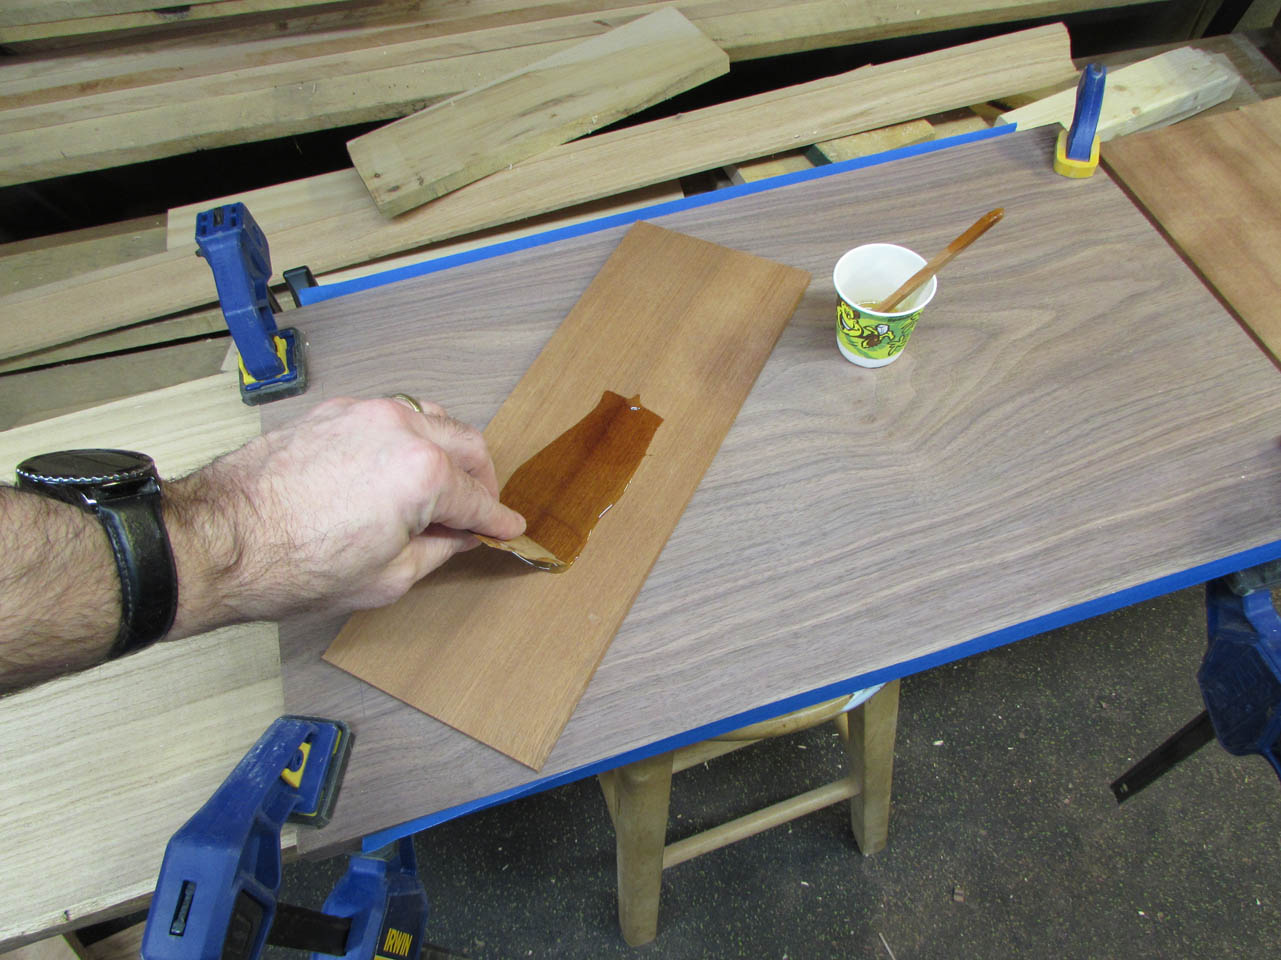
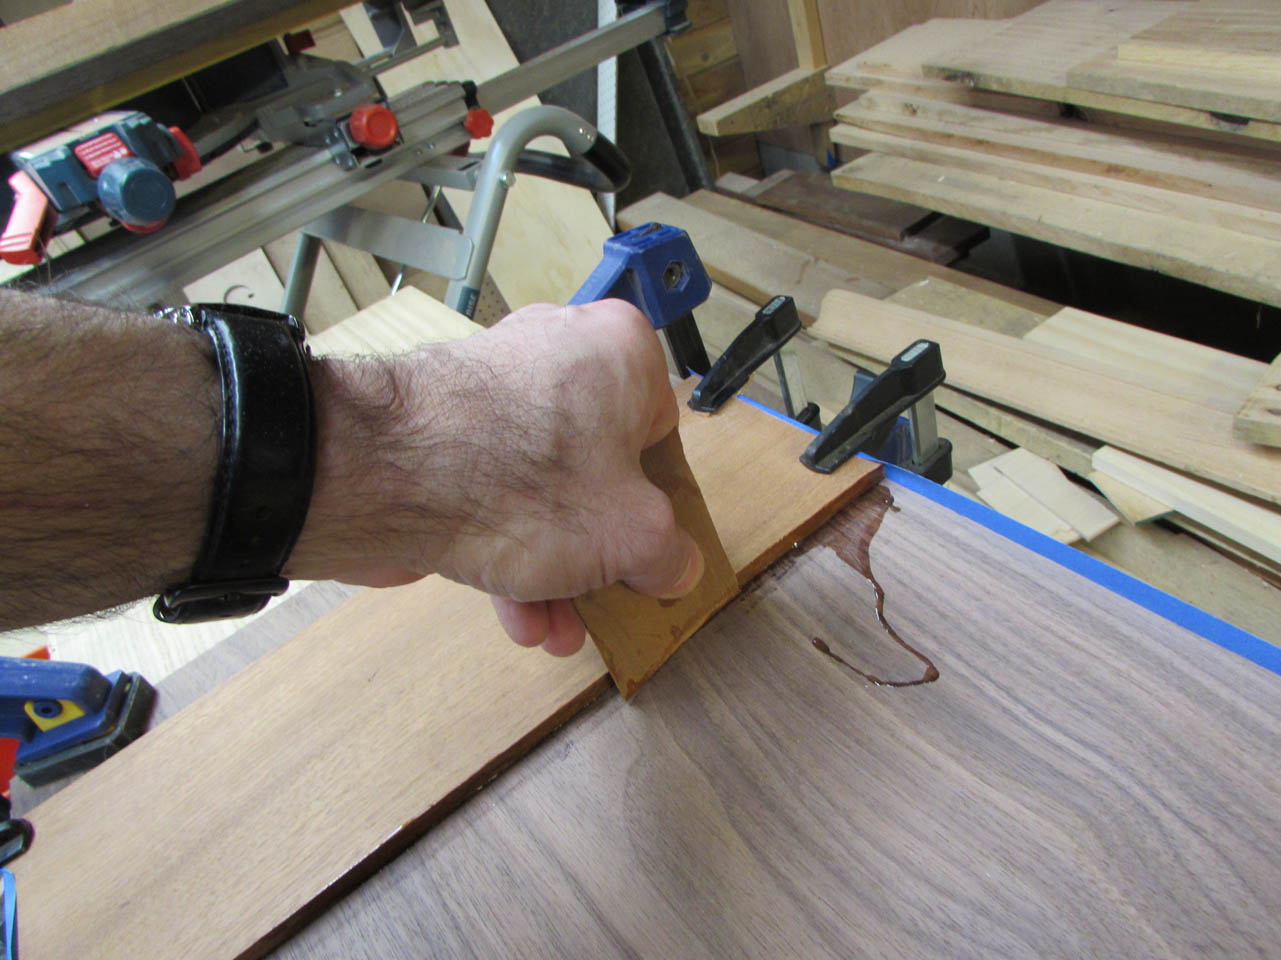
I mixed up some epoxy, then spread it around with a 2″ wide piece of veneer.

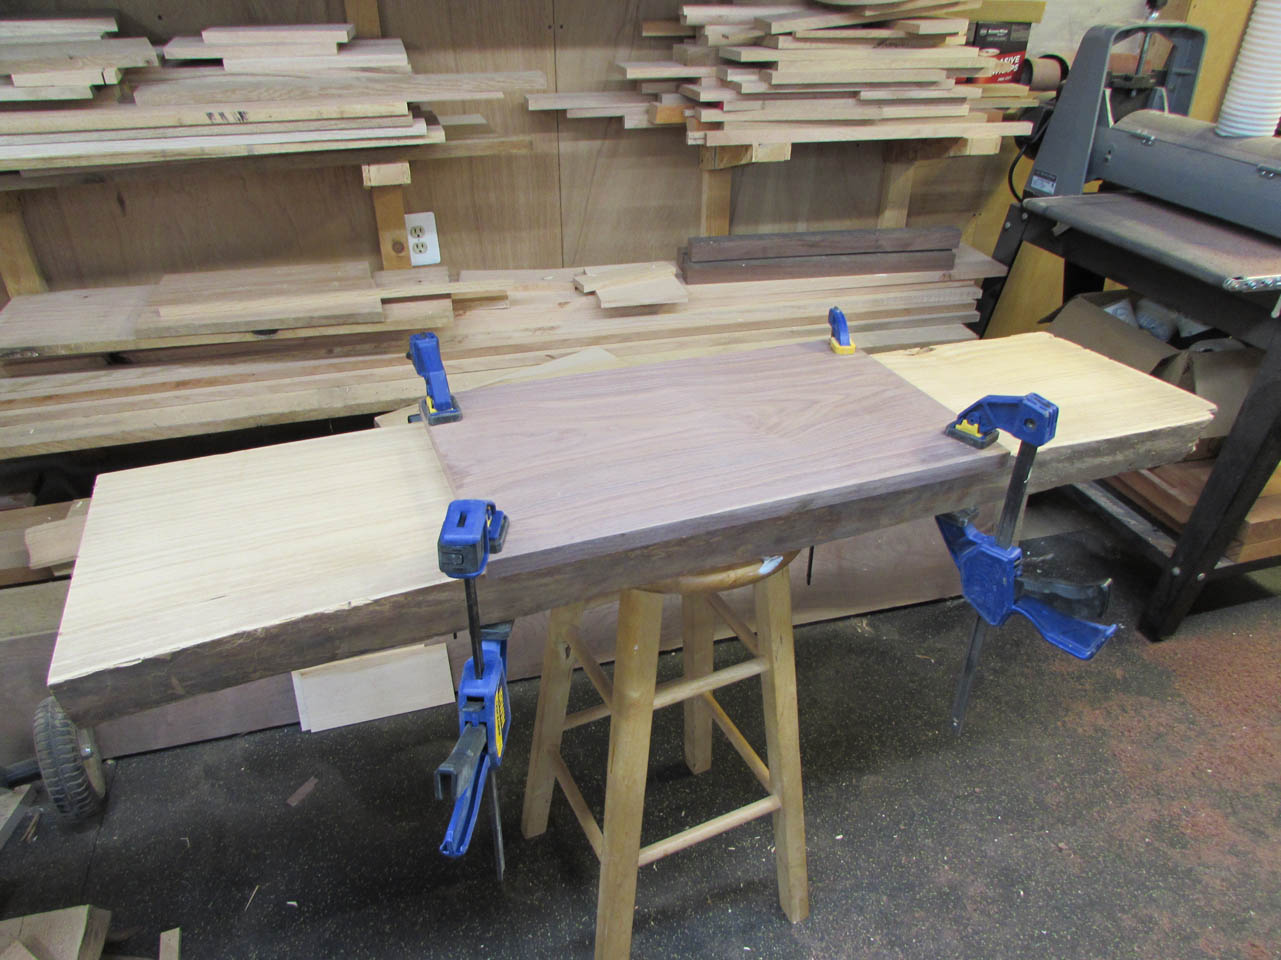
After clamping the first piece in place, I applied some epoxy to the side of the first one, then repeated the process with the next three.

The edges were clamped securely, but not the middle. I don’t have any clamps that could reach the middle so I laid a strip of wood in the center and used a really thick piece of maple to reach both sides where I clamped it down. This should put all that clamping pressure right down the center of the board.

And for good measure, I threw on a half-dozen more clamps.

I will pull those clamps tomorrow and see if things straightened out any, then on with the carving.
