
Lathe duplicator experiment
My wife has been learning to turn projects on the lathe and doing very well. She recently tried to copy a candle stick that she made and got very close, but she wanted it to be more exact. I searched the web for lathe duplicators and found a few that were under $300 but they would not work on my lathe. My friend Dave even offered me an old Rockwell duplicator, but it also did not fit. The problem was that my lathe is 8″ from the drive center to the lathe bed. Most of these duplicators were for 6″ or lower. I did find one or two that would work, but they were $800 and up.
So I went back to the web for a cheaper solution. I discovered that several folks had made their own with varying degrees of success. I found one that came from Woodsmith Magazine.
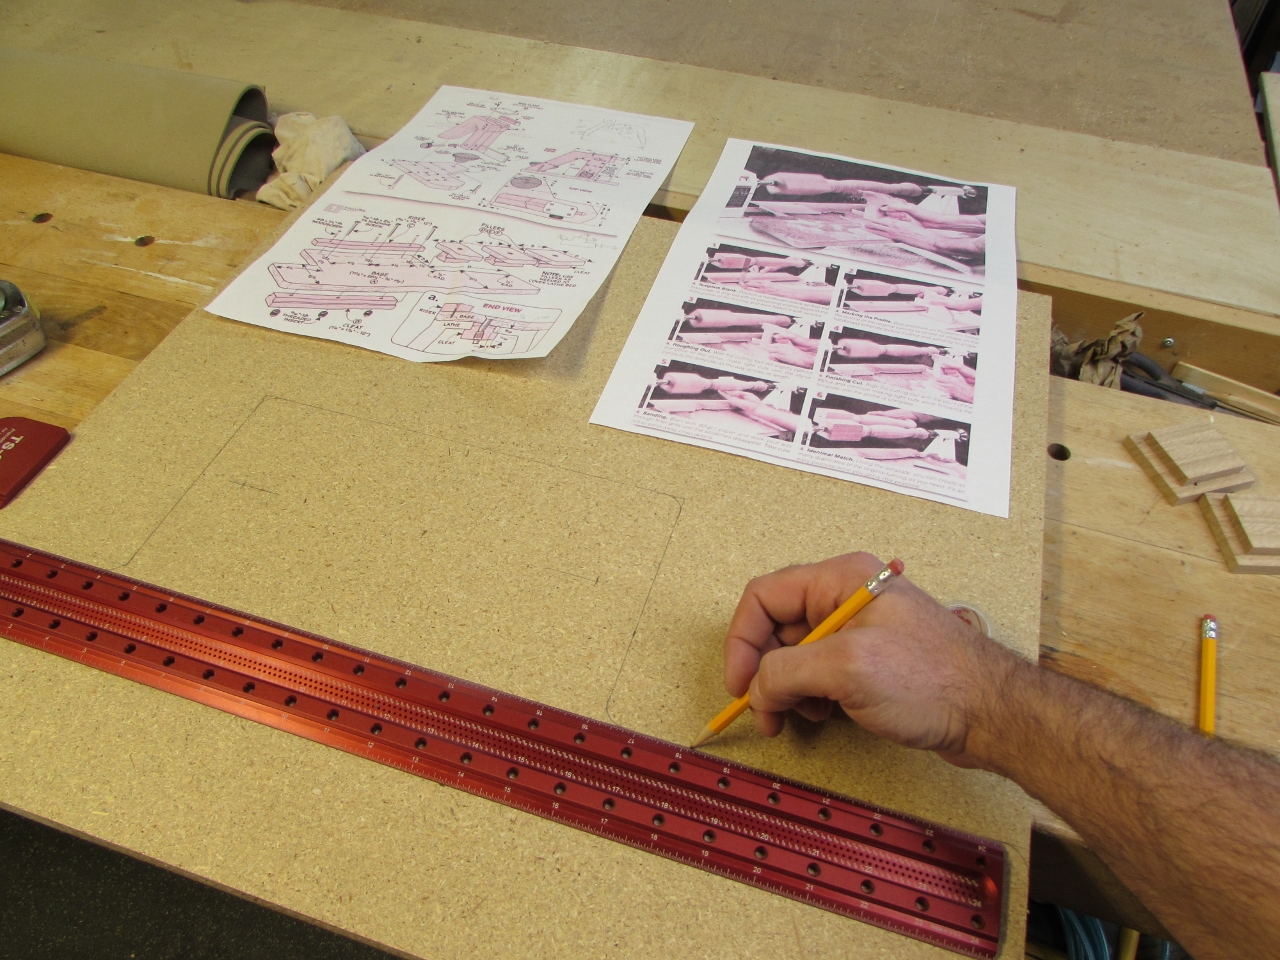
I started with their plans, and made a few tweaks along the way.

I started by laying out the base, then cutting the straight lines on the table saw.
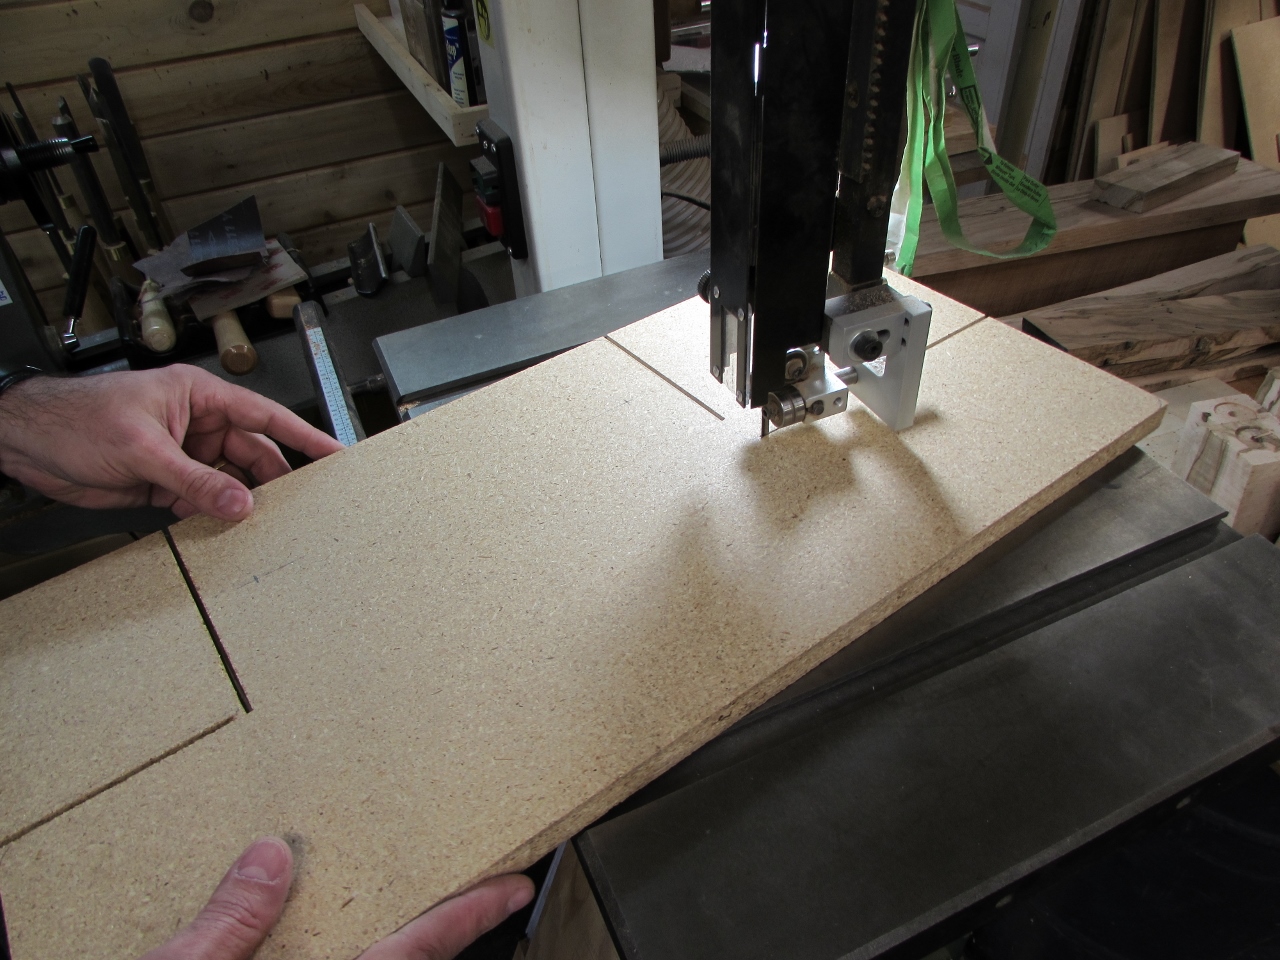
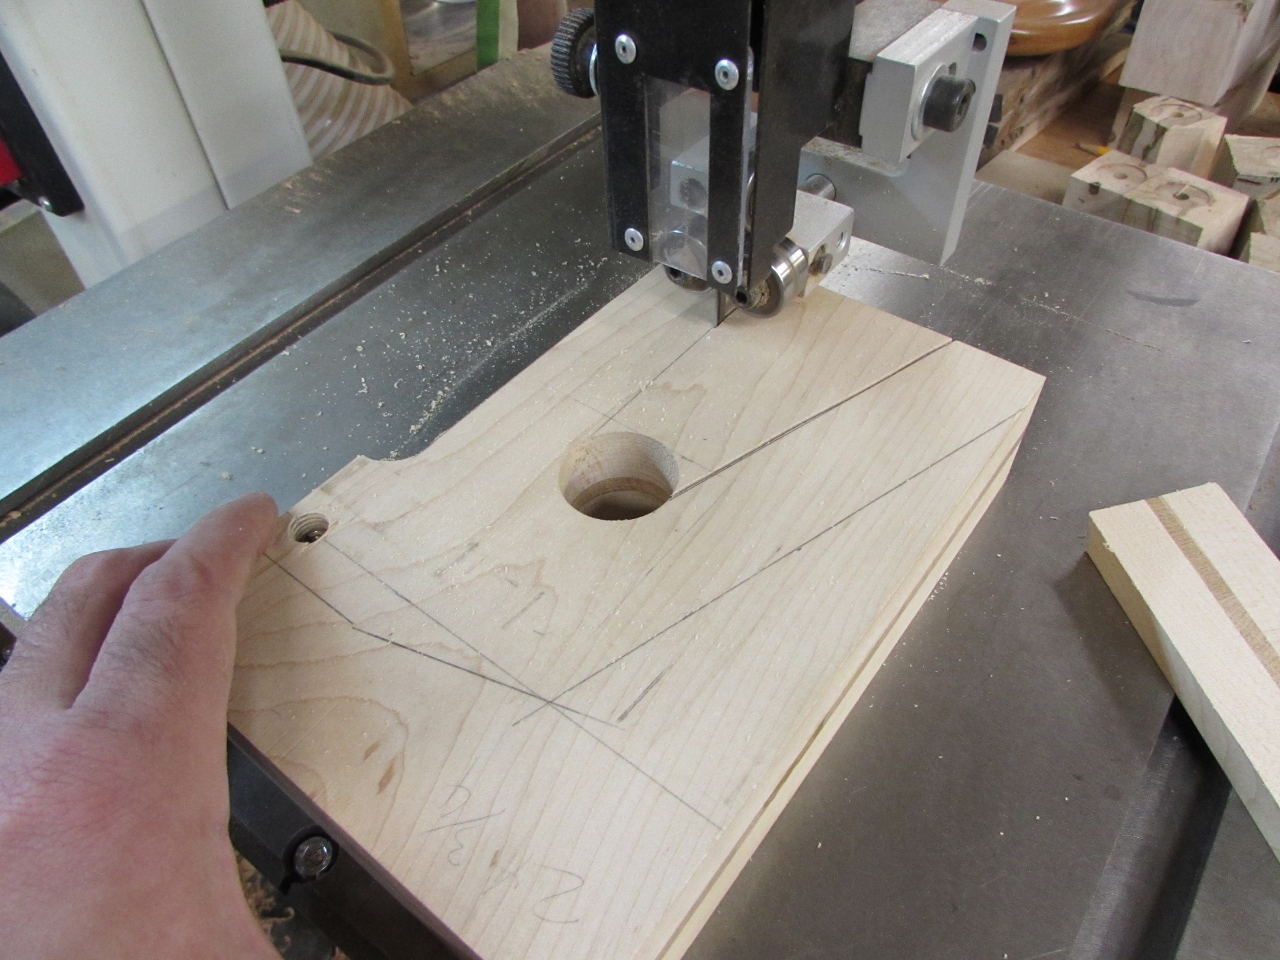
And the curvy bits were cut with the bandsaw.
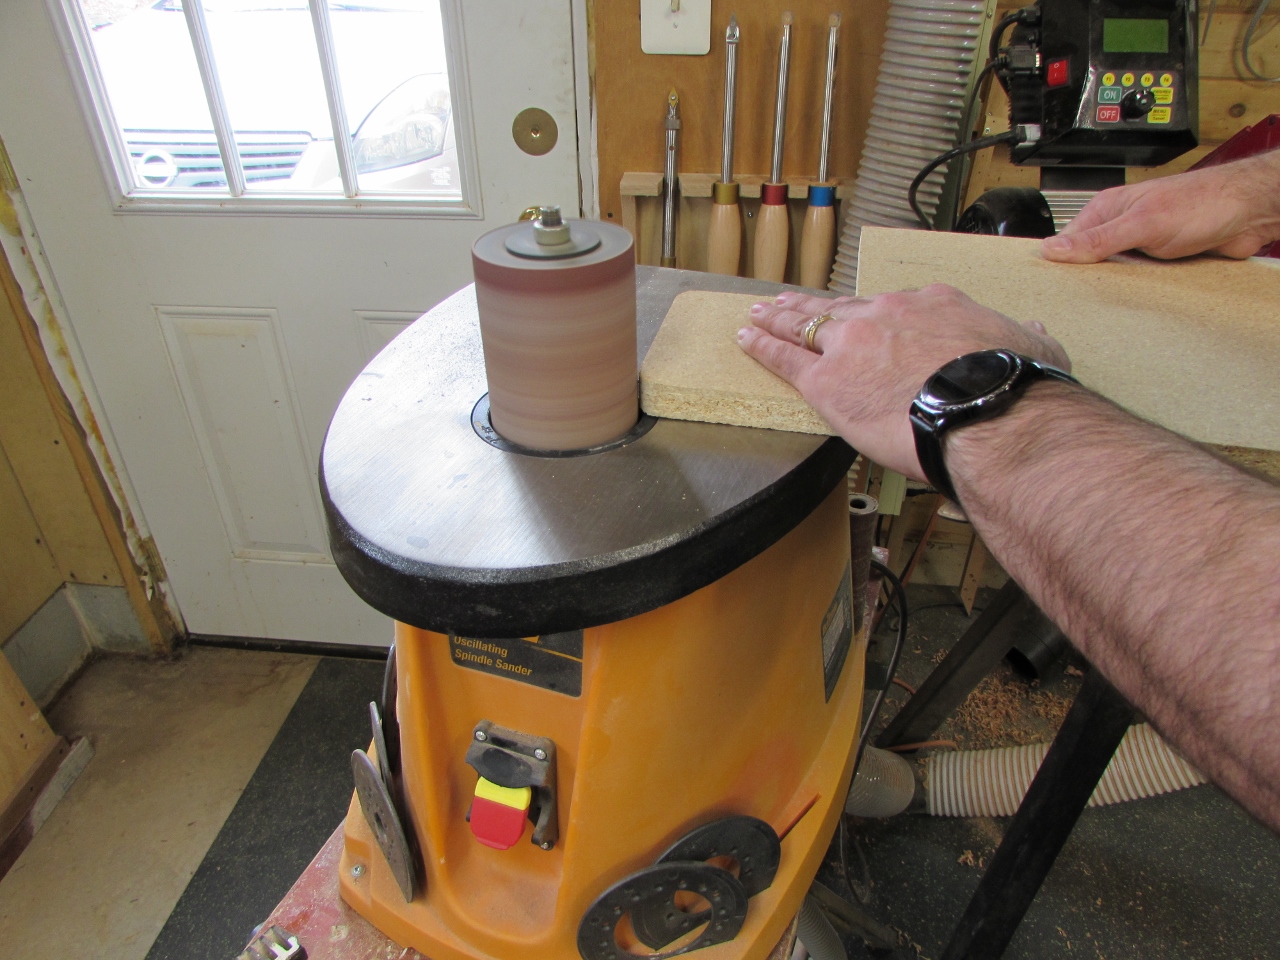
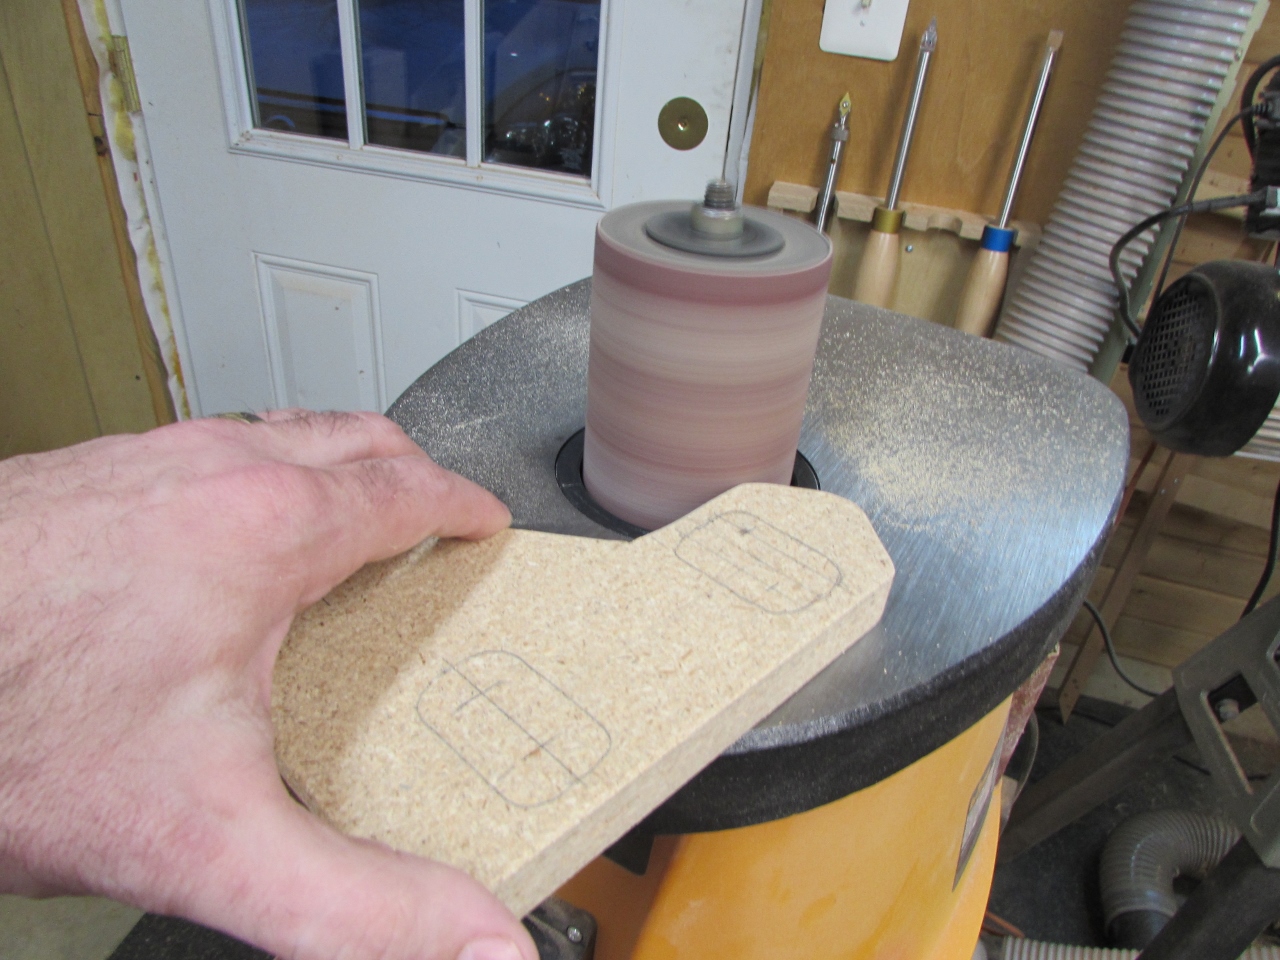
I cleaned up the sides and rounded the corners with the spindle sander.

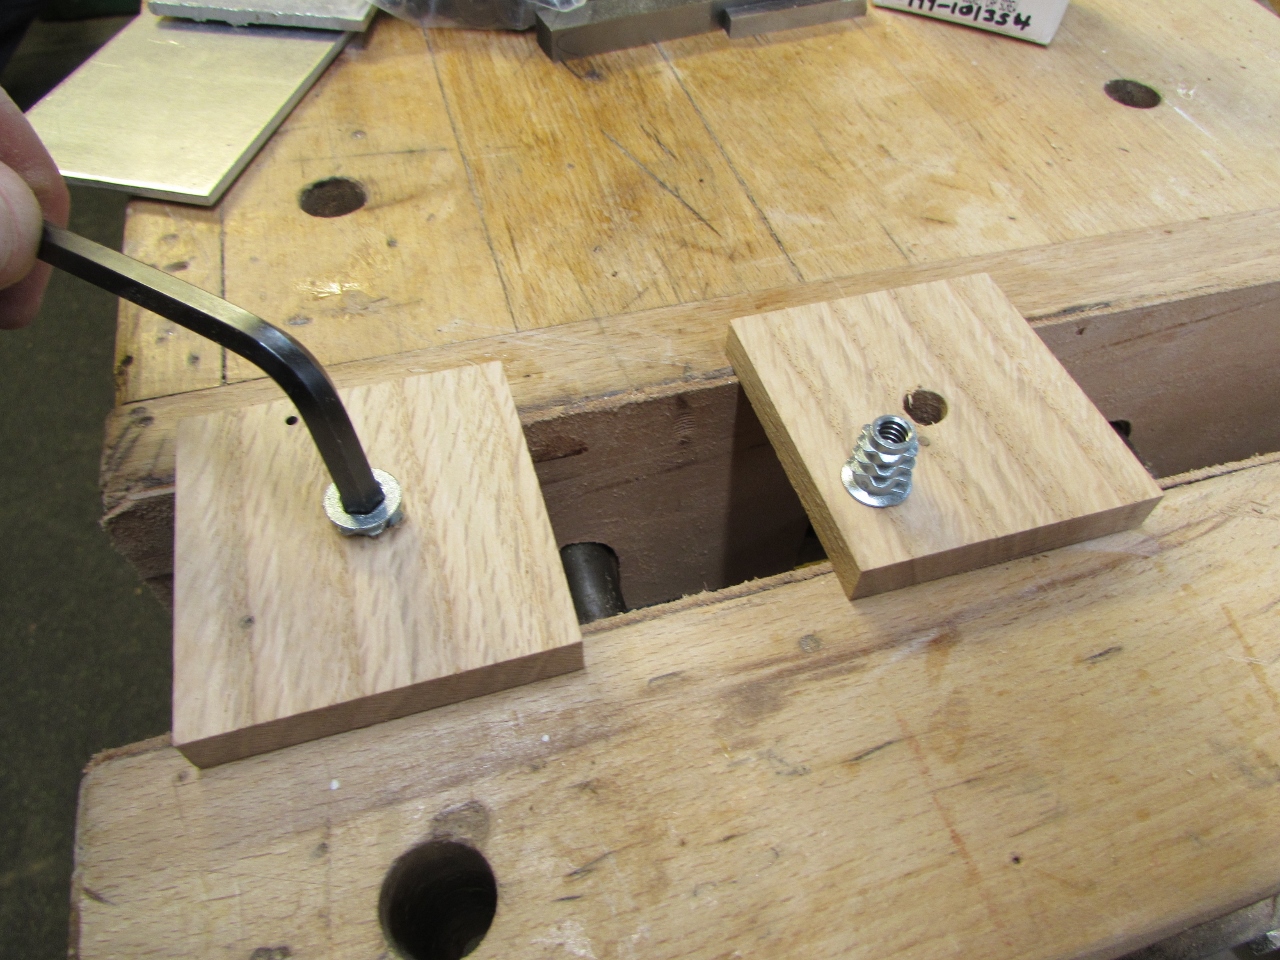
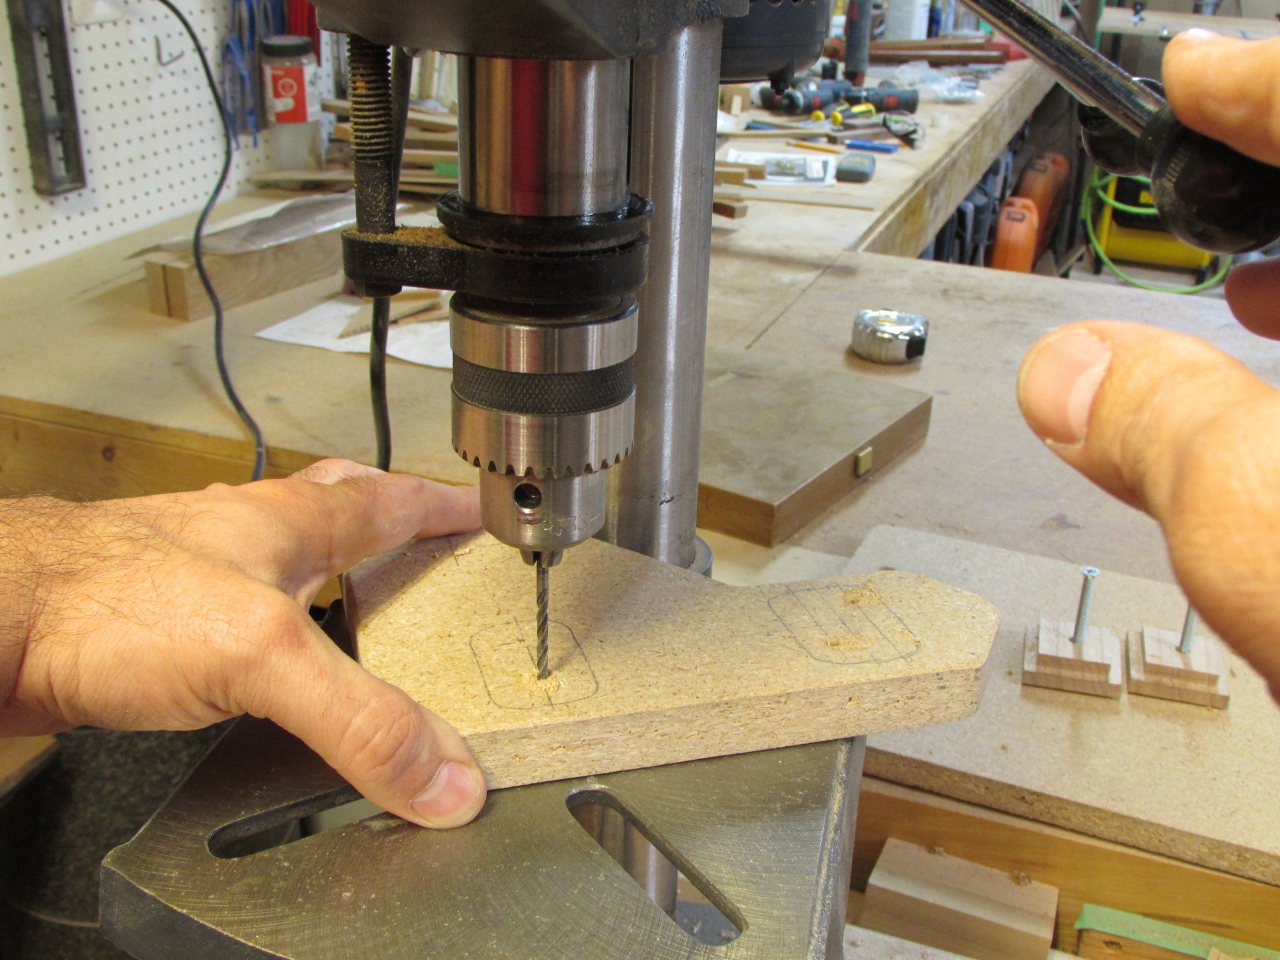
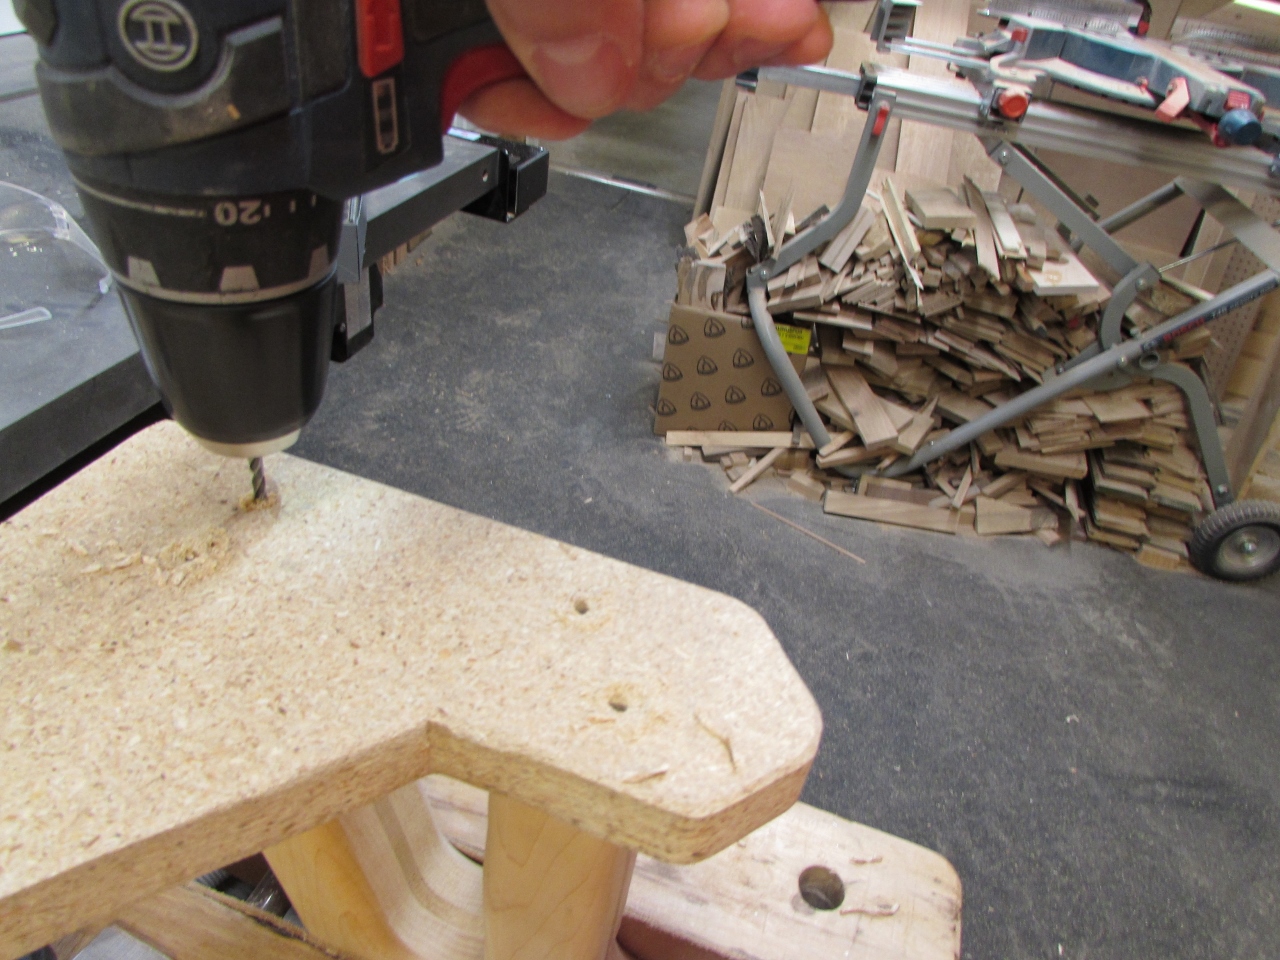
I drilled two mounting holes in the back, then grabbed a couple blocks of wood to and cut rabbets around them for mounting cleats.


I installed threaded inserts into the center of the mounting cleats.
Then counter-sunk the mounting holes in the base.


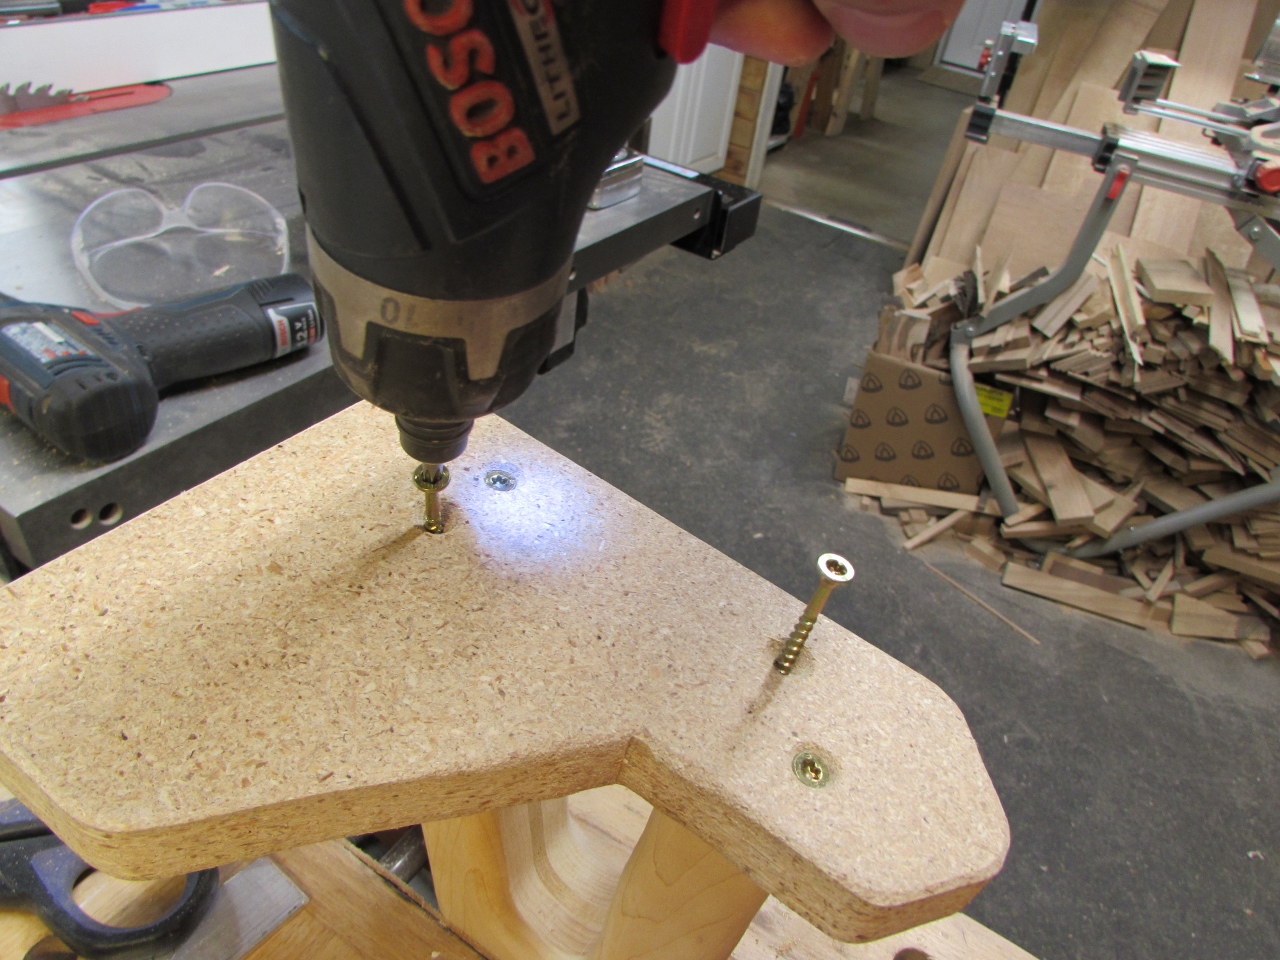
Using two flat head screws, I attached the cleats to the base to hold the base firmly in place.


I set the base aside for now and made up a laminated block for the cutter sled. I used two pieces of 3/4″ maple in the vertical grain direction and two pieces of oak in the horizontal direction. by crossing the grain direction, I hope to prevent cracking when the cutter is under stress. I should have used maple for the cross-grain piece as well, but the oak was already cut and laying in my scrap pile.
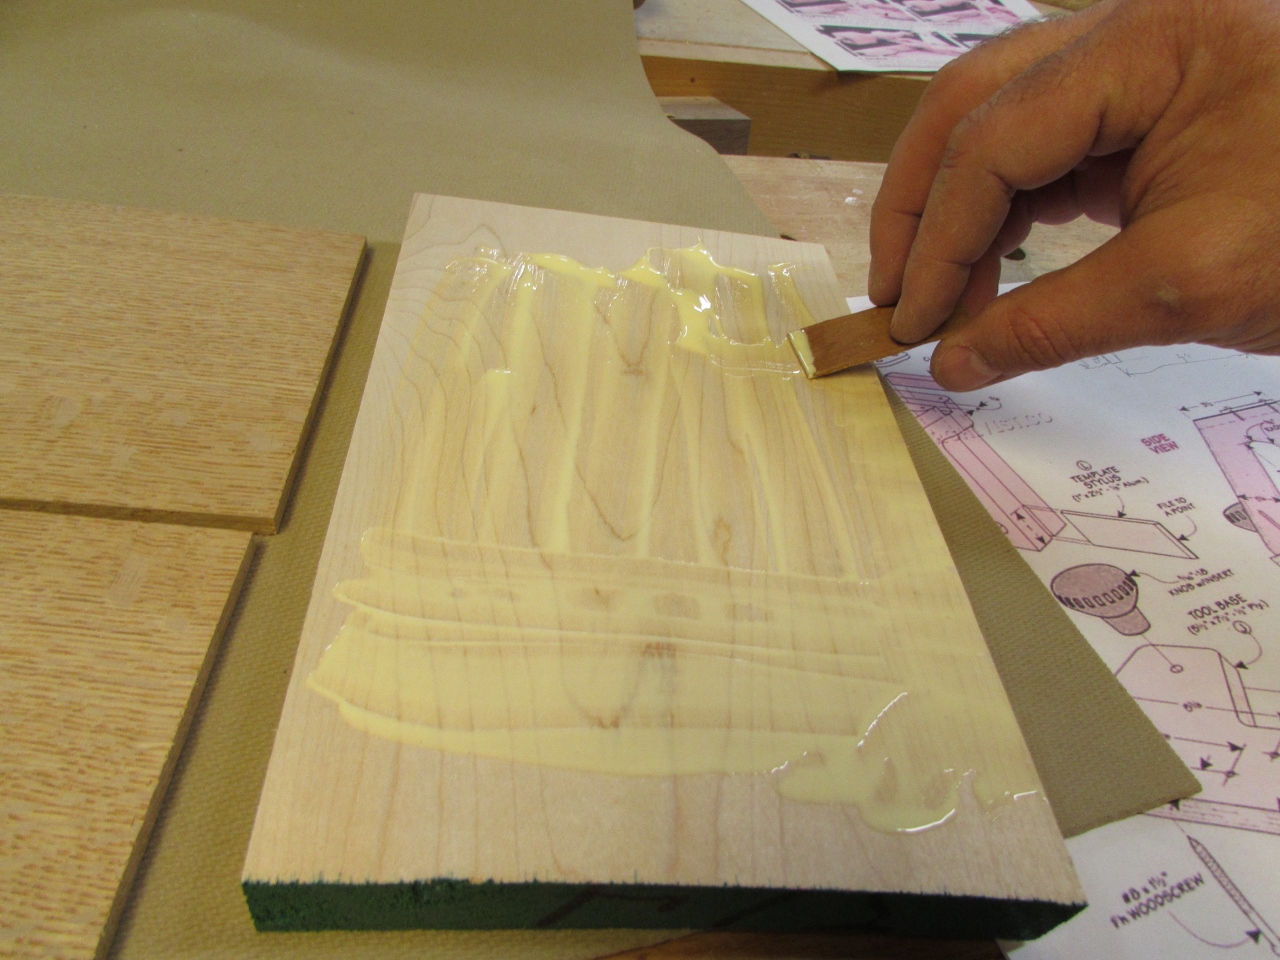
I glued all the pieces together and left them clamped up over night.

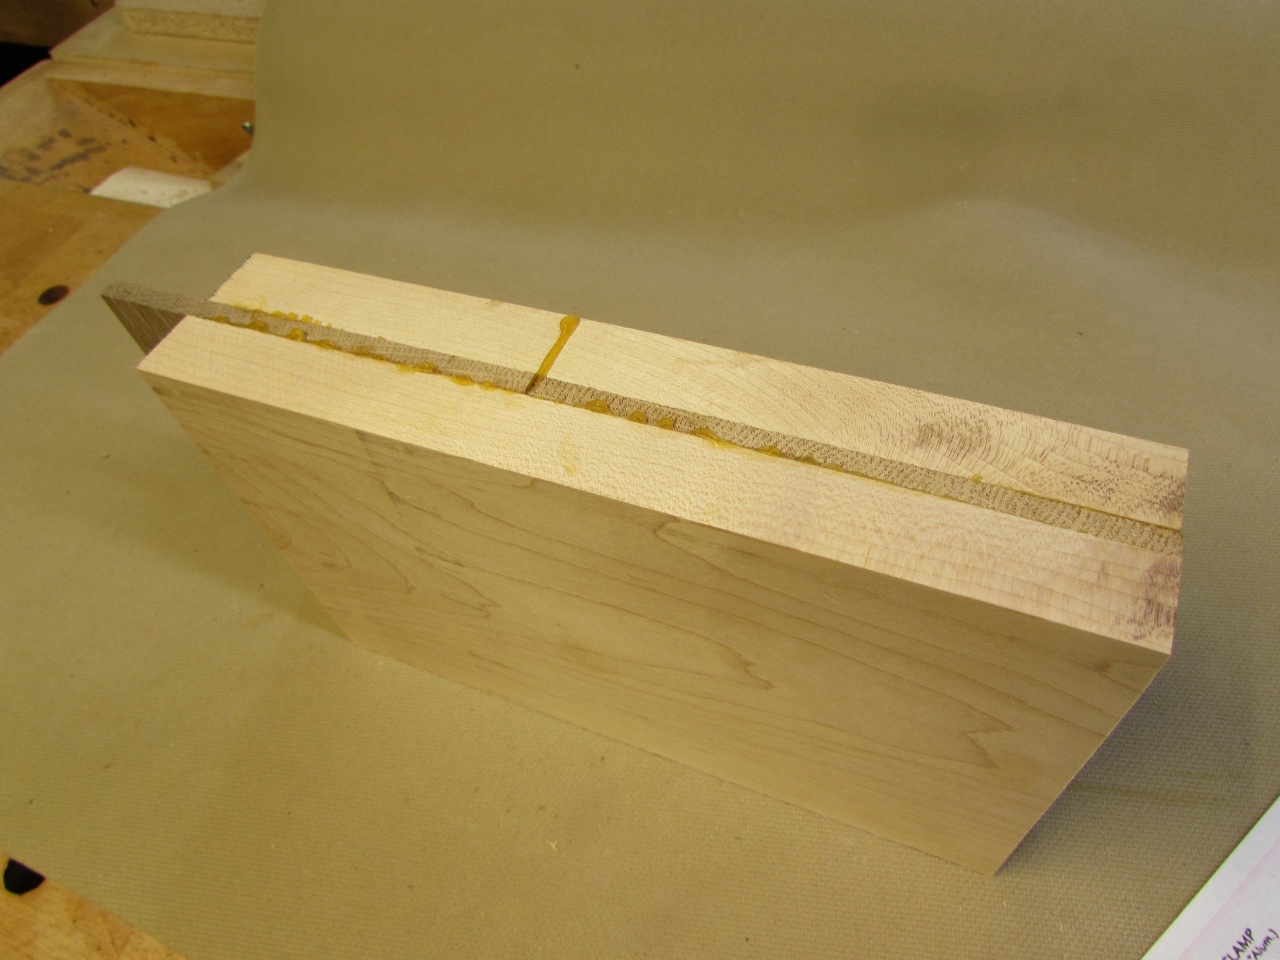
I used my plane to clean up and square off the long edges.


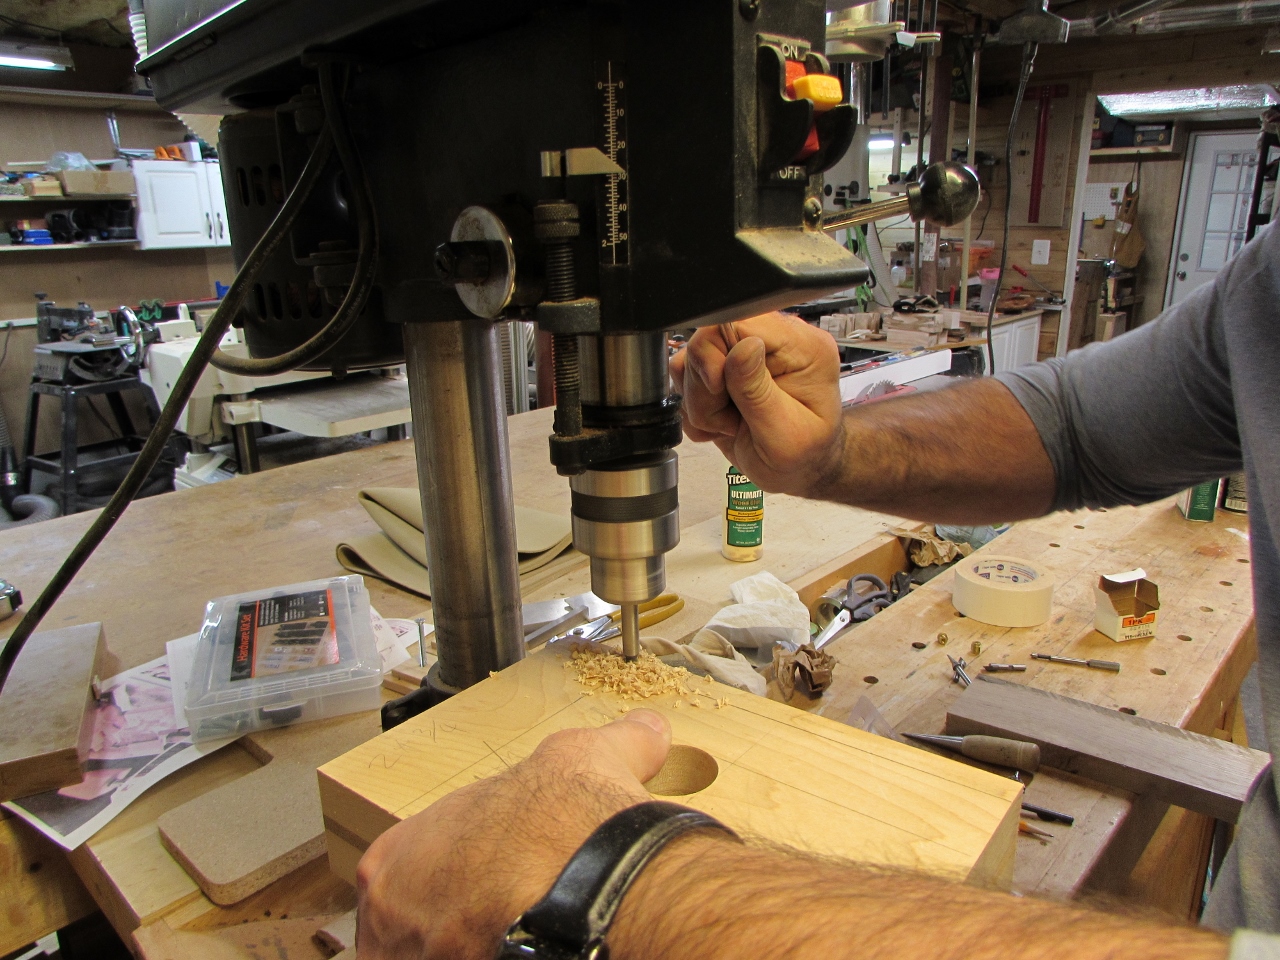
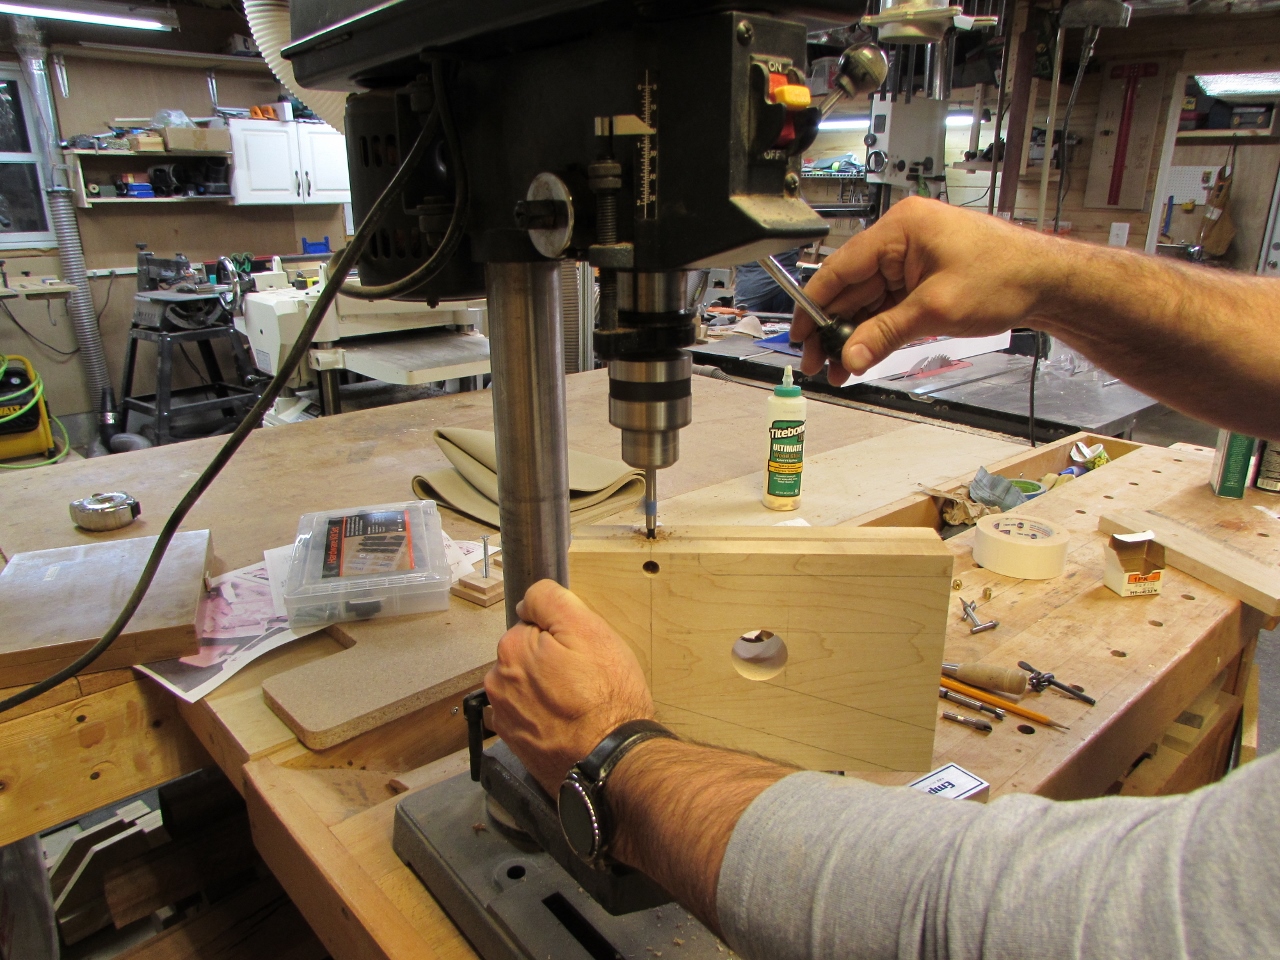
I drilled a large hole in the middle to set the height of the handle, then laid out the rest.

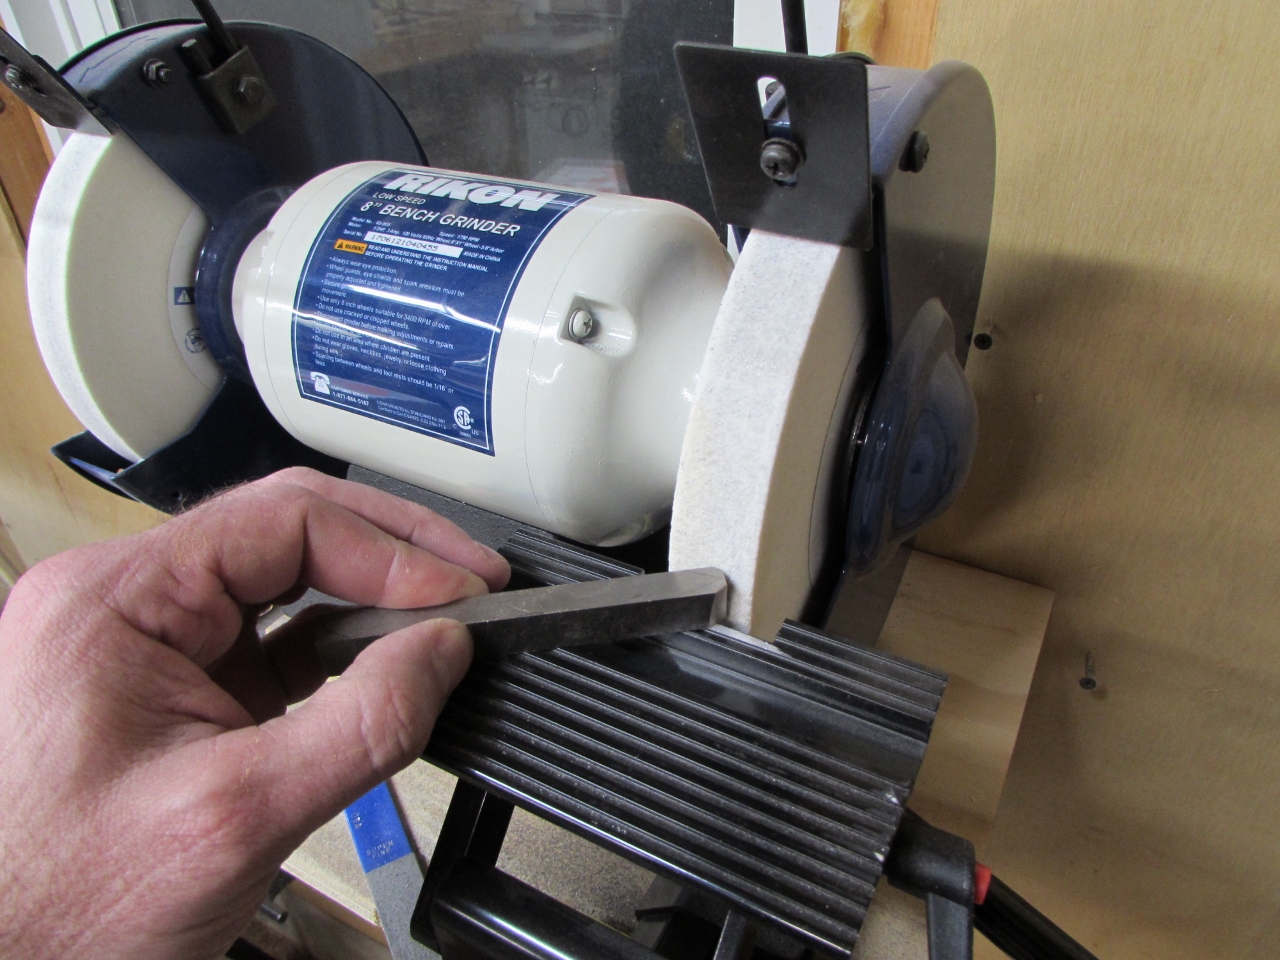
Their plans call for a square cutter bit to be mounted on the top. I got some high-speed steel cutter blanks that are used on metal lathes and started grinding the shape of the cutter on one end, with the intent to grind a different shape on the other. Problem is, that it was taking forever…
I was looking through a Penn State Industries catalog and saw four carbide cutter inserts for $35 and decided to try them instead. None of them were exactly the shape I was looking for, but I figured what the heck…
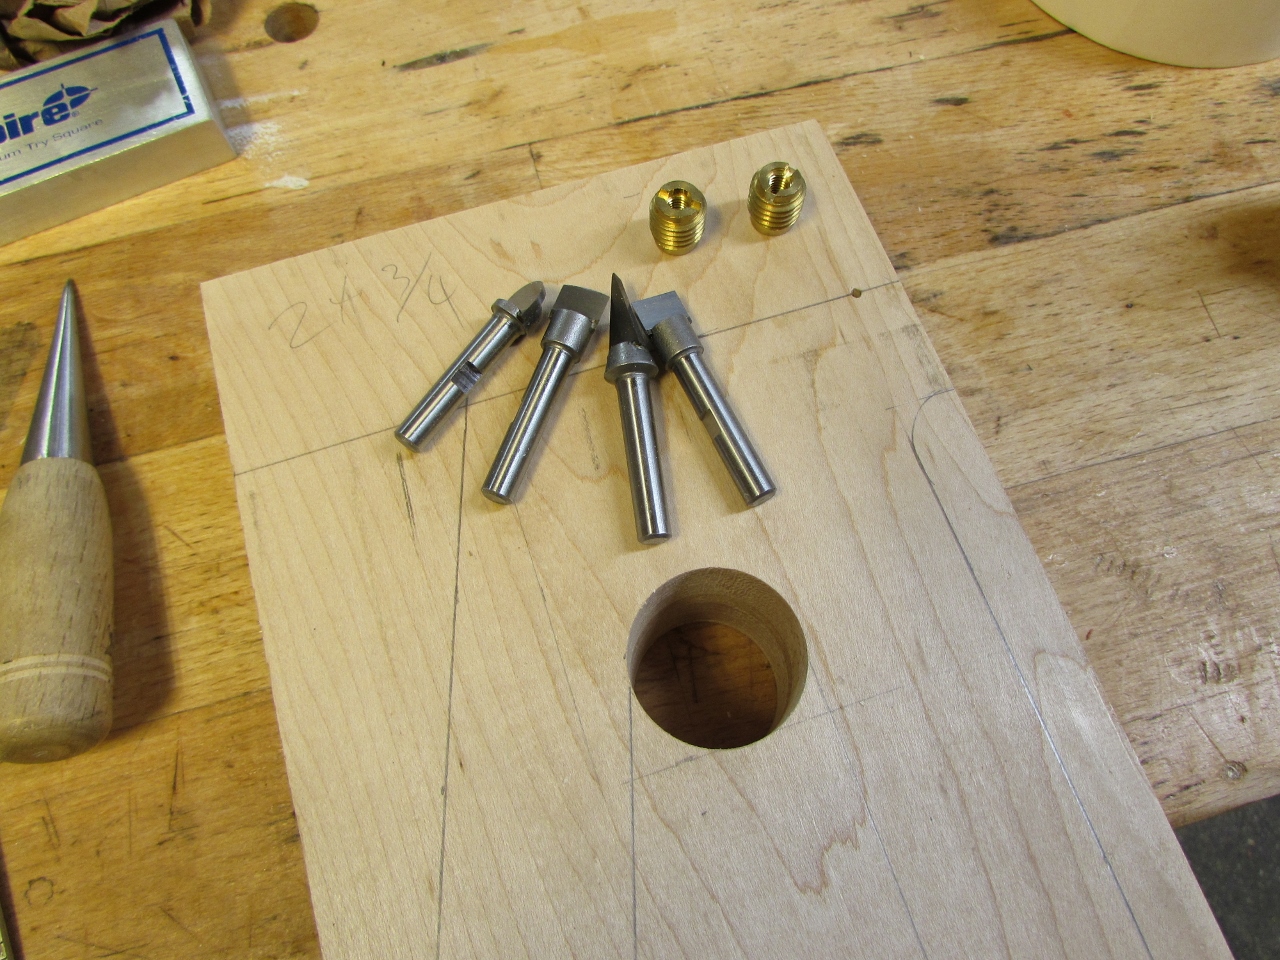
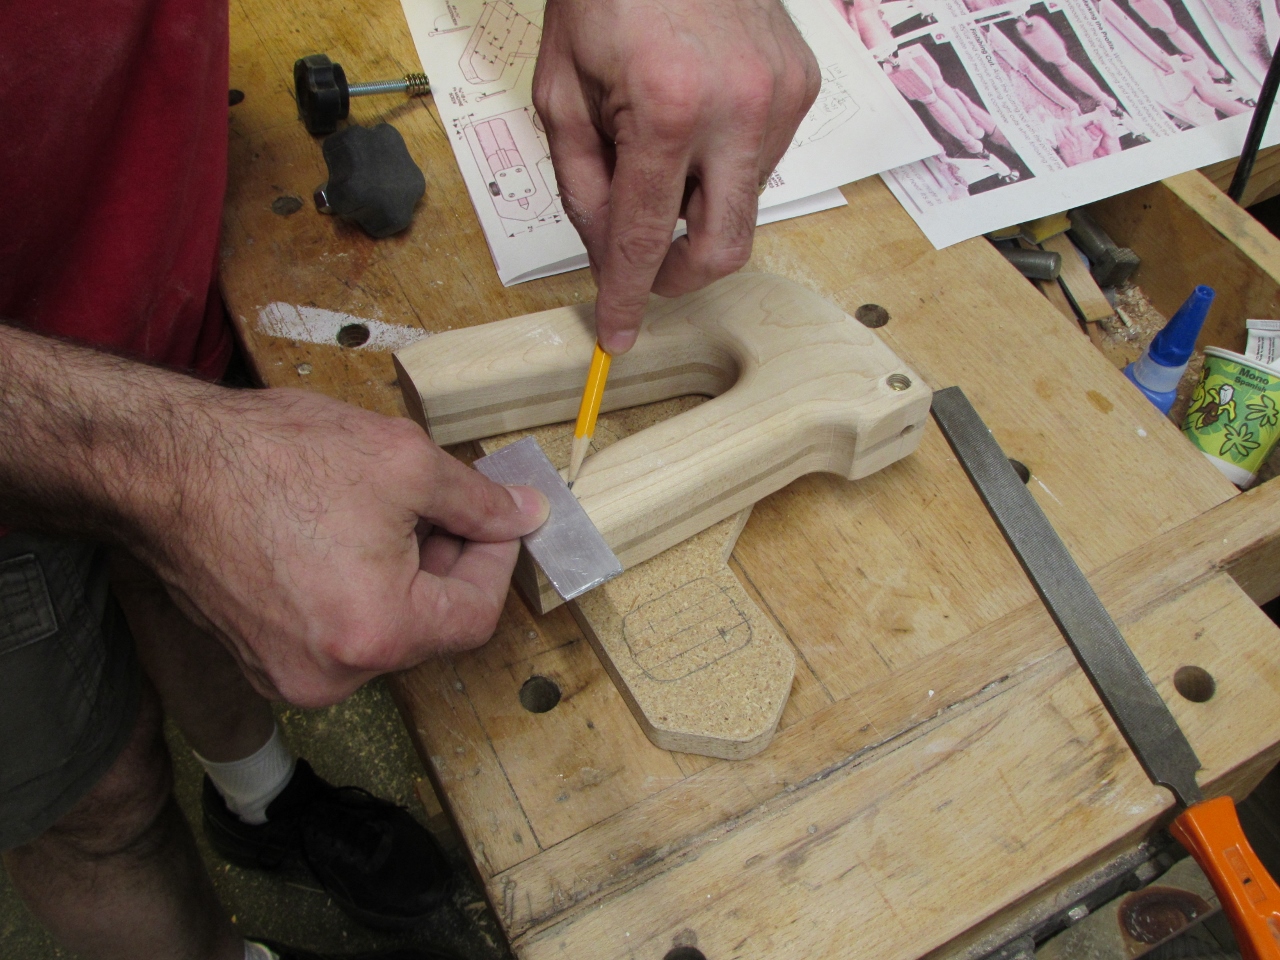
Now that I know what the cutter dimensions were, I could lay out its location on the handle and finish cutting it out.
I drilled out a hole for the cutter and a perpendicular hole for some inserts.
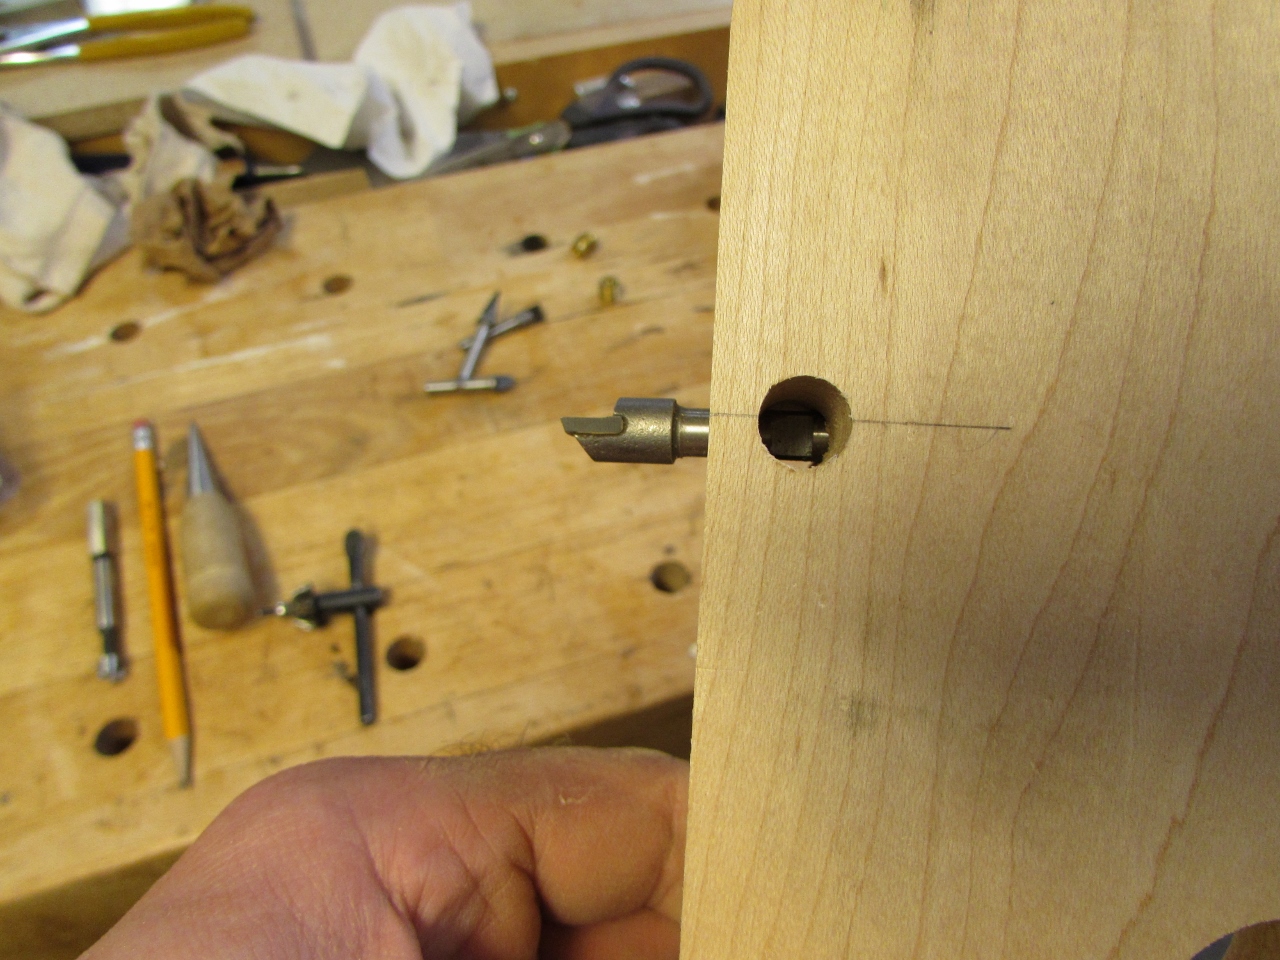

Once I installed the inserts, I could use a screw to hold the cutter in place.
Three of the cutters had a flat on the left side and one had a flat on the right so I had to put a screw into each side.

Then I went ahead and finished cutting out the shape and sanding it smooth.

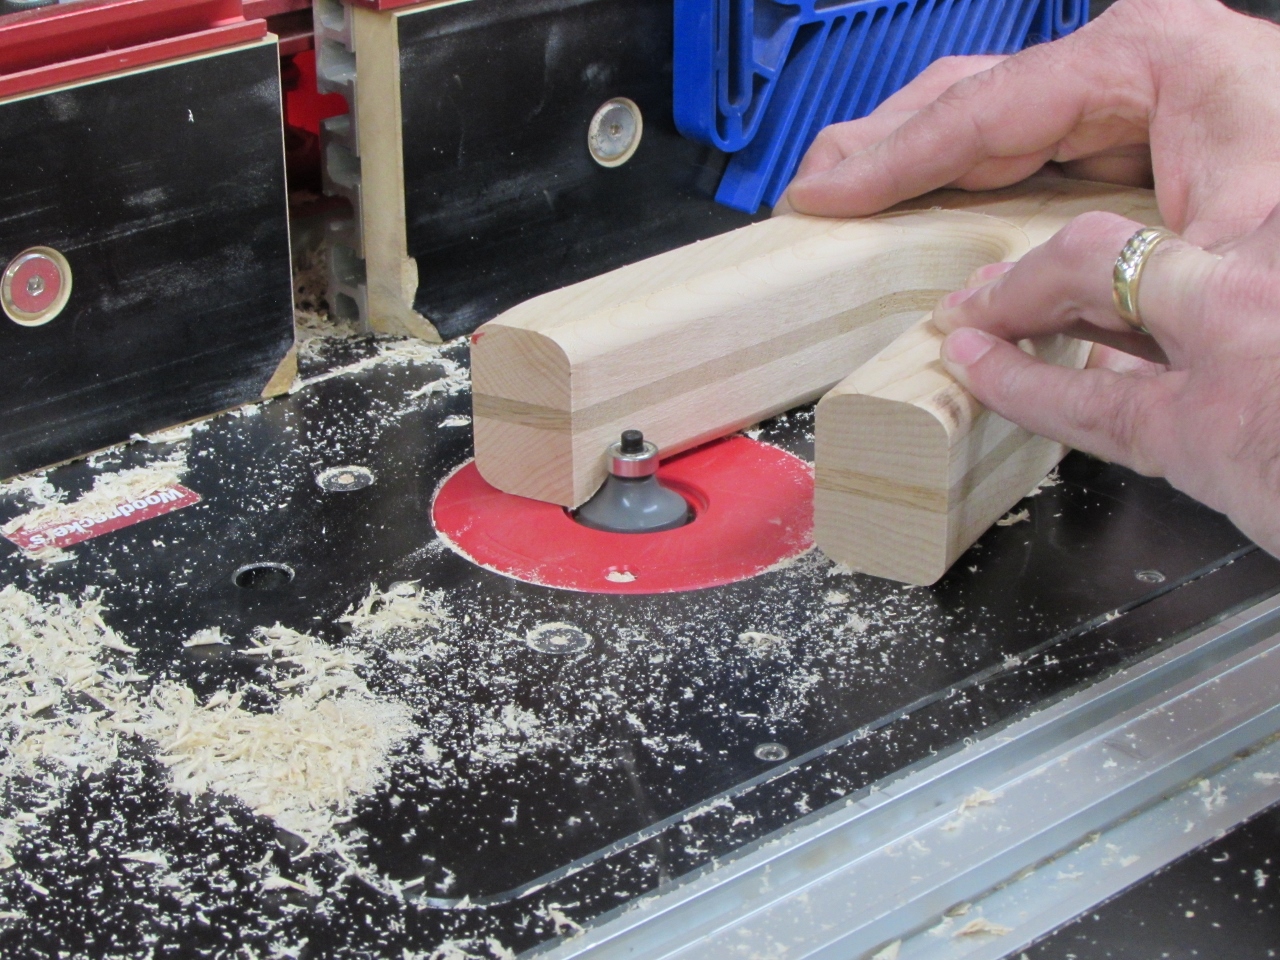
I put a 5/16″ round-over on both sides of the handle for a more comfortable grip.

I used the handle to lay out the rest of the cutter sled, then cut it out.

After cleaning that up, I cut down a piece of 1/8″ aluminum to use as my pattern follower.
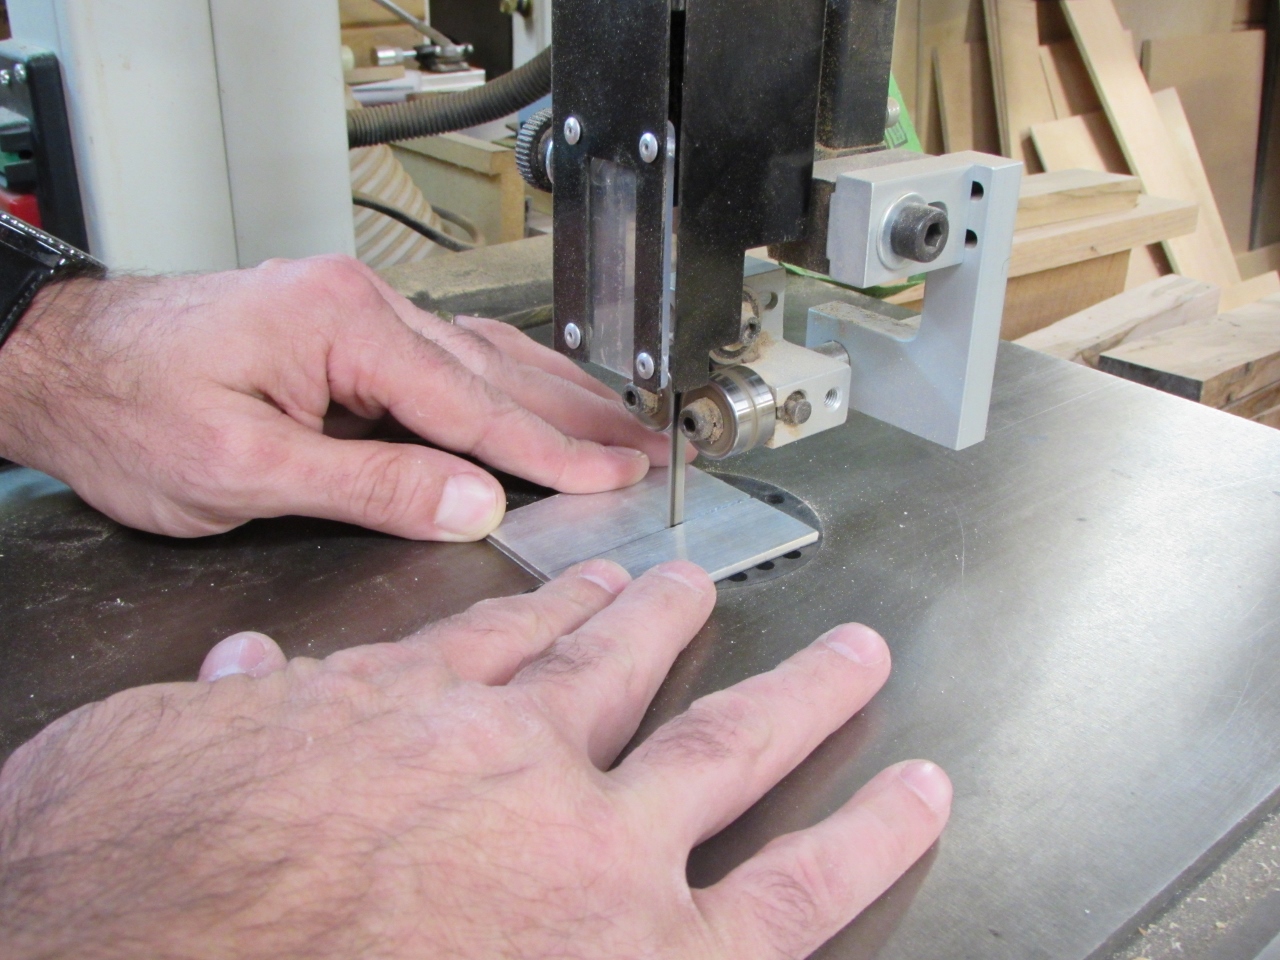
I have a 10 tpi blade on the bandsaw, so it cuts the aluminum pretty well, if you take your time. It does leave a rough edge behind, so a bit of filing is necessary. I also filed one end to a gently rounded point. That will be my follower edge.

Using the piece of aluminum, I marked the location of the insert and drilled it out.

I also cut a 1/8″ slot in the center of the handle to slide the metal into.

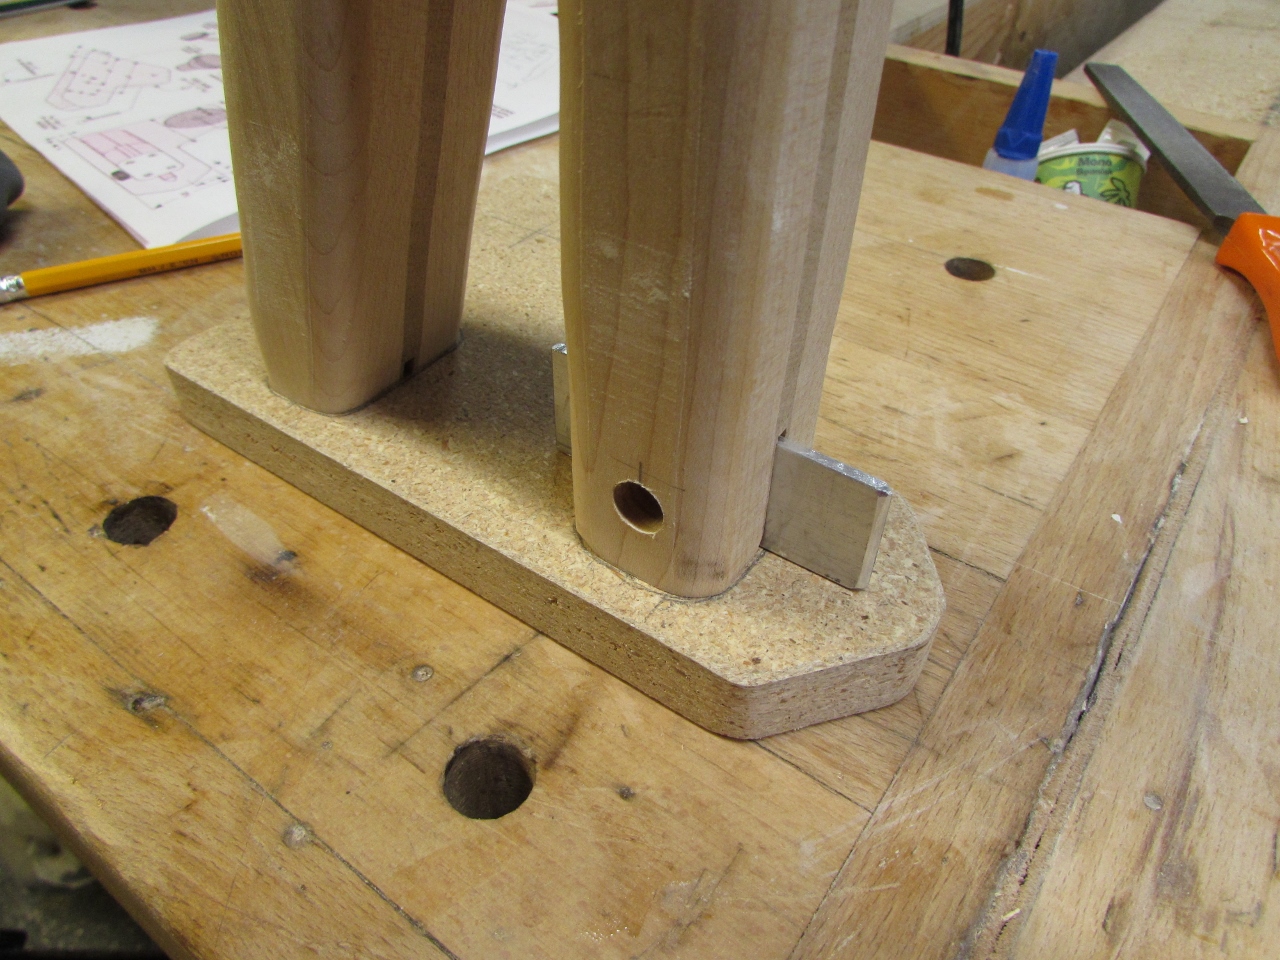
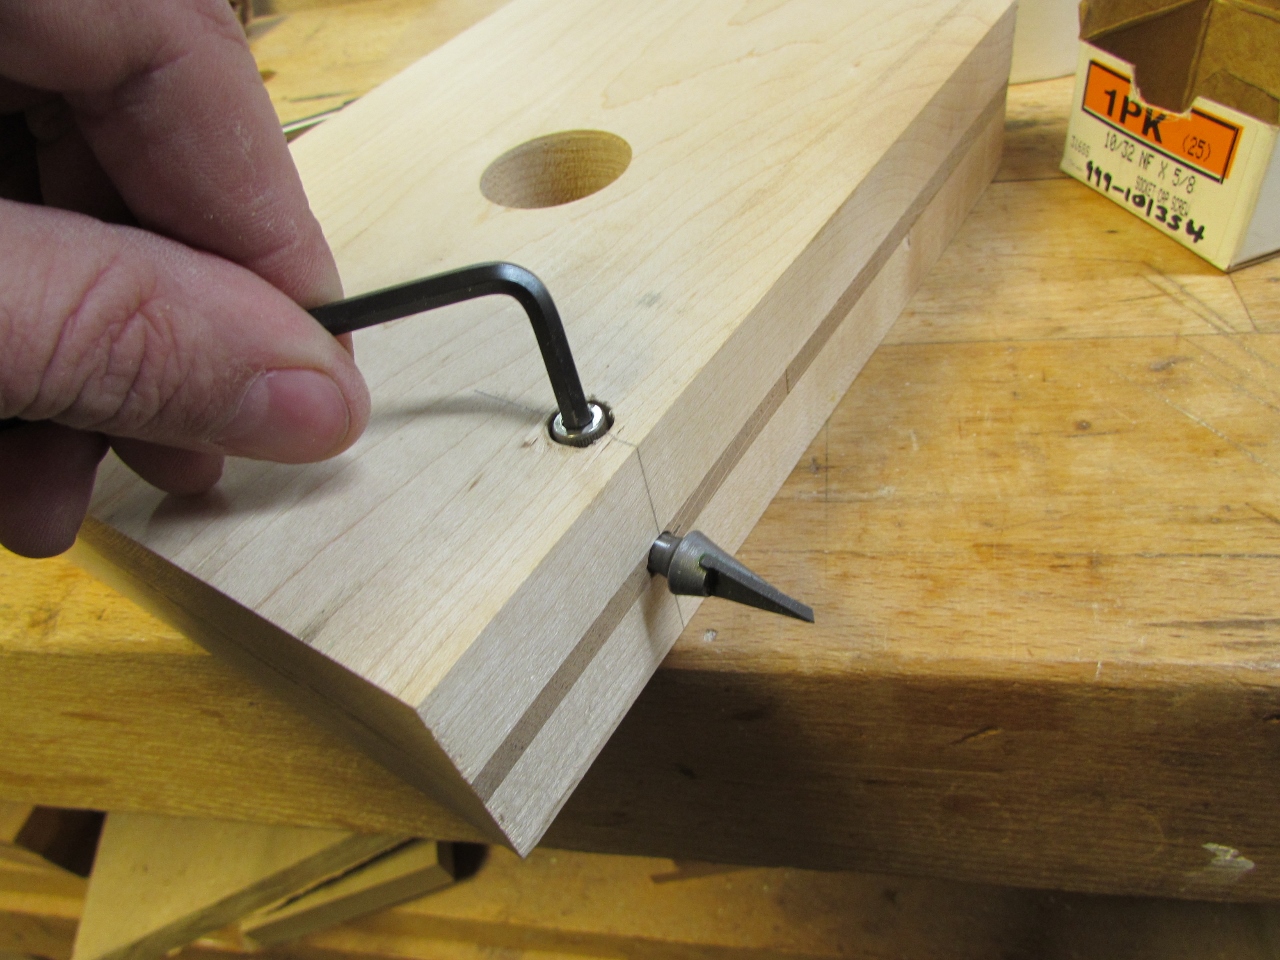
After a test fit, I used a bolt and jamb nut to install my insert. I have used three different types of inserts so far. One reason is to test the different types and see which ones install the easiest, and which work better. Also, I am building this entire thing out of scrap, and these are what I have… The silver ones, that I used on the base plate, installed the easiest because they had a hex slot in them, but they were also the cheapest, and the outer flange broke on one of them. It still worked, but I definitely like the durability of the brass ones better. I have seen brass ones that have a hex slot on one end, for installing them, and I think that would be my preference, but I am using what I have.

When the insert was installed, I screwed on a knob to hold the follower blade in place.
I traced the bases of the handle and located some screw holes, that avoided the new insert, and pre-drilled them.

Next I added some double-sided tape to temporarily hold the handle in place while I drilled the pilot holes for some attachment screws.

I counter-sunk them and attached the plate.

I installed a couple of my new bits and made sure the follower blade would adjust to match each length.

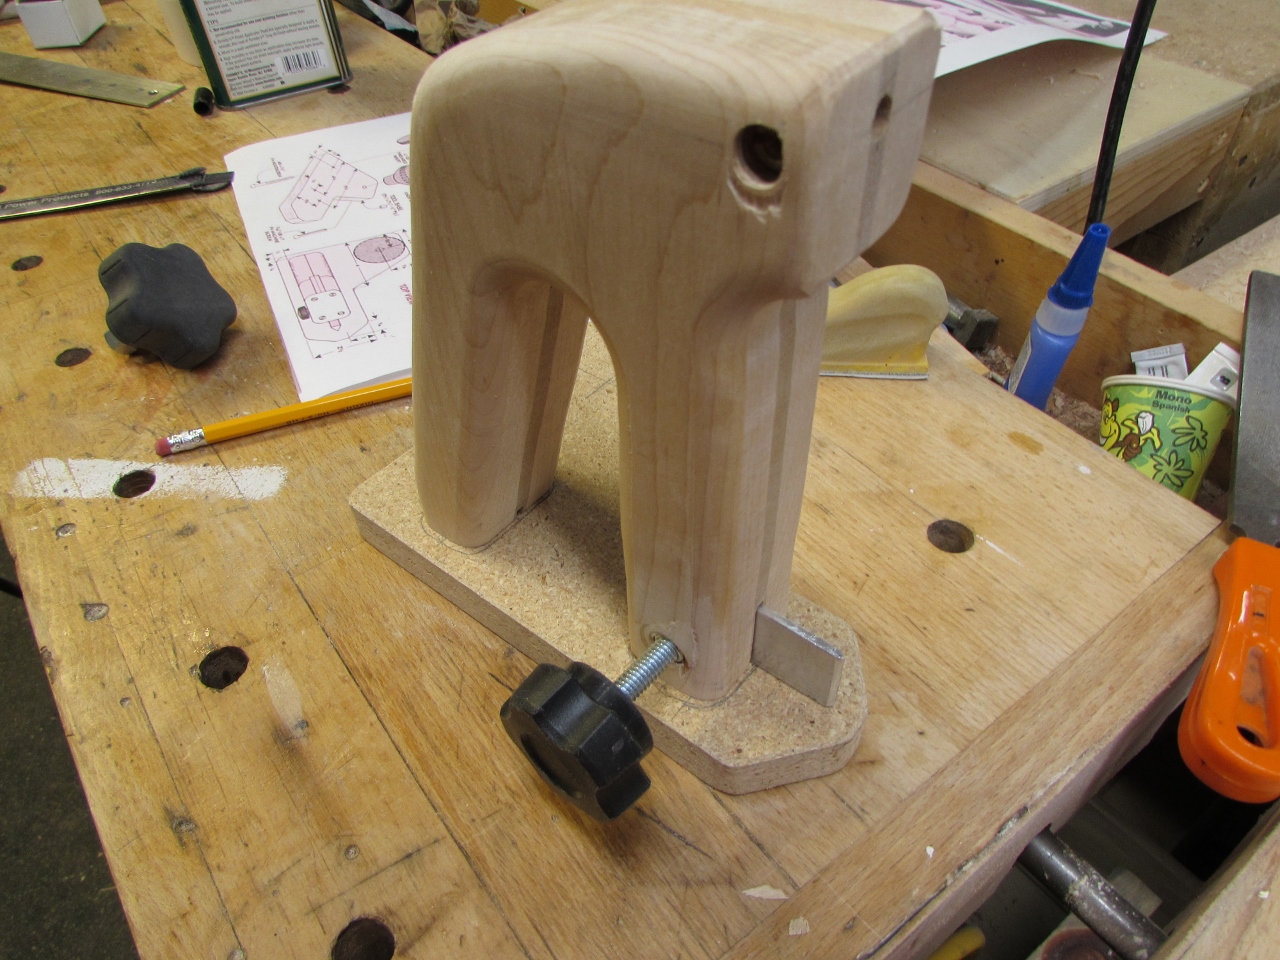
One piece left to finish the sled. The plans call for another insert and knob, for you to be able to use a second hand to guide the sled. My hands are big, and a knob seemed awkward so I decided to use my lathe to turn a handle instead.

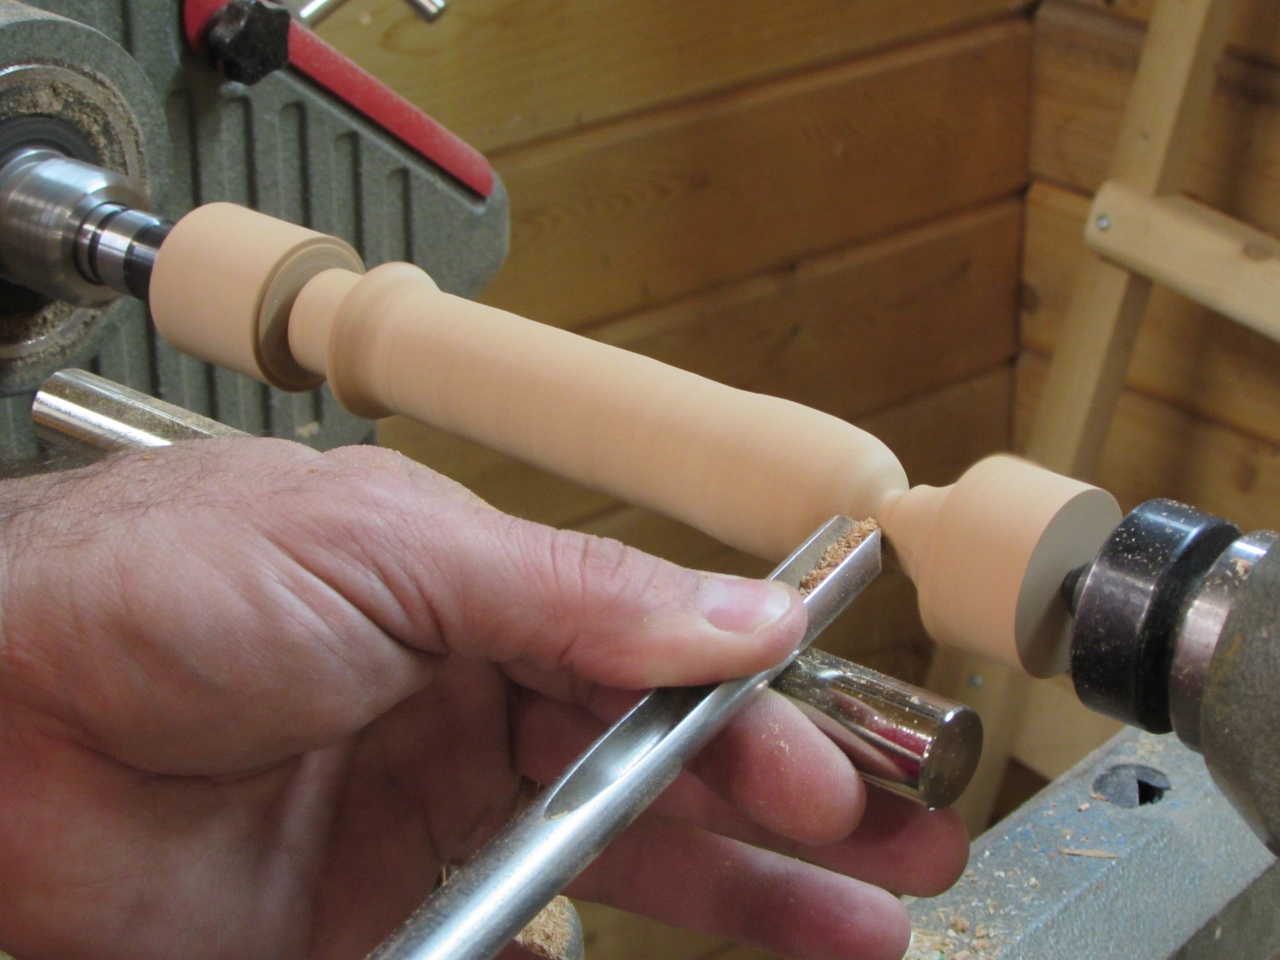
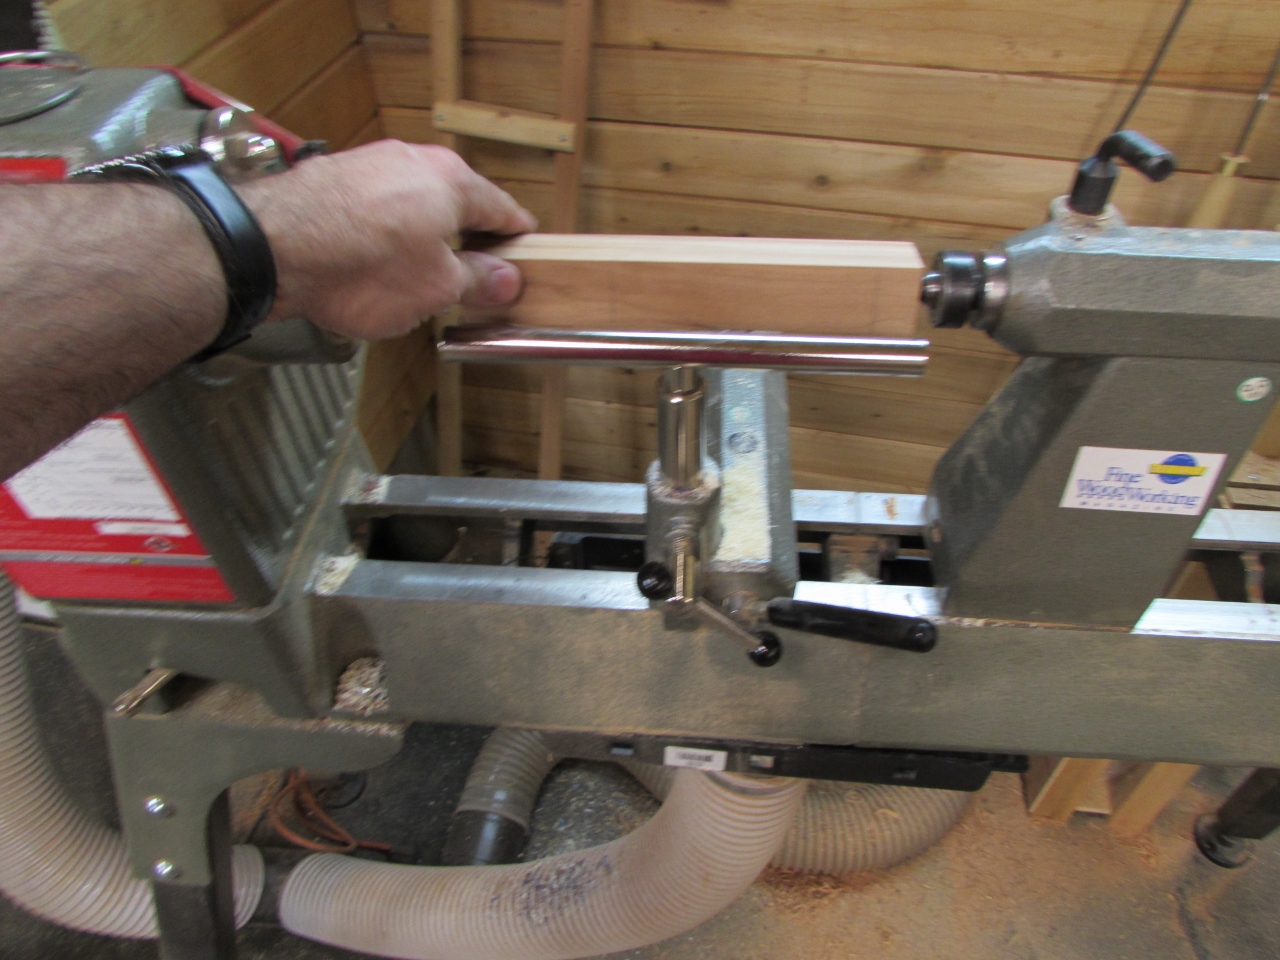
I threw in a 1-1/4″ square piece of cherry and turned down a 6″ long handle with a 3/4″ diameter base to attach to the plate.
After sanding and finishing, I used a forstener bit to drill a flat-bottomed 3/4″ diameter hole in the plate.


I glued in the handle and let it dry.

While that was curing, I went back to the base and attached a 7/8″ thick plate to the back edge for attachment of a pattern plate. Then I grabbed a piece of 1/4″ plywood and sketched a pattern on it for a test. I quickly cut out my pattern on the scroll saw and took it back to the lathe.

I screwed the pattern down and made sure I located the front edge, flush to the spindle.

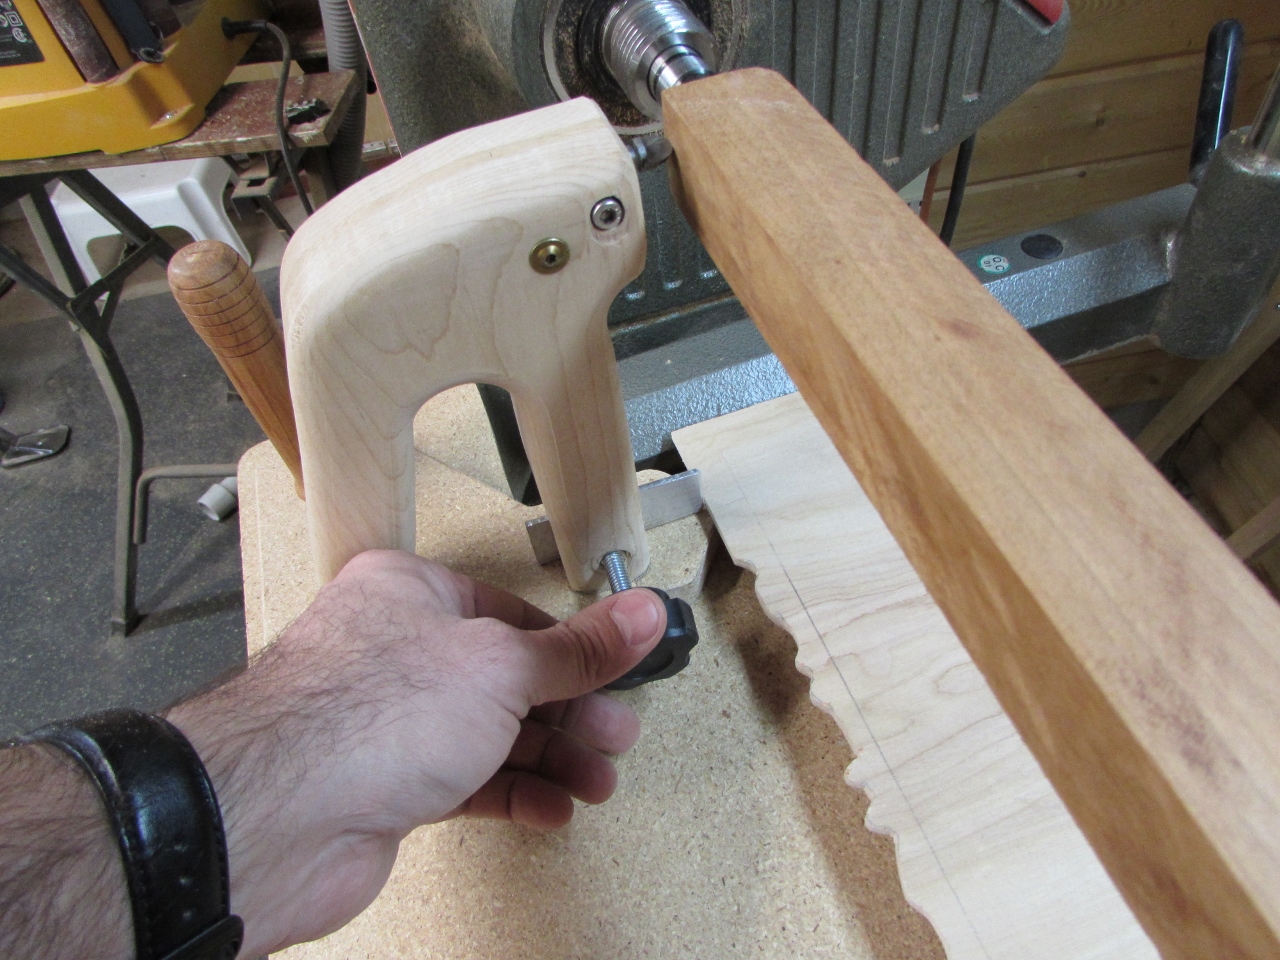
I set the cutter up against the block of wood and adjusted the follower to touch the pattern.

I started with the round bit and adjusted the follower blade to be 1/16″ longer than the bit so I could rough out the material. In the future, I will probably turn most of the spindle round with traditional lathe chisels, but I really wanted to test the durability of my bit holder.

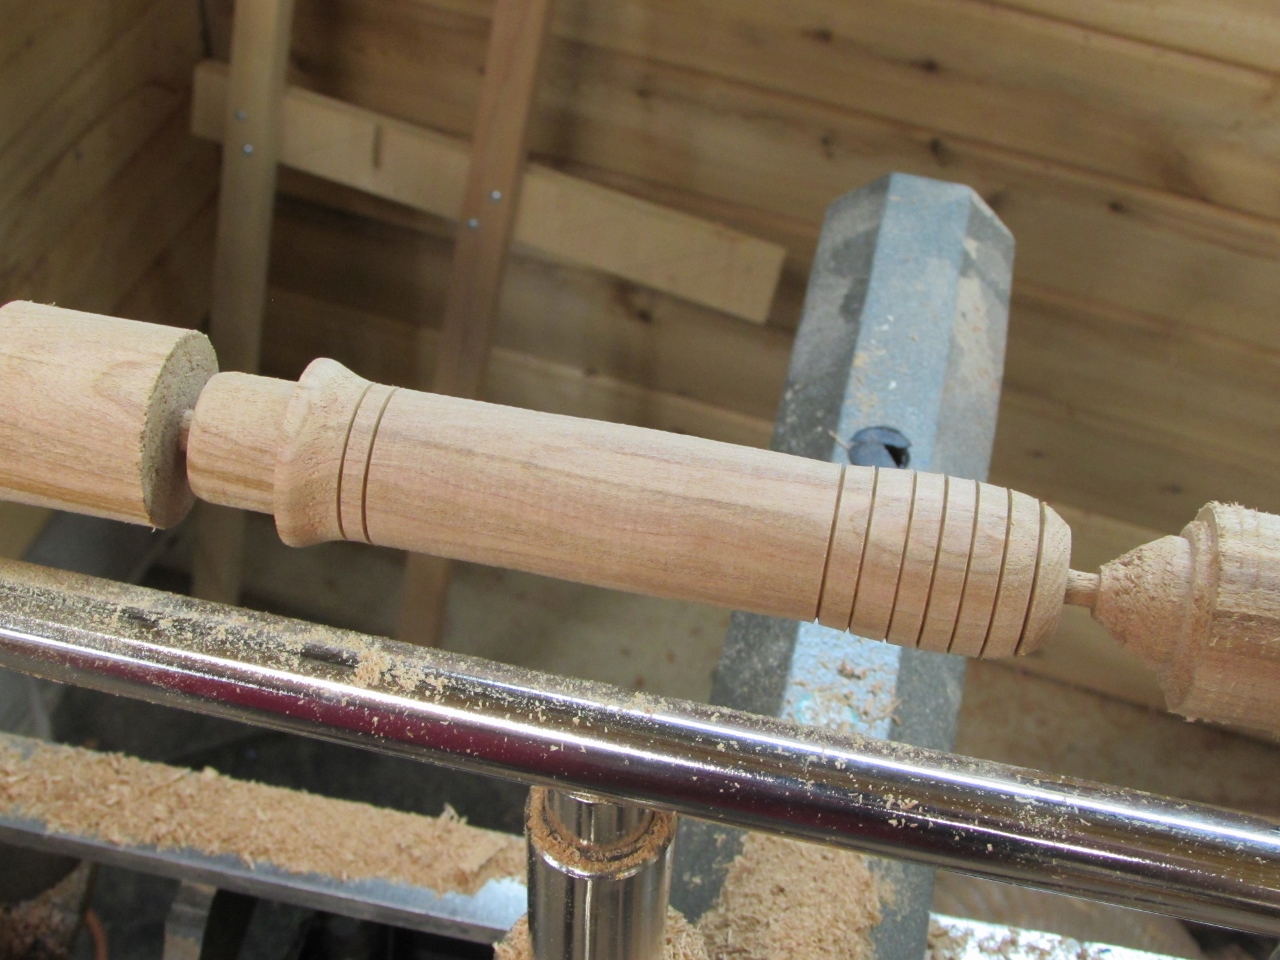
It worked surprisingly well, and after roughing the shape on the spindle, I inserted the detail cutter, which has a pointy end.

I did a rough pass at 1000 rpms with the follower still a bit longer than the bit. It looked really rough when I was finished.


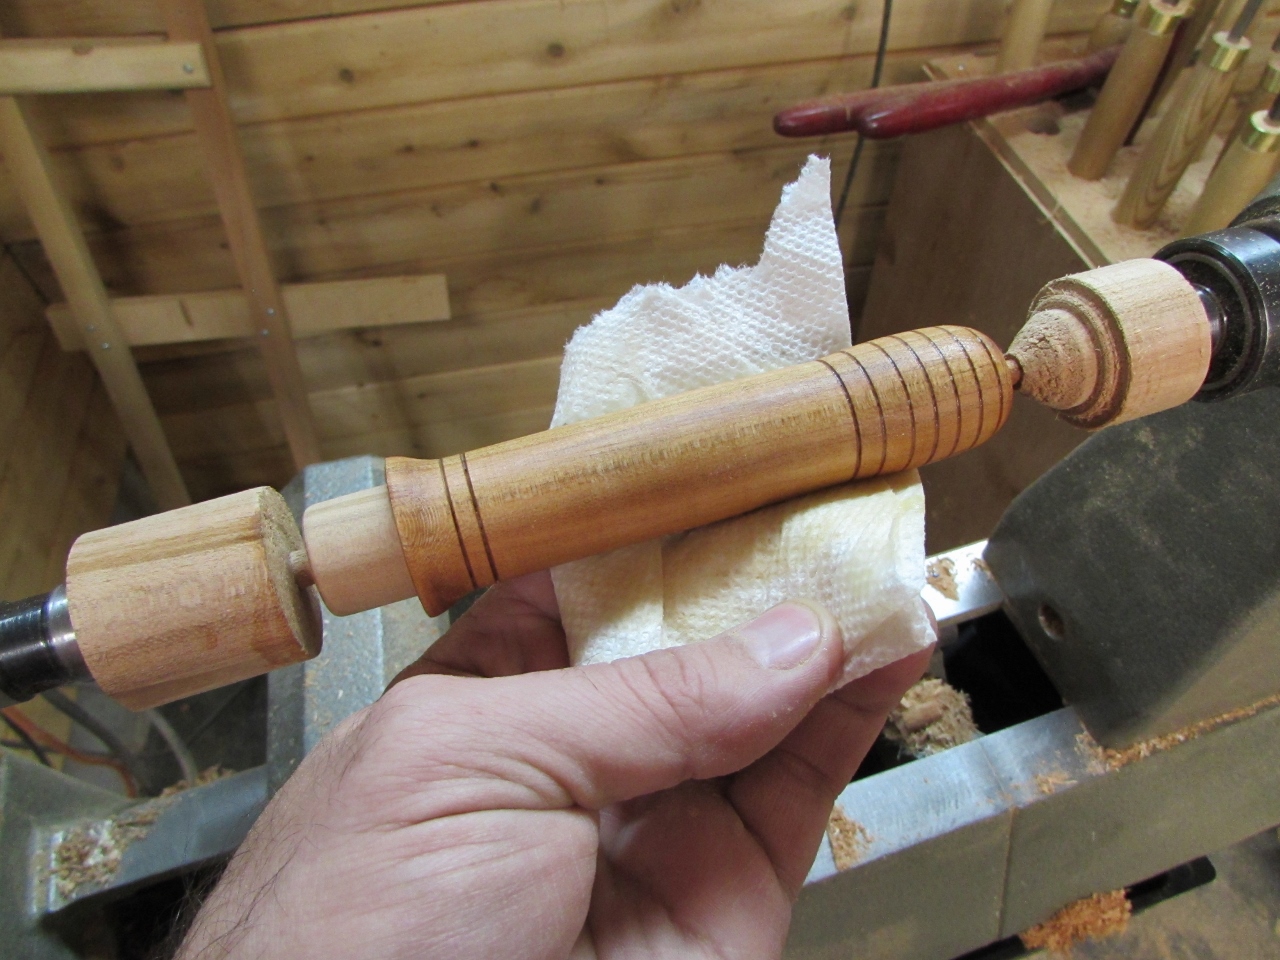
Then I adjusted the follower to match the bit and sped the lathe up to 2000 rpms and had a much better result.

This is by no means a perfect finish, but it is a good starting point. I could now remove the duplicator and clean the spindle up with a skew chisel and sand paper, and probably be able to achieve some fairly repeatable results, but I think I could improve things a bit more if I could find a cutter bit that was similar to the detailer, but with a small rounded tip. This would leave a smoother final finish. The large rounded bit has too large a radius for any fine details, but it would work well on less detailed patterns. I would like to eventually create two horizontal pins, on the base, to hold an, already turned spindle. Currently to replicate an existing spindle, I would have to make an additional sled that had the follower, up above, and a pencil down below, to trace a pattern onto the plate. There are also plans for one, but I wanted to test the cutter sled first. I would say it was a success, and I look forward to refining this device in the future. I also want my wife to play with it and see if it will benefit her in any way.
