
Backlight office sign – week 1
My friend Marques is moving his office to a new location. He needs to put his logo up on the wall and was not having much luck finding what he wanted. He sent me pictures of his logo and a rendering of his new office space.
![]()
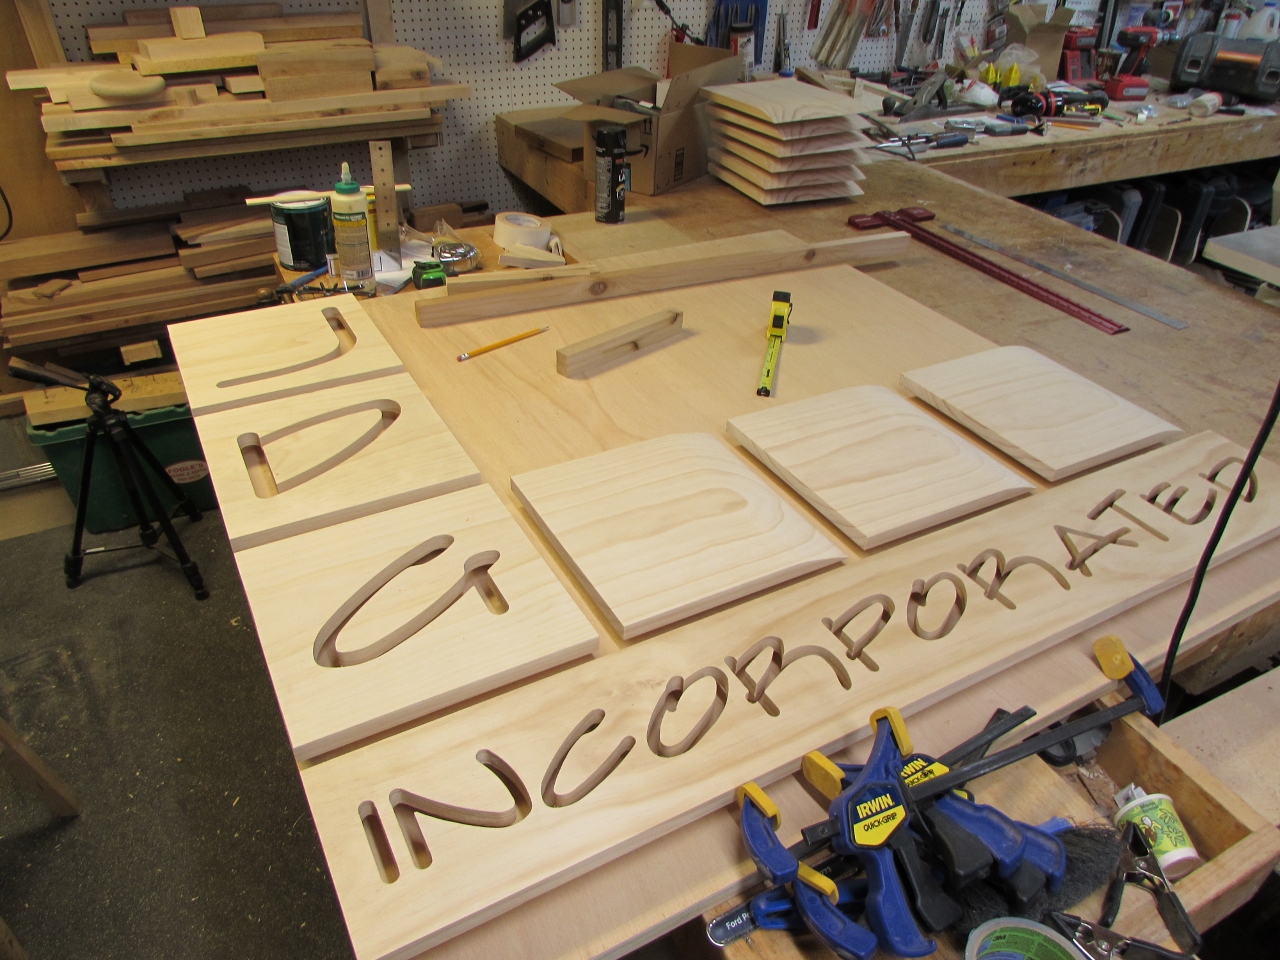
This was what I came up with:
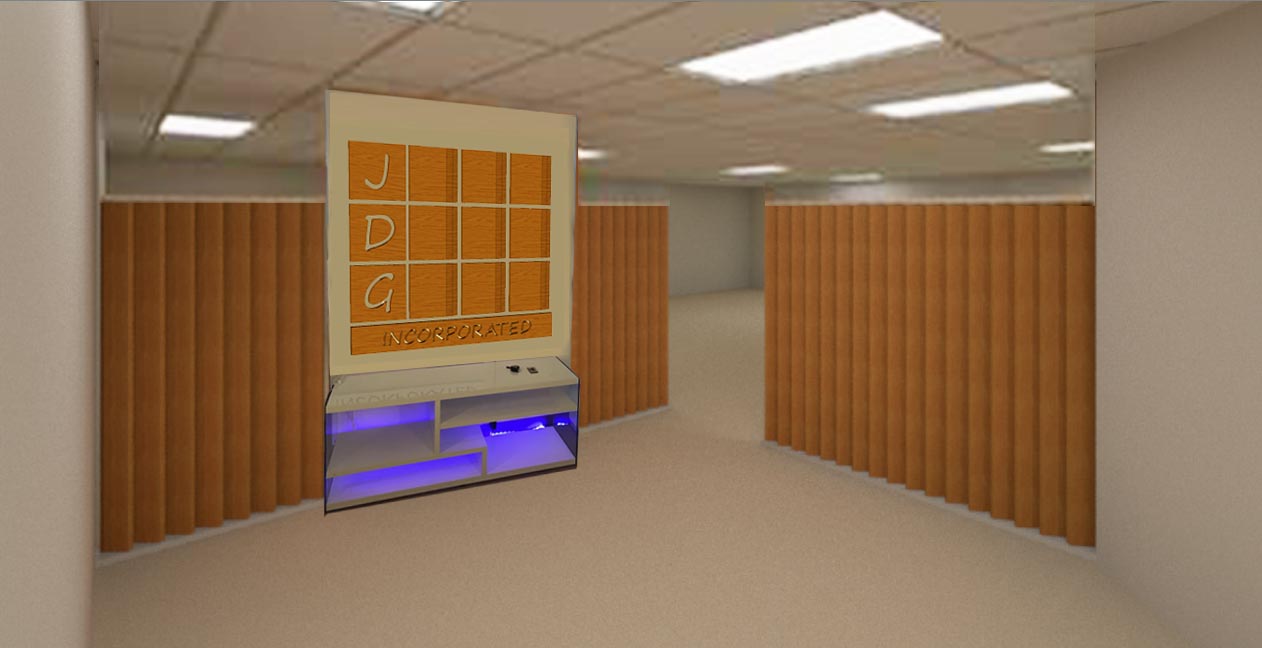
It needs to be made of wood to match the walls, which are stained pine, and it needs to be about 4′-0″ x 4′-0″ and back-lit with LED lights. Should be a challenge, so I offered to help.

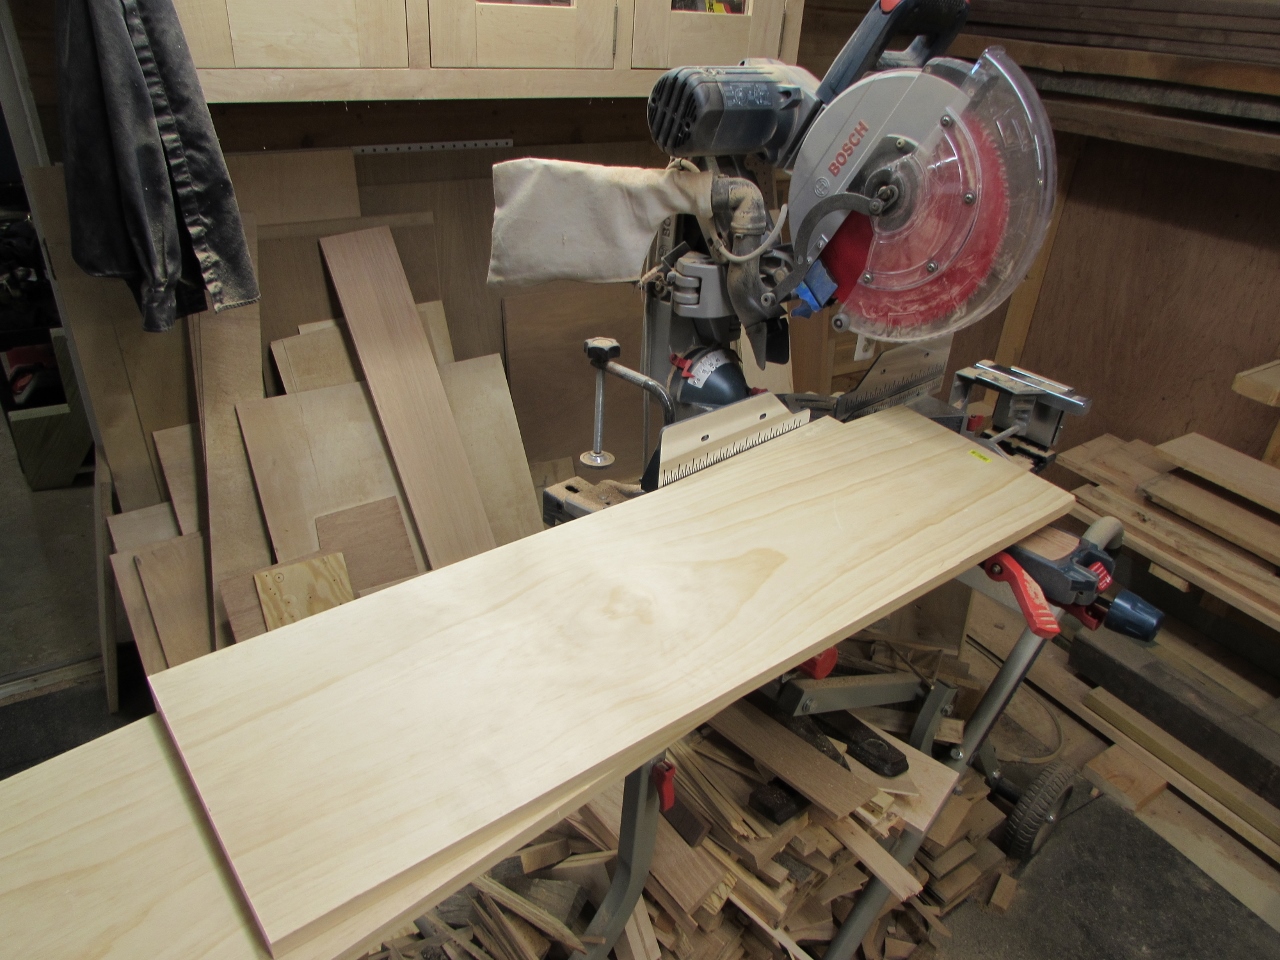
I picked up some prime grade pine at Home Depot. Some 1″x12″ stock for the larger tiles and some 1″x8″ for the long piece at the bottom.
I thought about free-hand routing out the letters, or using my scroll saw, because it is faster than my CNC, but if I cut them out on the CNC, I can be working on other things at the same time. Multi-tasking won out.

I want to carve the letters all the way through the board, but I don’t want the centers of the letters falling out and jamming up my equipment. For the first piece, I am using double-sided tape and some 1/4″ plywood. My hope is that all the pieces will be stuck in their exact location even when the board is cut all the way through.


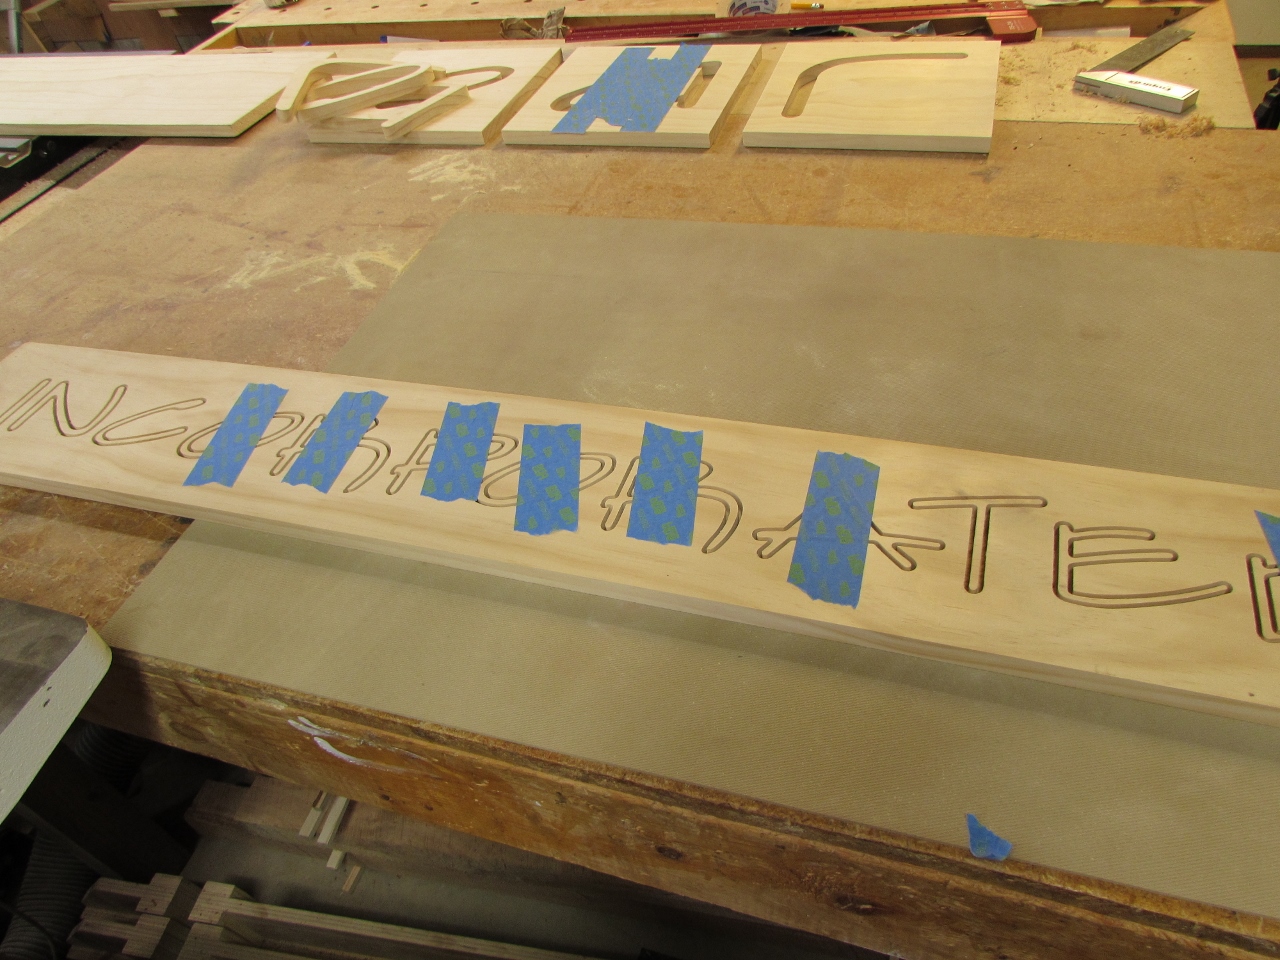
The first carve took about 3-1/2 hours, but while it was running, I started prepping the next part.
The J, D, & G tiles are larger, so I cut a board long enough to carve all three on. I am trying masking tape on the back of this one to see if it works any differently than backing it with plywood. This should be a little easier to remove than the double-sided tape.
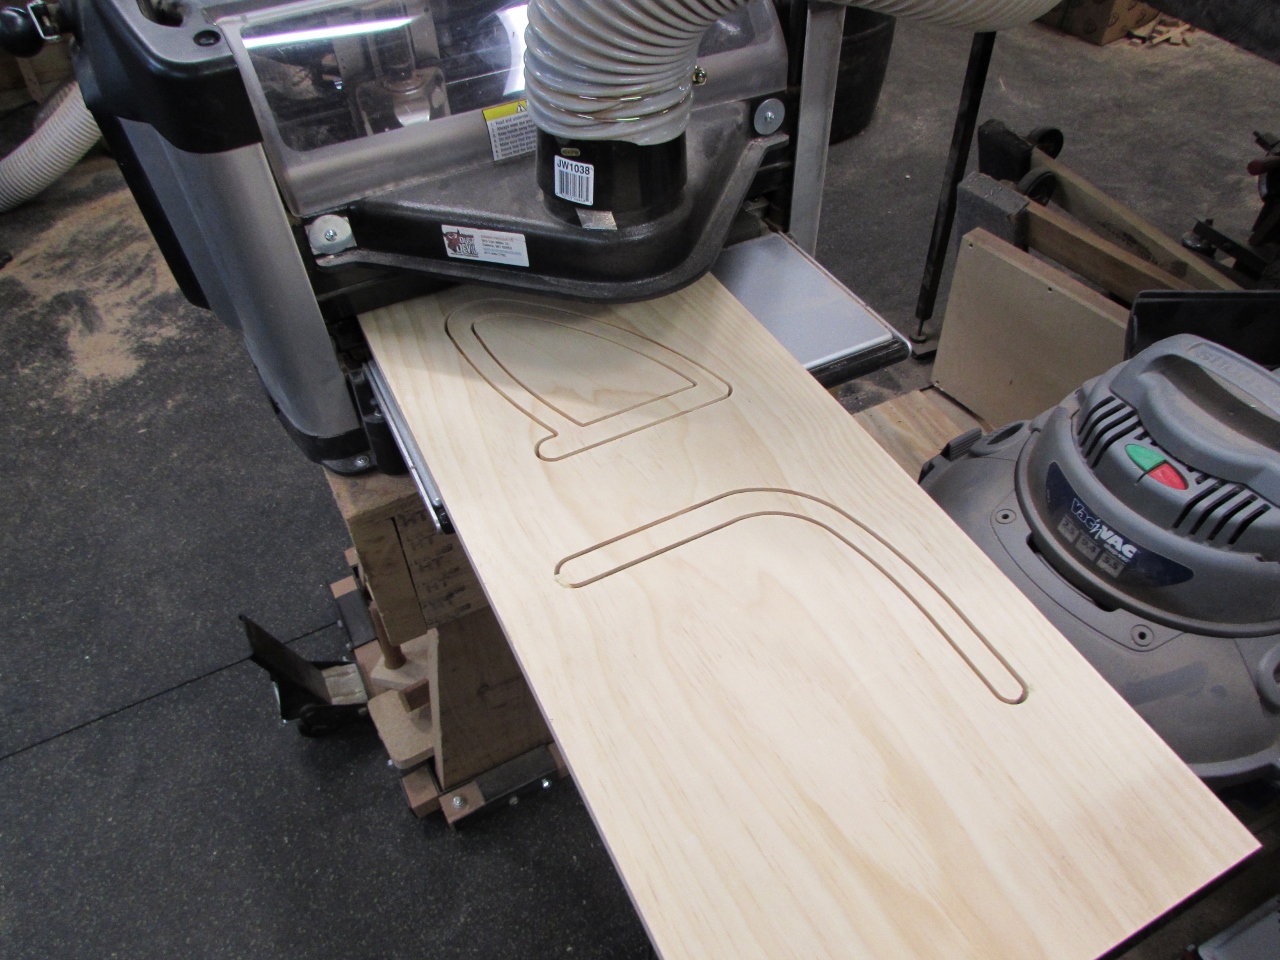
Even though I told it to cut to a depth of 3/4″, it seems to have stopped a few thousandths short, which was perfect, and the tape held all of the loose parts in place.


I laid out the 11-1/4″ squares around the letters and cut them to match the rest of the tiles.

Removing each letter was easy. I just ran a finger along the back of the cuts and pressed out the last of the fibers holding things in place.

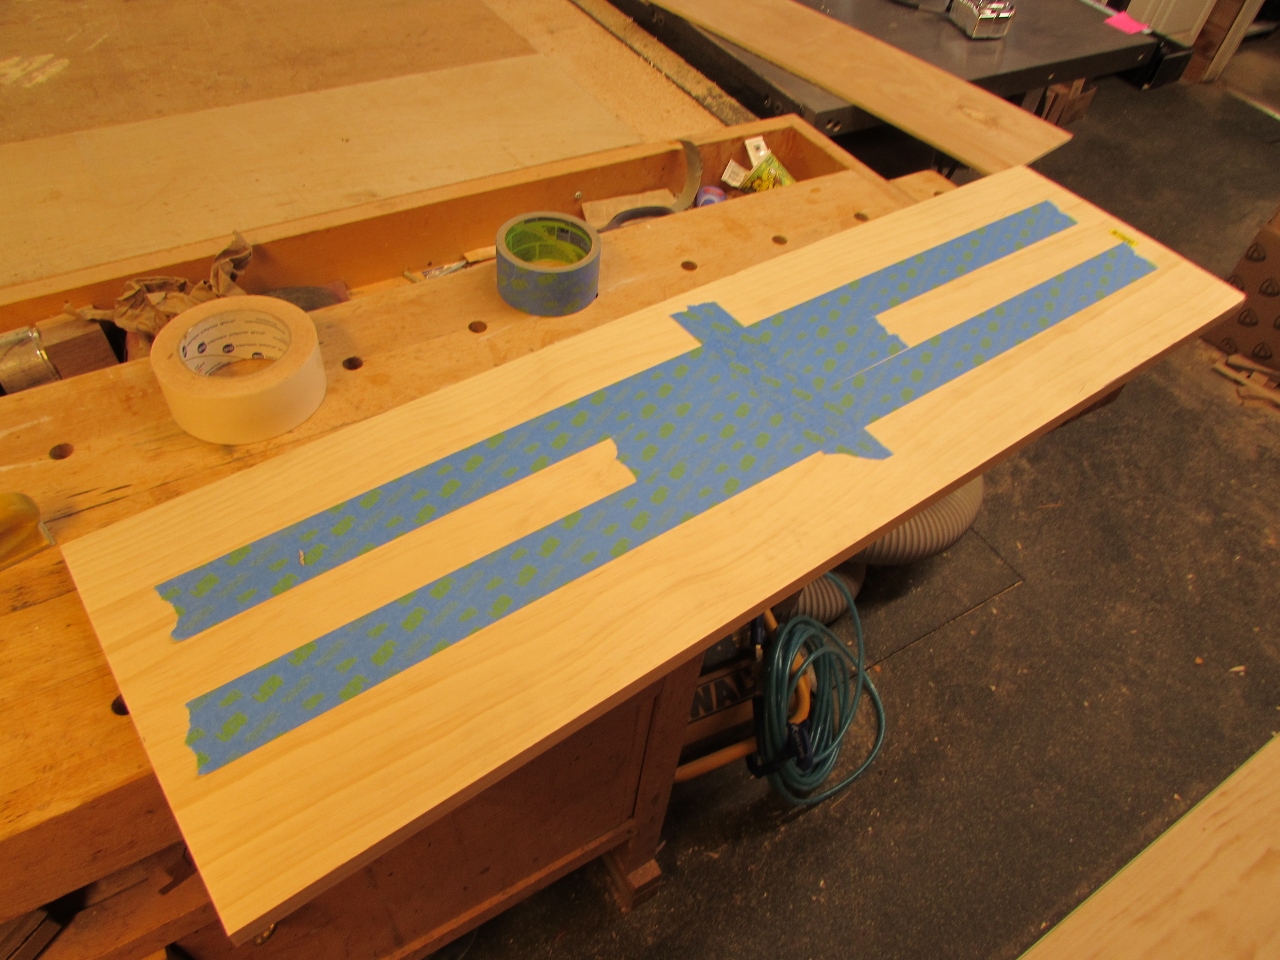
Before removing any of the waste, I placed a piece of painter’s tape across the loose centers of the letters that I wanted to keep.
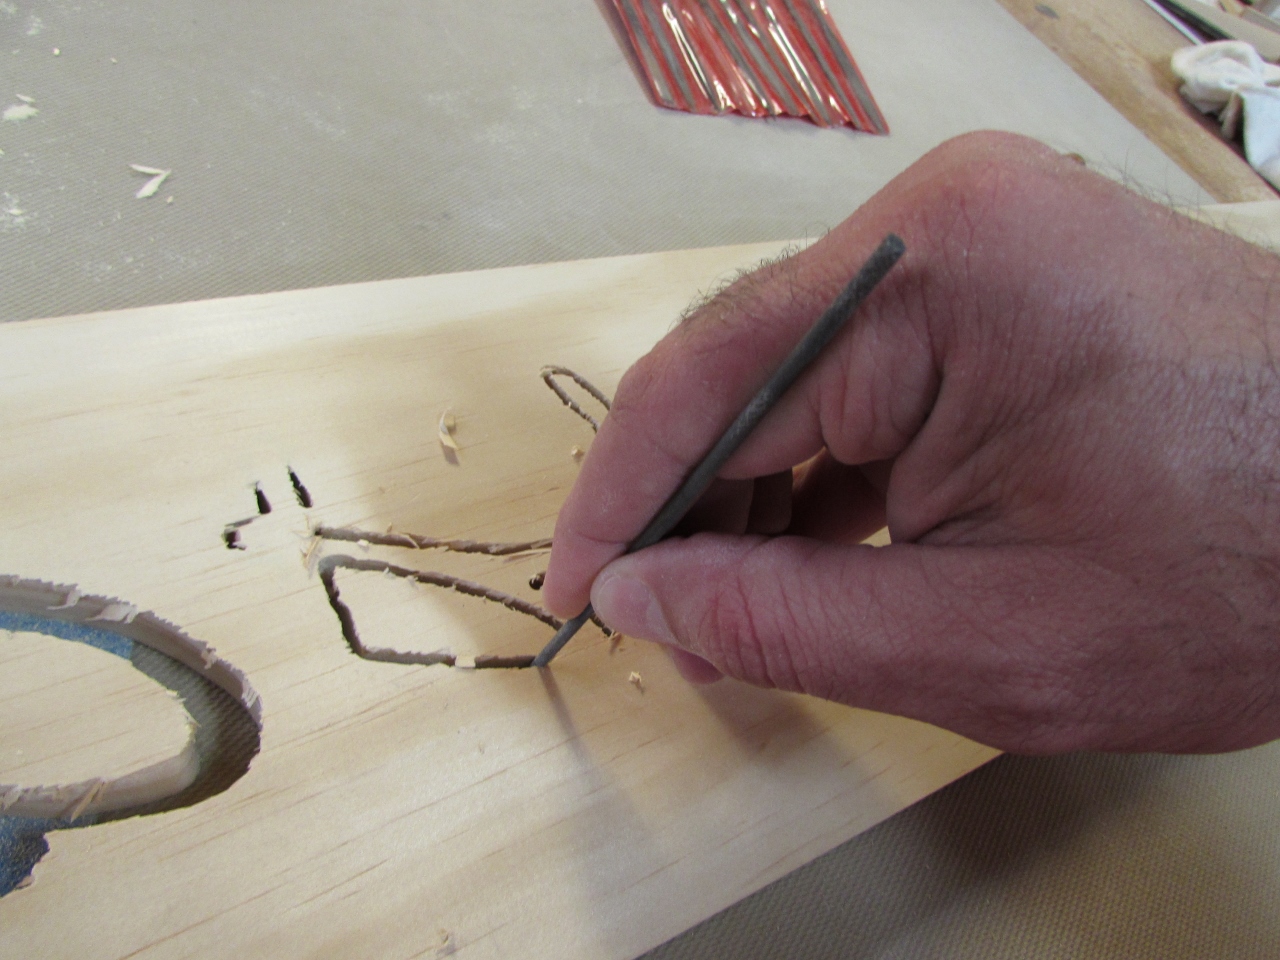
The plywood-backed board did not cut as deeply, so I used a small rat-tail rasp to remove the fibers holding the letters in place.

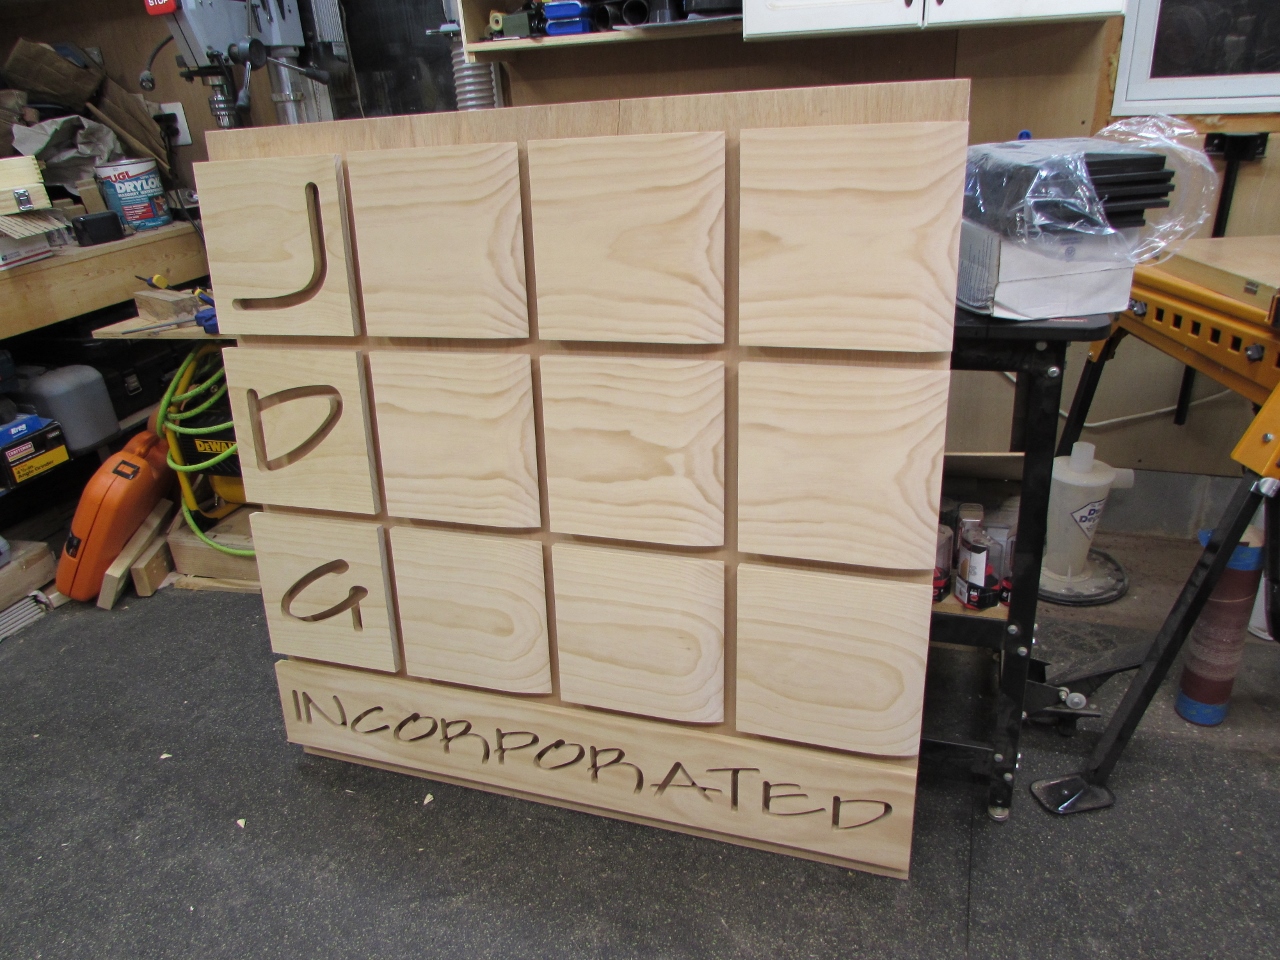
I managed to not break a single letter, and even though they are waste from this project, I can clean up the letters and Marques can use them elsewhere in his office.


While I had my small files out, I cleaned up all of the edges of the letters.

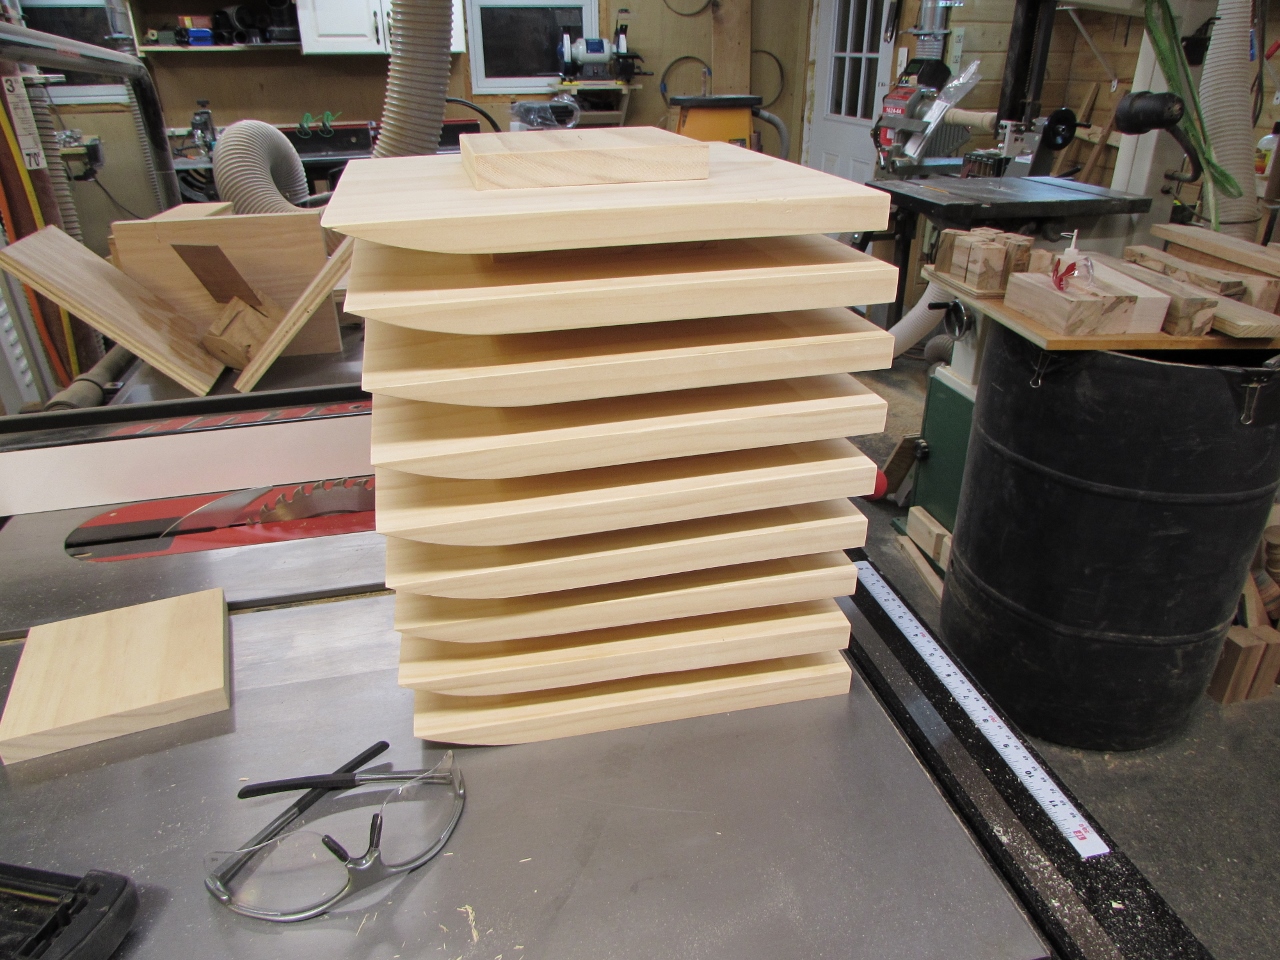
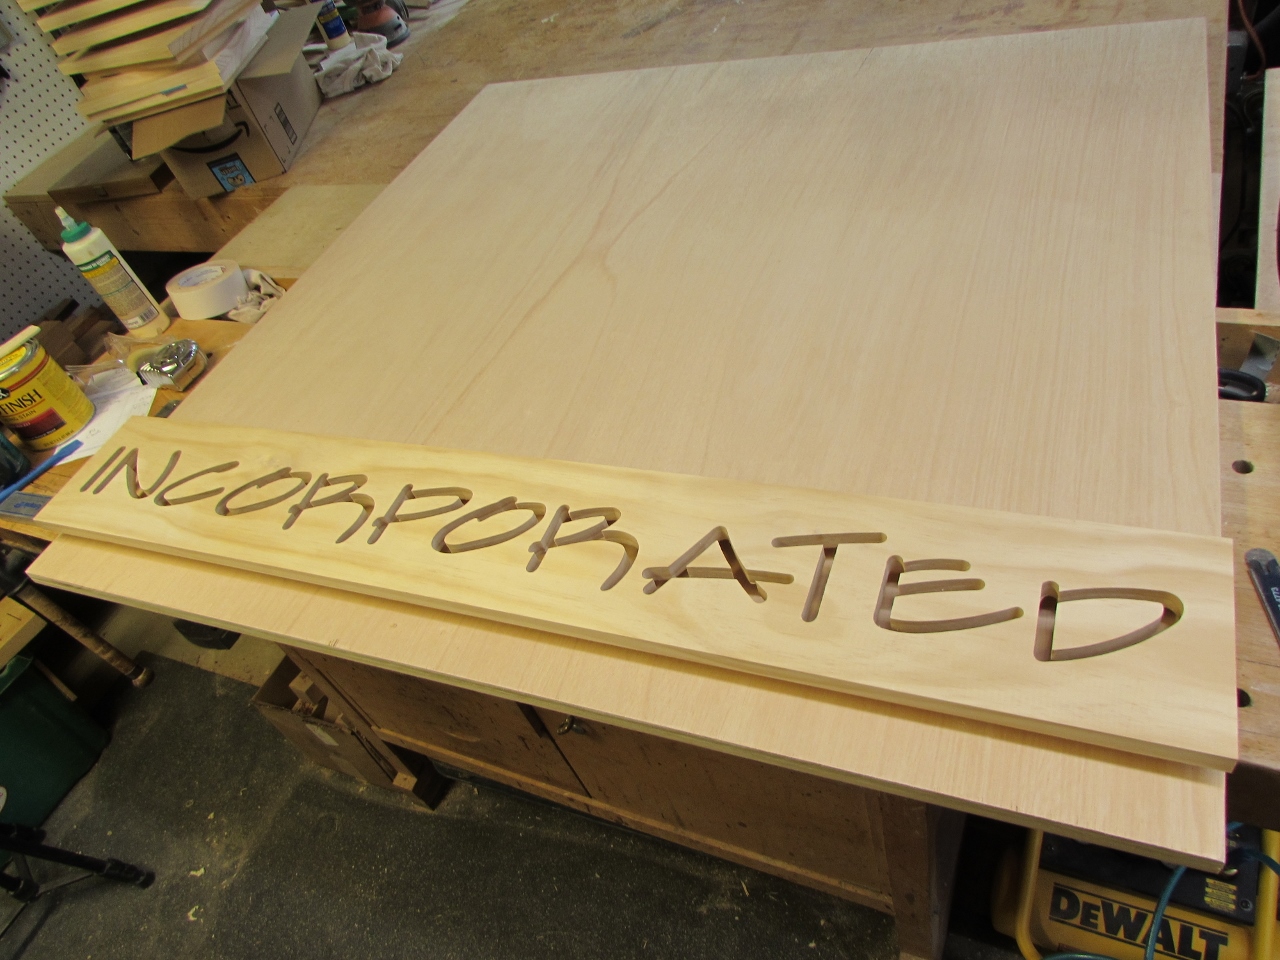
I finished cutting out the rest of the tiles so now I can get a feel for the size of this thing.

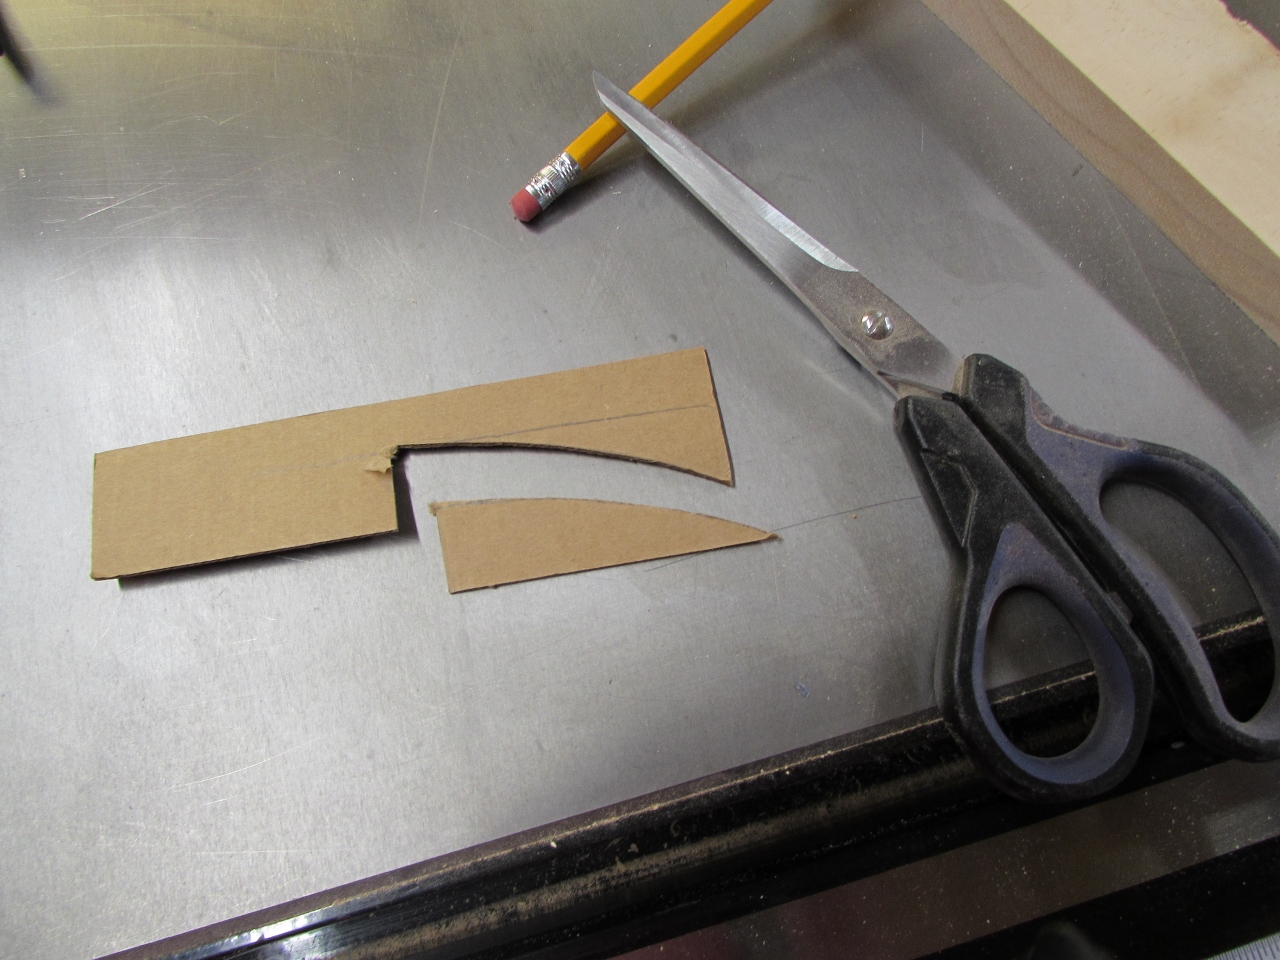
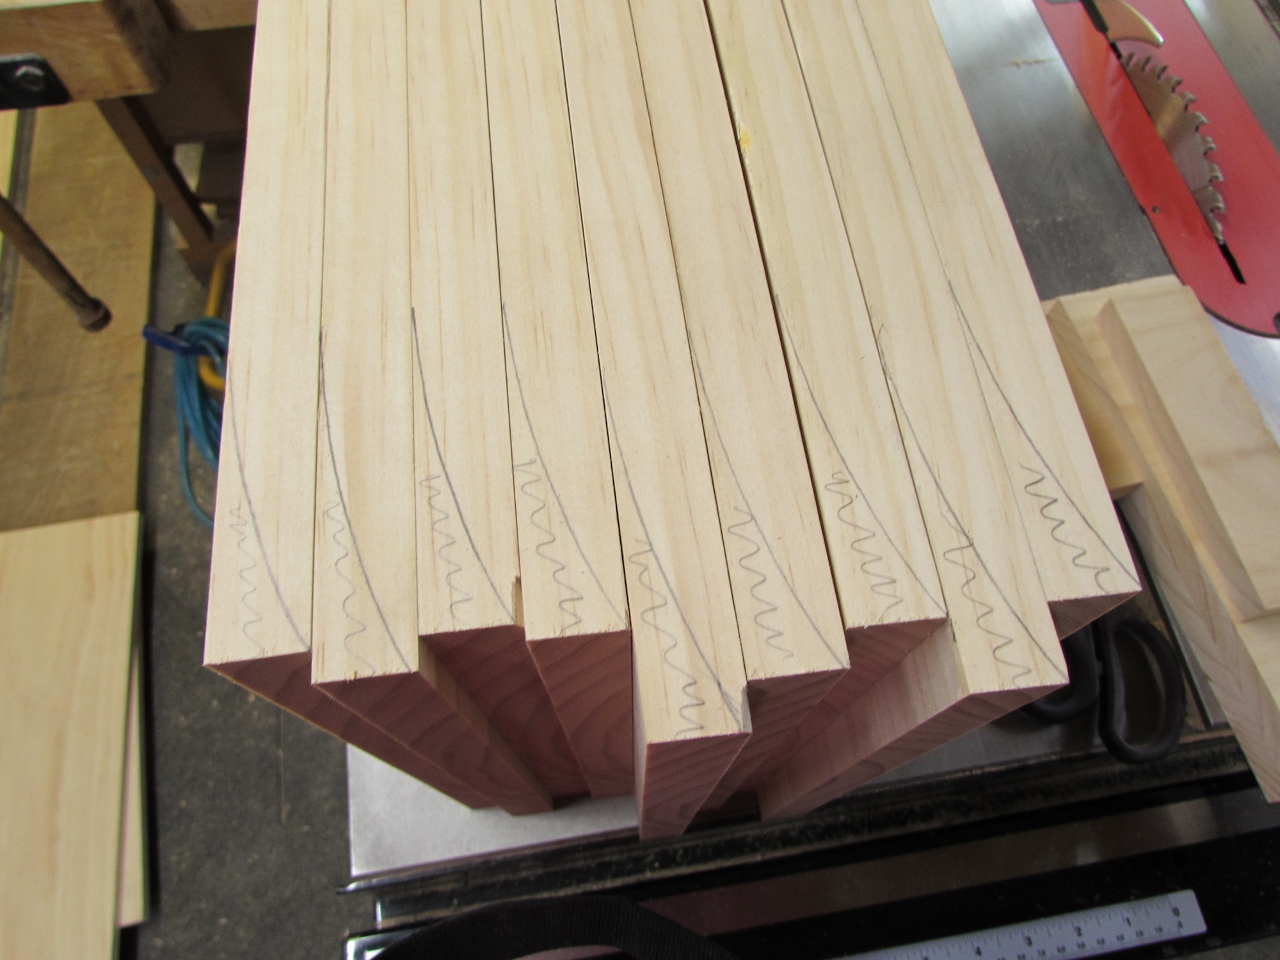
The next bit of fun is cutting the curve on the nine blank tiles to match the gradient on the right edge, seen in the logo.
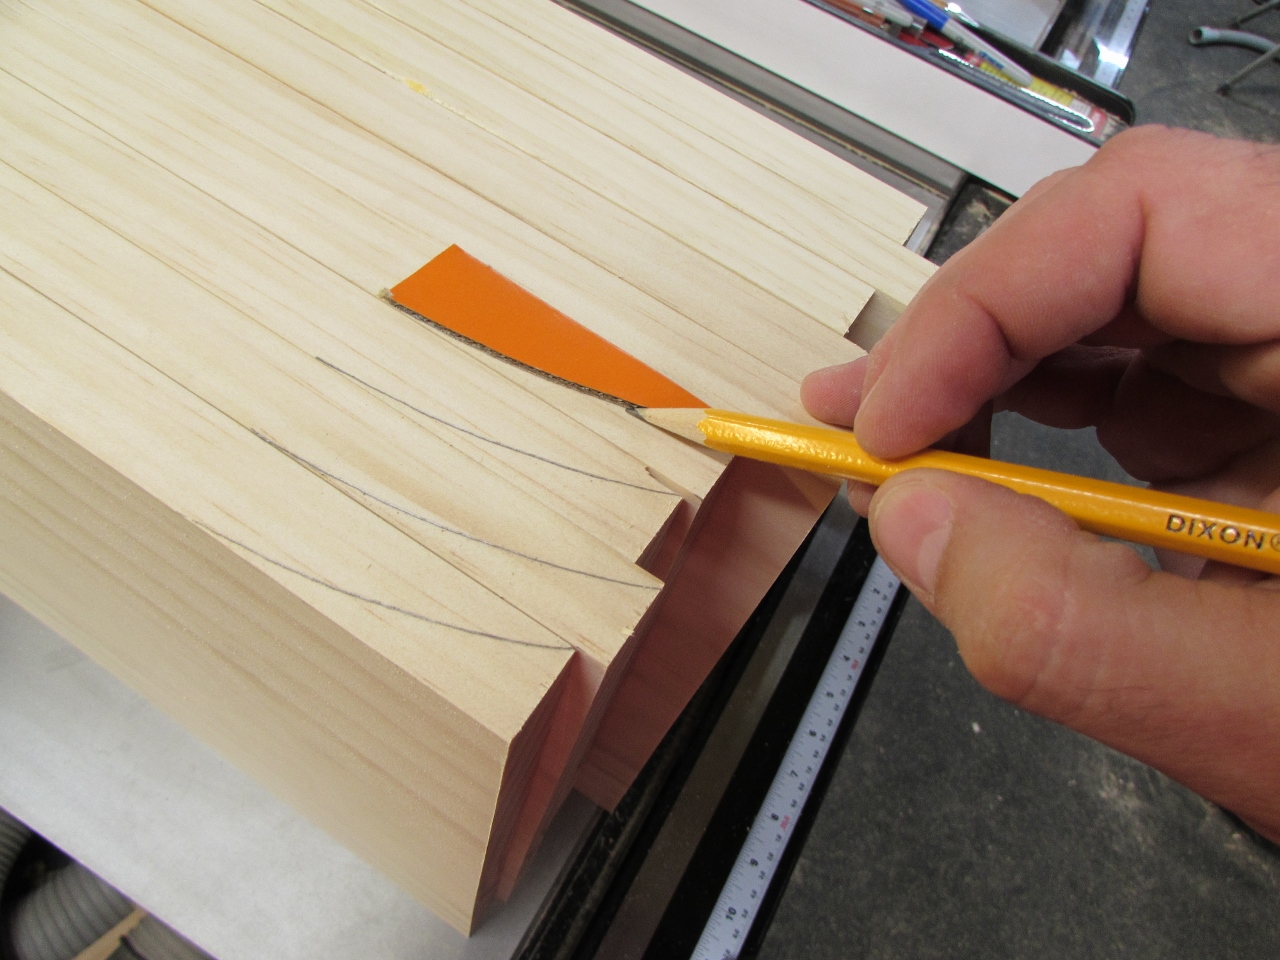
To do this, I cut a template out of cardboard to trace the curve on the top edge of each tile.
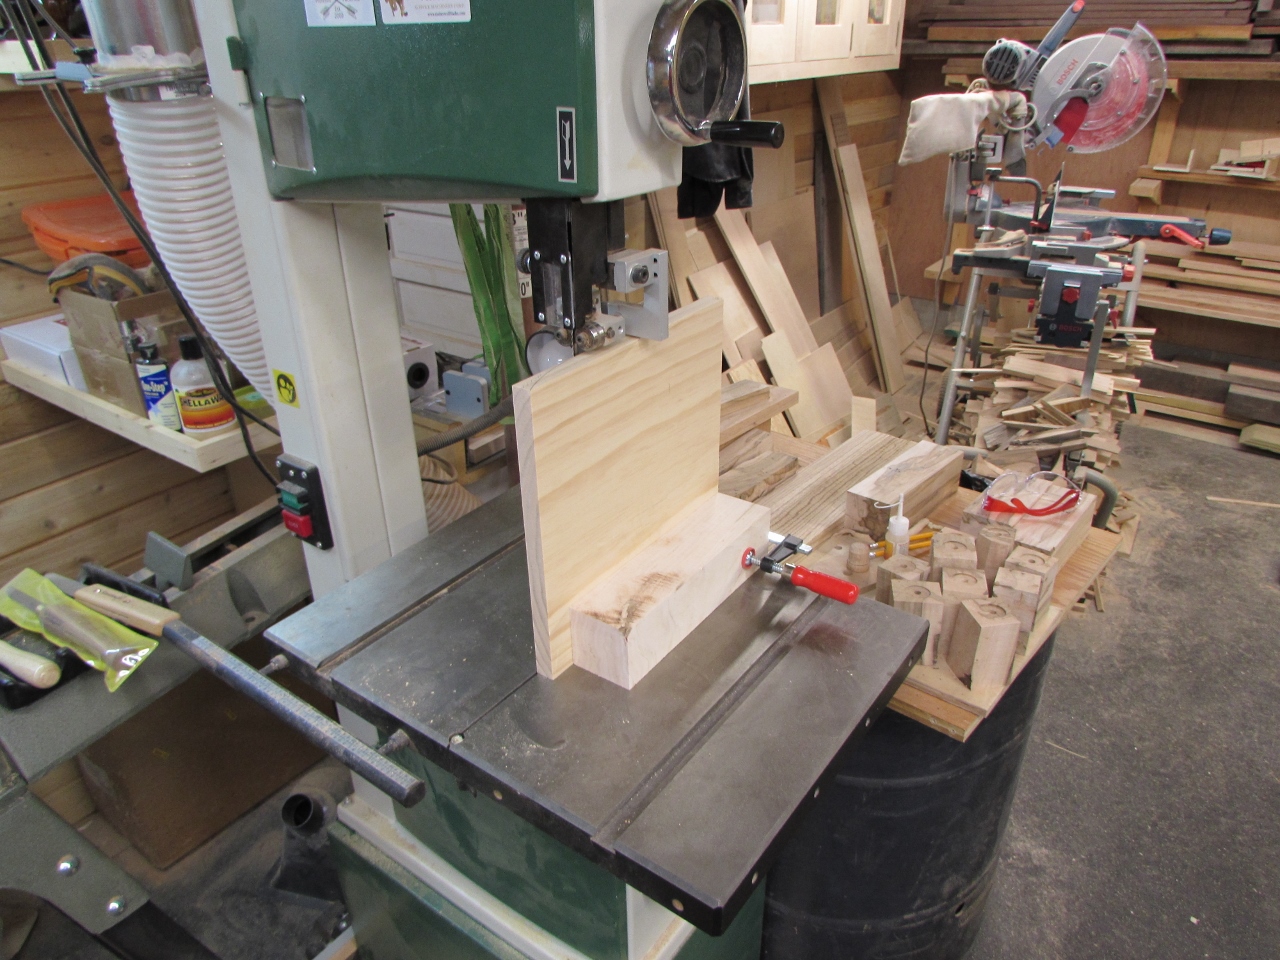
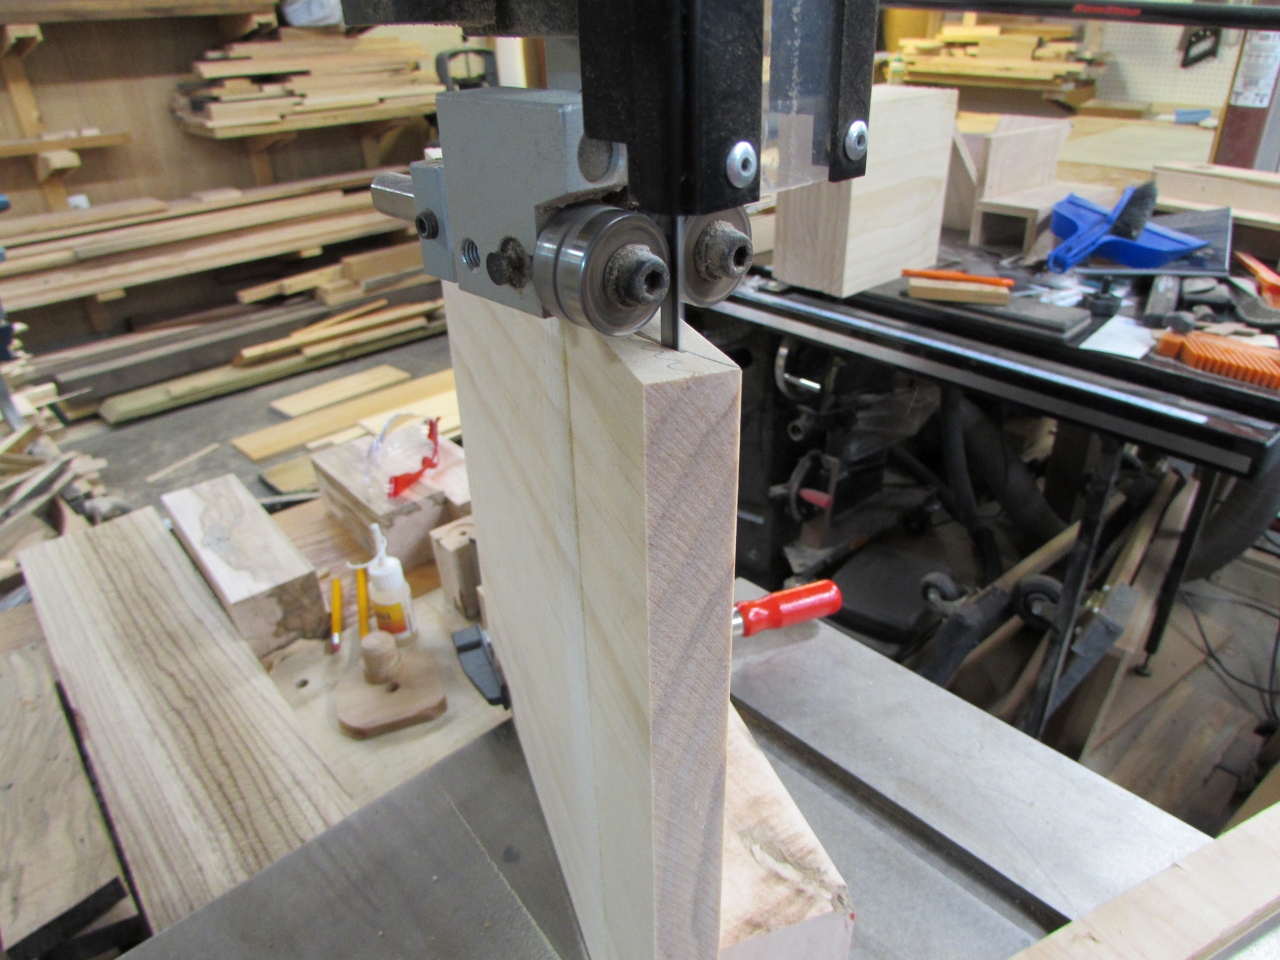
I decided to utilize the re-saw capabilities of my band saw to create this curve. The main challenge is keeping the board perfectly vertical while free-handing the curve. I clamped a 3″ square block to the base of the board, so I had a wide stable base to work from, then I cut the curve using a 1/4″ wide 10-tpi blade.
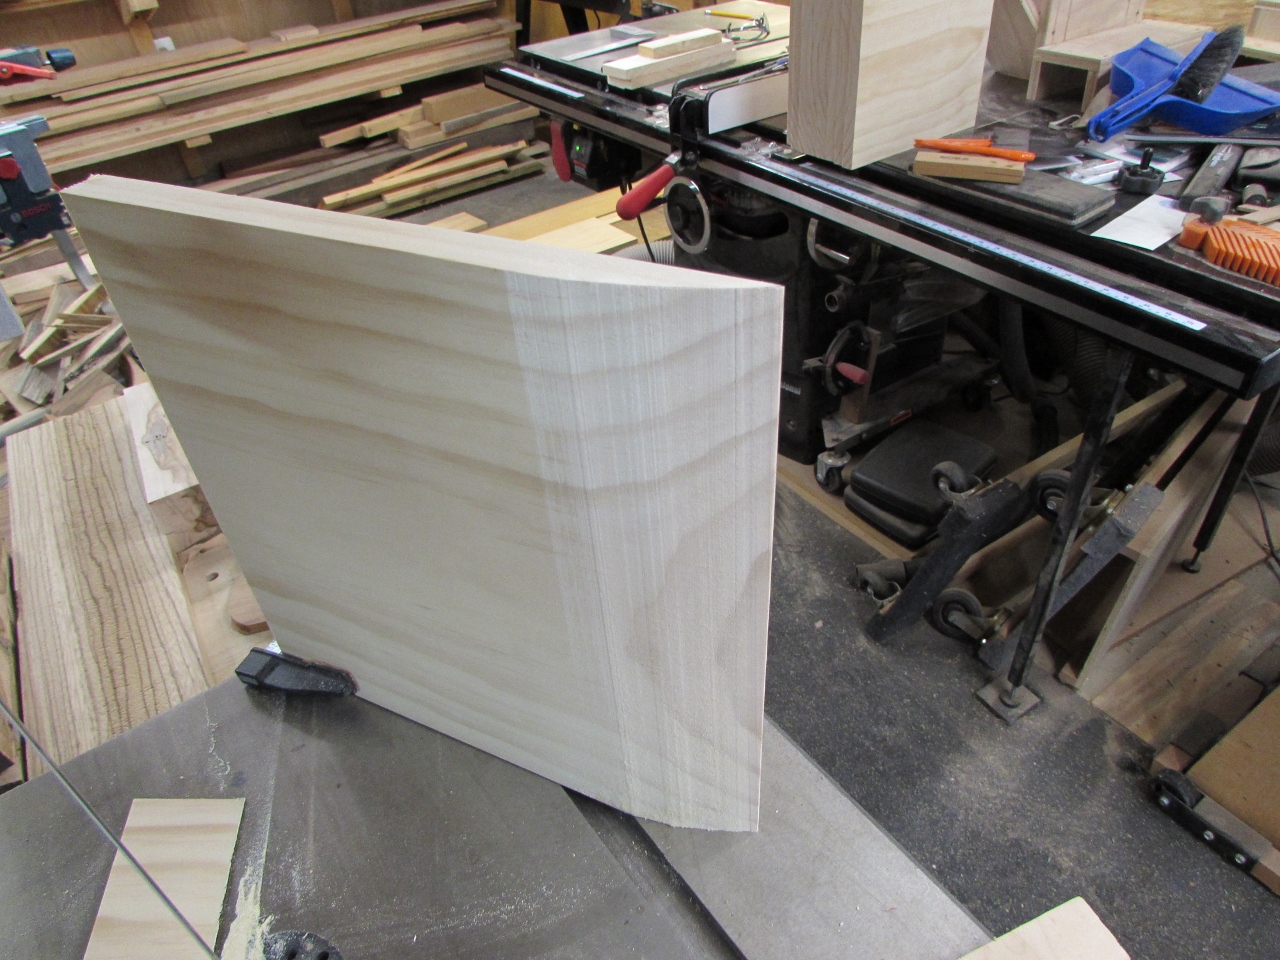
It looked a little rough straight off the saw, but it worked very well, and all the curves came out nearly identical.
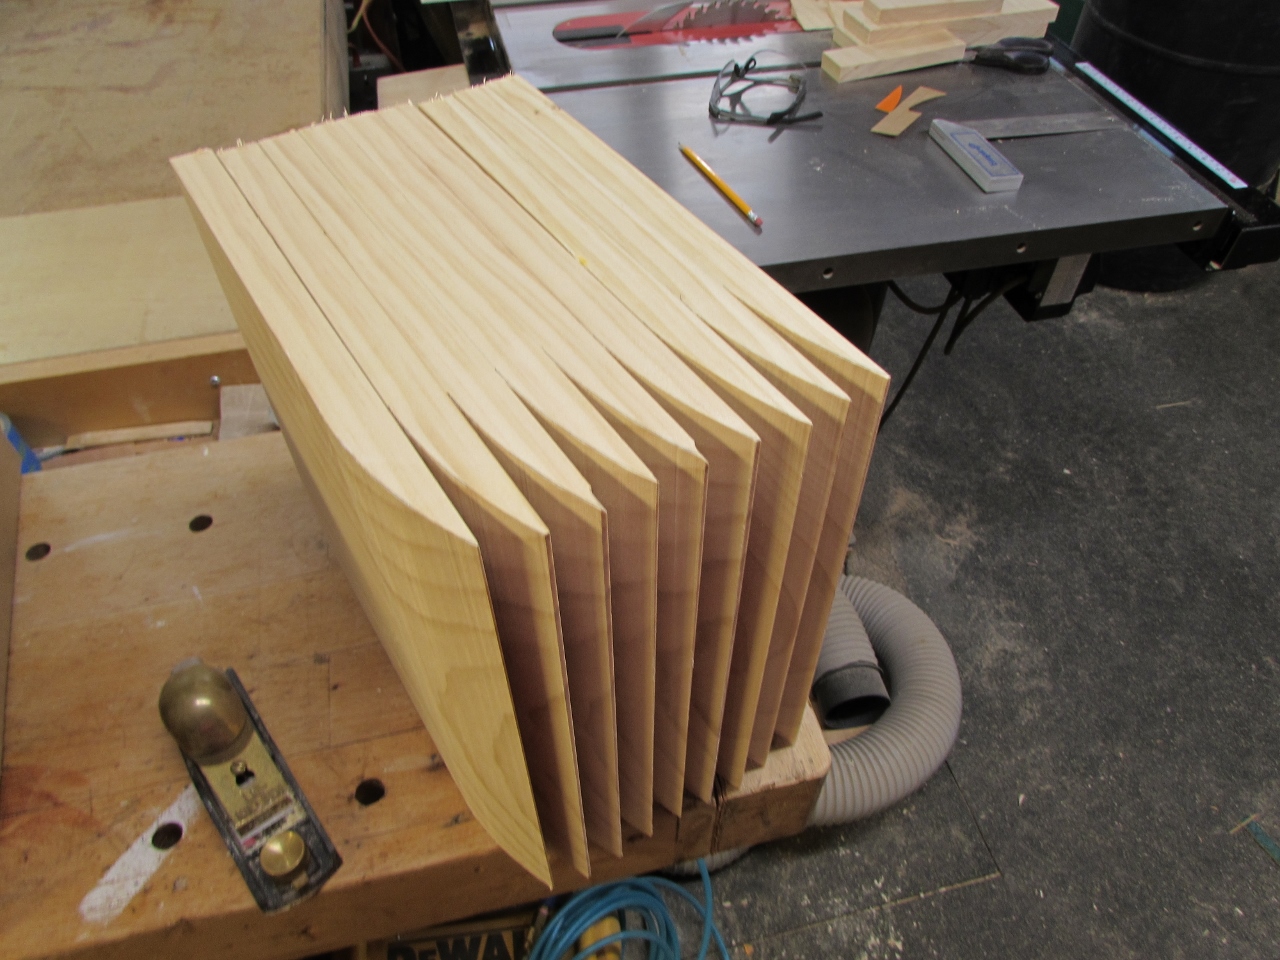

I used a 2-step process to clean up the cut. First I created a smooth faceted surface with my smoothing plane, then I used my orbital sander to blend the facets together with 120 grit paper.


I was very pleased with the end product. They all look virtually identical.


This sign will be back-lit with LED strip lights so I need these tiles to stand-off the backer board far enough to see a glow. For the nine tiles on the right, I am cutting a simple 5-1/4″ x 5-1/4″ square.
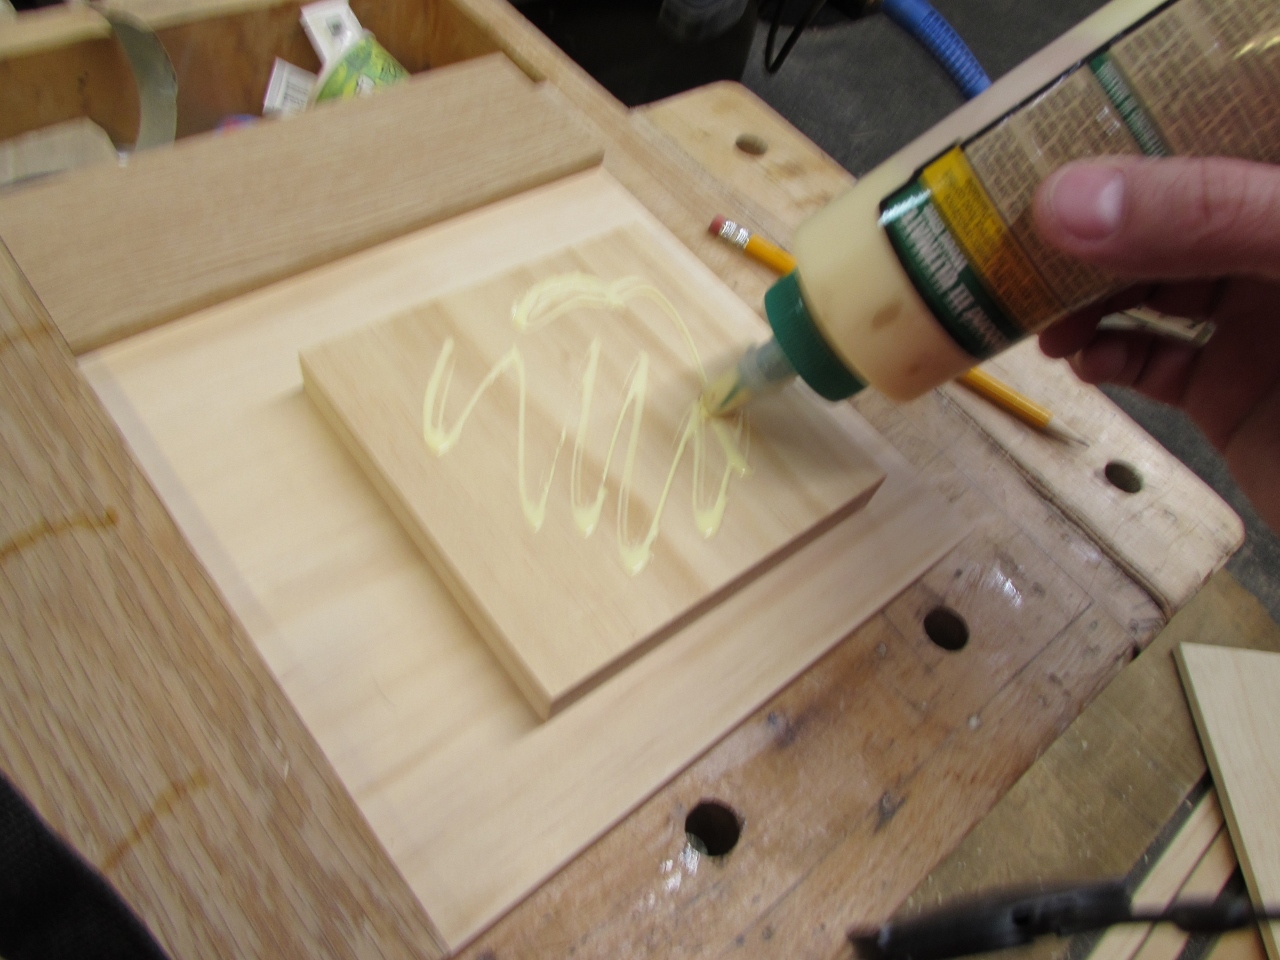
I used a 3″ spacer on two sides to locate the square in the center, then glued and nailed it in place with my 18-ga brad nailer.


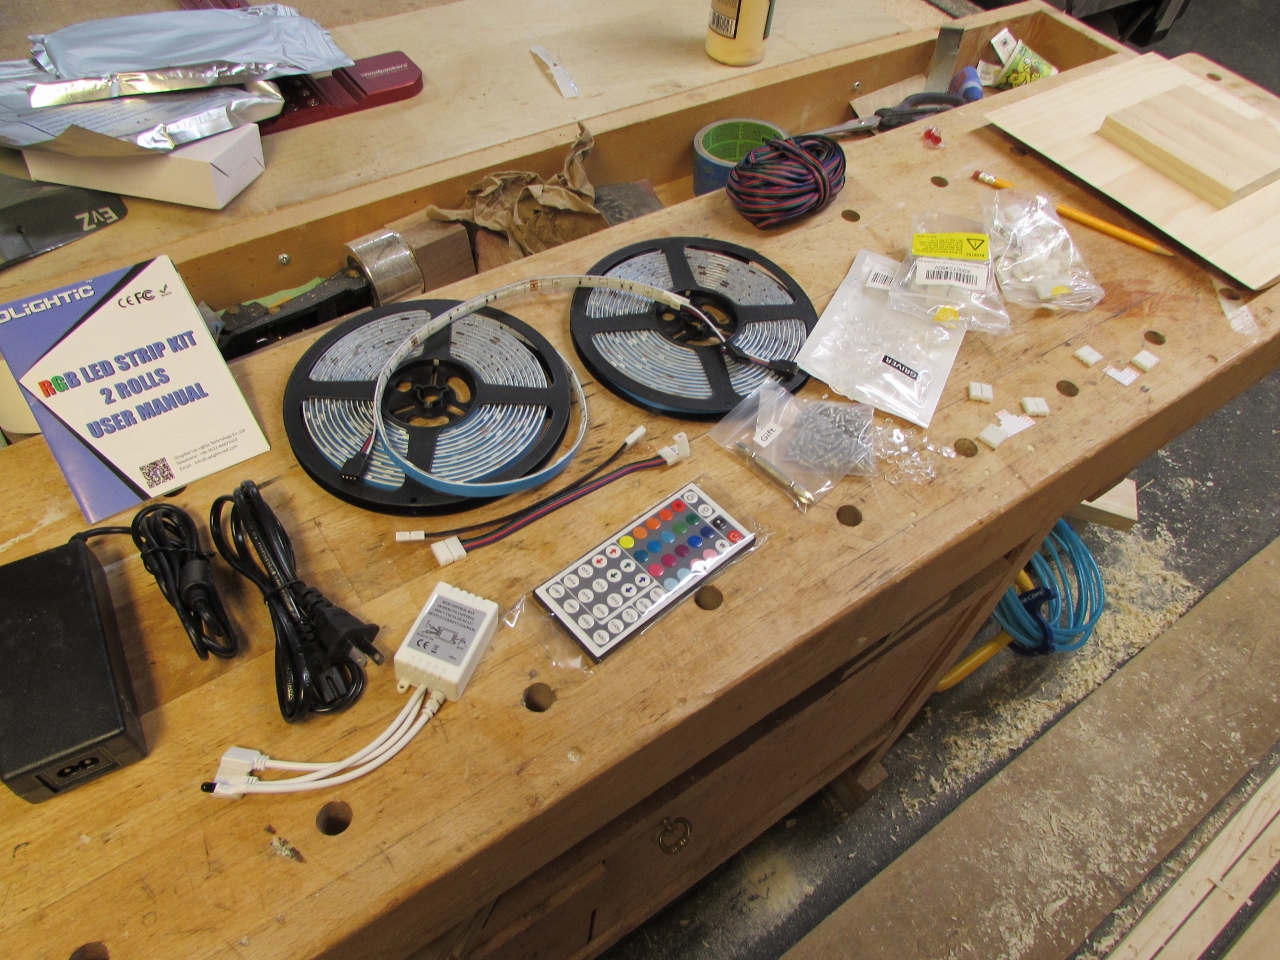
Before I cut the stand-off material for the boards with letters in them. I need to figure out the LED strip lights. I have no experience with cutting and reconnecting these into new configurations, so it is time to experiment. I bought a couple of LED kits off Amazon as well as a few different types of connectors. Hopefully it will be everything I need.
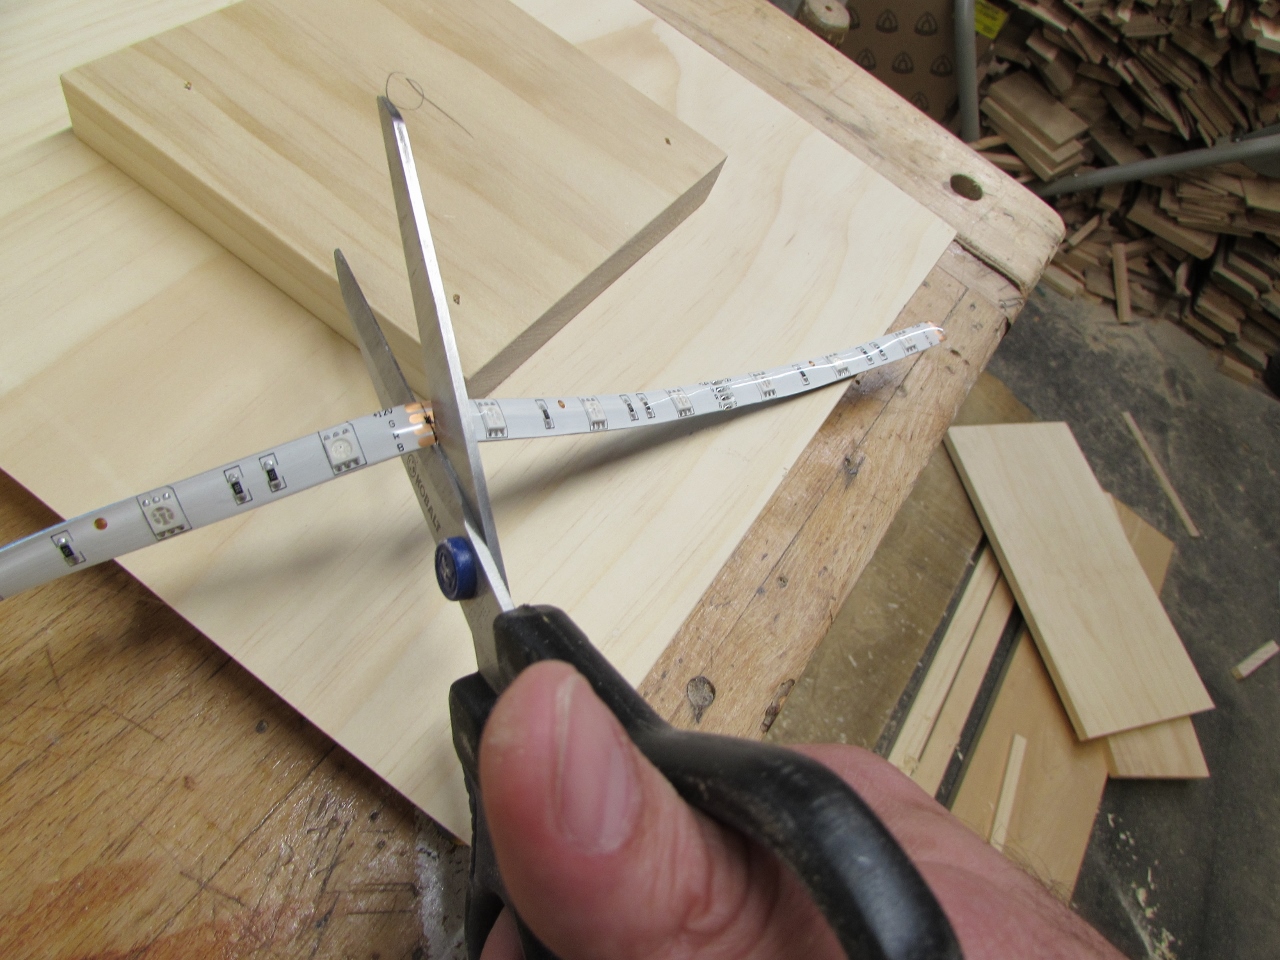
Looks like you can only cut the LED strip every 4″. That means I will have an 8″ long section along each edge. I am planning on running a strip along the outer edge which is 11-1/4″ long so that means I can’t use these nice snap together connectors, that would have made life simple…

I figure I can use them to experiment with different configurations though.


With a little cutting and clipping I had a circuit to test.

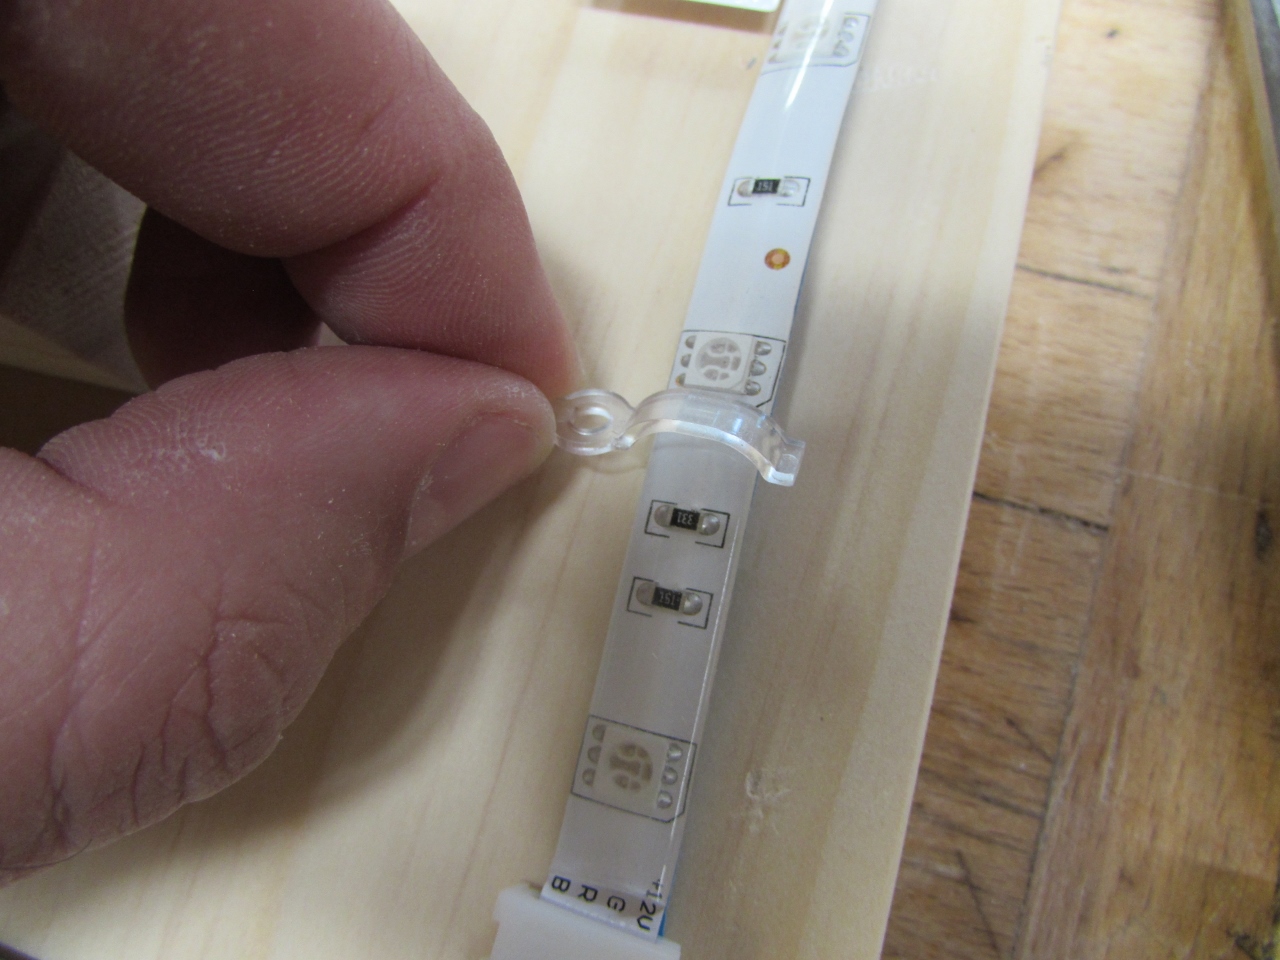
I also purchased some clips to act as a backup to the adhesive on the back of the strips. Adhesive backing always seems to fail over time.

My test circuit seems to glow evenly all the way around, but the snap together connectors don’t hold as well as I would like. If you move them even slightly, they seem to lose connection on one or two of the contacts. Since it combines red, green, and blue to create the white light, losing contact on red leaves part of the light blue-greenish instead of white. Looks like I will be soldering every contact. That just added several tedious hours to the project. Oh well, as long as it looks good…

With the lighting figured out, it is time to create the stand-offs for the rest of the boards.

The letters will have the added challenge of requiring a separate LED circuit around the inside to make the letters glow a different color.

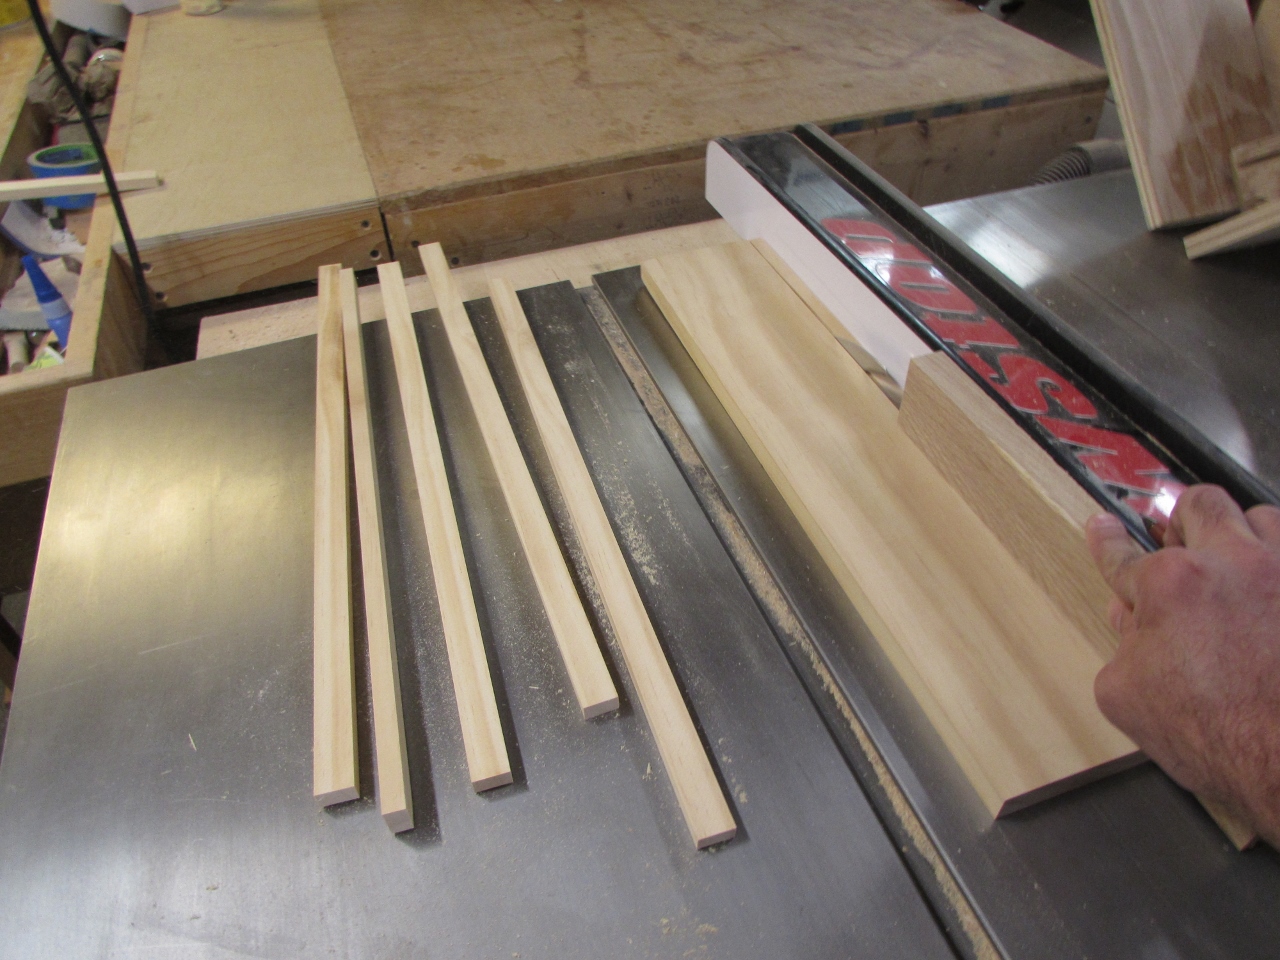
To have room for LEDs on the inside and the outside, I need a thin stand-off strip.
That doesn’t leave much wood to attach the tile to the backer board so I am going to add some extra meat in the corners. This gives me attachment points that will not split when a screw is driven into it.


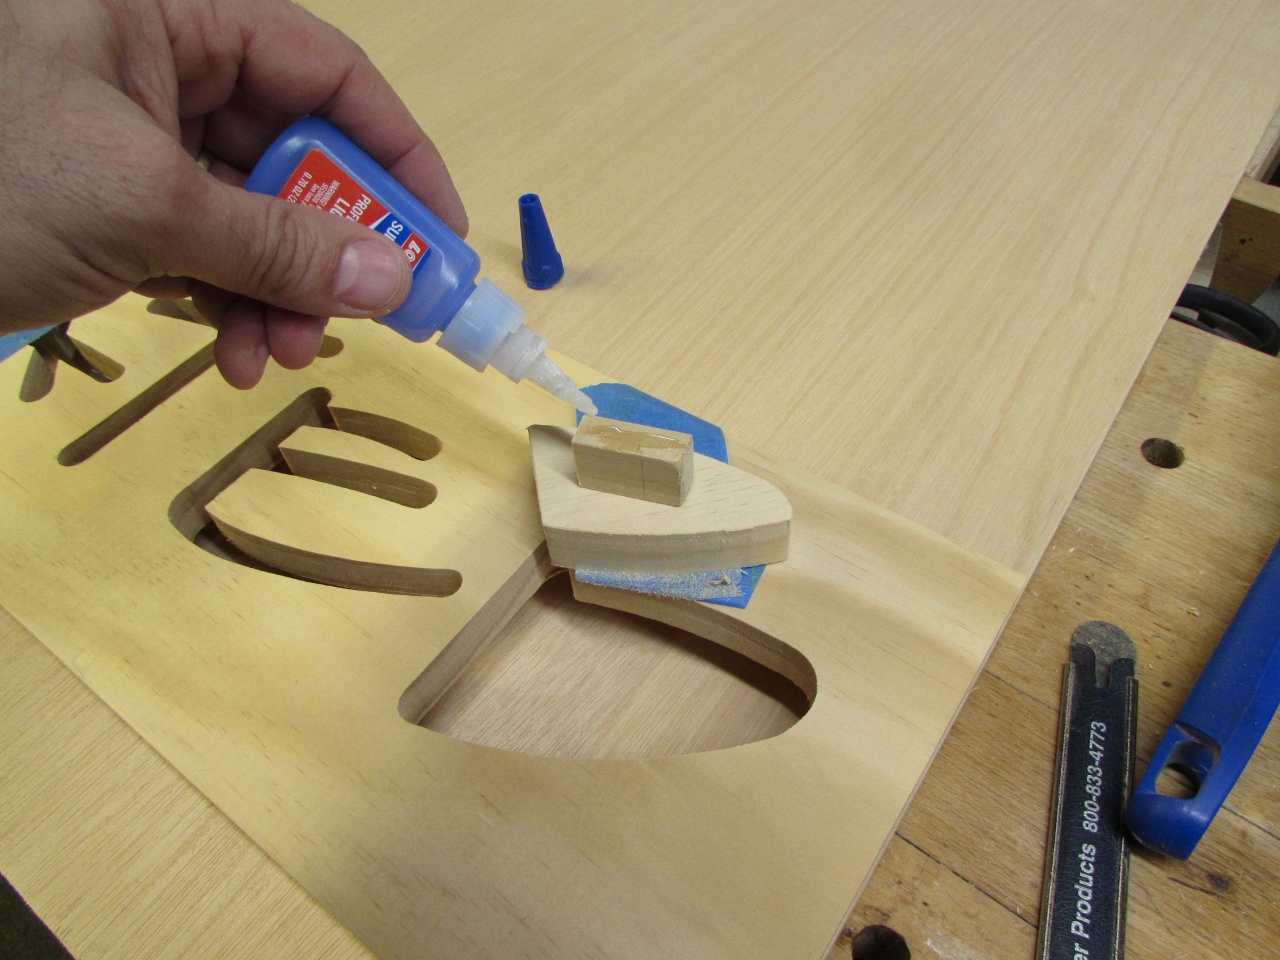
I am worried that some of the pieces could be easily broken, like the center of the “G” so I am adding extra backing, attached with quick-set CA glue. I am doing the same for the floating centers of letters like “A”, “O”, and “R”.
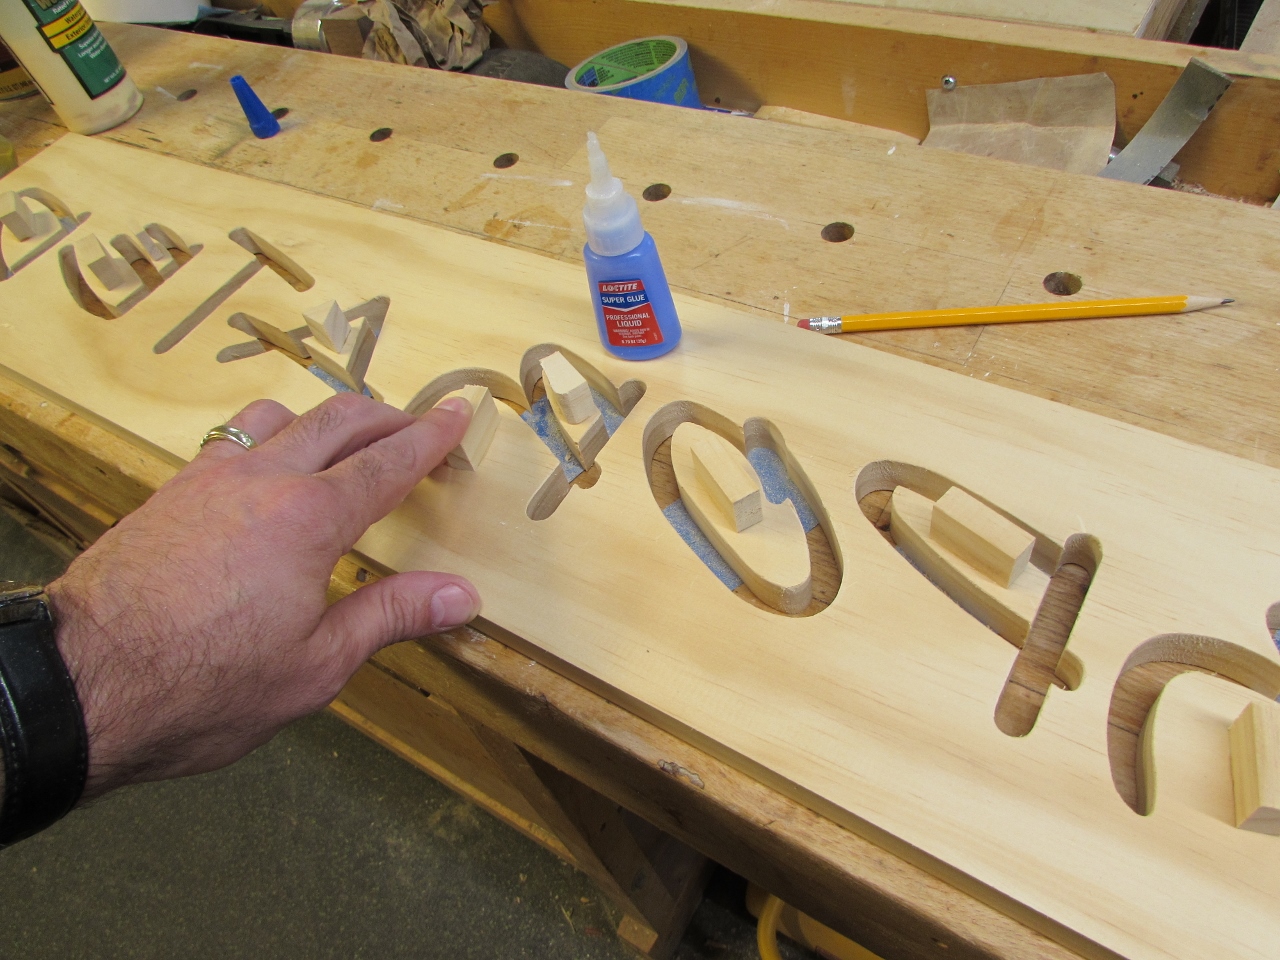
I also glued in place some attachment points on the “INCORPORATED” section.

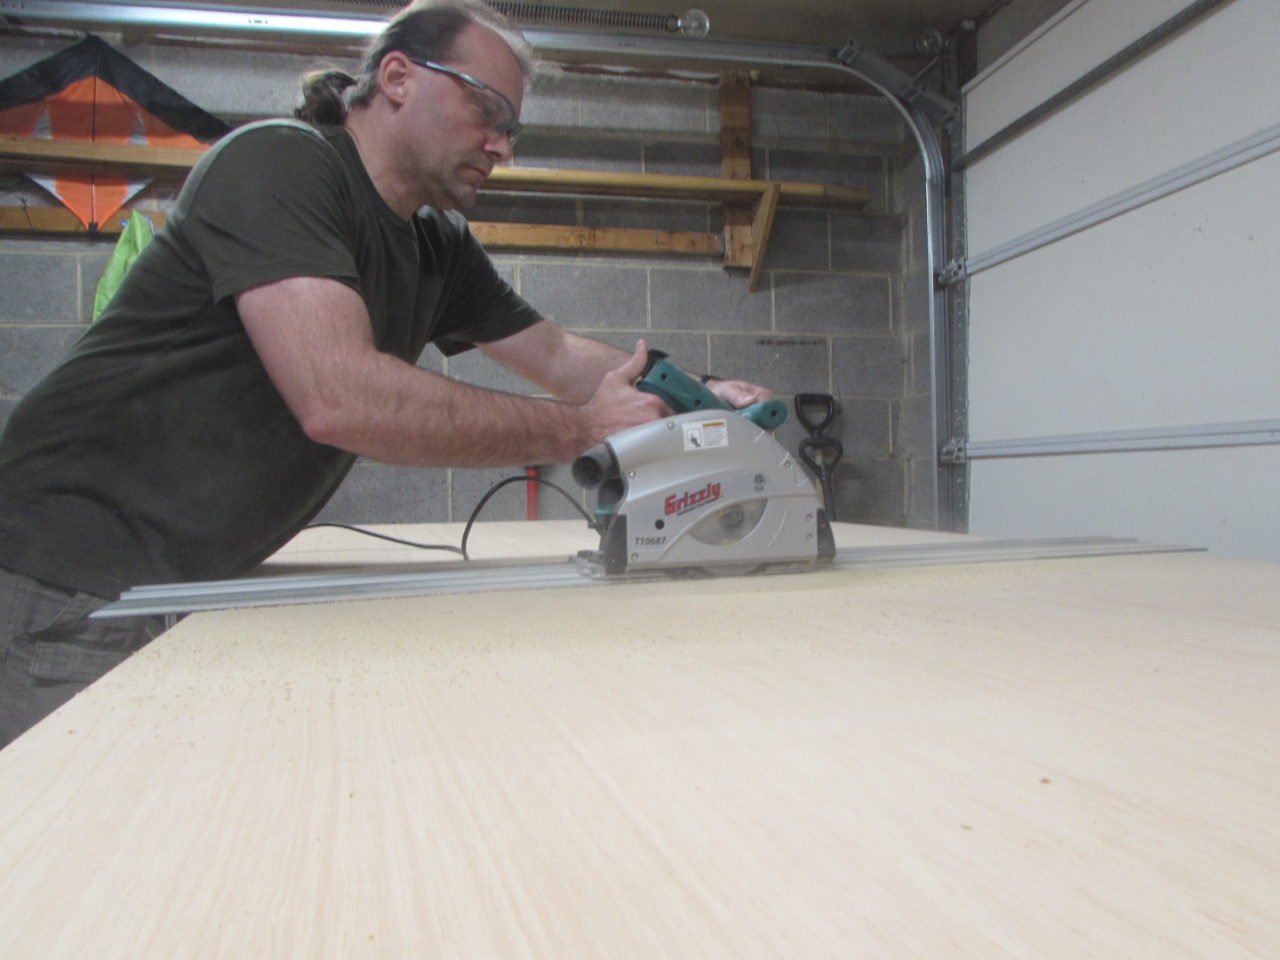
For the backer board, I am cutting a sheet of 1/2″ sand-ply plywood in half. That gives me a 48″ x 48″ piece that is finished on both sides.

Since Wires will be running down the back of this board, I am adding a 3/8″ thick stand-off strip around the back edges.

It will be held on with wood glue and 3/4″ brads, shop in at an angle to prevent them from shooting through to the front.

Time to start locating and mounting the tiles.

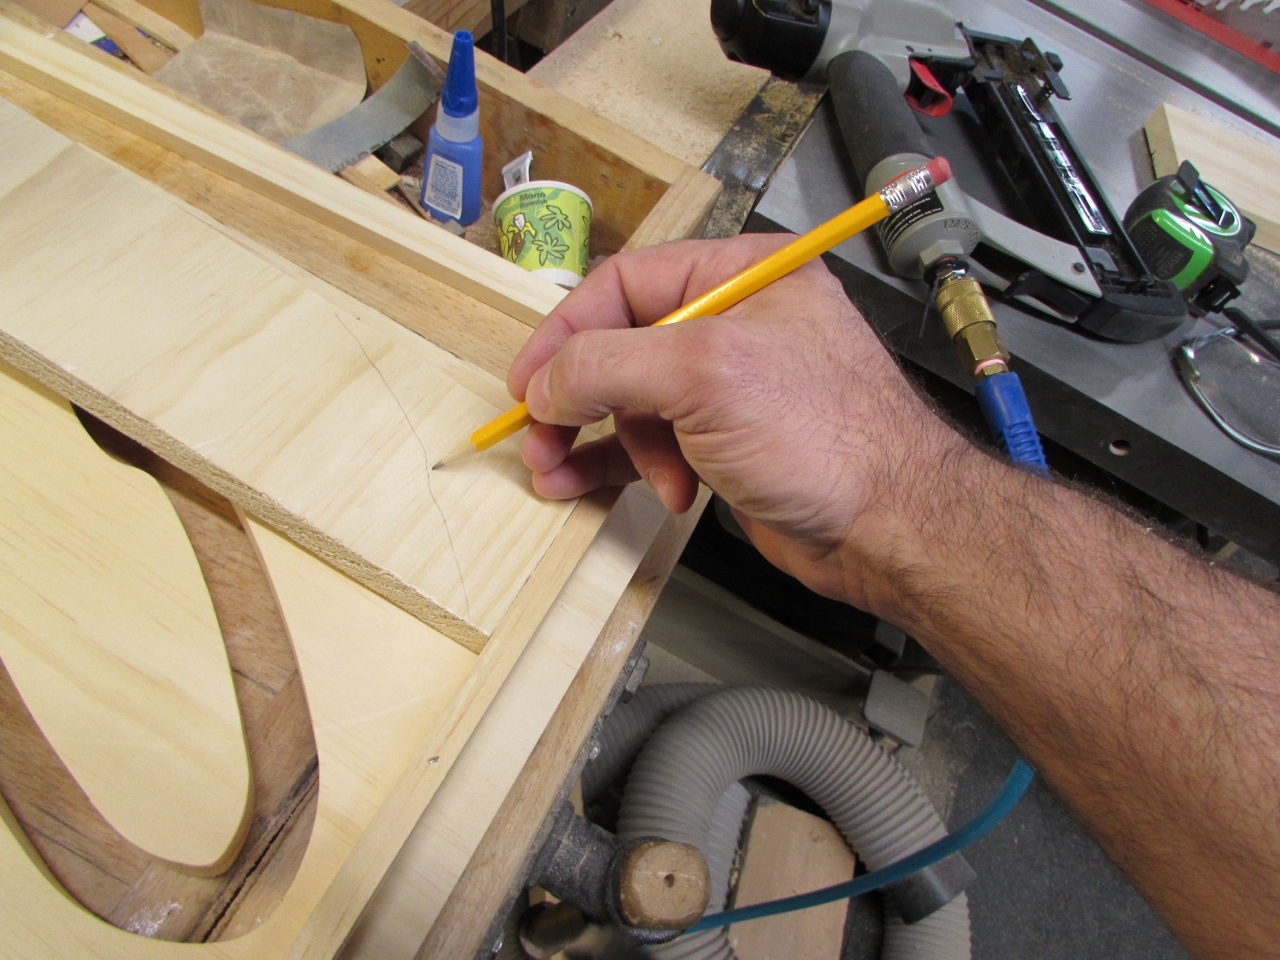
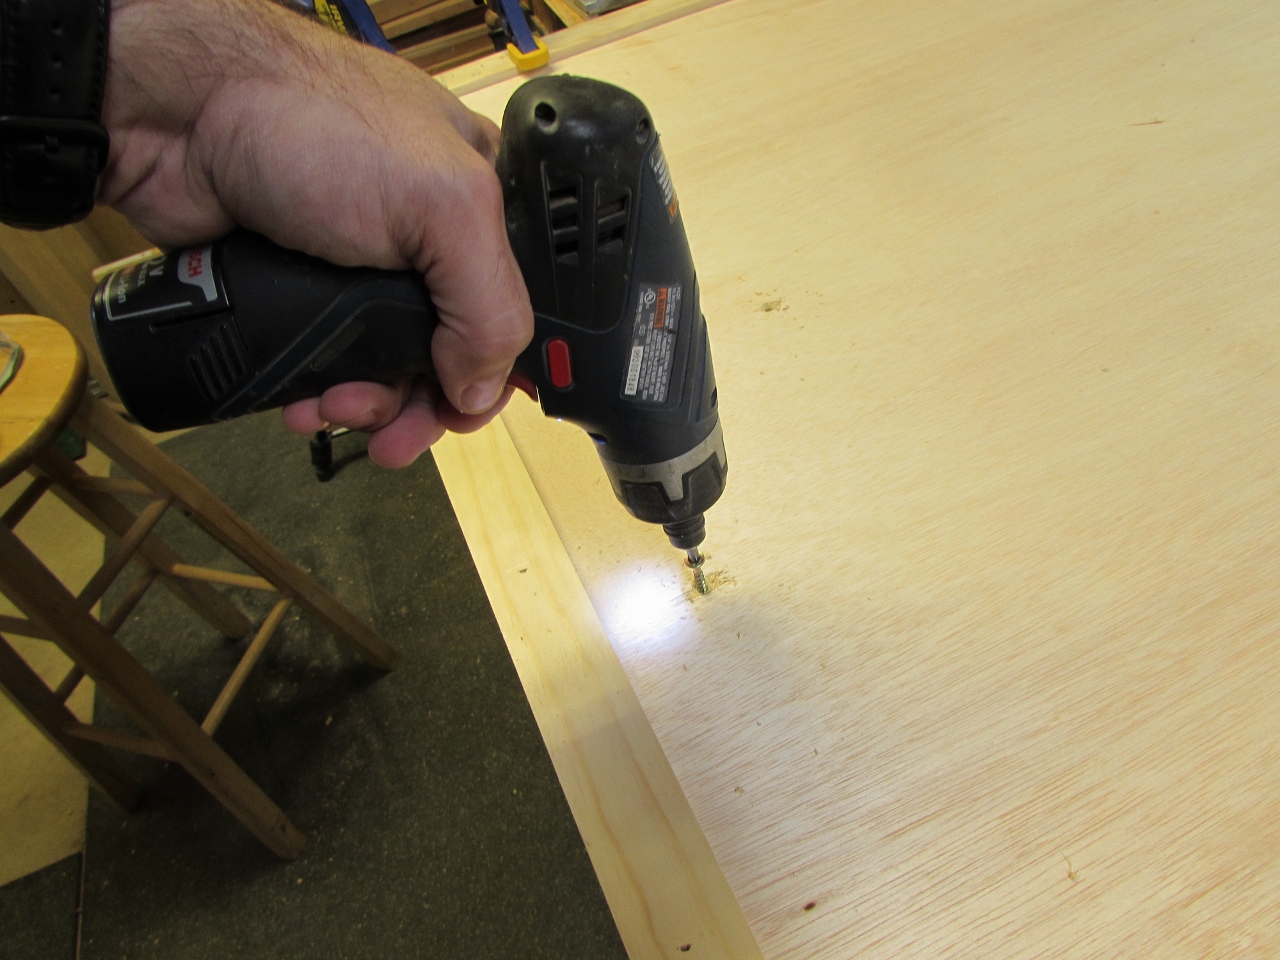
I start by putting a mark at the center of the mounting points along the “INCORPORATED” tile.
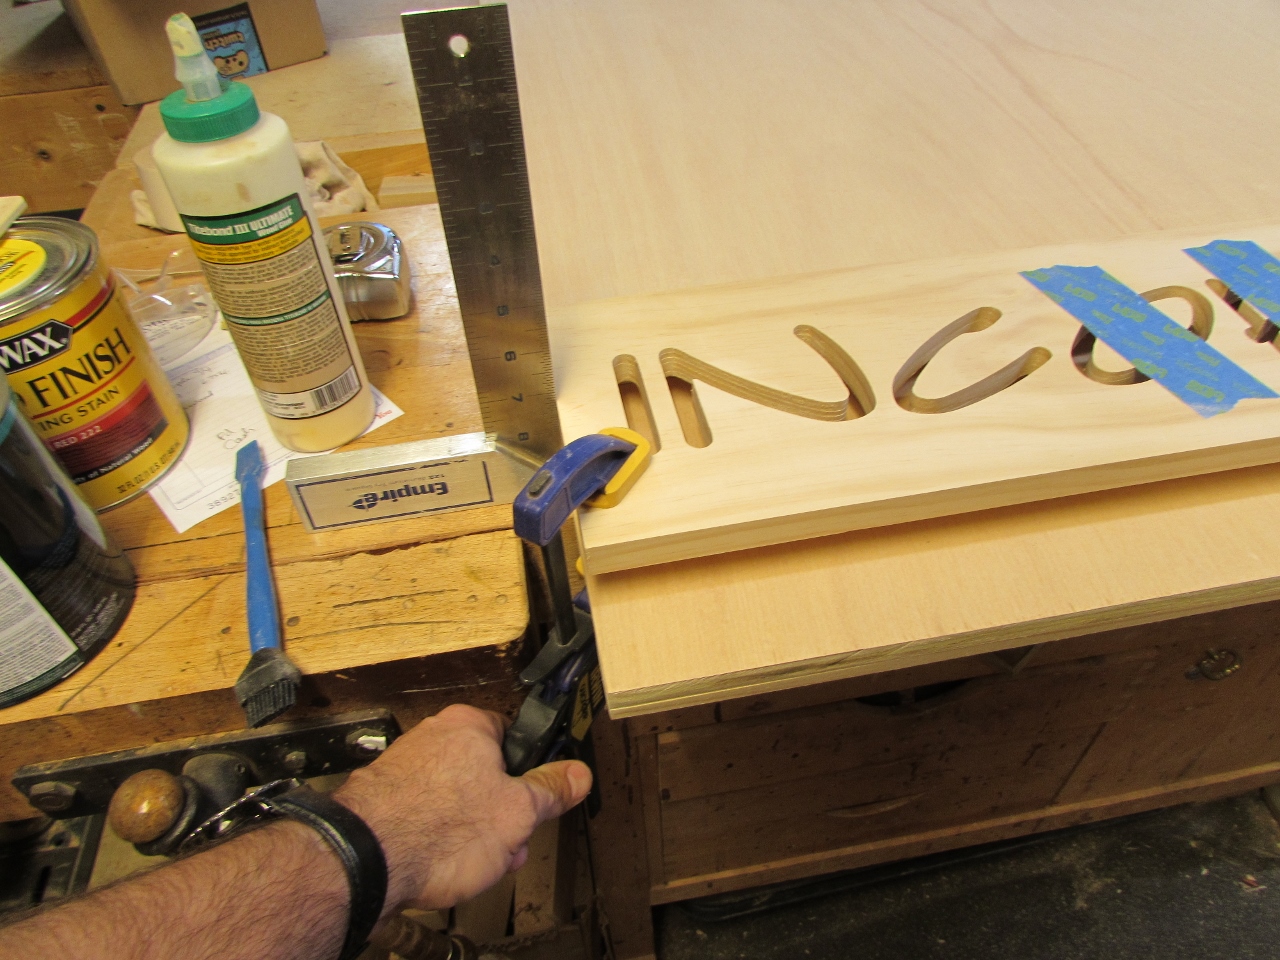
Then I clamp it in place and transfer the marks to the plywood.


I measure up to the best location for a screw and locate that point above each of my marks.

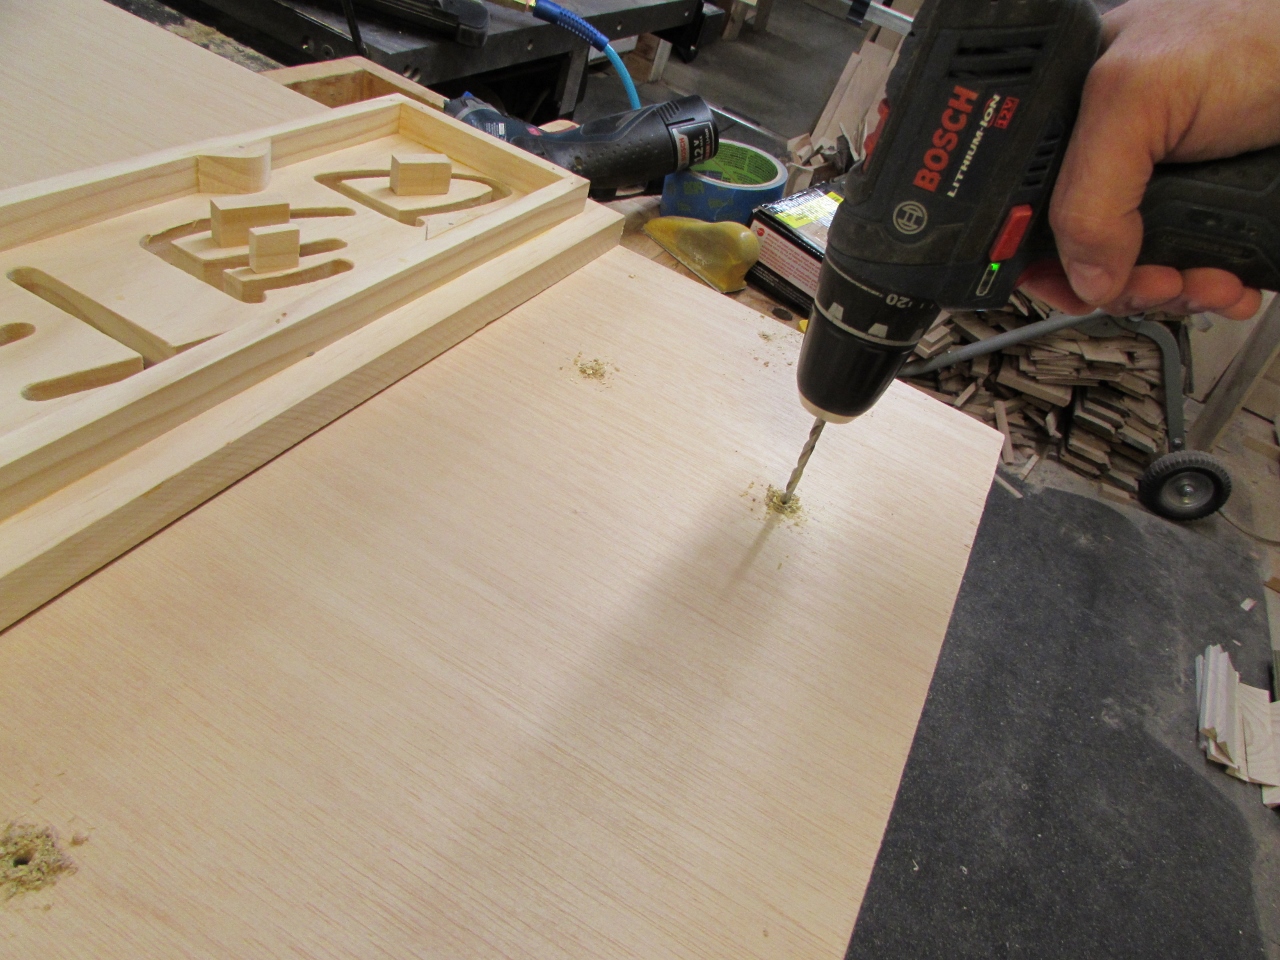
I pre-drilled each of these marks and counter-sunk the back side, then clamped the tile back on and screwed it on from the back.

My plan is to leave 2″ at the top and bottom for attachment to the wall, and a 1″ space between each tile.
Once located and attached, I peeled back half of the tape from each floating center of the letters and applied some CA glue to the back of the stand-offs. Pulling the tape straight, I carefully replaced the centers back in their original locations and held them firmly in place until the glue set.
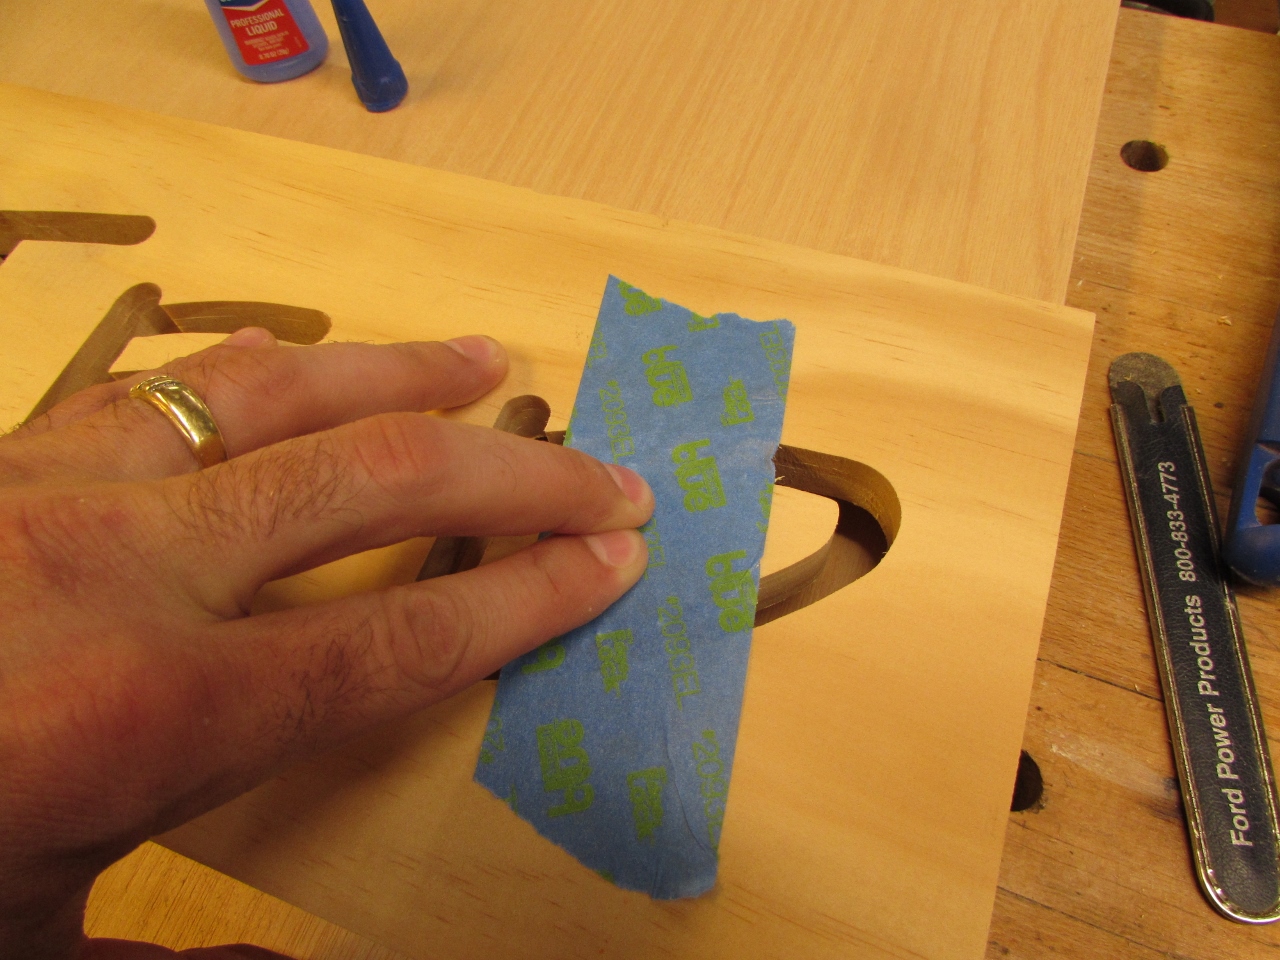
Then I peeled of the tape and inspected the first tile.
I cut some straight 1″ spacer blocks and started locating the next row of tiles.


I did the big letters first using the same attachment method as the first tile.
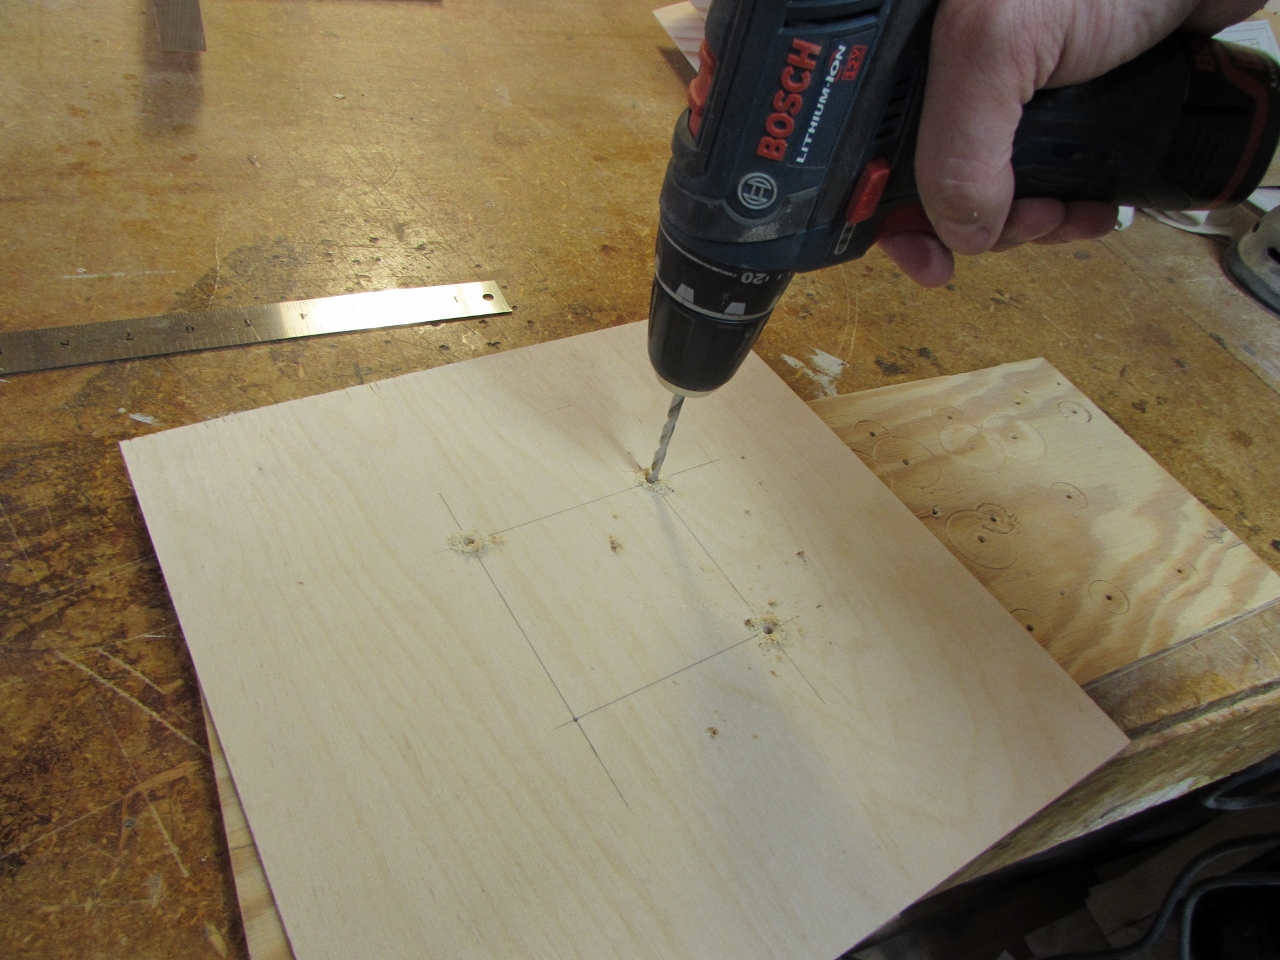
For the nine blank tiles, I used a more repeatable method. Each of the tiles are grain-matched and should go in a specific location, but I want the mounting hole pattern to match just in case something gets switched up. I cut a plywood template and pre-drilled it with a symmetrical hole pattern. Then I used my spacers to locate and pre-drill each tile location.
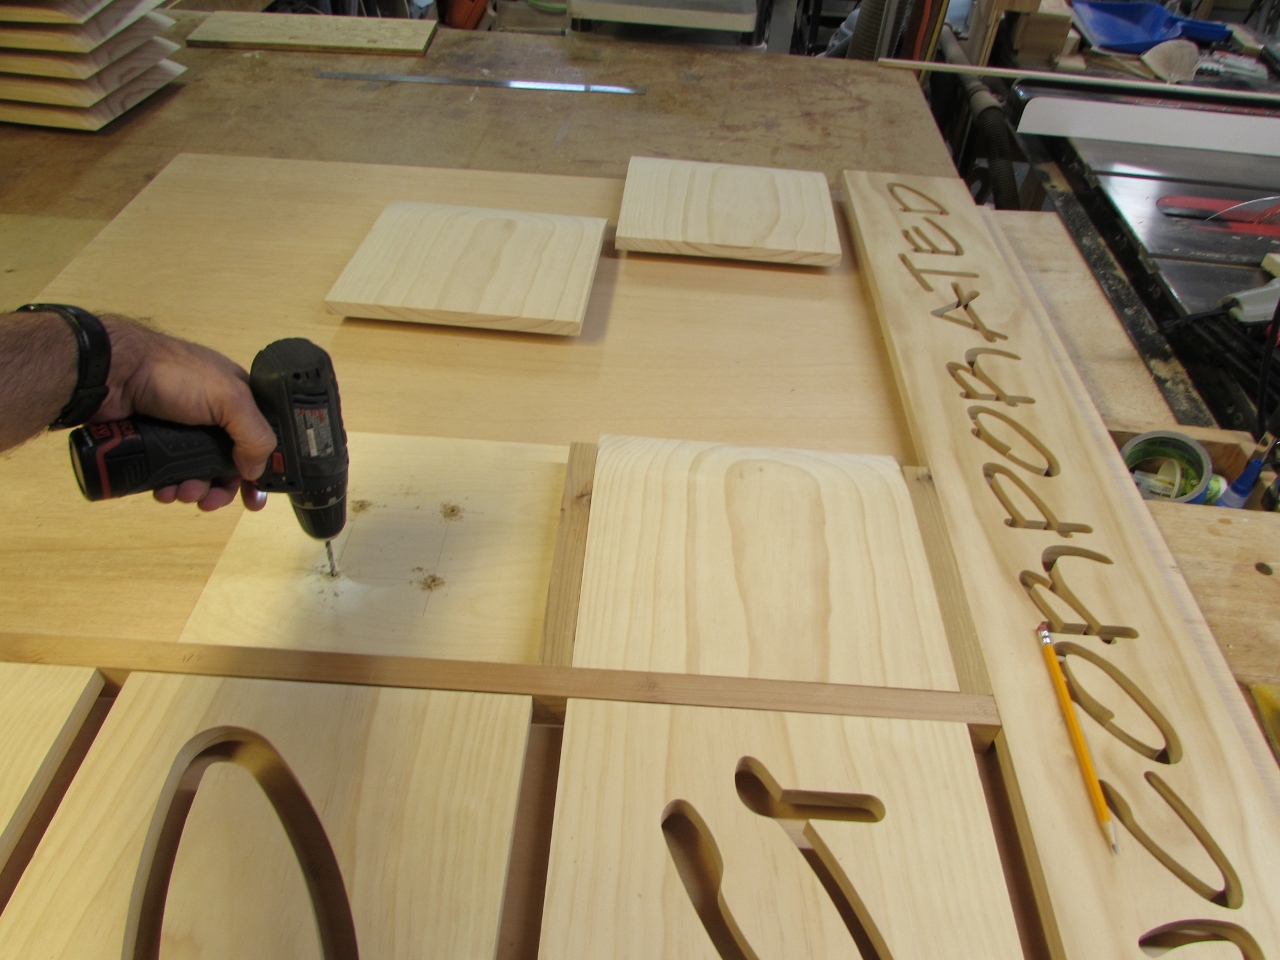
With the holes located I counter-sunk the back side of each one.


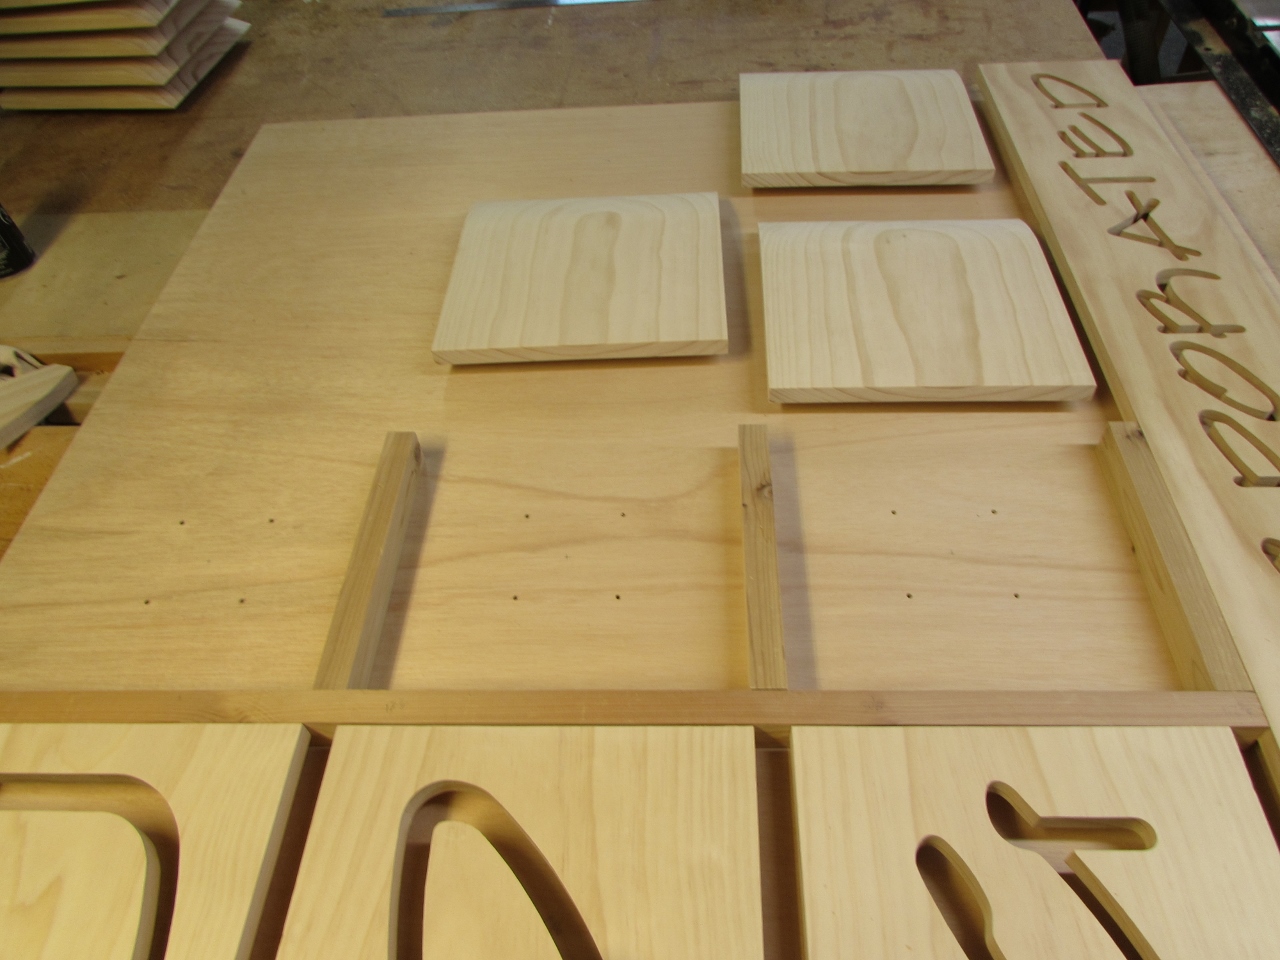
Then I located each tile using my spacers and attached them with screws.
Everything looks straight and there was a 2″ space left at the top and bottom as planned.

I am very pleased with how this turned out, unfortunately this was the quick & easy part. The next step will be to stain the face and edges of the tiles, then apply a clear coat. Once that is done, I need to paint the back sides and the backer board white to match the office walls. This will also aid in the reflectivity of the LED lights. The final step will be circuiting up all of the LED lights. The finishing will take several days just waiting for things to dry and the circuiting is a new thing for me, so that should take some time as well.
