
Rose engagement ring box
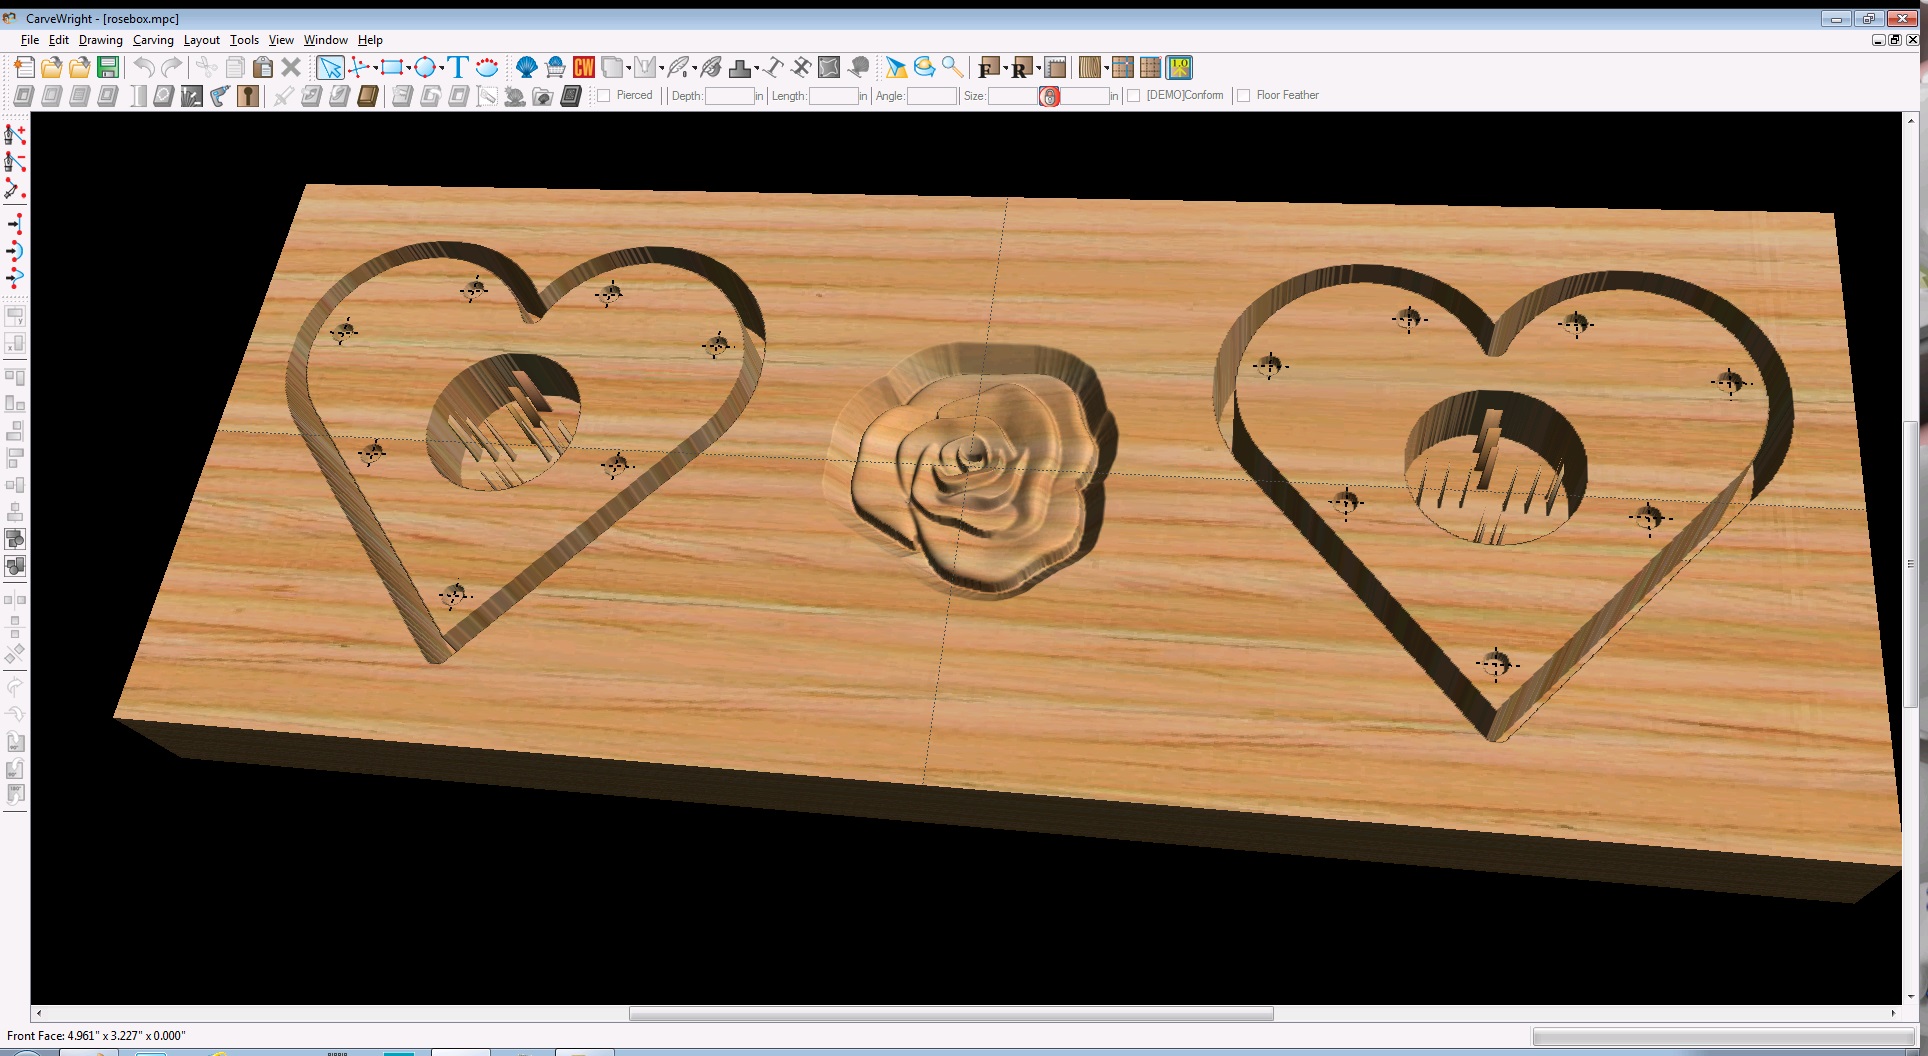
My oldest son recently came to my wife and I to tell us that he was going to propose to his girlfriend. Tracie and I are very happy for him, Elizabeth is a very nice young lady. I offered to make a ring box for him, so we sat down to come up with a design. He wanted a heart shape with a rose carved into the top. The rose has some significance in their relationship, so I suggested we carve it out of the wood redheart. For contrast, we decided on maple for the box. Since it is difficult to find a good location for hinges on a heart shape, I suggested magnets. I have some tiny 1/8″ diameter ones that would work well. This is what my design looks like in the Carvewright software.
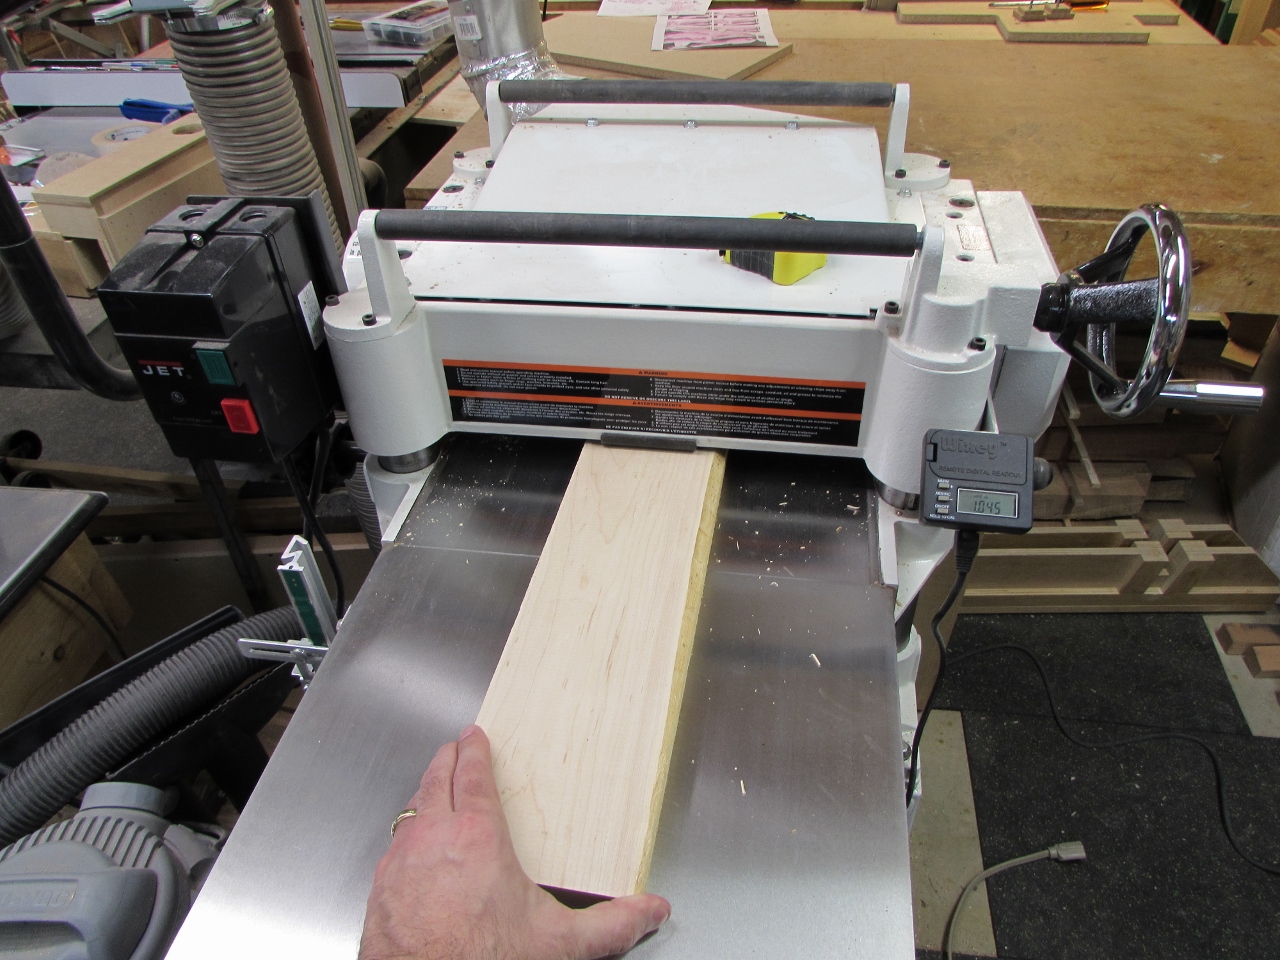
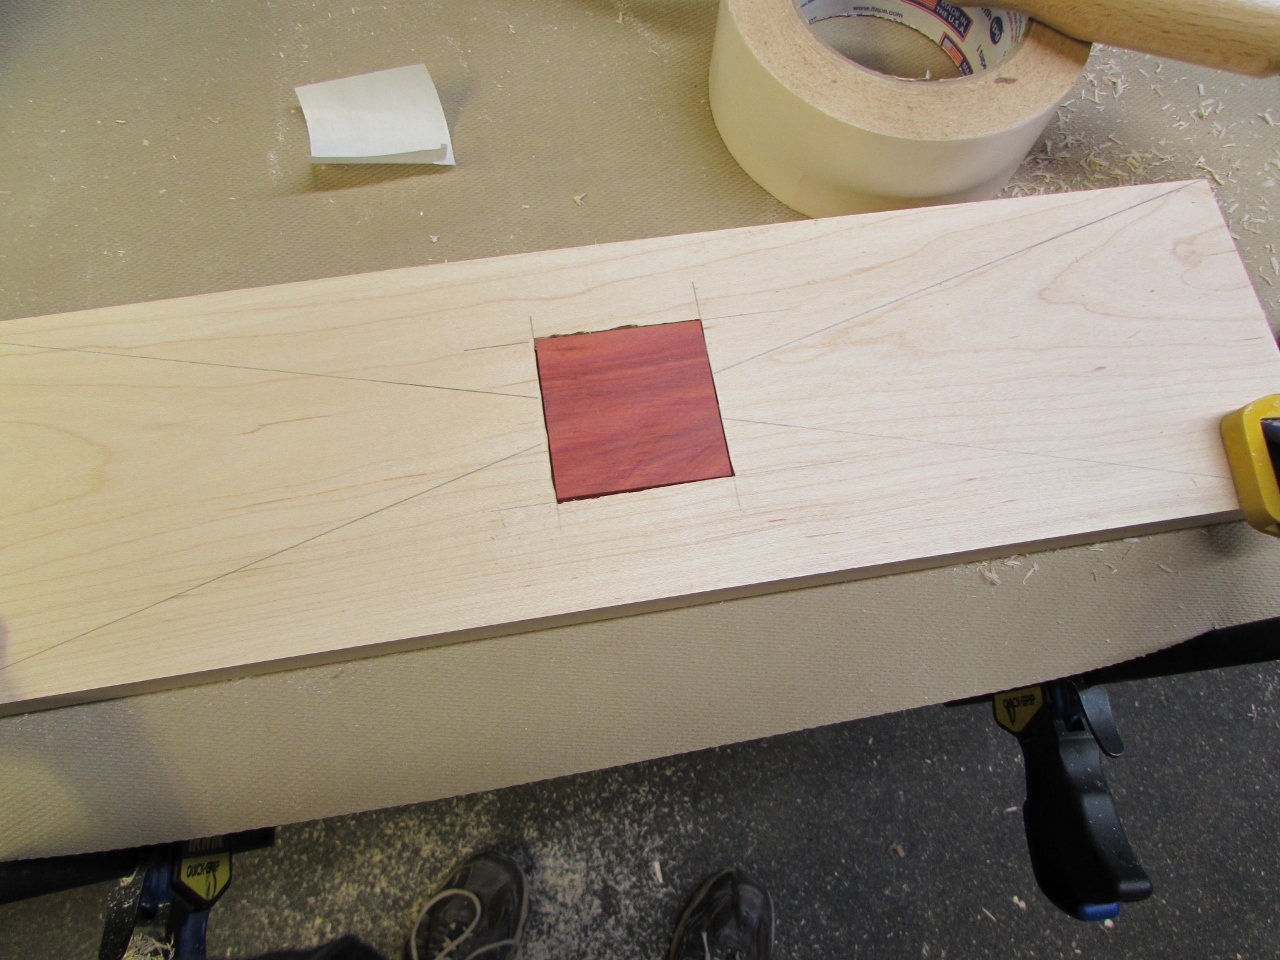
First step was to mill down some maple and cut a 2″x2″ square of redheart.
The redheart will have to sit flush into the maple board, so I took my time laying out a 2″ square in the center.

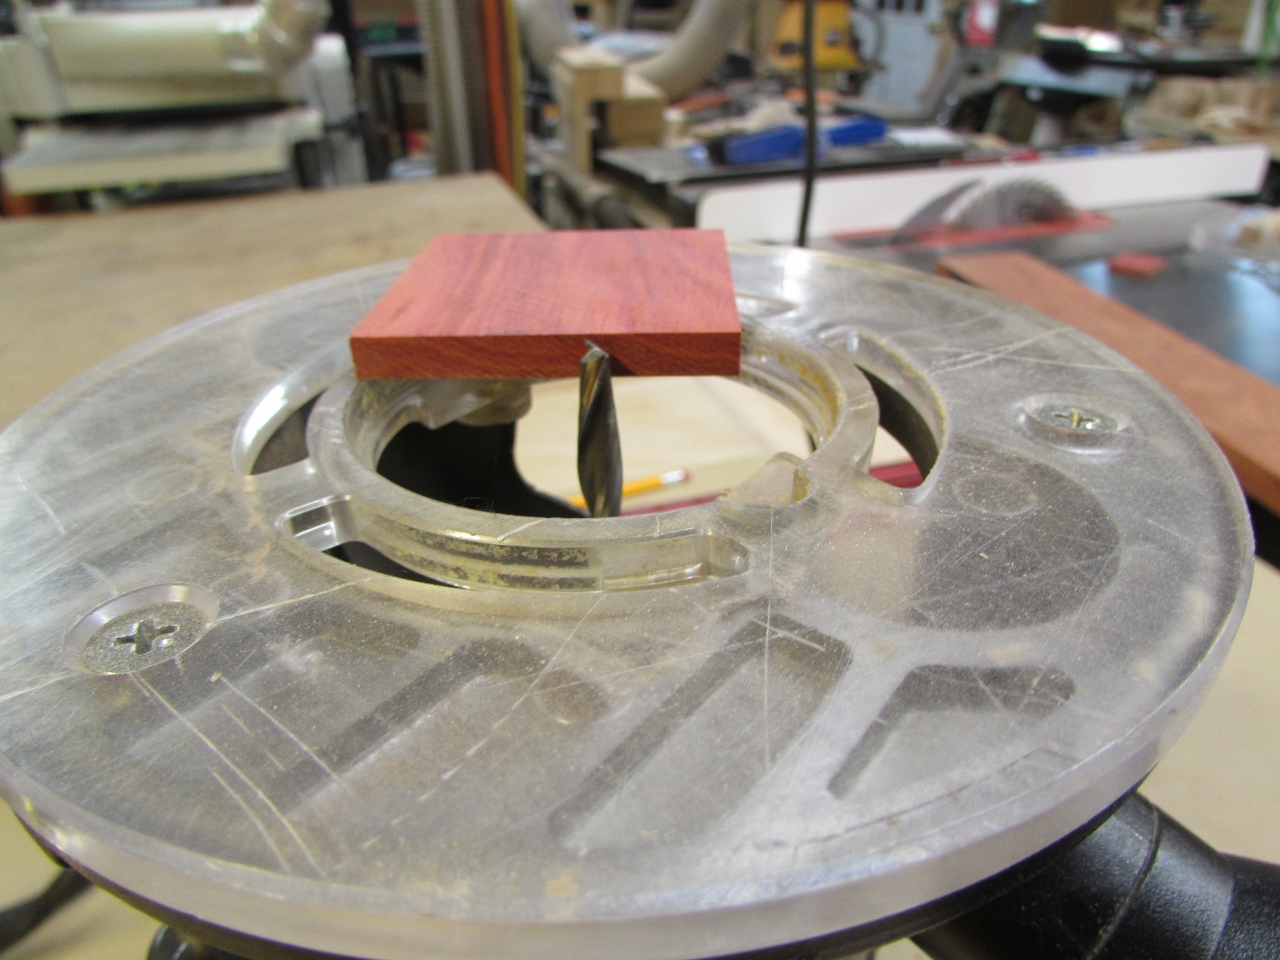
I set my router bit just below the 1/4″ thickness of the redheart blank.
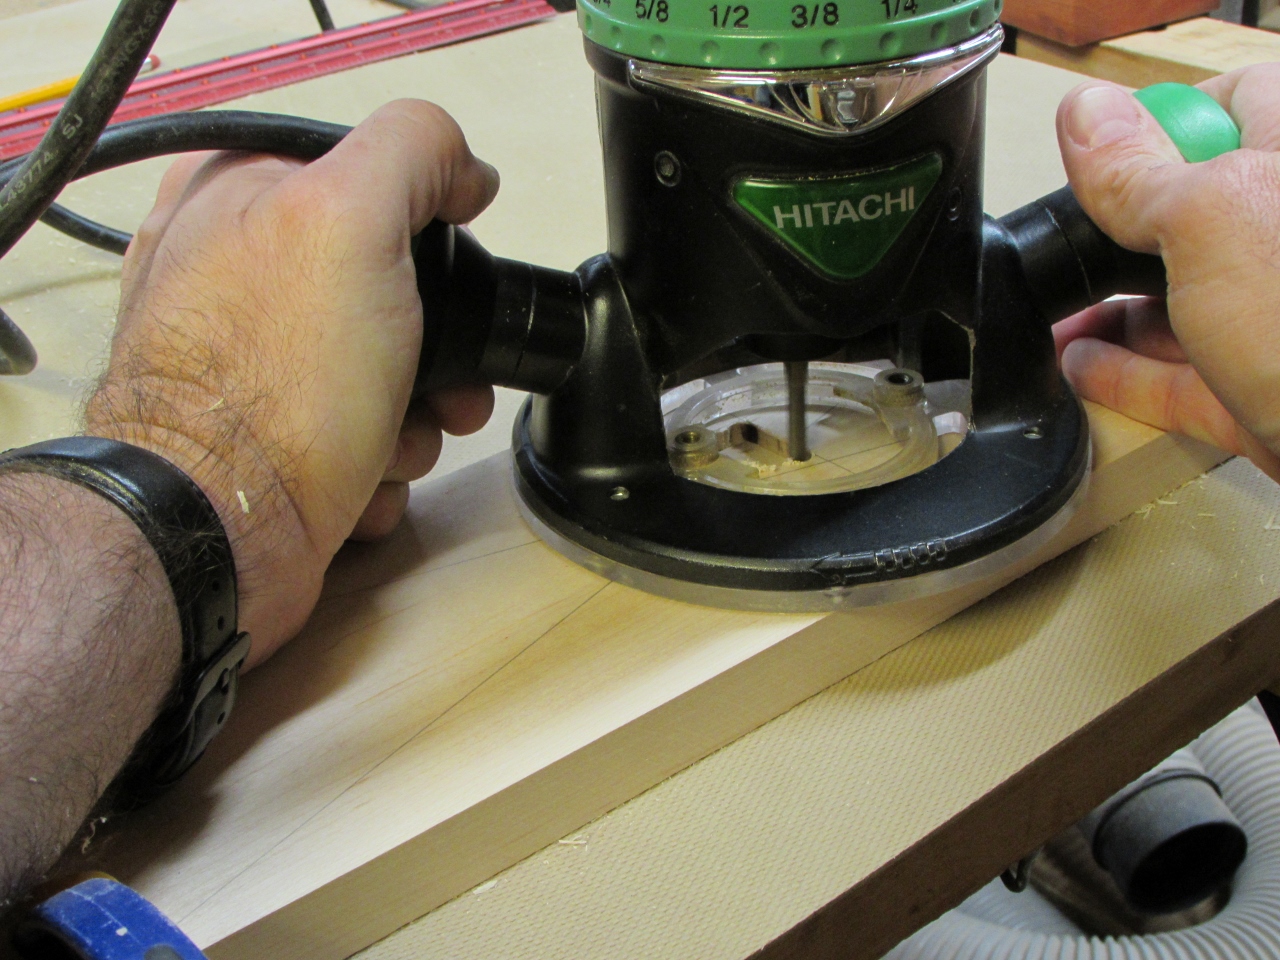
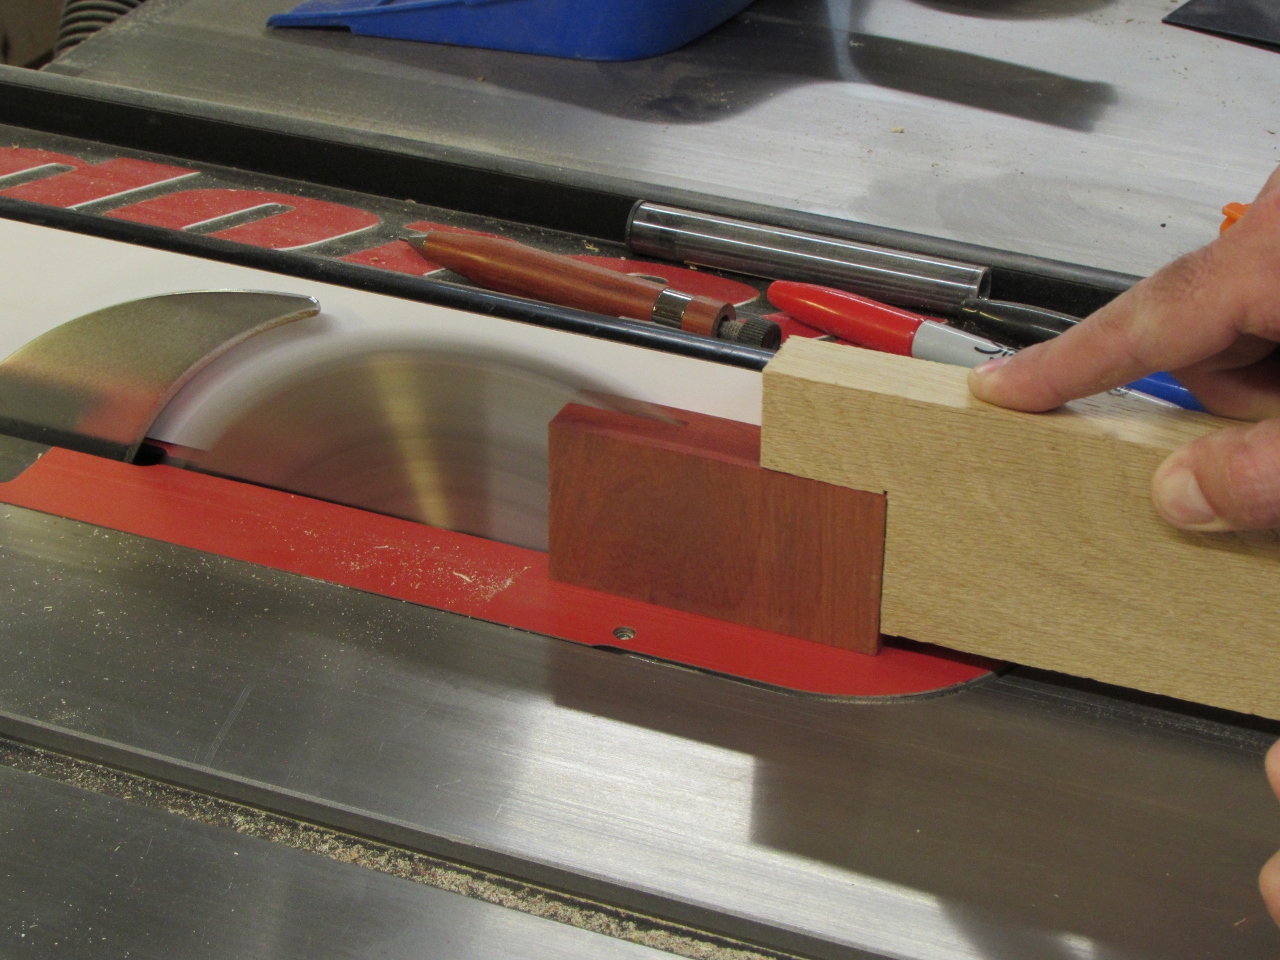
Next I free-hand cut the pocket out for the square to sit in.
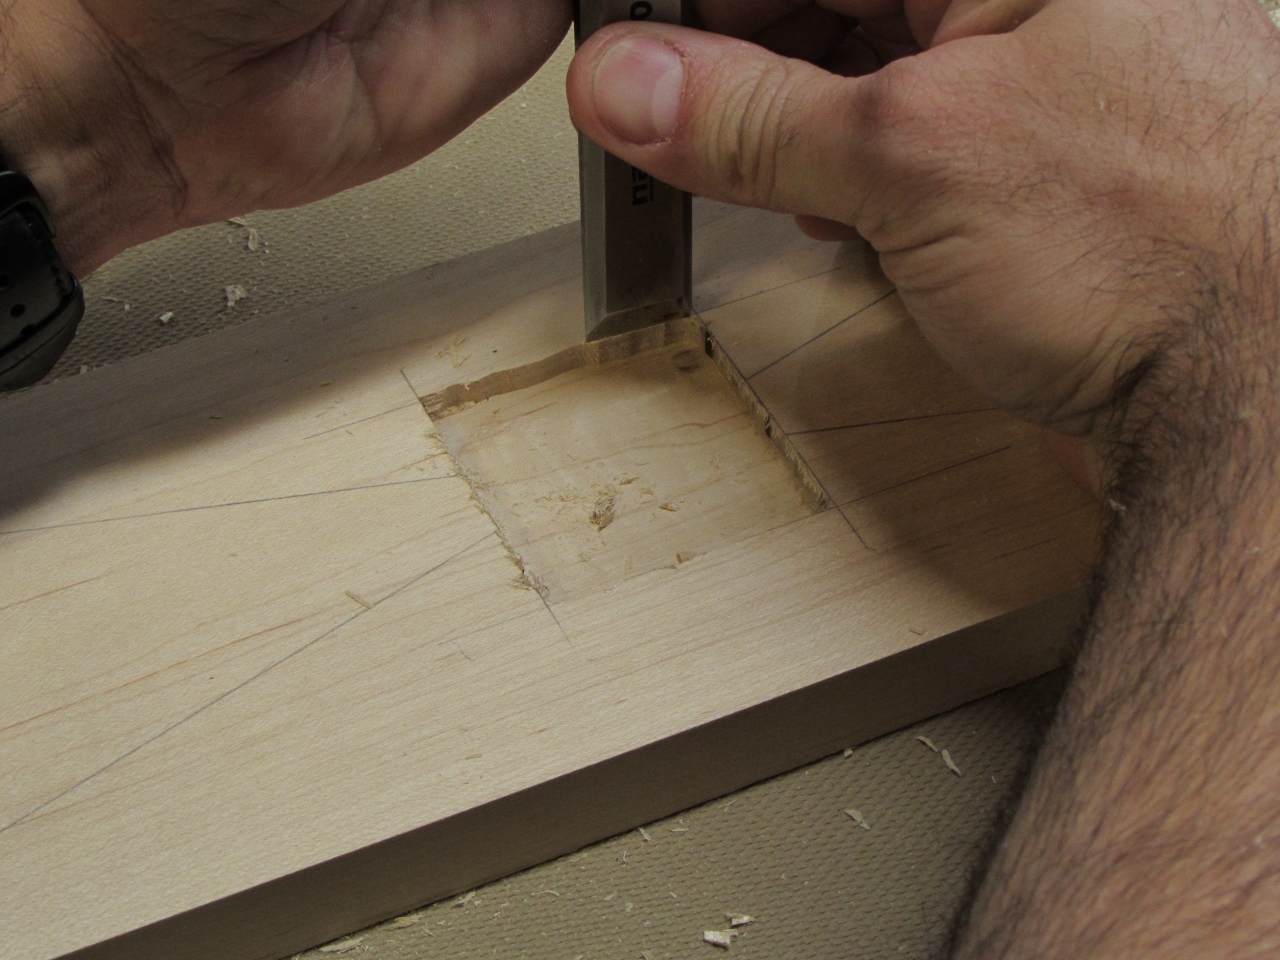
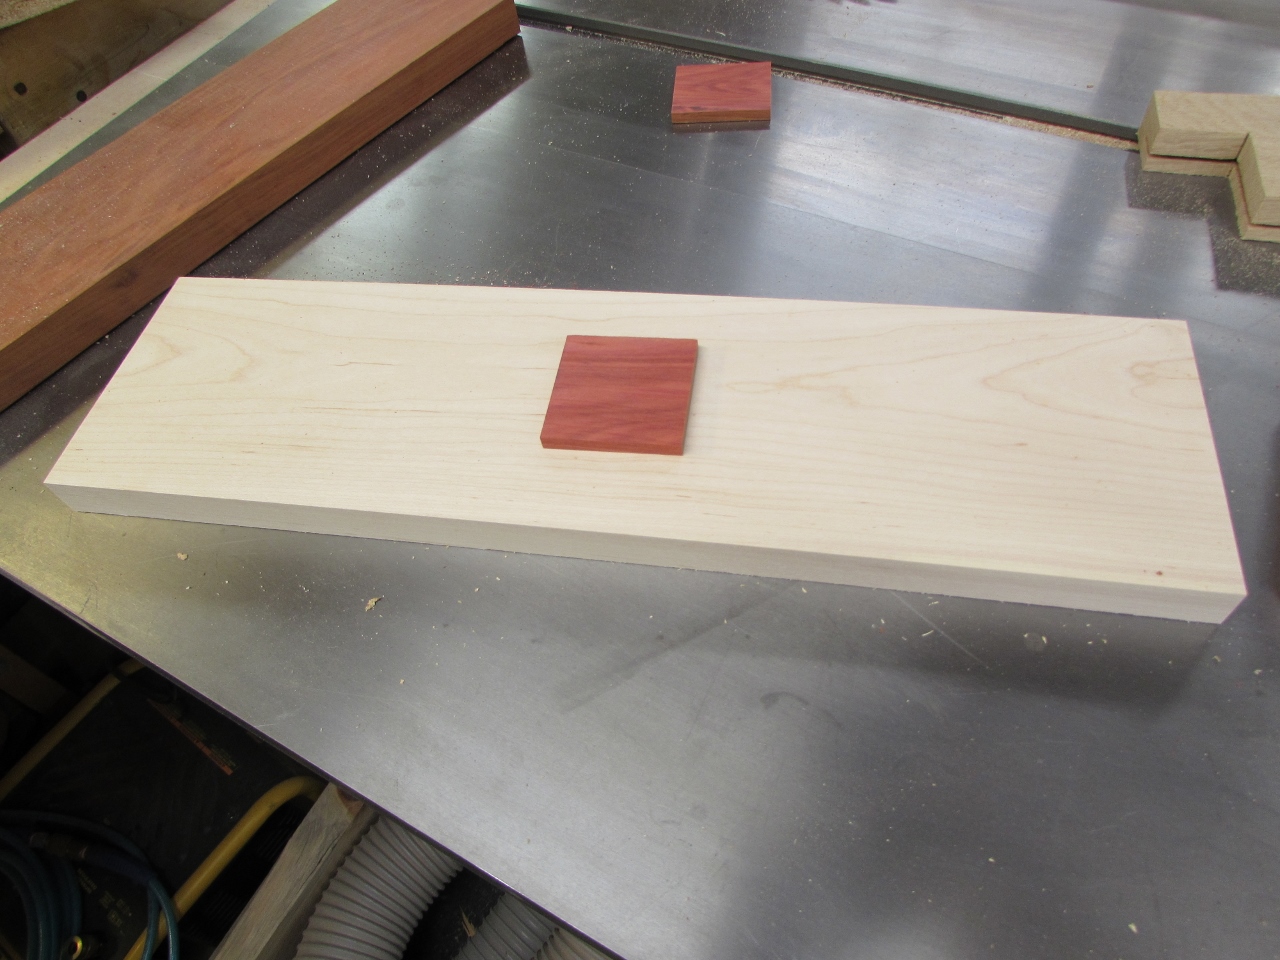
With a little clean-up in the corners, the recess was ready for use.
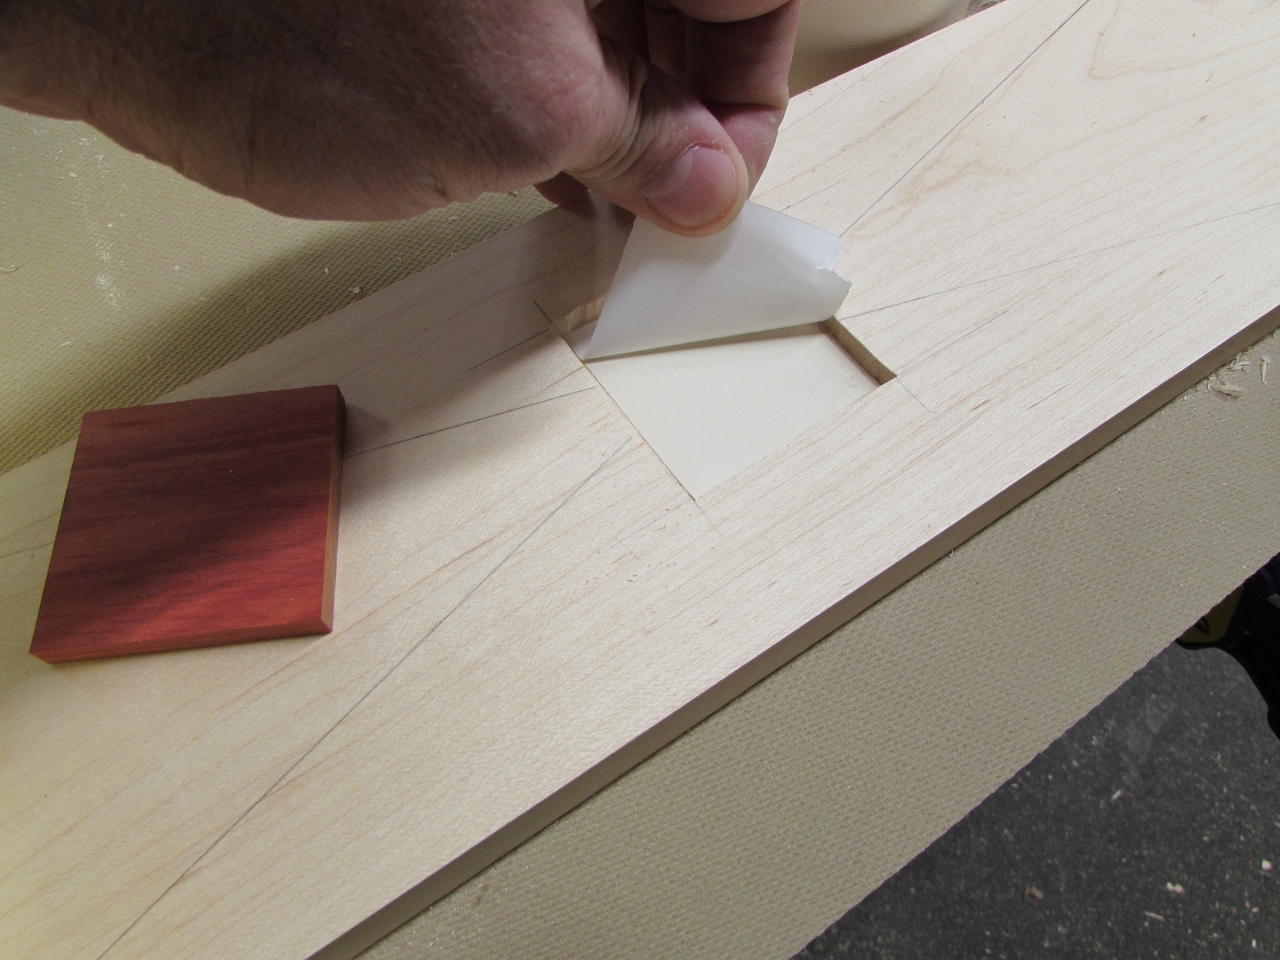
I placed a piece of double-sided tape at the bottom of the recess and pressed the redheart blank in.
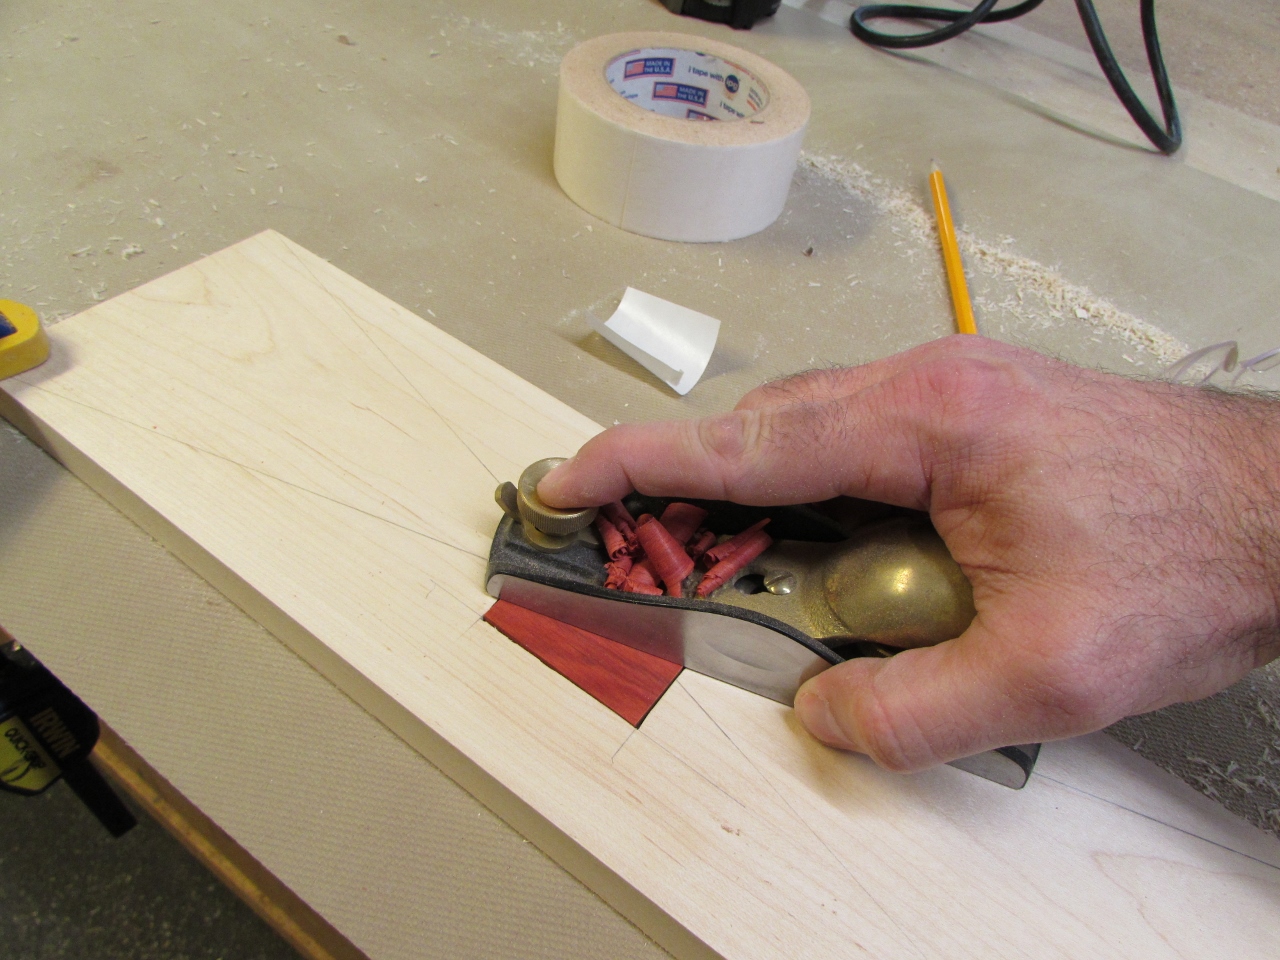
I used my block plane to plane the redheart down flush to the top of the maple.
Then I loaded the panel into the carver and fired up the program.

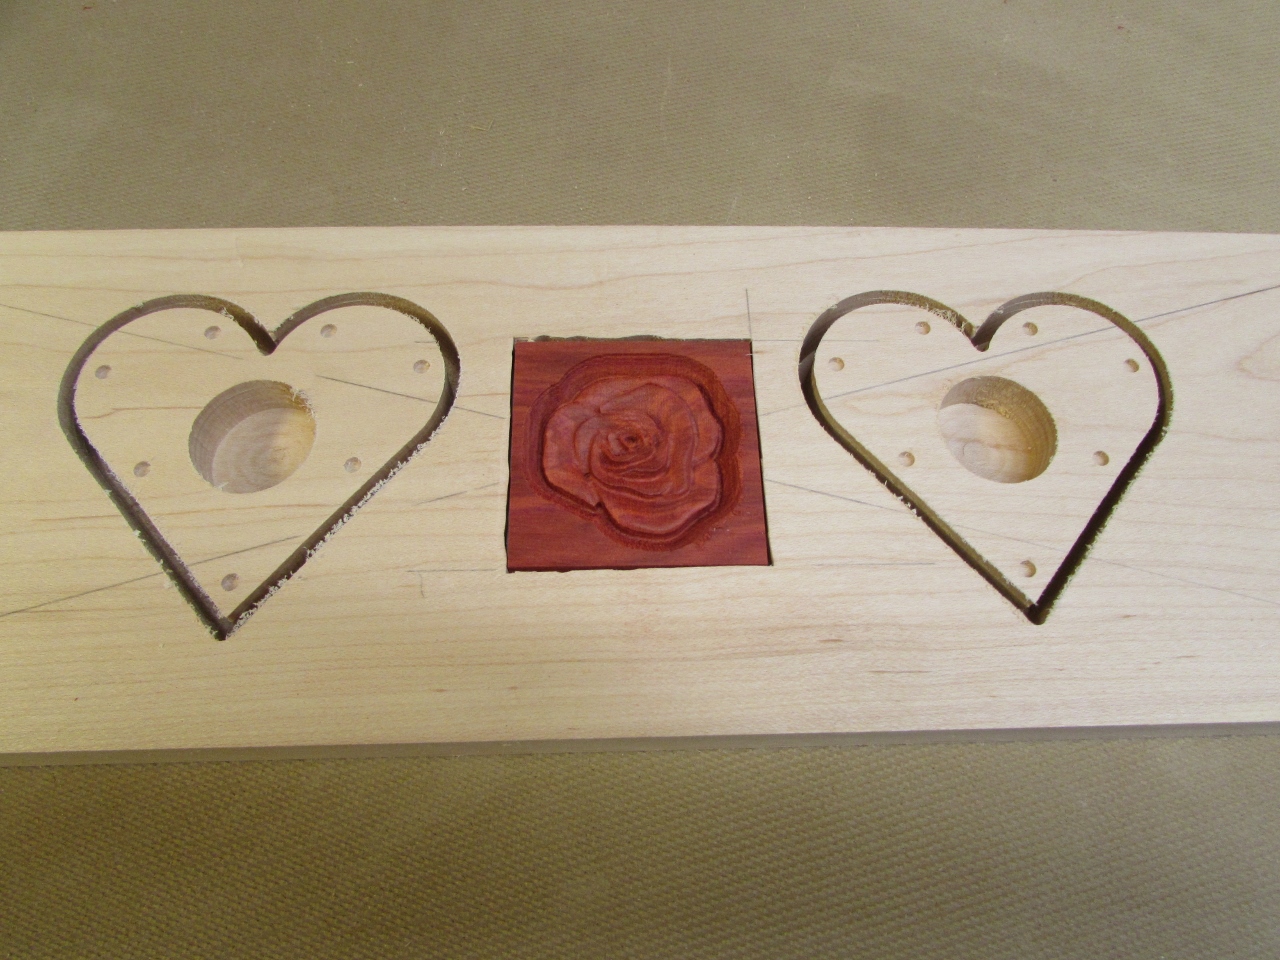
Check it out, the rose fell perfectly into the center. It was supposed to, but I am always surprised when things work the way they were planned.
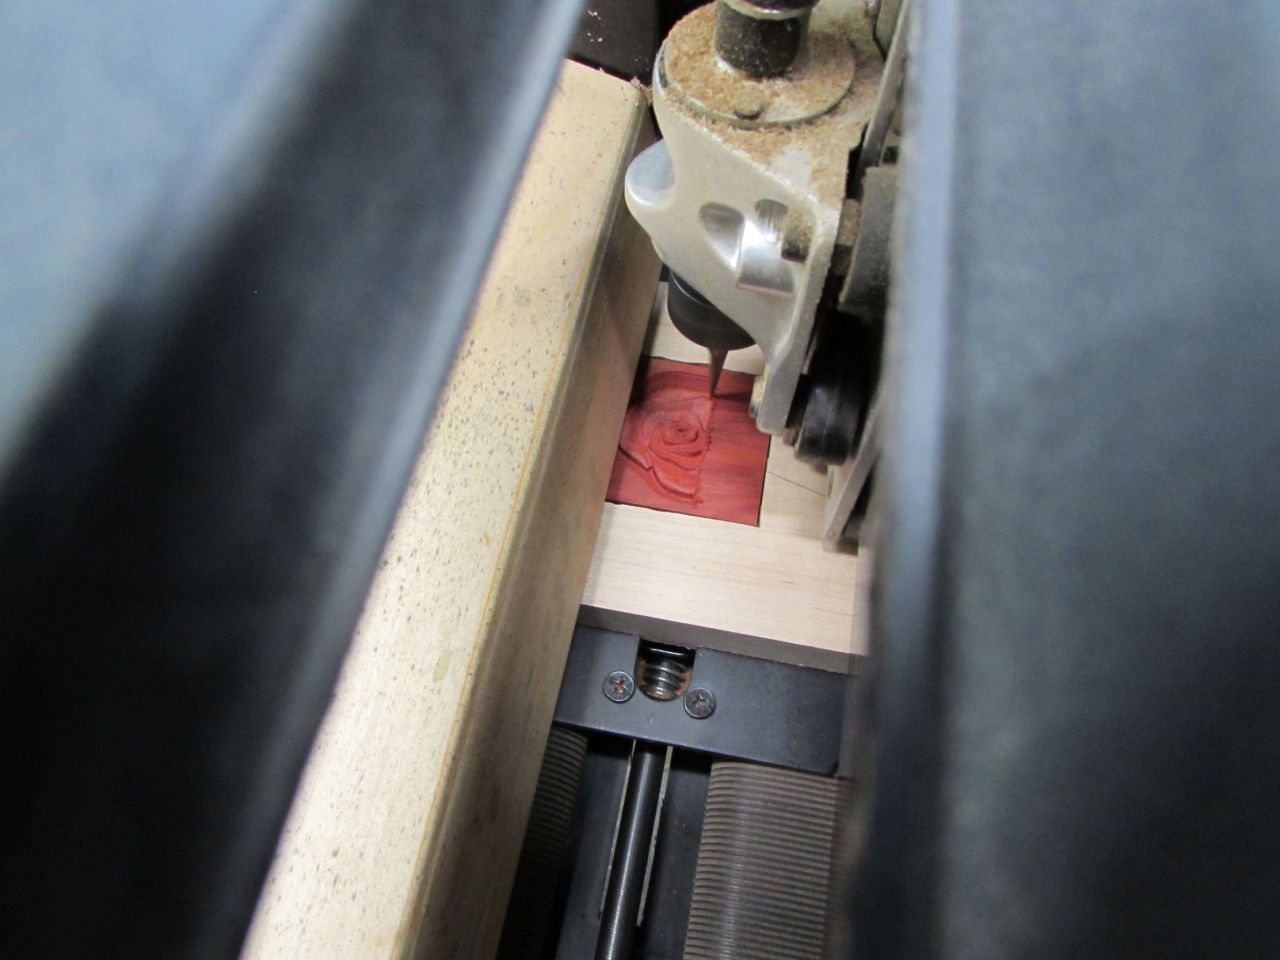
The program took about 40 minutes to run. here was the final result:
I deliberately made the thickness of the maple and the redheart slightly thicker than the carve. I did not want the hearts breaking free while the cutter was still running, and I wanted to be able to pry up the redheart without marring the rose.
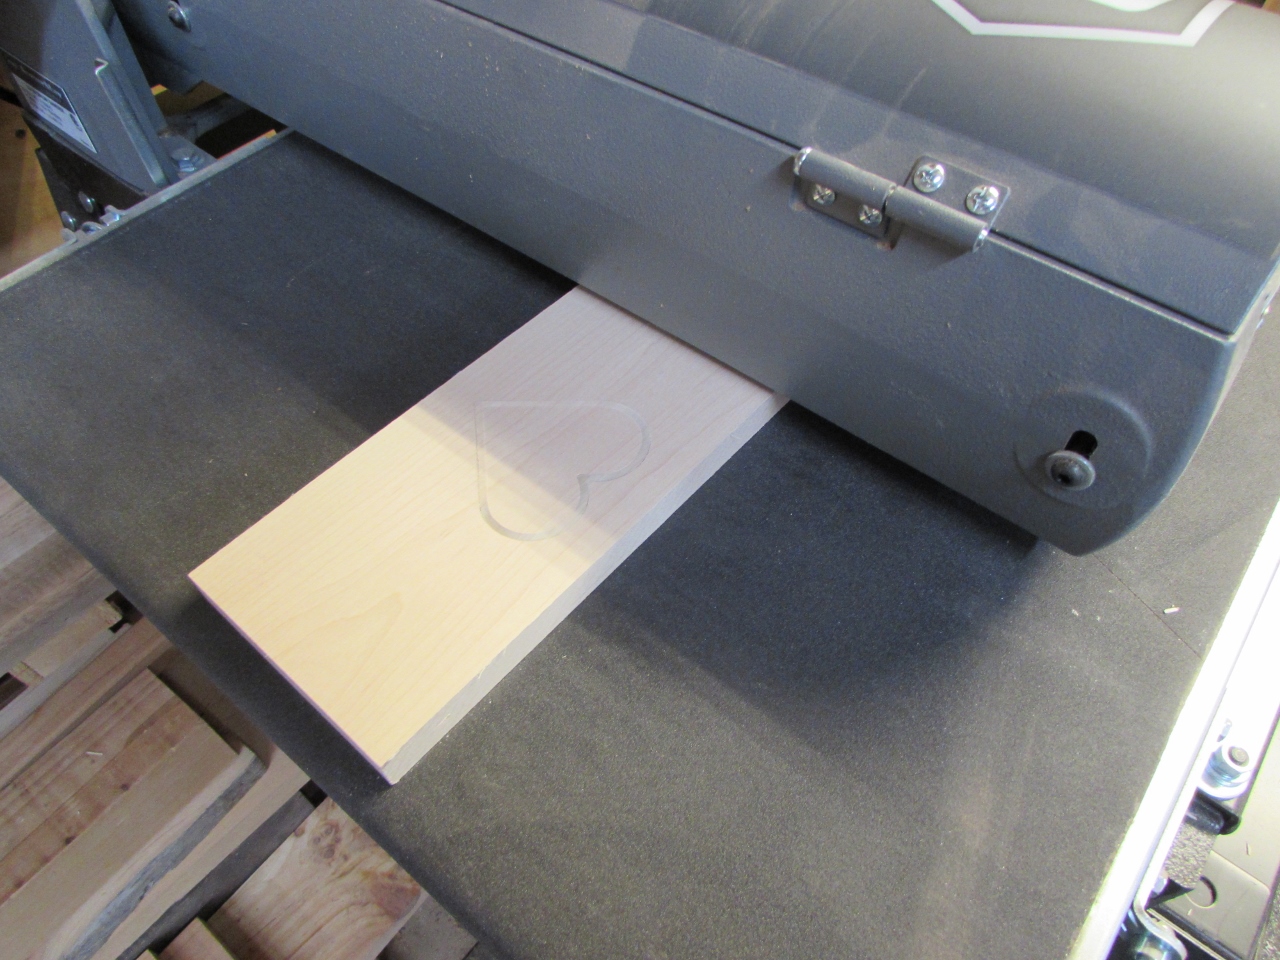
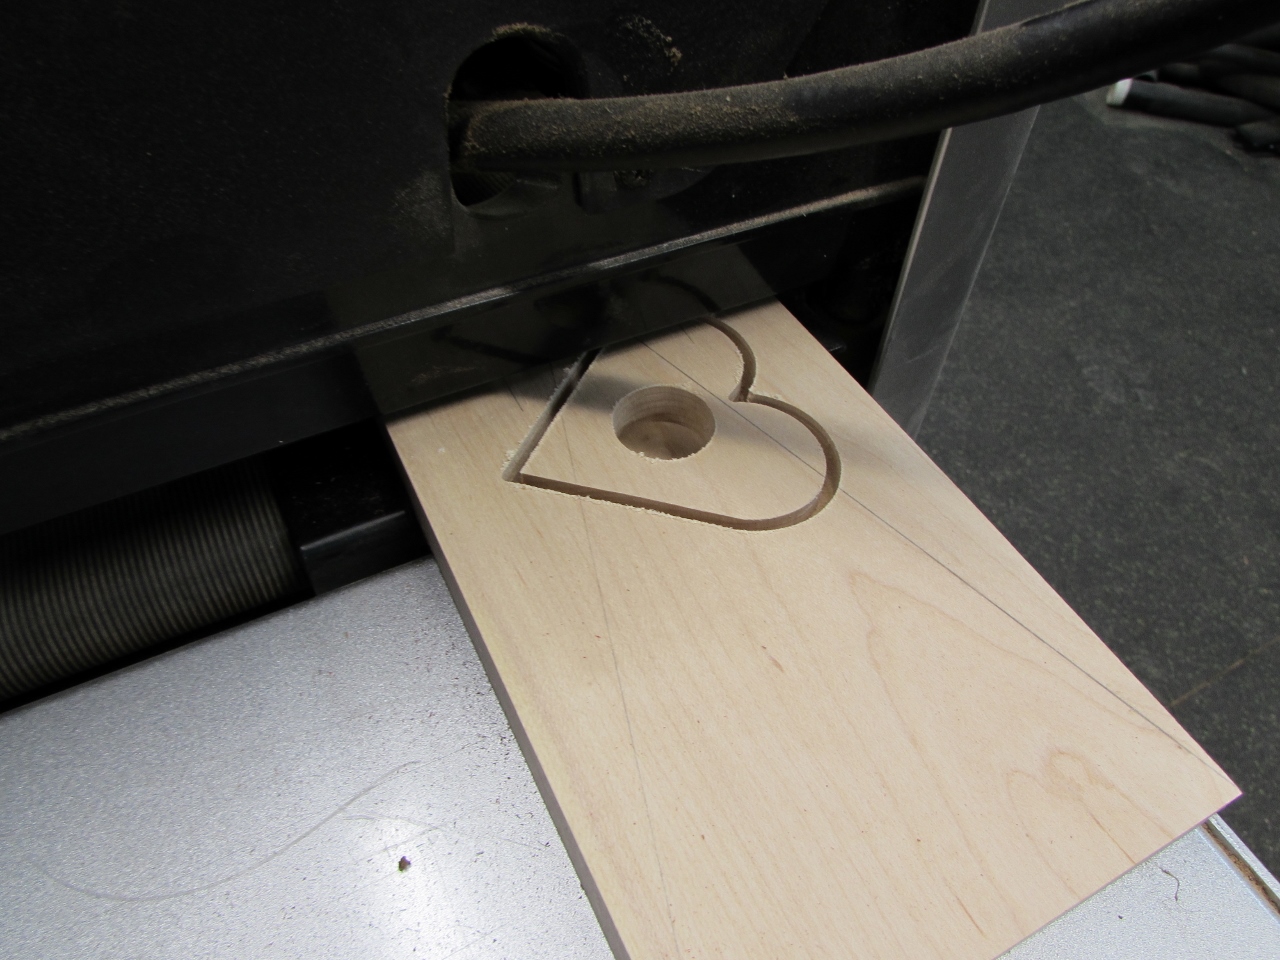
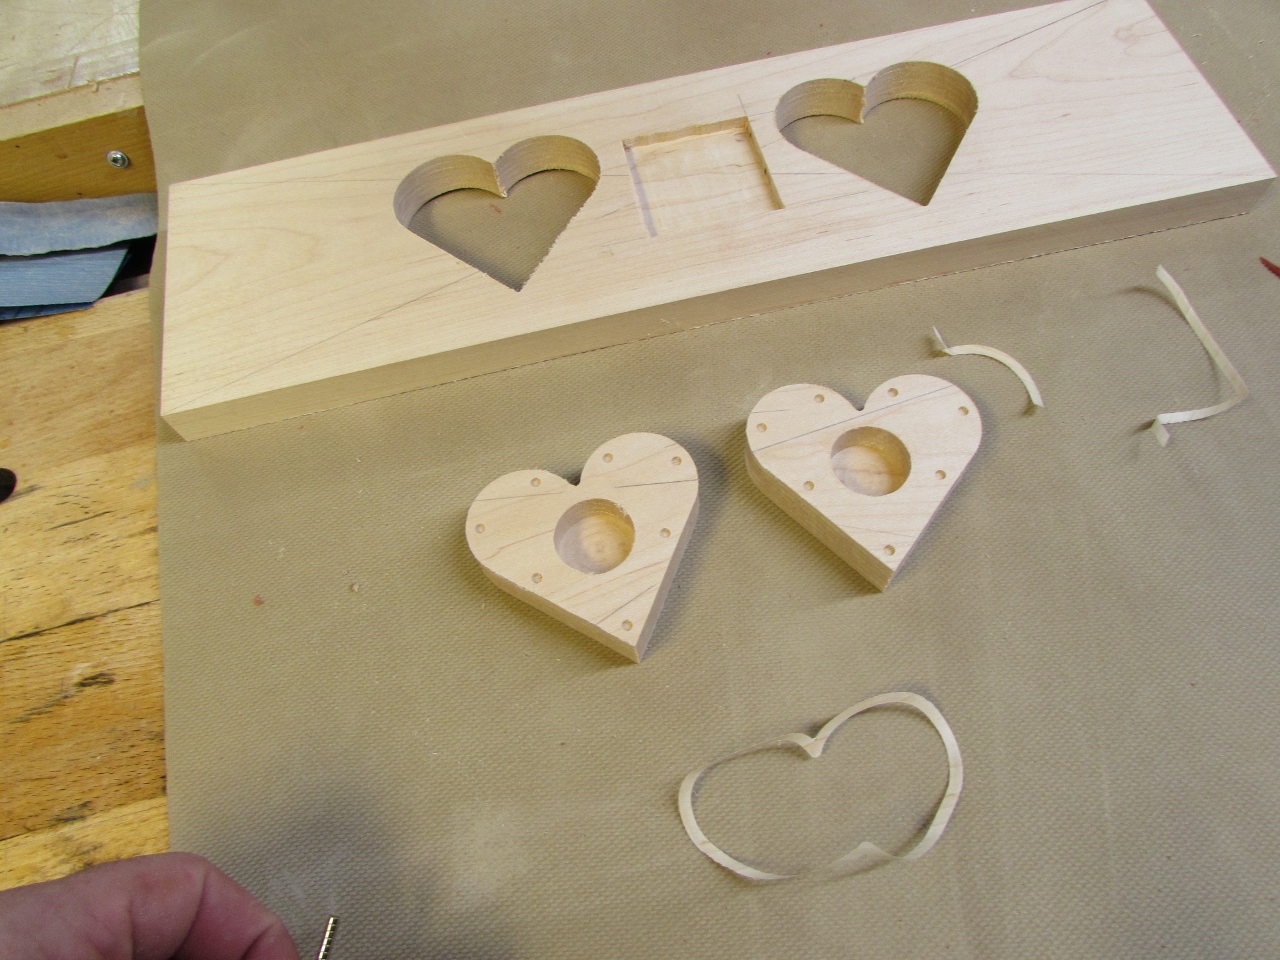
For the maple, I used a trick that I saw online. I ran the panel, upside down through my drum sander until I sanded through the back of the panel freeing the hearts without any damage.
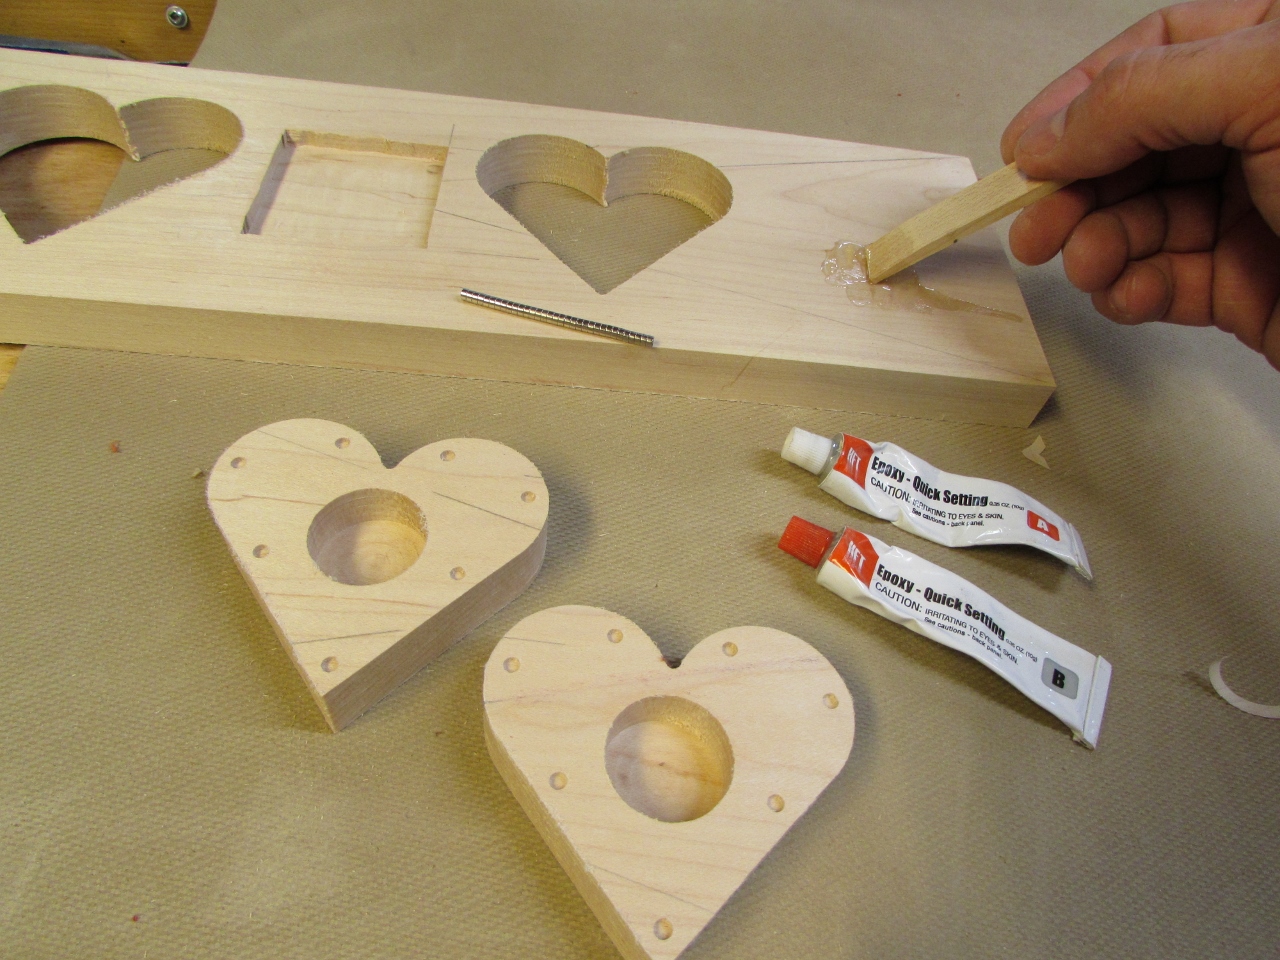
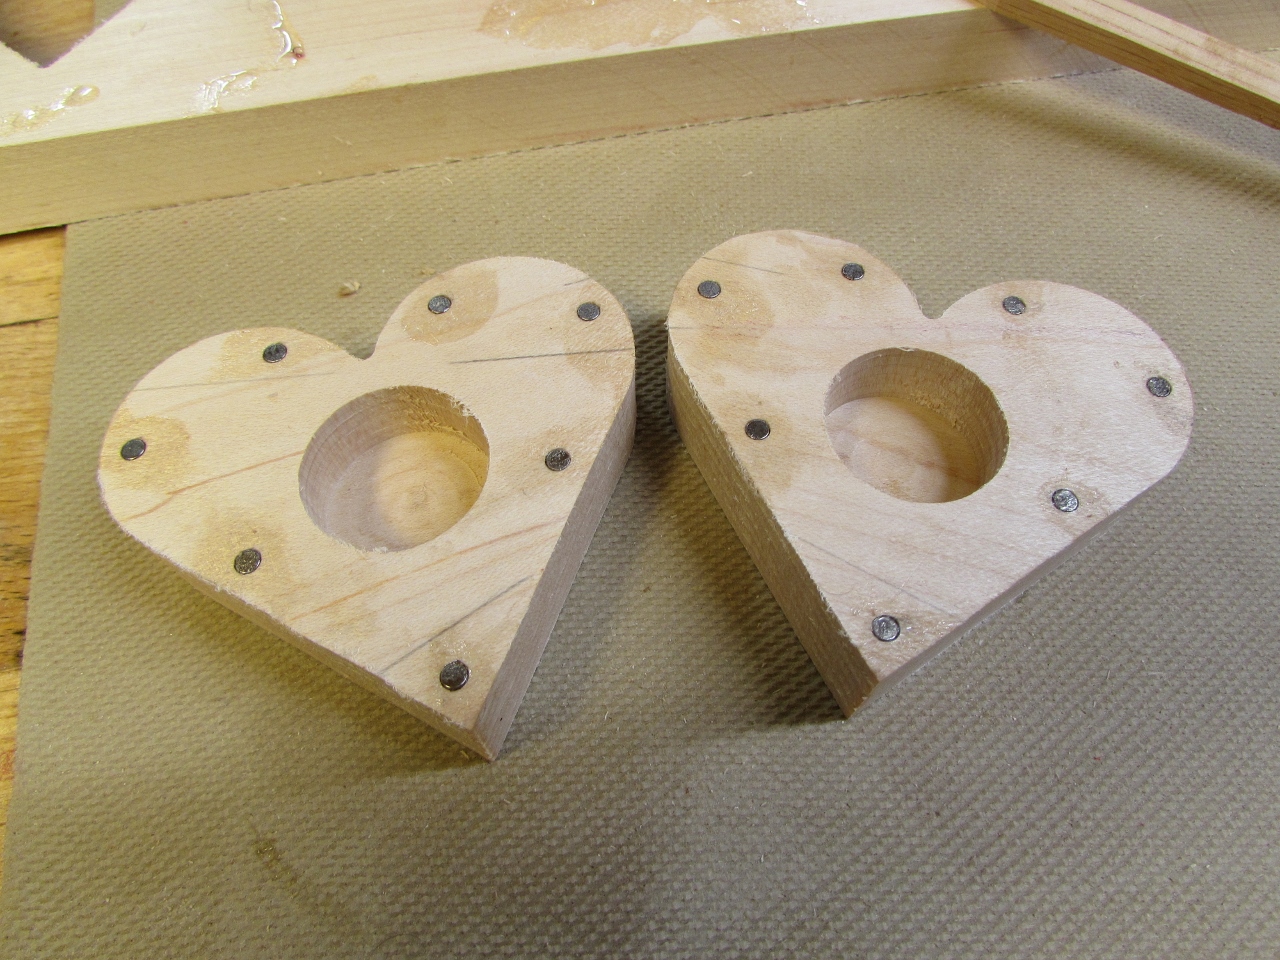
I mixed up some fast-set epoxy to install the magnets.
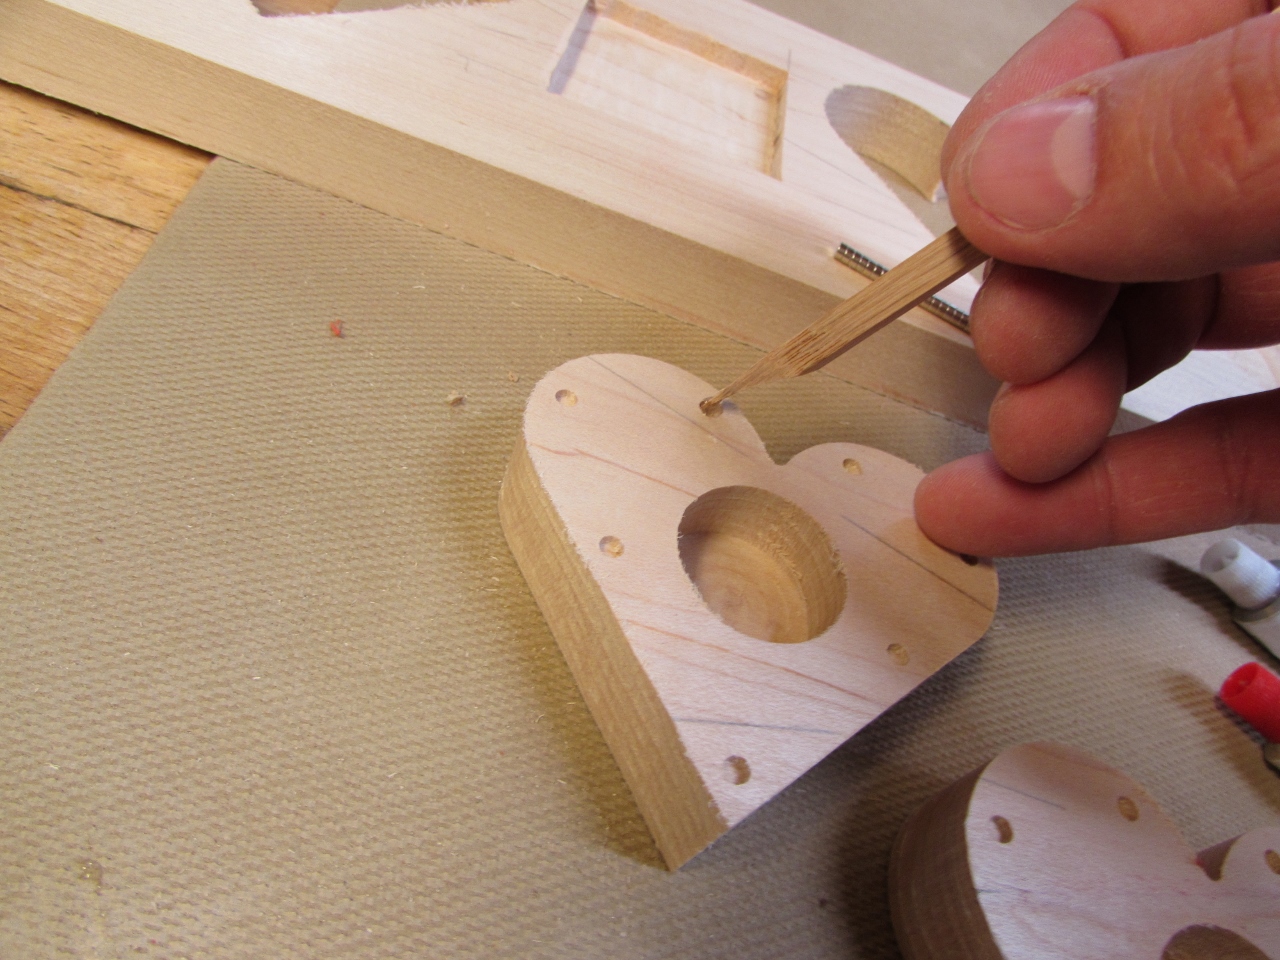
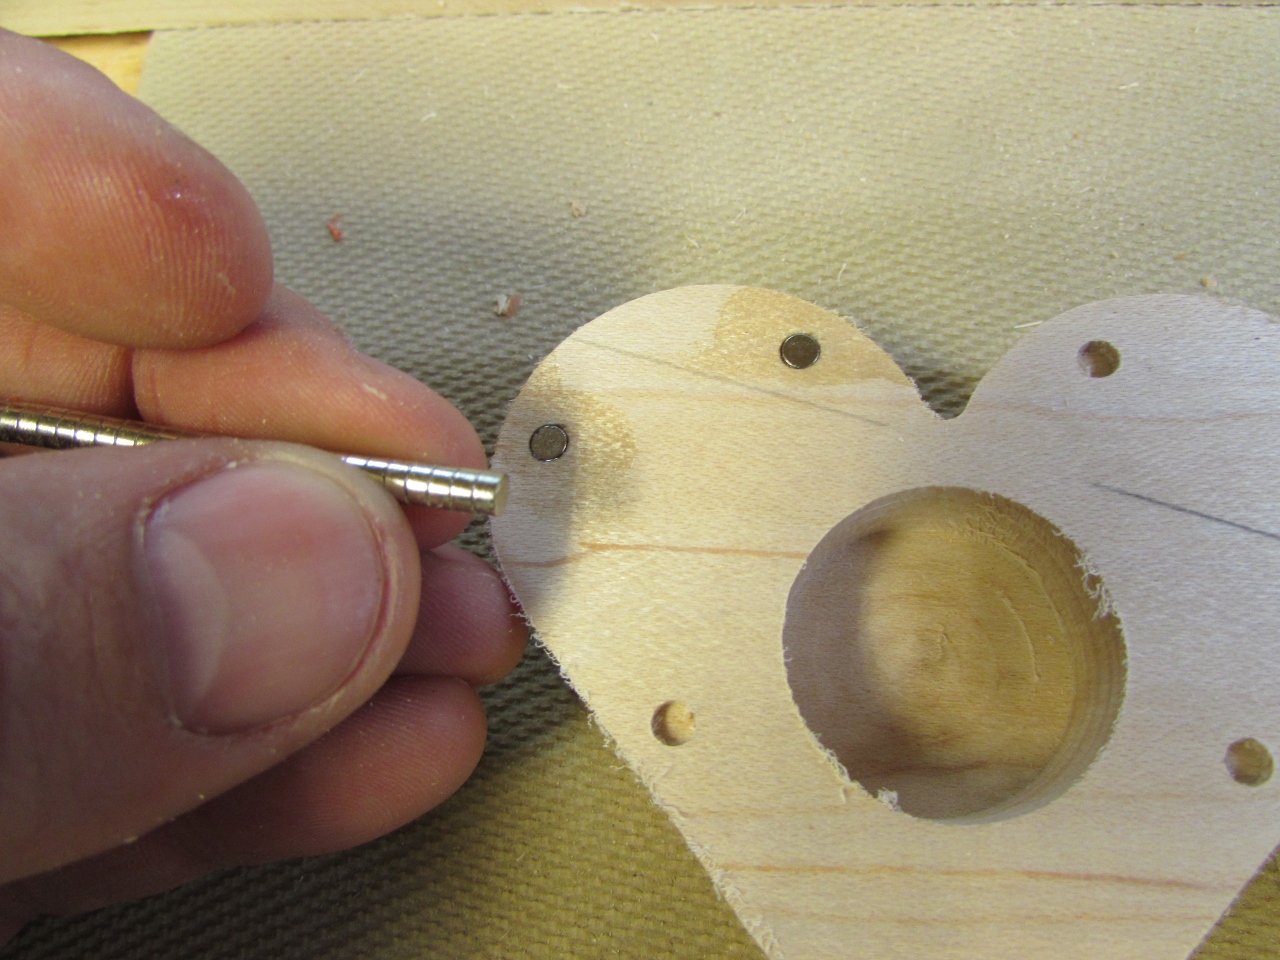
I was very careful to get the magnets facing in the correct direction. It wouldn’t do to have the lid repelled because the magnets were in backwards…
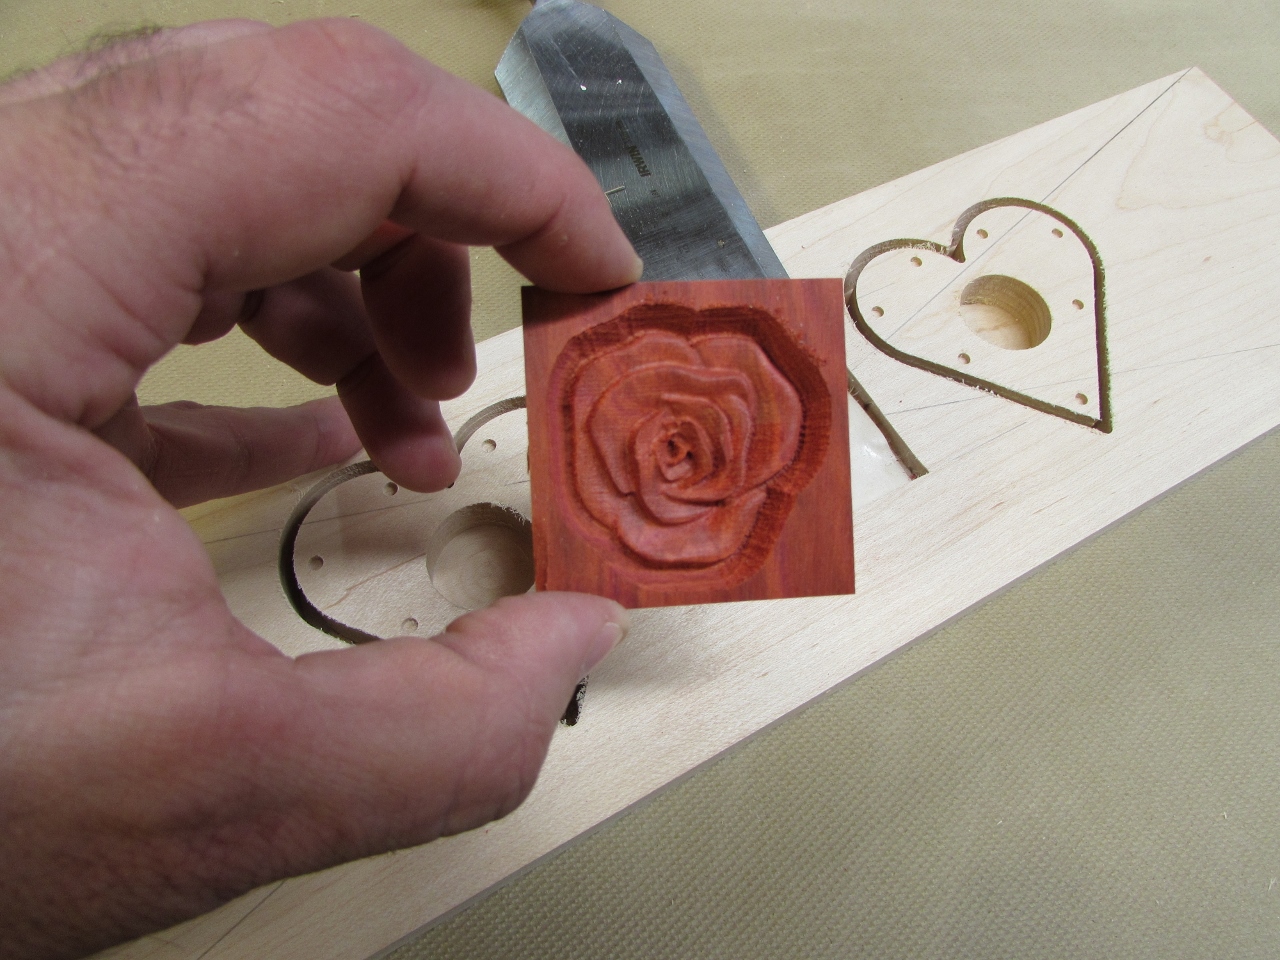
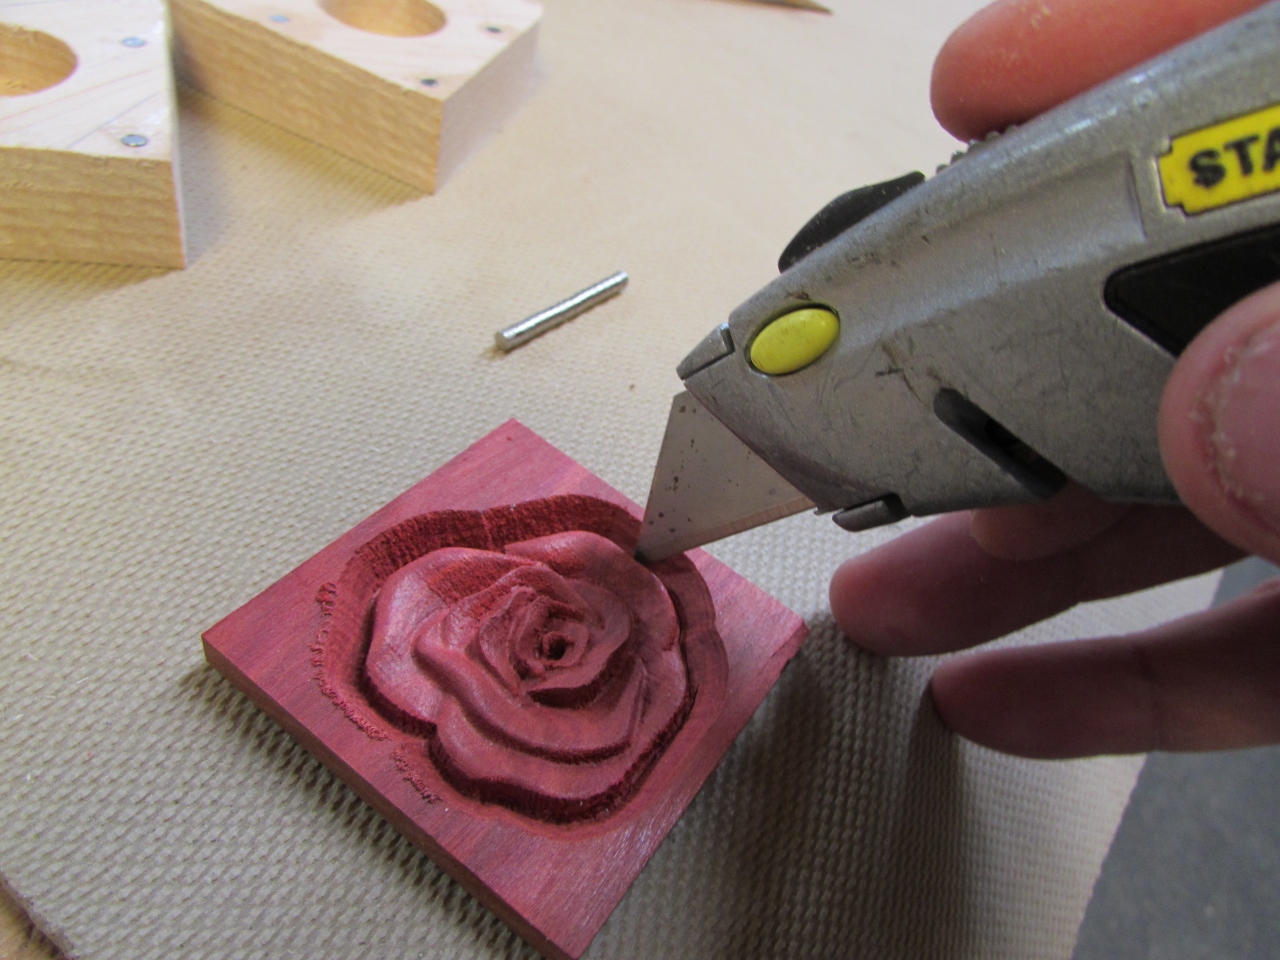
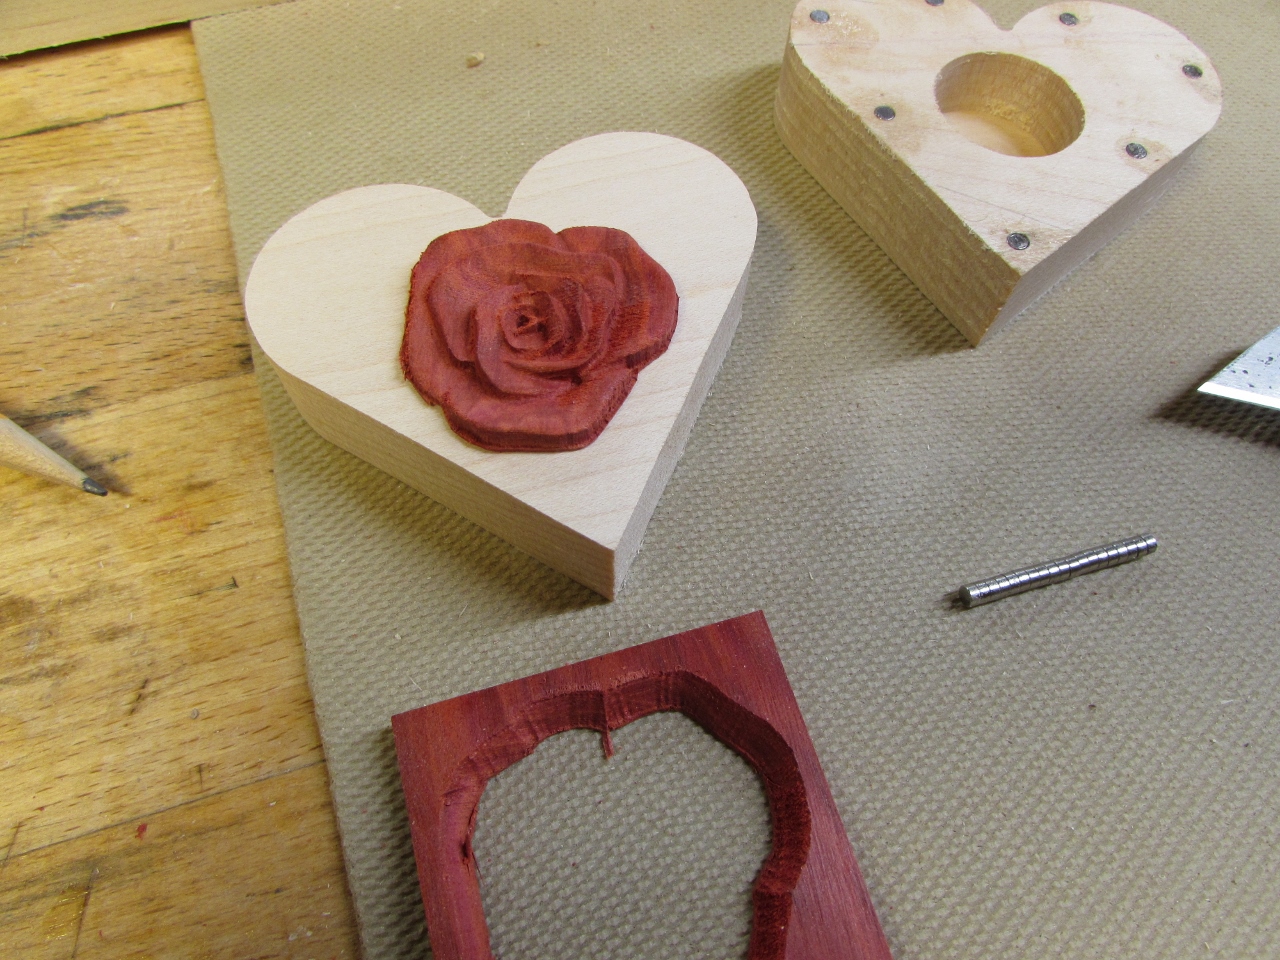
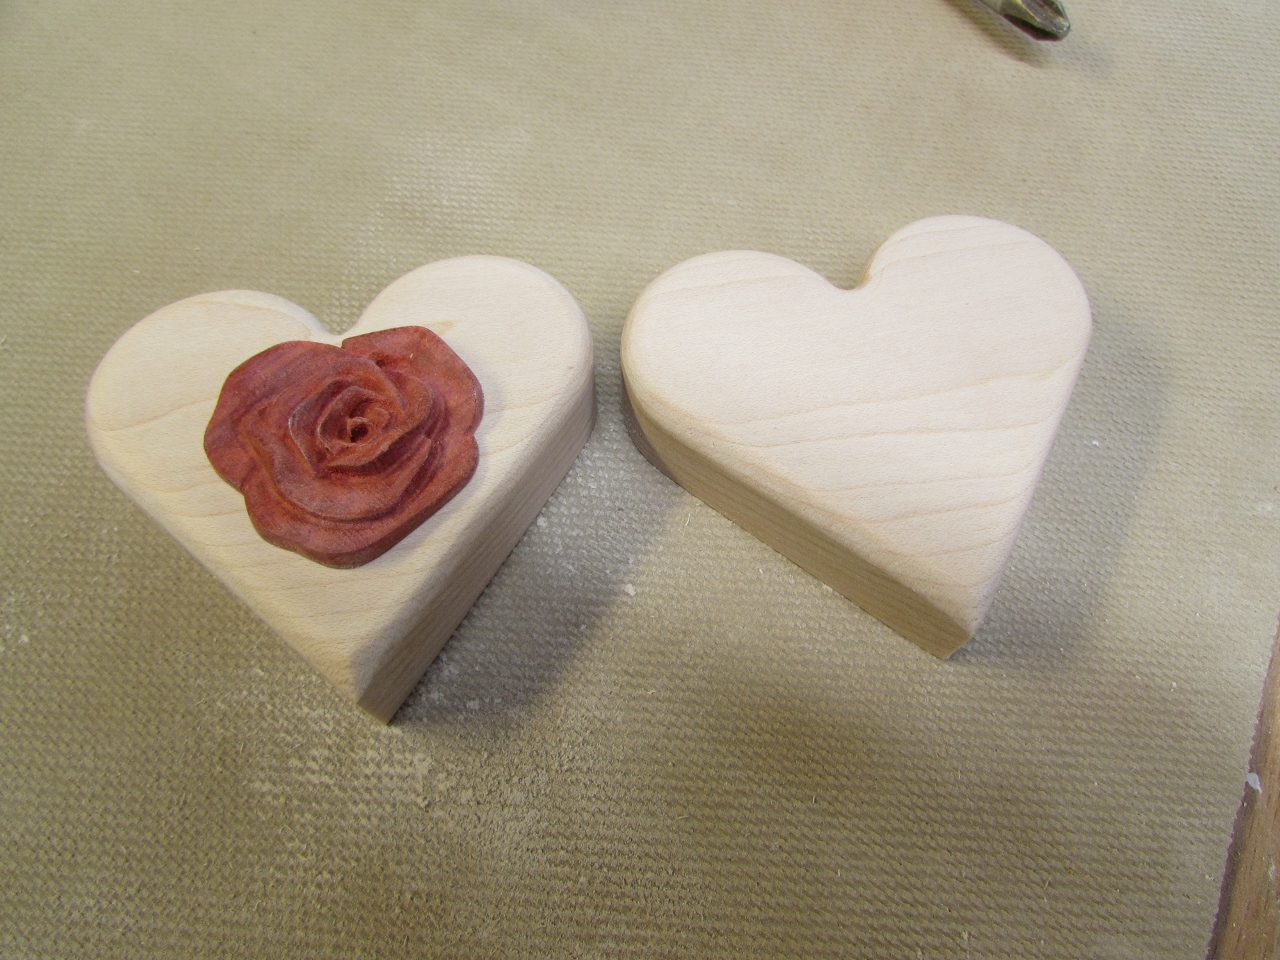
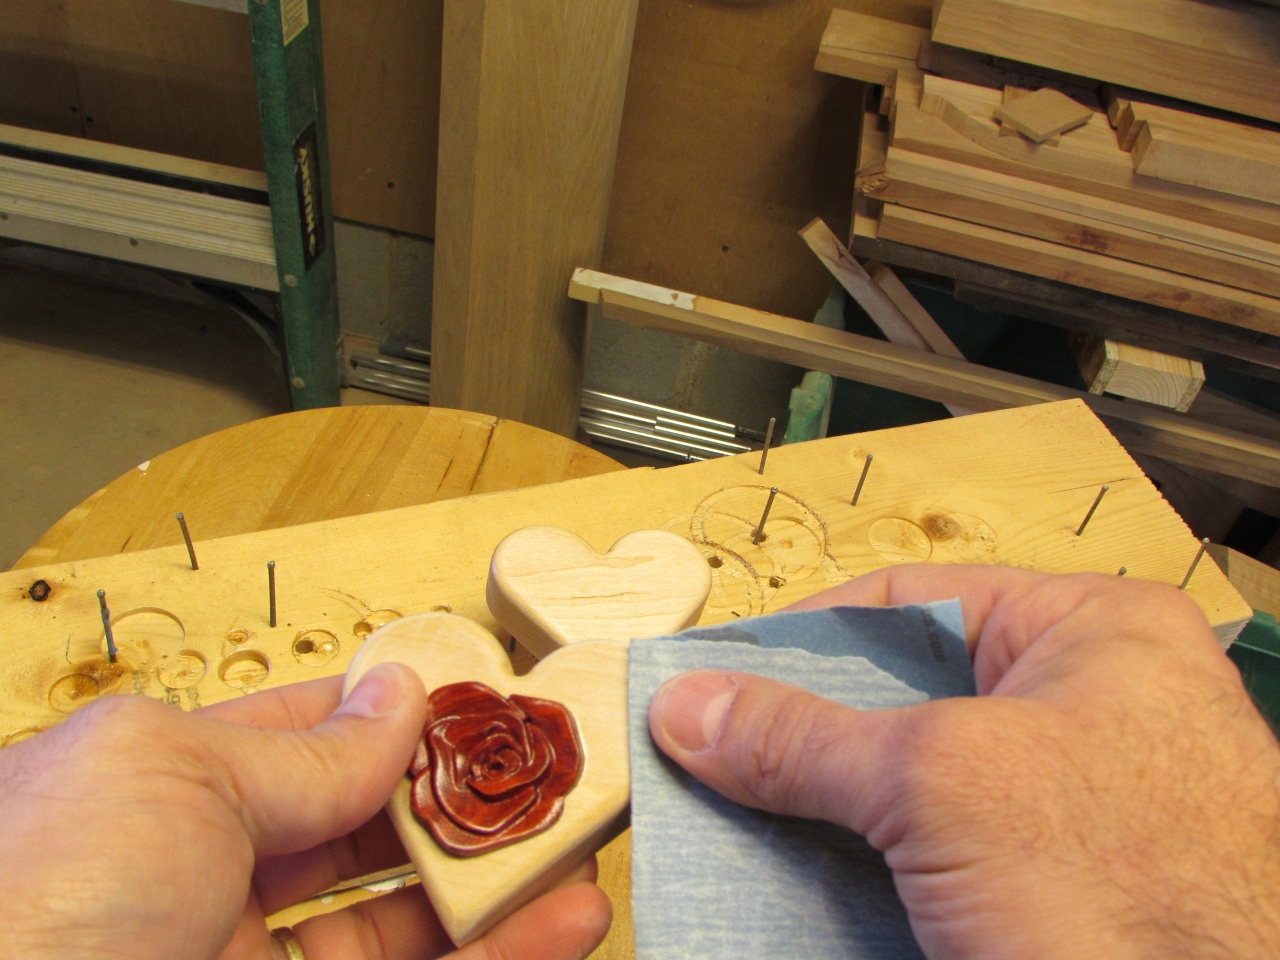
While they were drying, I very carefully cut the rose away from the blank with a knife along the edges.
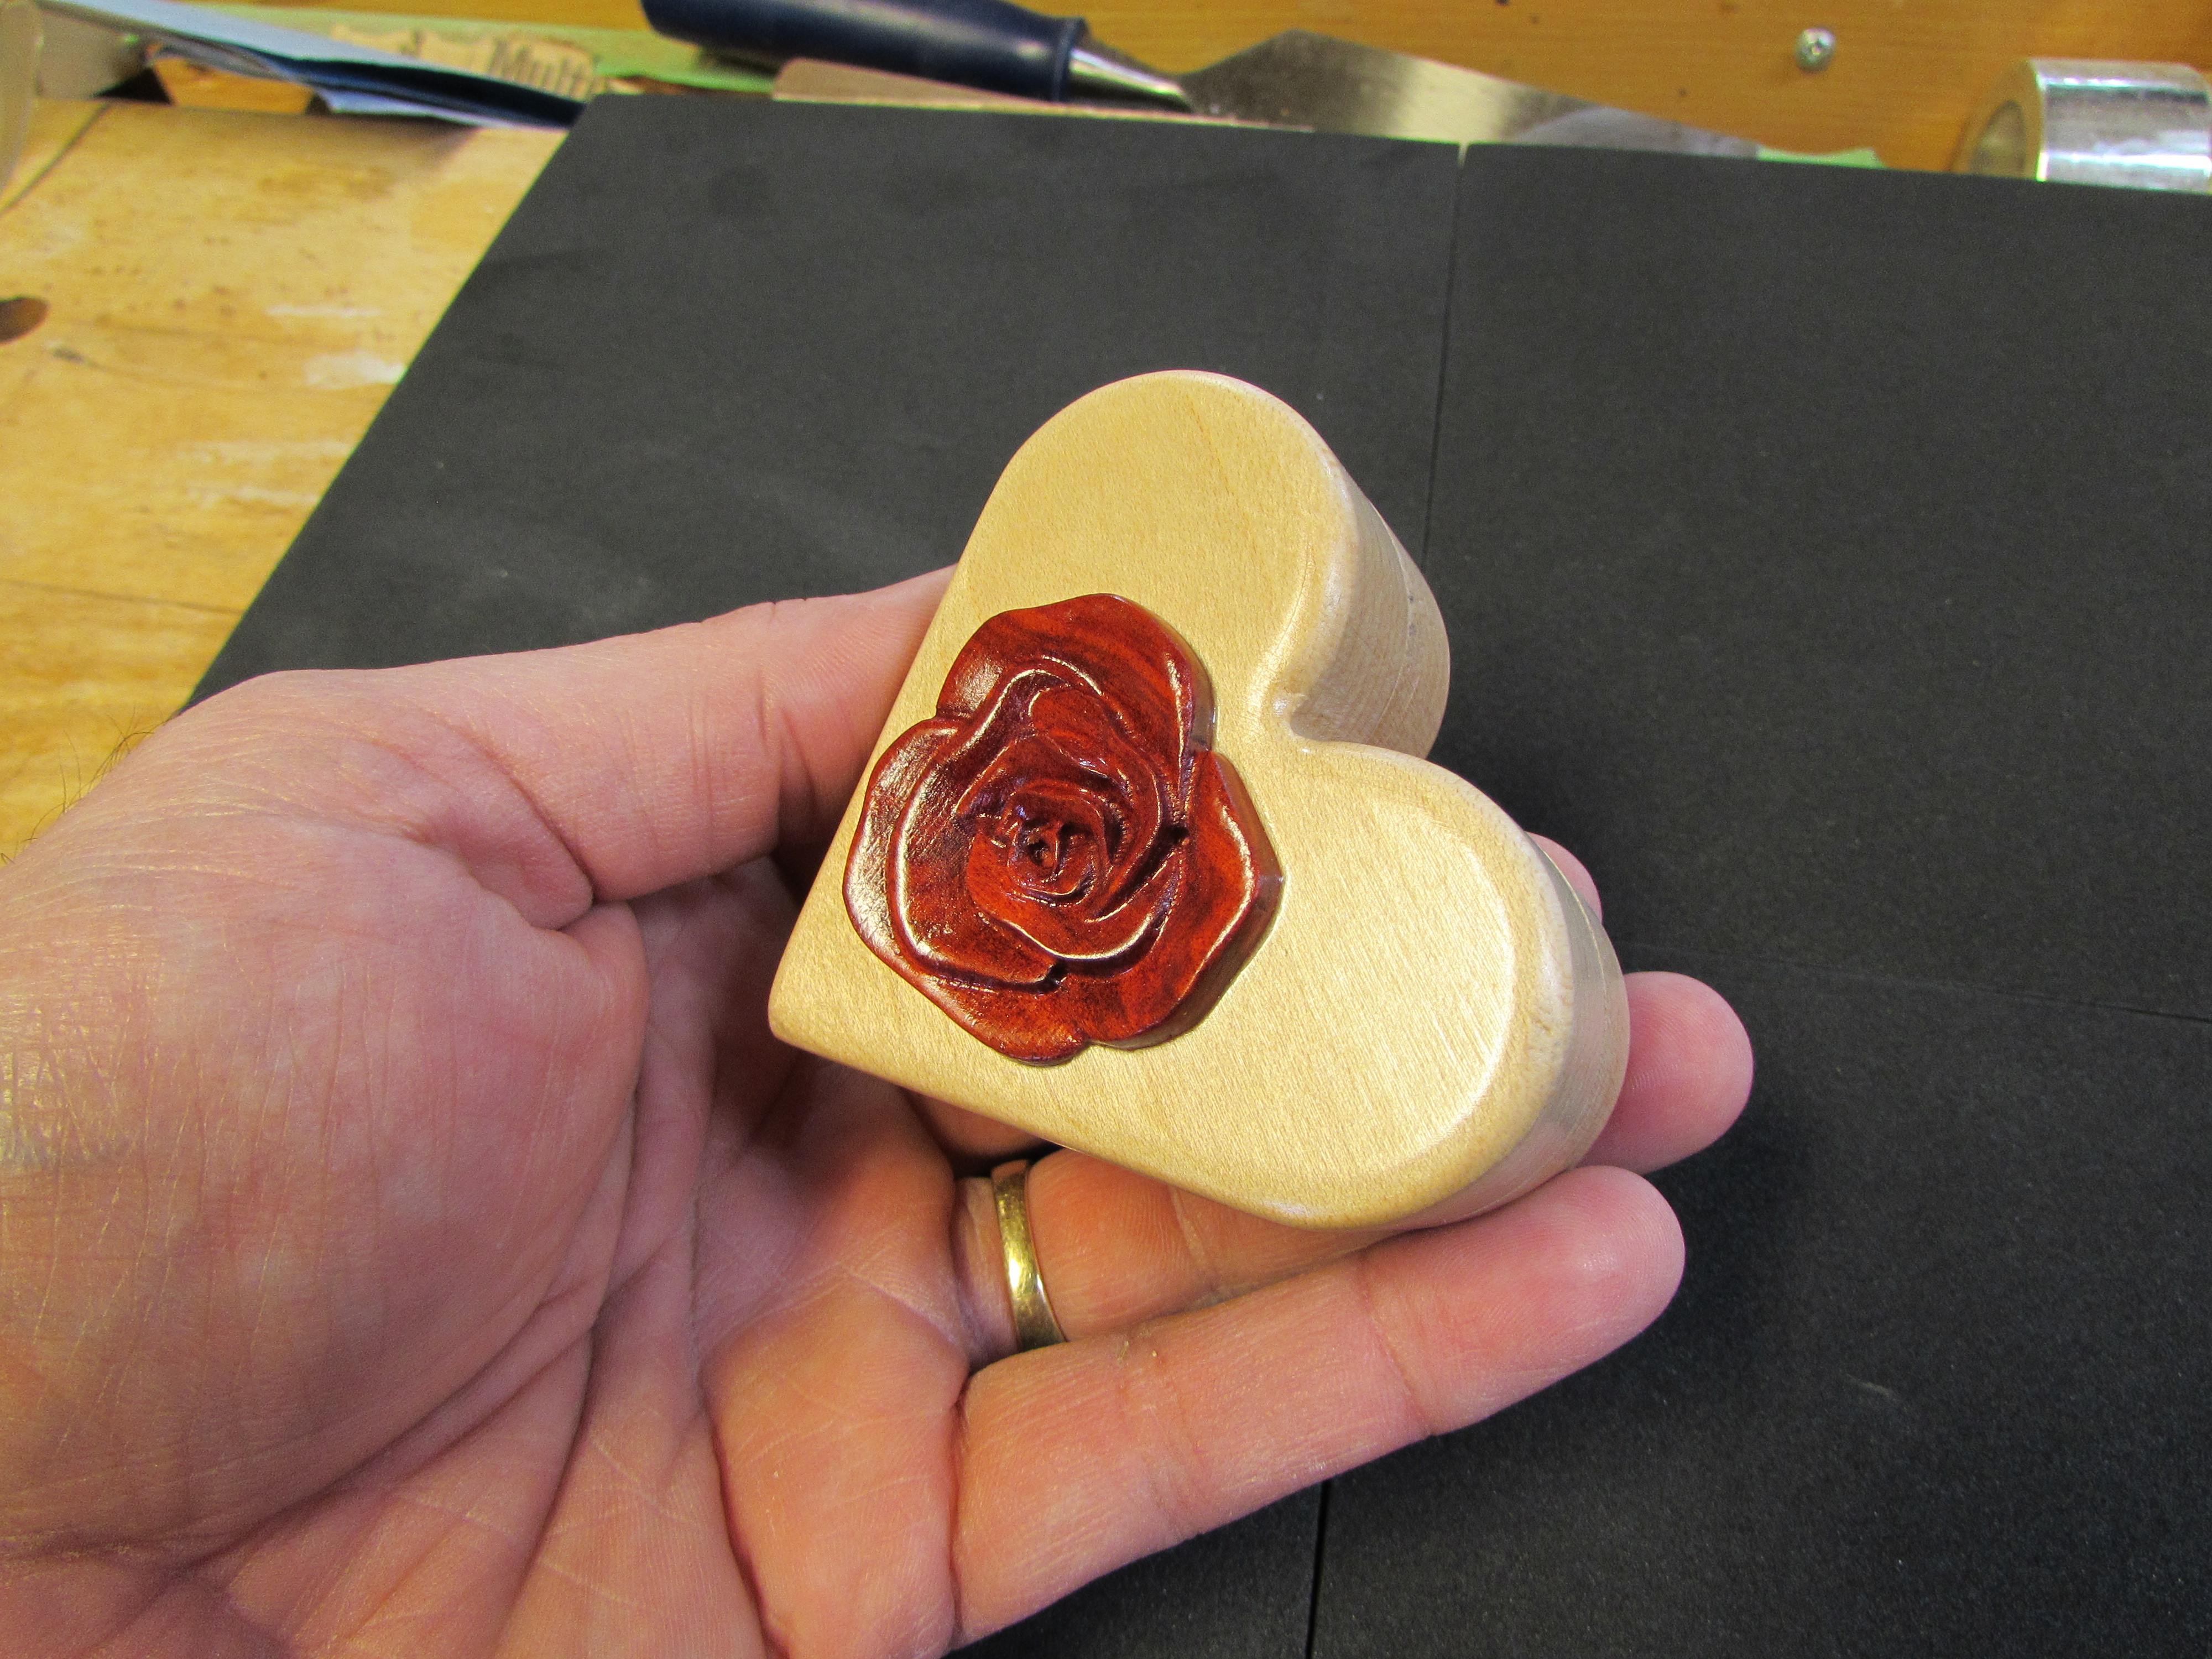
After a brief test fit, I spent a lot of time sanding first the edges, then the surface of the rose, to remove as much of the tooling marks as I could.
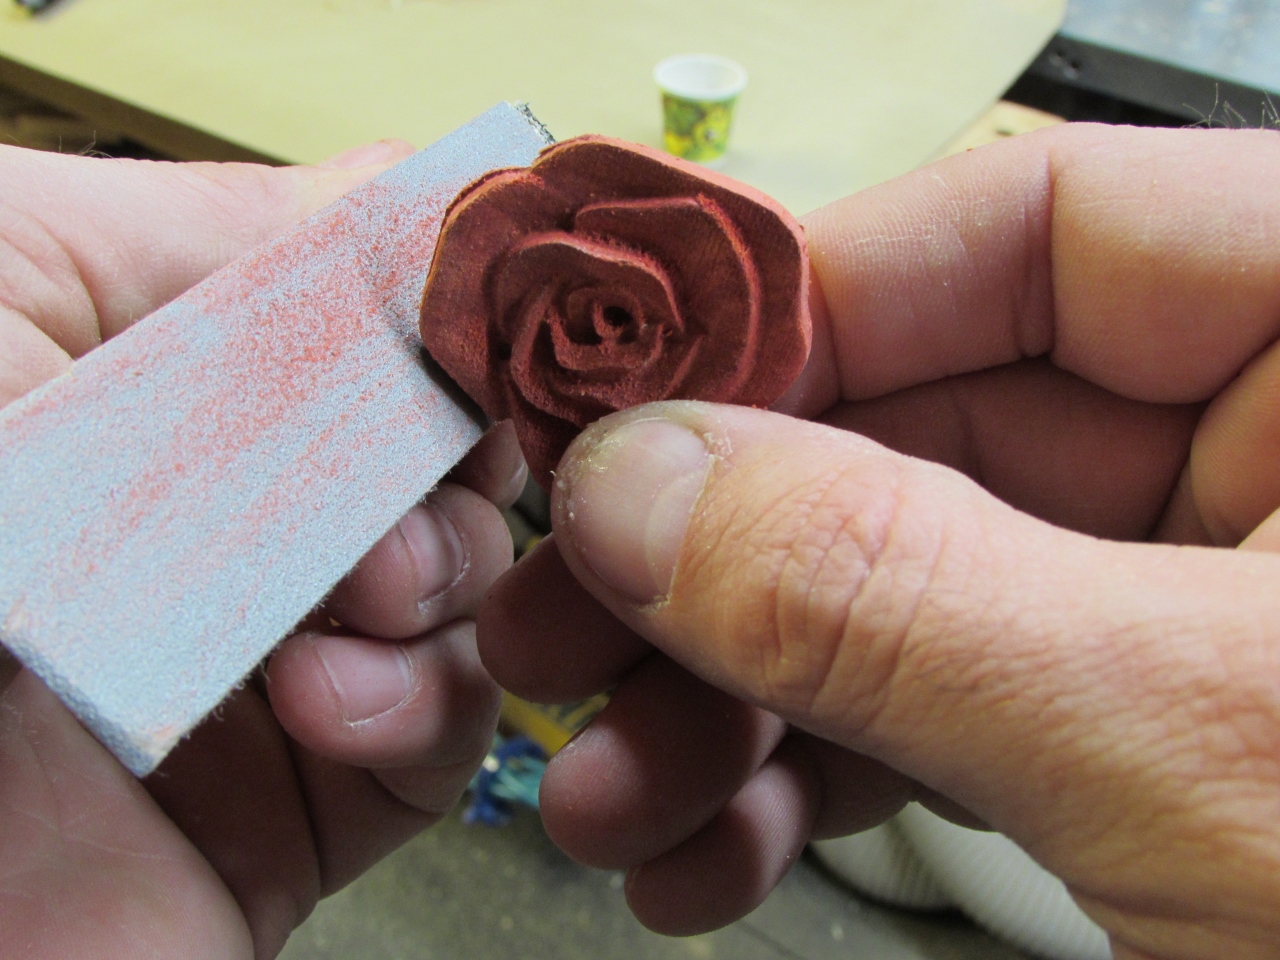
I am very pleased with how it turned out.

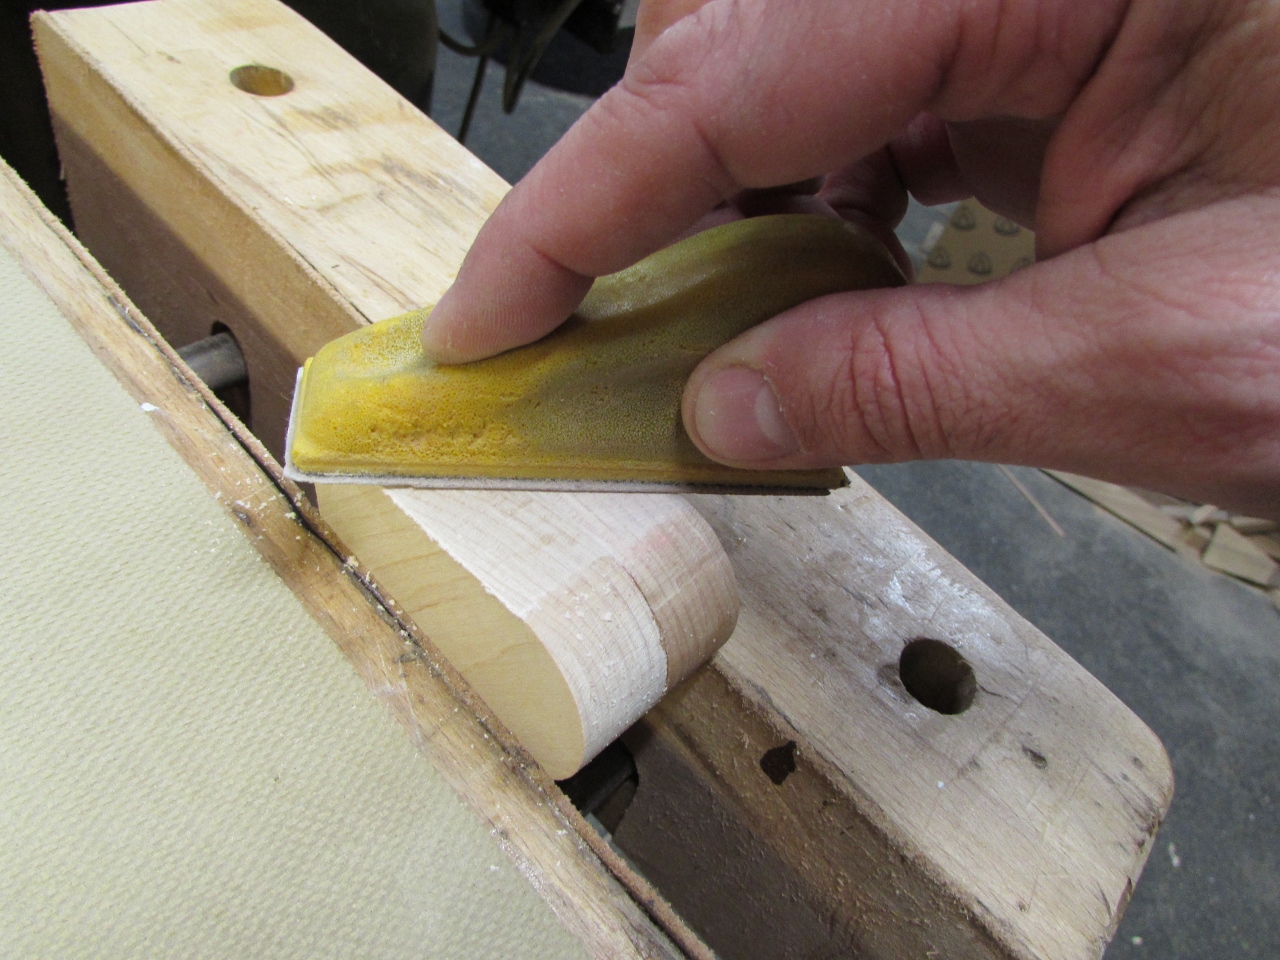
When the epoxy was cured, I put the box together and clamped it into my vise to sand the sides down. This ensured that the sides lined up perfectly, all the way around when released from the vise.
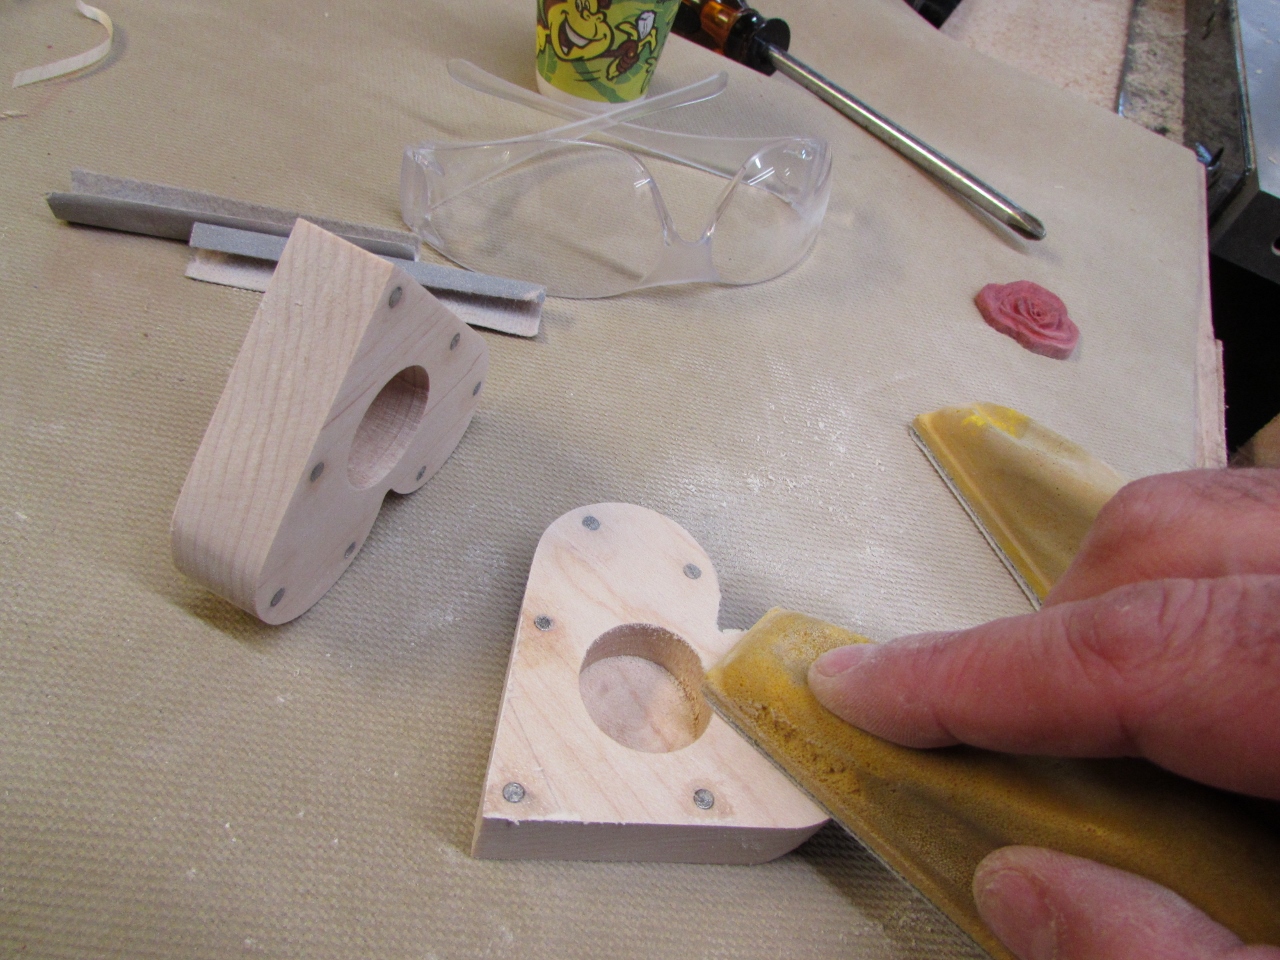
After sanding everything down to 220 grit, I got out my 1/8″ round-over bit that has a brass tip instead of a bearing.
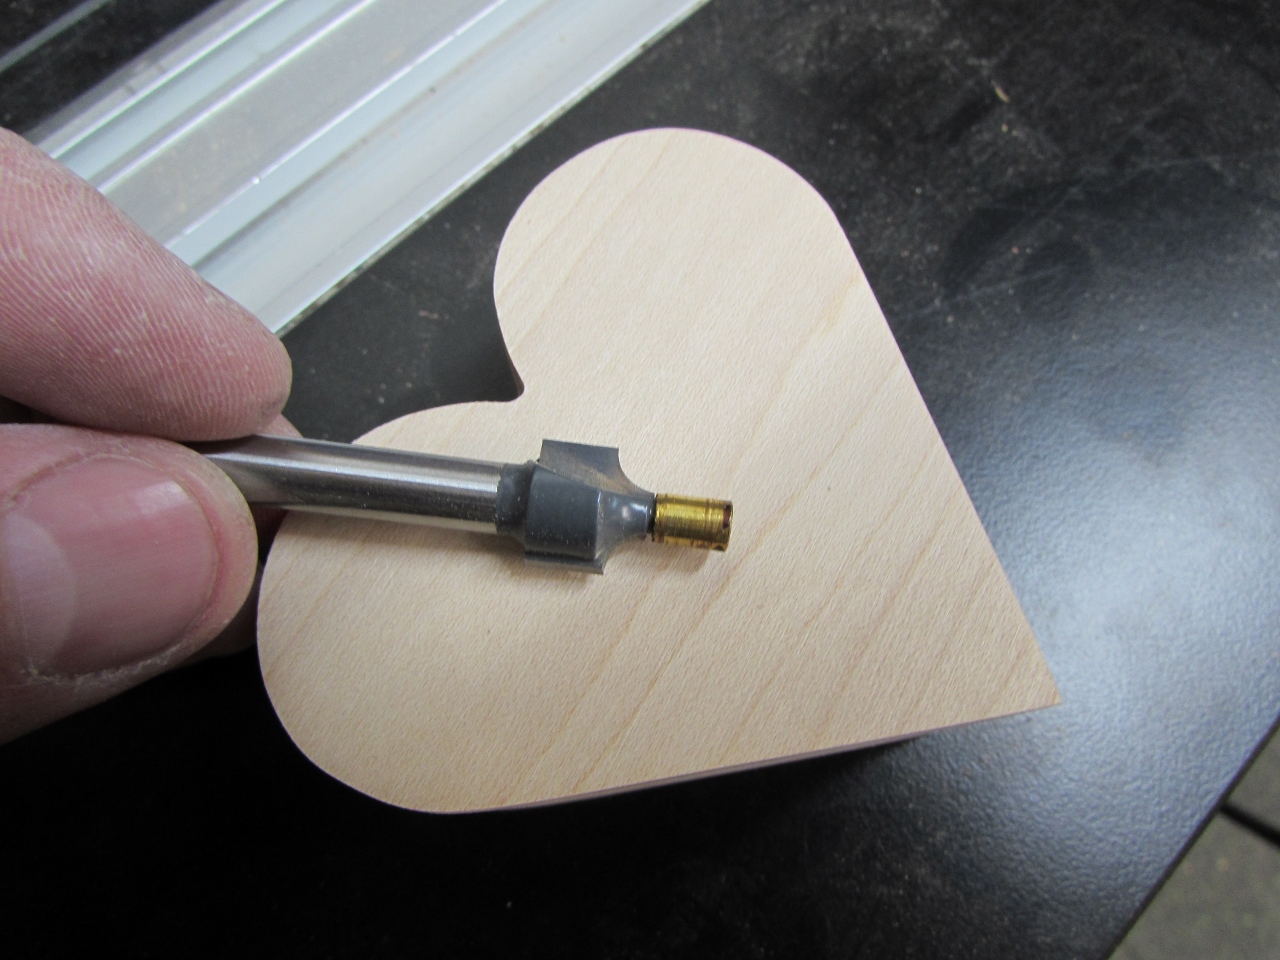
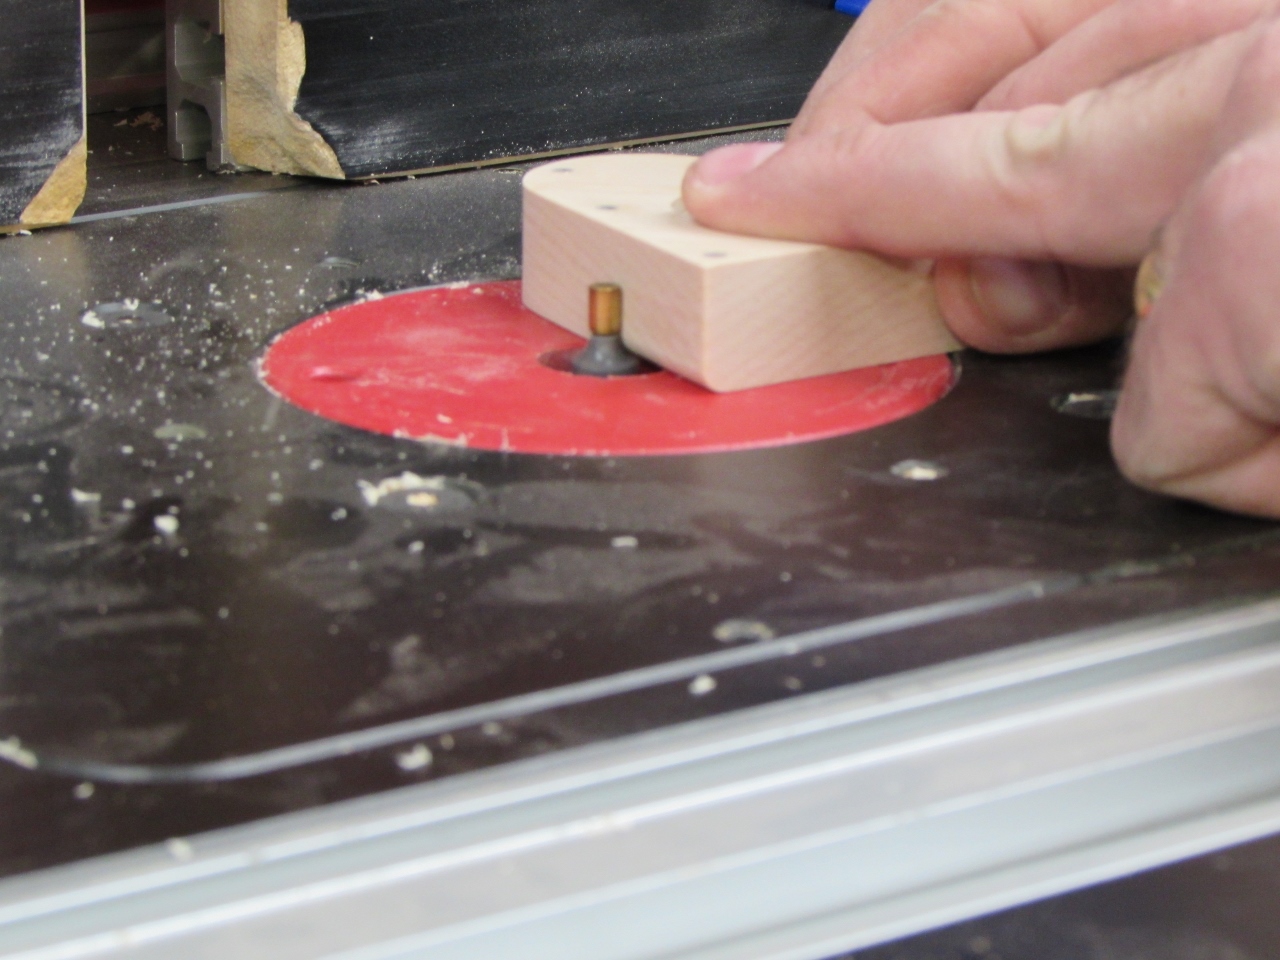
I used it to radius the top and bottom edges, all the way around. The brass tip was just small enough to fit into the dip at the top of the heart.
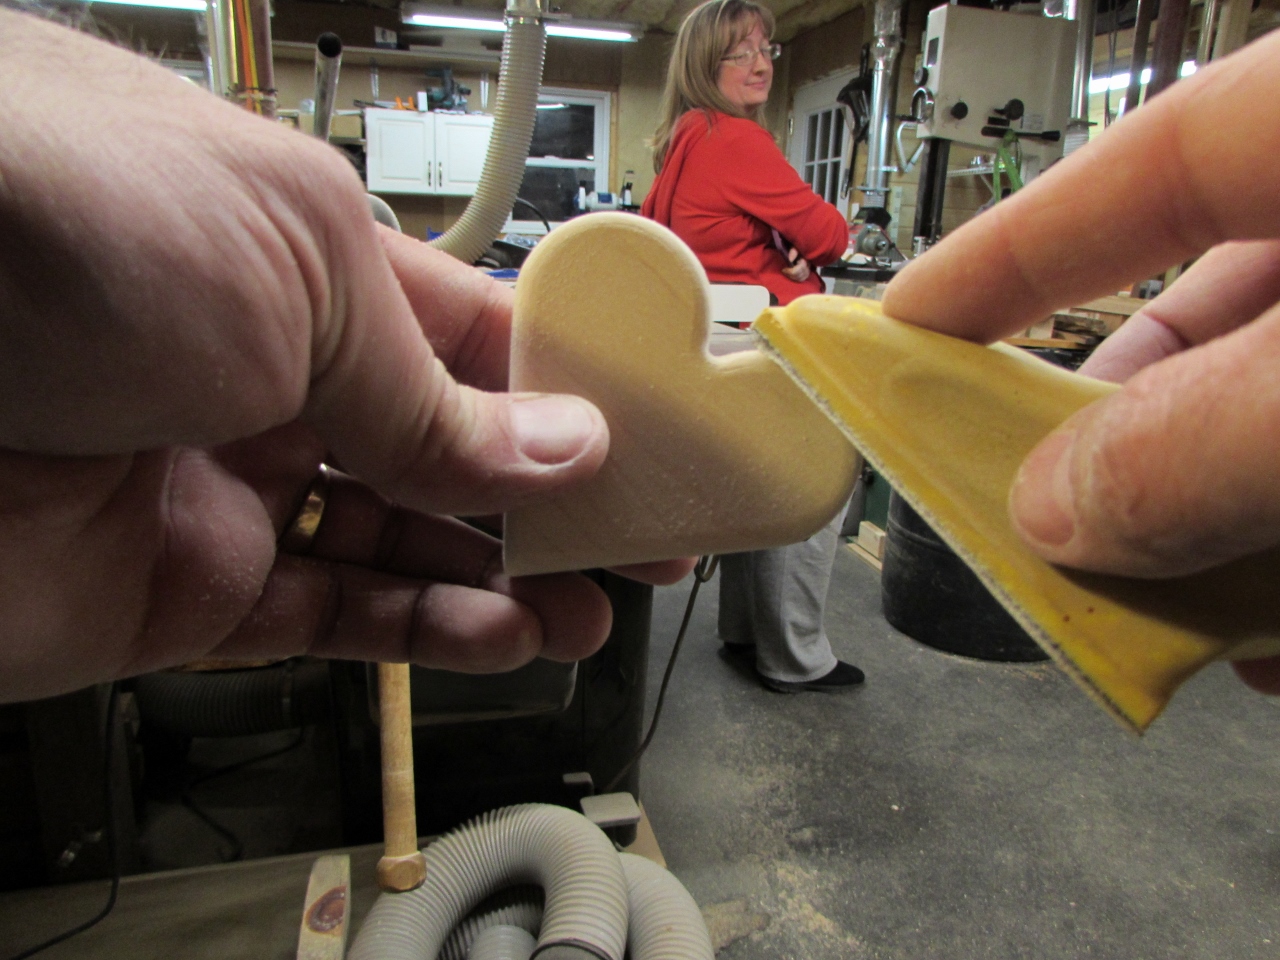
Then it was more sanding, under my wife’s watchful eye…
All the sanding is done so I mixed up some more epoxy and attached the rose to the lid of the box.
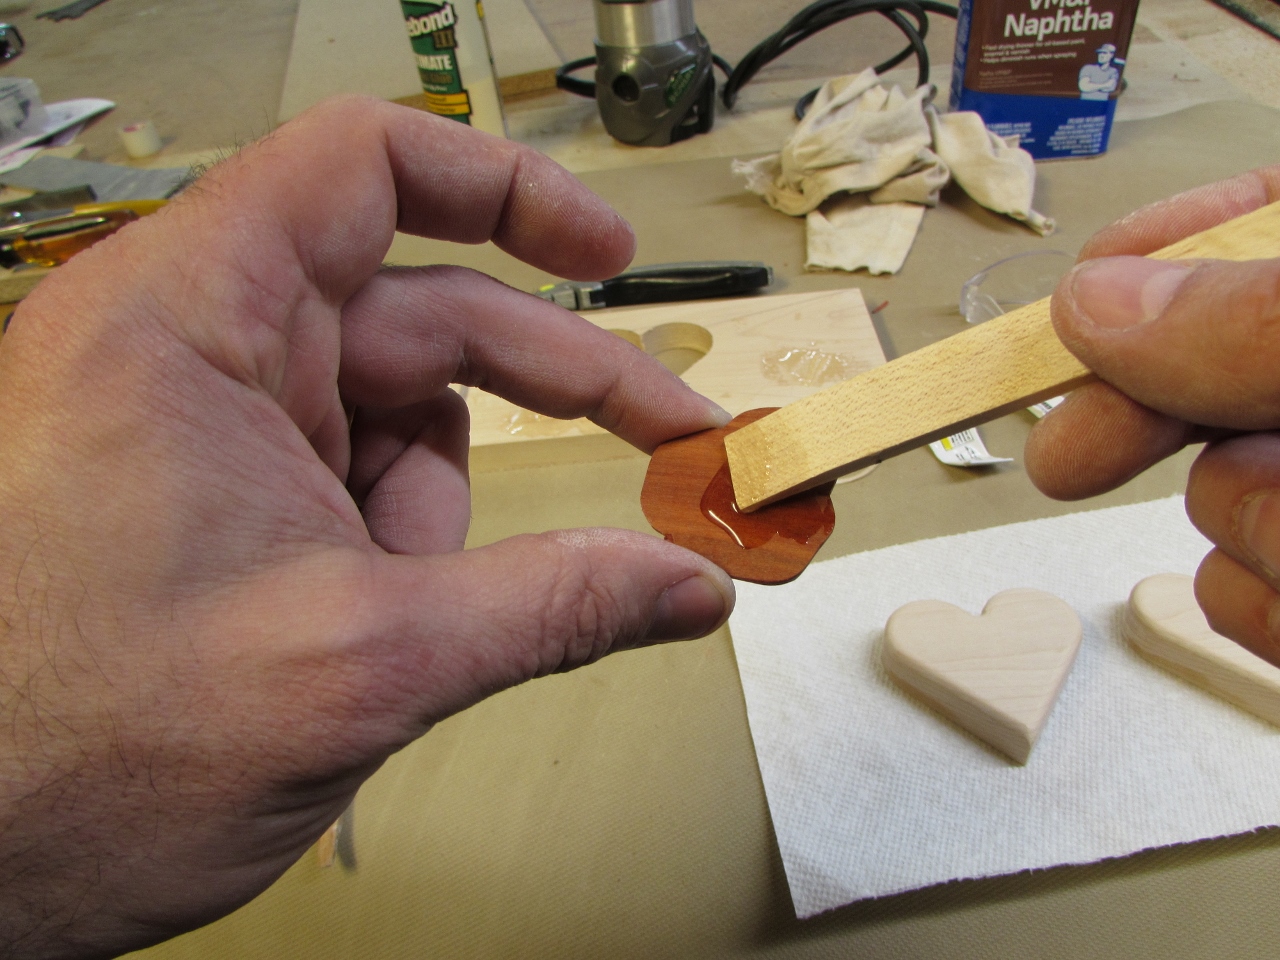
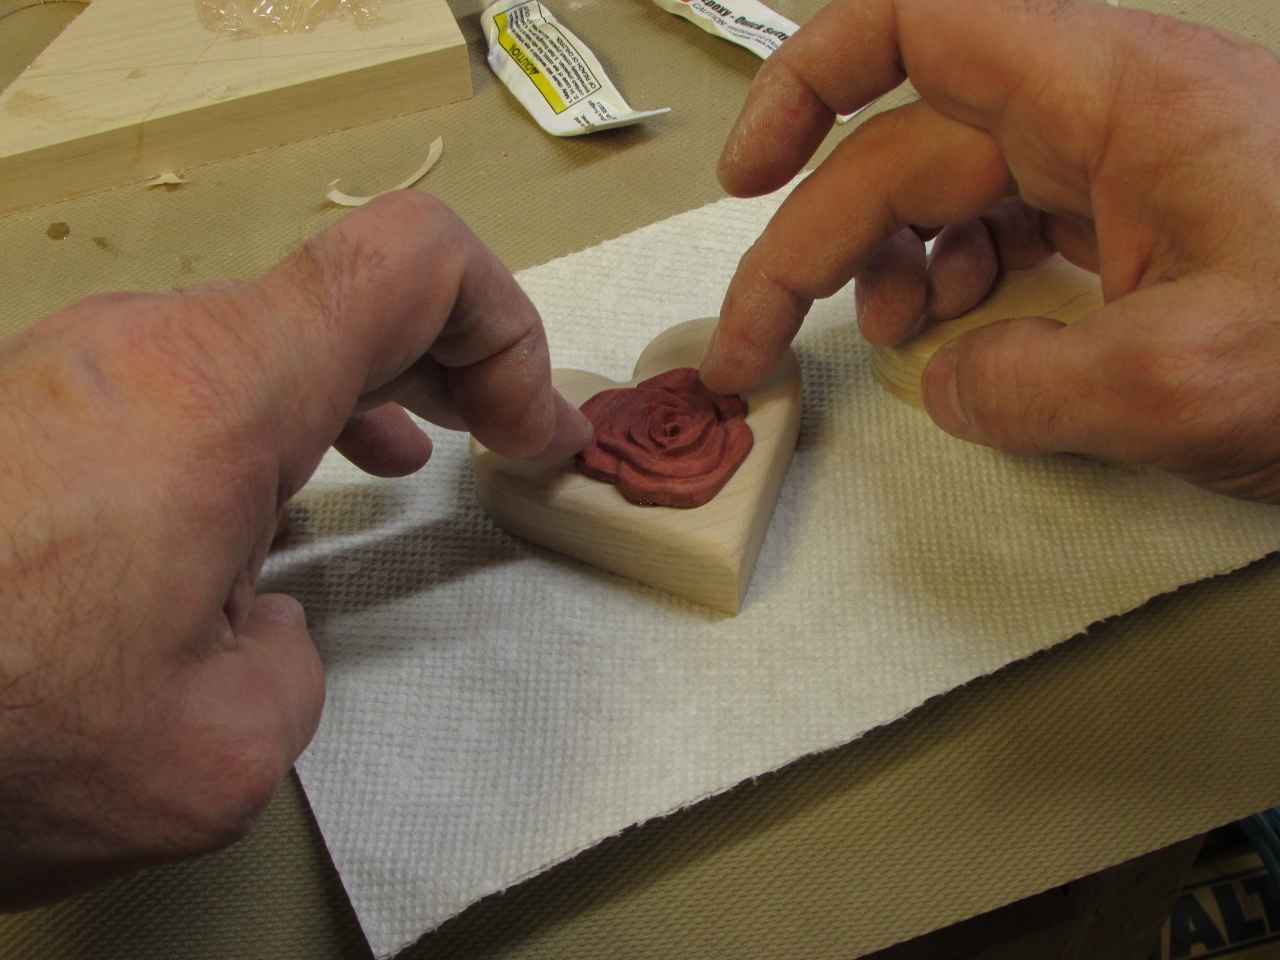
The epoxy is clear, so any squeeze-out will not be seen under the clear finish.
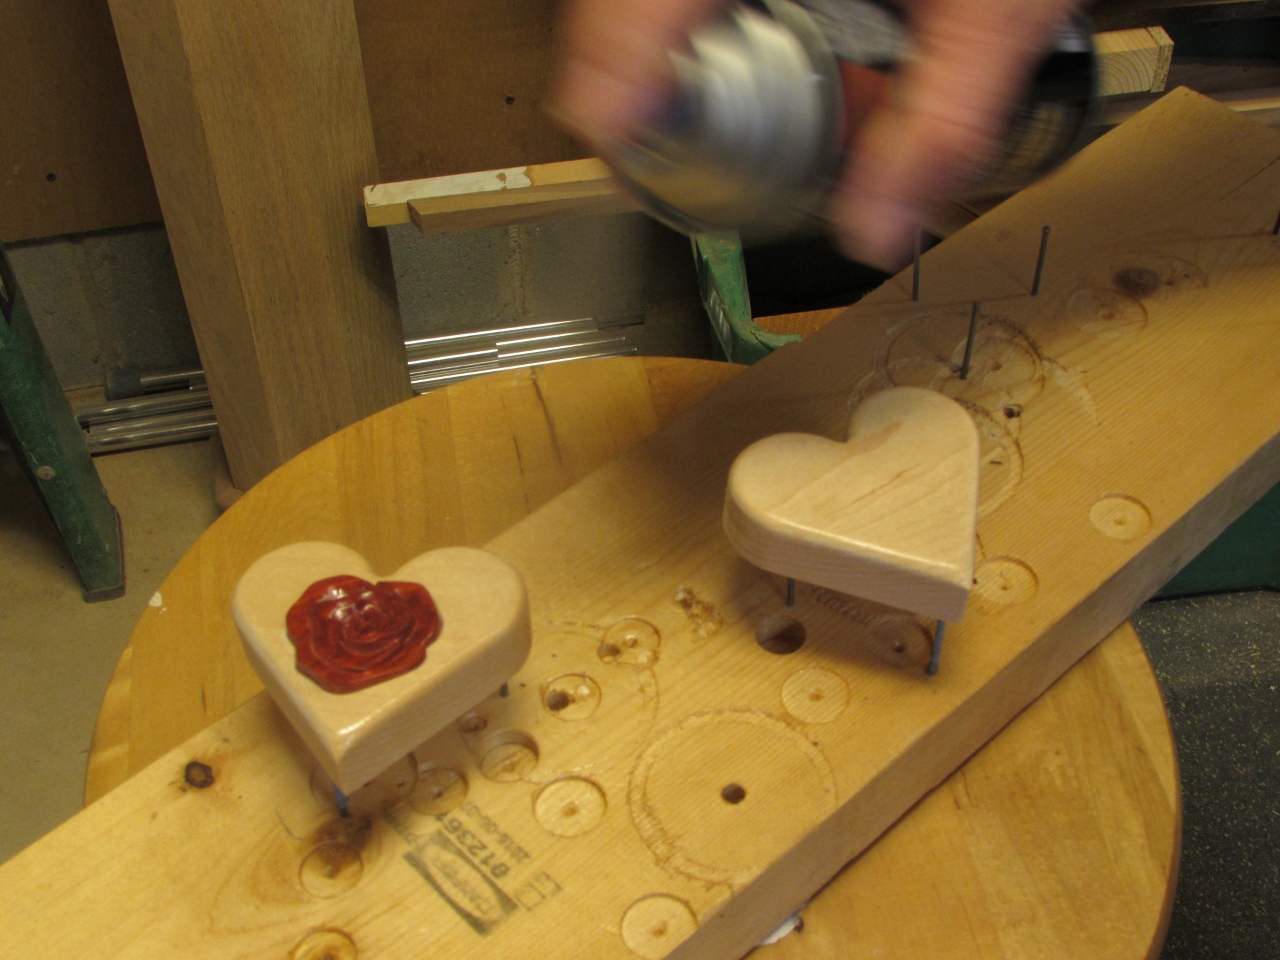
I sprayed on several coats of semi-gloss lacquer, sanding with 400 grit paper between each coat.
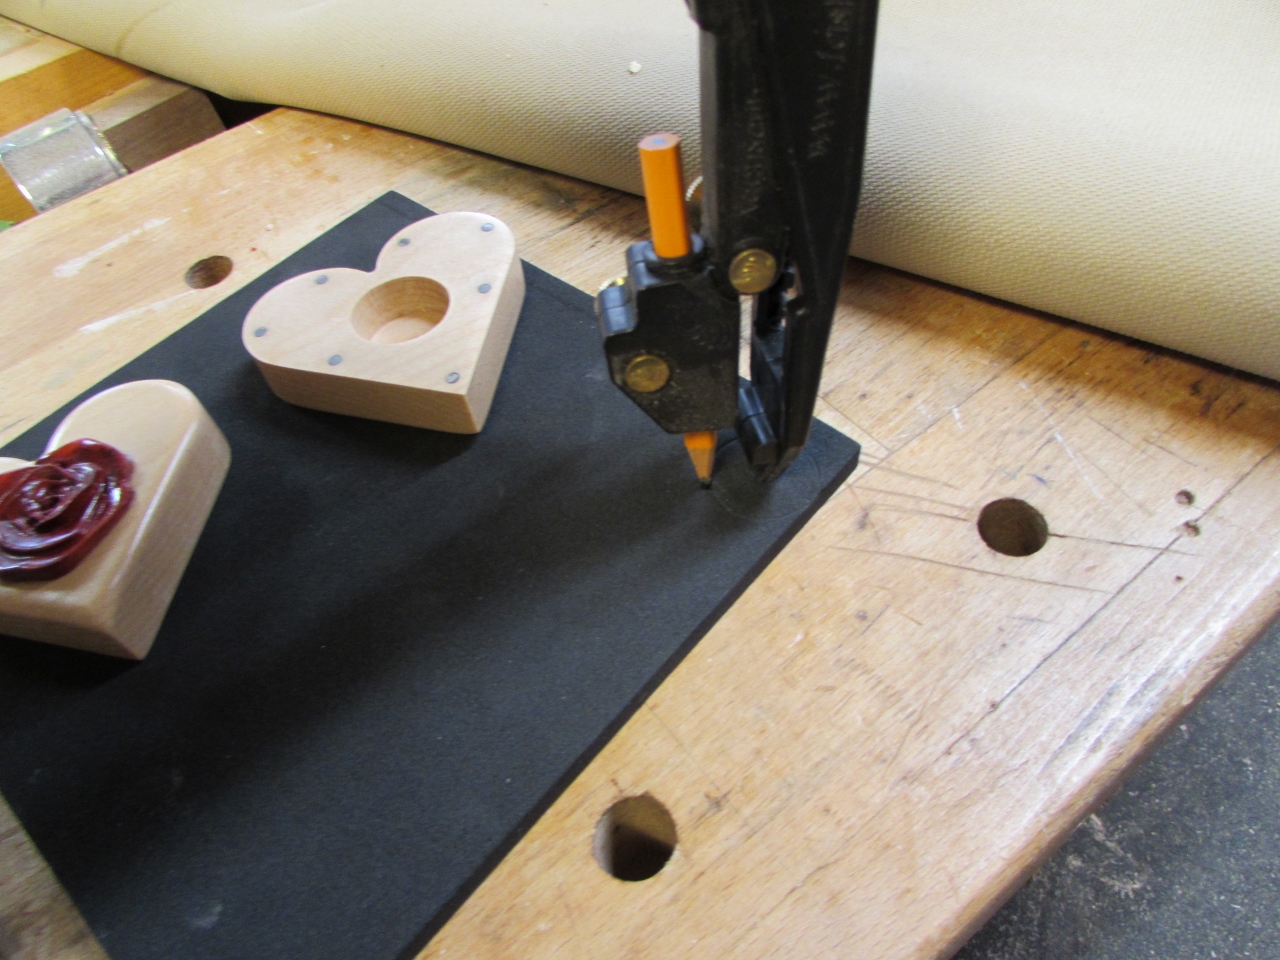
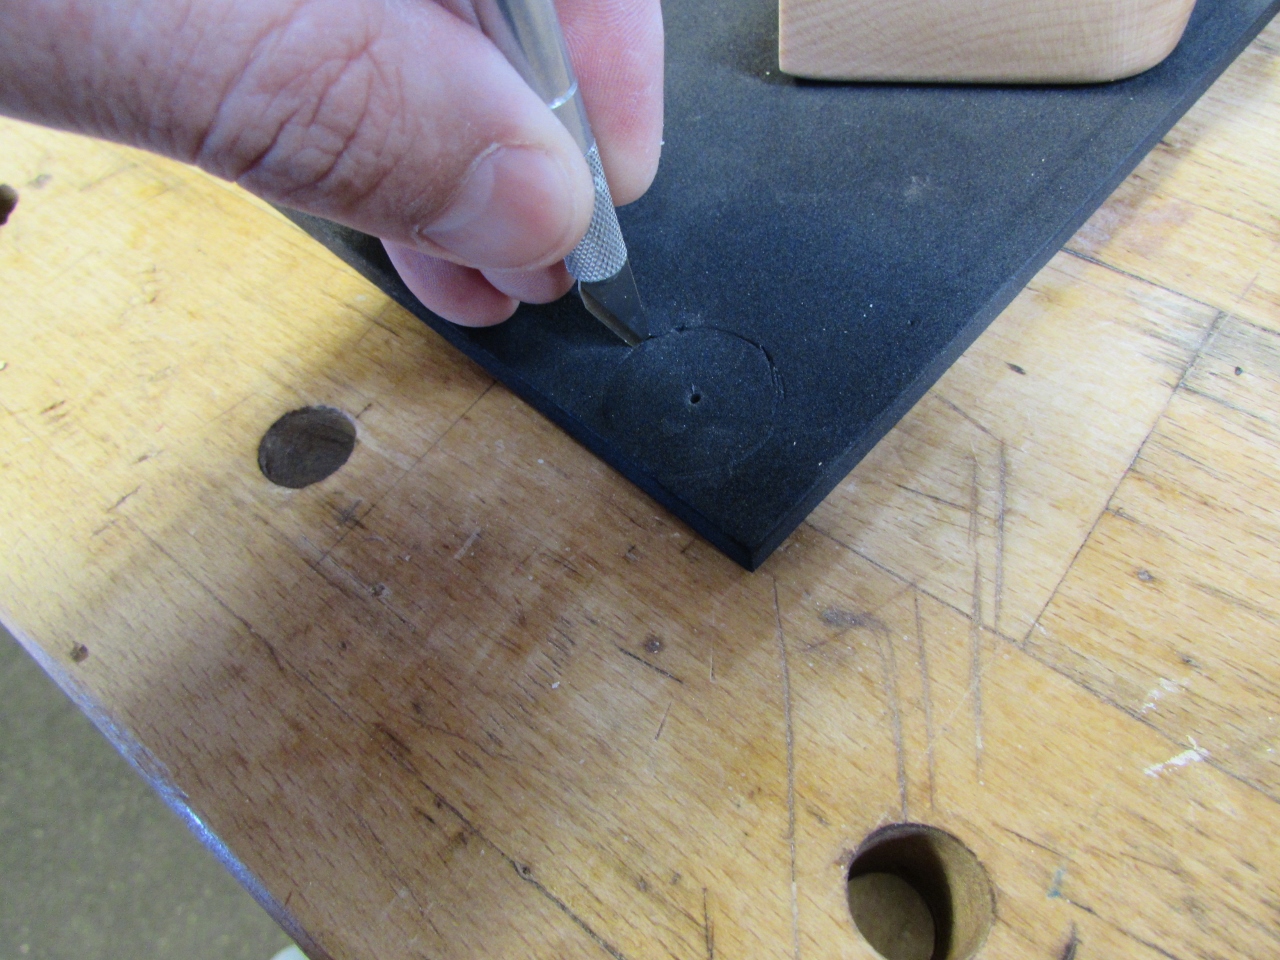
To hold the ring in place, I am using some 3/8″ thick neoprene sponge foam rubber that I bought for another project. I used my compass to draw a 1″ circle, then carefully cut the circle out with an Exacto-knife.
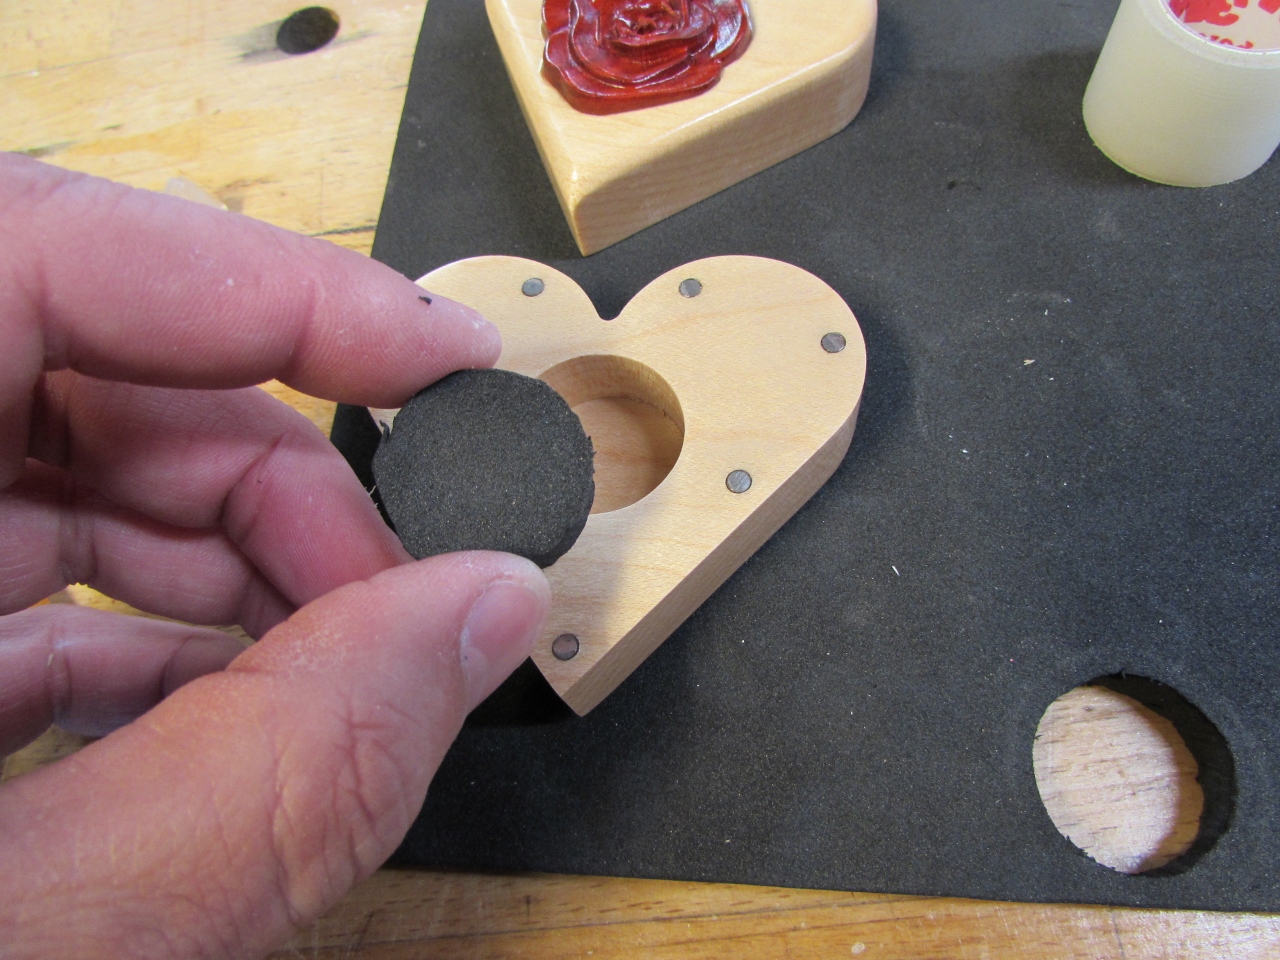
I pressed the foam into the center of the hole, then cut a slice across the middle for the ring.

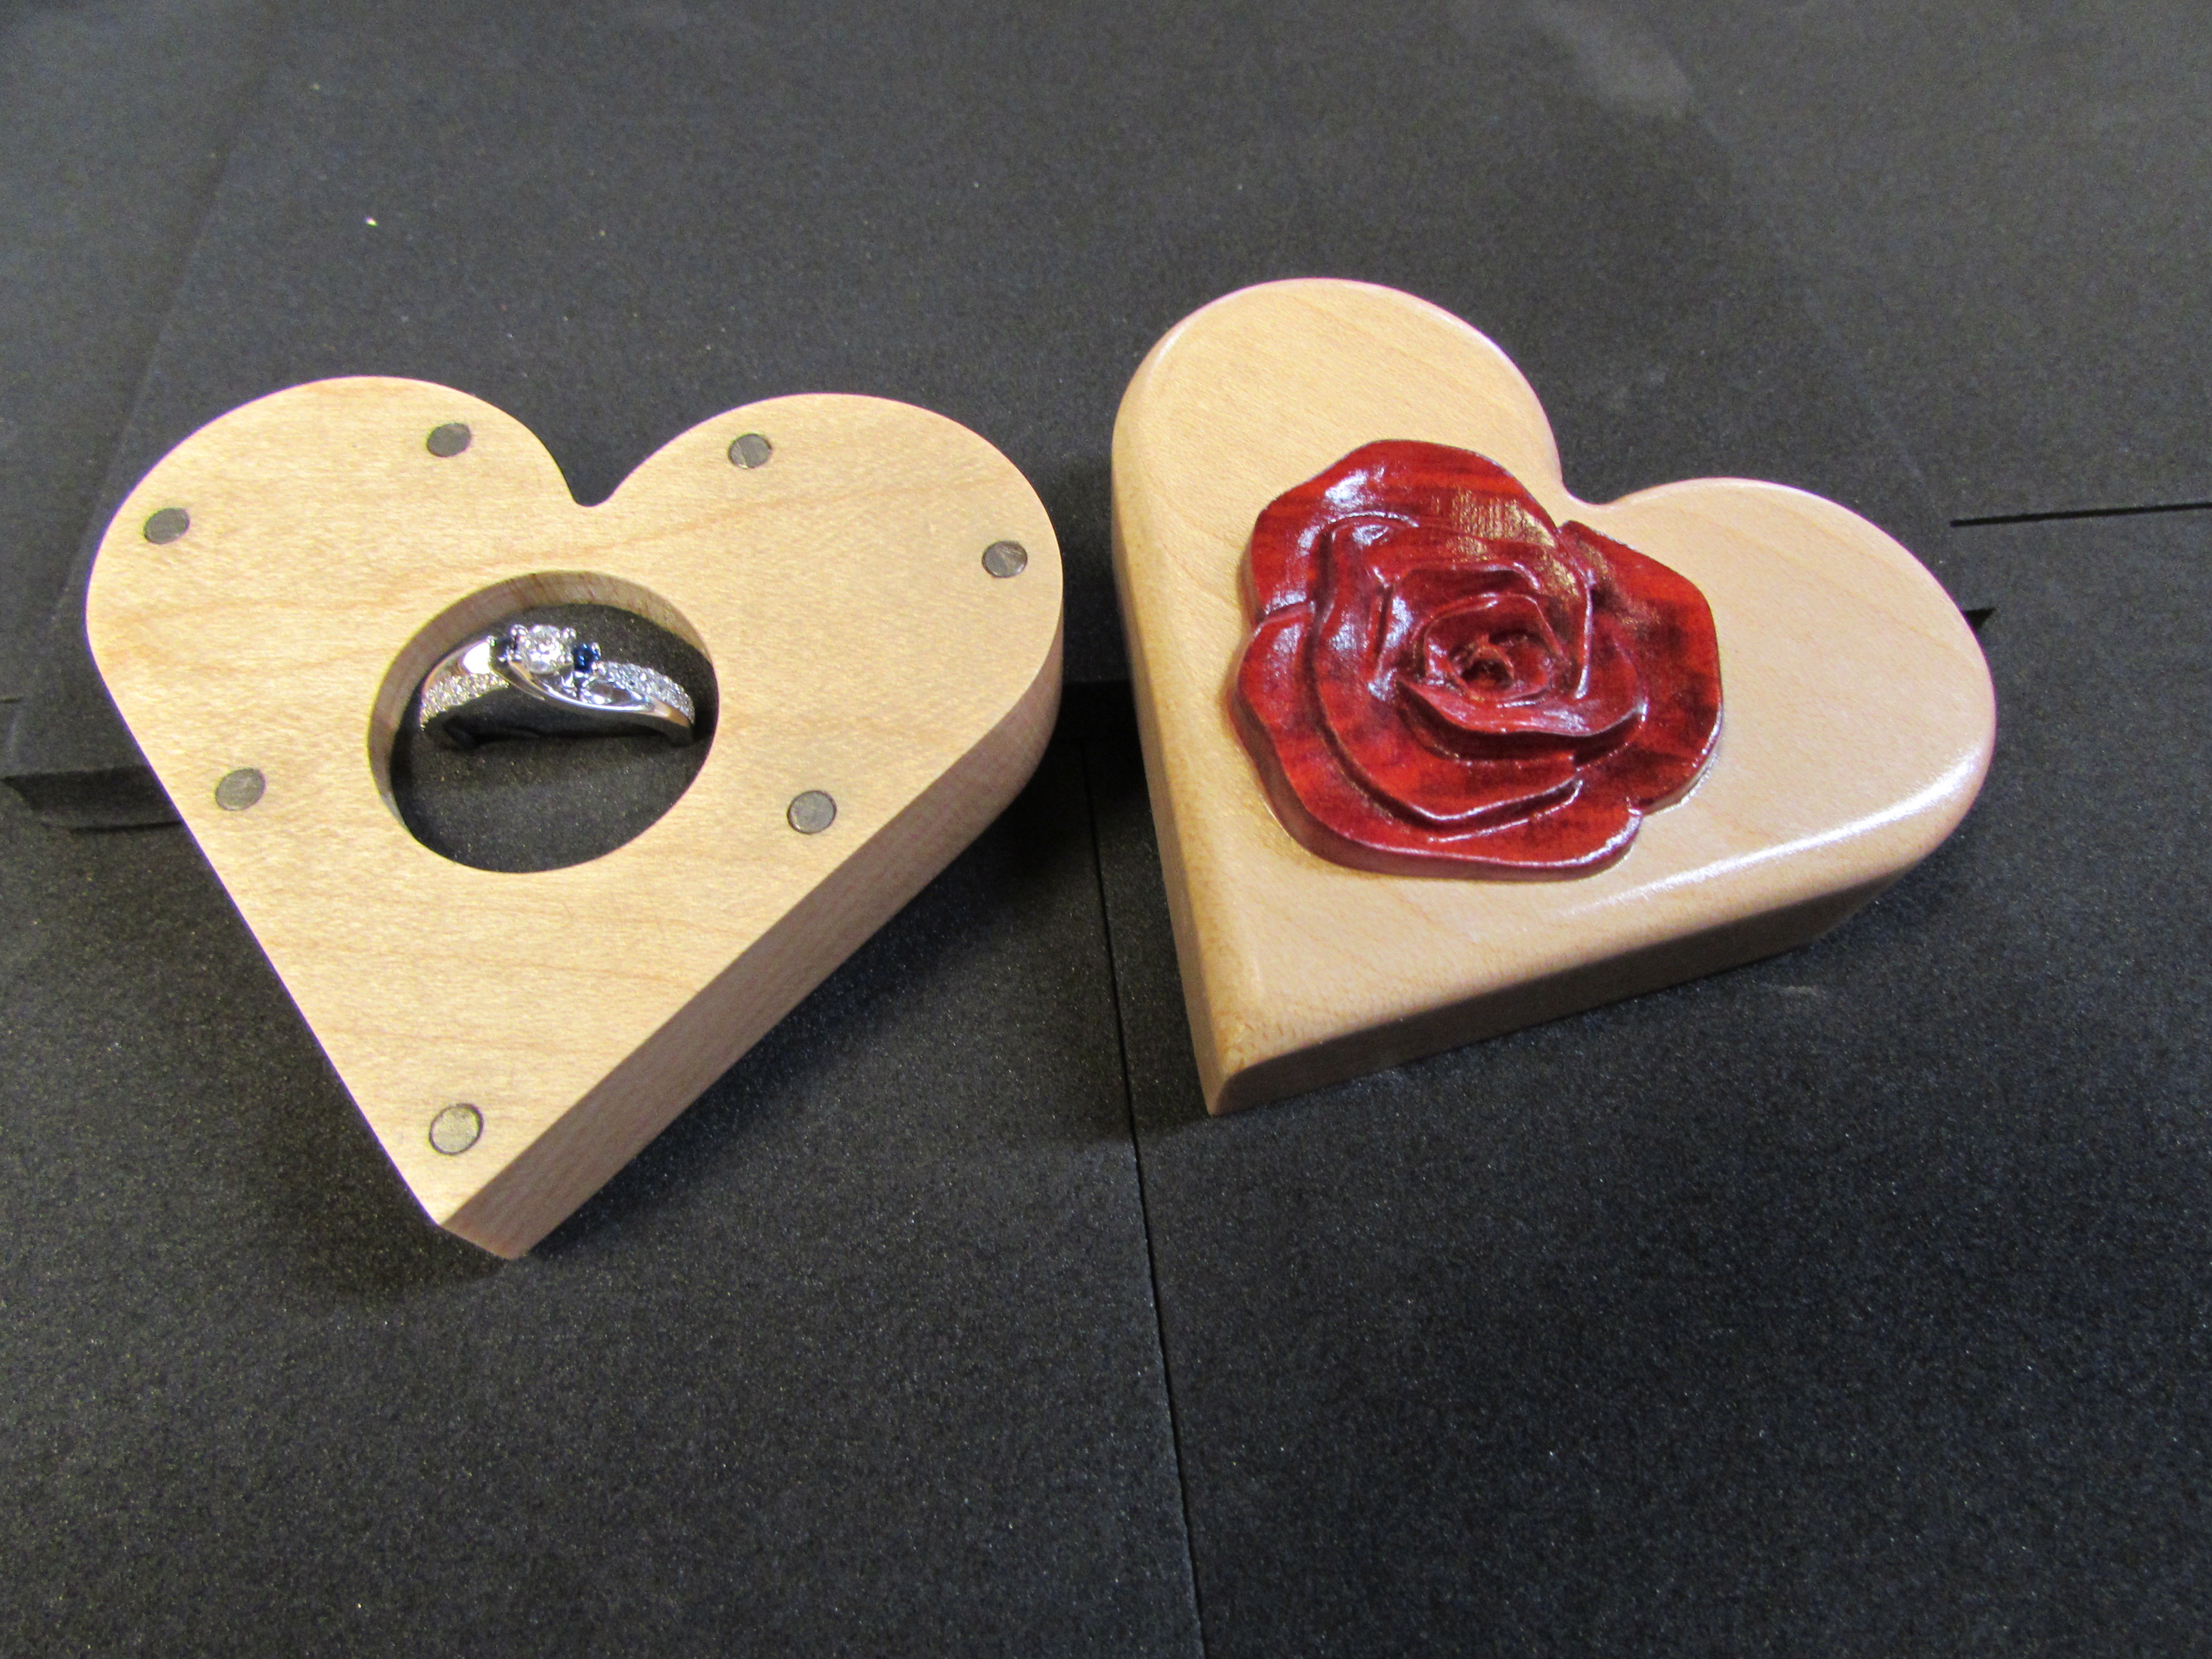
The ring sits securely in the center, and the box fits perfectly around it. I think the rose looks fantastic. I am really pleased with how it turned out.
And, she said YES!
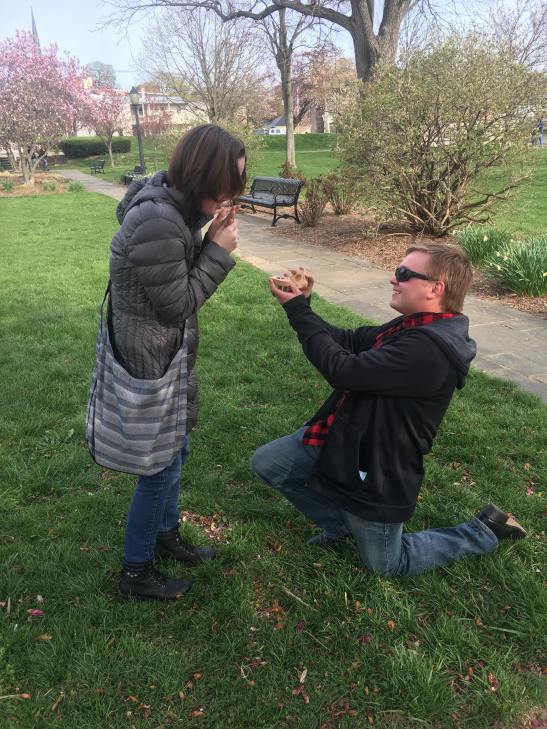


This is such a beautiful piece – unique and made with love. What a treasure!