
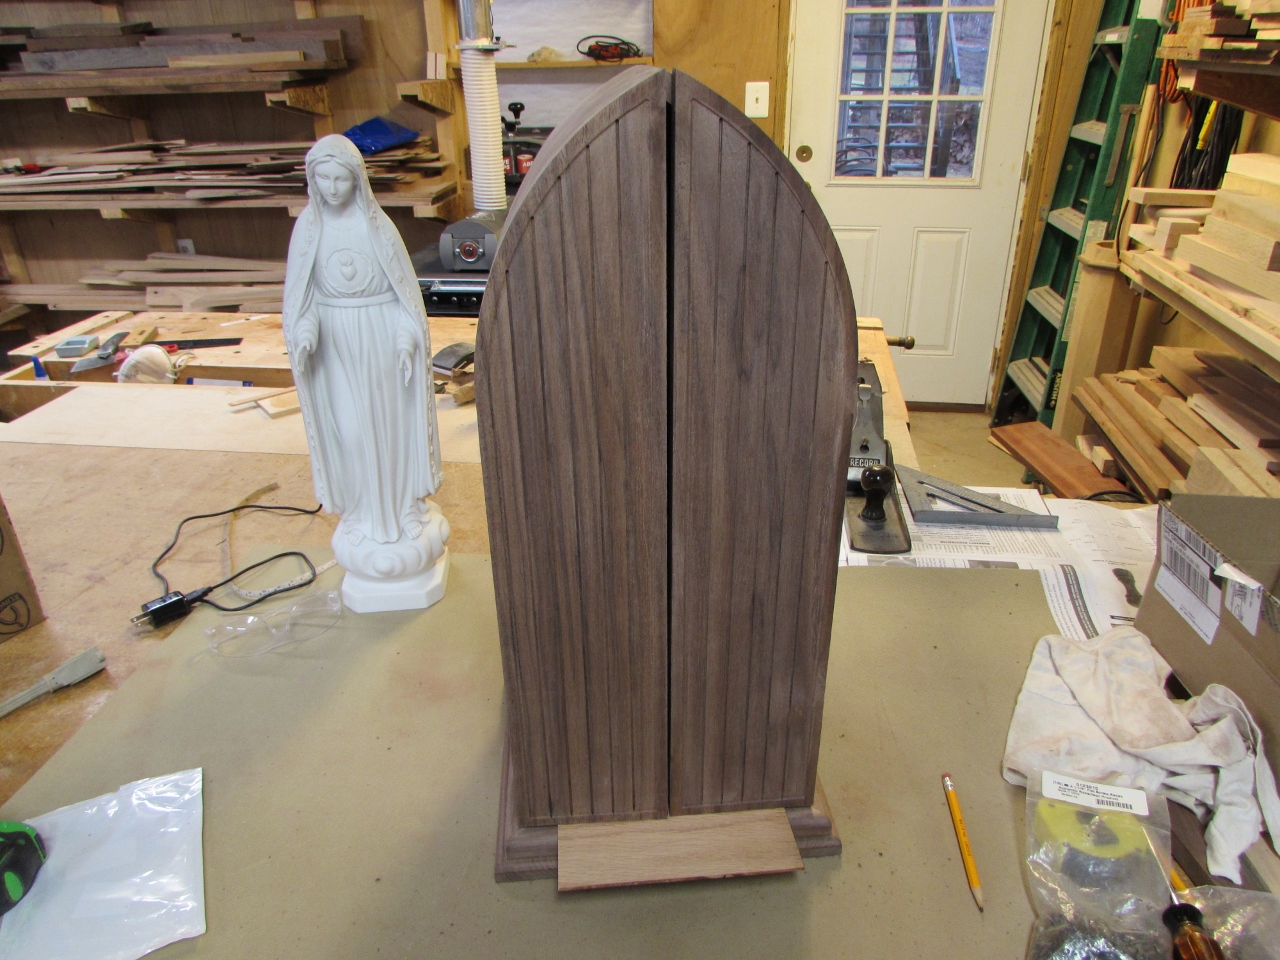
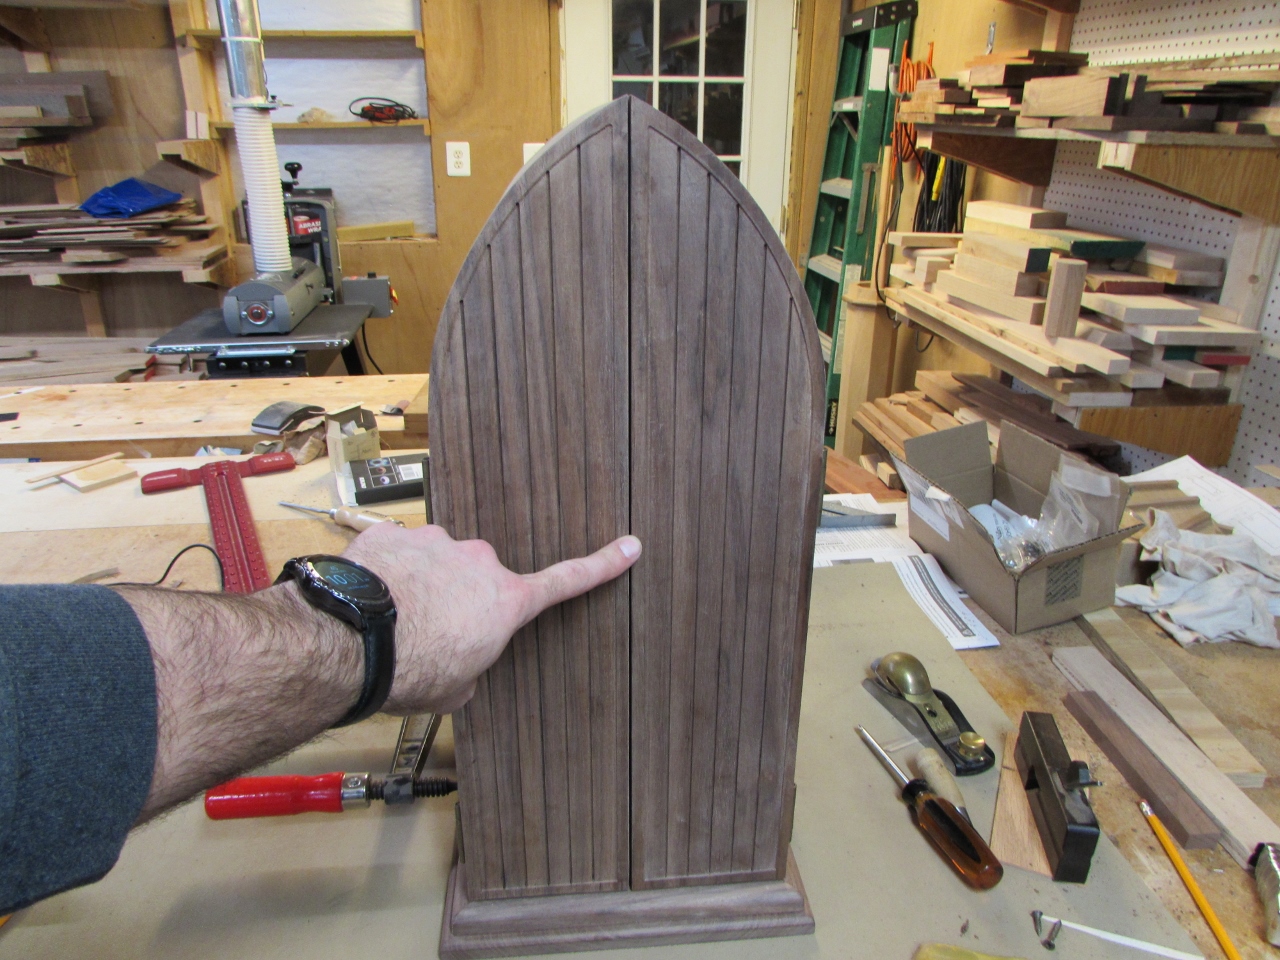
Arch-top cabinet – day 3
I bought the LED strip, knowing I would need some form of backlighting. The problem is where to attach it.
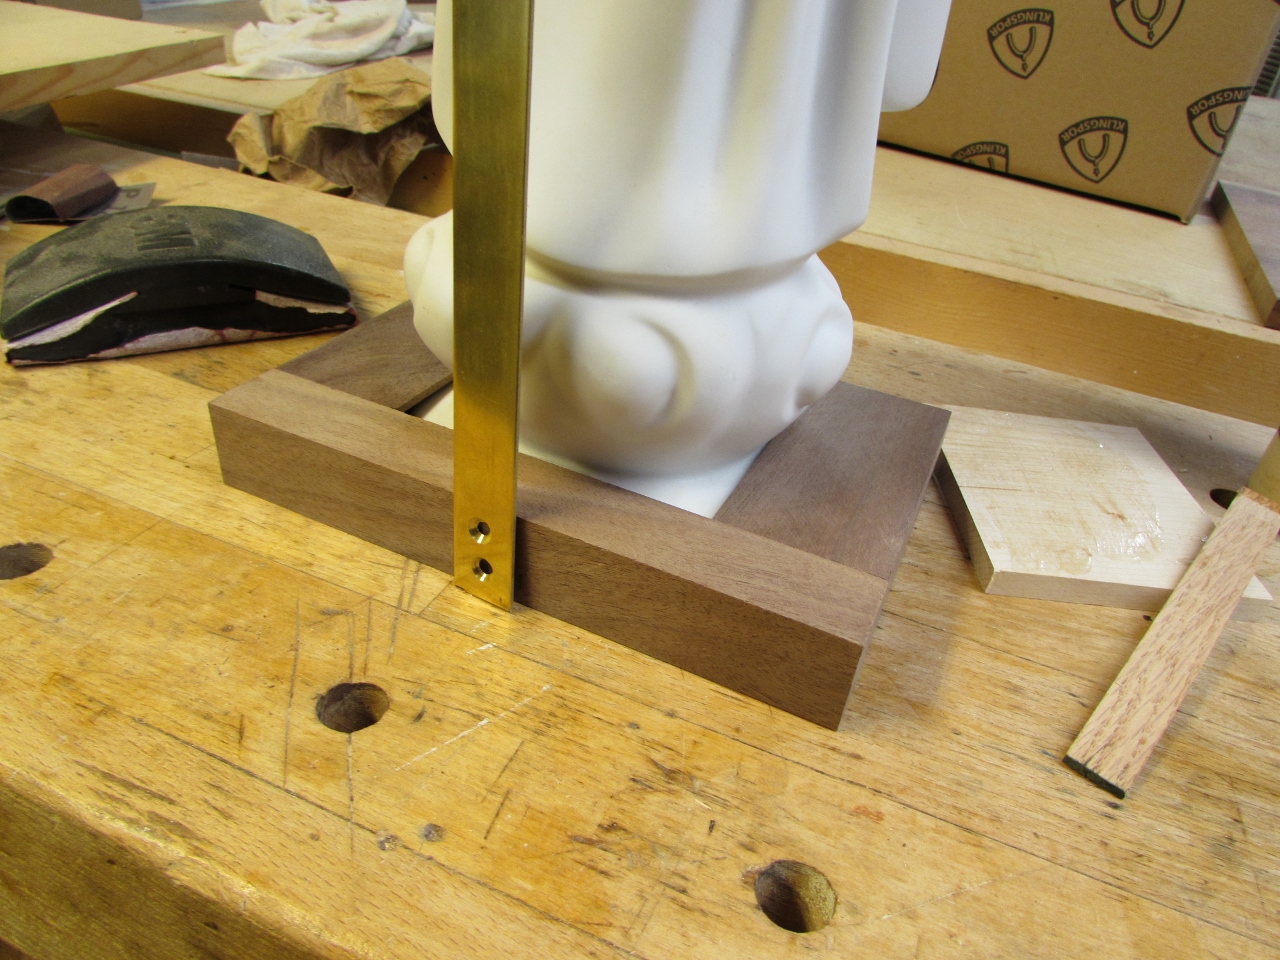
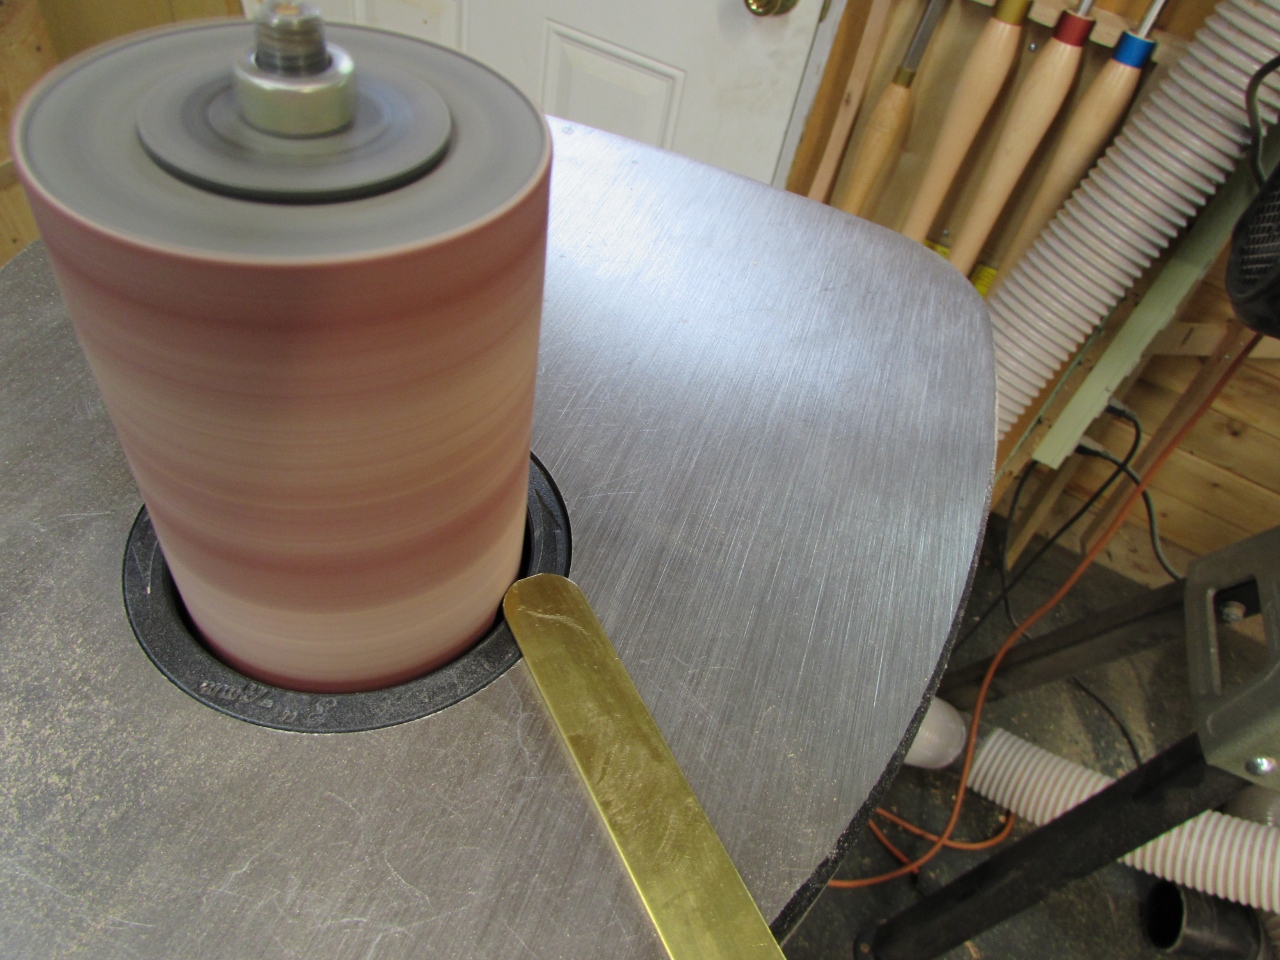
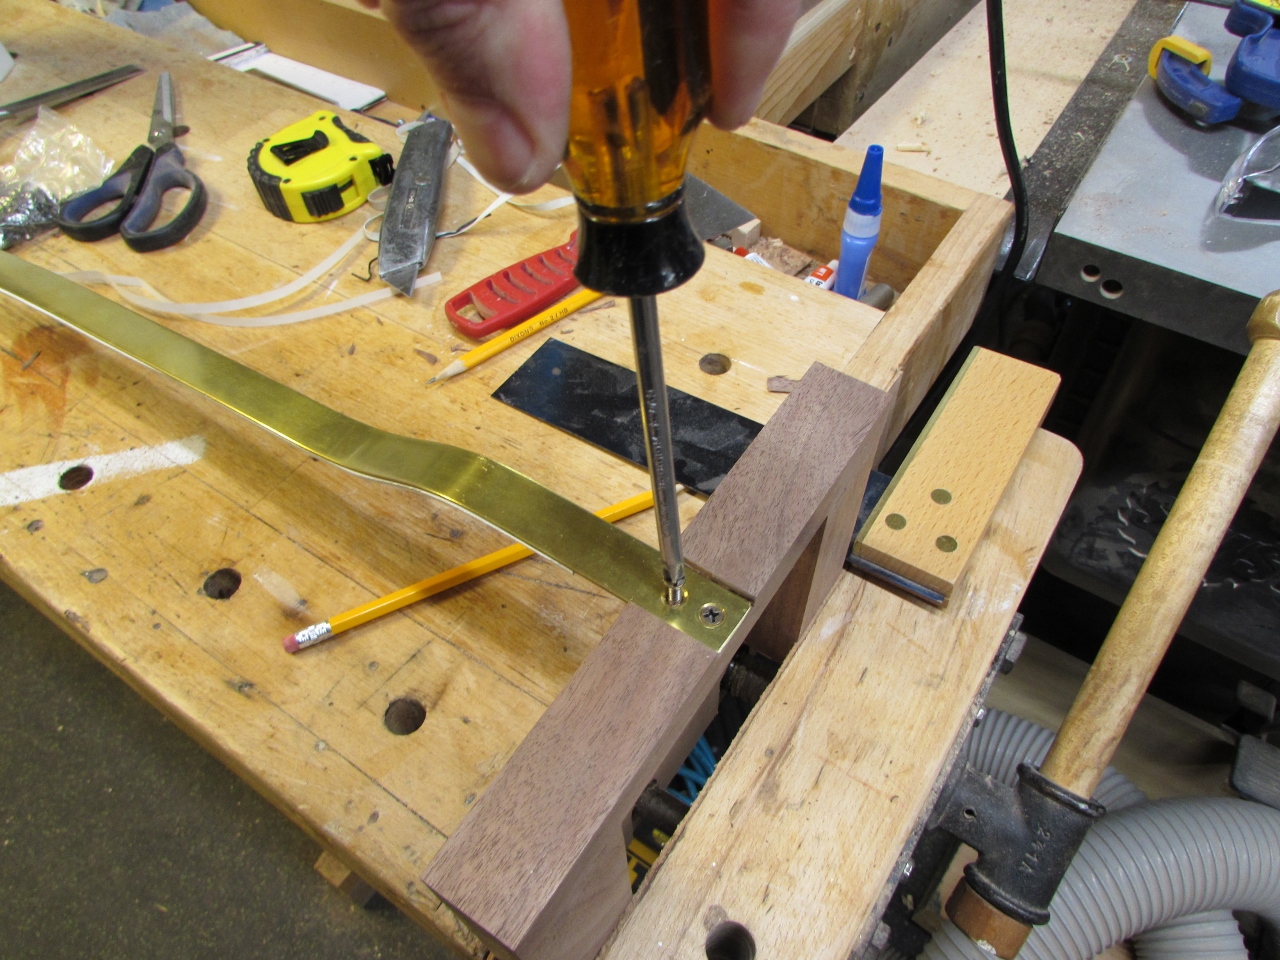
I remembered that I had a left-over strip of thin brass from another project and thought it might work well. I even had a couple of counter-sunk holes in one end.

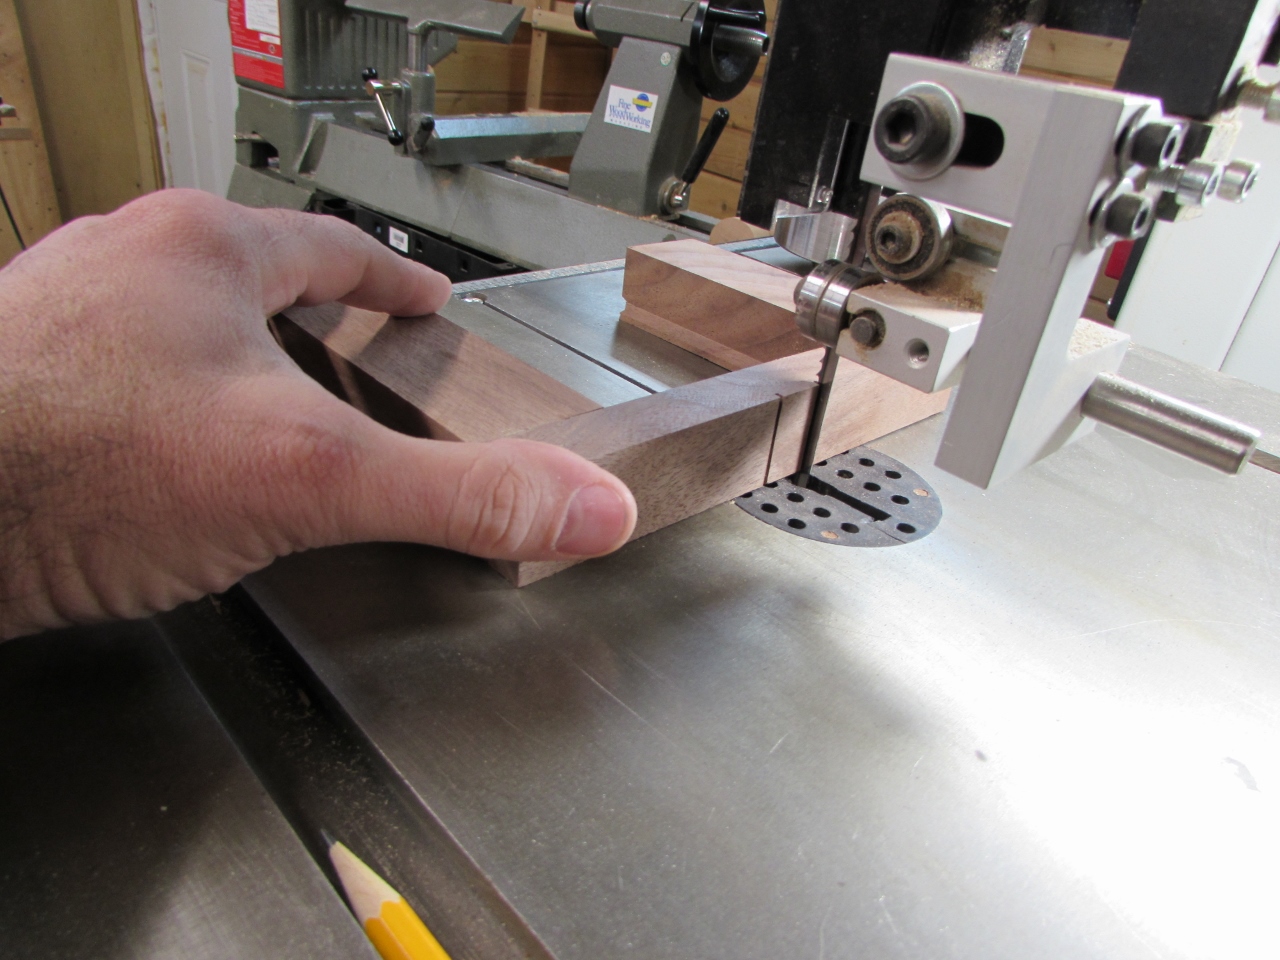
I laid out the location of my notch and cut the sides of it on the band saw.
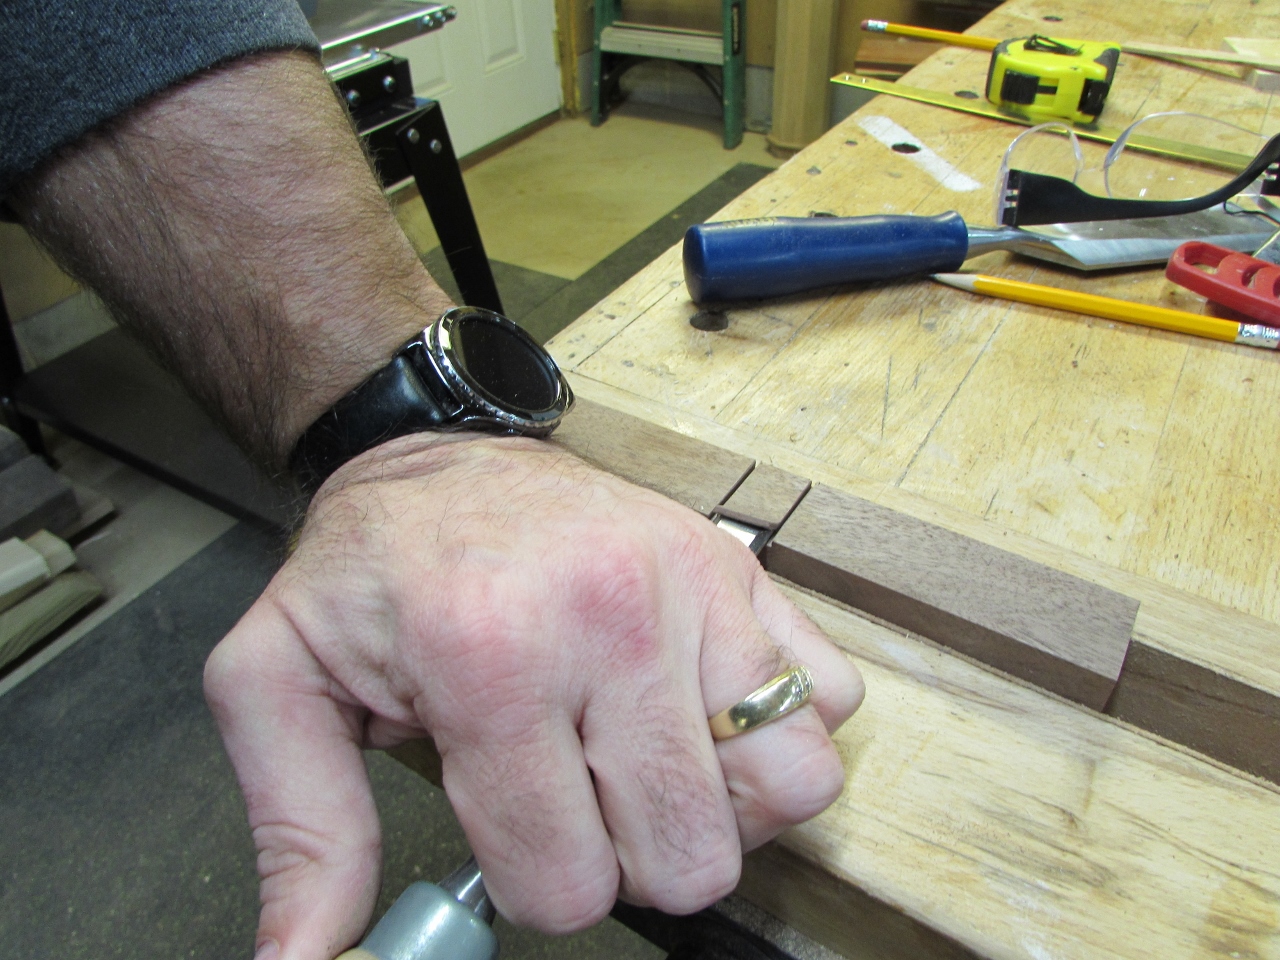
I pared away the rest of the groove with a hand chisel.

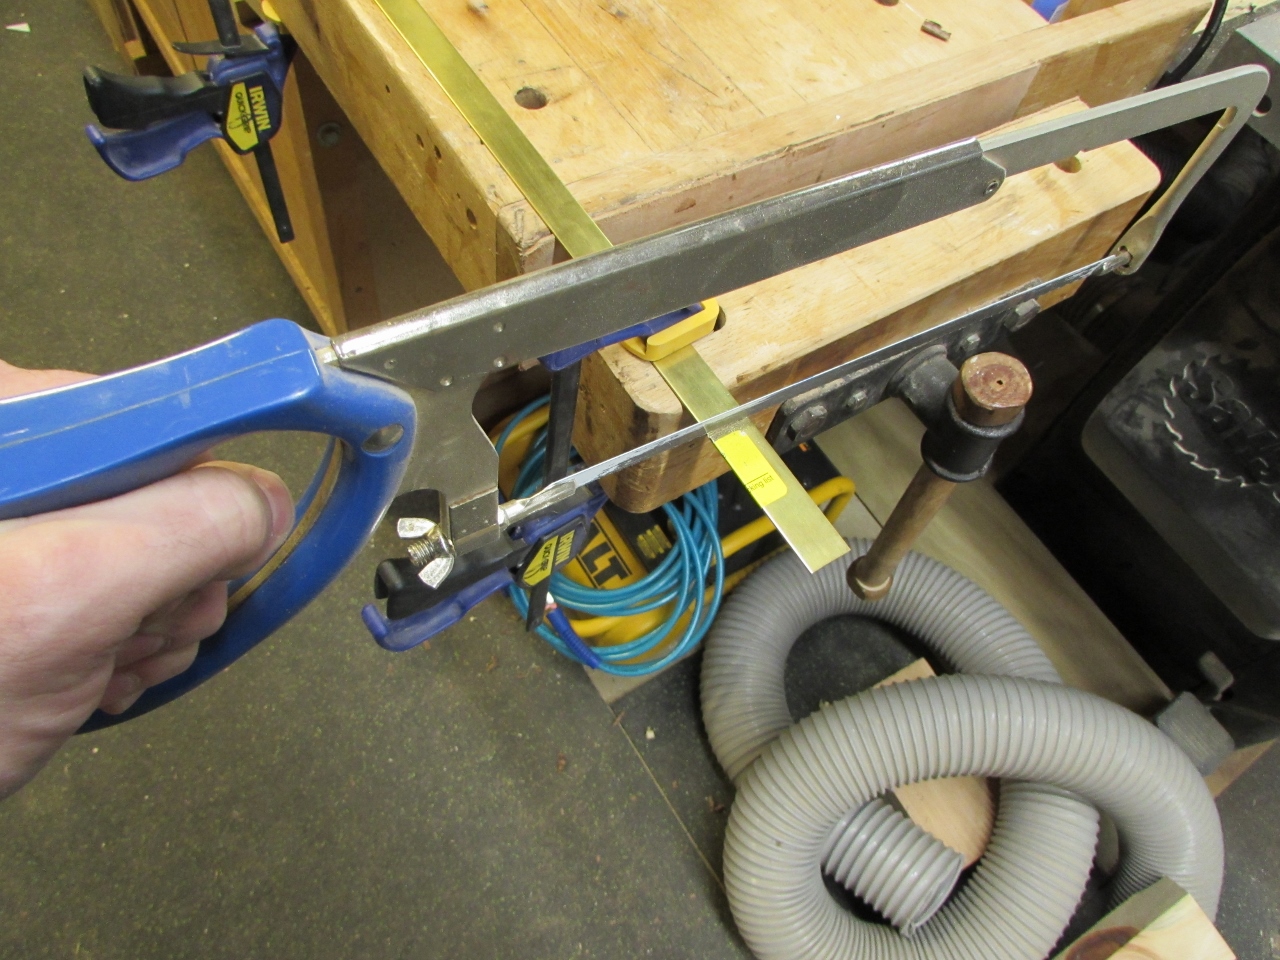
Brass is a soft metal, so it was easy to cut to length and sand a curve onto the top.
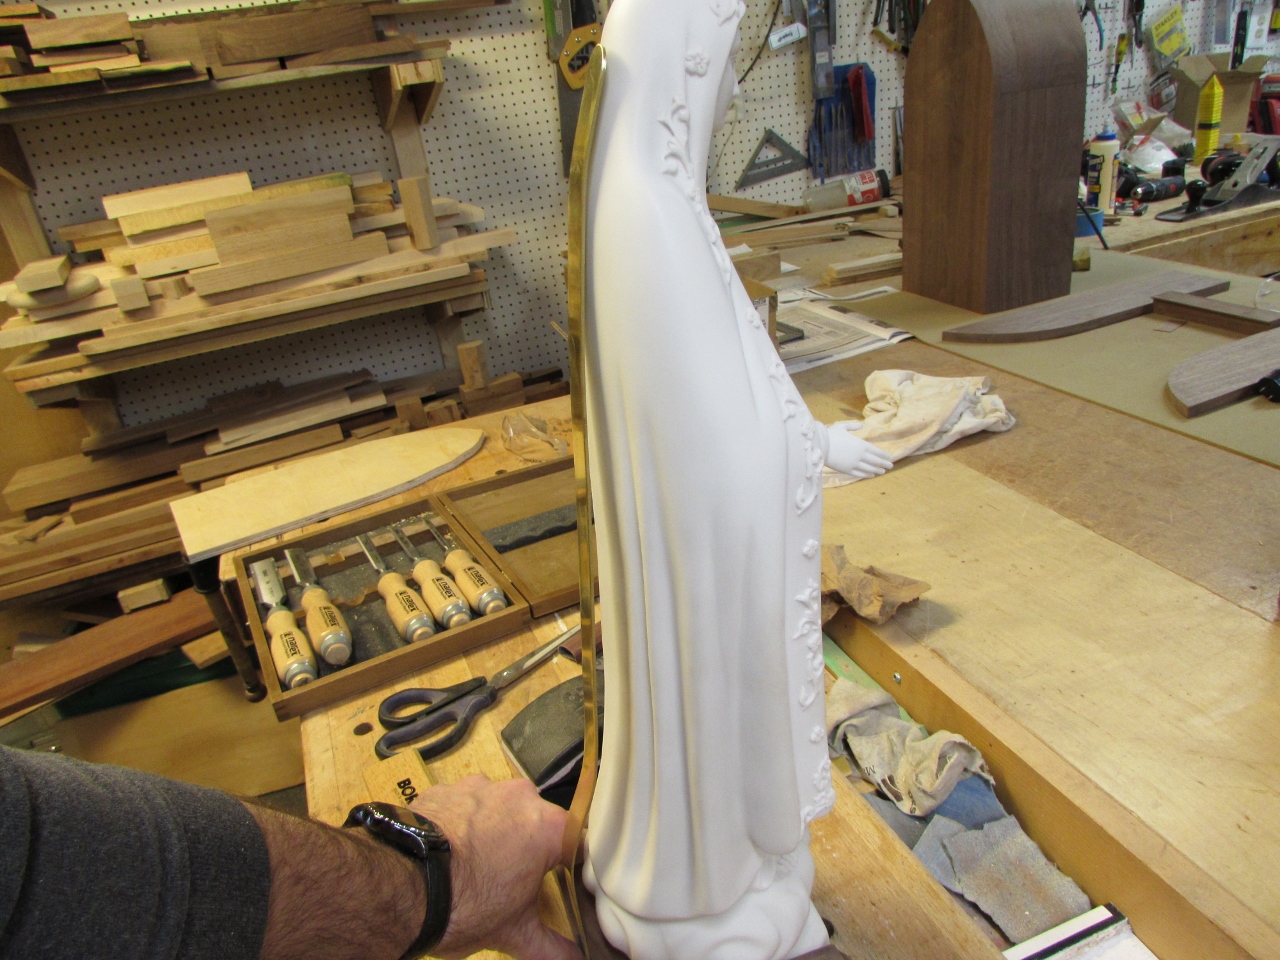
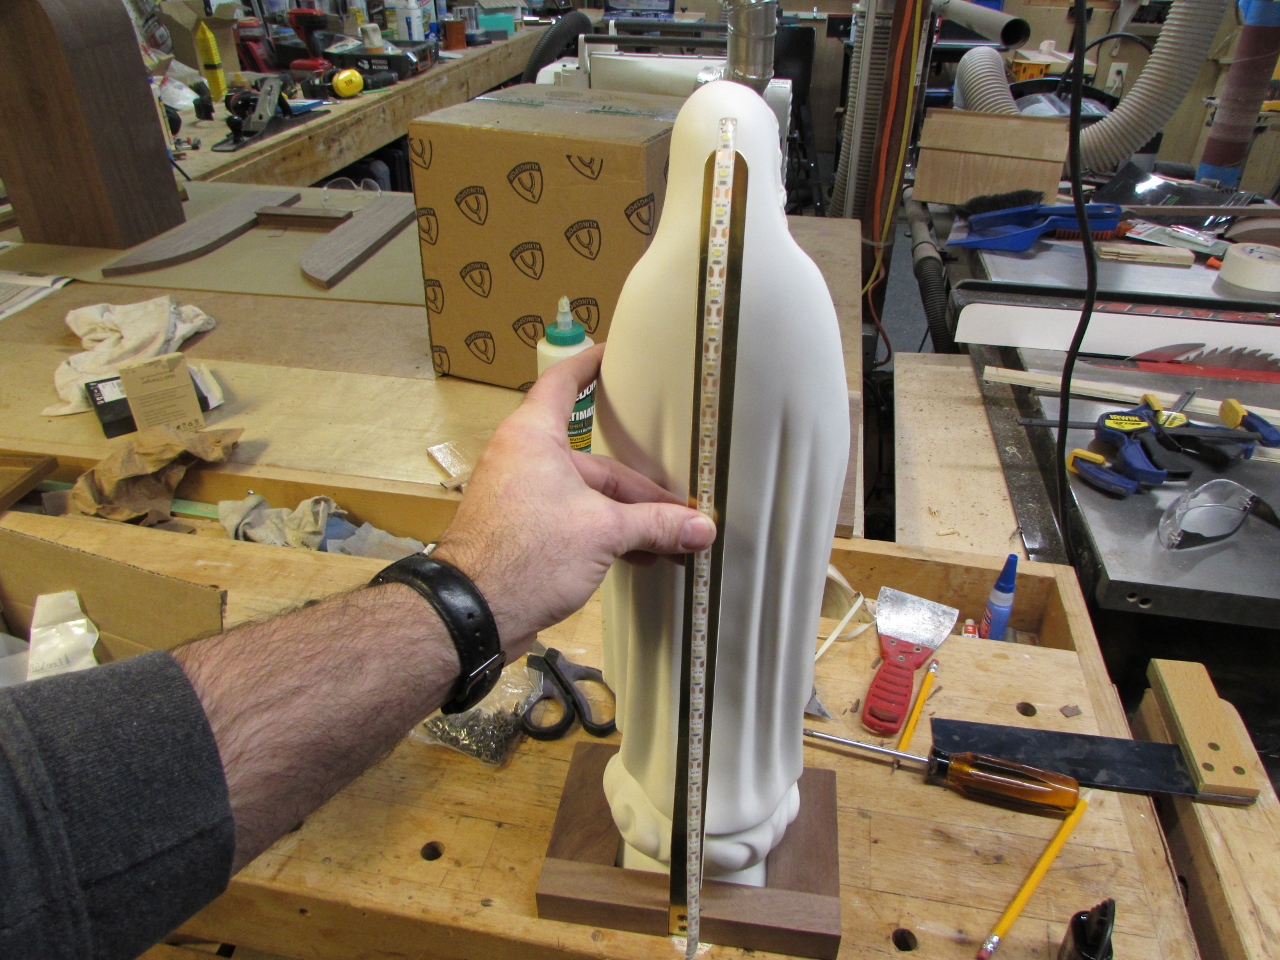
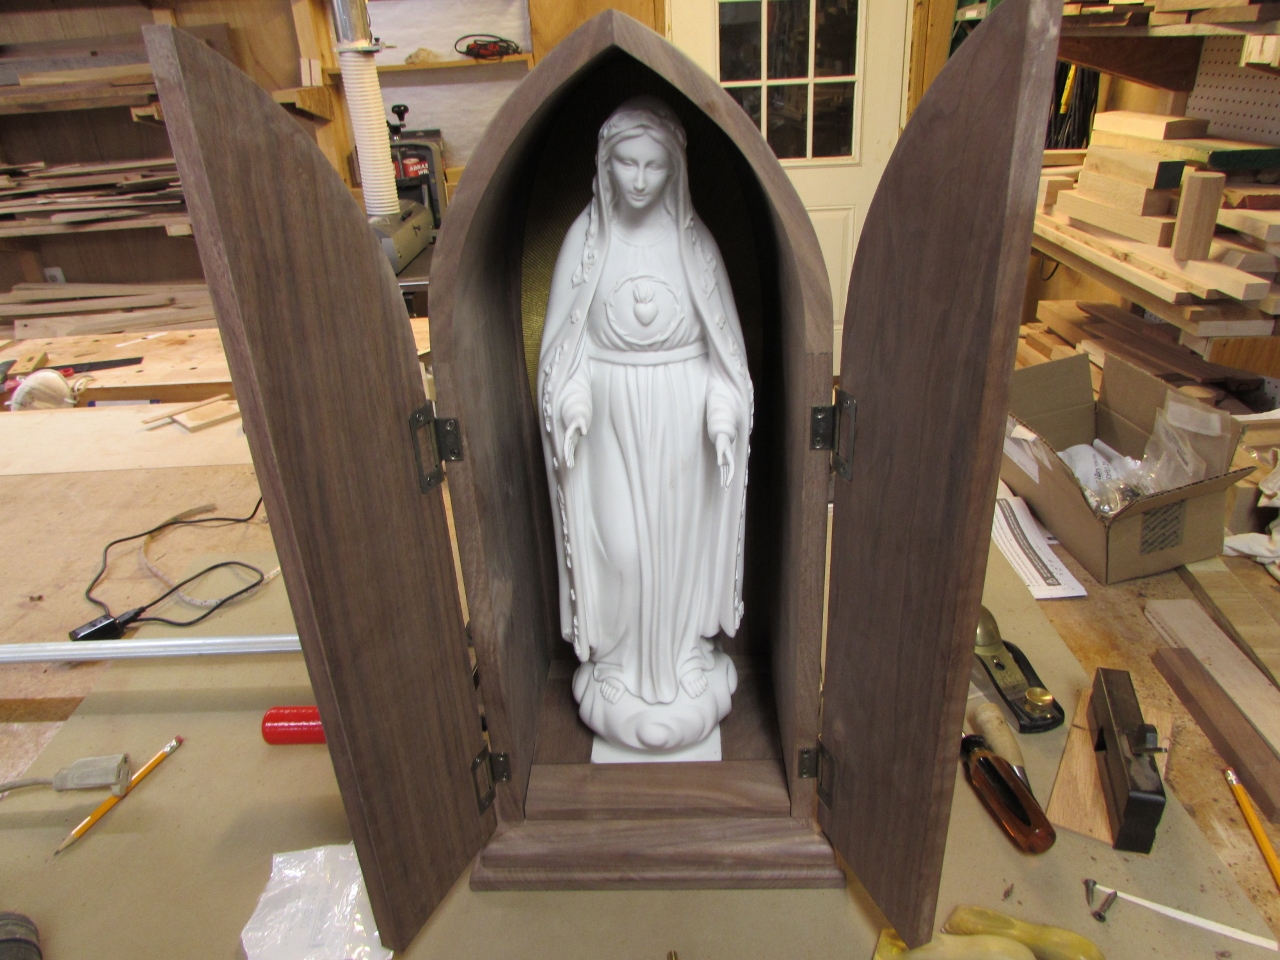
I bent some gentle curves into the strip so that it would follow the contour of the statue. Hopefully this will keep it from being visible from the front. To avoid contact with the statue, I added a piece of foam weather stripping.
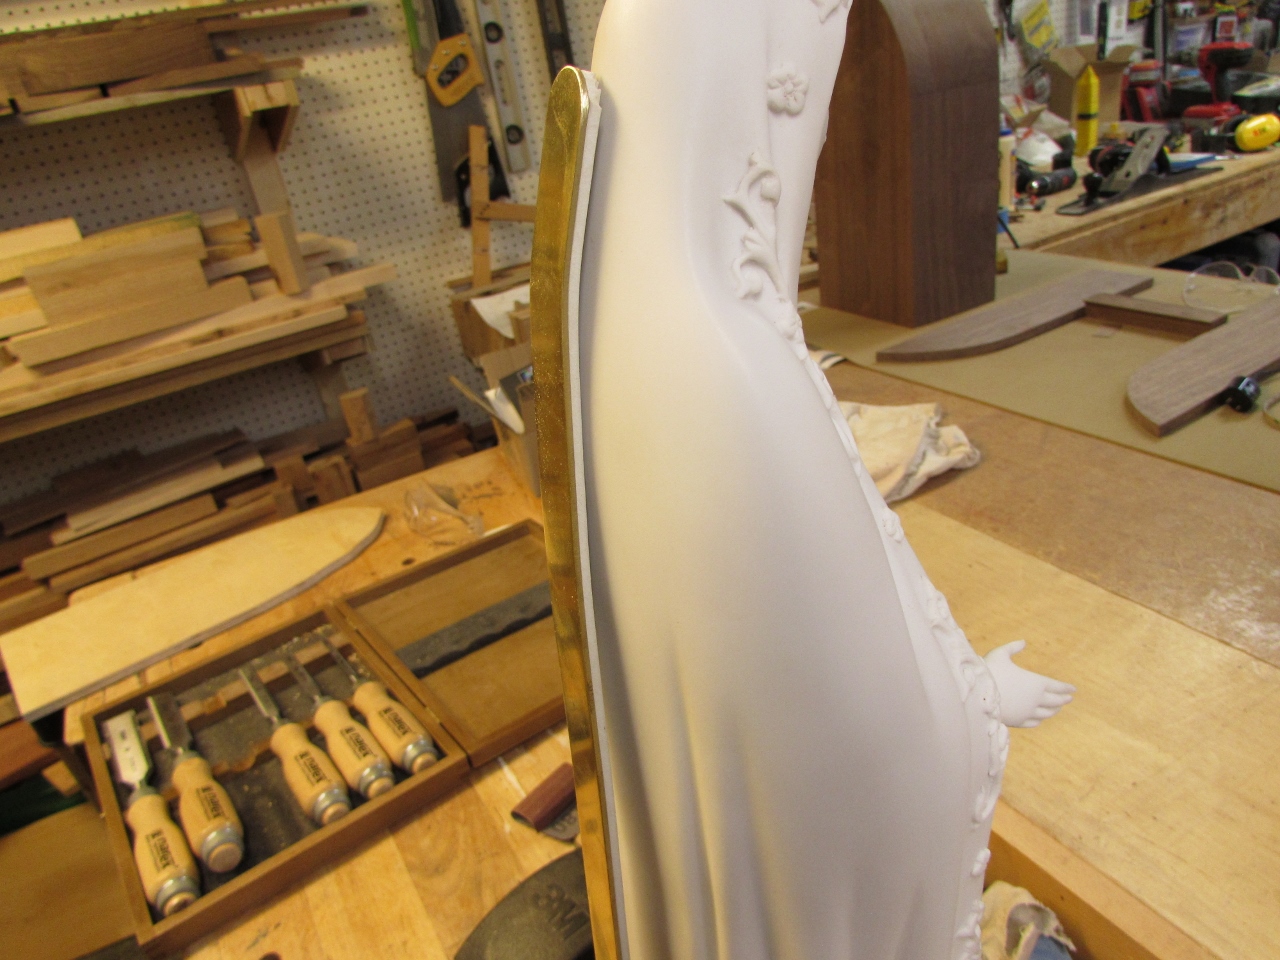
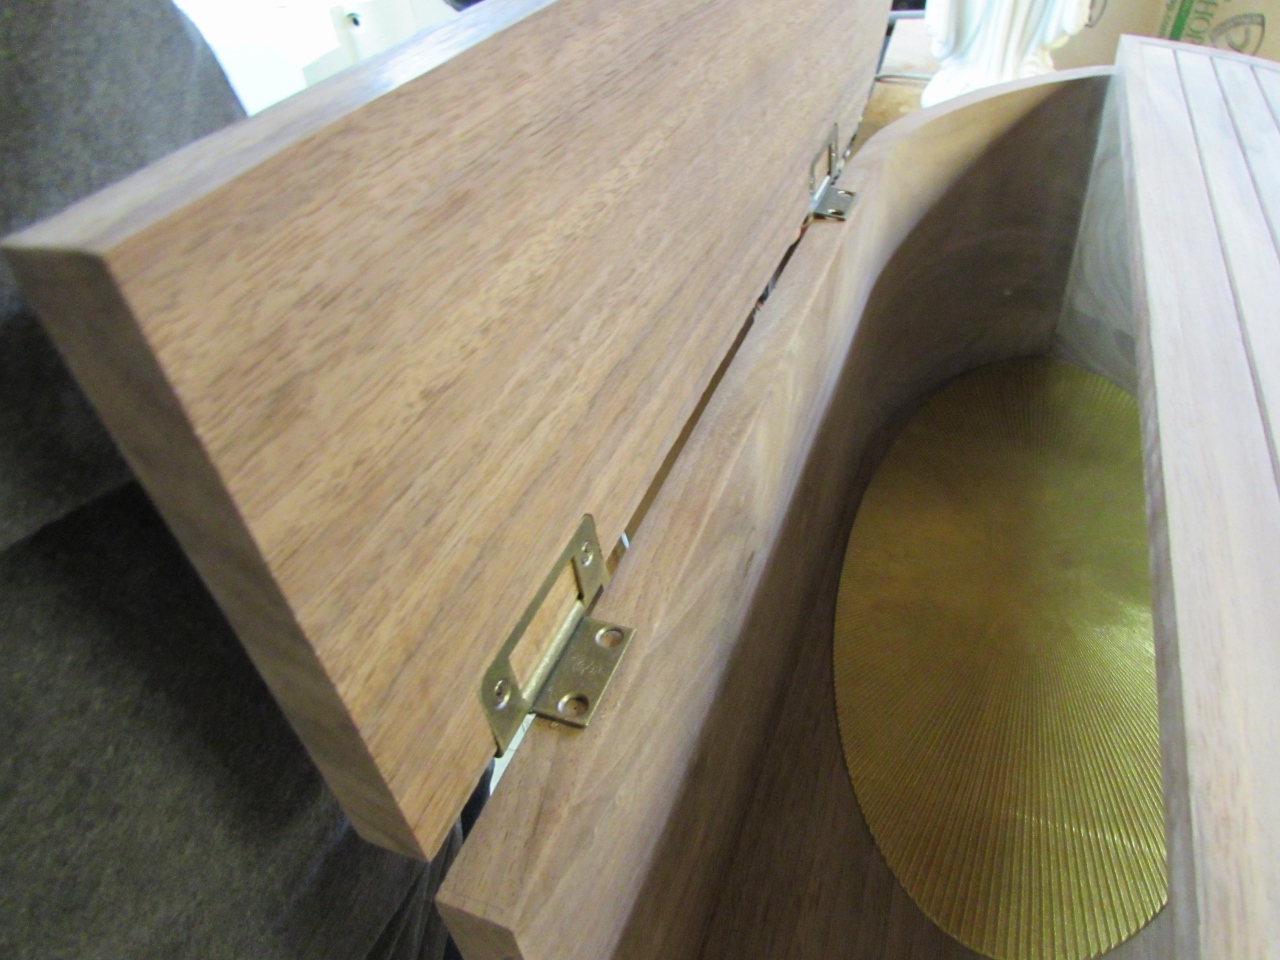
That looks like it will work well, so I screwed it in place.
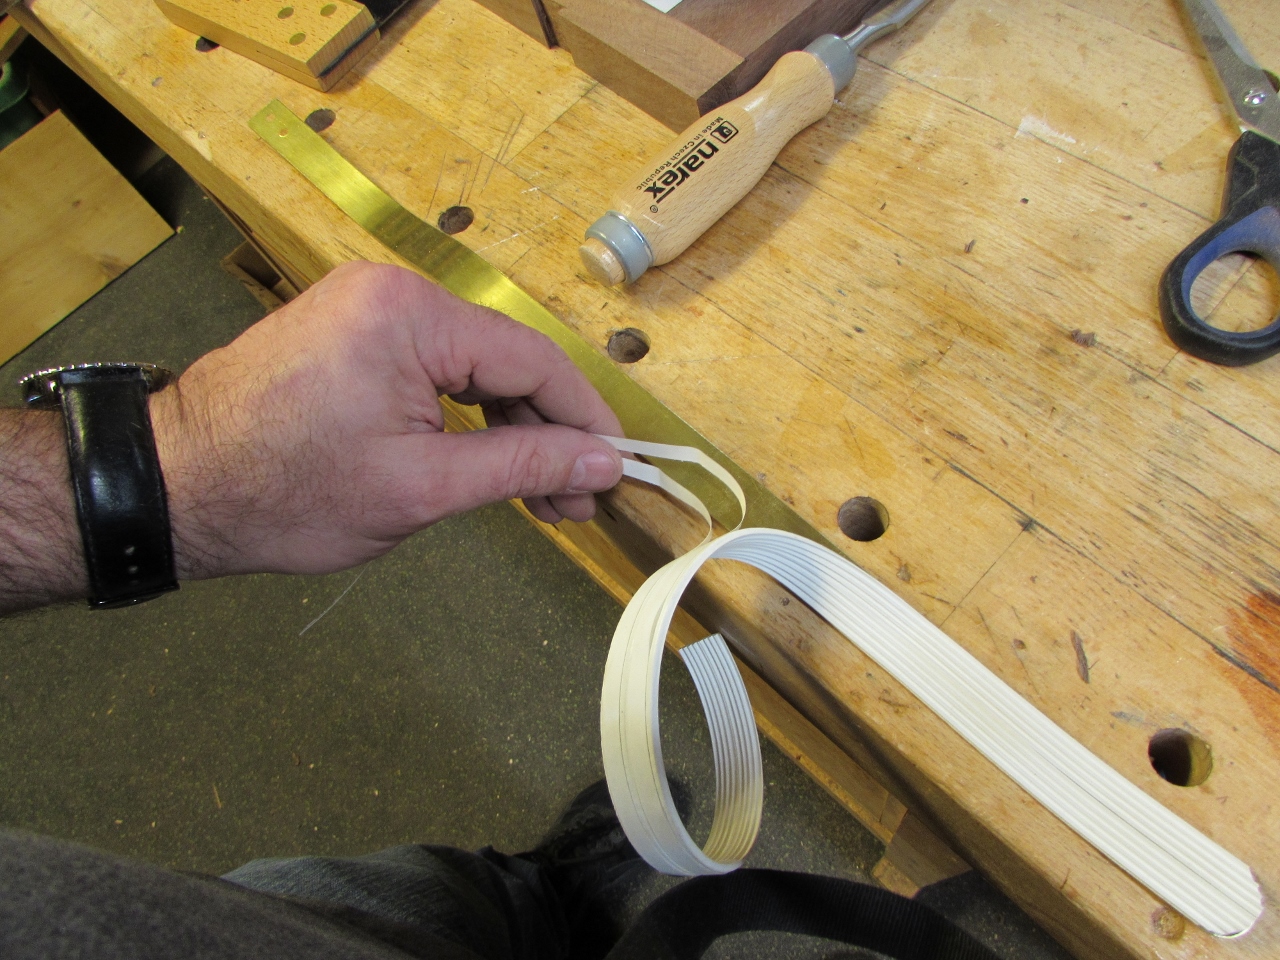
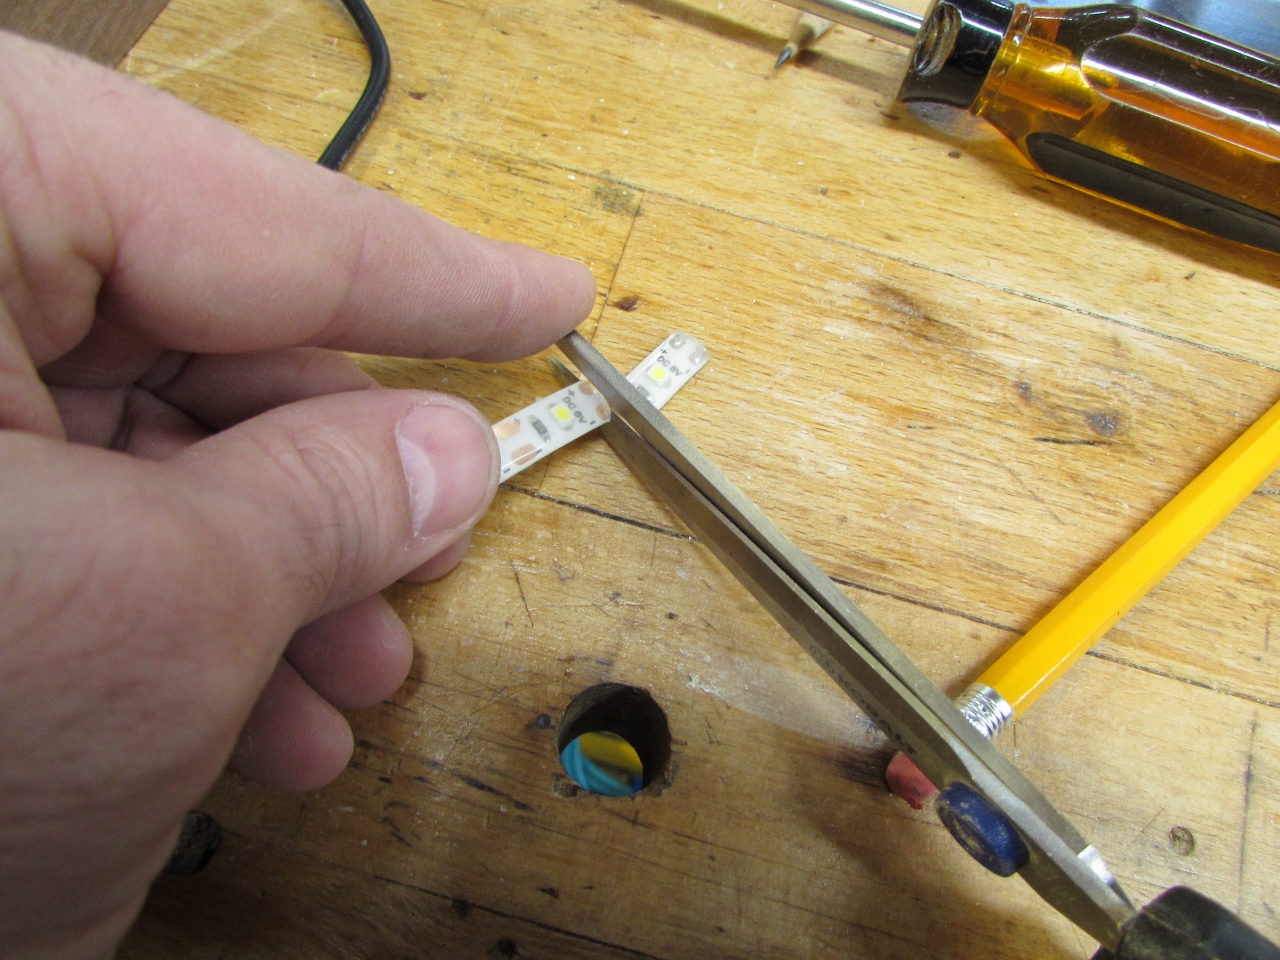
The light strip I bought is 18″ long, just a bit too long, so I cut it down. These new LEDs are really cool because you can cut them just about anywhere, and they keep working.
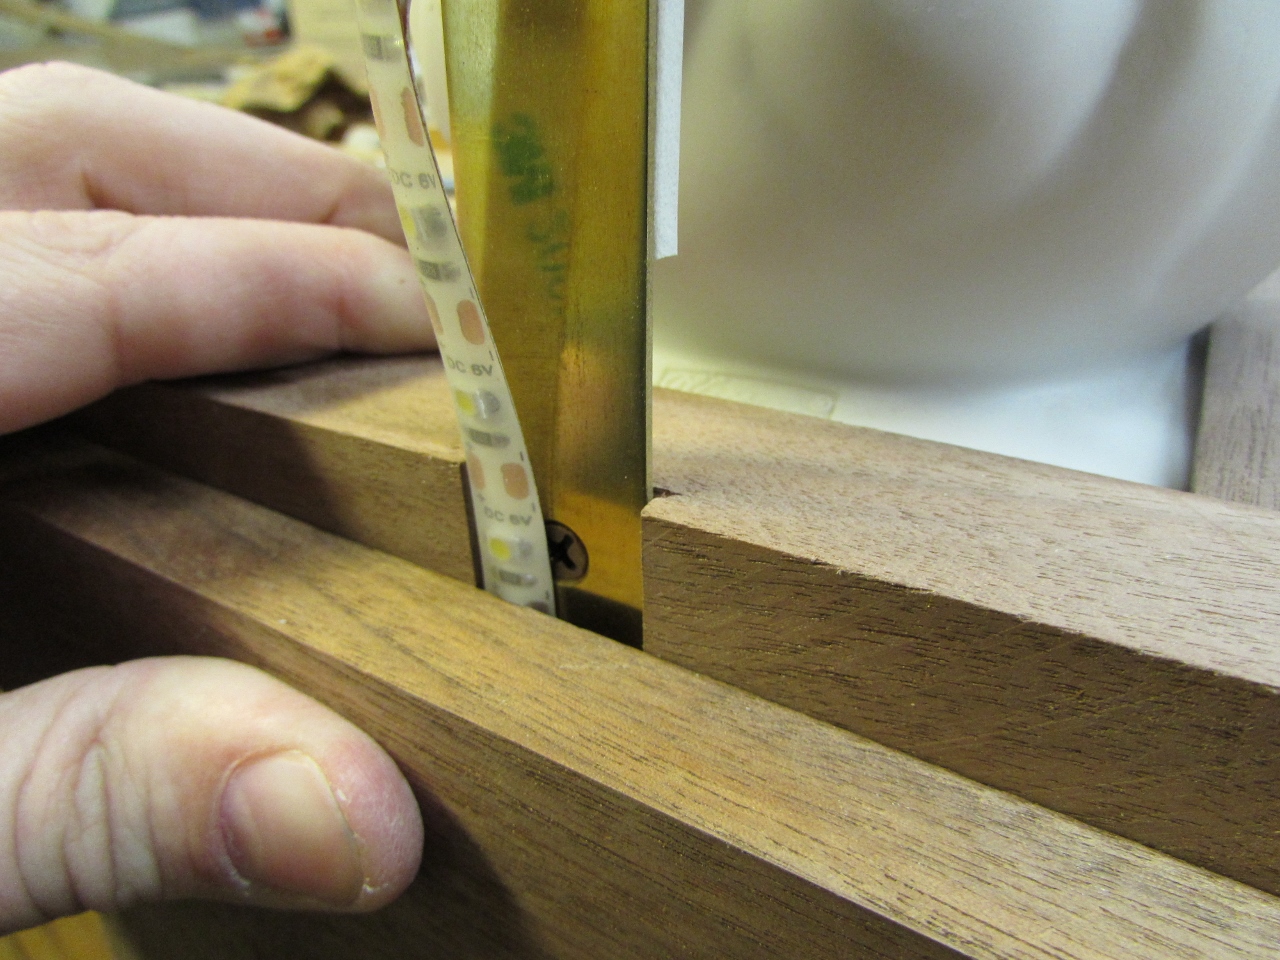
I made sure to recess the brass strip far enough in that I had room for the LED strip as well.
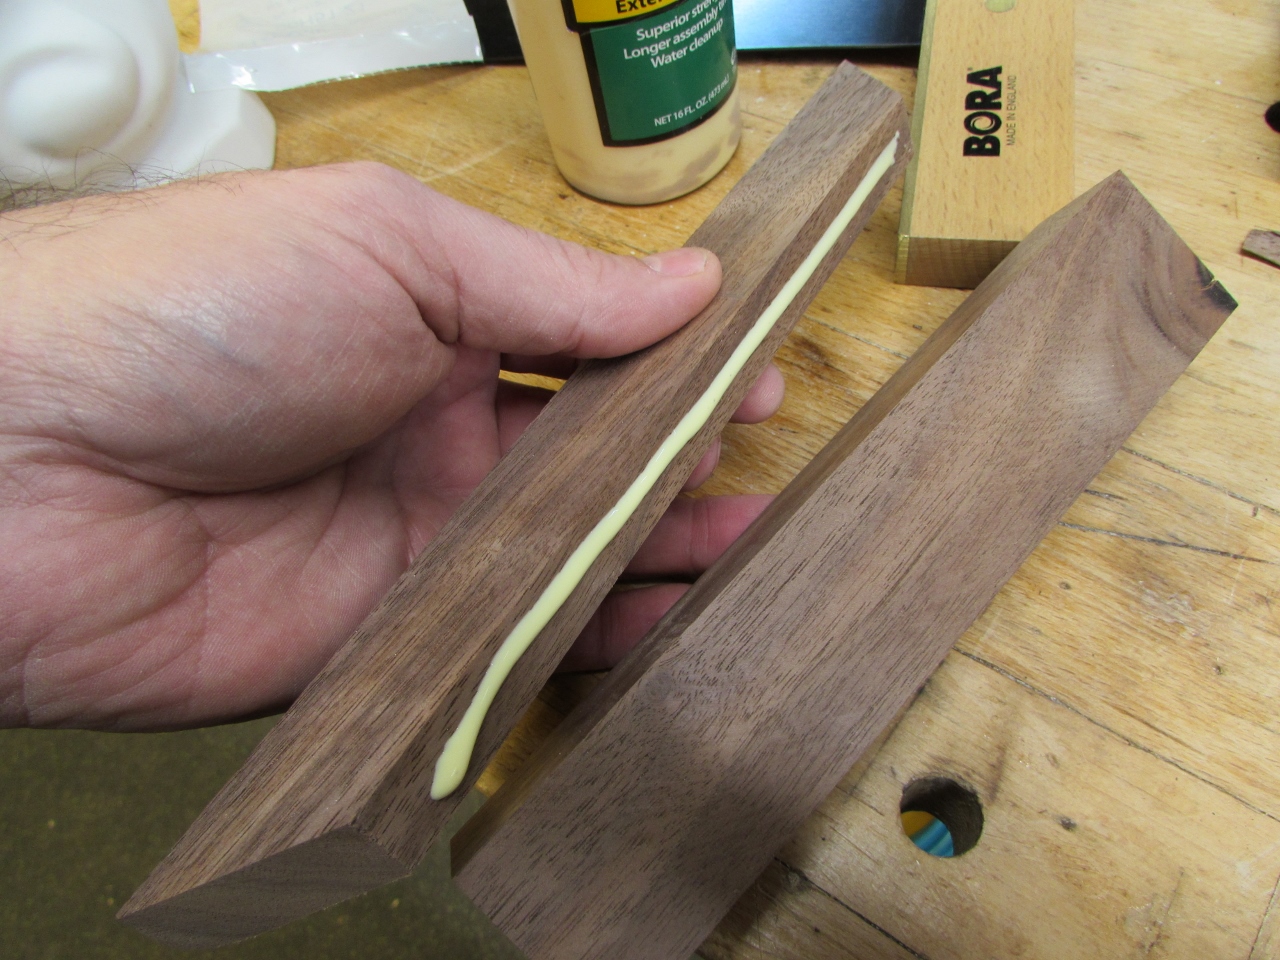
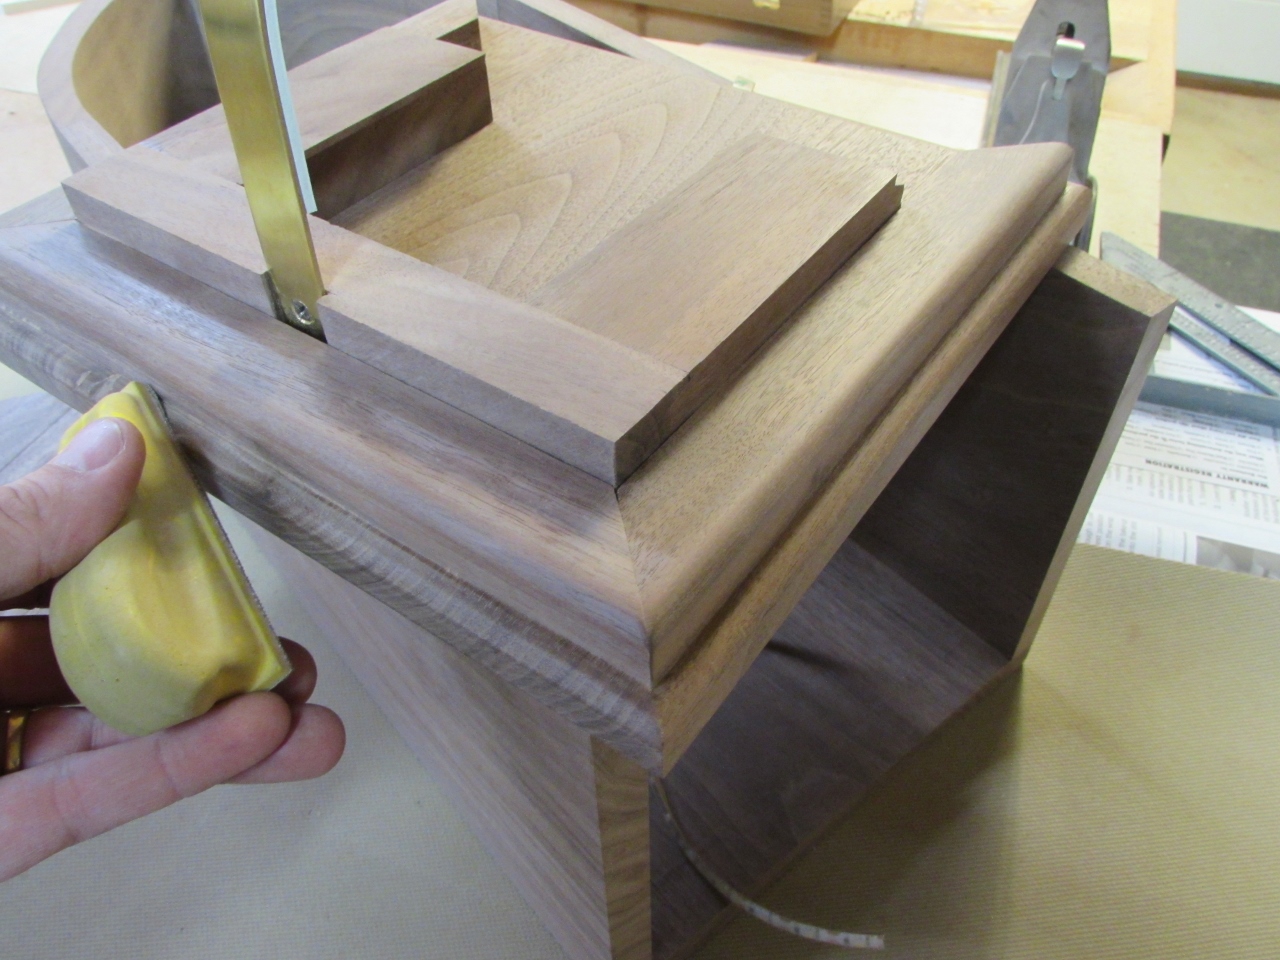
I determined the case was a little too short, I am going to raise it up a bit so the statue has some head room. I grabbed some of the 5/8″ off-cuts from the board the sides came from, and cut a 1-1/8″ strip that I rounded over on one edge.
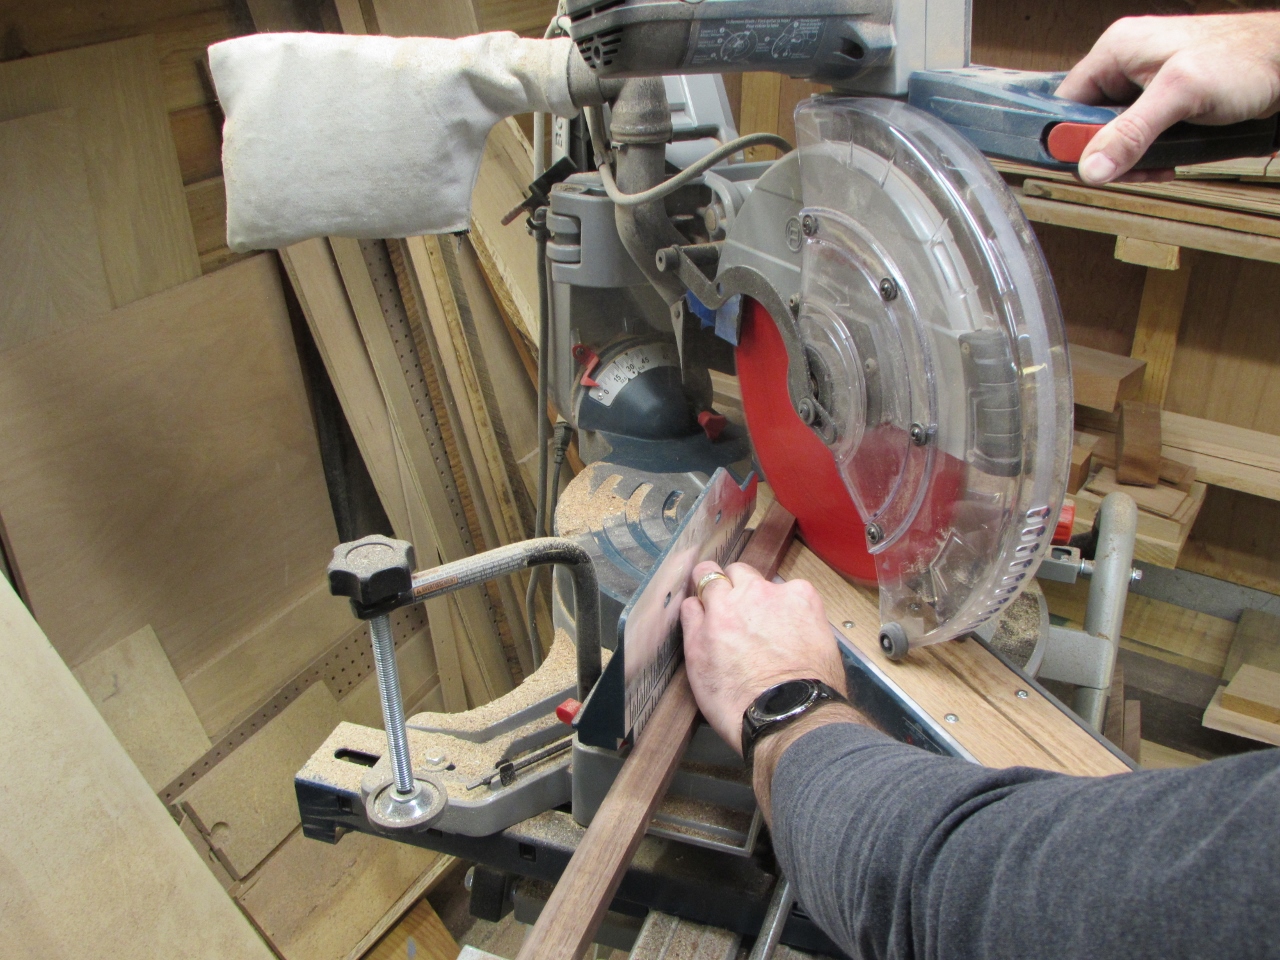
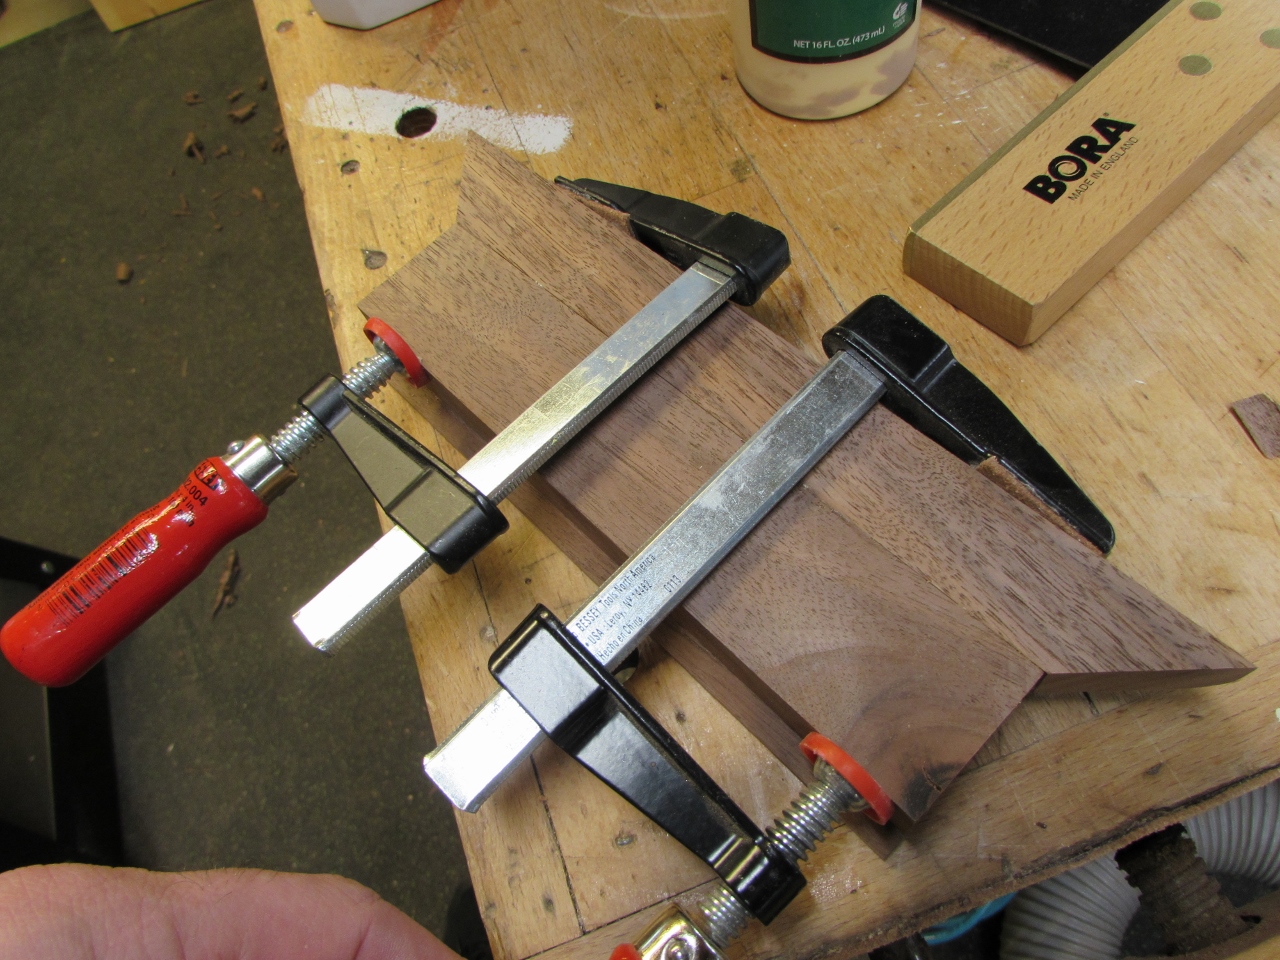
I cut some 45 degree miters and made a nice riser for the cabinet.
The front of the retaining base will have to be removable to install the statue so I am attaching the front riser to the front retainer piece, so they can be installed as one piece.
While that was drying, I cut my last 5/8″ off-cut down for the base.
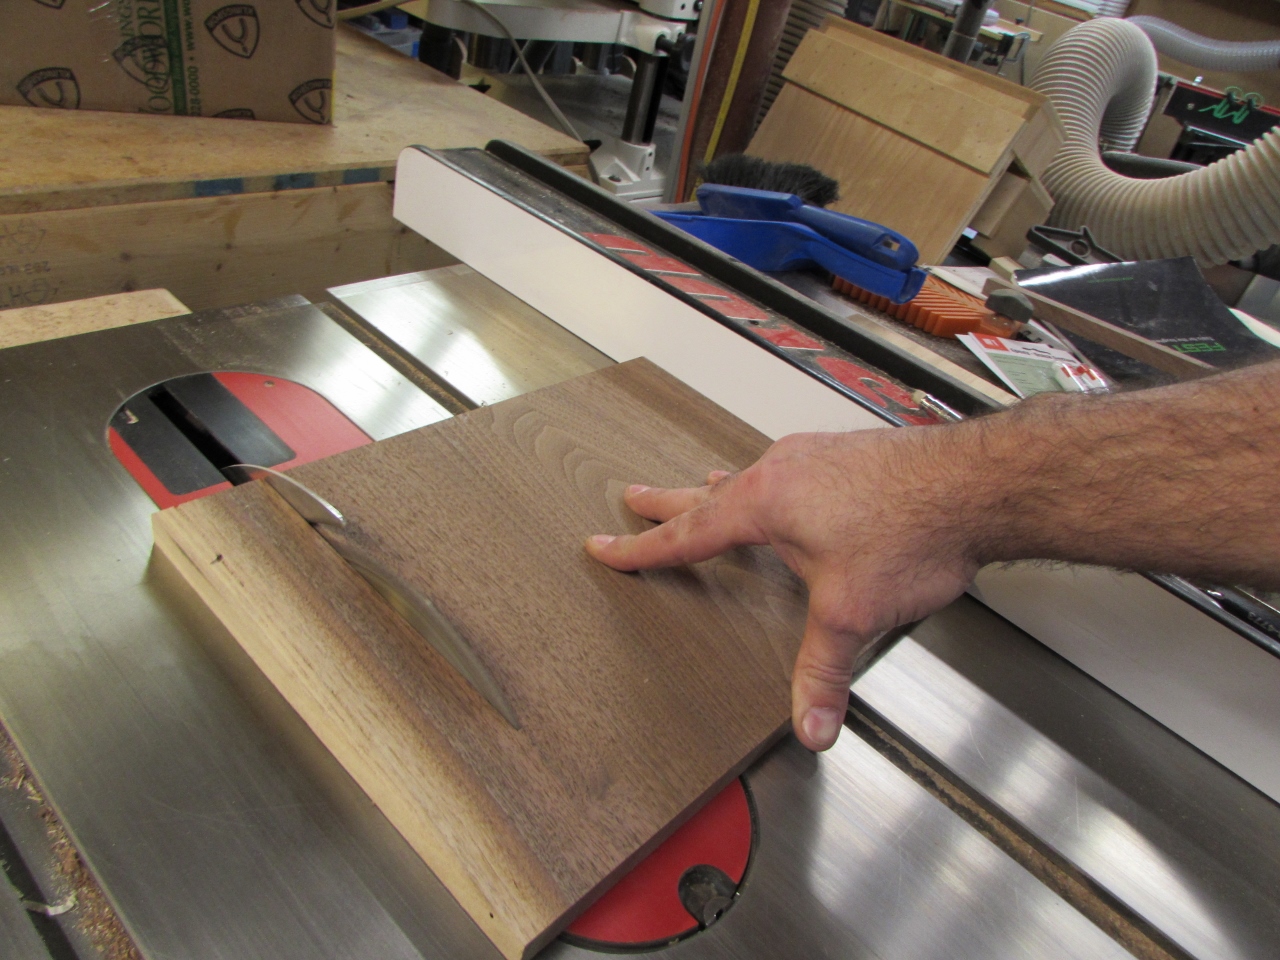

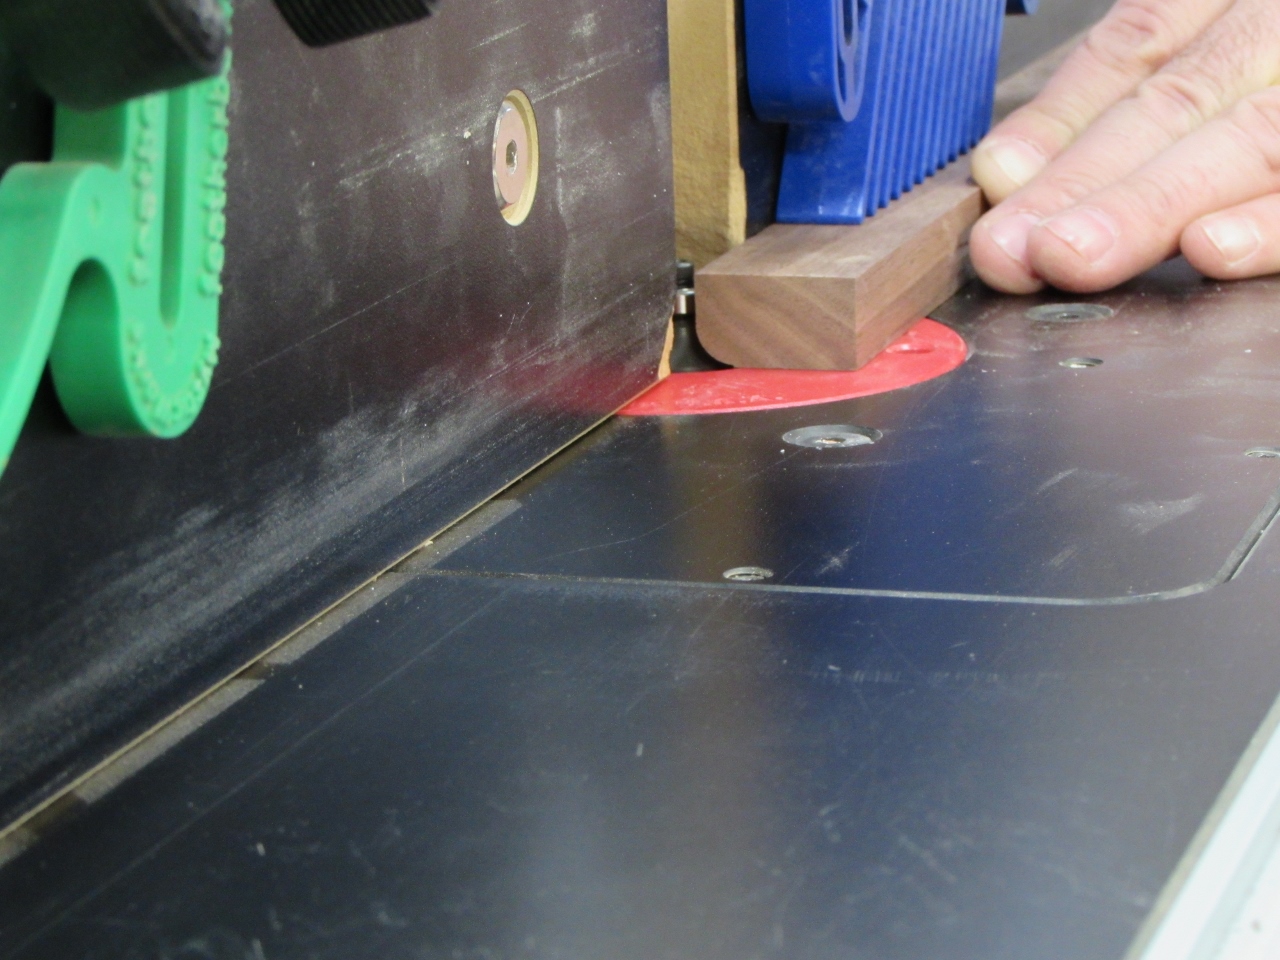
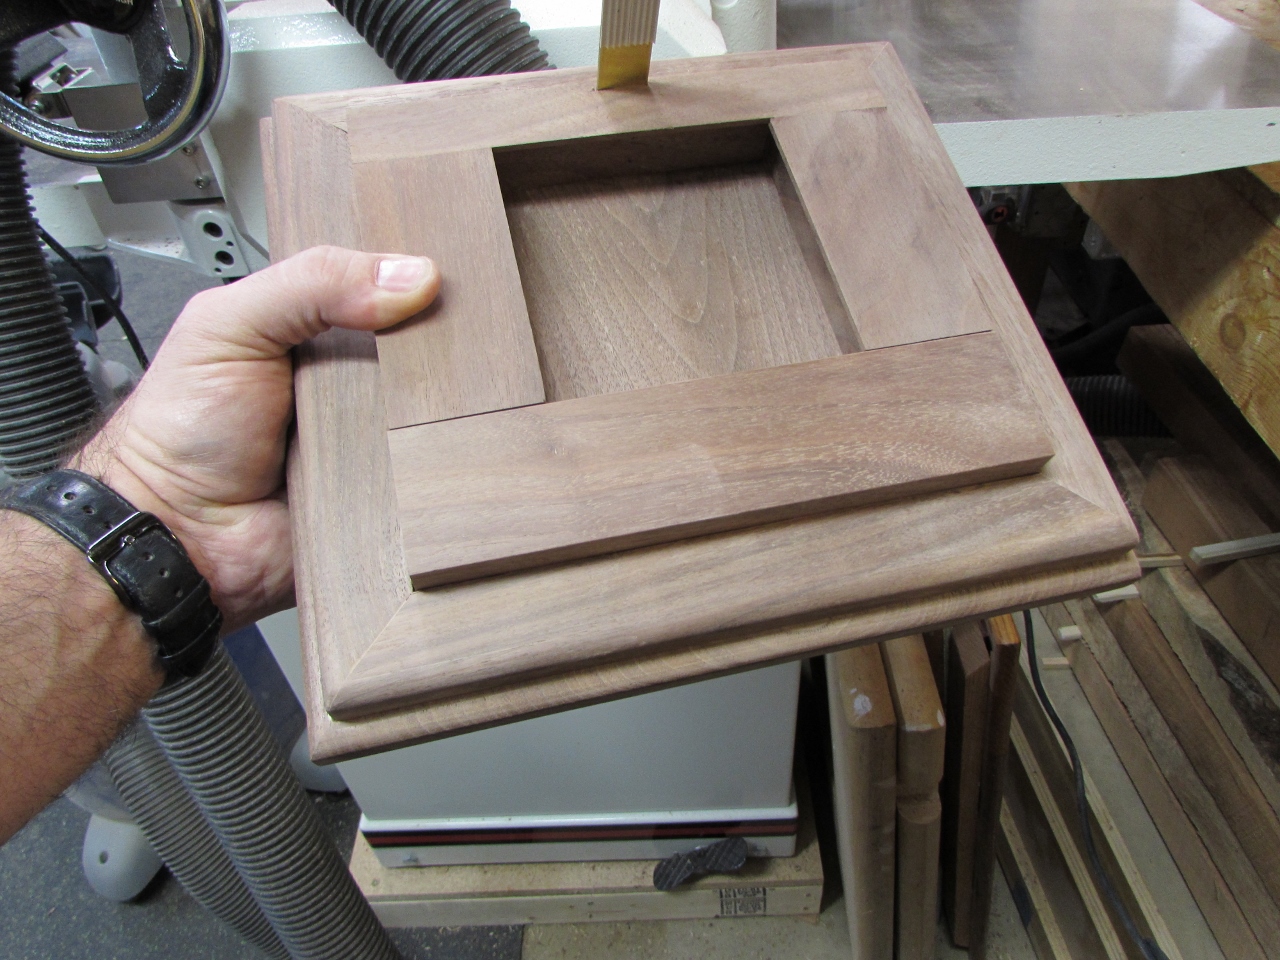
I rounded over all of the edges, on the router table, and located all of the base pieces, using the depth gage on my calipers to ensure it was all centered.

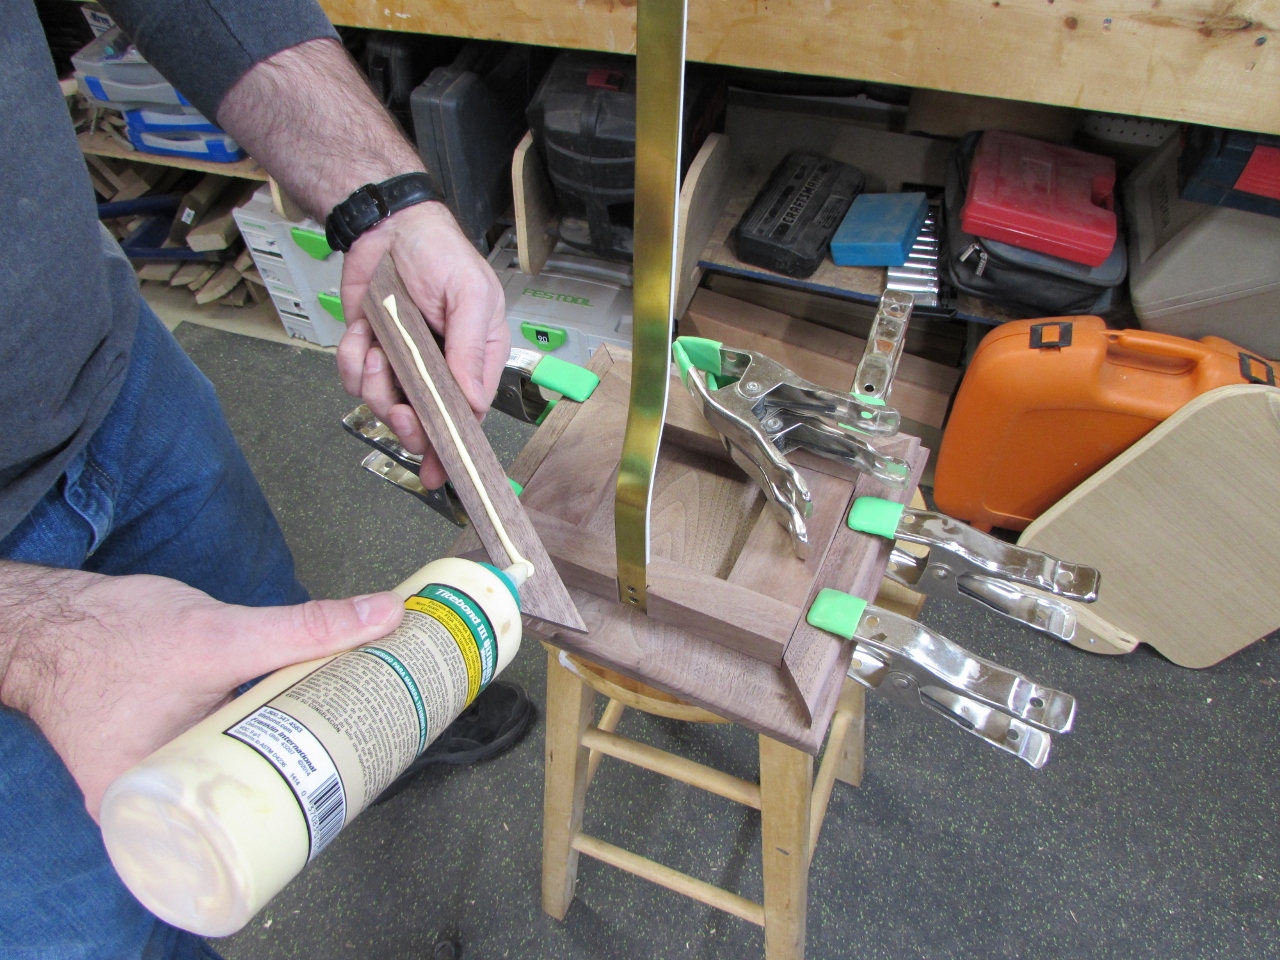
Removing only one piece at a time ensured that I could put it all back into the proper place once I had applied glue.
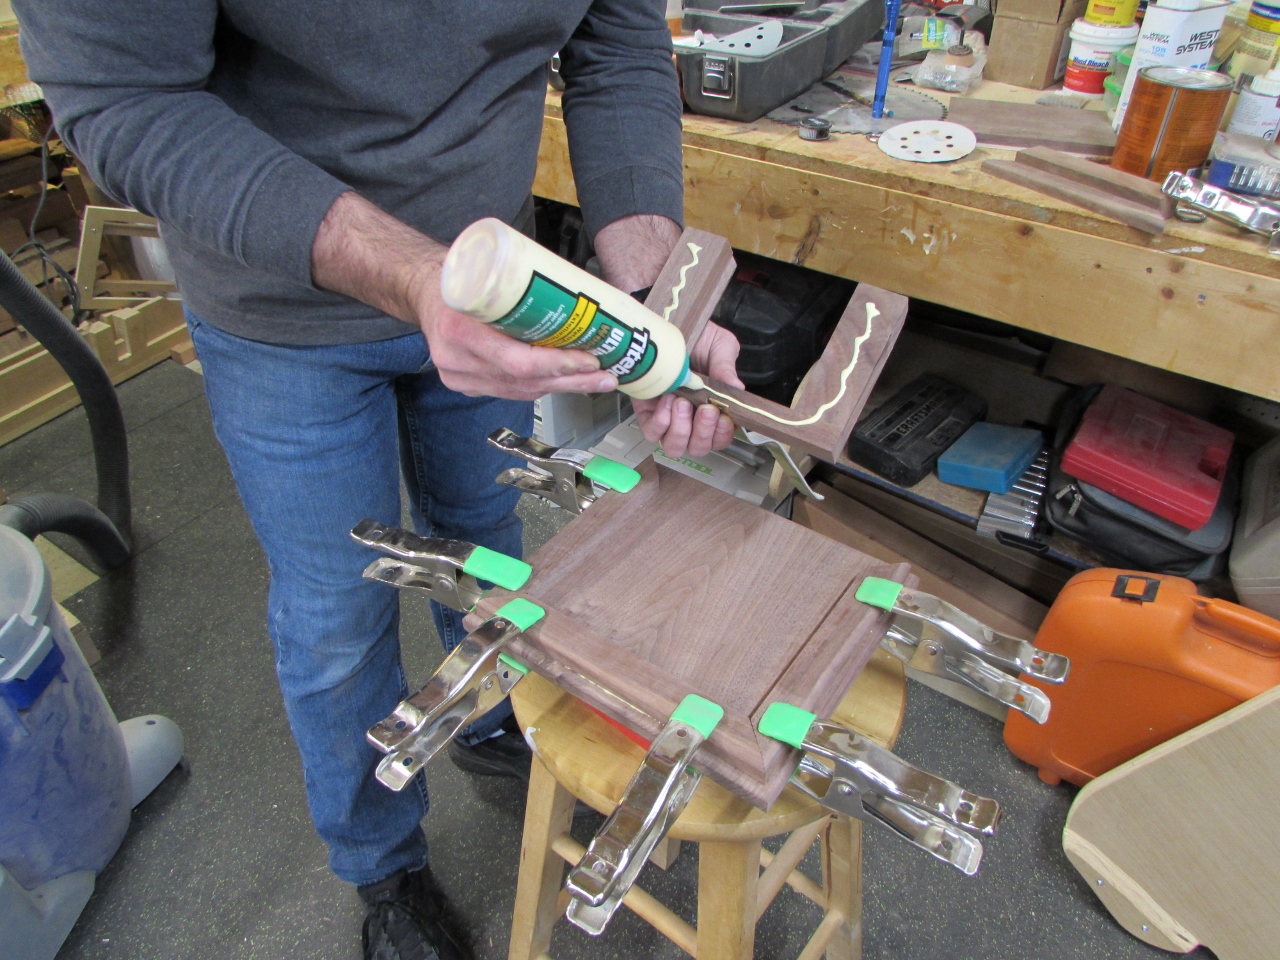

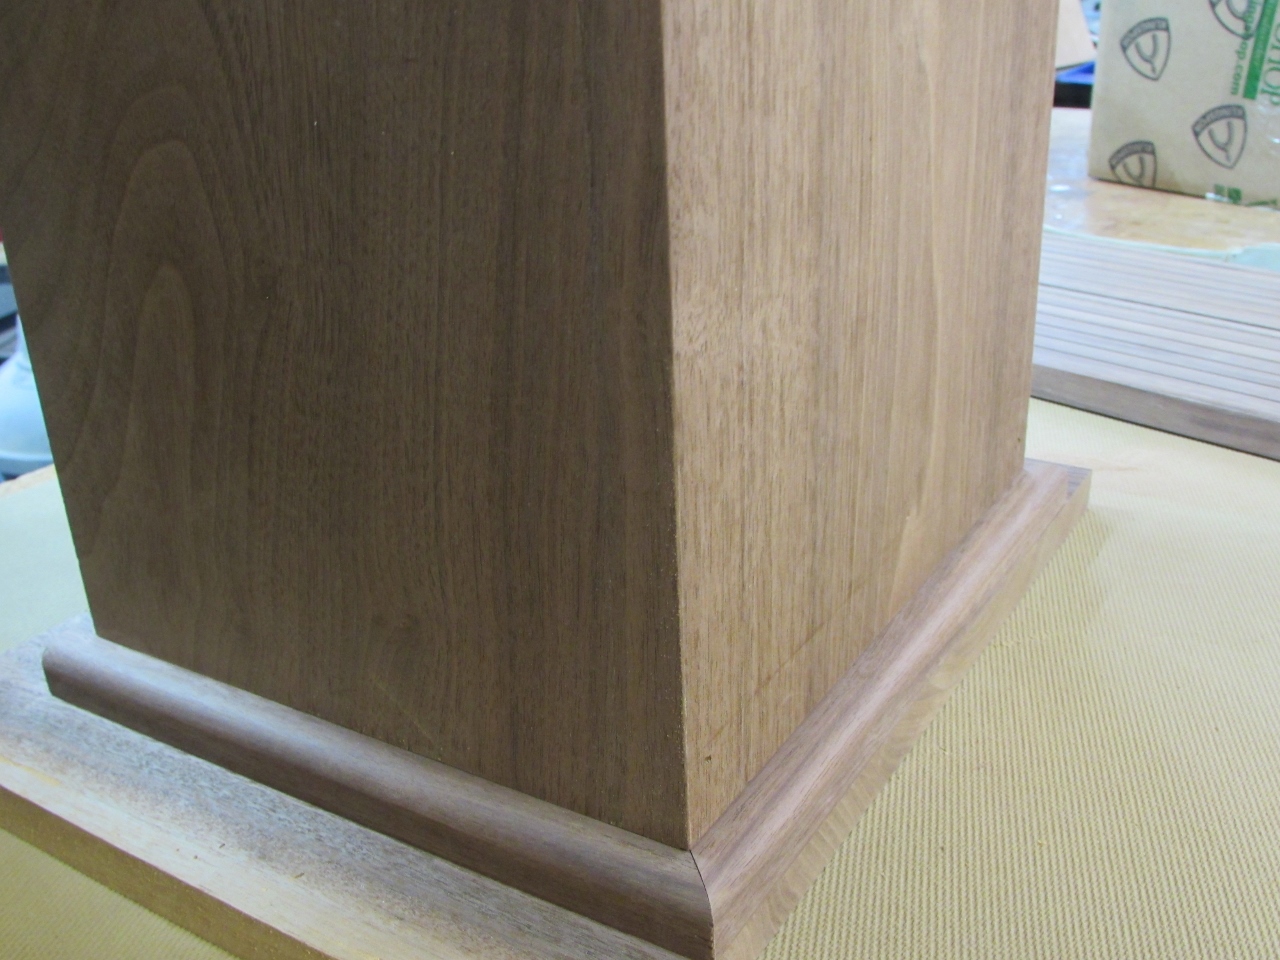
Once it was all clamped up, I removed the front piece so it wouldn’t get stuck to any squeeze-out.
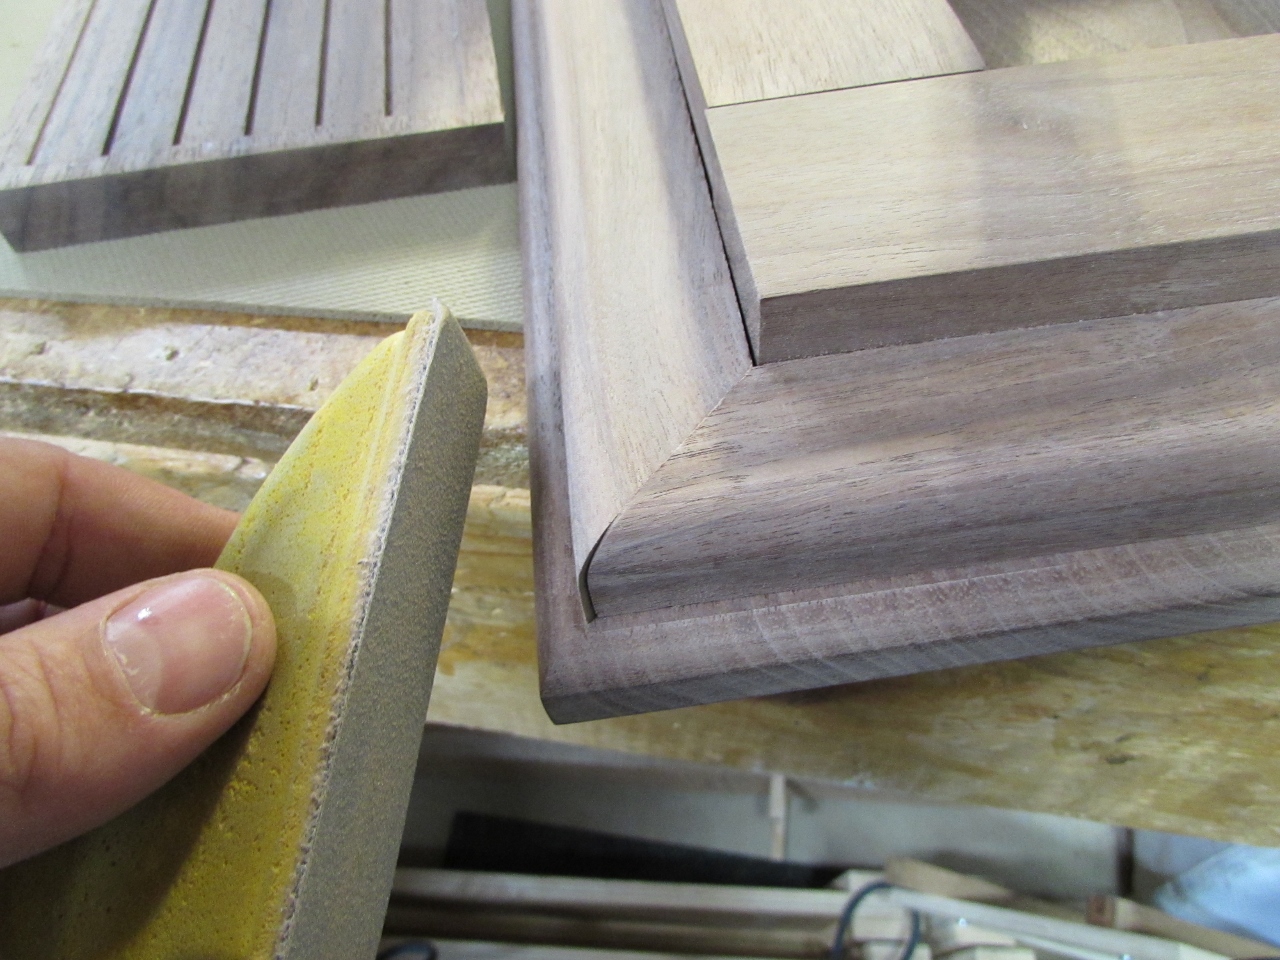
When dry, I used my hand sander to finesse all of the corners. My miters never quite match up perfectly…

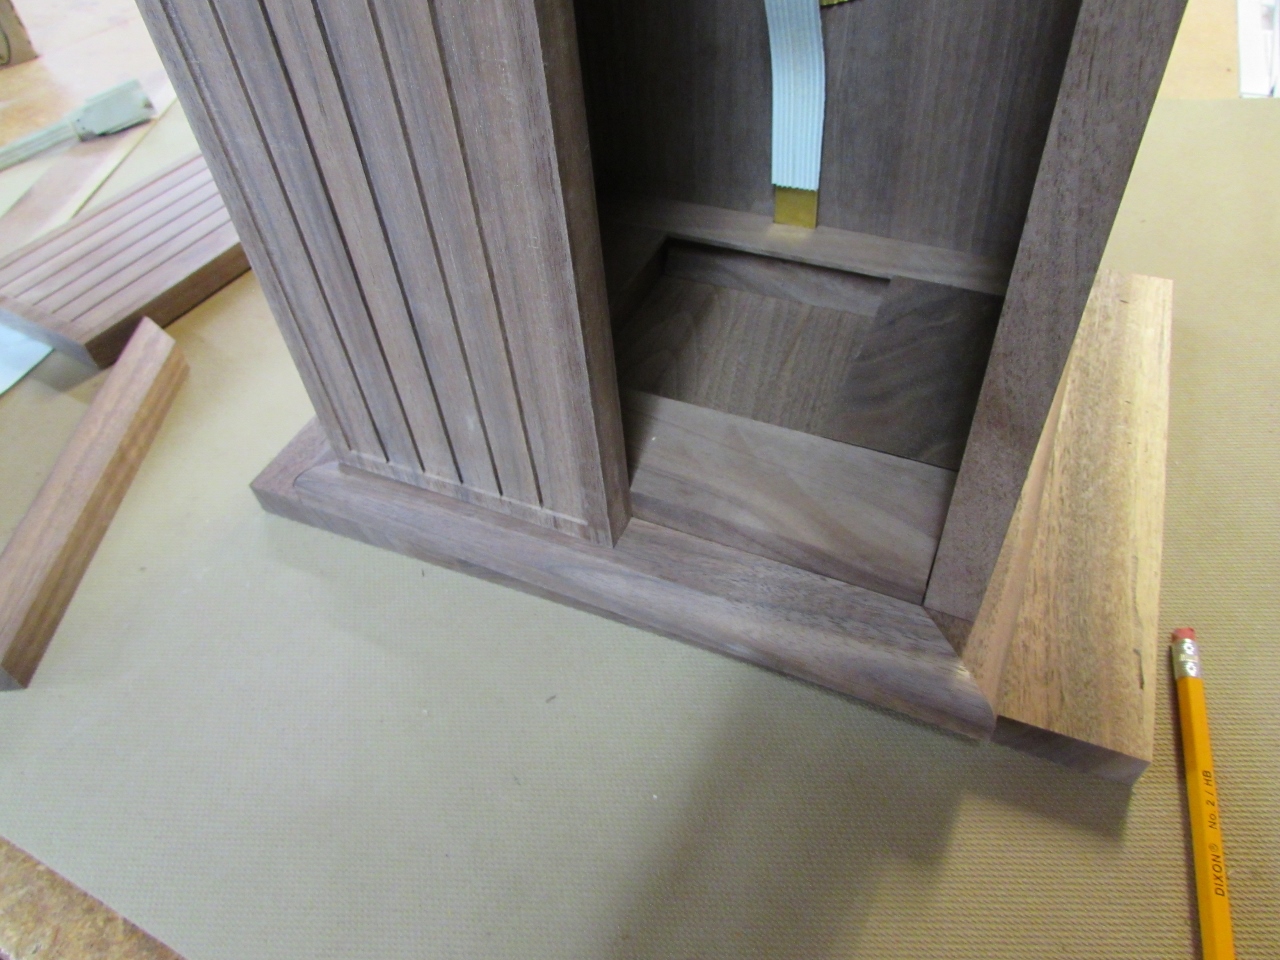
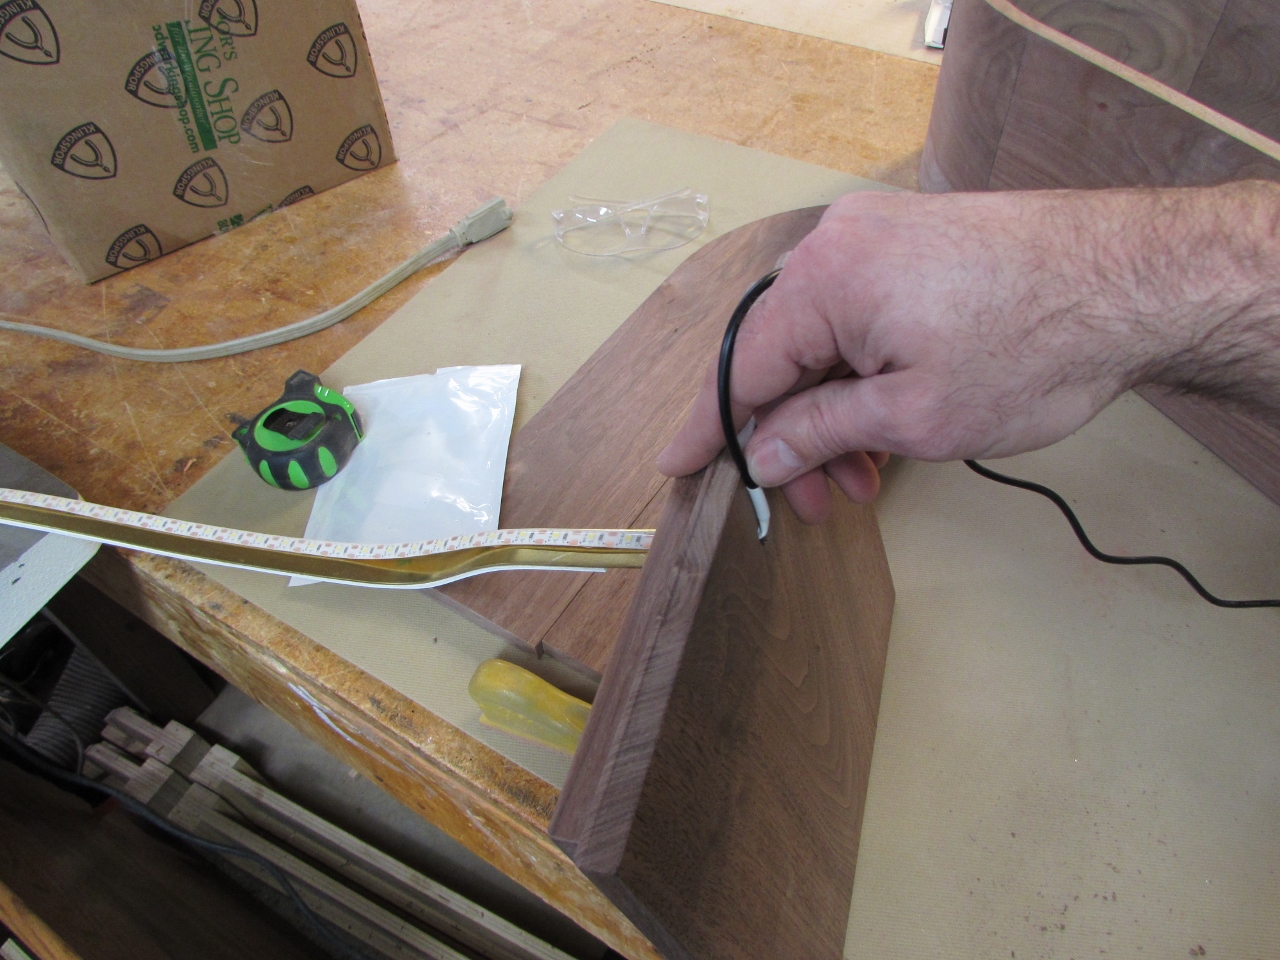
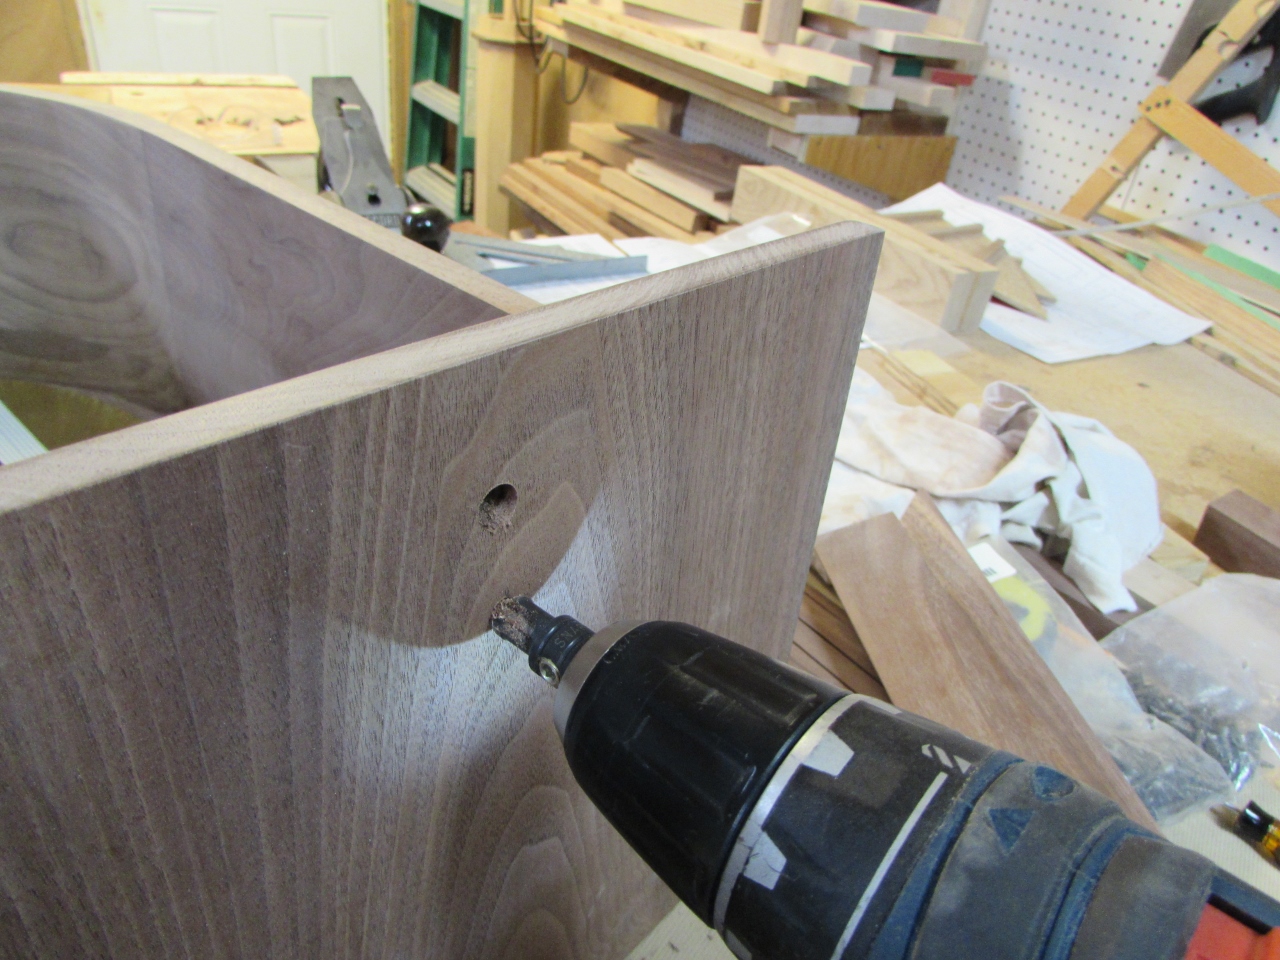
I measured down from the edge to the brass strip and drilled a hole large enough to install the lights through.
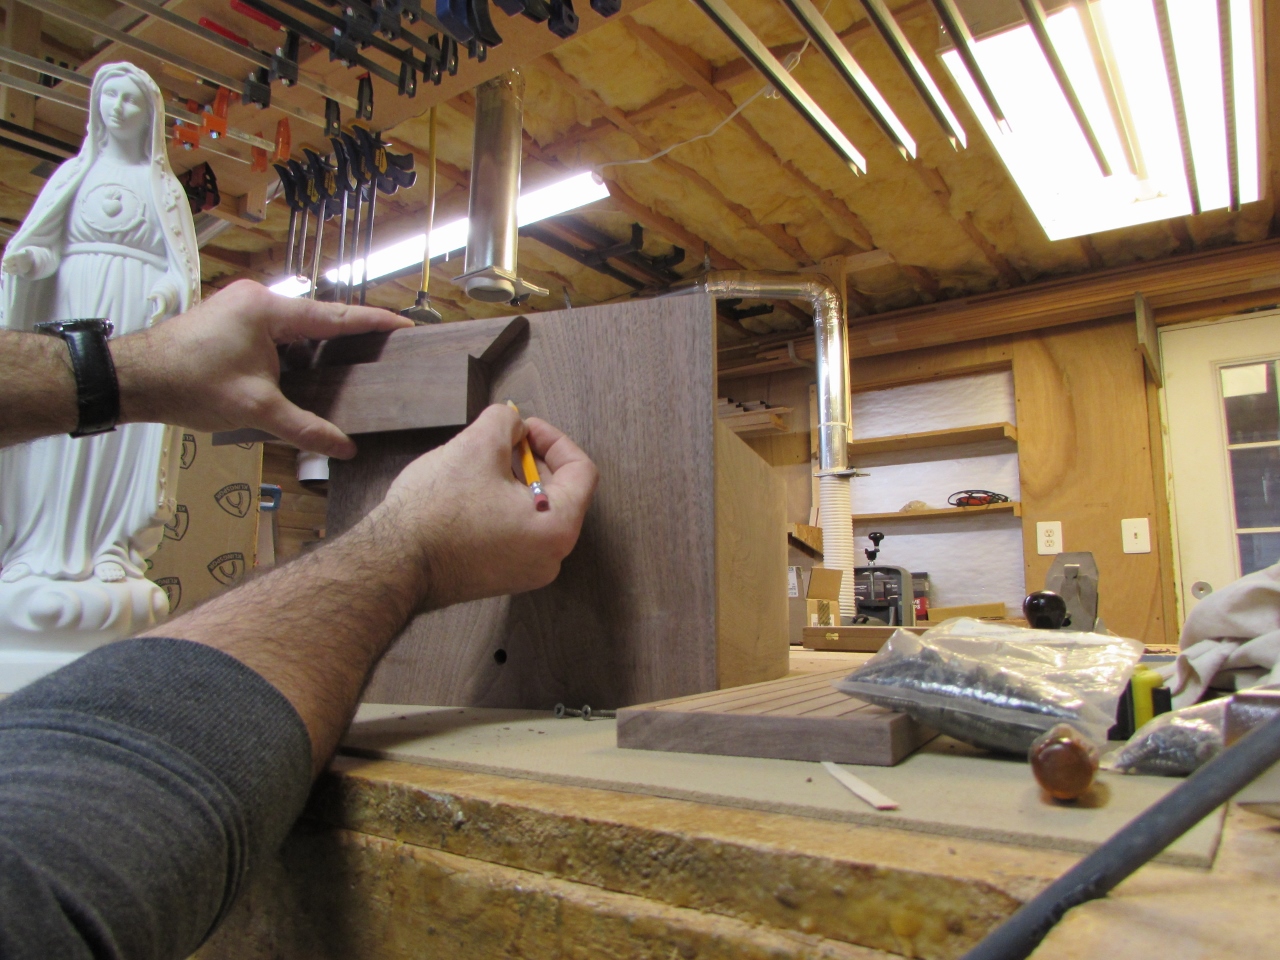
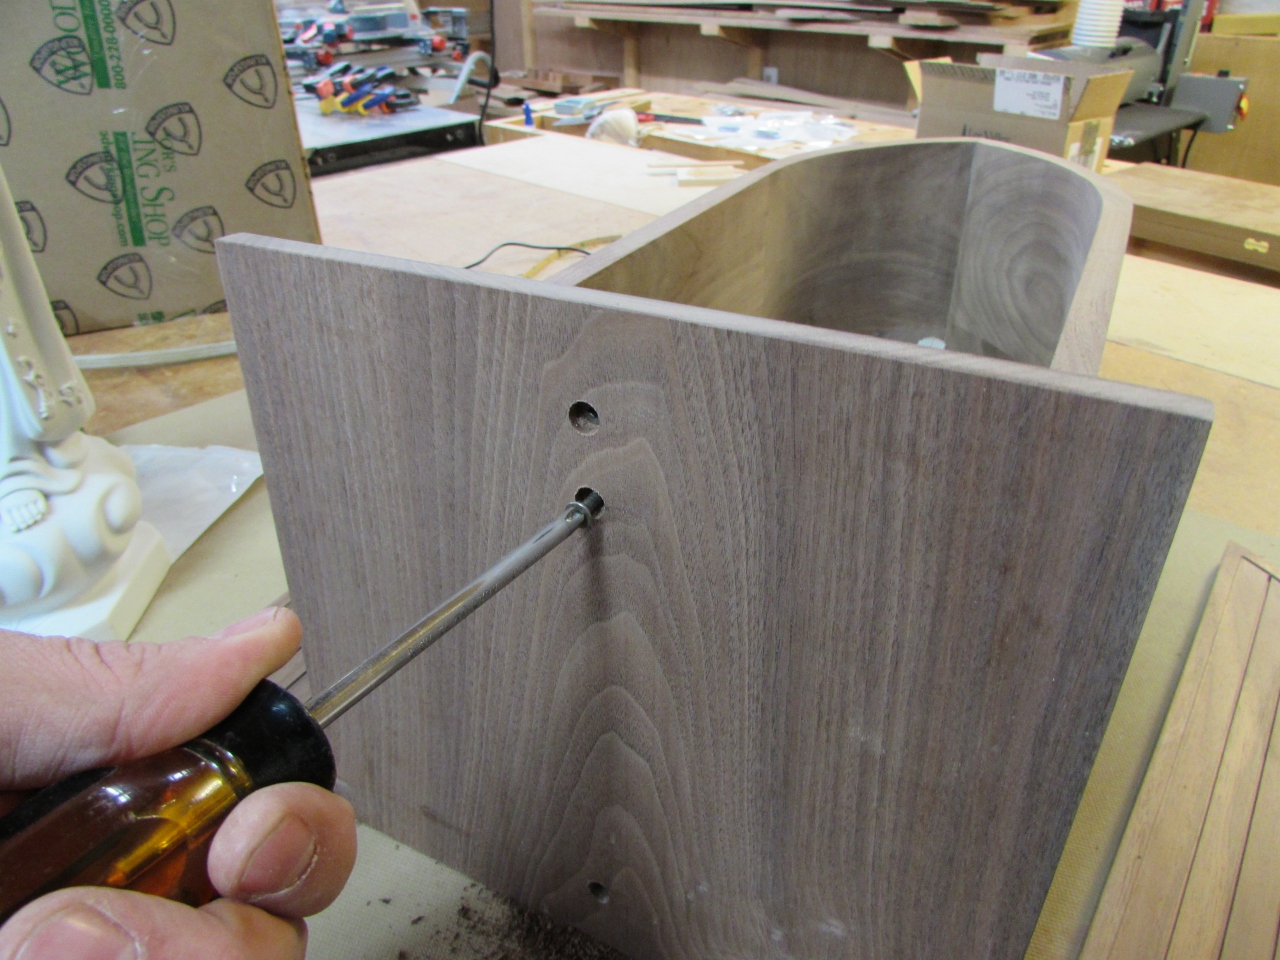
Then I used the front retainer piece to locate a couple of attachment holes.
After drilling and counter-sinking them, I attached the front with two different length screws, making sure not to poke through the top face.
Then after a little more finessing, the front retainer was properly fitted and installed.
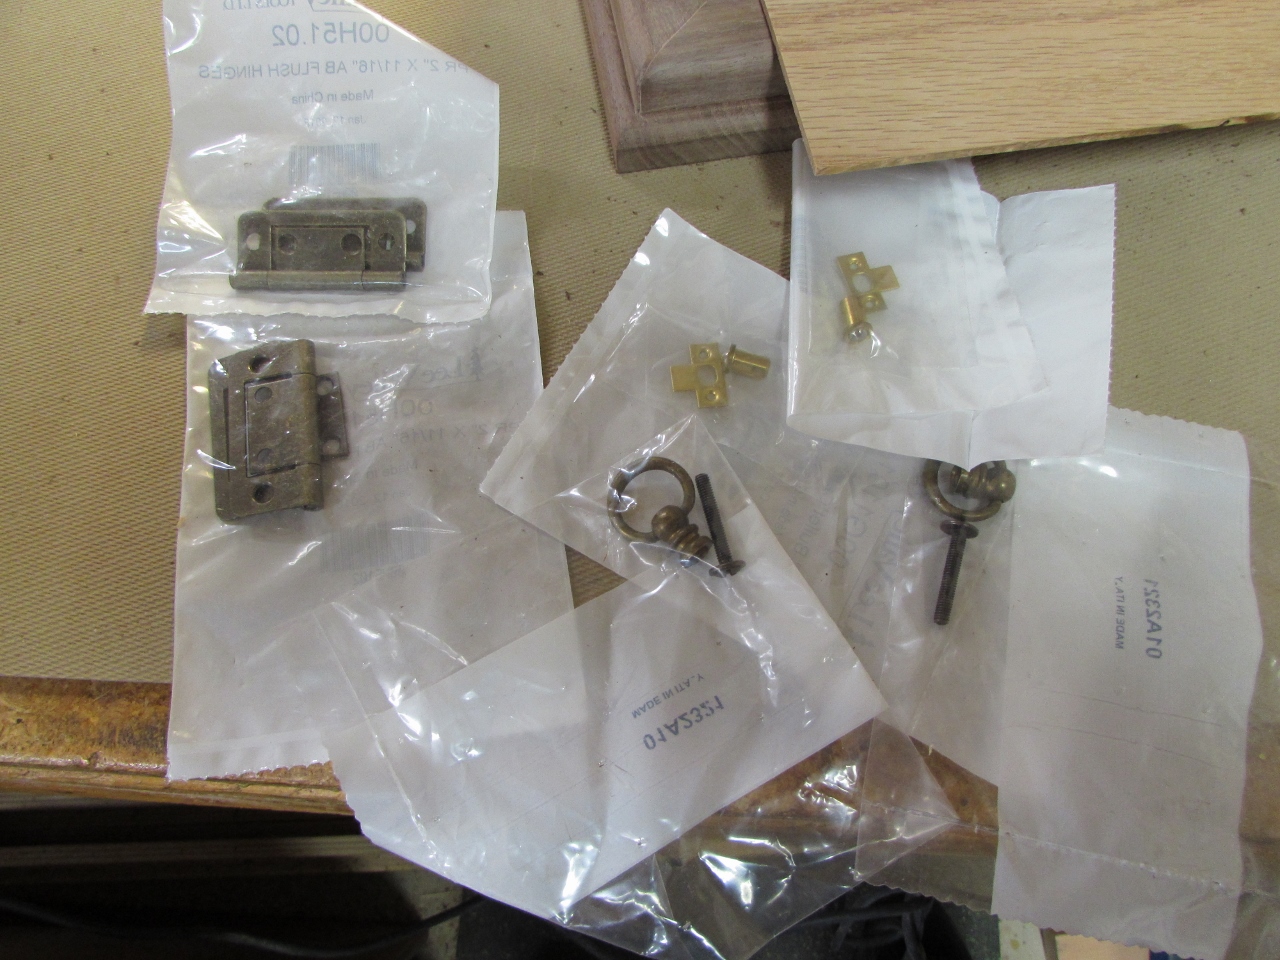
Now it was time for the hardware installation. I picked out some hinges, pulls, and catches that I thought would work well with this design. I also had to buy matching screws since the hardware doesn’t always come with them. I have also determined that buying steel hardware that matches the color is often better than using the screws that come with the hardware. They tend to be softer and strip out or break.
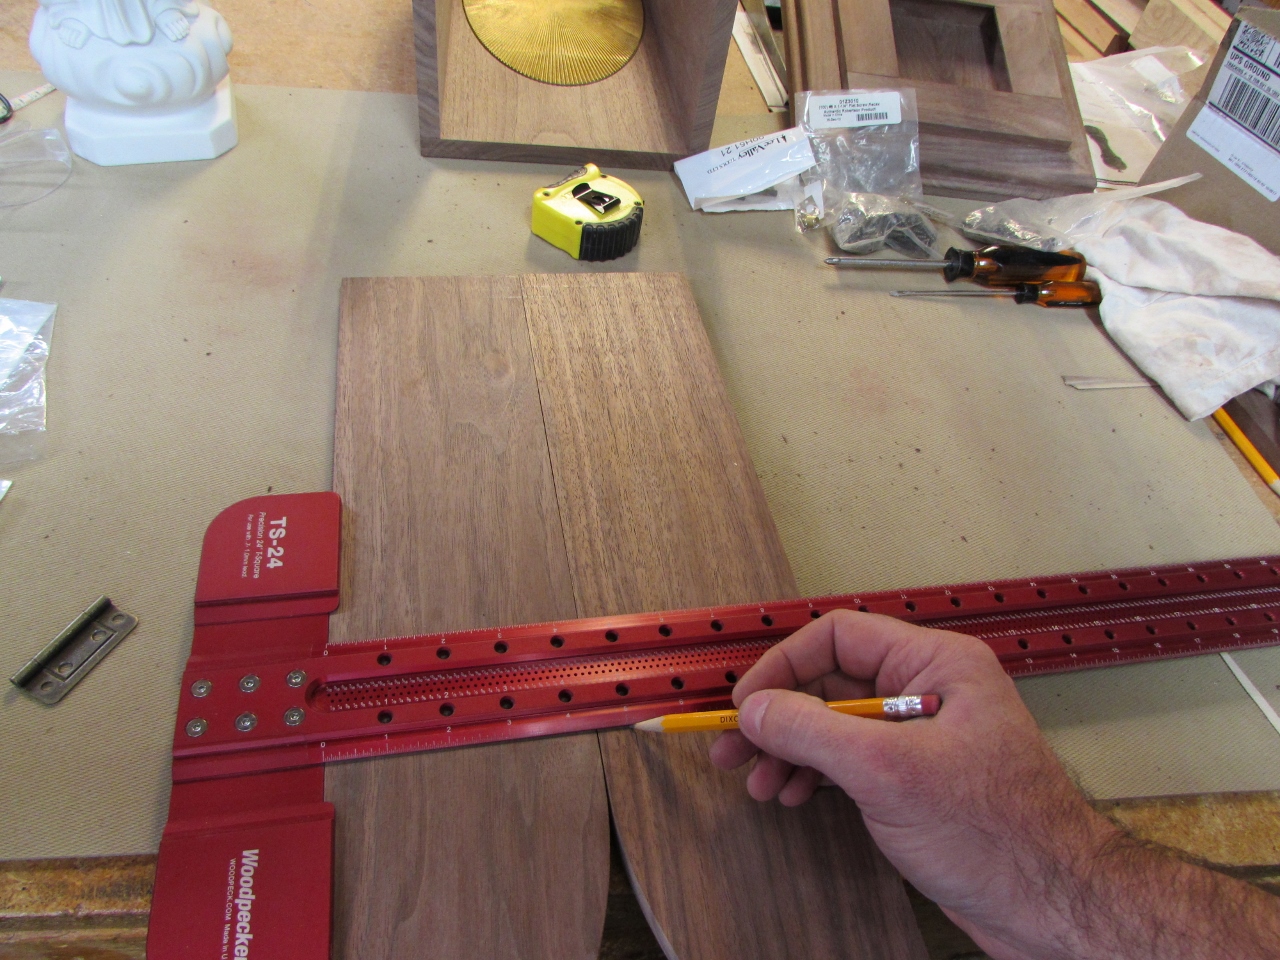
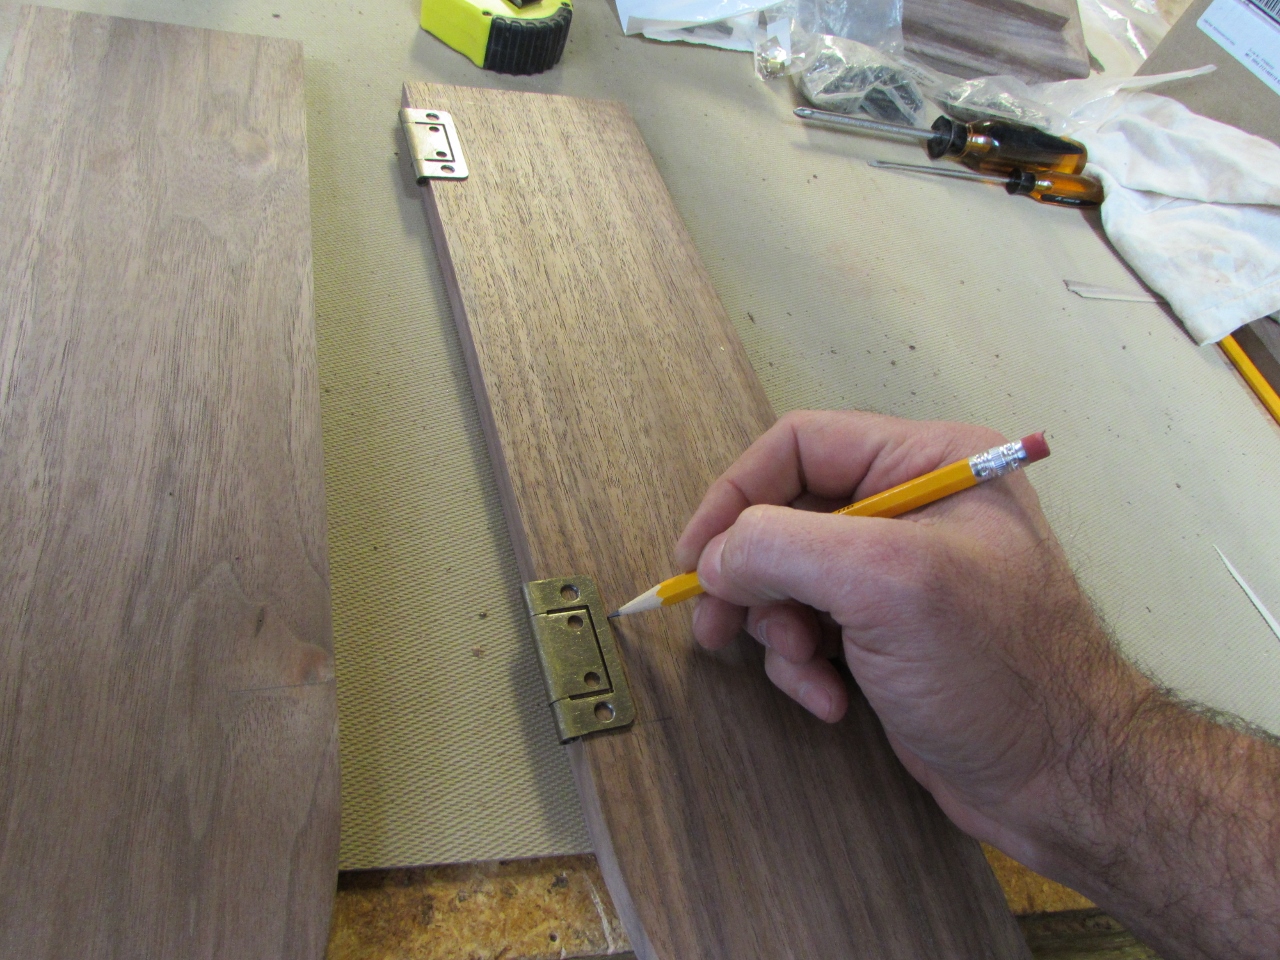
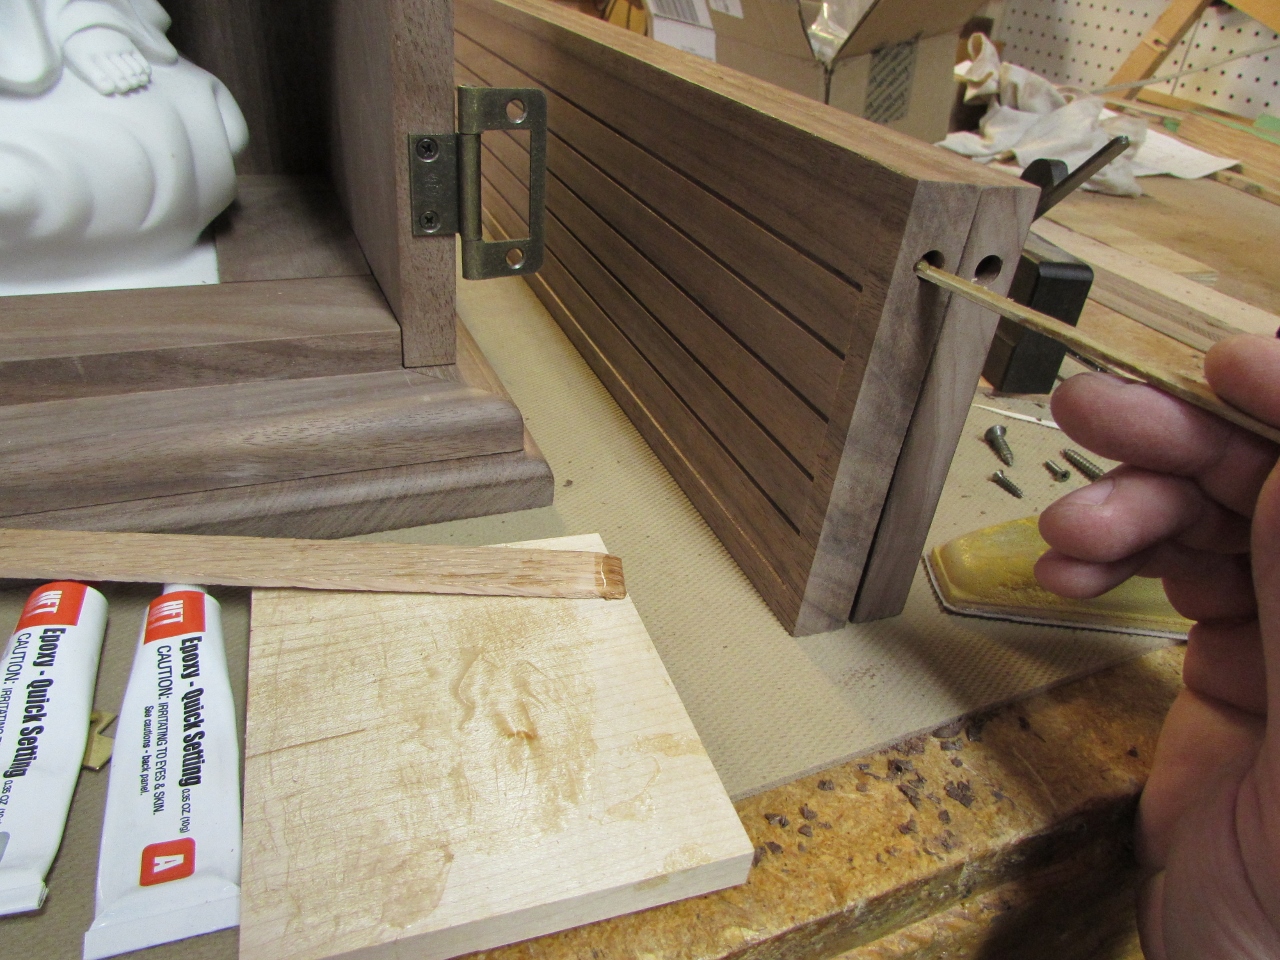
I selected hinges that do not need to be mortised into the door, but I decided I did not like the gap between the door and the cabinet, so I decided to mortise them anyway. I laid out the locations as accurately as I could, then traced the hinges.
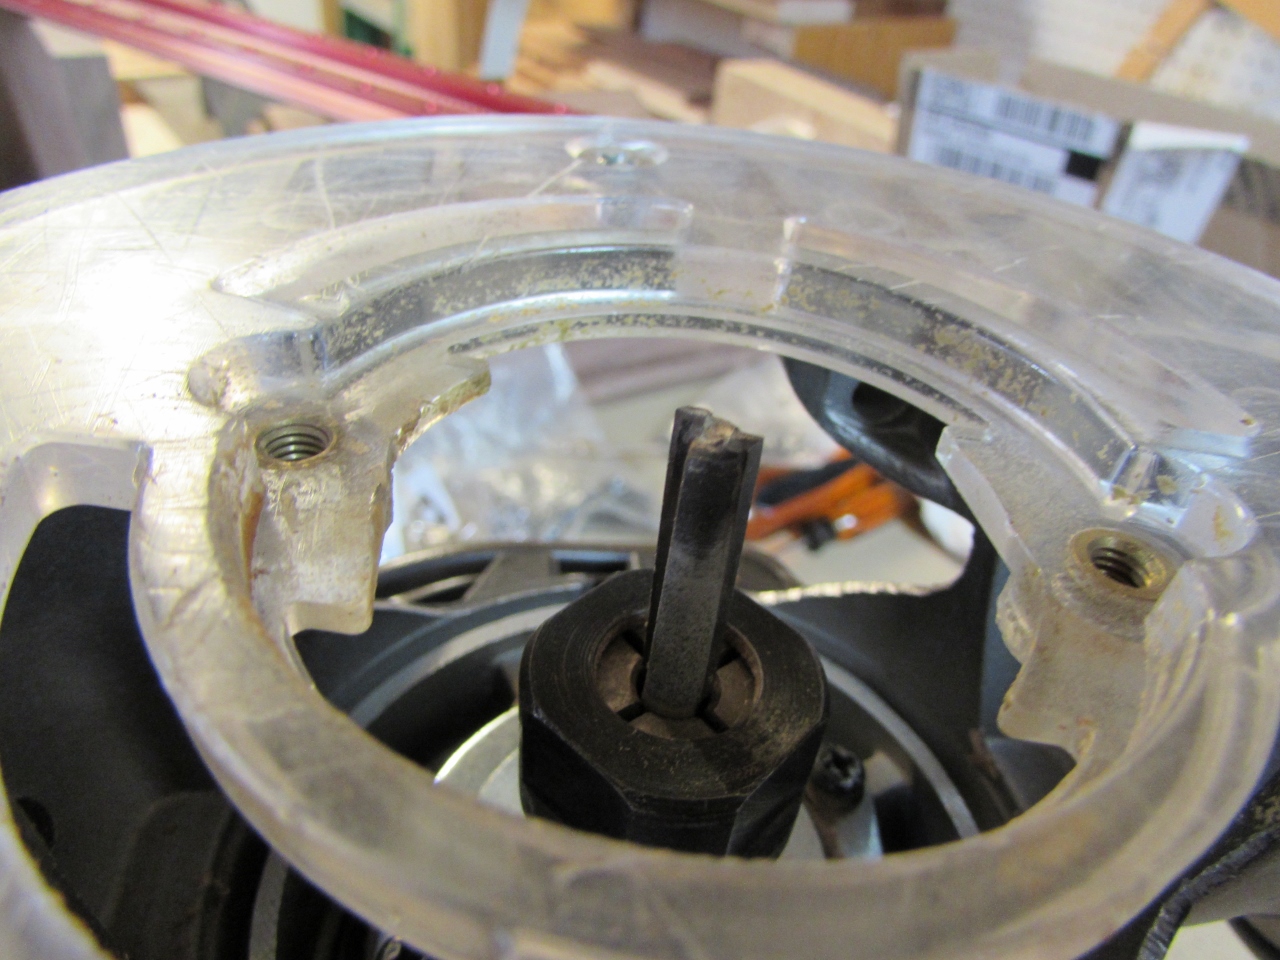
I am using a 1/4″ straight bit to cut these mortises, set 1/16″ deep, so the hinges will sit flush.
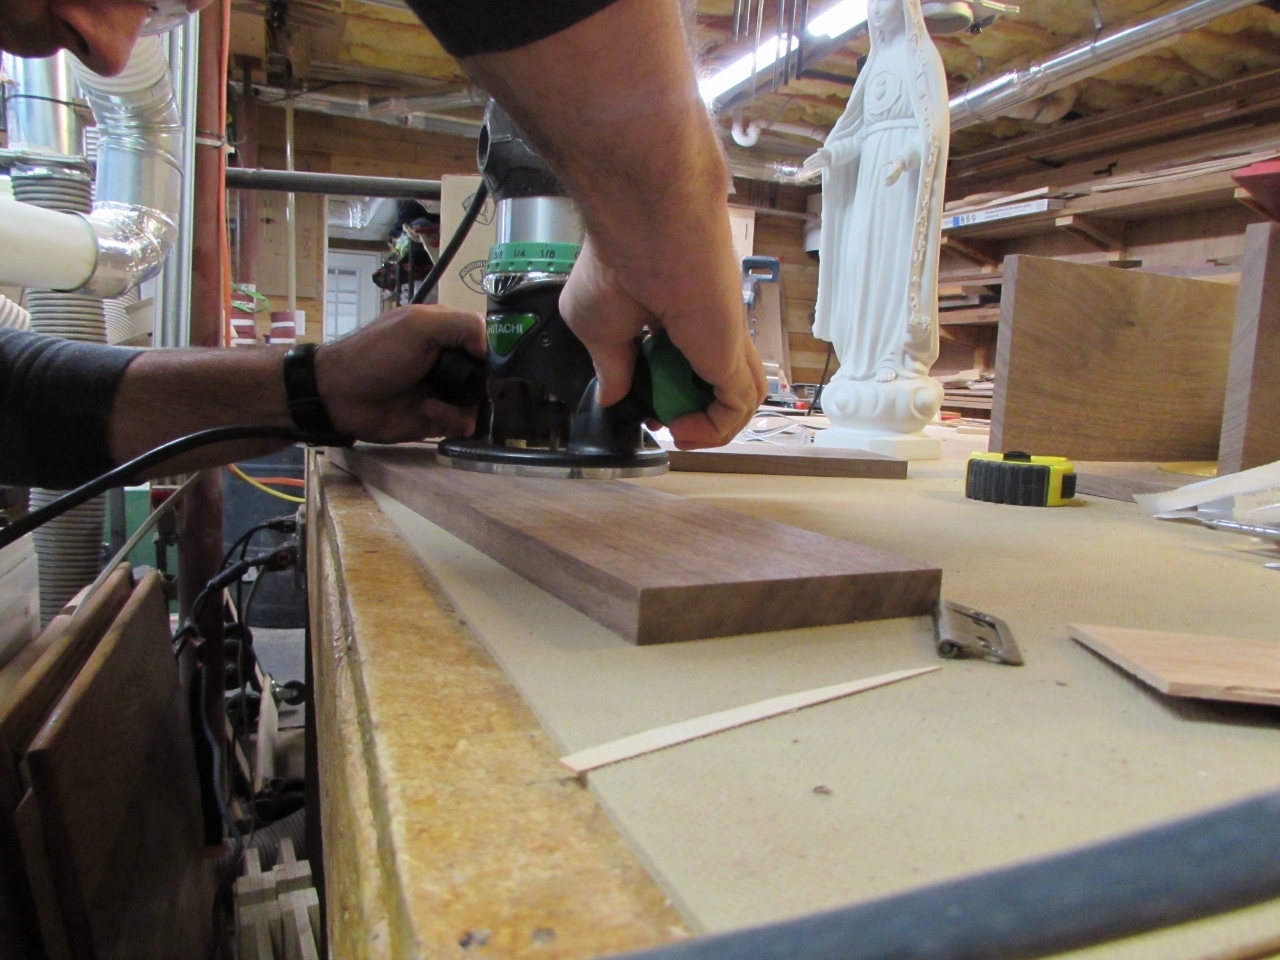
I take my time and free-hand route the recesses. It would take too long to build a jig for it. I don’t do these often, so it is not worth the effort.
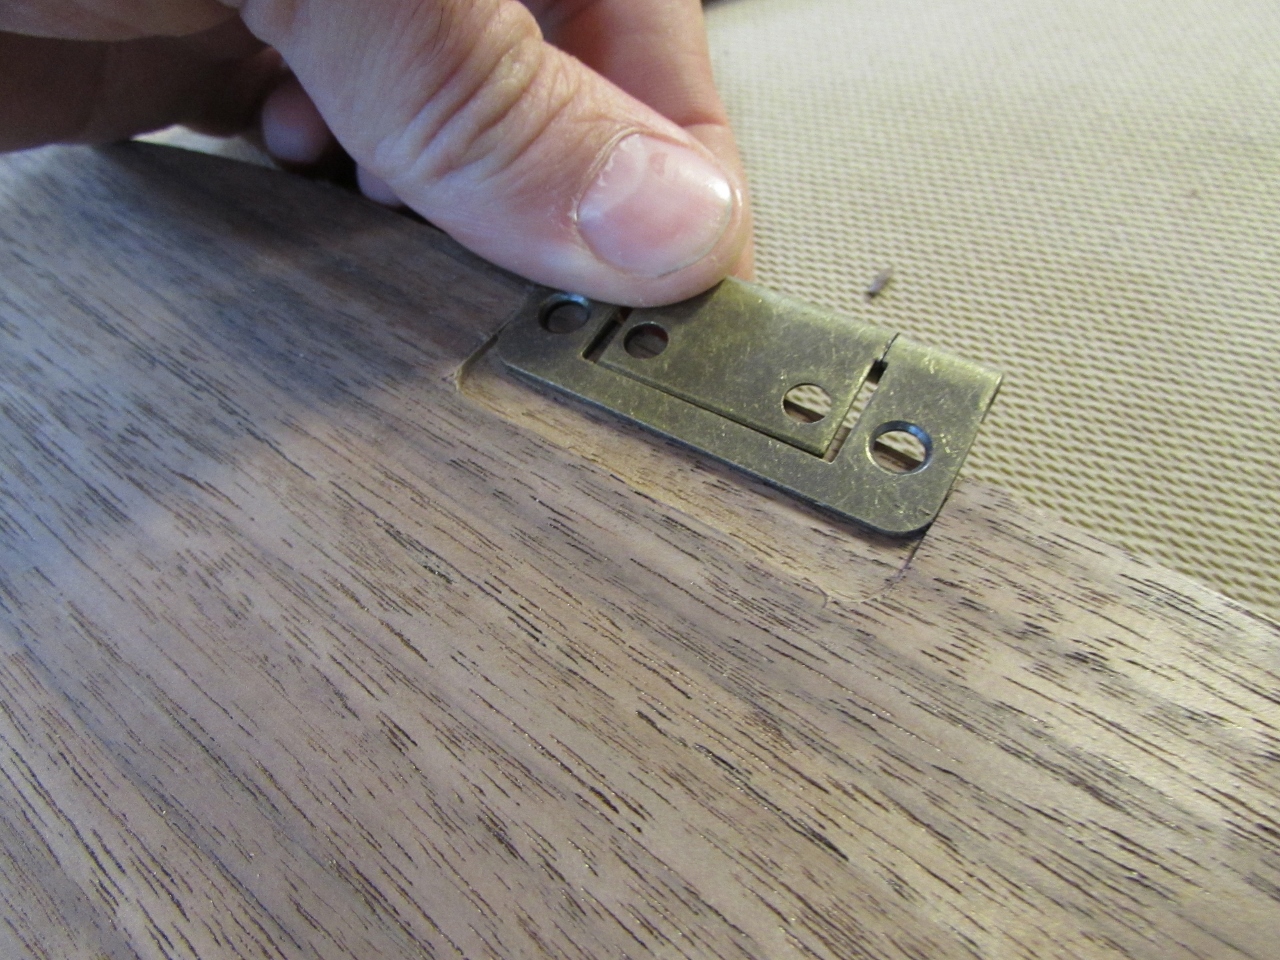

After I press the hinge in place, I mark the centers and drill a pilot hole for the screws, then install them.


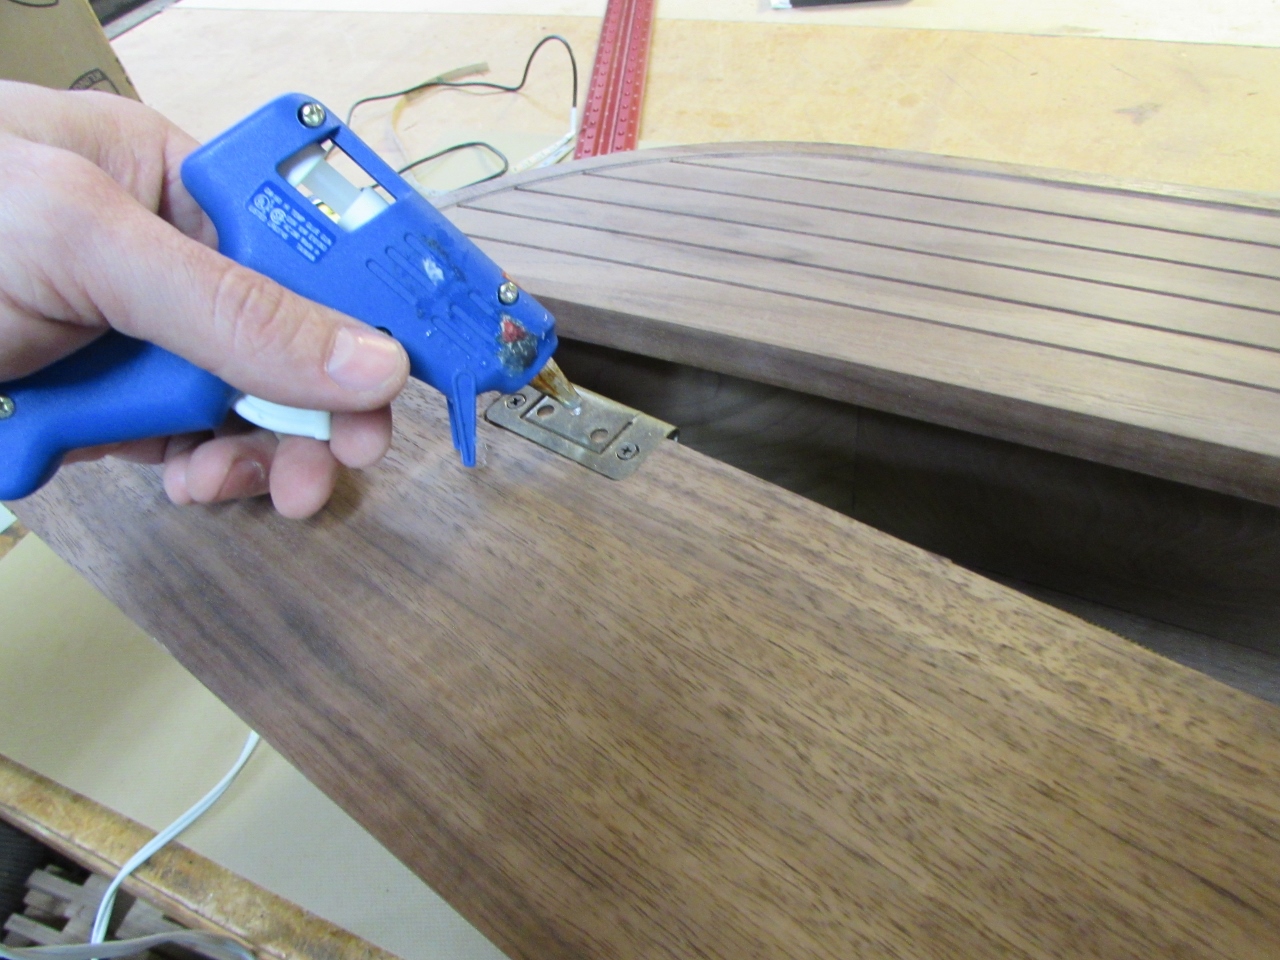
To locate the hinges, I am going to try a trick I saw someone on YouTube use. It involves applying a drop of hot glue on each hinge, then pressing the door in place, till it dries.
In theory, the hinge will be held temporarily in place until you can mark the center points. It worked, but not very well. I found that applying the glue to the hinge first made the least mess, but the metal of the hinge cooled the glue too fast for a good seal. Applying it to the wood first wasn’t much more help. The glue stayed pliable longer, but spread way more and glued the hinge shut so it wouldn’t open… Holding the tip to the hinge heated up the metal a bit. This helped keep the glue sticky longer, but cooled the tip of the gun. In the end, it did work, but it took several tries. Once I had a location, I quickly marked the holes, then pre-drilled and inserted the screws.

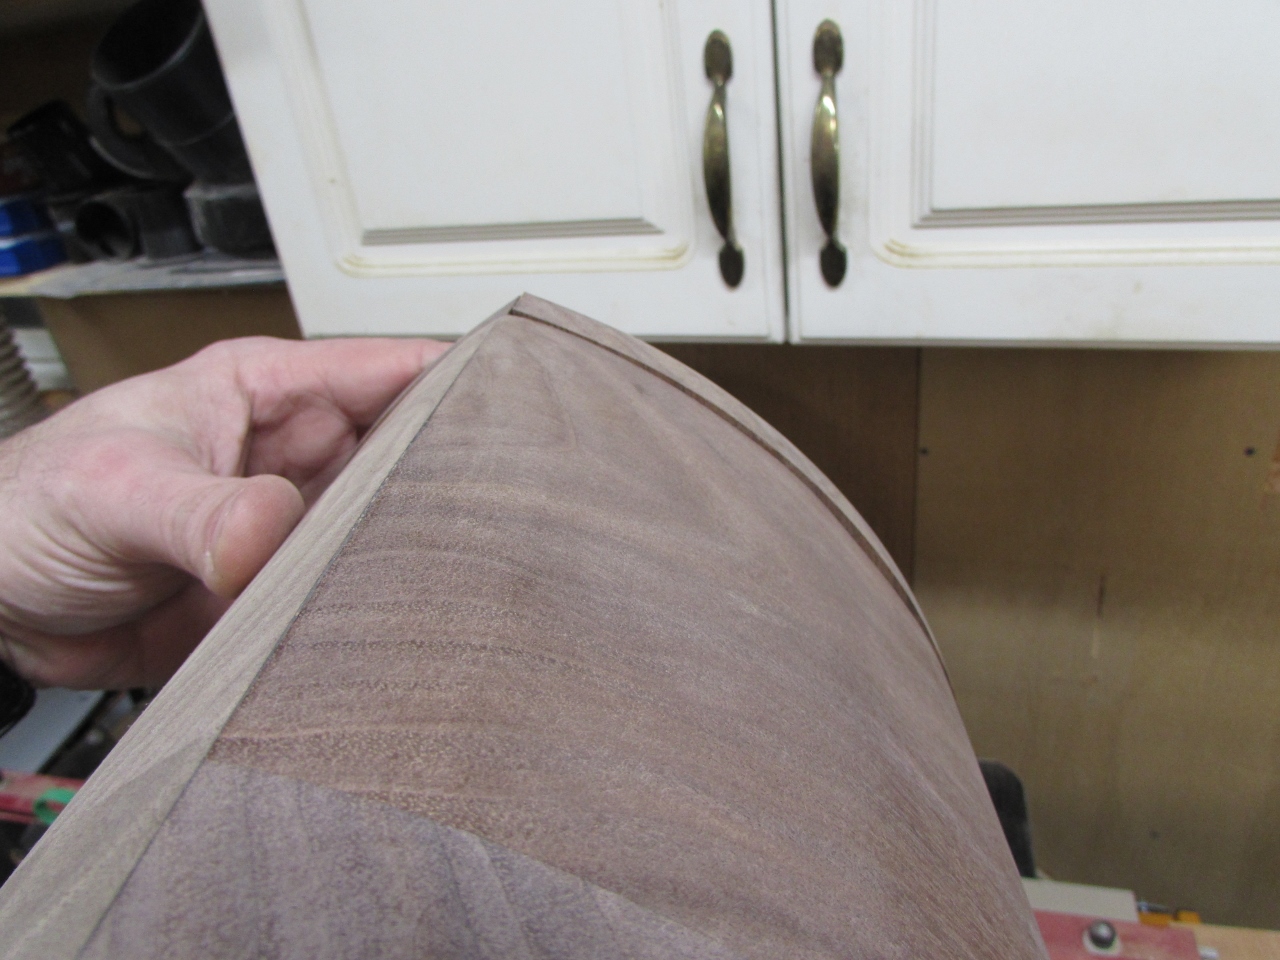
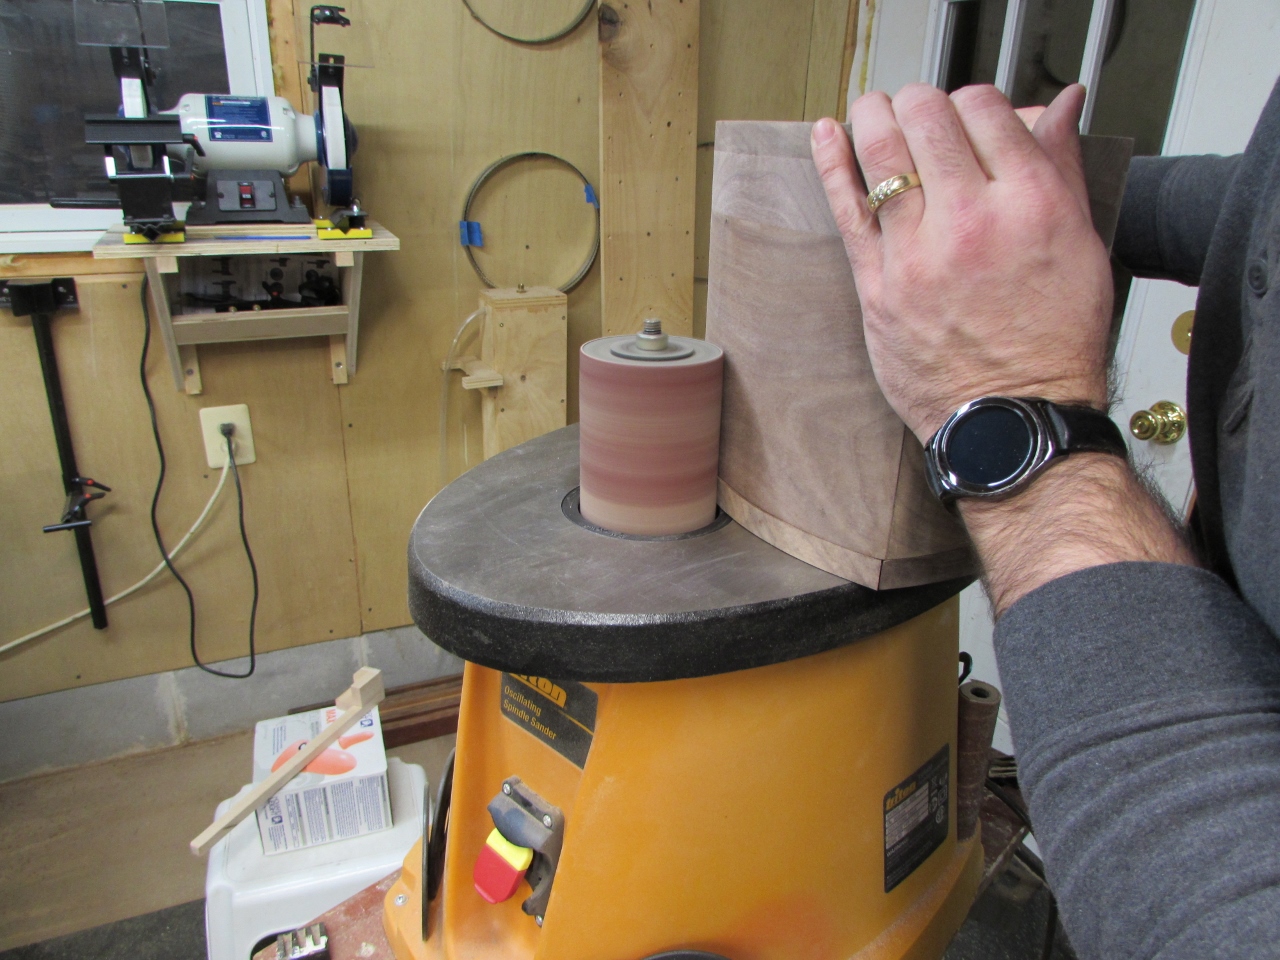
Once installed, I had to trim the doors a bit to match the slightly imperfect curve of the cabinet top. This was done rather aggressively on my spindle sander.
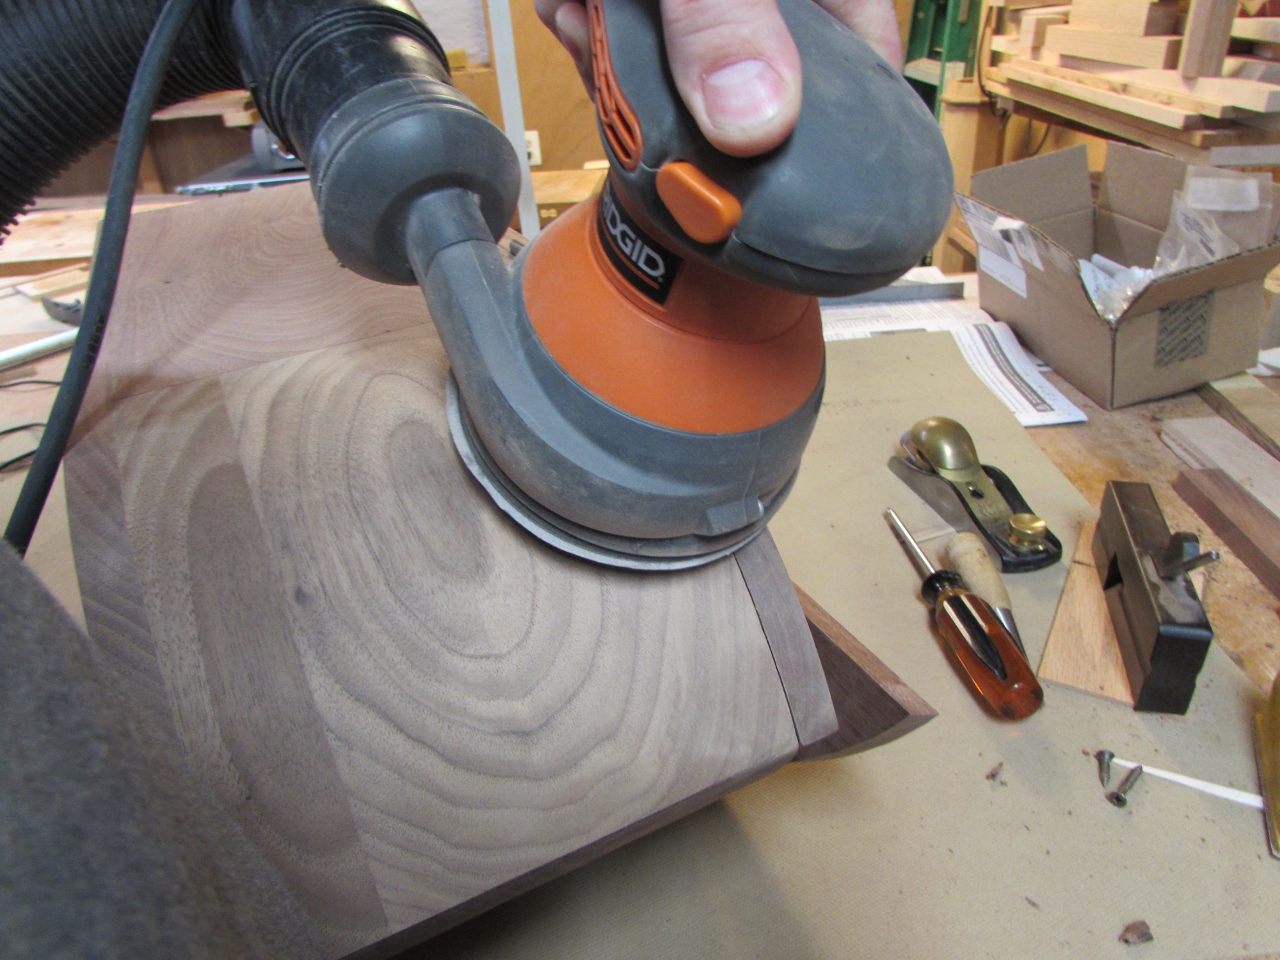
Then refined with my orbital.
After way longer than expected, the doors were mounted.

Now it was time for the bullet catches. I never installed them before and they did not come with directions, so I grabbed a scrap to experiment on. These are 1/4″ in diameter so I first drilled a 1/4″ hole. At 1/4″ they are a press-fit. I could do that, but I feared that might cause splitting in the door panel, if this cabinet were to be located somewhere very dry.
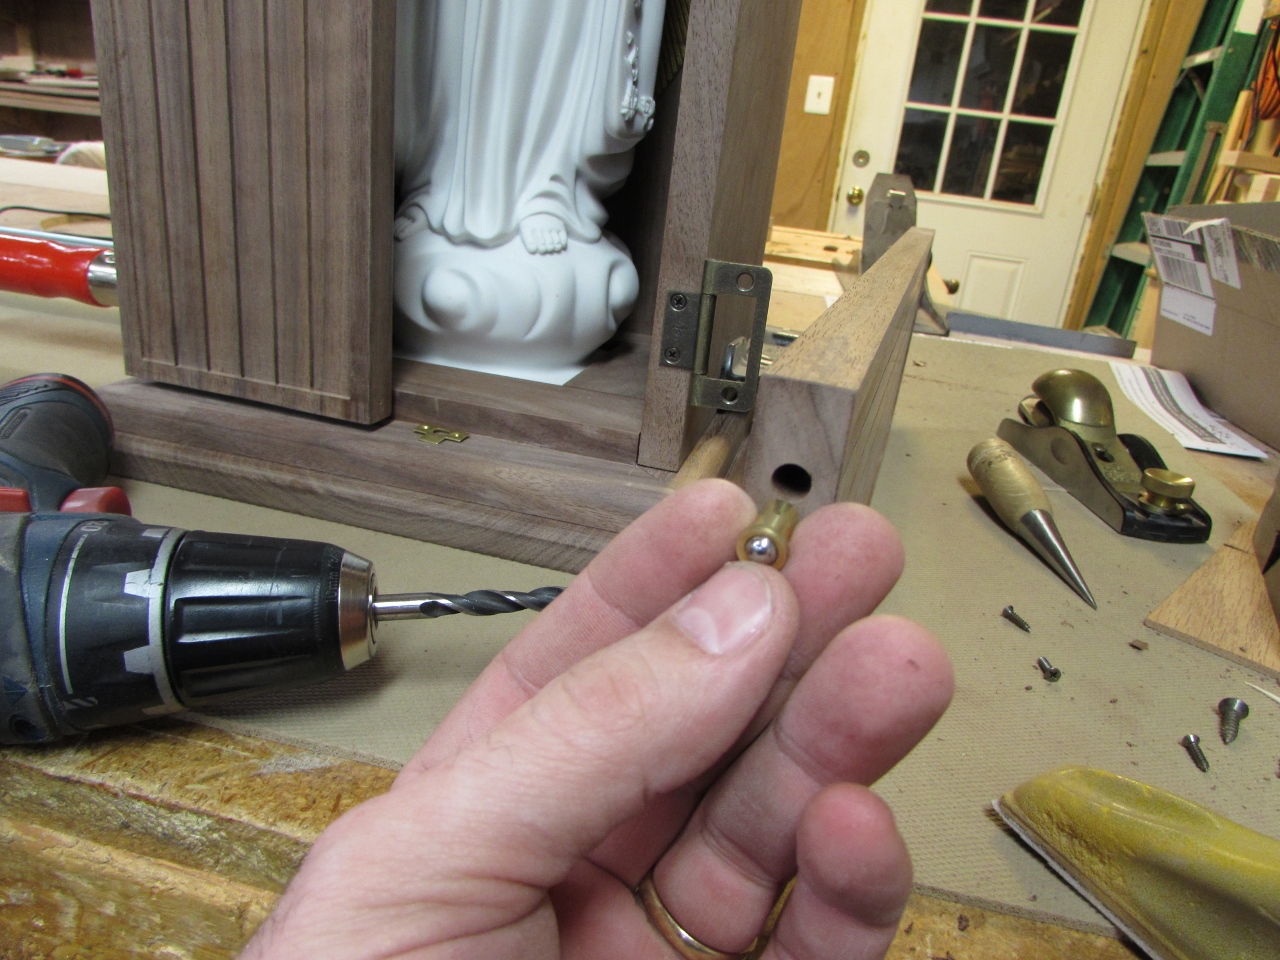
I opted to go 1/64″ larger, and epoxy the spring plunger in place.

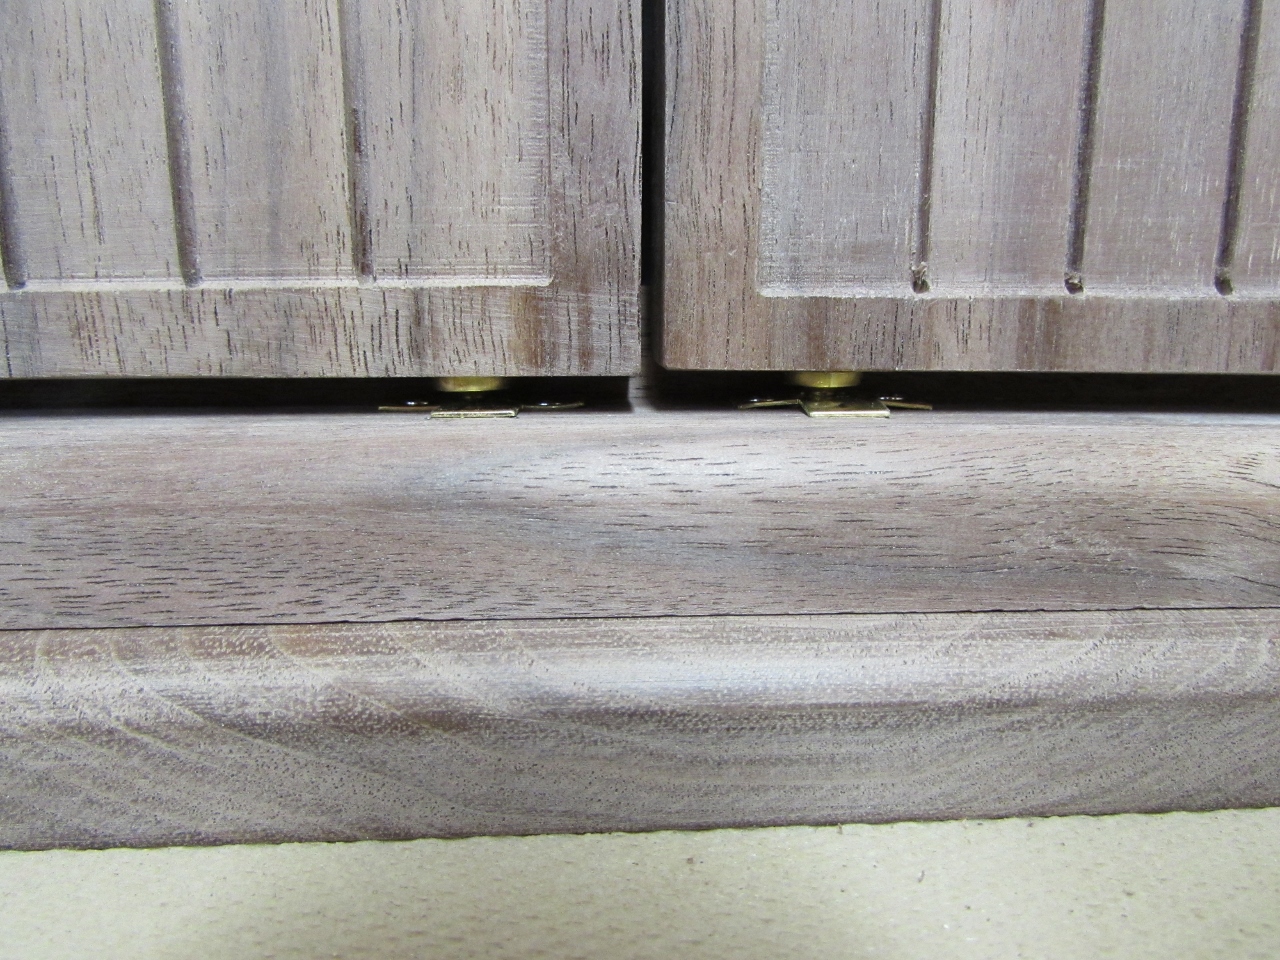
Then I just had to install the catch plates. For as small as they are, they do work fairly well. Just a gentle click and the door is held shut.
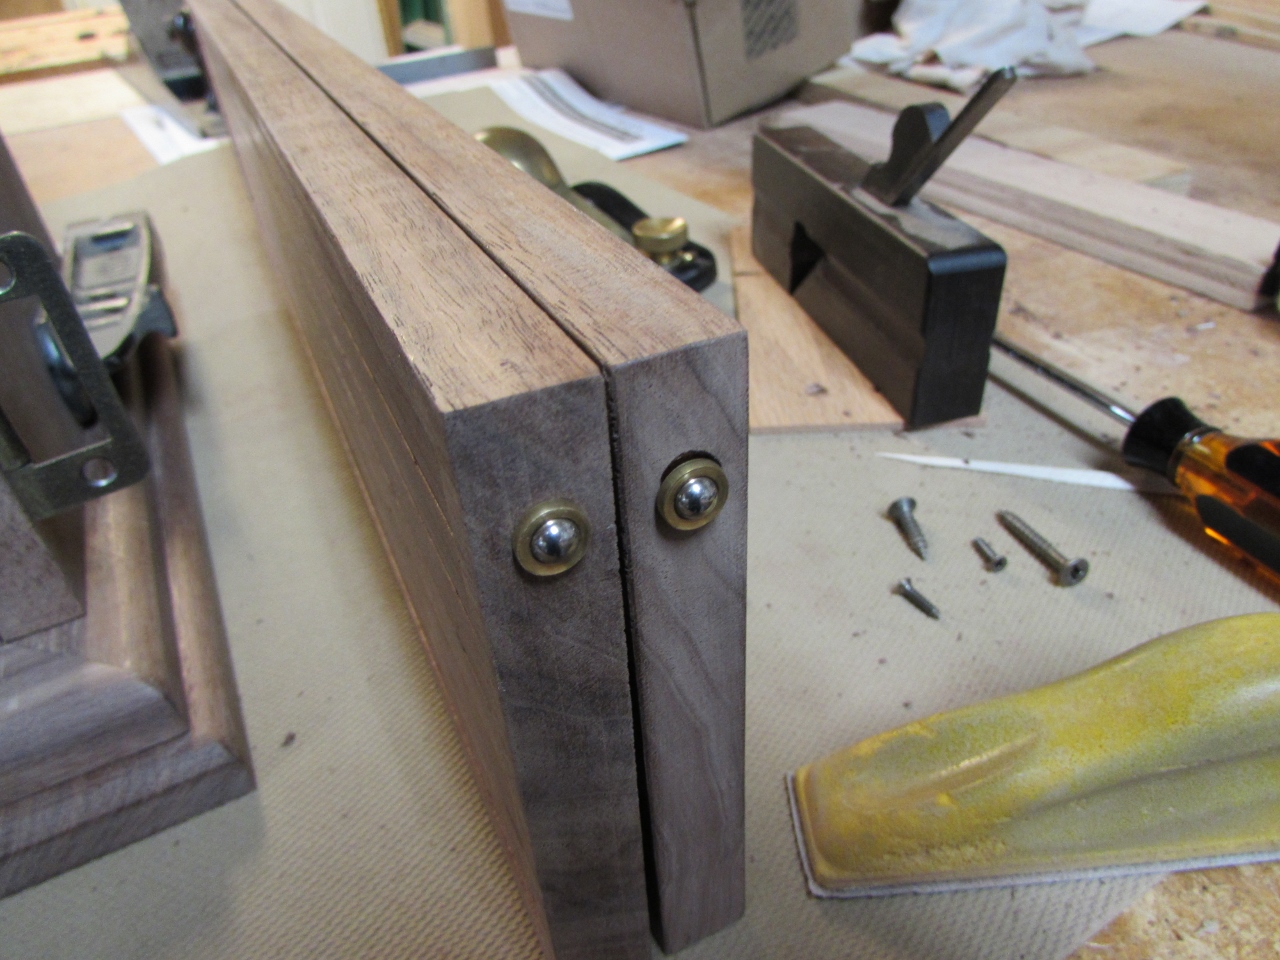
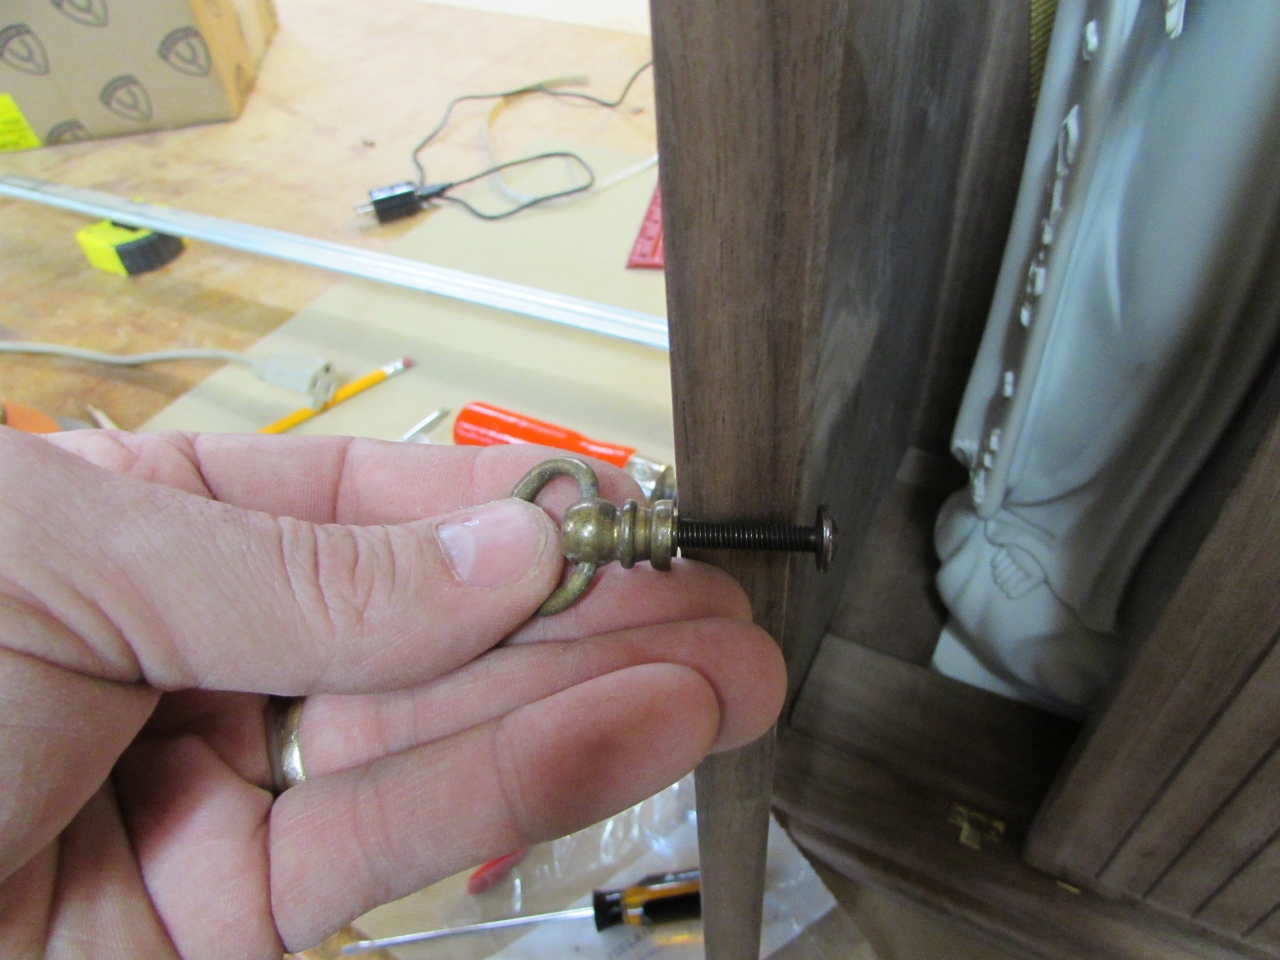
I was eager to finish up the hardware last night, but when I held the pull up to the door, I could see that the screws were way too long. The screws will require cutting down and that is not something I feel like doing at 11:30 at night…
A fair bit of progress today. Just the pulls and the feet to make, and I can start applying finish.
