
Arch-top cabinet – day 4
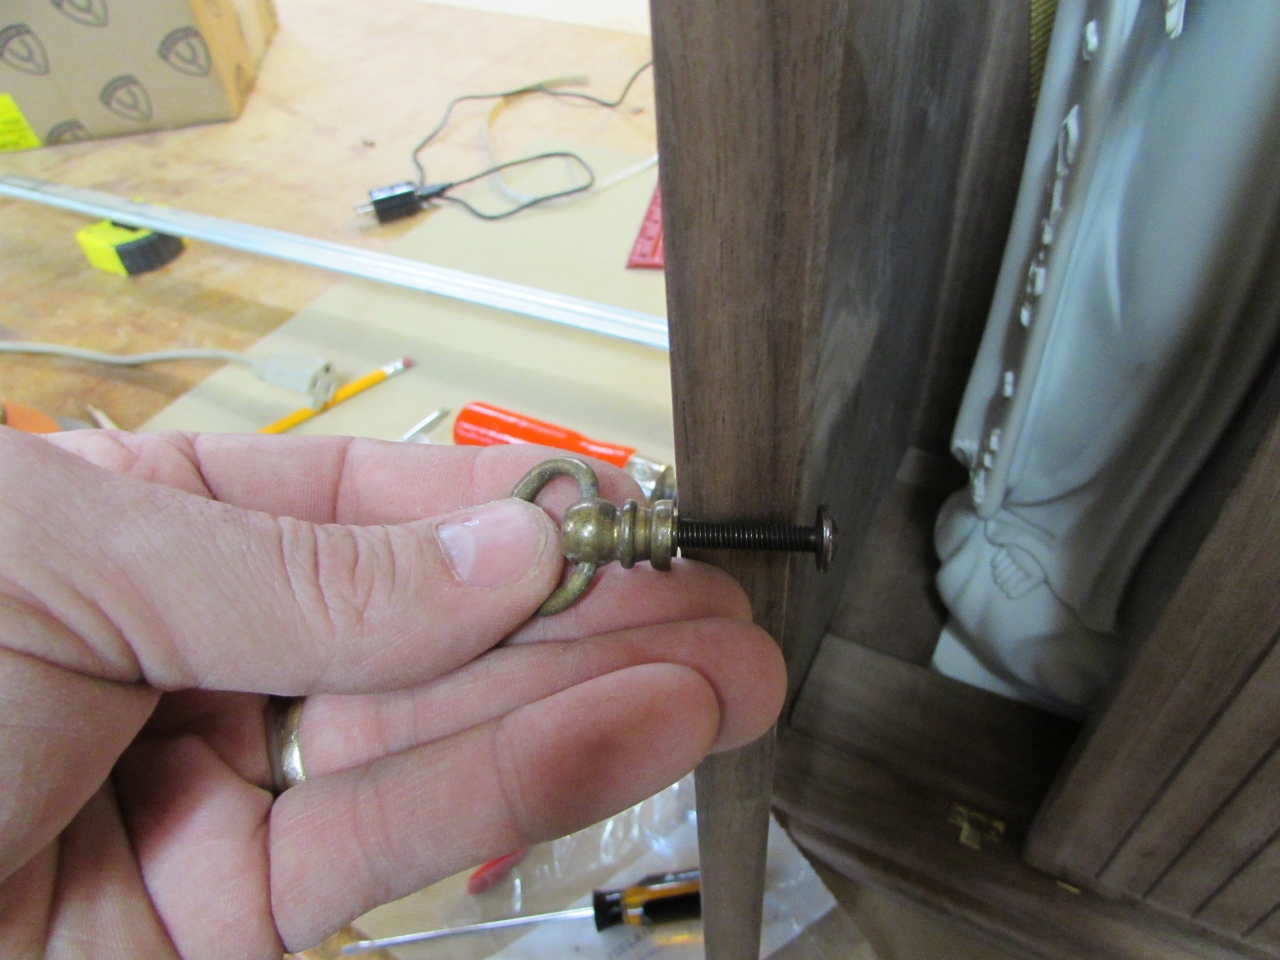
Last night I quit for the day when I realized the screws for the door pulls were too long.
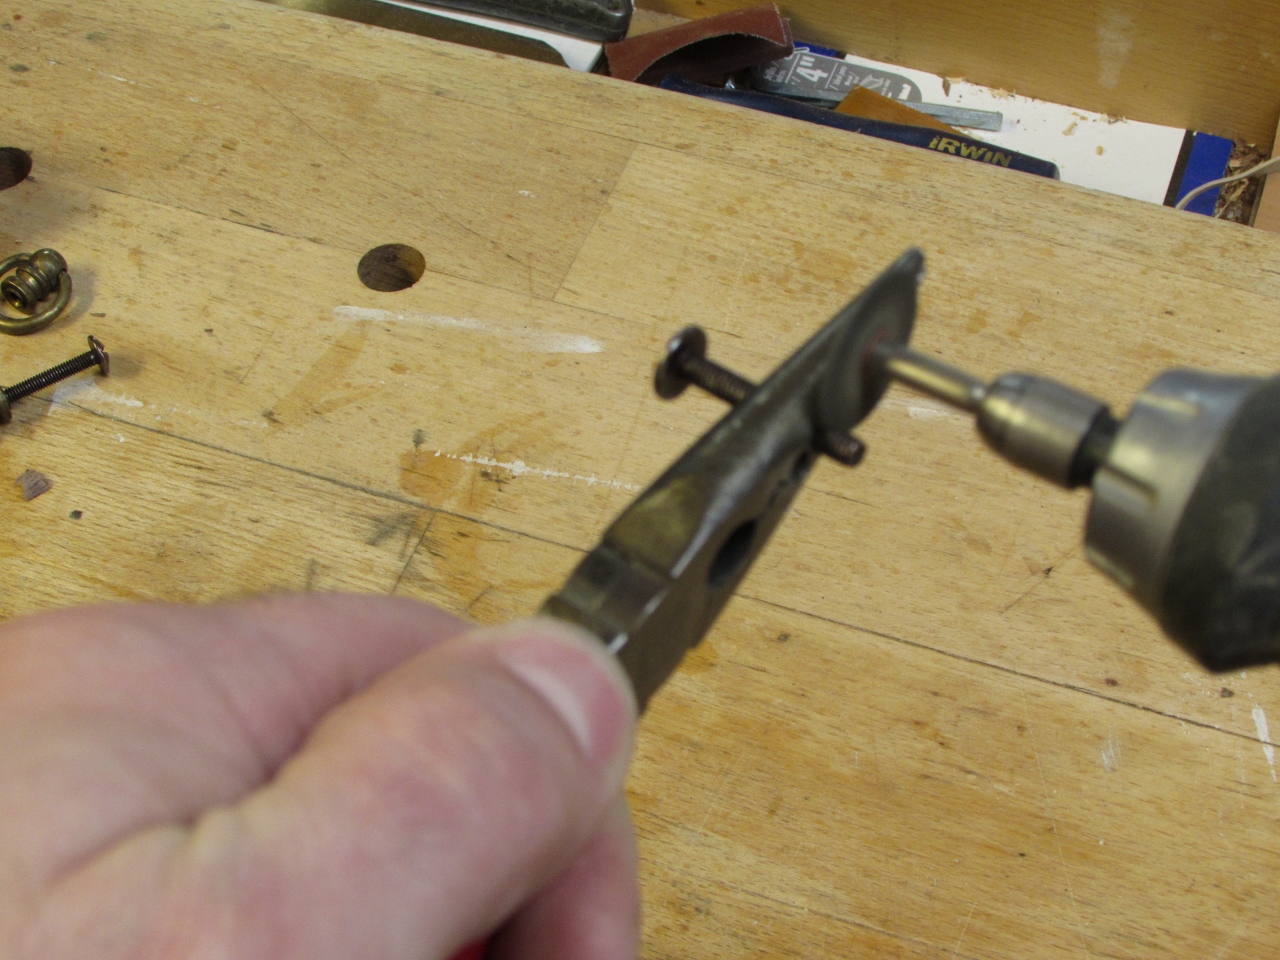
My fix for that is to use a cut-off wheel, on my Dremel tool. I used to use a hack saw, but that really would mash up the threads, at the cut end. The Dremel cuts a lot cleaner. I use a jeweler’s file to clean up or reshape any threads where it was cut.

Now the screws are the right length.

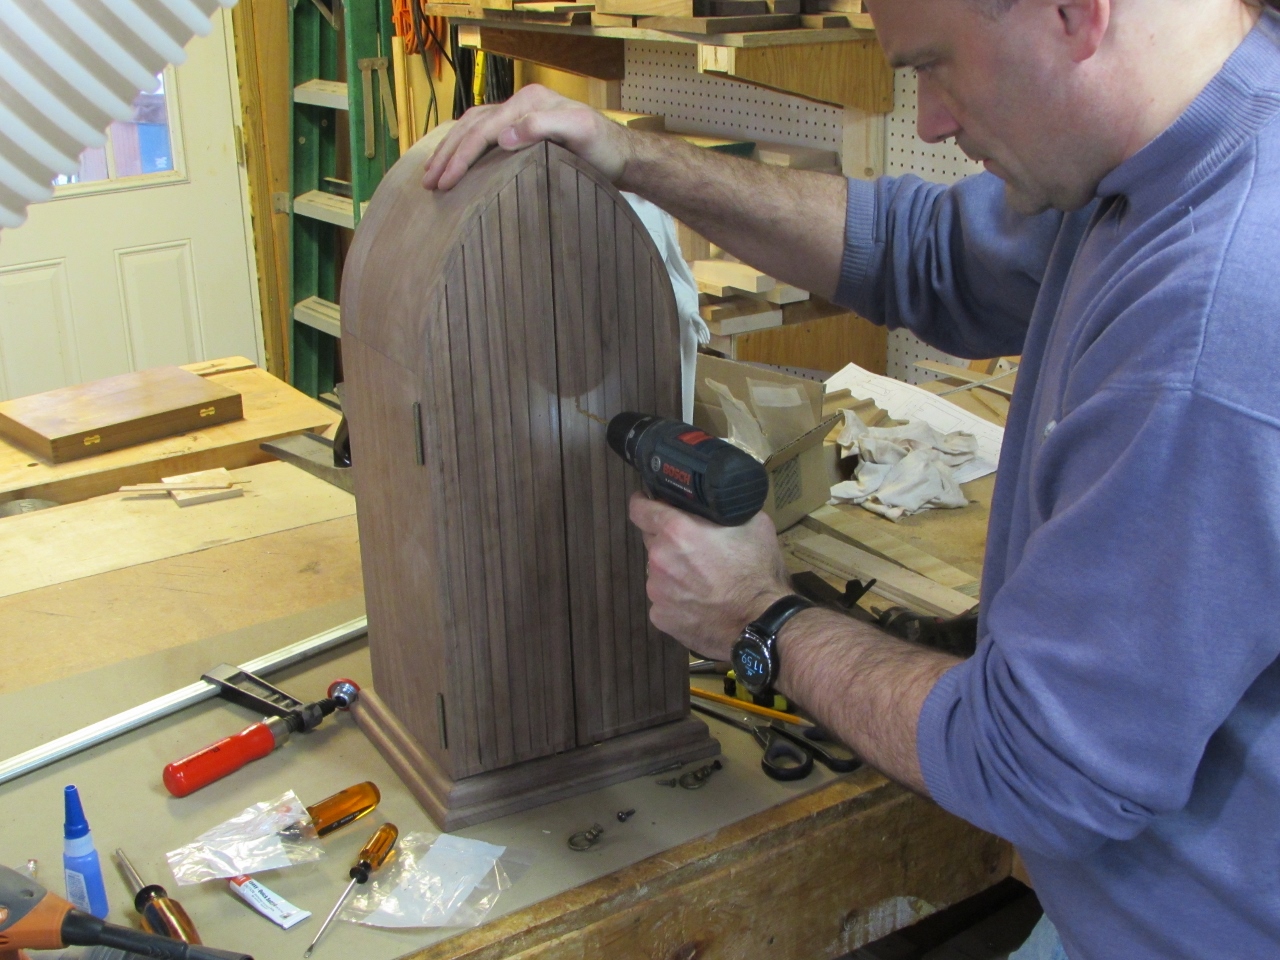
I marked two holes to be drilled. After starting the holes, to set their locations, I opened the doors and held a scrap block of wood behind the area I was drilling through. This prevents any blow-out of the wood at the exit point.

I screwed the hardware on to test the pulls. I have to remove them to finish, but when I do the final install, I will add a drop of CA glue to help prevent them from backing out with use.

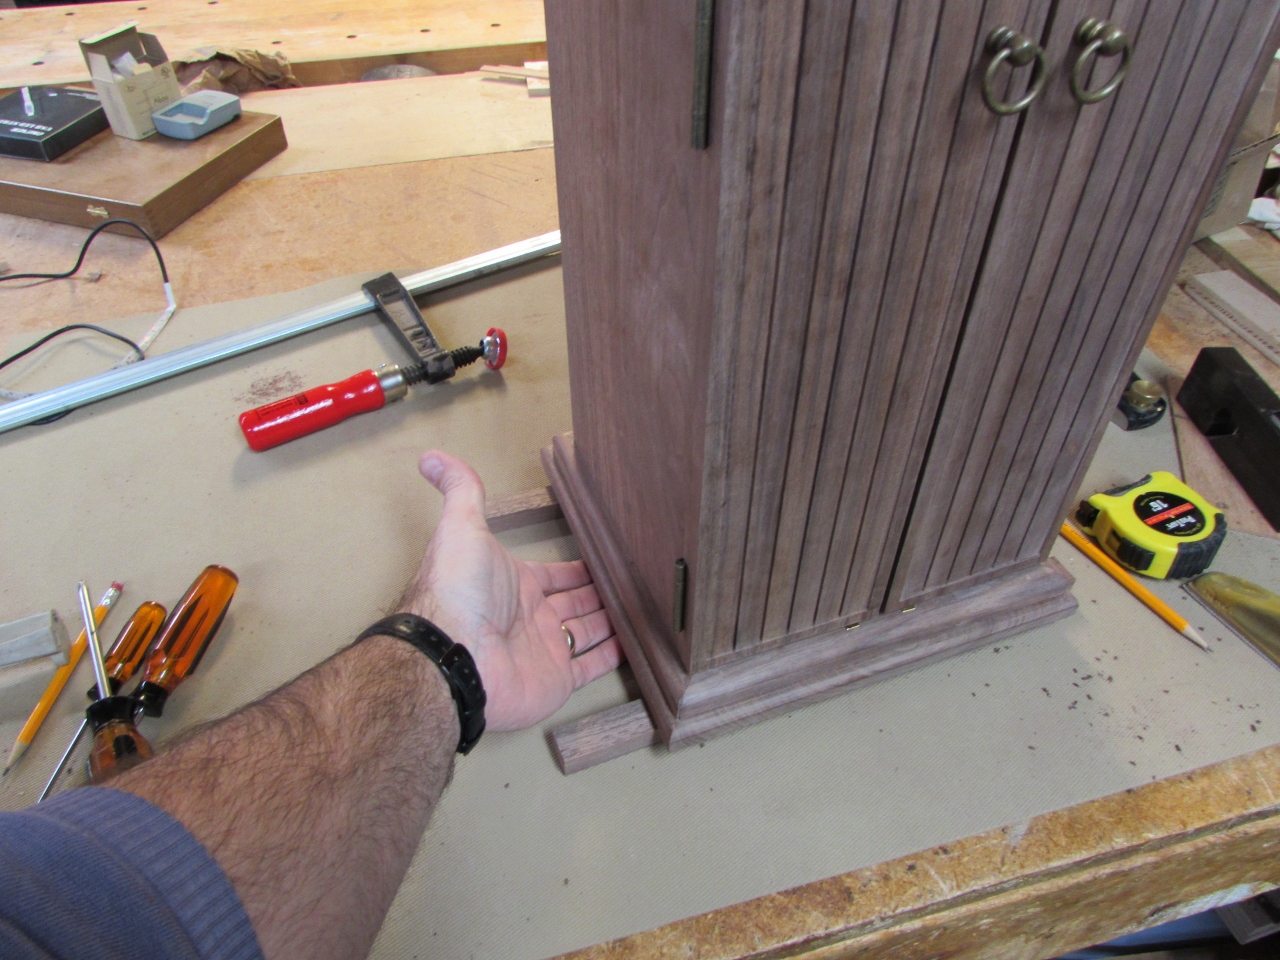
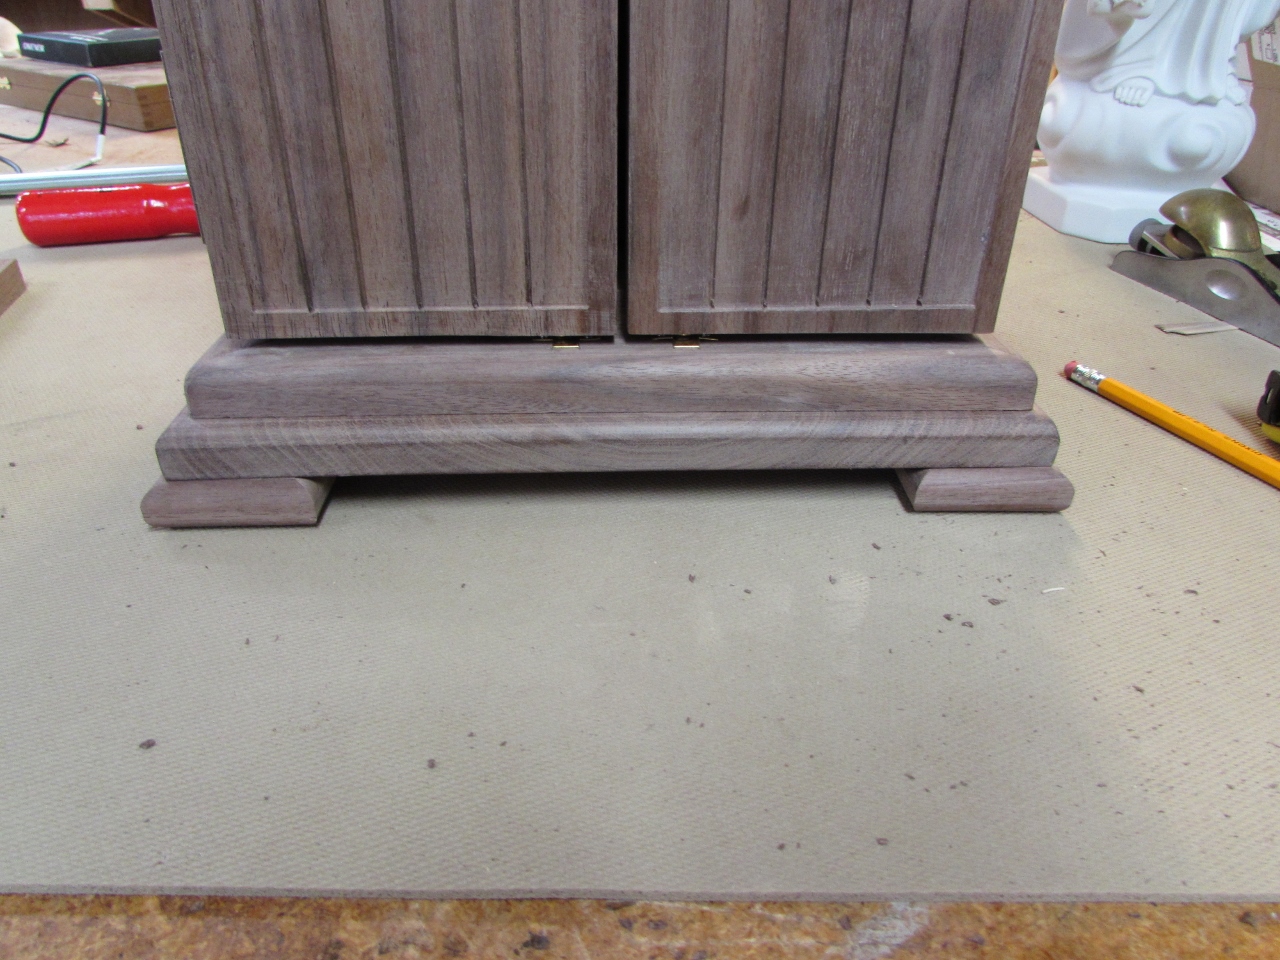
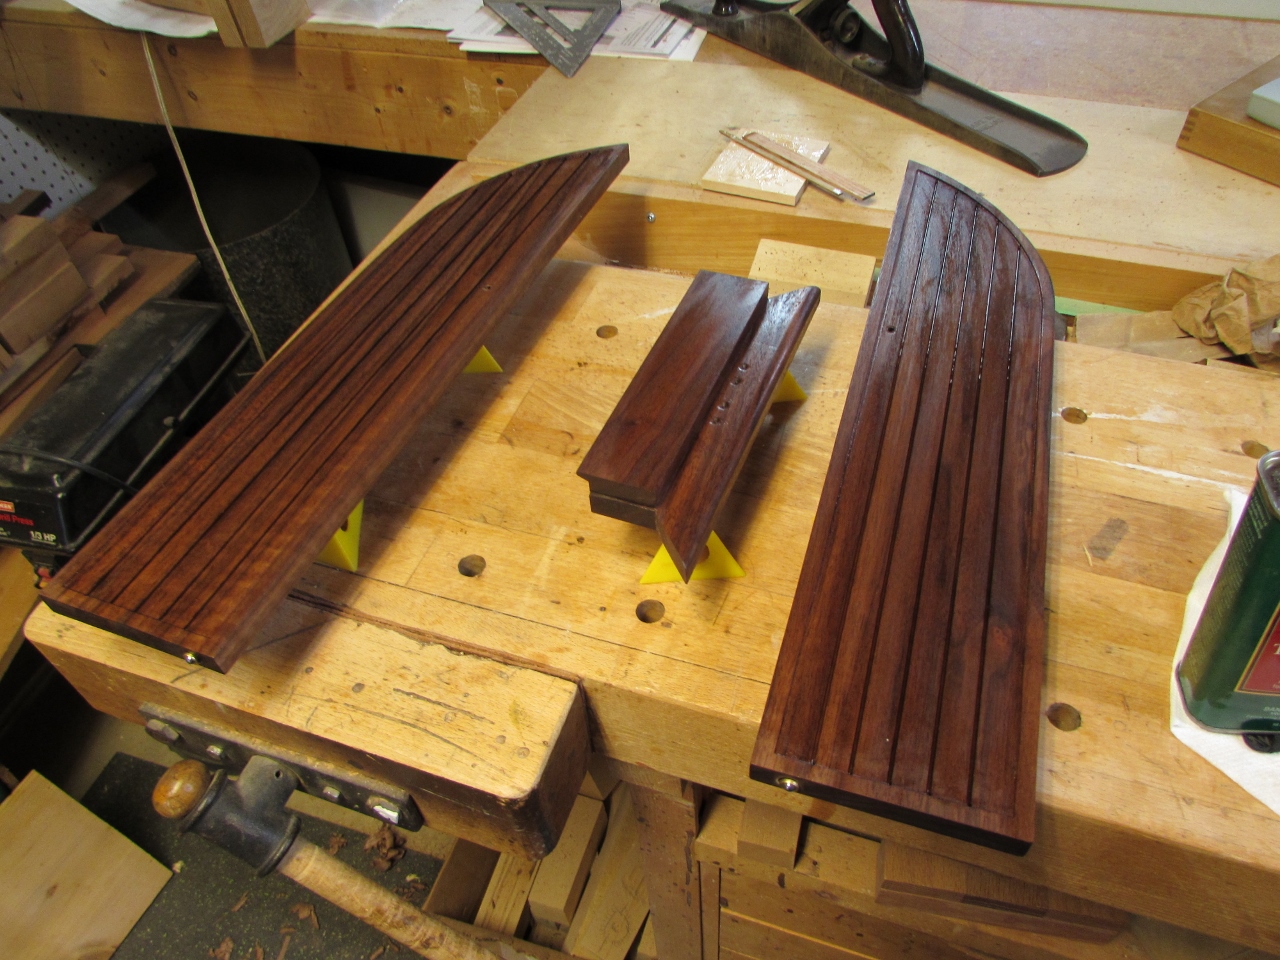
The last step, before finishing, is to come up with some feet. Their needs to be a gap below so the cabinet can be easily lifted. I am using another small cut-off from the scrap pile that is also 5/8″ thick. This will match the thickness of the doors, base, and walls.

I cut the scrap into 2″x2″ squares, and added a 1/4″ round over to a couple of pieces to see what look I preferred.


I made three different shapes: square, half-round, and full-round. My wife came down to work, so I asked her opinion. We both agreed on the full round option shown below.
I took a break to get her set up on the lathe.

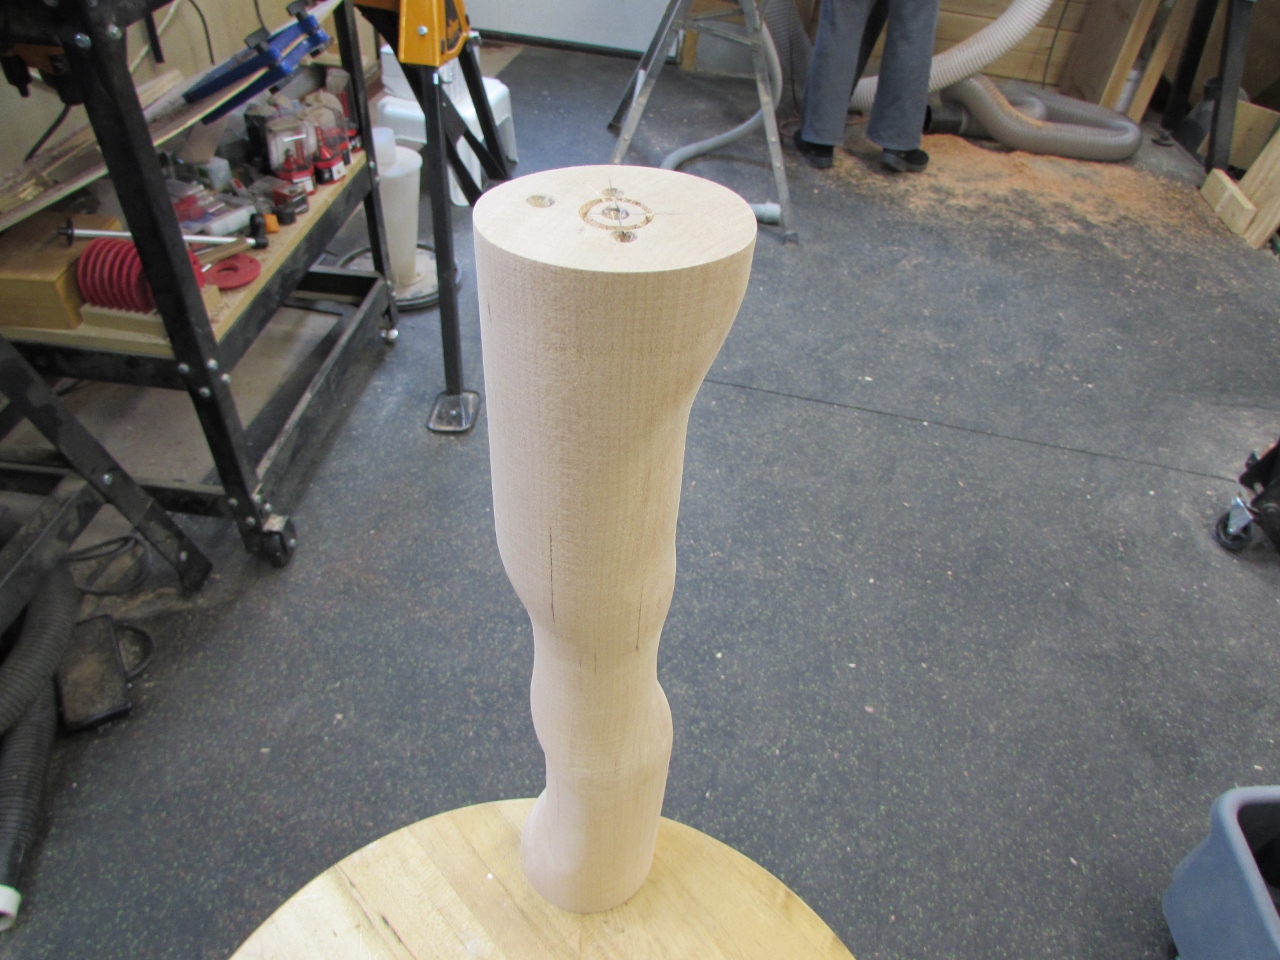
Today she is experimenting with eccentric turning. You set multiple center locations, and turn the piece part way at each.

This can give you a nice oval shape, like a hammer handle. If you get creative and move the center more, and flip the piece, it comes out all wobbly, like below. Kind of neat, and fun to experiment with.

Oh well, getting back to work, I hand sanded all the feet and applied some glue.

I used two 3/4″ brad nails to hold the feet in place while they dried.

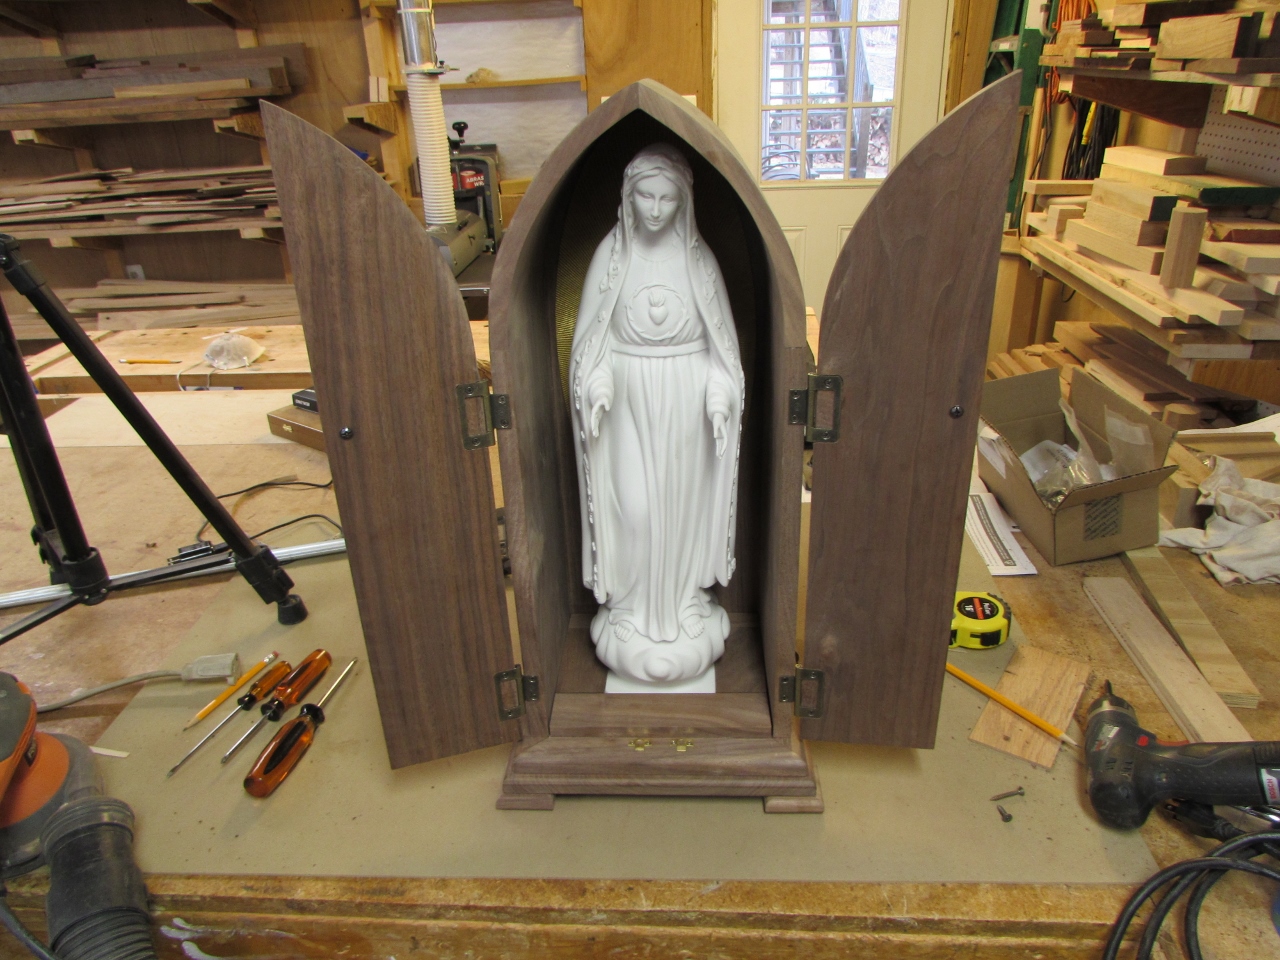
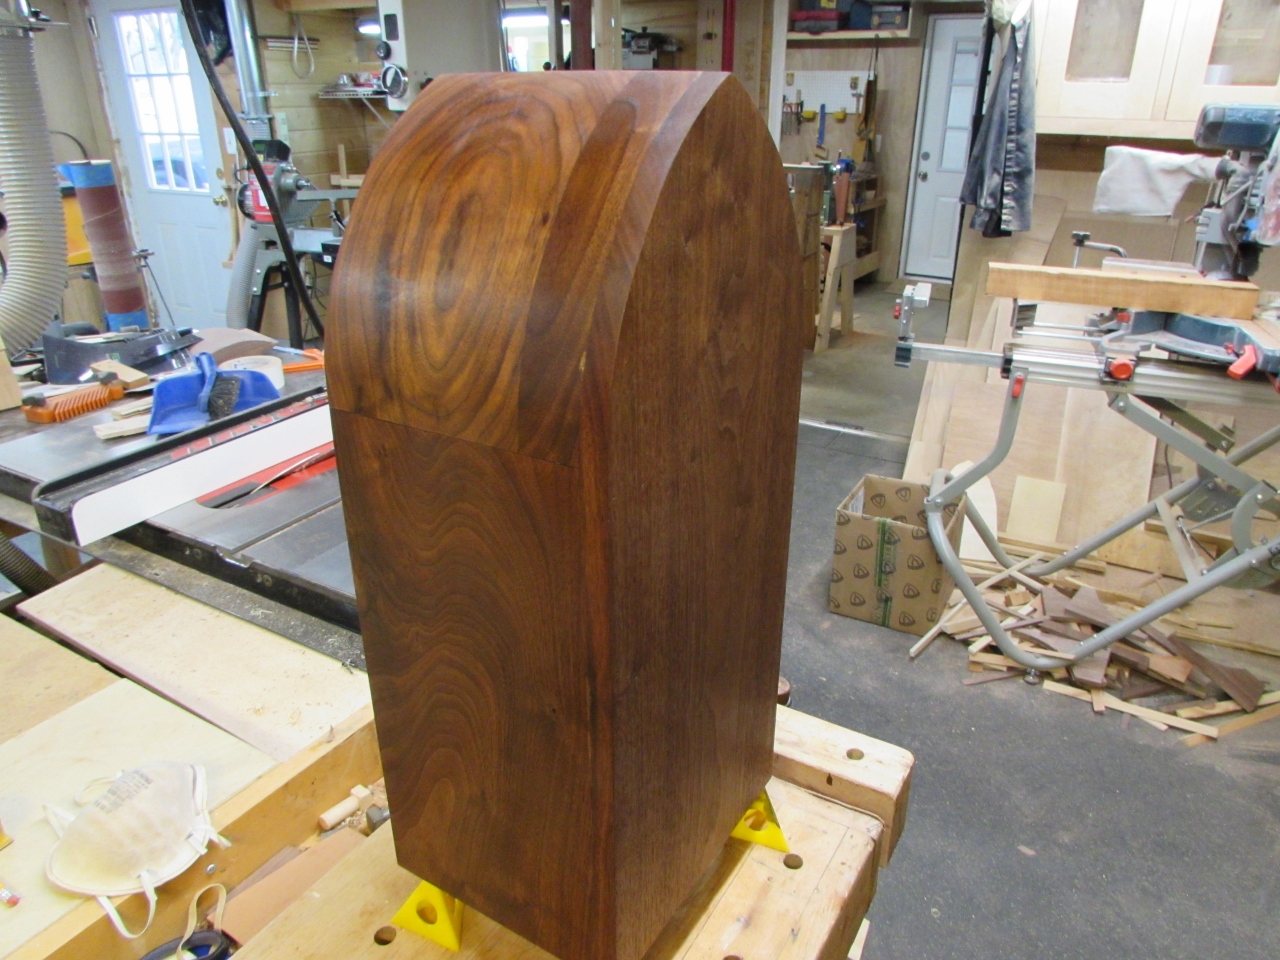
Assembly complete!
Now it is time to tear it all apart again.
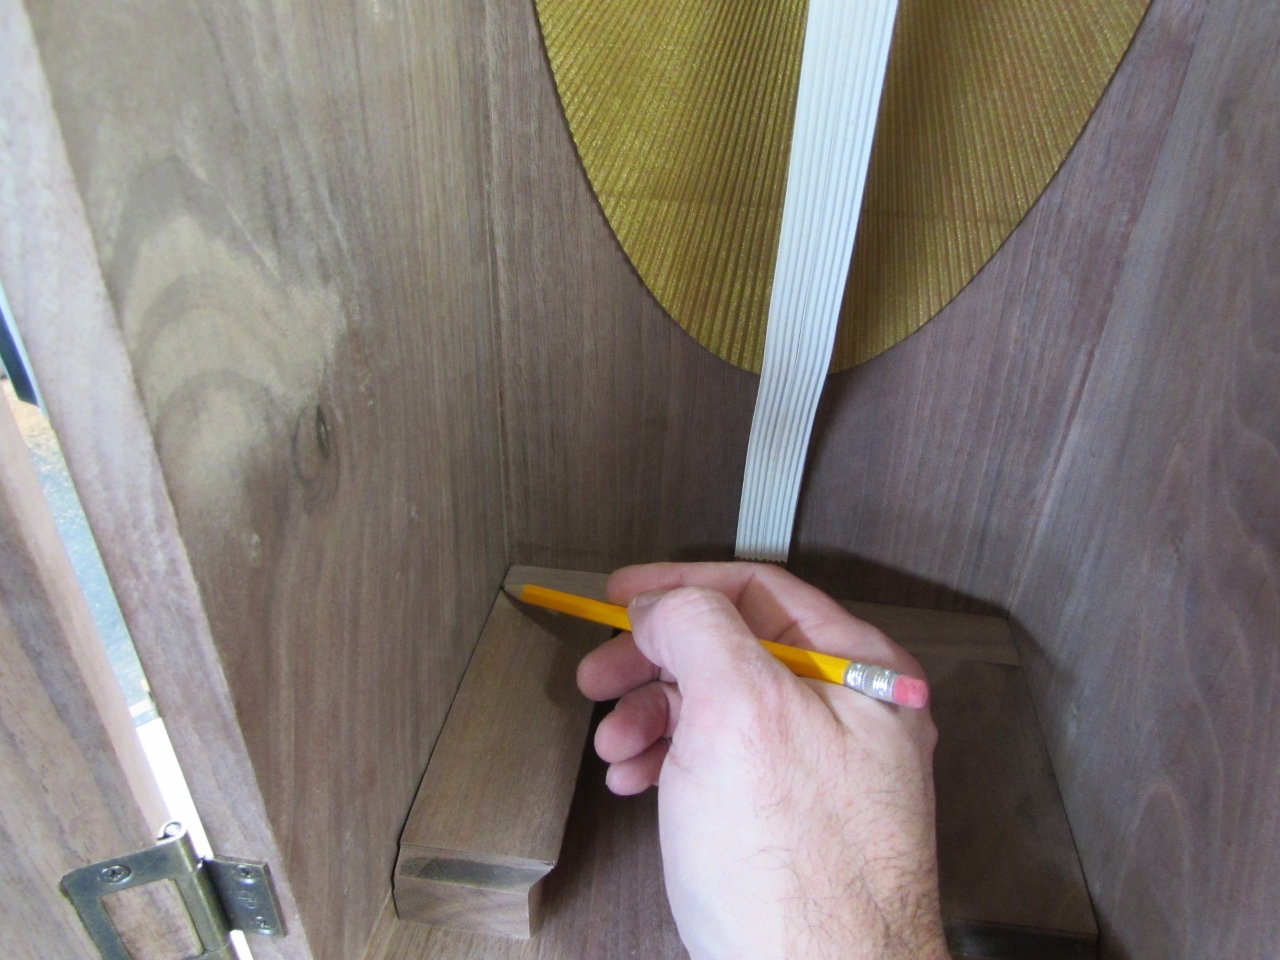
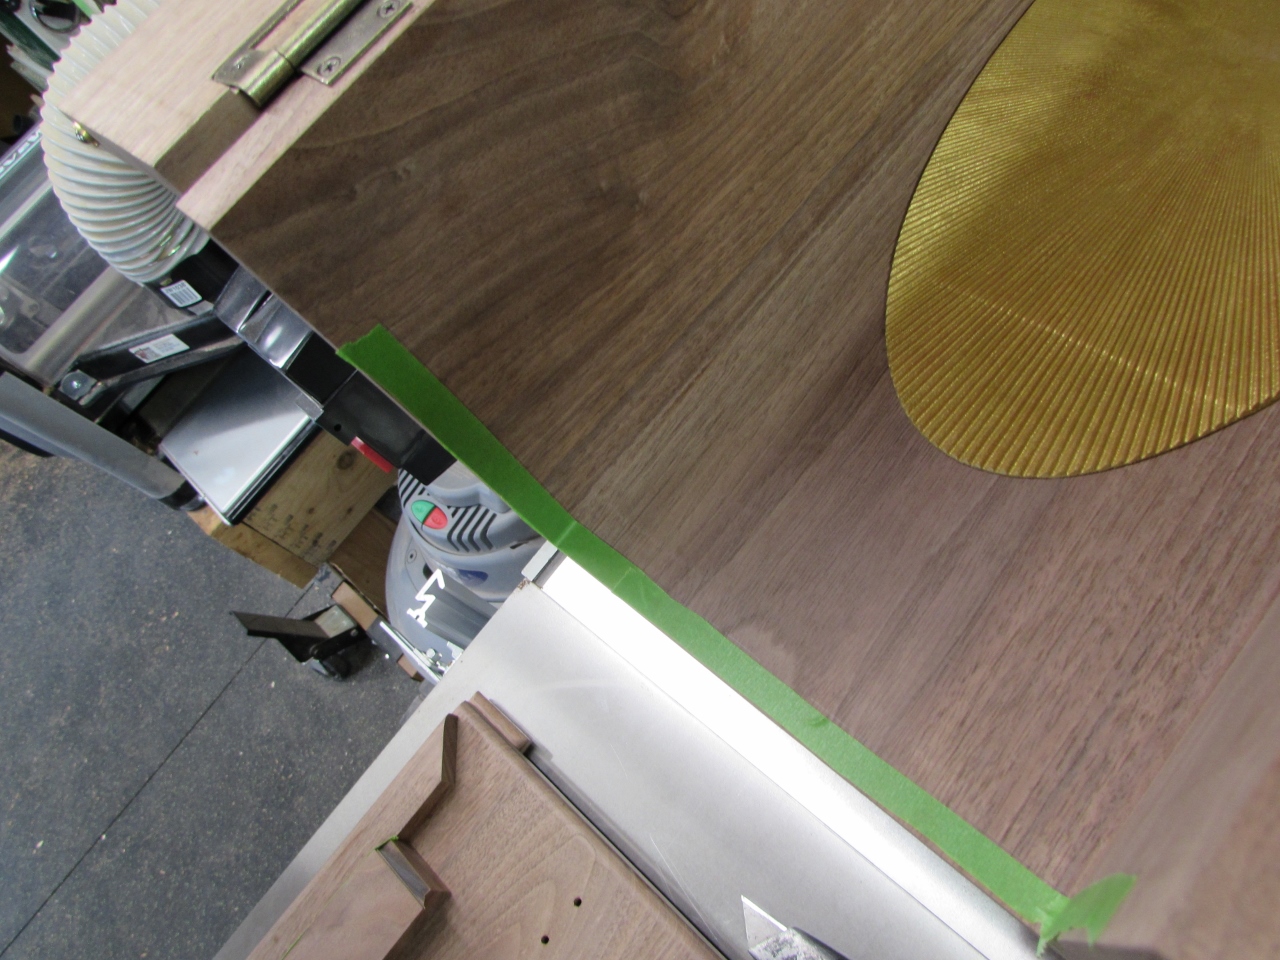
The case is still not attached to the base, because it will be easier to apply finish to the pieces separately. I used a light pencil mark to trace the retainer section. This is where my glue joint will be.
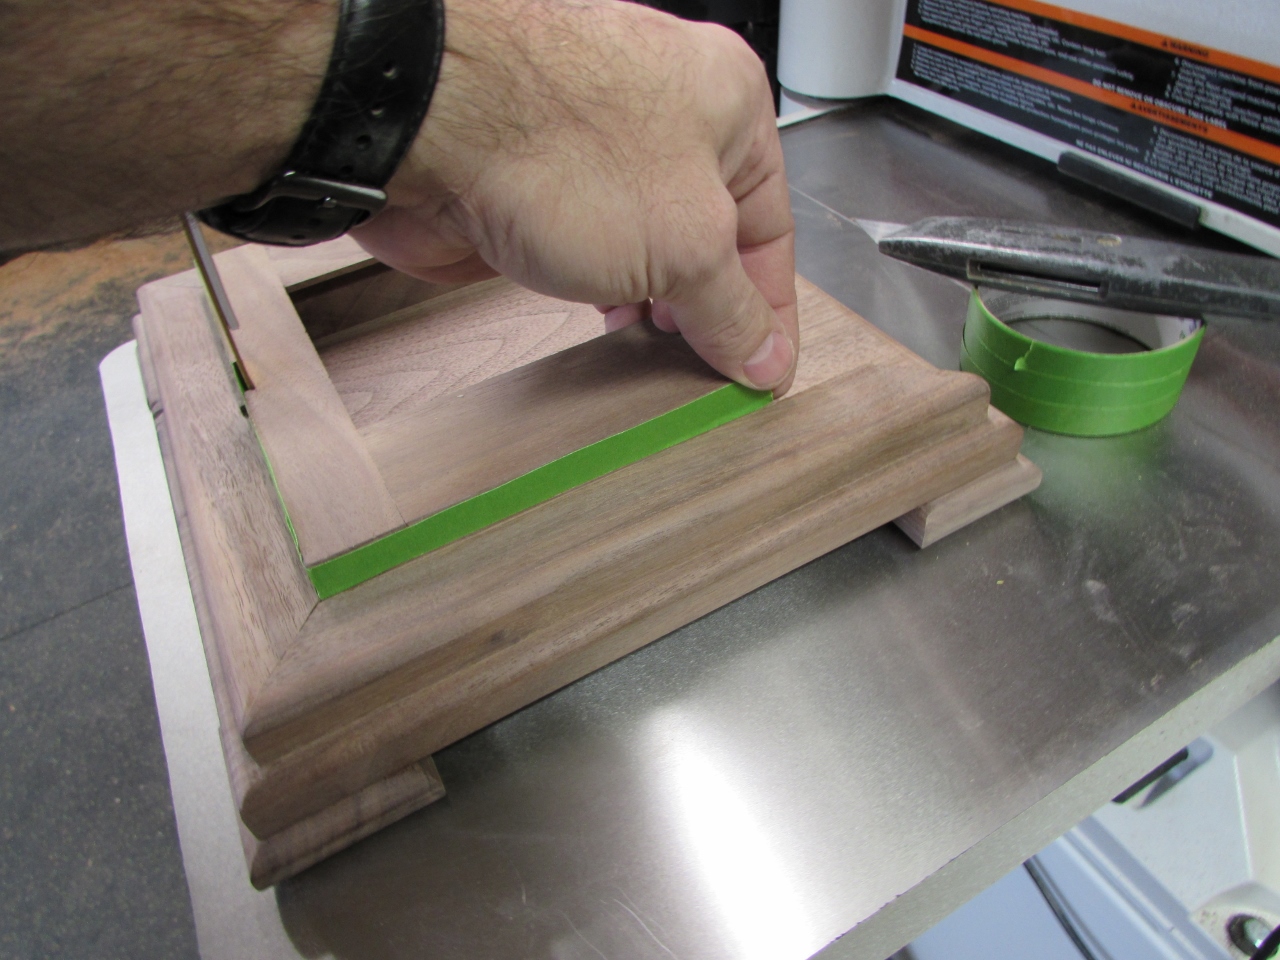
I masked the future glue joint areas with tape. Hopefully these areas will stay bare during the finish process. Glue sticks better to bare wood.
And look, Adam decided to come down and play on the lathe as well. He turned a cherry snowman. (Yes, his apron is on backwards. That keeps the front pocket from filling with sawdust…)


Before I apply any finish, I want to protect the water based paint on the sunburst. I got a new can of shellac and sprayed a fast-drying coat on. I don’t expect the paint to react with the finish I am using, but better safe than sorry.


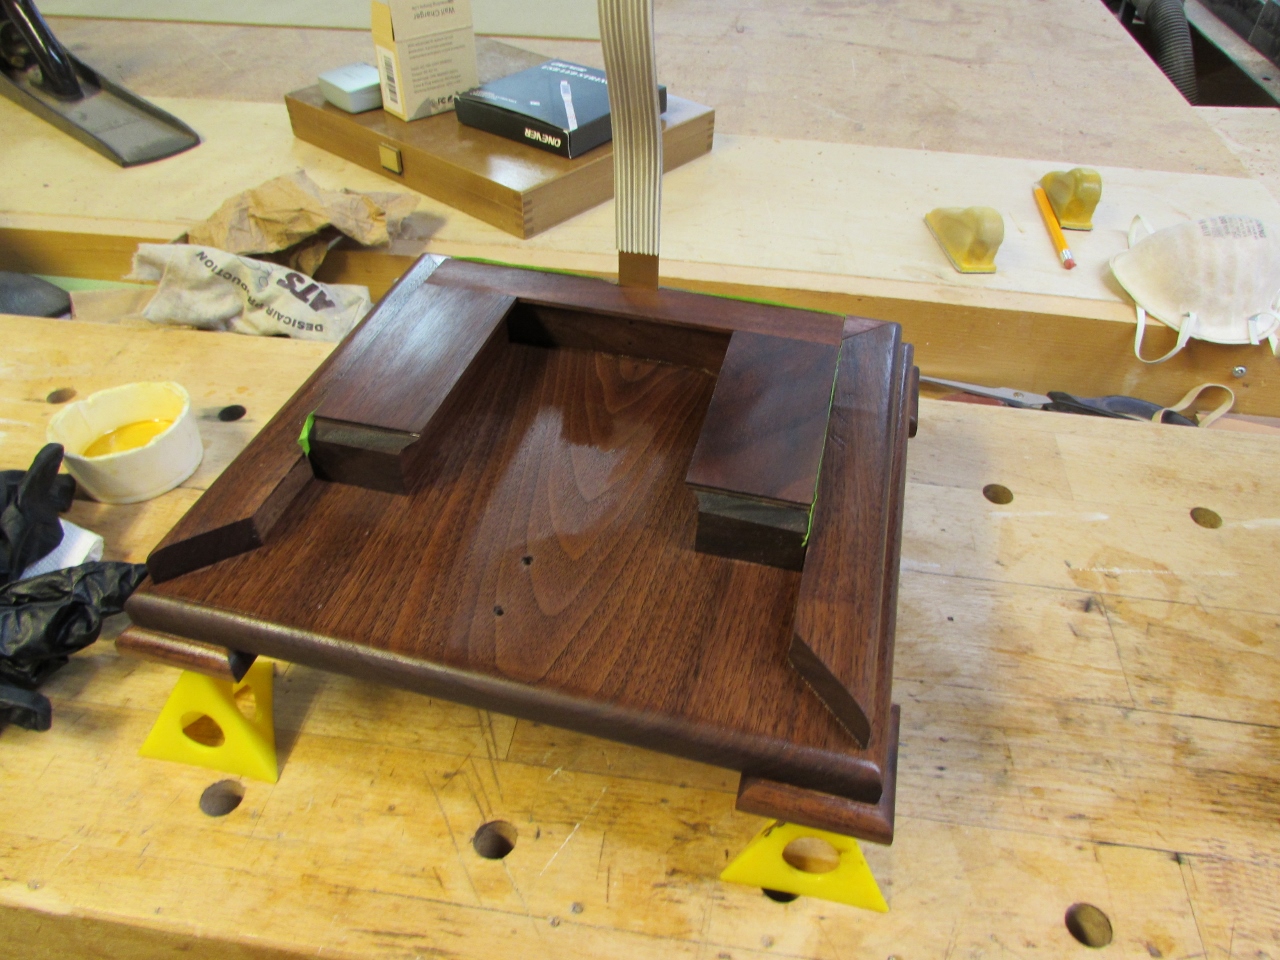
I set all of my parts up on pyramids and got out the Tung oil. I was going to use a wipe-on polyurethane, but my wife offered to help and she doesn’t like the fumes from poly.
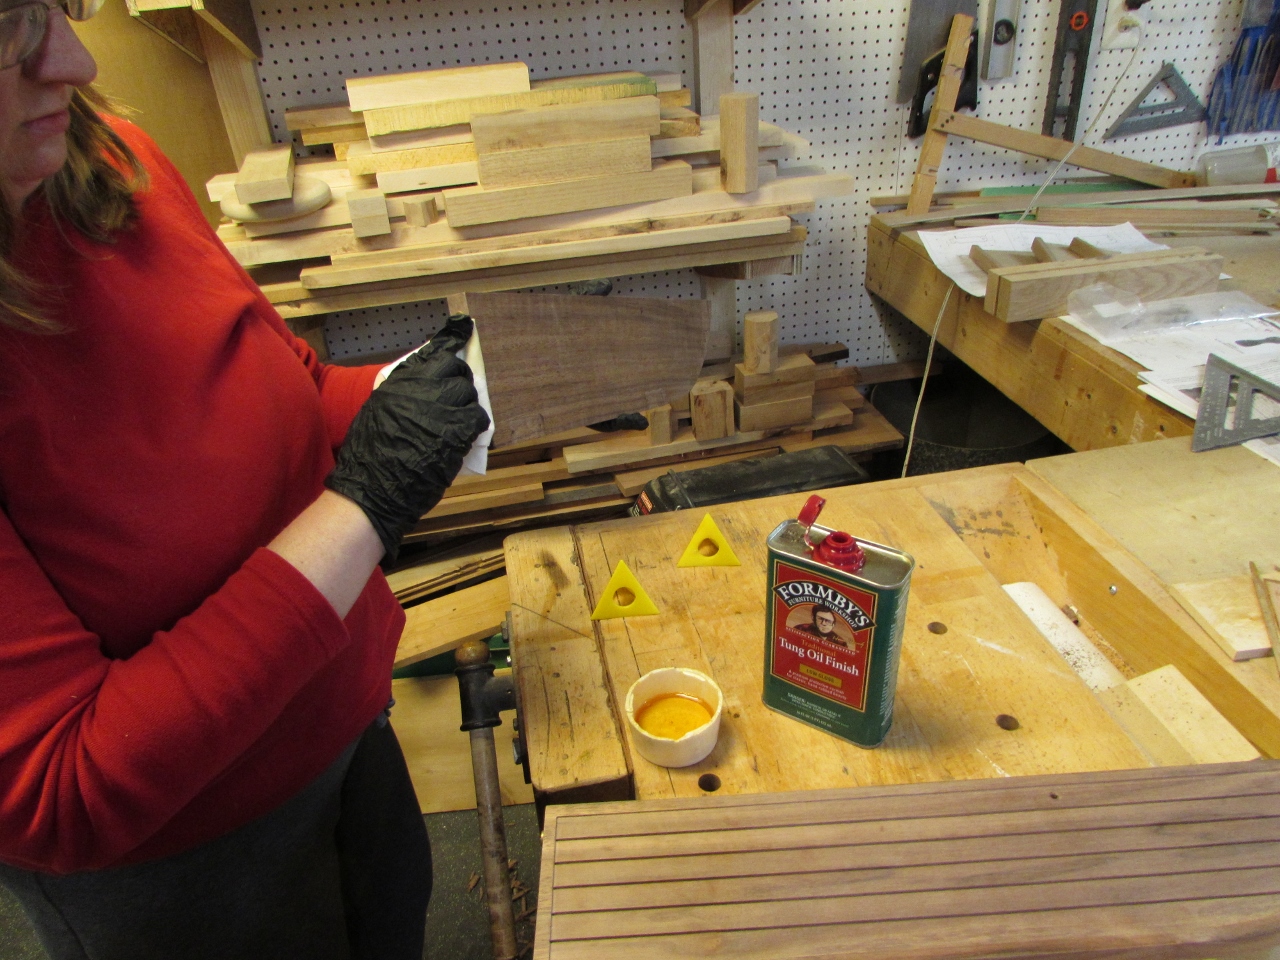

Just a little bit of oil and the walnut’s grain really jumps to life.
With my wife’s help, it only took a few minutes to finish up the first coat.
I will probably apply 4 to 5 coats, over the next few days, leaving the box protected with a nice low-gloss finish.
