
Arch-top cabinet – day 2
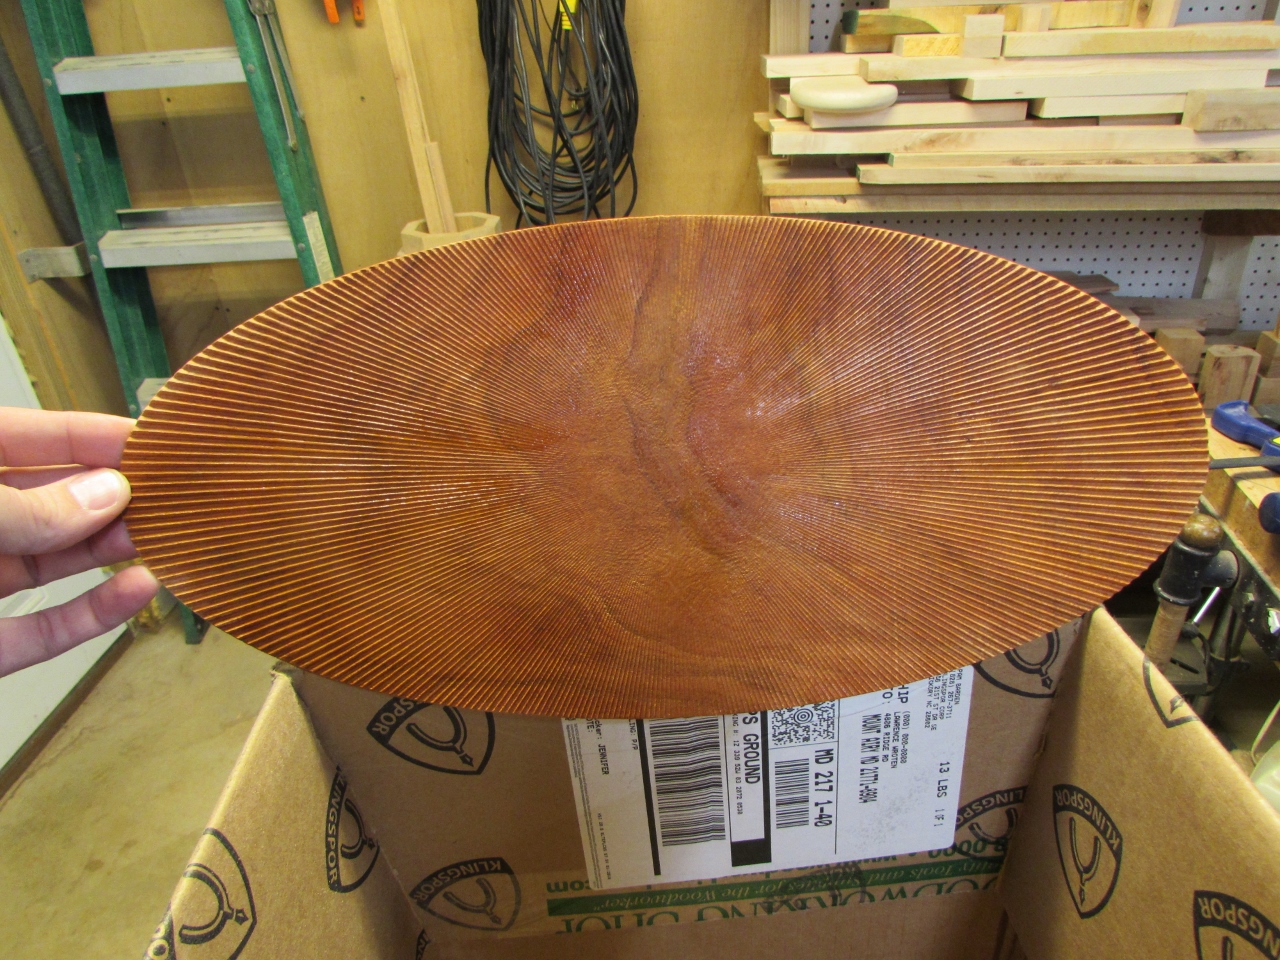
I think I have worked out my joinery issues, so before I tackled that, I started a carve of the sunburst for the back of the cabinet. It will take a couple of hours, so I will let it drone on in the background, while I work.

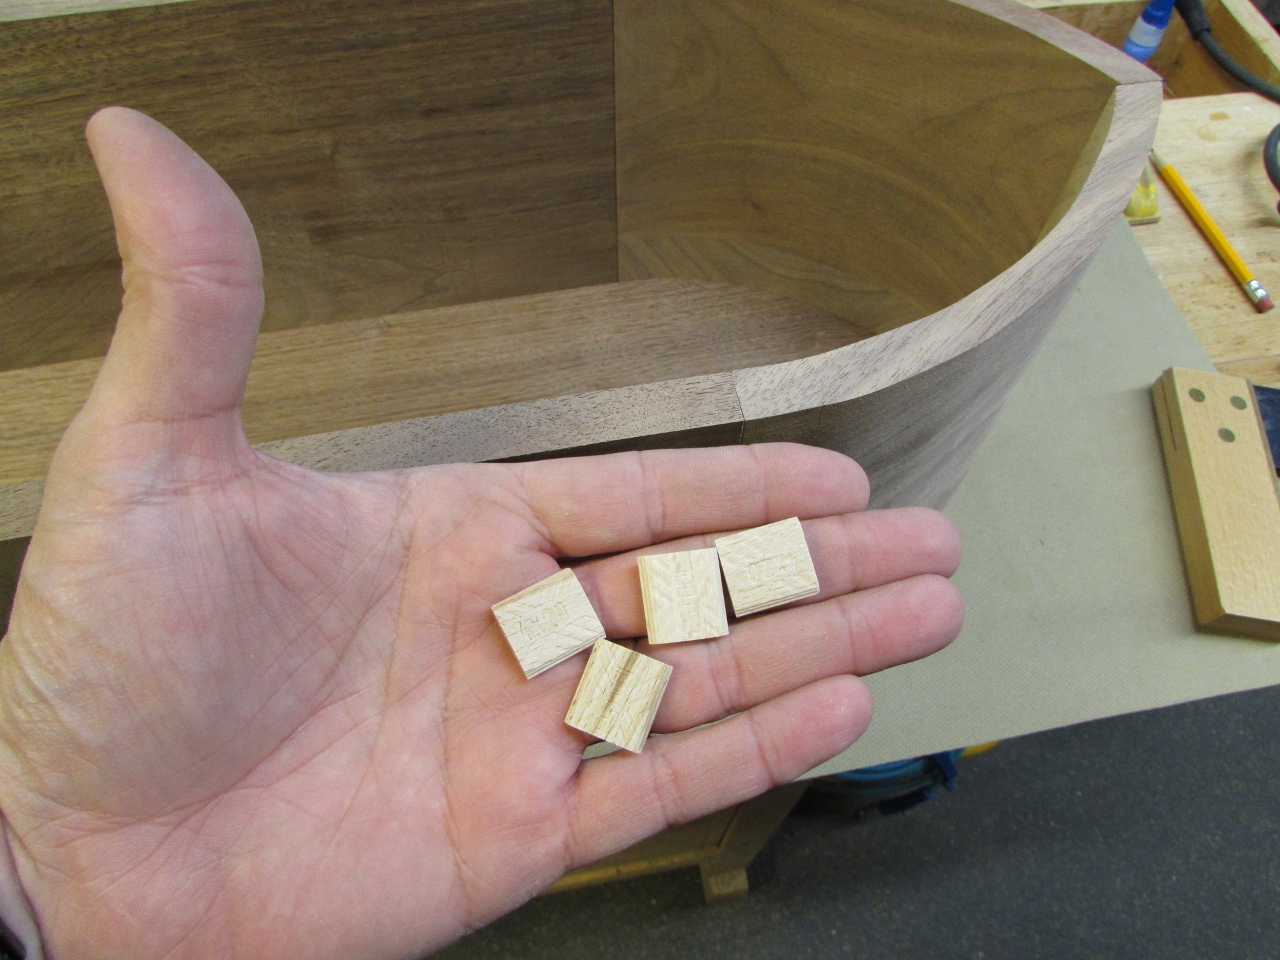
So, I think my joinery solution is going to be Dominos. I looked at what I had, and determined that the smallest ones would work well, if I could find a way to cut the mortise at the correct angle.
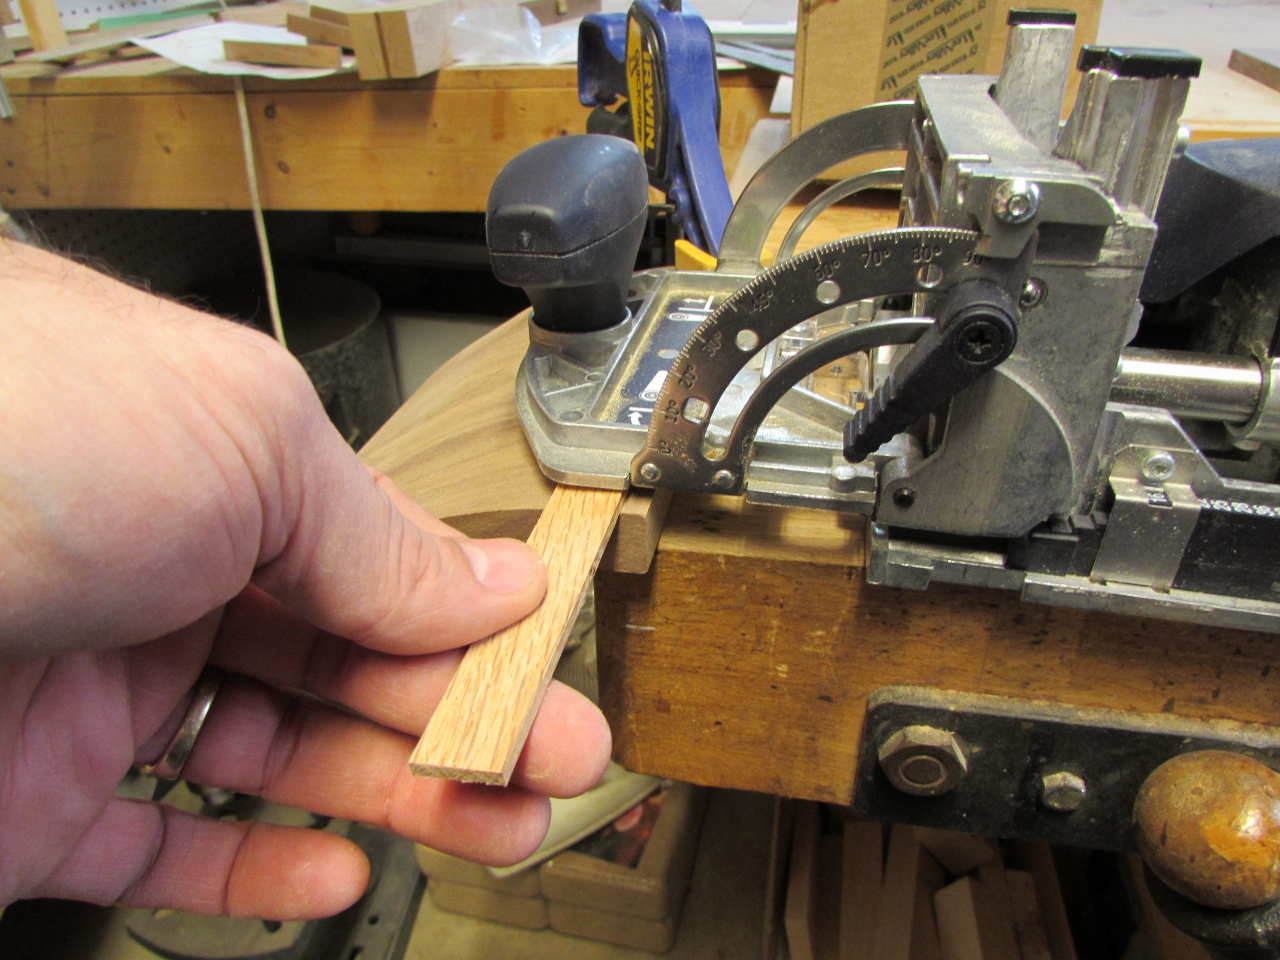
I clamped one side of the arch top to my bench and checked it against the lowest height setting on my Domino jointer. It was a little too tall still, so I made a spacer to make up the difference.

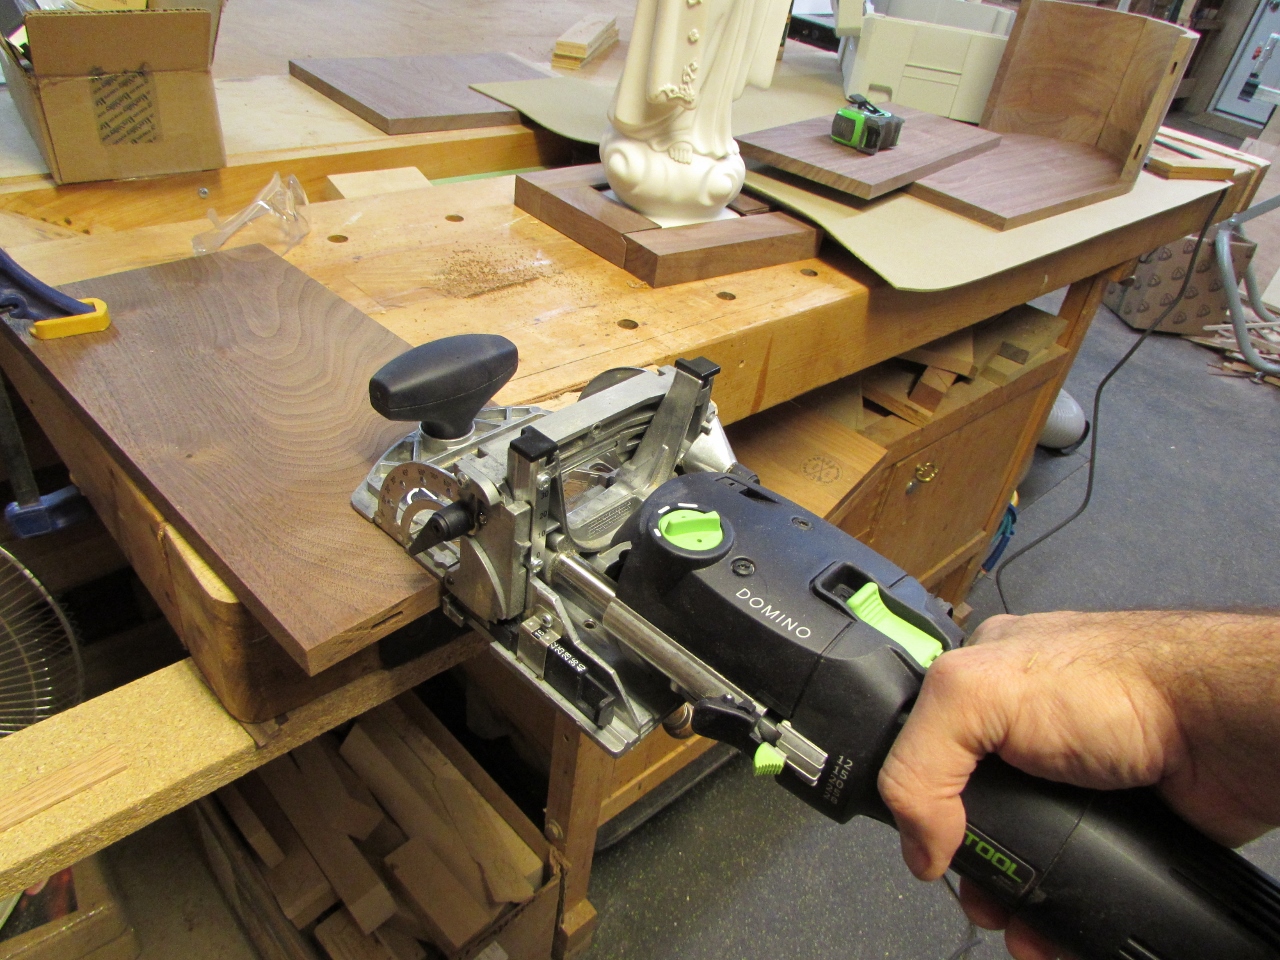
Next, I screwed a long, straight board under my bench and added a few shims until I had everything lined up perfectly. I left the clamp on one side, and held the other side firmly in place, while I made the first mortise, then I flipped the clamp to the front and cut the mortise on the back side.

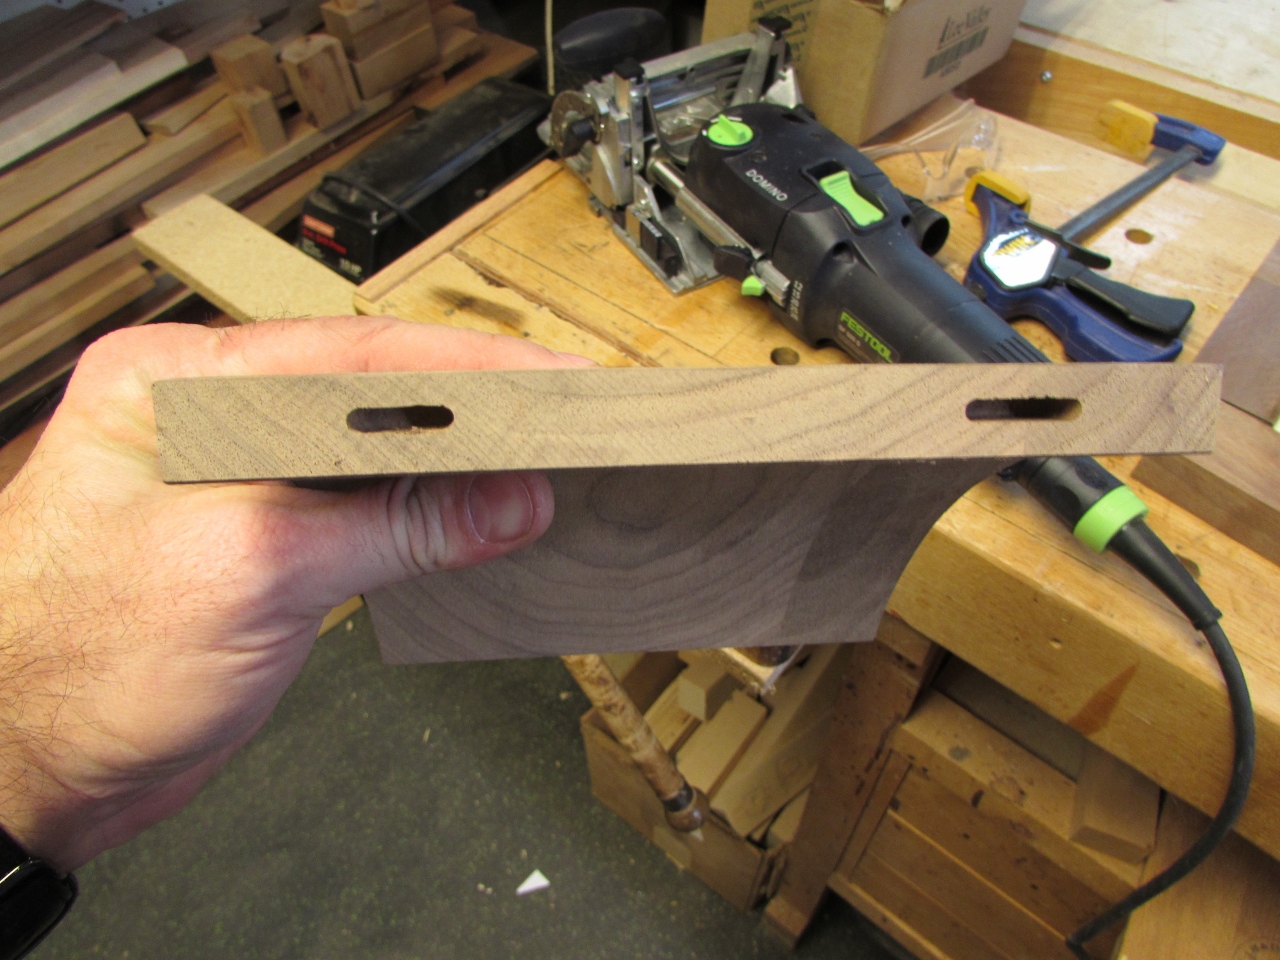
That didn’t turn out too bad so I added the mortises on the flat, side board as well.

A quick dry-fit showed that it was close. Not quite perfectly lined up, but close enough to sand it flush.

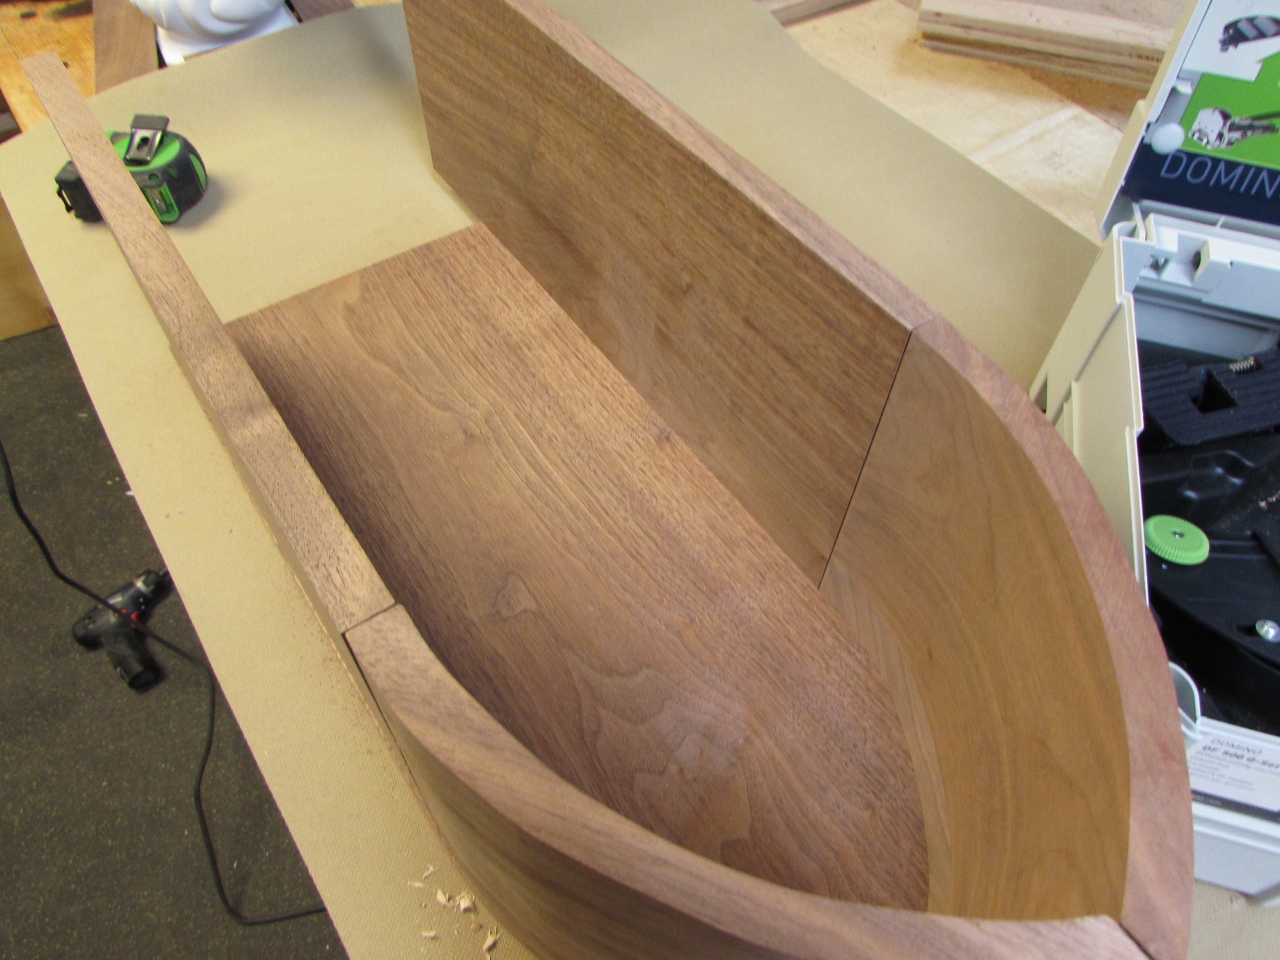
I repeated the process on the other half of the cabinet, with a slightly better result.


I clamped my base retainer to the bottom of the sides and flipped the assembly over. I added glue the back edge of the sides, and used brad nails to attach the back panel to them. I did not put any glue or nails on to the arch top yet.


Since the joint between the arch and the side will be an end-grain glue up, I decided to use epoxy instead of wood glue. This will give me a better bond, and fill any gaps, if the joint is not perfectly aligned.
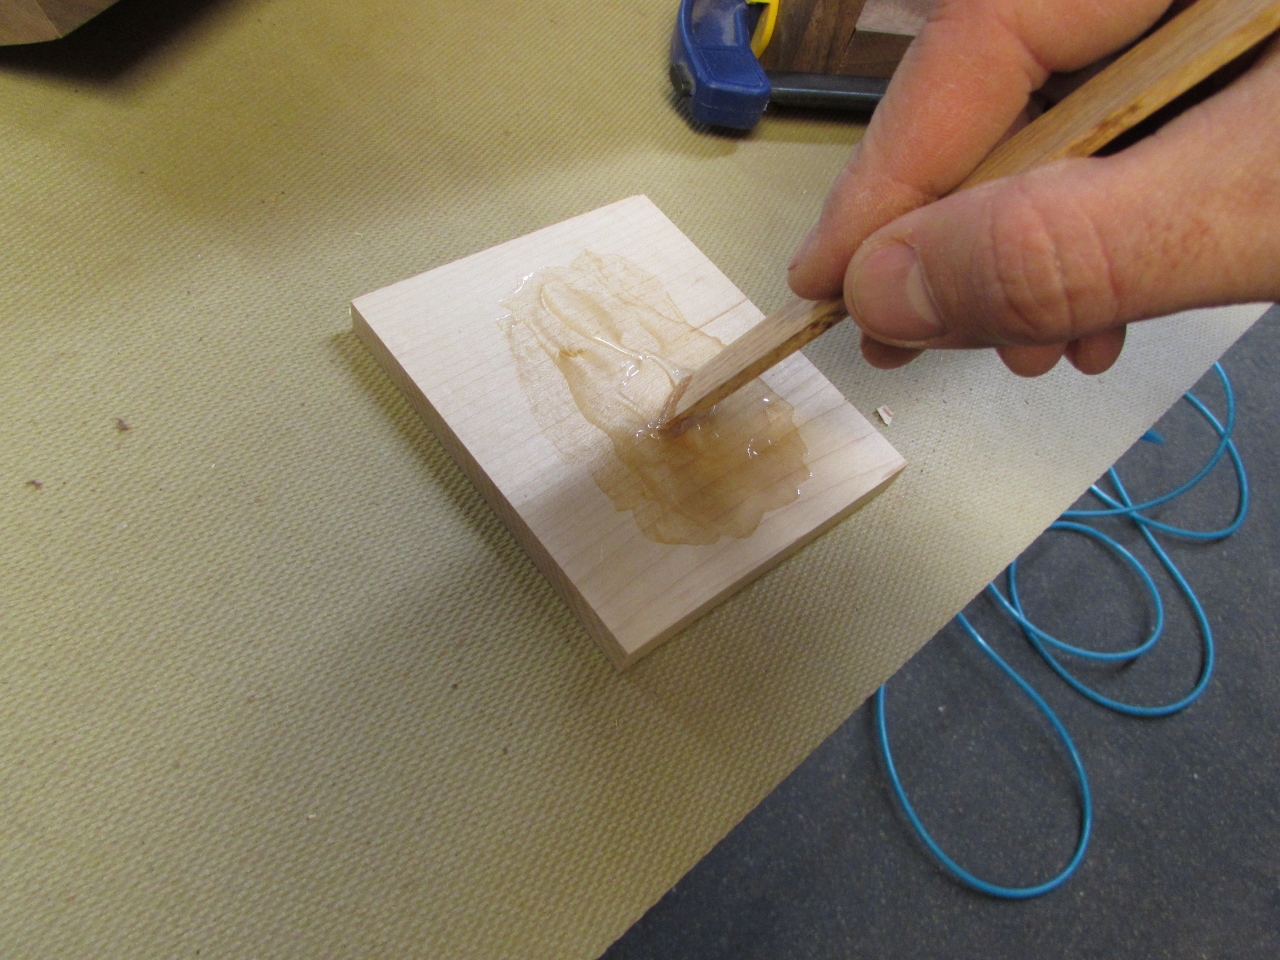

I applied the epoxy to the dominos and the end of the board. I then applied wood glue to the back of the arch and clamped everything in place.


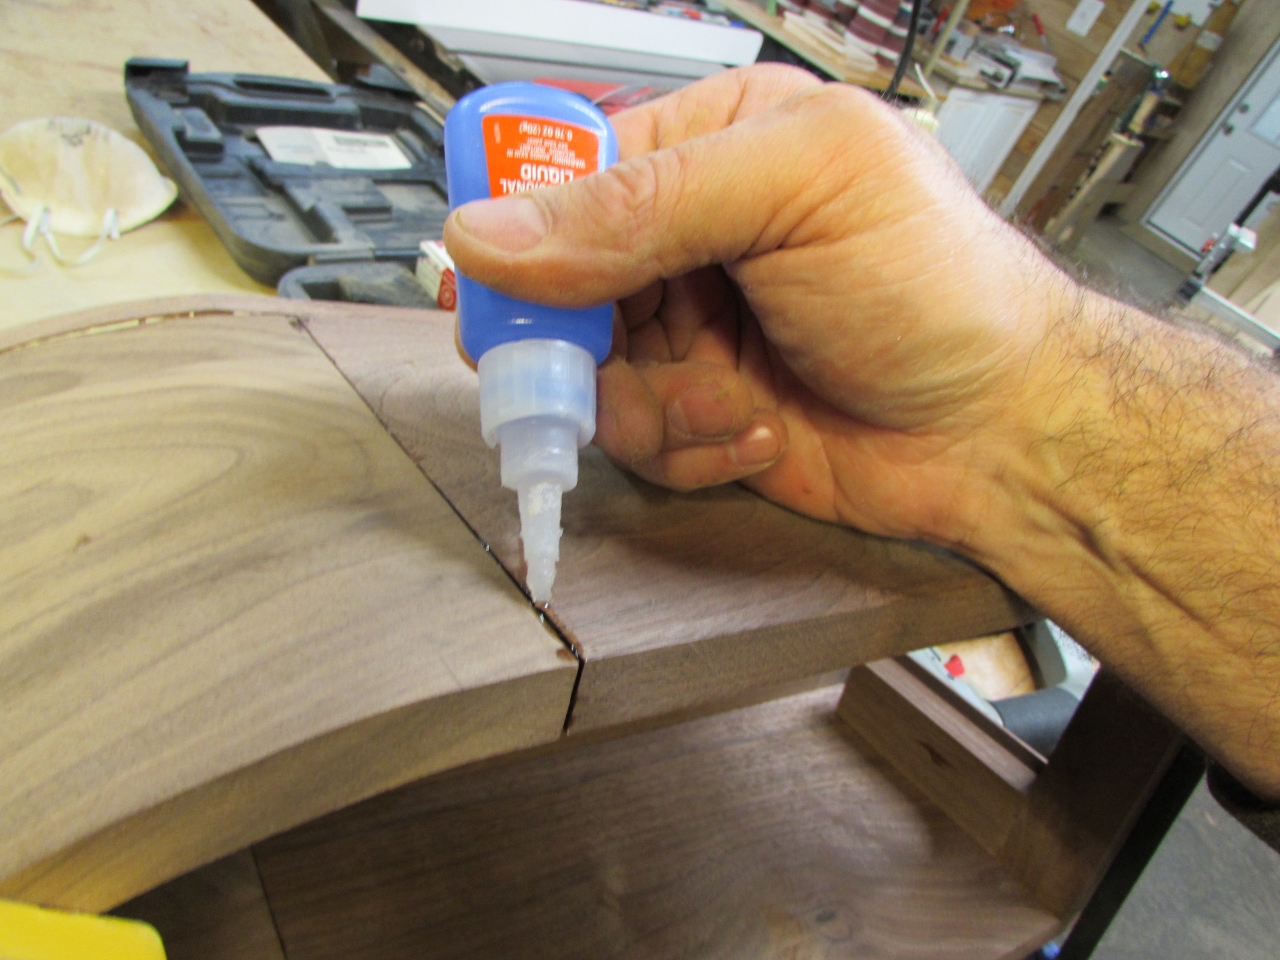
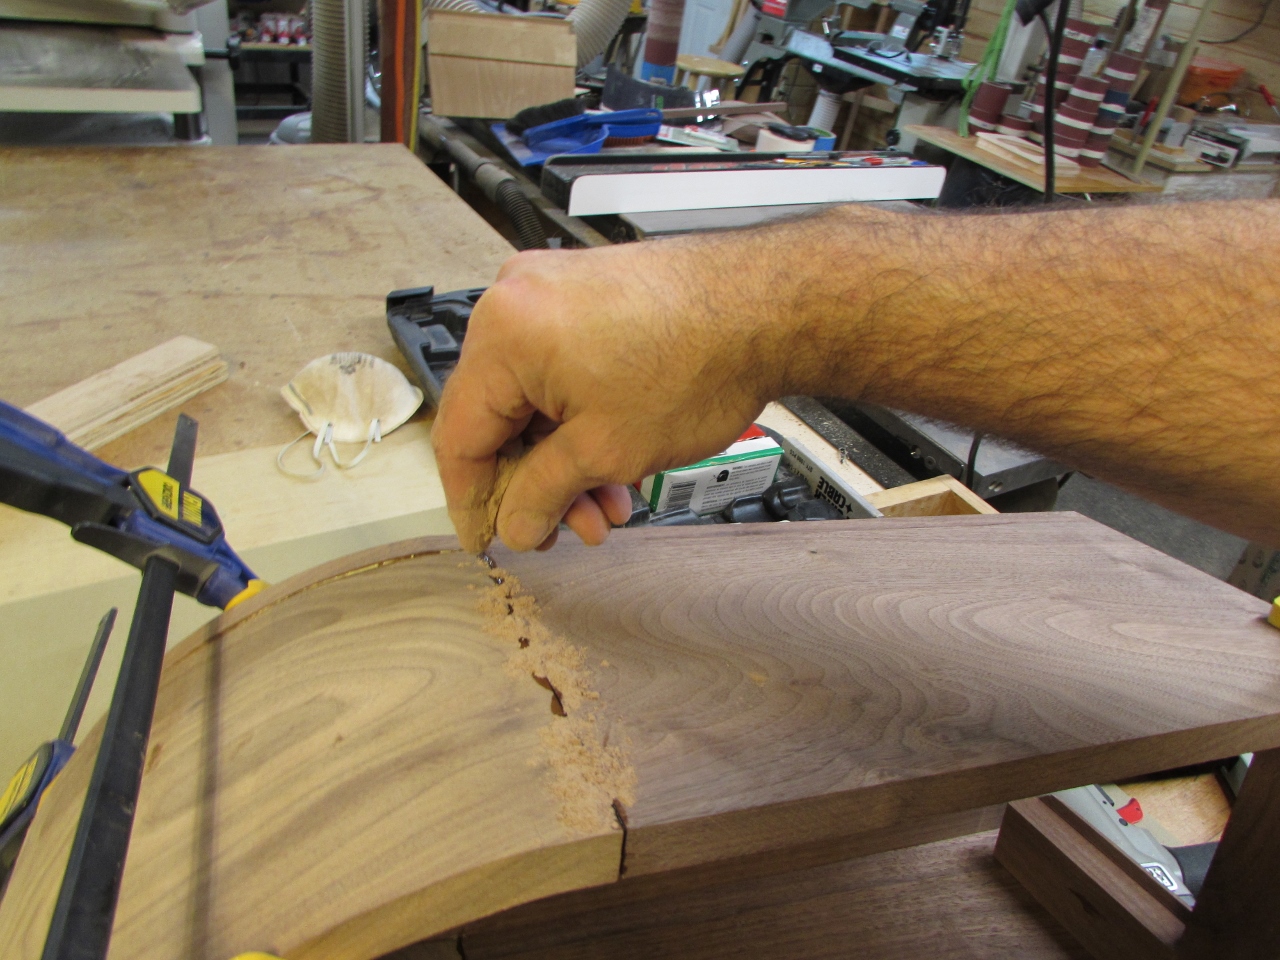
Once the epoxy had set, I added a bit of CA glue and fine saw dust to any gaps in the epoxied joints. This should help hide any gaps, once finished.
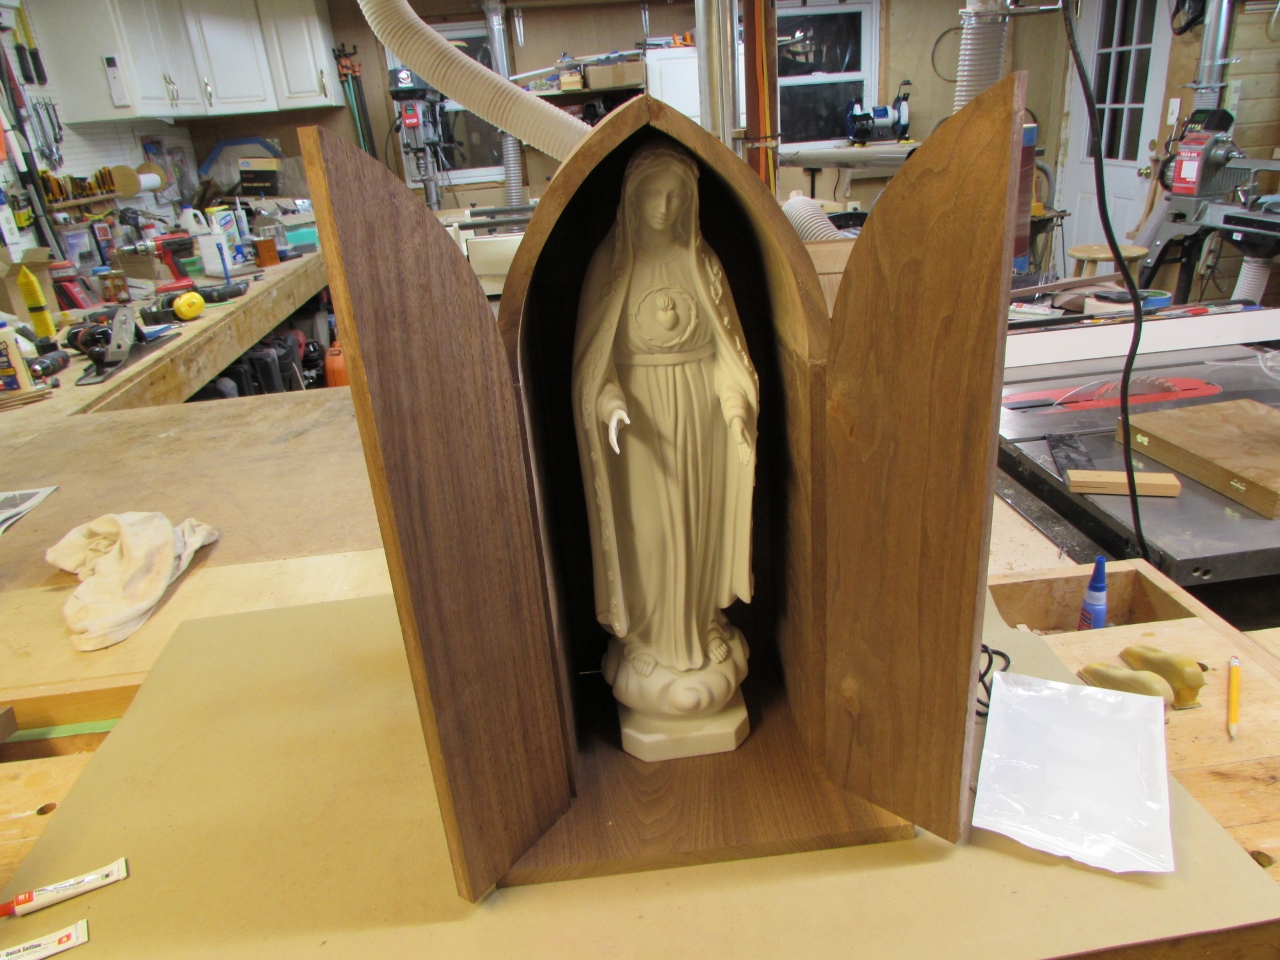
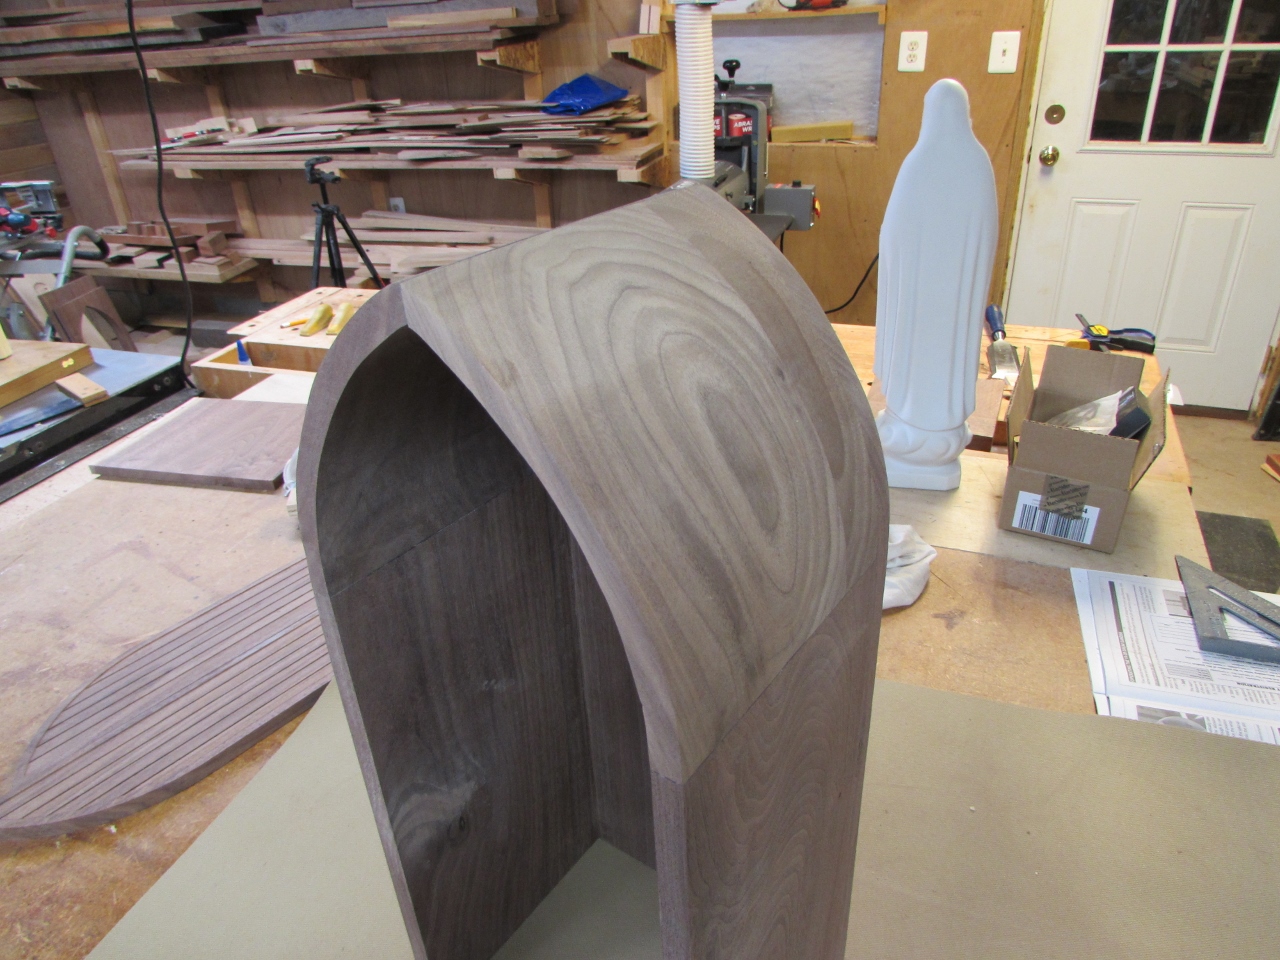
After everything had set up, I did a test fit of the statue. Not bad, but maybe a little cramped. I may have to redesign the base to add a bit more height.
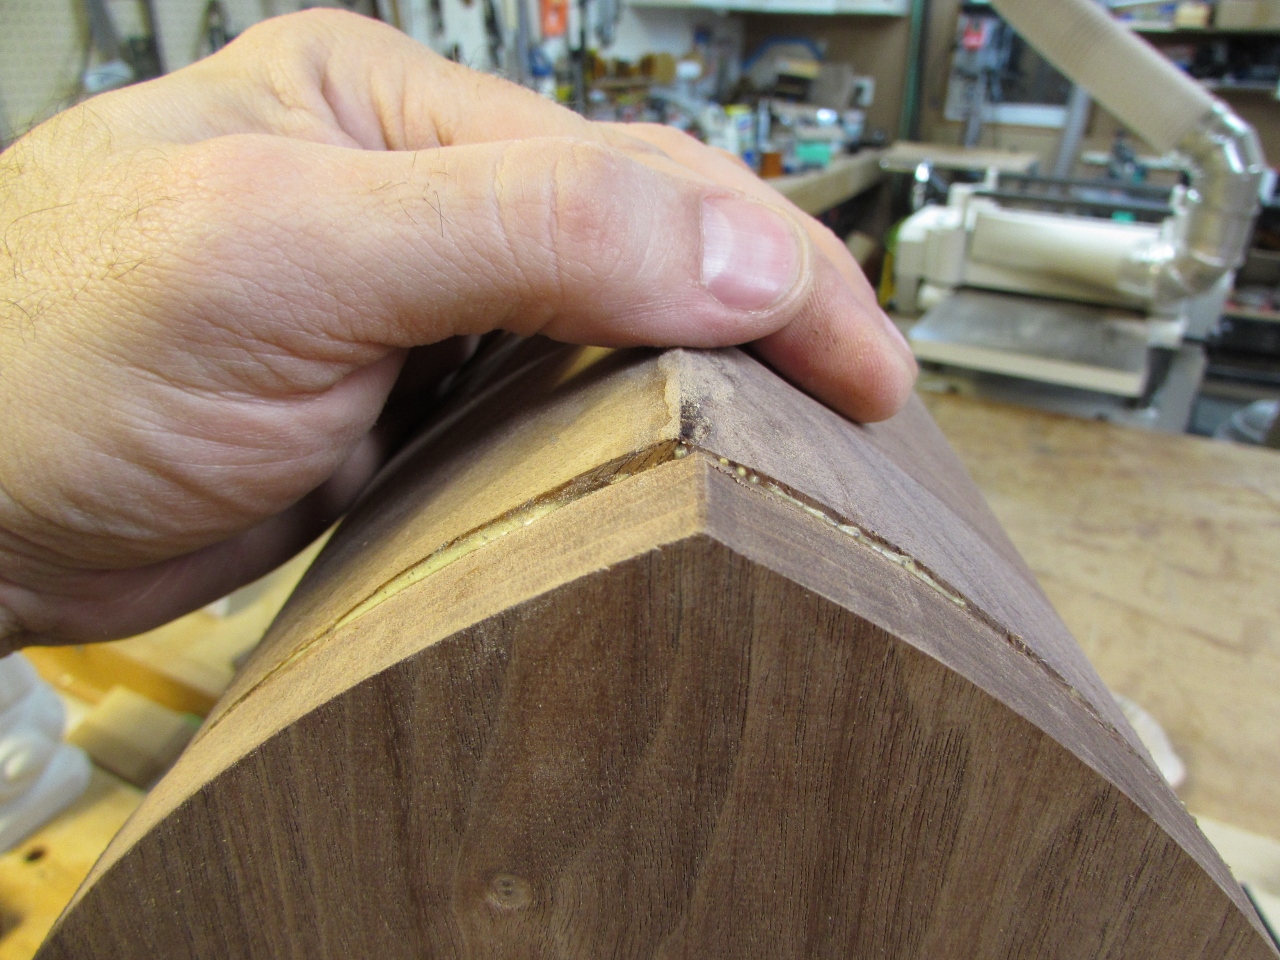
As you can see, I failed at a perfect alignment. That is ok, I can re-sculpt the arch with my sander
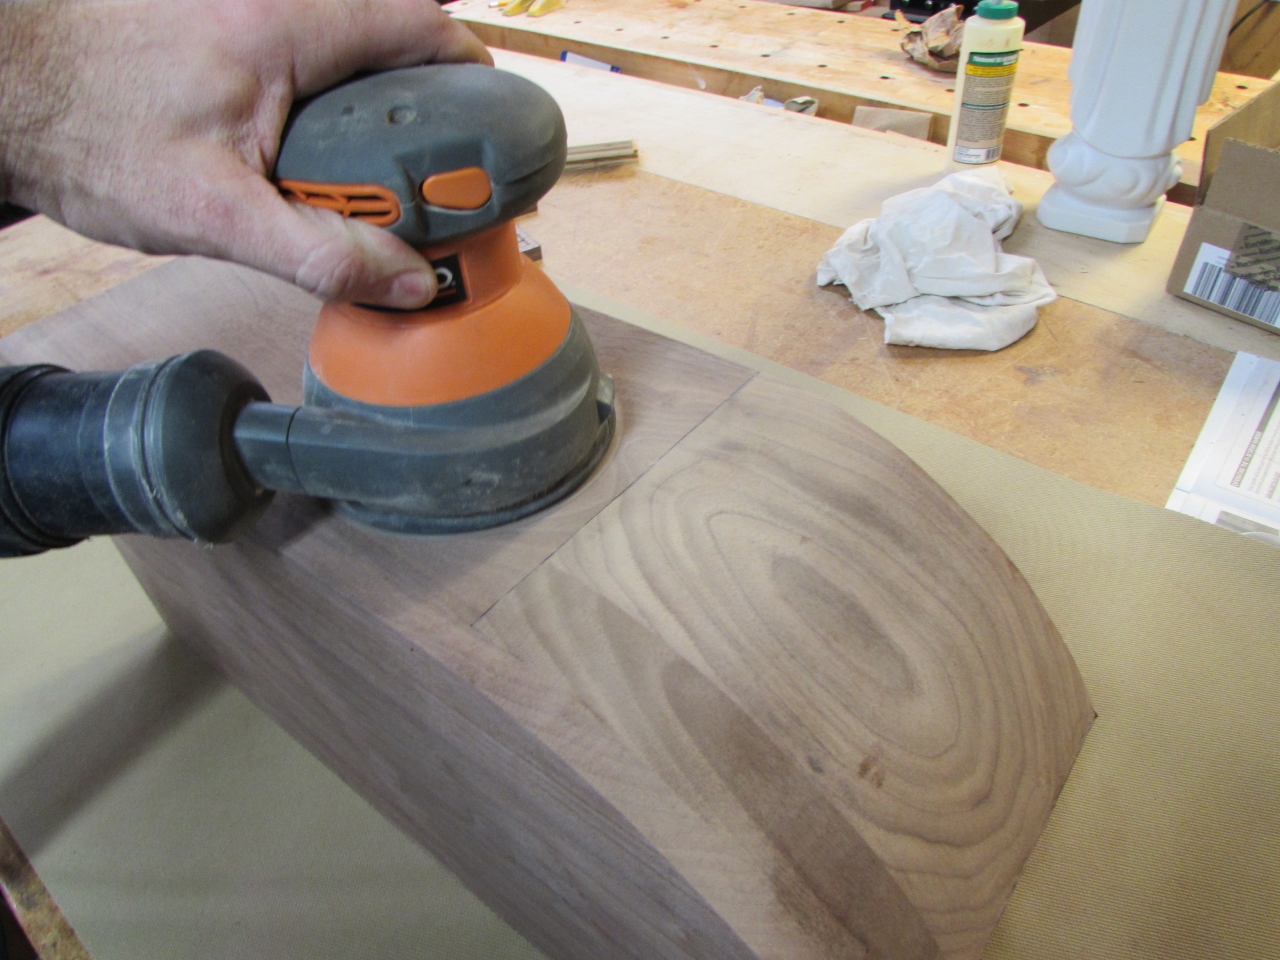

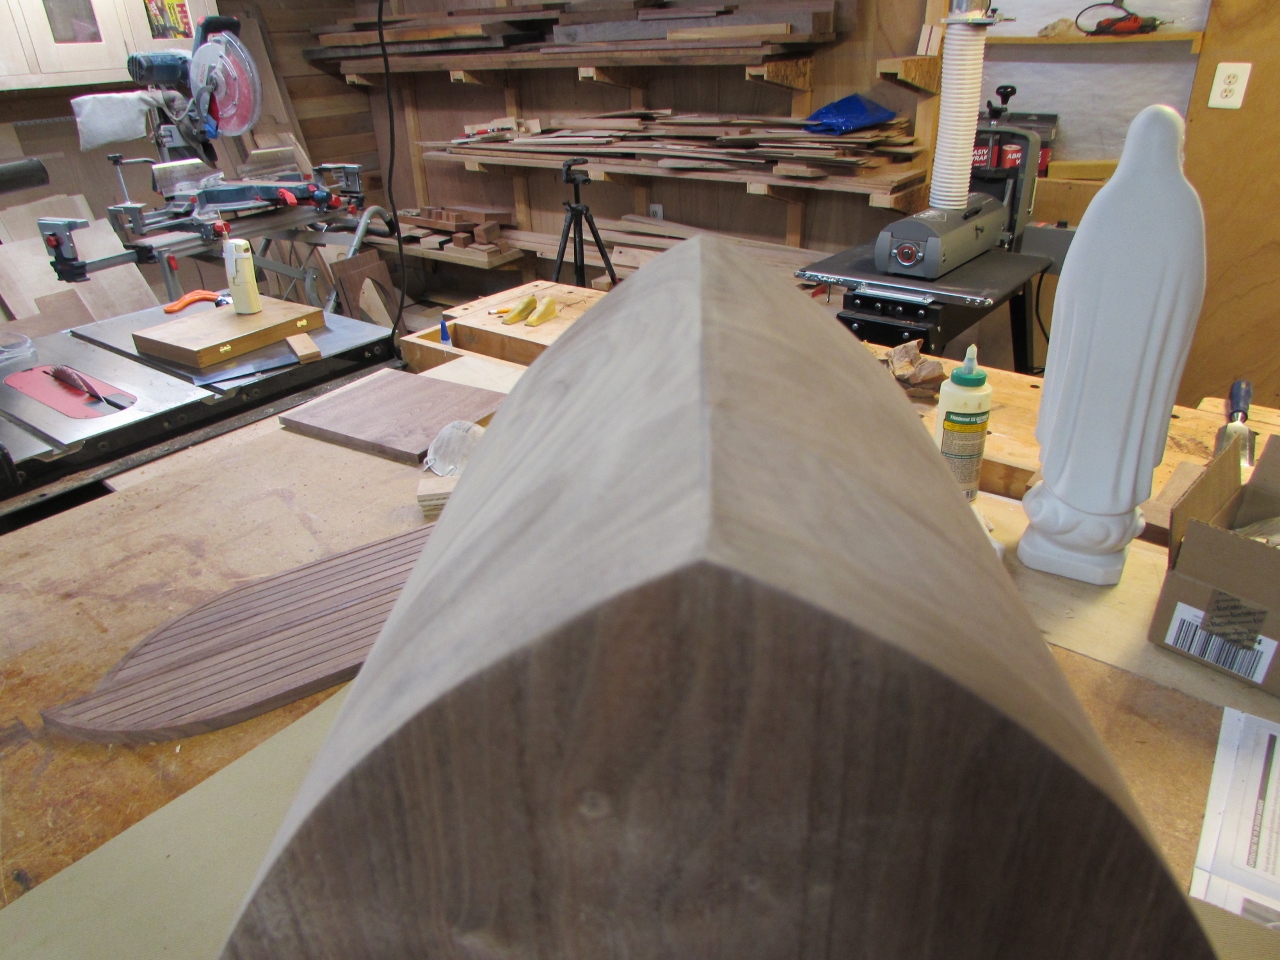
The top may be a bit thinner, but the shape looks a lot better. Besides, losing a bit of wood off the top will only make the cabinet lighter…
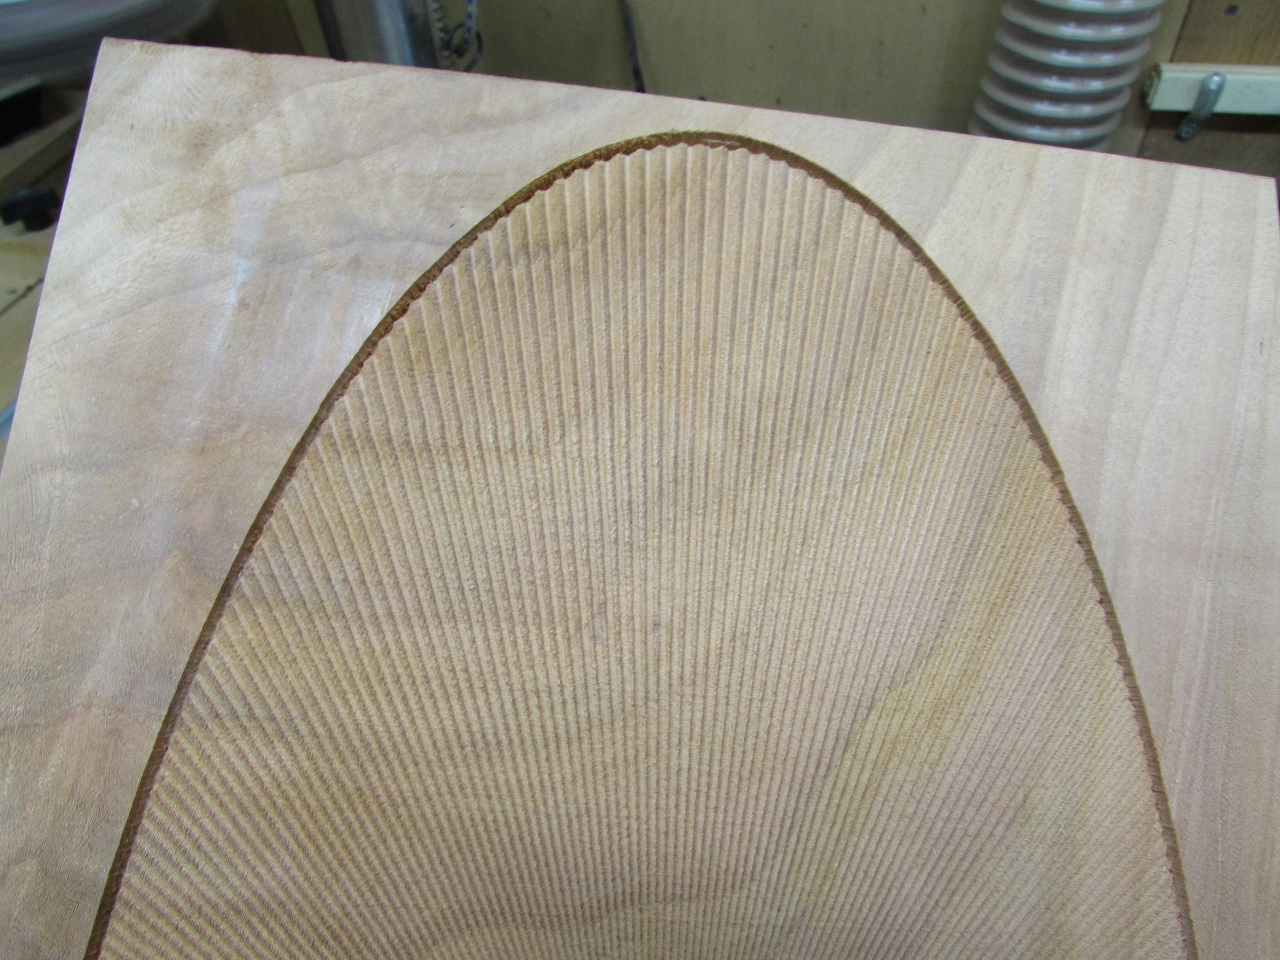
About the time I finished sanding the cabinet, my carve finished running.


A little sanding with the mop sander did not improve the roughness of the carve much, so I am going to have to do some hand sanding.
I tried the mop sander on my door faces as well and determined that it was time to buy a new mop sander…


This piece is now only 1/8″ thick, so I have to be really careful peeling away the double-sided tape. (I really should have used much smaller pieces…)
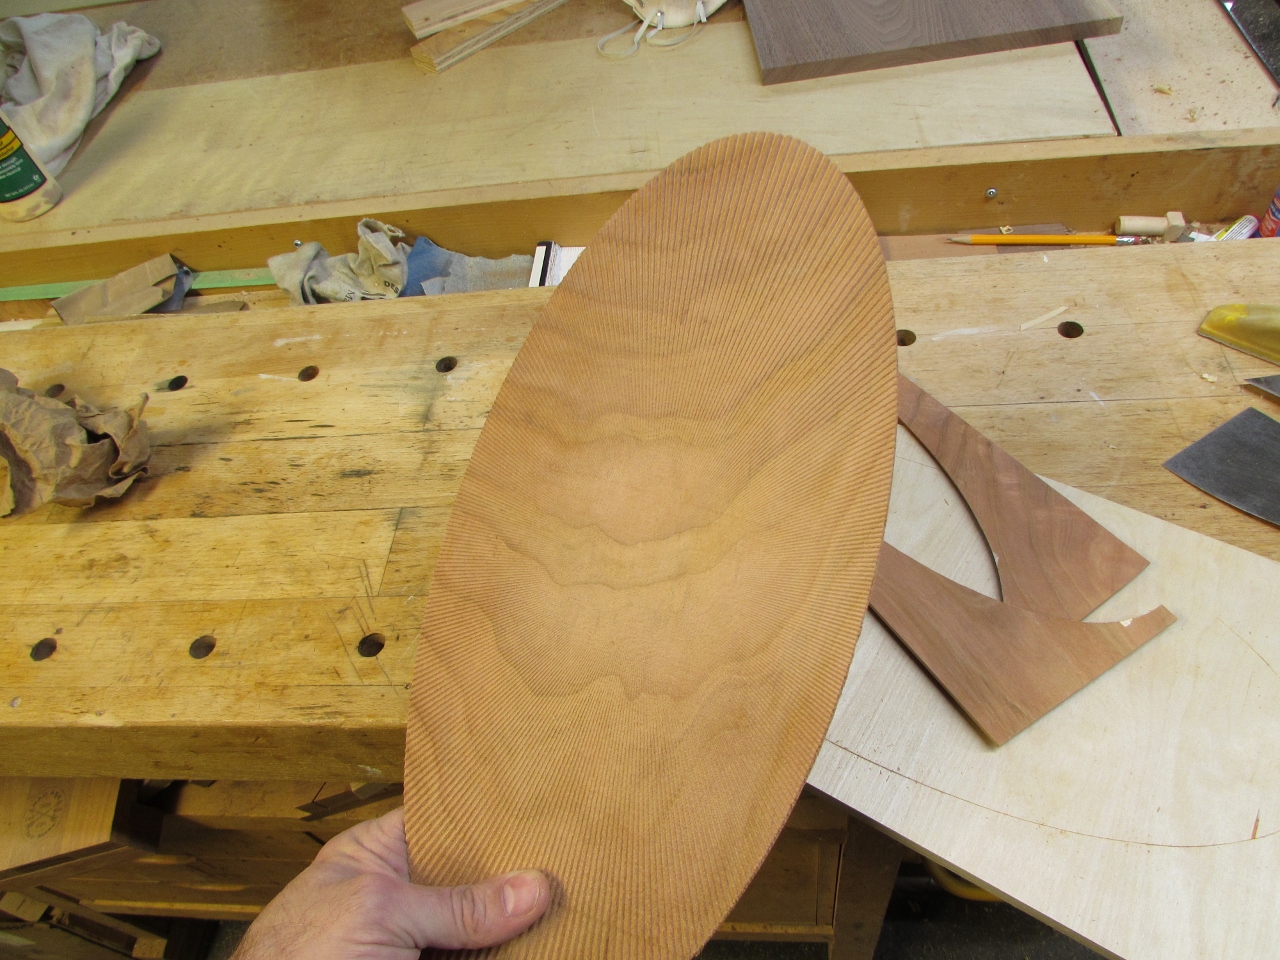
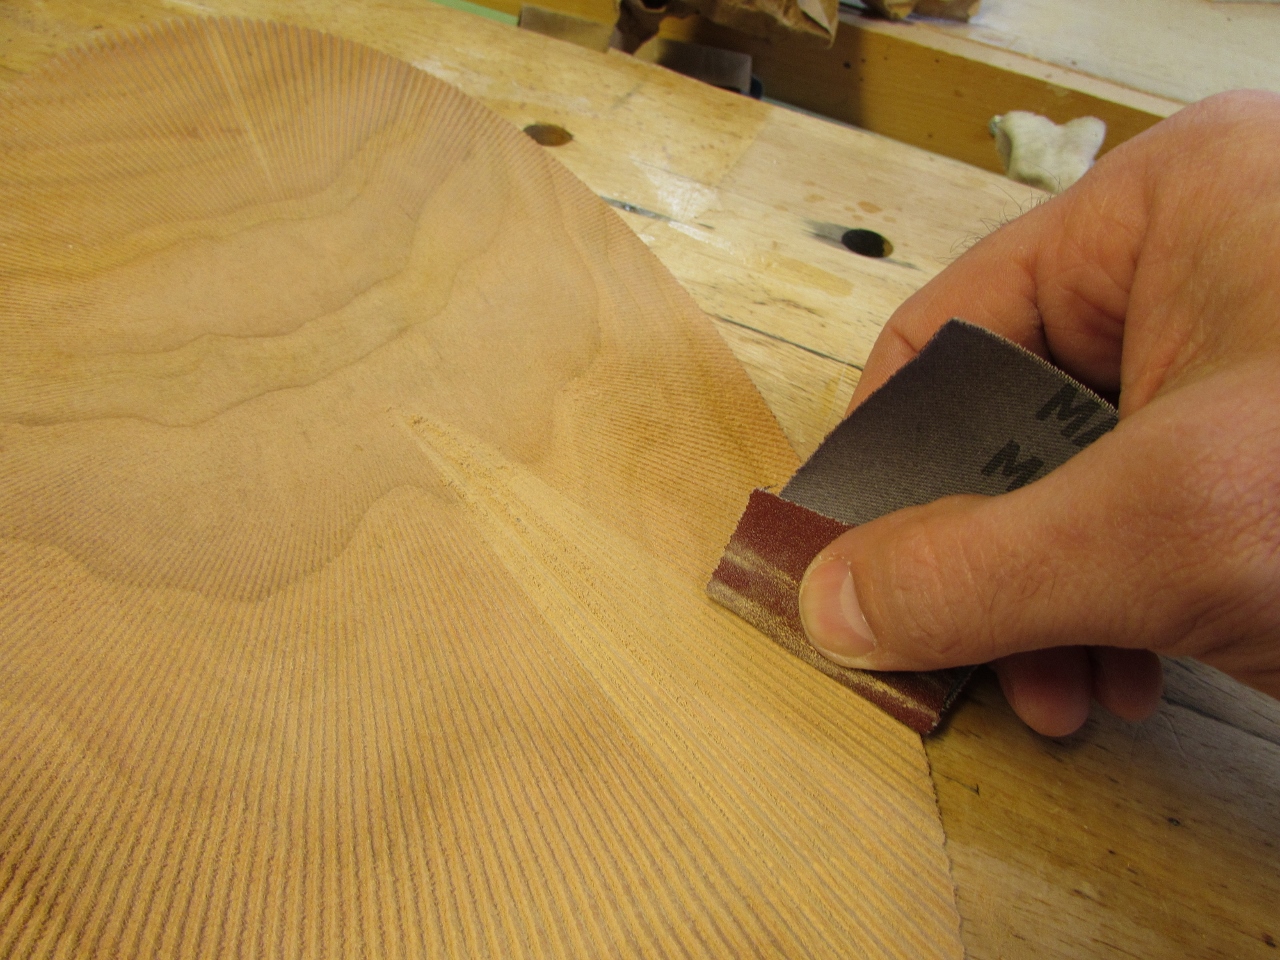
I tried several different ways to quickly sand this detailed piece, but in the end, a stiff piece of sand paper and about an hour of effort was the most successful method.

Once sanded, I sprayed a coating of shellac on the surface in an attempt to seal up all of the pores, but I ran out of shellac, so it was a thin coat.
I wanted to seal it with a finish that dried quickly so moisture wouldn’t soak into the wood when I painted it. Moisture soaking into only one side will make the piece curl.
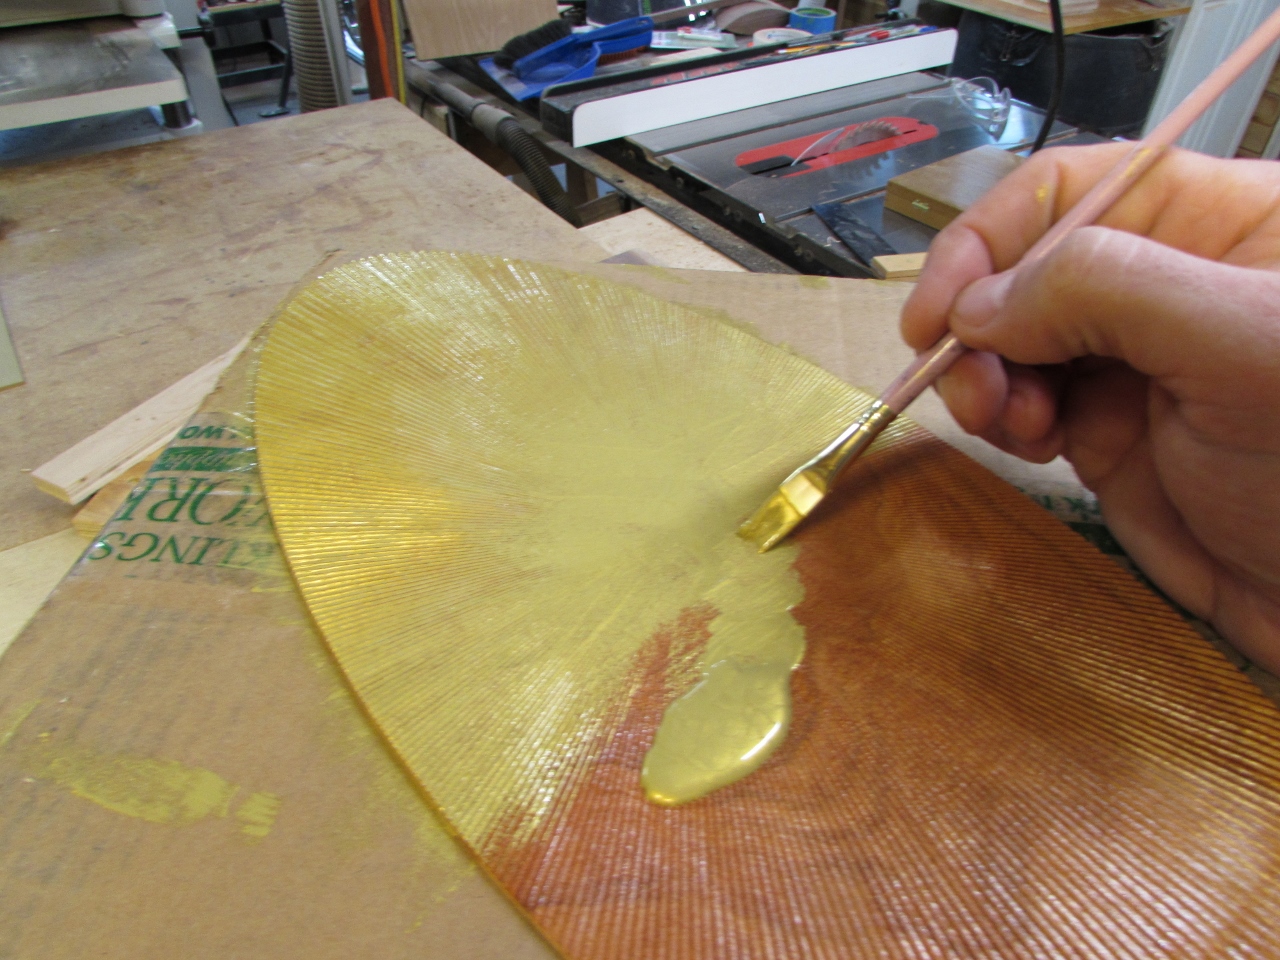
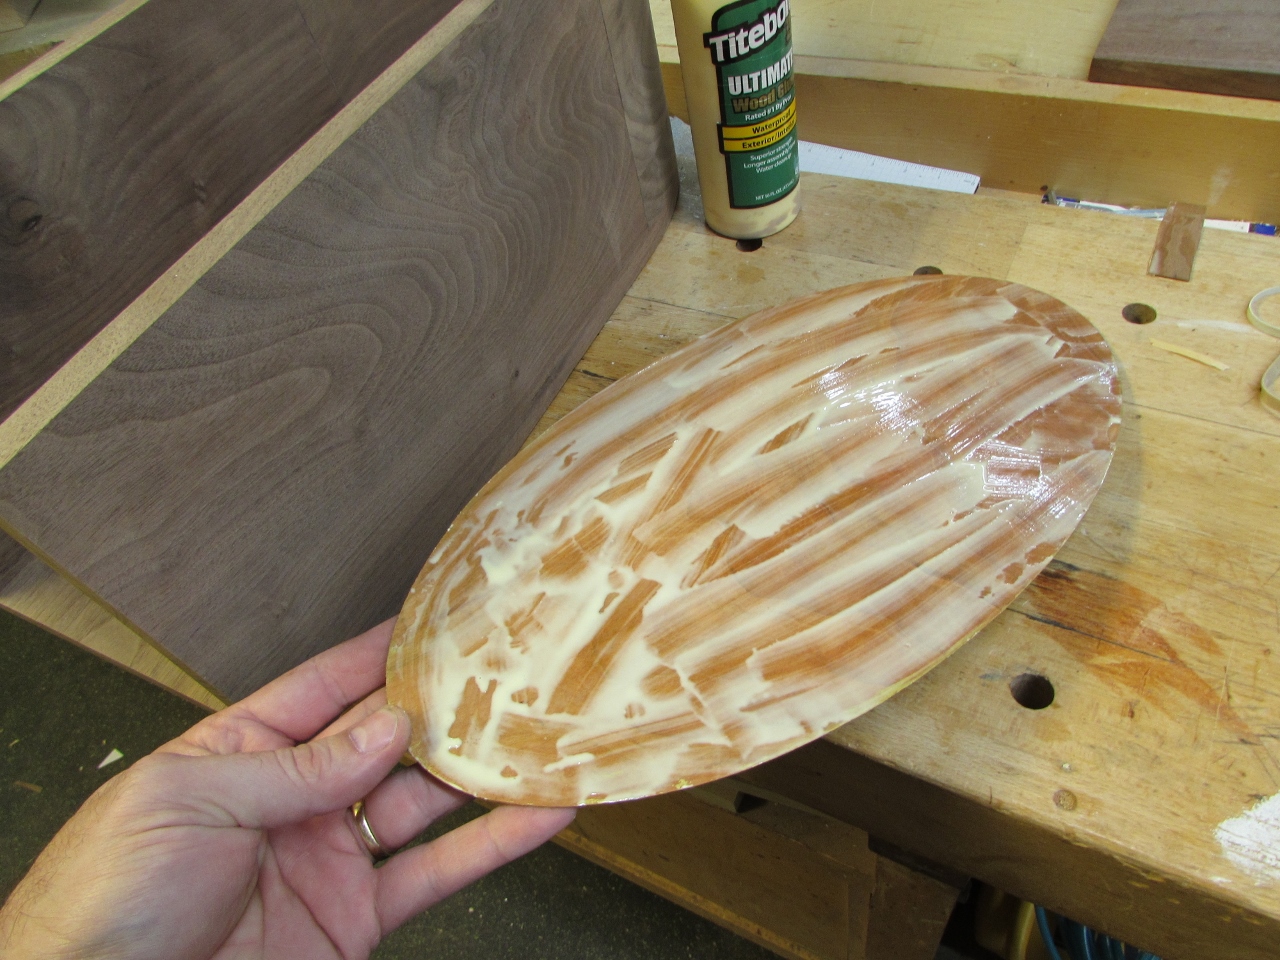
I applied a coat of acrylic, gold paint to the sunburst (I hate covering up that beautiful grain, but I need the gold color). While it was drying, I also hand-sanded the front doors.

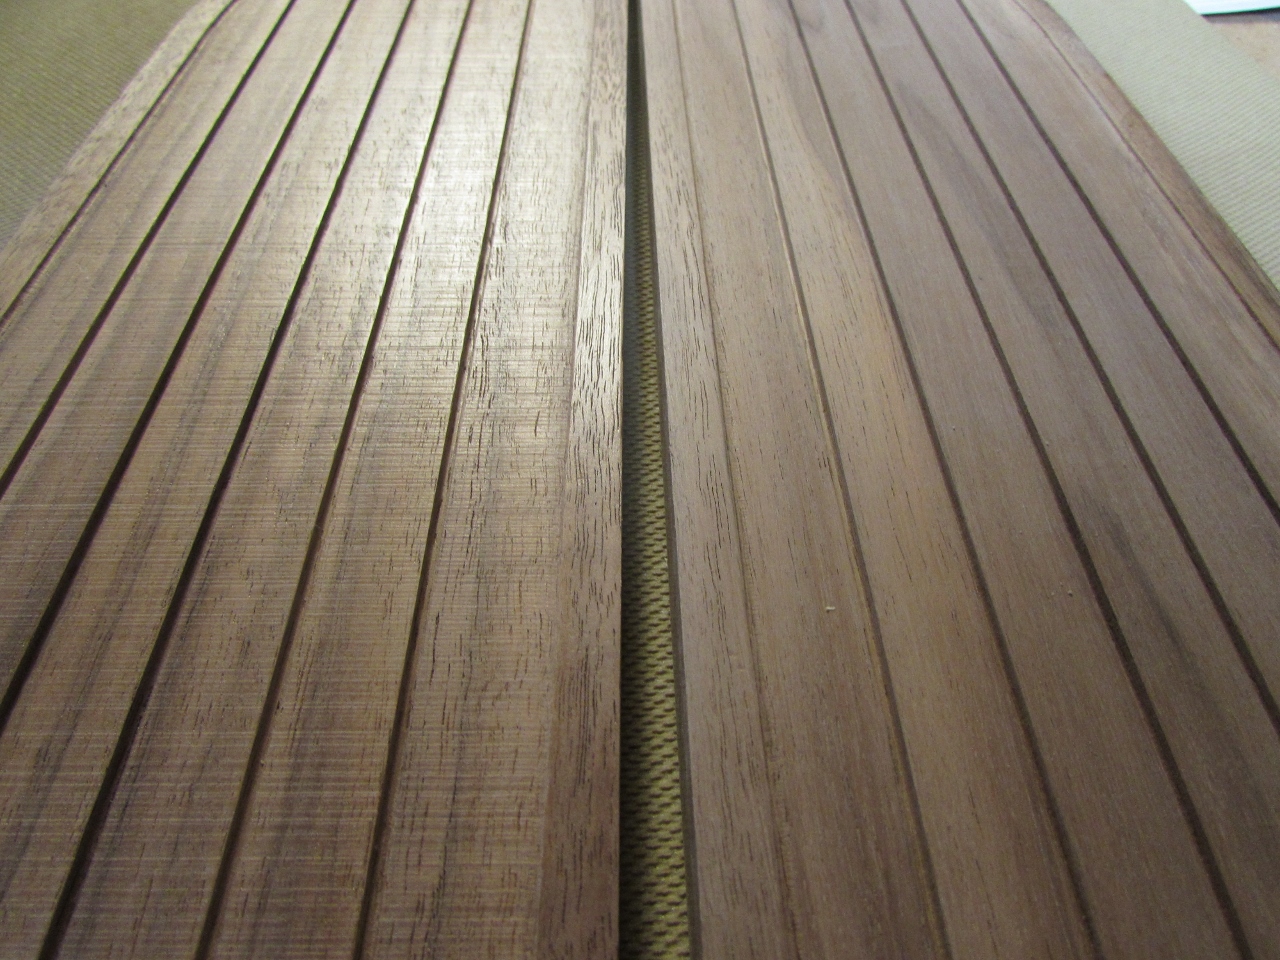
If you look closely, you can see the mill marks, from the CNC, on the unsanded door, on the left.

As I feared, the drying paint caused the thin board to curl up.

The only way to flatten it, without cracking it in half, is to now saturate the back side and press it flat. Since water will take a long time to dry out, I am going to try alcohol.

I saturated the back surface and pressed it flat with a couple pieces of wood.

The flattening was successful!

I quickly applied wood glue to the back, then set it in place. If I wait too long, it will start to curl again.


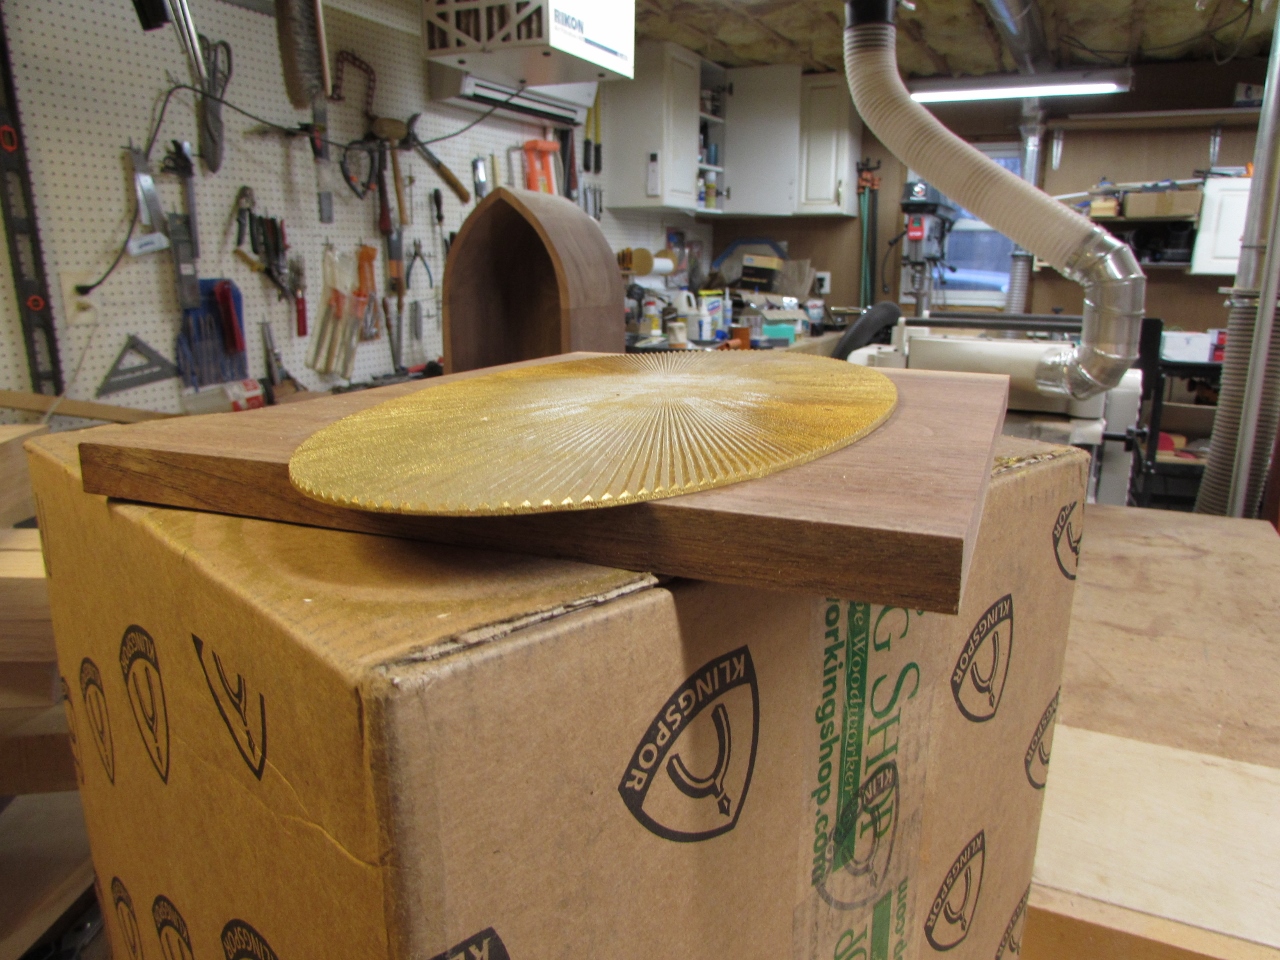
About thirty pounds of scrap wood and an hour later, the sunburst was attached.
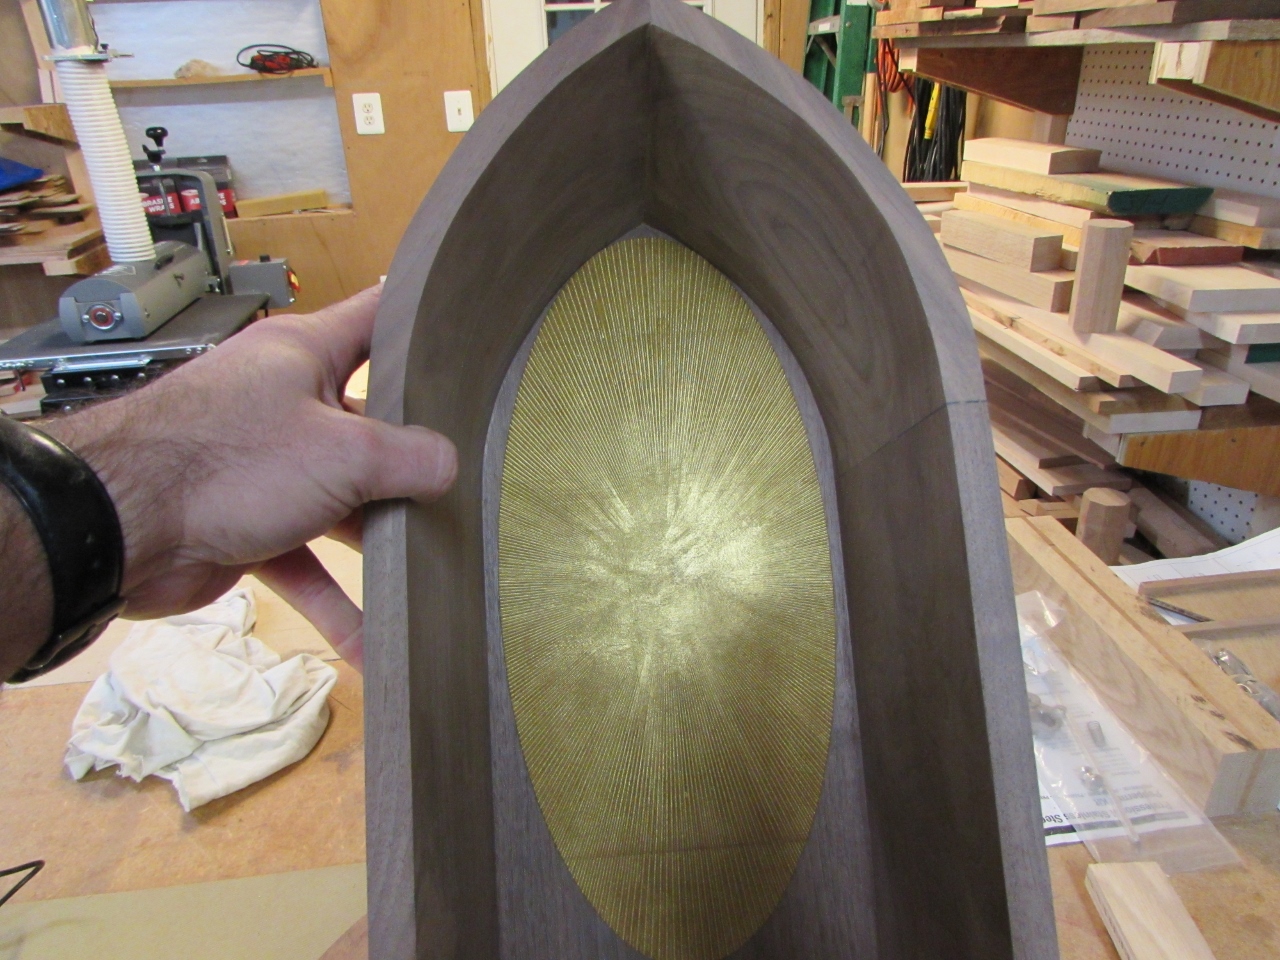
A test fit of the statue shows that the sunburst falls completely in shadow. That kind of stinks.

I did anticipate this however, and purchased an 18″ long string of LED lights and a USB plug adapter.

I have a plan to mount the lights to a strip of metal, that I can bend and adjust, but for testing, I just taped the strip to the statue.

I think that makes a significant improvement.
Now on to the base…
