
Arch-top cabinet – day 1
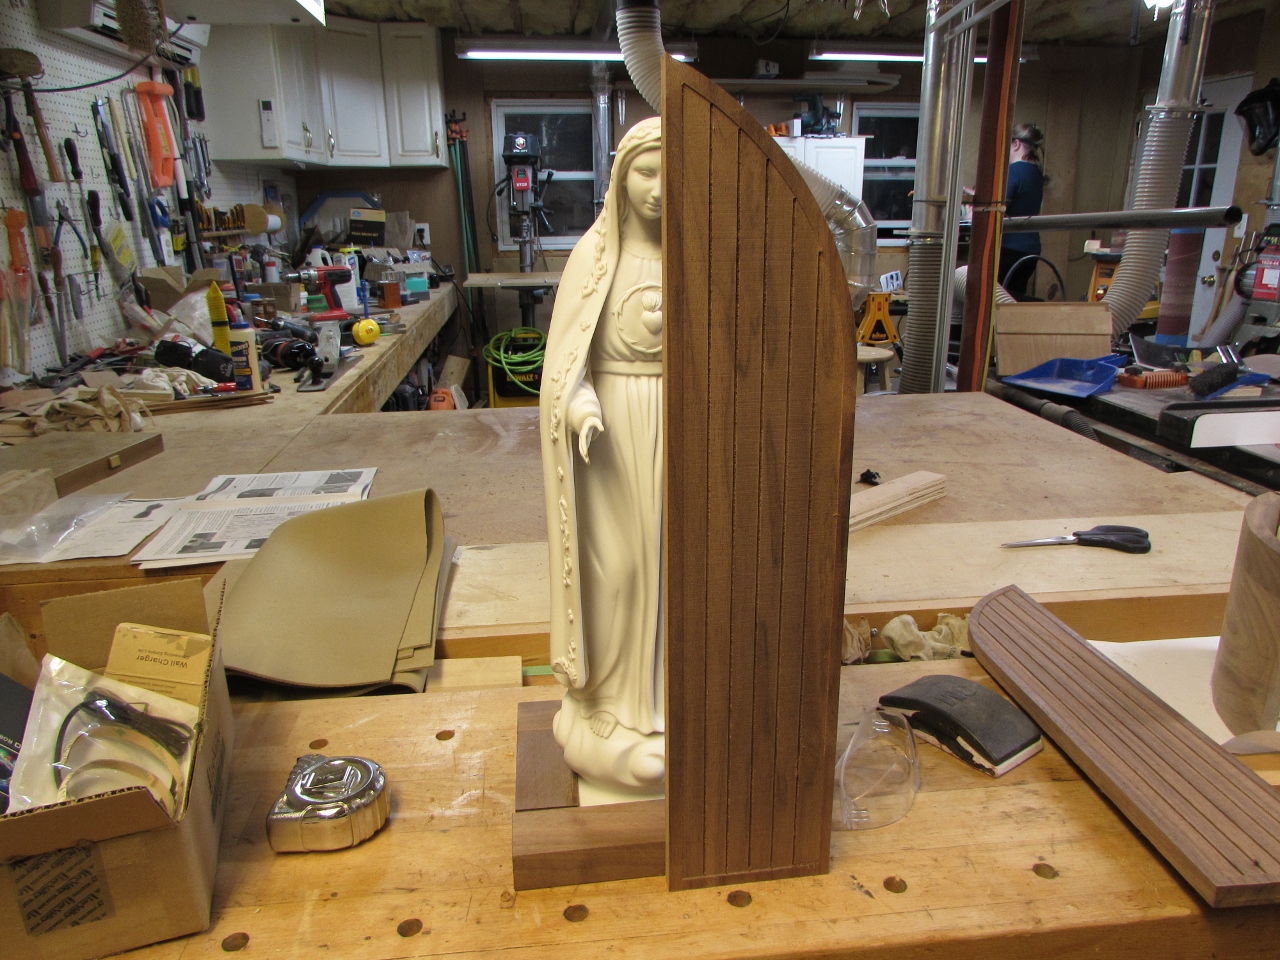
I have had this project on the back burner for a couple of months now. The design has been the big hold-up. Normally, I can easily discern a design that meets the requirements of a project, but this one is challenging me. What I have been handed was a statue, that stands about 20″ tall and weighs about 5 pounds +/-. The requirement was to build a cabinet to house and protect the statue, but also it has to be an attractive display. The thing is, that it will be travelling from house to house, about once every week. This means, that it has to be durable, but lightweight. Also, since it will be bouncing about, the statue has to be firmly fixed in place.

Surprisingly, a Google image search, of other displays, offered no useful ideas. After a lot of thought, this is what I have come up with:
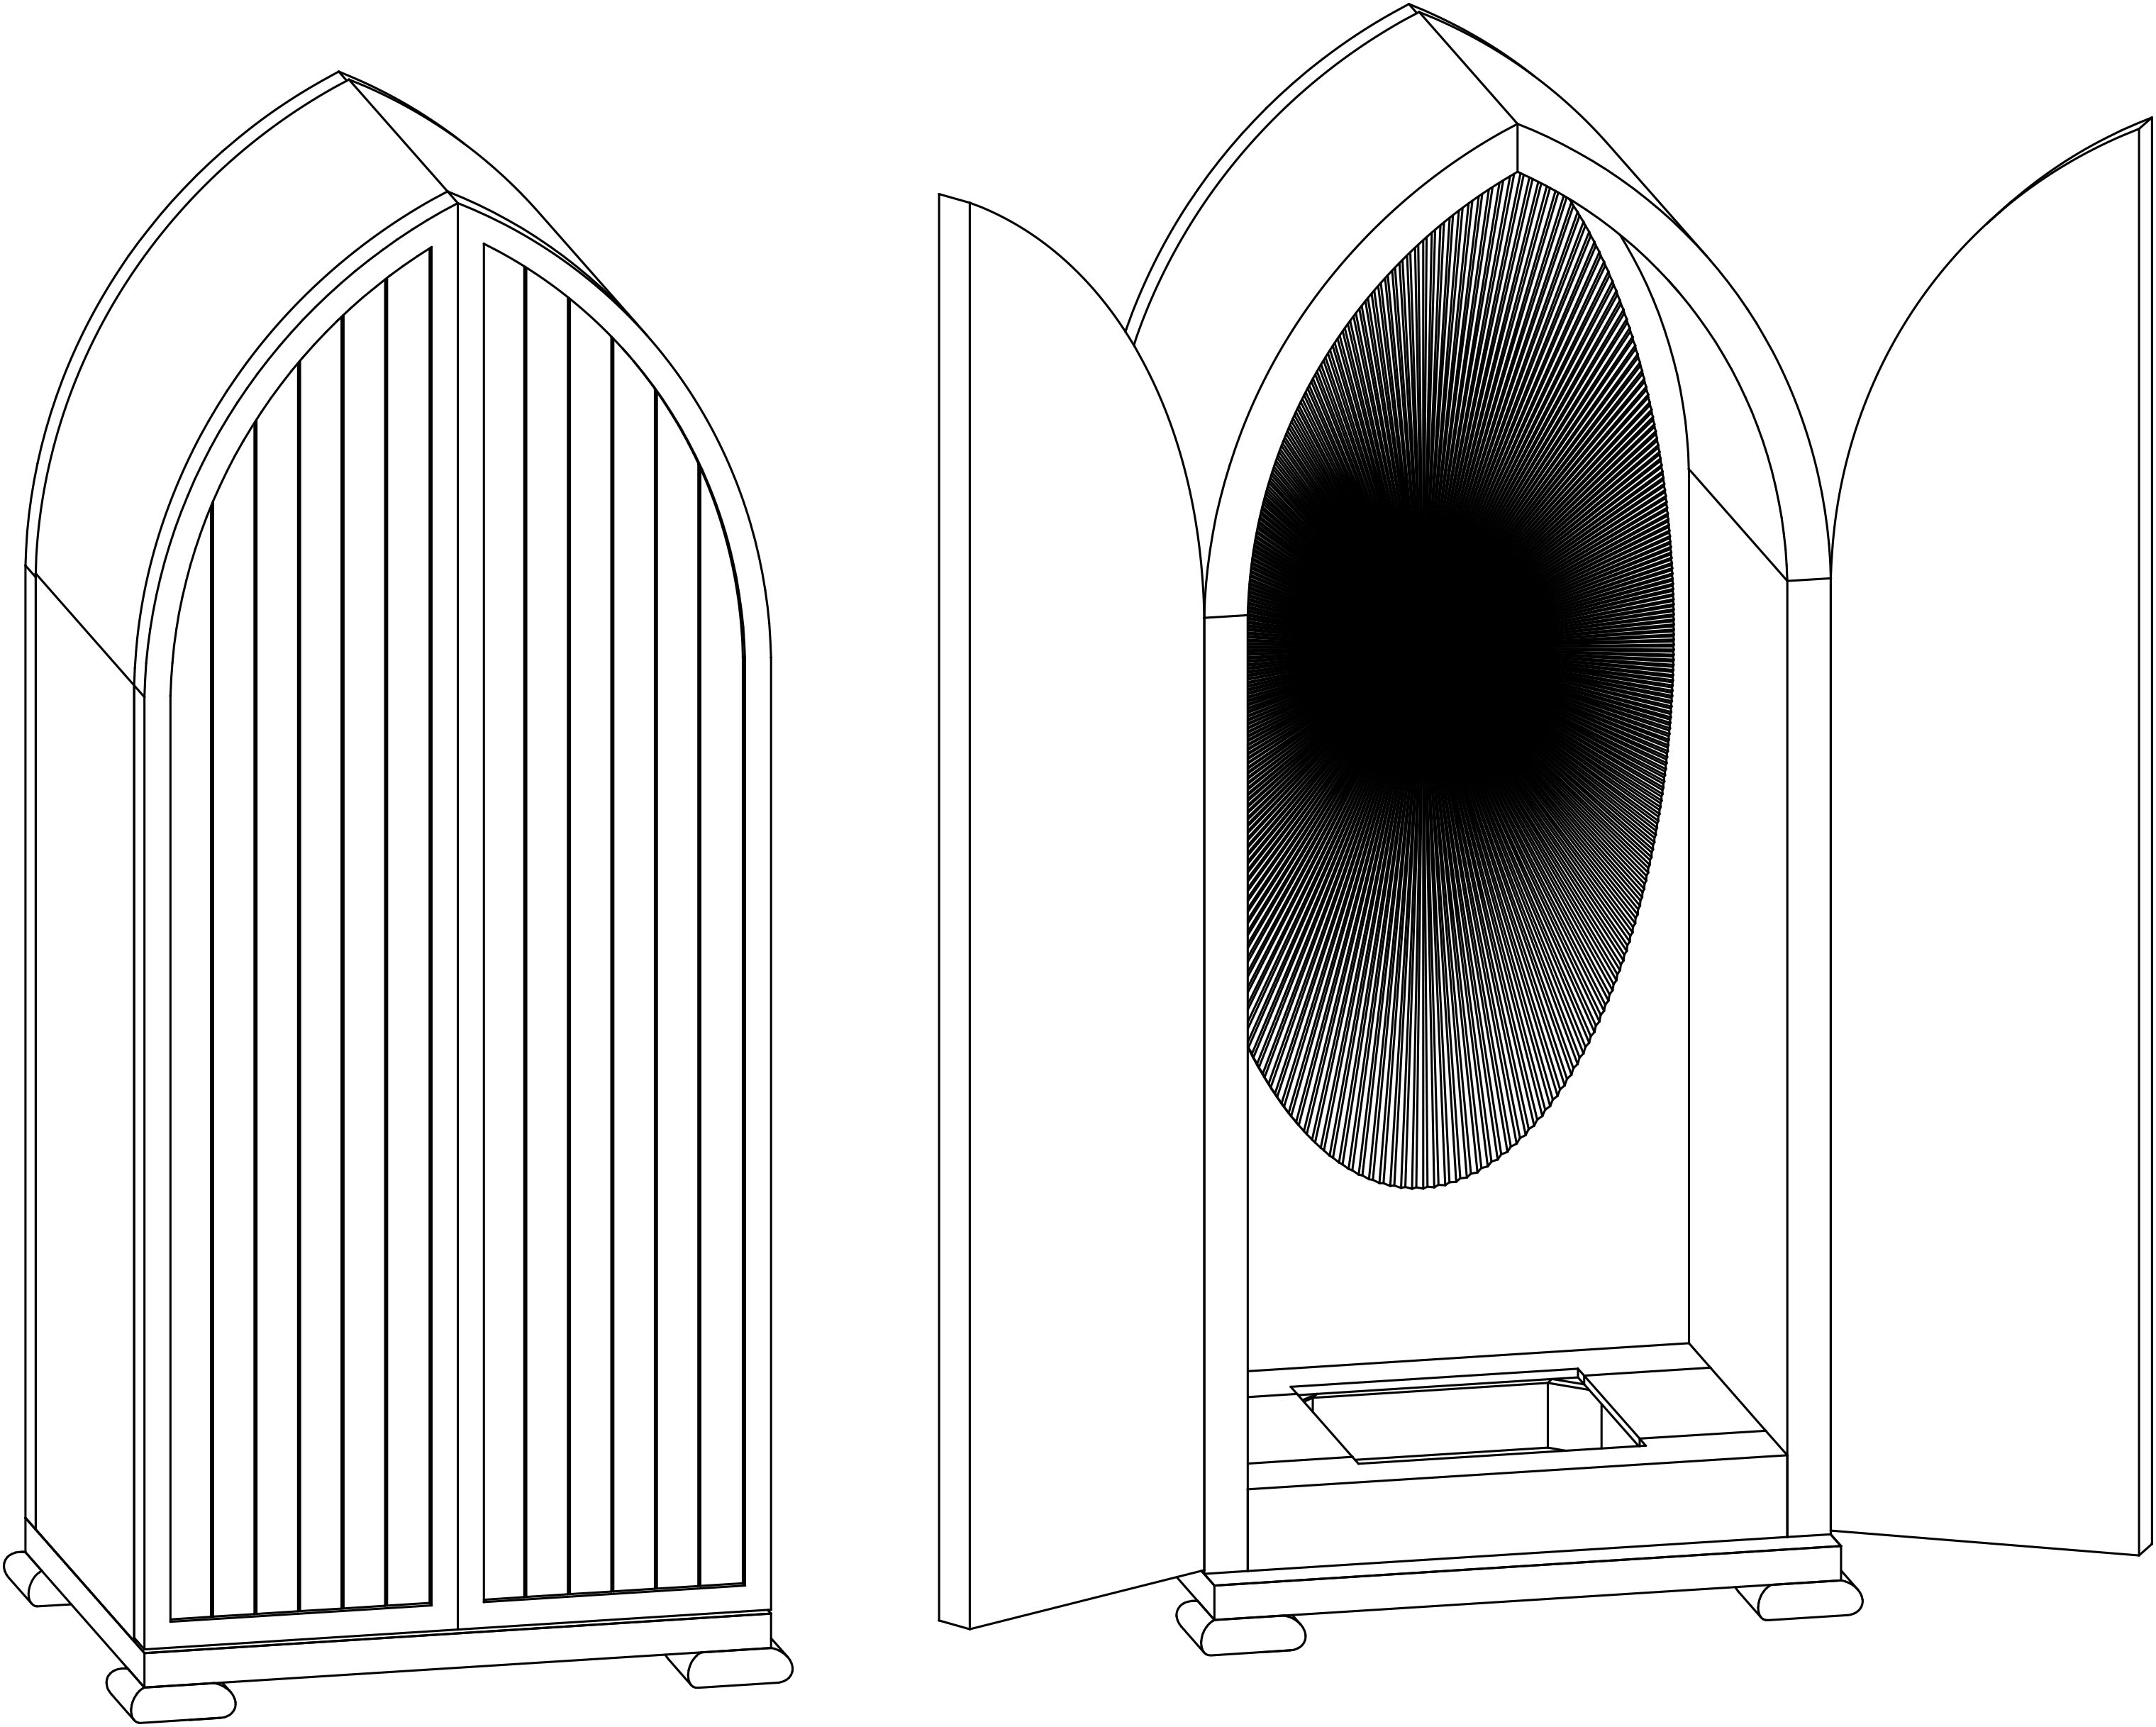
I warn you now, that as I start on this case, I have not determined all of the dimensions and some of the joinery and hardware is still to be selected. I figured I would get started, and have a little faith that the rest will come to me as needed. I will be bouncing back and forth on different parts of this design, mainly because I haven’t got a clue how it will all come together yet. Bear with me…

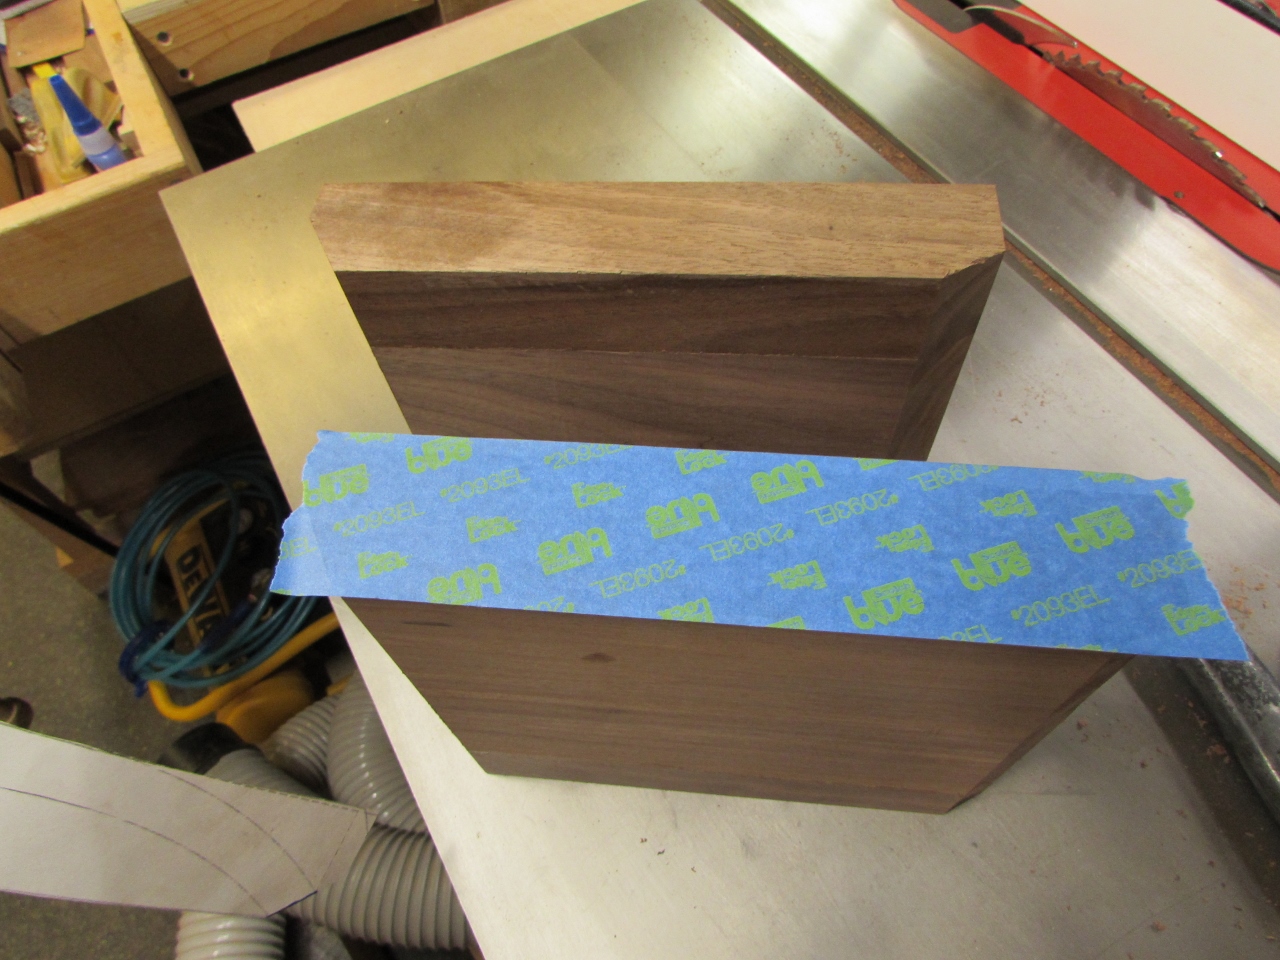
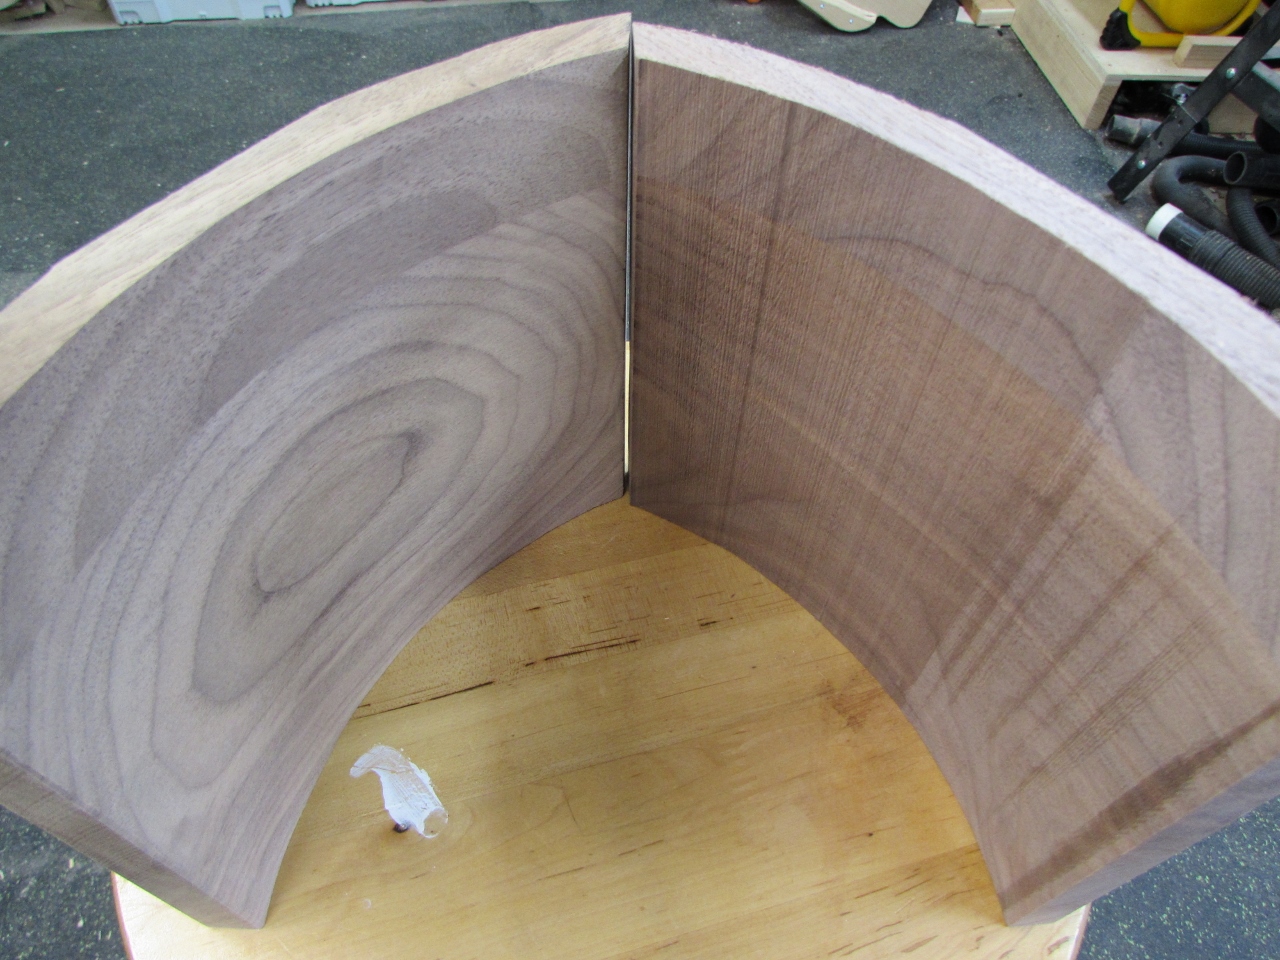
I figured I would tackle the arch-top first, since I think that will be the hardest to get accurate. My first thought was to steam bend, or do a laminated glue-up. But, that would then be difficult to get the mitered ends cut accurately. Since the curve wouldn’t offer a good surface to project the angles from. I decided to start with a thick piece of walnut and try cutting the curve on a band saw. This offered me the option of cutting my mitered ends before cutting the curve. Improved accuracy, but wastes wood.
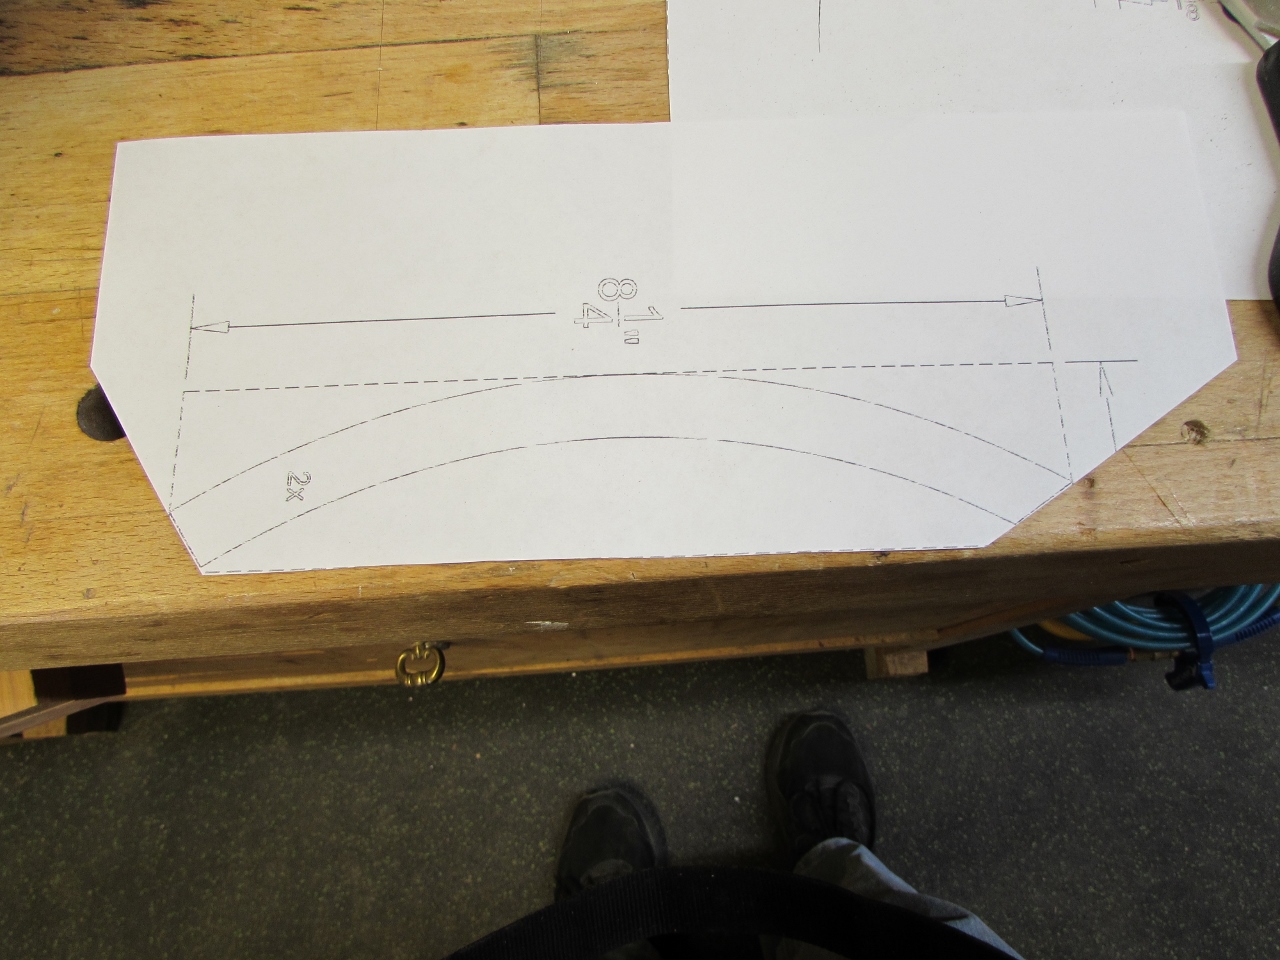
I started by printing out a full-scale pattern, and cutting two blocks of walnut, that were about 1-1/2″ thick.
And, after cutting the exact pieces that I needed, I determined that they were an inch too narrow… Since I don’t have a lot of wood, that thick, I had to glue another bit to the blanks I already cut.
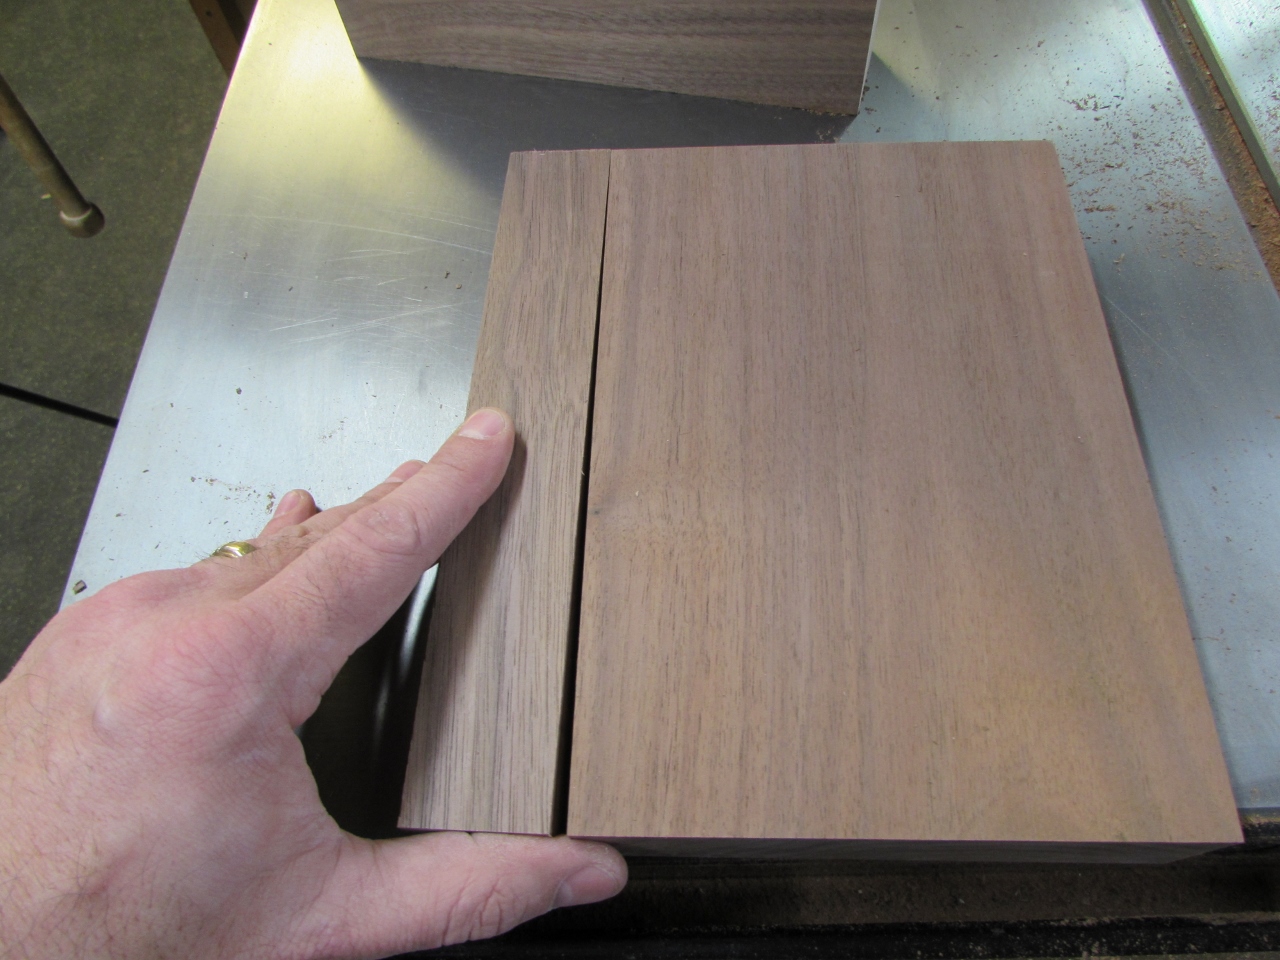
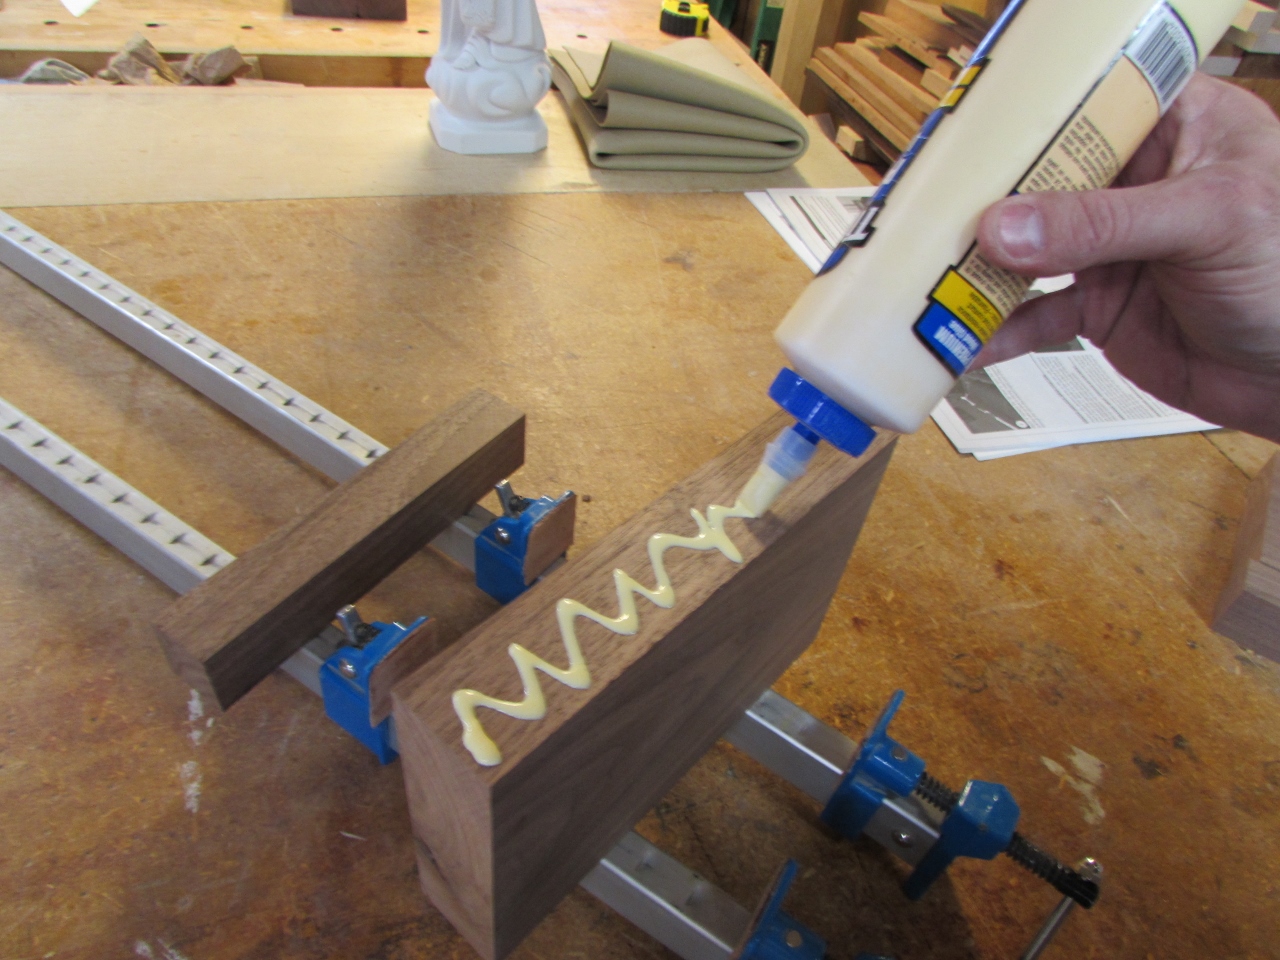
This was easy enough, but the grain is not the best match.

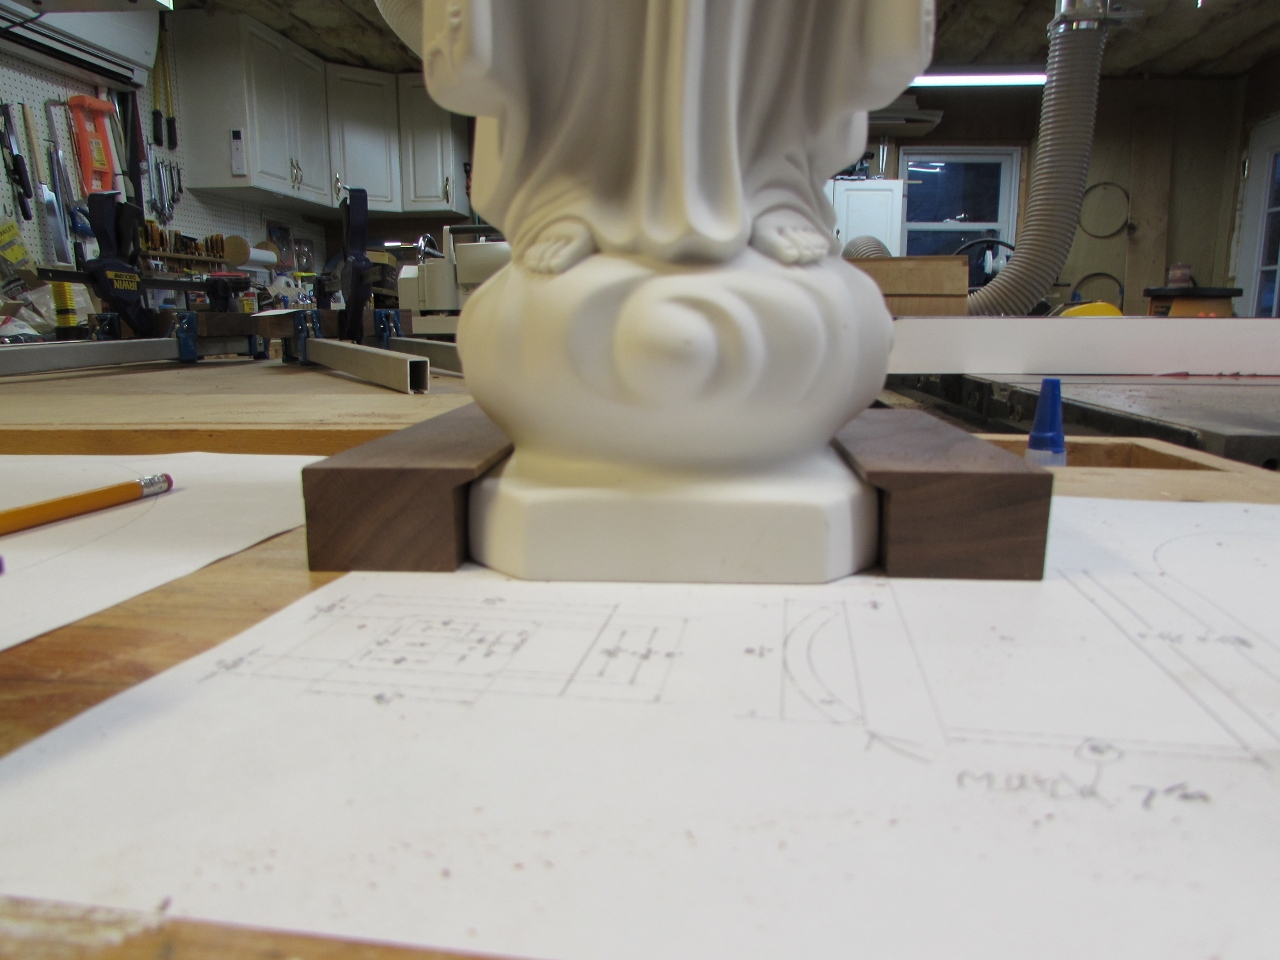
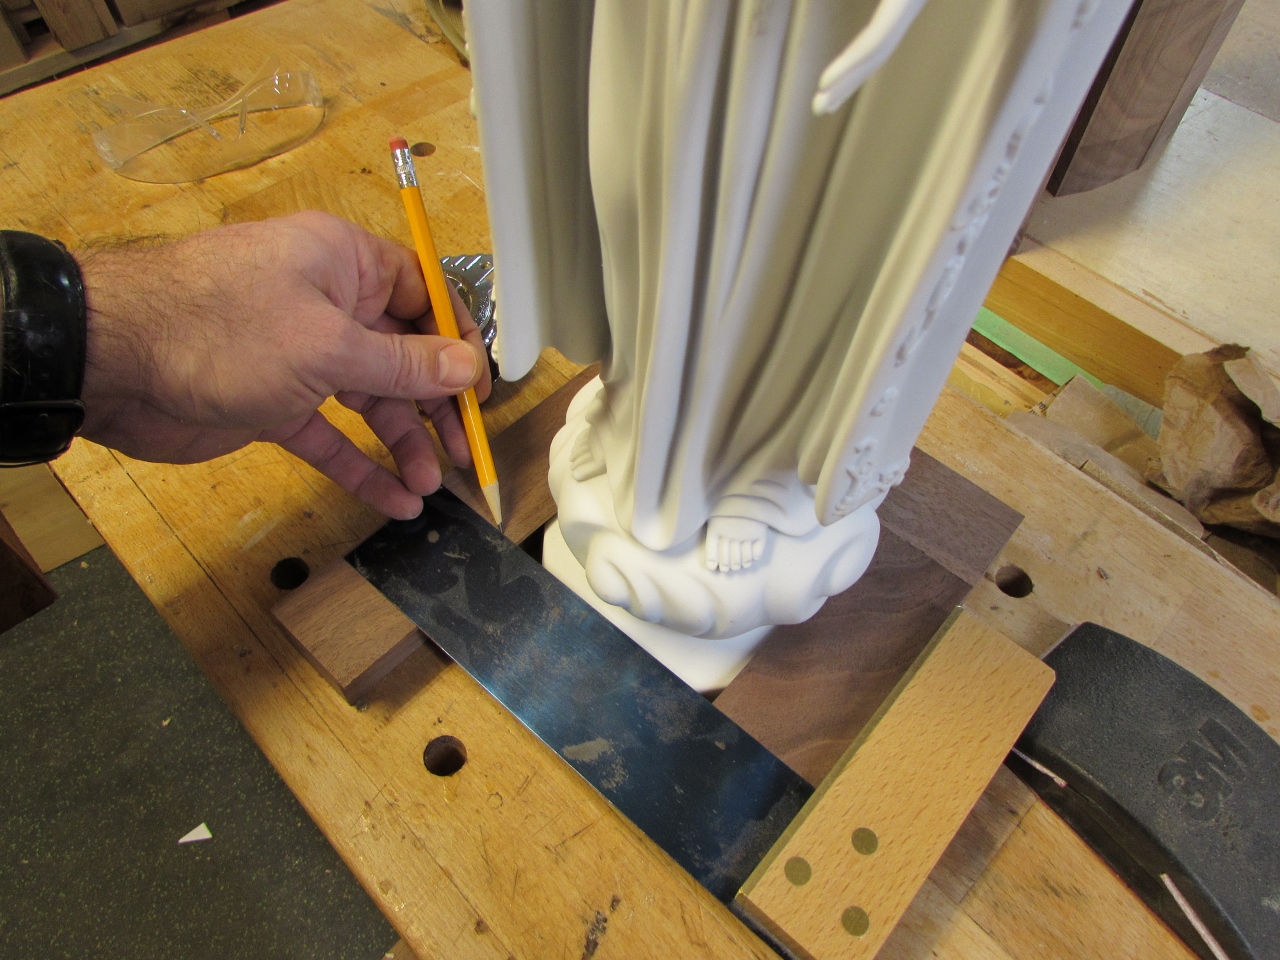
While that was drying, I decided to tackle the problem of securing the base of the statue. I did some test cuts on a scrap block to try to match the profile of the base. My goal is to completely capture the statue base. Three sides will be permanently attached, and the fourth will be screwed in, so the statue can be removed, if needed.

I angled my table saw blade to about 22.5 degrees to make the small tapered cut, and I used a piece of wood that had a slightly angled grain pattern, that would offer the most strength.

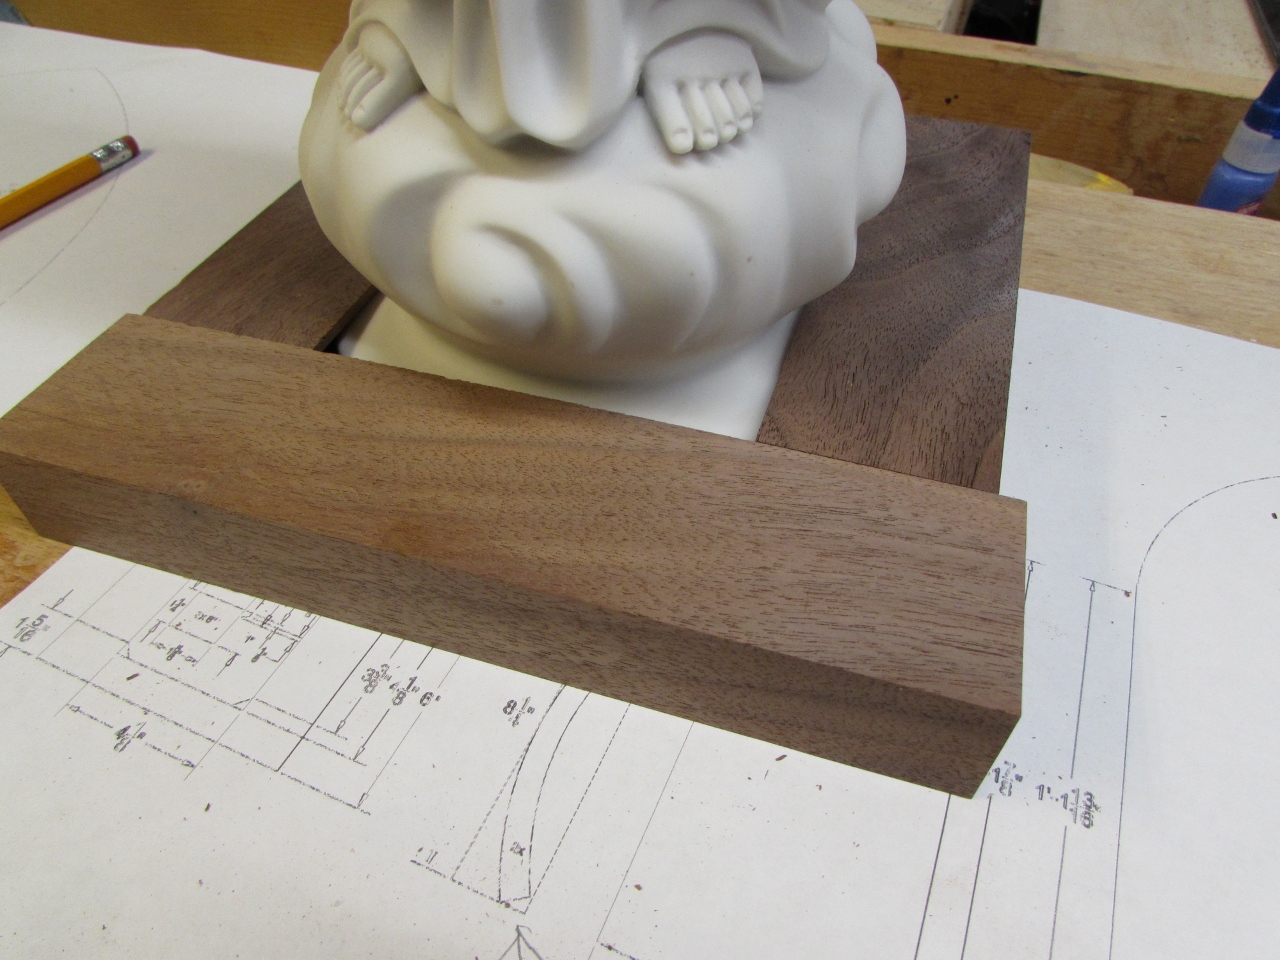
Not a bad fit at all.

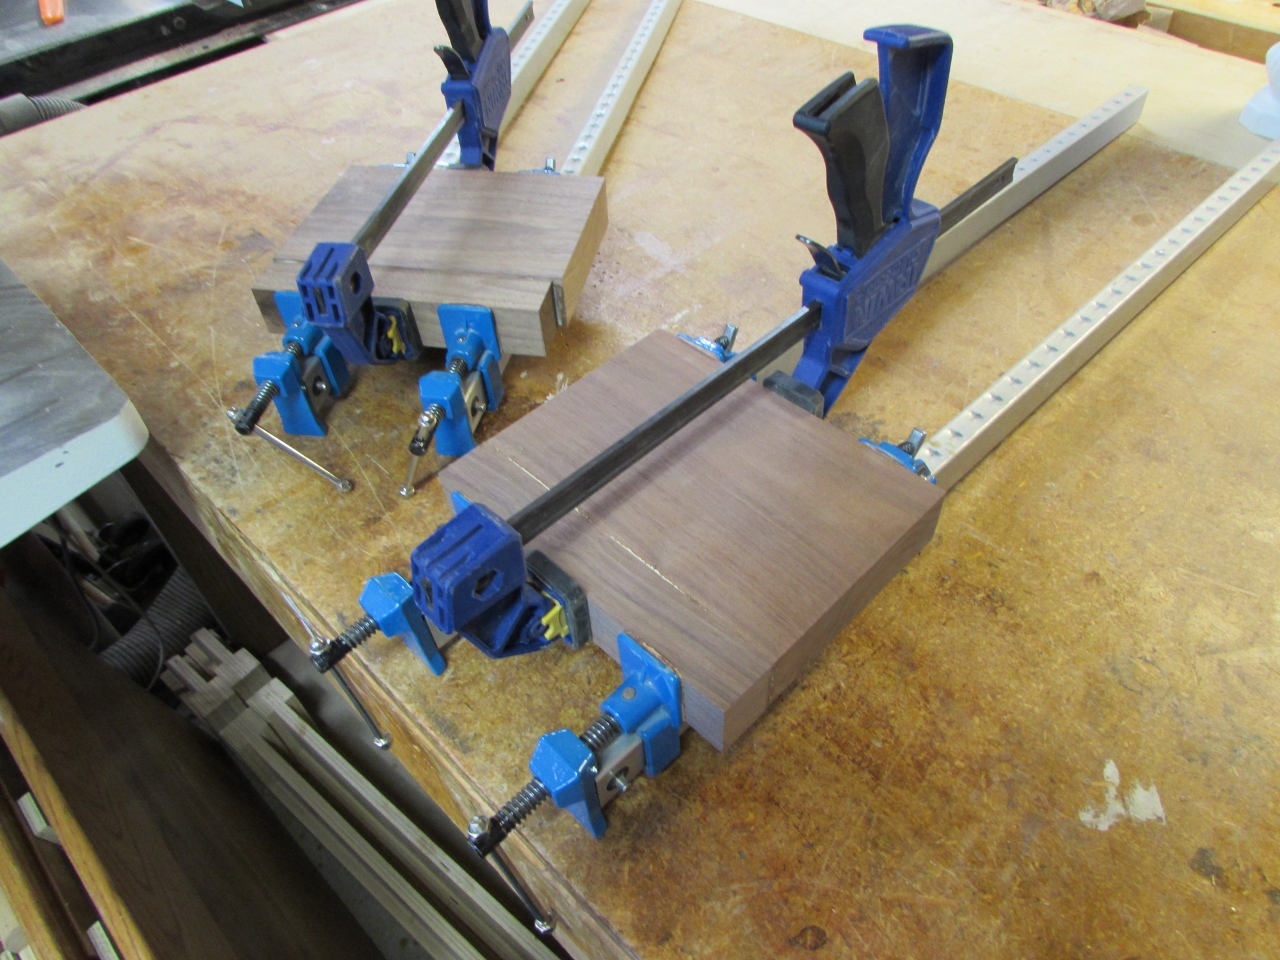
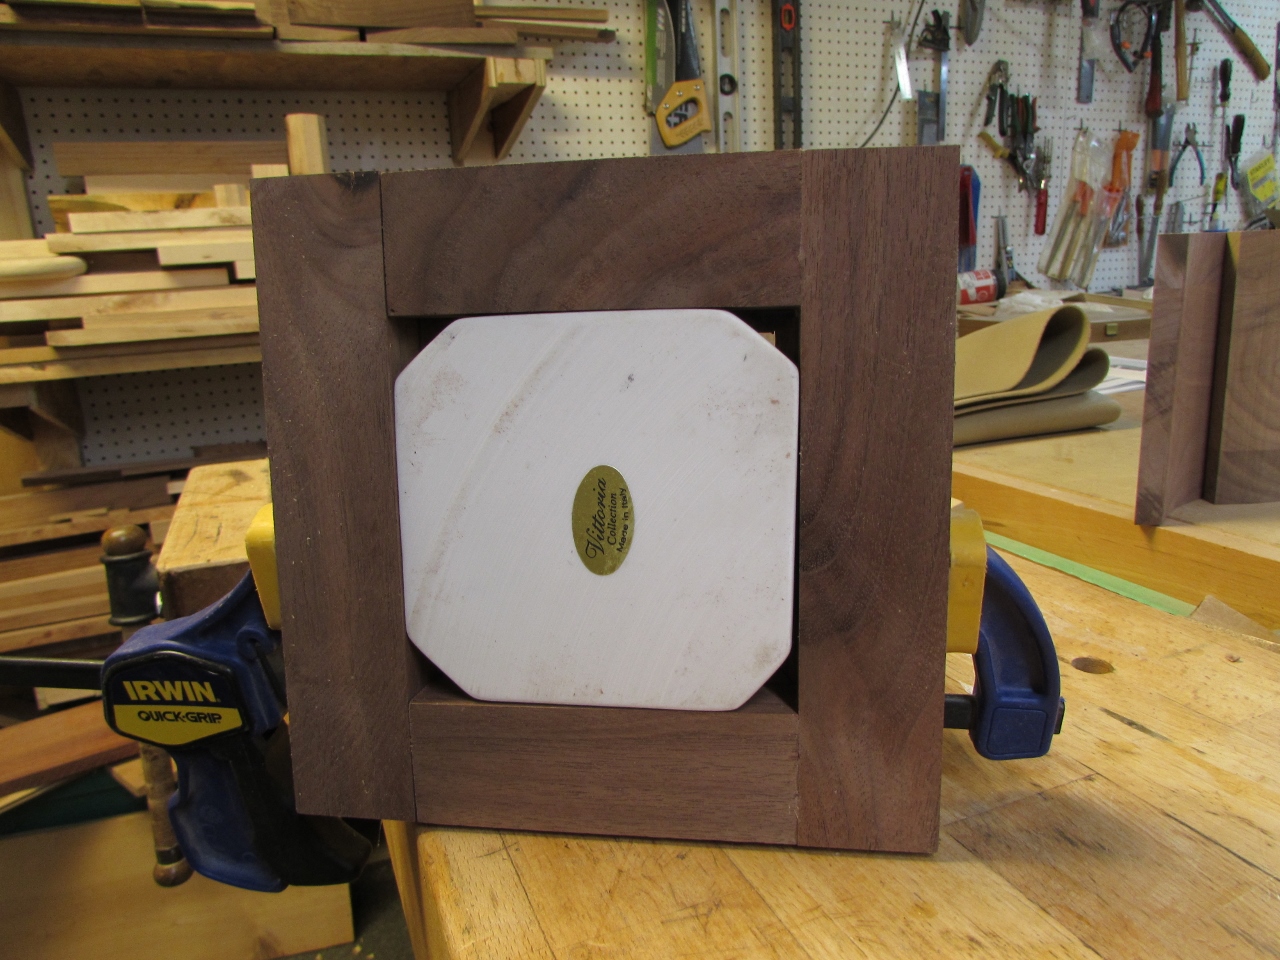
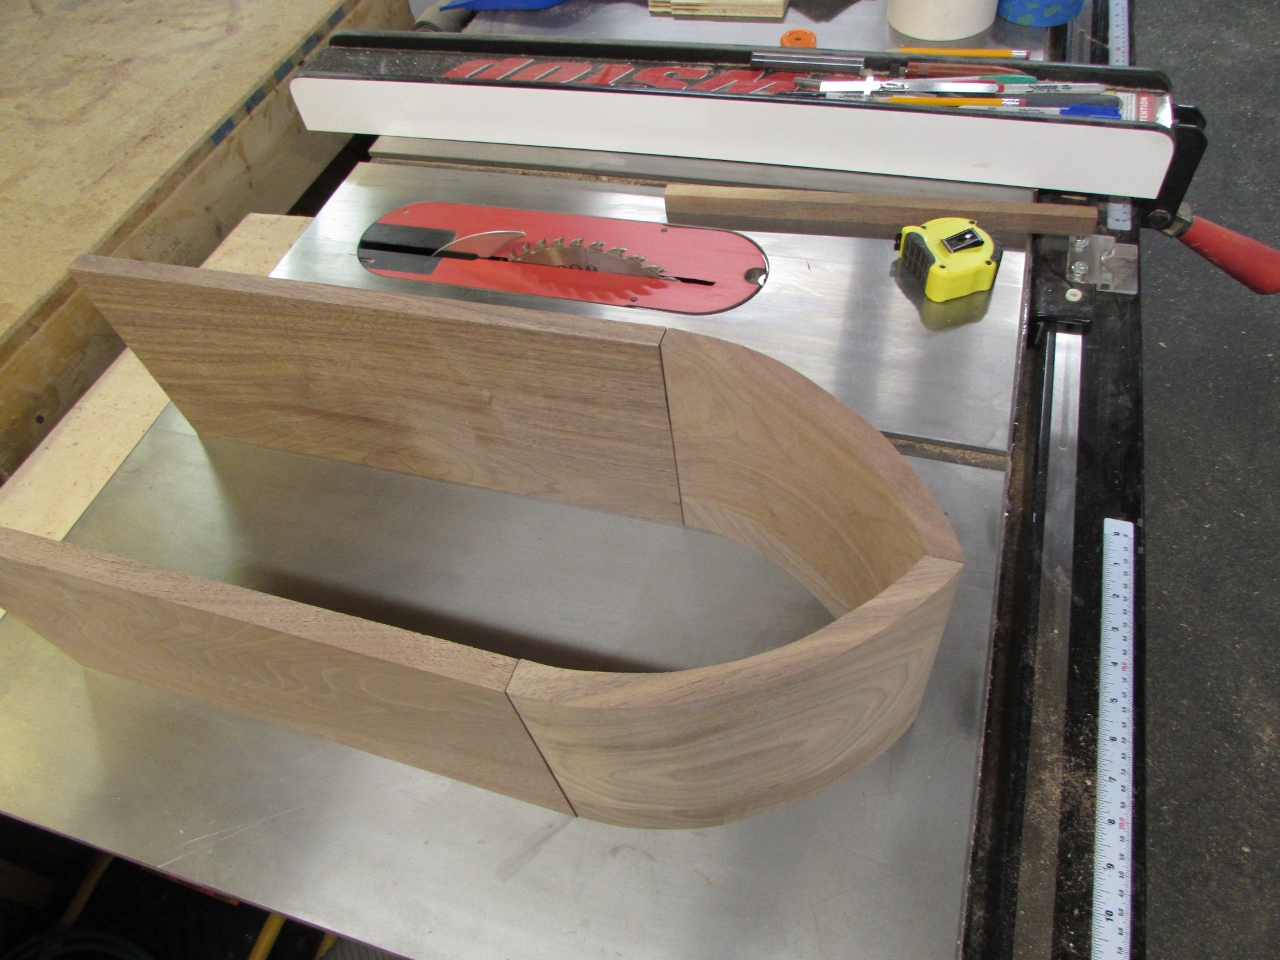
With that determined, I bounced back over to the now dry panels for the arches.
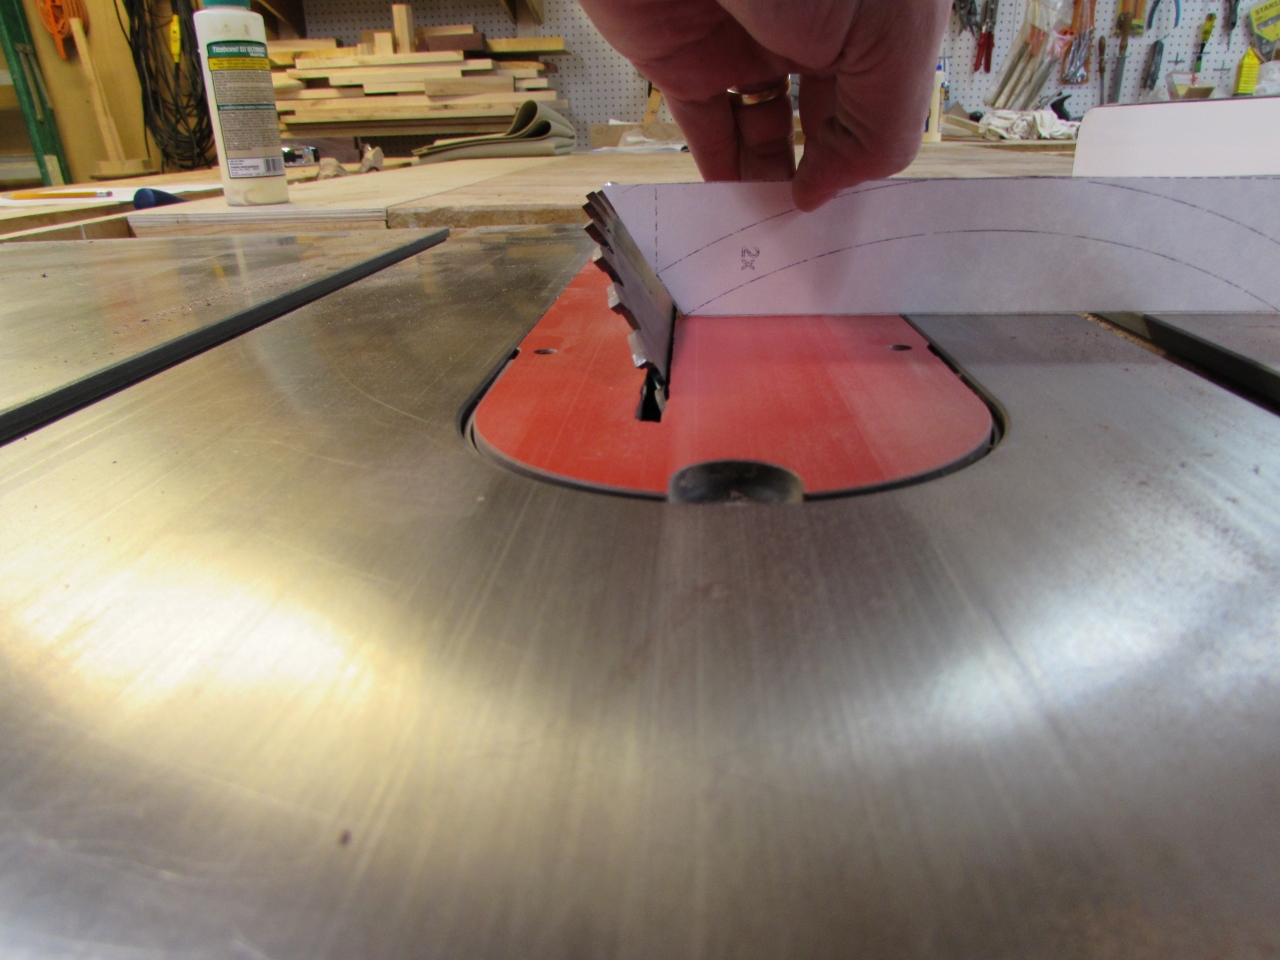
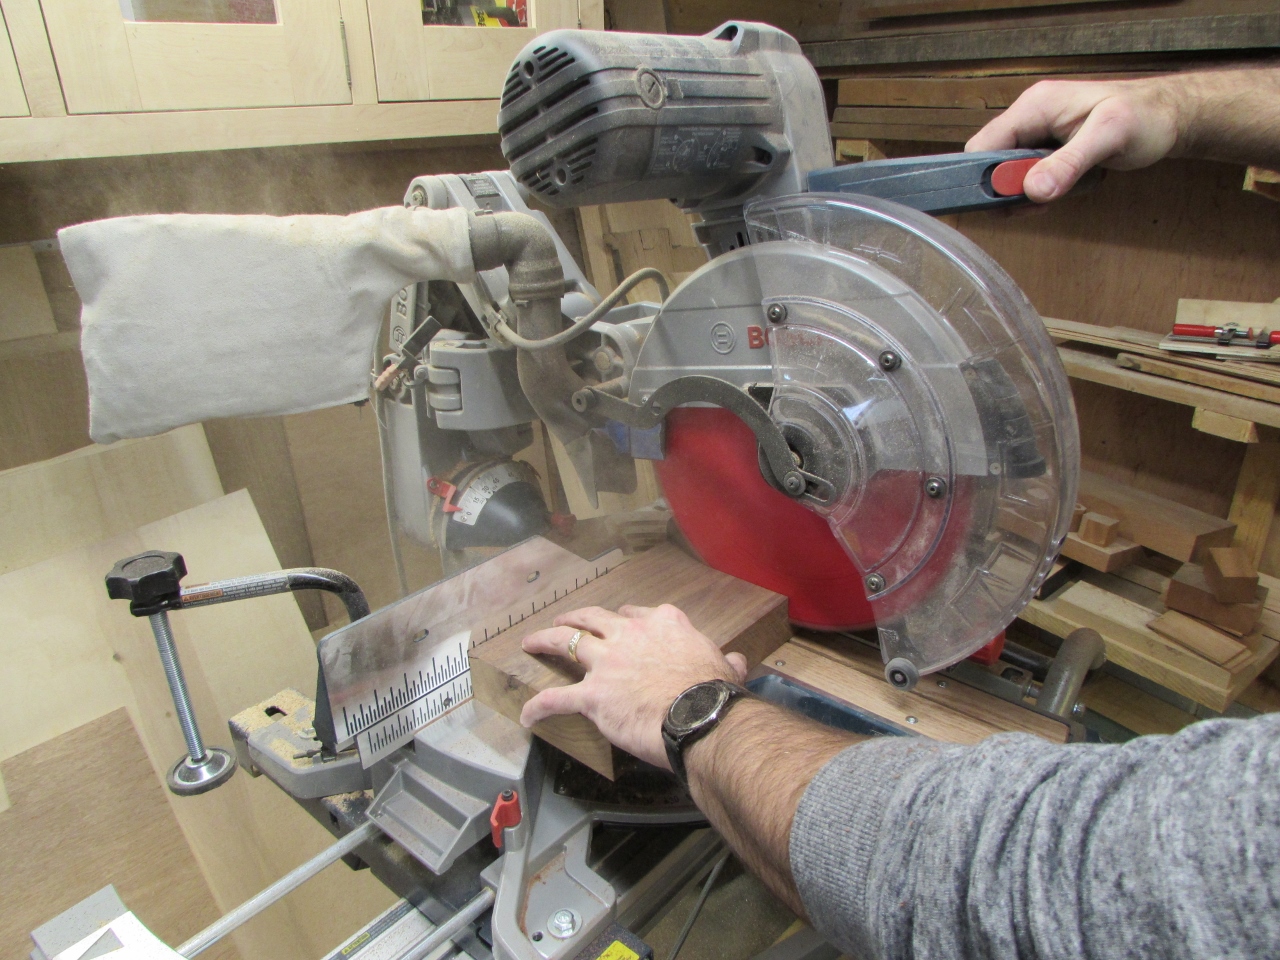
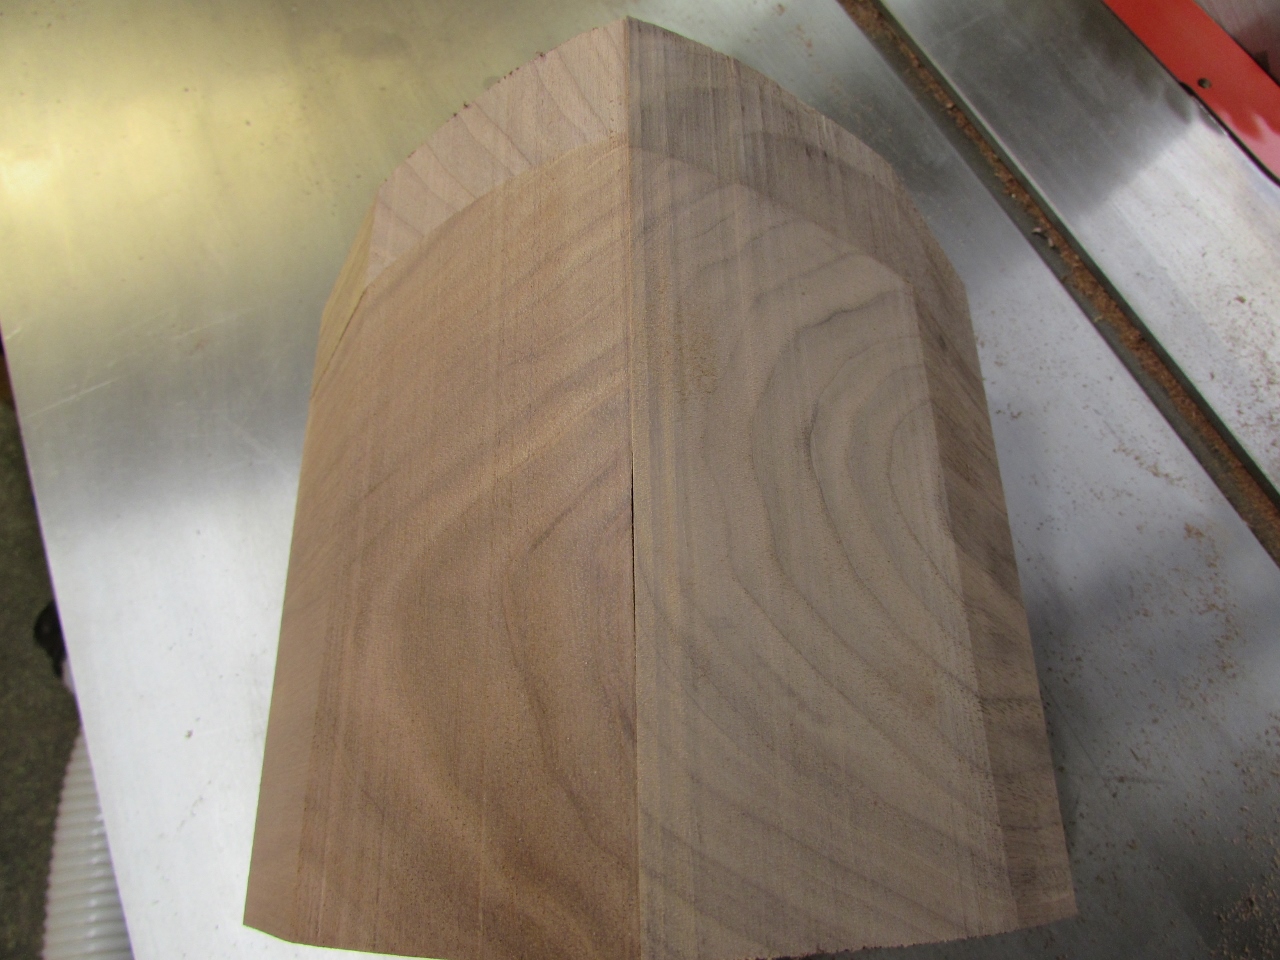
I used the pattern to set the angle of my table saw blade, and made my first mitered cuts.


Then, flipping the pattern up, I was able to achieve the more acute angle, on the opposite side, by cutting the block, vertically.
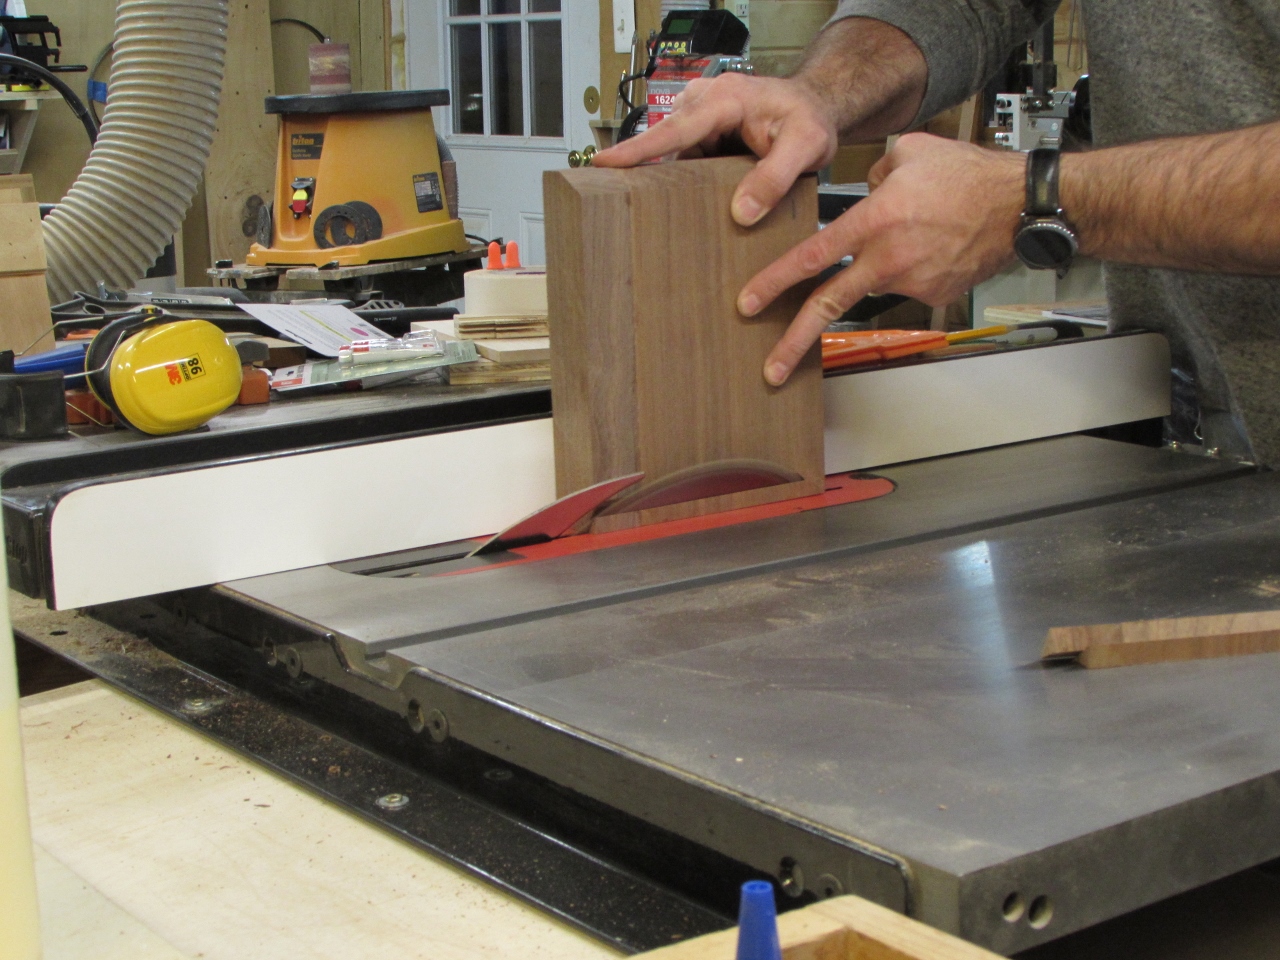
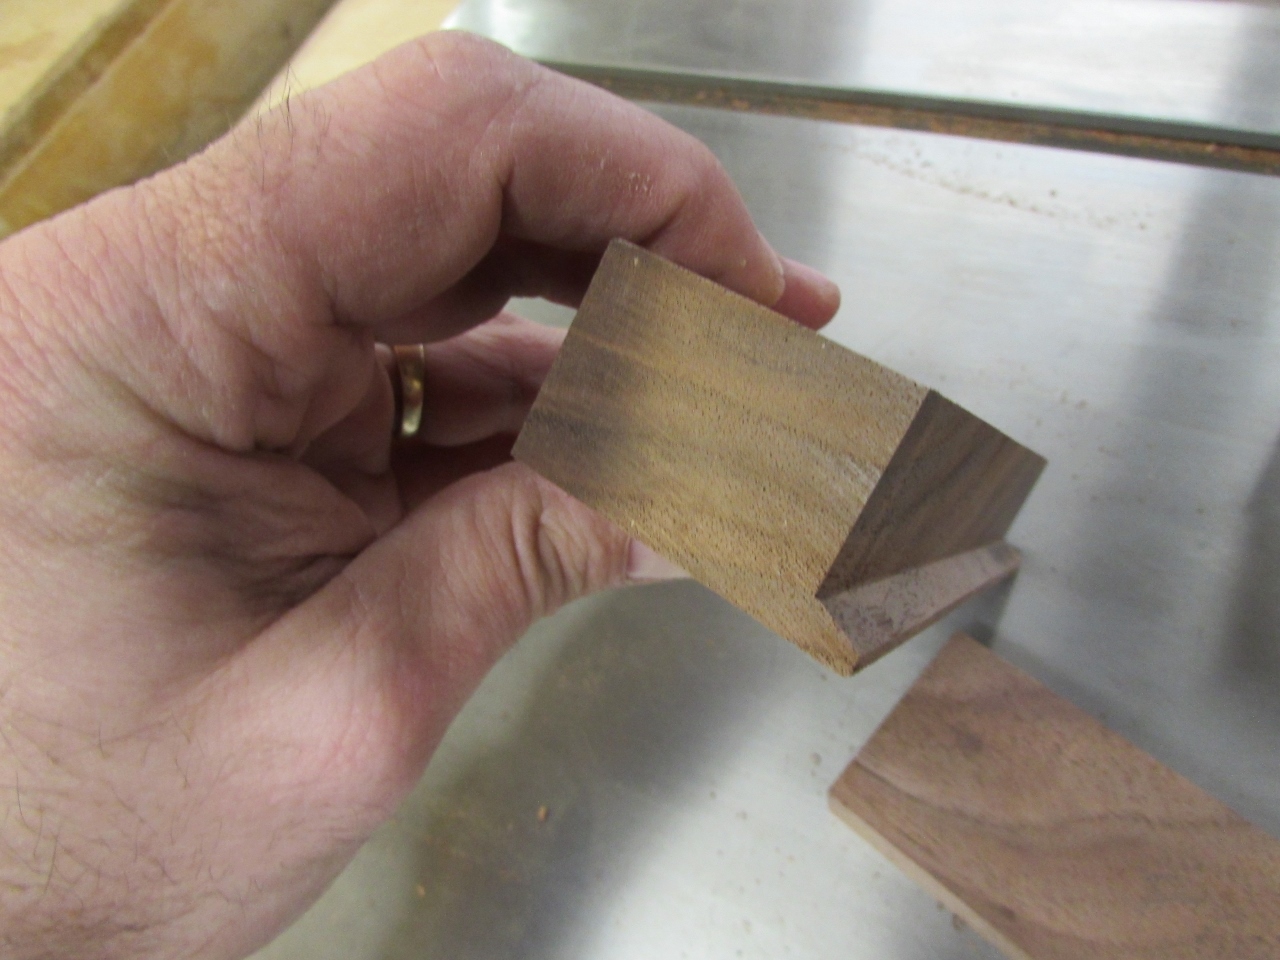
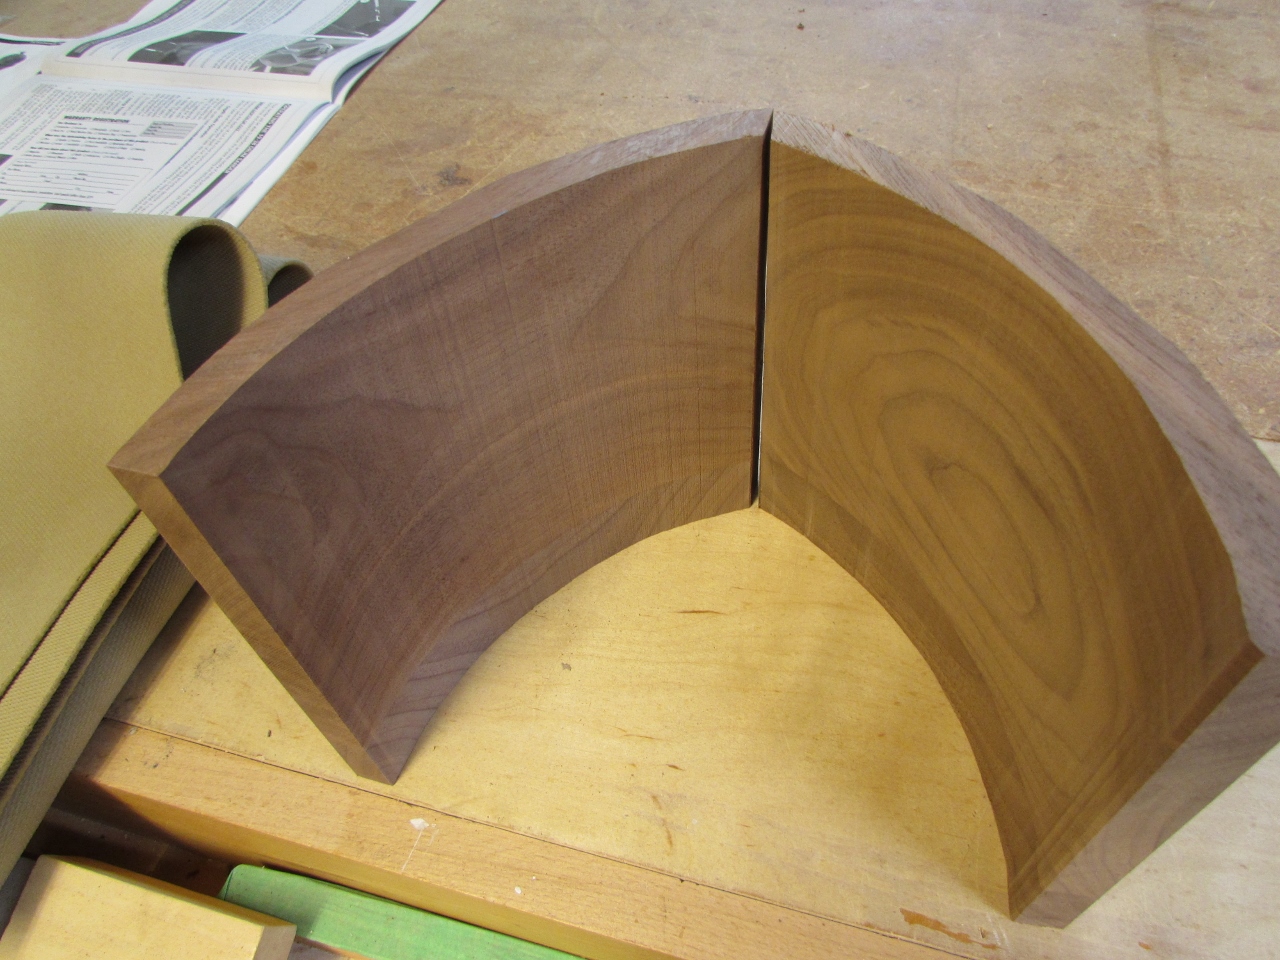
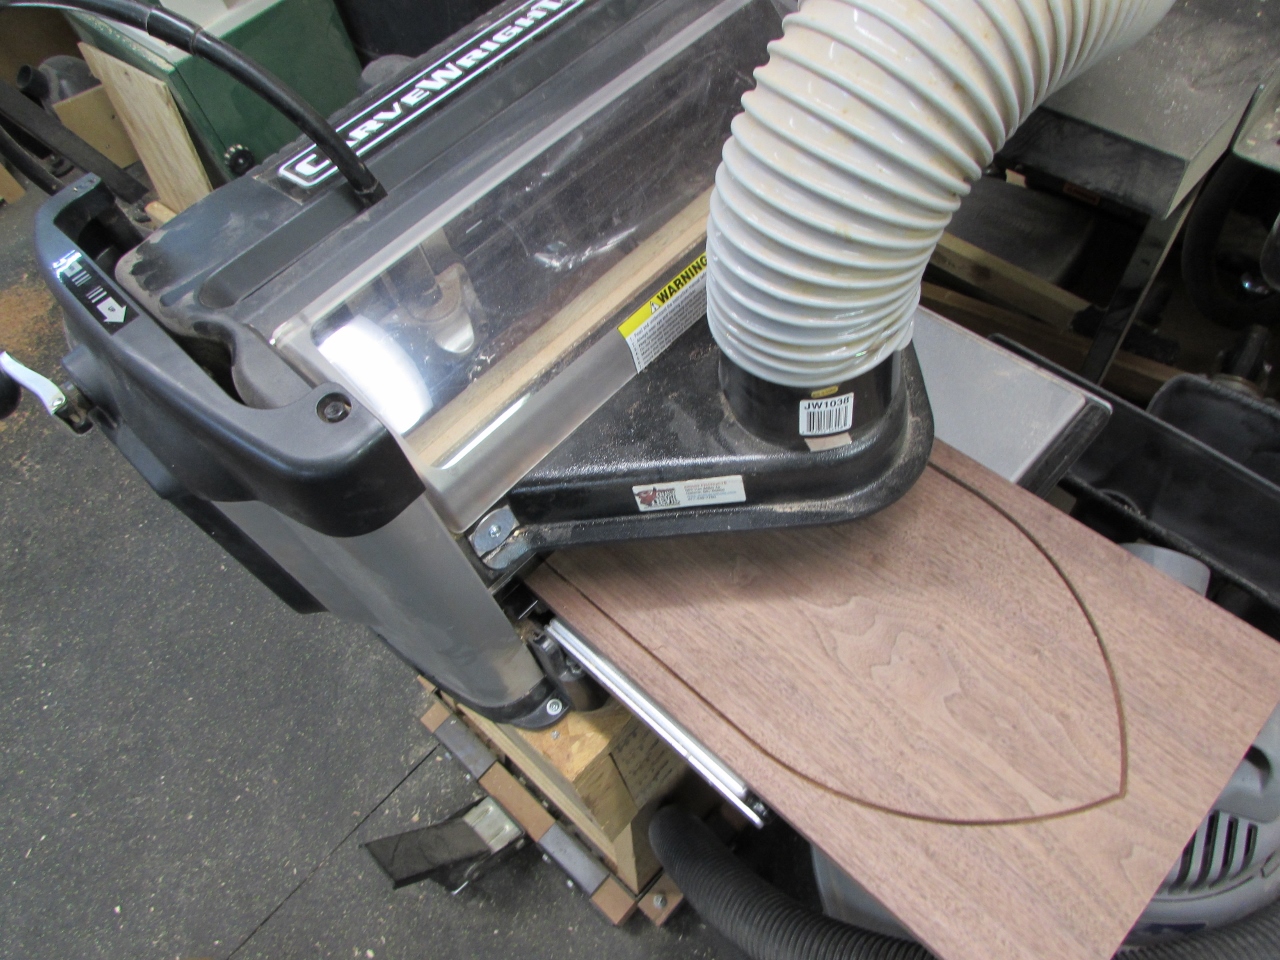
I can now trace the pattern to give me a path to cut along. That was when I remembered that drawing on walnut was useless, since it is so dark.
So I placed a piece of painter’s tape along the edge and cut the pattern out with my utility knife.
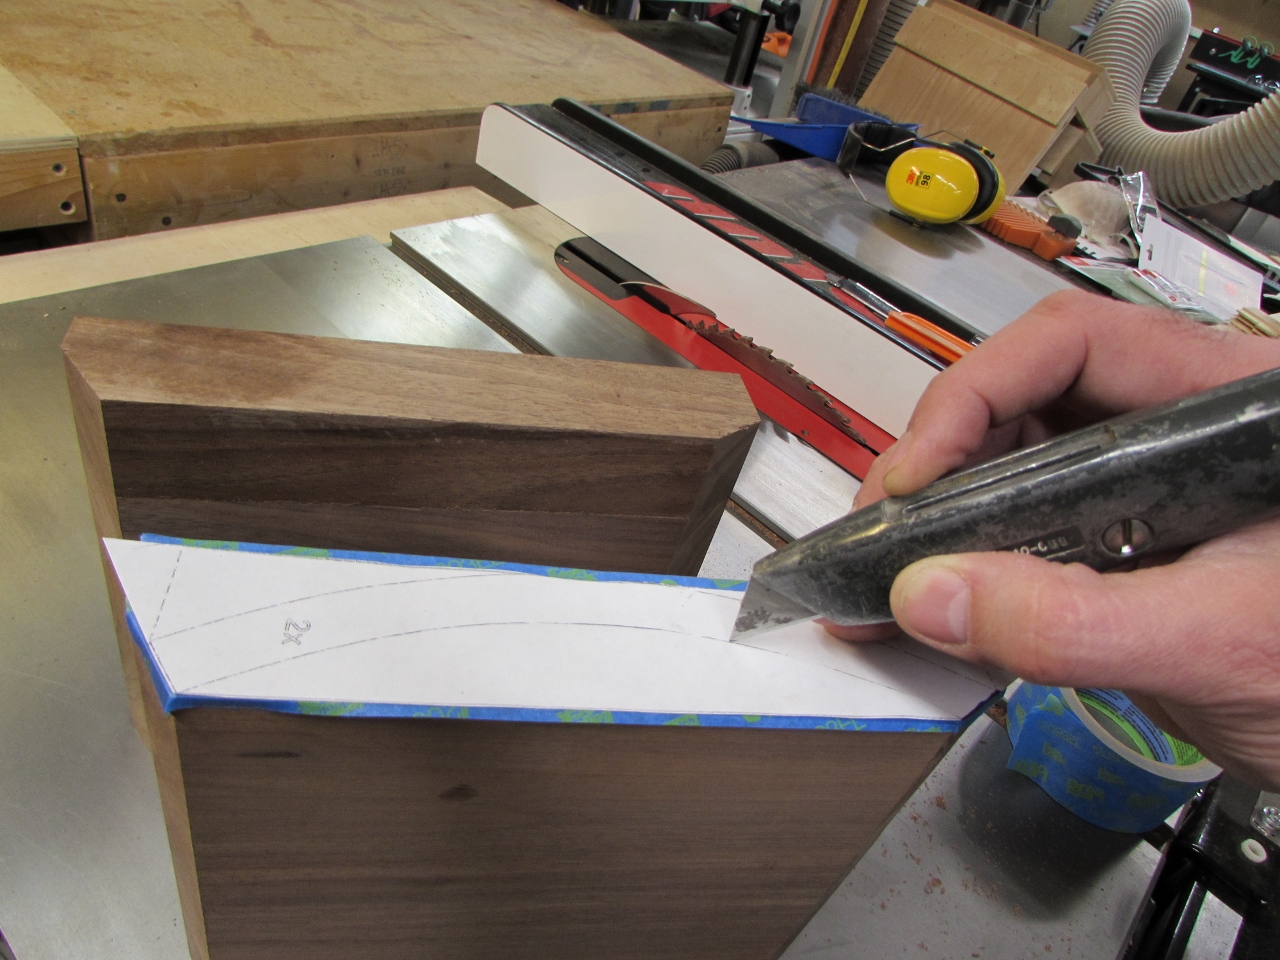
That worked out really well, and it gives me a clear path to follow.

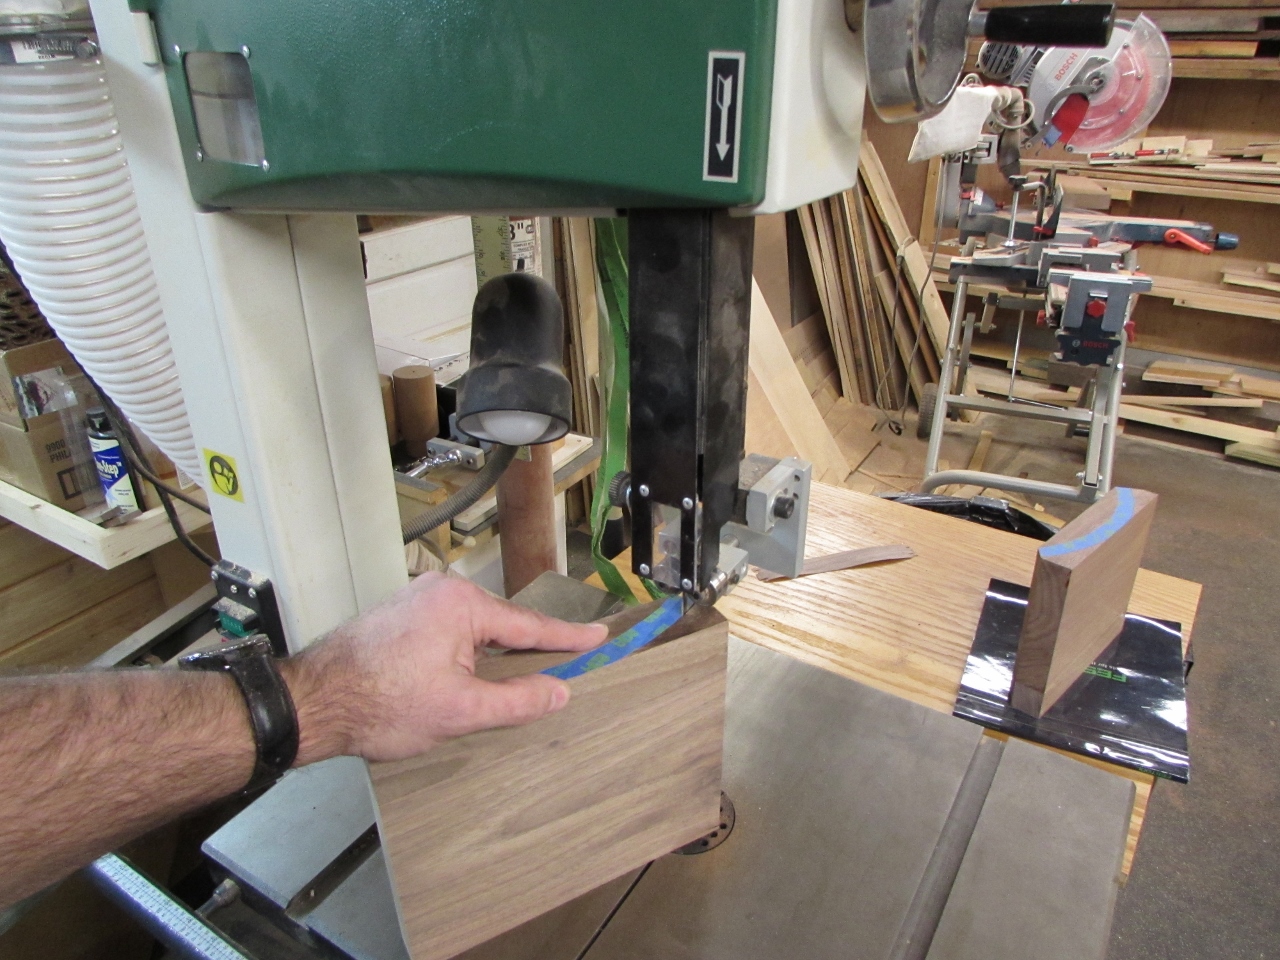
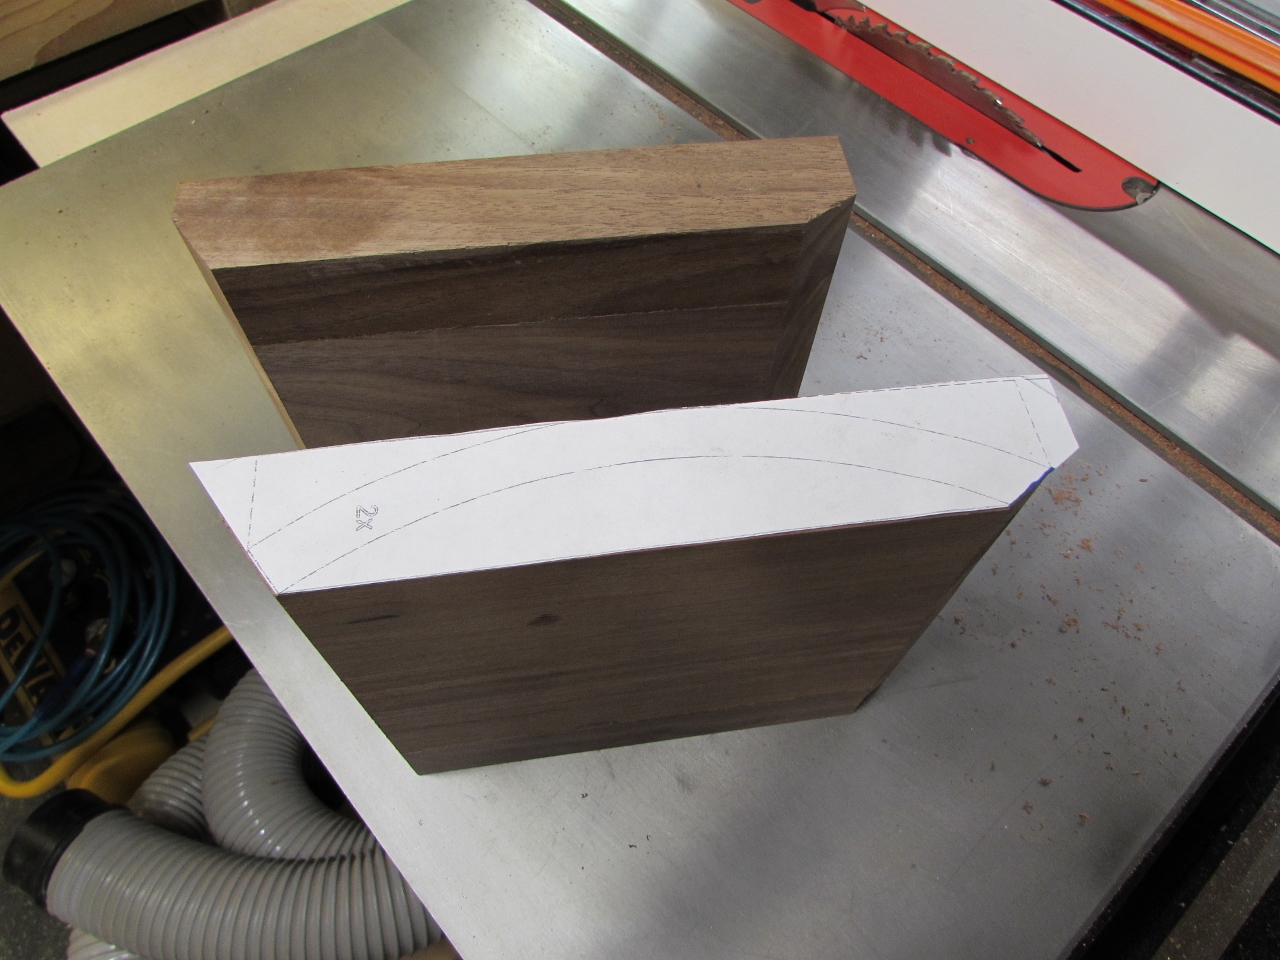
I am using a 1/4″ blade that has 4 teeth per inch. It seems to cut well through the 7″ of walnut, as long as I take my time.


Not the prettiest surface left behind, but it did cut well.
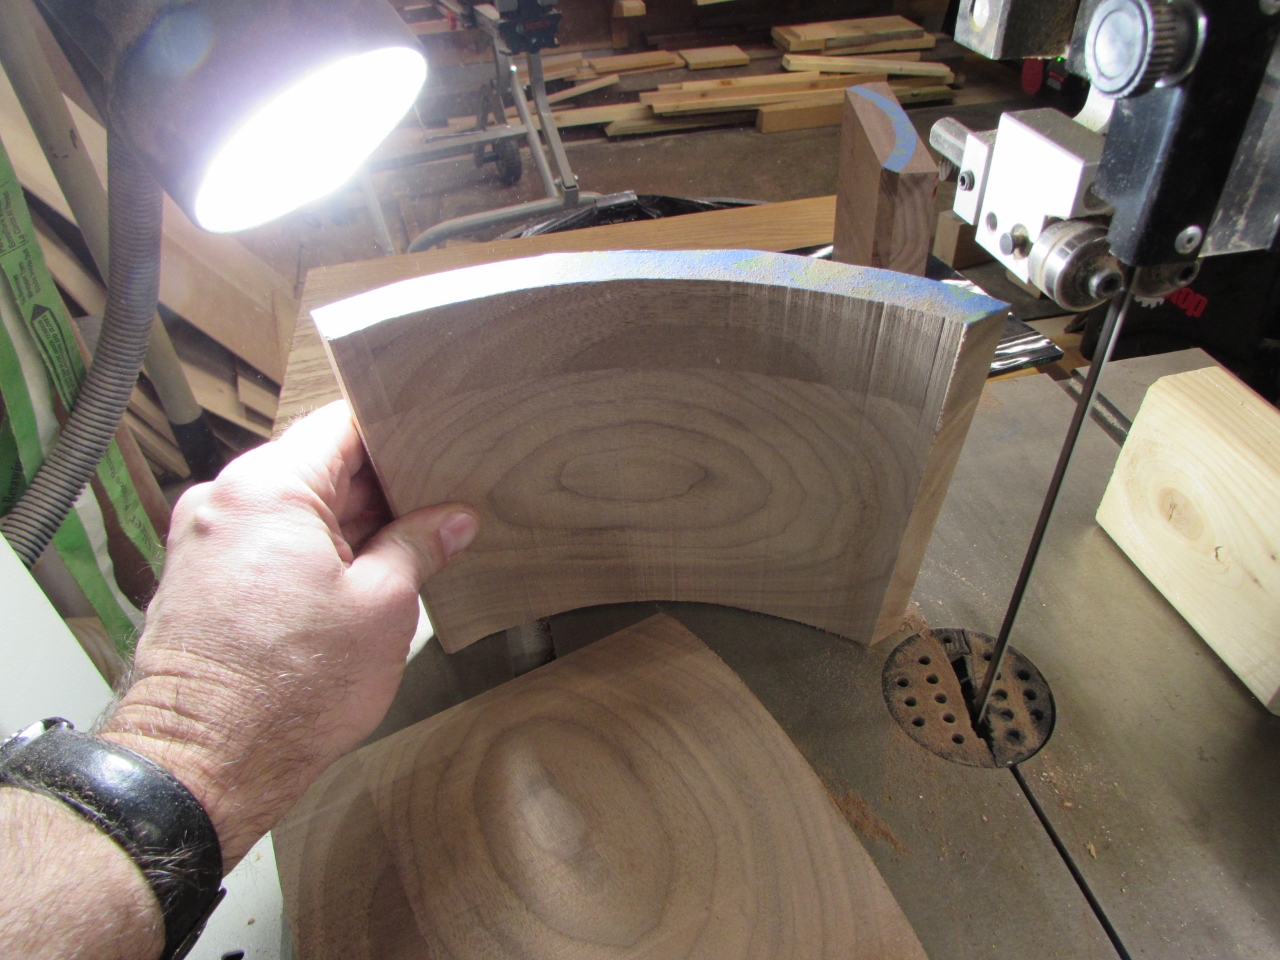
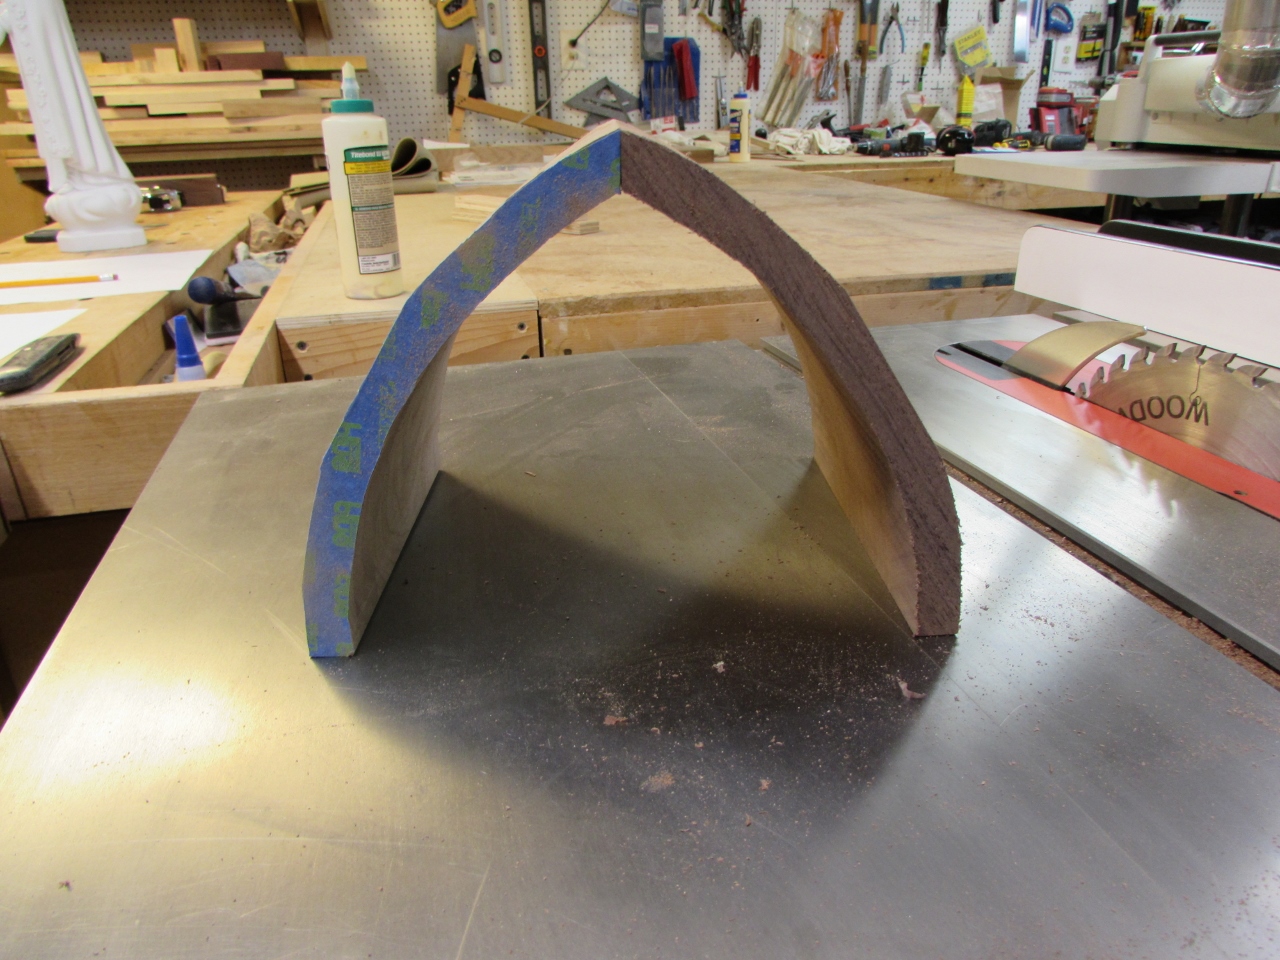
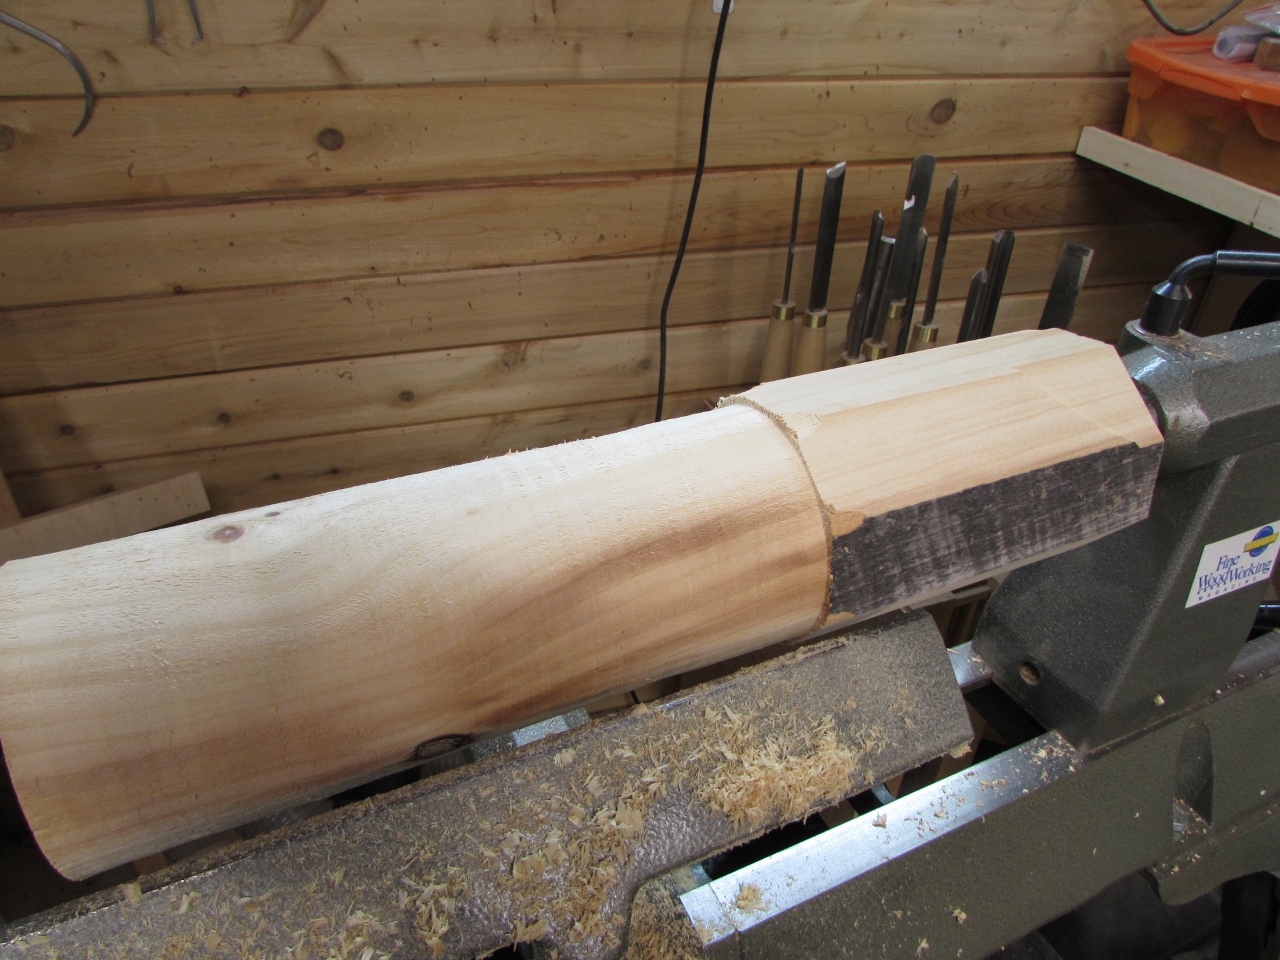
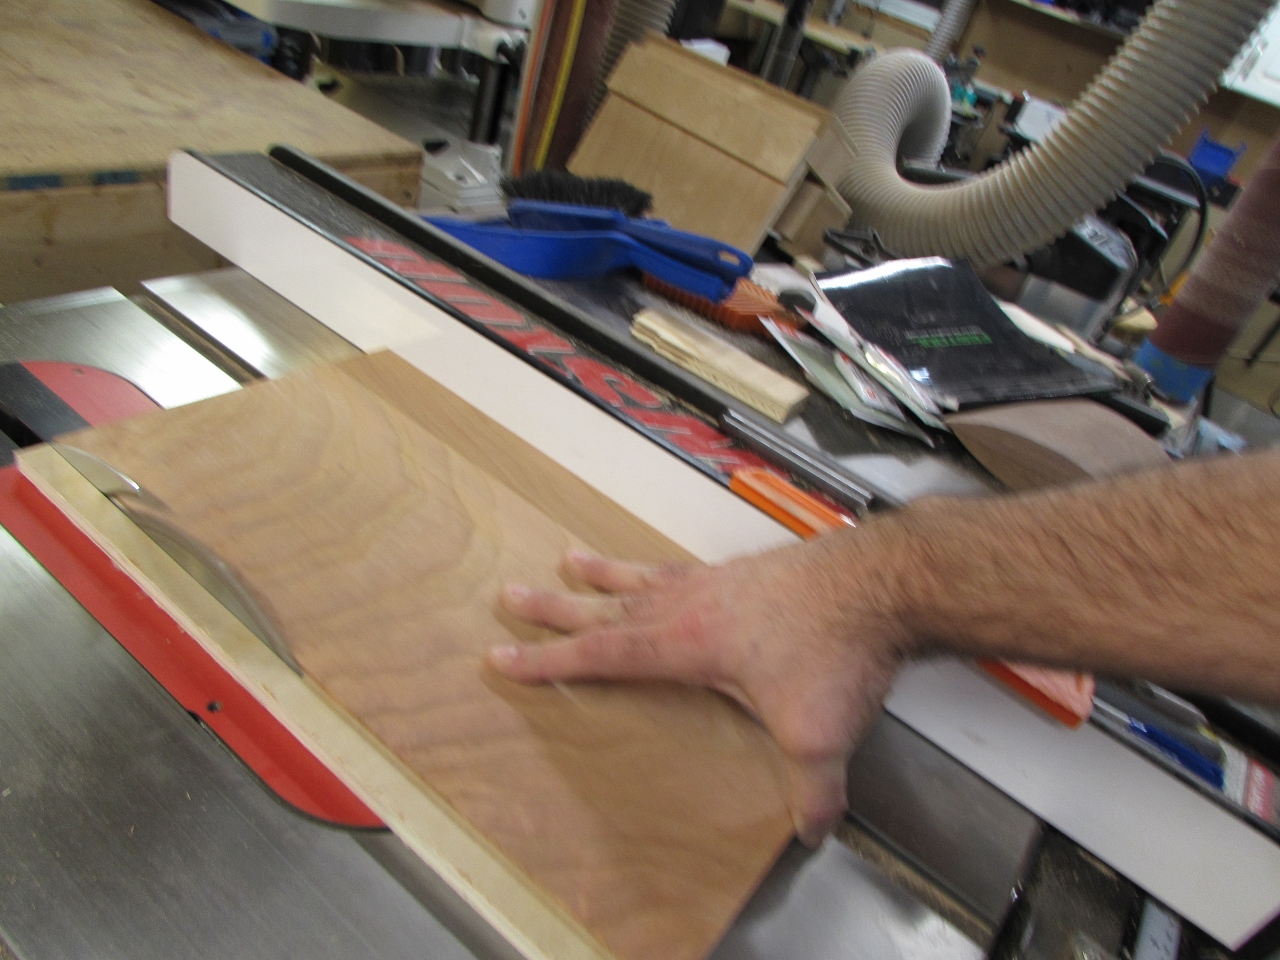
Unfortunately, there are some flat spots in the middle of the outside curves. I needed a slightly thicker piece of wood. Oh well, I should be able to blend that out with sanding. Sanding the inside curve will require some ingenuity, more on that in a bit.

Bouncing back to the statue base, I cut the matched profile, onto the ends of the side pieces, in order to butt them into the back piece.
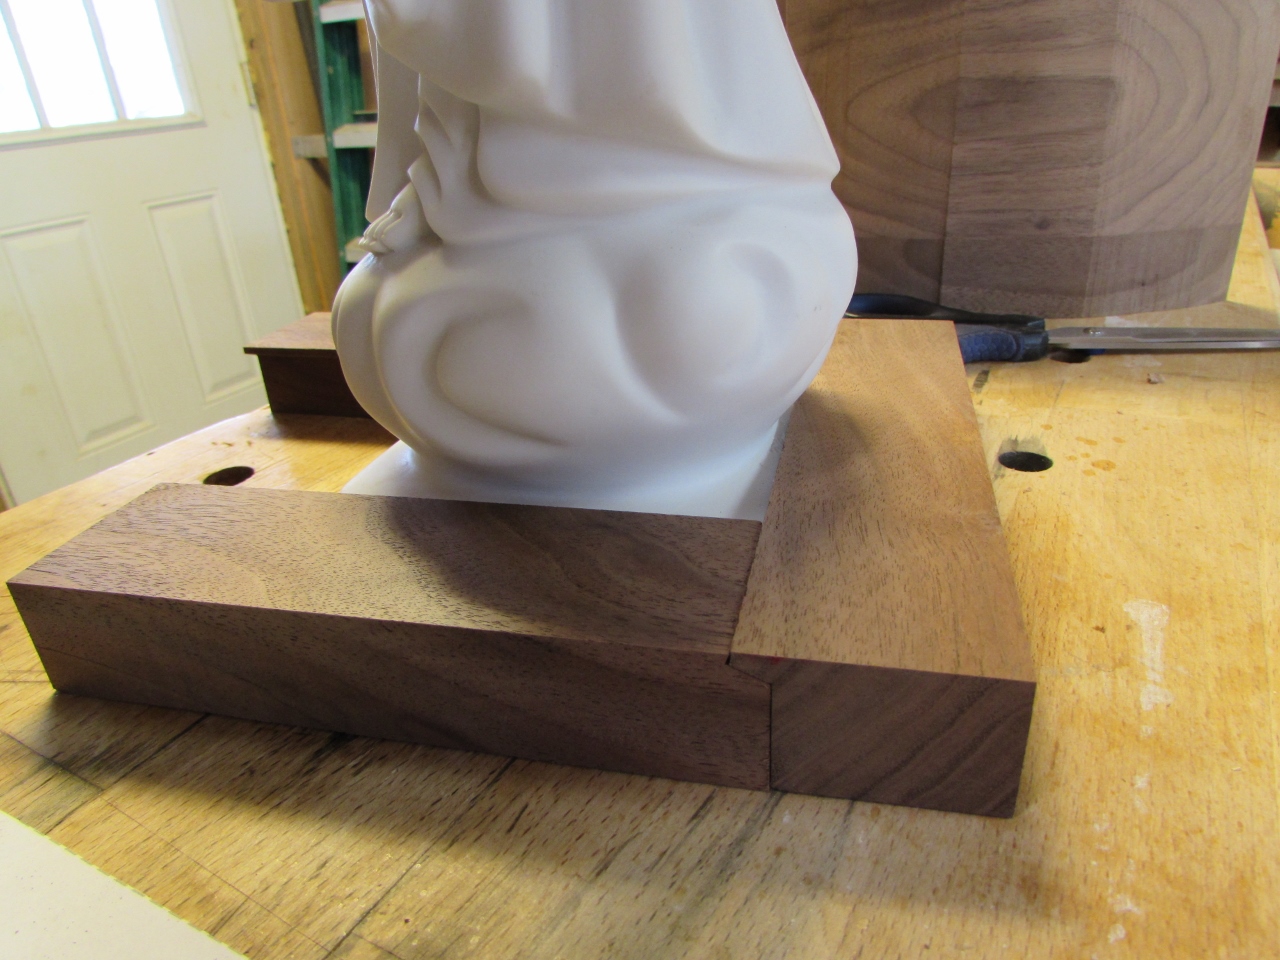
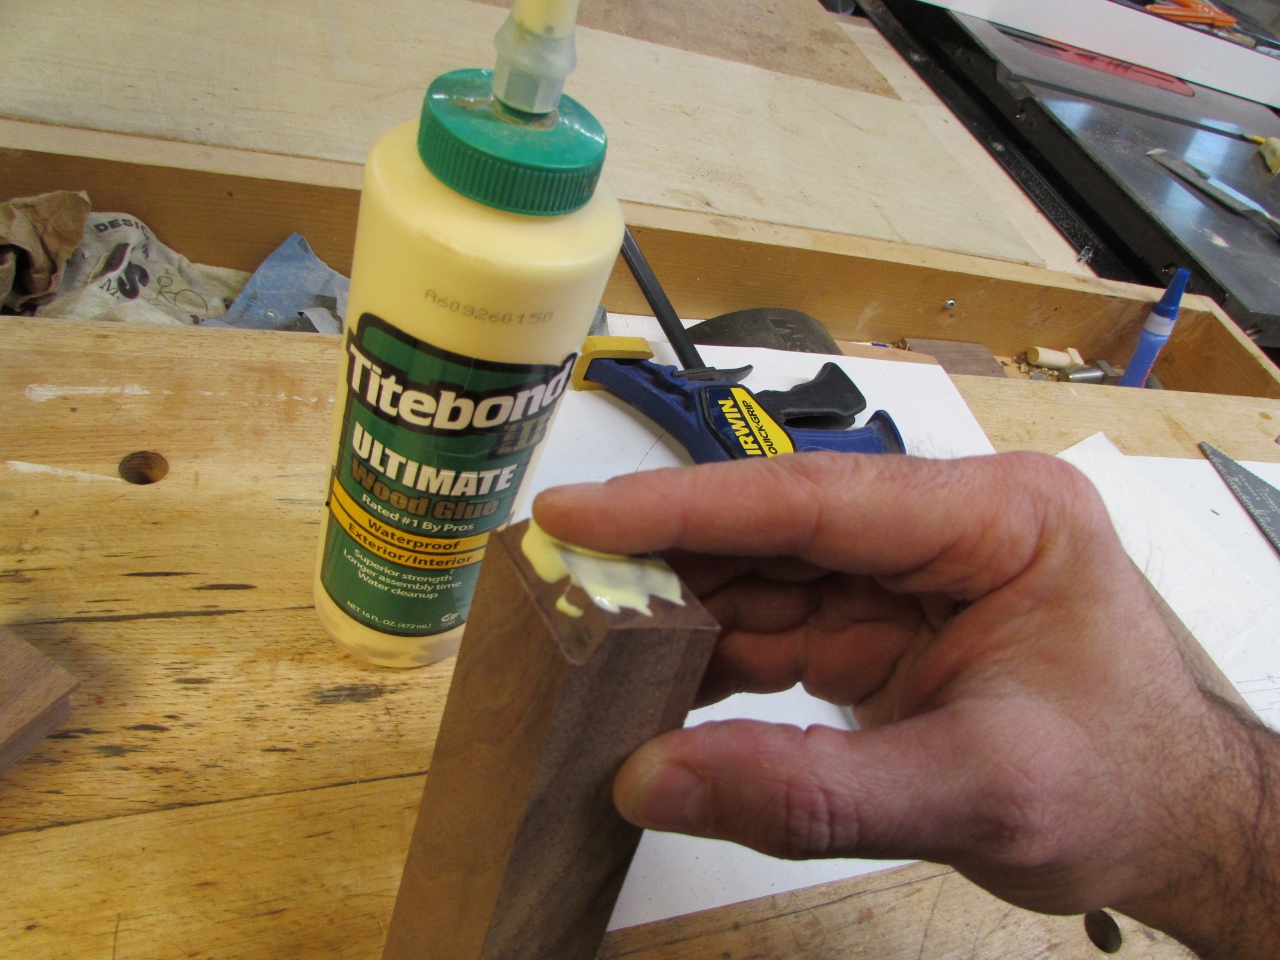
I applied some glue and clamped up the back and sides.


I let them dry, then put them in place to mark the front edge so that it could be cut to length.

Then the profile was added to the freshly cut ends.

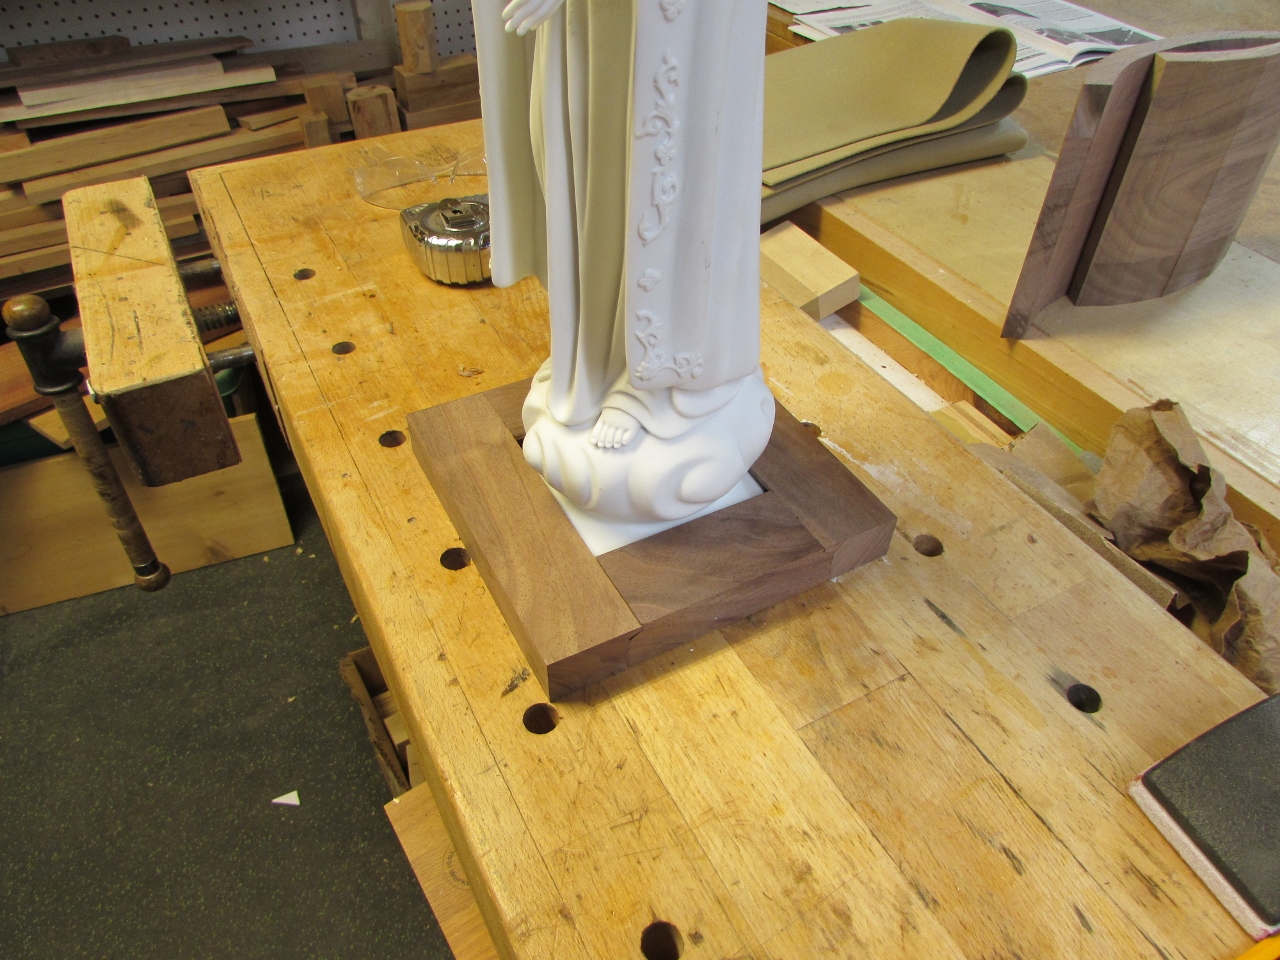
And the final piece was cut to length and set in place.
With the base retainer done for now, I can get back to sanding the top.
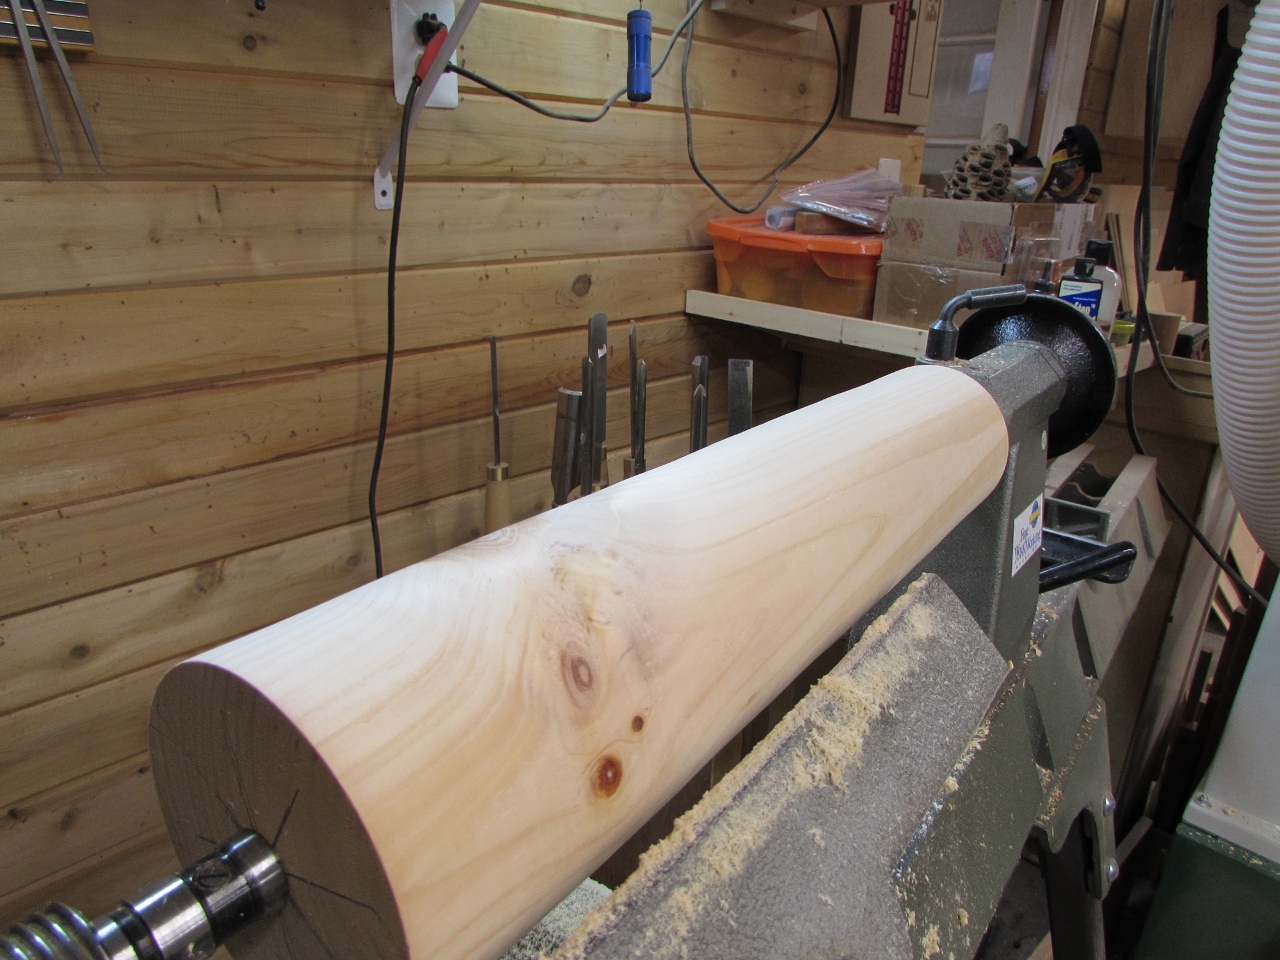
I thought long about how to sand the inside curve. I am not really equipped for this, unless I want to hand sand it. Then I was inspired by my new drum sander. It has a long strip of sandpaper wrapped around a large cylinder. I thought maybe I could recreate this somehow, on my lathe.
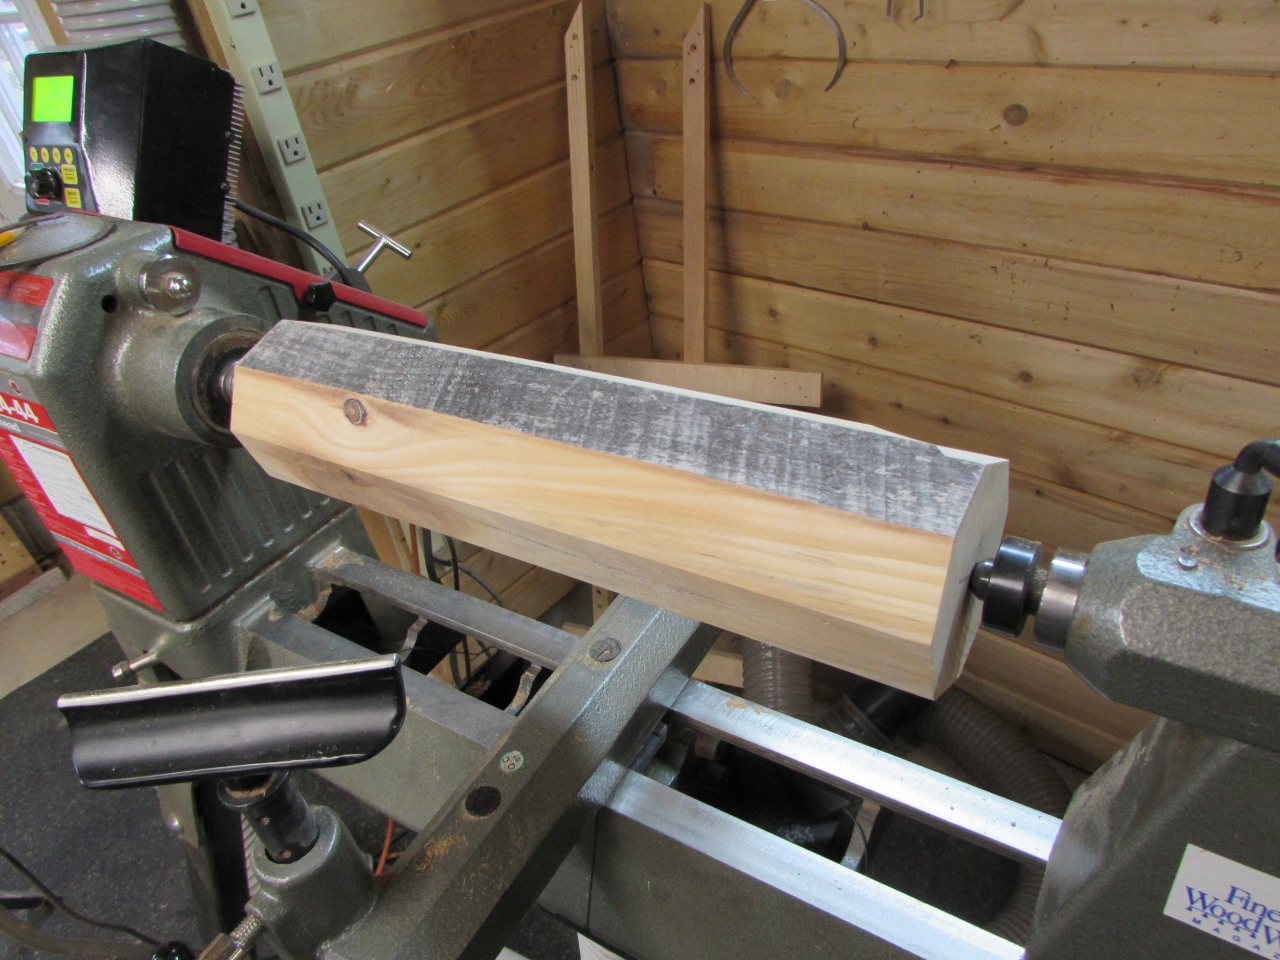
I have a 4″ thick piece of pine that I cut down to an octagon, on the table saw.
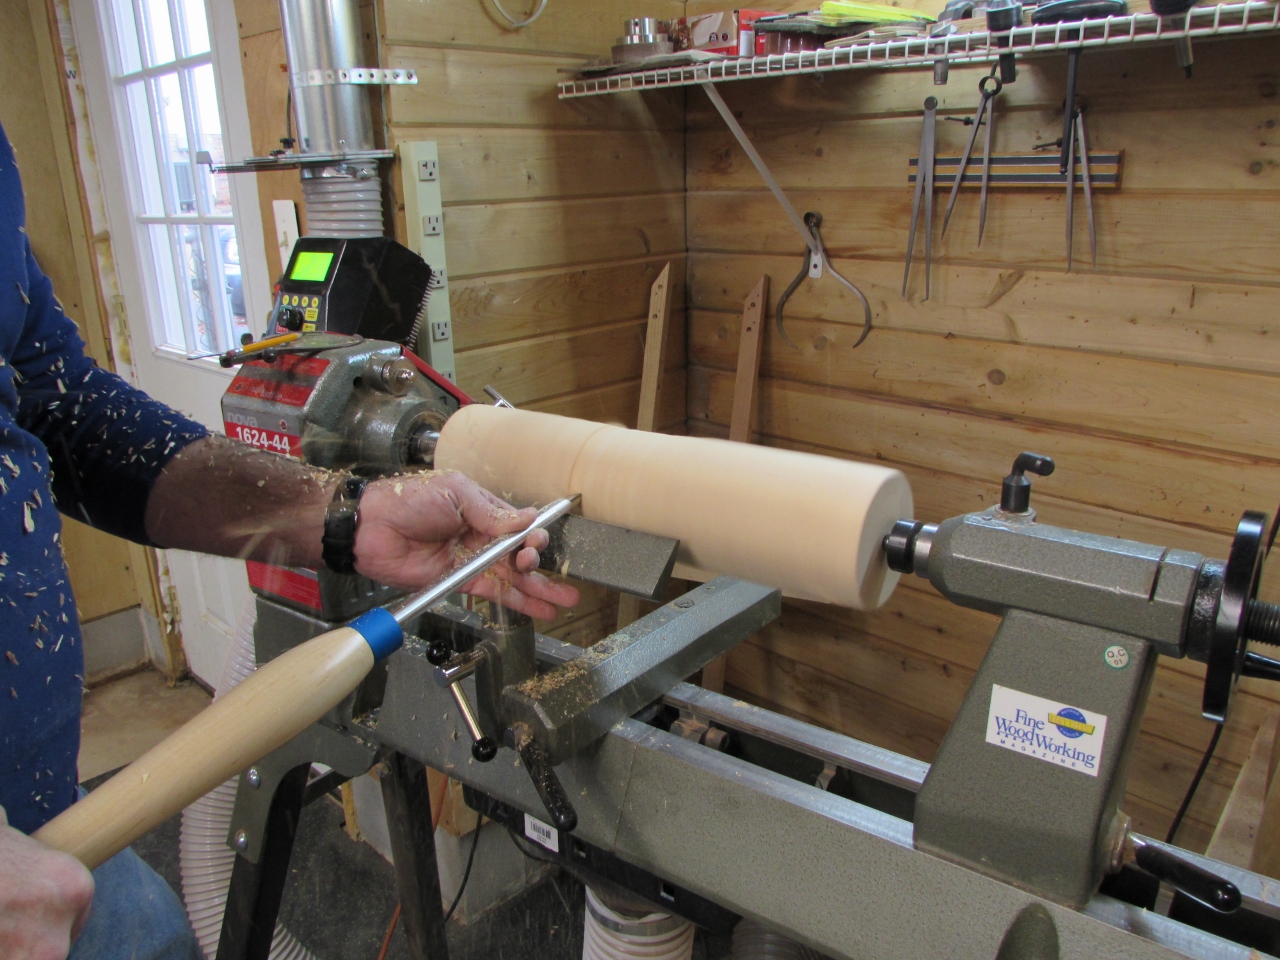
I used my carbide roughing tool to make it round.
Then I used a scraper to make it smooth.

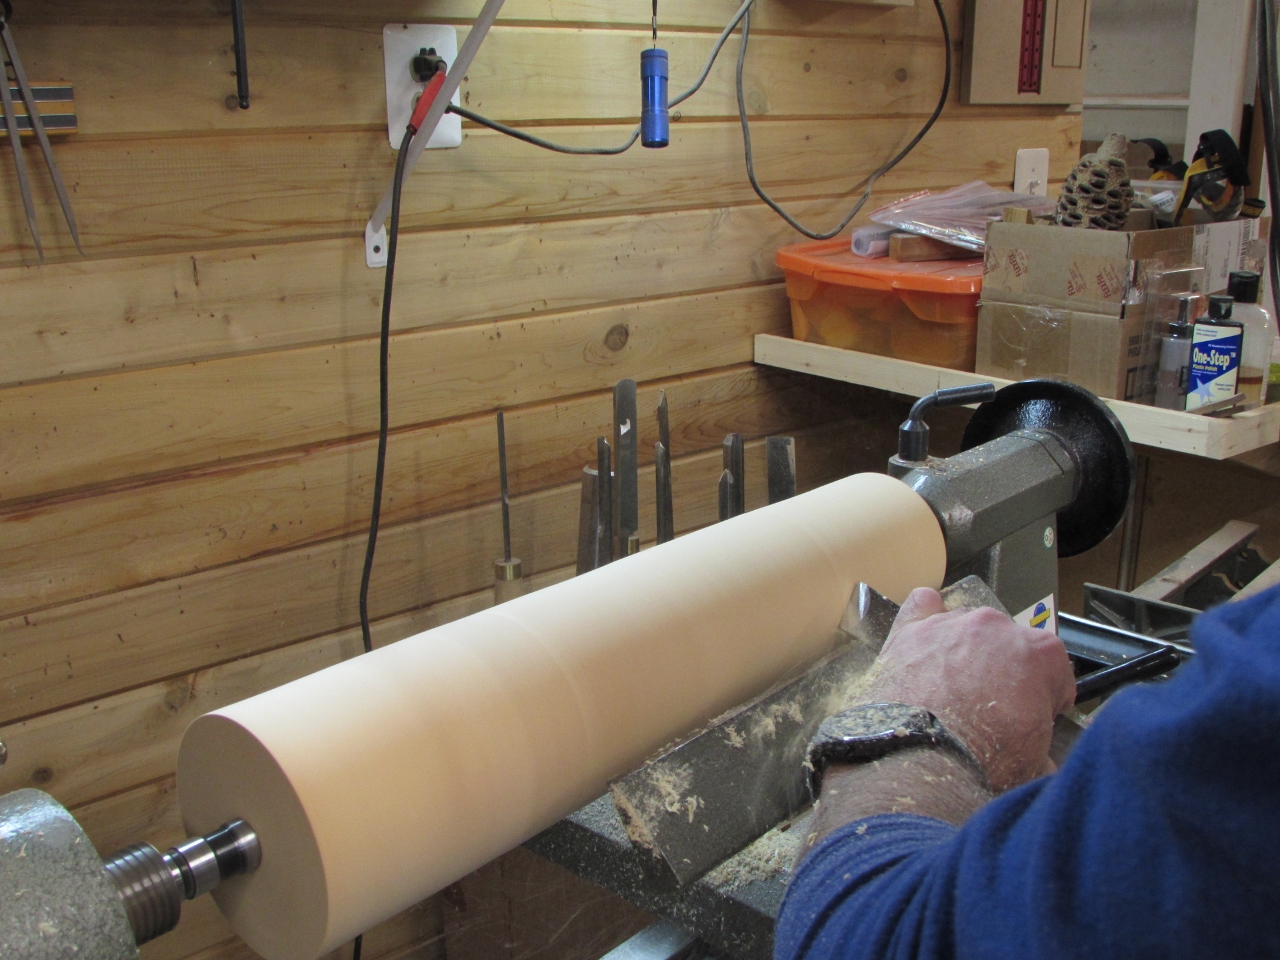
For sandpaper, I bought a bargain box of Klingspor sand paper roll off-cuts. Awesome deal for high quality paper. $20 for 10 pounds of their end of roll off-cuts. They seem to be better quality and cheaper than the paper I bought from Supermax, for my drum sander.
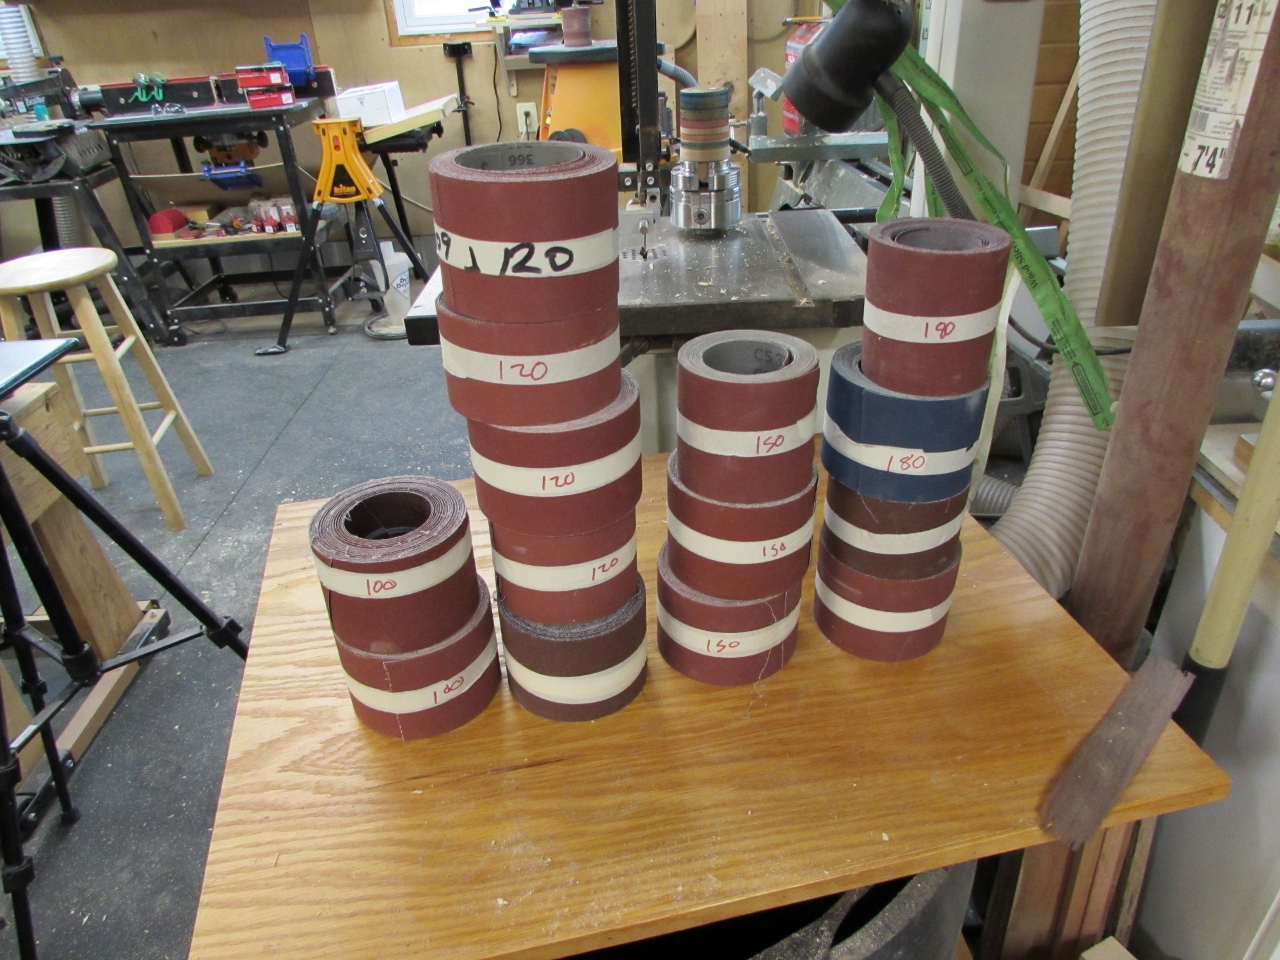
I started with a roll of 100 grit paper, double-sided taped it to one end of the roll, and wound it around.

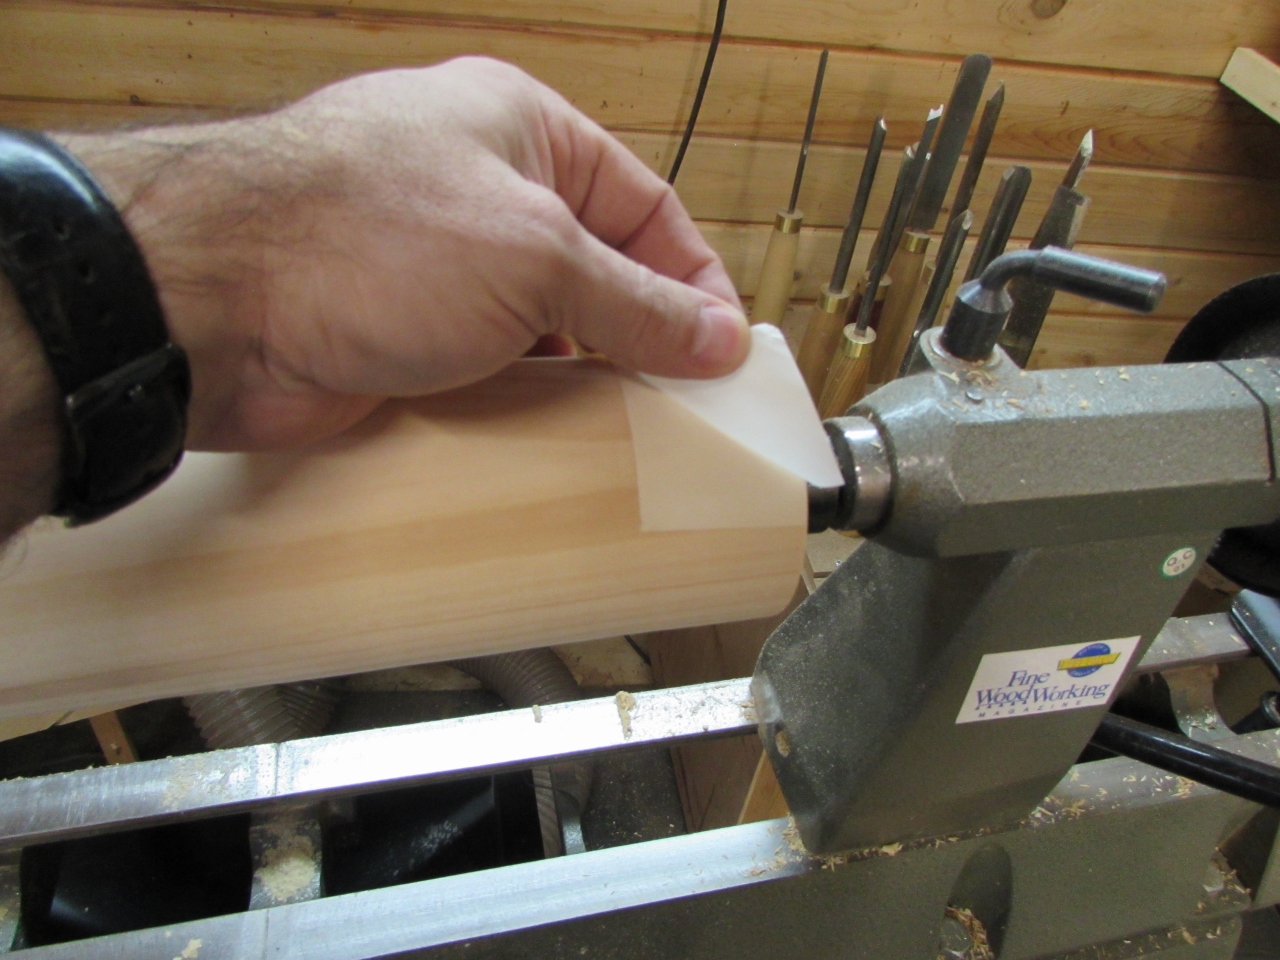
A little trimming and painter’s tape, wrapped around the ends and I had an open drum sander.

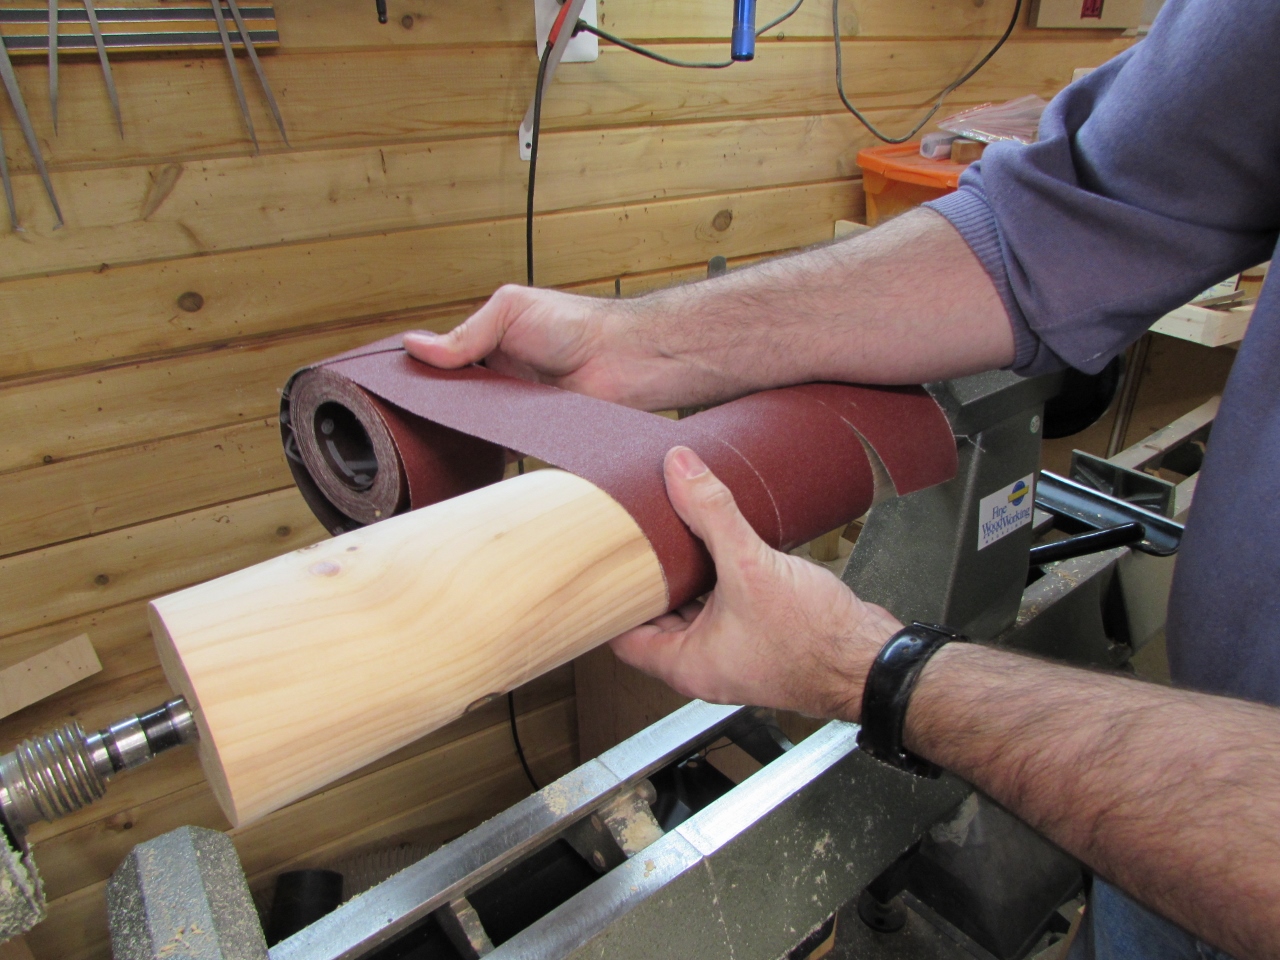
I set my lathe speed to 500 rpm’s and started sanding. It worked perfectly. I just had to be careful not to over-sand the ends and create a bevel as I pulled the wood off.
It even worked well on the outside curve.

I might have to spend some time refining this and make some recessed clips at each end to make swapping out paper easy.


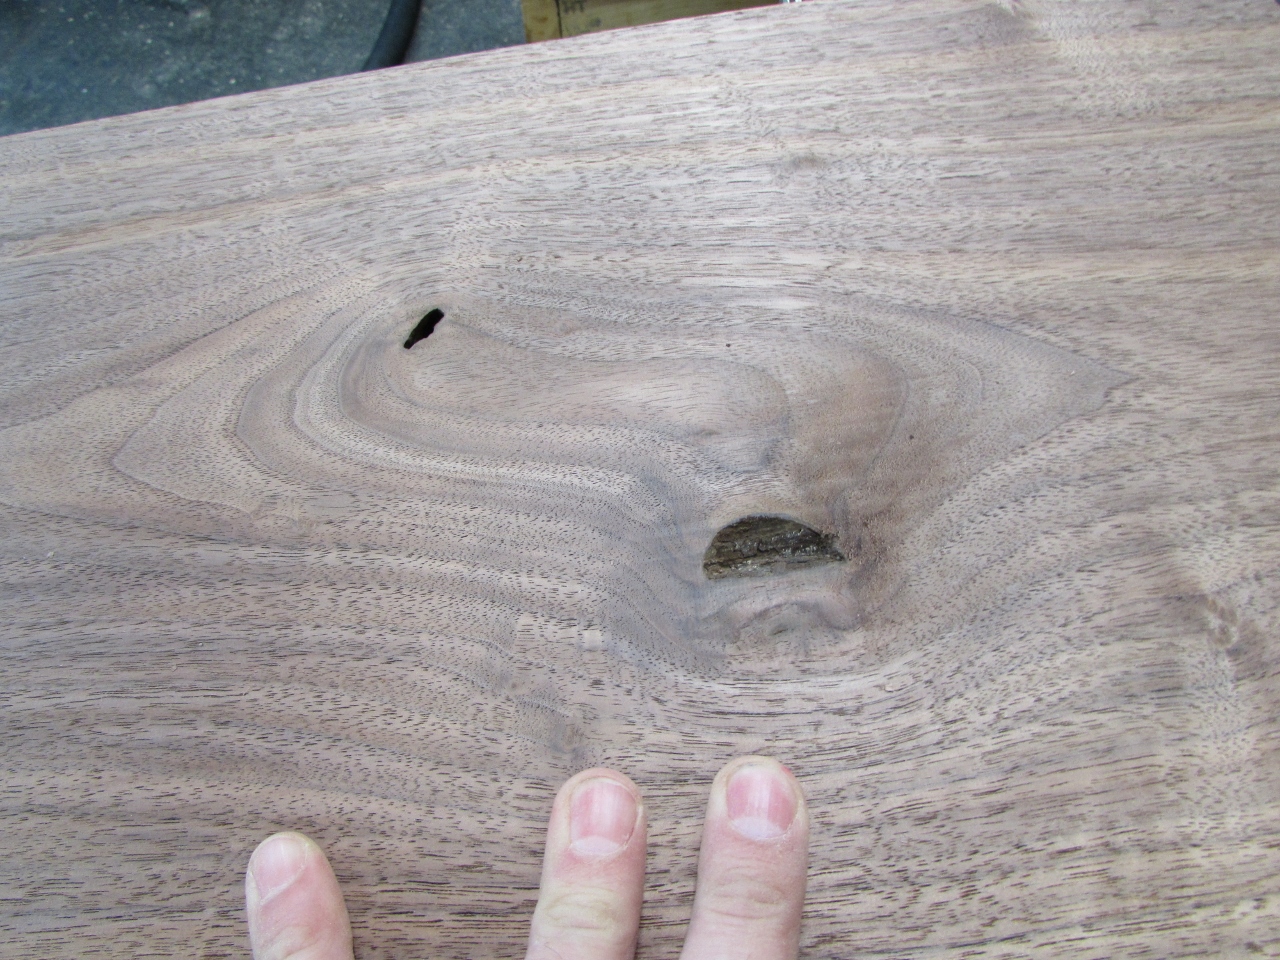
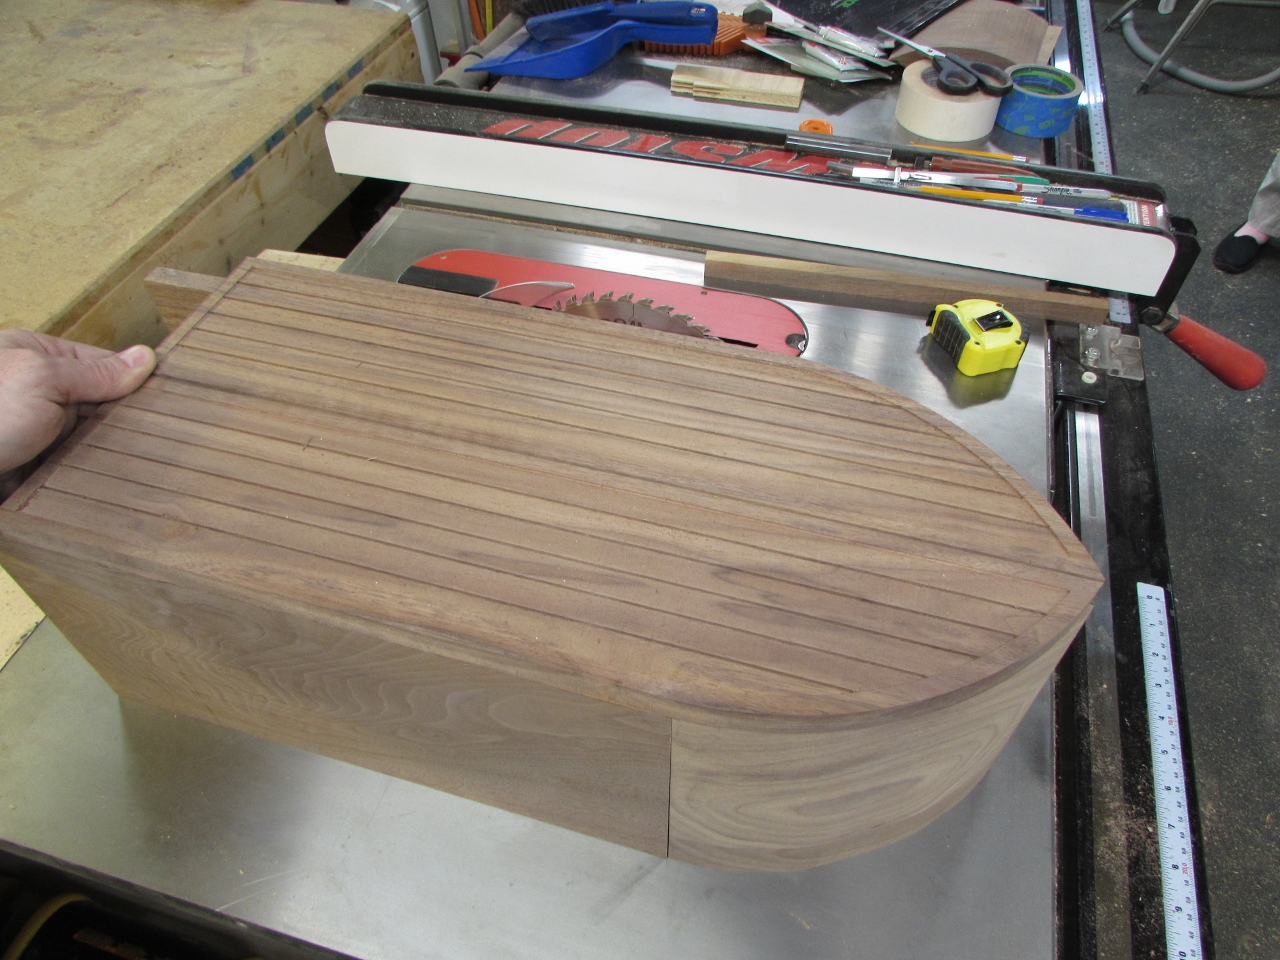
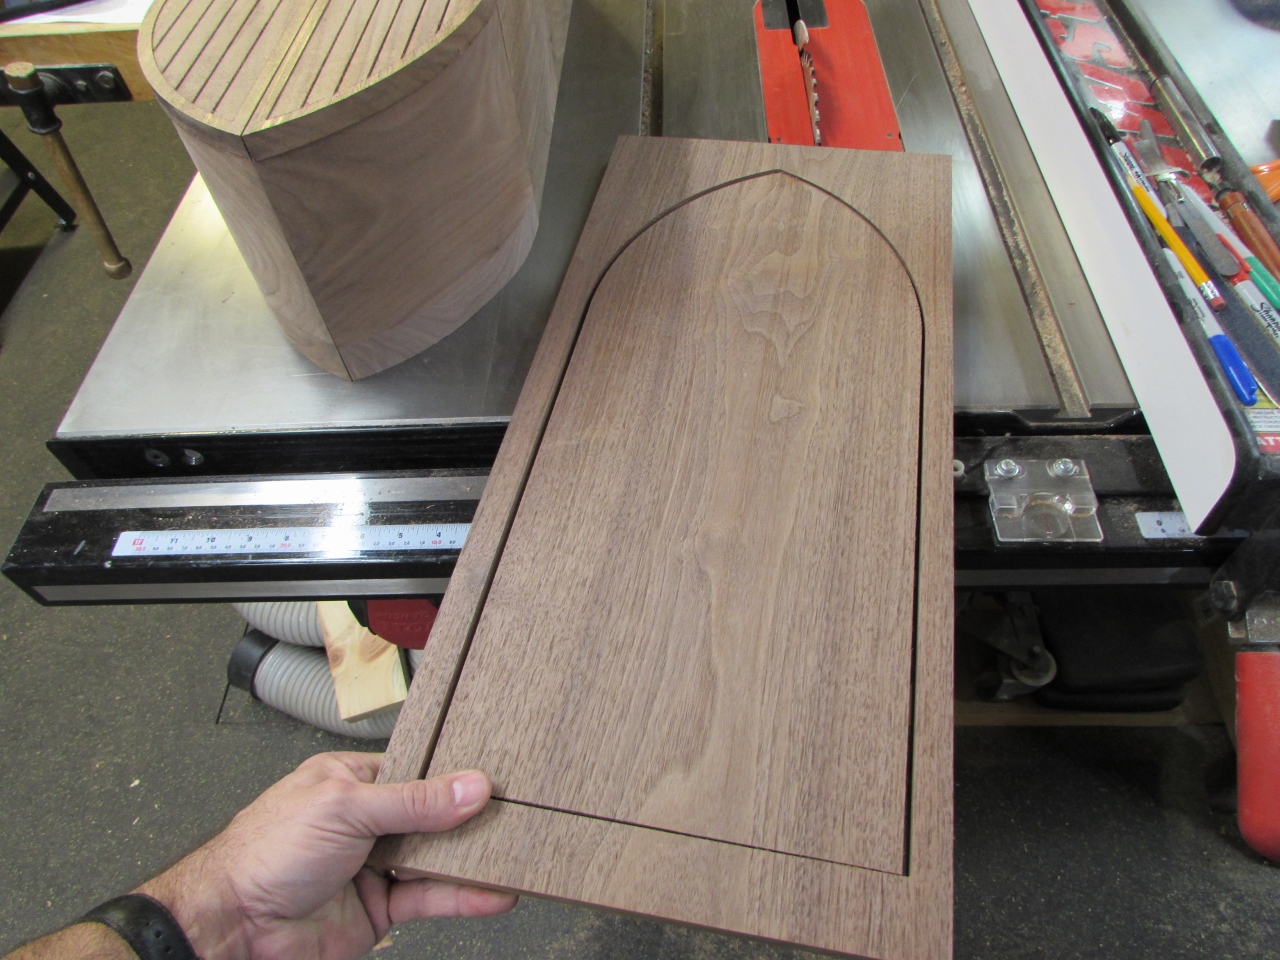
While I was working on those curvy pieces, I also had my CNC running, carving the doors out. I planed down a large piece of walnut, down to 5/8″ thick, and cut a blank to run in the CNC. I am amazed at the complete lack of tear-out around the knots, with my new helical head planer.
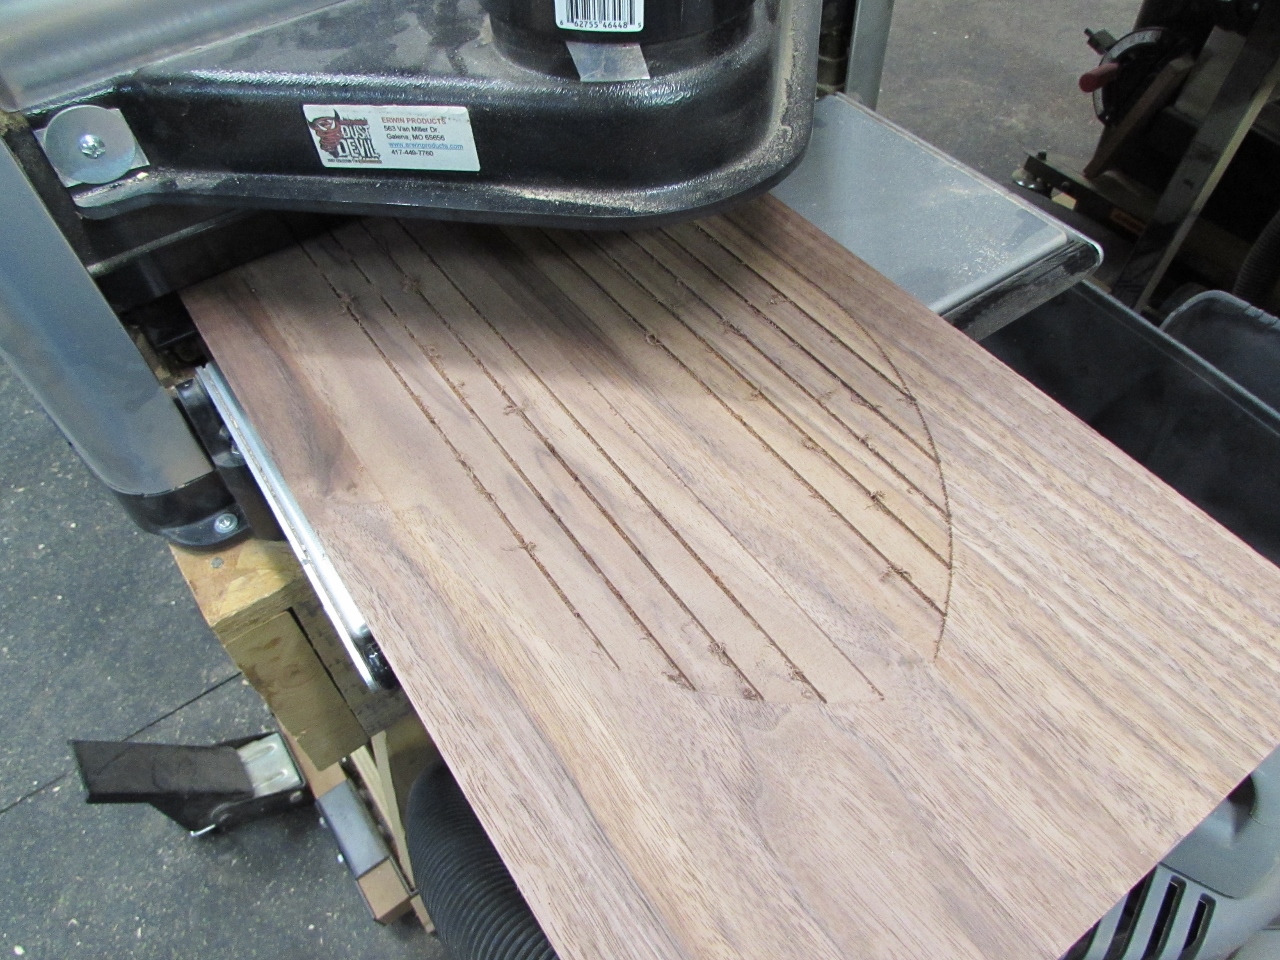
The doors could have been easily made with a band saw or even a jigsaw, but I wanted to add the effect of it being a door, made up of individual planks.
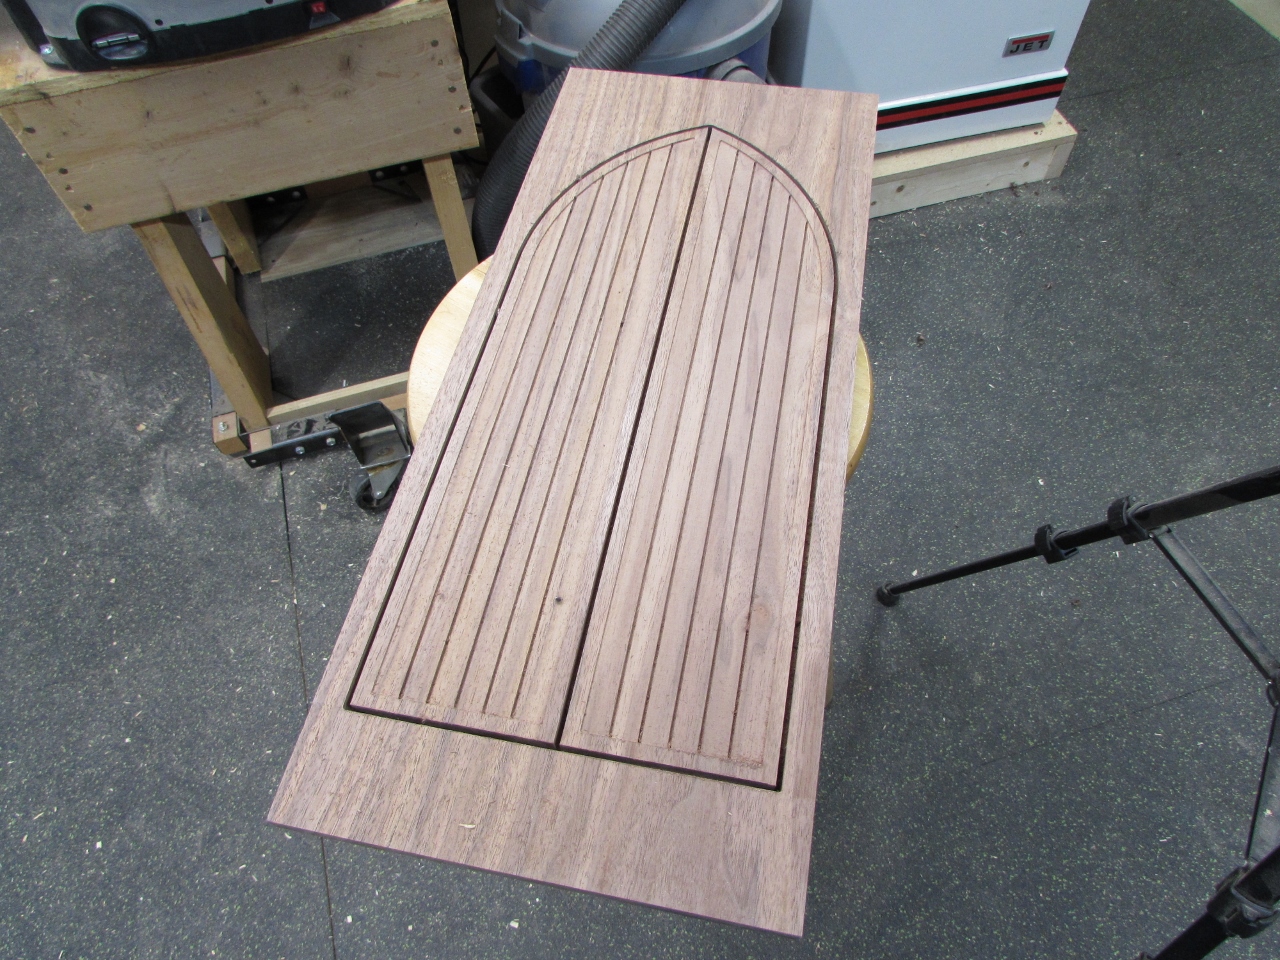
Definitely would have been faster , but I like the effect. 2-1/2 hours later, I had a set of doors…
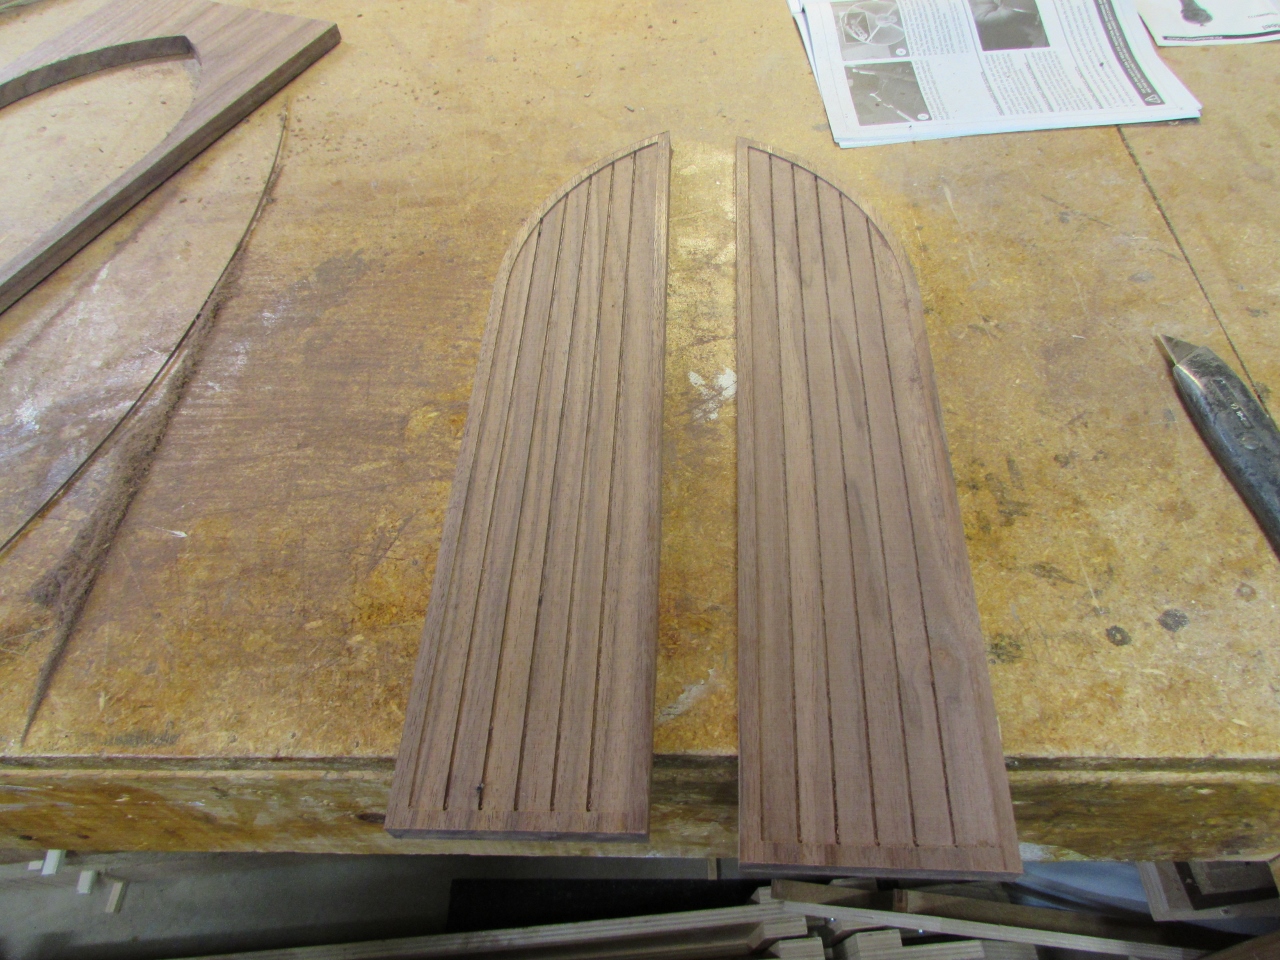
A little test fit shows that I made them just barely tall enough.
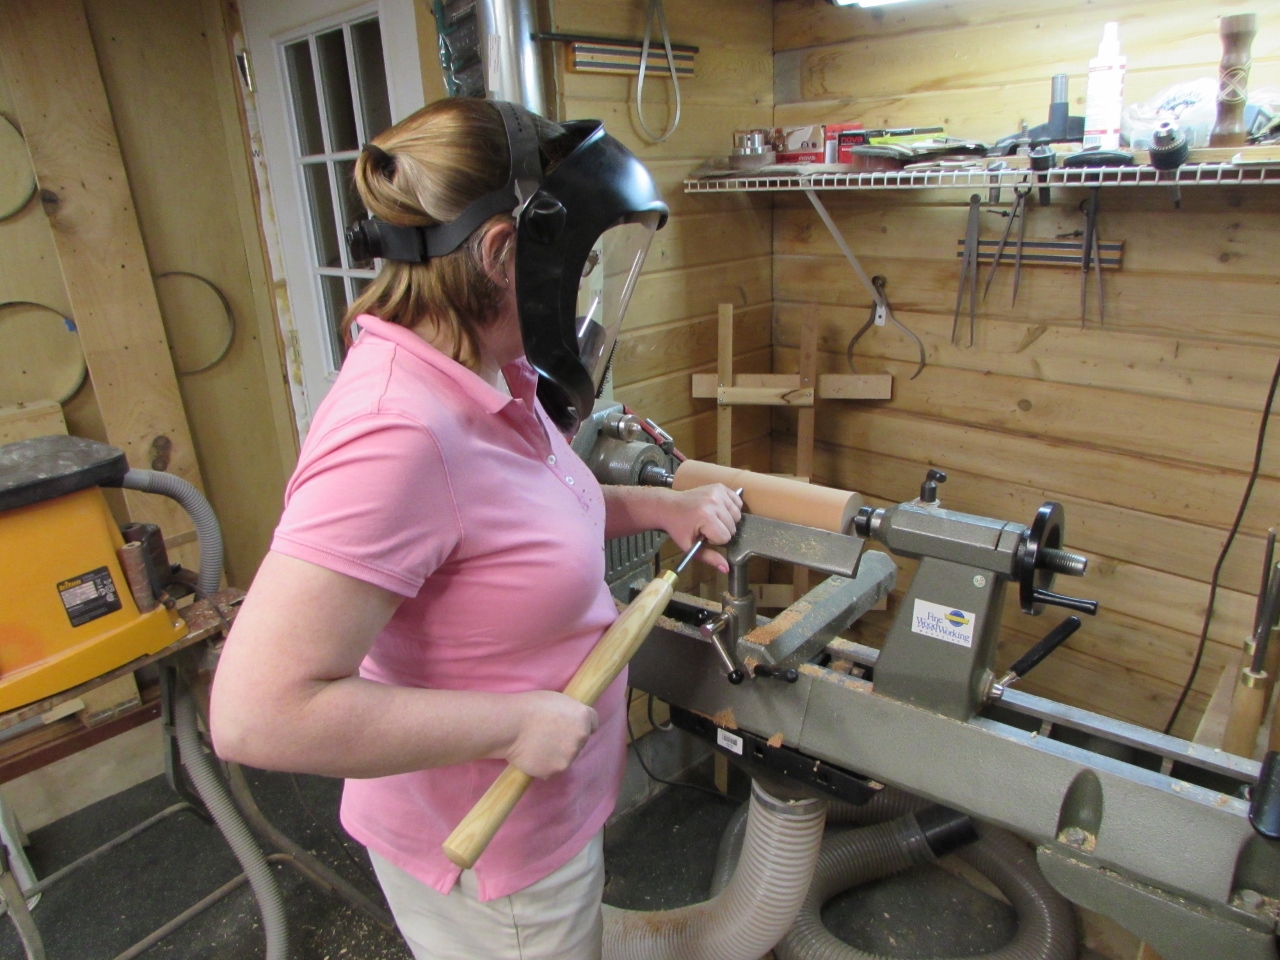
While I was working last night, my wife came down to play on the lathe. So nice to have company occasionally.
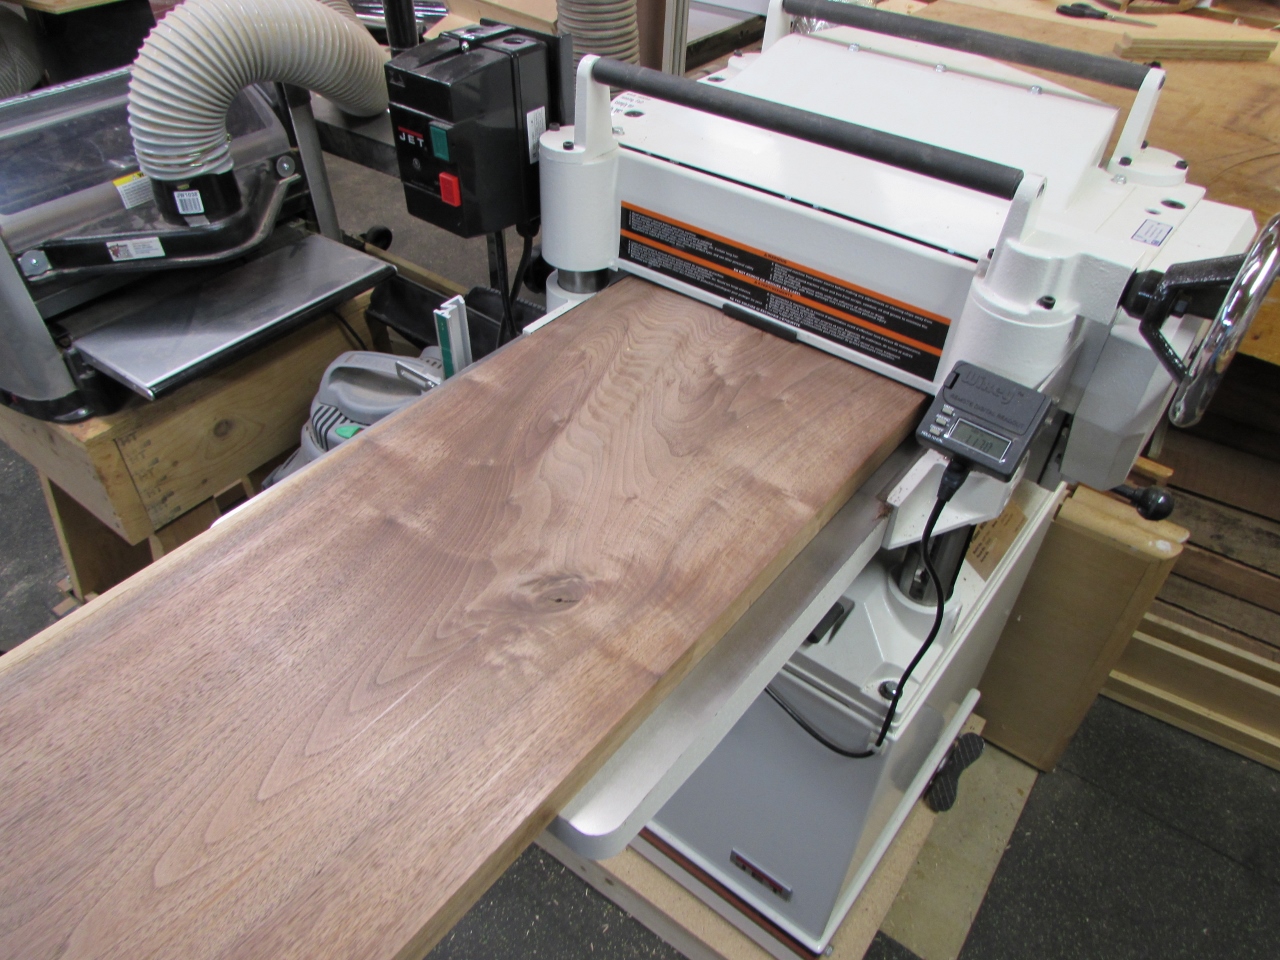

I took some time to mill down a few more pieces on the planer. From those, I got the back and sides, all 5/8″ thick, as well as a piece of cherry, that is about 1/8″ thick, to be used for the sunburst in the back of the cabinet.

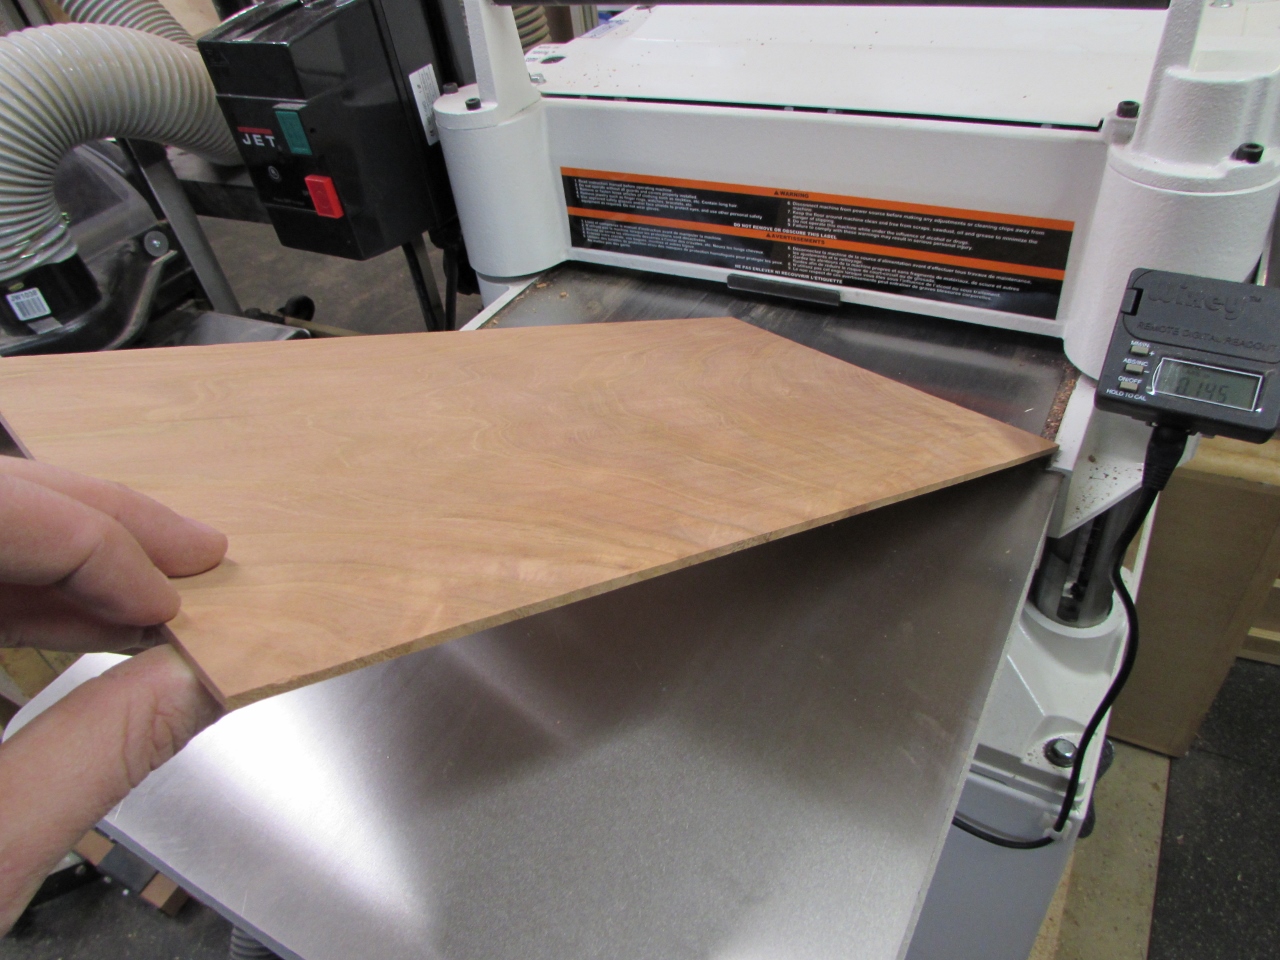
The planer worked well till it got down to about 3/16″ thin, then it started to chip and snipe the edges. Good to know its limitations.
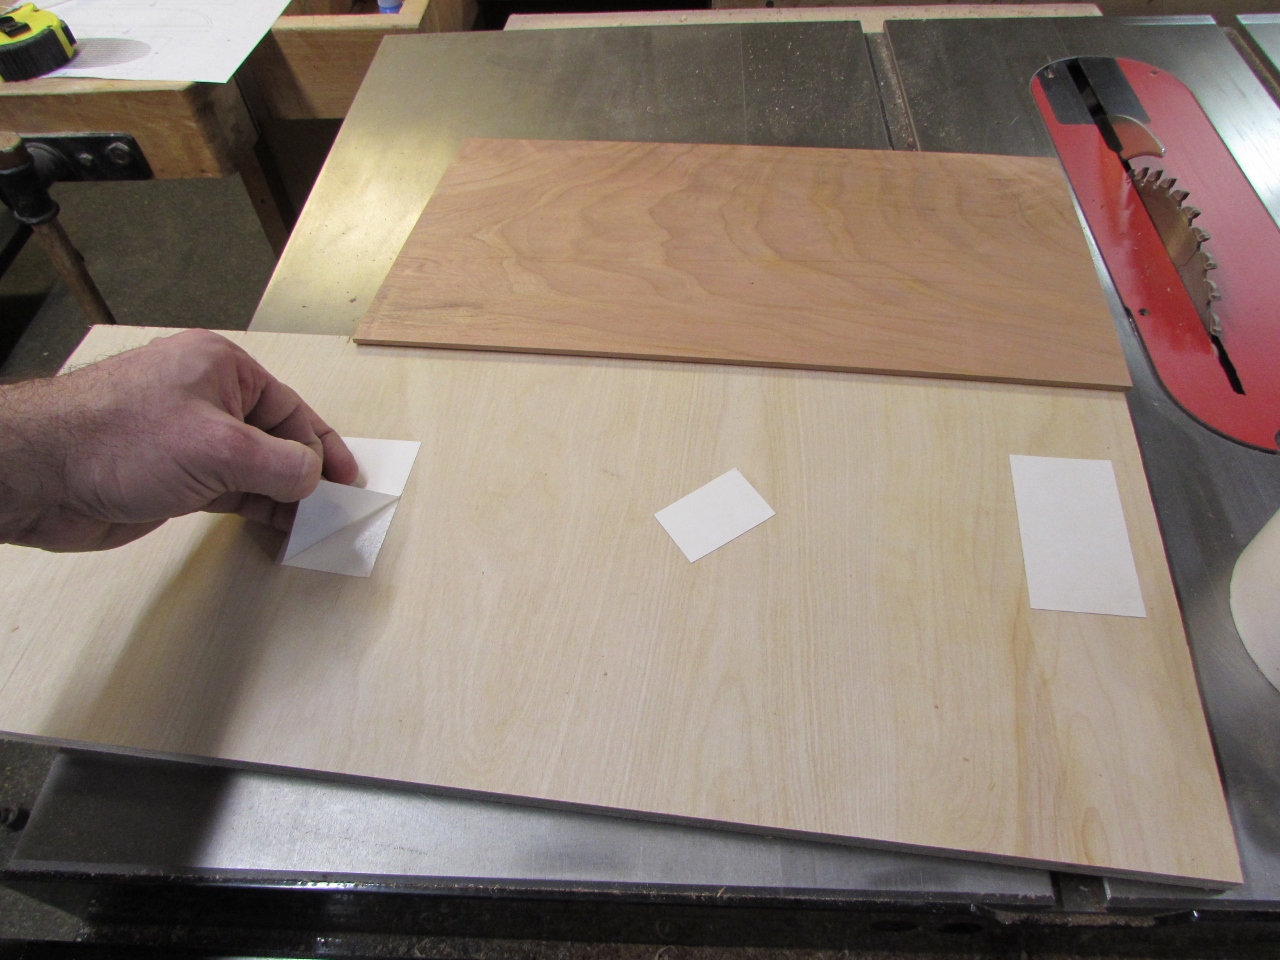
The cherry is too thin to go into the CNC, so I have to cut a backer board and attach the cherry to it with some double-sided tape. This will trick the CNC into carving it…
While I was working on that, I had the CNC go ahead and carve out the back panel as well.

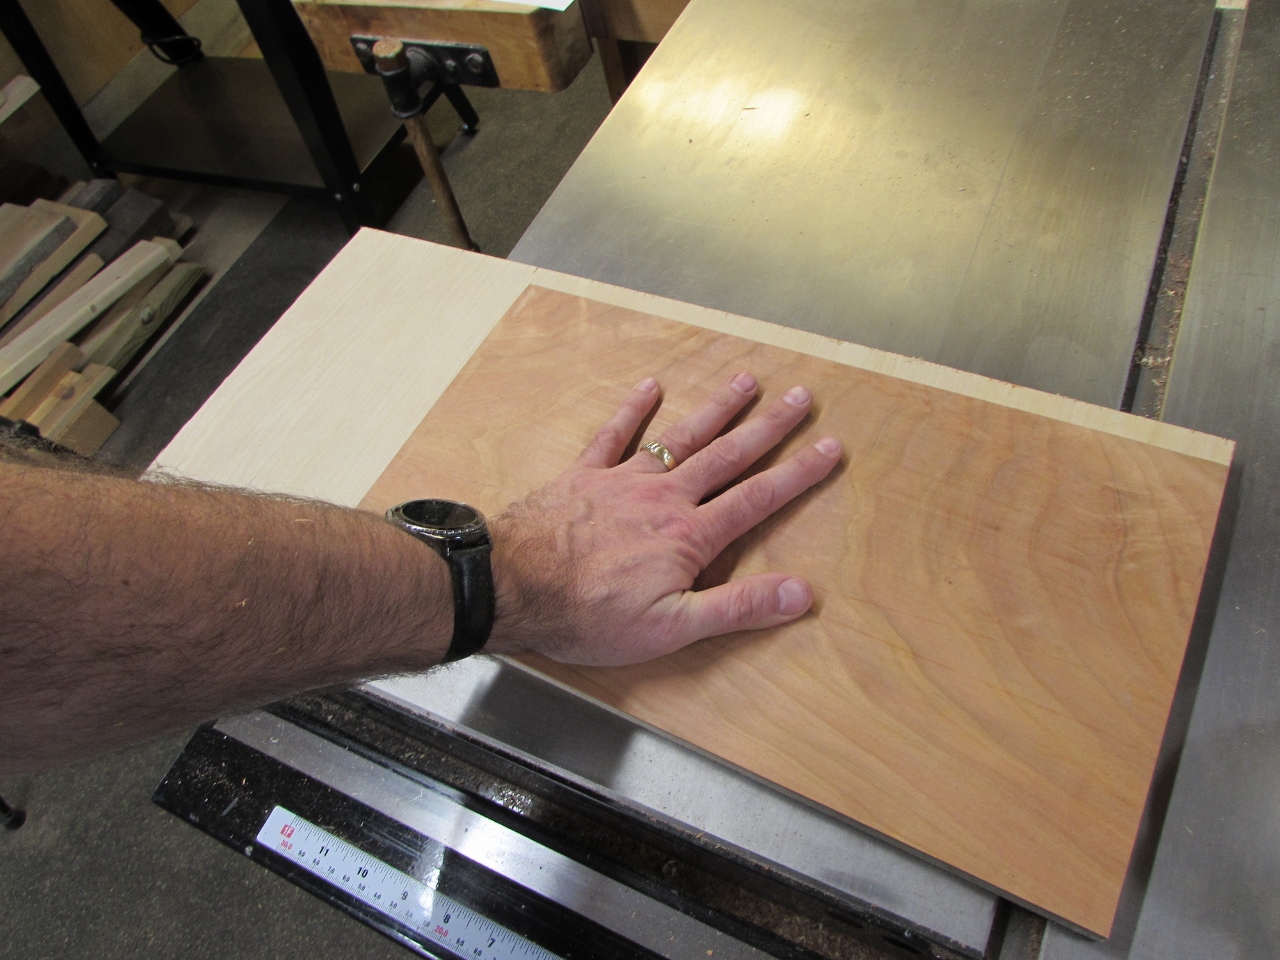
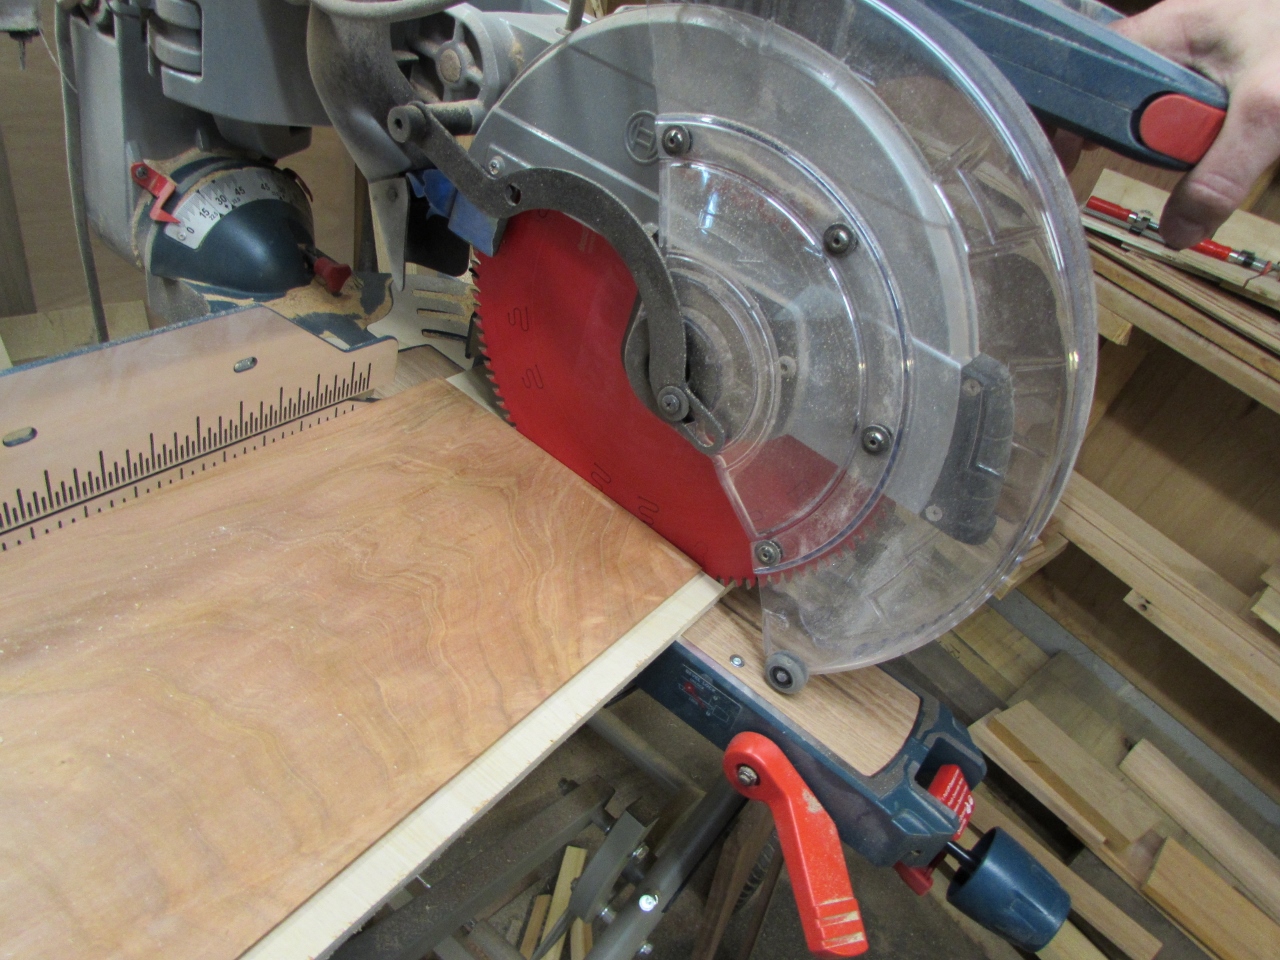
While that finished up, I cut the sides down to width.
I did a dry-fit, not too bad.
The back panel finished on the CNC and I added that as well.

This was a good place to stop for the night, since I really don’t know what I am going to do for joinery yet. Mainly I am concerned about the best way to join the side to the arch. The end grain glue-up is not desirable, so some form of tenon or spline will probably be used. I will have to think on it…

How about a wood mending plate?
https://www.homedepot.com/p/Simpson-Strong-Tie-MP-2-in-x-4-in-20-Gauge-Mending-Plate-MP24/100375189
I don’t know Pat. The silver of galvanized steel, just doesn’t seem to do the walnut justice. Perhaps brass straps, might give it a nice Steampunk look…