
Setting up the Pro-grind sharpening system
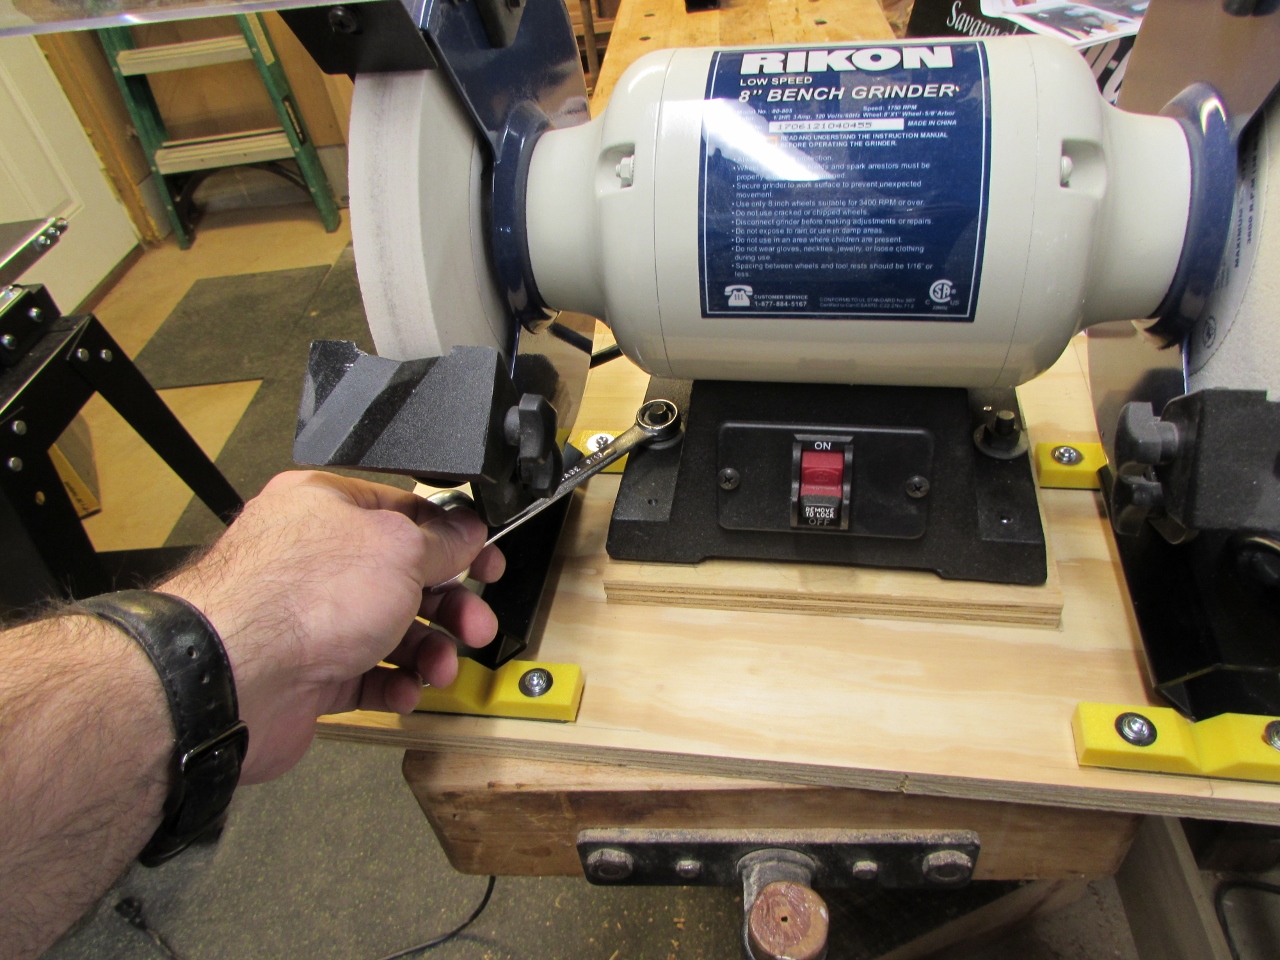
I know I haven’t been posting much lately. I have been working on the shop a bit, trying to make some room for a few upgrades. I do have a project or two, in the pipeline, so don’t give up on me yet. That said, my wife and son have been playing around a little more with my lathes. The carbide tools are really nice for speeding up the process and reducing the need for sharpening, but eventually the steel tools have to be sharpened. Since I don’t do much lathe work, I haven’t worried too much about sharpening, but the more everybody else uses them, the duller my tools are getting. Normally, I would just hit the edges with a diamond hone, to keep the edges sharp, but my wife wants to do more, and that will require reshaping tools and changing angles to suit her. So I picked up a Rikon 8″ low-speed grinder.

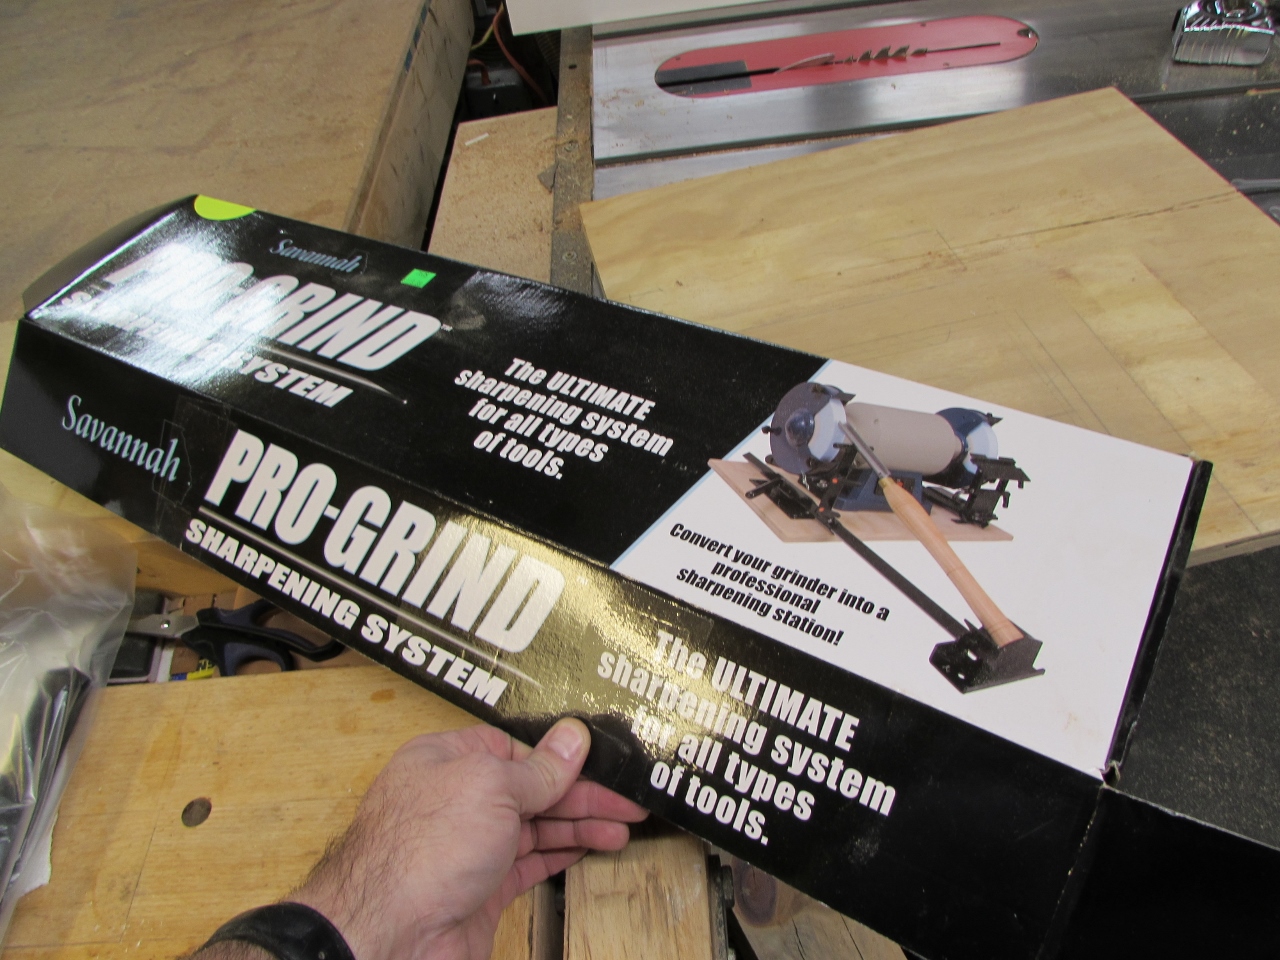
After trying to free-hand an edge or two, I decided that some sharpening jigs would be necessary. My wife saw the Pro-grind sharpening system at the Woodworking show, last month and bought the whole kit. I didn’t realize it until I just put in the link to it, but we saved about $70 buying it at the show. I will not be using it in this post, but I did set it up and I wanted to show you how. Keep in mind that this may not be the best approach, but I have to start somewhere.
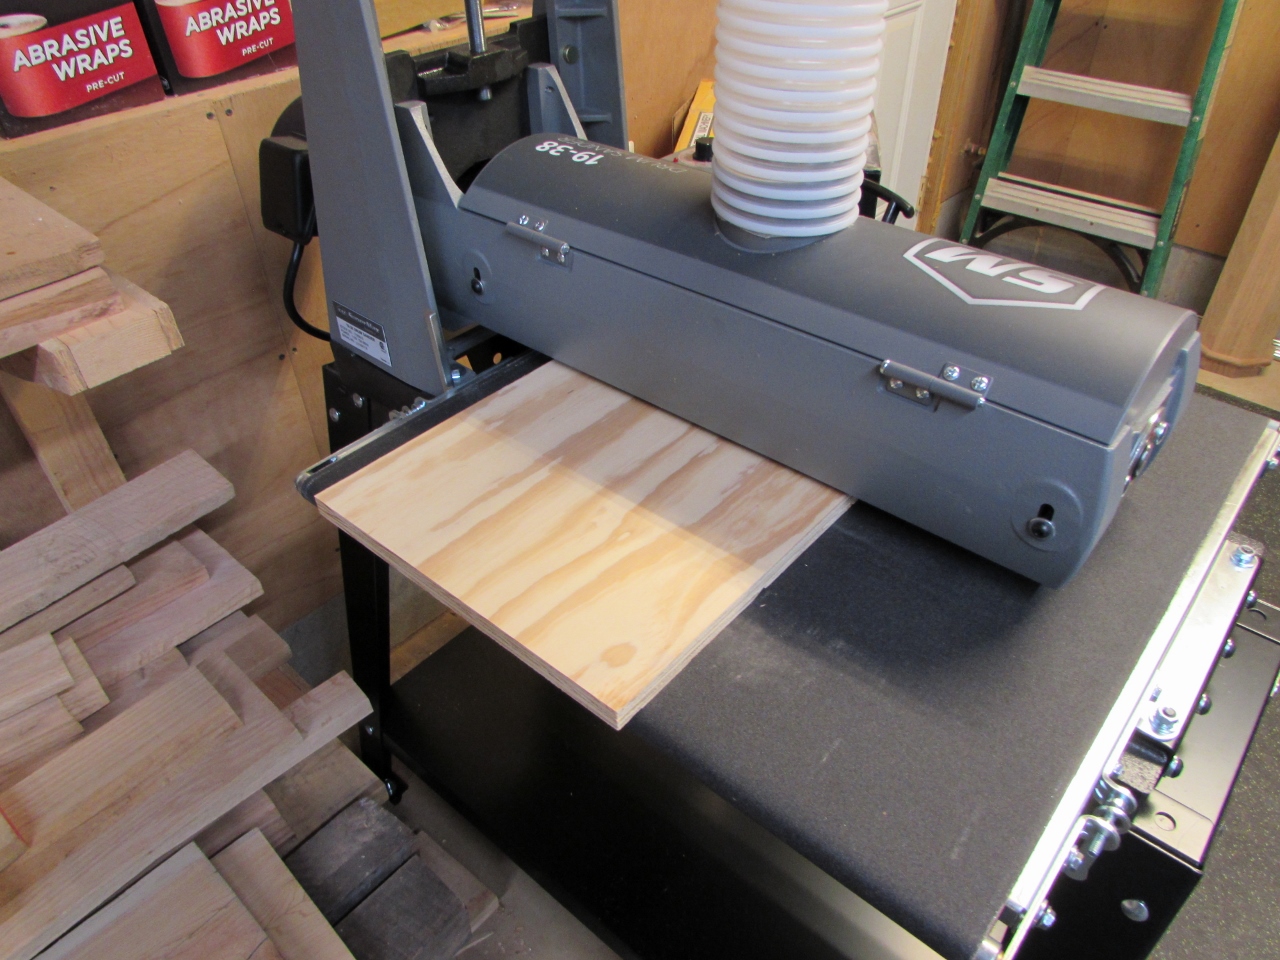
First off, I needed a flat board to mount my grinder to. I had a scrap piece of 3/4″ plywood that was about the right size, but a bit too dirty for a project. To clean it up, I ran it through the new drum sander. That was a really nice convenience. Normally I would have spent a few minutes sanding it down with my orbital, or just left it ugly…
The directions warned me that I may need a riser block to get the grinder high enough for the jig mounts to fit below the wheels. Unfortunately, they didn’t tell me how high to make it. I did the best I could to determine what that height would be, and added another 3/4″ block. I used double-sided tape to hold it in place till I could bolt everything together.
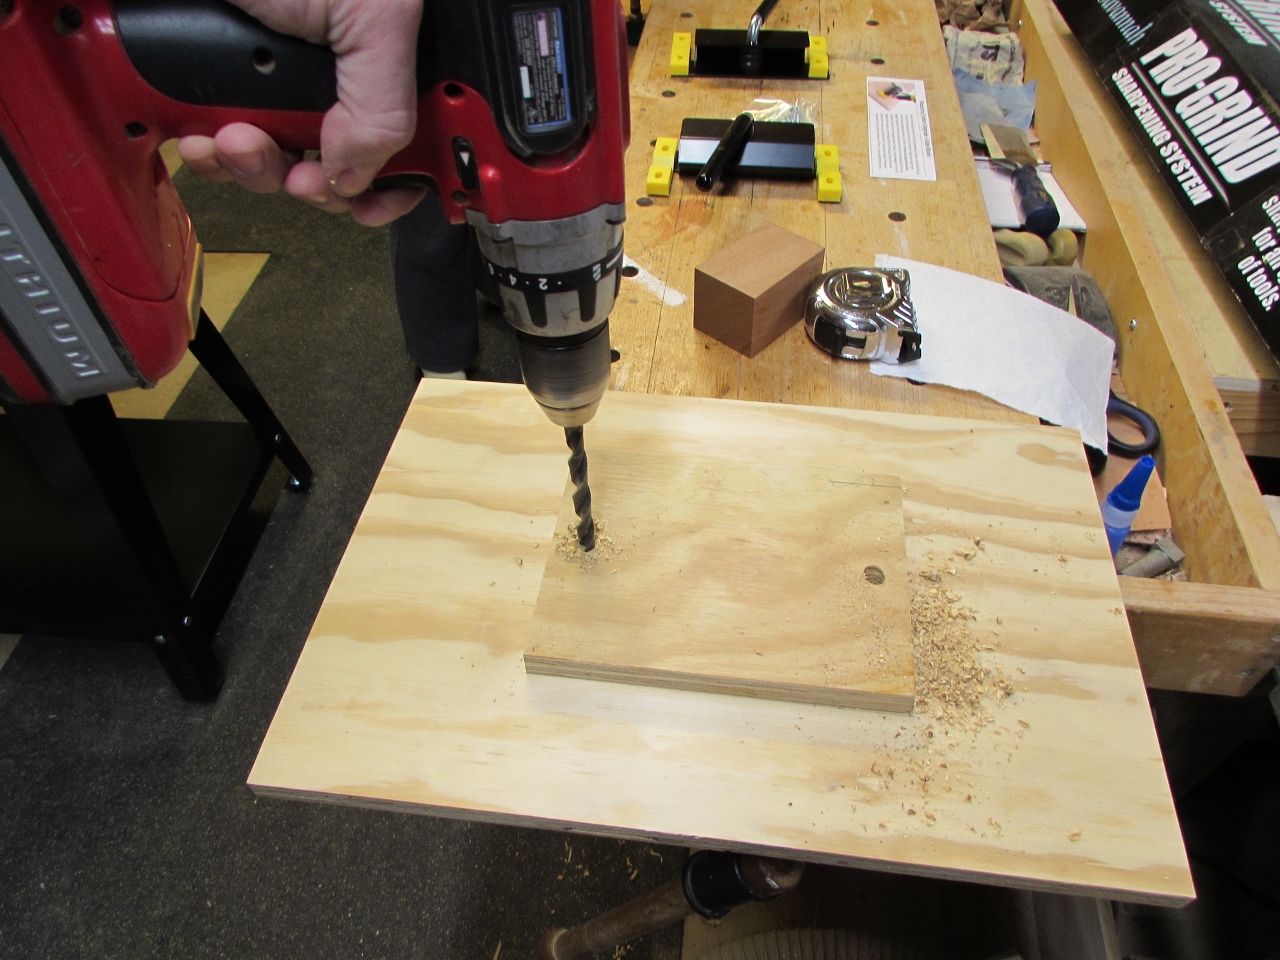
I measured and marked the mounting holes, then scavenged around till I found a couple of bolts, long enough to do the job.

I marked the center of each grinding wheel, then removed the grinder to mount the jig mounts.
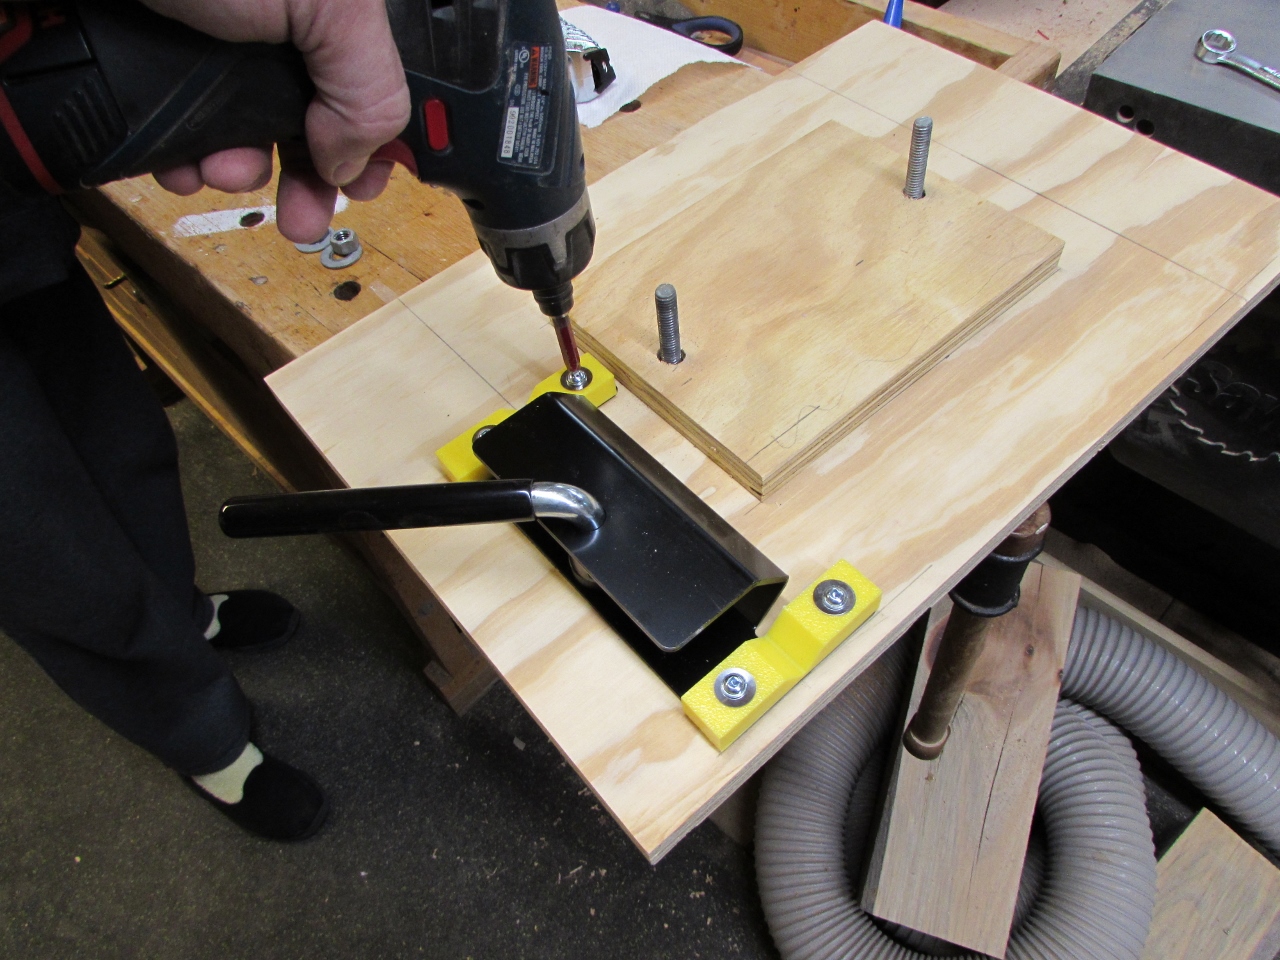

The instructions were not too clear about how far away from the grinder to place the mounts, so I guessed. Everything seemed to be located properly, so I bolted everything in place.
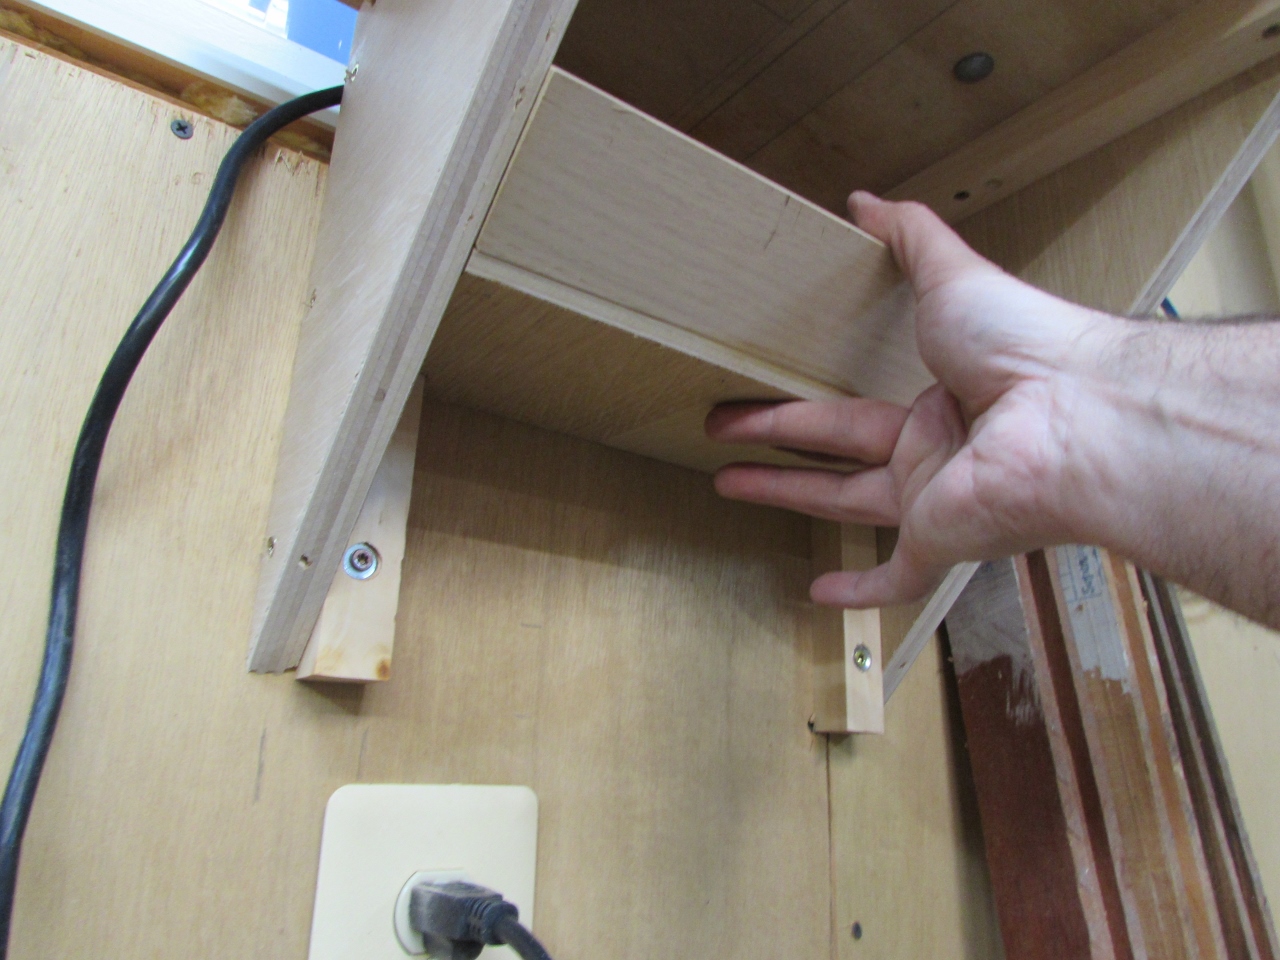
Next step was to build some brackets to hang this thing off the wall.
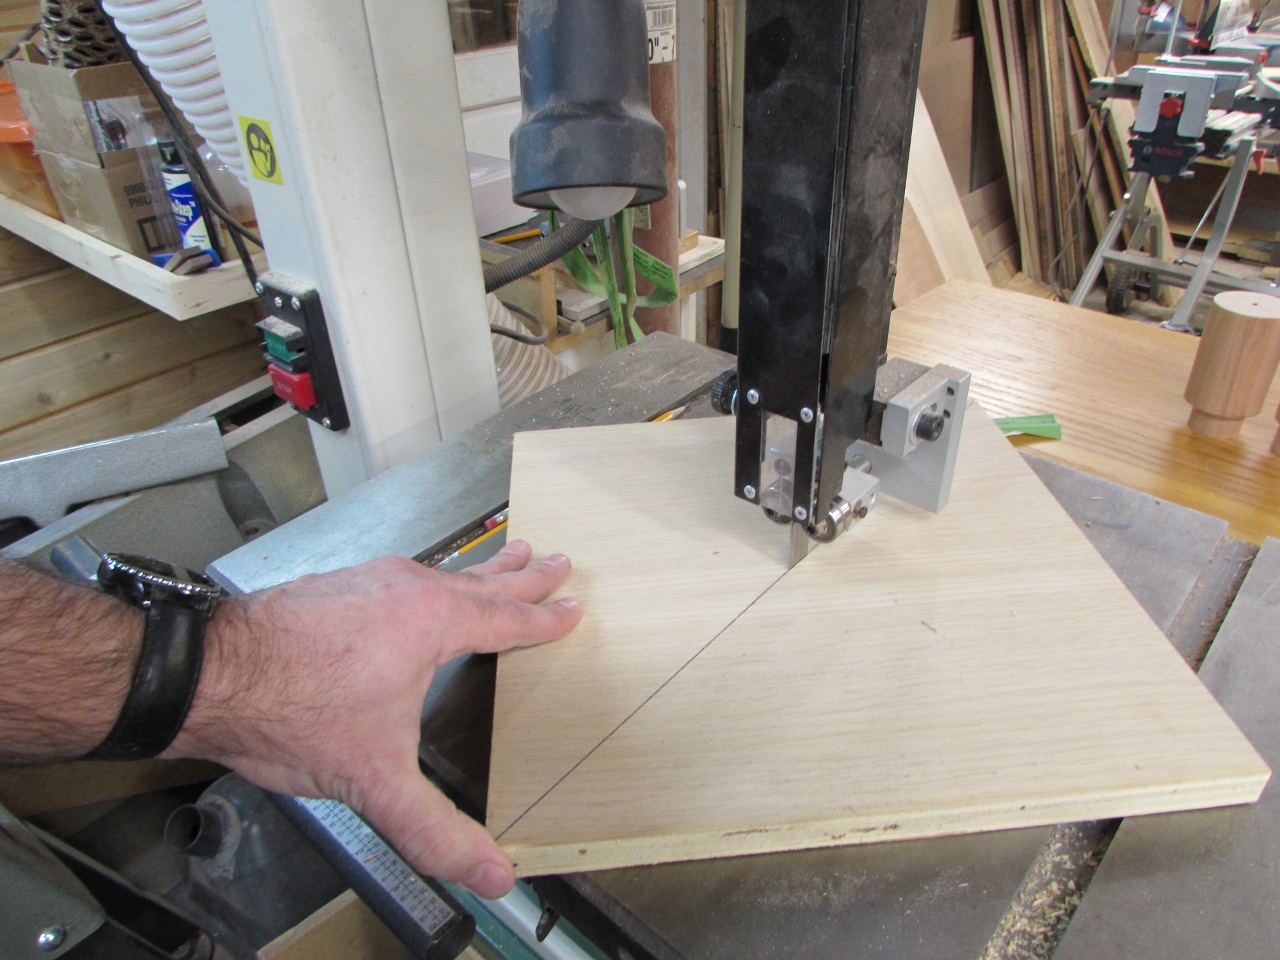
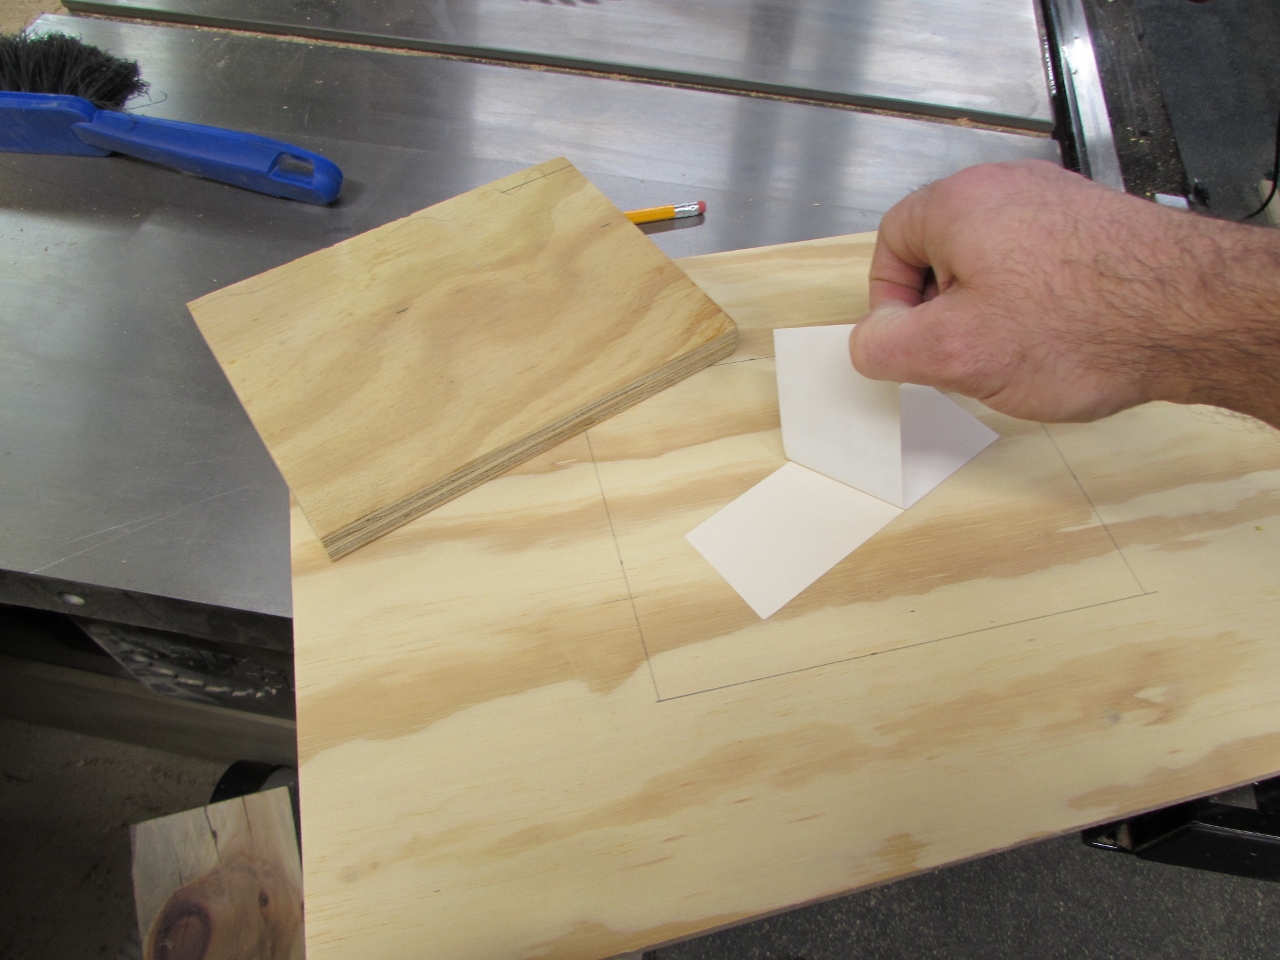
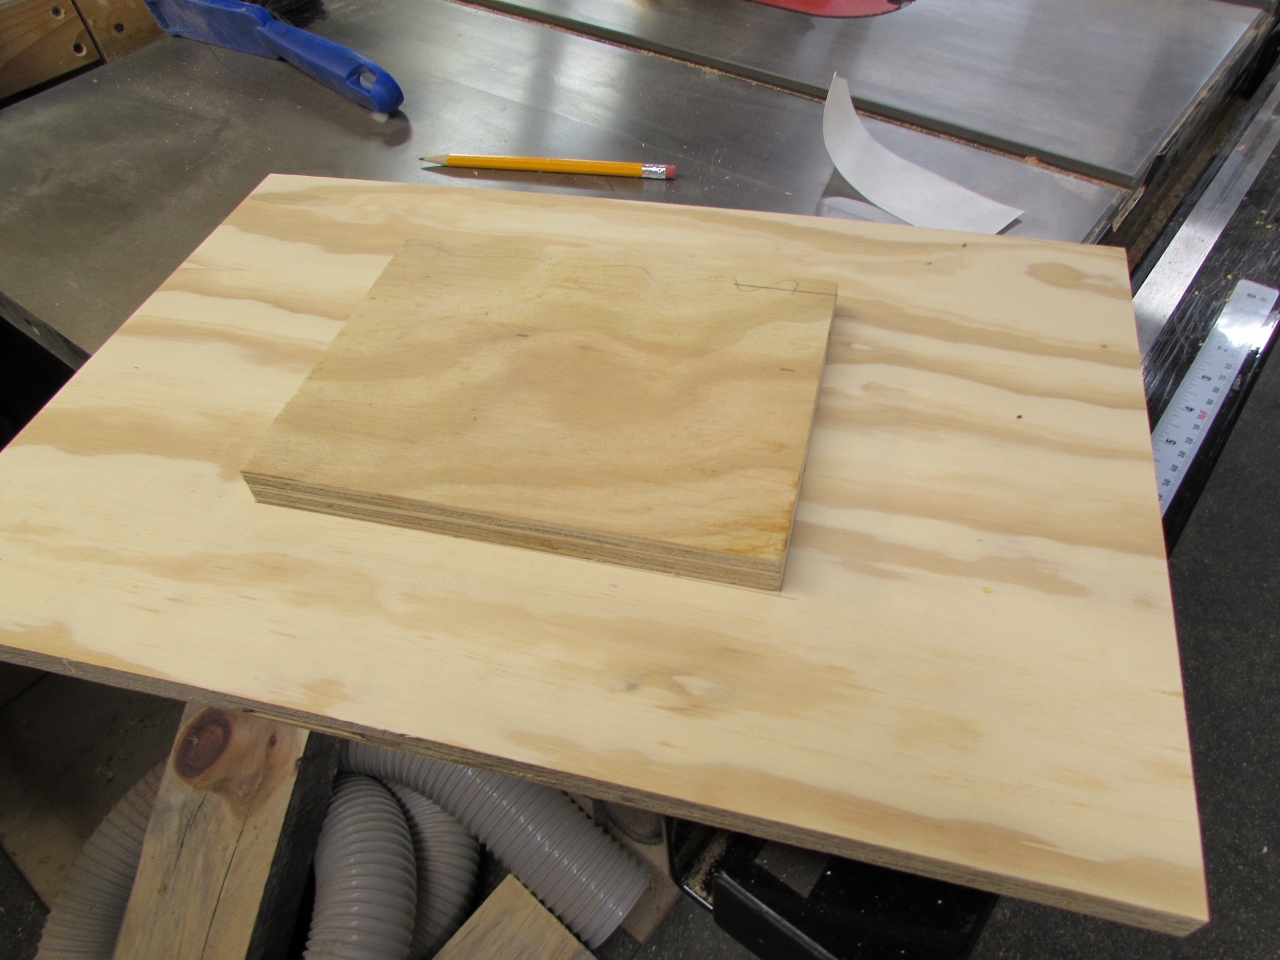
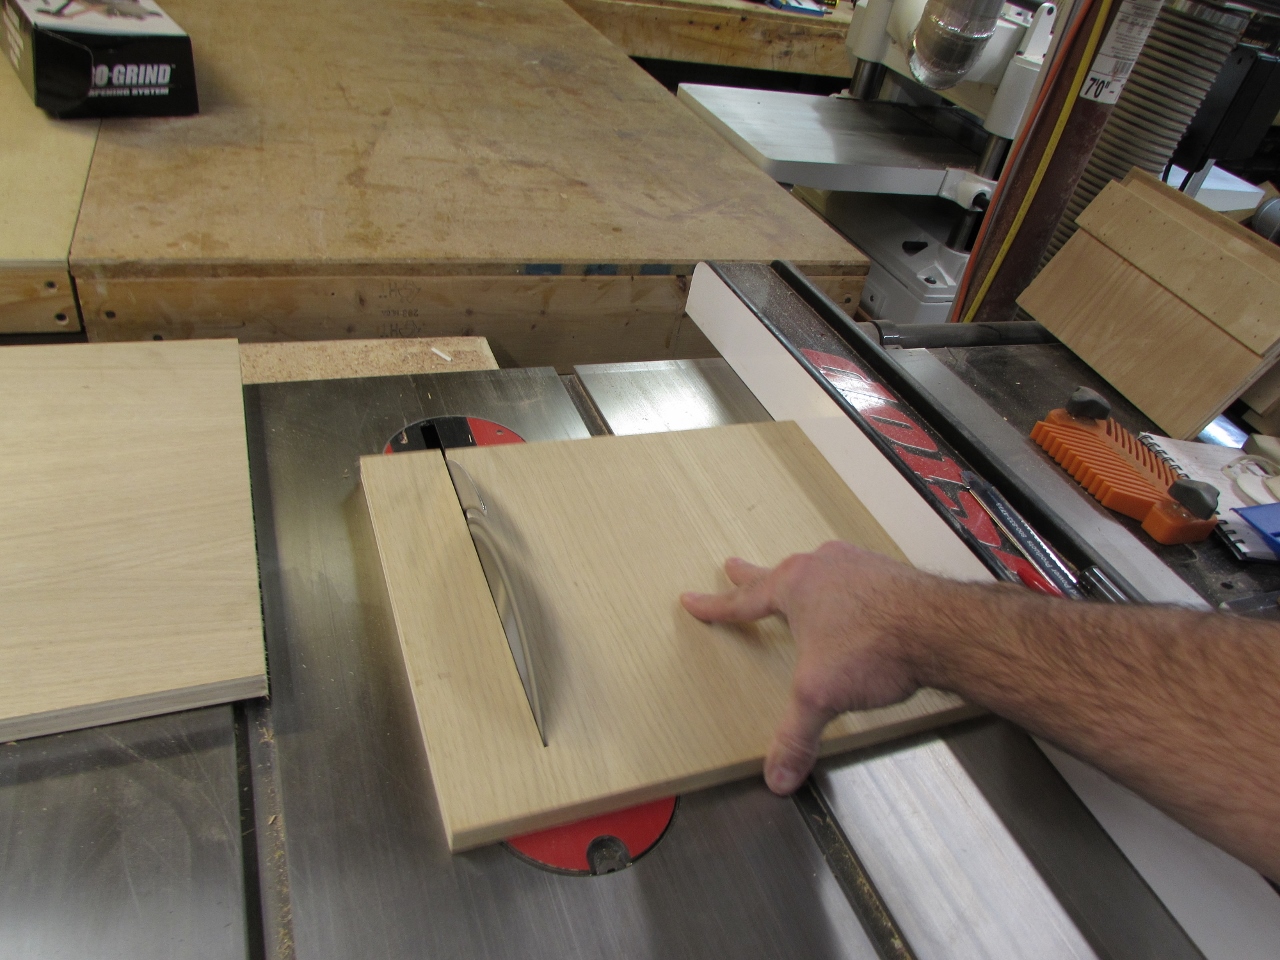
I am going to use simple gussets . I started with a 12″ x 12″ piece of plywood, and cut it into two triangular halves.
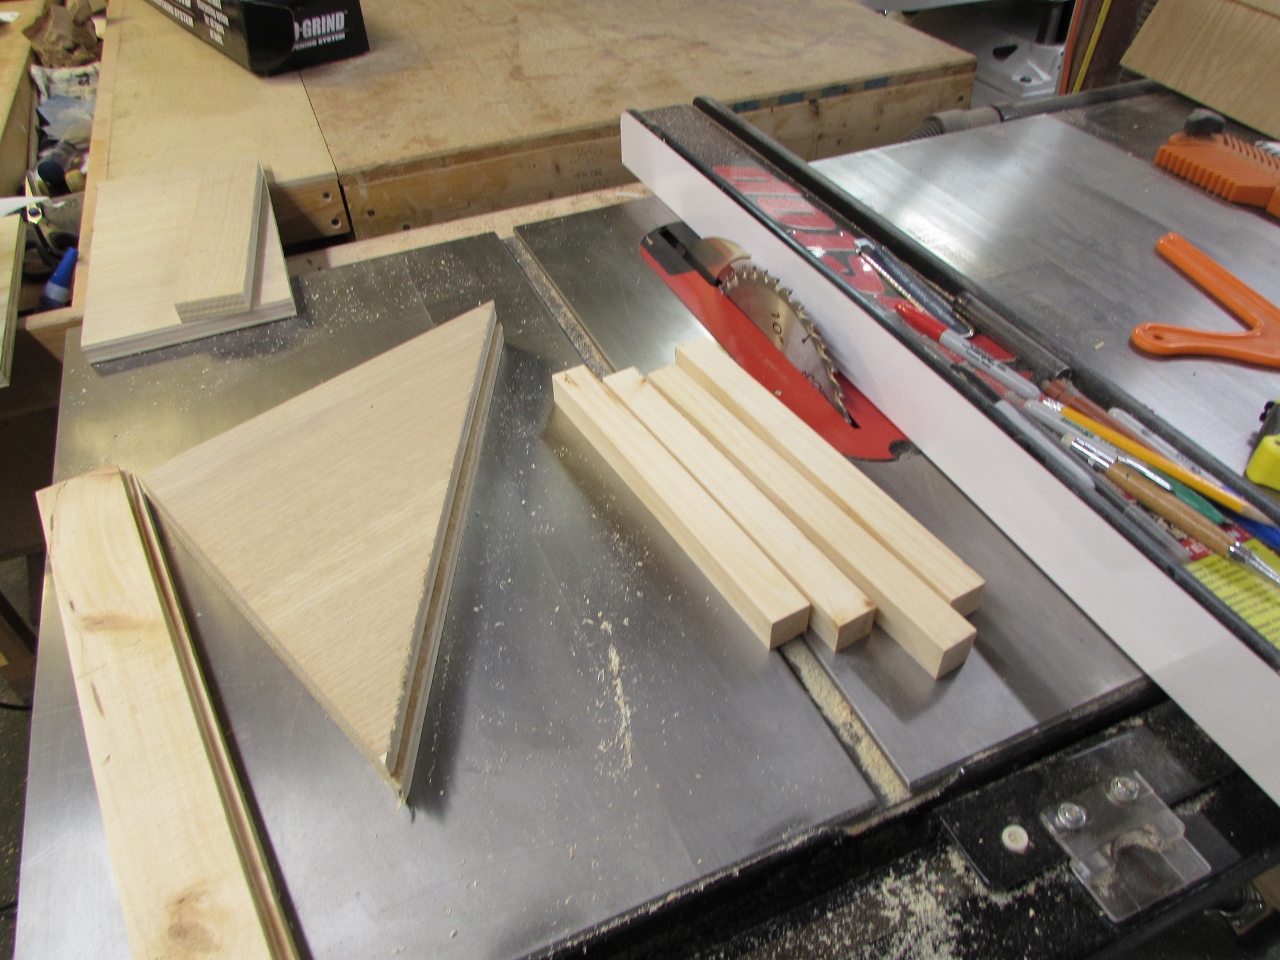
Next, I cut some 1″ strips and screwed them onto the short sides.
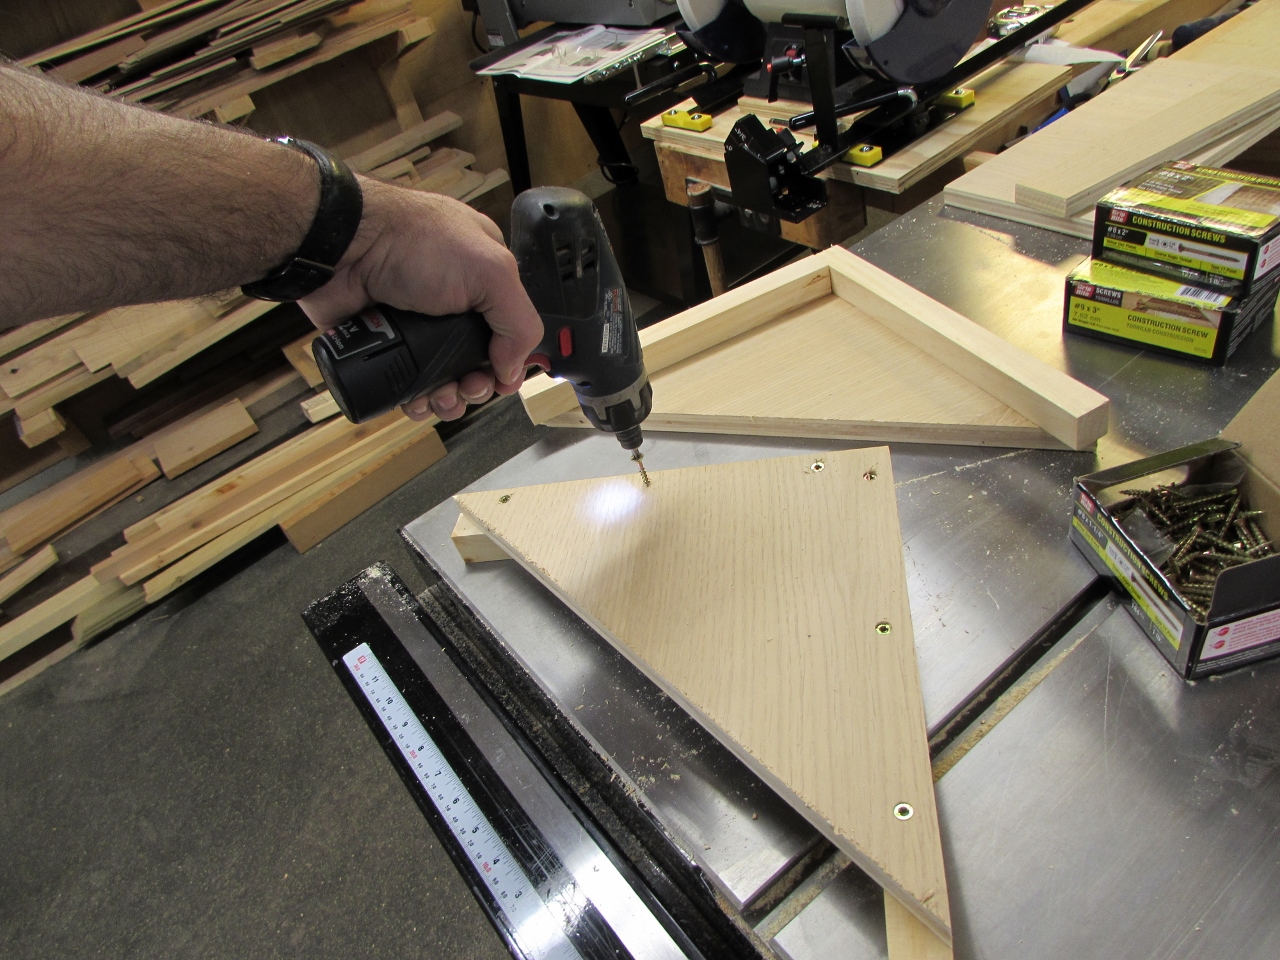
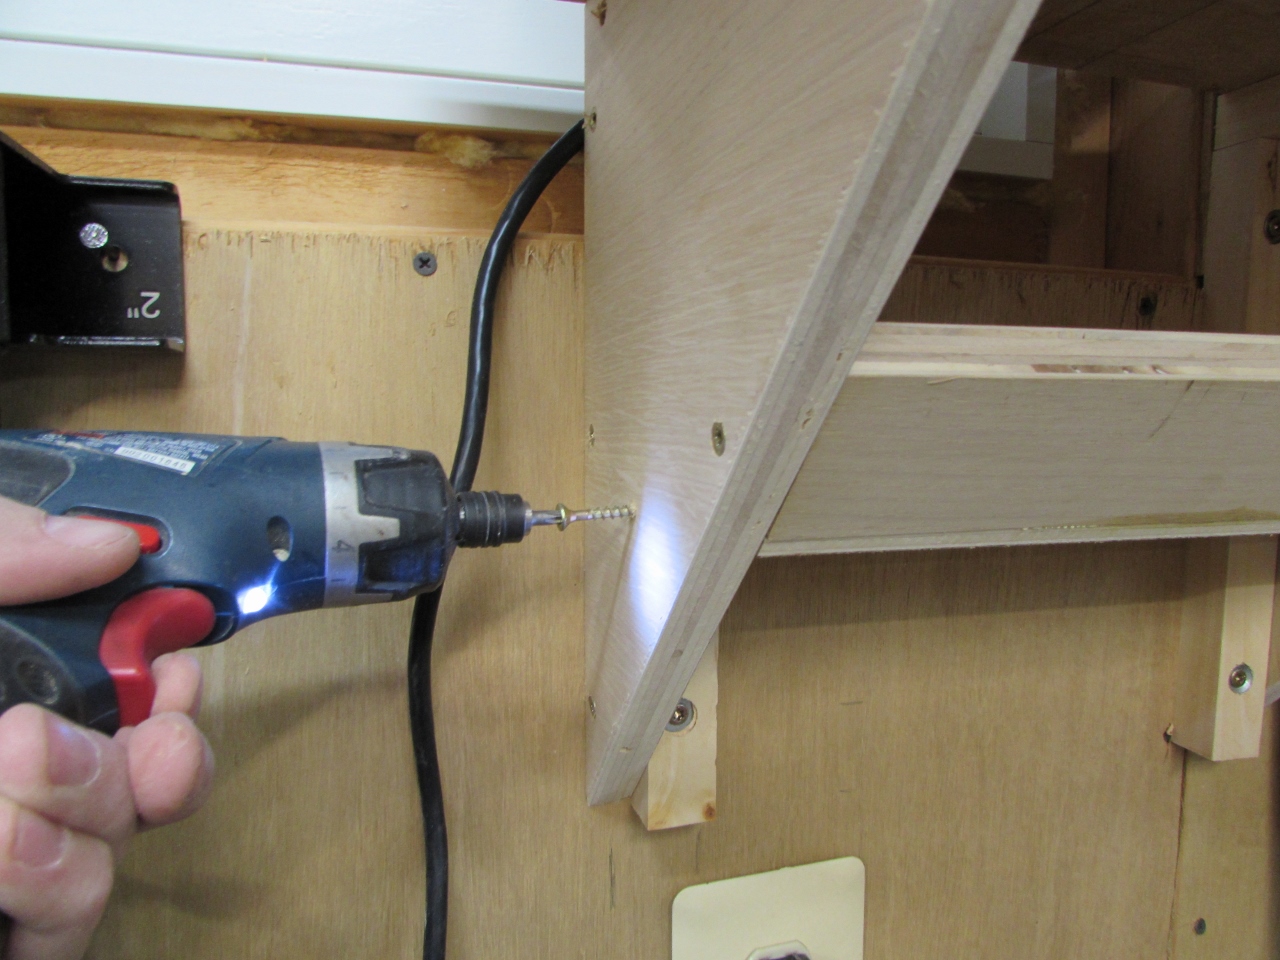
I pre-drilled some mounting holes along the wall mounting sides.
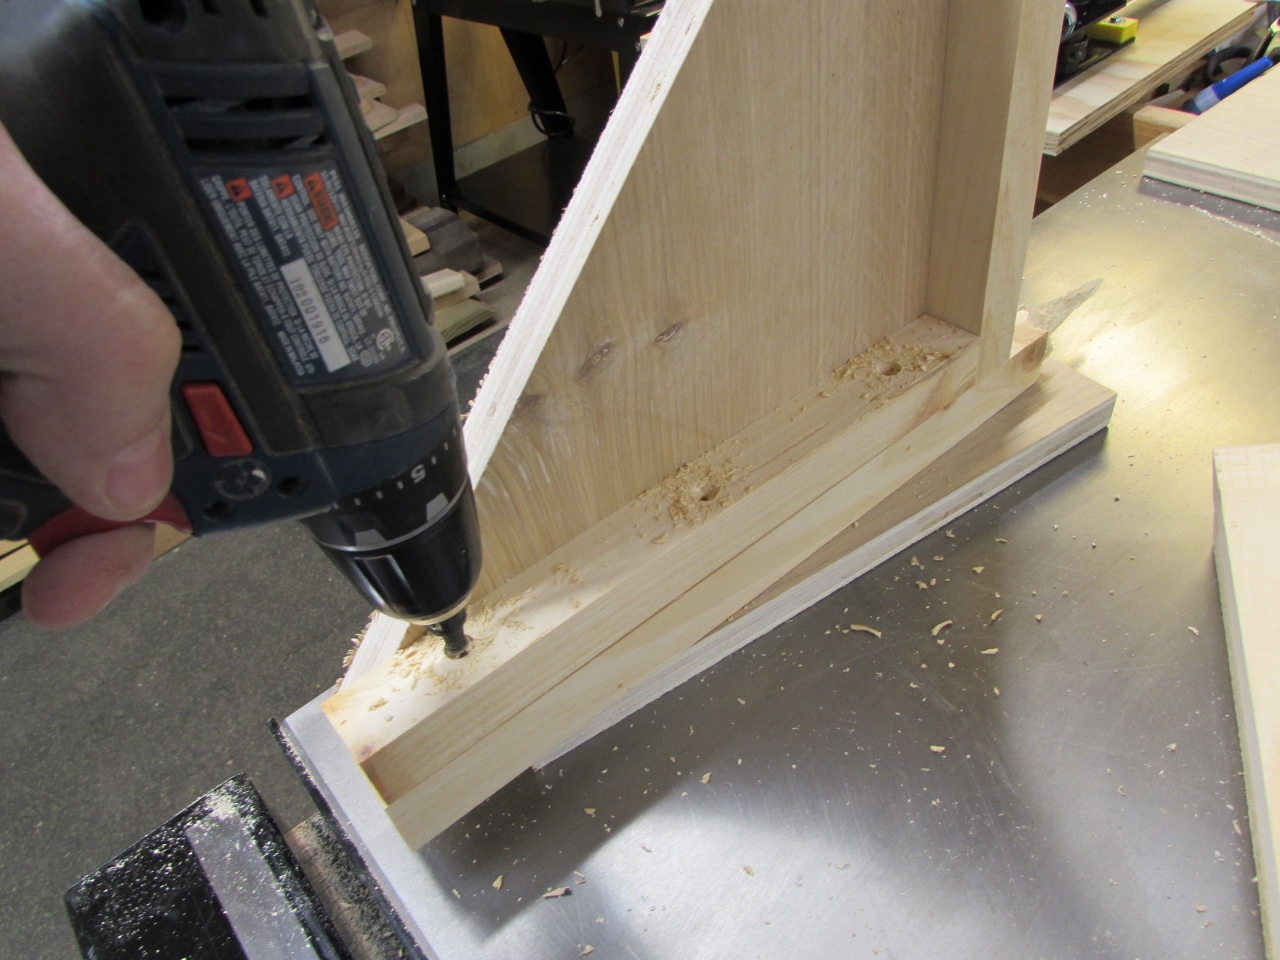

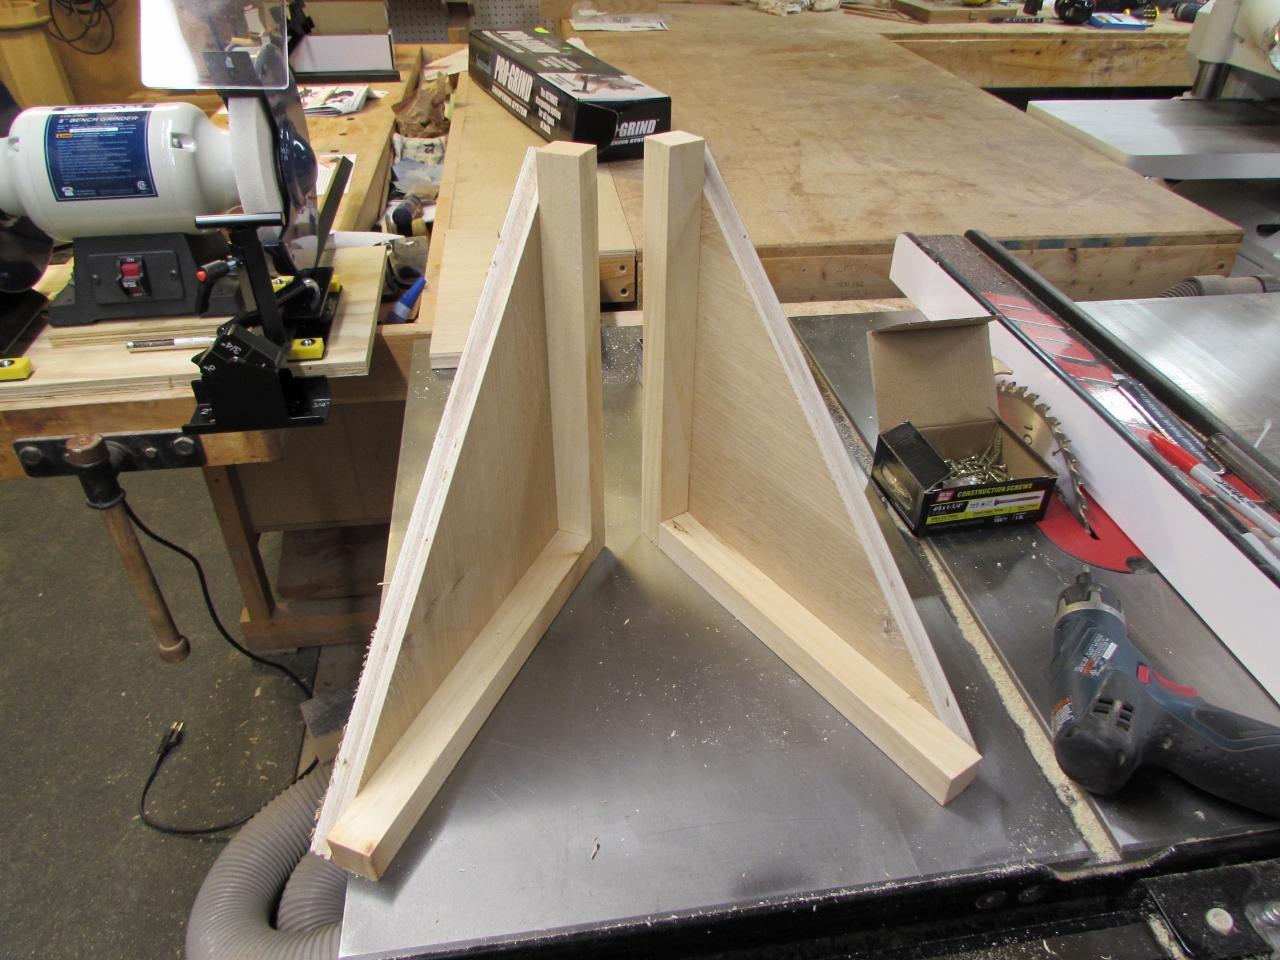
Then I leveled them up and screwed them to the wall with 3″ construction screws.
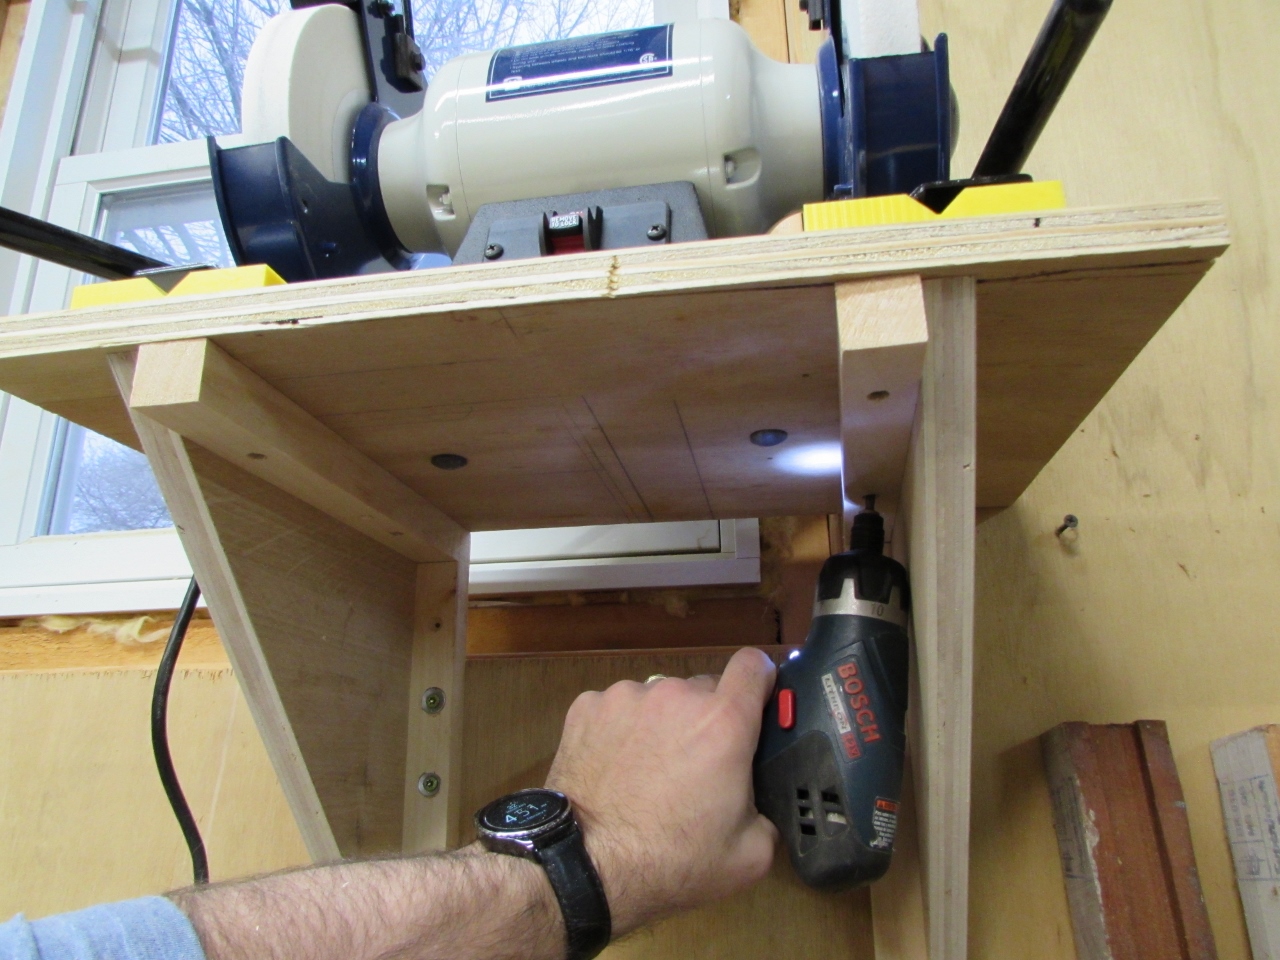
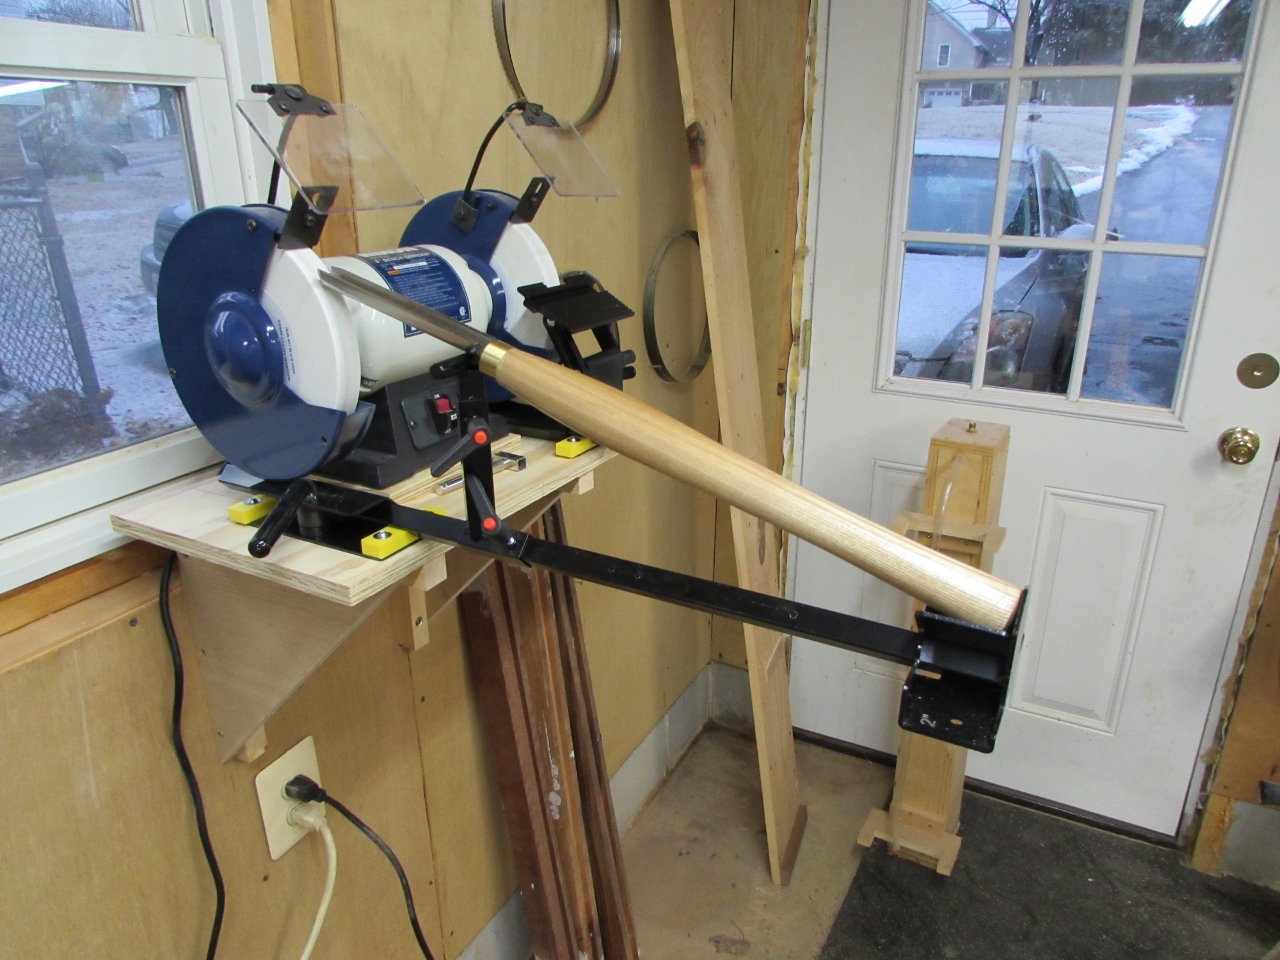
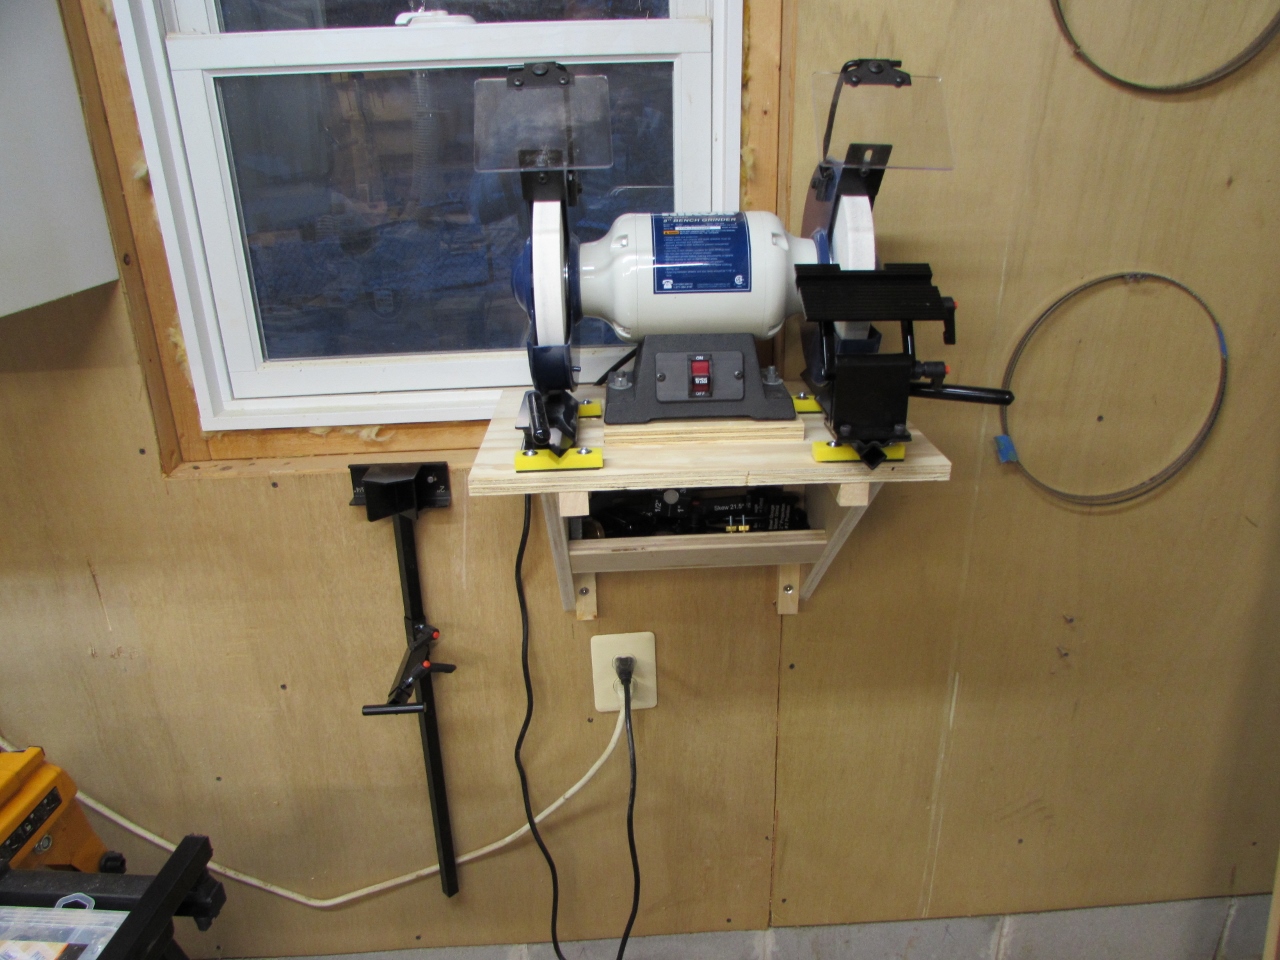
I was initially going to mount this about 8″ lower, to be a comfortable height for my wife, but I realized, in the picture below, that not all operations would work properly.

To use the pivoting arm thing, the jig needed to slide about a foot further in. That meant the wall would be in the way. I decided to raise everything up high enough that It could slide out the window. It looks a little silly, but it will work until I get a free-standing base, and a better location.
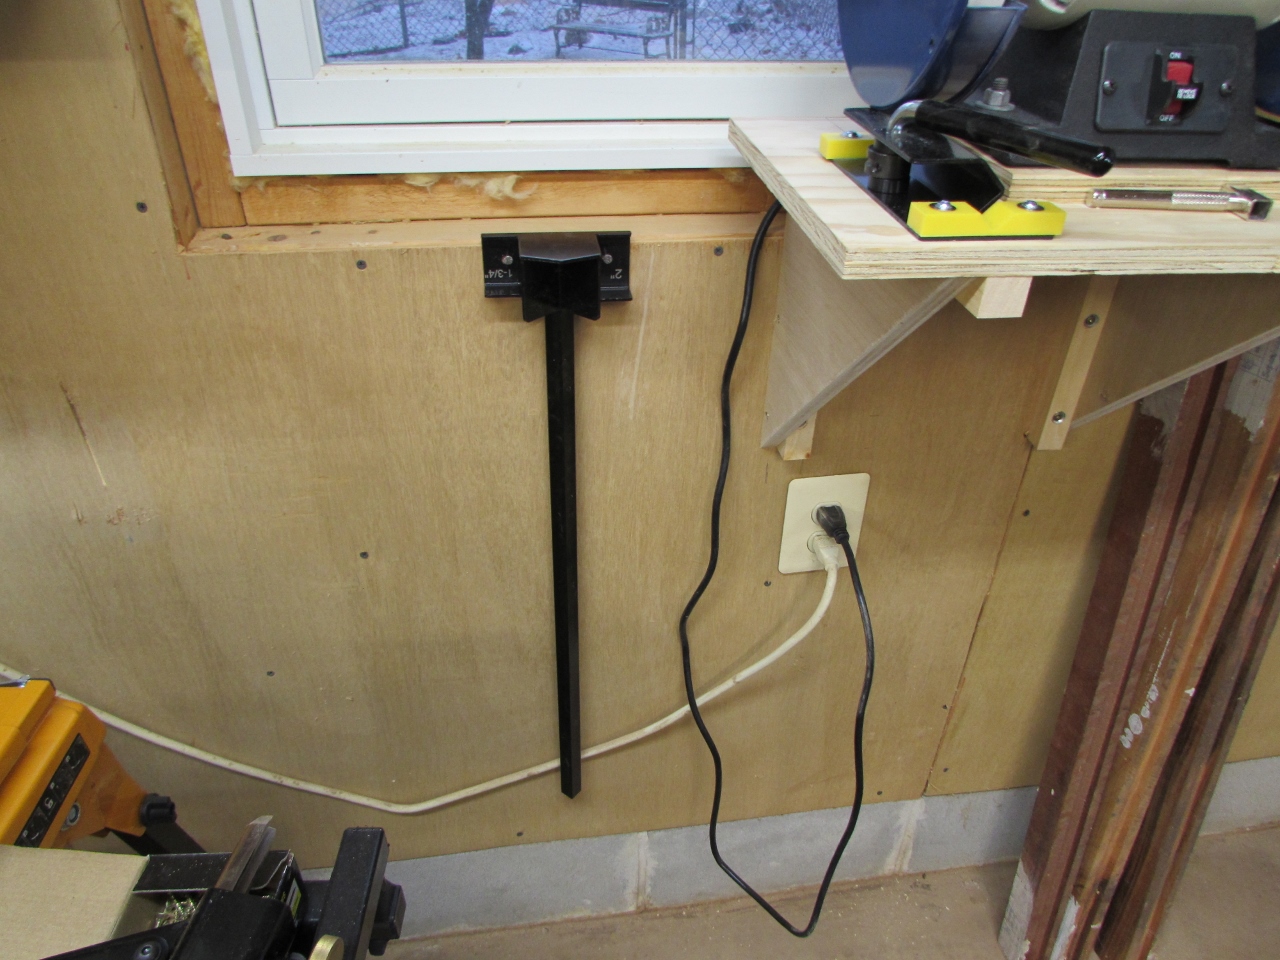
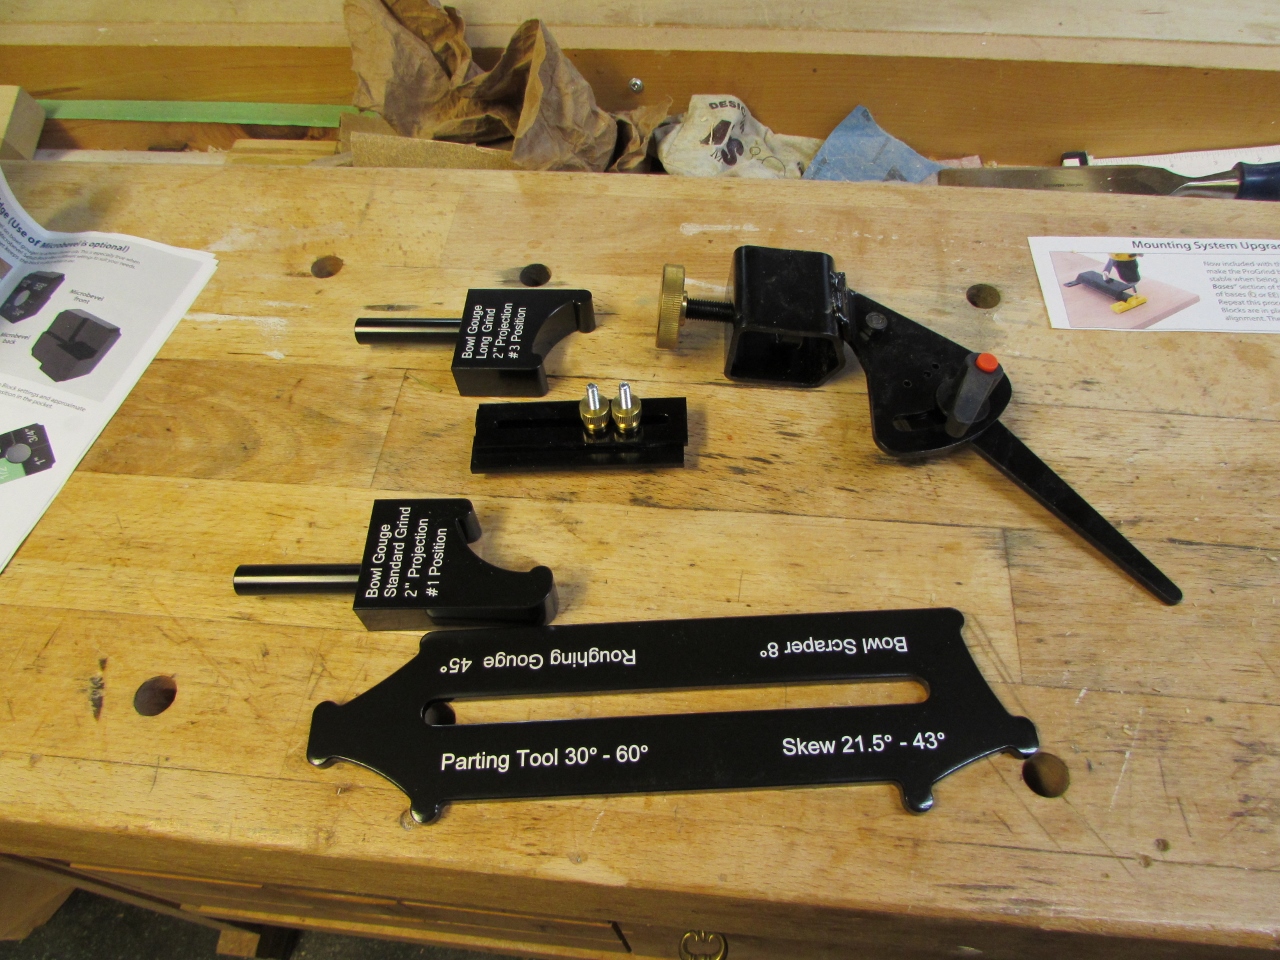
Now, I have to figure out what to do with all of the parts, that are used to determine the proper angles and locations of the jigs. The long arm thingy can just hang on the wall, from two framing nails, but the rest needs a shelf that will not collect metal dust from the grinder.
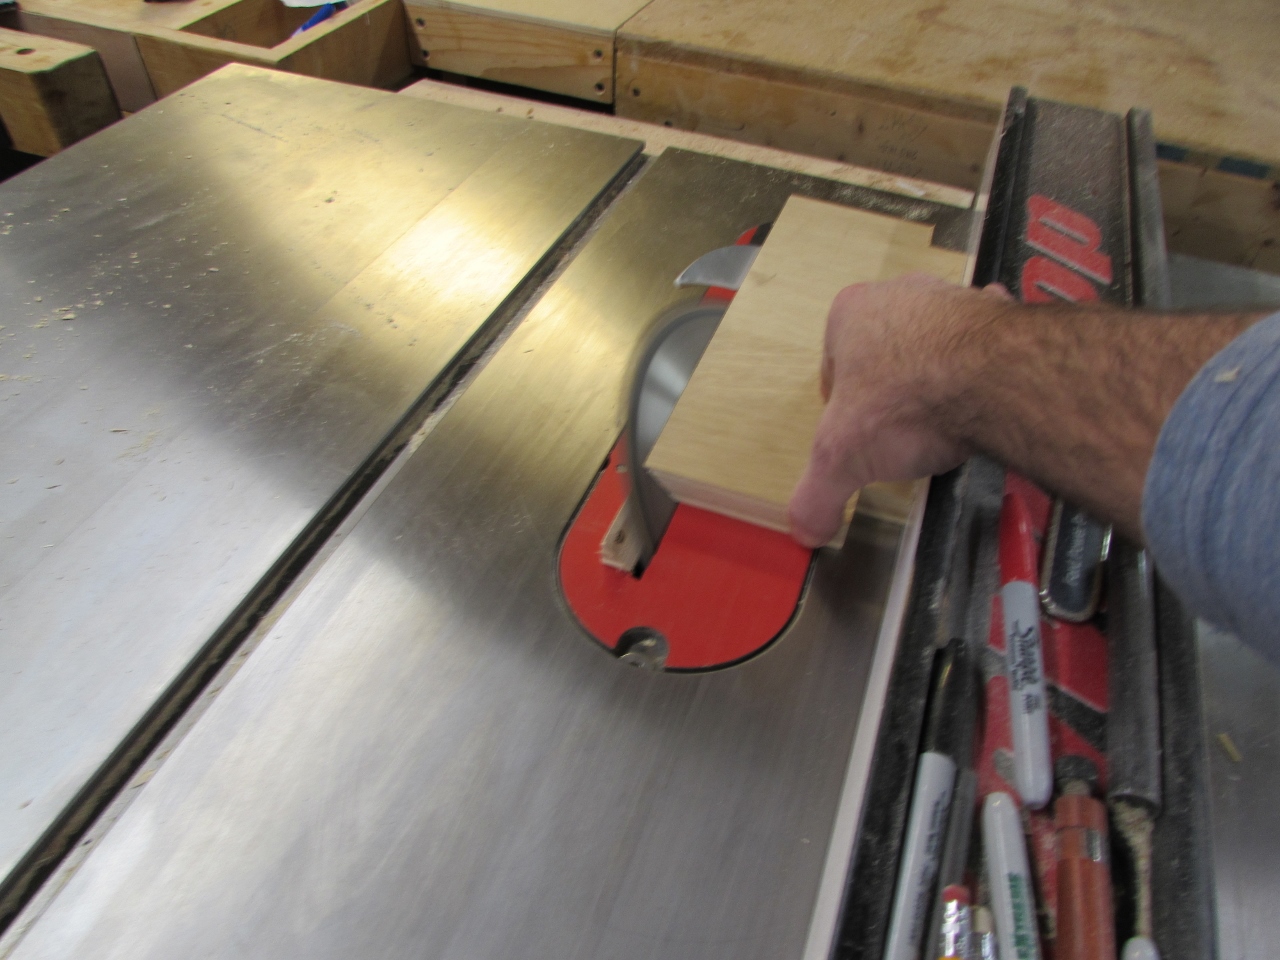
I cut and notched a small shelf from another scrap of 3/4″ plywood. It was only about 5″ deep so it stayed several inches shorter than the shelf above. hopefully this will shelter everything from the dust.
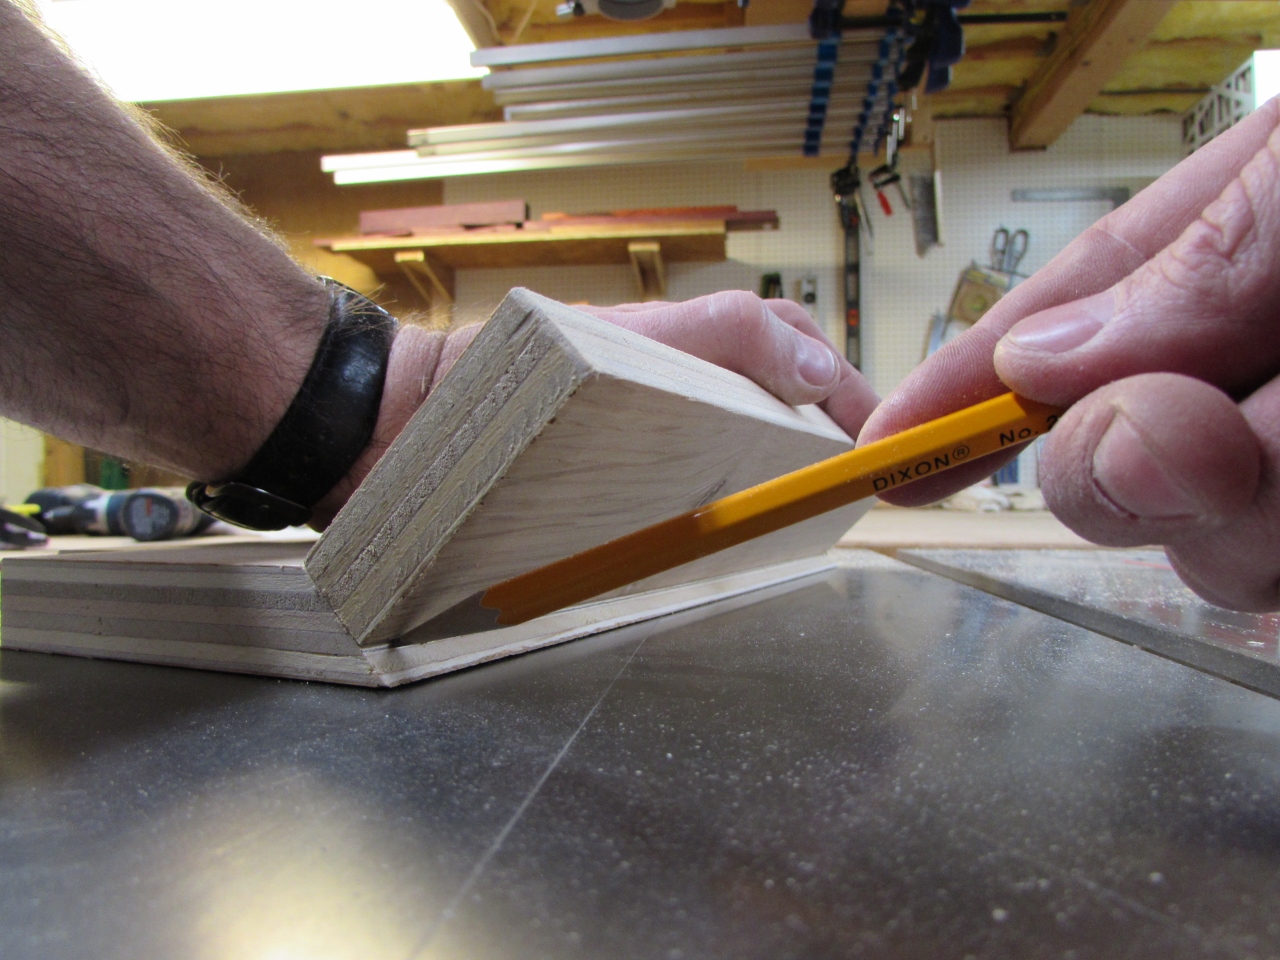
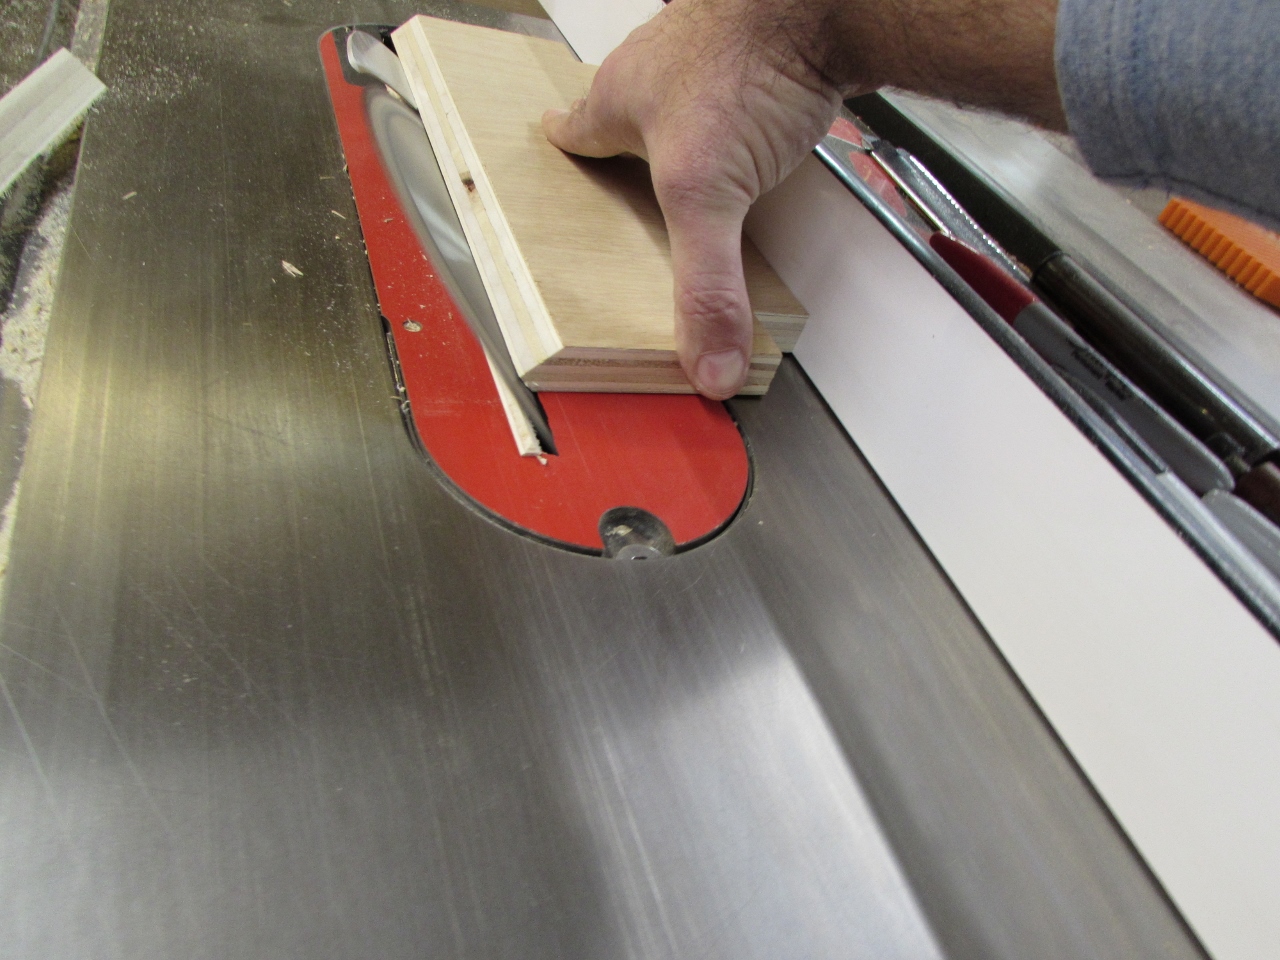
I cut a 2″ lip, for the front and put a 45 degree angle on the edge of both, then held them together and scribed a line to show me where to cut away the excess, removing a sharp edge.
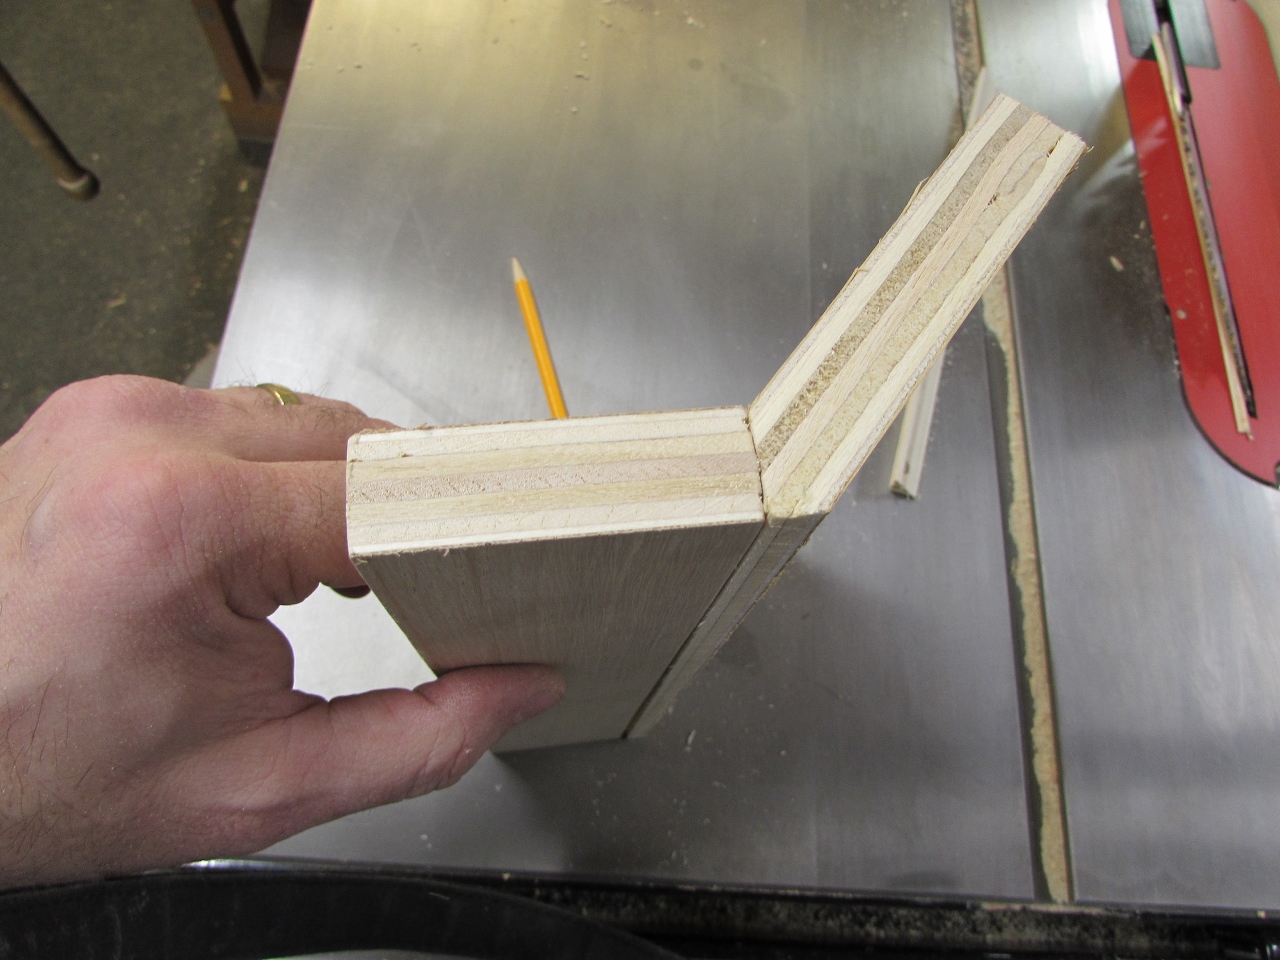
I cut away the sharp edge and did a test fit.
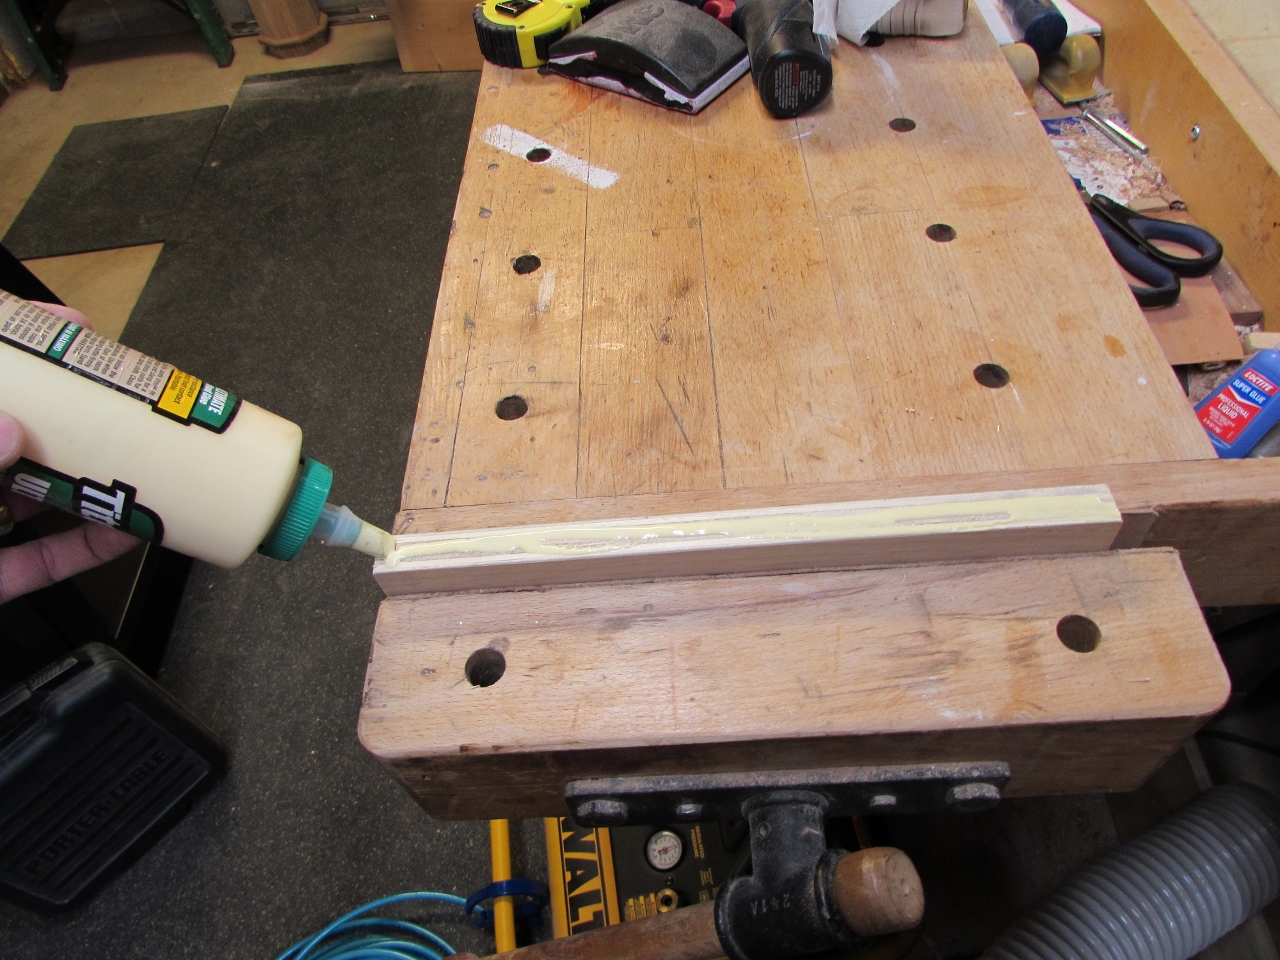
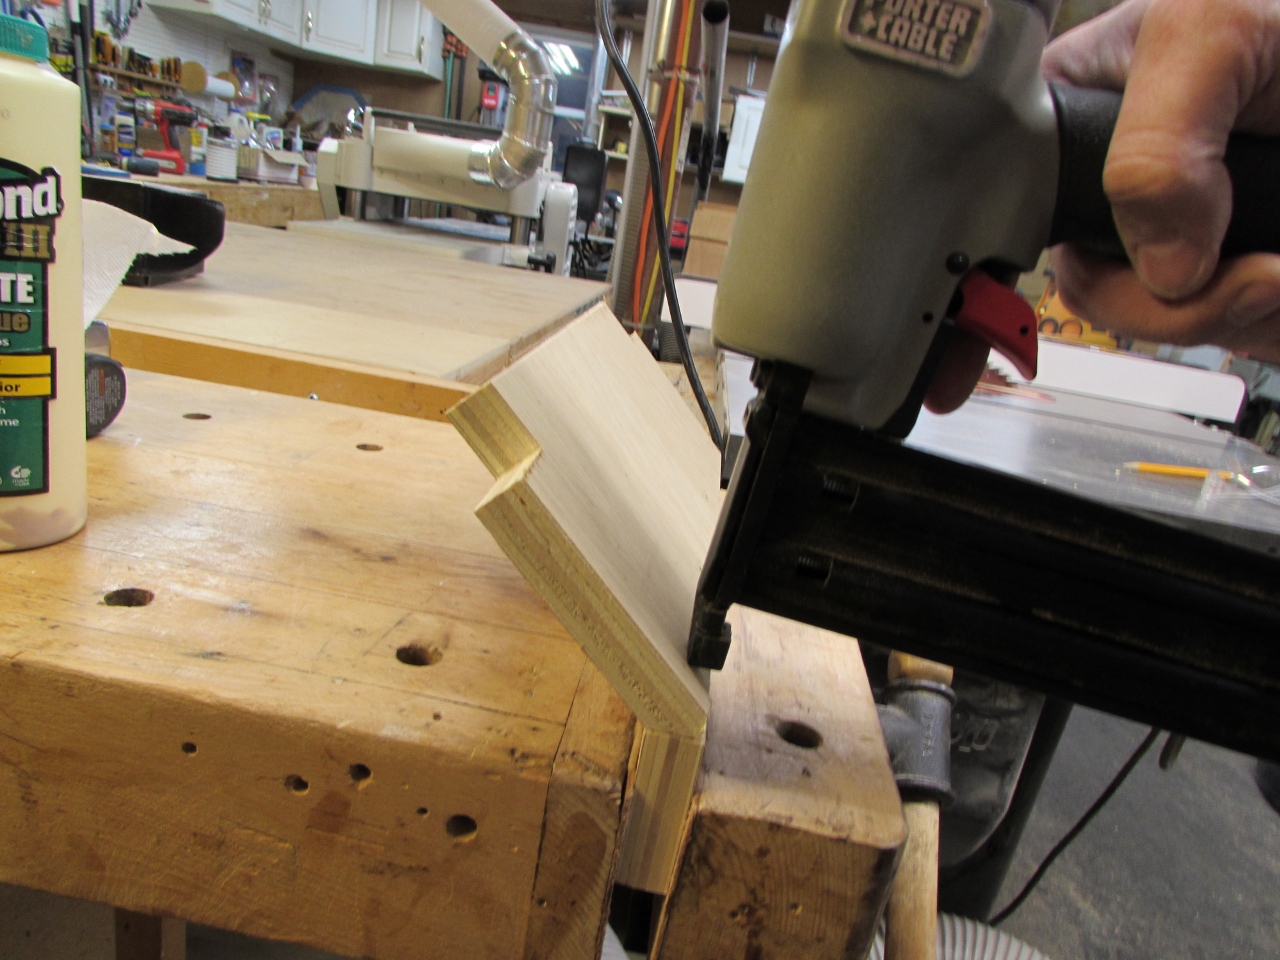
Next, a little glue and some brad nails and the shelf was ready to be installed.
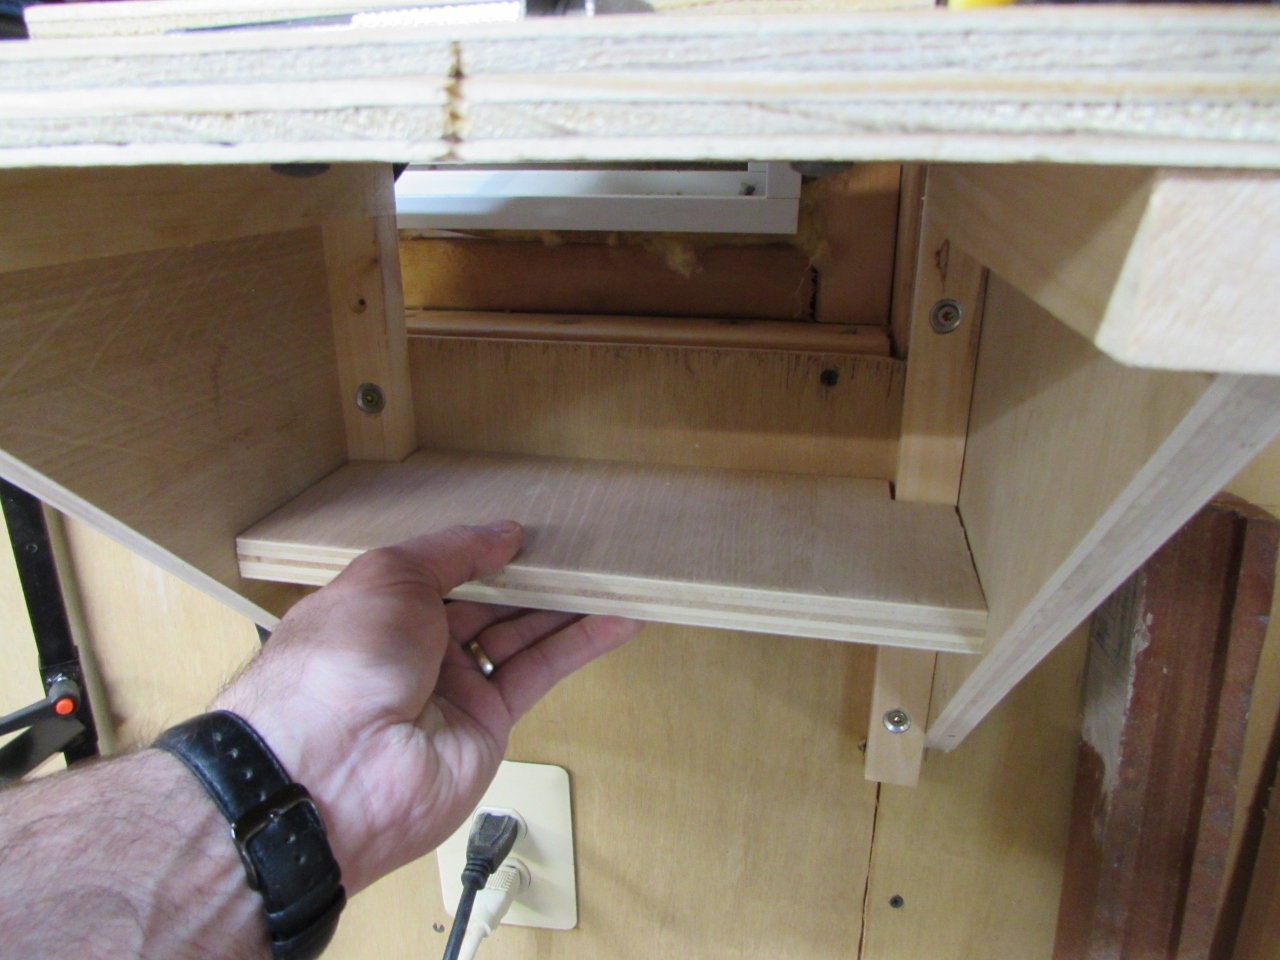
Two construction screws, on each side, and the shelf was done.
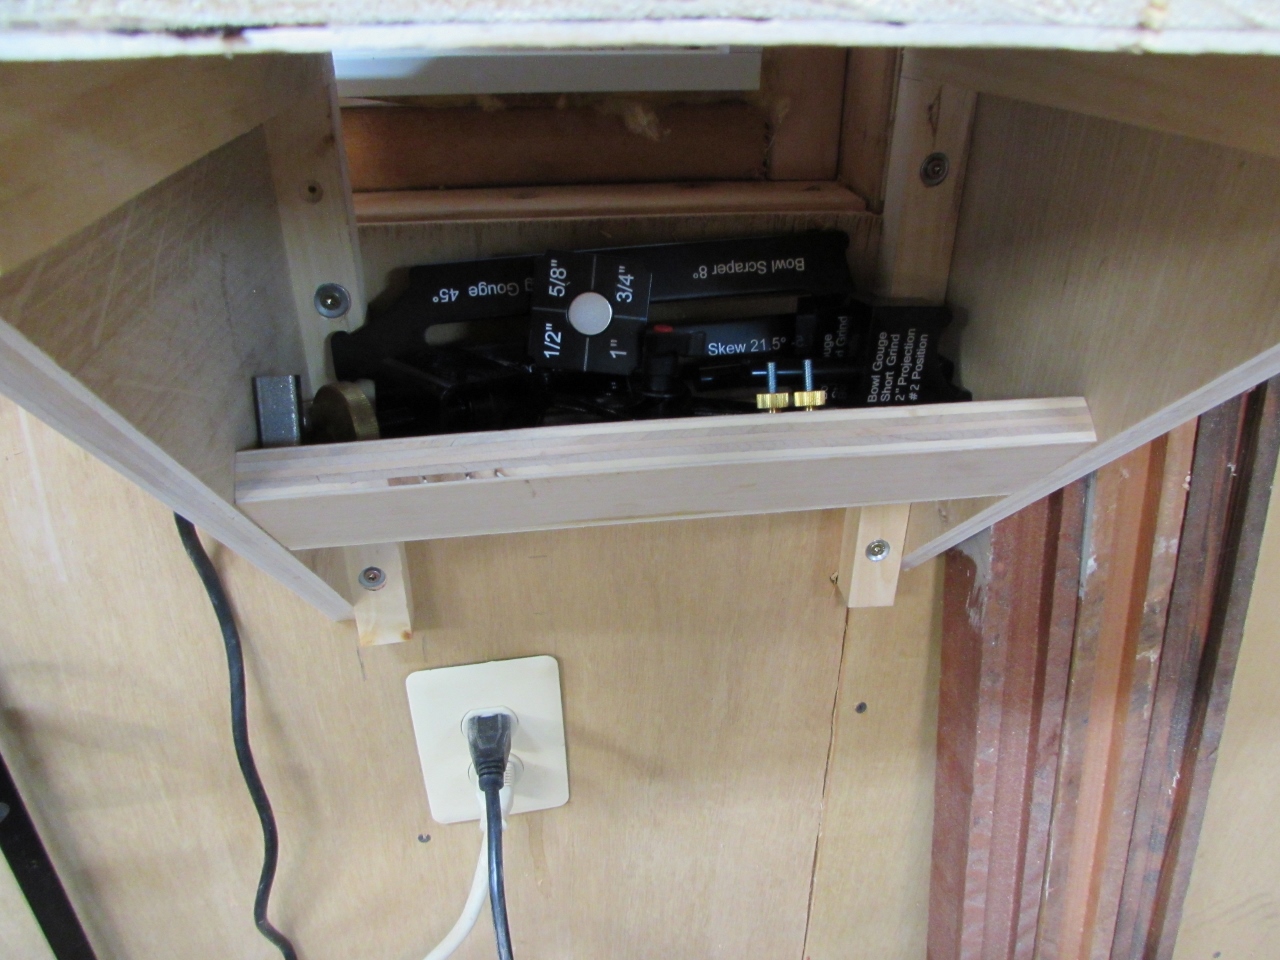
The lip holds everything in, but allows you to see what you are grabbing.

I will try to remember to let you all know how the sharpening system works, once we start using it, but for now it is one less thing in the middle of my bench…

I don’t know if this will help you with space savings plus wall clearance to allow for the sliding tube, but April Wilkerson used a heavy duty appliance lift to stash her grinder inside the lower part of the cabinet. I think the one issue is the bar has to be able to slide on through the back side, so it may or may not work. Any way, here’s the vid: https://www.youtube.com/watch?v=DMJS-oRKCtY
Thanks, I will take a look