
Erin’s Fireplace bar – day 6
This project has so many details that I have to keep bouncing back an forth between them on this blog. I think it is finally starting to come together though.
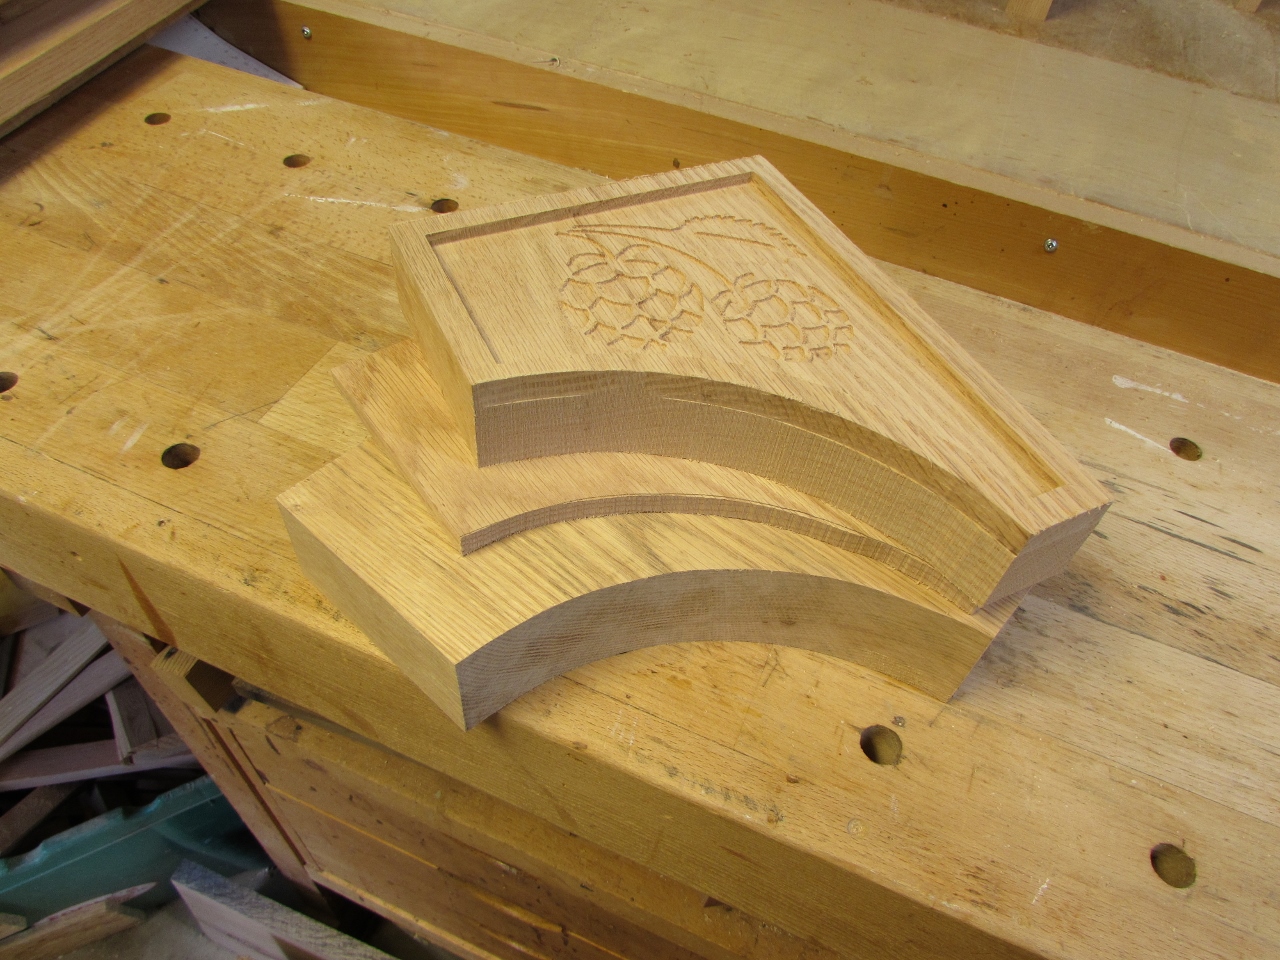
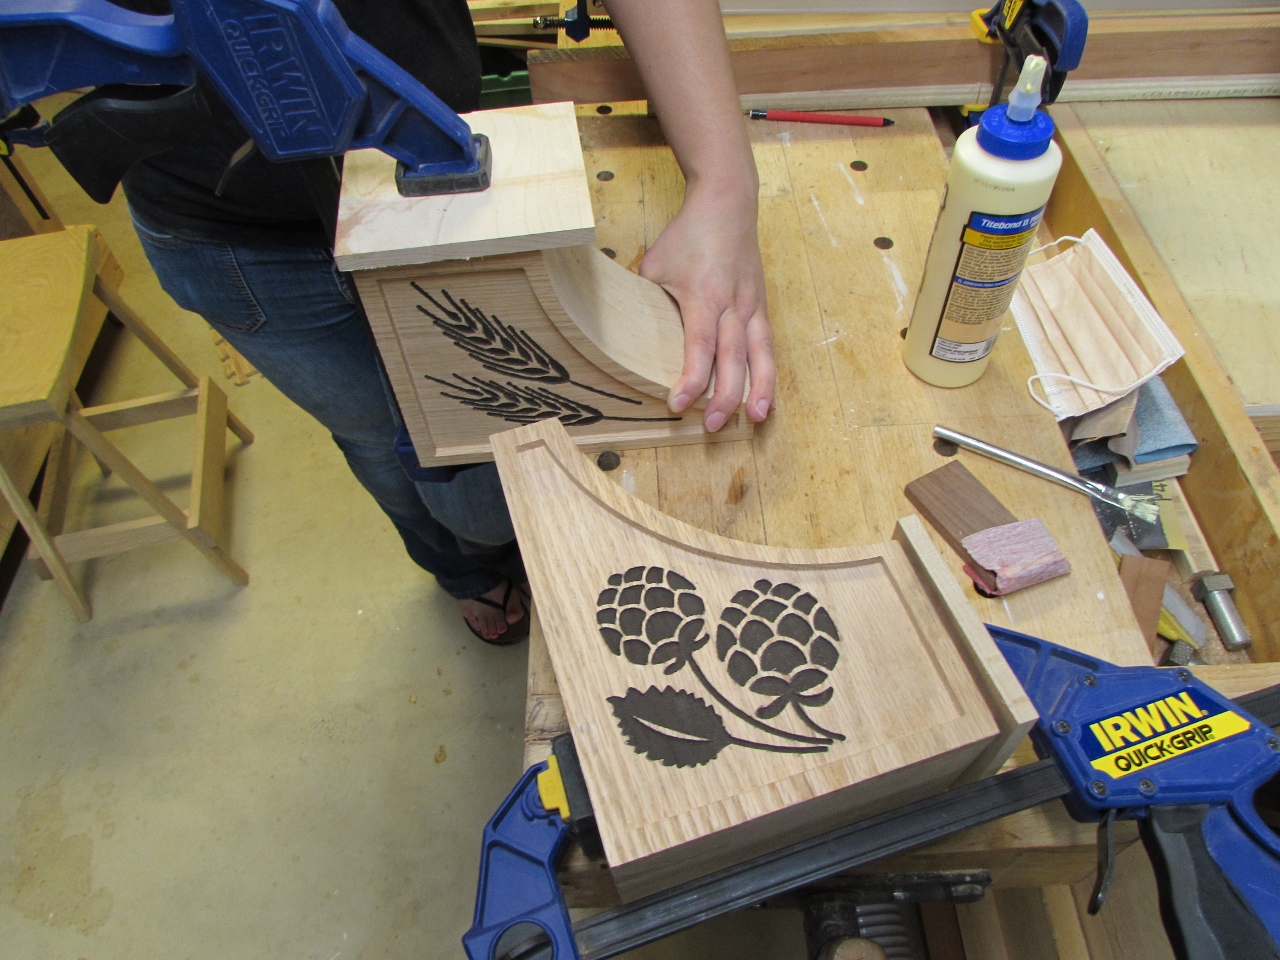
If you recall, I accidentally carved two left-side corbels, so I scavenged around to find some thicker wood to create another. I ran out of 8/4, so I used a piece of 6/4 and a thinner piece to make up the difference. I also drew up a pair of hops instead of another wheat stalk, to carve. It turned out better than the wheat, less tear-out.
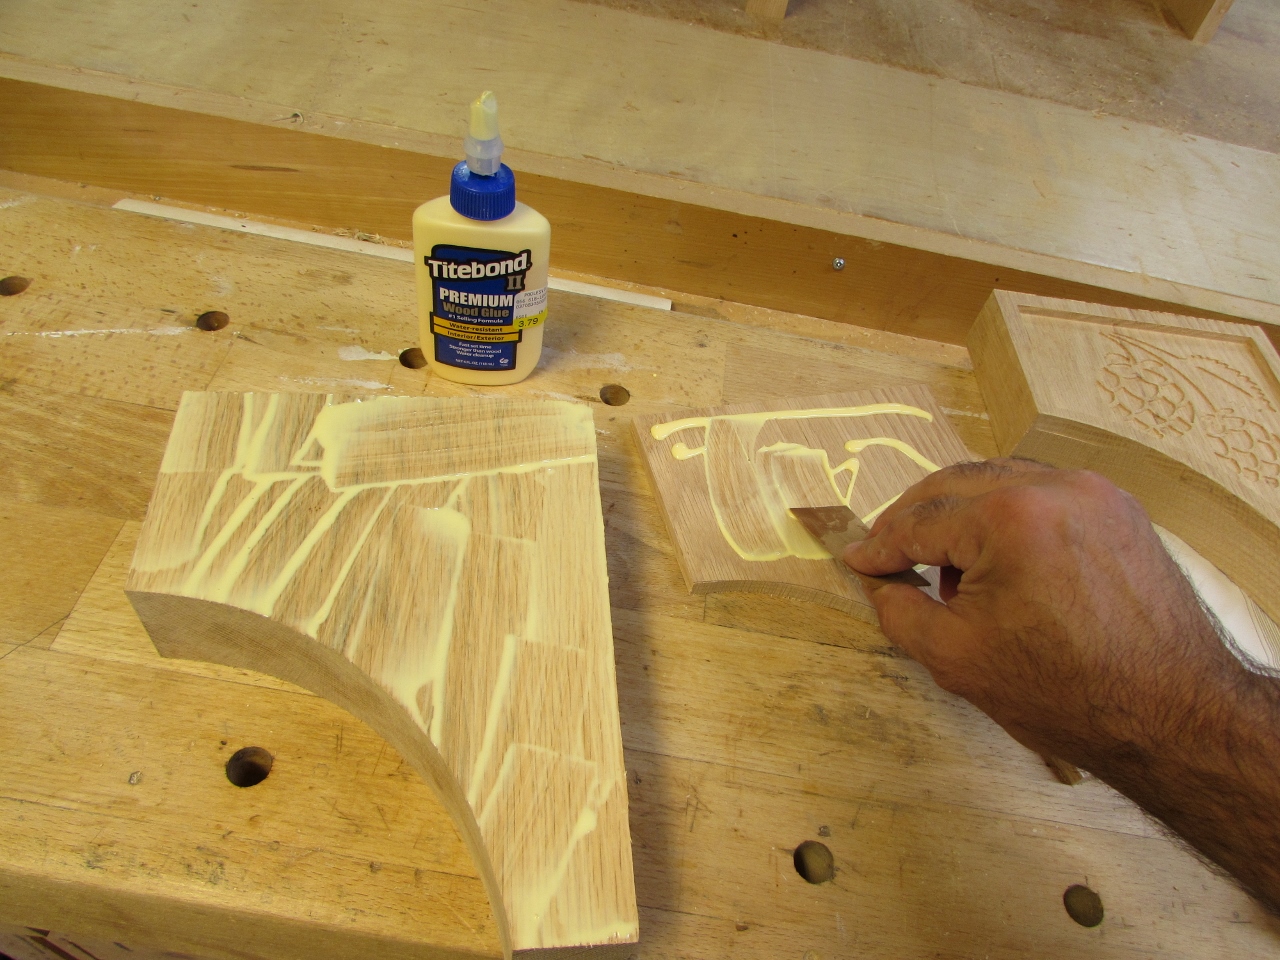
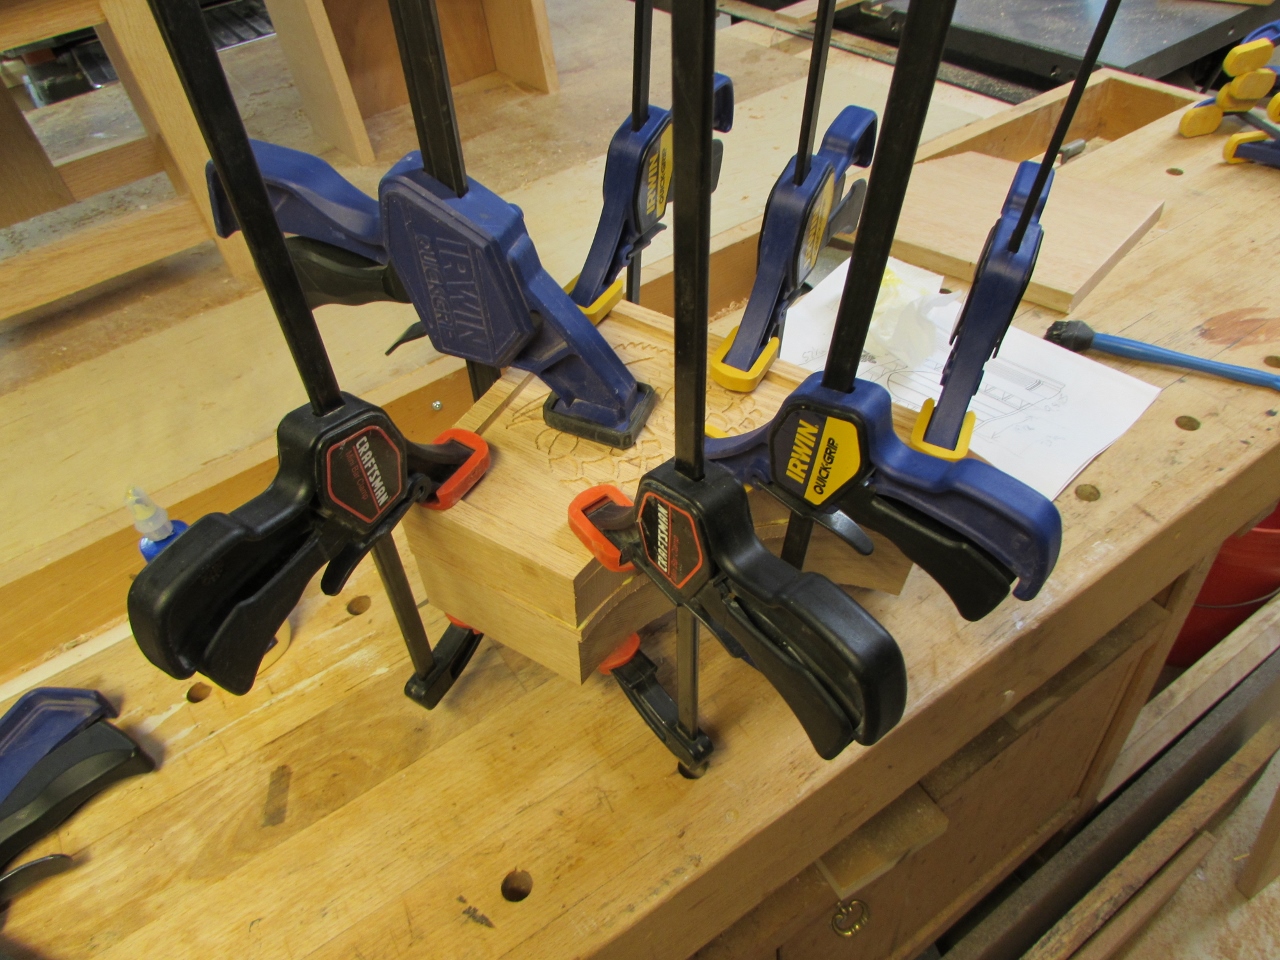
I glued up the three pieces, and clamped them up.

A little paint and sanding, and we had our right-hand corbel.

Also, over the last week, I had some time to apply two coats of porch paint to the outside of the liquor cabinet. This should help resist any moisture that may build up in the fireplace.


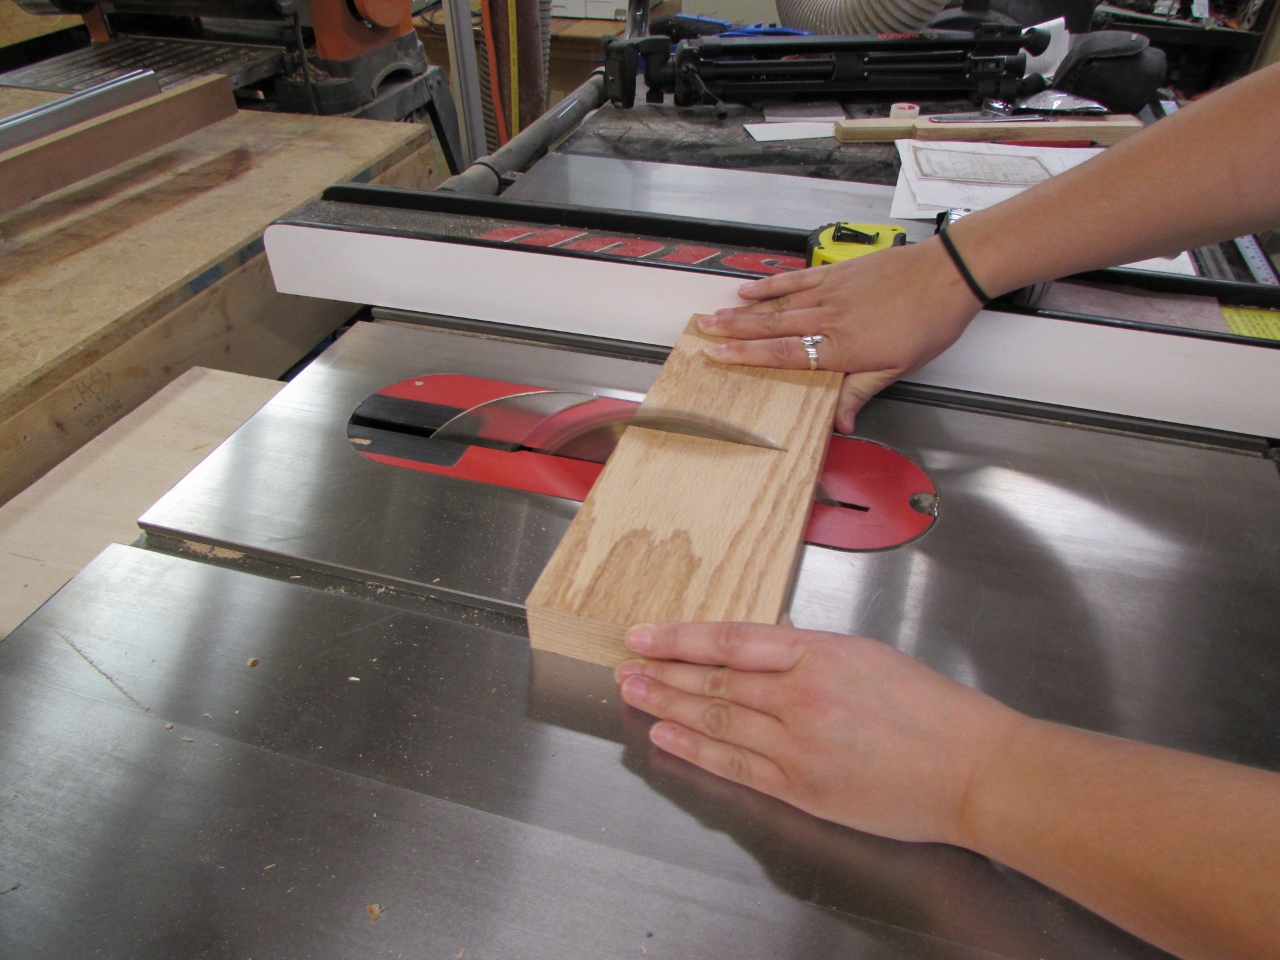
Erin came over last night, so we cut down the two sides of the face piece, that we marked last week.

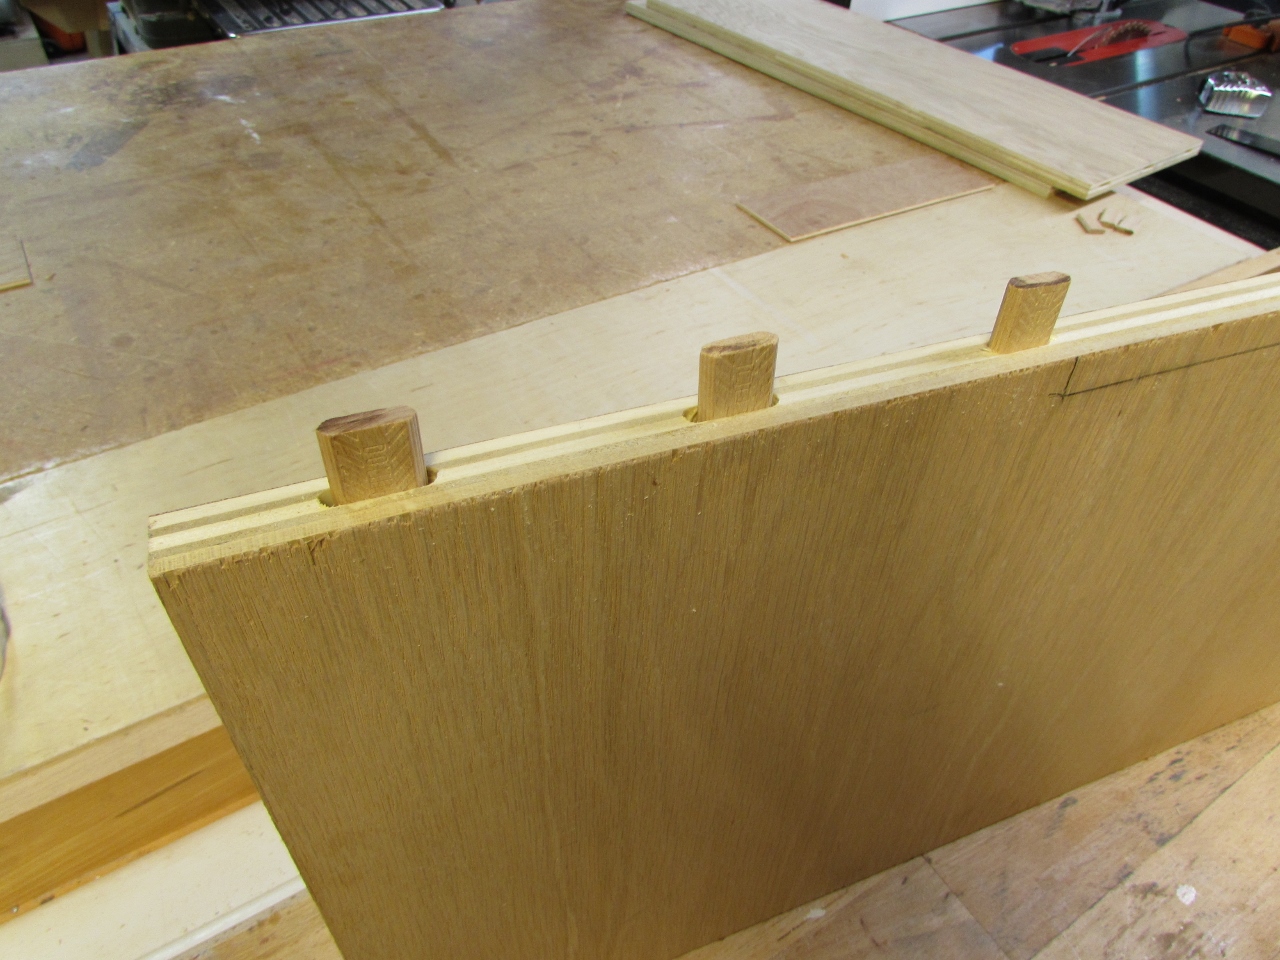
In order to attach the two sides to the top, we are using my new Domino jointer. We wanted the grain to match all the way around the face, but we had to cut the top off to fit into my carver. We lined the side pieces back in place, and marked the location of the Dominos.
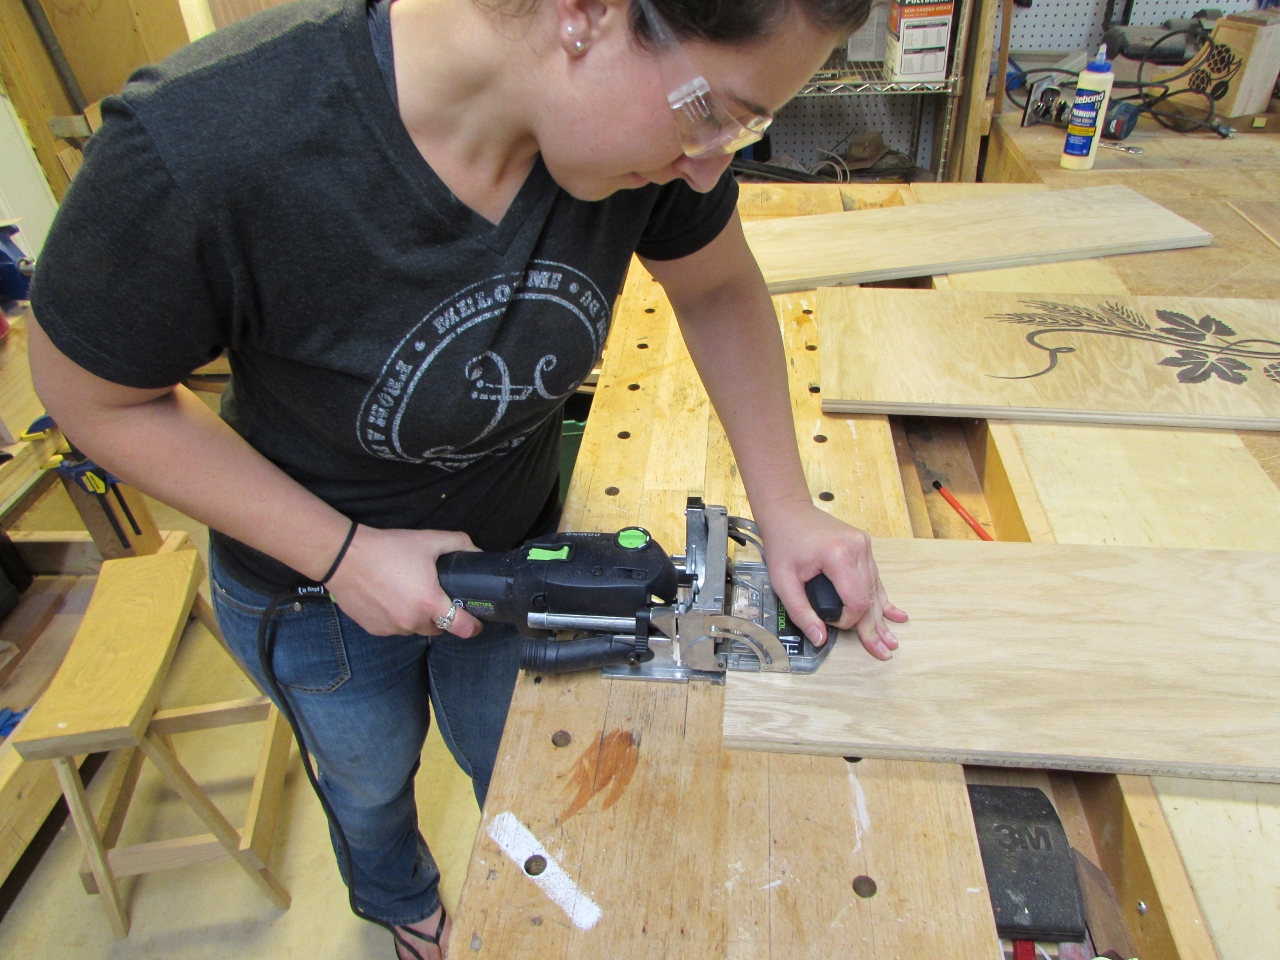
I showed Erin how it worked and let her cut all the mortises, three on each side.

Erin applied some wood glue to each mortise, then I tapped a floating tenon into each hole.

Erin then proceeded to apply glue to the other side, and we clamped them up to dry. I used some straight, rigid cherry boards to hold the entire assembly flat at each joint.


While that was drying, we moved over to work on the last corbel. Erin cut the 1/4″ deep recess with the router and I cleaned up the edges with a sharp chisel.
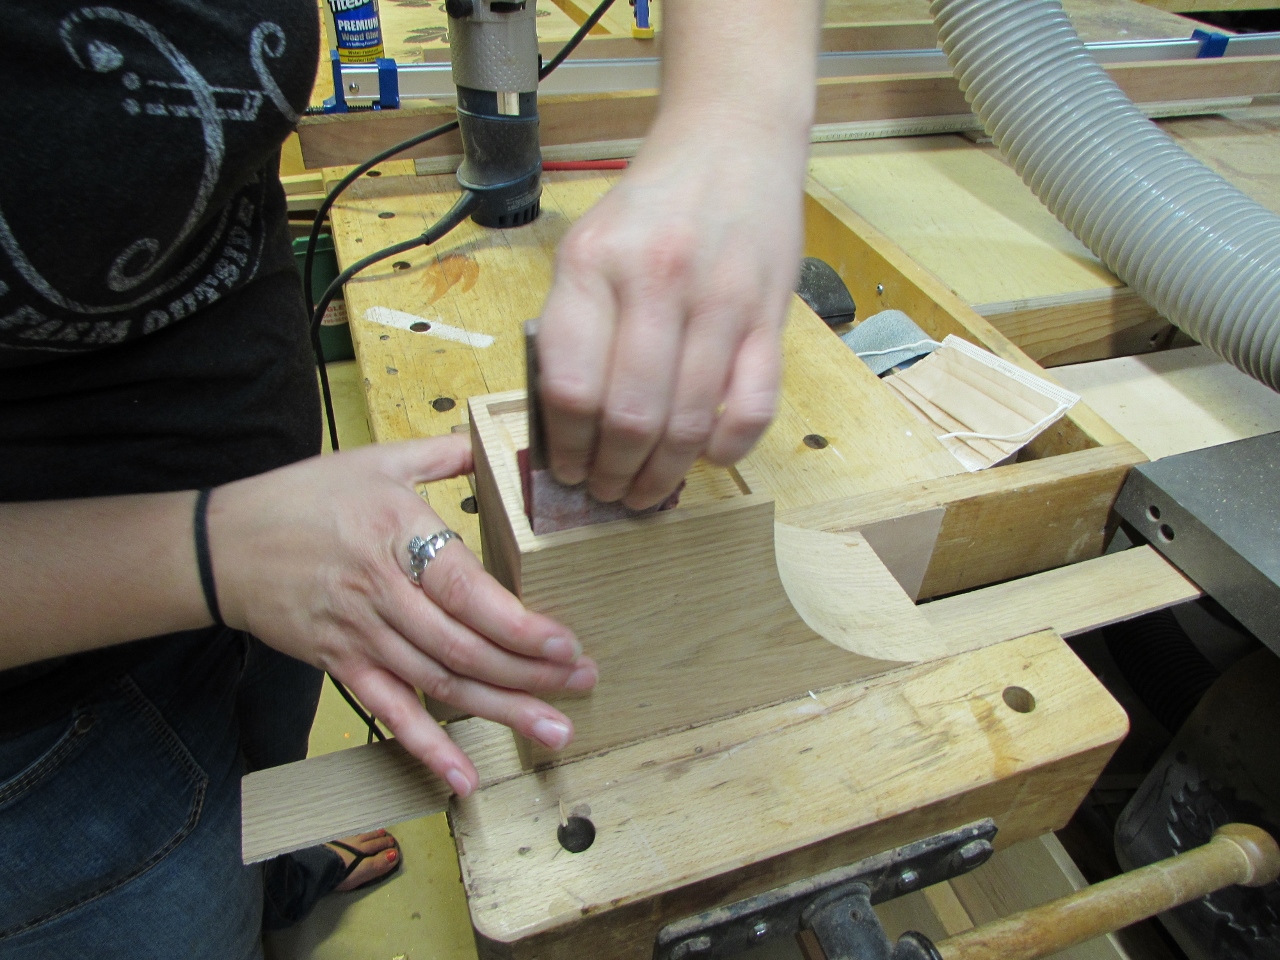
After a bit of sanding, we applied the wood glue and assembled the rosettes.
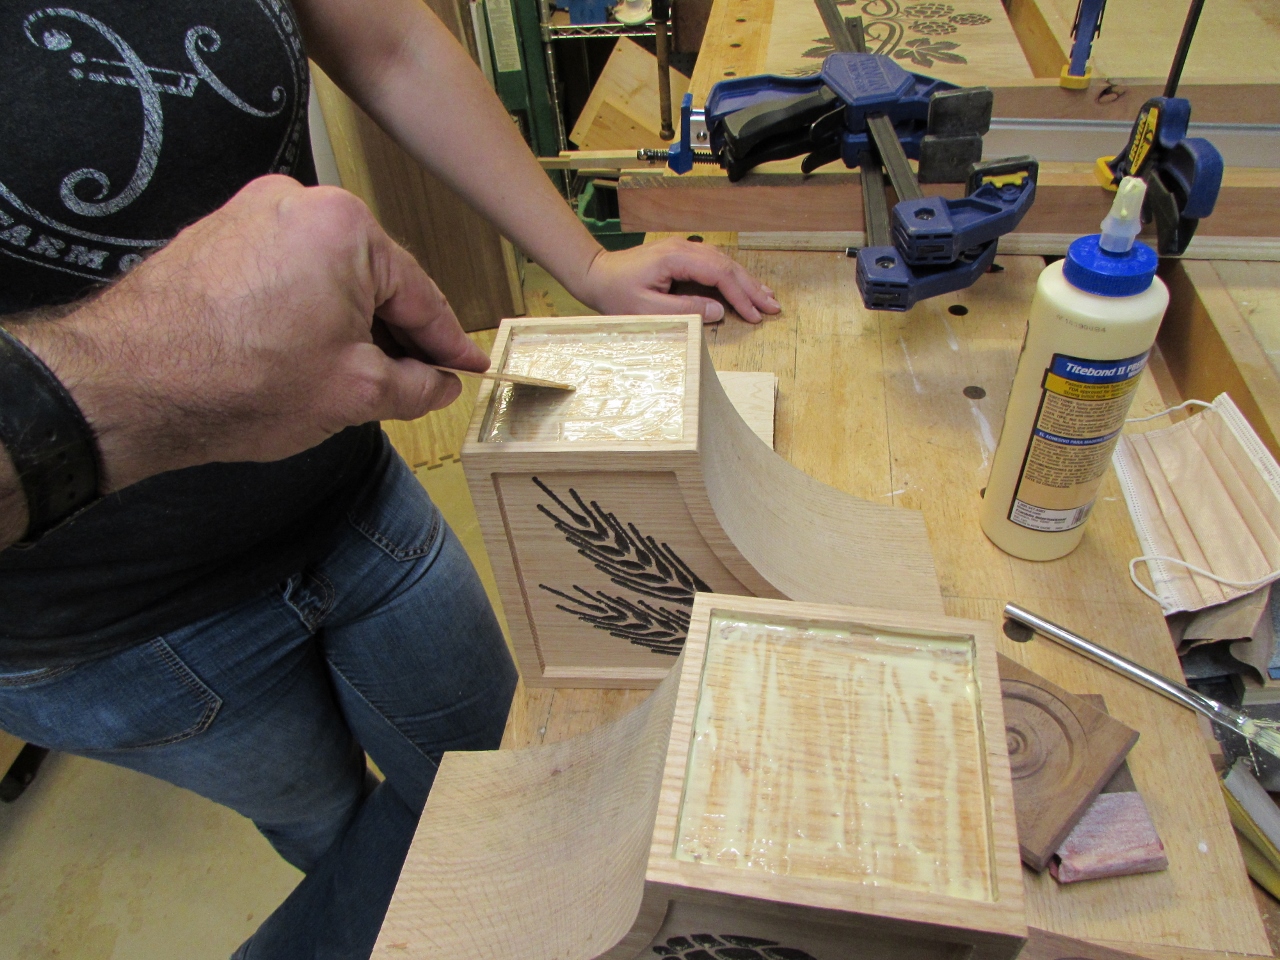

I used a couple of square maple plates to evenly spread the clamping pressure along the face of the rosettes, when clamped.
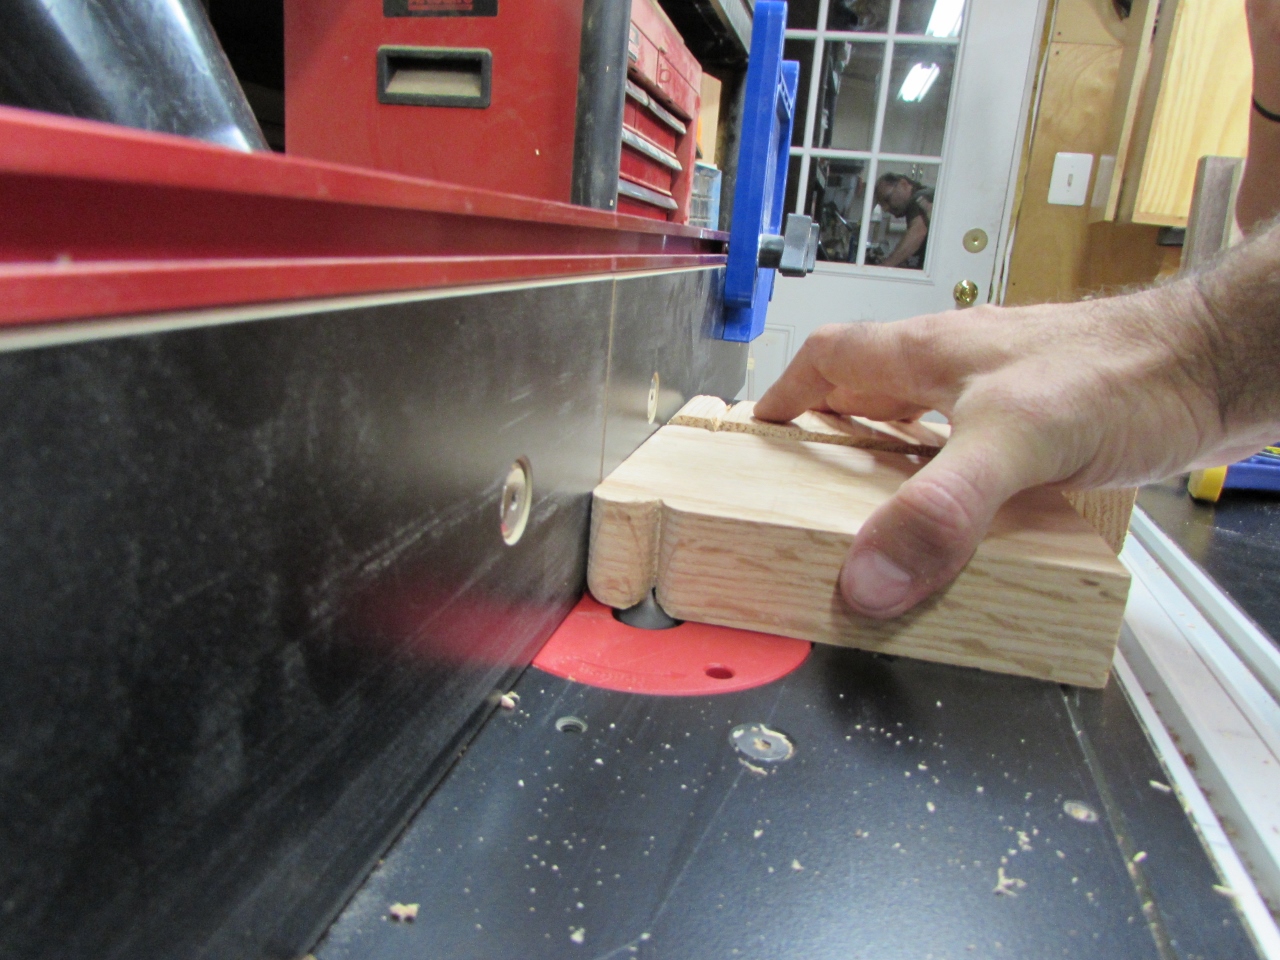
I had one little piece of 6/4 left to create the plinths for the bottom of the columns. We planed it down to 1-3/8″ thick, and cut two 4-3/4″x6″ tall pieces out of it.

To create the bead at the top of the plinth, we used a 3/8″ round-over bit for the top three sides, on the router table. For the inner bead, I bought a 3/8″ point cutting round-over bit. We set the fence back 3/4″ and cut the bead in over several passes, raising the bit with each pass until we got the depth we wanted.
The bead turned out really nice after a bit of sanding.

Erin had to head home, so before she left, we pulled the clamps, on the face and laid out the pieces we had so far.

There are still a few pieces to add to the top of the corbels, but this gives a good visual.
