
Mini church furniture – Tabernacle and stand
My project this weekend, is to get the tabernacle and stand done.
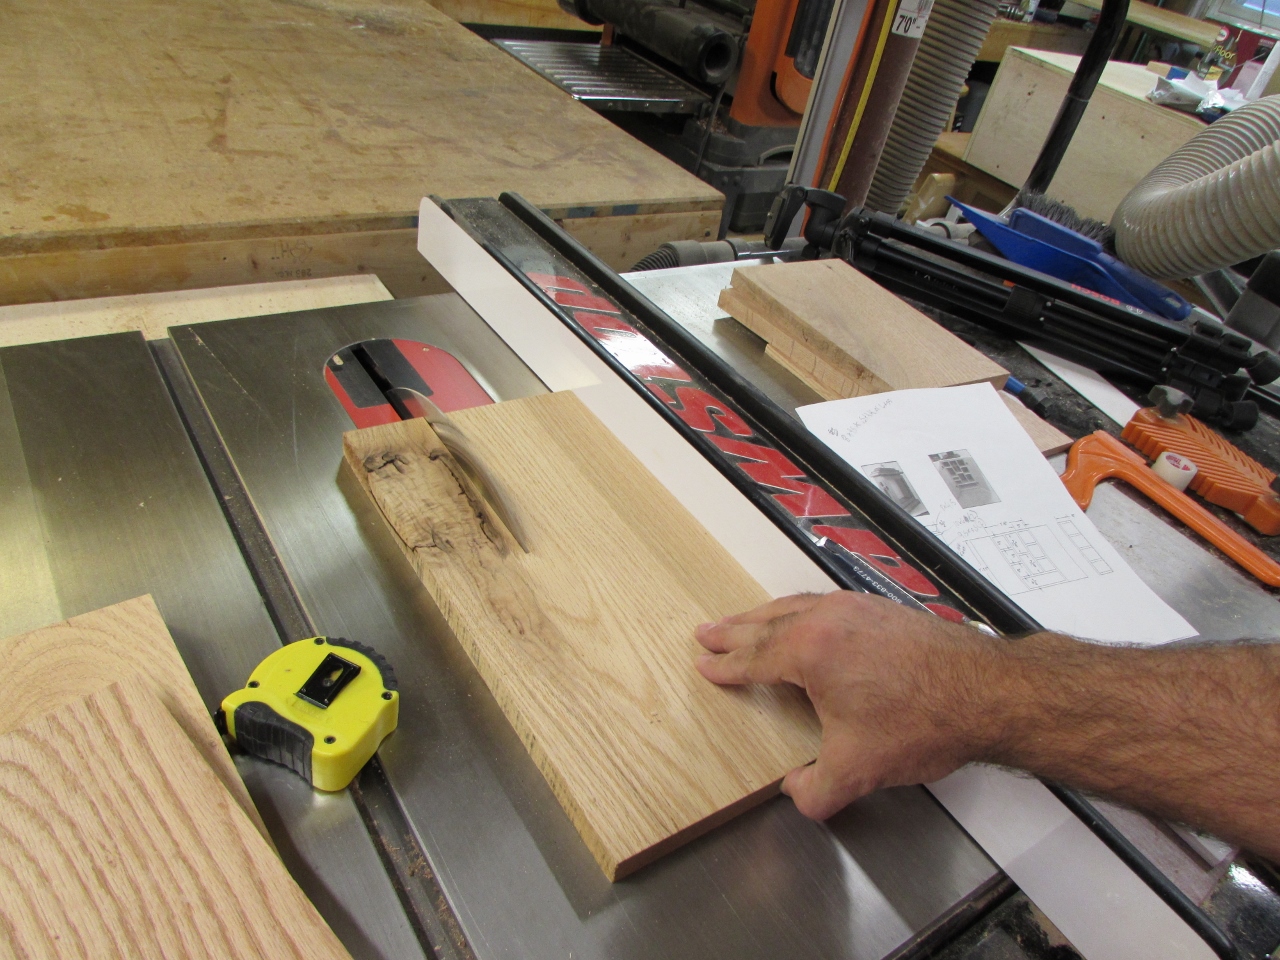
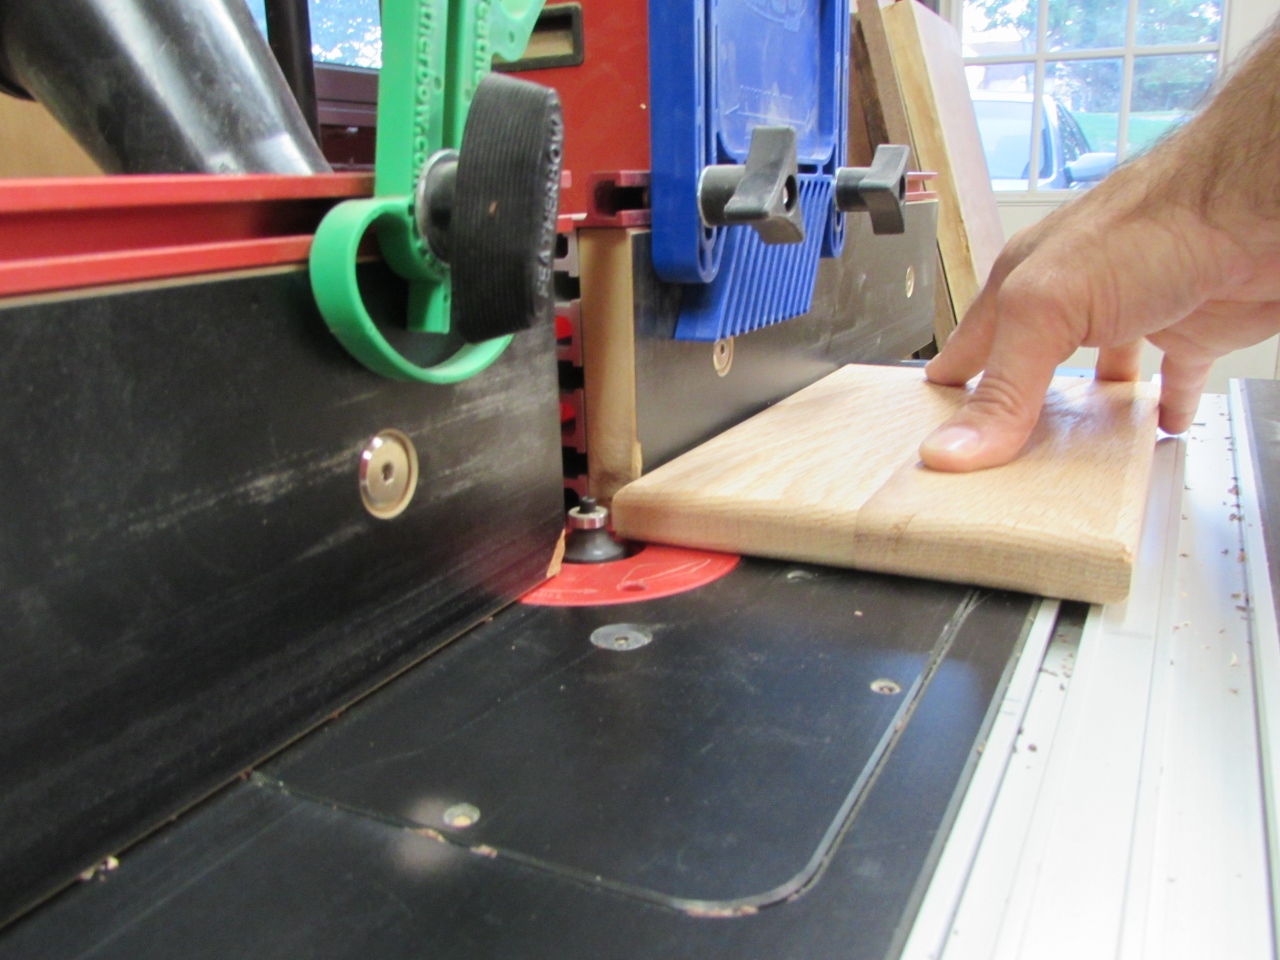
I start by cutting all the sides down to size, for the tabernacle, then I round over the edges on the top and bottom pieces.
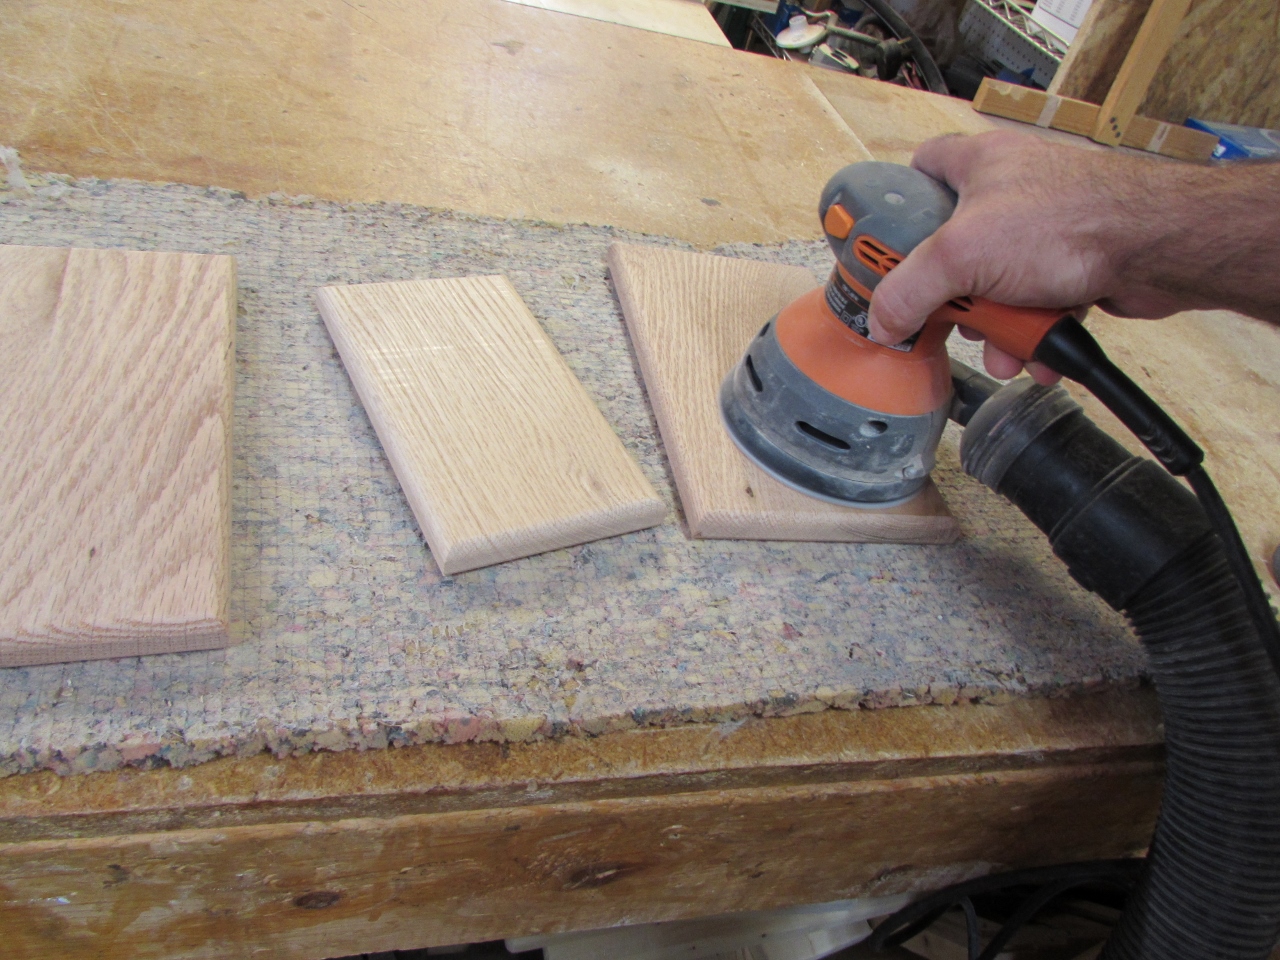
Next, I gave all the panels a quick sanding.
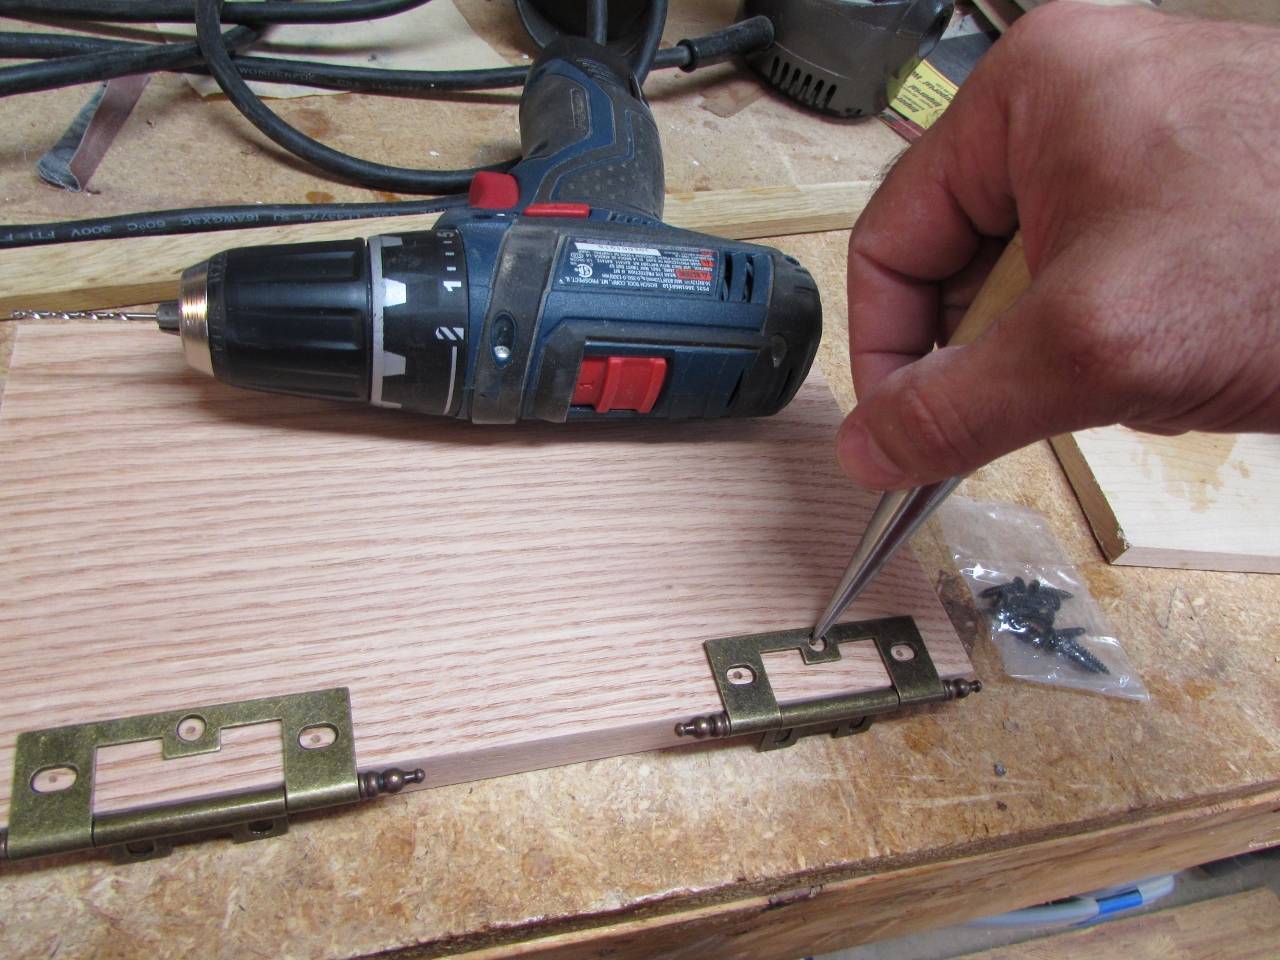
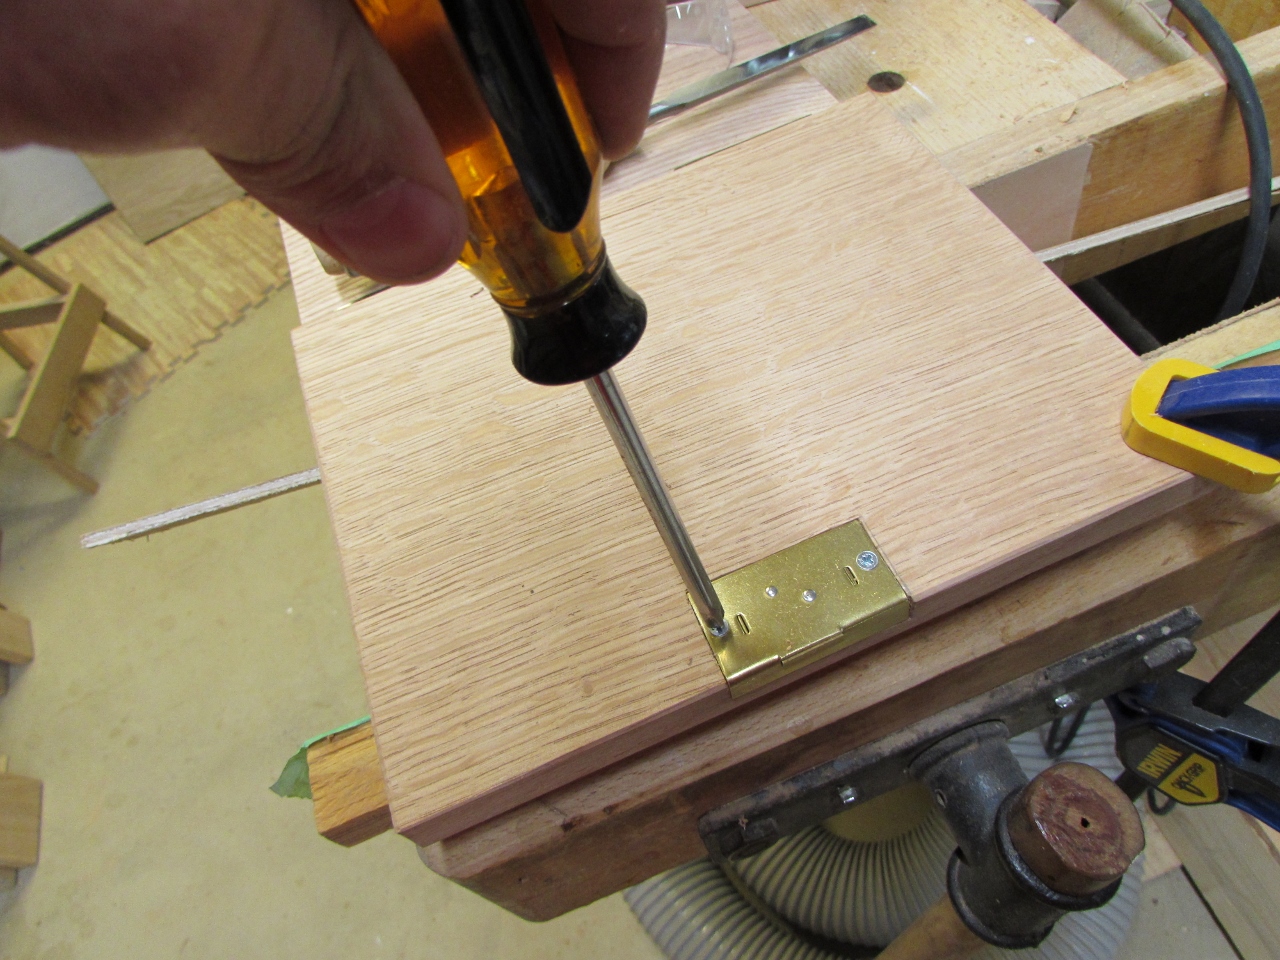
I laid the hinges out on the side panel, before I built the box, so that they would be a lot easier to install.
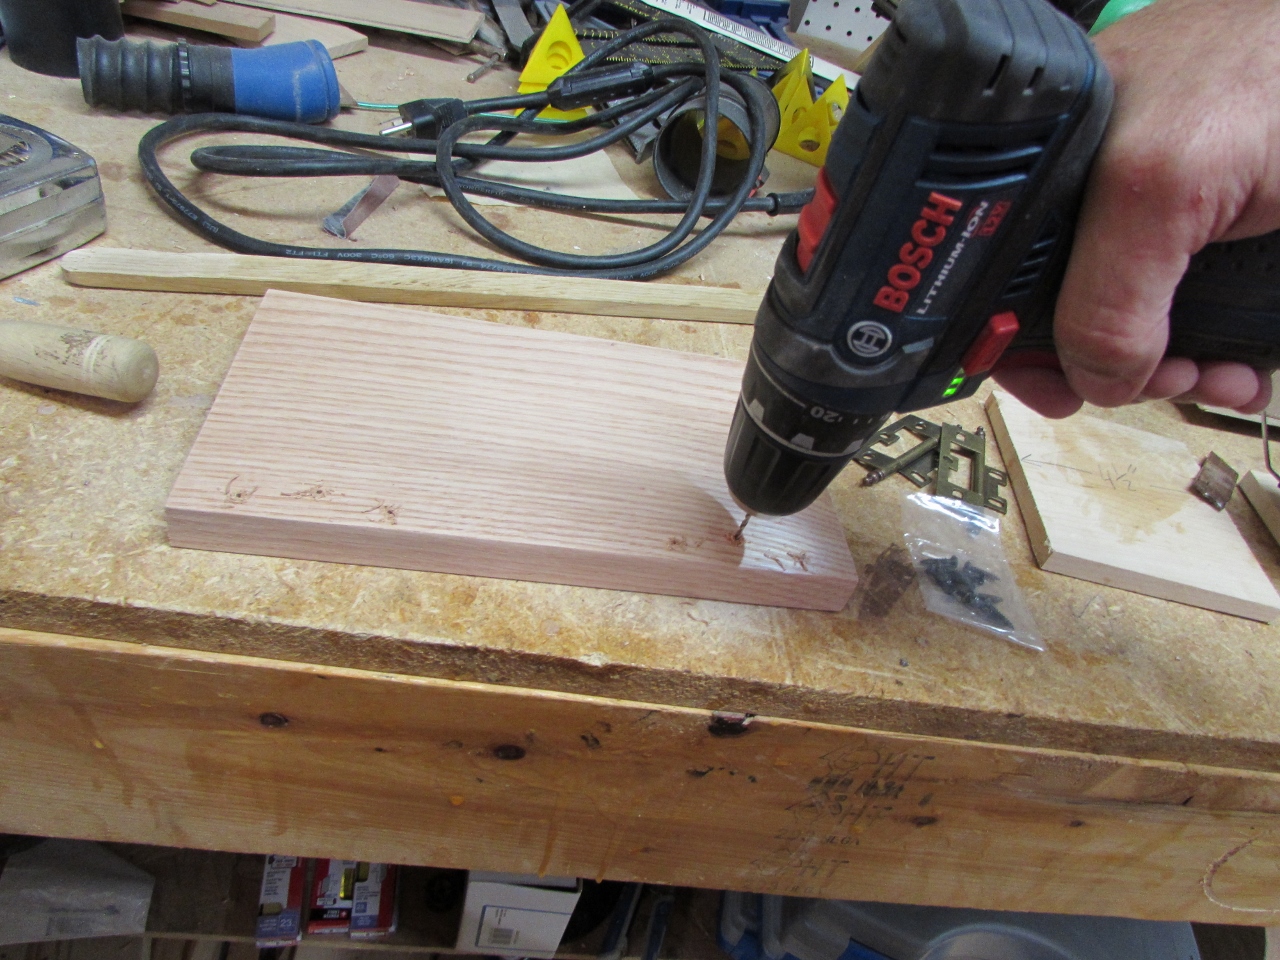
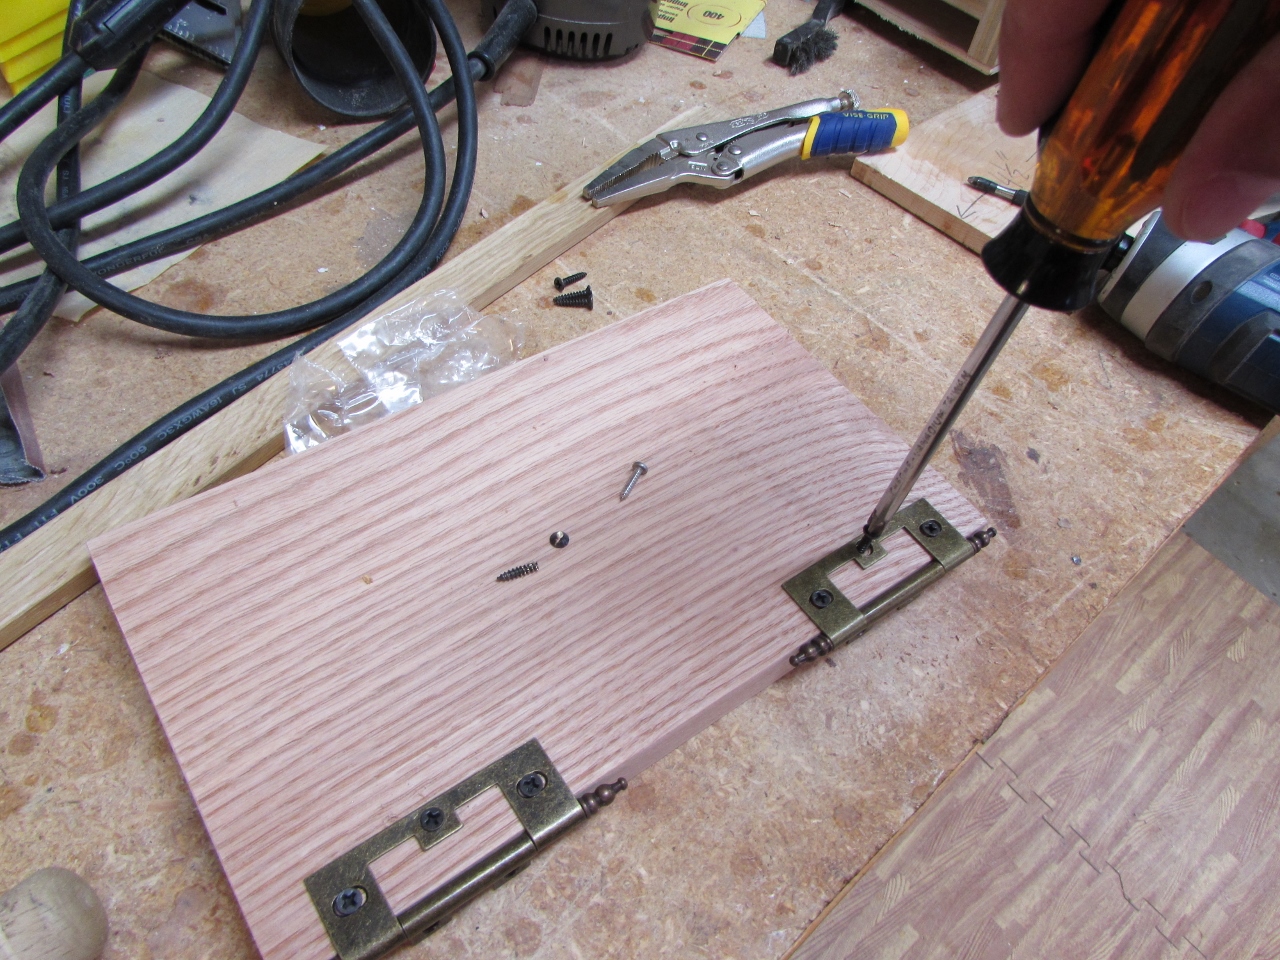
I threw away the brass screws that came with the hinges because they break so easily when they are screwed into hardwood. I used some steel screws instead and had a lot better luck.
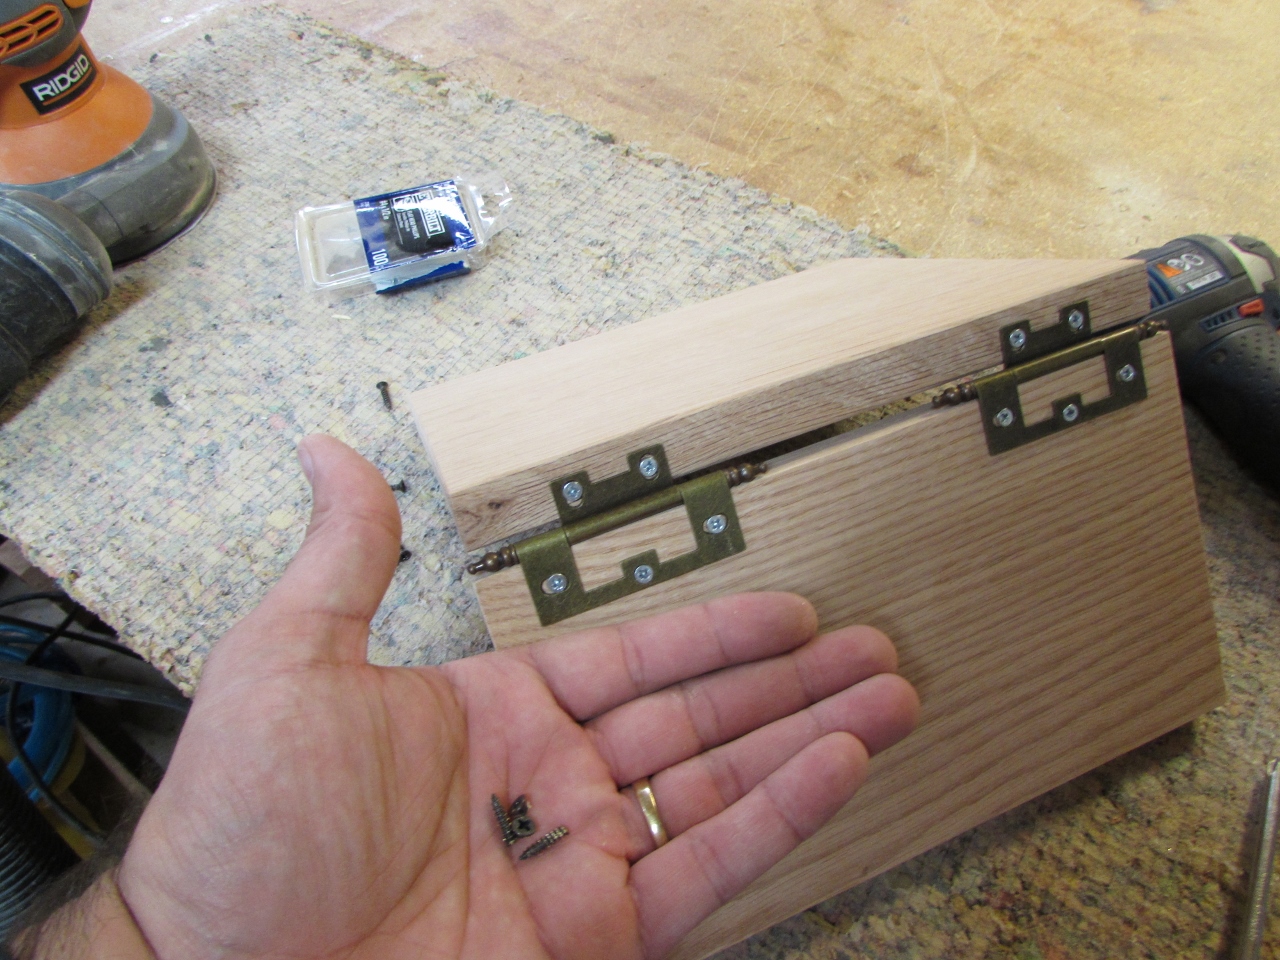
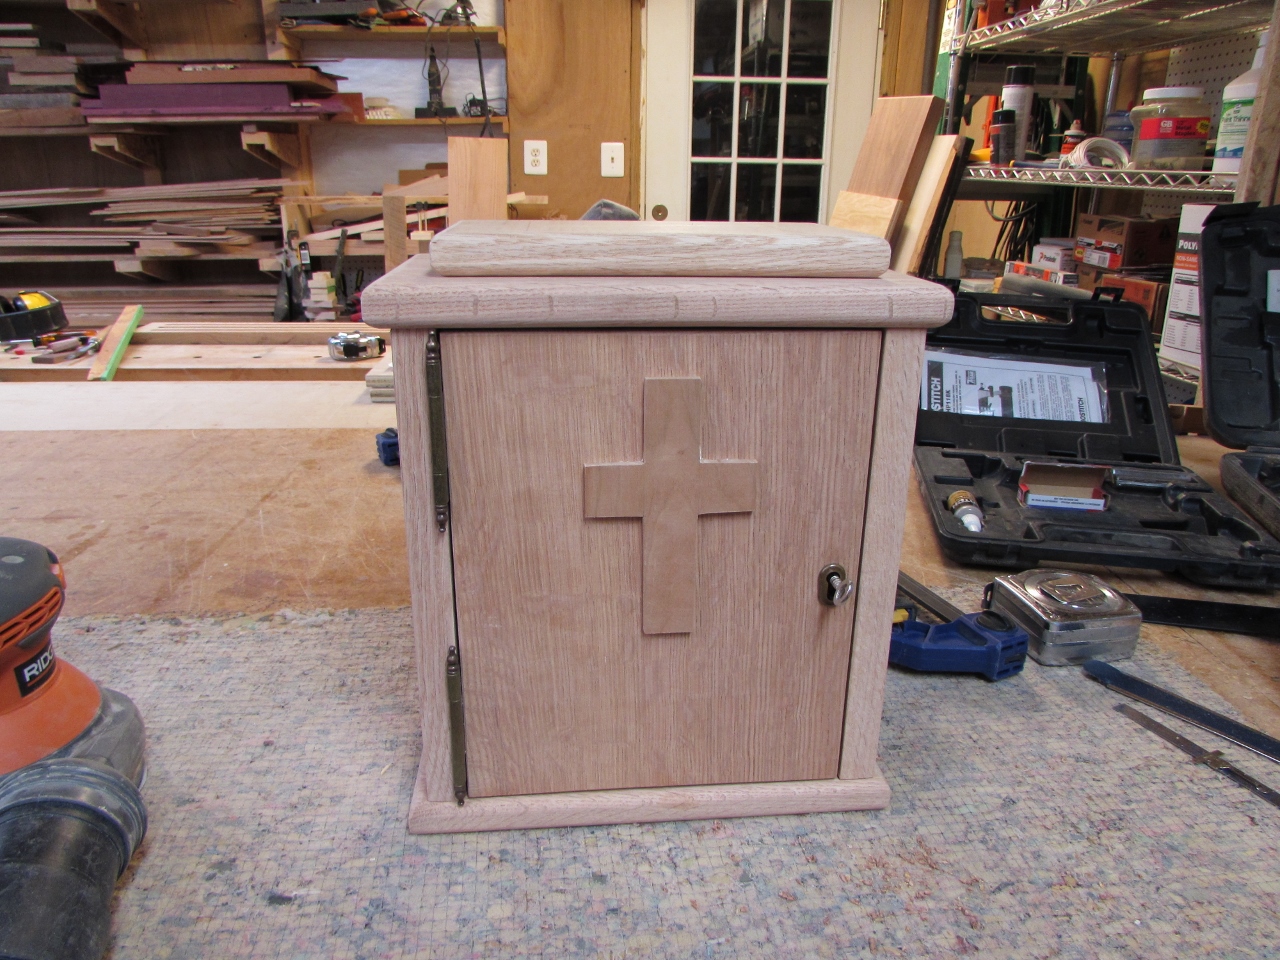
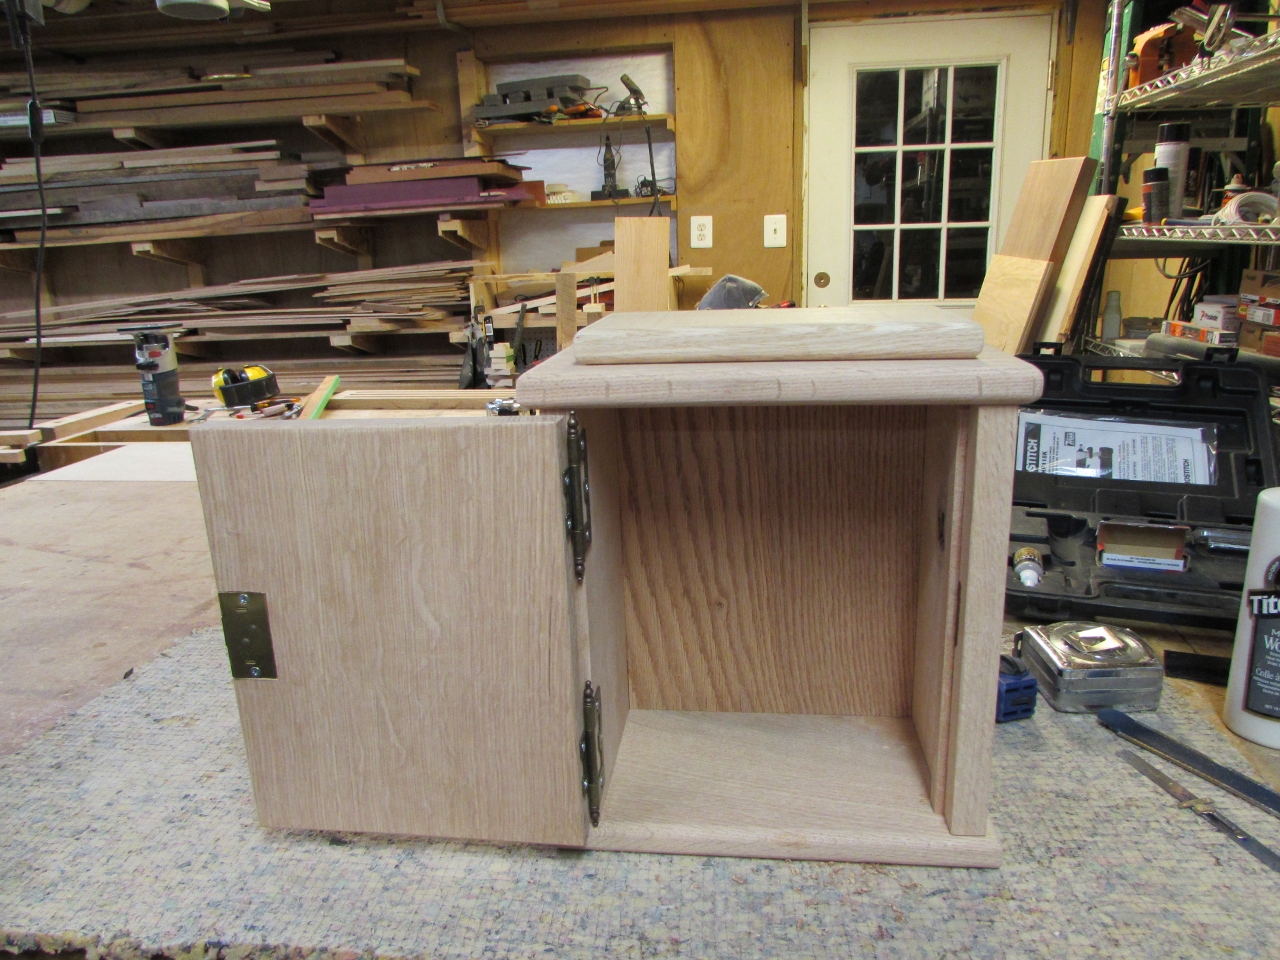
I dry-fit everything to make sure the door worked properly, then took it all apart to lay out the lock.
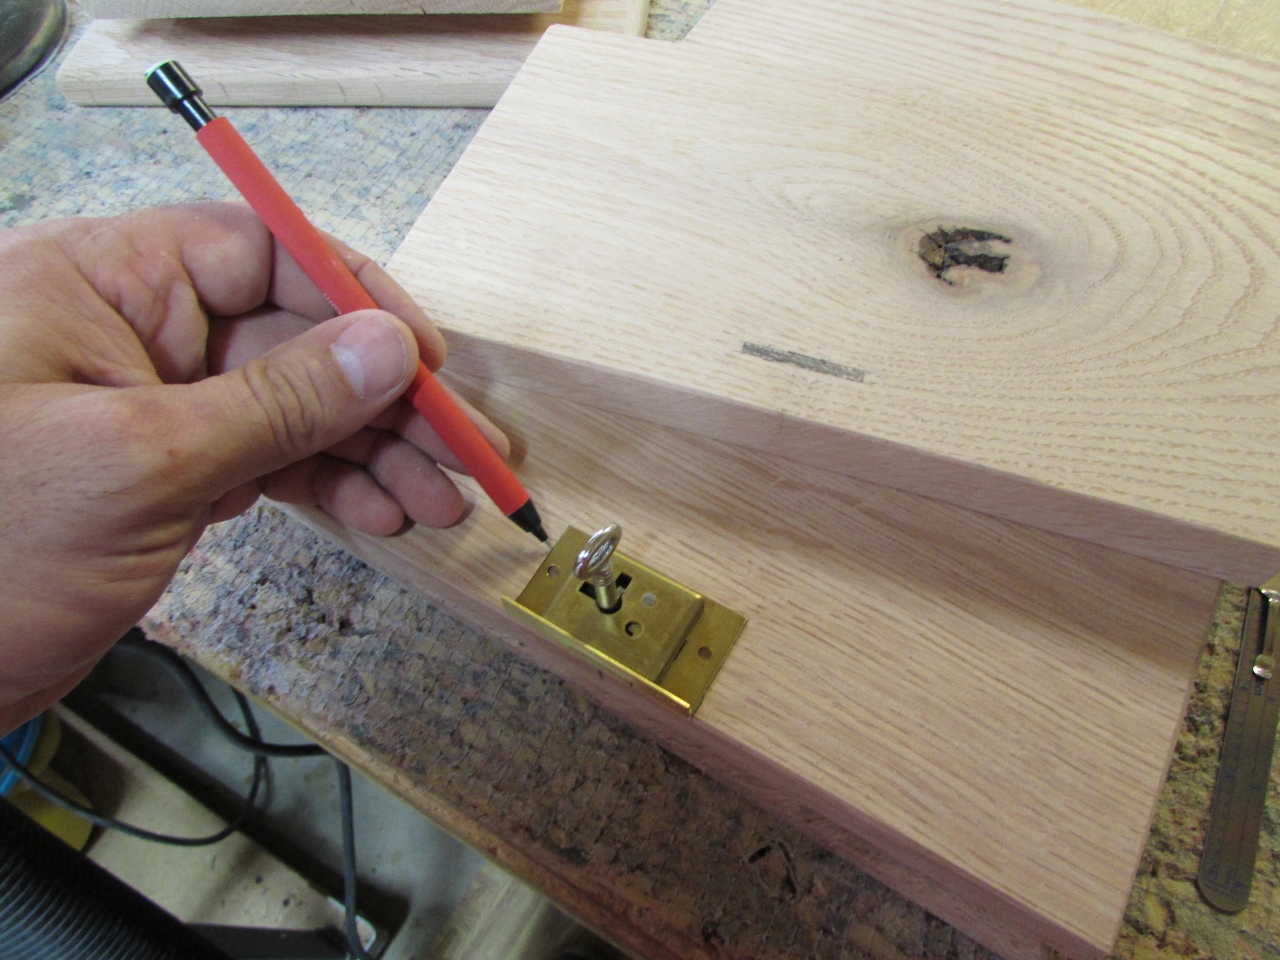
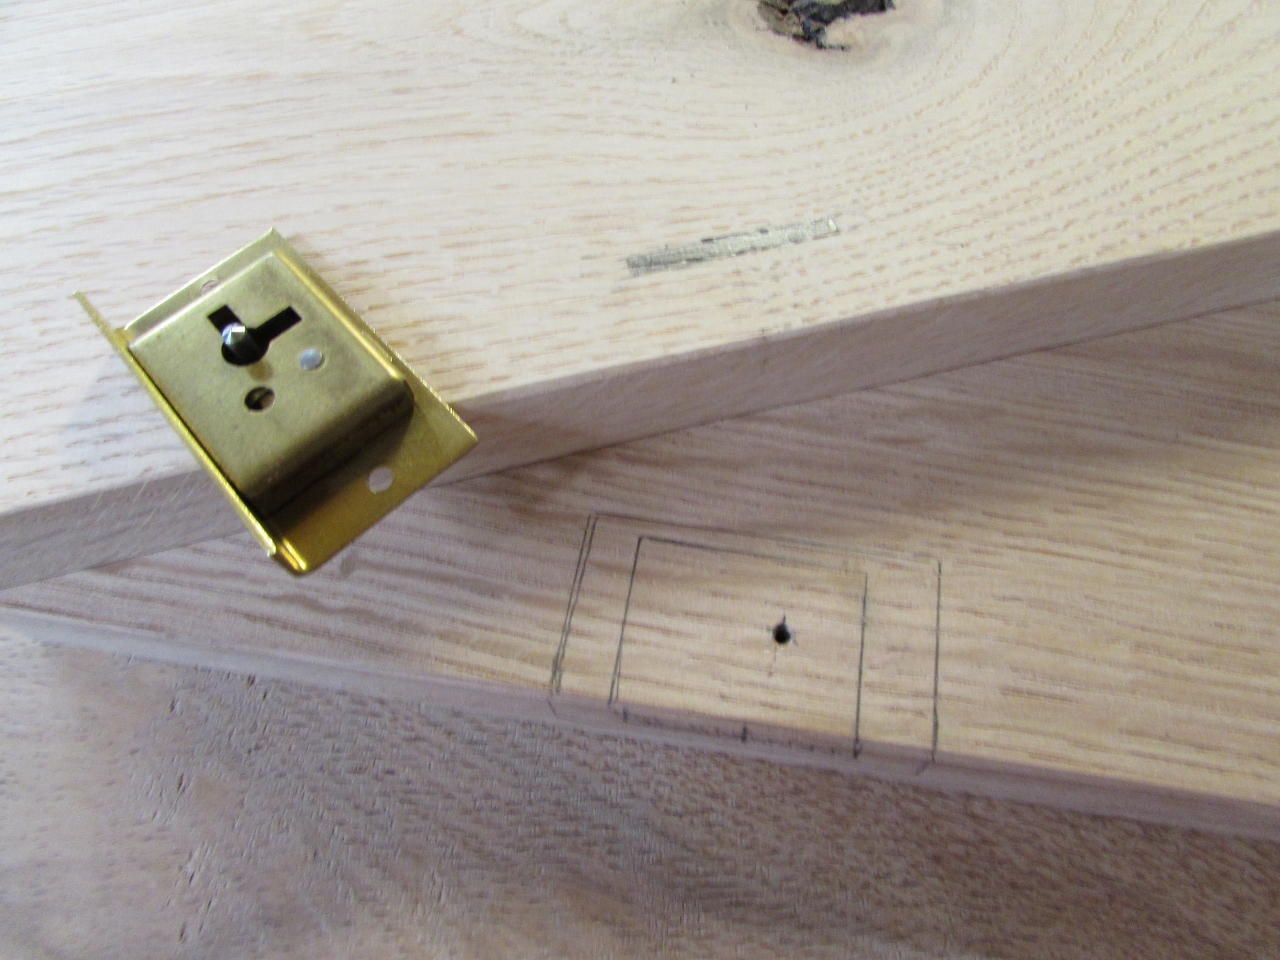
Next step was to center the lock on the door, then locate where the latch hit the side panel.
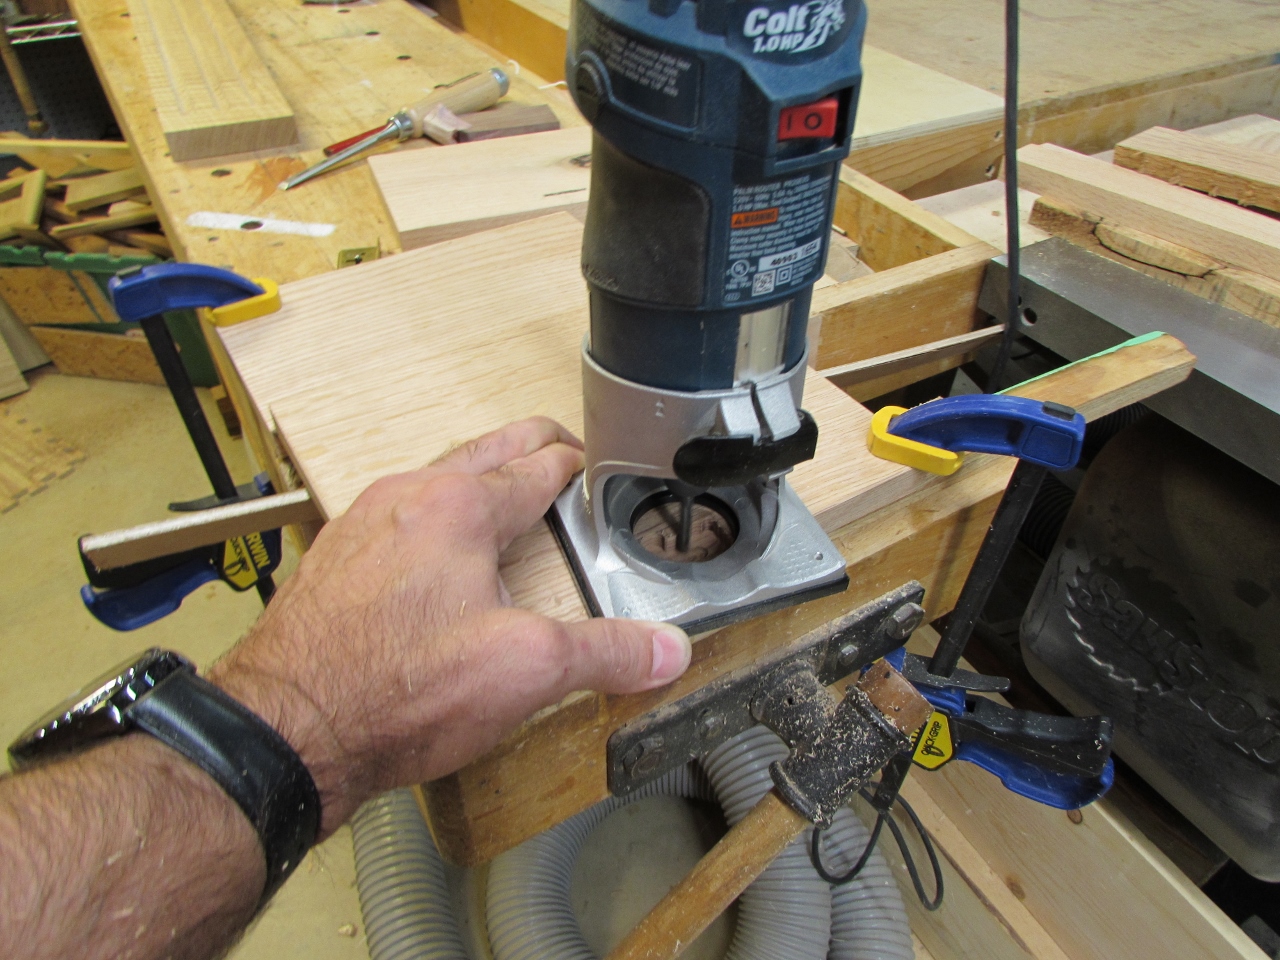
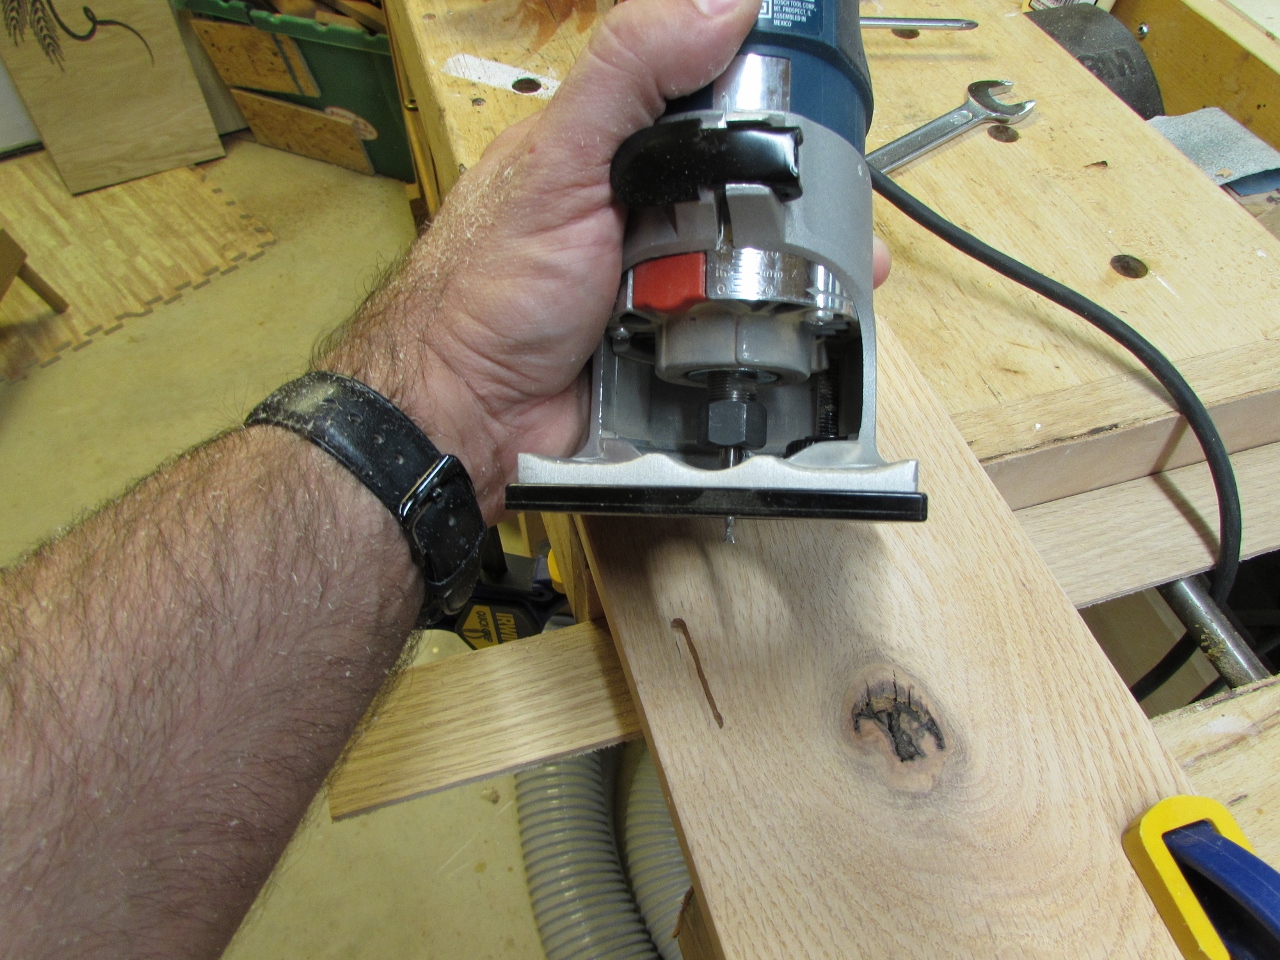
I used my trim router, with a 1/4″ spiral bit, to rout the main pocket. Then I used chisels to remove the shallower areas.

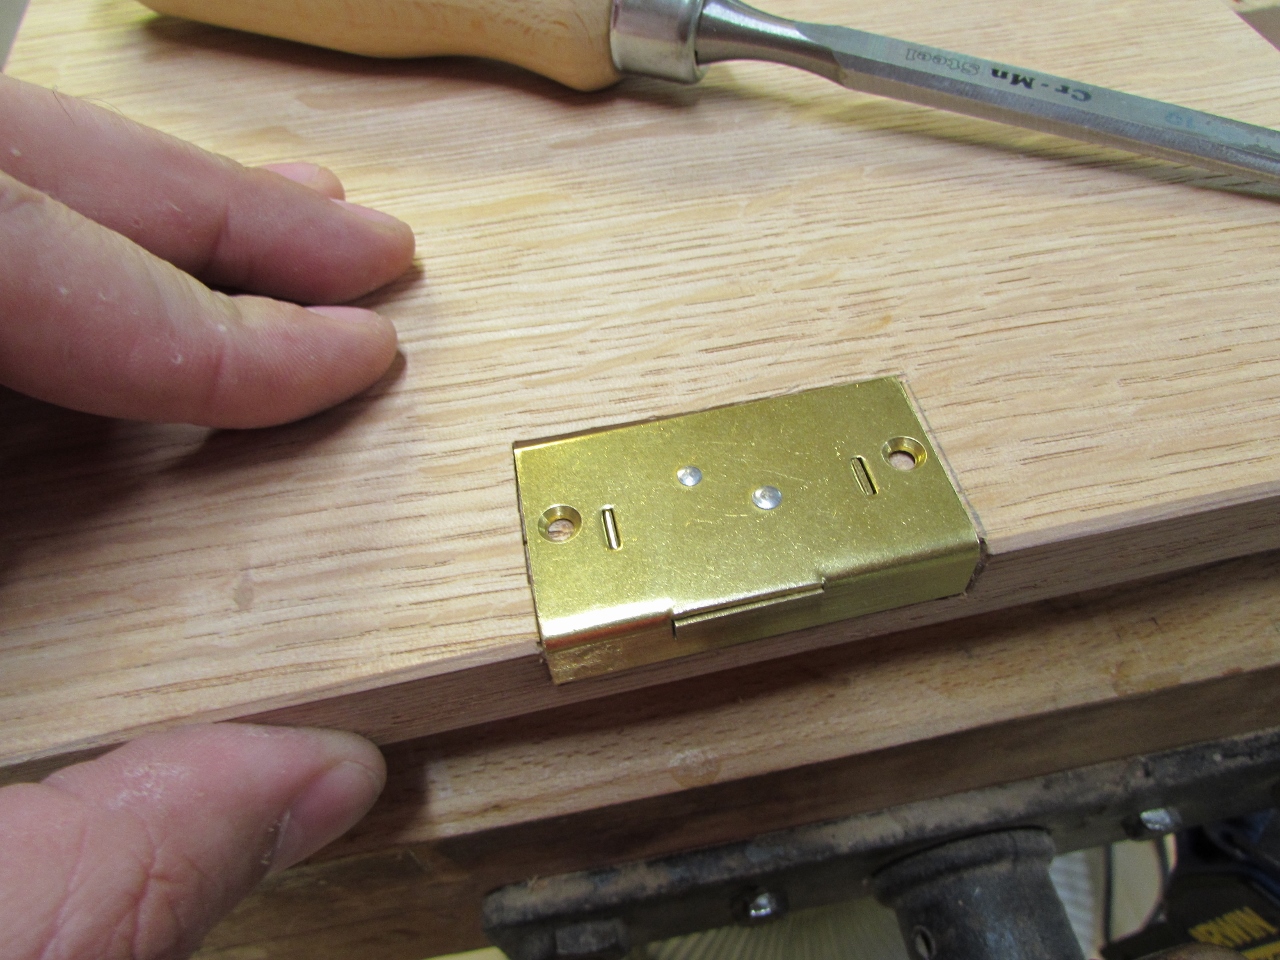
Once it fit, I screwed it into place.
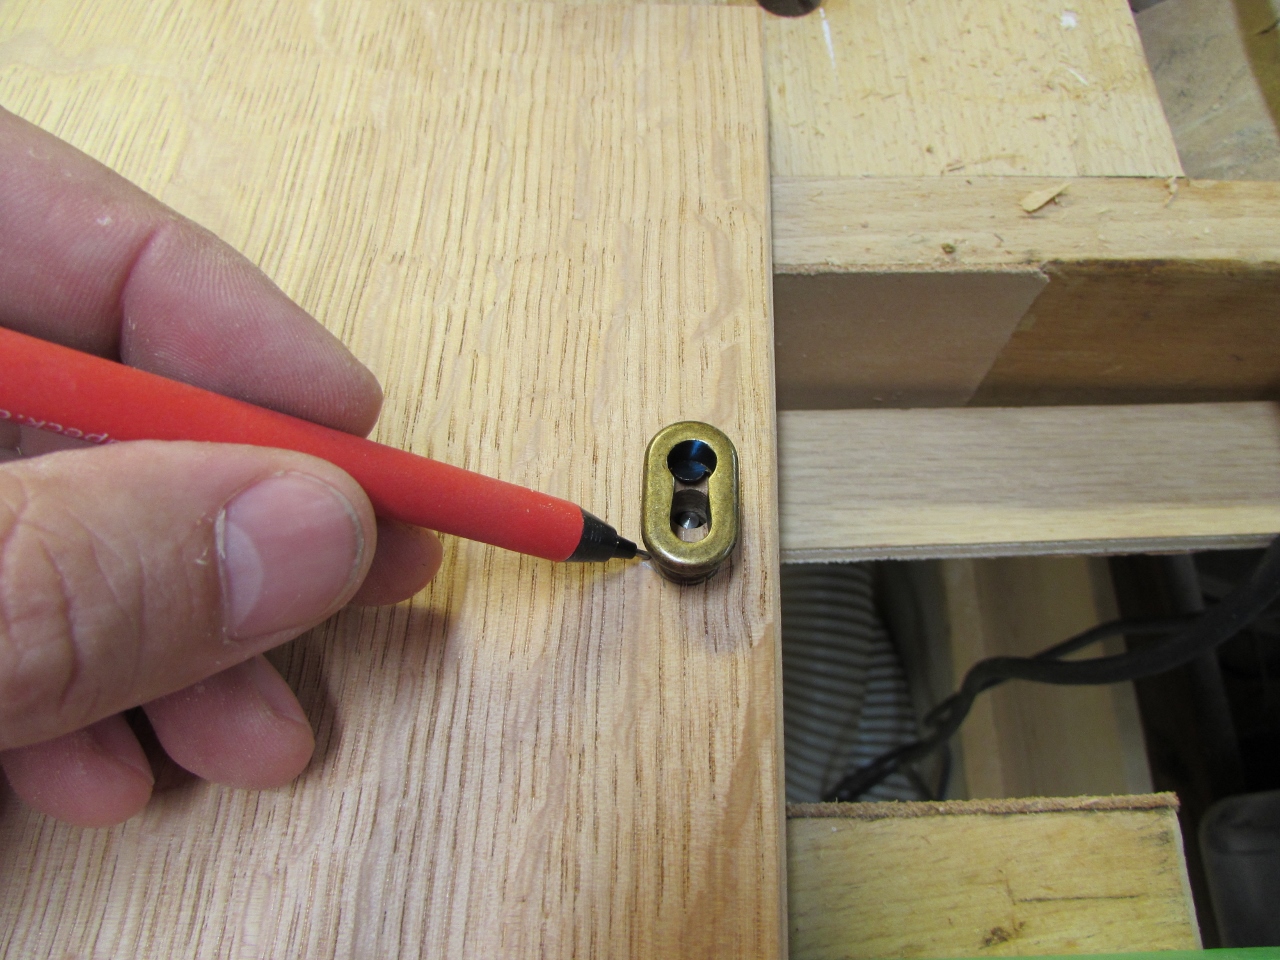
I have an extra key hole lying around, so I marked it and routed a pocket for it as well.

Yeah, everything works!

Next, I switched to a thinner bit and cut away a groove for the latch.
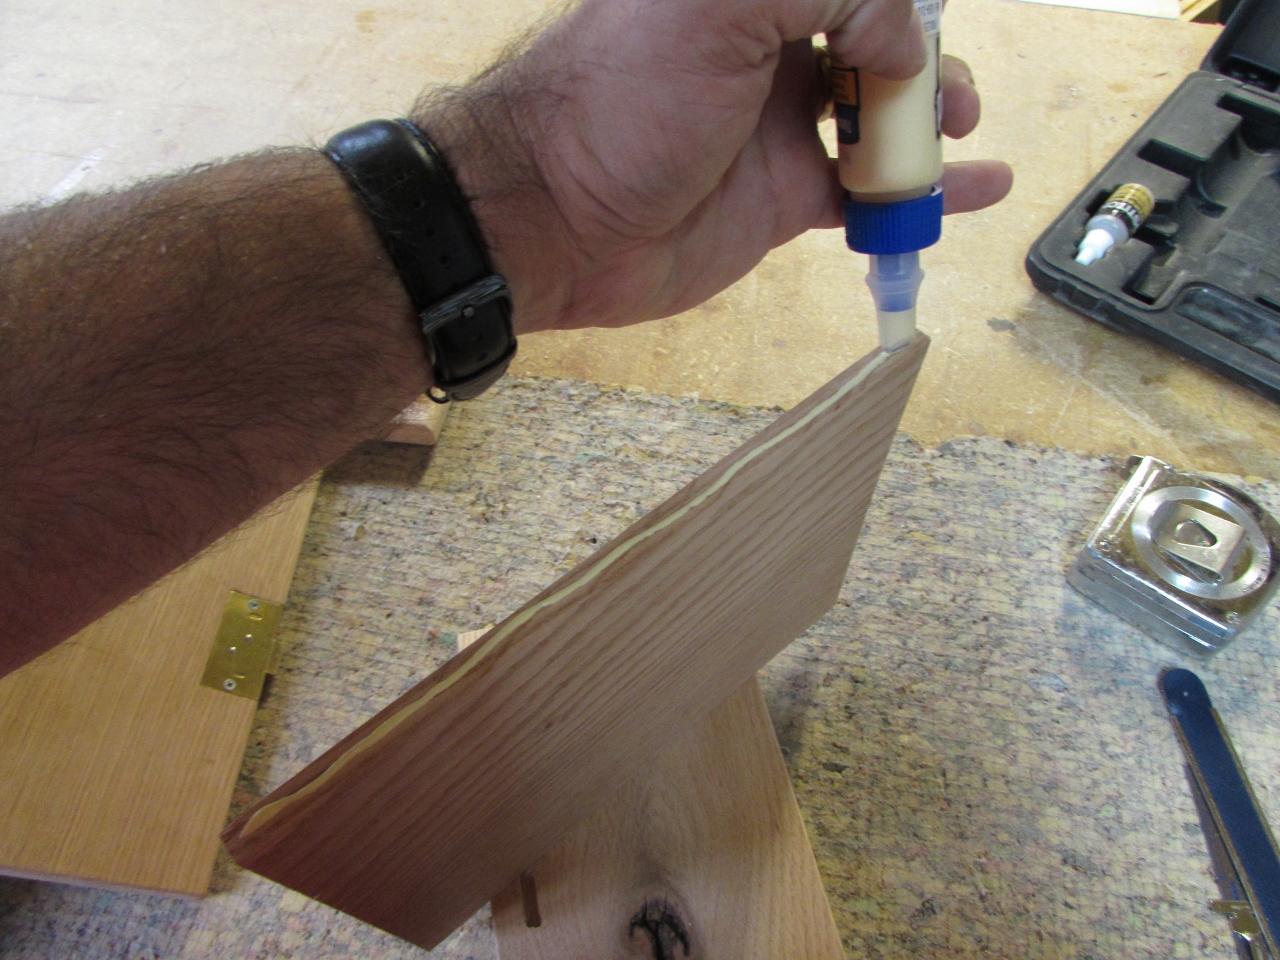
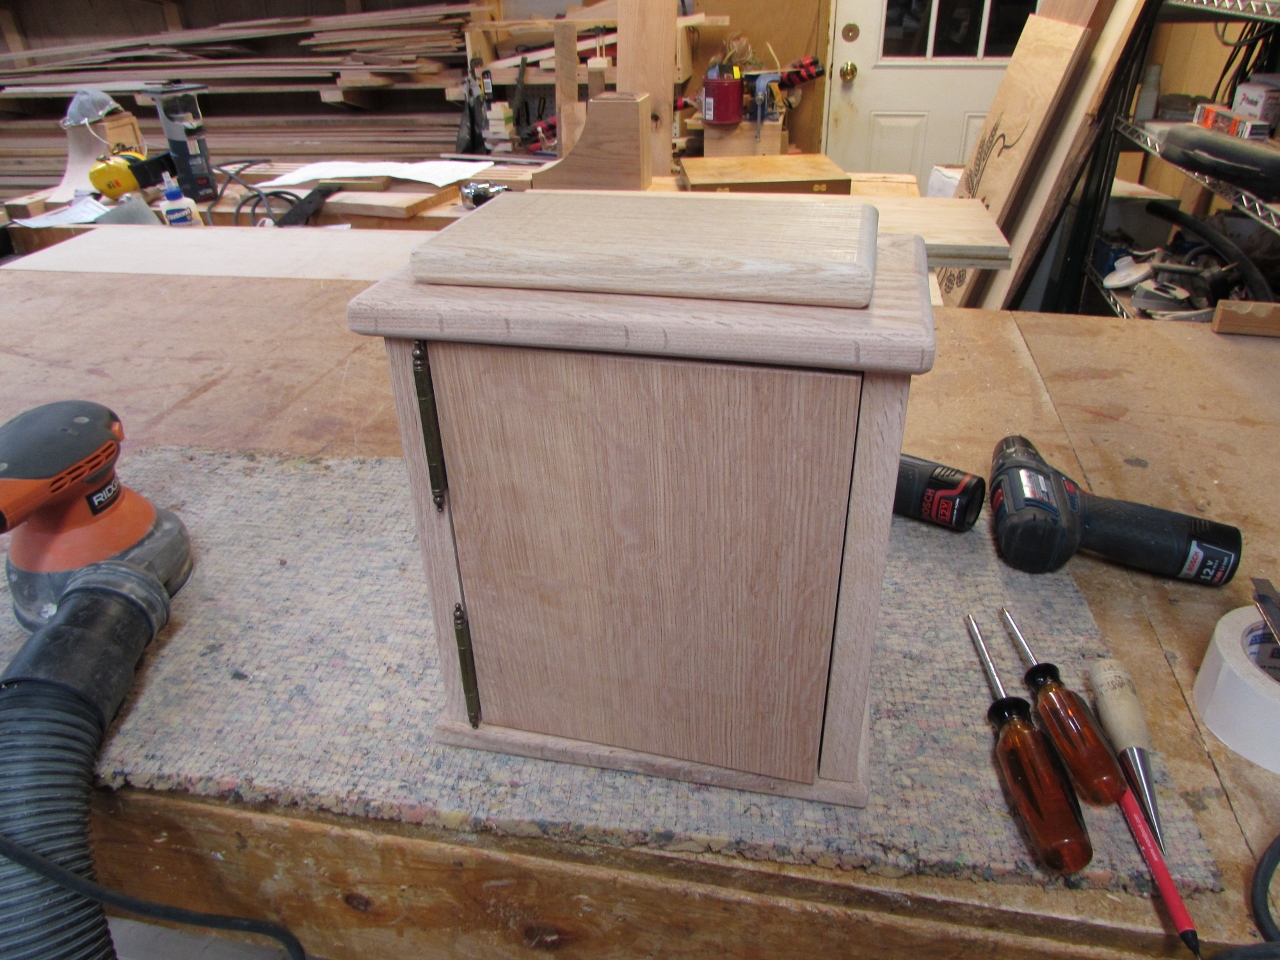
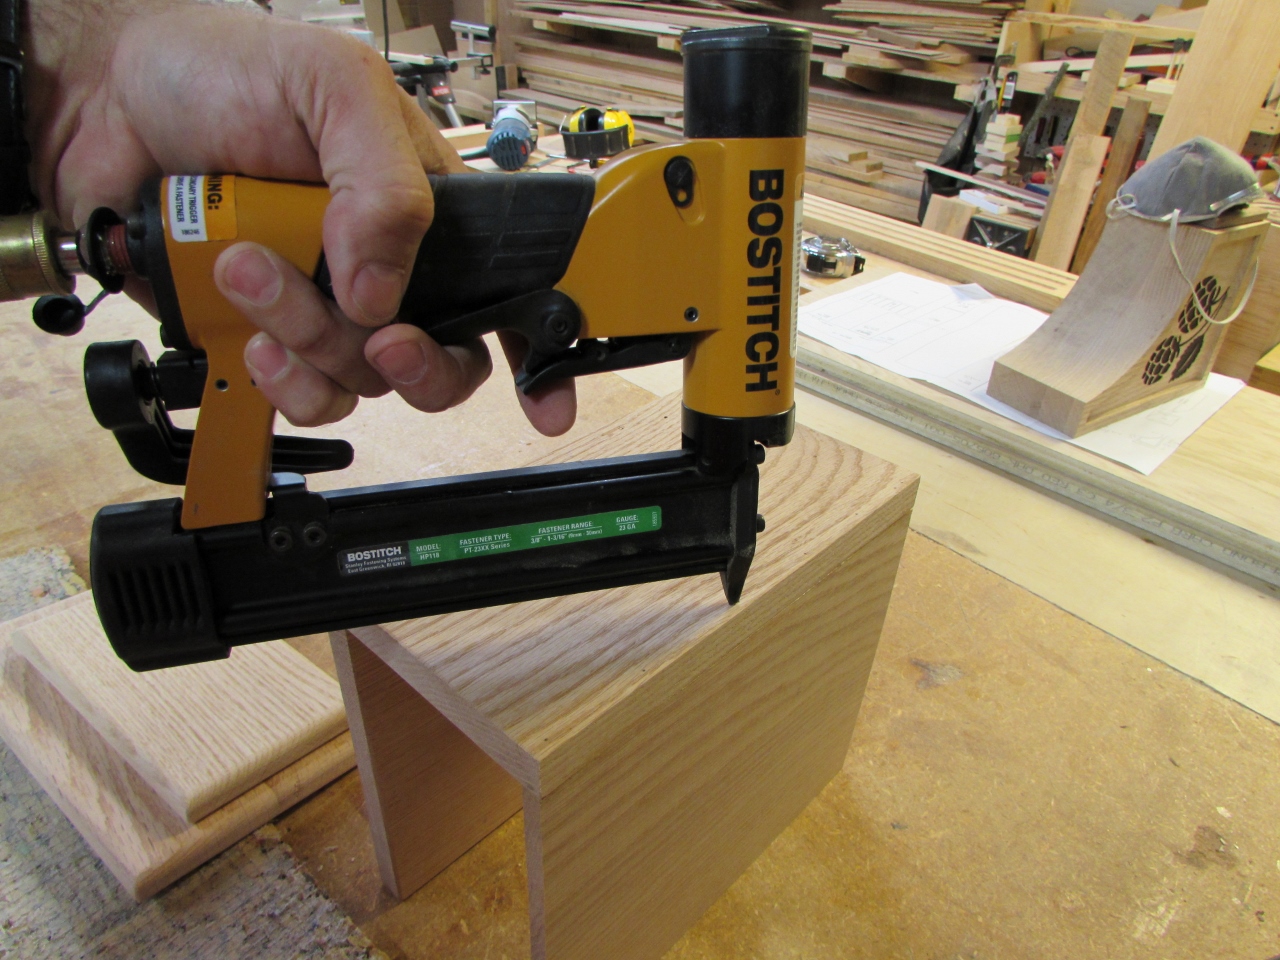
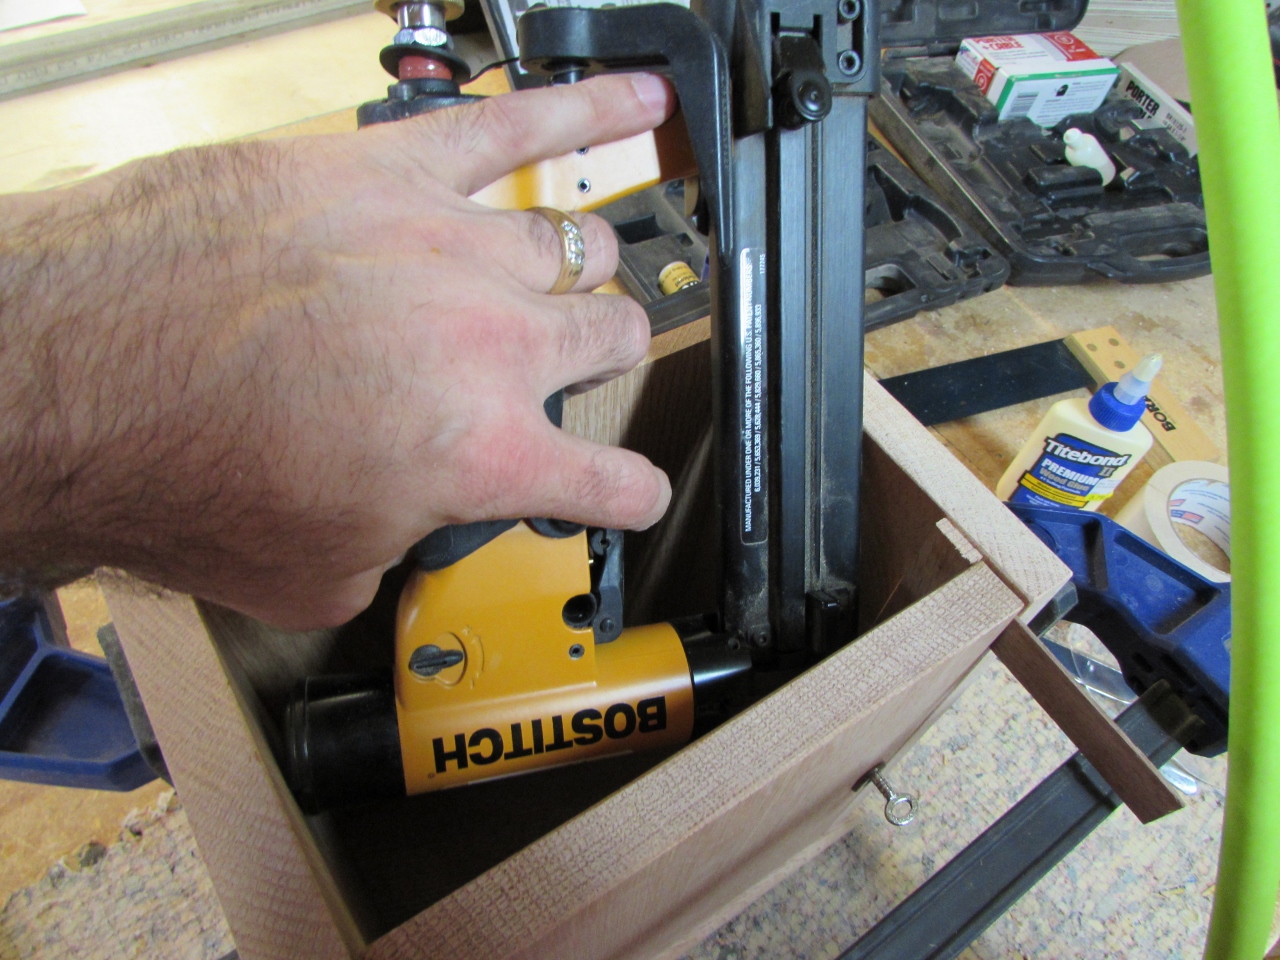
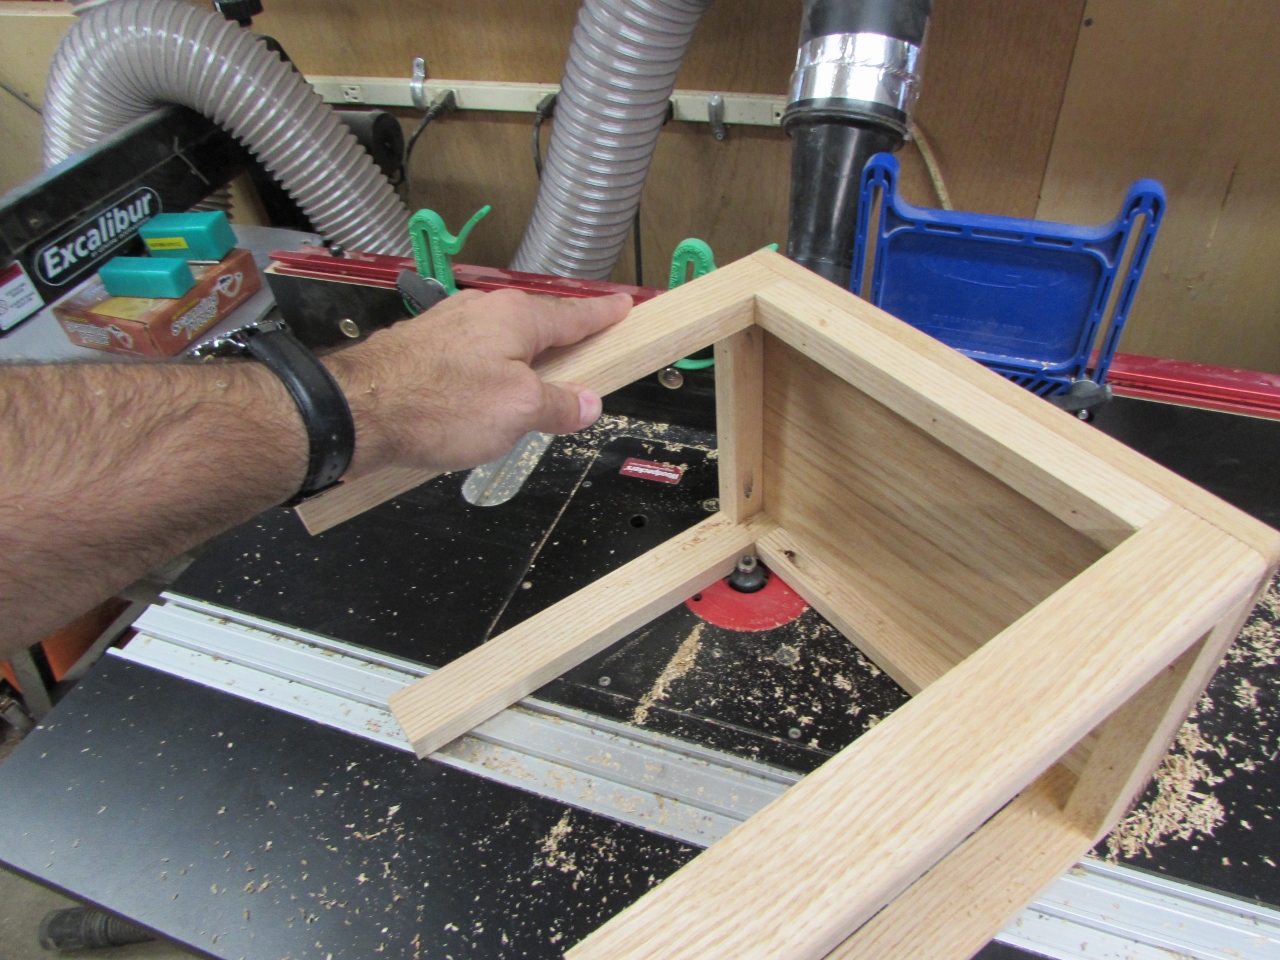
A little wood glue and some pin nails later, I assembled the sides of the box.
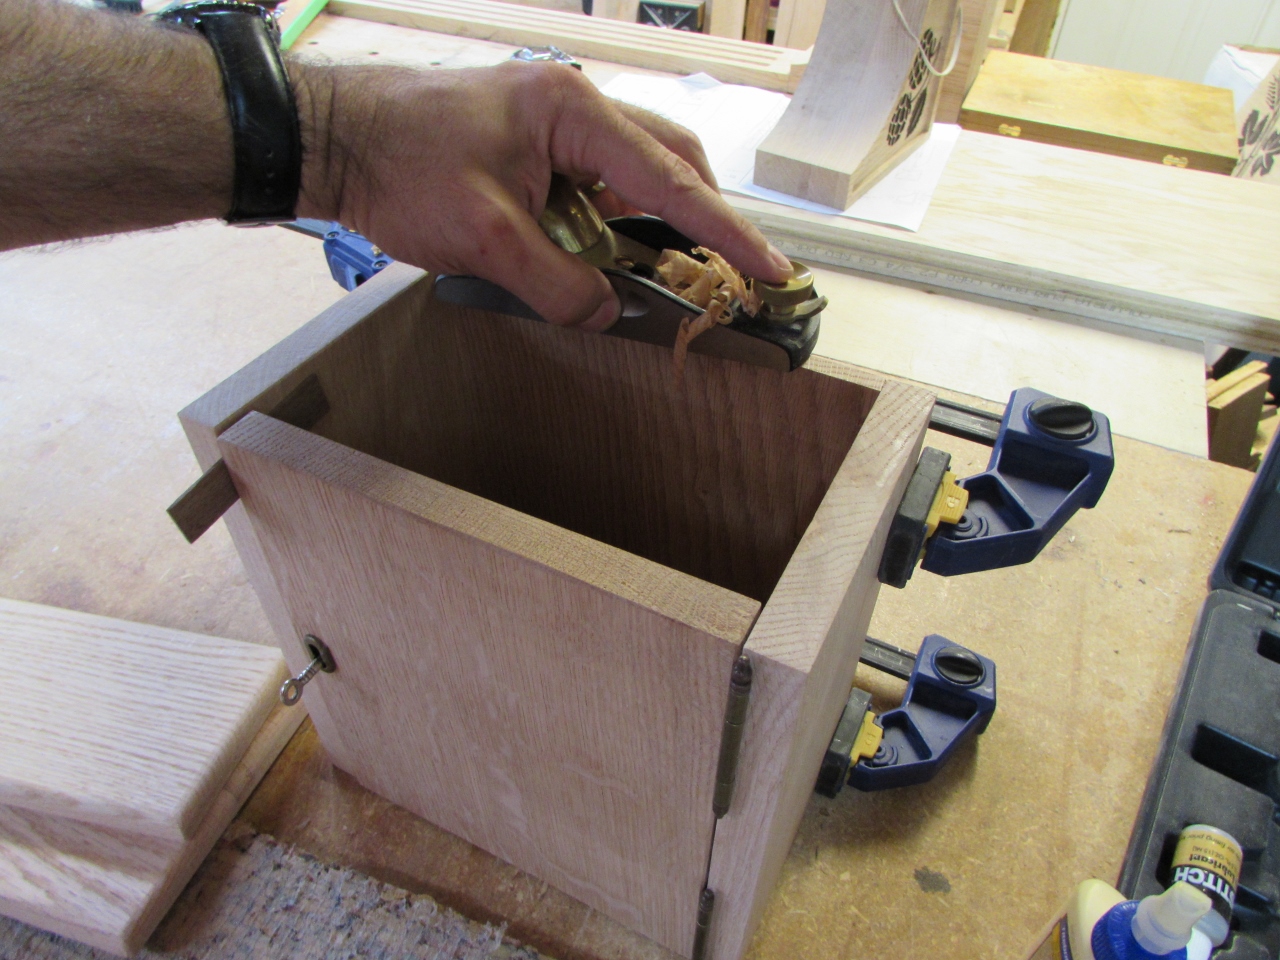
I used my block plane to make sure there were no high spots before glueing and attaching the top and bottom with a brad nailer.
I cut a thin strip to install as a door stop, and pinned it in place.

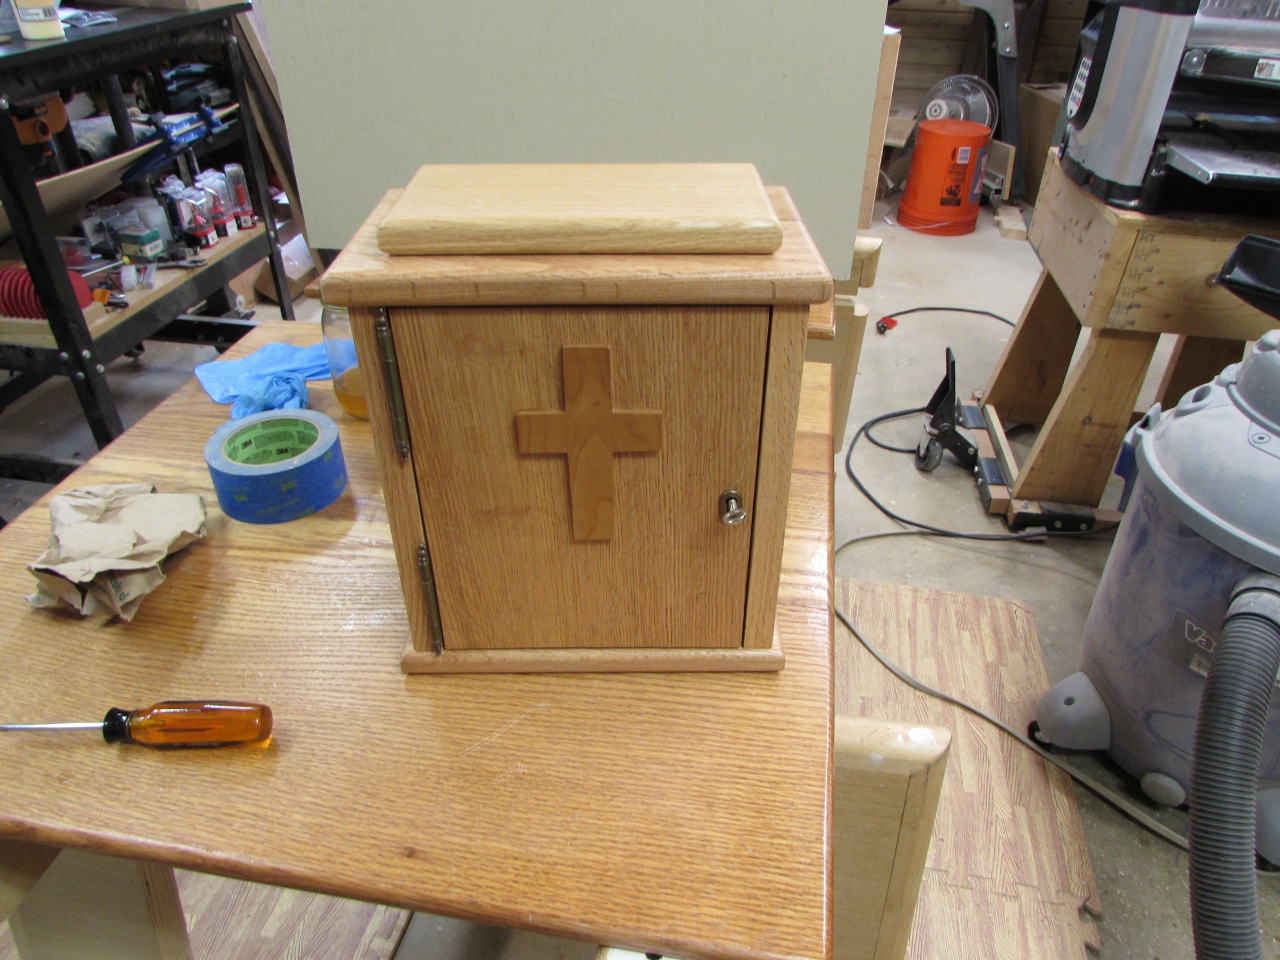
Almost forgot the cross. I glued it in place and the box was done and ready for finish.
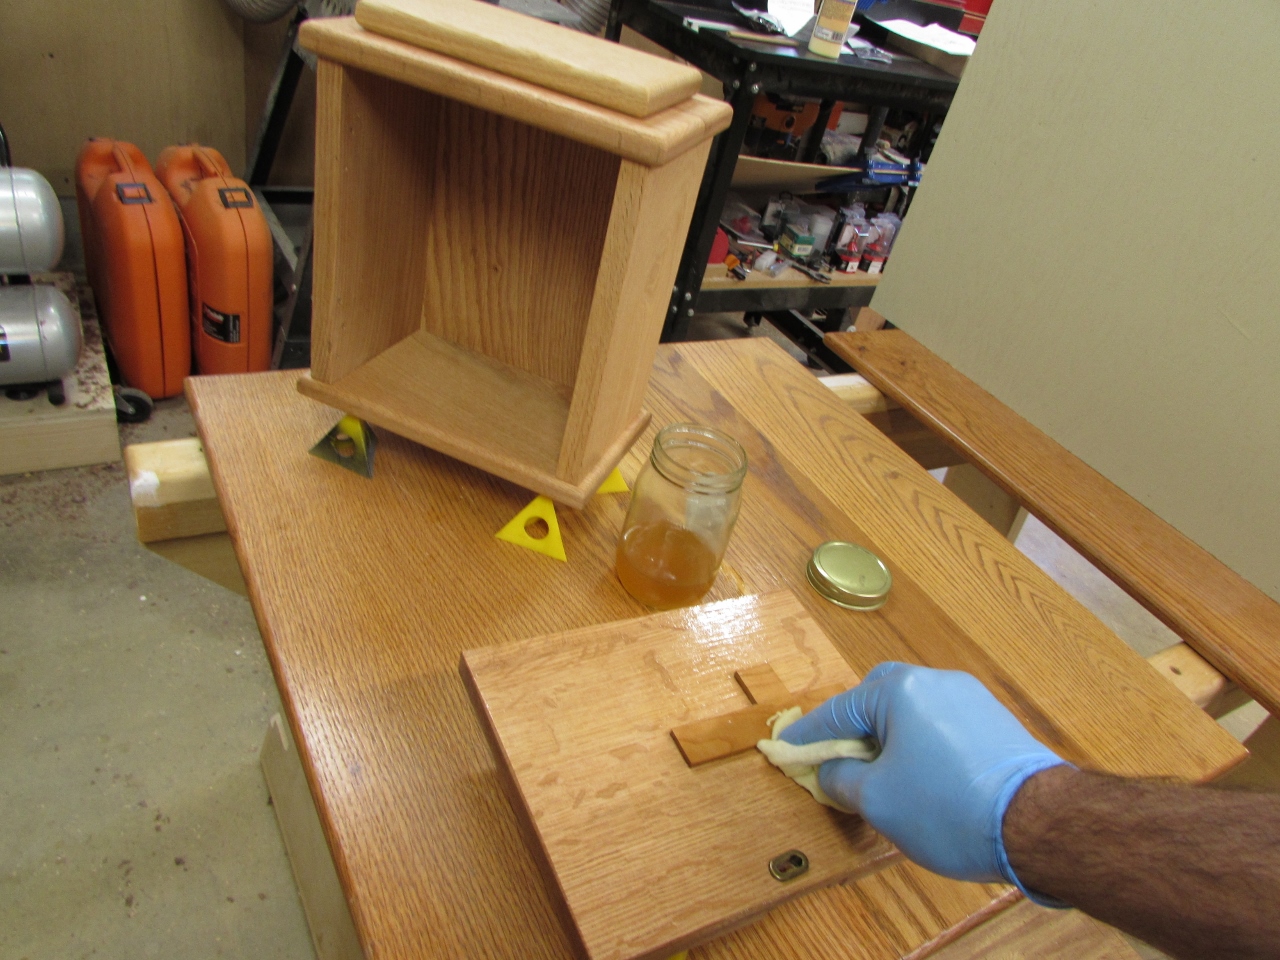
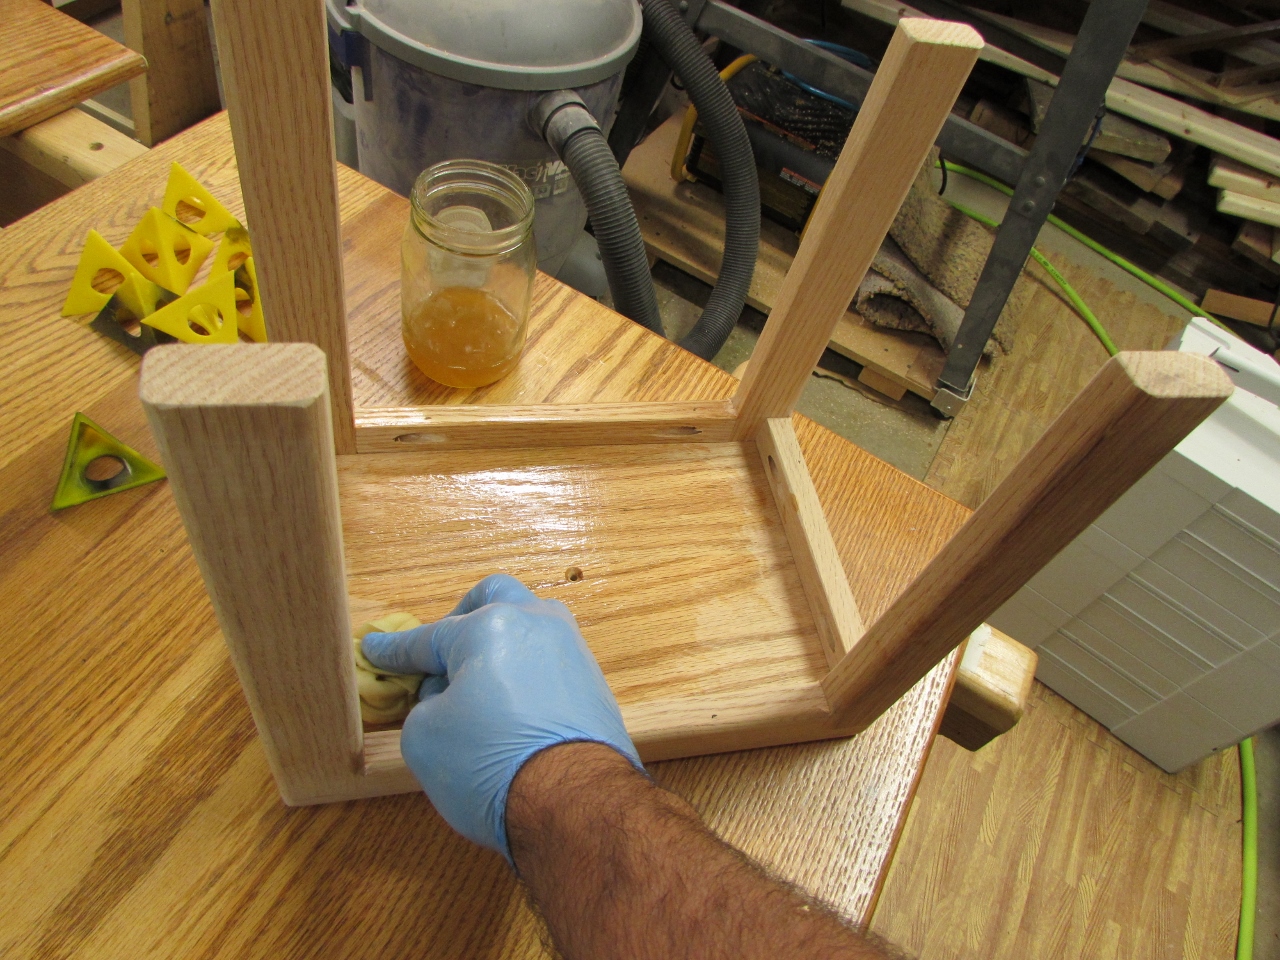
I used three coats of wipe-on poly and the tabernacle turned out great.
Next step was to create the stand.

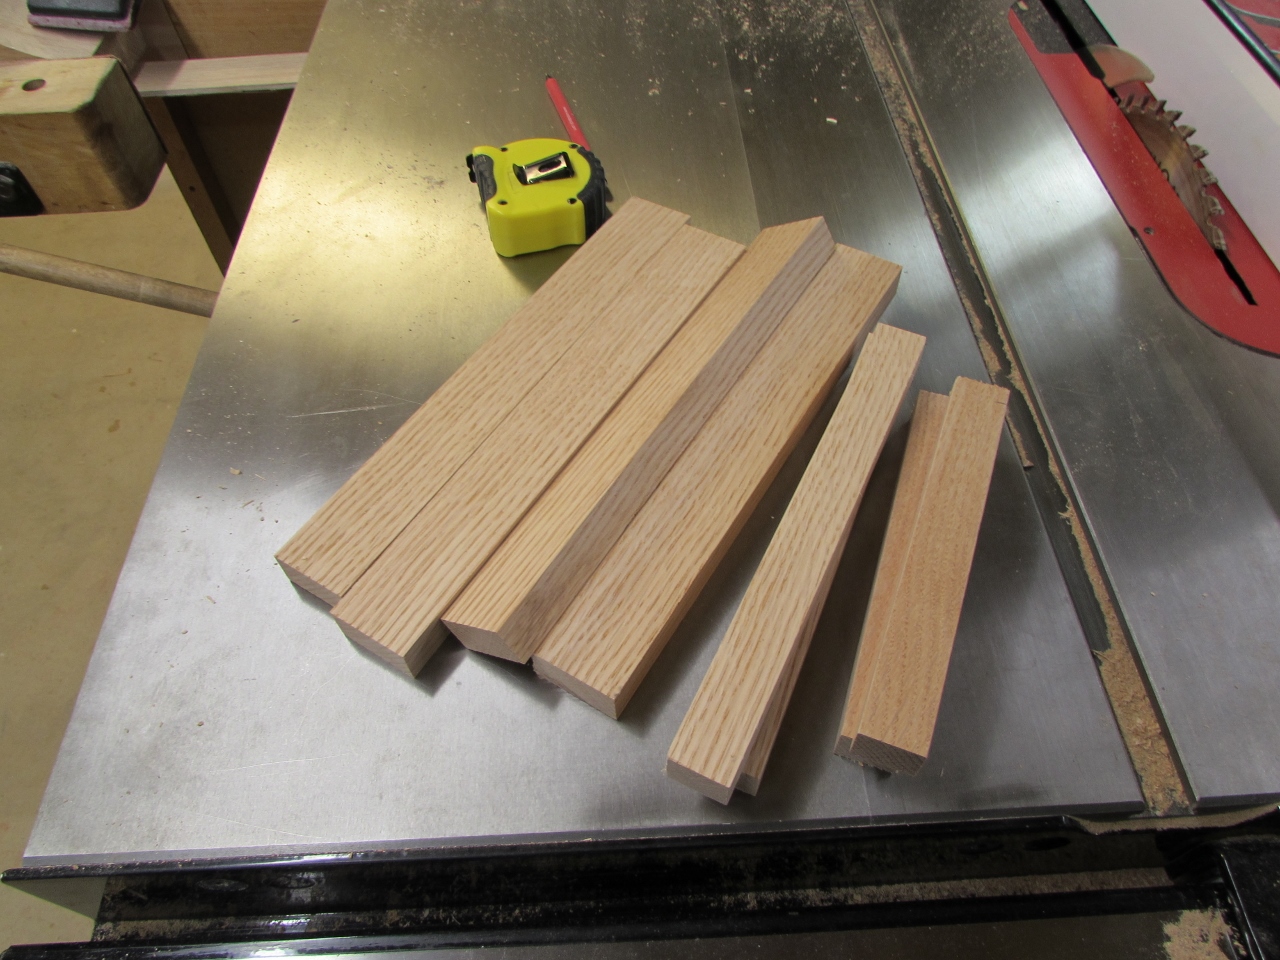
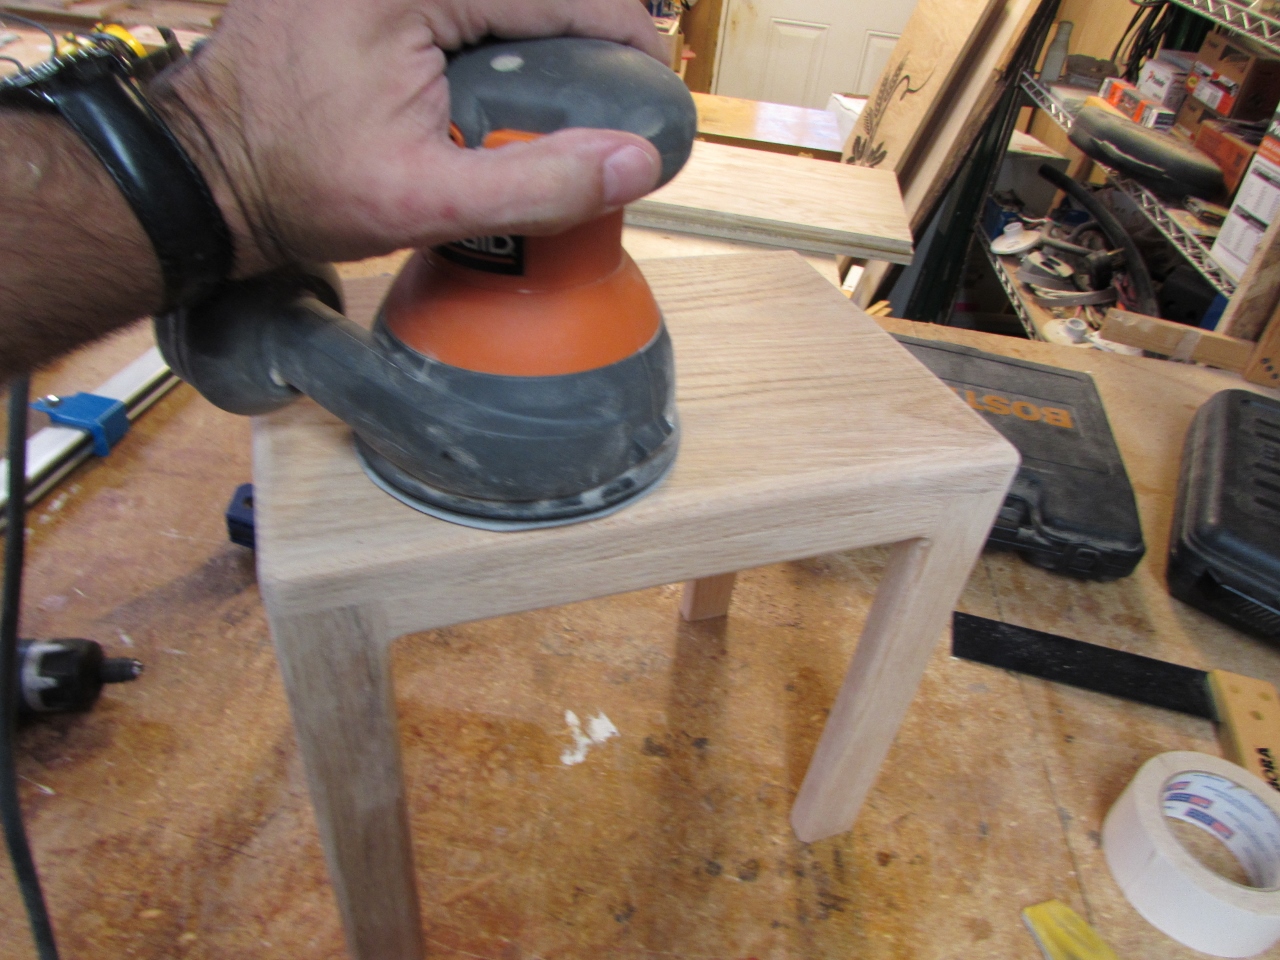
Since it is only 12″ tall, I raided my off-cut pile and cut down the pieces for the legs and apron.
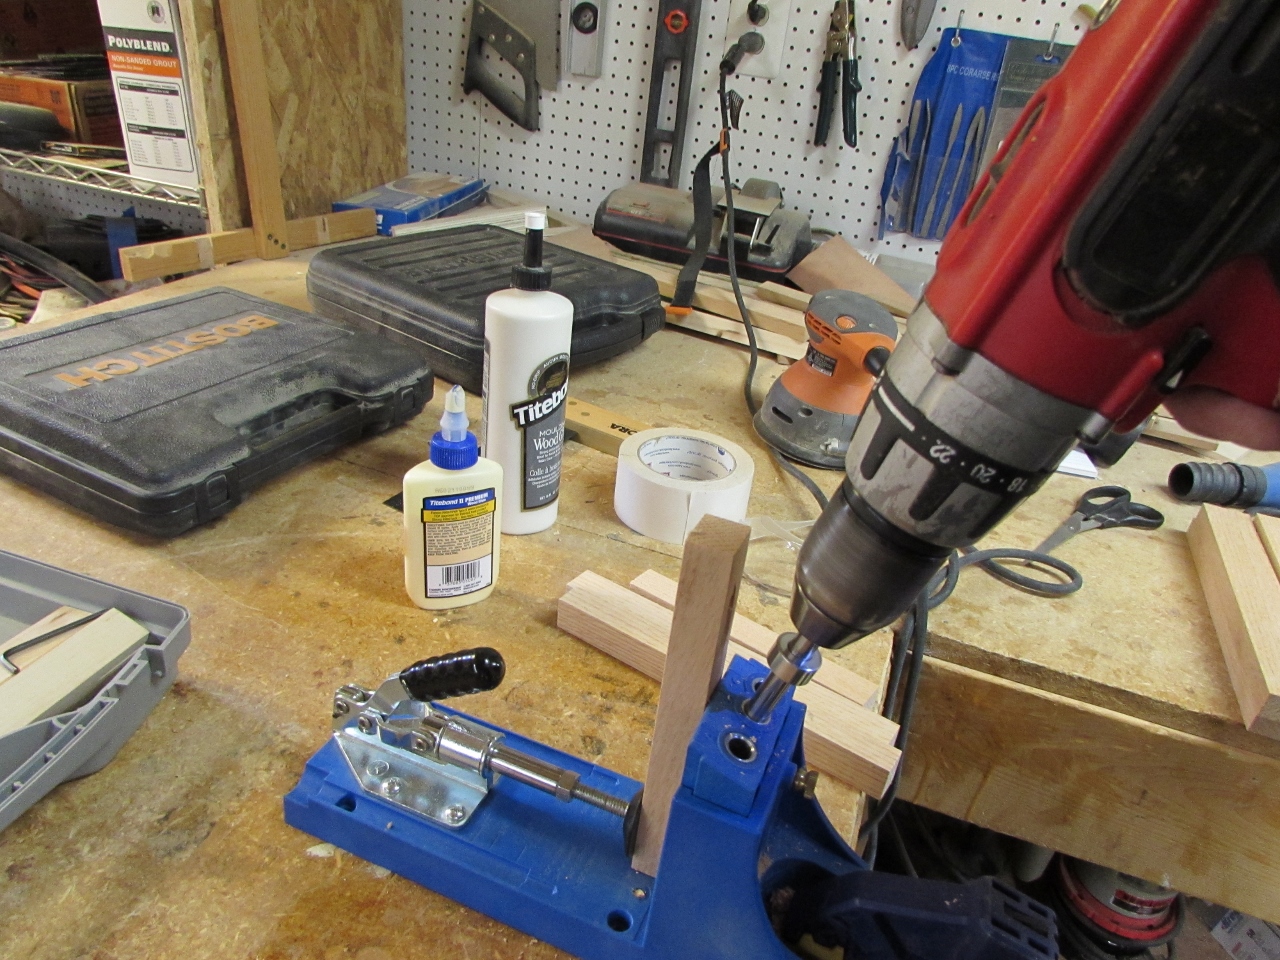
I decided to assemble the apron with pocket holes, so I got out my Kreg jig and carefully drilled a hole at each end.

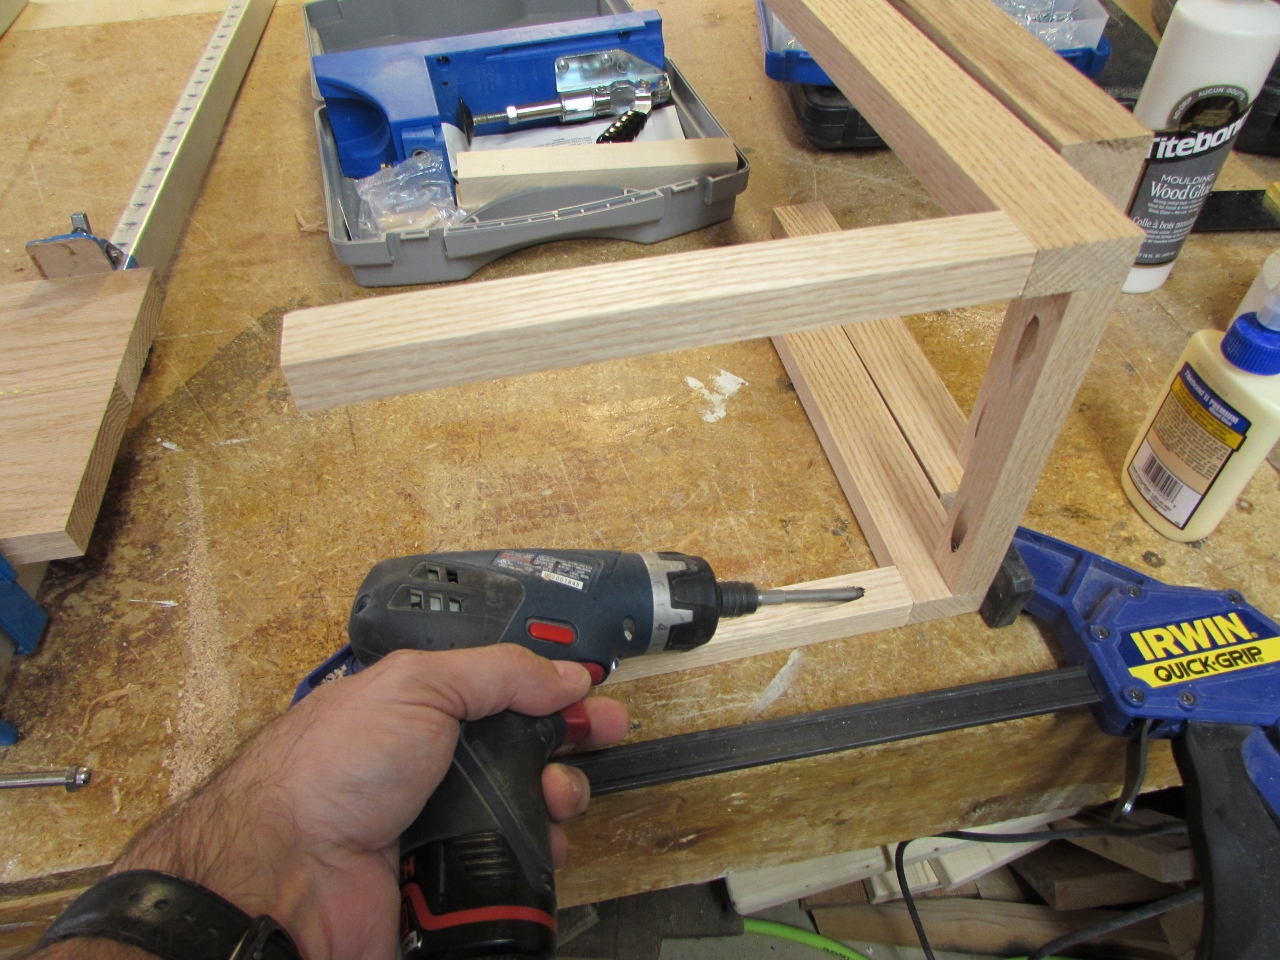
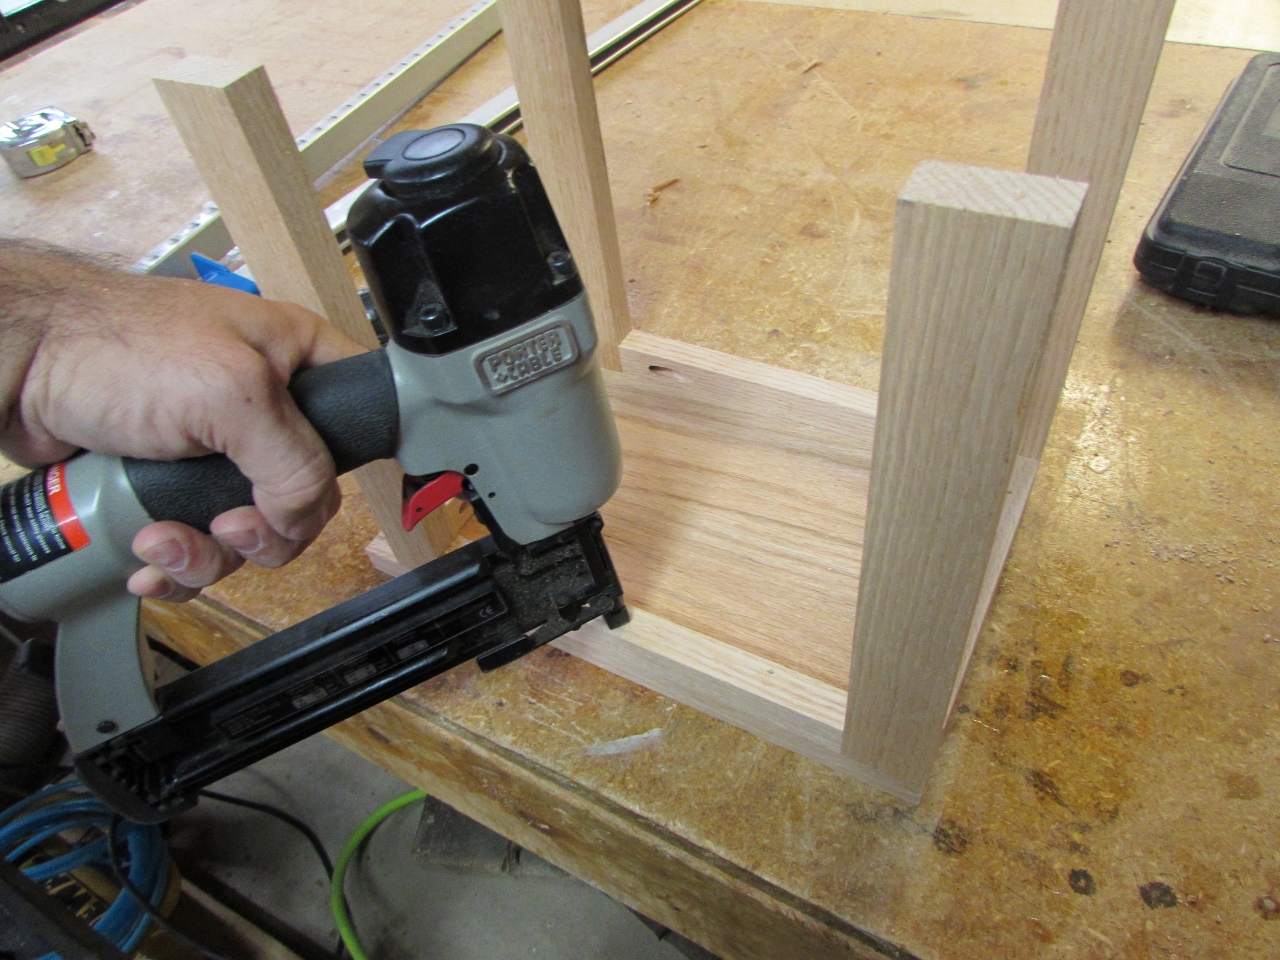
With a little glue and some screws, the legs were done.

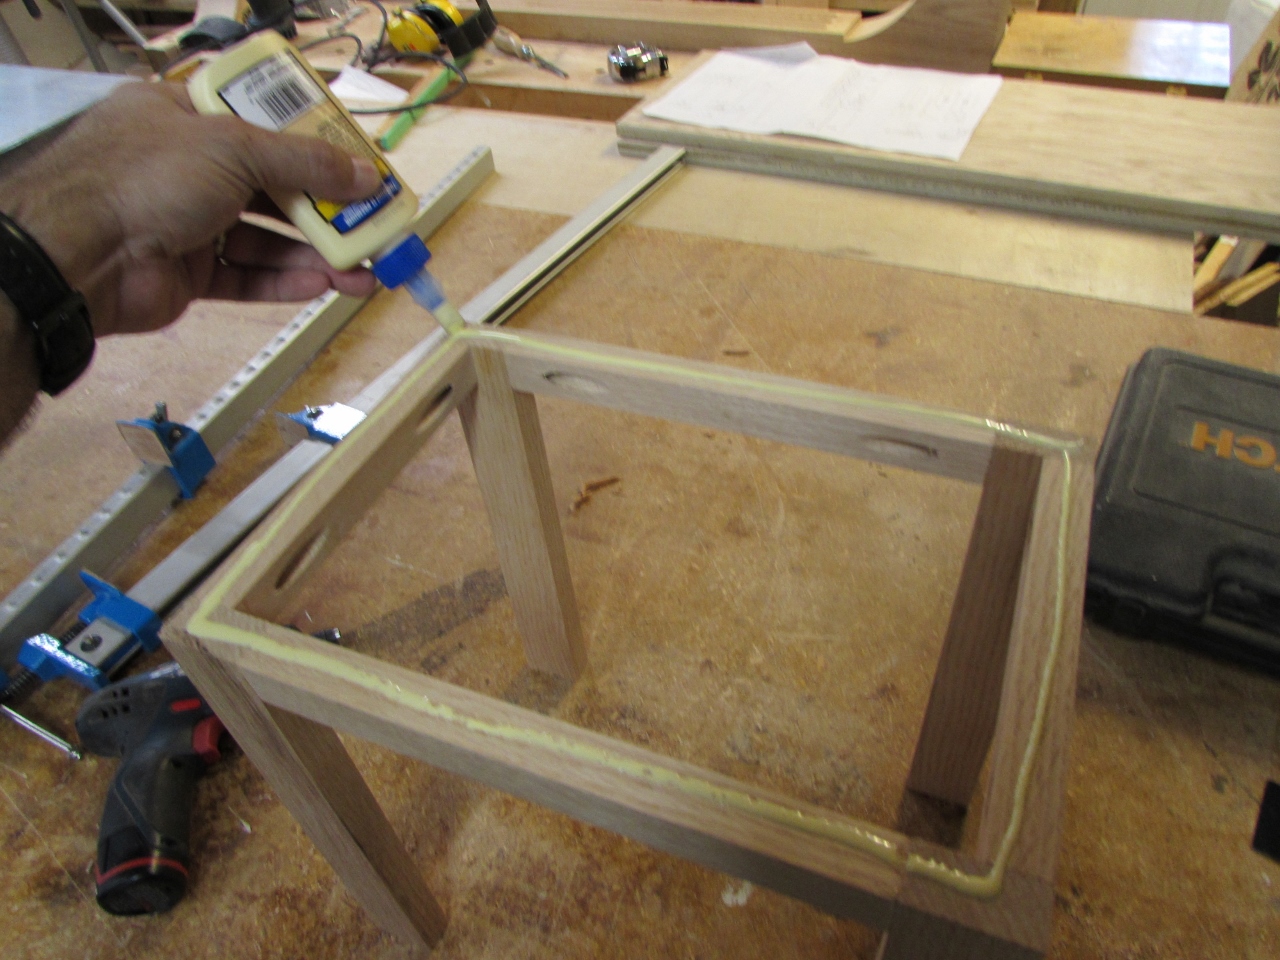
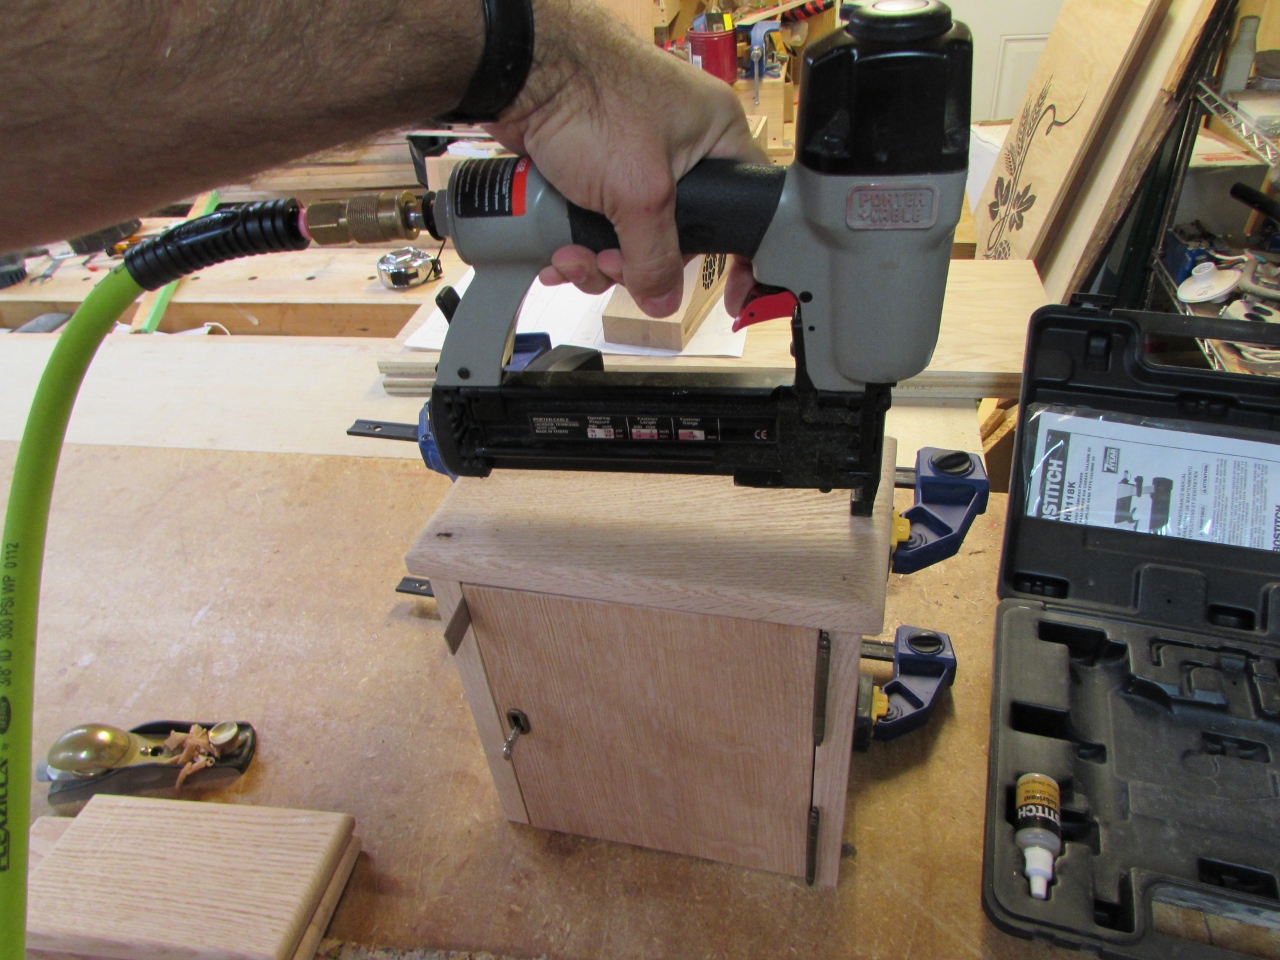
I applied a bit of glue to the top, then nailed the top panel in place, from the bottom.
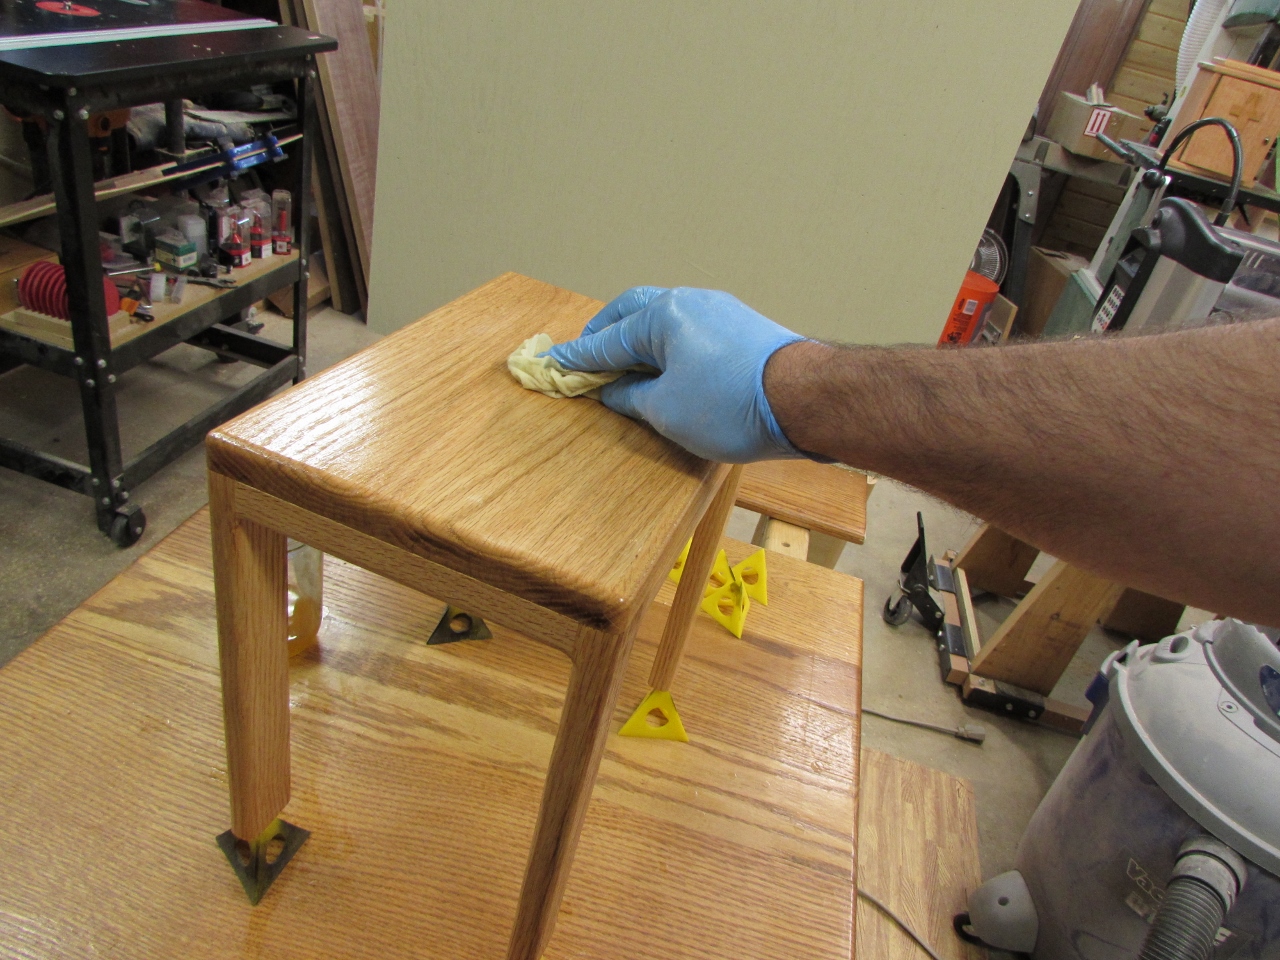
Since the table was so small, I ran it across the 1/4″ round-over bit on my router table to take all the sharp edges away. Then I gave the stand a quick once-over with the orbital sander.
I made the table large enough for about 1″ of clearance, all the way around. I set the tabernacle in the center, then drilled a small hole in the center of the stand, to attach the tabernacle to it. This will be used with small children, so it will be more stable if they are attached.
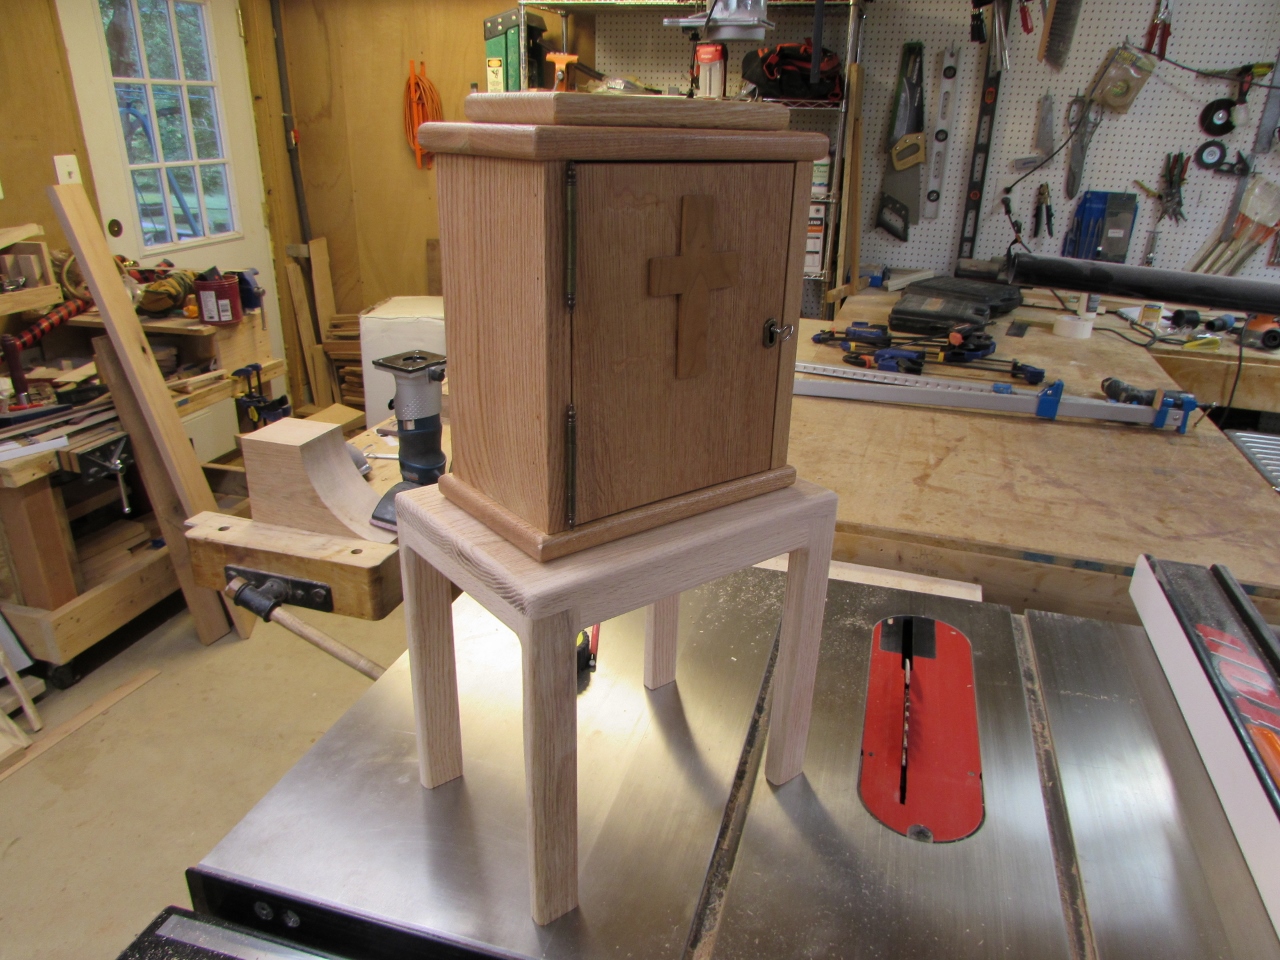
With the table done, I went back to the wiping poly… It dries fairly quickly so I should have all three coats done by tomorrow.
Only one more big piece to do in the next week…
