
Built-in liquor cabinet
A friend of mine asked me to build him a liquor cabinet, that could be built into a knee wall, in his family room. Since he intends to paint it to match his walls, he wanted it to be simple pine. I have a rough plan that I started with, but I am not posting it, because I kept adjusting the dimensions, on the fly.

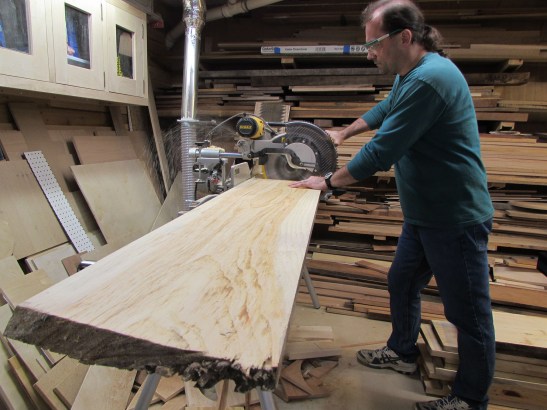
The pine I acquired was air-dried, and 5/4″ thick. Beautiful stuff.
I cut a bunch of boards to the correct width and a few inches longer than I needed. I left the extra mainly to cut off any planing snipe, but I was also still refining the dimensions, so a little extra never hurts.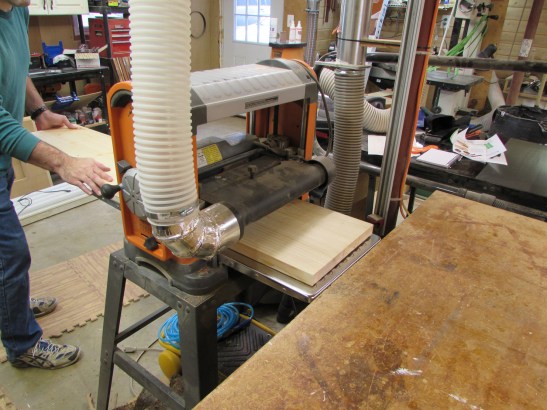

A key detail to this design is his request for sliding bypass doors. At first I thought it would be simple, but then I remembered the doors and cabinet would be painted. That means I would need hardware that would not allow the paint to be rubbing any other surfaces. I found some European sliding door hardware on the Rockler website. I think I could have bought the individual parts from the manufacturer’s site, but Rockler had a kit that, I was sure, had all the correct components, so I ordered two. It involves press-in rollers, for the bottom of the door, and plastic guides for the top, and plastic tracks for them to ride in. This should prevent any painted surfaces from contacting any others, and have very little friction.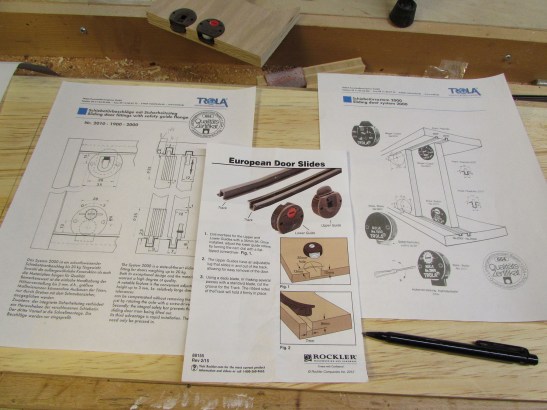
The simple instructions, provided by Rockler, were good enough to show how the hardware was installed, but I had to track down more detailed info from the manufacturer’s website, to get clearances for the top and bottom of the door. 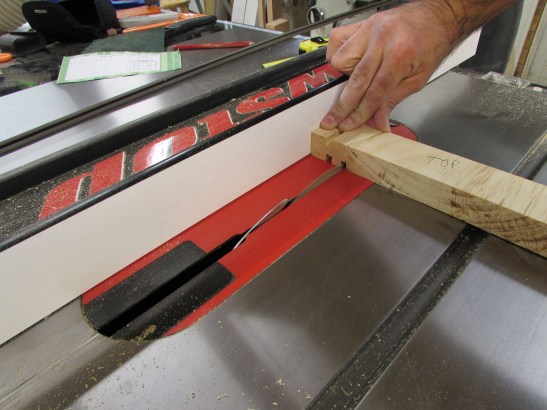
The info there was still limited, so I had to make several test pieces to determine how far the tracks should be located from each other, to prevent the doors and hardware from colliding. 
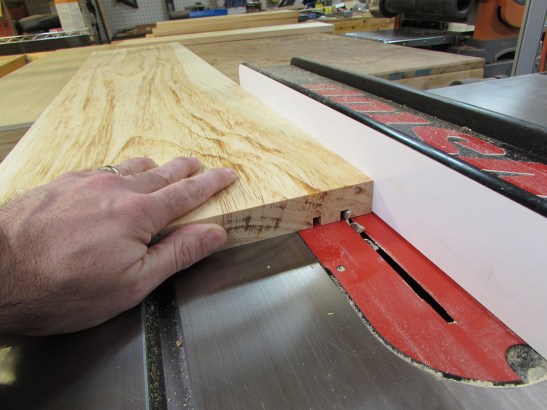
After three or four tries, I got the dimensions I wanted. I cut the dados, for the tracks, on my table saw, taking three passes each.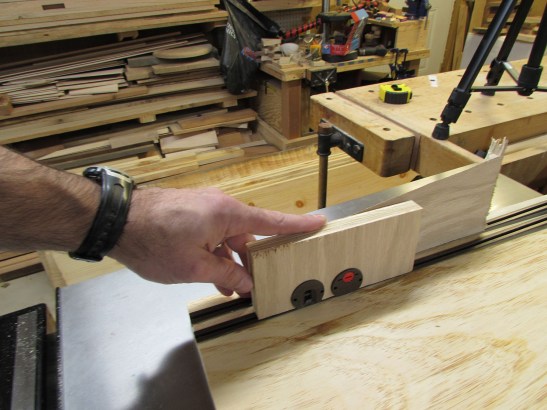
Once the grooves were determined, I laid out the rest of the dados on the perimeter boards, for the shelving.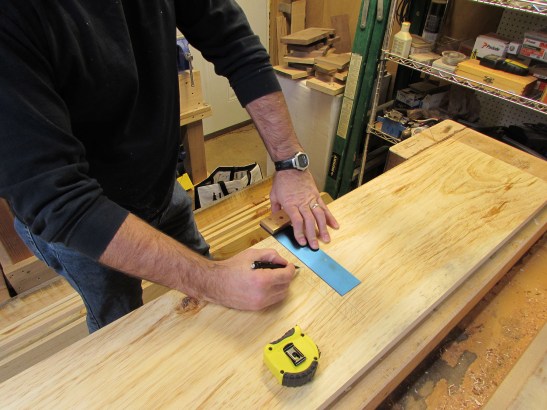
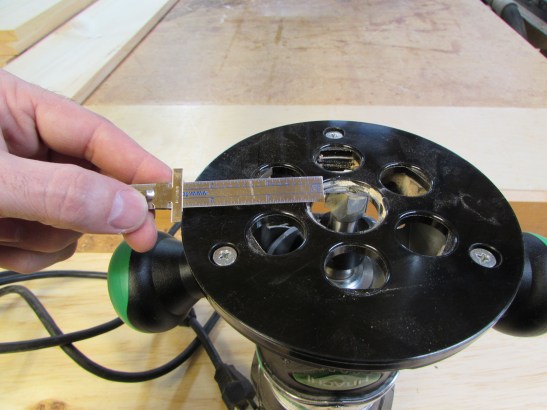
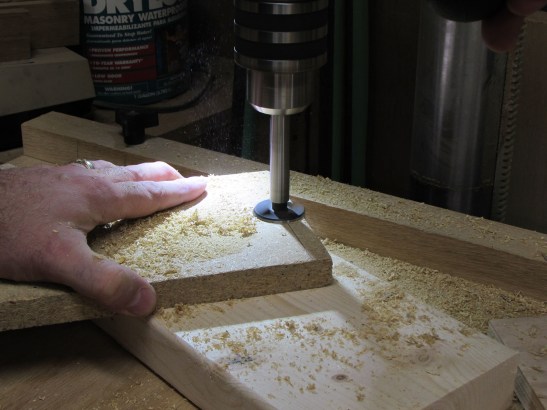
I plan to use a 3/4″ bottom cleaning bit, 1/4″ deep, to cut the dados. I measured from the bit to the edge of the router base, then transferred that dimension to my board, on either side of the dado.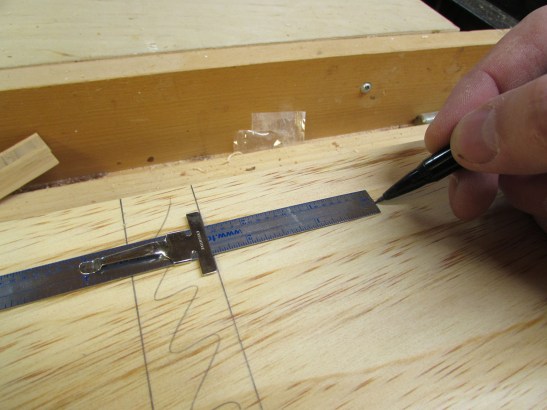
After clamping straight edges on those marks, I ran the router back and forth between the two boards, to clear out the slot.
I was careful to stop the router before the marked edge of the dado.
After testing the tight fit of the shelf, I squared off the end of the dado with a chisel.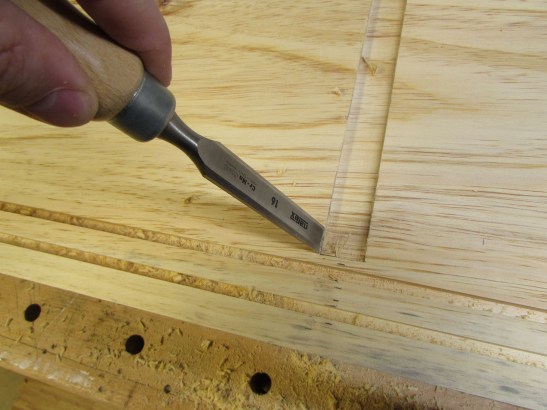
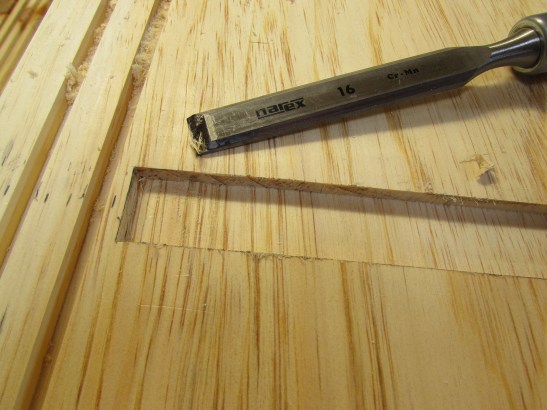
All cleaned up, the first shelf fit perfectly.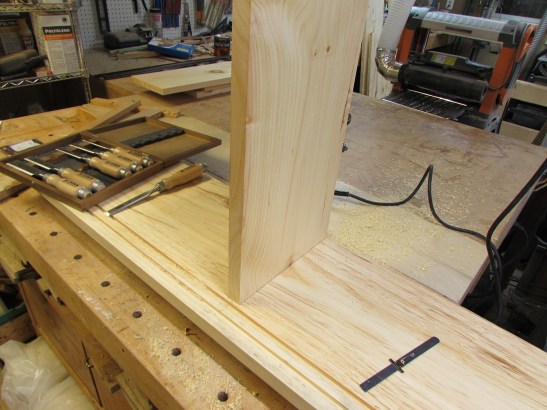

With the success of my first dado, I calculated the exact length of each board and the locations of all the required dados and started laying them out. I had to be careful cutting the dado for the bottom shelf, because I could only attach one straight edge. I cut the top side of the dado first, measured what was left to be cut, then moved my straight edge down by that much, and made another pass, holding the router firmly to the guide board.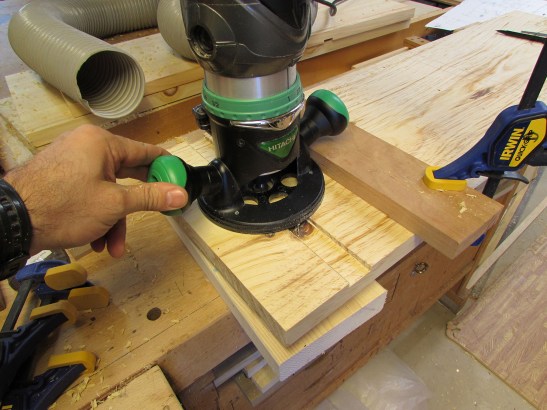
Of course I forgot to make it a stopped dado, Crap!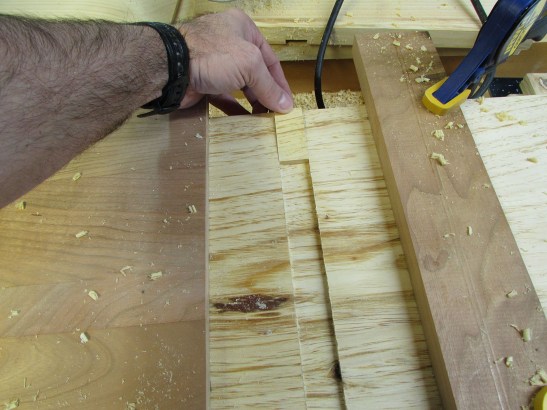
I had to cut a plug to fit back into the groove. I tried to match the grain, but there really was no point, since it will be painted, I just needed a seamless fit.
I glued the plug into place, then planed it down to match the adjoining surfaces.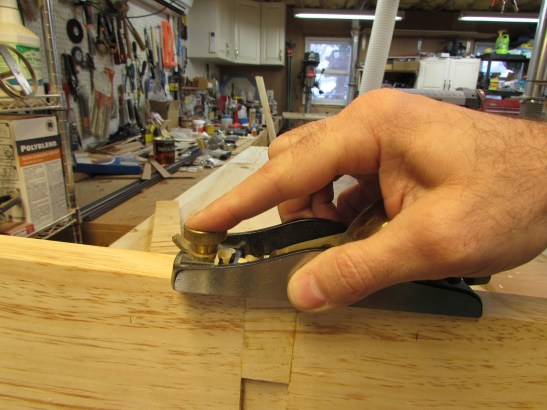
After a little sanding, I was back on track.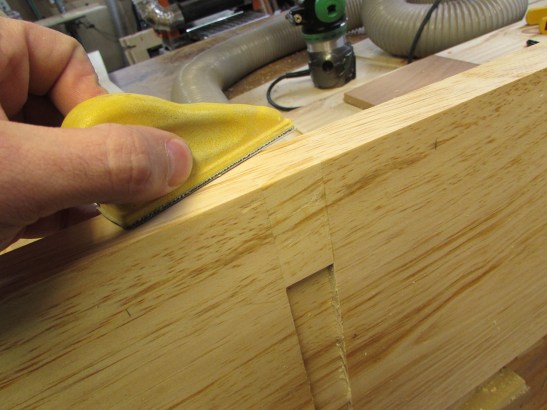
I cut all three shelves at the same time to insure their length were all equal. 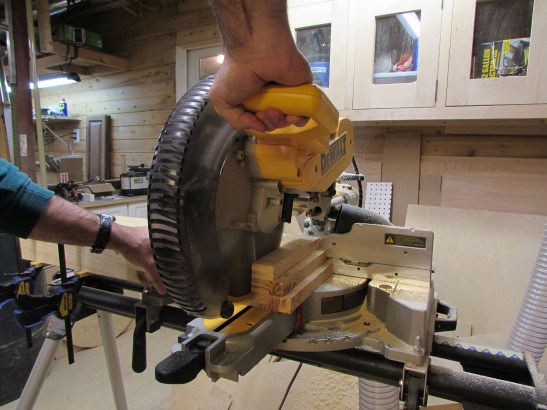
Once all the dados were cut, I did a dry-fit of all the boards. It fit together very well.
I am not attaching any back to this shelf, because it will be installed up against an existing wall. That being the case, I need a way to make sure the components are square to each other when installed. I decided to build a couple of clamping jigs to facilitate this.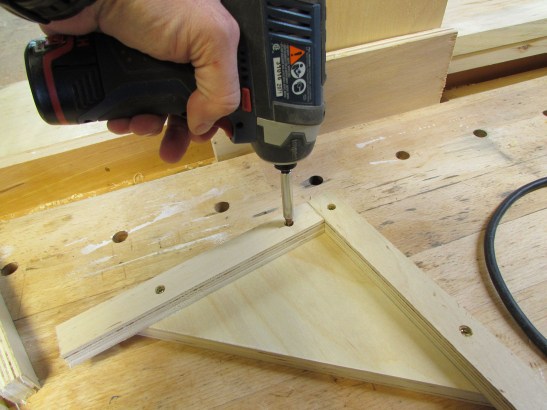
Two clamps to each side of the jig and the corner was held square enough for me to start attaching screws.
I decided on screws because all of the outside will eventually be covered by wood or drywall. and with all the joints being end-grain butting to face grain, glue would not be very strong. 
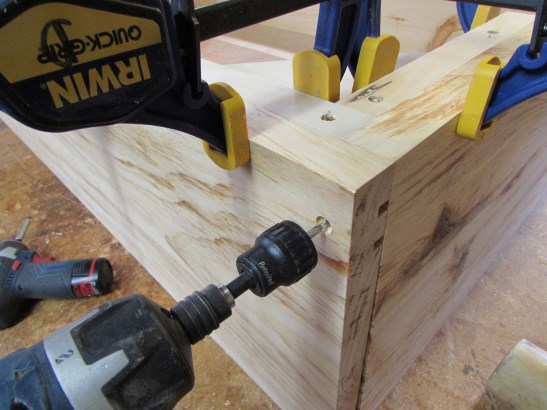
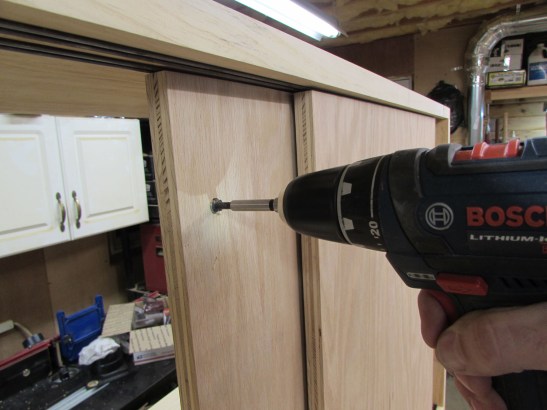
I counter-sunk some pilot holes then used (3) 3″ construction screws to hold each joint.

Since the shelves are held in place with the stopped dados, I only used 2″ screws to keep them in place.
I set the shelf screws a little deeper on the shelves, inside the cabinet so I could plug their holes.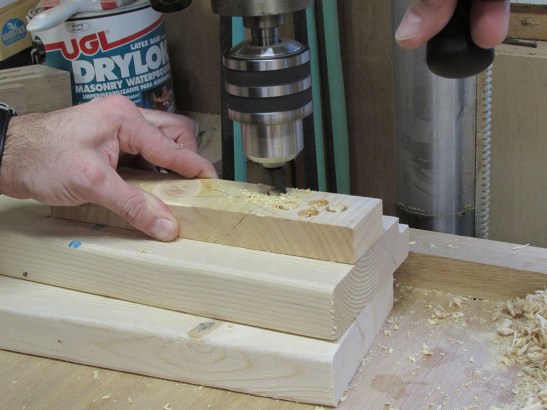
I cut a few plugs from scrap with my plug cutter bit, then freed the plugs with my band saw.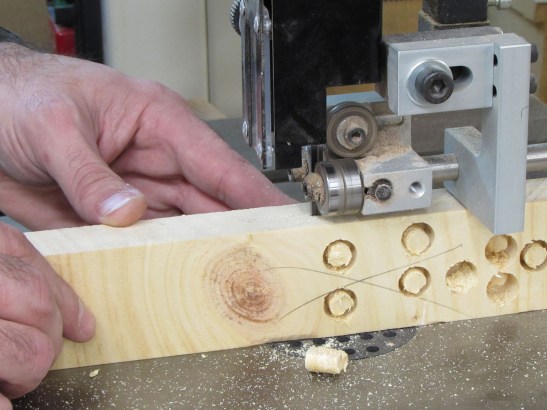

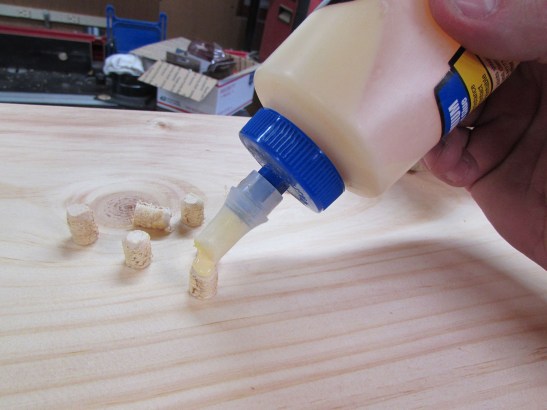
After attaching the shelves, I applied glue to each plug and pounded them in.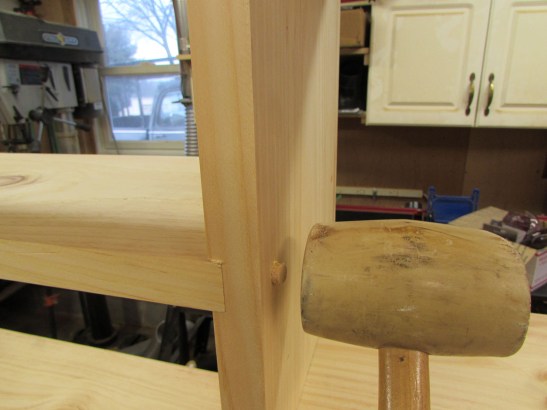

When the glue was set, I used my pull saw to cut them flush and sanded them smooth.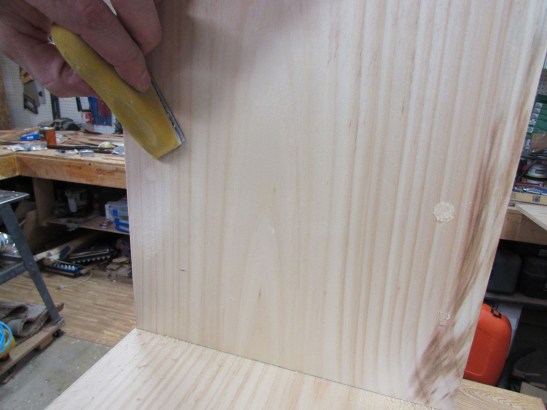

I made sure to verify that things stayed square as I assembled.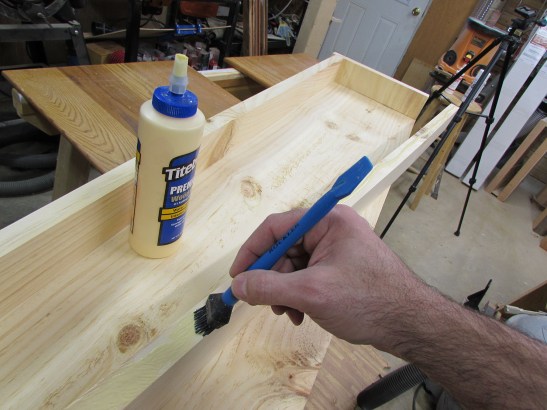
Final bit of construction on the carcass was adding a front and back skirt to the bottom. I cut two boards to fit precisely on place, then glued the top edge and clamped it in place. I ran a couple screws in from the sides, just to make sure they stayed there…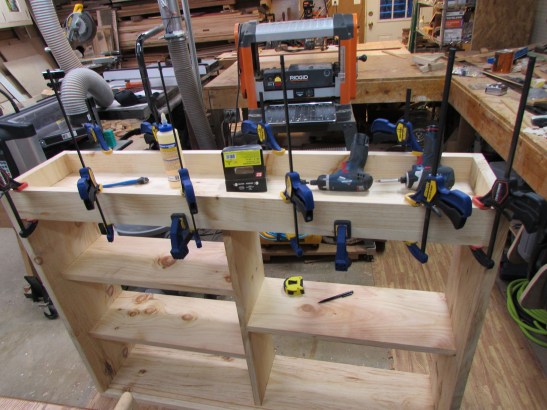

Time to work on the doors. I marked the length of the tracks and cut them with my small pull-saw.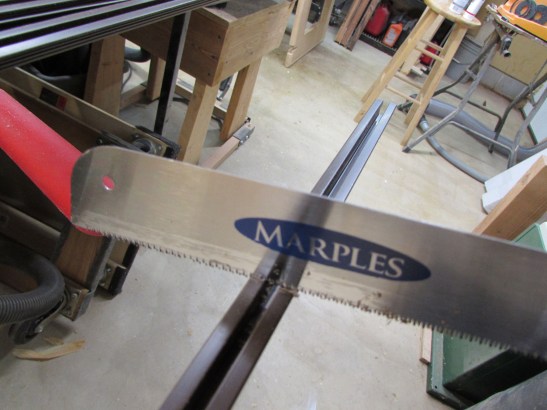
They were gently pressed into place with a rubber mallet.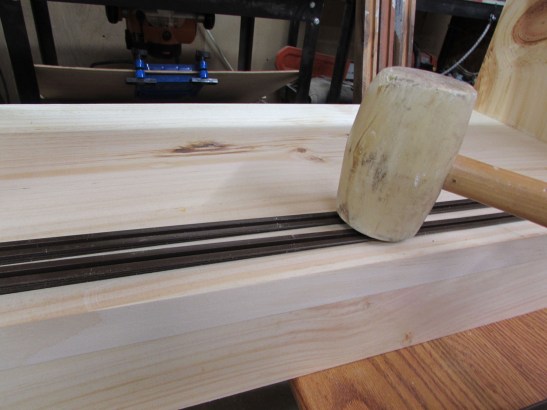
I created another test piece to determine the height of the door panels.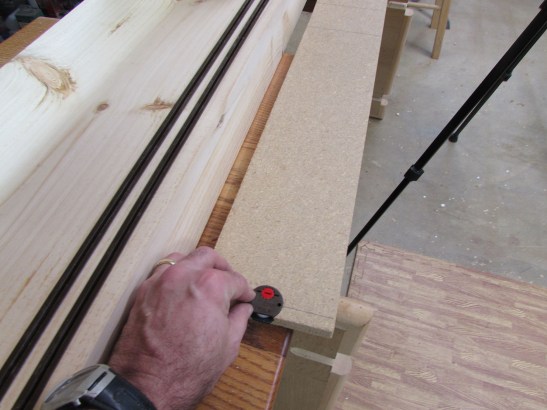

Once the height was determined, I laid out the door panel on some plywood. Why plywood? This cabinet will be in a room with a fire place. I wanted the moving parts to be as stable as possible, so I decided on plywood. The rest of the cabinet will be covered and attached to the wall, so I am hoping it will be less susceptible to movement. There is some slight adjustment to the rollers in the door hardware, in case things don’t work the way I planned…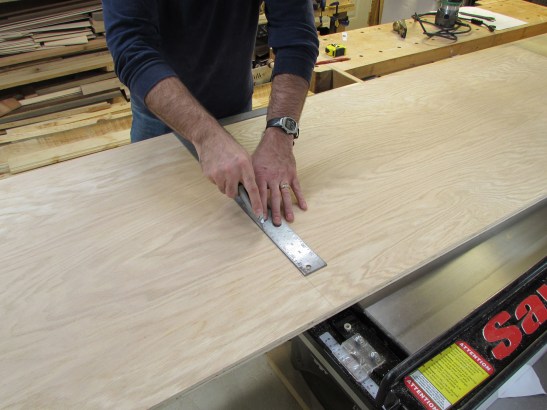
I have a nice piece of cabinet grade plywood to use, so I am going to try and mitigate the tear-out by slicing through the top layer of veneer with a knife. My track saw prevents tear-out on the side where the track is, but not the open side. I scored the line, then shifted my blade just past the line and cut.
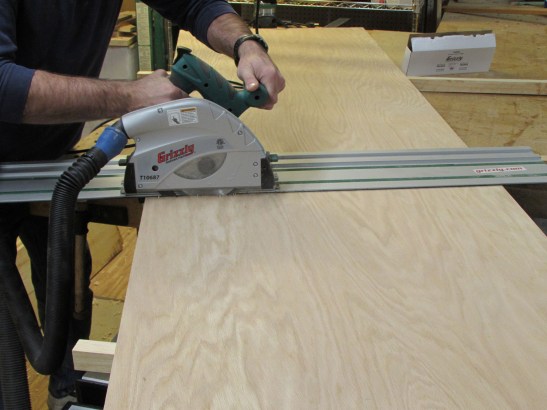
Fail! I should have cut much deeper. Oh well, maybe next time.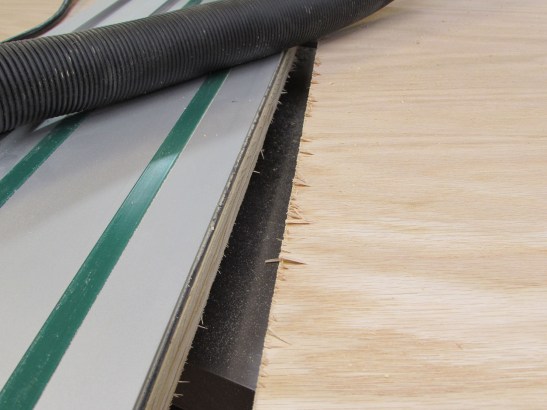

After I got my two door panels cut, I marked the location of the door hardware and drilled two ∅35mm pockets, 12mm deep, 13mm in from the top and bottom edges.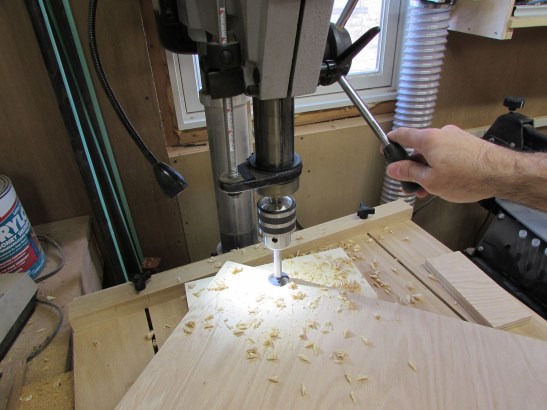

The rollers and guides are designed to press in and stay. There are holes to add screws if necessary.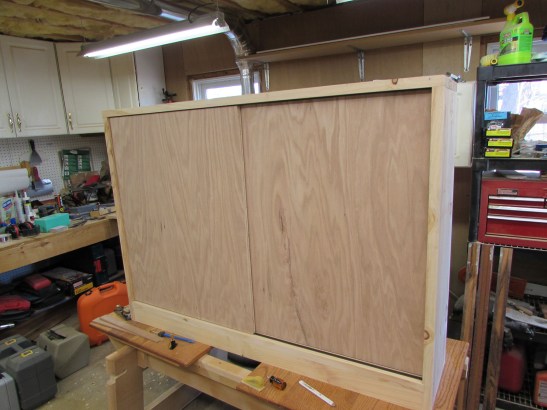
The guides at the top are retractable, so I installed the rollers first, then slid the guides into place, at the top. It looks like my measurements were good because nothing hits when I slide the doors either way.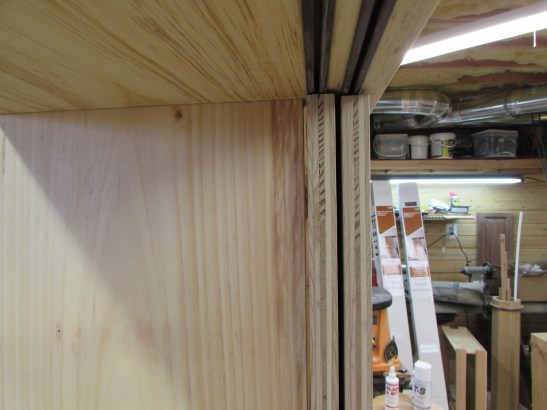
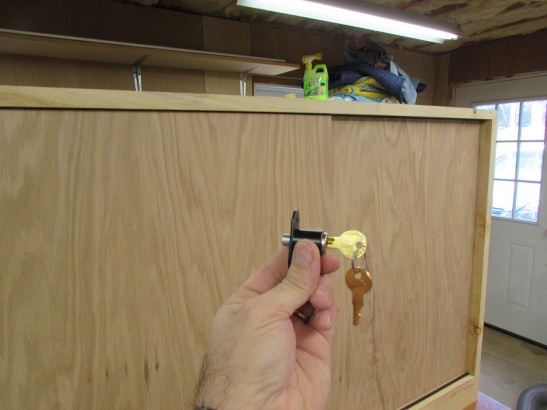
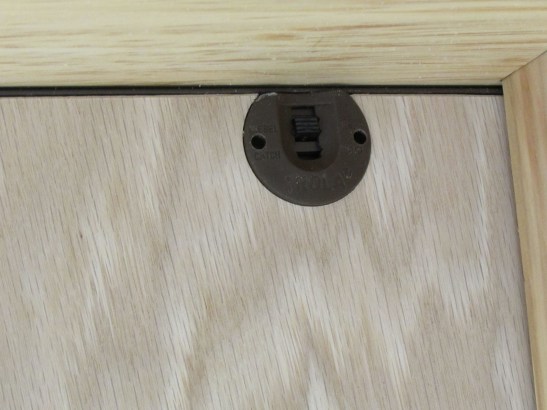
Since this is a liquor cabinet, in a house with children, we decided to install a Bypass door lock as well.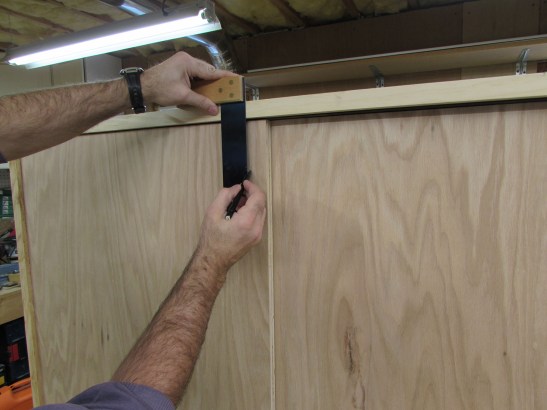
I found the center of the overlap in the doors and marked a spot about 3″ down from the top.
I measured the body of the lock and drilled a hole through the front panel.

I inserted the lock and traced the edges and the mounting holes. I drilled a couple pilot holes for the screws, then grabbed my router.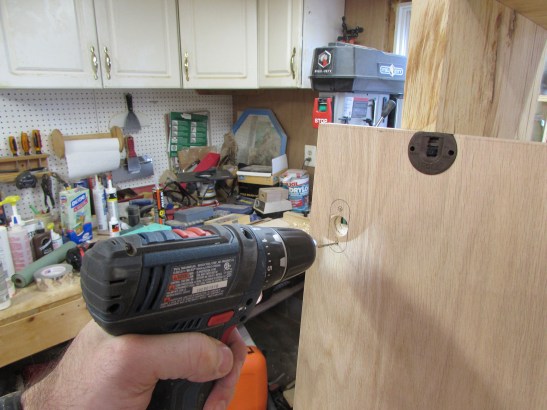

I used a 1/4″ spiral bit to cut a 1/8″ deep recess for the base of the lock.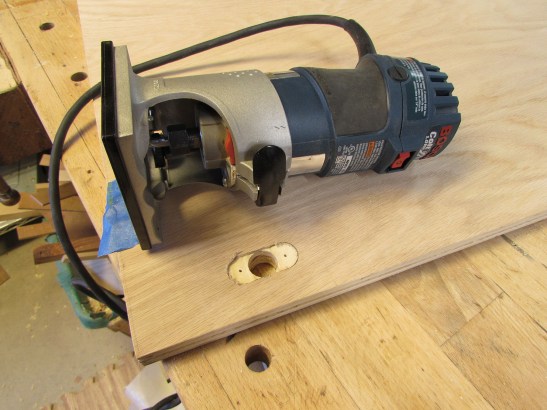
I even found some nice black painted screws to attach it with. Of course I discovered, too late, that they were brass… Hardly any pressure at all and the screw head broke off.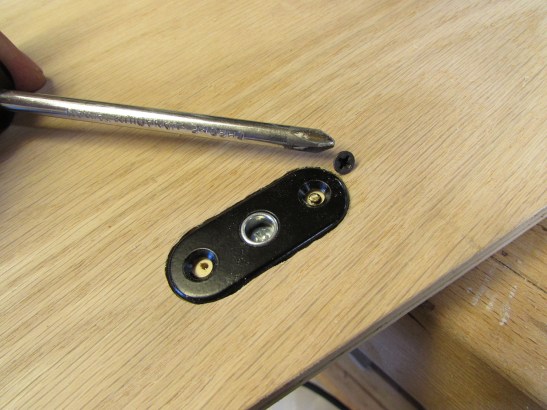
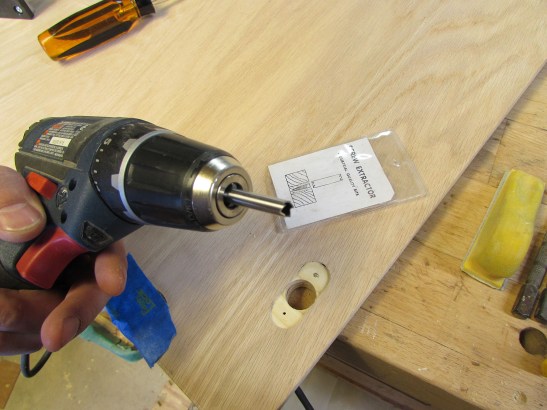
There was not enough screw sticking out to grab with pliers so I got my screw extractor bit, that is really just a 1/4″ hole saw. my intent was to drill down to the bottom of the screw, but the plywood did not act the way solid wood does, for the extractor. usually it all comes out jammed up as a plug in the extractor. This time the wood just dissolved under the assault. Must be because it is in layers. Either way, this enabled me to extract the screw with pliers, without going as deep as I planned.

With the screw extracted, I mixed up a tiny bit of 5-minute epoxy and cut a plug to put back in the hole.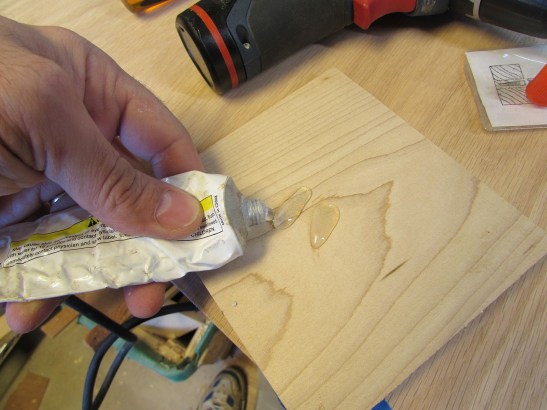

I lined the hole with epoxy and pressed in the plug.
After ten or fifteen minutes, I routed the surface flush again.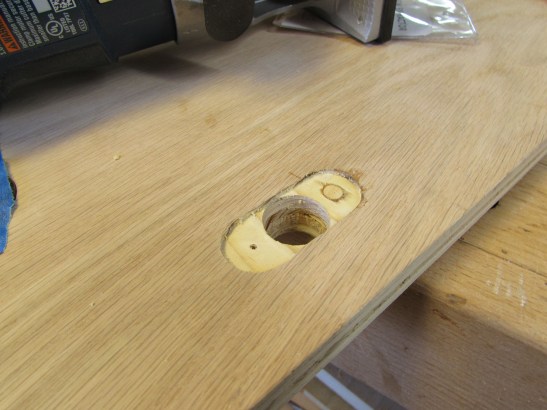
I found some nice steel screws this time. It is on the inside, so I don’t care what color they are.
The plywood is too hard to press the lock bolt into, to locate the spot on the second panel, so I placed a piece of painter’s tape approximately in the correct location then pressed the lock button hard. An impression was made in the tape, giving me the location to drill for the bolt receiver hole.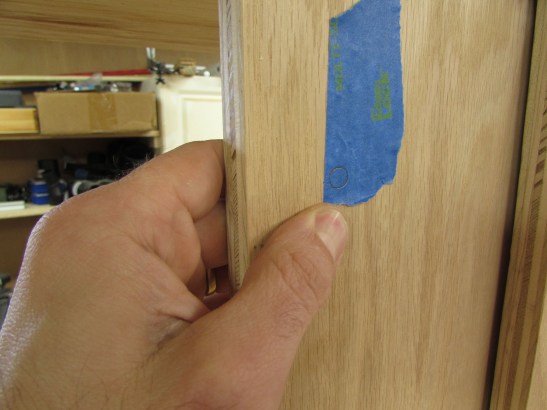
After drilling out the hole, I locked the door. Perfect fit, door locks and unlocks flawlessly.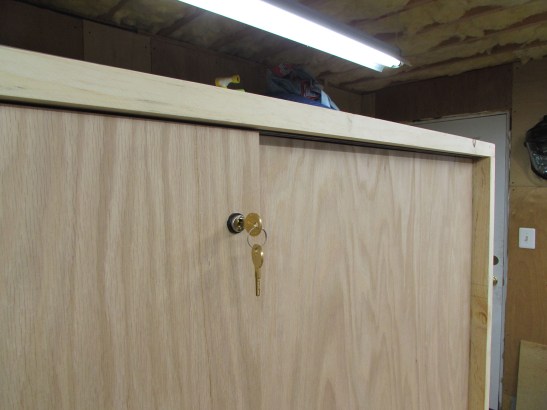

Last thing I want to do is install a small lip on either side, in front of the doors. This strip will hide any gaps where the door closes. The gap is not significant, but if the wood moves, over time, I want the gap covered.
I glued and clamped the thin strip in place.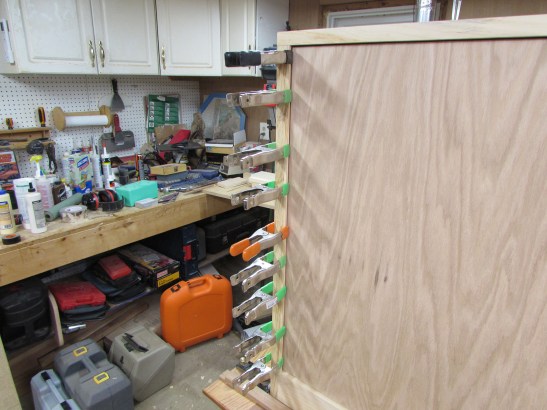
Carefully holding it flush to the front of the cabinet.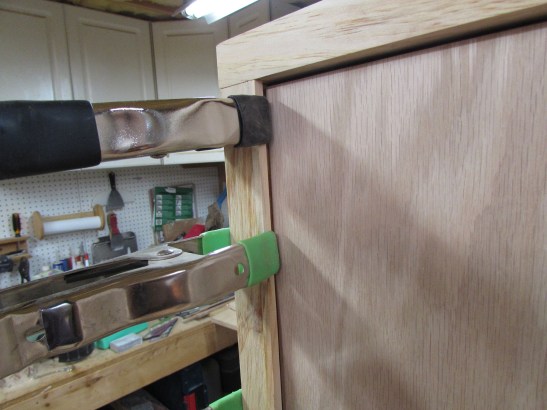

When dry, I pulled the clamps and did a little sanding. 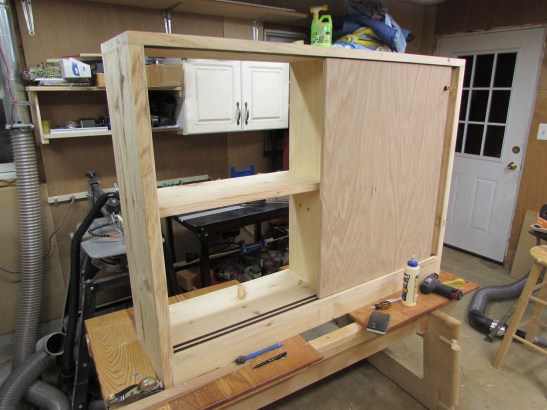
My part of the cabinet is done. The homeowner will be doing the painting and adding door handles to match their decor. I will suggest adding thin bumpers to the door edges, to prevent the handles from hitting the opposite door.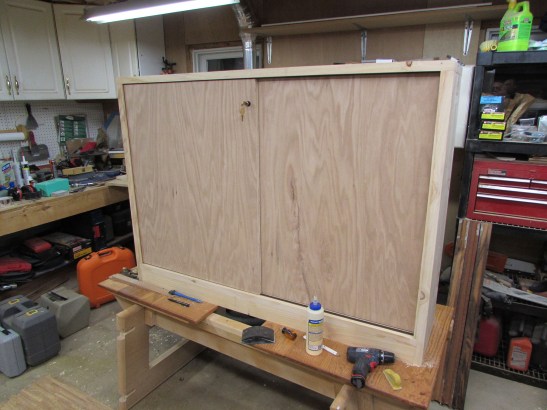
Here is a shot from the back. I didn’t add a plywood back because this cabinet will go up against a wall that has a receptacle on it. I wanted the homeowner to still have access to the outlet. Maybe they will add lighting, who knows?
Here are shots of the guides and rollers. The rollers, on the bottom, have the ability to be adjusted up to 1/8″ taller. This may be helpful if something swells, they would be able to reduce the height a bit, to ease movement. If they need to remove the doors to paint or clean, they simply slide down the black button on the top ones and the guide is retracted, freeing the top of the door.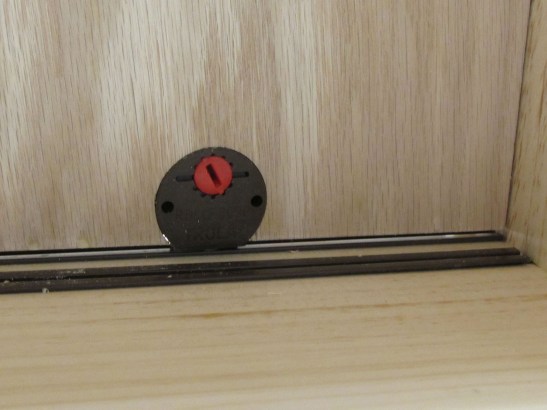
This was a nice project with simple joinery. I will also be making some book shelves with the rest of the pine, that will go in the same house.
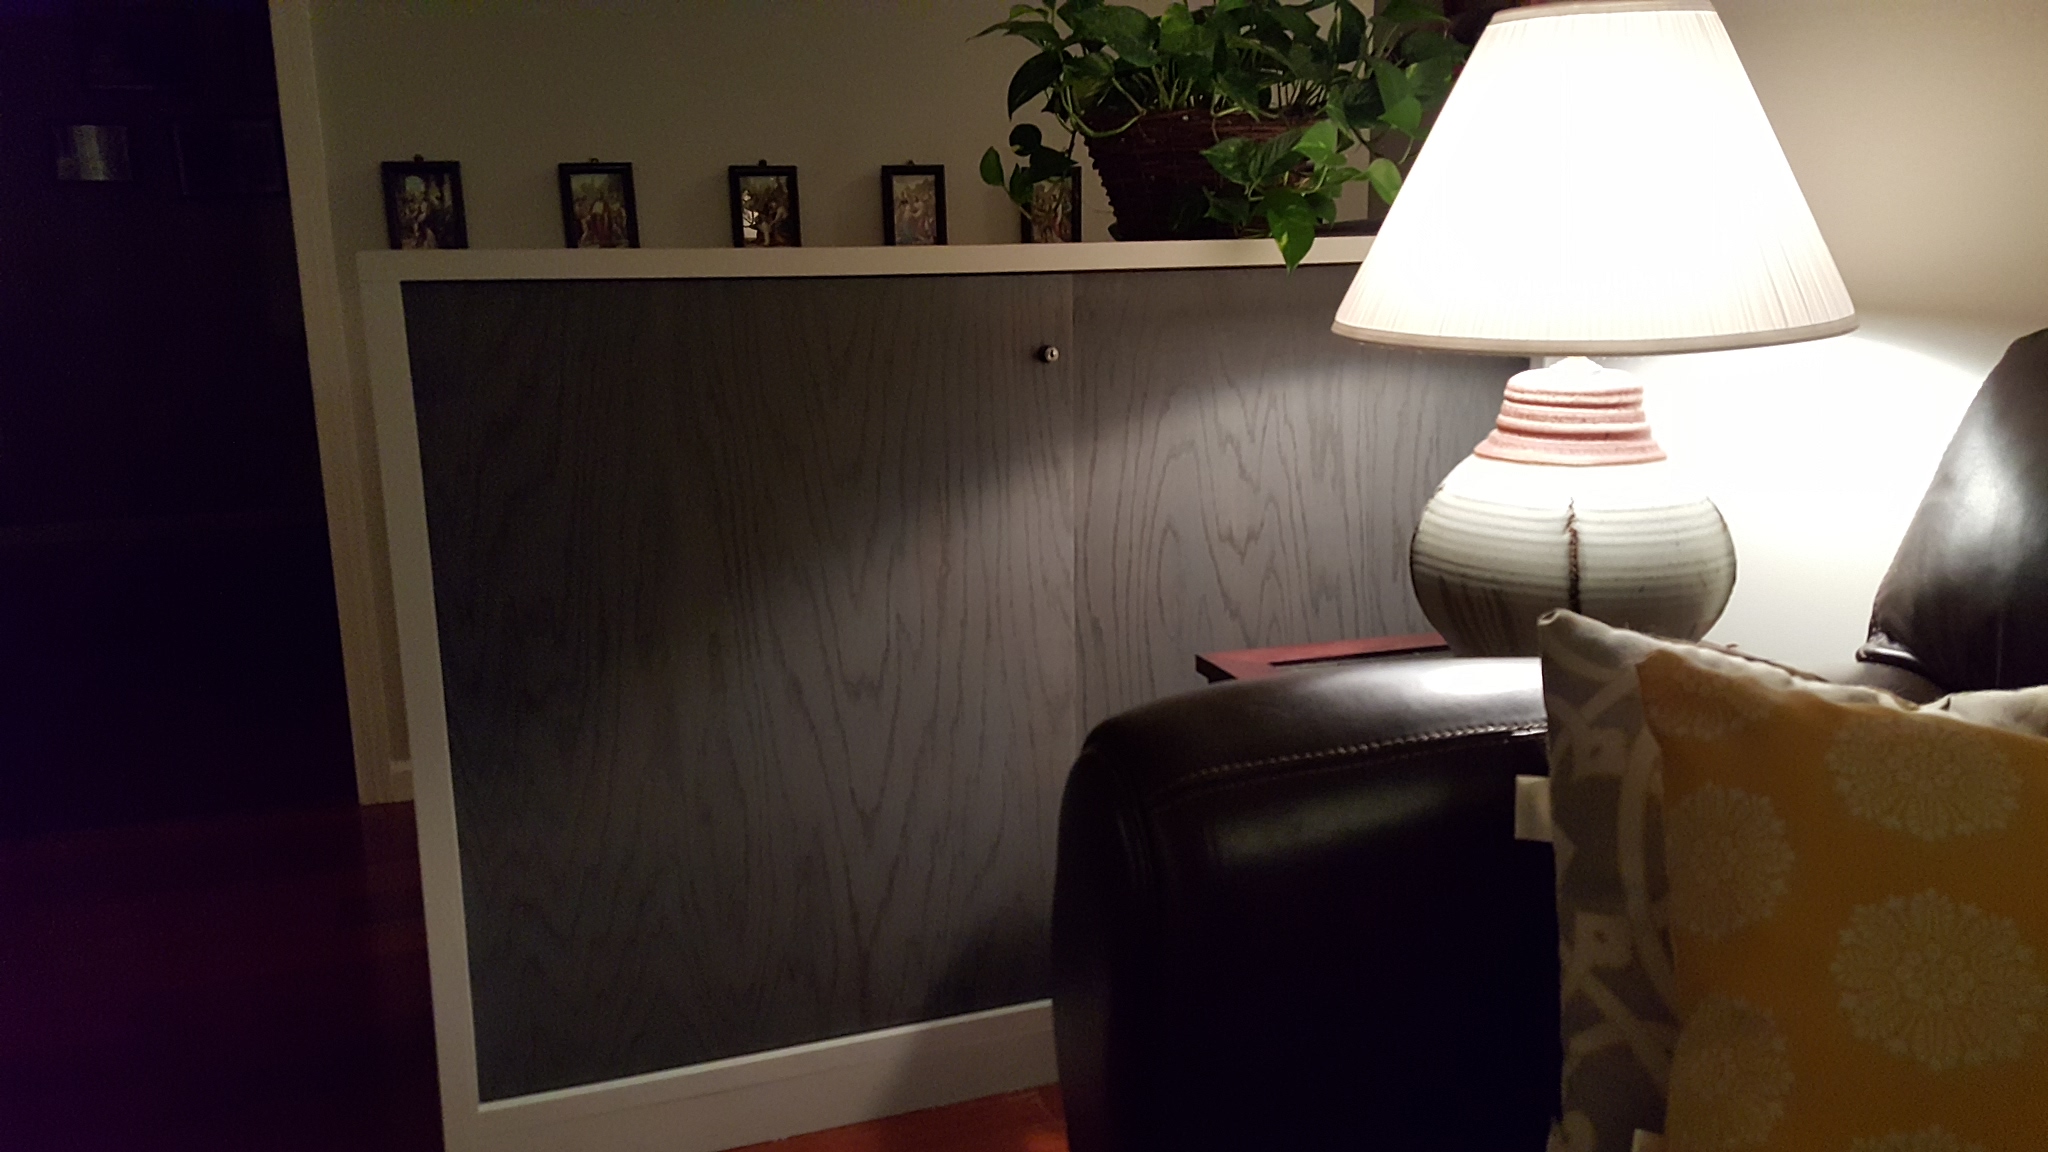
I visited after the cabinet had been painted and installed. Here is a picture. They really liked the oak doors, and decided to stain them grey to match other trim in the room. I thought it turned out really nice.

Pingback: Book shelves | Midnight Woodworking