
Making a recliner more handicap accessable
This is a quick and inexpensive way to make a recliner more accessible to someone who has been disabled. One thing that is recommended to the folks getting knee and hip replacements is that they raise their recliner, to make it easier to get into and out of. If it is a rocking recliner, you also have to prevent it from rocking forward. The elevation prevents pain and stress on the hips and knees when the person is getting up or sitting down.
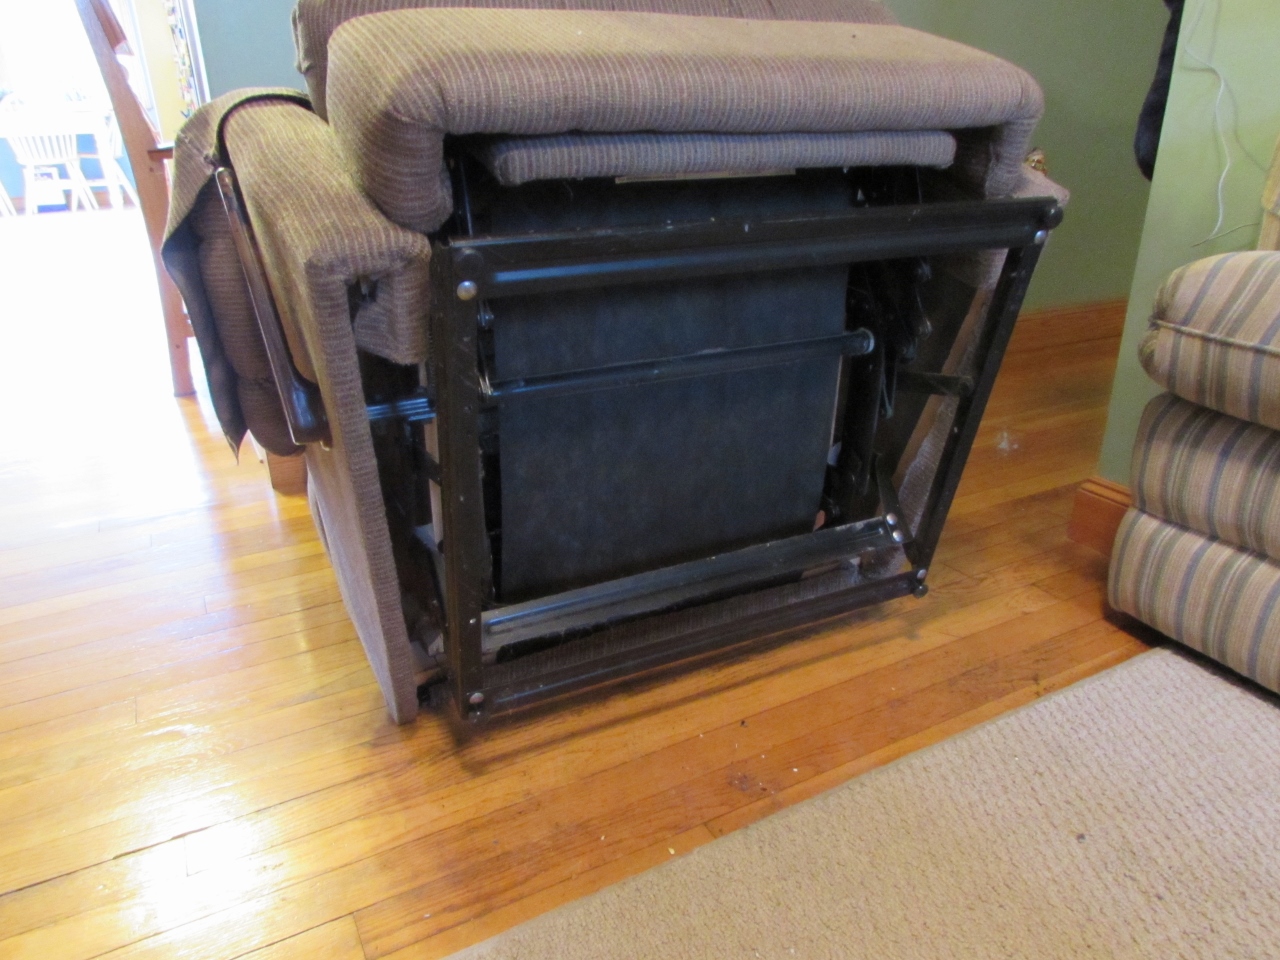
There are many different types of bases on recliners. I have only done a few of these, so you will have to determine if my design suits your needs. Attaching the base to the recliner is a must. You don’t want someone rocking themselves off the pedestal and crashing to the floor (Not good for recovery). Chairs that have a metal frame base, like the picture above, can be attached by screwing through the holes in the base of the frame. Wood frames, like the one below, can be attached to in a couple different ways.

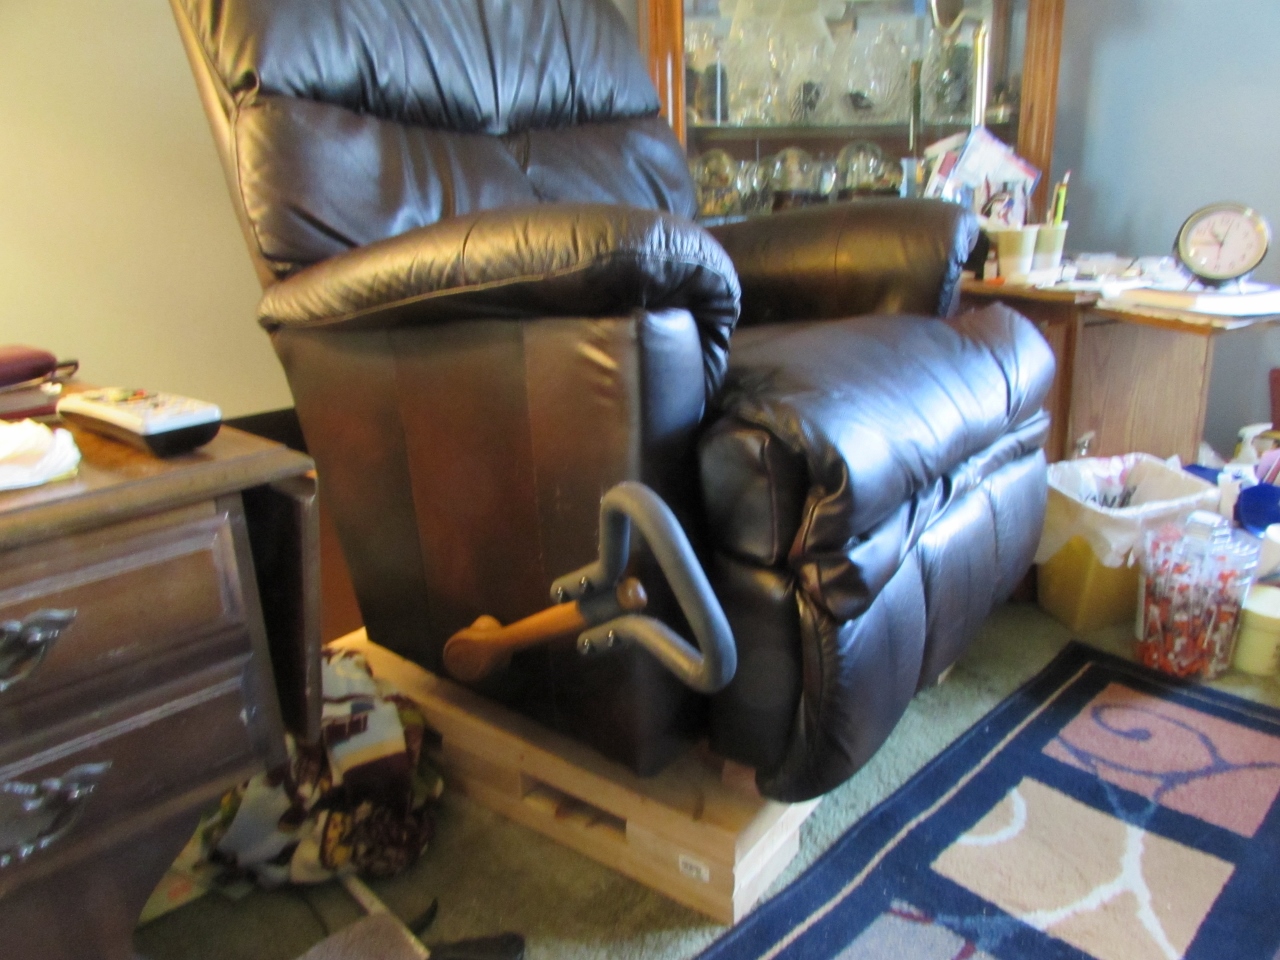
This is one that I did for my mother-in-law. She also has added the bolt-on handle, to give her more control of the chair.
This chair has some thicker wood in the base, so I attached the pedestal to it by screwing directly into the base from the bottom. Also, note the taller block, on top of the pedestal, in the front. It arrests the forward motion of the rocker, without preventing the chair from rocking backwards.
It is a simple design, so I am using nearly the same thing on another chair for her. The base isn’t as thick, so I will be attaching this one from the side.

I started by measuring the base of the recliner and determined what size it would have to be in order for each side of the base to fall in the middle of each side of the pedestal. I am only raising the chair 4-1/2″, so I bought (3) 8′ long 2″x6″ boards.
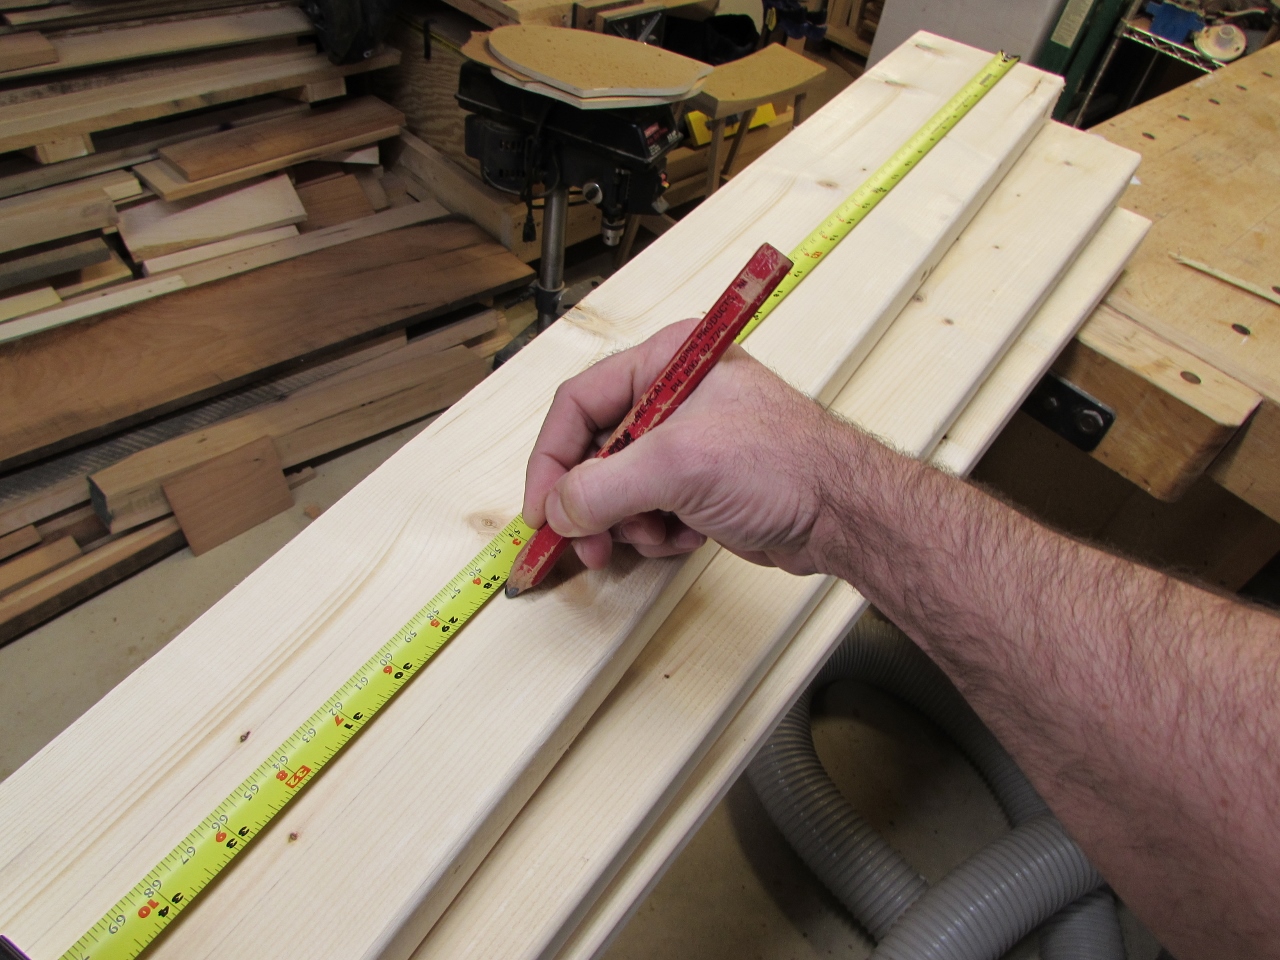
I cut (4) 28″ long boards, and (3) 26″ long boards to create the main part of the pedestal.
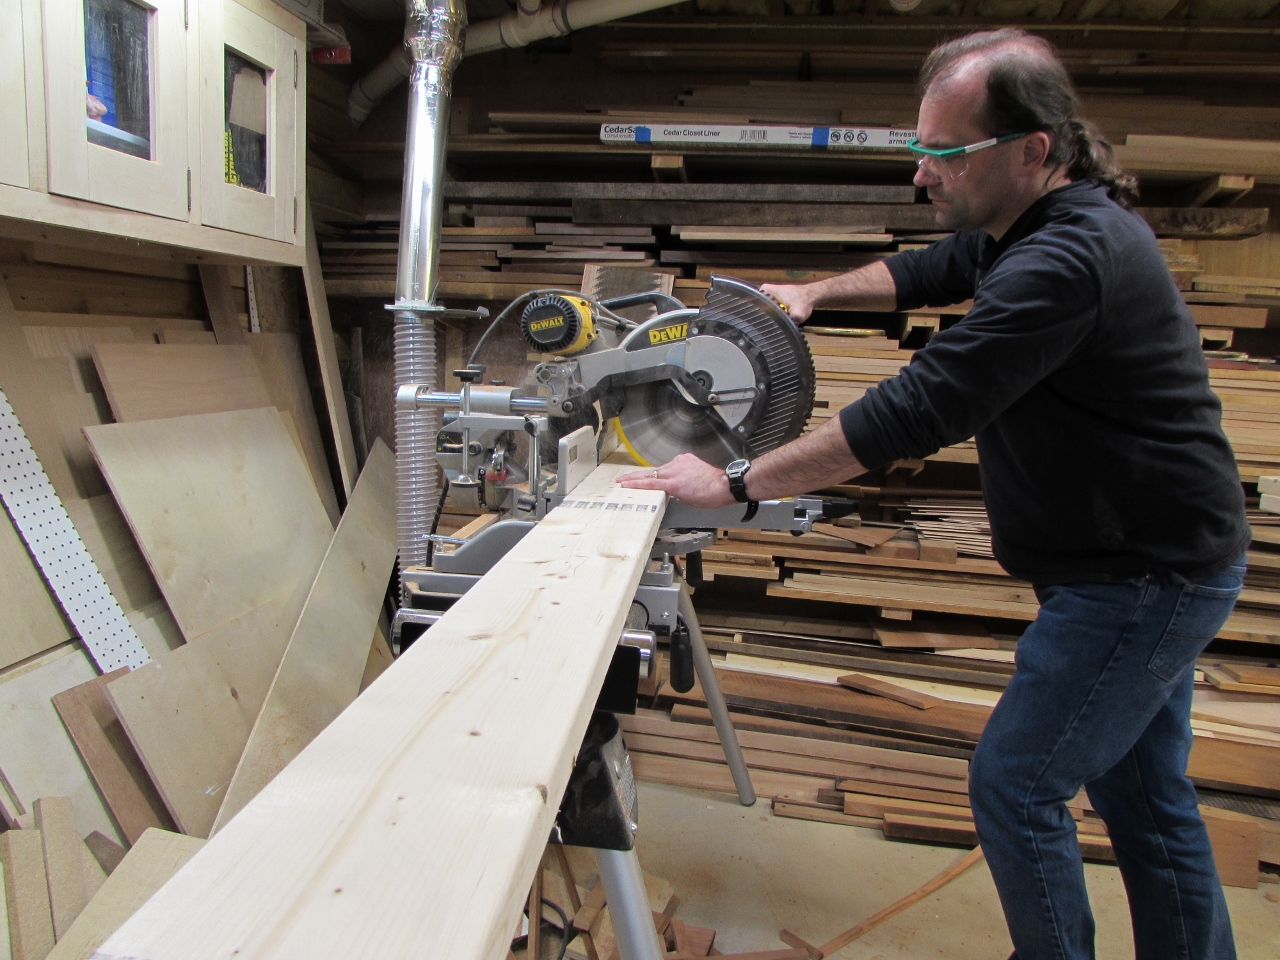
I measured from the floor to the bottom of the front of the recliner, to get the height of the stop that goes in the front. In this case, it was 2-1/2″. I cut a piece that wide and about 26″ long to go across the front.

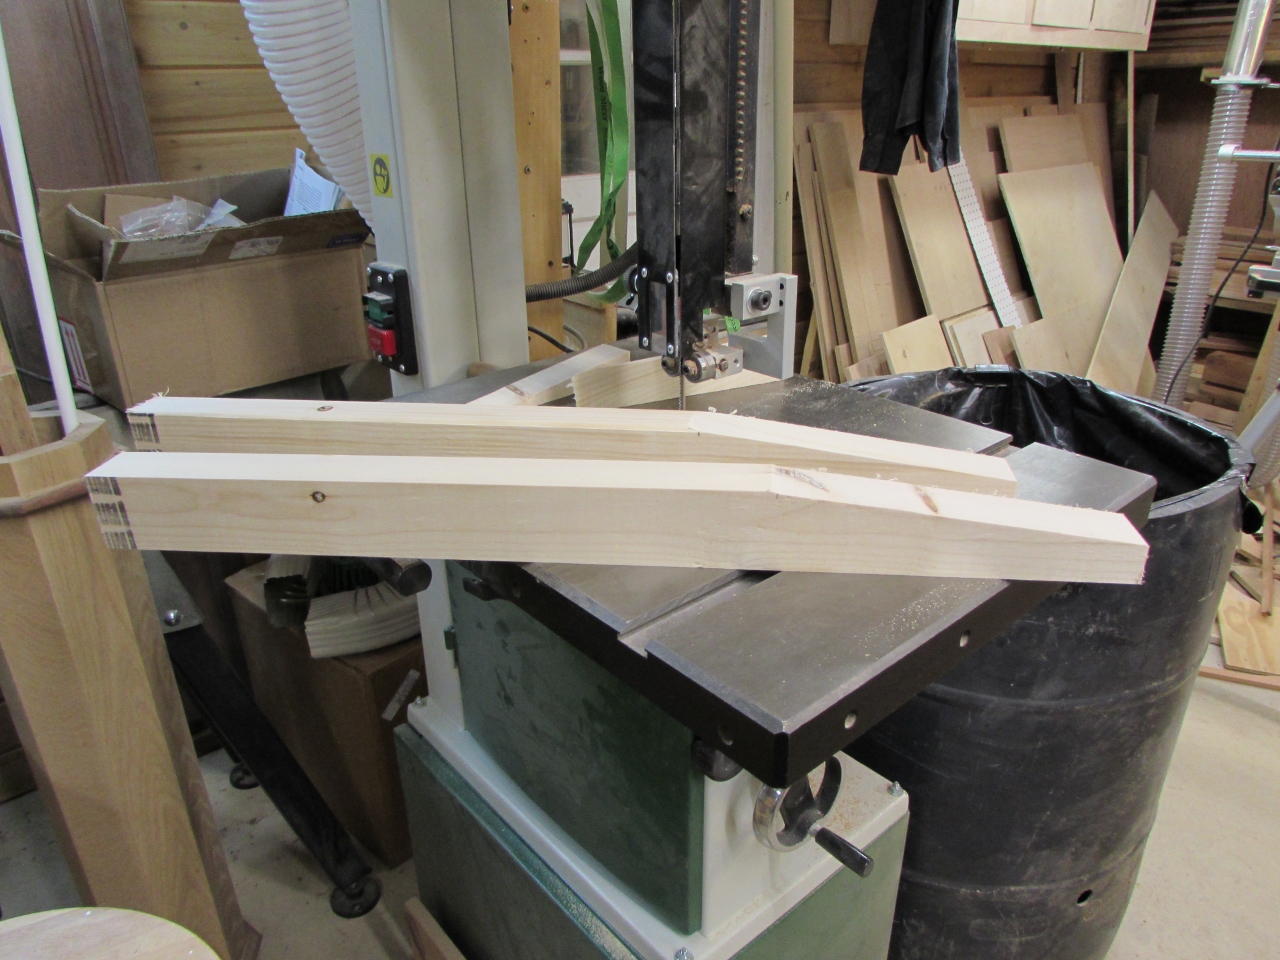
For this chair, I also cut two 2″ tall side runners that will attach to the recliner. Since I need the chair to still rock back, I cut a taper on the back of each to allow for it.

The tapers were cut on my band saw, but just about any other saw would do as well.
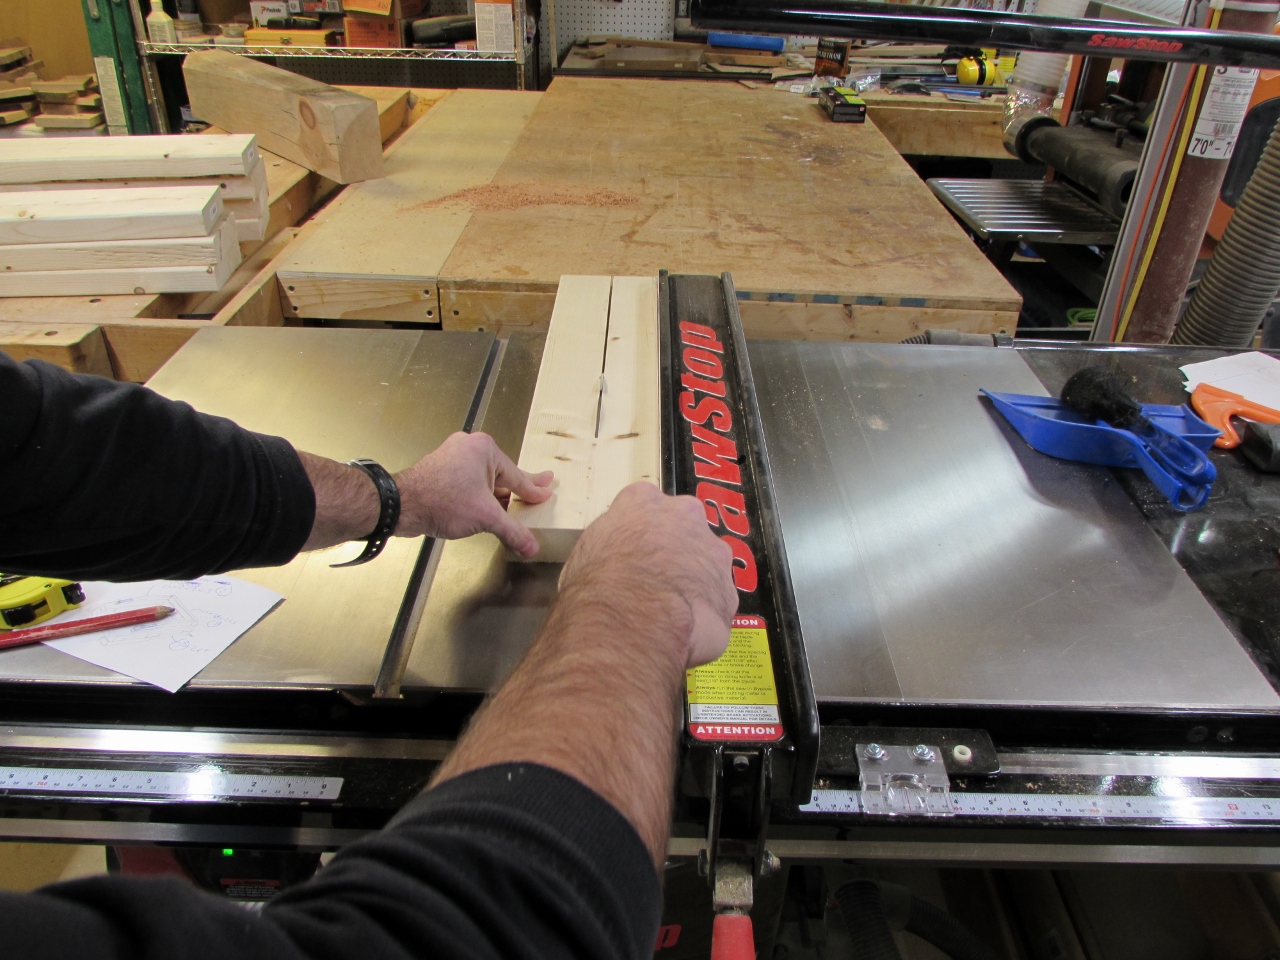
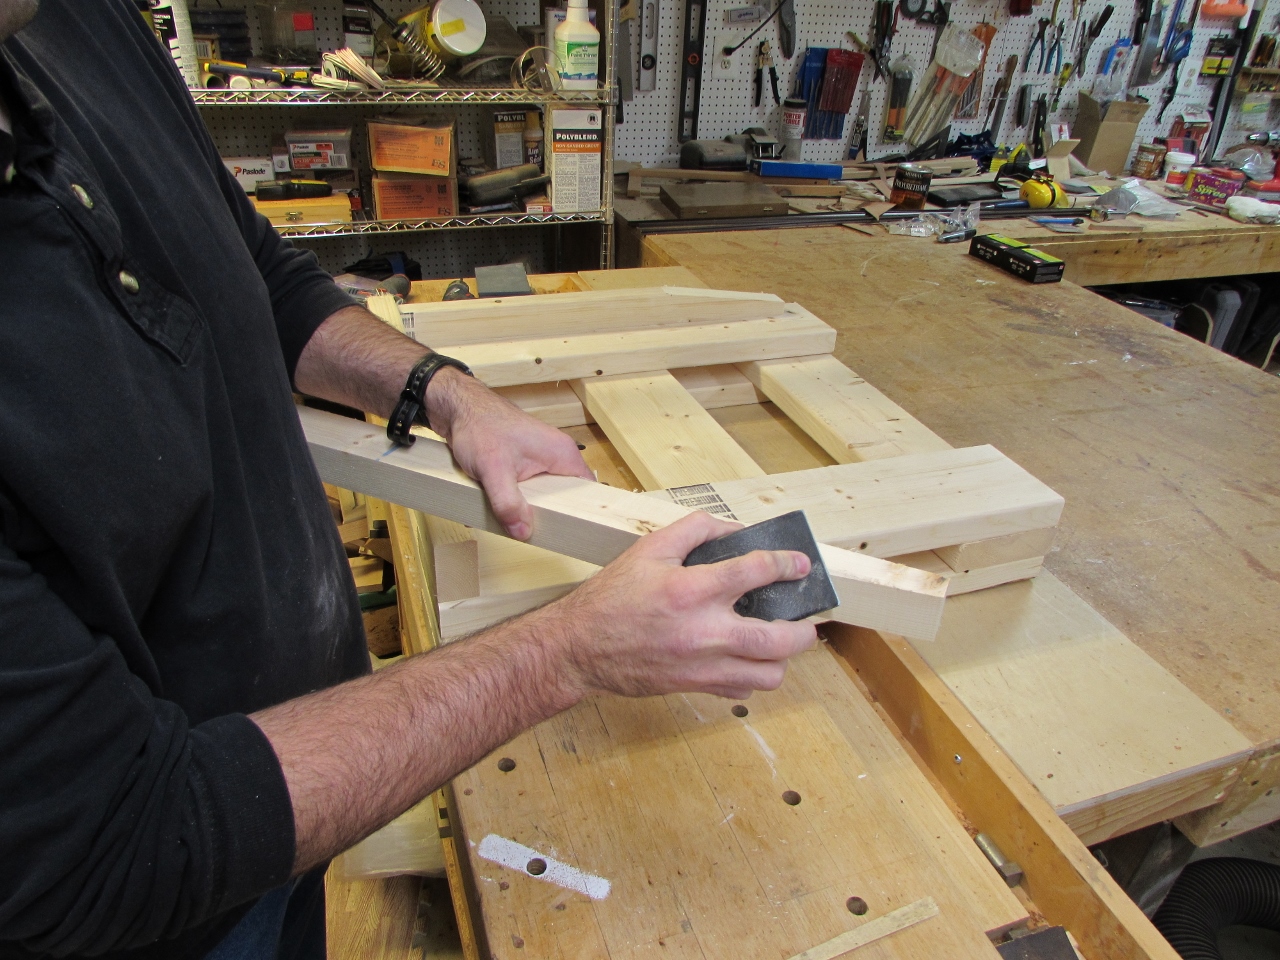
This frame doesn’t have to be pretty, but splinters are not welcome. I used my sanding block to knock down anything rough edges.
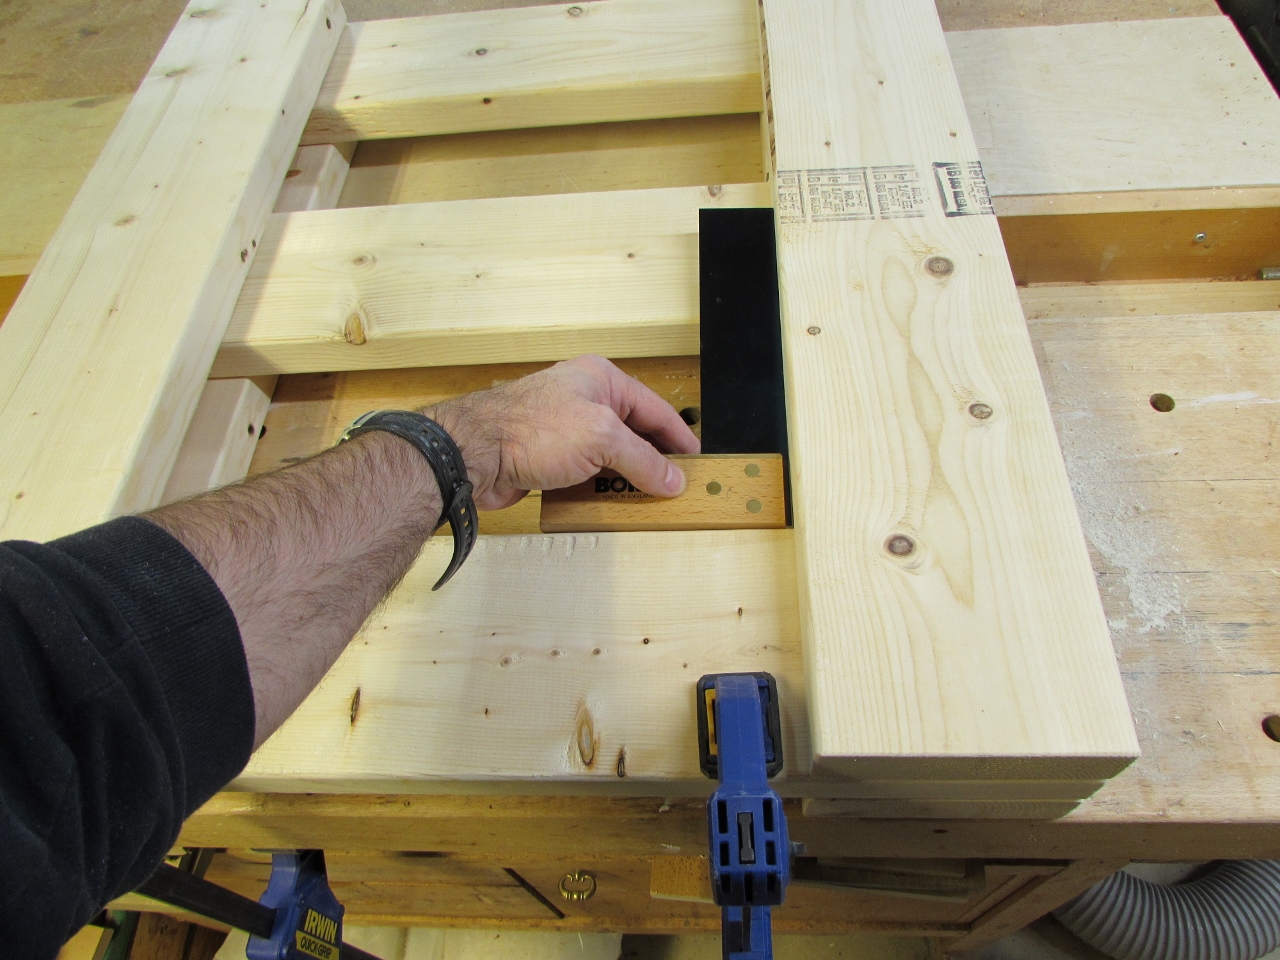
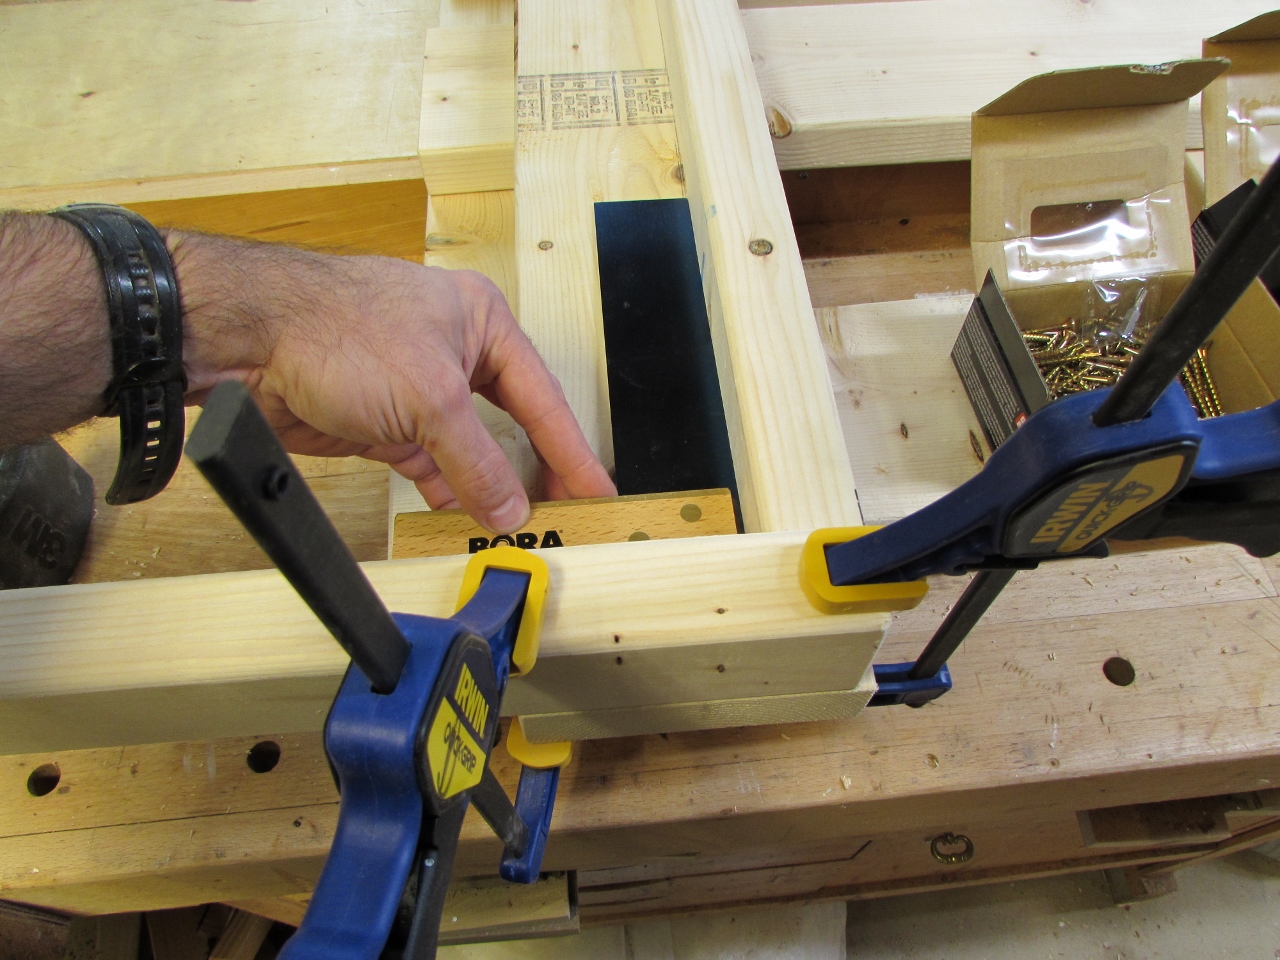
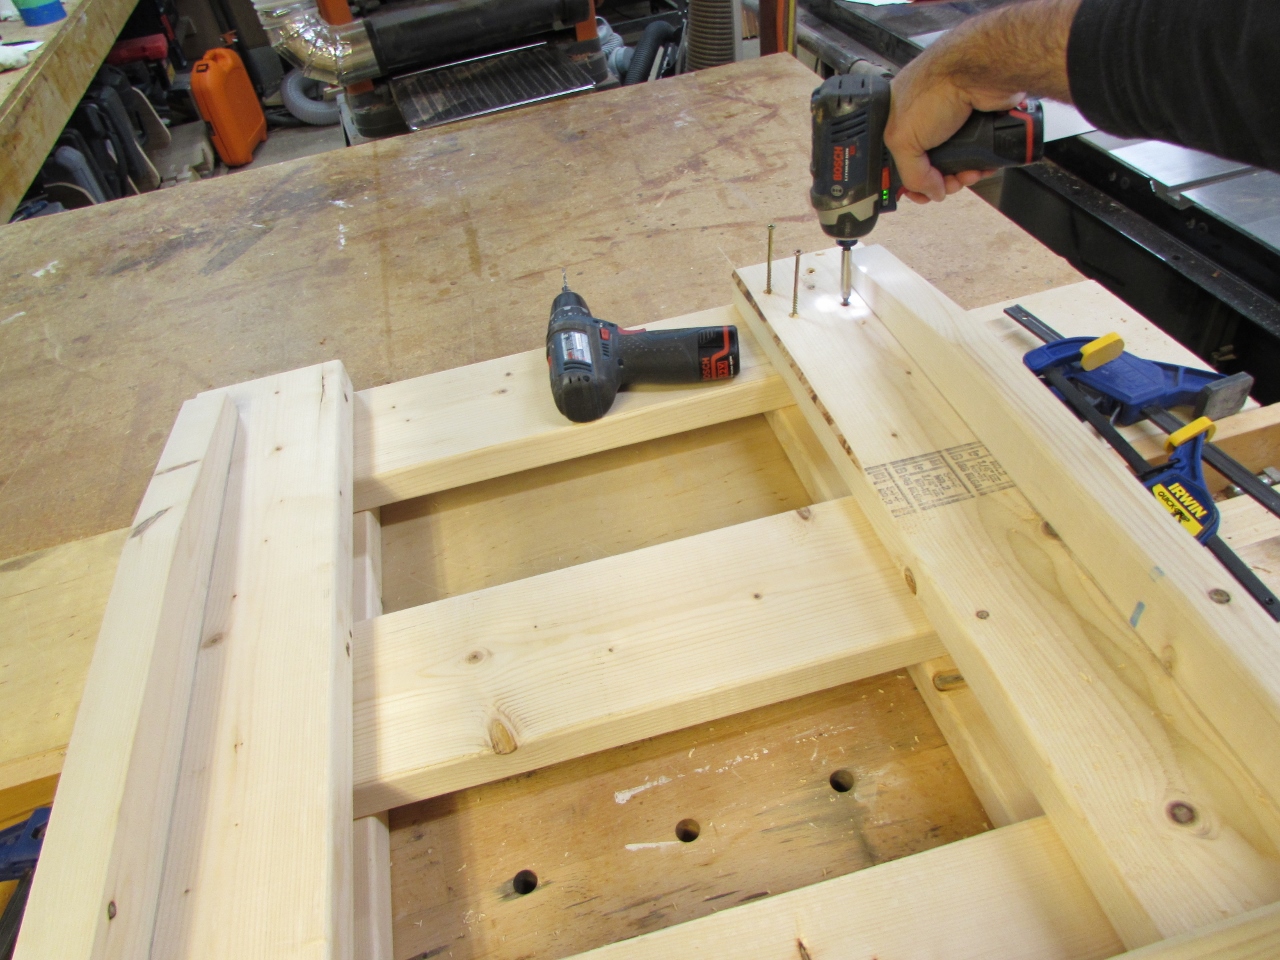
Next, I stacked up the boards to form the pedestal, and made sure they were all square.
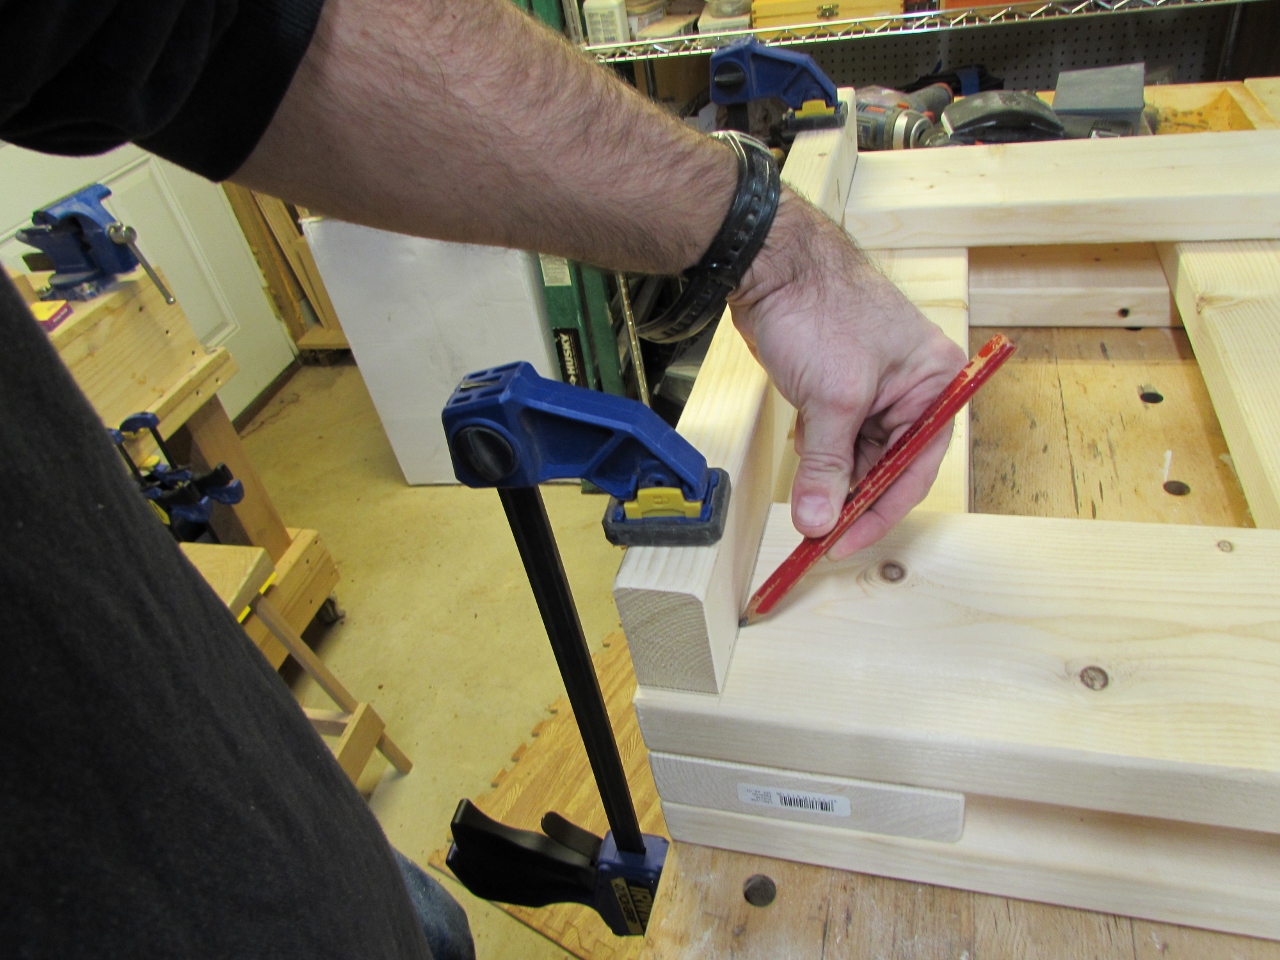
I marked the locations of the rocker stop, as well as the two sides. There location was determined by measuring the length and width of the recliner wood base.
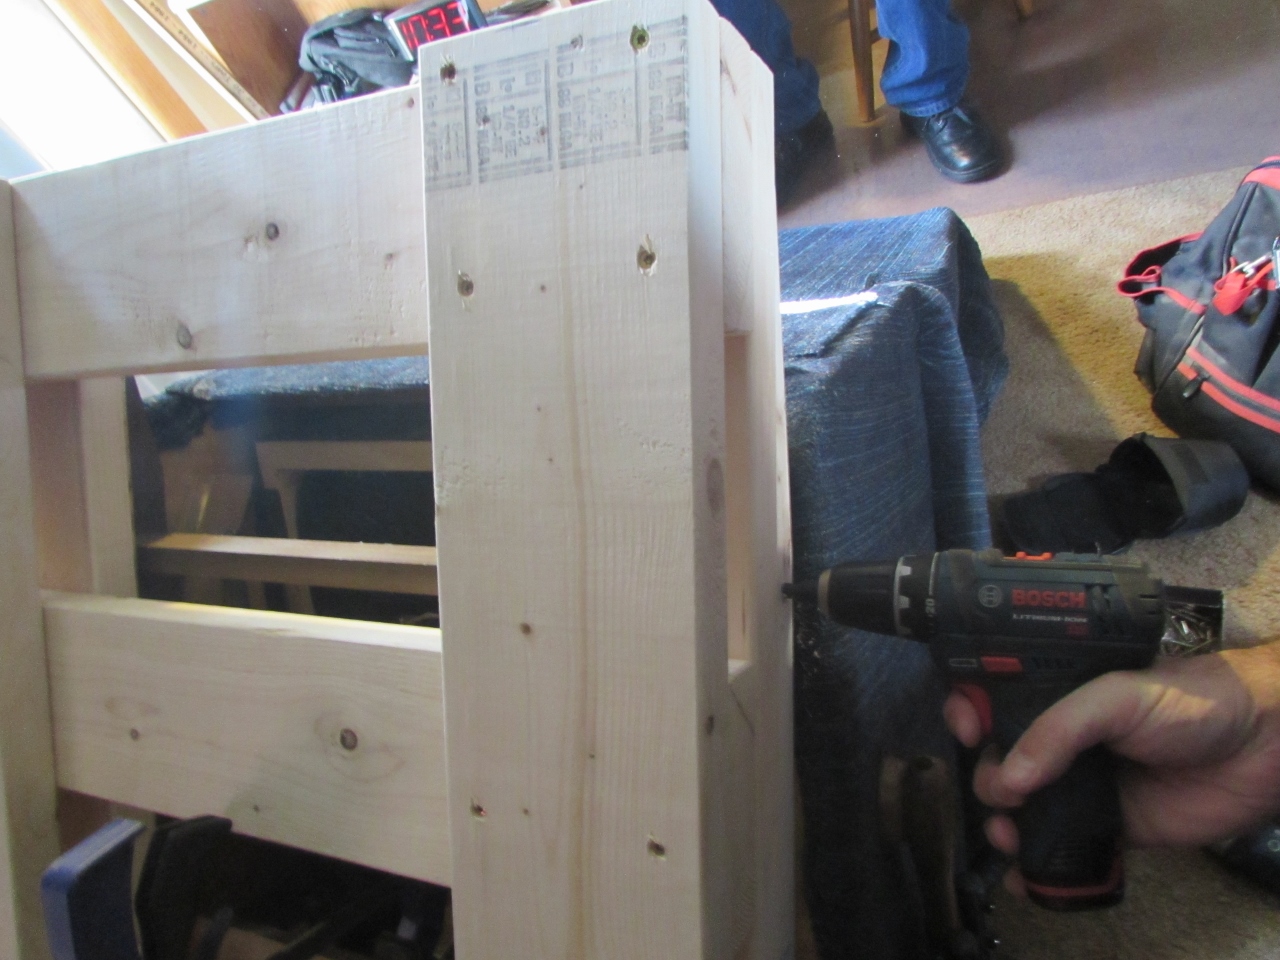
With everything marked, I clamped one board, at a time, in place.
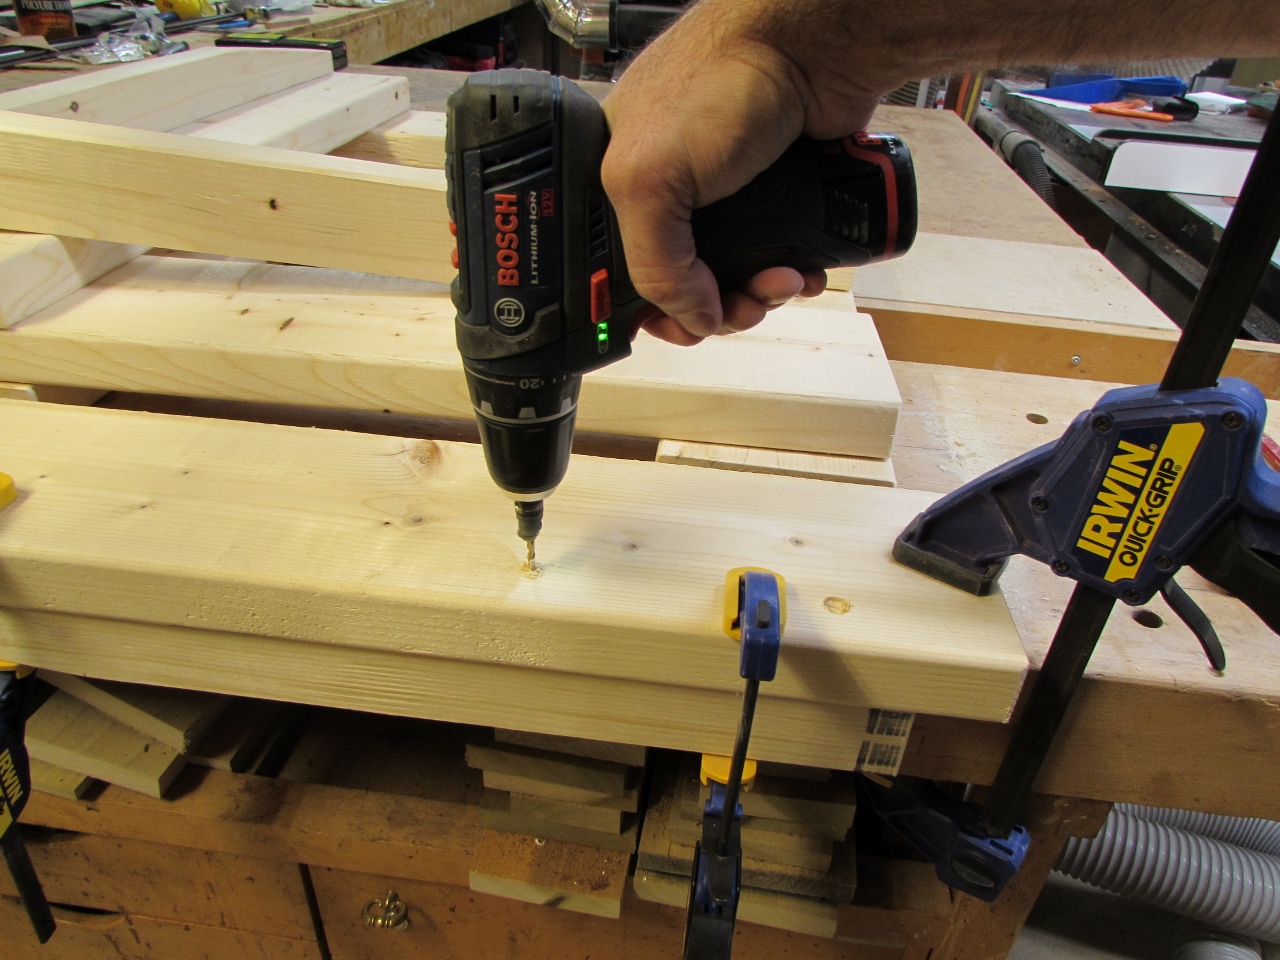
I then flipped the board over and drilled a counter-sunk pilot hole through both. I attached the boards with 3″ construction screws. They look just like drywall screws, but they are far less likely to break. Don’t rely on drywall screws for this project.
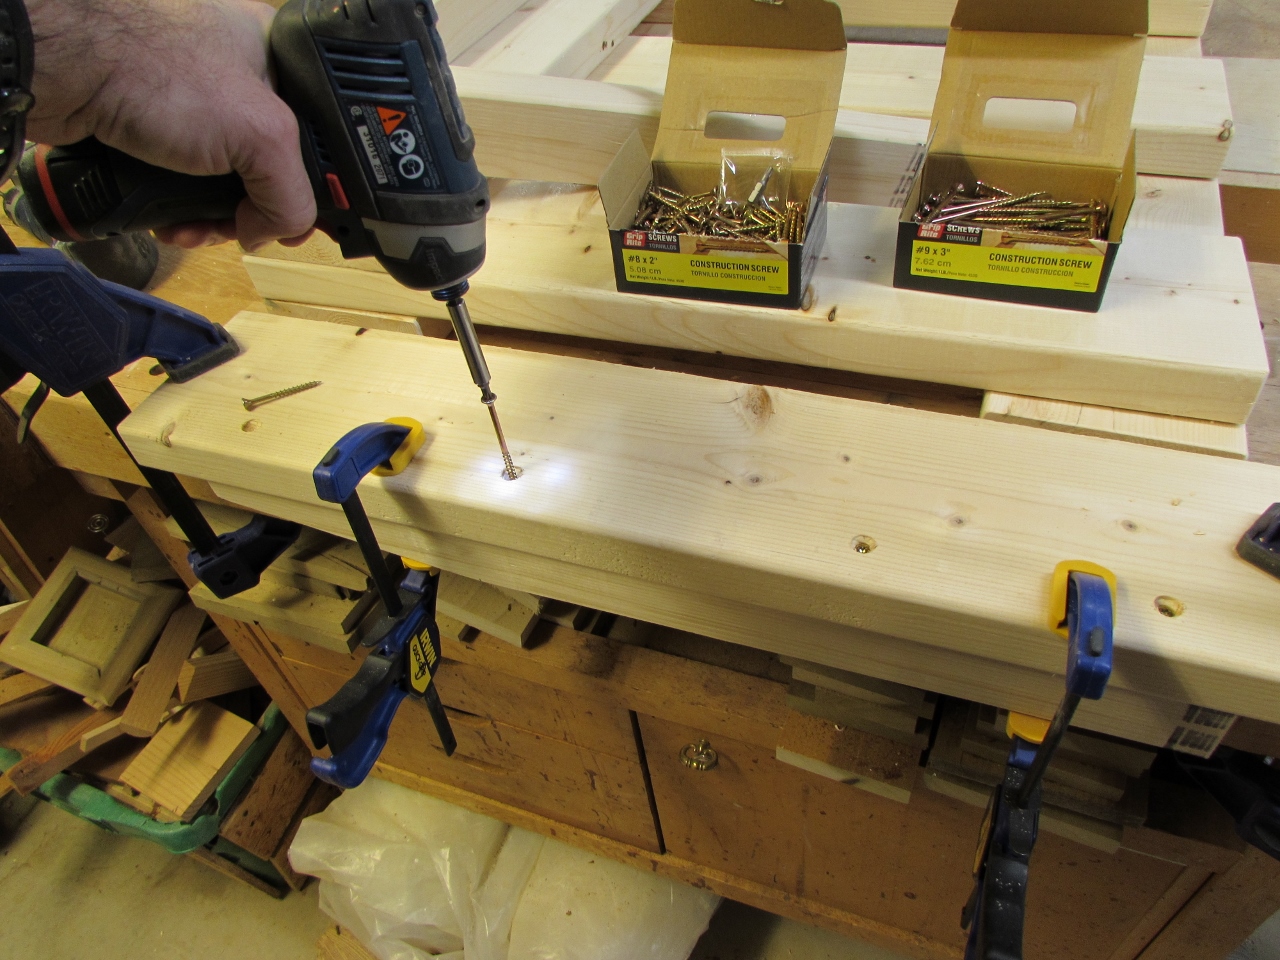
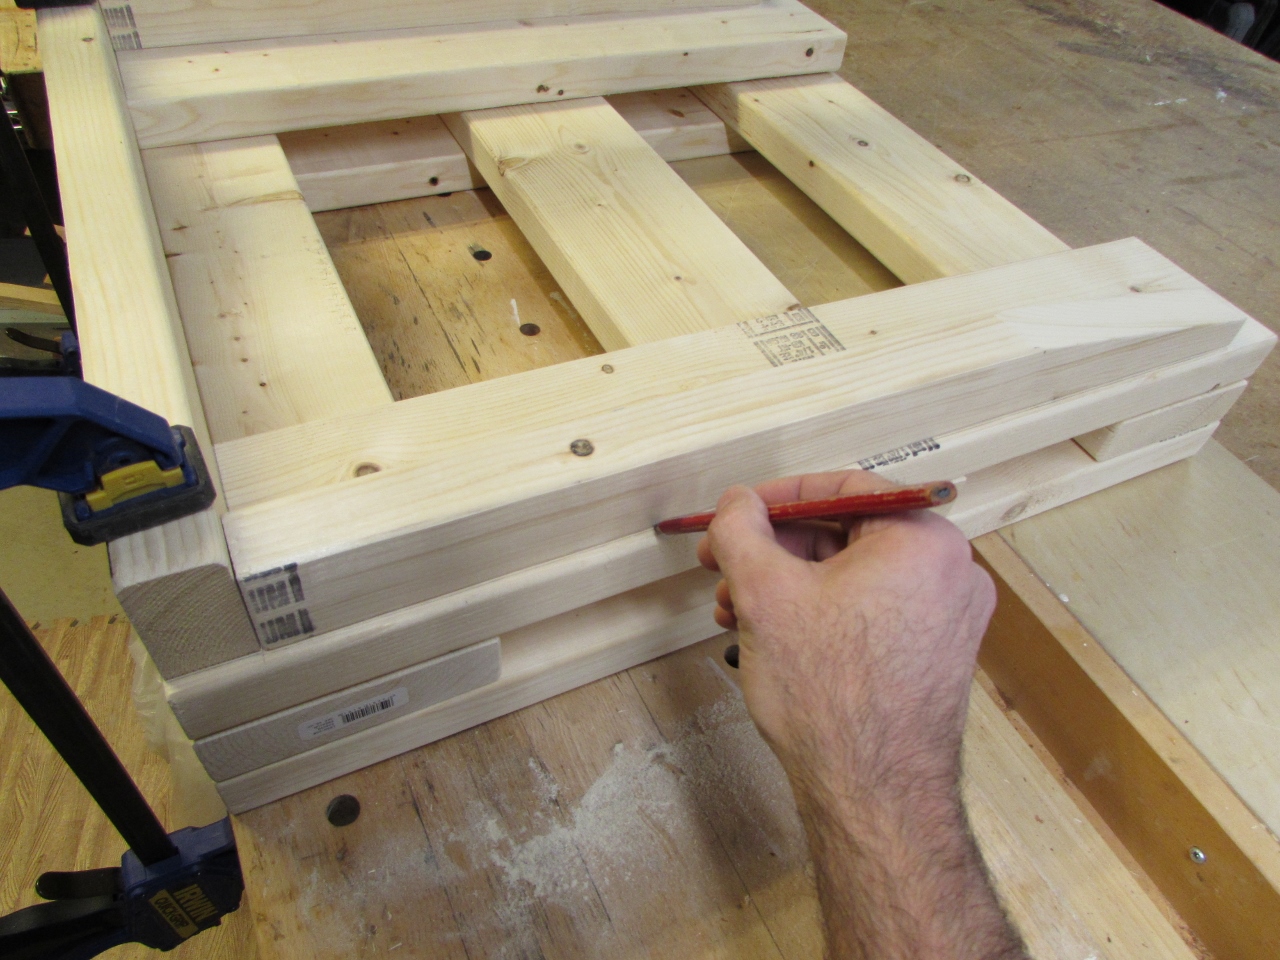
Making sure my marks line up and are still square, I continue to attach the sides as well.
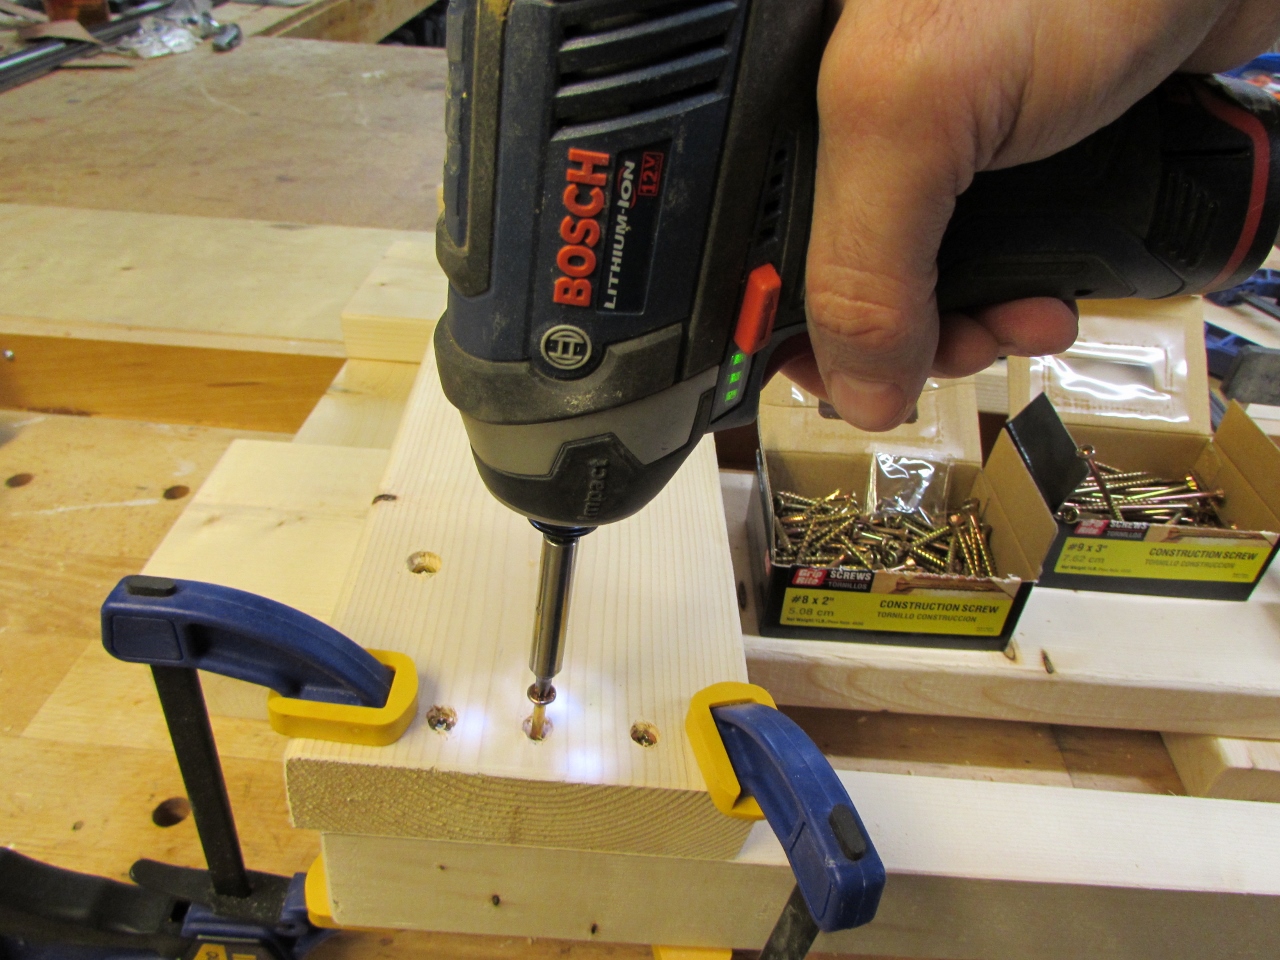

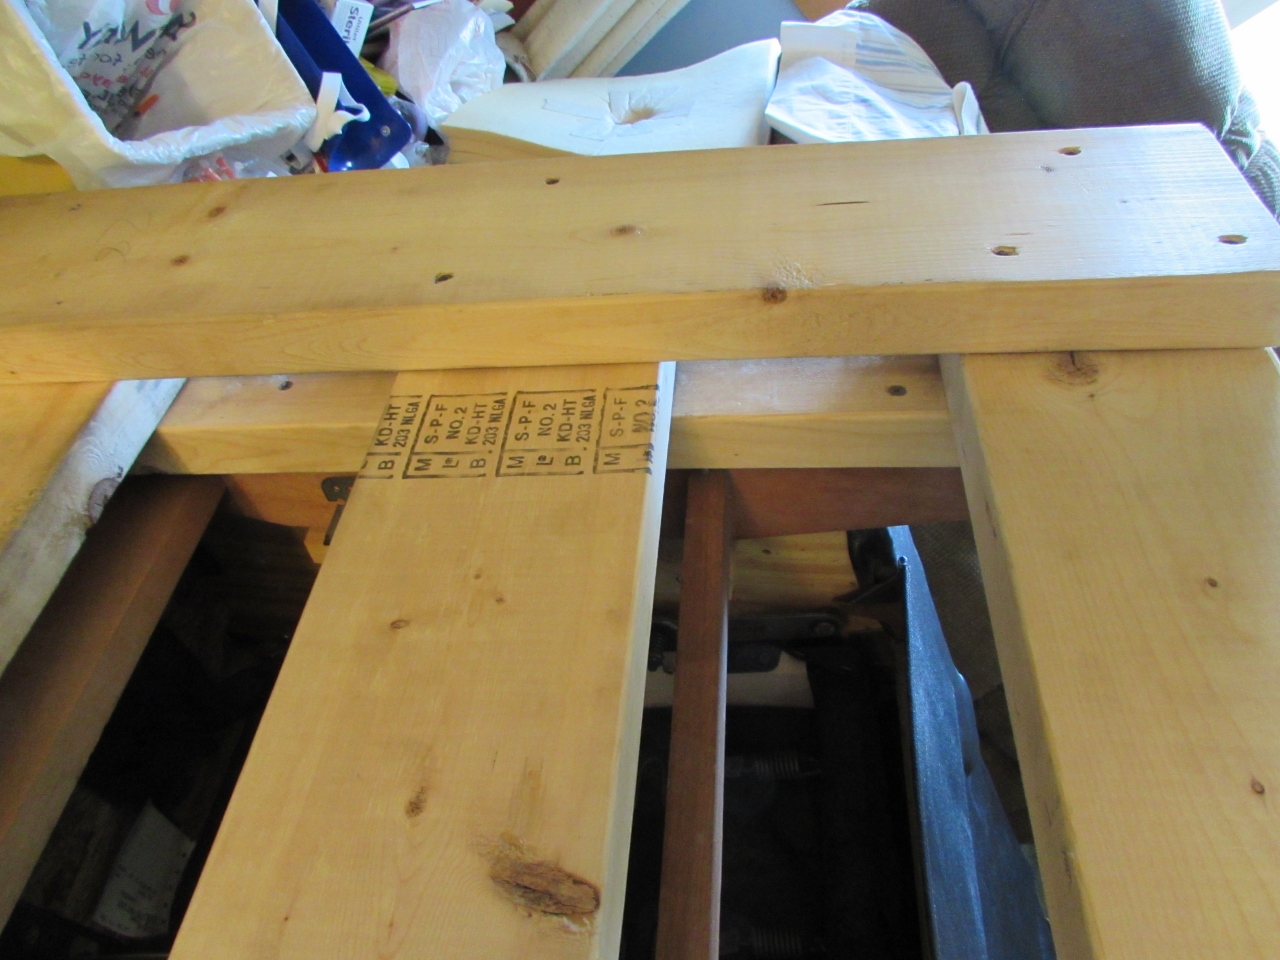
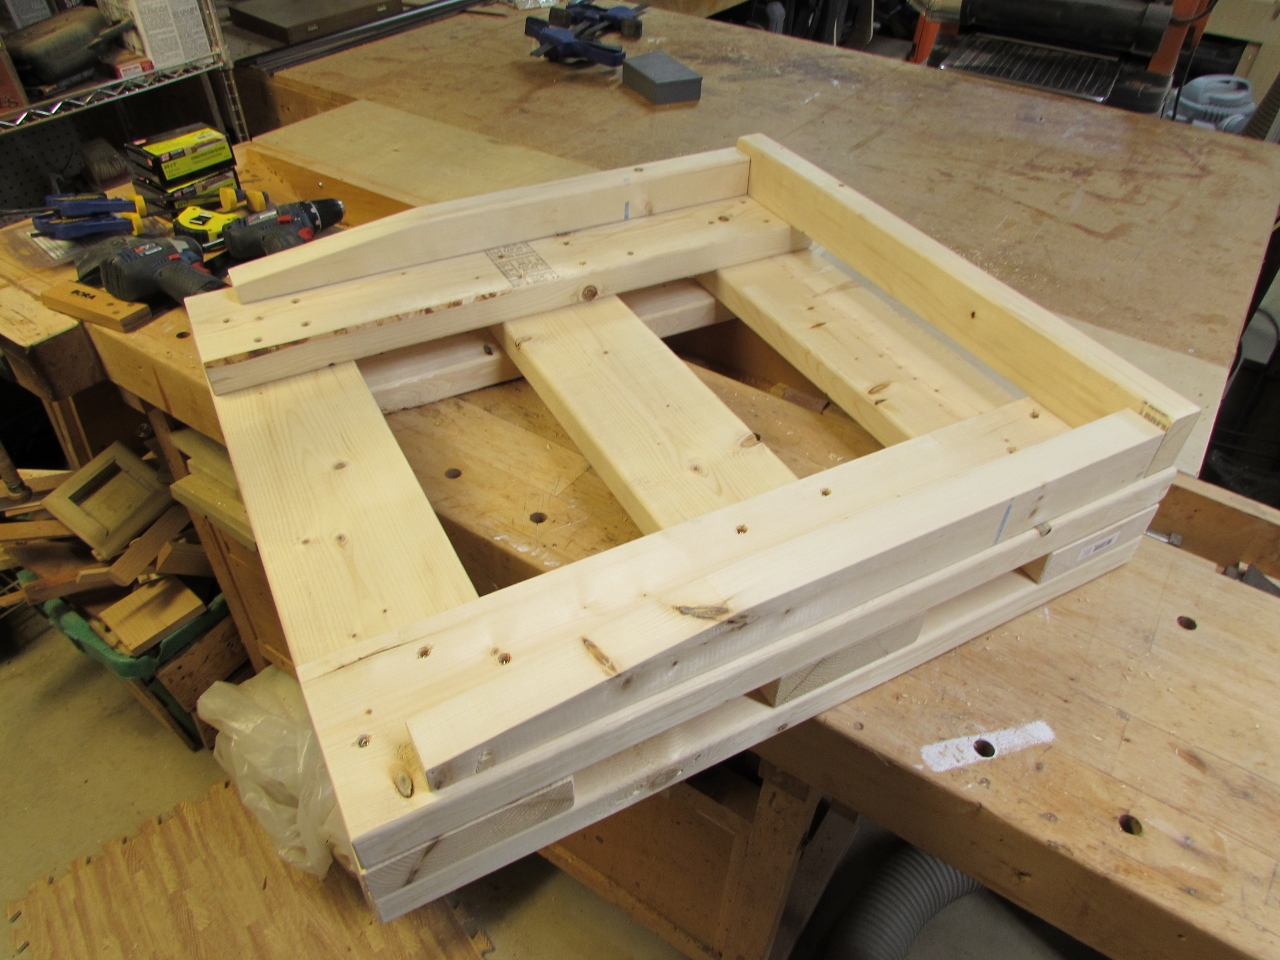
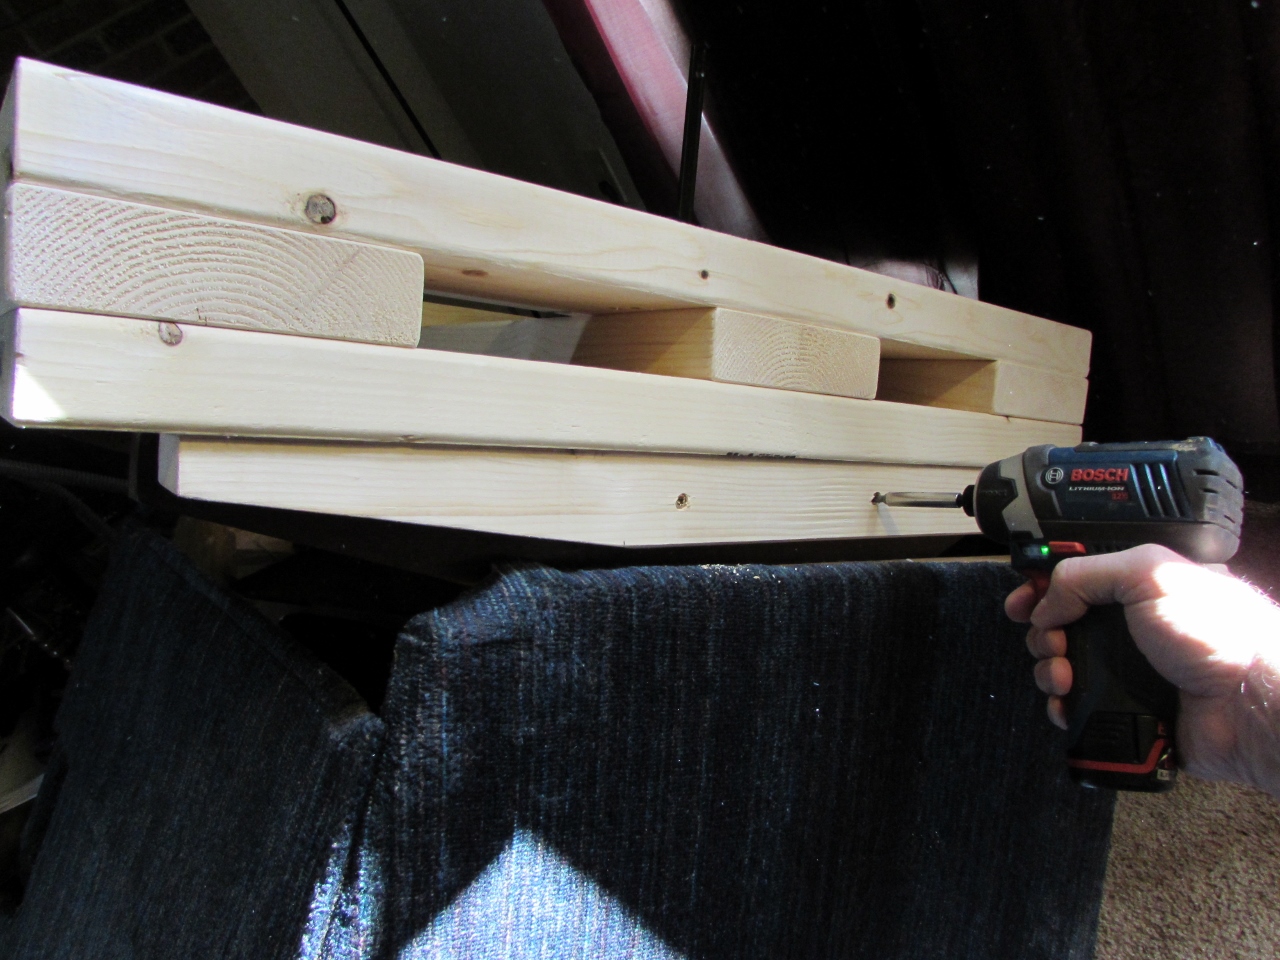
Setting the top section aside, I assemble the bottom two rows of boards, upside down.
I pre-drilled, and screwed them together as well, using two to four screws at every joint. When the top and bottom assemblies were made, I assembled them and screwed them together, trying to use a different screw pattern to avoid the screws in the assembly below..
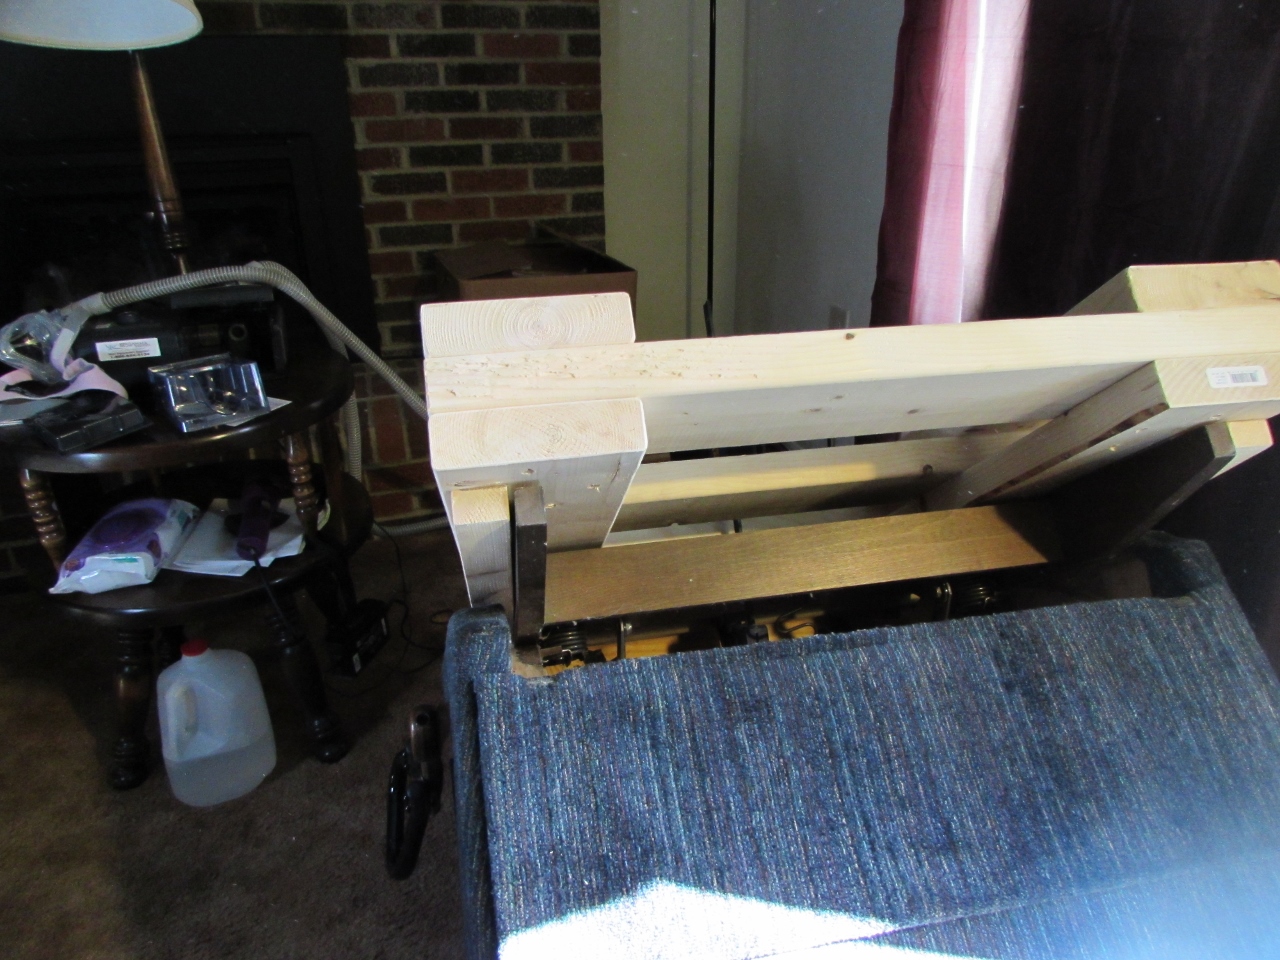
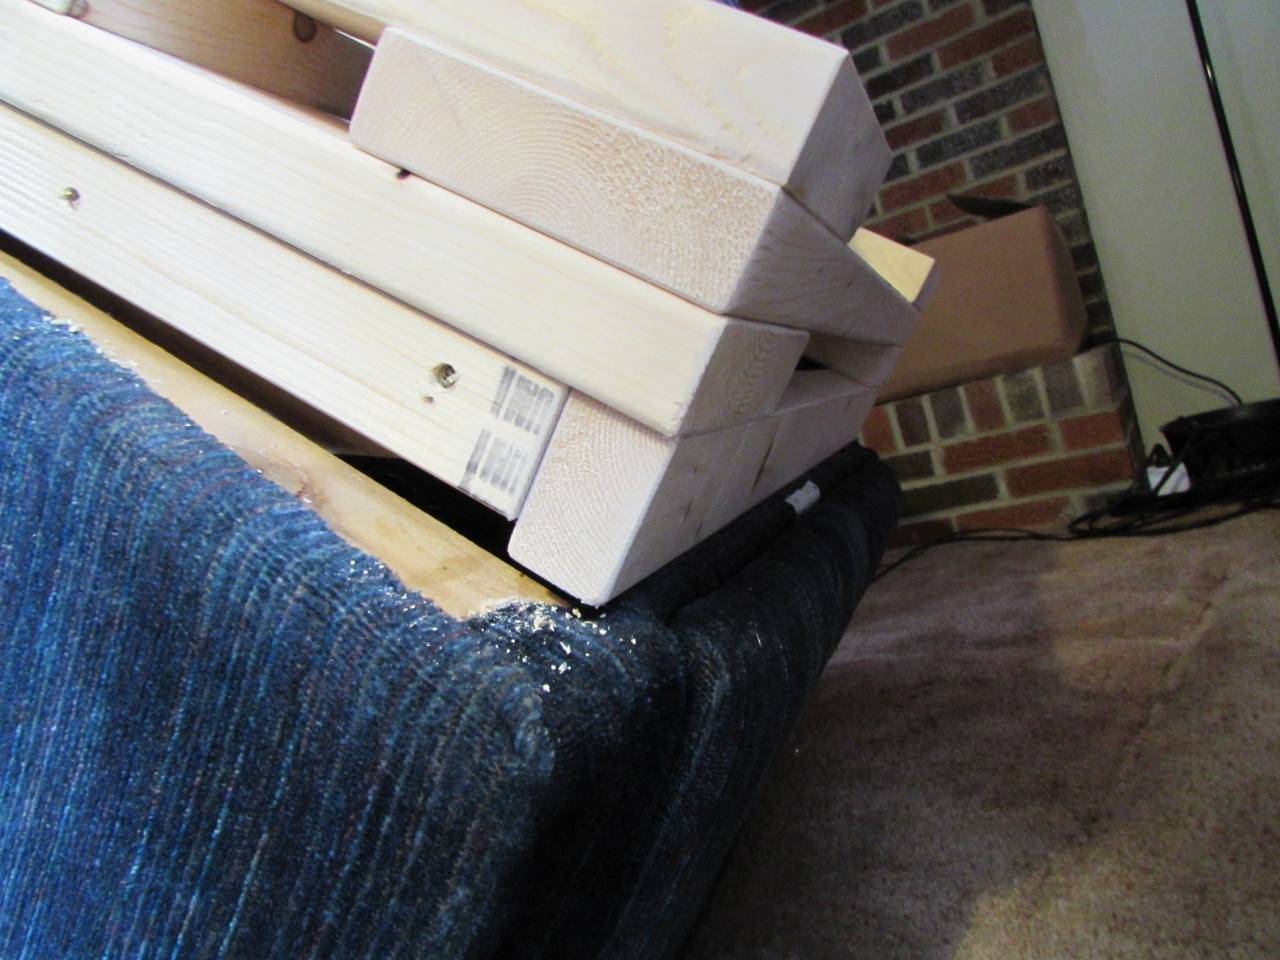
Flipping the recliner over, onto its front, I slid the new pedestal into place and clamped them together.
I pre-drilled and counter-sunk the mounting holes, on the side. I tried to line the holes up with the cross-bars in the base. All of this to hopefully avoid splitting the thin wood of the base. I used 2″ construction screws to attach the pedestal with 3 screws down each side.
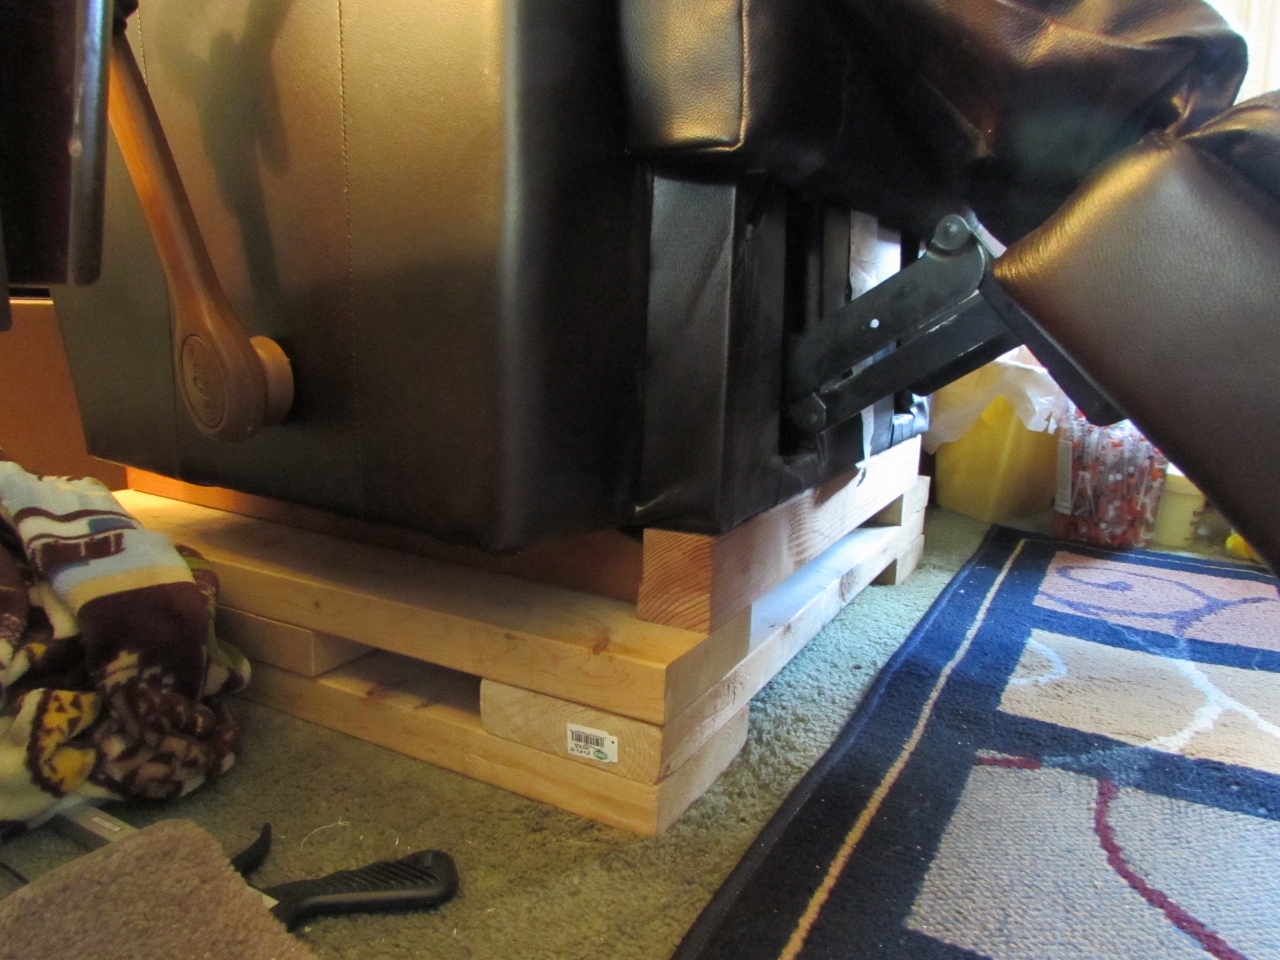
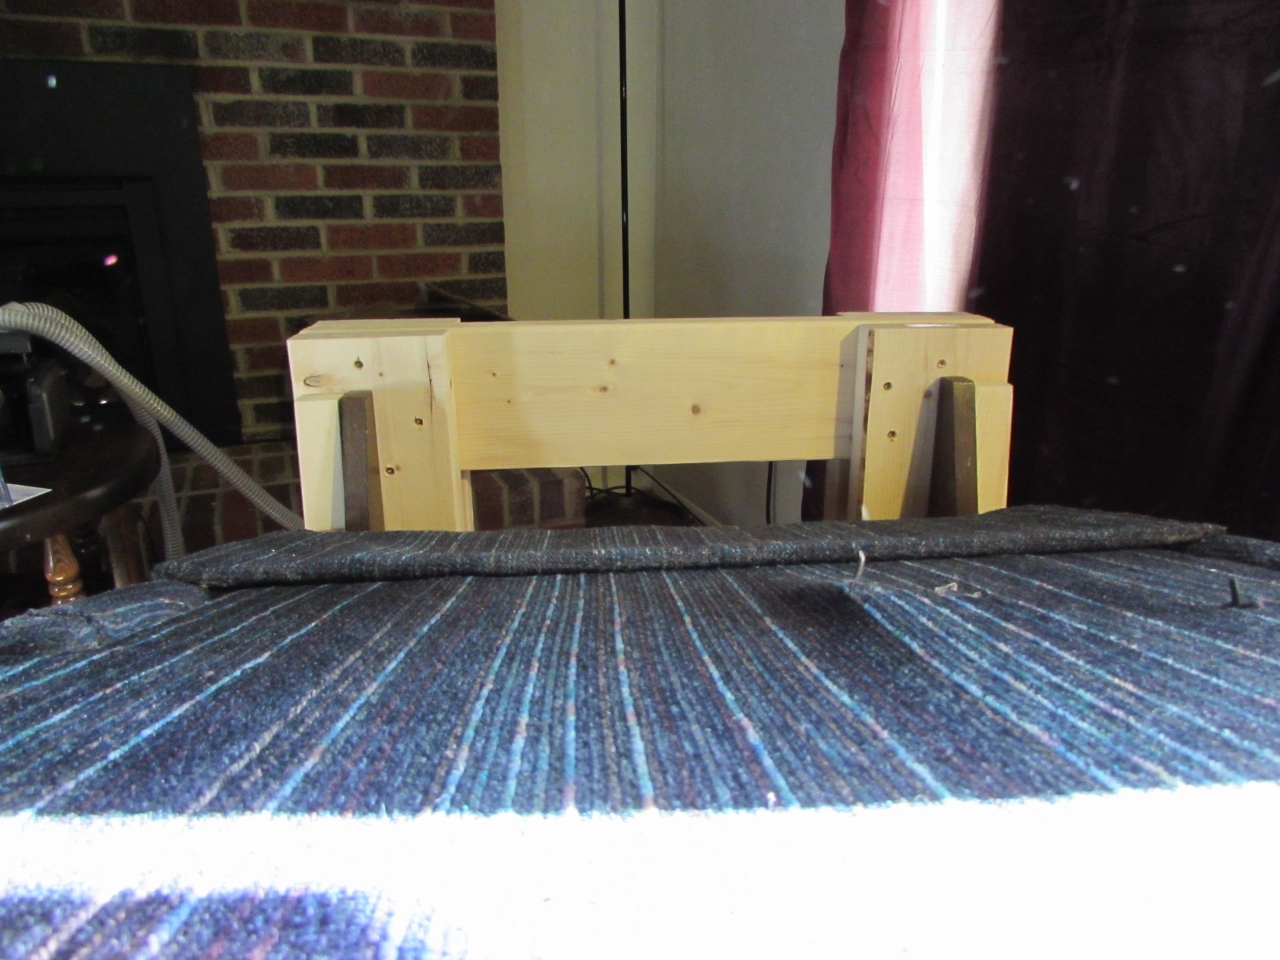
Note , in the picture below, that the block, in the front, stops just below the front of the recliner. This is what prevents the forward rocking motion.
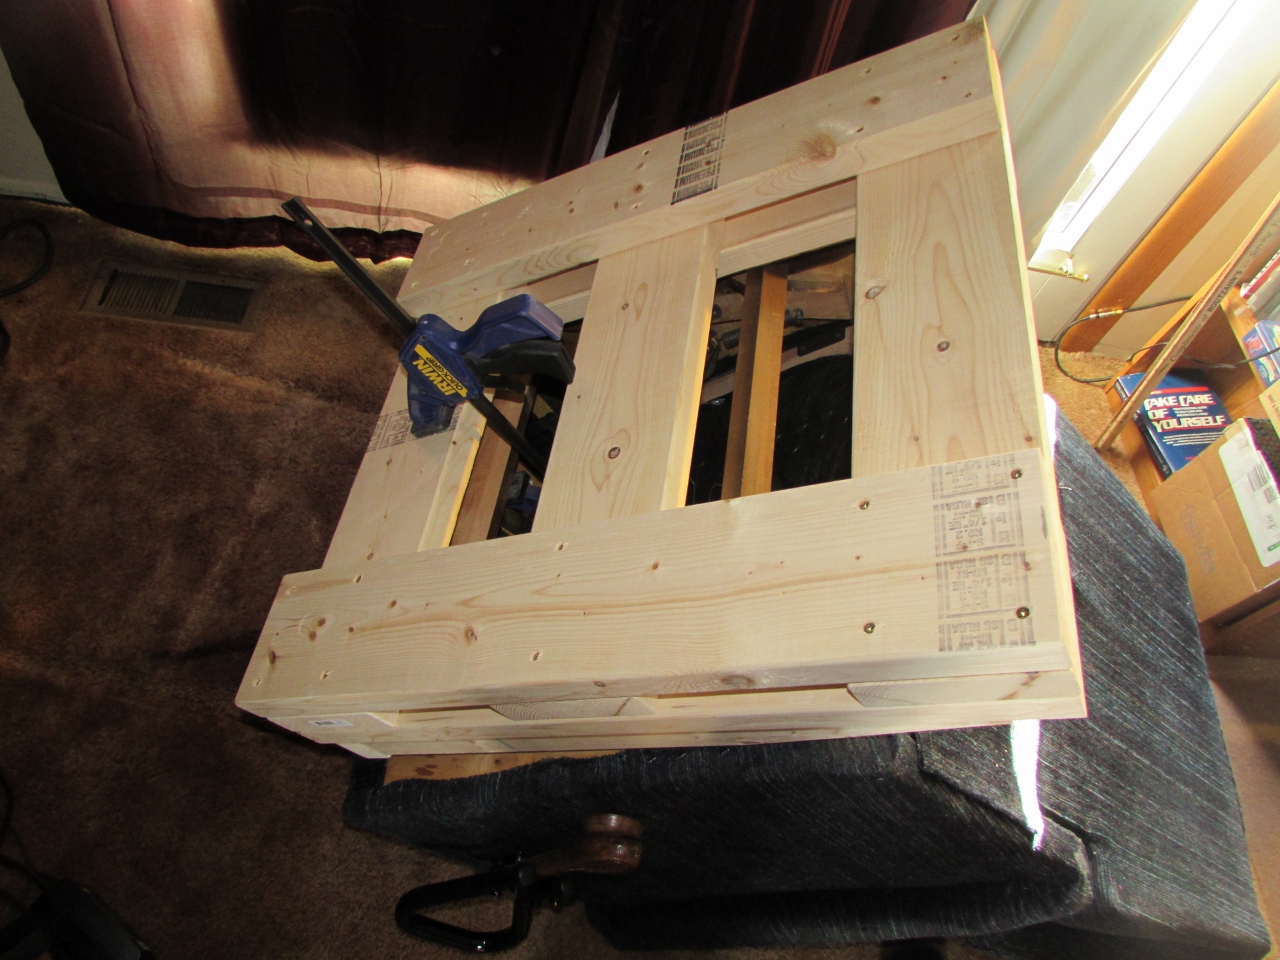
I decided to make the pedestal a bit longer than the back of the base to help prevent tipping if someone fell back into the chair. We haven’t had this problem on the other one that I did, but I had the wood, so it didn’t hurt.
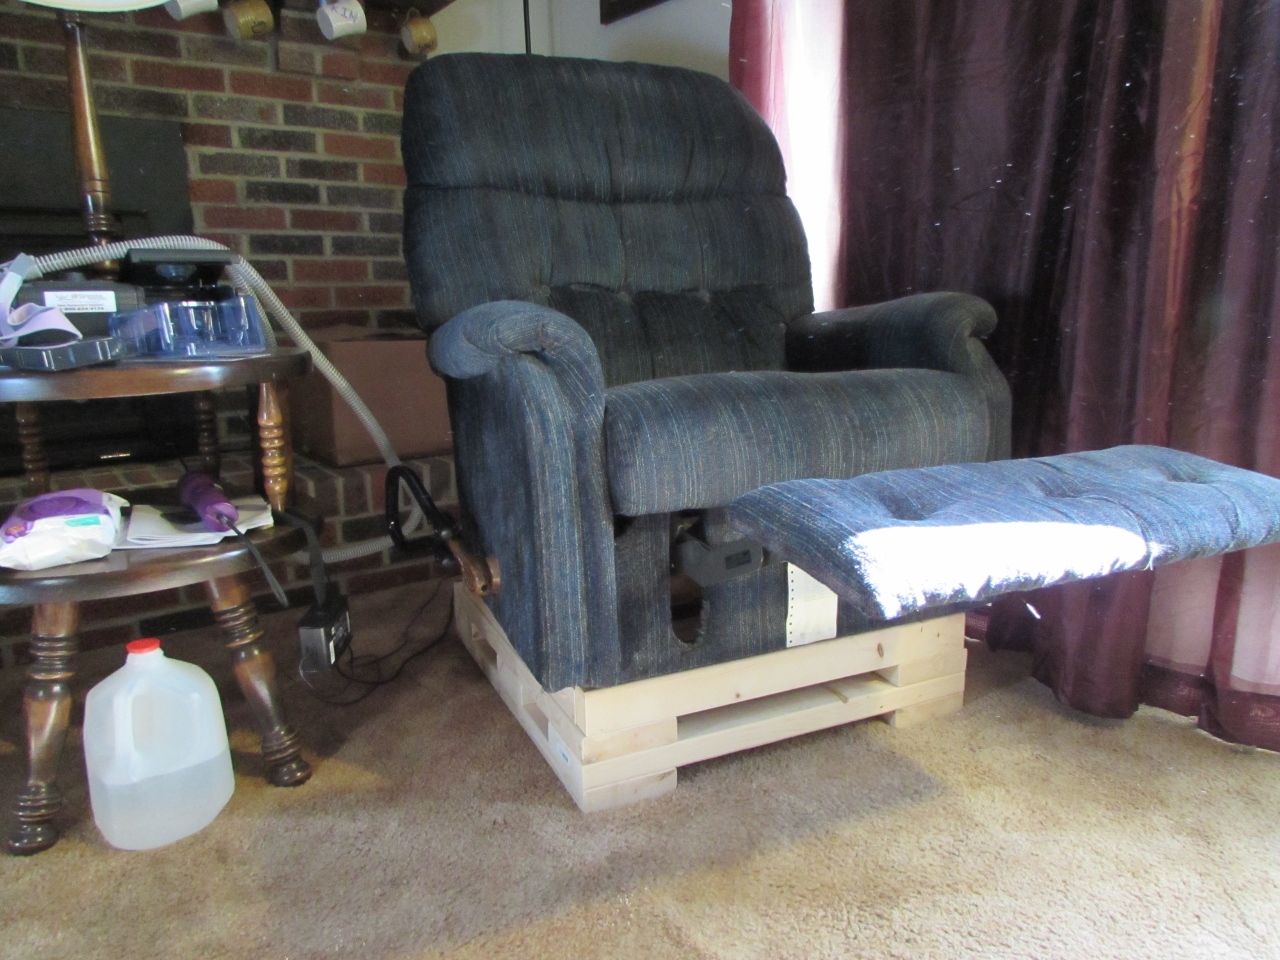
Here you see the completed and installed base. It is a simple project, taking maybe only an hour or so, but it is very stable, and makes a big difference for my mother-in-law’s ability to use the chair independently.
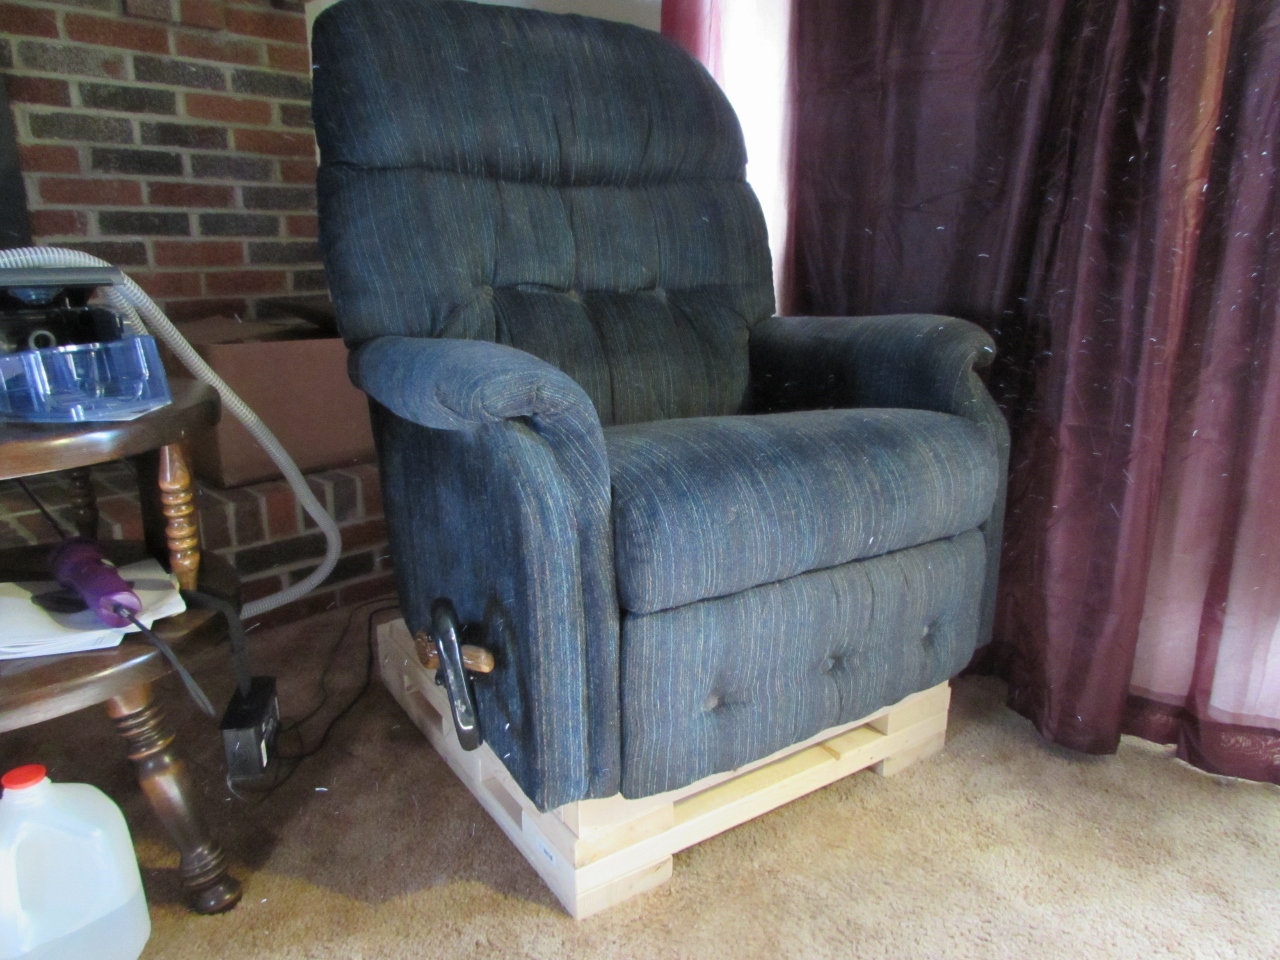
This is very basic, but extremely functional. It is intended to be a temporary measure while a person is recovering their strength and control of their muscles, after surgery. If you want it to hang around permanently, I would suggest making a hardwood or fabric skirt, to match the decor of the room. 2″x6″ boards are not terribly attractive…

I followed your instructions and I built a platform for Lazy Boy recliner today. I am disabled due my broken back and getting up from my recliner alone was impossible. I did modify your design slightly to suit my needs, but the overall design worked great.
Awesome, so glad it helped.