
Bathroom Vanity – day 7
I pulled all the clamps off the drawer faces and cabinet door, then sanded off any glue squeeze-out.
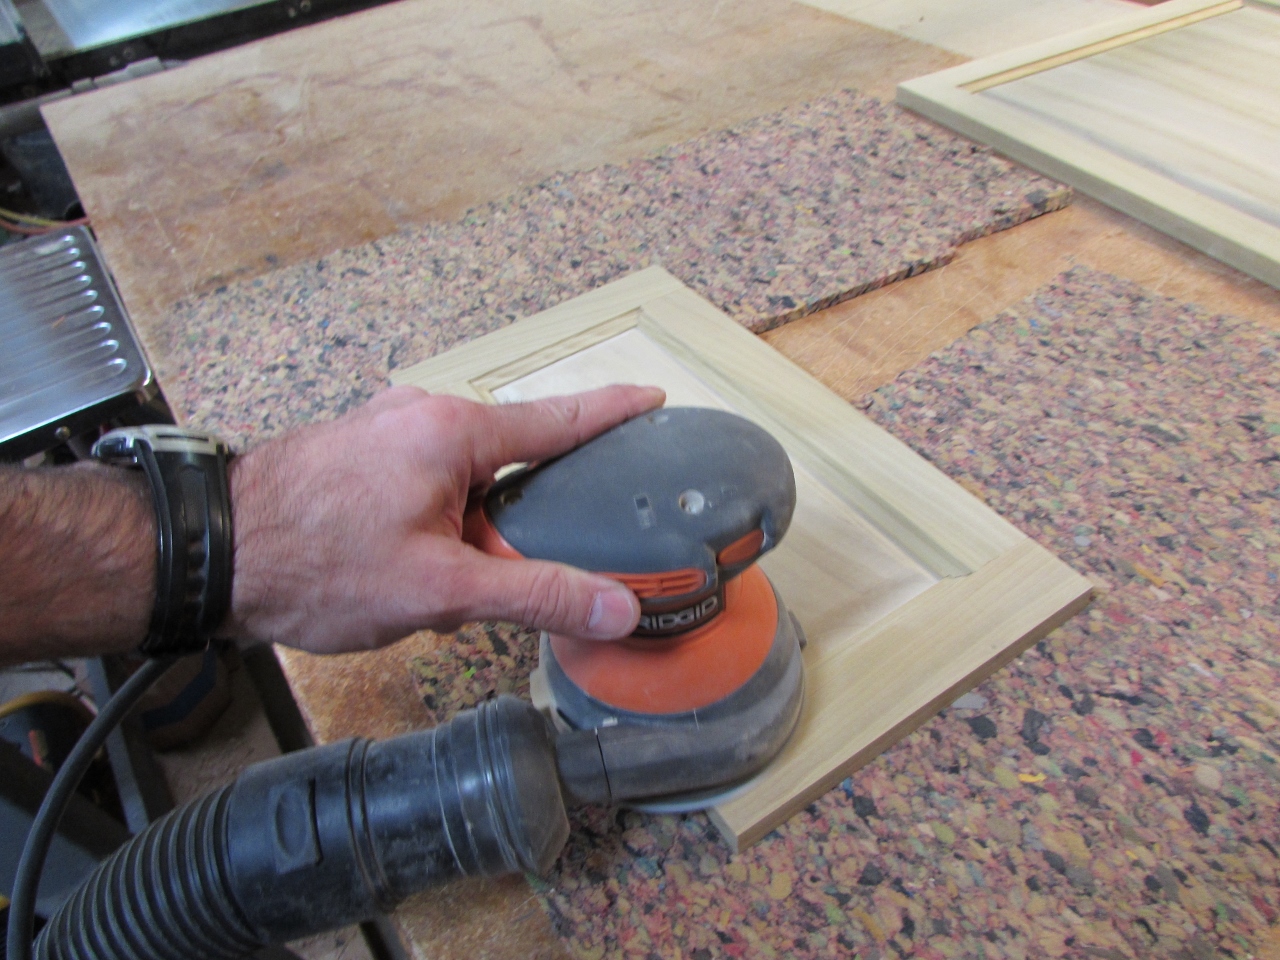
Once all the surfaces were smooth and flat, I moved on to the door edges. I have a nice bit for cutting the door lip, and in the past I have run the bit all the way around the panels. The purpose is to give you a graspable edge, to pull the drawer or door open. I have run into problems locating hinge hardware in the past because it falls into the tapered edge. I experimented, on a piece of scrap, with placing a door lip on the top and bottom, then adding a 1/4″ round-over to the two adjacent sides, to match the top of the door lip.

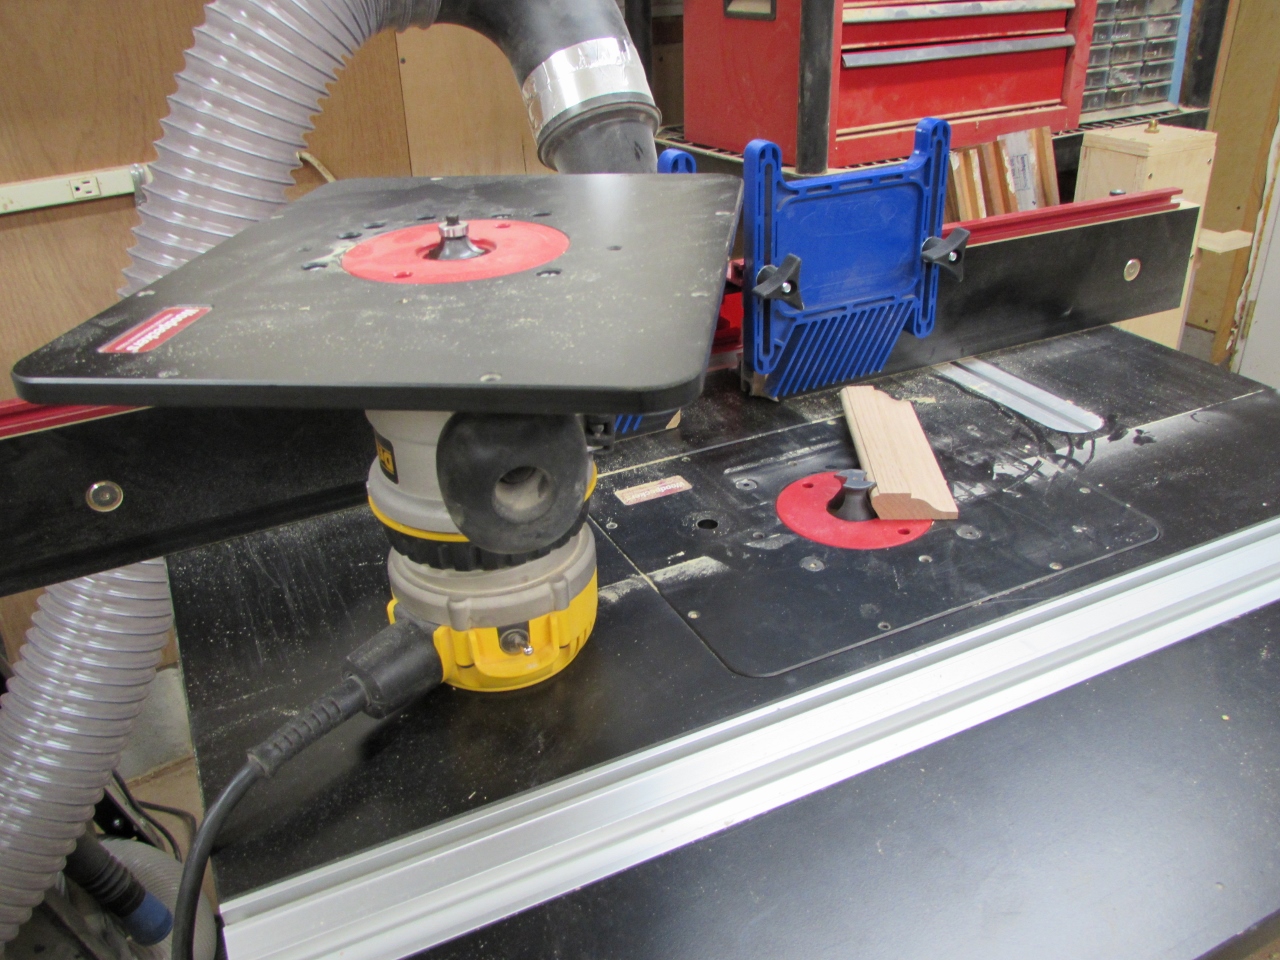
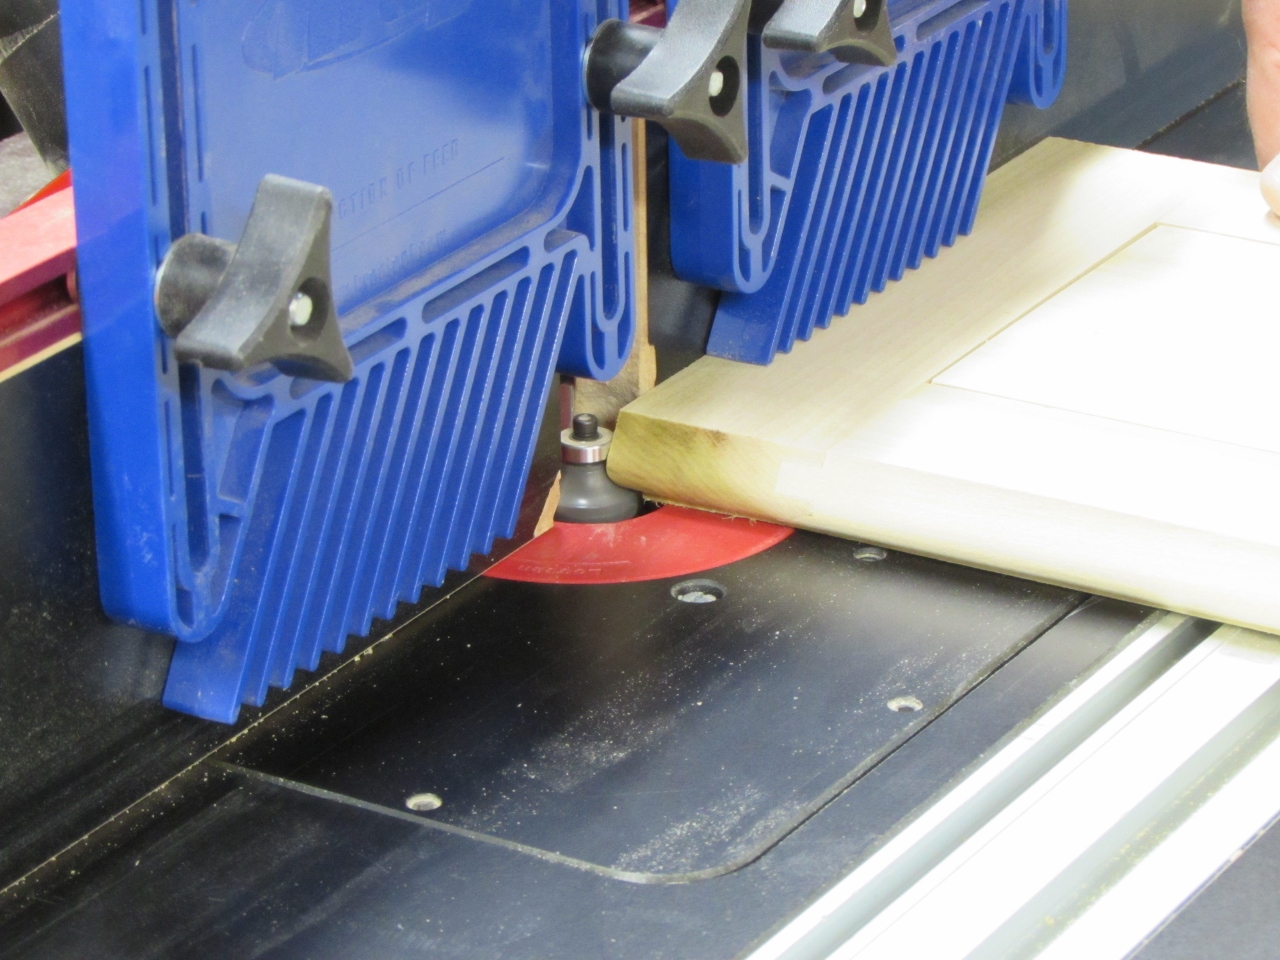
When I was happy with the setup on both router bits, I ran all the tops and bottoms through the door lip bit.
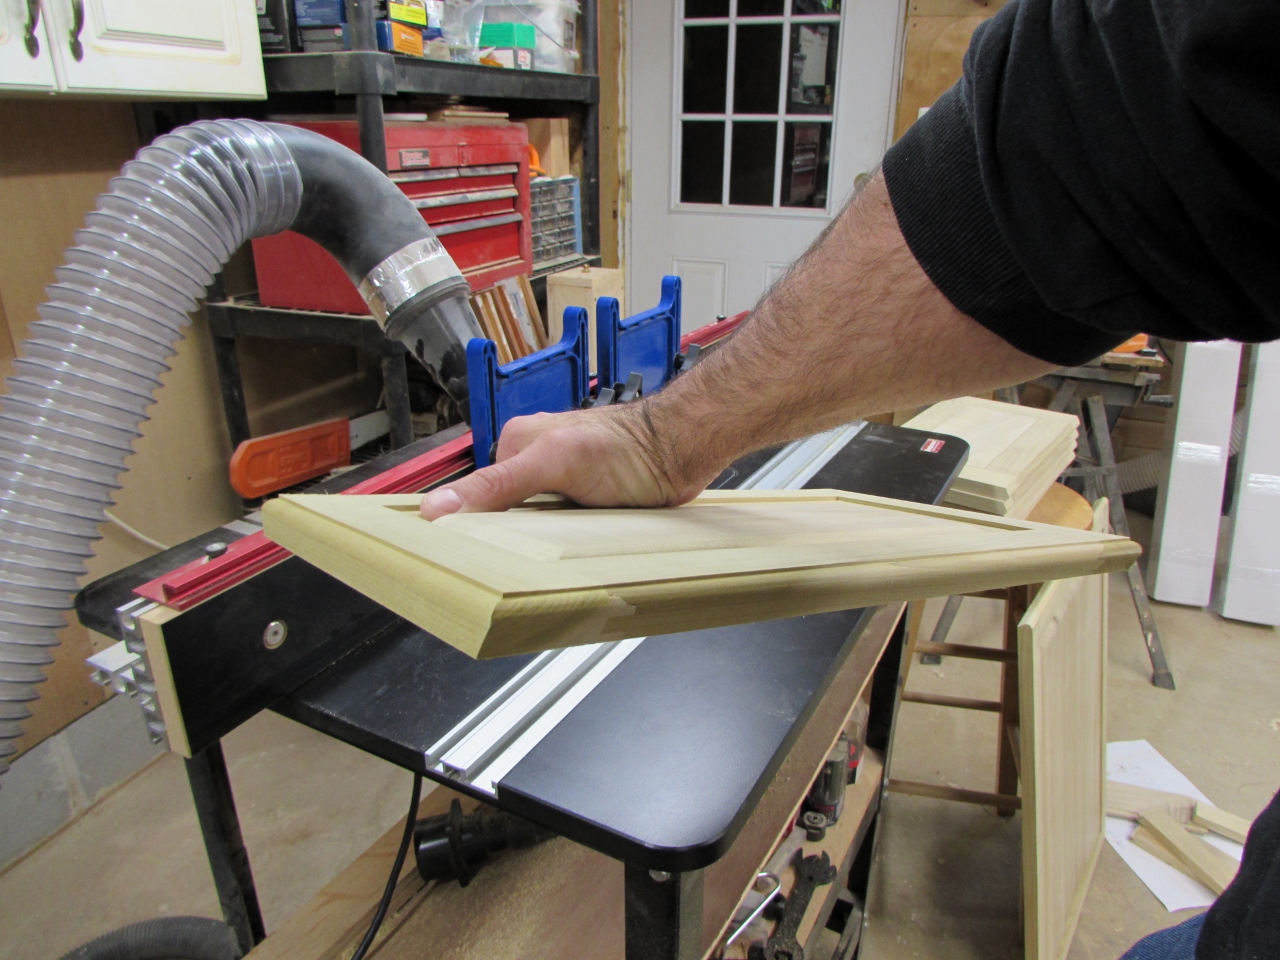
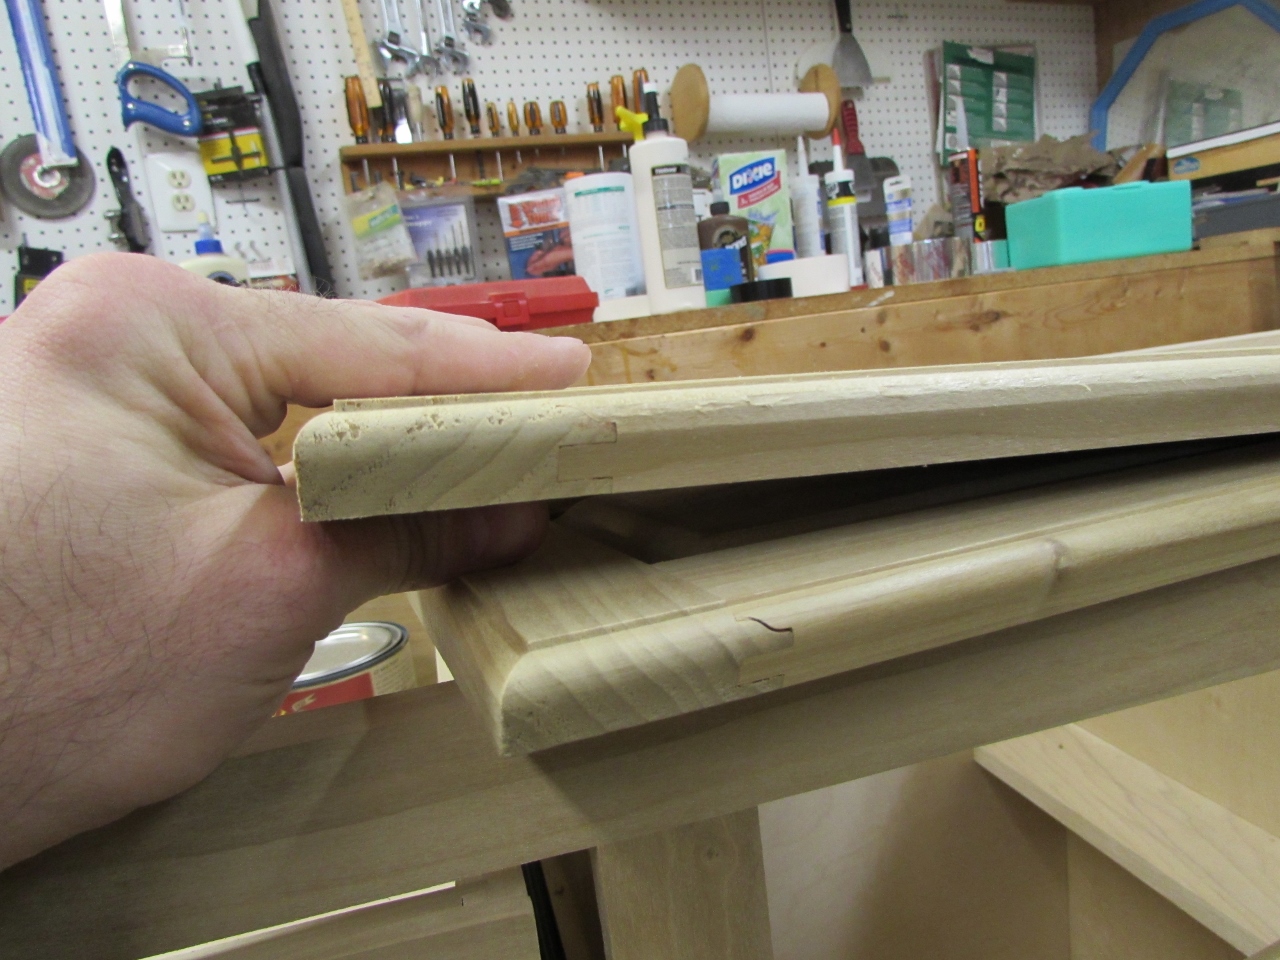
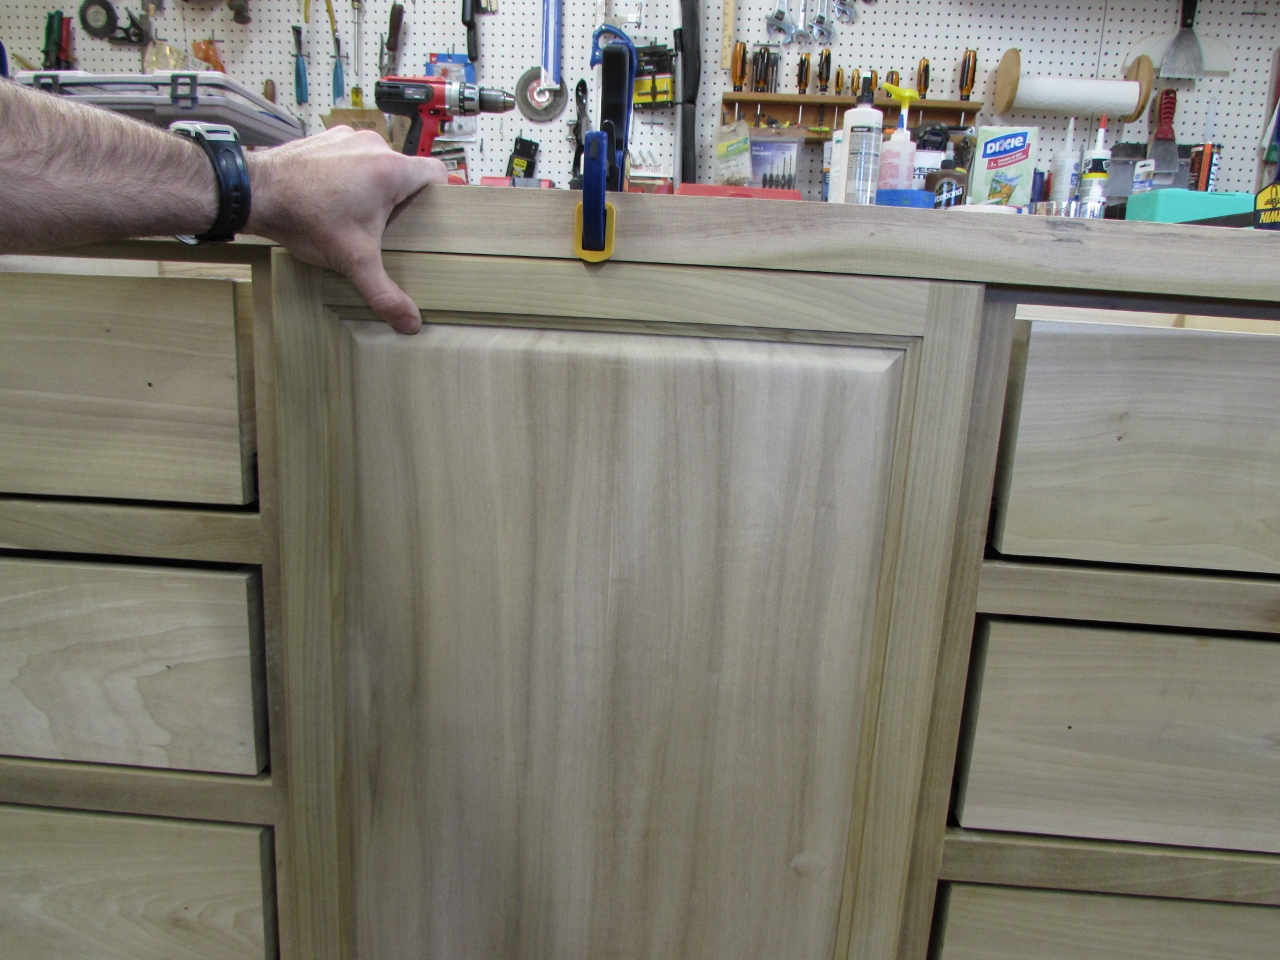
Here is a shot of the door lip. Pretty cool huh?
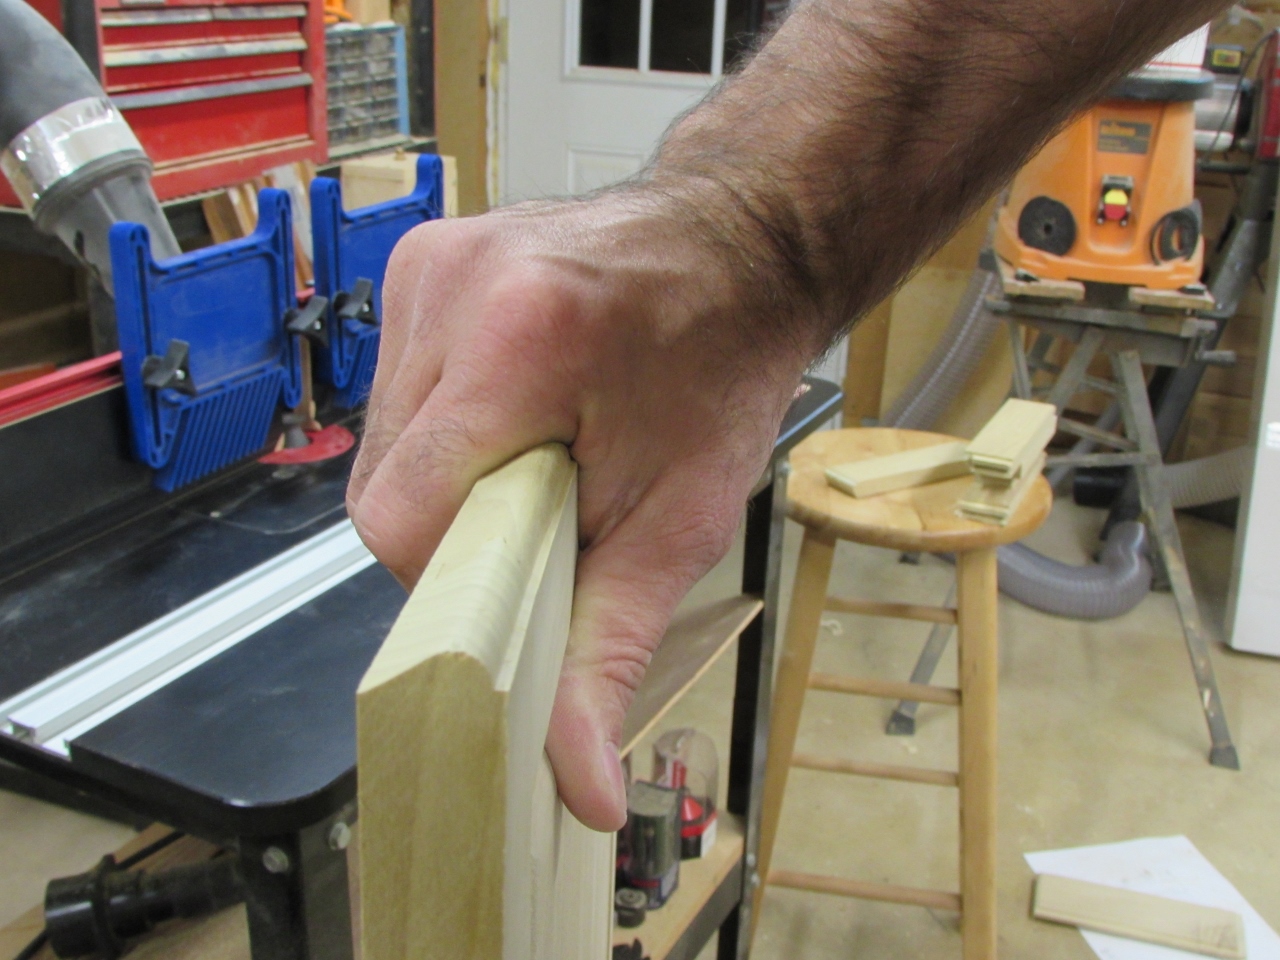
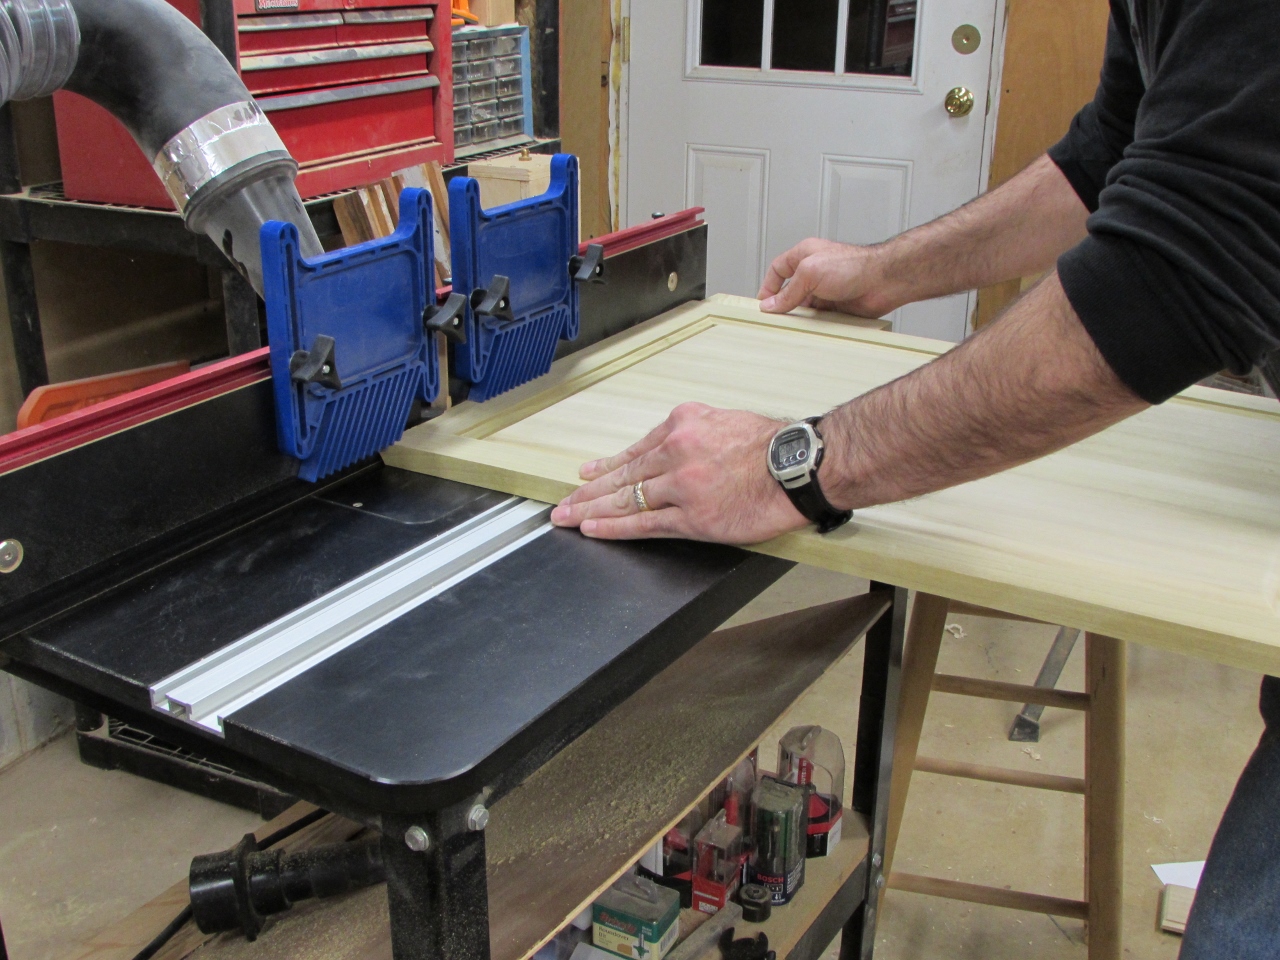
I flipped the panels over and ran the round-over across the two uncut sides. It matched the radius on the face really well, while leaving the sides intact.
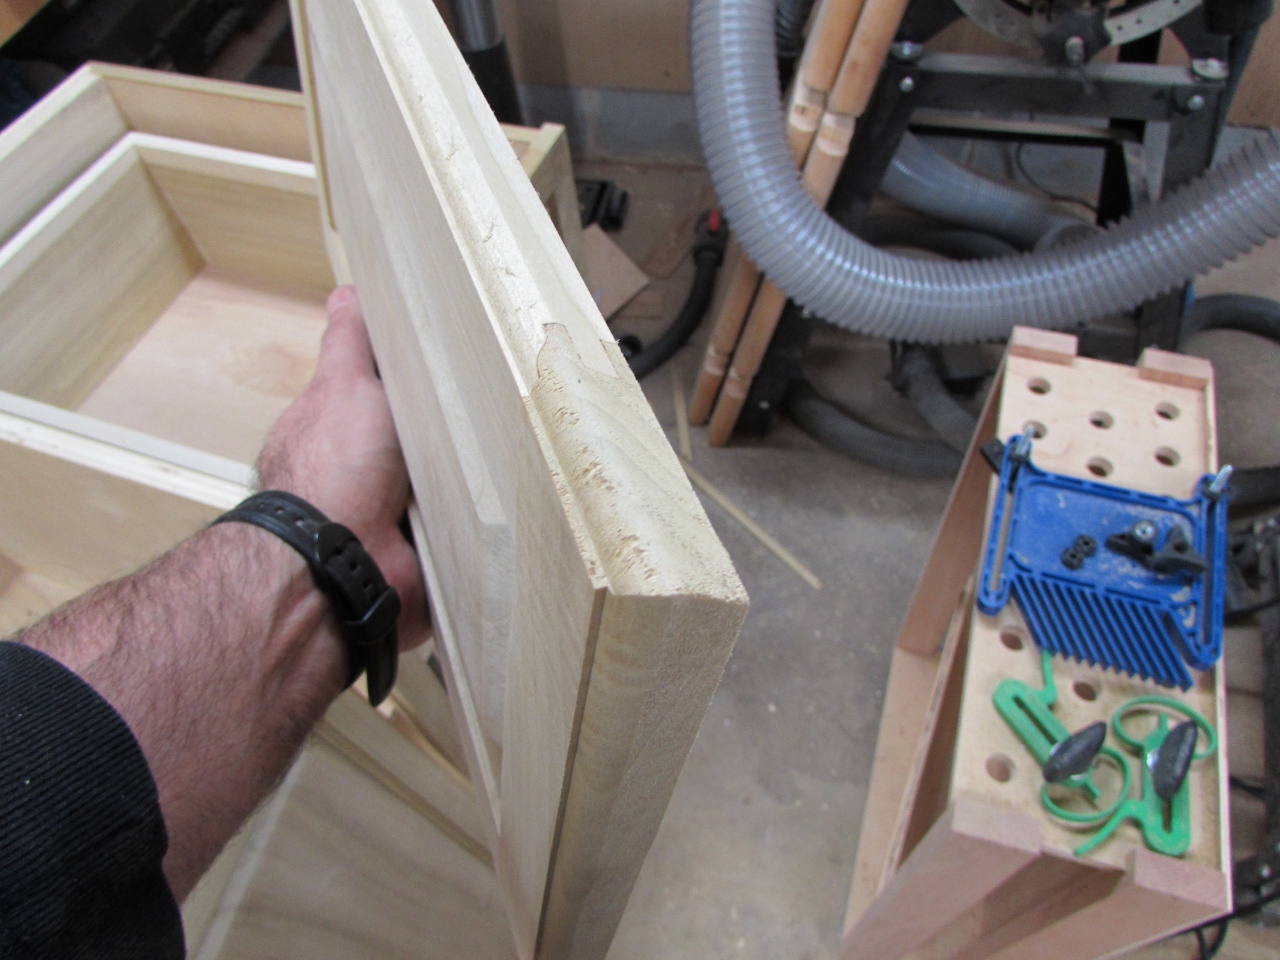
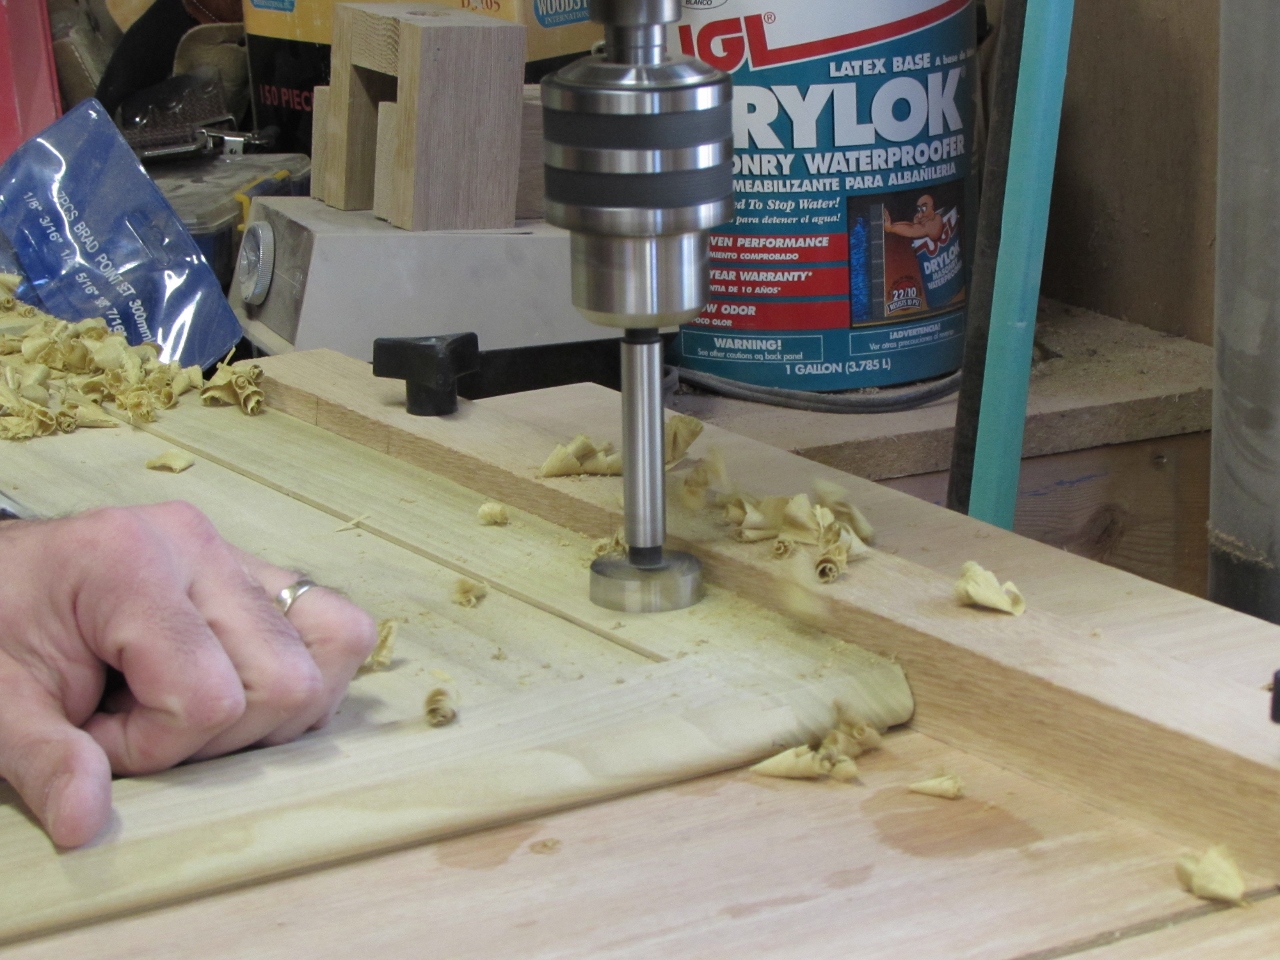
With the edges cut, I turned my attention to the tear-out on the end grain. It is a little fuzzy and I could spend an hour or two hand sanding it, but I am lazy. I got out my mop sander and cranked the drill press up to 1500 rpm.
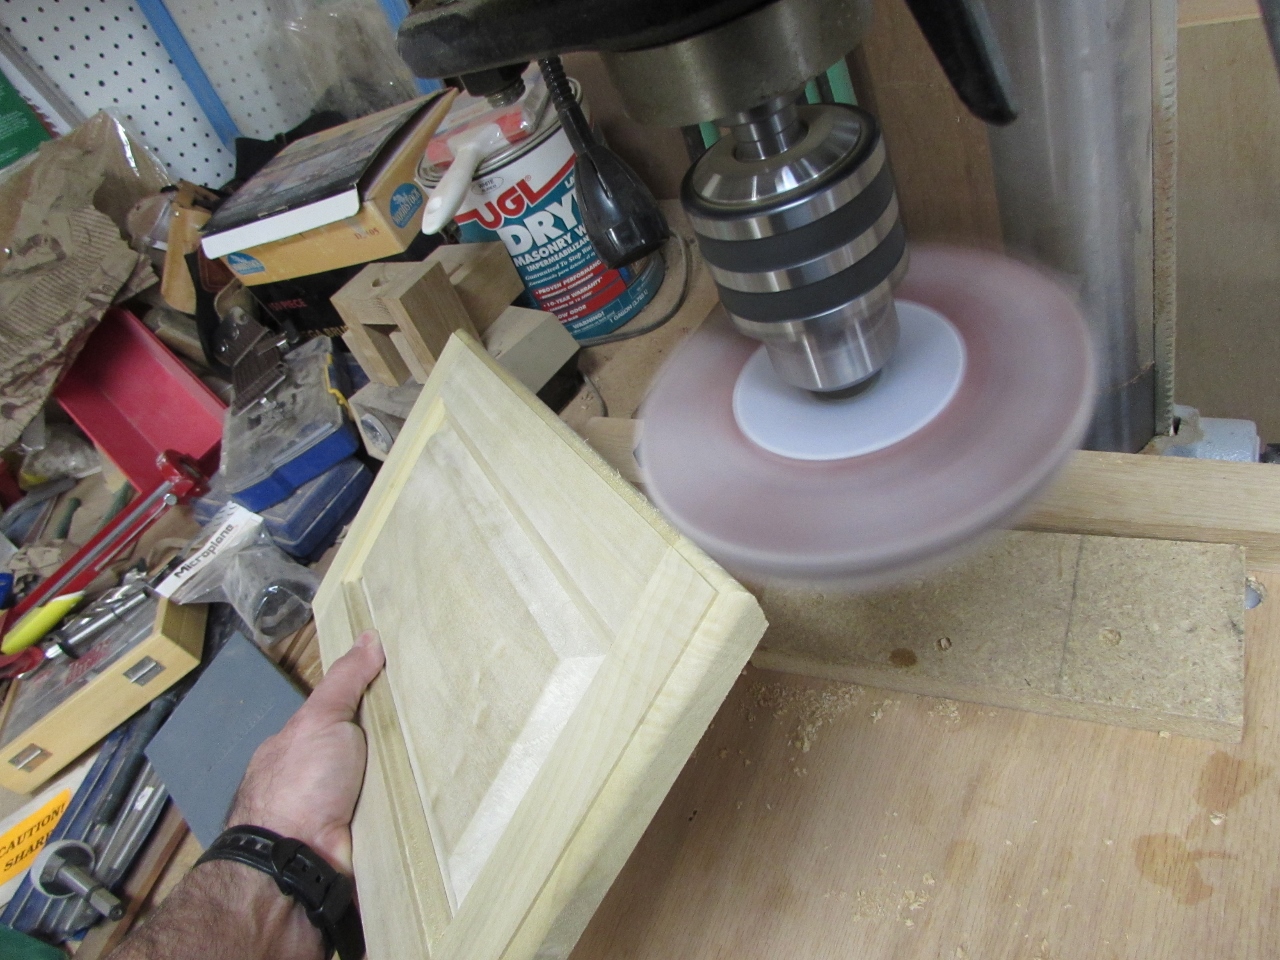
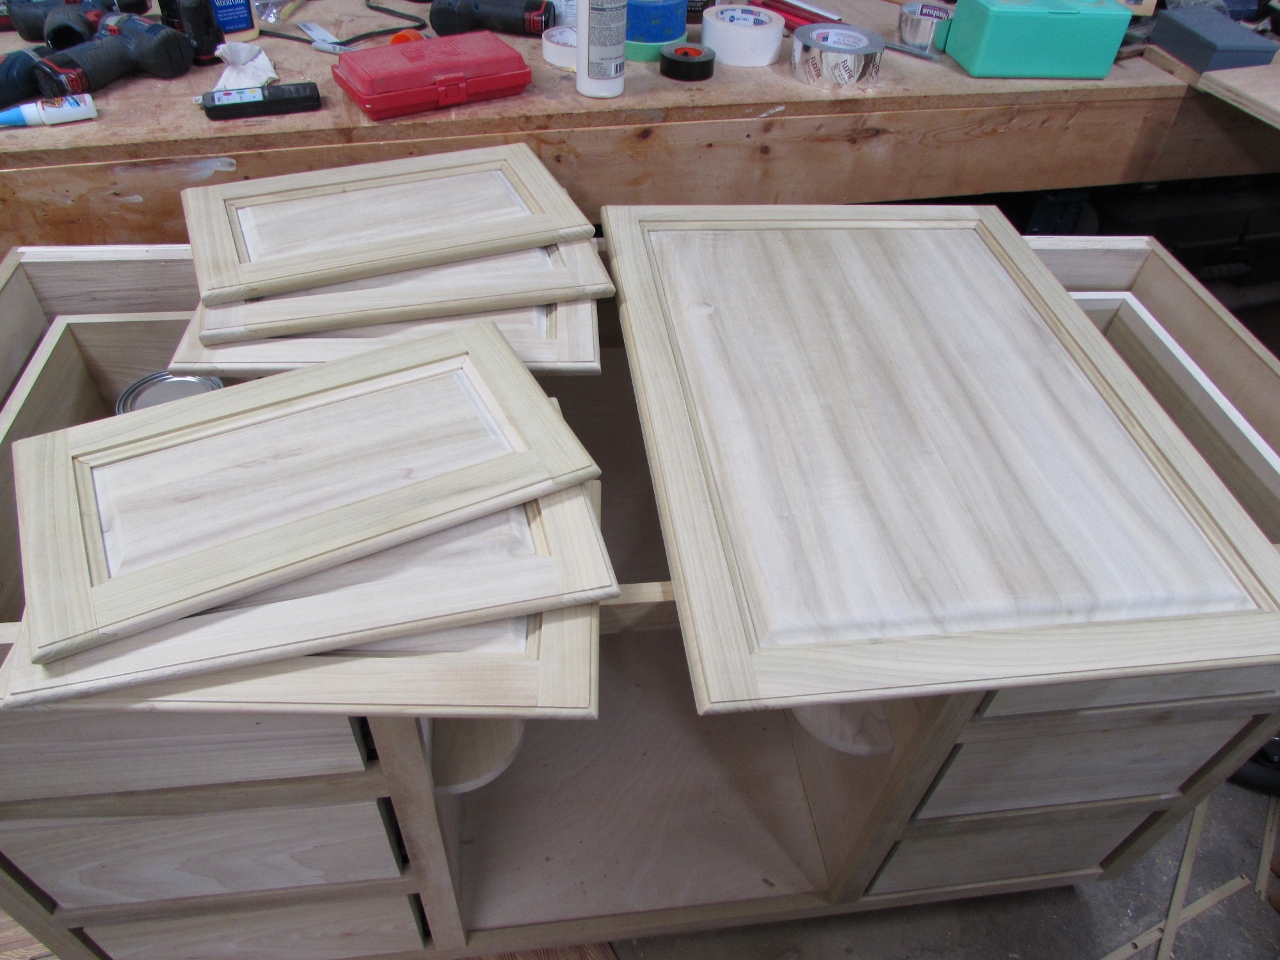
The mop sander gets into all the nooks and corners. It really works well on the curved surfaces and has a burnishing effect if you hold it in one spot long enough. You can see the difference in the picture below. The top one is unsanded, the bottom one is smooth and ready for paint.
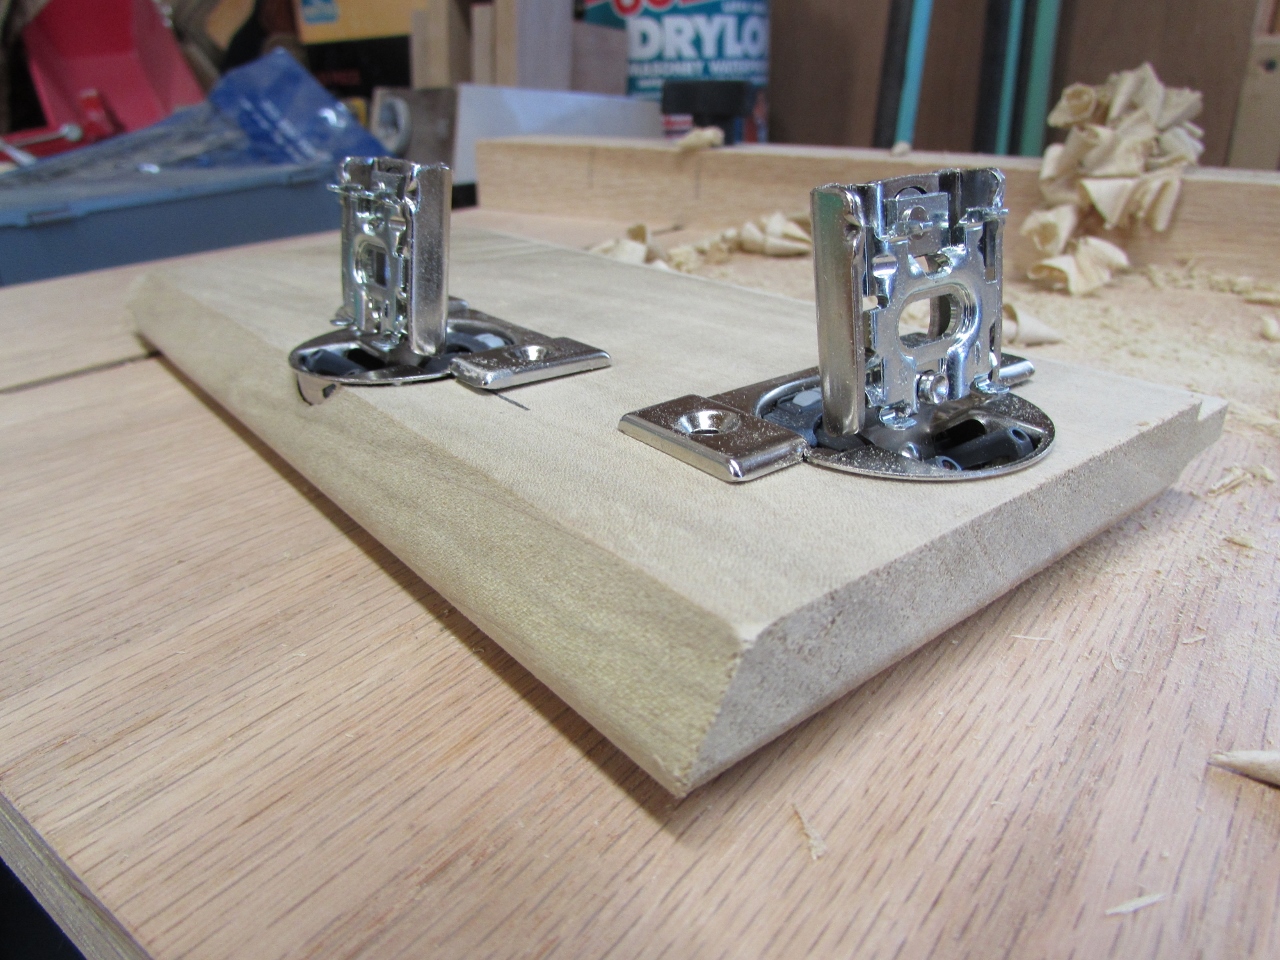
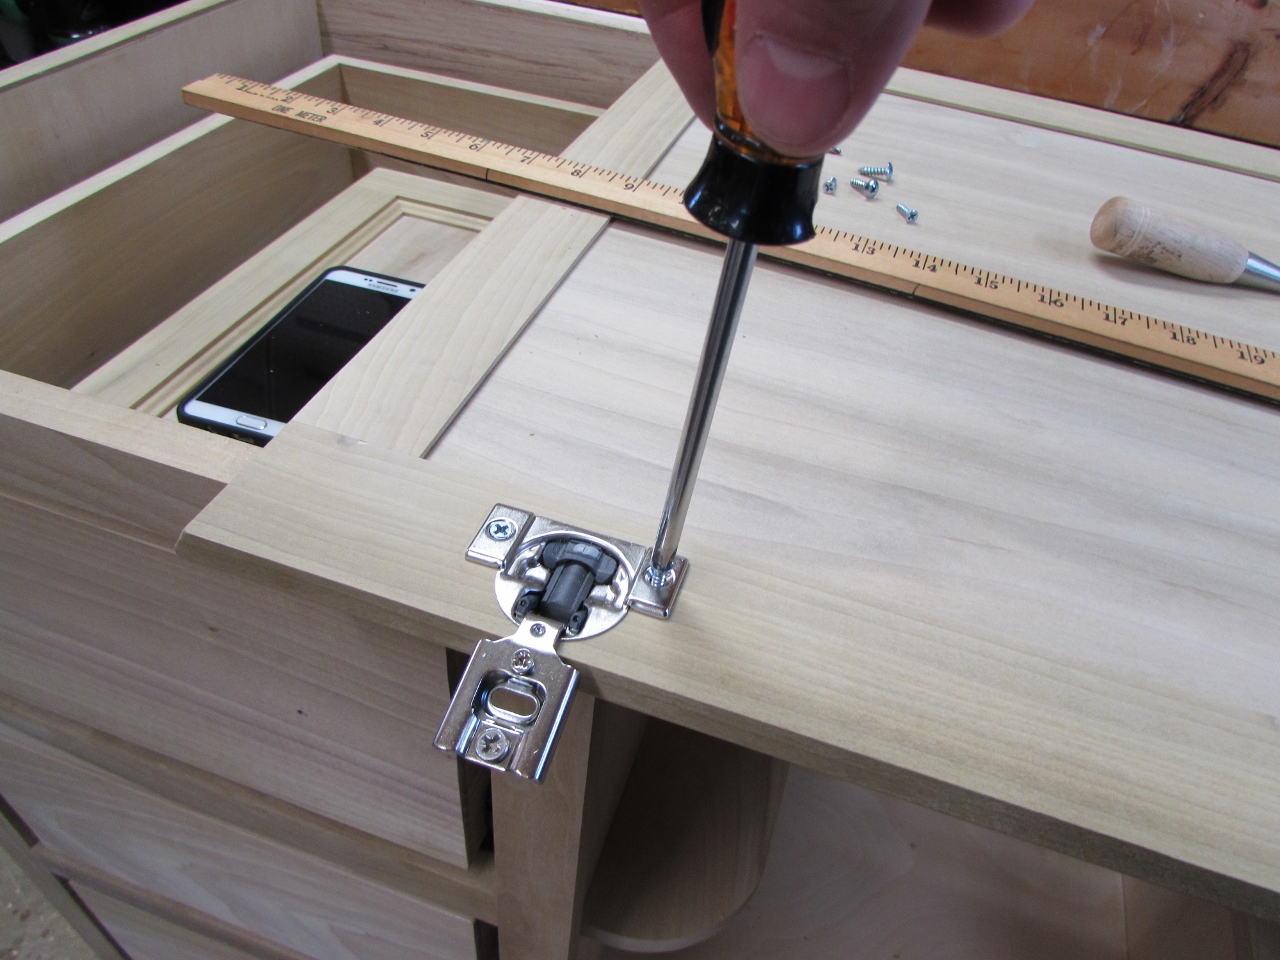
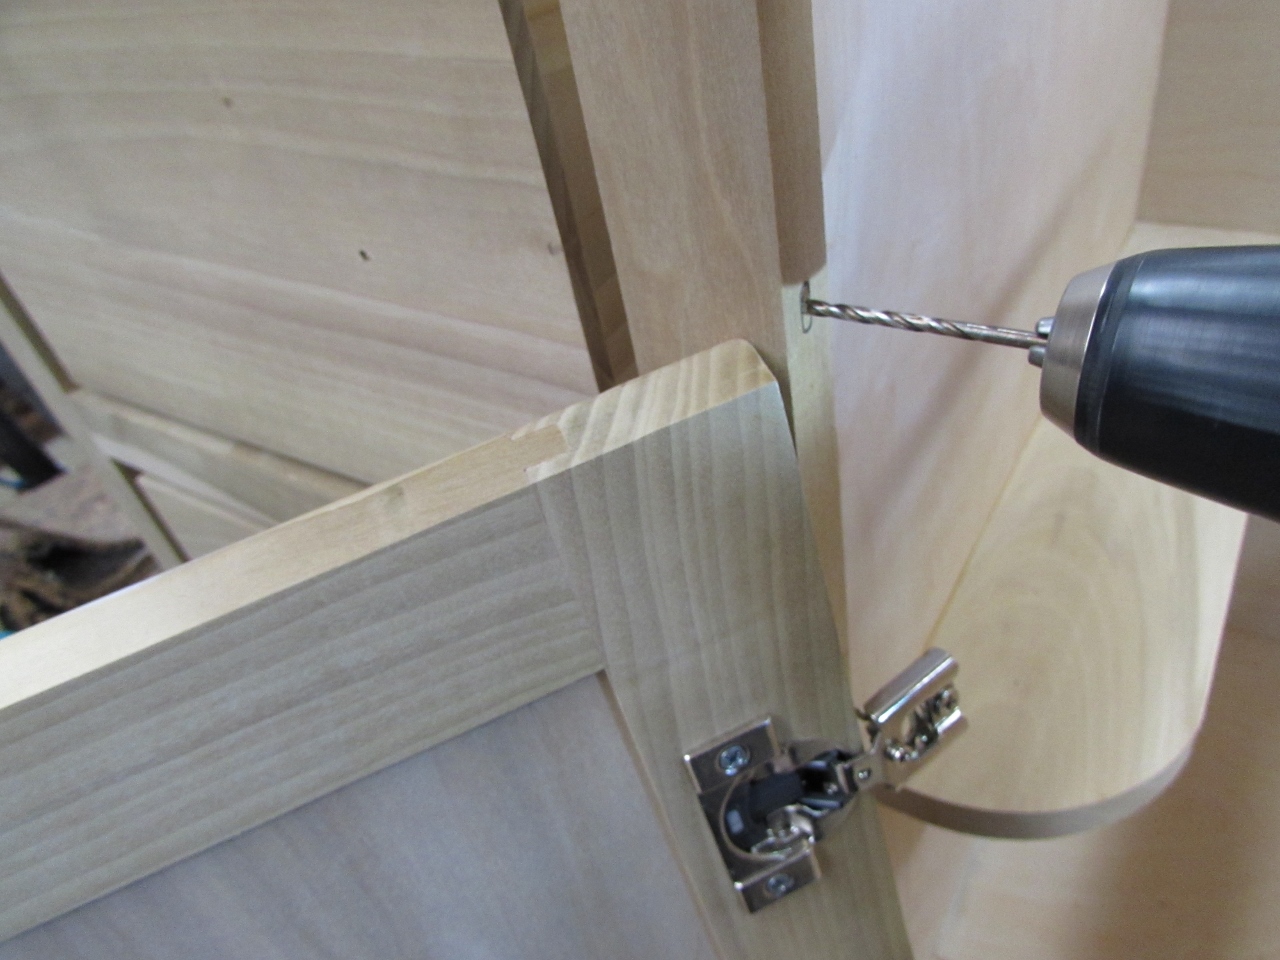
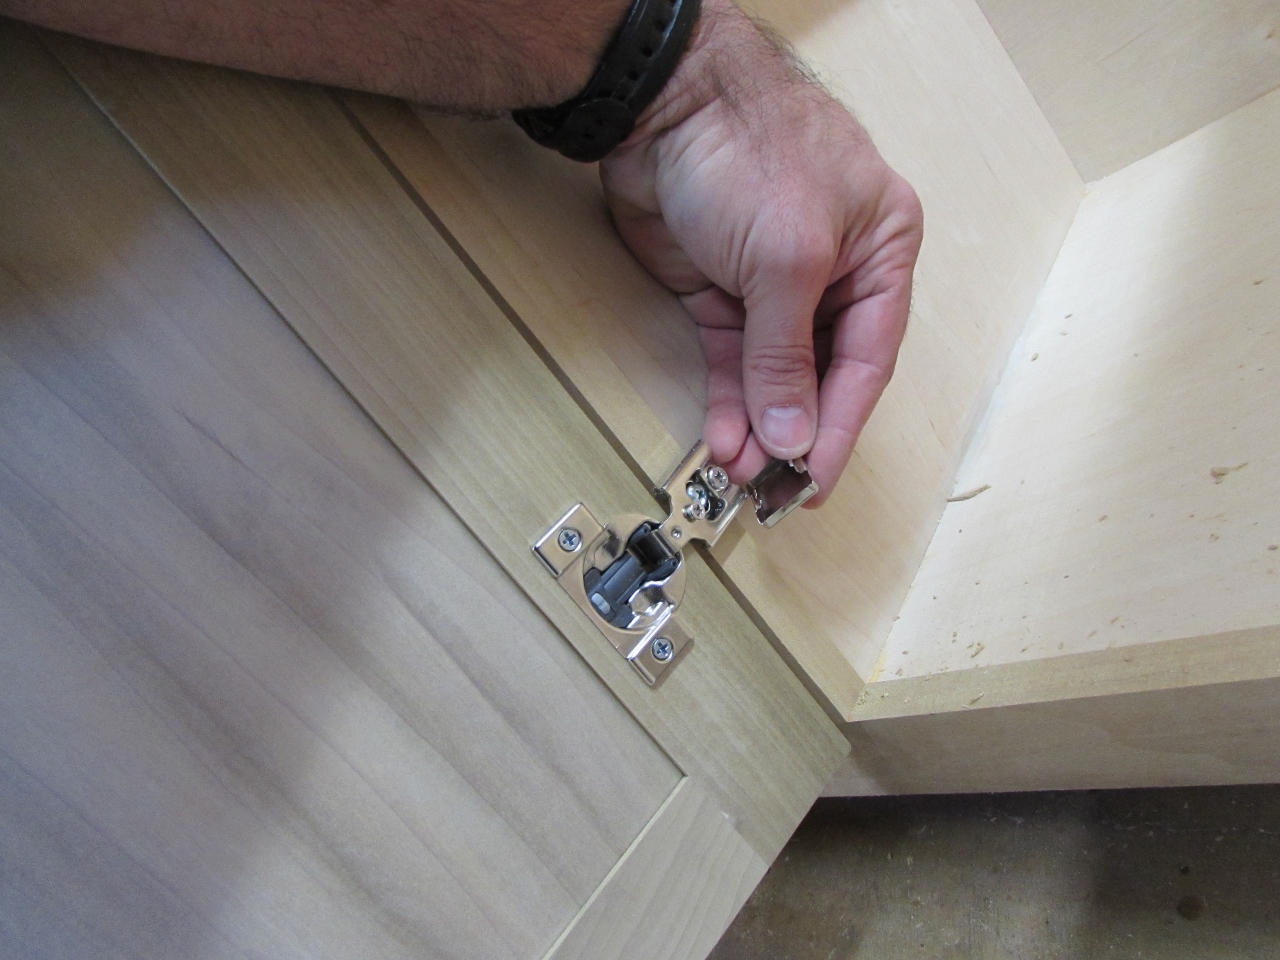
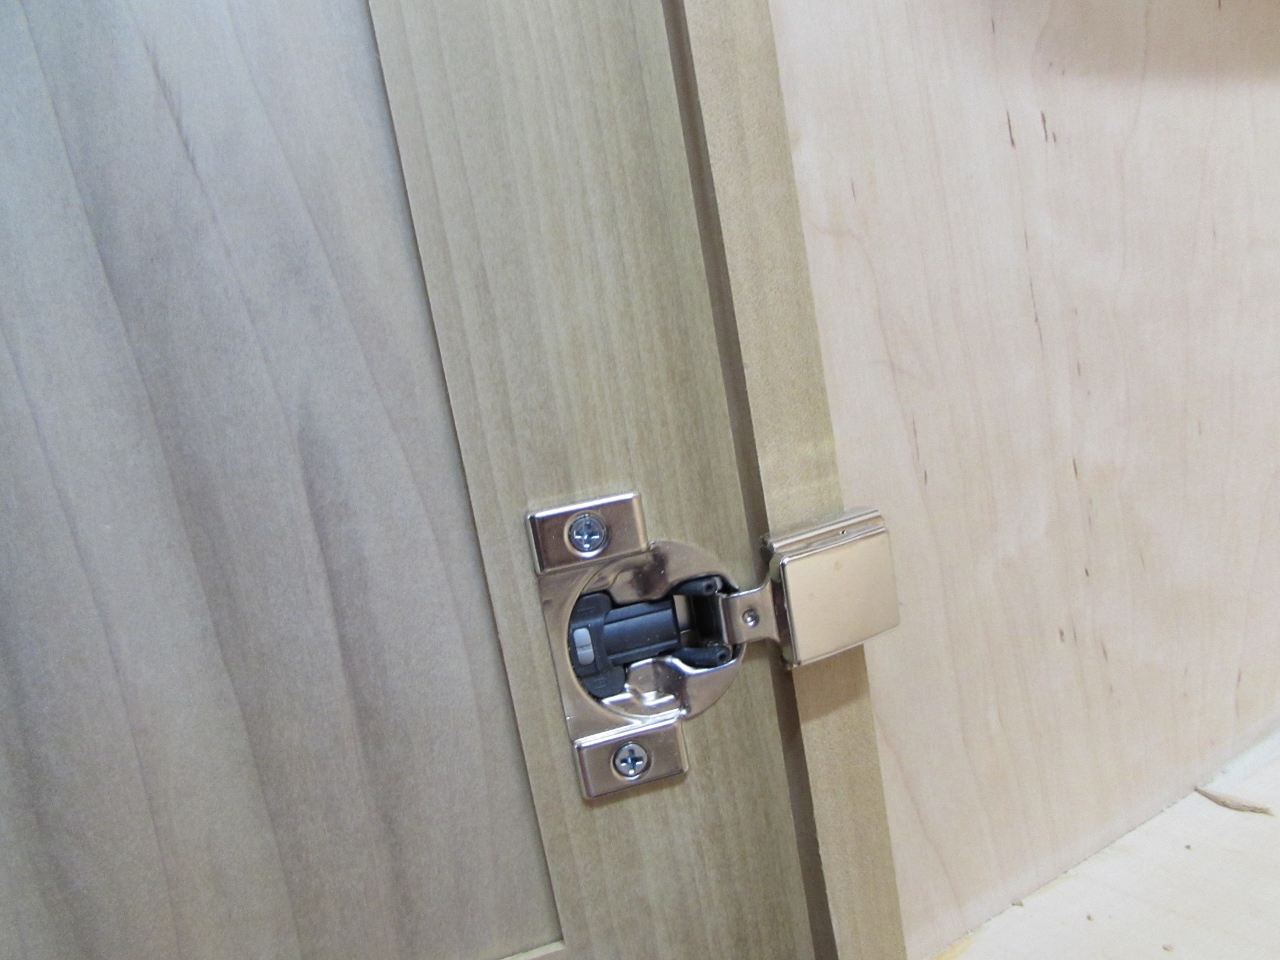
All the edges are done and faces sanded. Time to install the hinges. I am using Compact Face Frame hinges from Lee Valley. They required a 35mm hole drilled about 1/8″ from the edge in order to maintain the 1/2″ overlay my door needs to stay centered. To illustrate why I did not add the door lip to the sides of the door, I made a test piece to drill.
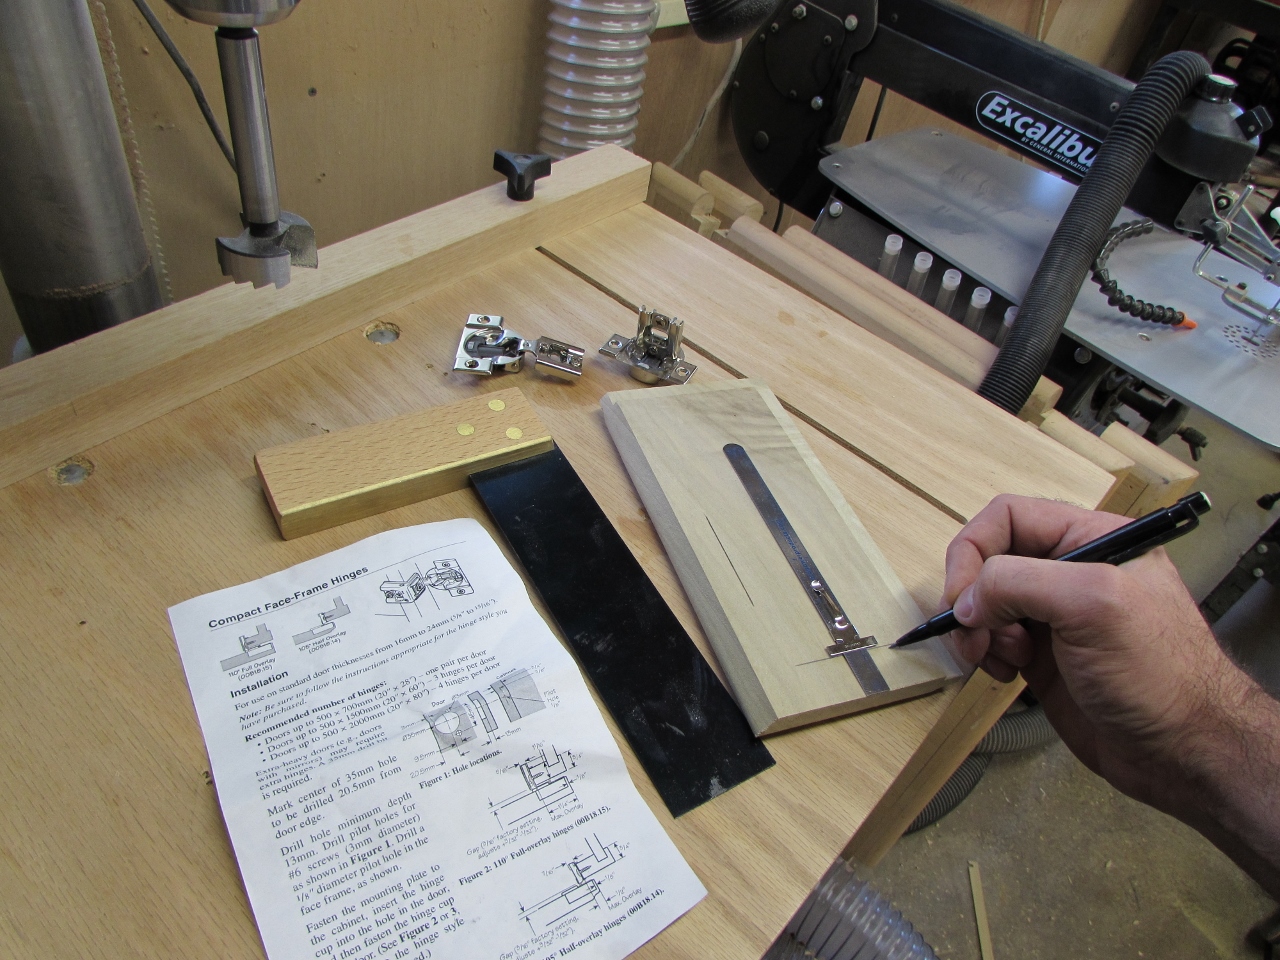
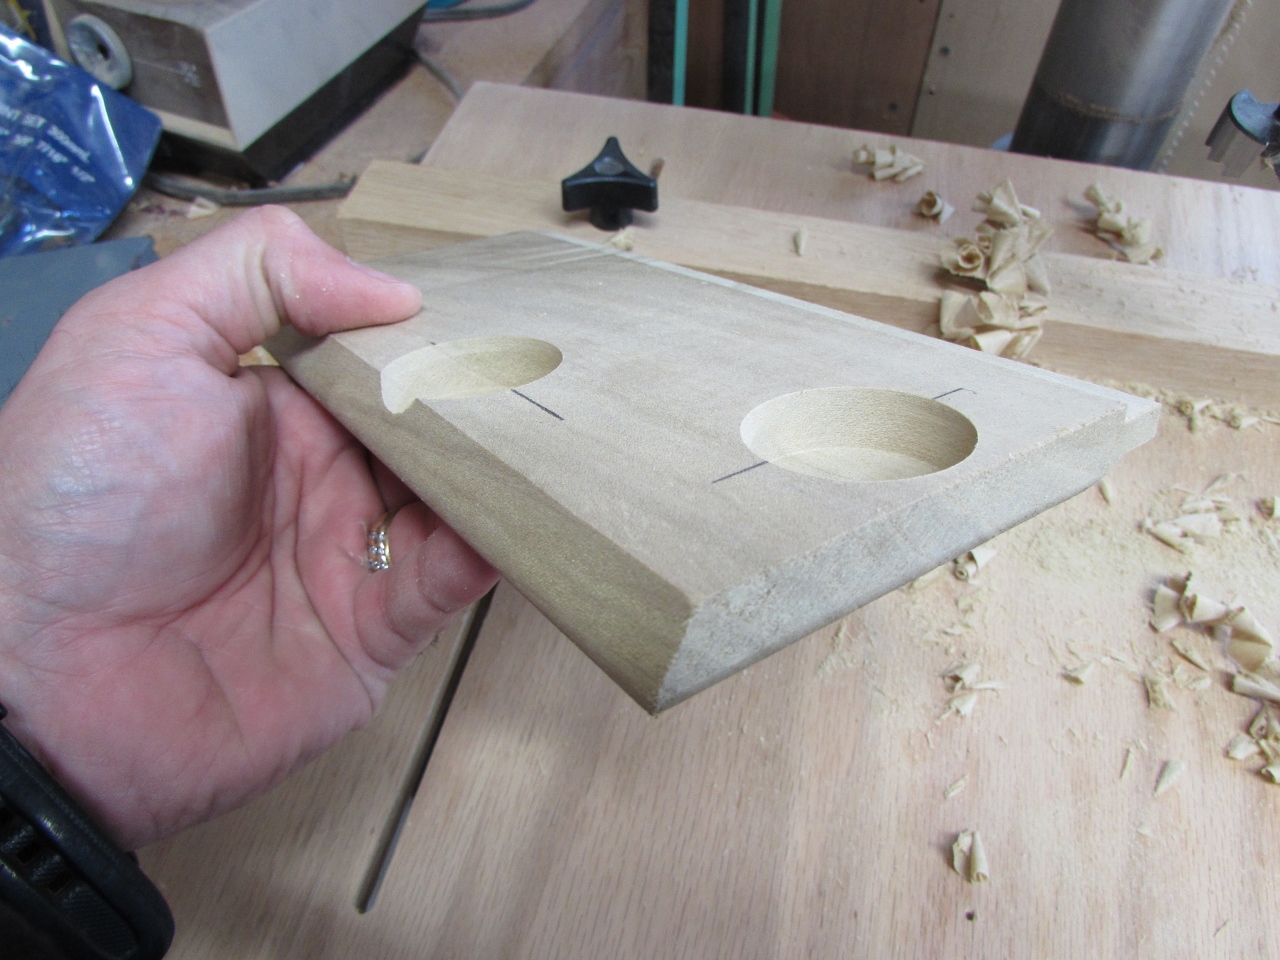
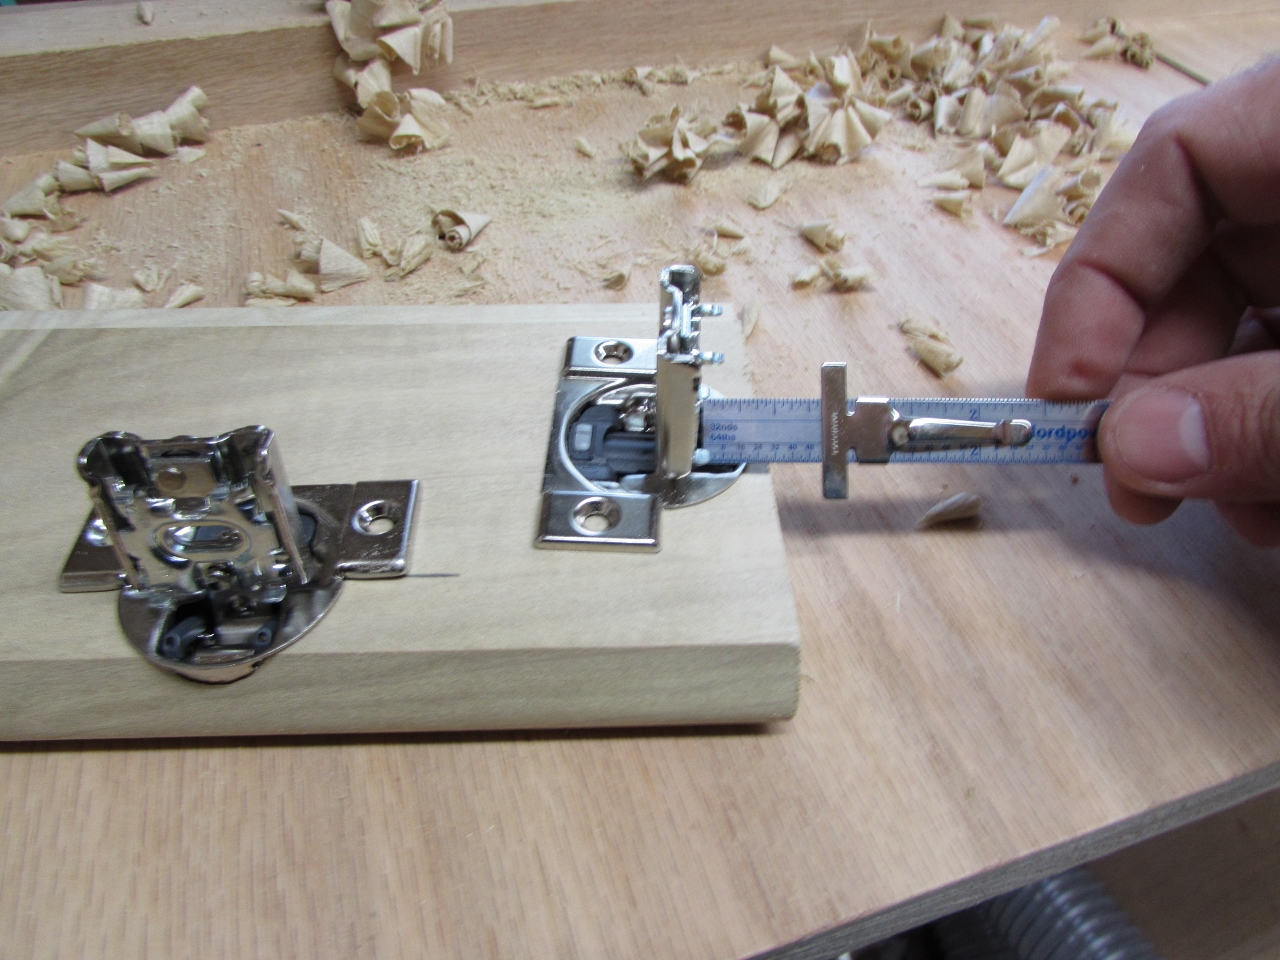
You can see the one that goes through the door lip sticks out where you don’t want to see it. If I moved the hinge in till it wasn’t in the lip, it would shift the entire door 1/4″ to the left.
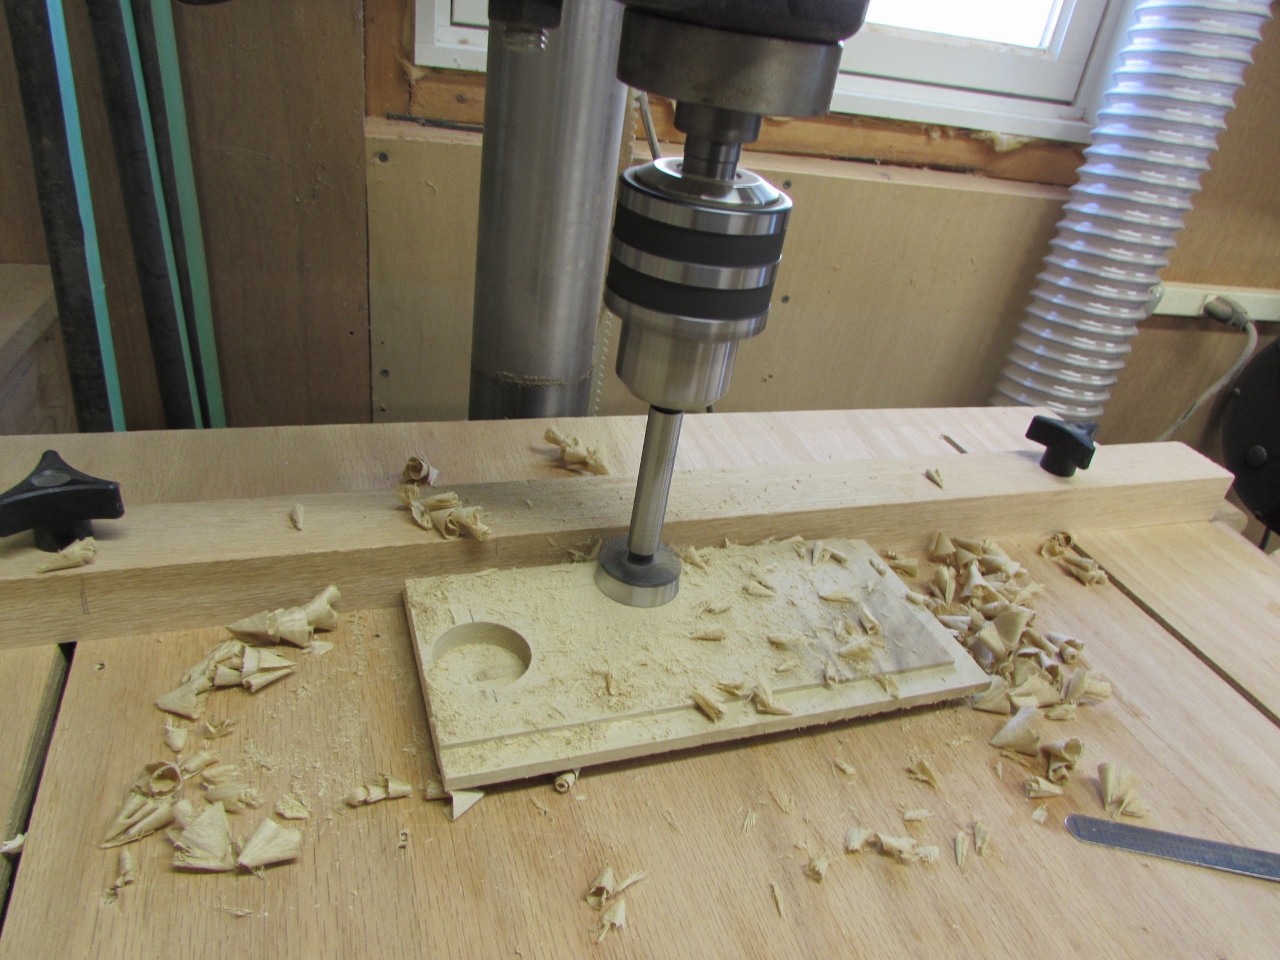
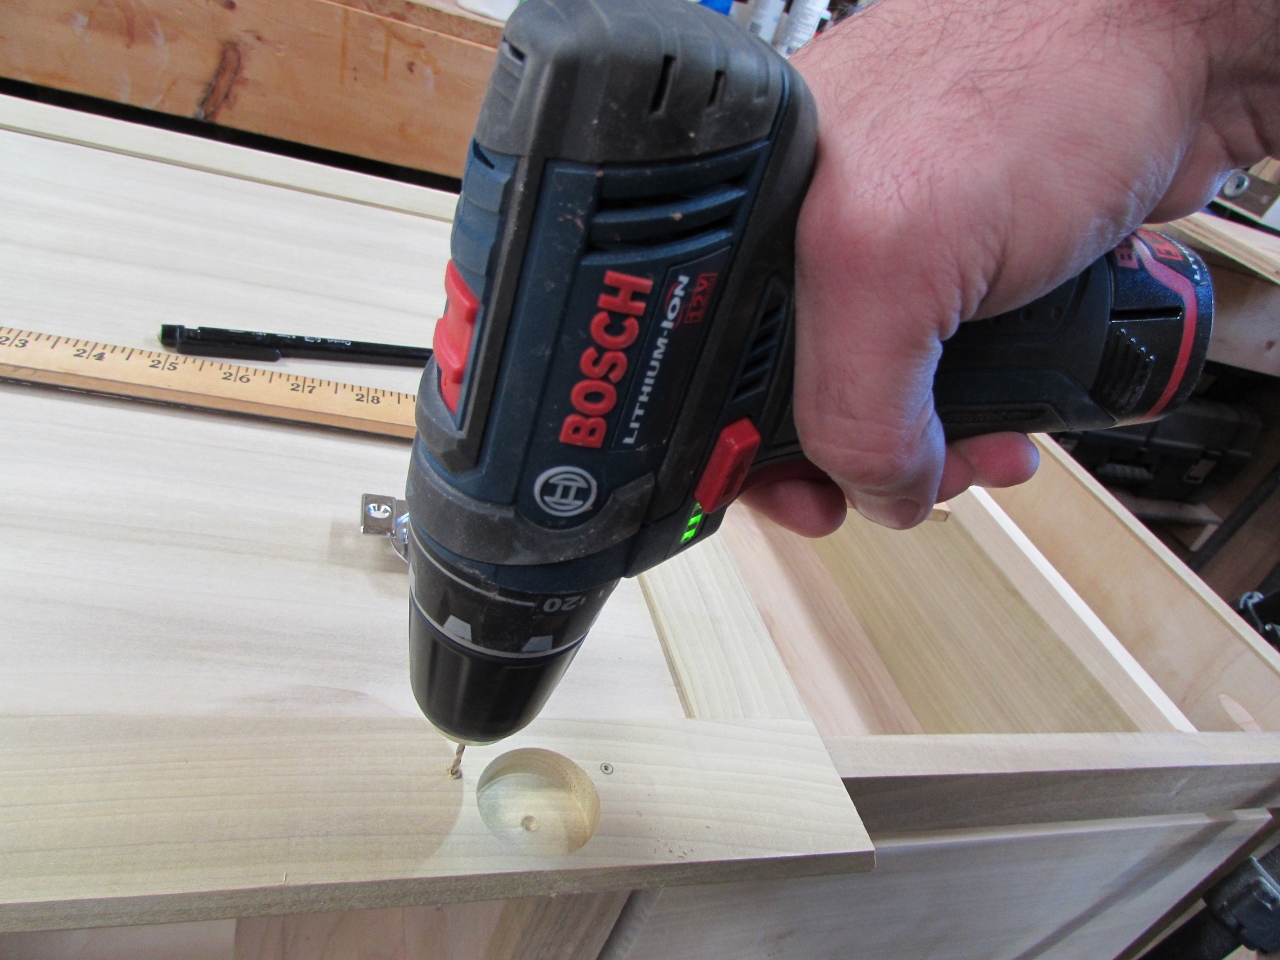
After testing the fit and measuring the hinge location, I was happy with my spacing so I locked the drill press fence in place to drill out the holes in the door.
I placed each hinge about 4″ in from each end, then used a straight edge to align the hinges before marking the screw holes with a pencil.
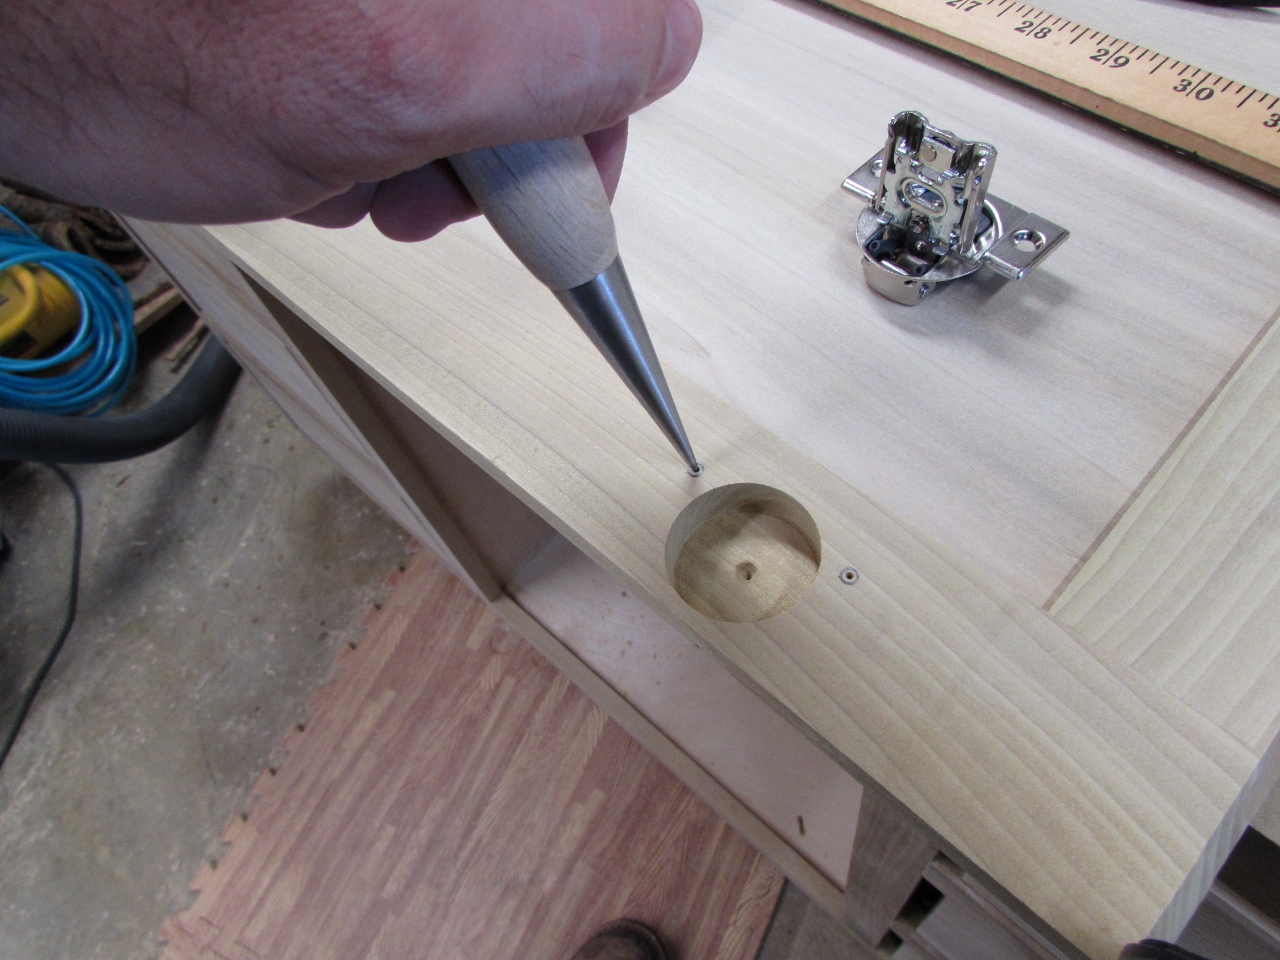
I used an awl to punch a starter hole directly in the center of my marks, then drilled a pilot hole for the mounting screws.
Poplar is a little soft, so I installed all the screws by hand.
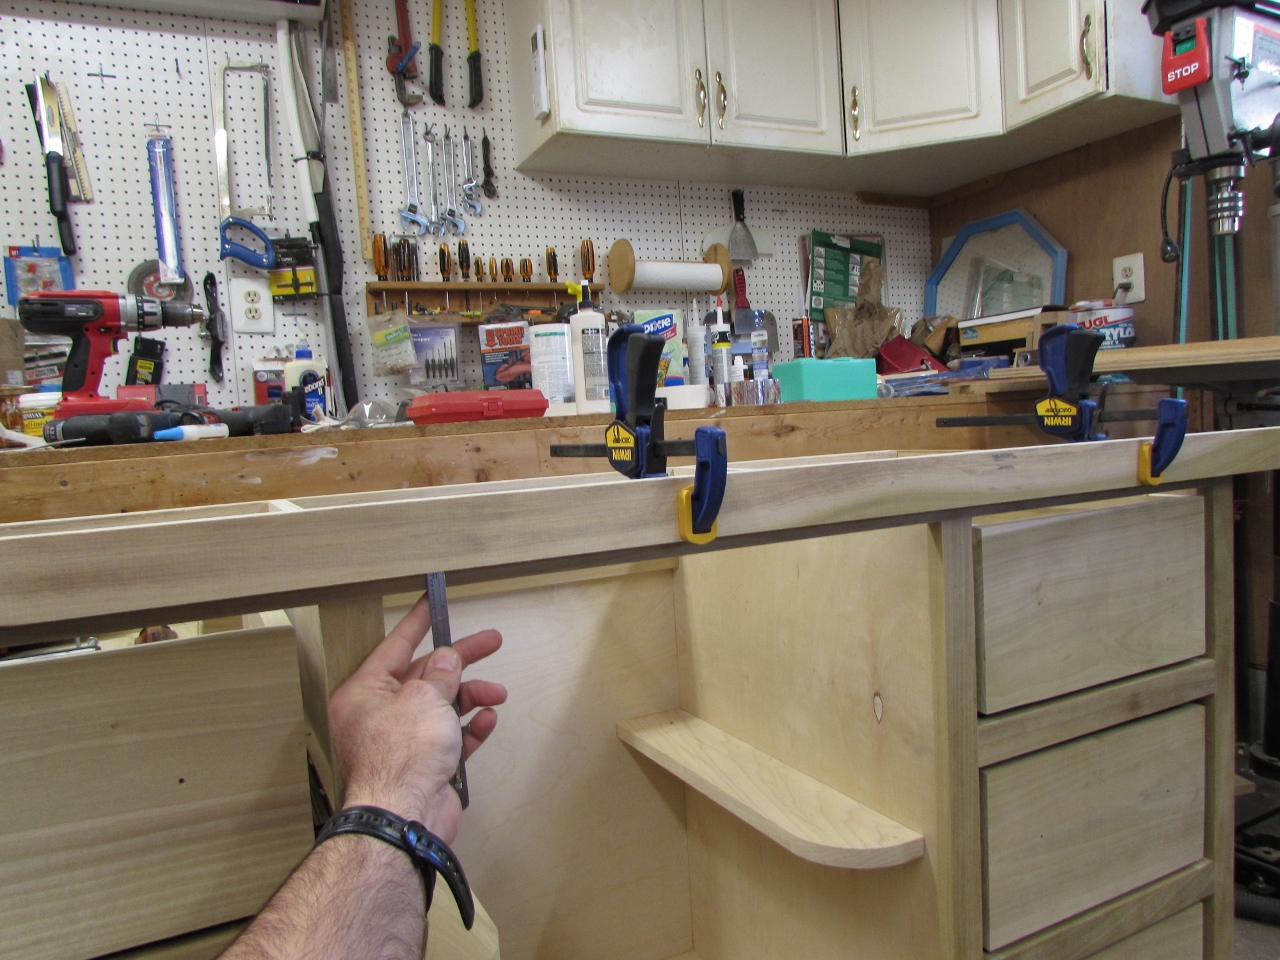
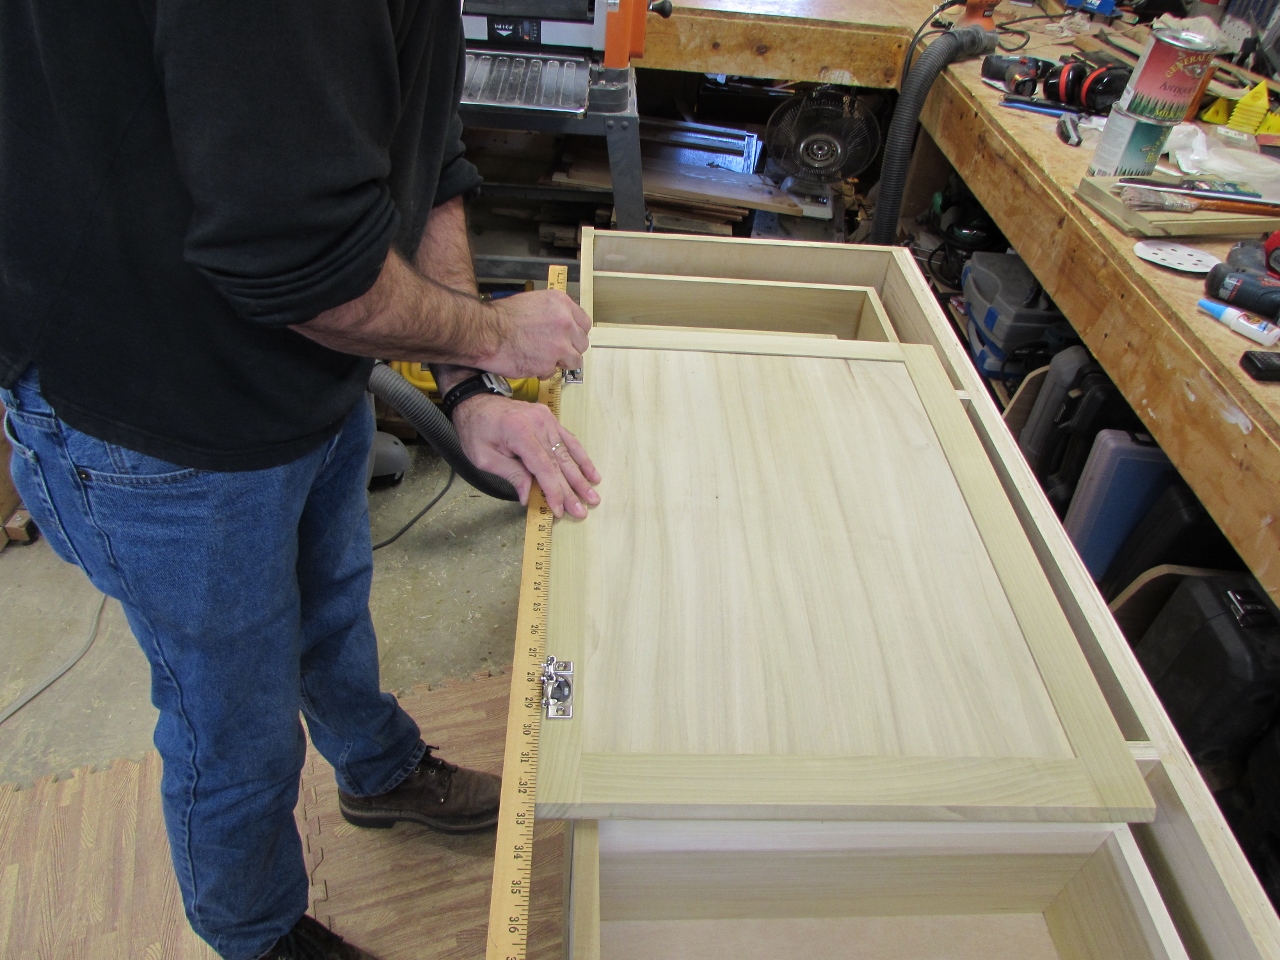
To locate the door and the top drawers, I clamped a straight edge 1/2″ above all the openings.
Setting the hinges against the jamb then sliding the door up to the straight edge, I marked the hole locations. I drilled a pilot hole directly in the center of the marked slot.
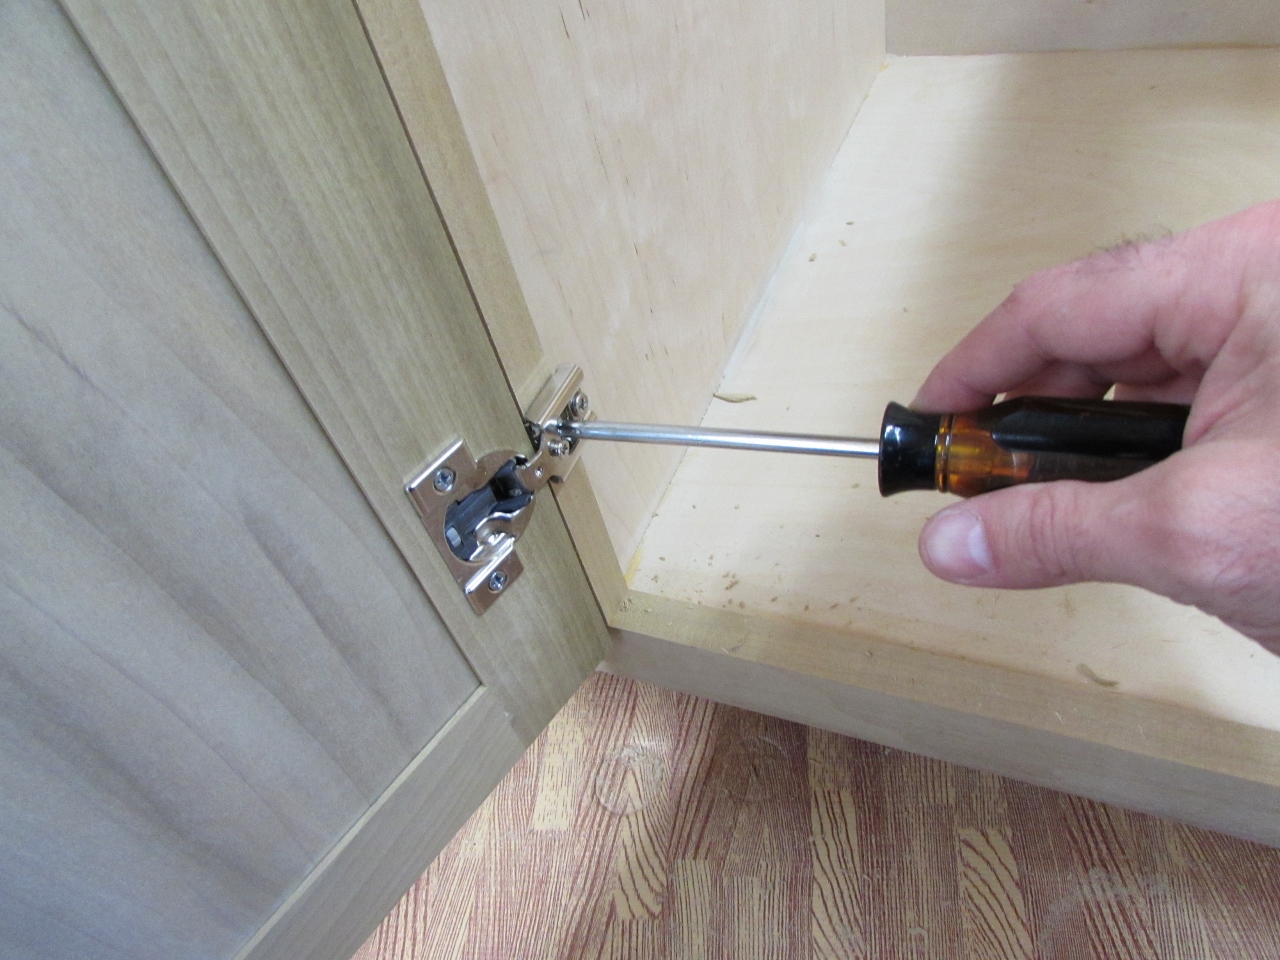
I attached these screws by hand as well, then installed the covers by simply pressing them in place.
The covers were not necessary, but for 35 cents, I thought they might look a little nicer…

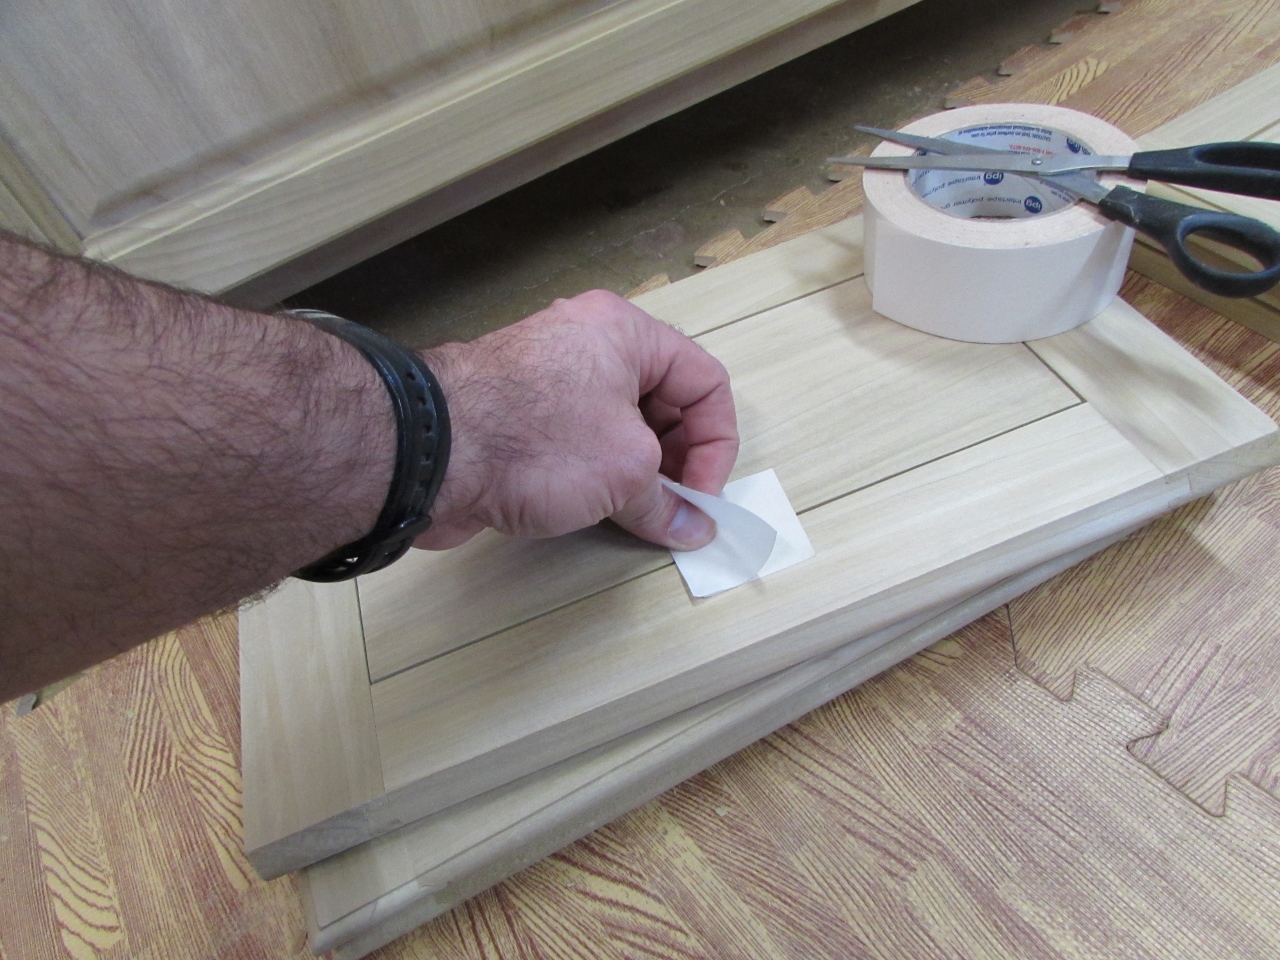
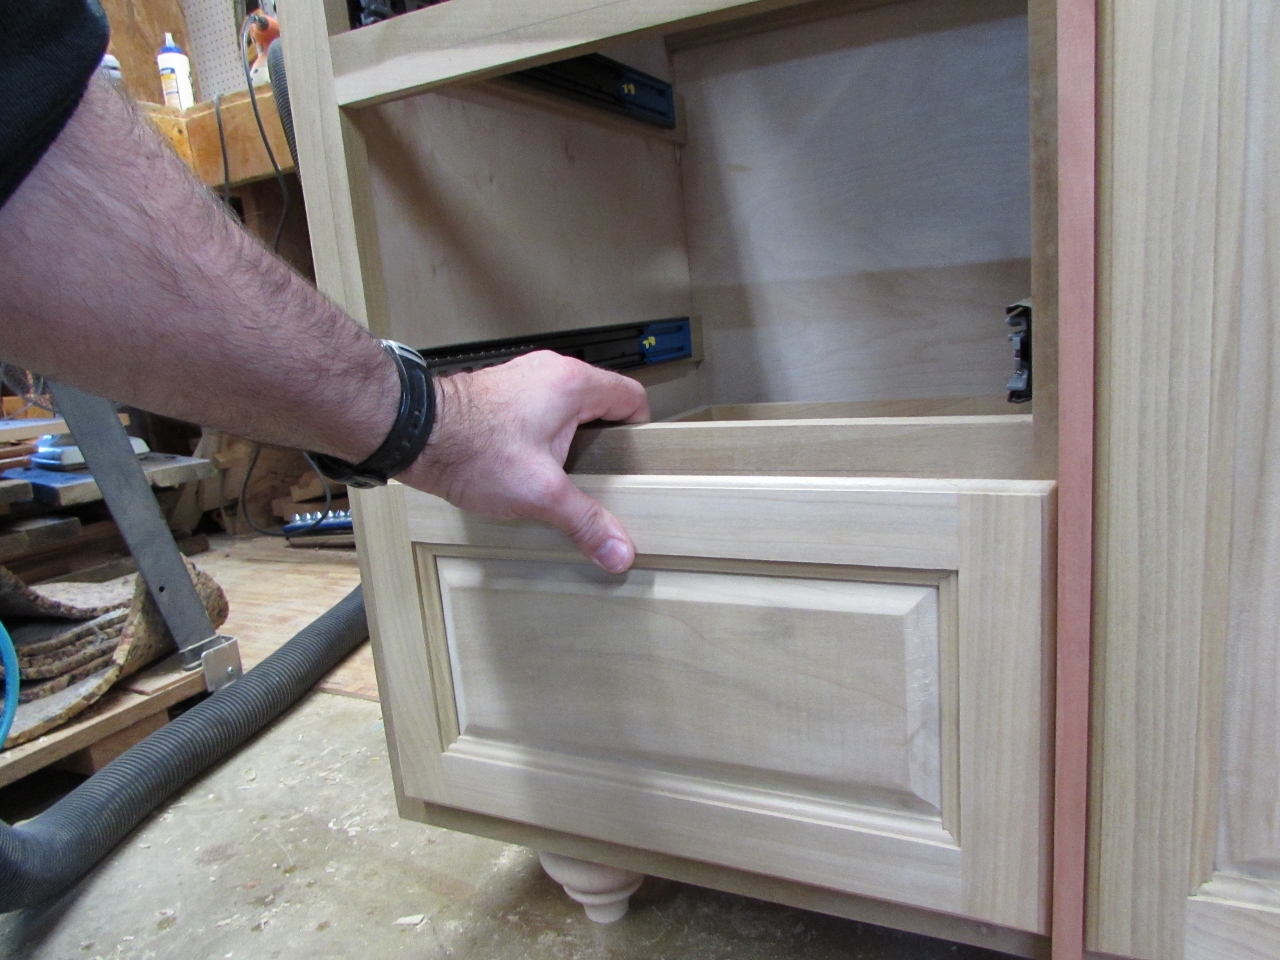
I thought I would try using double-sided tape to hold the faces in place while I lined everything up, but it wasn’t working. The drawers are intentionally set about 1/8″ back from the face of the cabinet so they will draw tightly closed when the soft-close slides pull the drawer in. This made it difficult to get the tape to stick…
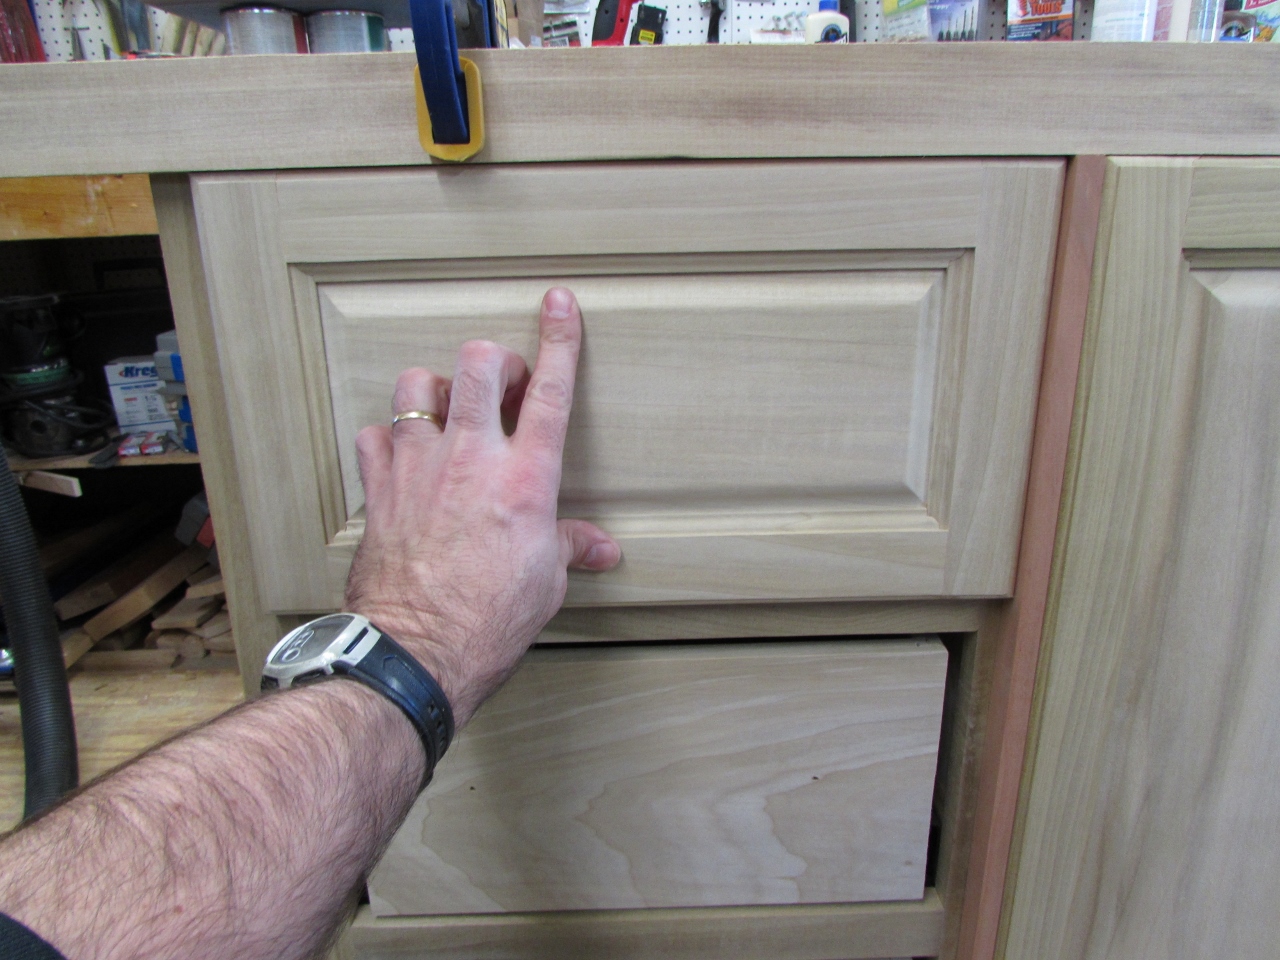
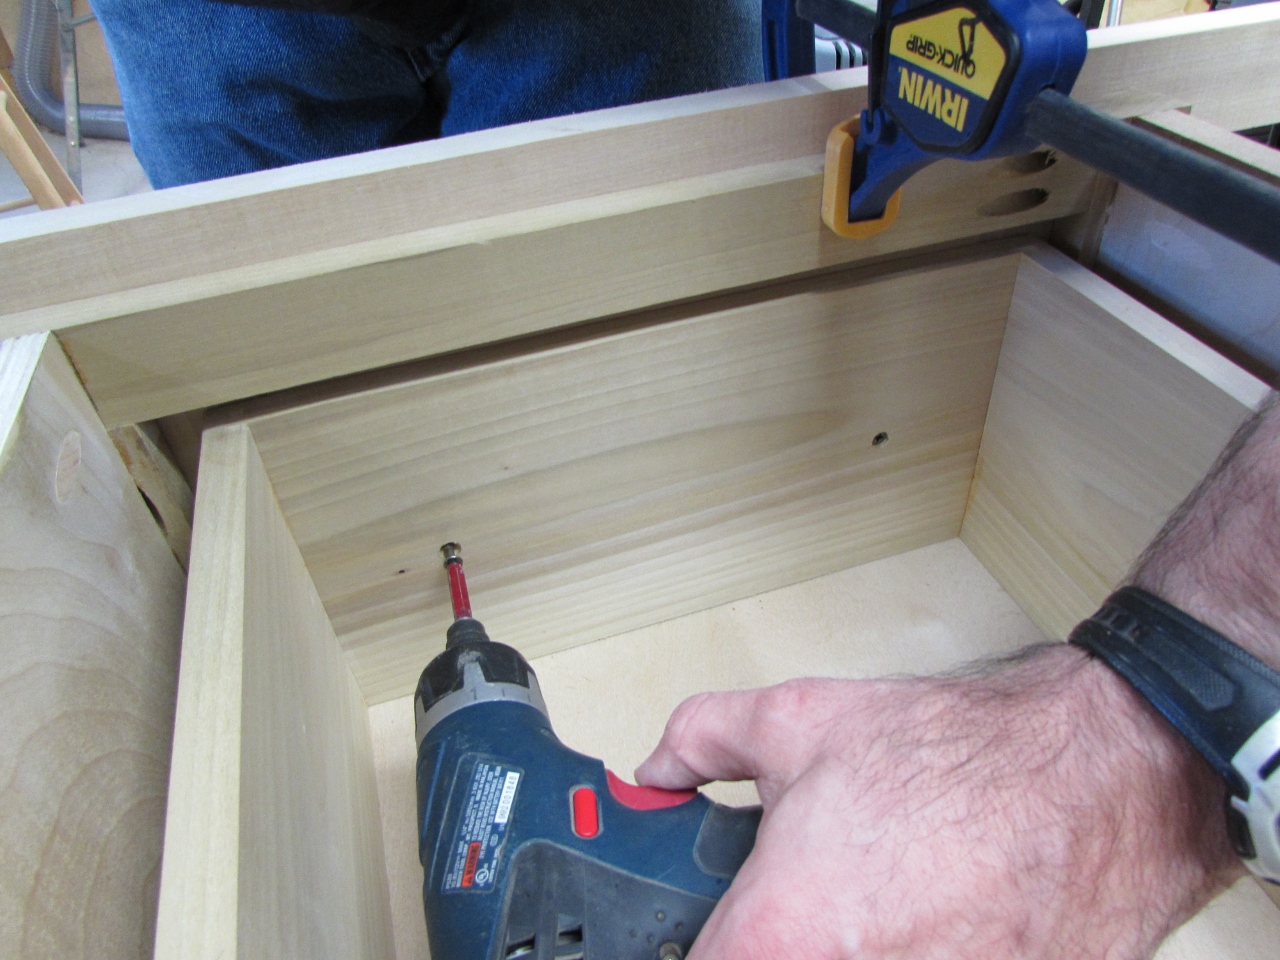
To space the drawers and door 1/2″ apart, I cut a 1/2″ wide strip of wood for a spacer. I set the top drawer face against the upper straight edge as well as the spacer, then held it tightly in place while I attached it with screws from inside the drawer. I ran the screws most of the way in with the screw gun, then tightened them by hand.
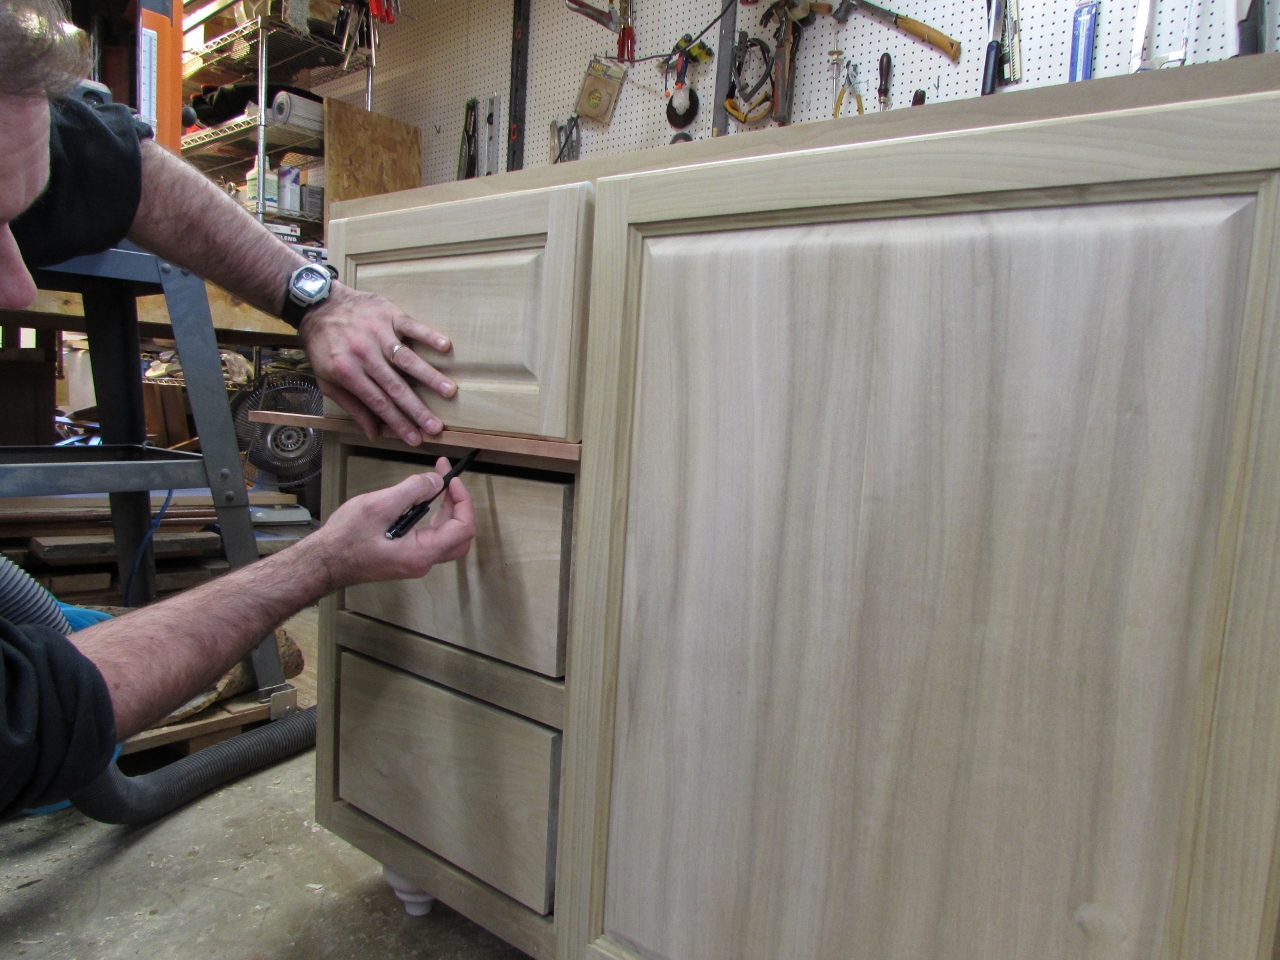
Since the tape wasn’t working, I just held the spacer in place and drew a line along the bottom edge to locate the top of the next drawer face.
Pulling each drawer out as I finished it, I was able to work my way down to the bottom drawer. When the left side was done, I repeated the process on the right.
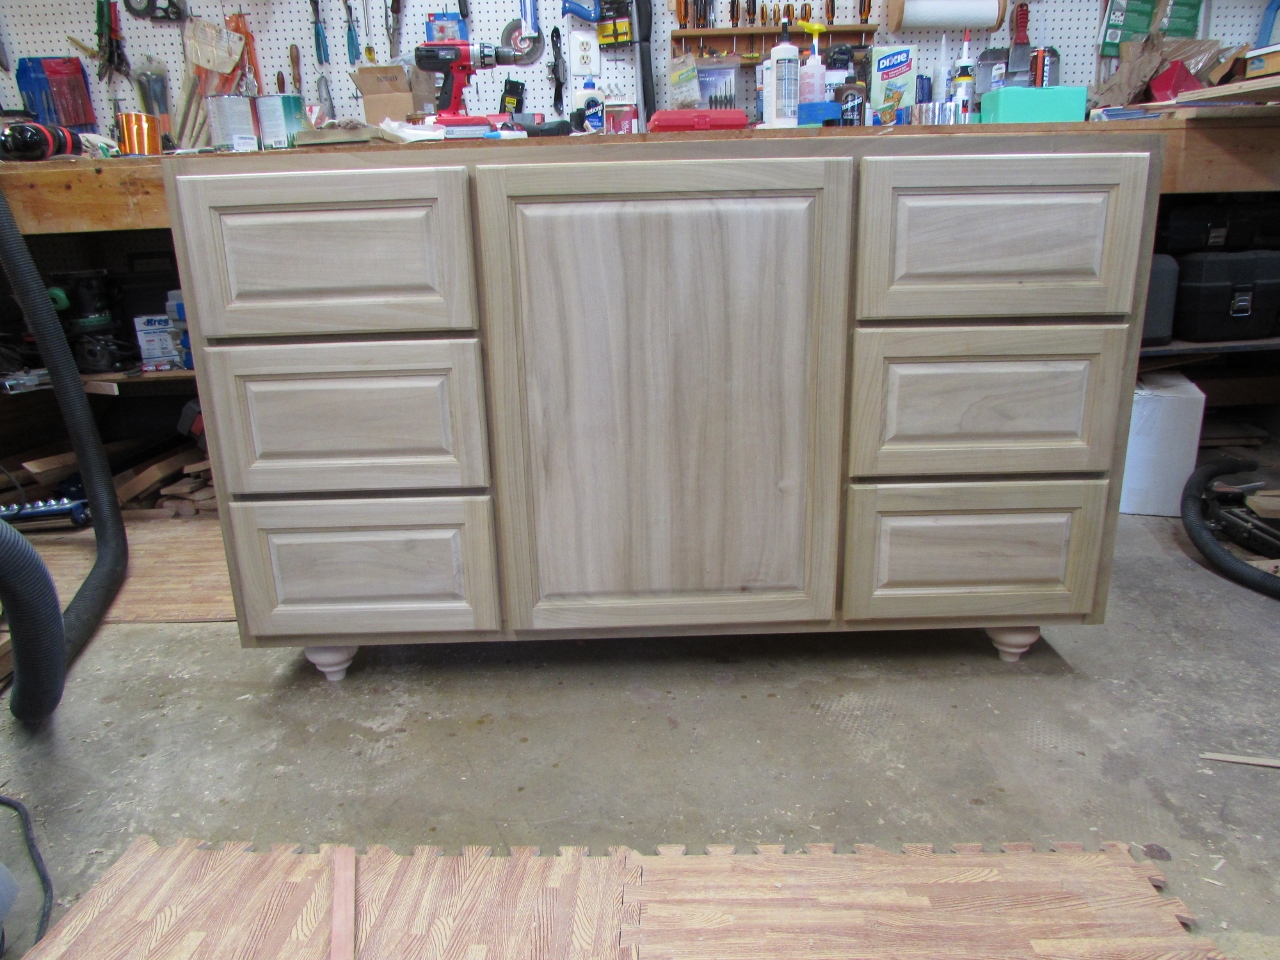
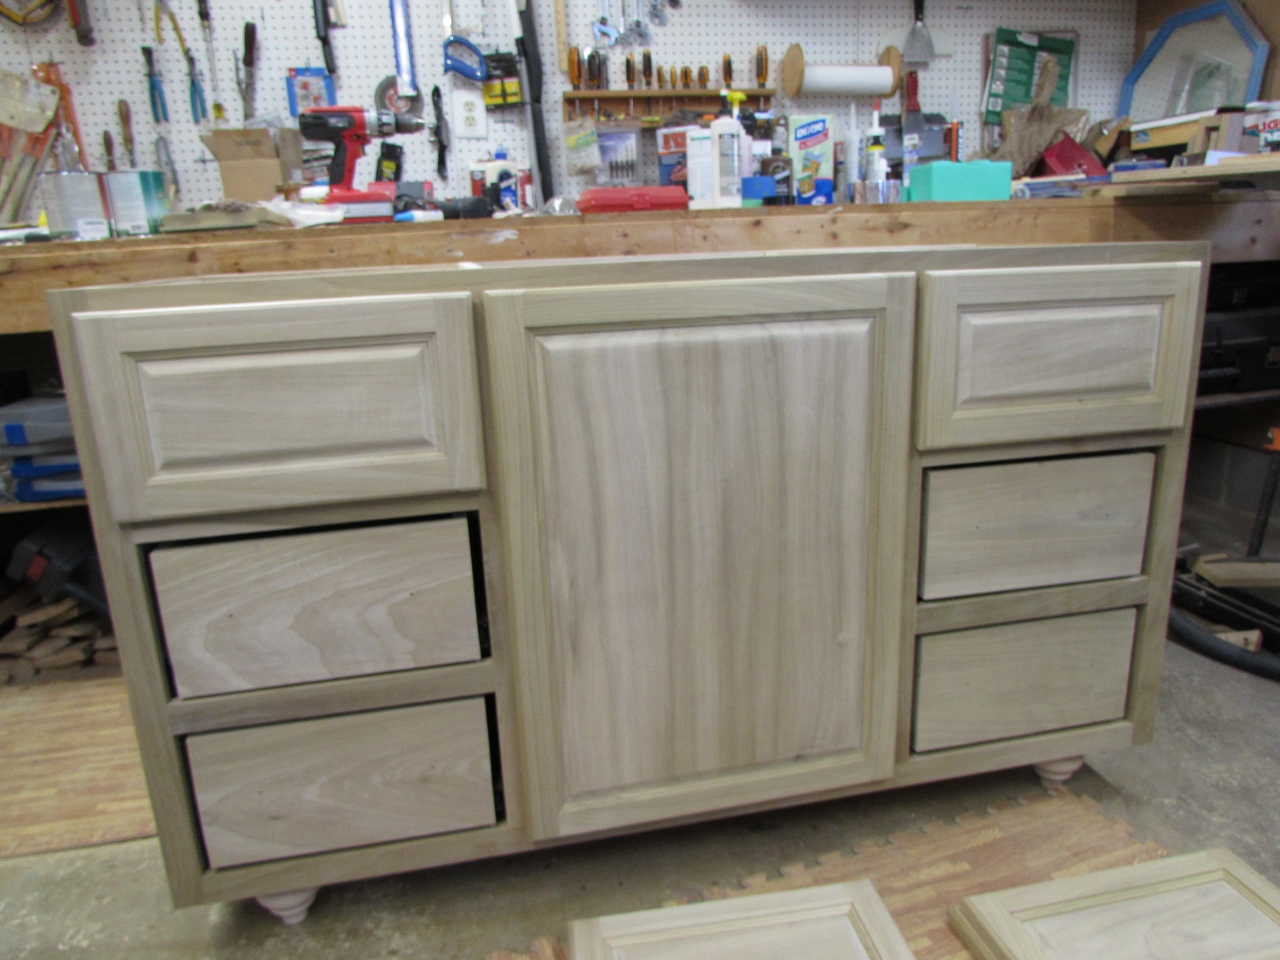
All done. Construction is complete. I am waiting on the client to pick out pulls for the drawers and door, as well as a paint color. They decided not to go with the milk paint, so it looks like we will be getting a nice primer and paint when the choice of color has been made.

