
Bathroom Vanity – day 6
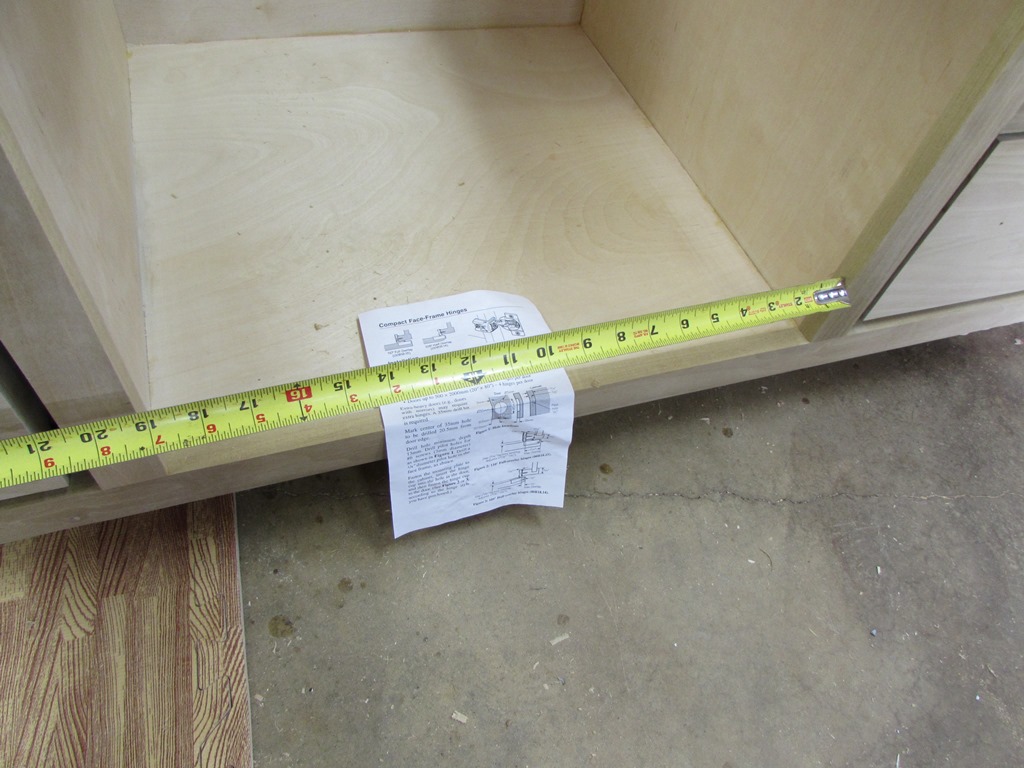
I got back down into the shop this weekend and finally got started on the drawer faces and cabinet door. I determined that the cabinet door was the main focal point that everything else had to line up with, so I broke out the instructions for the hinges to determine what the door overlap would be, prior to laying out the door dimensions. Since the hinges are half-overlay, the door will extend 1/2″ past the opening, on the hinge side. That means it should overlap 1/2″ on the other three sides as well. That gave me the outside dimensions of my door so I could start cutting.
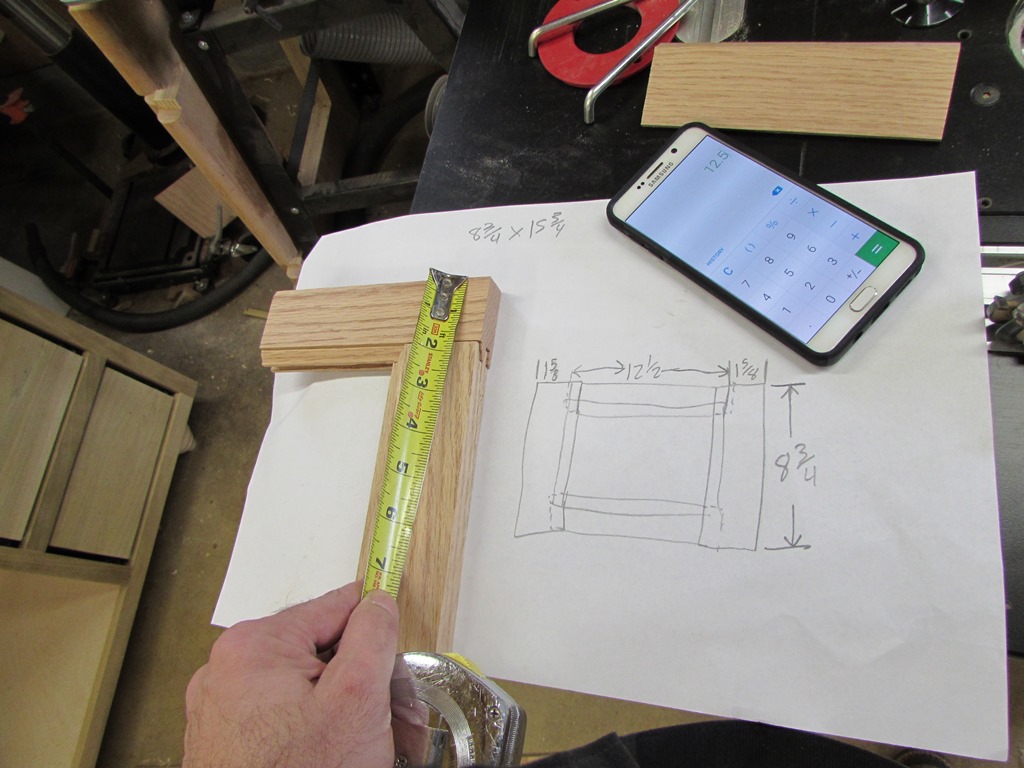
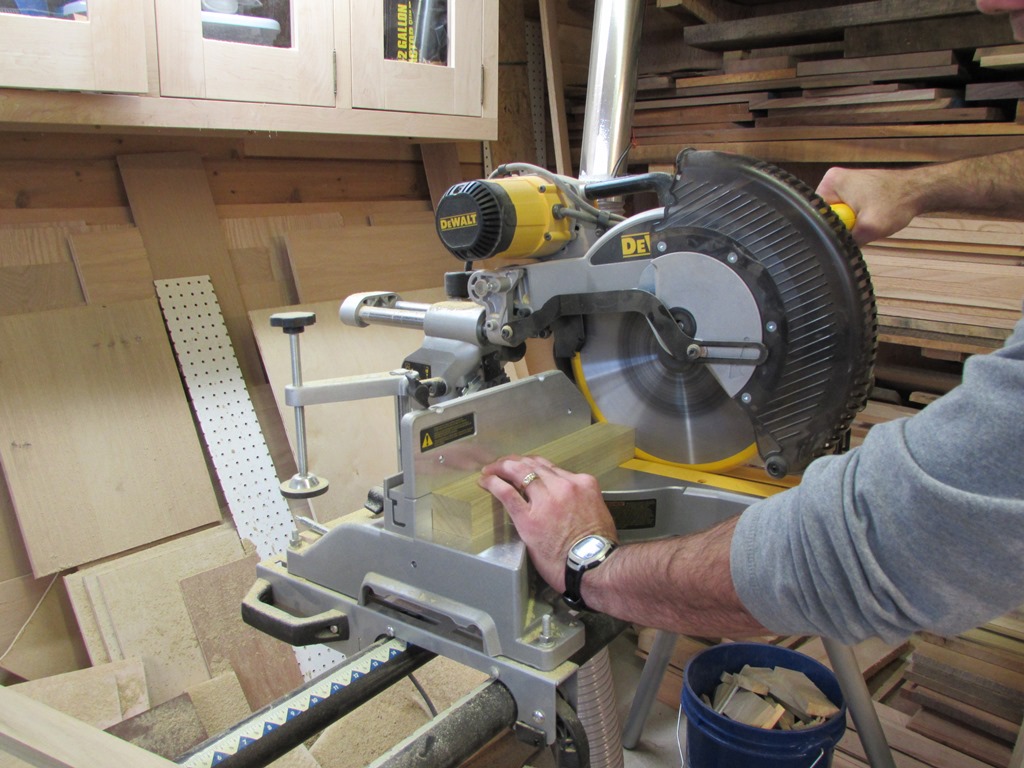
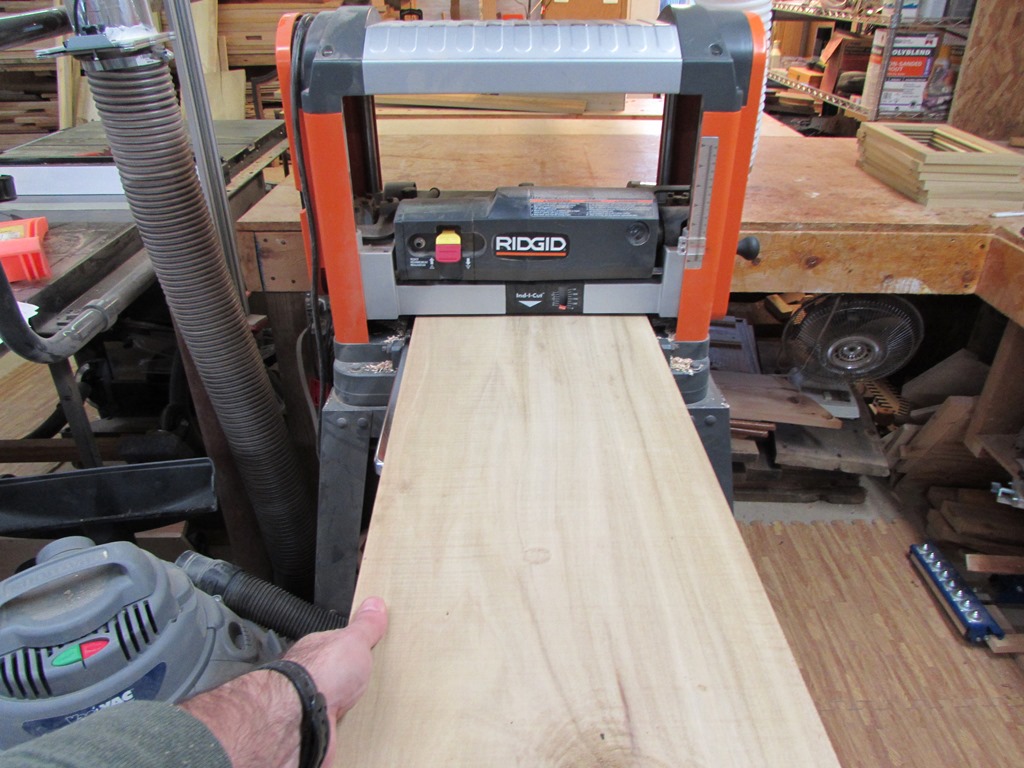
All of my door and drawer frames are going to be 2″ wide, so I was able to get all of the stock from my off-cut pile. I added up the length of all four sides of the drawer faces, then added a few inches. It is easier to plane in a long strip and wastes less material from snipe. Also, I can have the grain of each face match, if I keep track of the pieces.


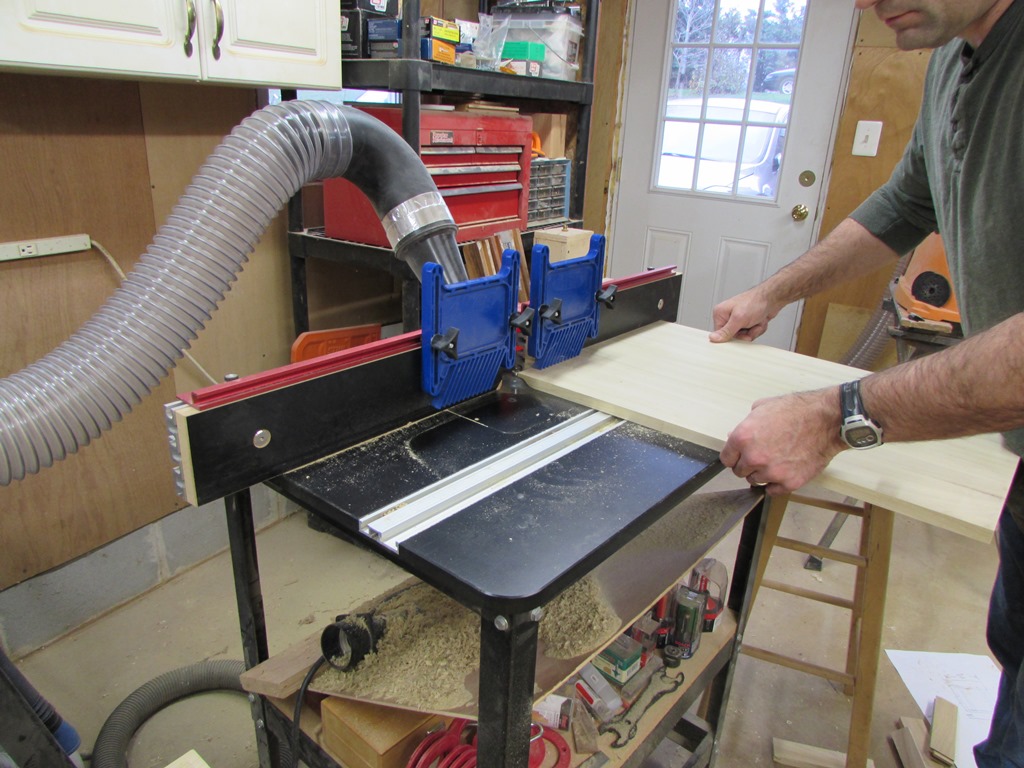
After planing all the pieces down to 3/4″ thick, I broke out my rail and style bits.
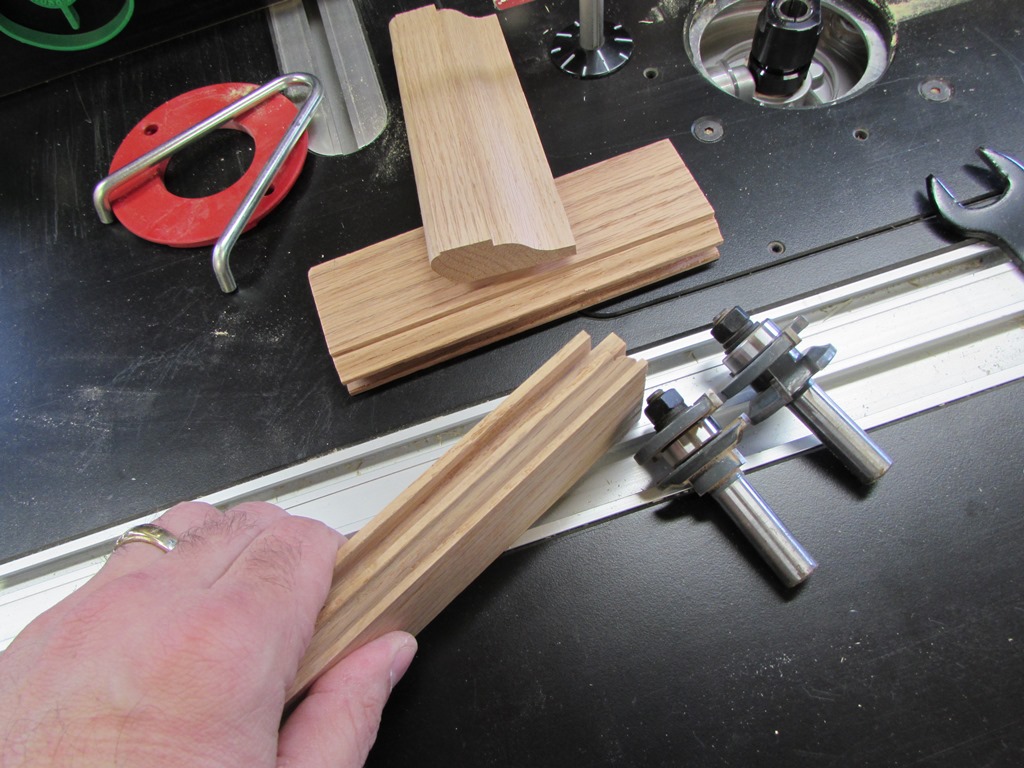
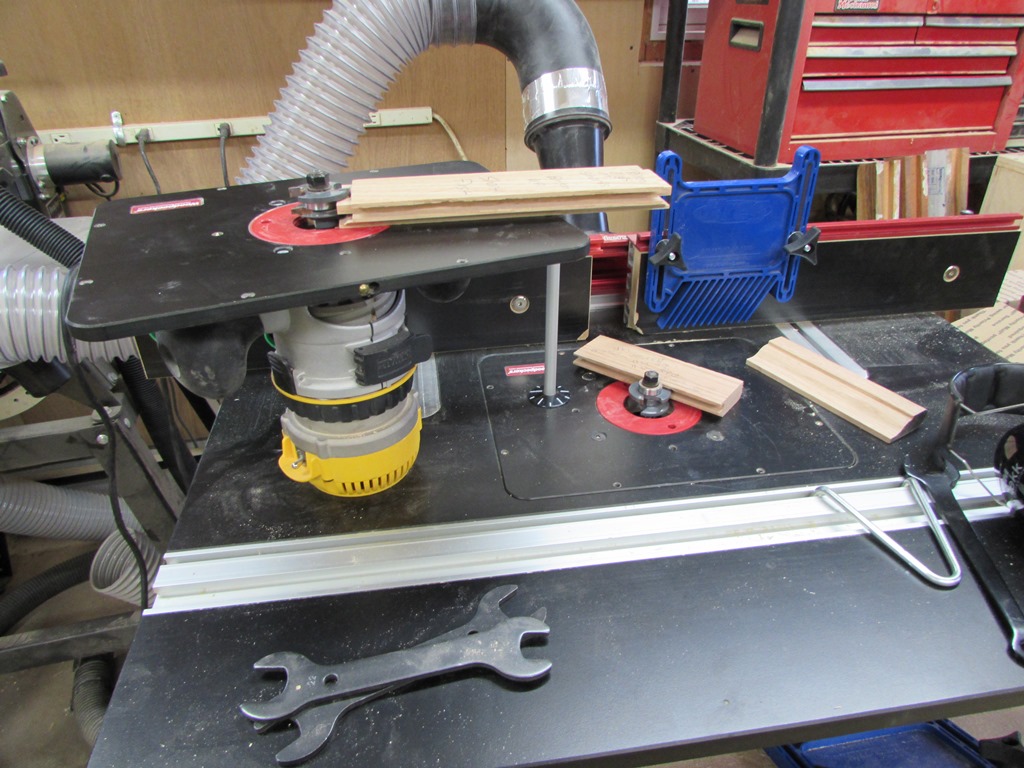
I cut a few extra pieces the last time I used the bits, and wrote instructions on them.

This really helps since I use them about once a year. Simple things like cutting the short ends first to prevent tear-out would be forgotten otherwise.
I can also measure the samples to help calculate the length of the sides.
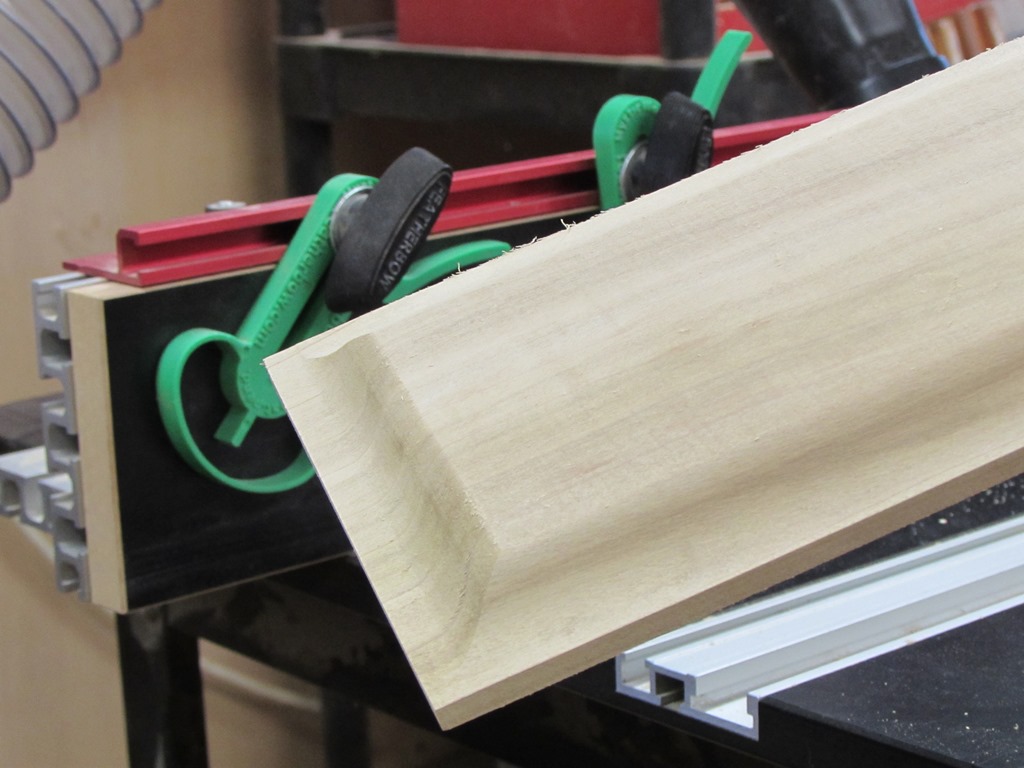
I can use the sample pieces for setup of my bits. It also helps to have two routers that can be easily swapped in and out of the table. I cut the pieces to create the first drawer face, then set up the first cut.
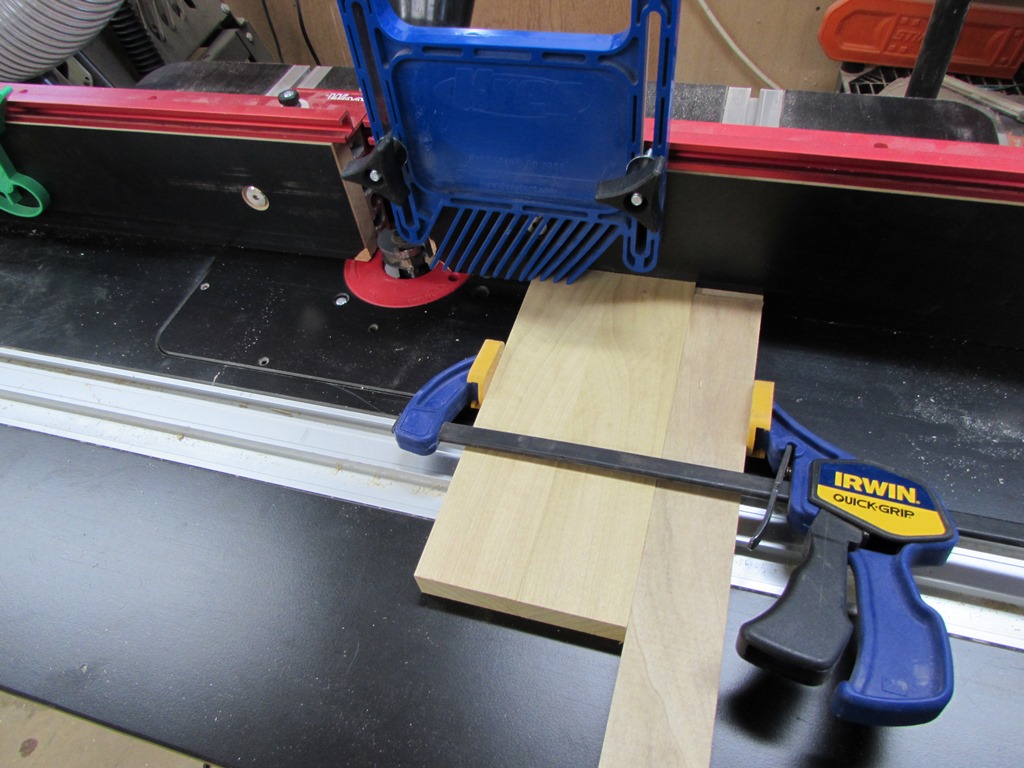
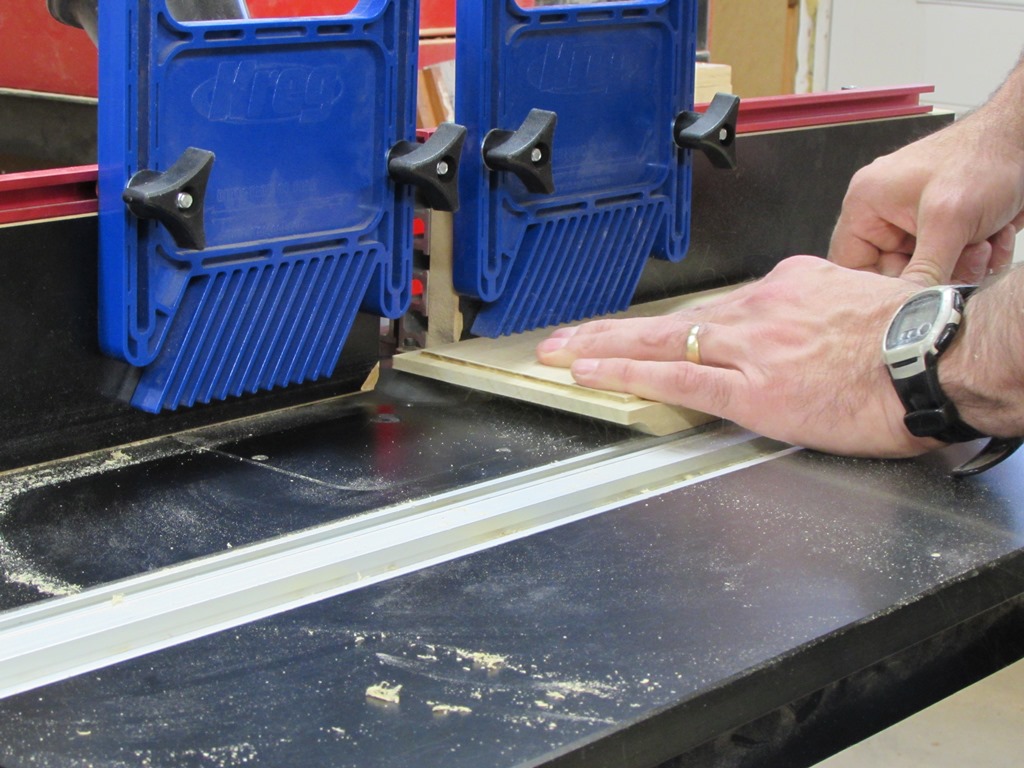
To make the end cuts more stable, I clamp several boards together along with a backer board to help avoid tear-out.

After the short sides were cut, I swapped the routers and cut the long sides.

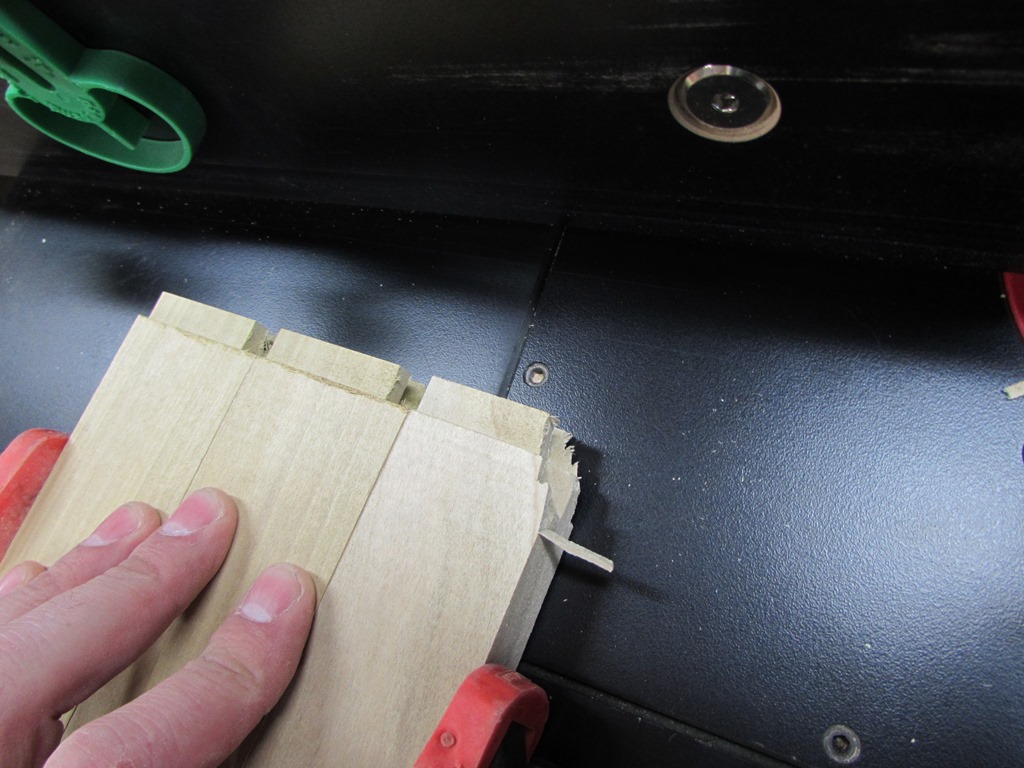
Look at that, perfect fit.
Um, if I had cut the correct ends… I apparently did not…

So I cut a few more side pieces and did the end cuts on the longer pieces. You can see in the picture below, why I use a backer board. Sometimes the tear-out is pretty severe.

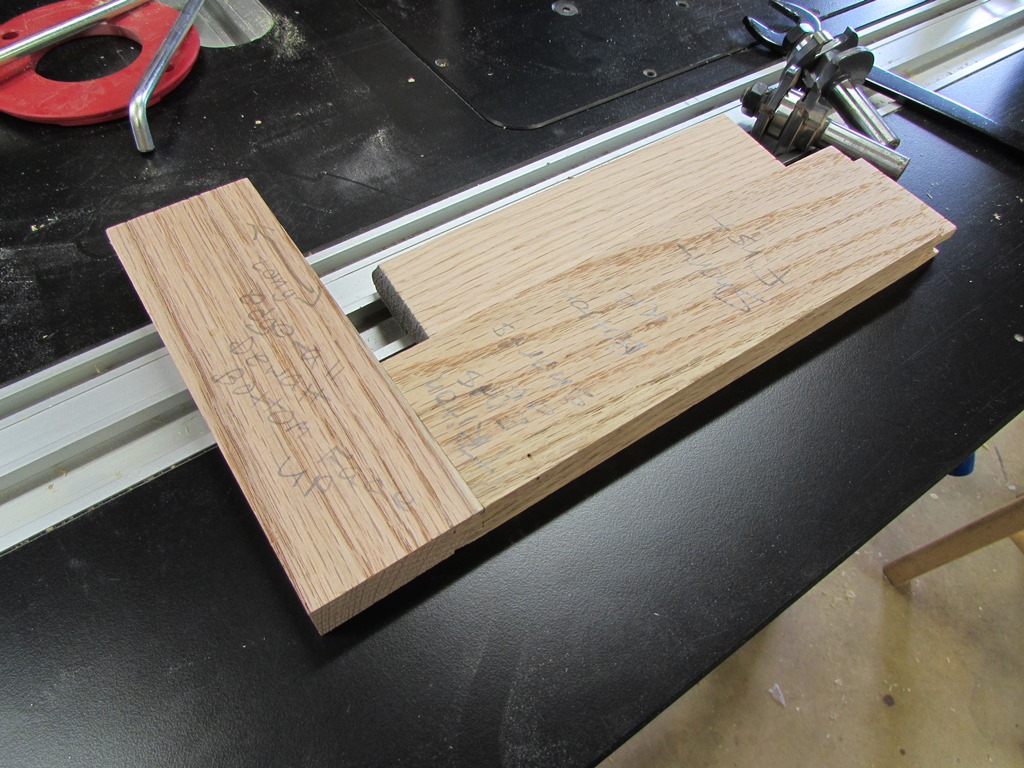
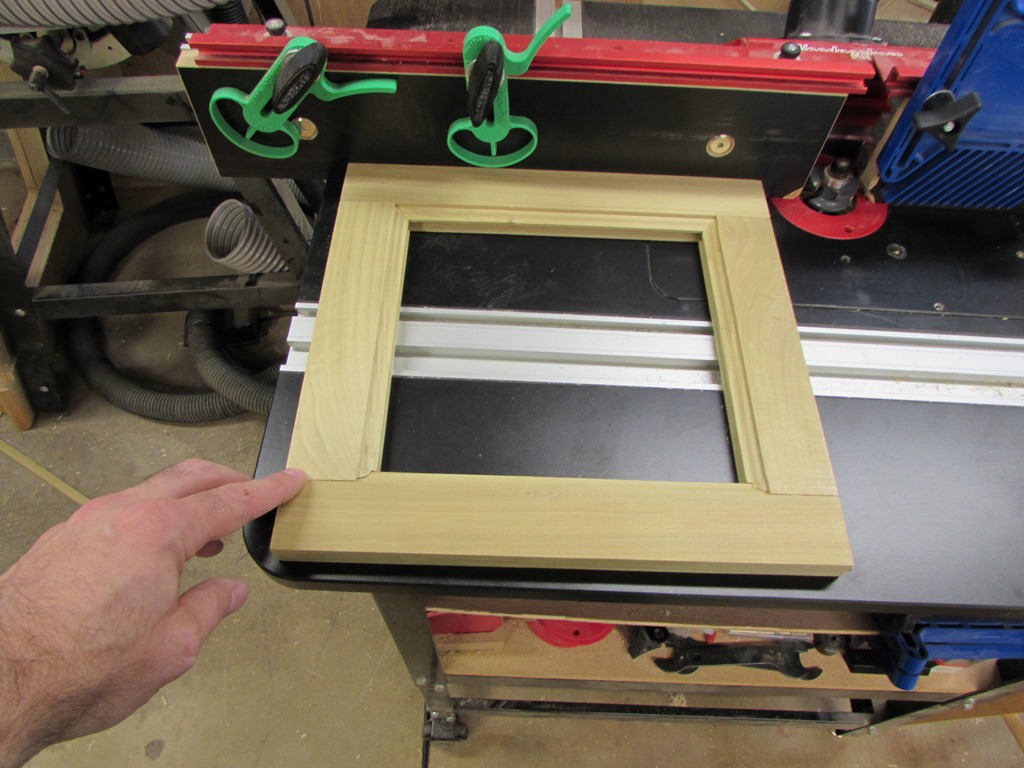
After correctly creating the first frame, I ganged together a few more boards and started cutting the rest.

After about an hour of cutting, I had all the frames ready to go.


Next step was to start cutting the panels.
The cabinet door panel is about 16″ wide, so I had to join up a panel.

I planed the door panel down to about 5/8″ thick, but left the drawer panels closer to 3/4″ thick. On them, I cut a 1/8″ x 3/8″ rabbet all the way around, on the back face.

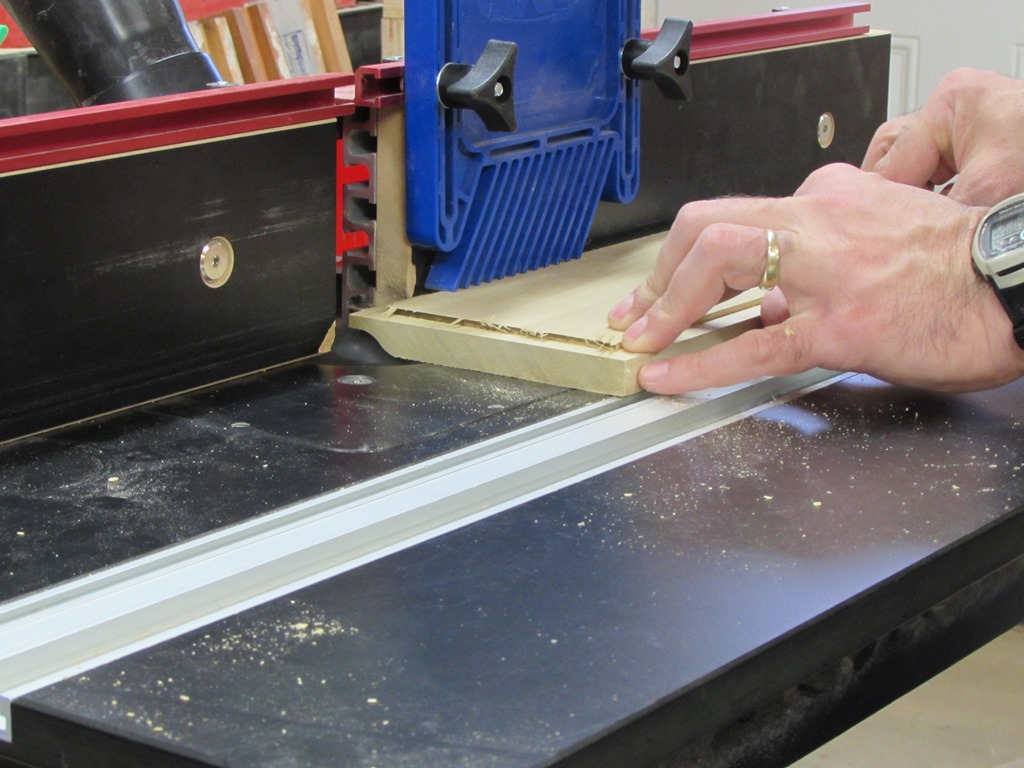
I loaded the bit for the front of the panel then cut the first one.
You can see the rabbet on the back allows the back of the panel to finish out flush with the back of the frame. This will make mounting to the drawer better.
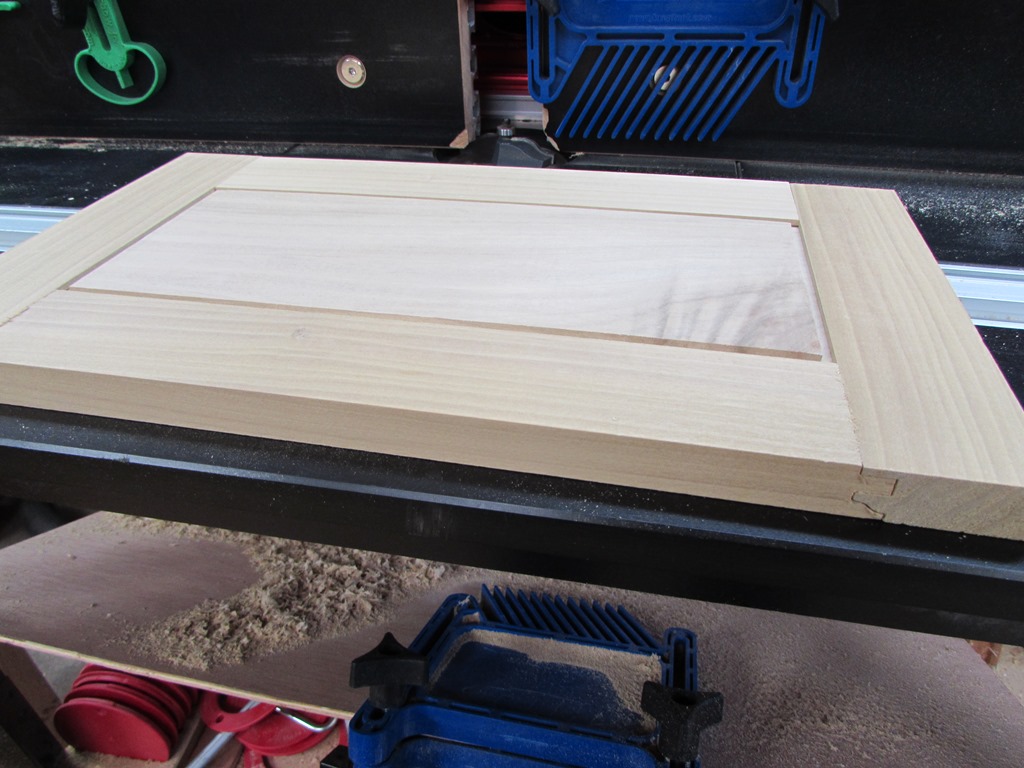
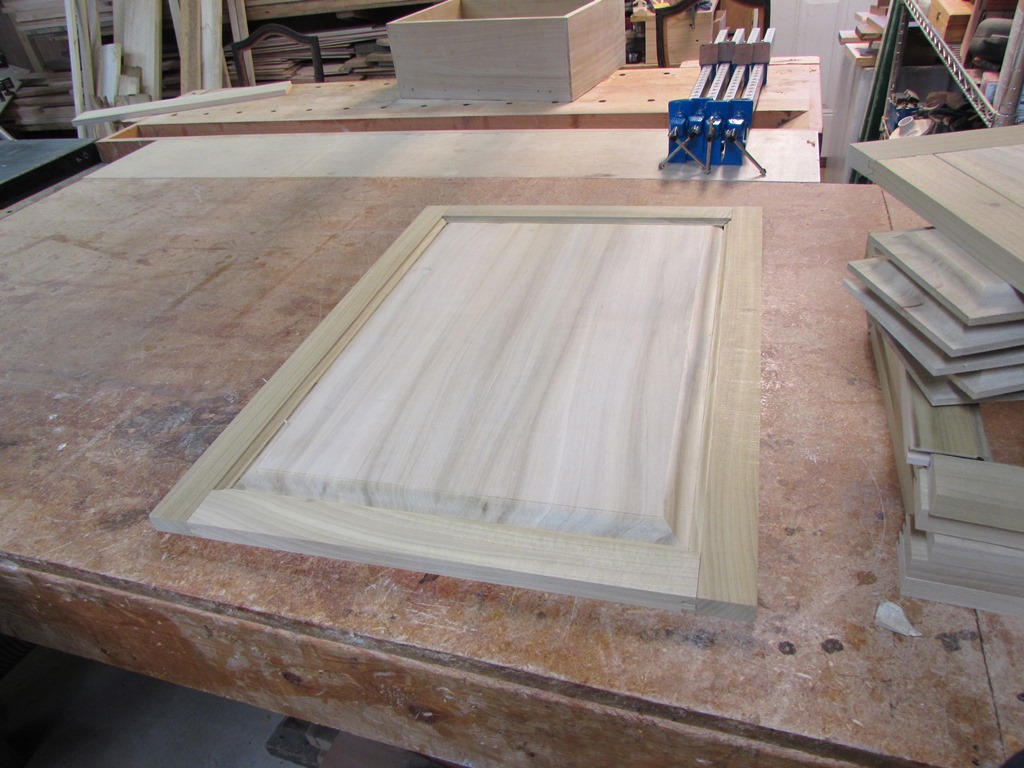
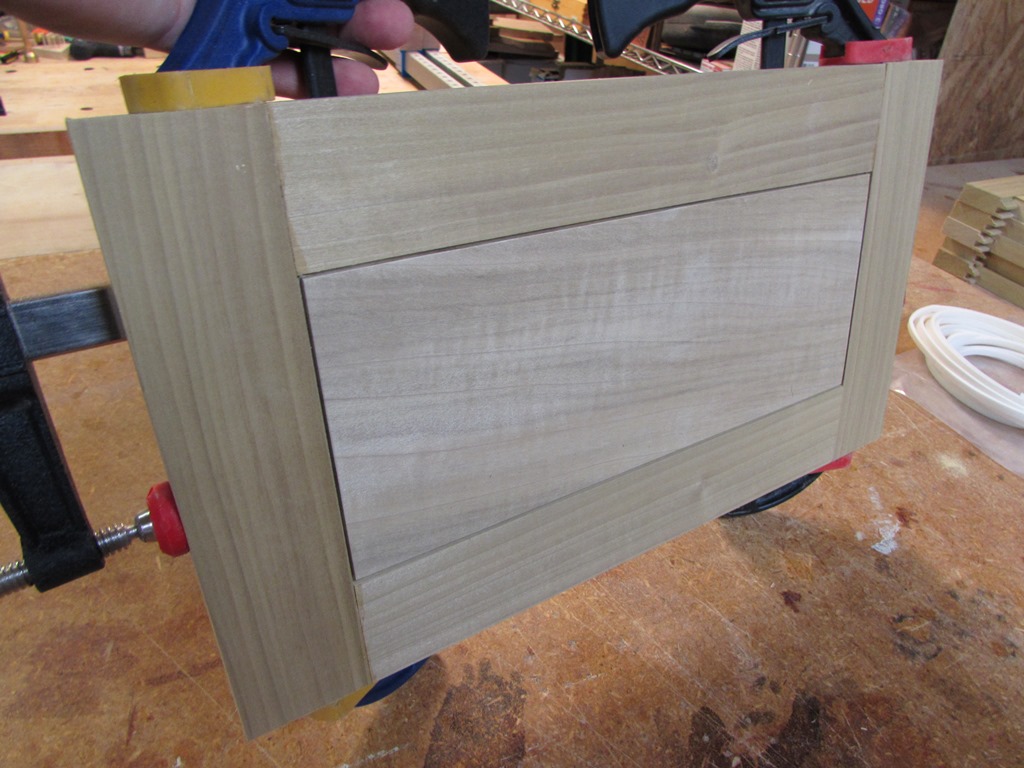
Here is what the front looks like after the dry-fit.


Happy with the results, I ran all the drawer panels.
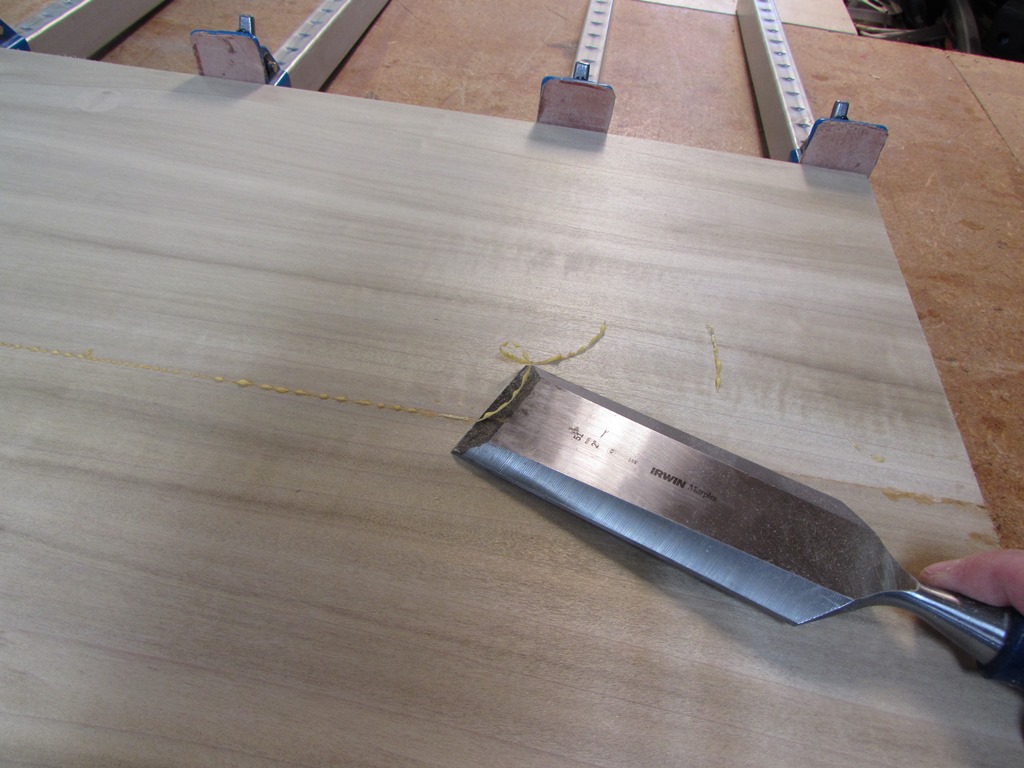
The glue was dry on my big panel, so I scraped away the excess glue and sanded the panel down smooth.

Without cutting a rabbet on the back, I adjusted the depth of the cutter a little, then ran the panel through.
The rabbet was not required because the door panel did not have to finish out flush on the back. That was also why I made this panel a bit thinner.

To sand the ogee shape on all the panels, I cut a piece of foam and pressed the shape of the curves into it.
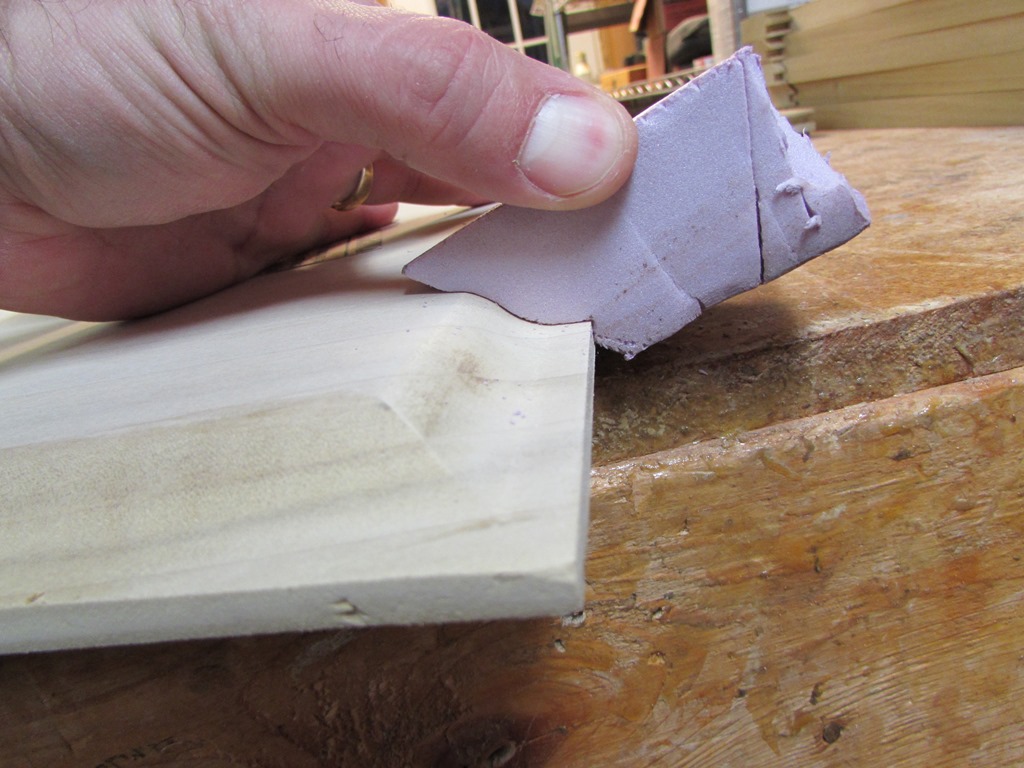
Now I have a custom sanding block if I hold a piece of sand paper in place.


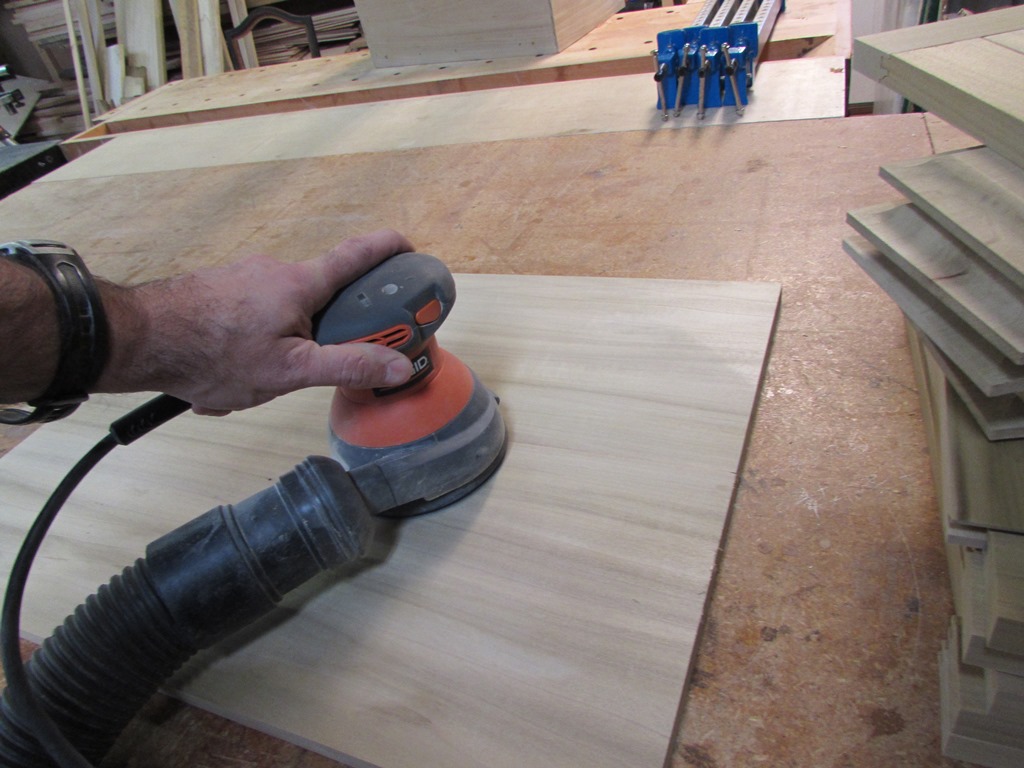
After a little clean up with the orbital sander, it was time to put everything together.
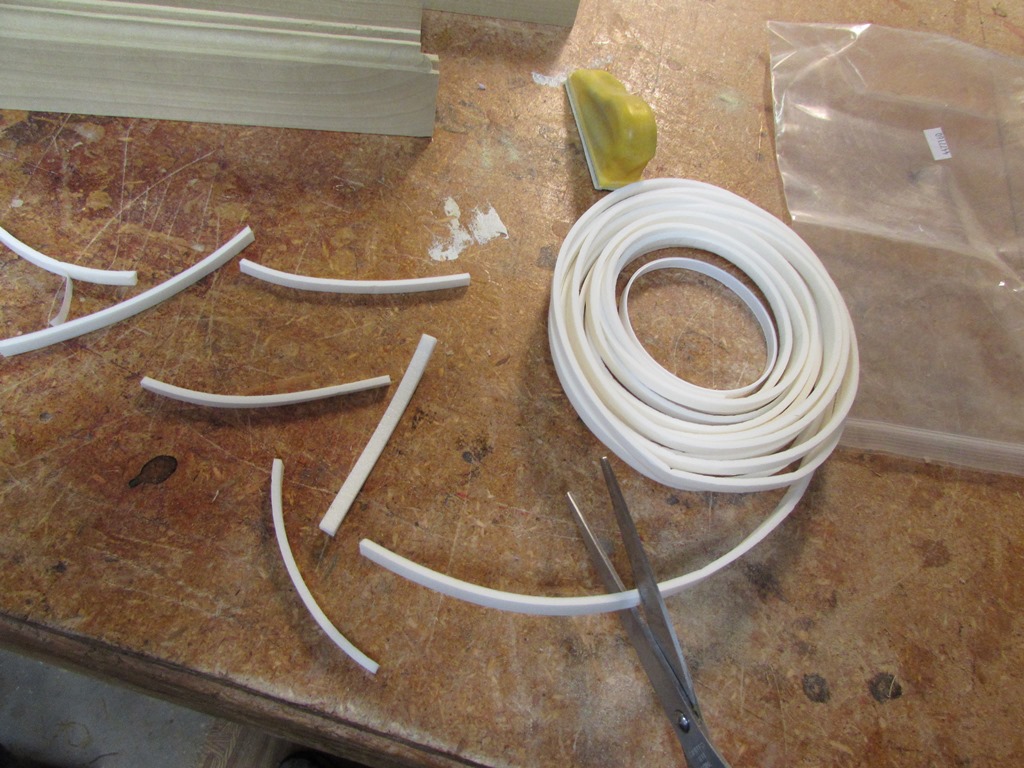
I prefer spacer foam to using spacer balls for a floating panel. The foam keeps the panel from rattling around while allowing a bit of room for wood movement.

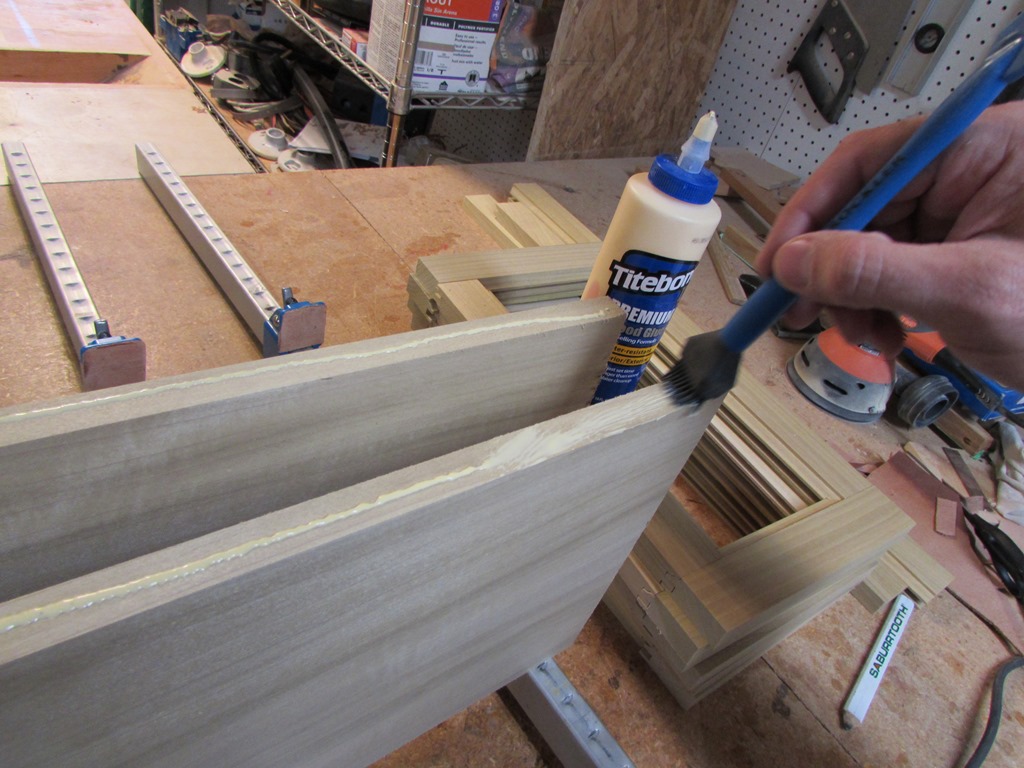
After installing a piece of foam or two into each side, I applied glue to the joint at the ends.

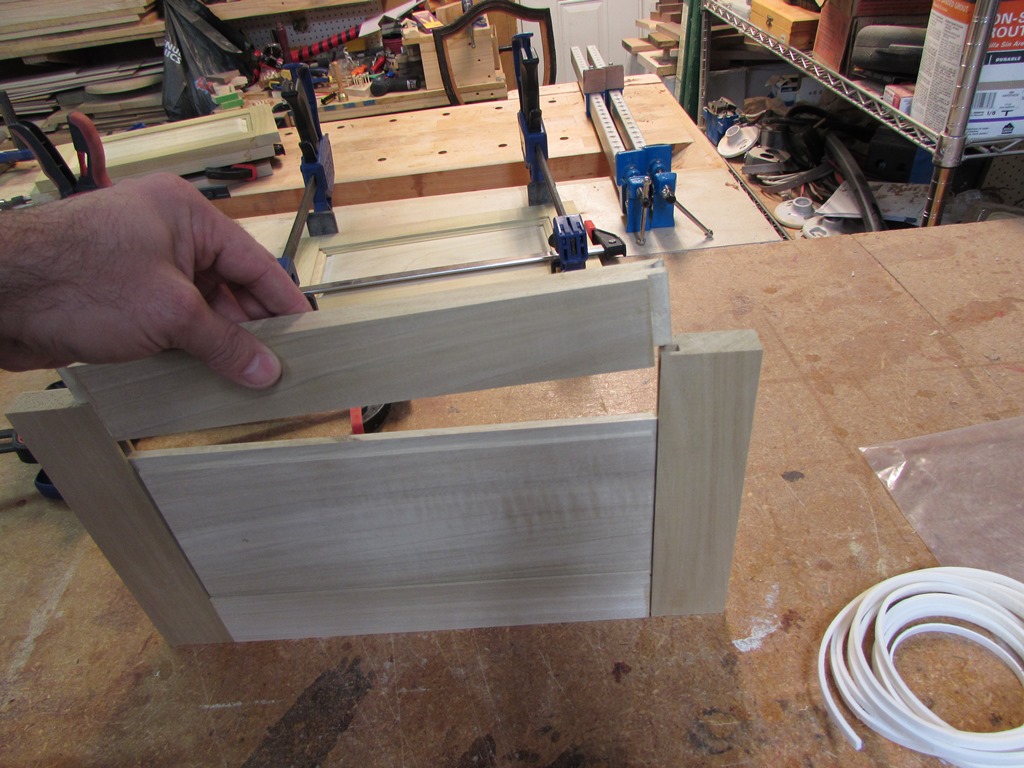
Then I assembled the panels and clamped them up to dry.


After an hour or so, everything was dry and ready for the next step.
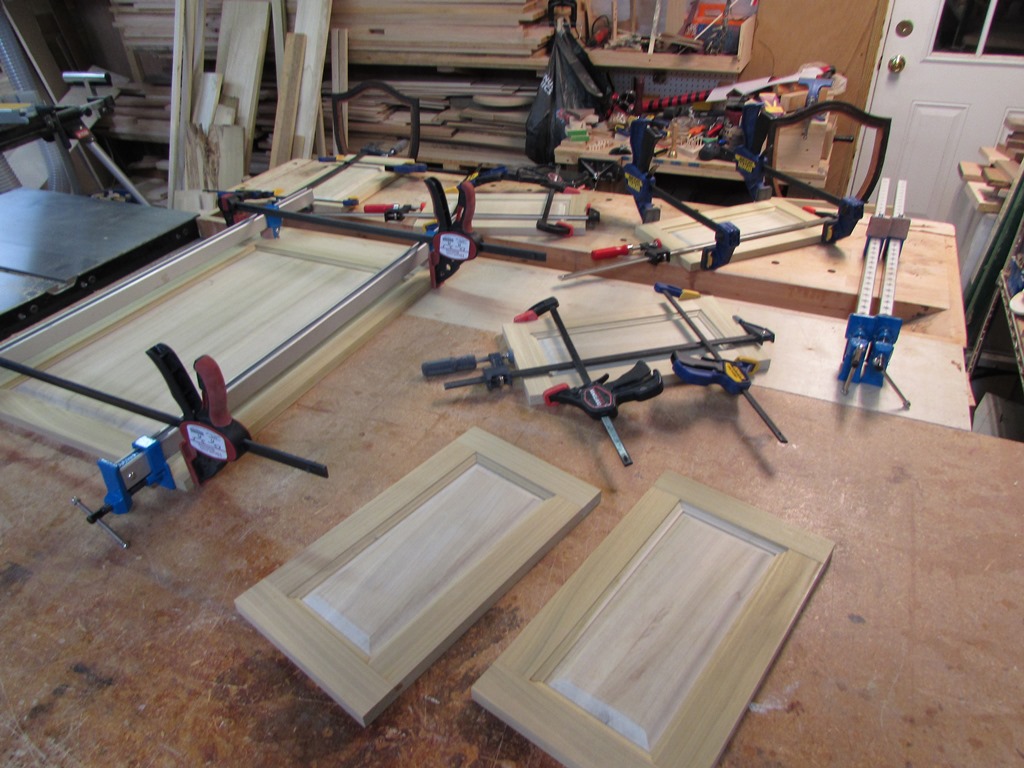
I just need to finish the edges of the door and drawer panels, then mount the door. Then all will be ready for finishing.
