
Reclaimed reverse Firebird – day 1
My oldest son, Eric, is going back to college in a couple of weeks and he is planning on taking guitar lessons this semester. I offered to build him a guitar that he could use at school and asked him to pick out some styles and features he wanted on his guitar, and he did. Having never played guitar before, he didn’t really have any pre-conceived notions, he only knew what he wanted it to look like. He sent me a picture of a Gibson, Reverse Firebird, and pictures of a custom guitar, that had some funky F-holes. Since the Firebird is a solid-body guitar and guitars with F-holes are usually hollow bodied, I had to create a hybrid. He wanted the guitar to be blue, with the UDEL logo. Since he will be getting around campus on foot, and by bike, he wanted it to be light as well…

CNC program
I laid out the design on the computer and customized some F-holes to match the body shape. I created some large carved-out areas behind the F-holes to hopefully allow for more sound to be produced when played acoustically. Remember, I am not a professional luthier, I just enjoy playing with different features to see what works. I added the Blue Hen logo to the front of the guitar. I am not sure how well it will carve from soft wood, but I figured that if it doesn’t carve nicely, I can route the spot flat, and glue in one that was carved out of harder wood.
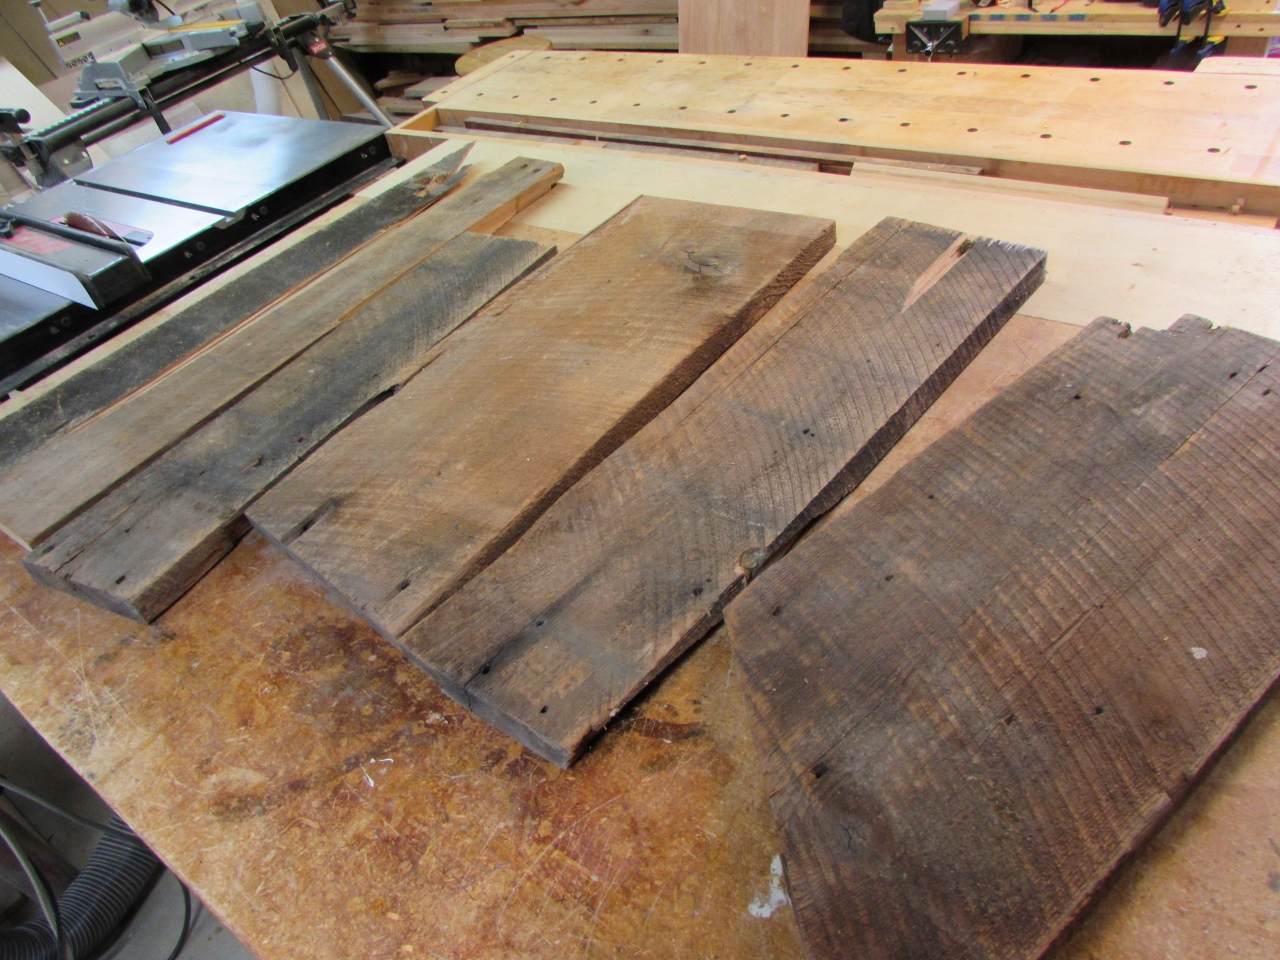
Reclaimed hemlock scraps
The lightest wood, that I have is the reclaimed hemlock that I carved the 72 thinline telecaster guitar body from. When that body was hollowed out, the entire body only weighed 2.4 pounds. Alex over at Vintage Lumber saved me some end cut-offs from a pile of reclaimed hemlock that came off of an old plank house in Kingwood, West Virginia. The building was built around 1910, so these boards have been around for over 100 years. The resins in the wood have long since crystalized, so as a guitar it should create a warm resonant tone. At least that is what I have heard from veteran guitar players that covet old guitars. Apparently, certain woods get lighter and more mellow in tone with age. Again, I am no expert, I just enjoy experimenting.

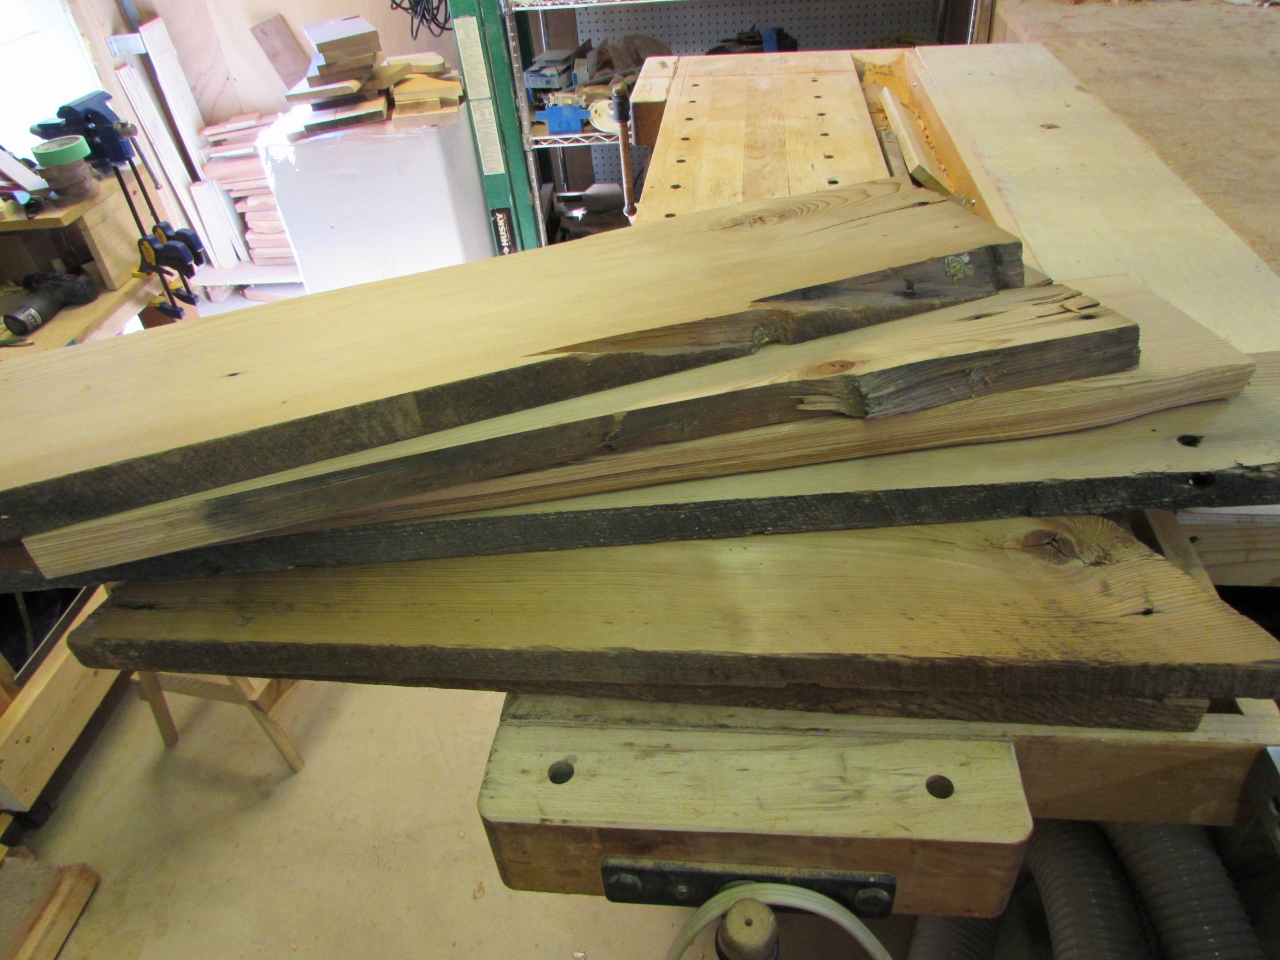
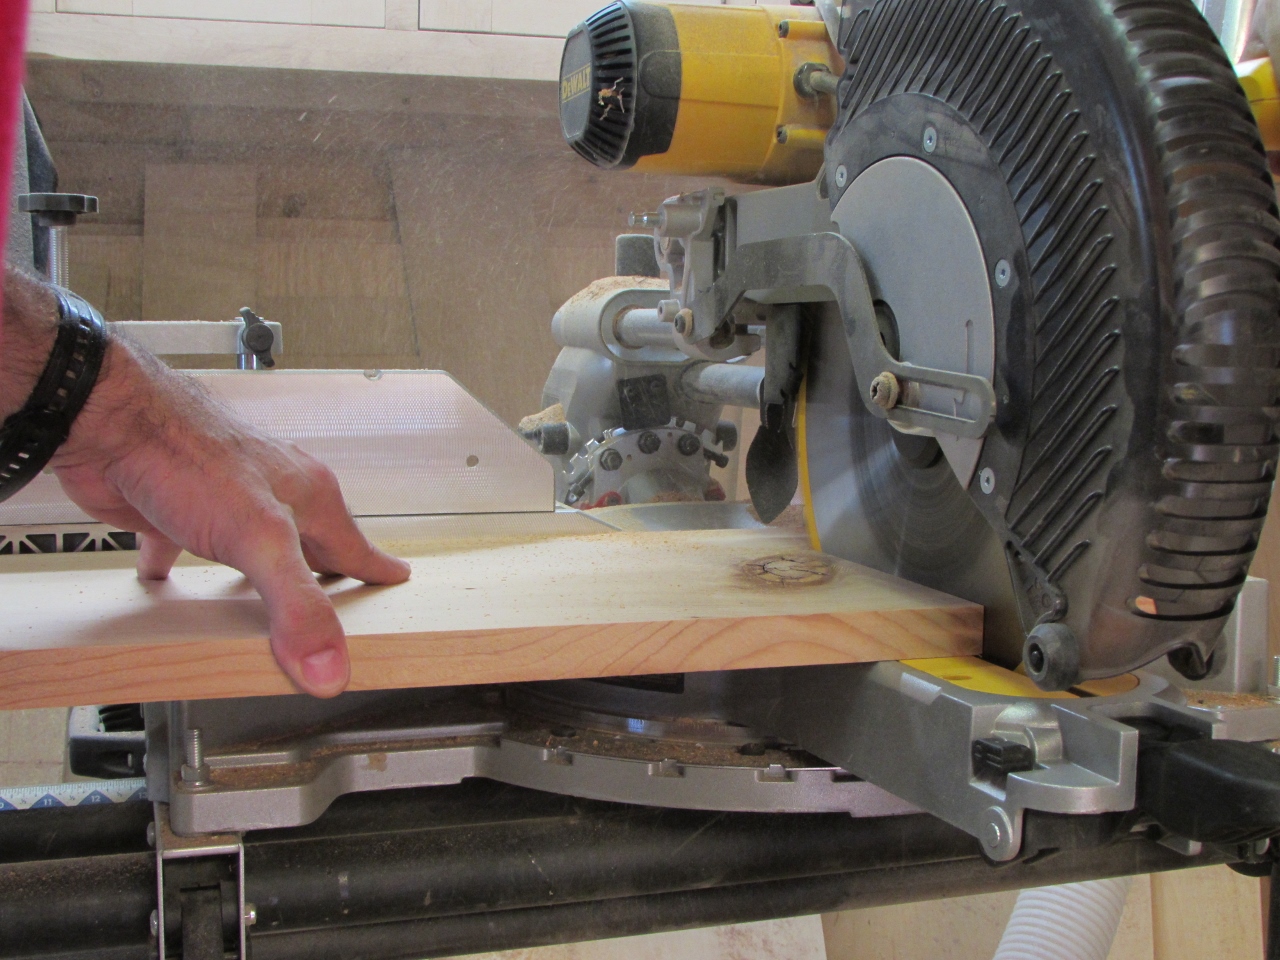
Planing away the ugly…
After half a dozen splinters, I gave up and put on gloves. I don’t like using gloves around power equipment, but it was getting painful… I planed my boards down to 7/8″ thick. The guitar body will be 1-3/4″ thick, when complete. My design involves creating two halves that will glue together like a clam shell. This allows me to chamber out the middle without cutting in from the face. My guitar will not require a pick guard to cover up my chambers, like most chambered guitars.

Looks brand new underneath
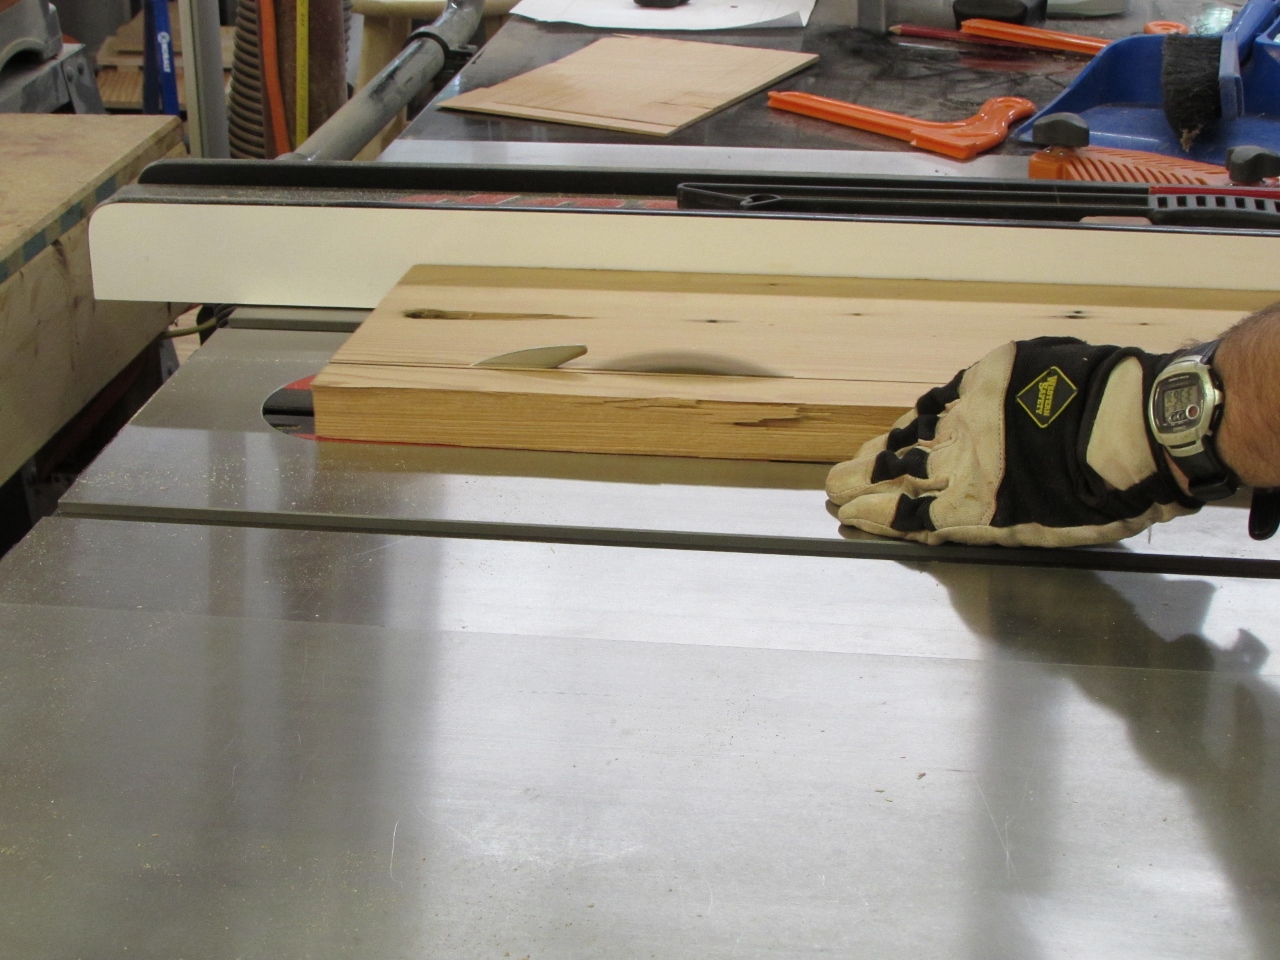
Rough sized
After planing down the boards, I trimmed off the rough edges on the table saw. Since these are reclaimed boards, there are a lot of old nail holes. Some folks like the character that they impart to a piece, I just think they look like holes, so I cut away the worst of them, leaving only the small ones behind.
Cleaning up the edges
Ready for joining
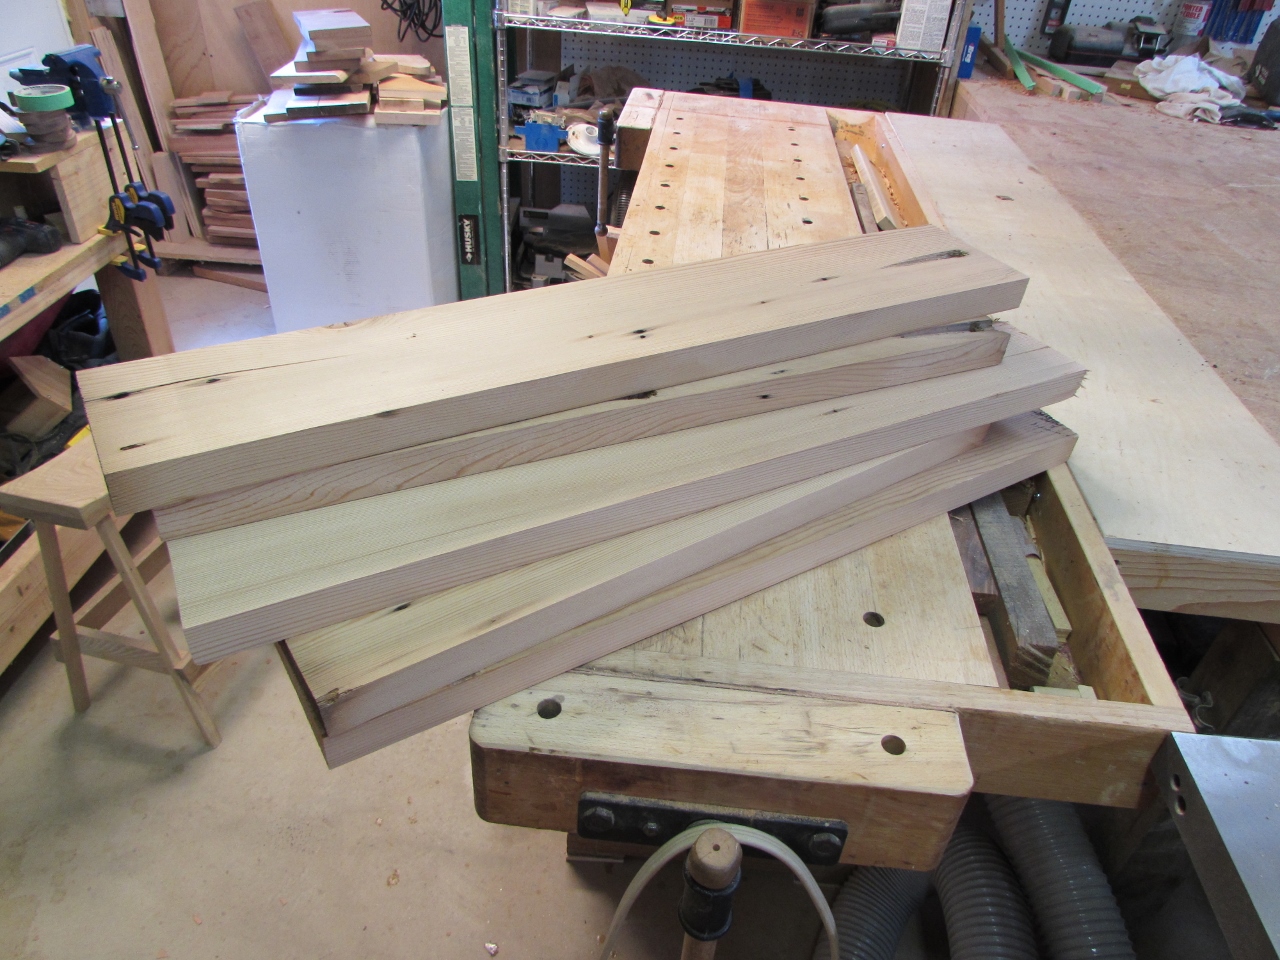
Trimming to length
After cleaning up the boards, I cut them to 24.5″ long, then lined them up to match the grain patterns.

Grain matching
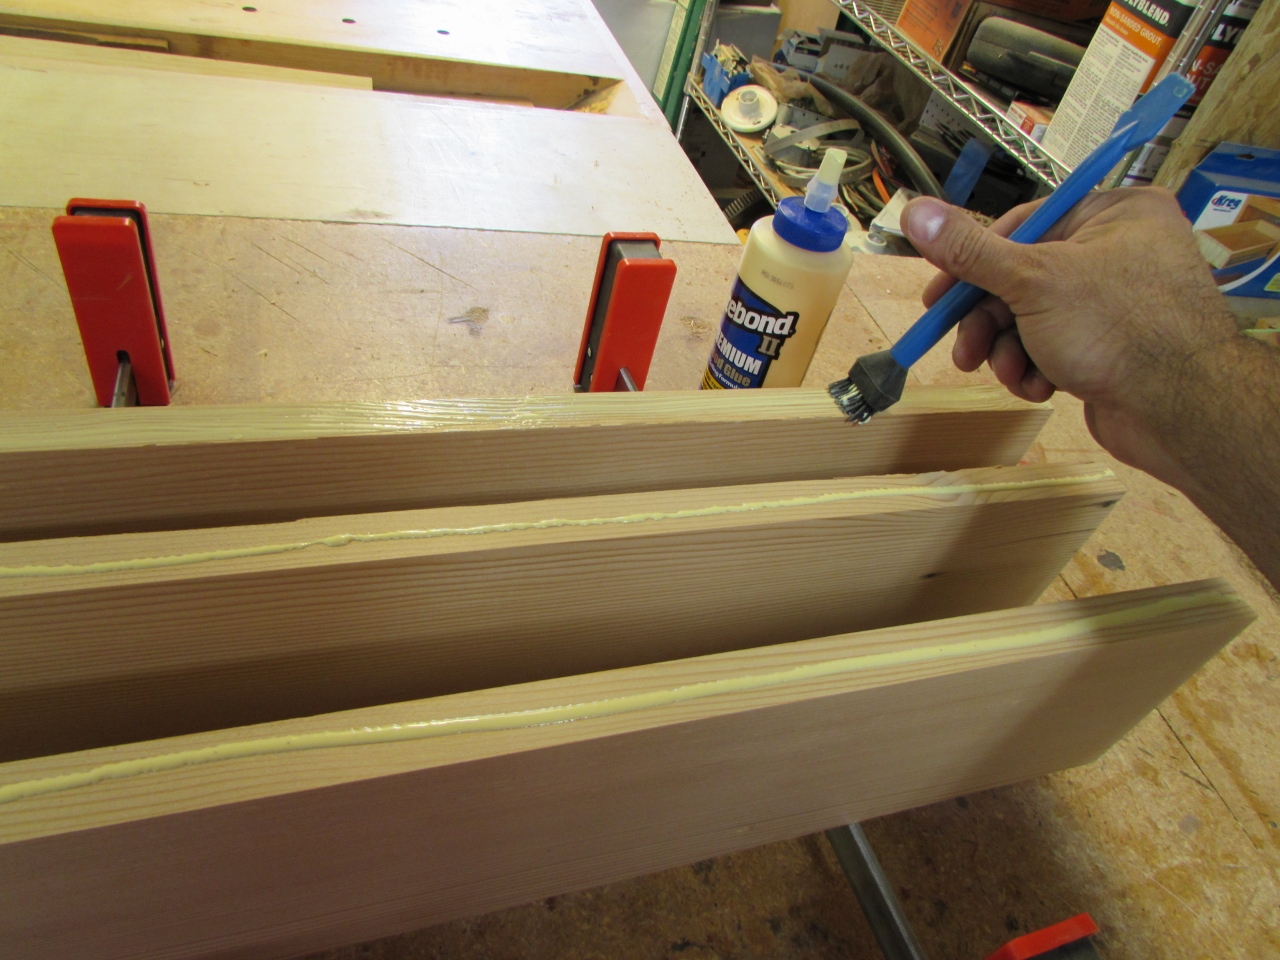
Spreading the glue
Once I found the best blending of grains, I applied wood glue to the edges and clamped them up.
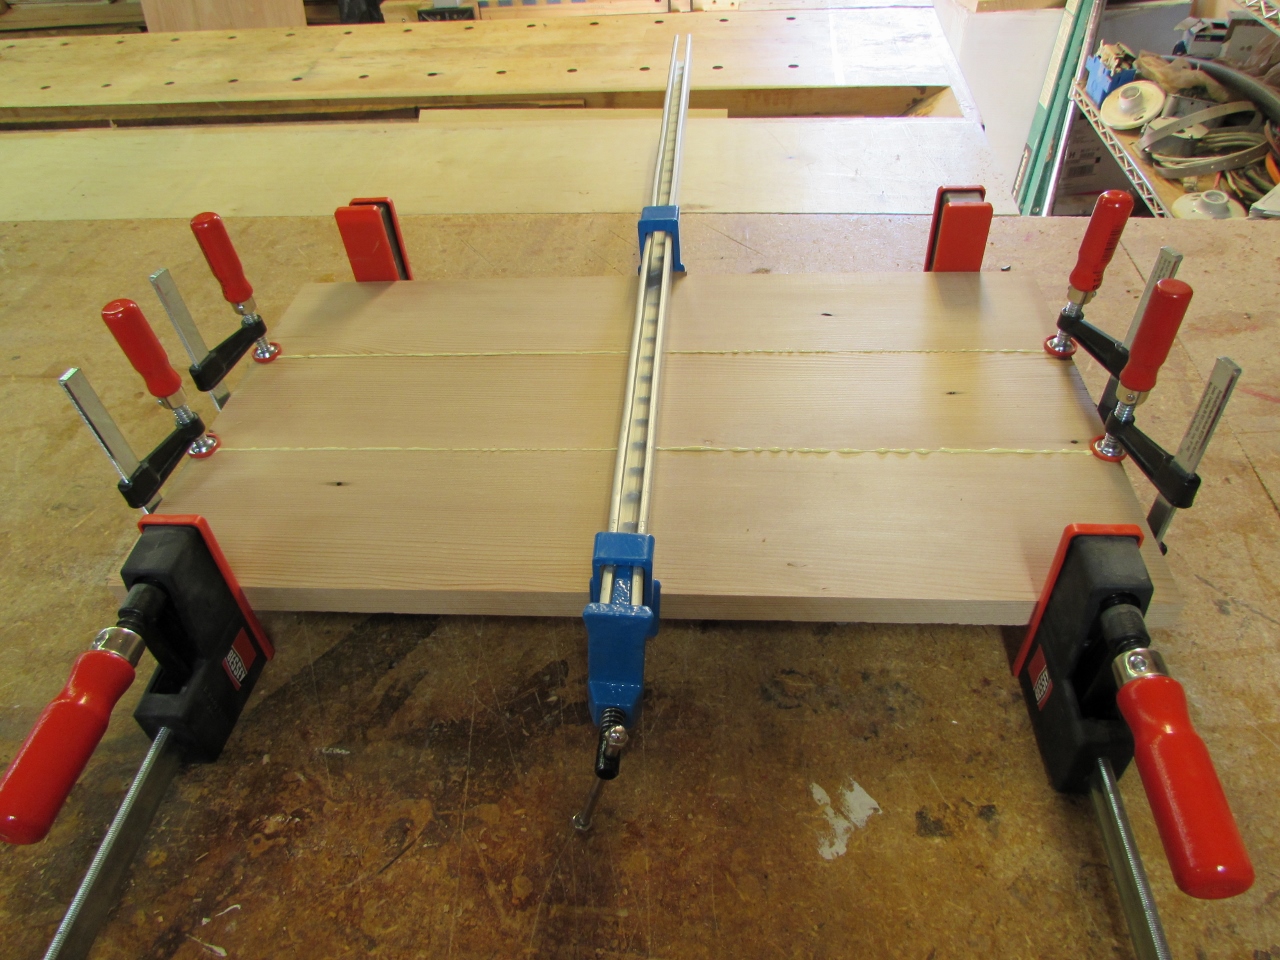
Panel no.1 done

Both panels glued and clamped
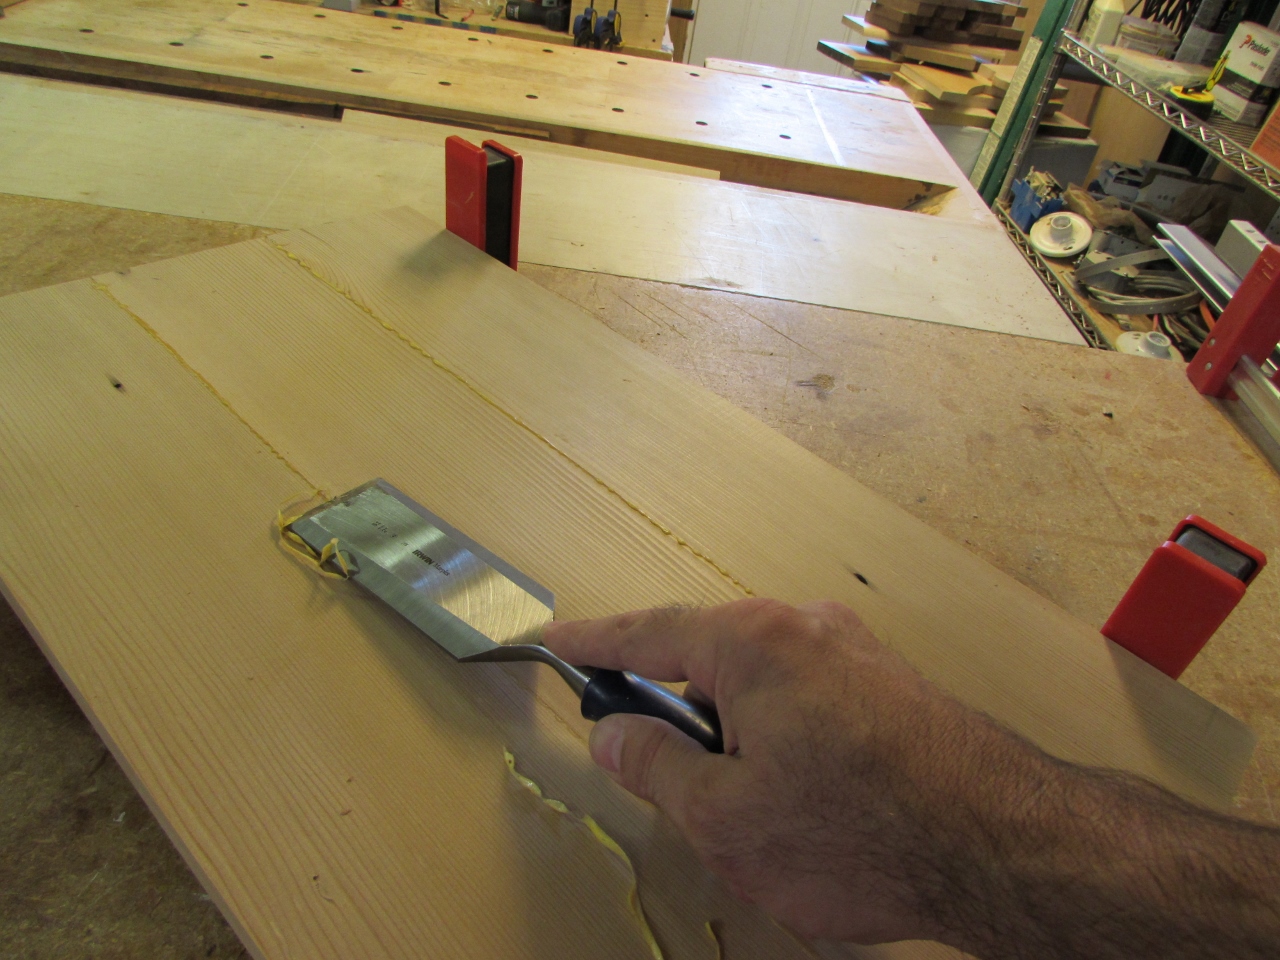
Peeling away the glue squeeze-out
After an hour of drying, I pulled the panels out of the clamps and scraped away the excess glue with a 2″ wide chisel. Next, I switched to my card scraper to flatten out the glue joints.

Card scraper to even up the joints
I ran my orbital sander over both sides of both boards with 120 grit paper, to smooth everything out.

Sanding them smooth
Since the University of Delaware colors are blue and gold, I need the boards dyed blue.
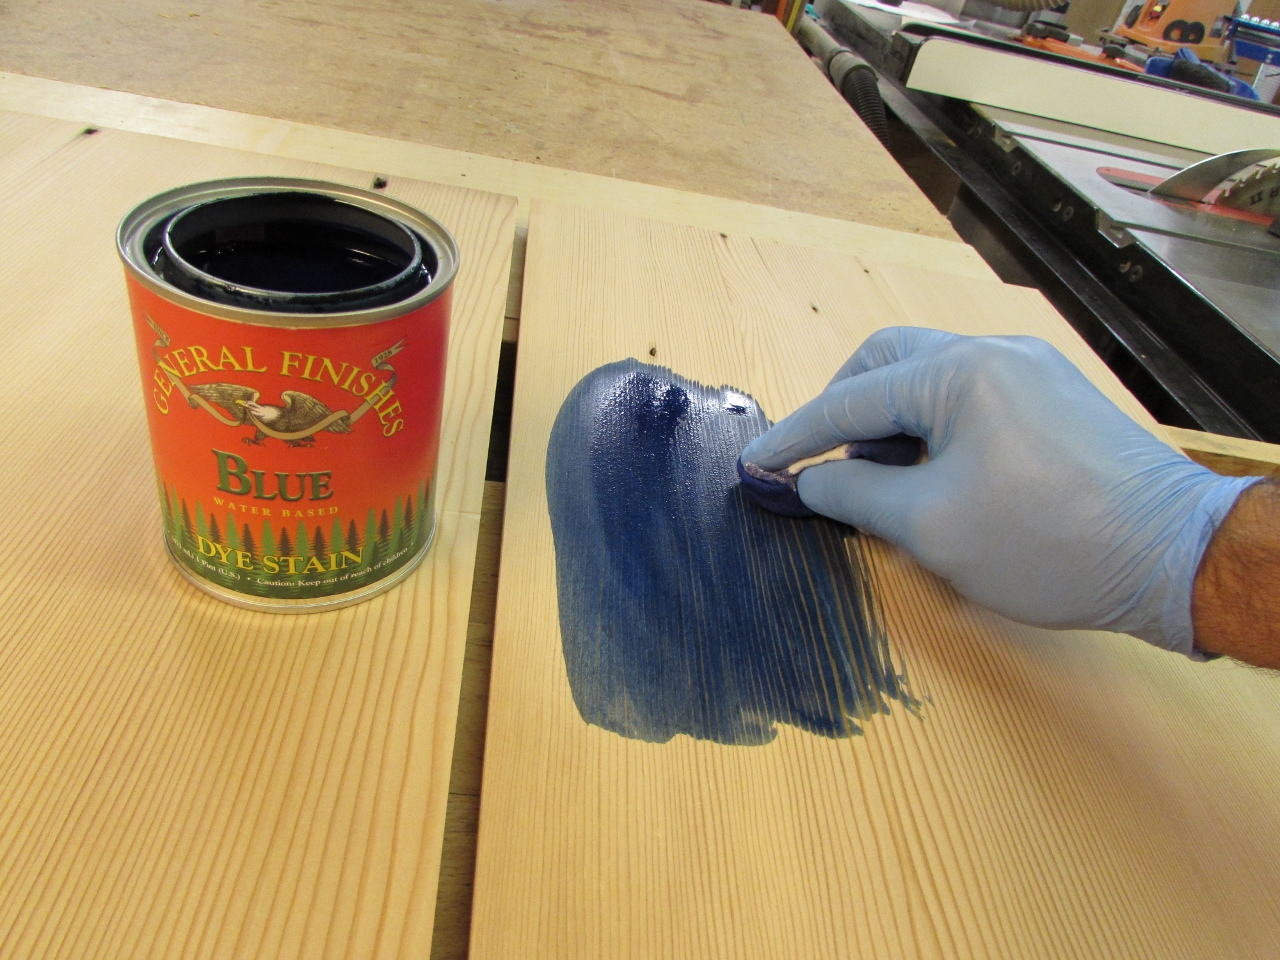
Adding some blue dye
I bought a bottle of amber dye for the bass guitar I just built. It was about $25 with shipping and I only needed half a teaspoon to mix a jar of dye stain that was enough to cover 20 guitars. I decided to just buy a can of pre-mixed blue dye stain from General Finishes, this time, because it was only $13 dollars. I can’t see much of a need for more than a pint in the near future, so it made more sense. It is a water-based dye so I can’t clear coat the body with any solvent based finished. I have had a lot of luck with Tung oil on my guitars so far, and it worked well on the bass, so I think that will be my finish when this guitar is completed.

Face sides of the panels dyed blue
I grabbed a piece of an old Tee-shirt and rubbed on a coat of dye. You might be wondering why I dyed it before I finished cutting it out. It is because I wanted to see how the logo carved out, through the blue. If it looks good, I won’t have to worry about staining around it.
That was enough for one day. Hopefully I will be able to make more progress, once the dye dries.
