
Extracting a broken screw
When I made my bass guitar last week, I ran into some trouble installing the pickups. Maple and purpleheart are very dense woods, and the long, skinny screws for mounting the pickups, kept binding and a couple of them broke off, in the body of the guitar. Some of the other screws bound up, but didn’t break. The heads stripped out instead. I was able to get the guitar functional, but I had to leave some of the screws unscrewed, and I had to put new screws in next to the broken ones. If someone else ever owns this guitar, they may want to upgrade the pickups, so I ordered a couple of things to correct the problems.
Since the screws are very thin, I can’t drill them out. Even if they stuck up enough to get pliers on, they were still recessed into the pickup pocket. The only option I could see was the WoodRiver 1/4″ screw extractor. I ordered one, as well as a pack of new pickup screws.
The extractor is basically a tiny hole saw. It is hollow with a cutting blade at either end. It is designed to cut a hole around the broken screw, in reverse. This is to avoid tightening the broken screw further. I thought I would give it a try, so I took the strings off the guitar, and pulled out the pickups.

1/4″ screw extractor

Broken screw #1
I broke a screw in each pickup pocket.

Broken screw #2
The instructions mention that it is possible to crush the tube if you over-tighten a keyed chuck. I used a keyless one, and it seemed to do just fine.

I used a keyless chuck
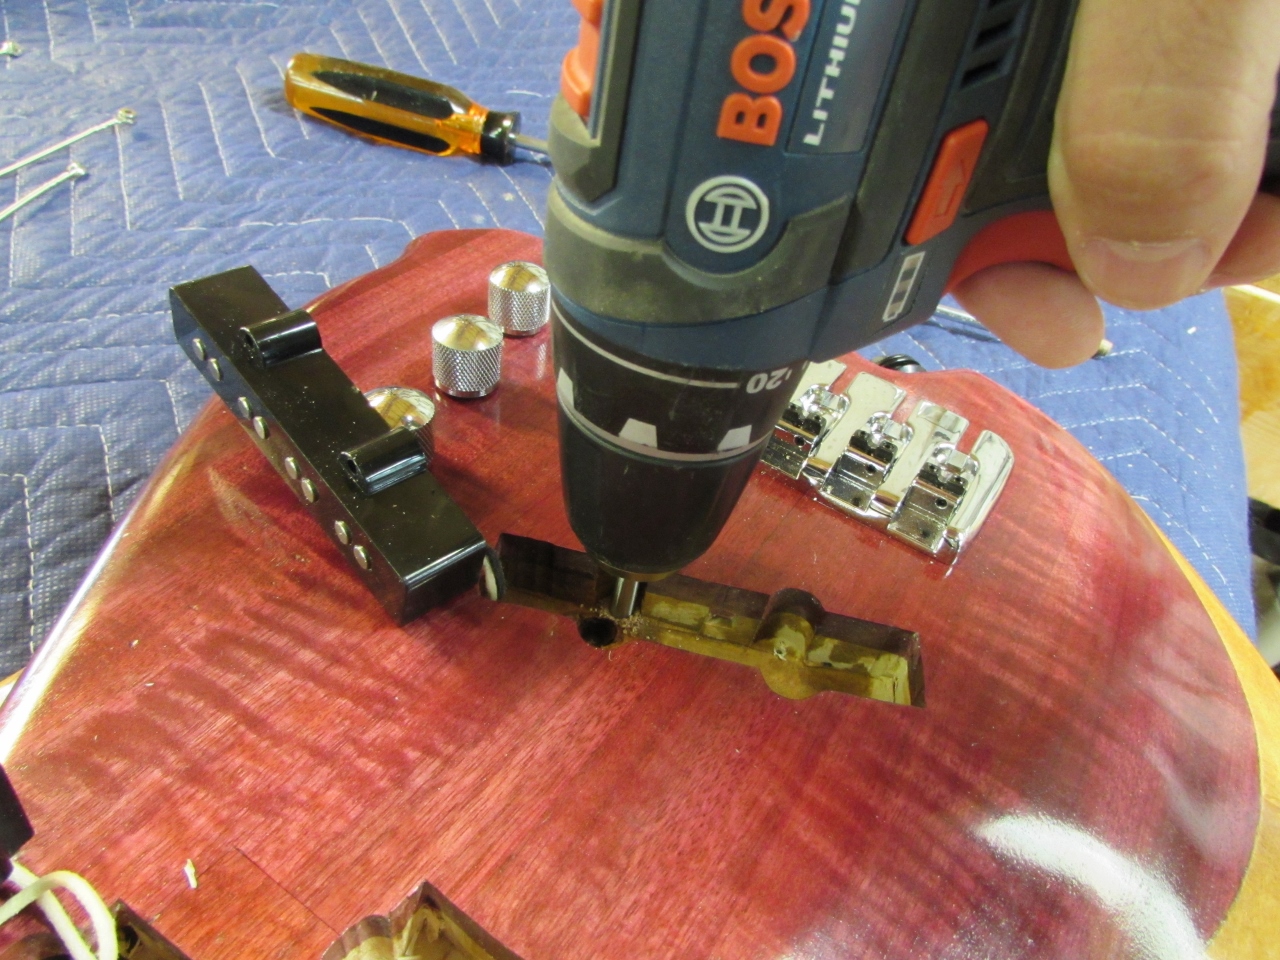
Drill in reverse to cut
The instructions also tell you to create a template to drill through, to prevent the bit from walking, but that wouldn’t work well on a curved topped guitar with the hole recessed already fairly deep. All my screws were in the curved pockets of the pickup slots, so I held the bit against the curve and slowly drilled. It seemed to stay still and not walk. I tried it on a flat piece of wood, with nothing to lean against, and it walked all over the place, but it worked well in the pocket.
First screw removed
The bit drilled down to just below the screw, then sheared the plug off, leaving the screw in the bit.
Second screw removed

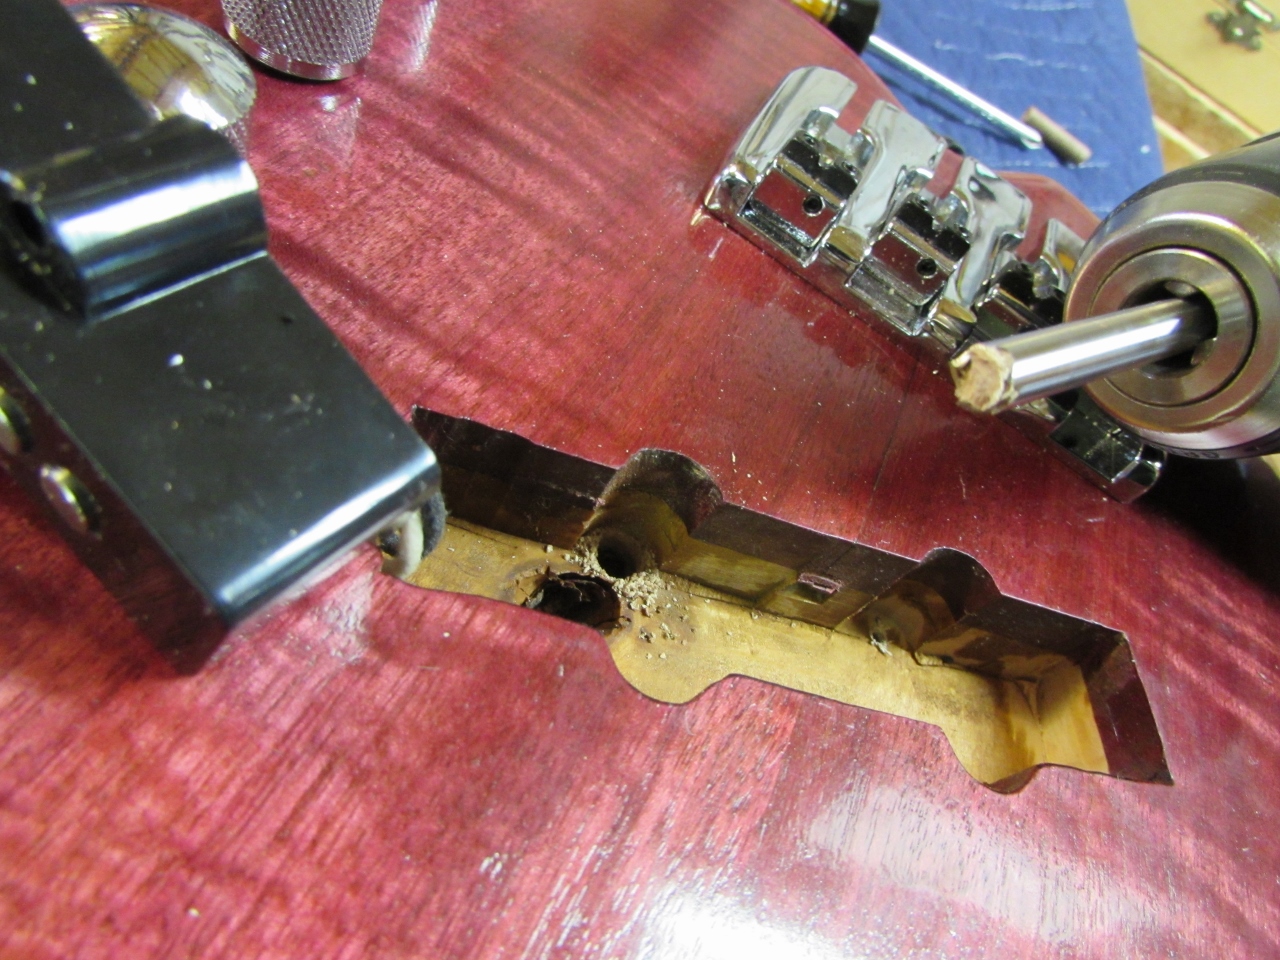
Attempting to remove the plug
My only complaint about the tool is the lack of direction on removing the plug that is so jammed up inside the tube, that the friction breaks away the plug (as designed). I used a 1/16″ drill bit to drill out wood, around the plug, then pressed a nail through, from the back. It looks easy, but it took about ten minutes of gently persuasion to remove the plug. Remember, you can’t clamp it in a vice, then drive it out. That would crush the tube. I just kept removing material until I could work it out. I held it in my hand for the first one, while drilling, but slipped and snagged my finger with the bit. After that, I left it in the drill chuck.

10 minutes to remove the first plug
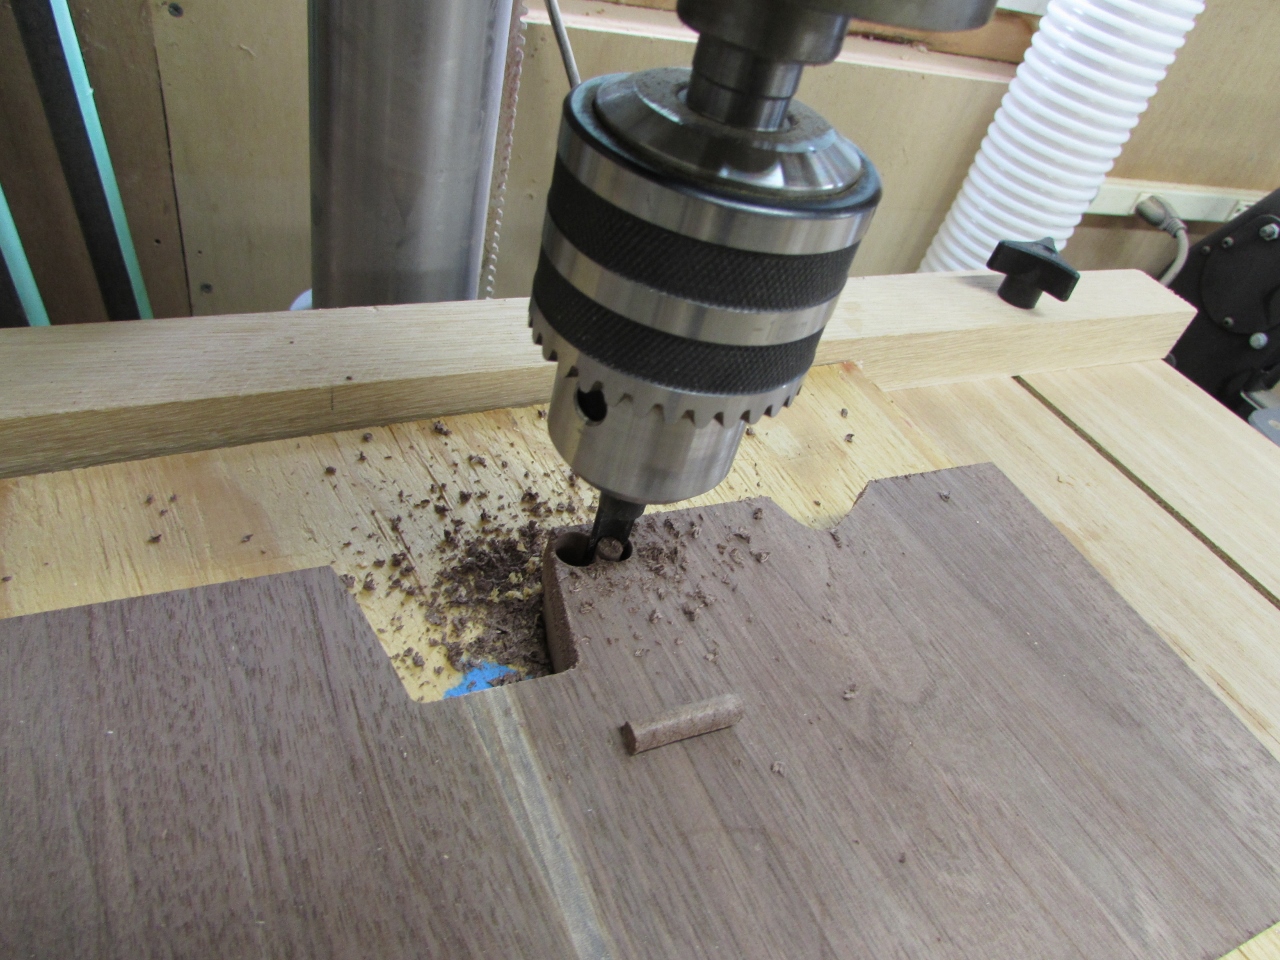
After drilling out the plugs, I drilled the holes a bit deeper with a 1/4″ forstner bit.

Deepening the hole with a forstner bit
Then I cut a couple of 1/4″ plugs, out of walnut. Walnut is dense too, but doesn’t seem to give me as much binding with smaller screws. The manufacturer, of the extractor, recommends inserting a dowel. That would work too, but I had a plug cutter, and I didn’t have a dowel…
Creating walnut plugs

Applying CA glue
I applied a bit of CA glue to the plugs and hammered them into place. They were a very tight fit, which is good.

Plugs pressed in and drying
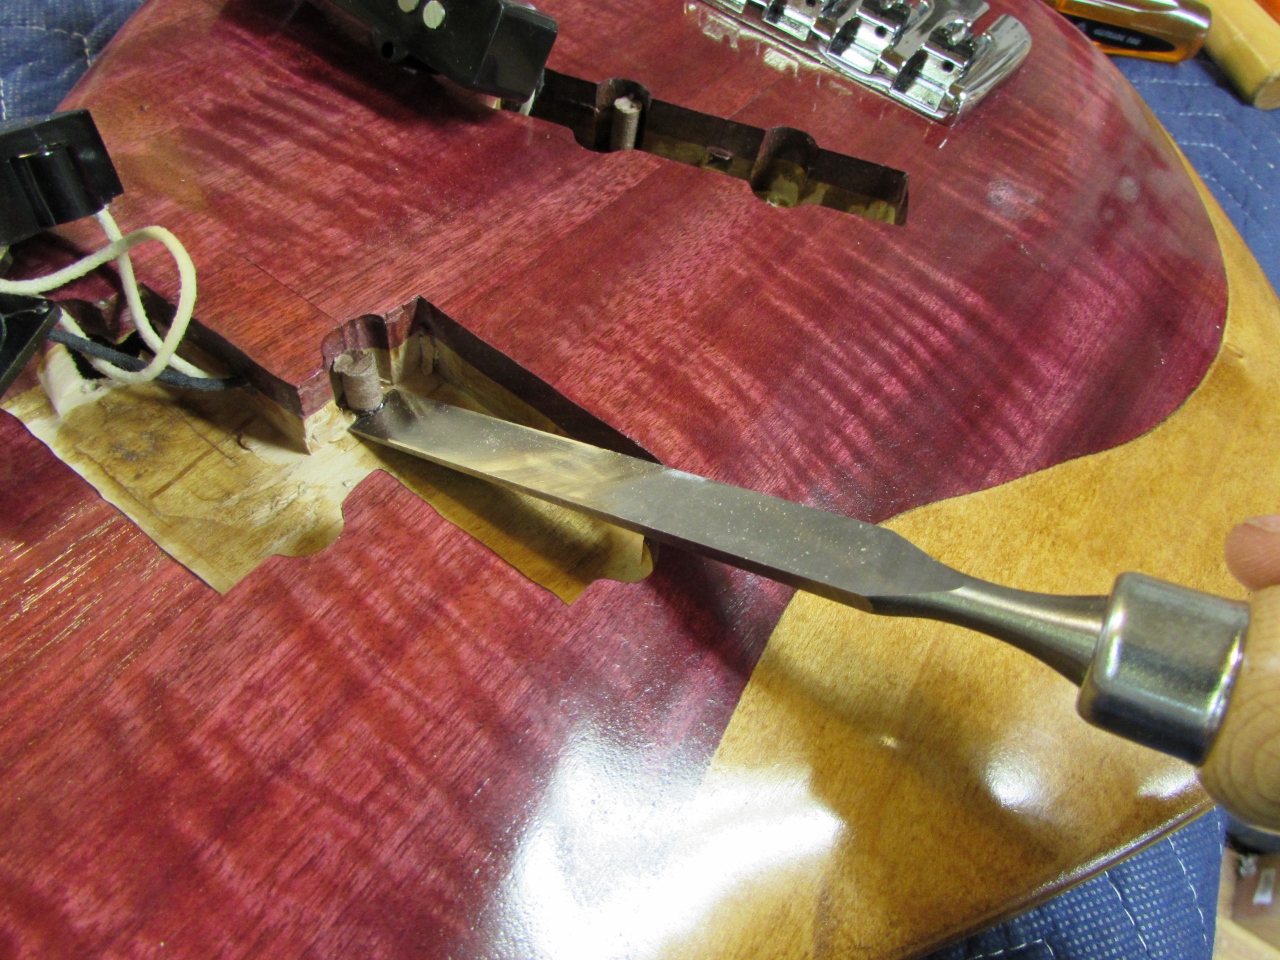
Slicing off the excess
After a few minutes of drying, I pared away the excess plug material, with a small chisel, flipped on its top, so I could ride the bevel and make a flat cut. I stood the chisel vertical next, and scraped the top of the plug flush with the rest of the pocket. It occurs to me that had I used a dowel, the grain direction would have made it very difficult to remove the excess. The plug that I created had the grain running side to side, and the chisel easily split it off flush to the wood.

Cleaned up and ready to go
Then, all I had to do was drill out the new holes and install the new screws.

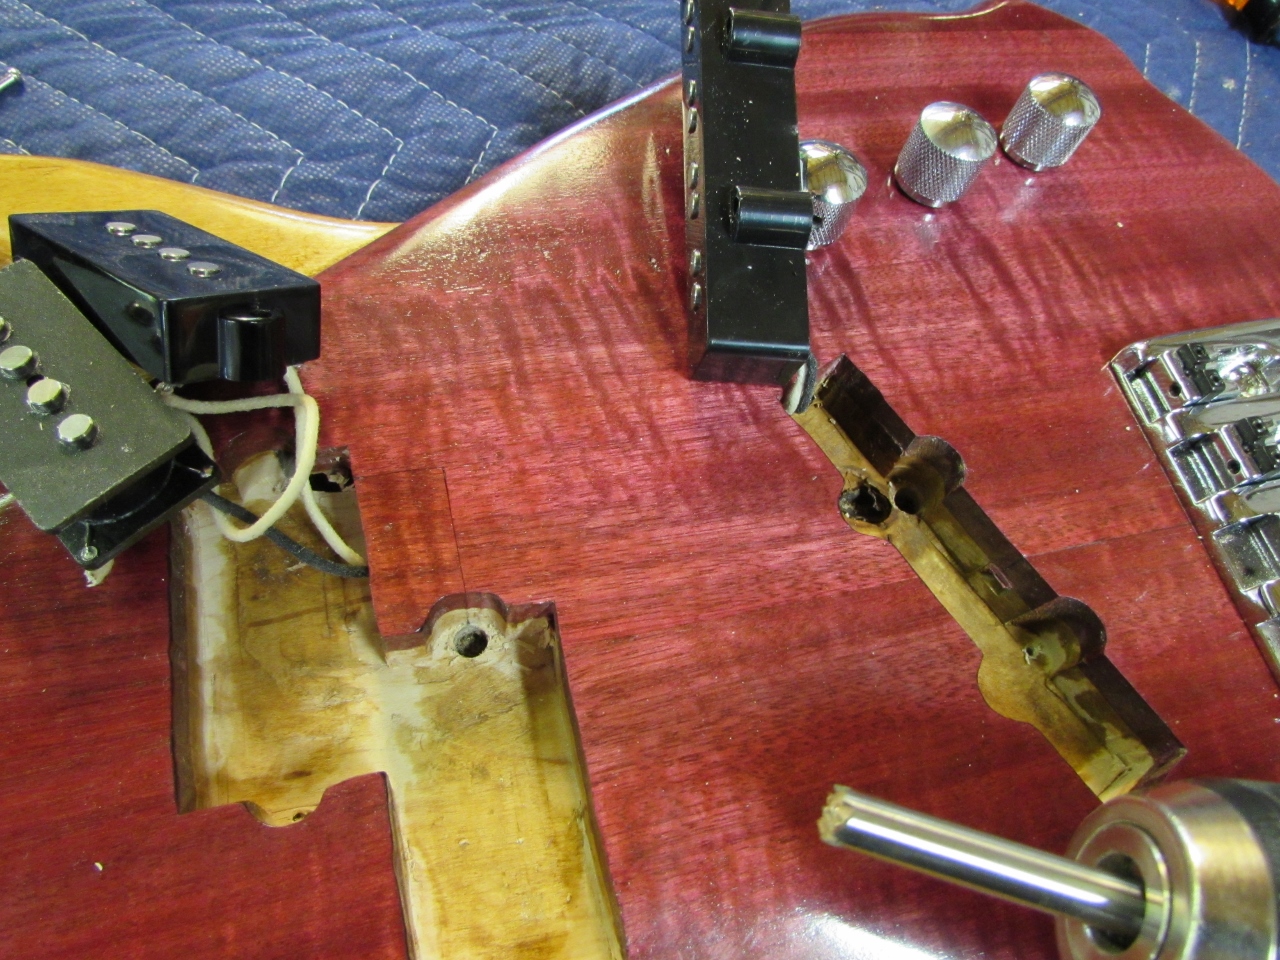
Drilling the new hole
After breaking off yet another screw, I decided to re-drill the other holes a bit deeper. I also removed and plugged the newly broken screw.
Crap, broke another one
If you look at the picture below, you can see how tightly the plug gets bound into the extractor. It burnished the sides of the plug. This would have been a painless, quick project except for the half hour, total that I spent removing the three plugs from the extractor. It is about the only tool out there for this situation, so I can’t complain too much, but it is still a pain.
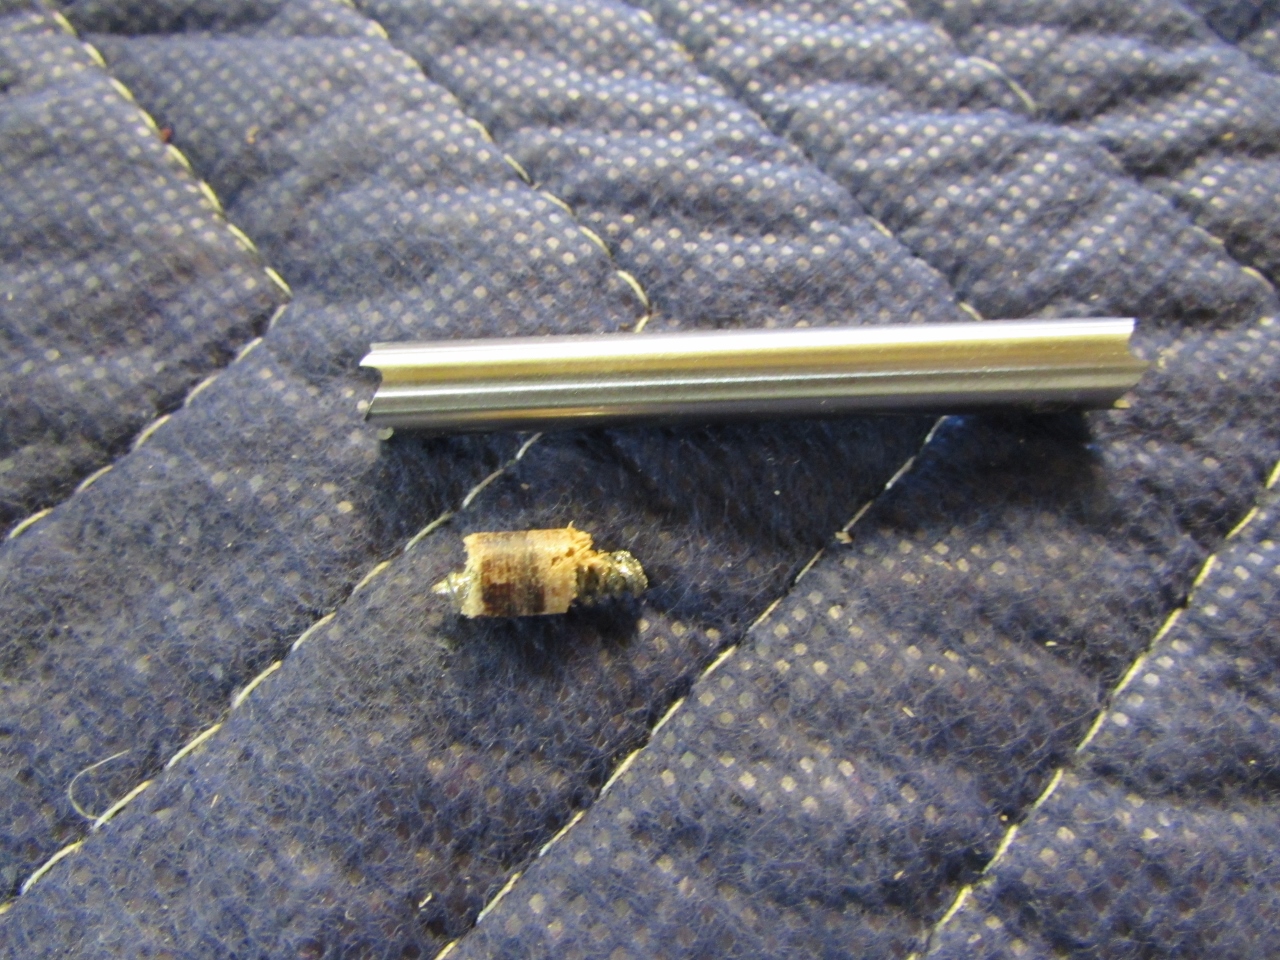
The broken screw in the plug
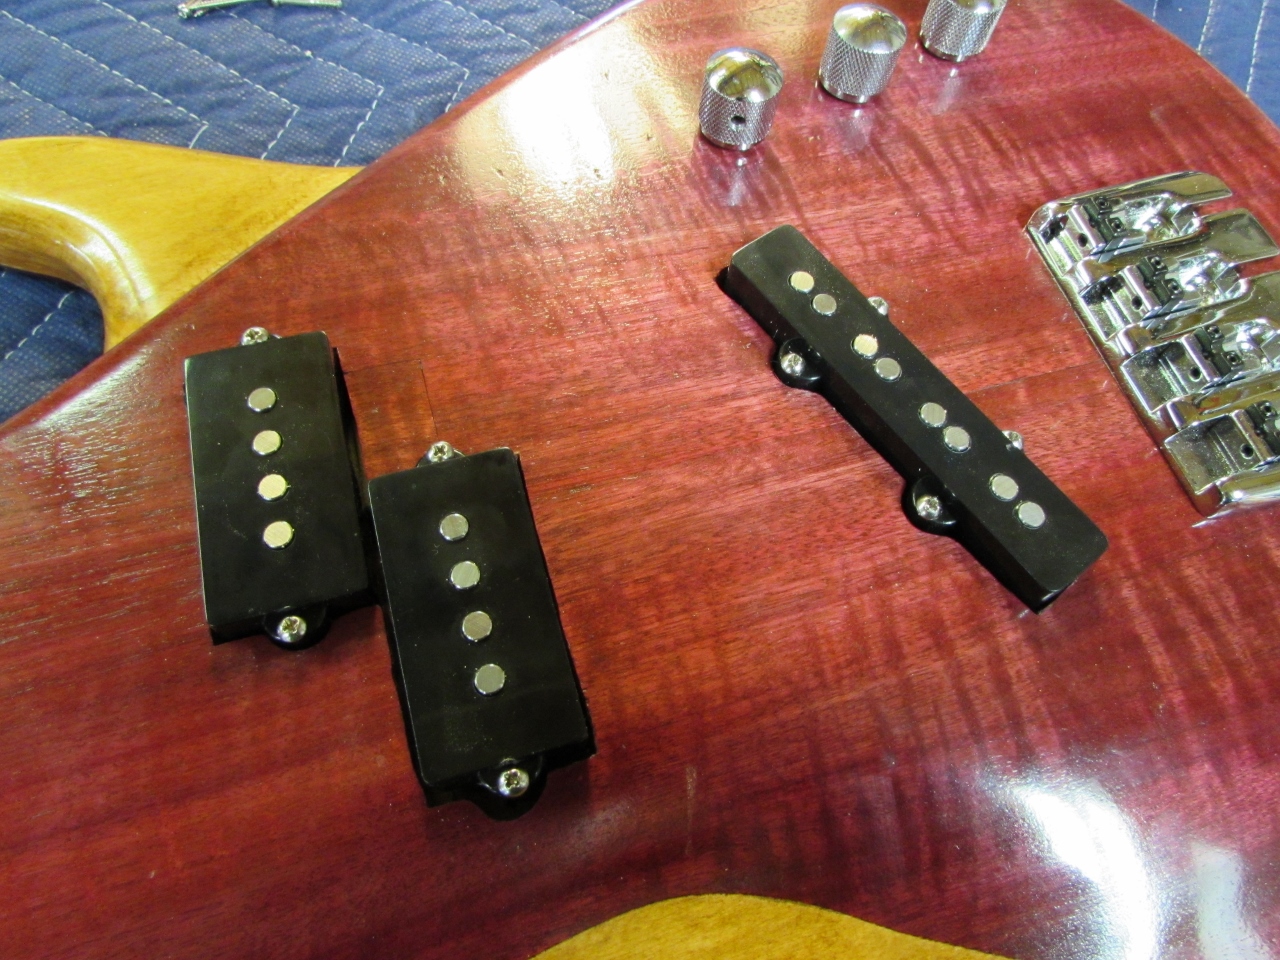
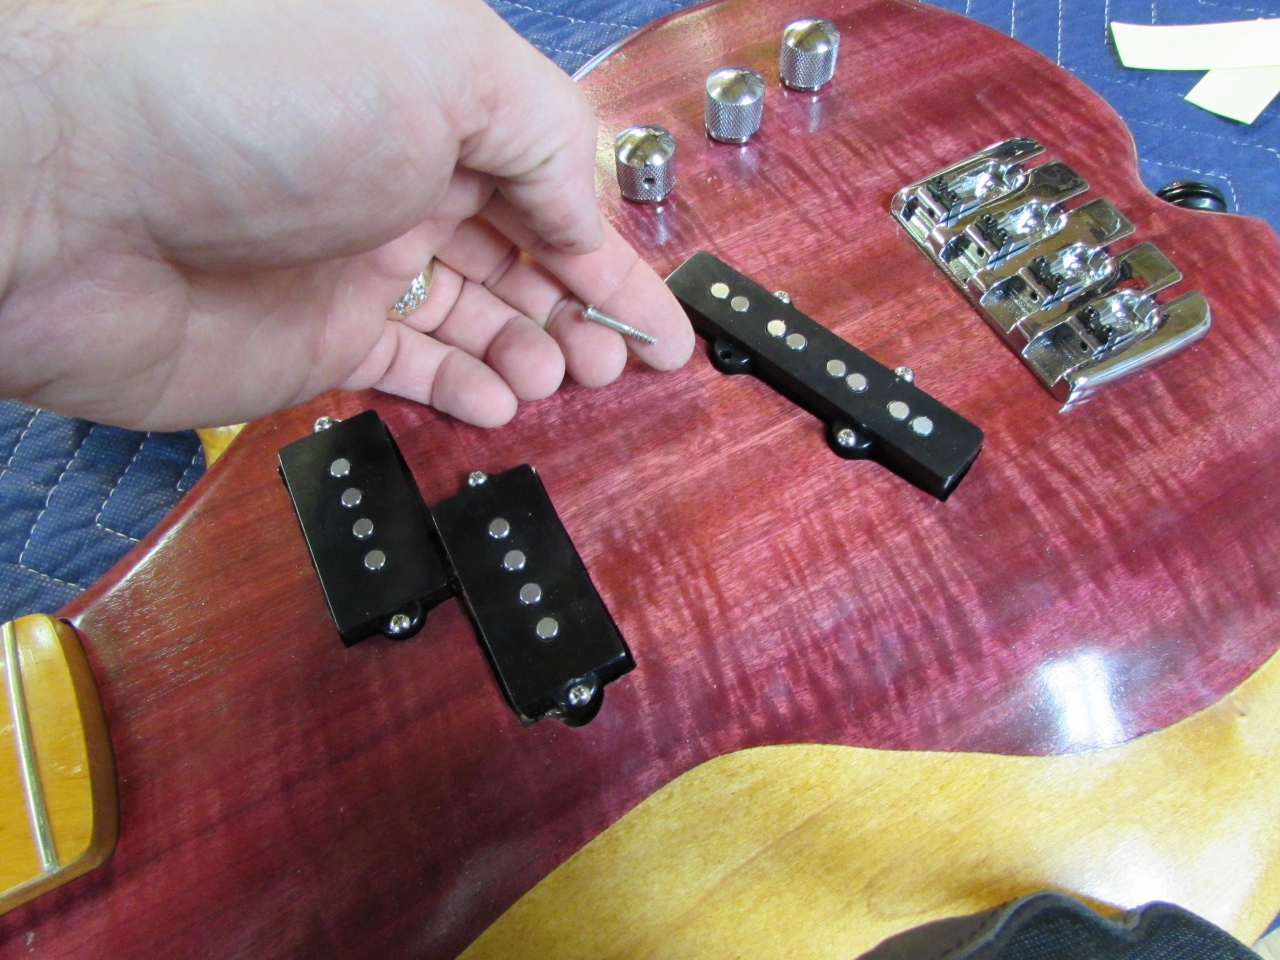
All fixed up and ready to play
In the end, it did the job and my guitar is repaired, and all back together.
