
Carving the Papal seal
I am helping out a friend with an upcoming project. I need a couple of carved versions of the Pope Francis’ Papal seal. I spent several long hours creating a 3D model, in AutoCAD. I am trying to create the effect of a relief carving, while keeping the relief as shallow as possible. I drew each component individually, then thickened them to different elevations, raising each item 1/32″ at a time until I managed to get everything within a 5/16″ depth.
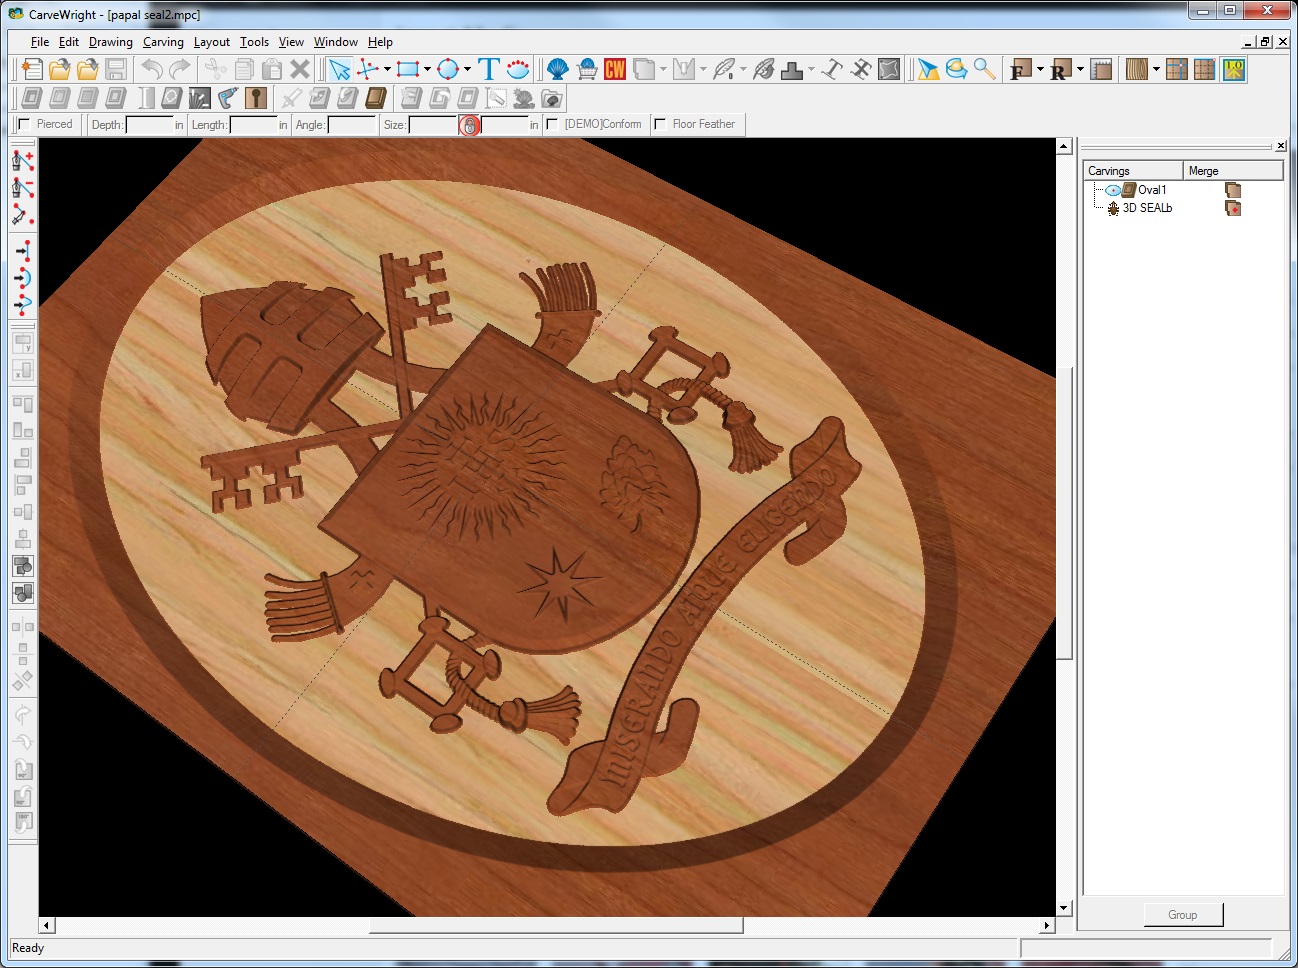
papal seal carver program
My goal for the first version is to cut the seal completely through a 5/16″ piece of hard maple.
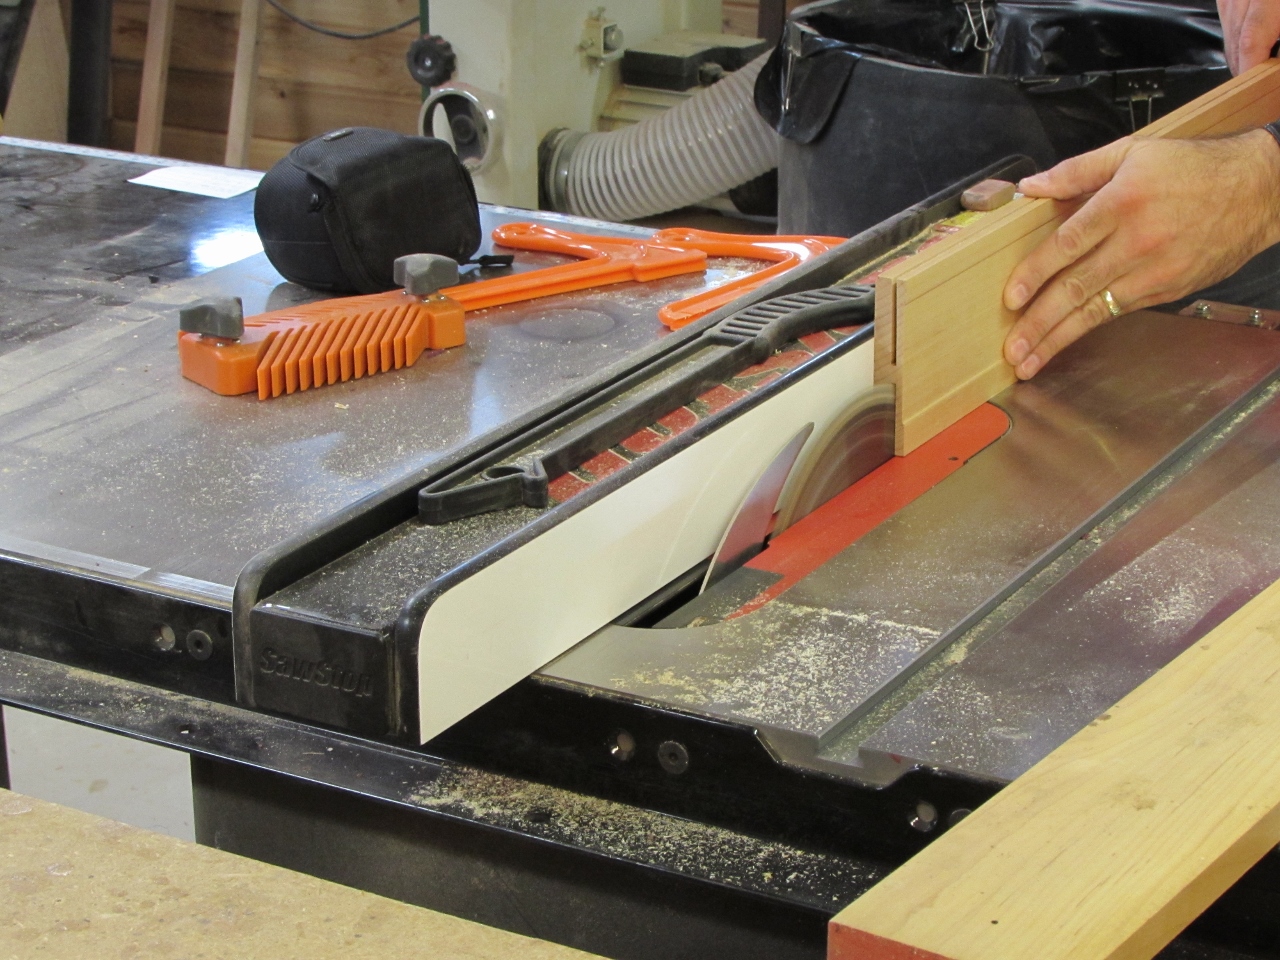
Re-sawing some maple
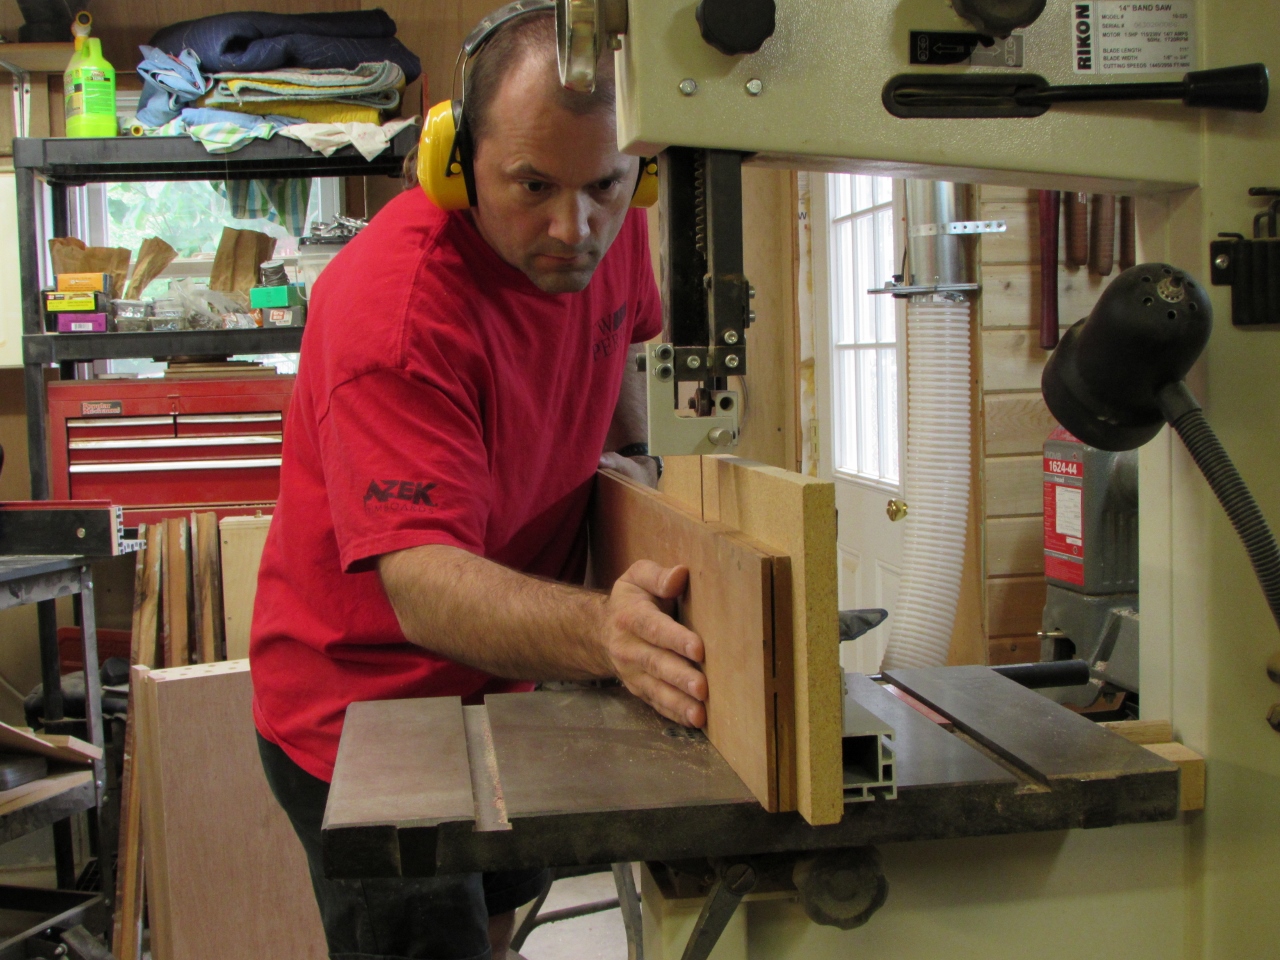
Step one is to resaw a few pieces of scrap down to about 3/8″ thick. I start with the table saw, then move to the band saw to finish the cut.
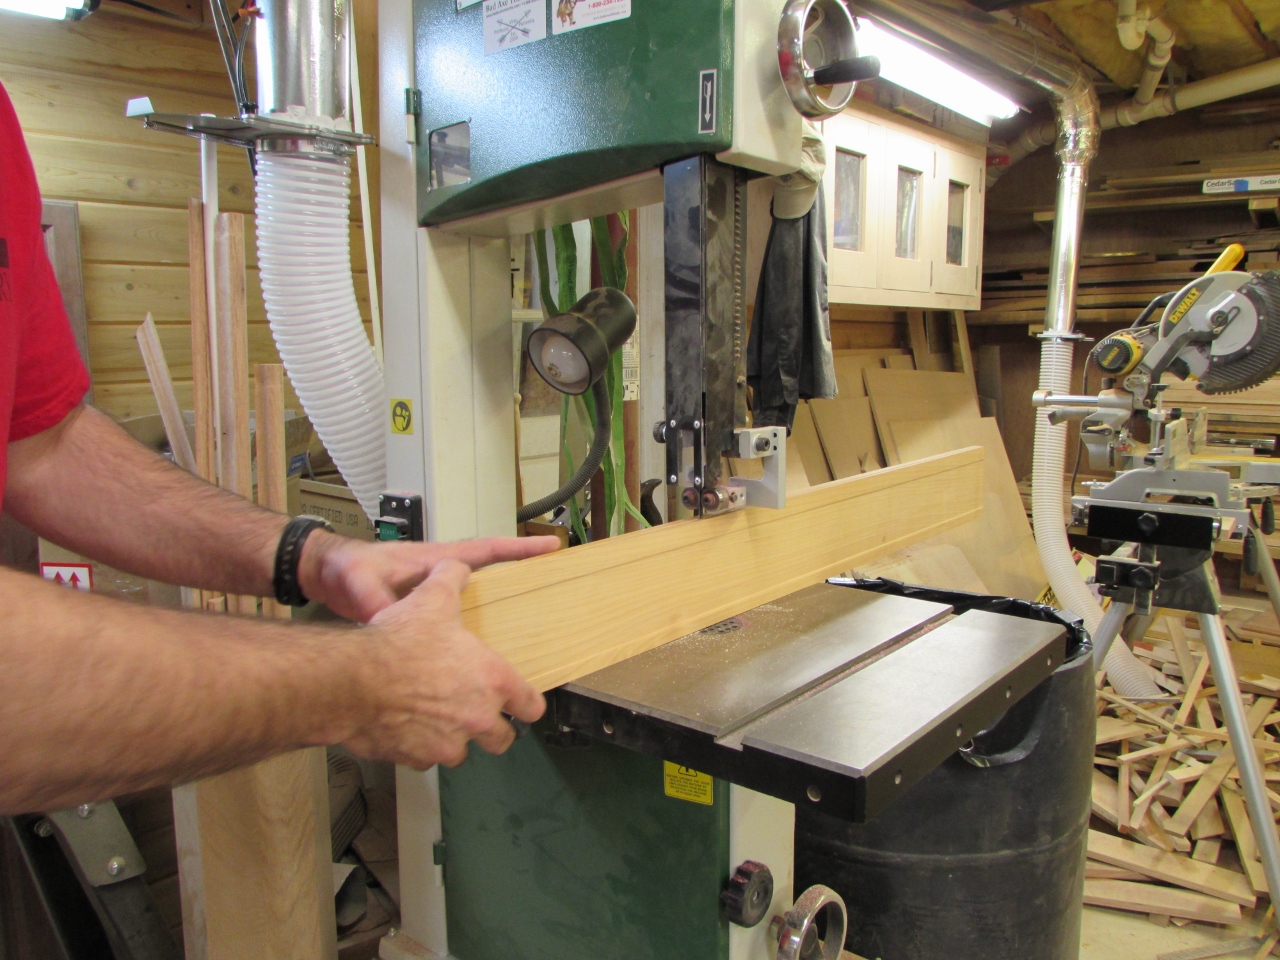
Finishing the cut on the band saw
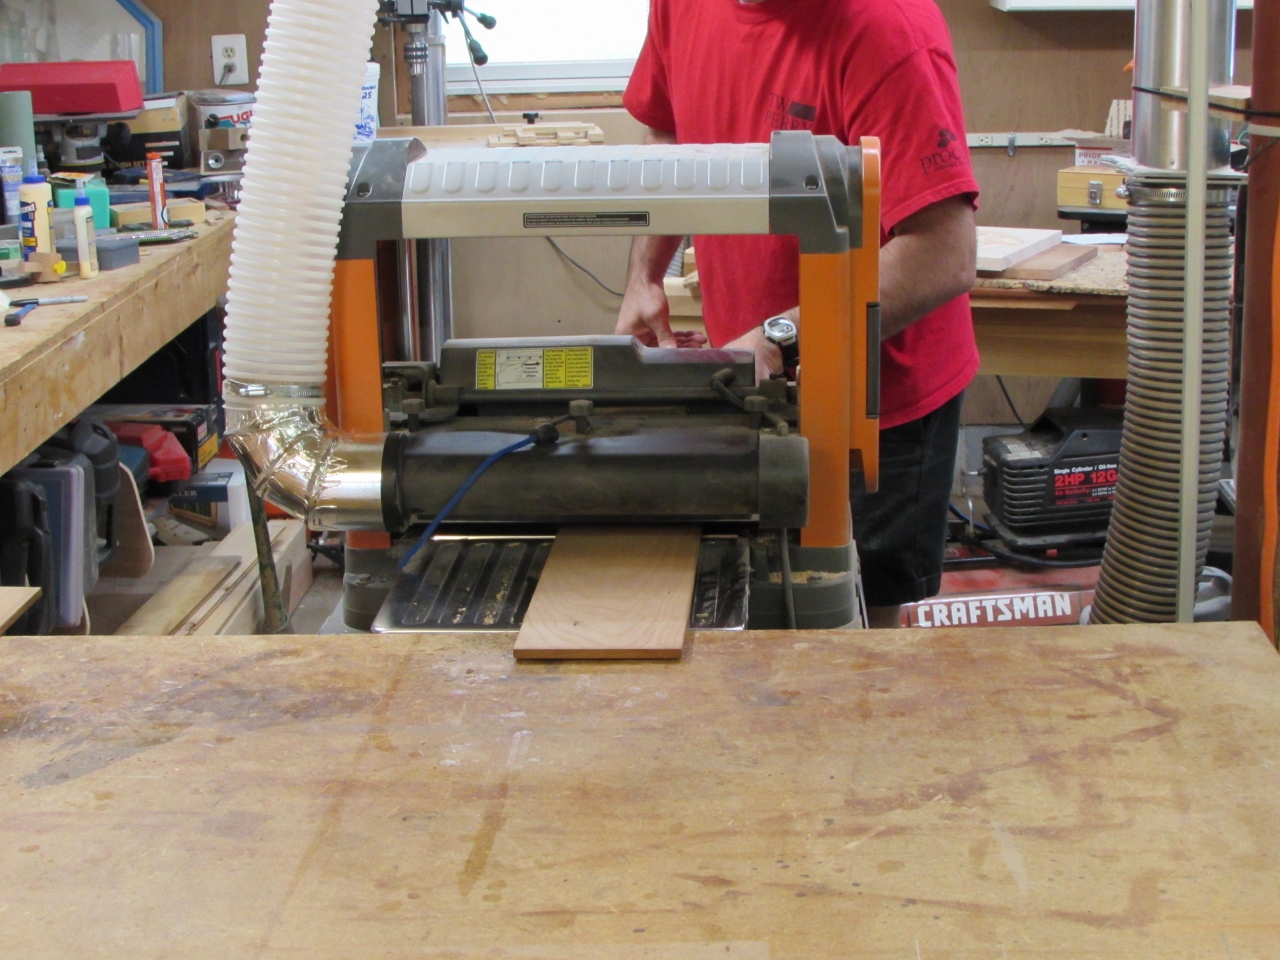
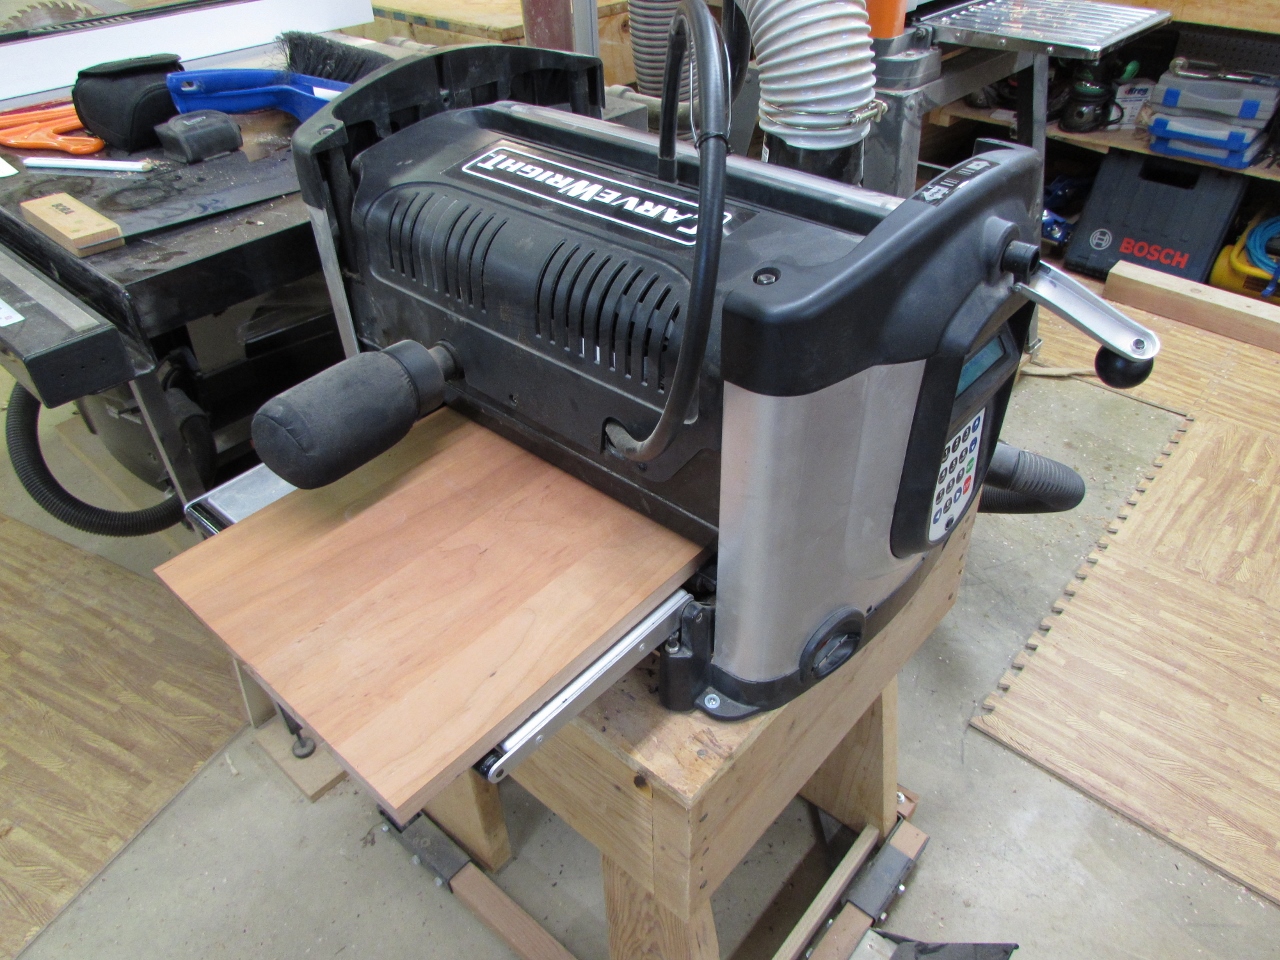
To remove the narrow rib and the burning, that remains, I ran the boards through the planer. I took them down to their final thickness of 5/16″.
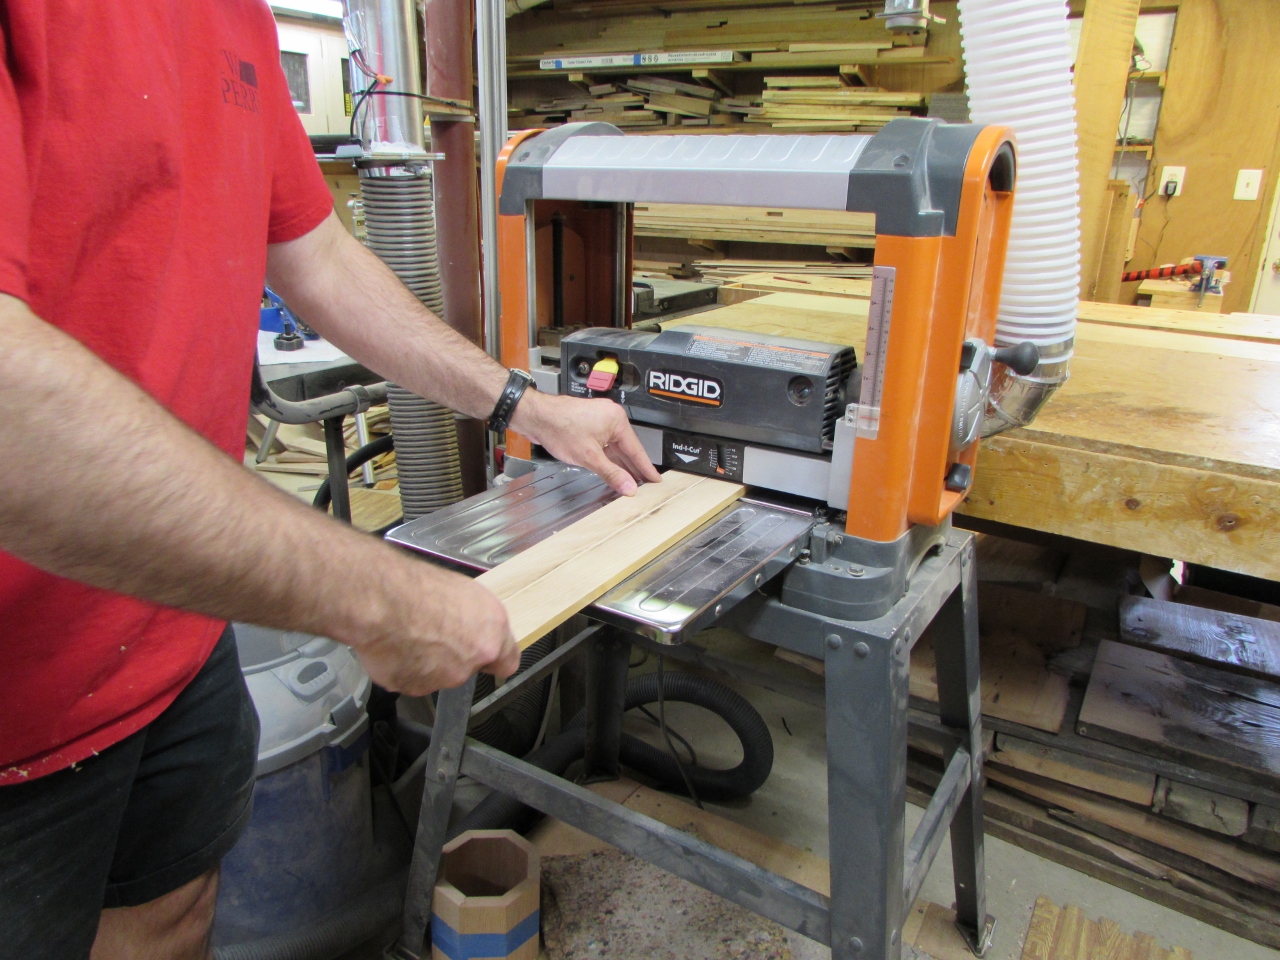
Planing to 5/16″ thick

Double-sided tape
I placed several pieces of double-sided tape to a piece of plywood, then pressed one piece of the maple in place.

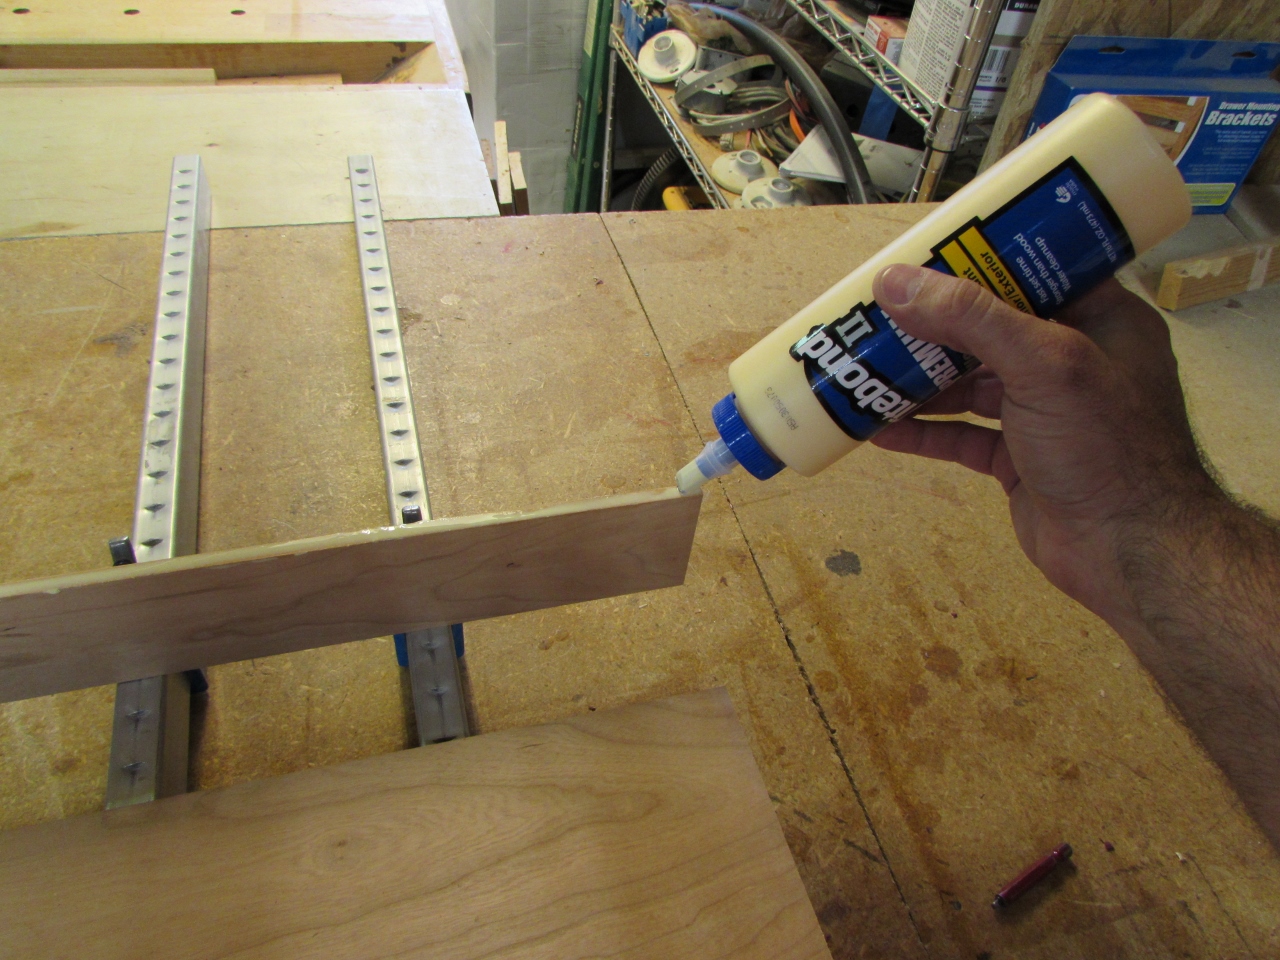
CA glue on the joining edges
I added CA glue to the edges of the rest of the boards and clamped them side to side. It occurs to me that this will be a good way to do thin glue-ups in the future, since the tape keeps the boards all held flat.

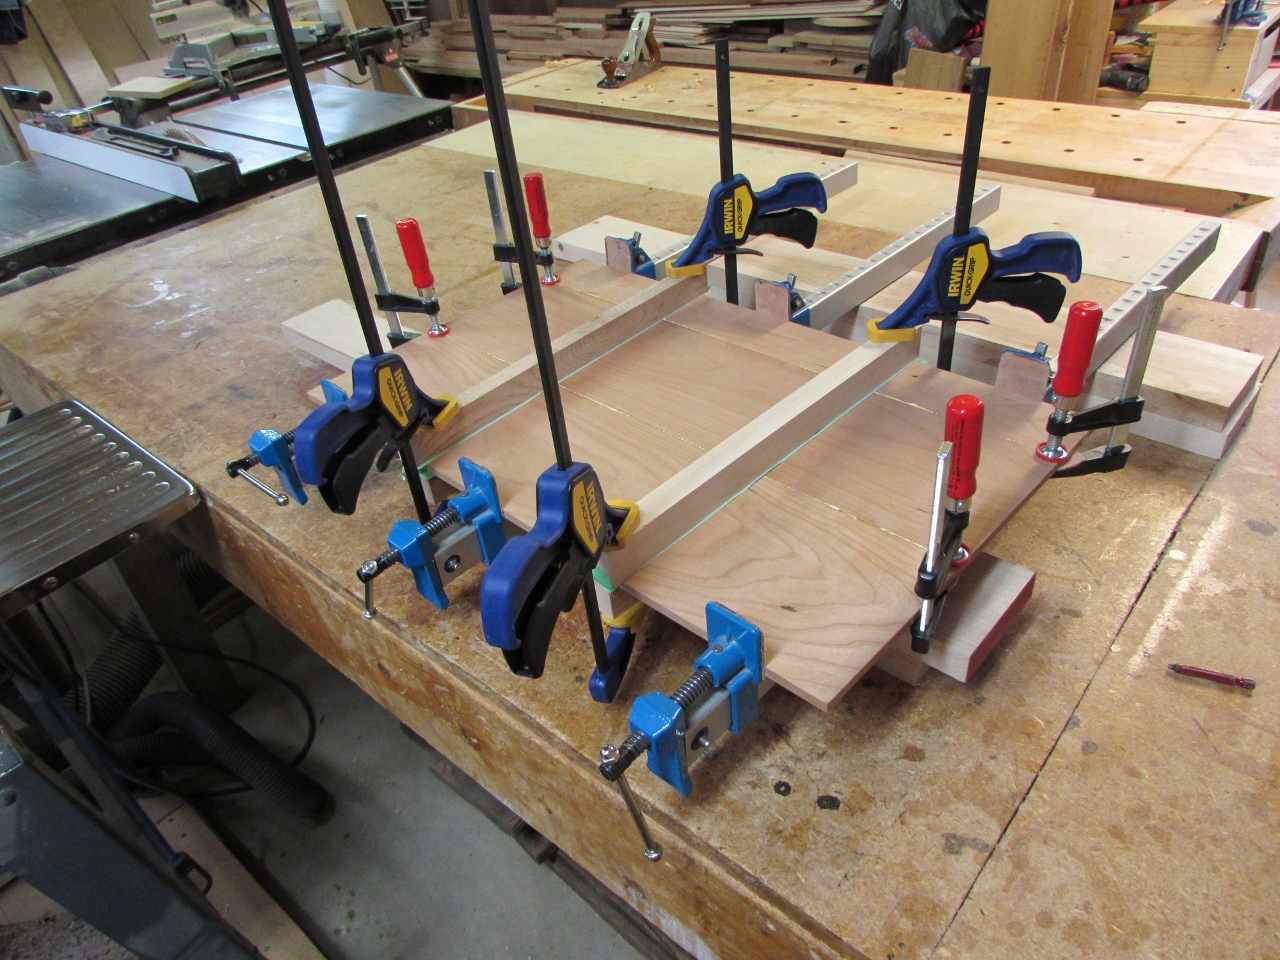
Let it dry for 10 minutes
I used the CA glue because this is just a test run and I wanted it glued up quickly. After Waiting about 10 minutes, I loaded it in the carver and set it carving.
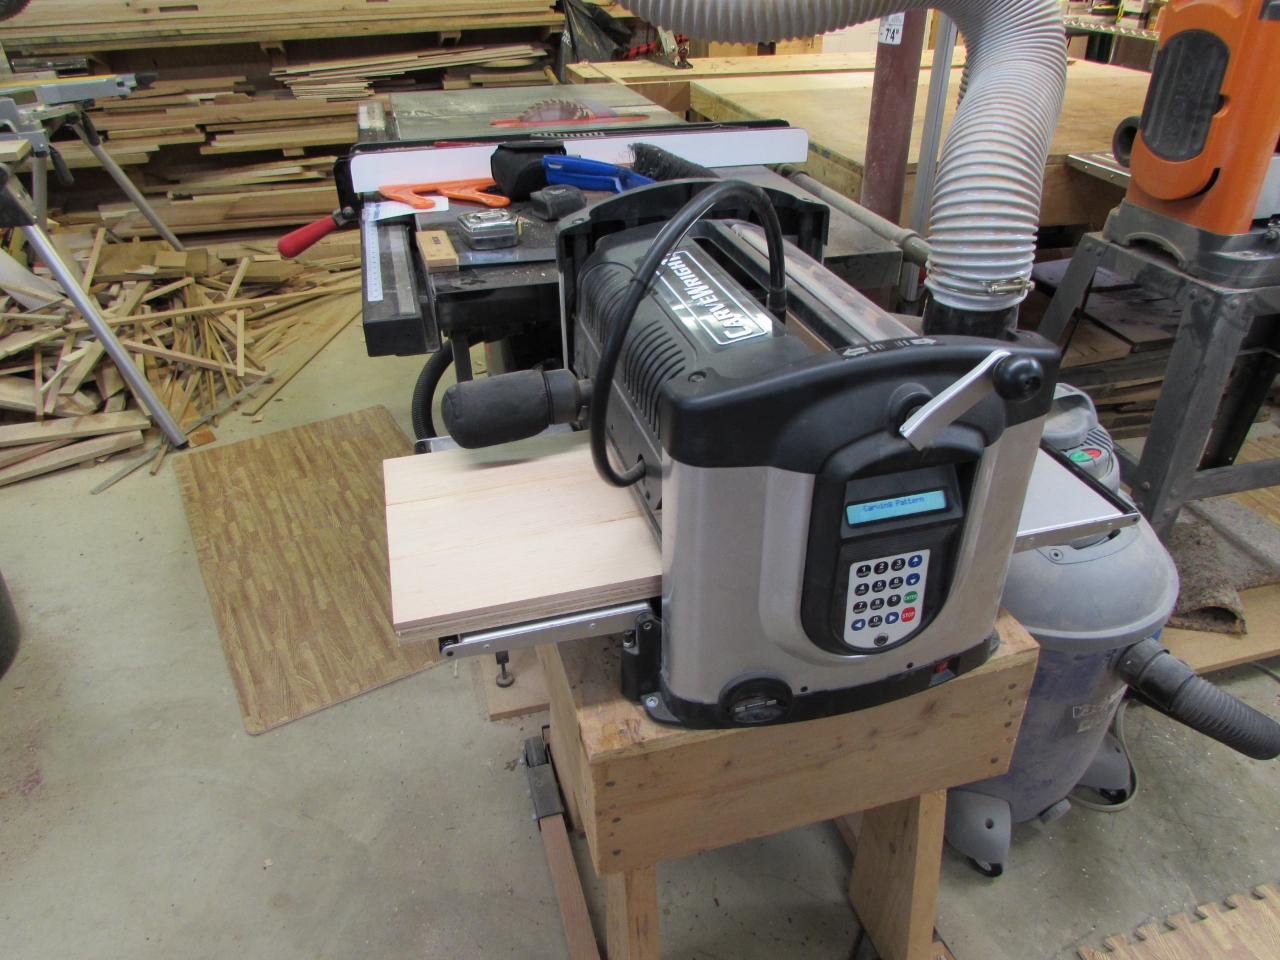
Loaded into the carver

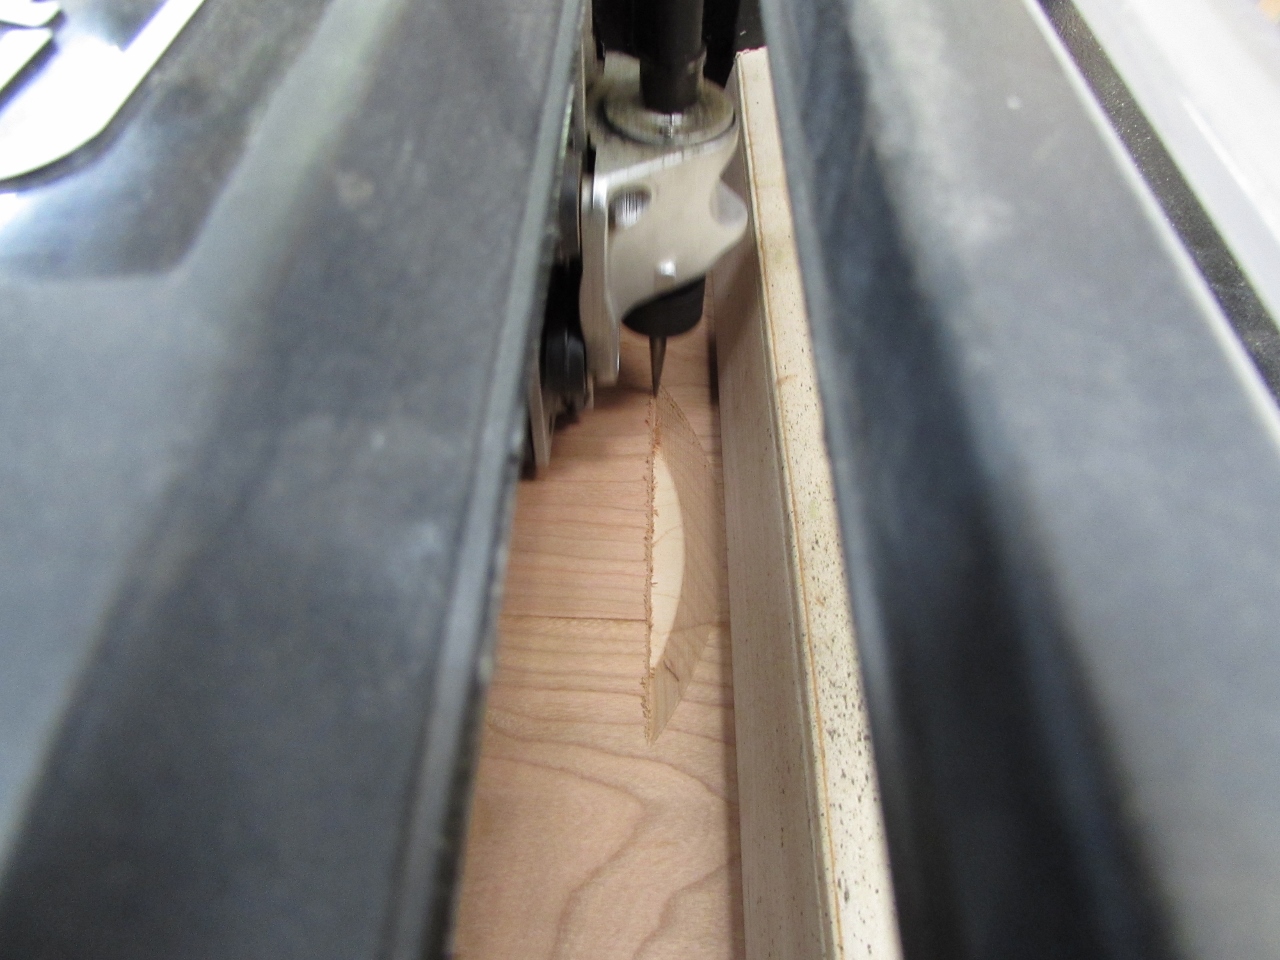
Carving
I am running these carves at the second to the best resolution. After about 3 hours, the carve was complete. I pried the thin maple layer off with a wide chisel. I am not entirely happy with this carve because it cut shallower than I planned and did not break through the maple. I can cut the seal away with a knife if I want to spend some time with it, but it is not worth it at the present.
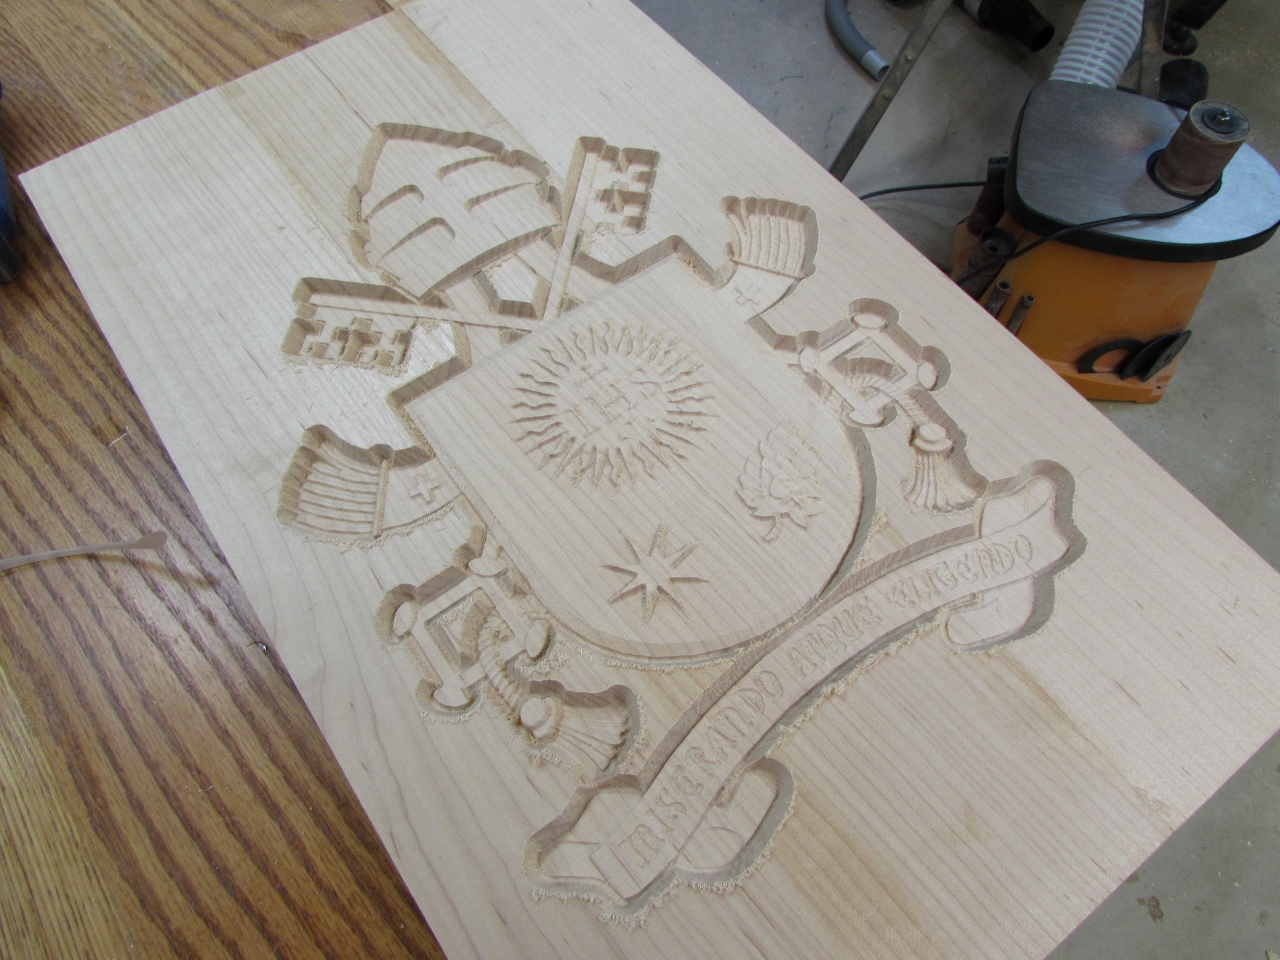
First carve complete
Moving on to my next attempt, I re-sawed some cherry down to 3/8″ thick.
Re-sawing some cherry
Planing down to size
I planed it down to a little thinner than 5/16″ this time and I jointed the edges on the table saw.

Cleaning up the edges

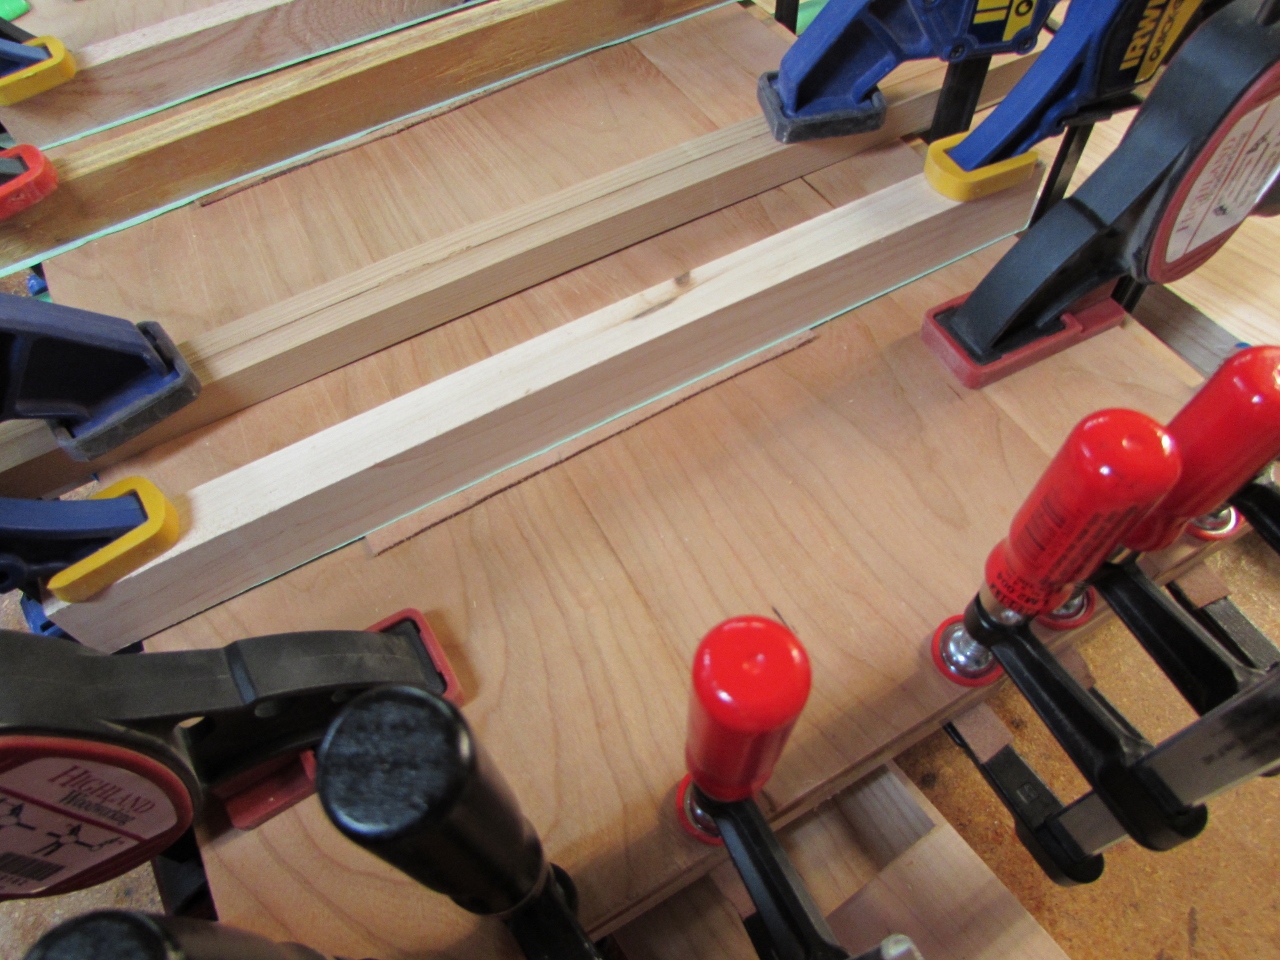
Taping the cauls
I am glueing this panel up by itself, so I created some clamping cauls to help keep the boards flush with each other. I added a little painter’s tape to the edges to prevent glue from sticking to them.
Applying glue
After glueing up the edges, I clamped it all together.
Clamped and drying
When dry, I scraped the joints flush with a card scraper.
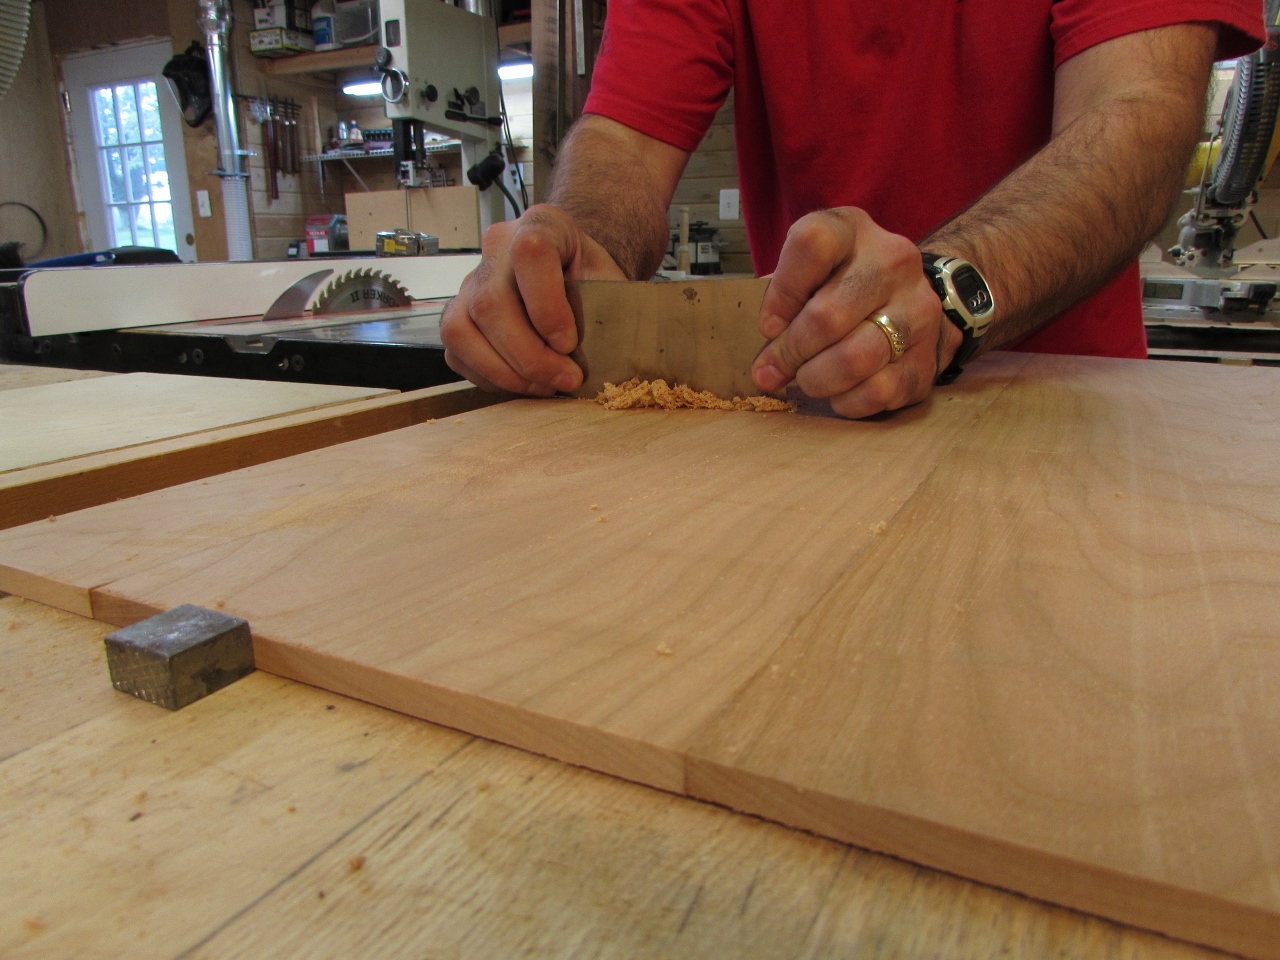
Cleaning up the joints with a scraper
Prepping stock for the backer board
For the backer board, I cut and joined some 3/4″ maple boards. The whole maple panel is about 1/2″ wider than the cherry one.

Glueing the joining edge
This was intentional. I am going to glue the cherry panel to the maple one, while the panel is still drying. After clamping the maple panel up, I spread wood glue over the entire surface.

Applying glue to the face
I held the cherry tight to the front edge, then clamped it down with as many clamps as I could. I also added three sets of cauls. I slipped a strip of leather under the center of each caul in an effort to press the center down as well.
Leather under the cauls
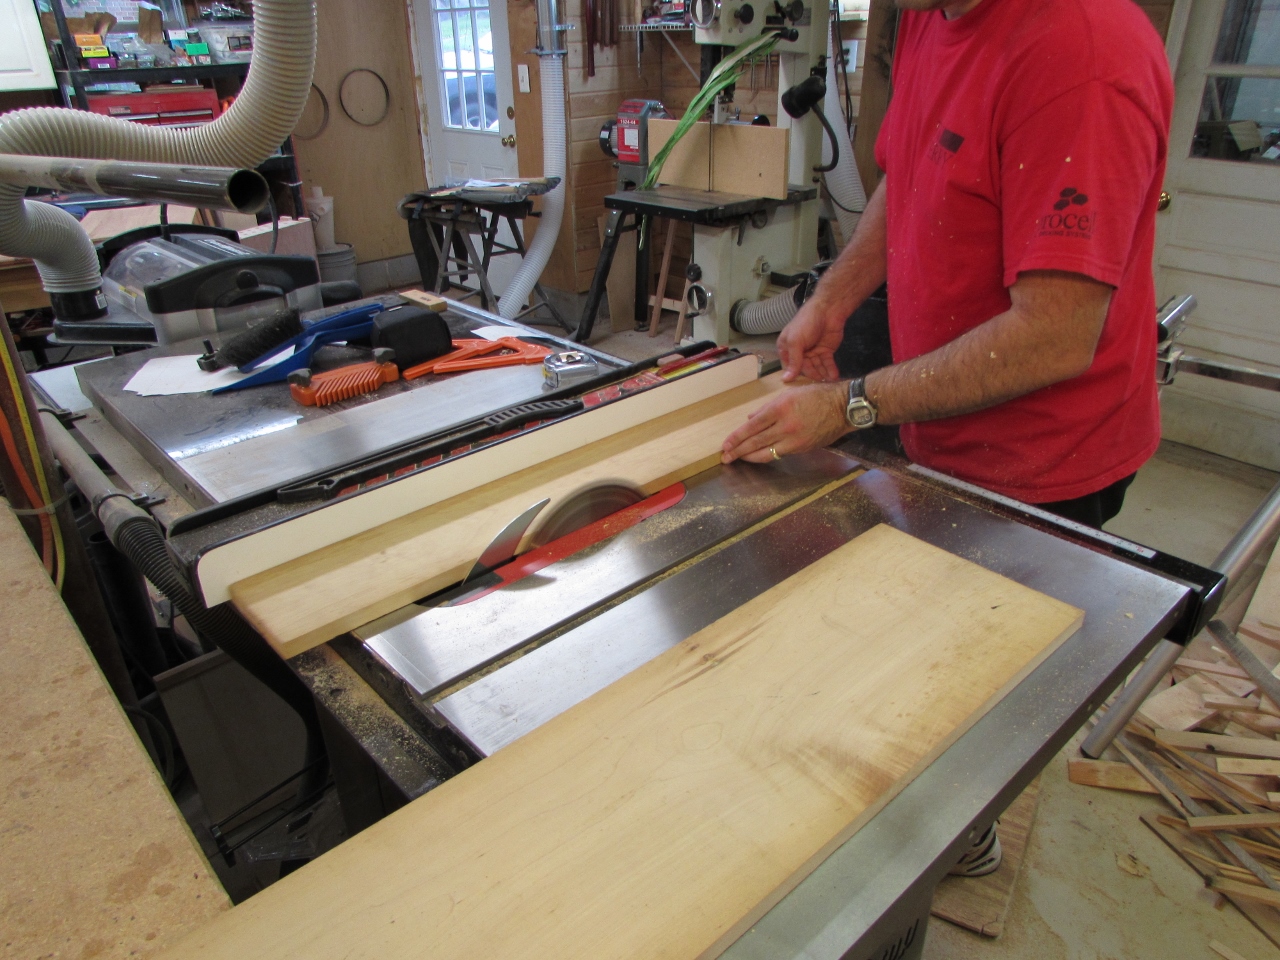
After that dried for about an hour, I cut the maple down to match the with of the cherry, and loaded it into the carver.
Carve #2 running
Three hours later, I had this carving. It worked out much better than the last one. The maple highlights the cherry nicely.

Second carve complete
Since both of these carves have come out fuzzier than I would like, I decided to create another carve. This time I am making it a little smaller, and running it at the optimal resolution. That means that it will take twice as long to carve. I will run it for a couple of hours tonight, then pause it and finish running it tomorrow.
Third test carve loaded up
I may need to do another one after that, but it is almost midnight again, so I will worry about it tomorrow.
