
Purpleheart & maple bass guitar – day 2
My last couple of weekends have been busy with graduations, so I haven’t been able to work on the bass guitar at all. I decided to blow off work today and spend some time on the project.

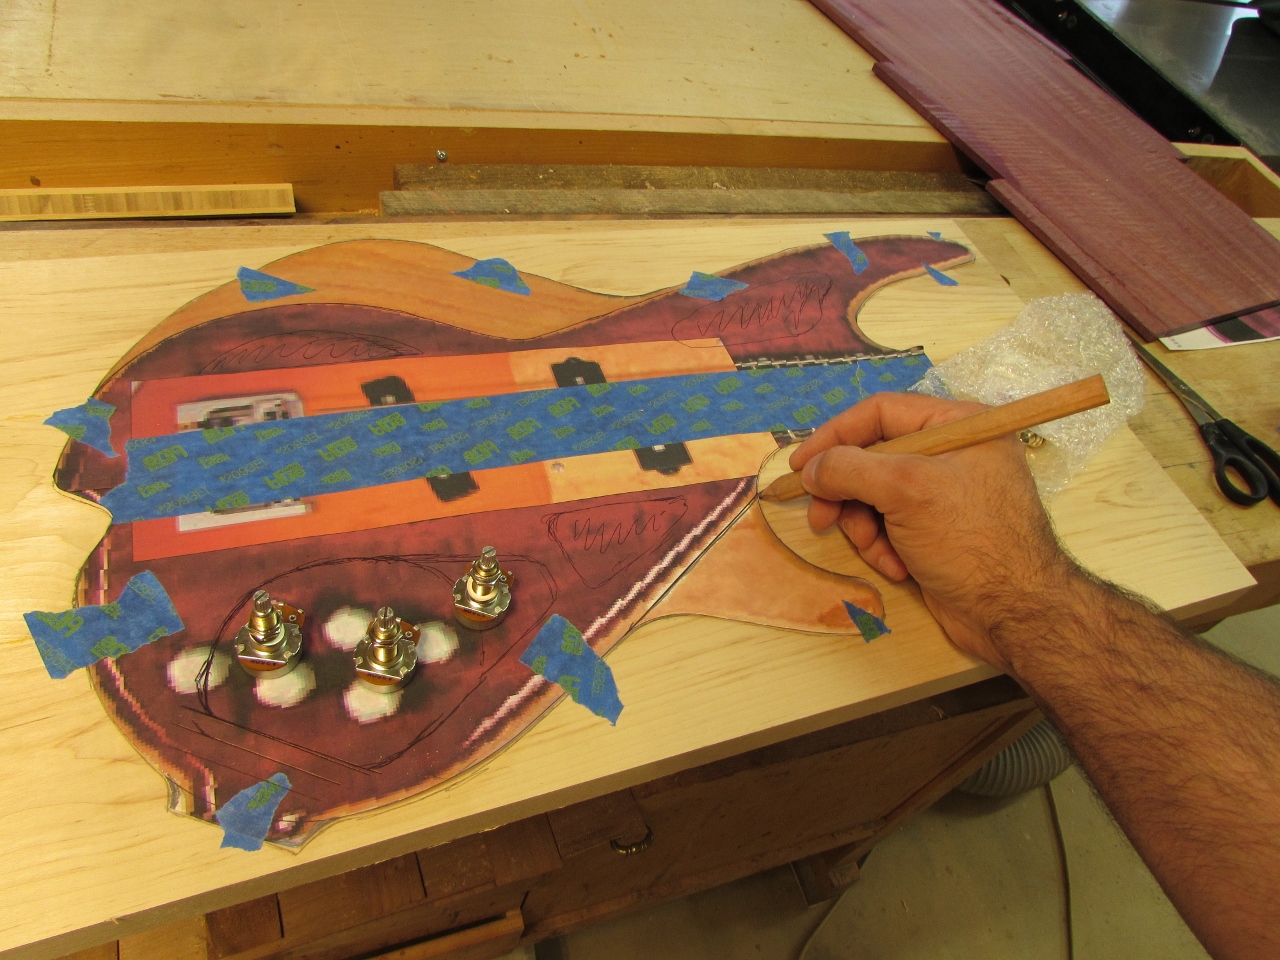
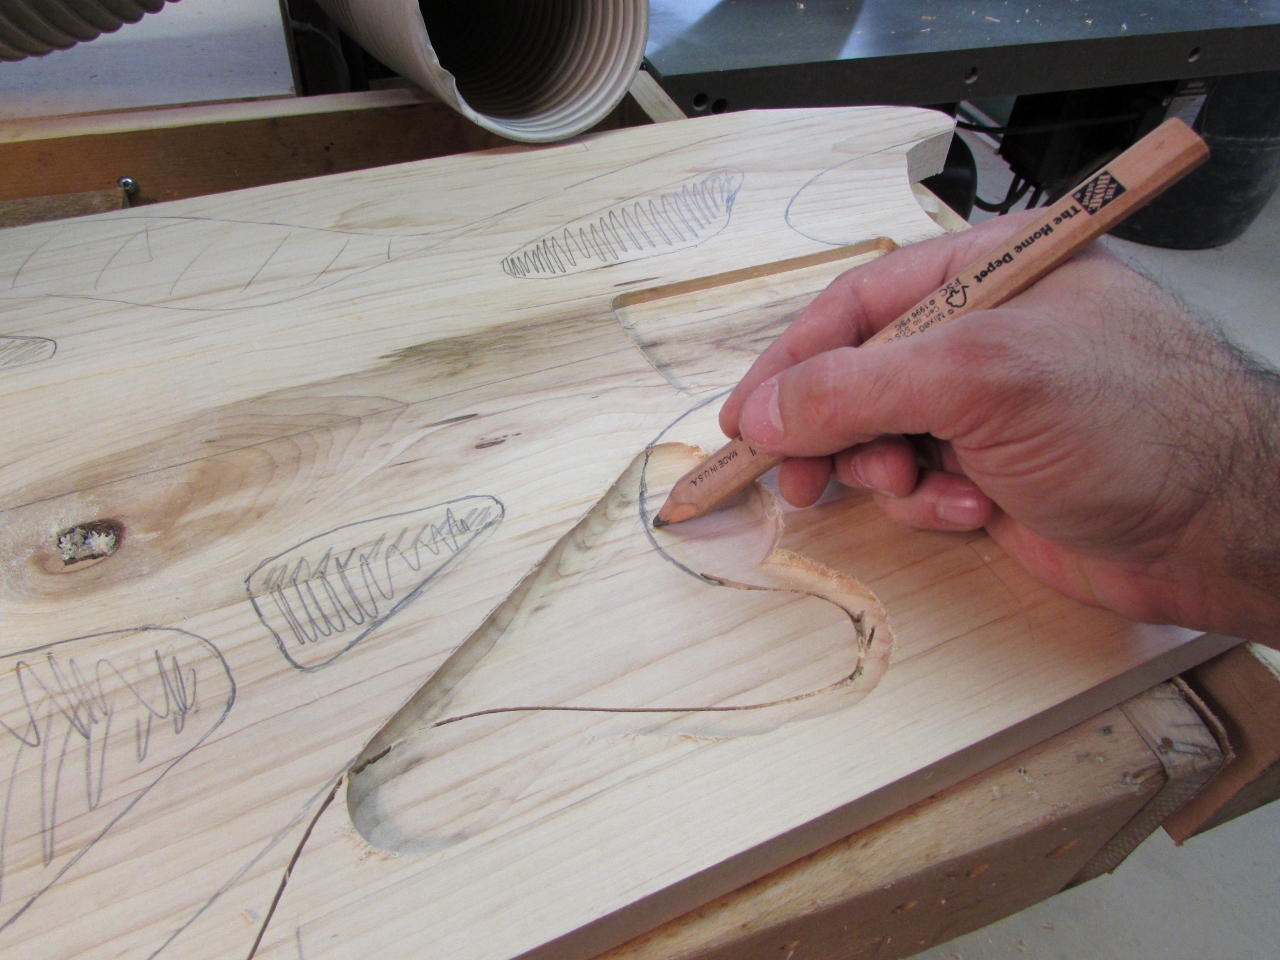
Redesigning my pattern to fit the hardware I have
I have been slowly accumulating all the components that I will need for this build. I laid them up against the full-scale image, that I had and realized that some revisions would be required.

Checking fit of hardware options
I laid everything out on the print to verify size and locations.

Locating pickups and tail piece
When I was satisfied, I cut out the pattern and taped it to the maple slab, that I glued up last week.
Tracing image to board
I also sketched in some lightning holes, then transferred the outlines to the maple.

Outline and lightning holes sketched in place
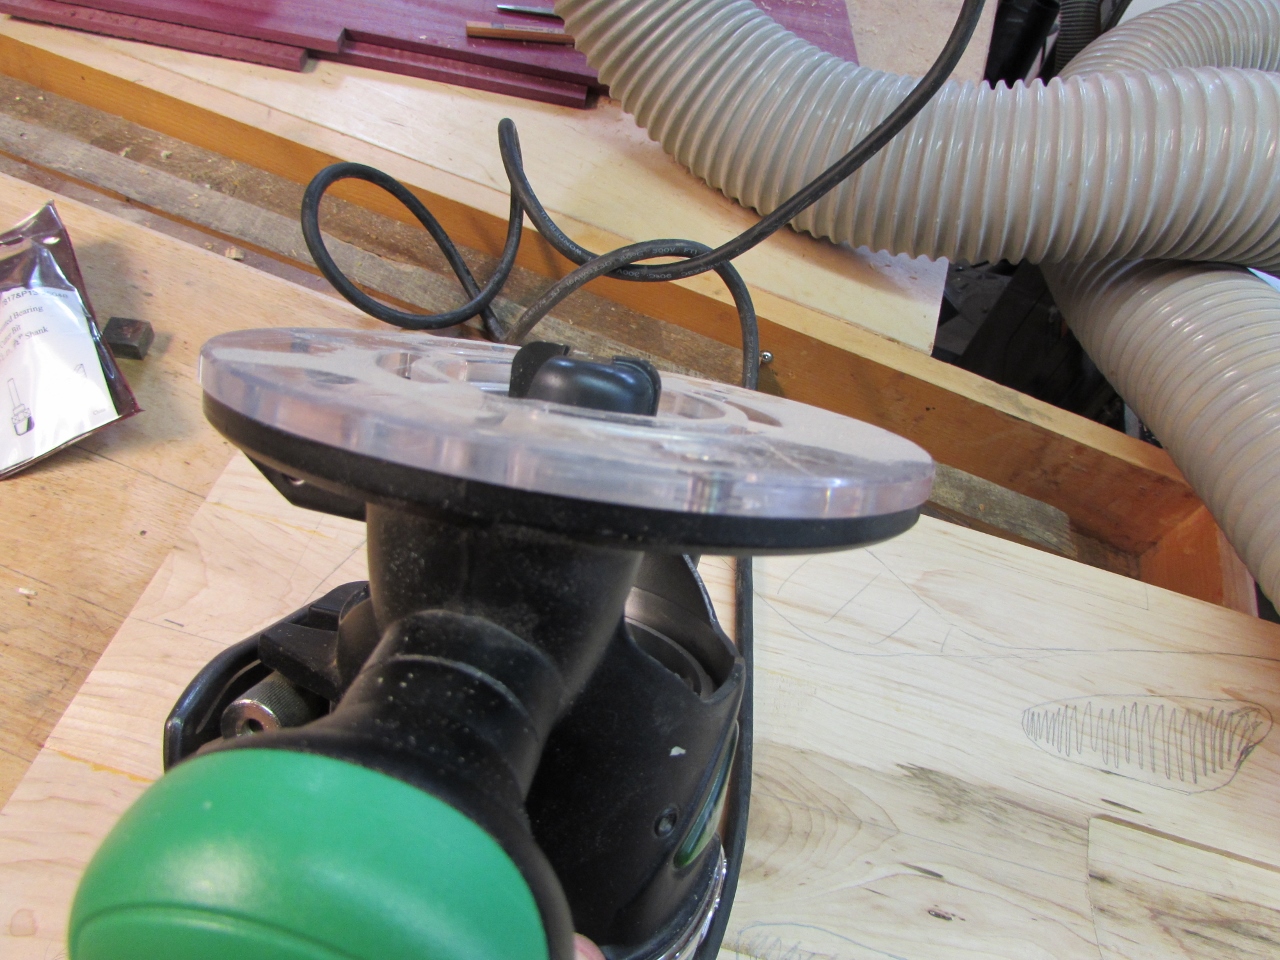
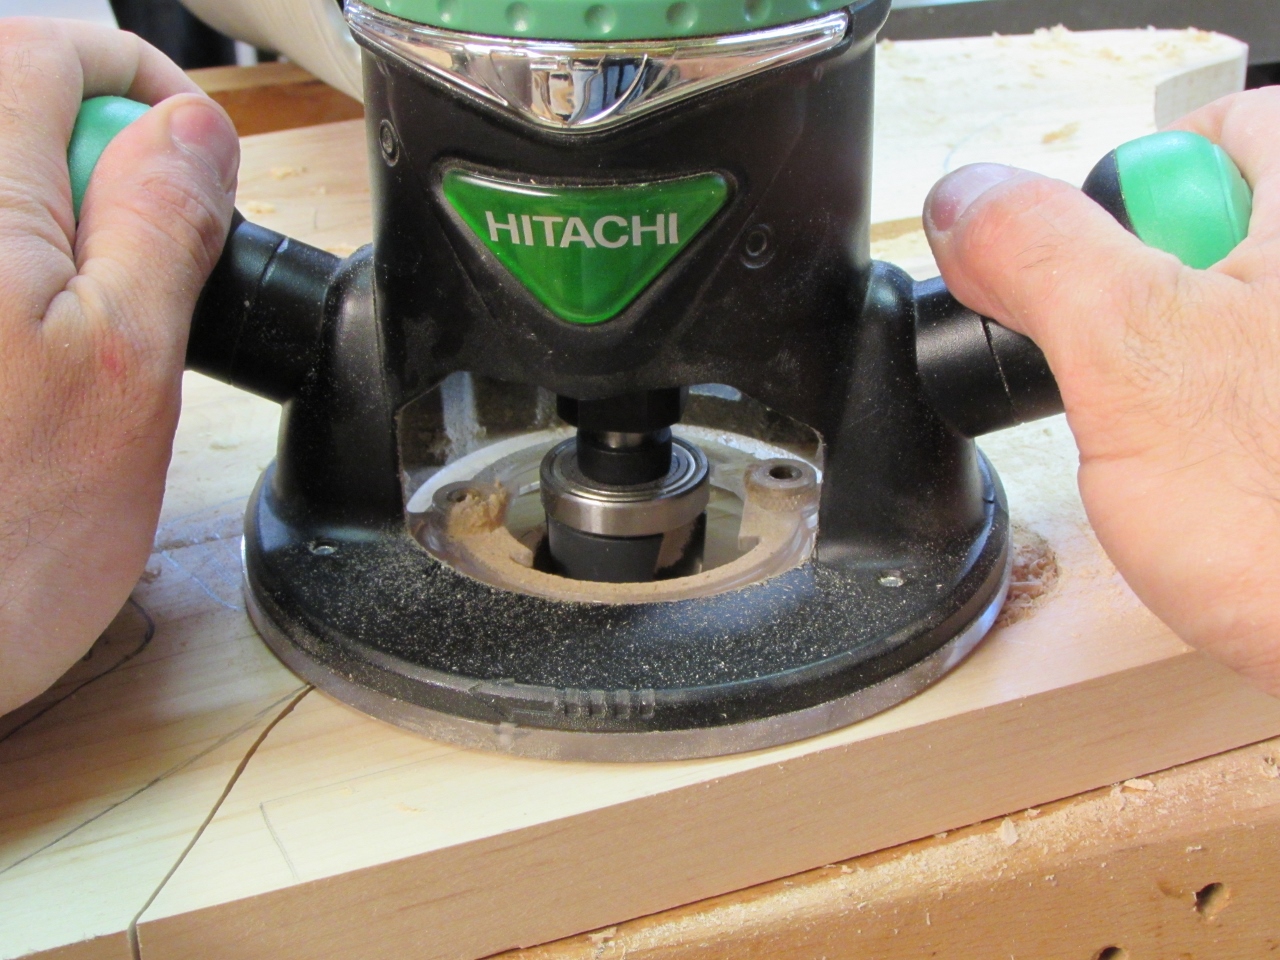
1/4″ spiral up-cut router bit
Before I cut out the body shape, I want to cut out the neck pocket. This is easier to do now, because there won’t be any place to rest the router if I cut away the excess. I am only cutting down about 1/4″, because I will be adding a top to it. I don’t want to cut too deep and have to shim it later. I inserted a 1/4″ spiral up-cut bit into the router and started cutting.

Routing the neck pocket
Testing the pocket fit
After a quick test fit, I moved on to the next problem. The guitar, in the picture, has the smaller horn recessed about 1/4″. It also curves up where it will meet the body. I cut around the horn, on the band saw, but I didn’t remove the waste. This is because, again I will need the flat area to support the router, but also because I will lose my marks after I route away the top 1/4″.

Cutting the outline of the short horn
Loading a radiused bowl bit
I recently picked up a bowl cutting bit, with a 1/4″ radius. I decided to use this bit to cut the relief and the radius, that I wanted.
Relieving the small horn
It turned out pretty good, so I drew back in the last bit of the horn’s curve.
Re-marking in the crook of the small horn
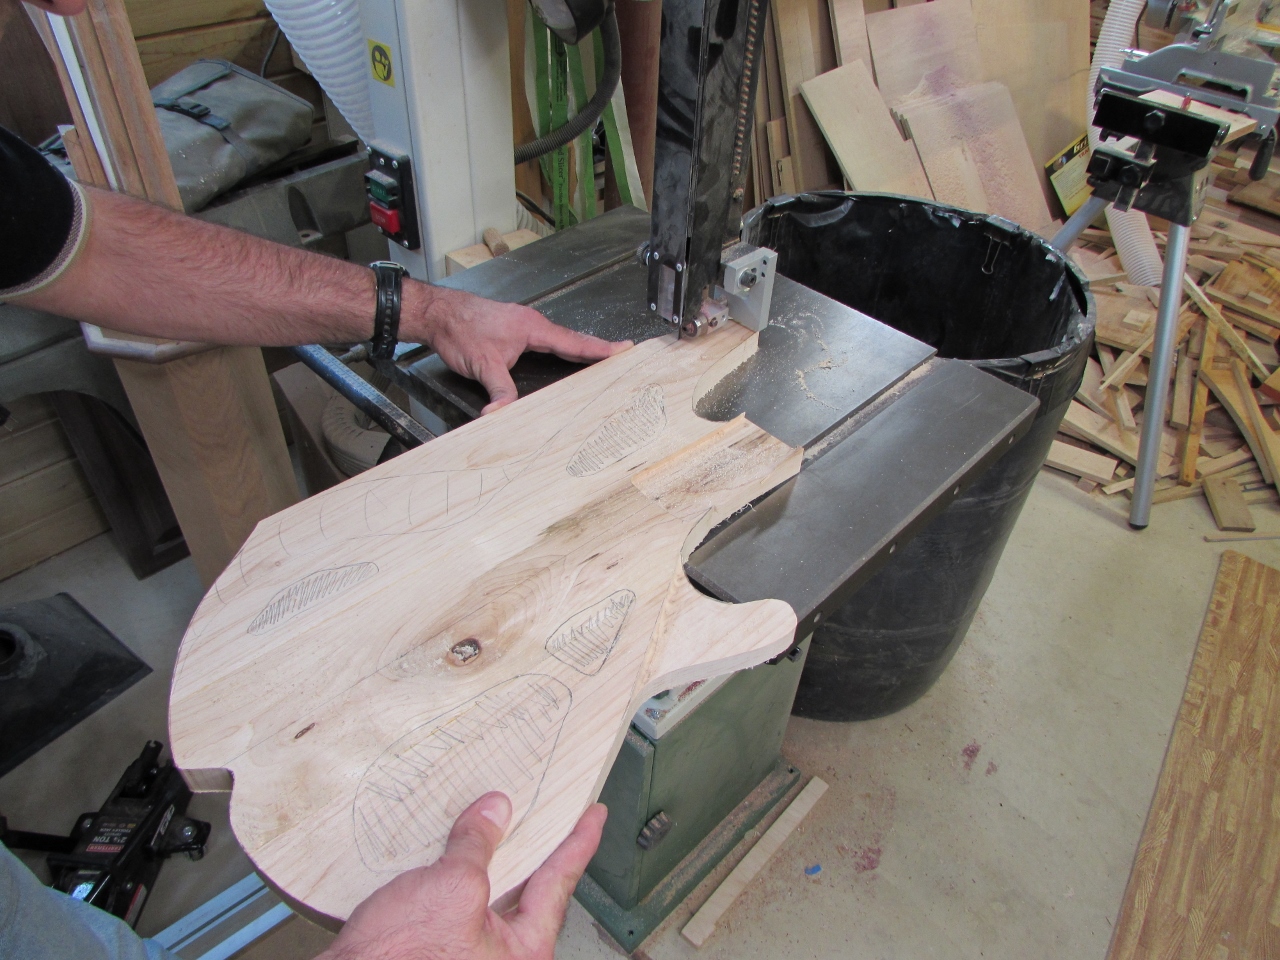
Cutting out the maple body
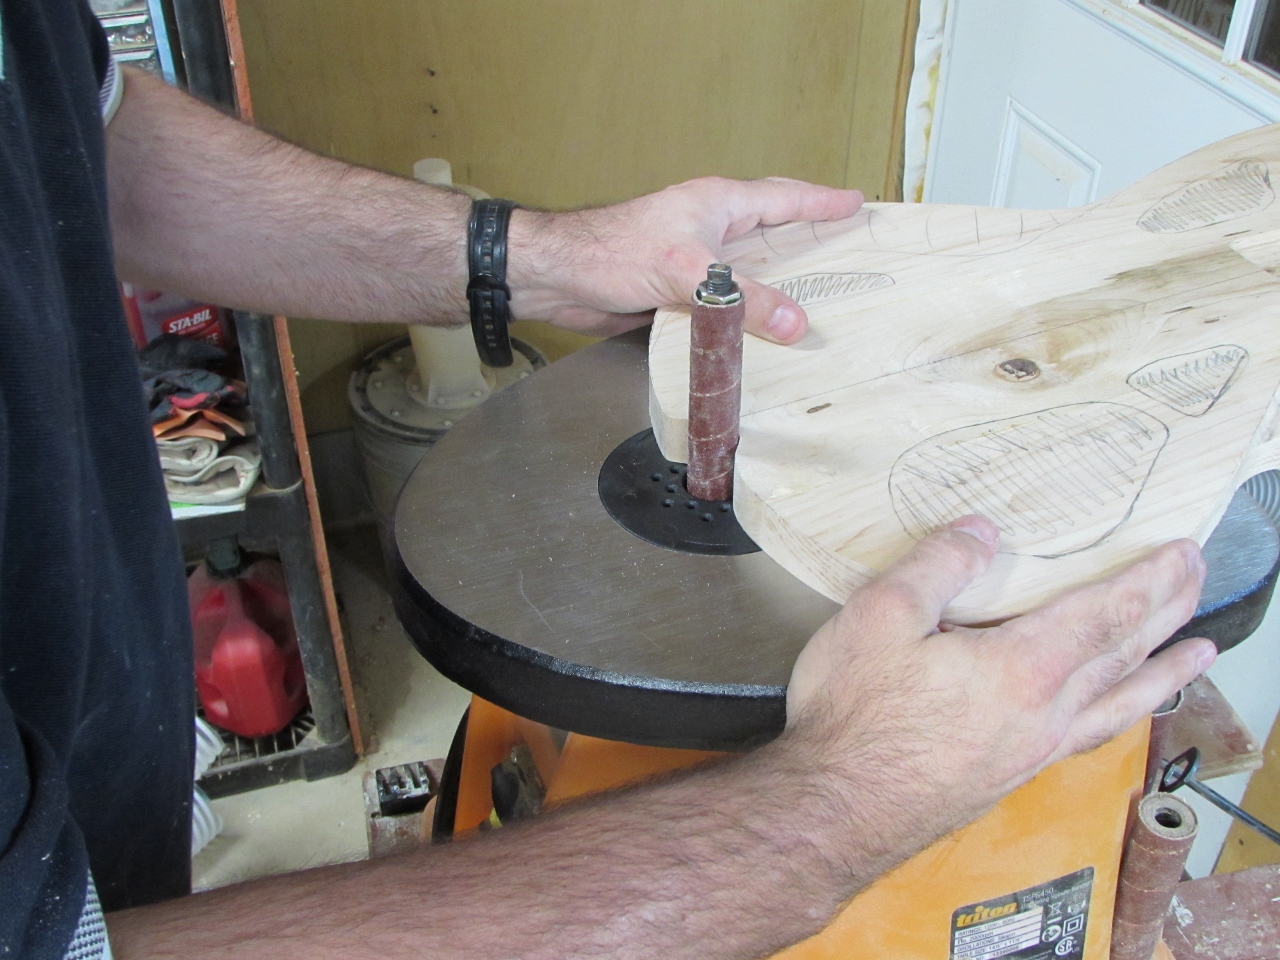
I finished cutting the outside of the body, then cleaned up the edges on the spindle sander.

Sanding the edges smooth
I switched to a smaller radius spindle for the tight spots.
Smaller spindle for the smaller nooks
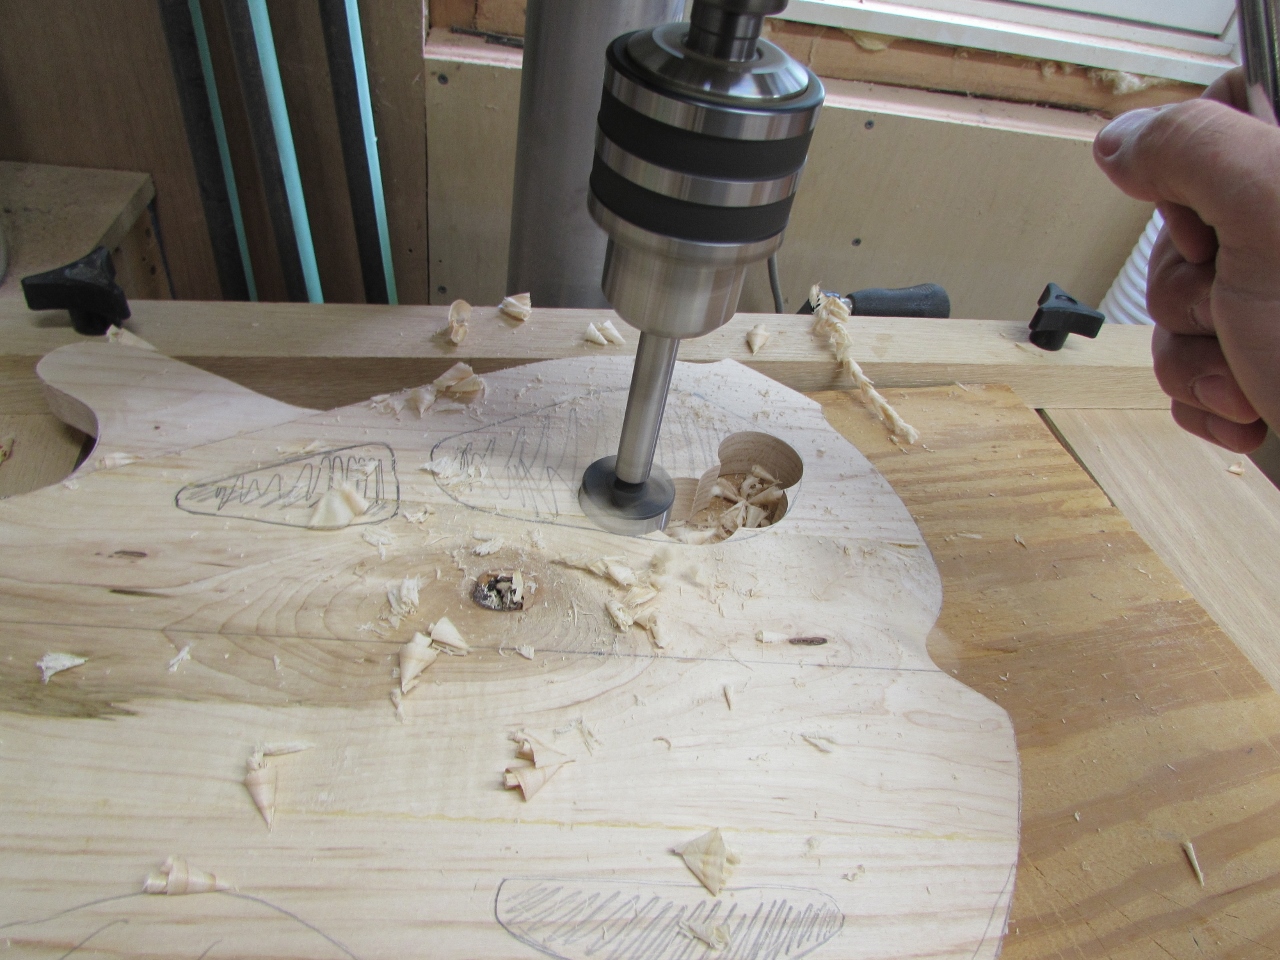
Removing the majority of the lightning holes with a large bit
To hog out the material in the lightning holes, I used several different size forstner bits.

Smaller bit for the smaller holes

Large straight bit
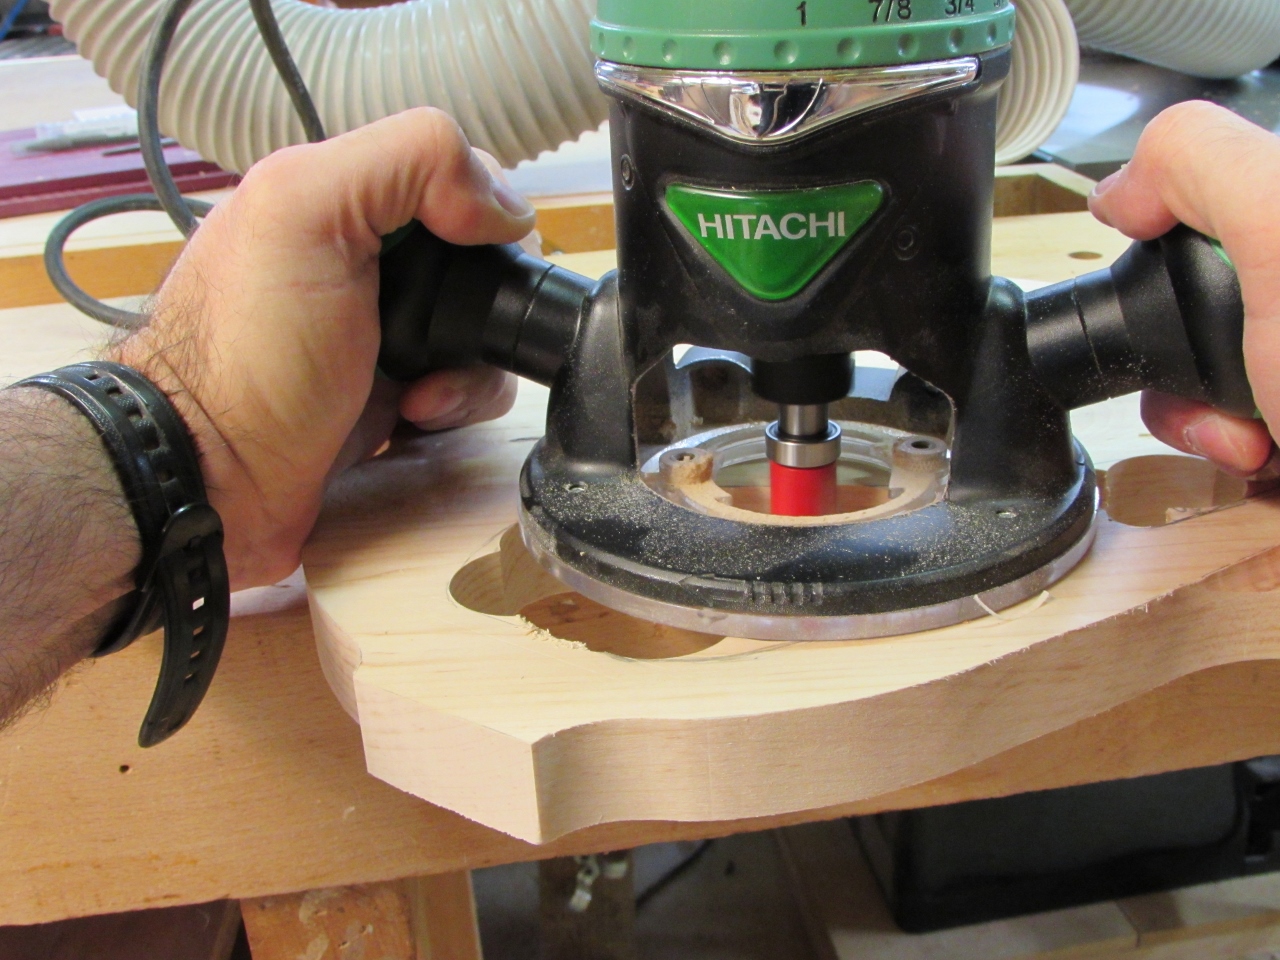
Cleaning up the holes with the router
I tried using my large 1/2″ straight bit to clean up the holes, but it grabbed a bit of the grain, in the control pocket, and cracked a piece.

Straight bit grabbed the grain and broke a chunk
I switched to my smaller spiral bit to finish the clean-up.

Switching to the spiral bit
I applied a bit of glue to the cracked piece and pressed it back into place.

RE-attaching the broken piece
A little more time on the spindle sander, and the holes were all smoothed out.

Cleaning up the holes
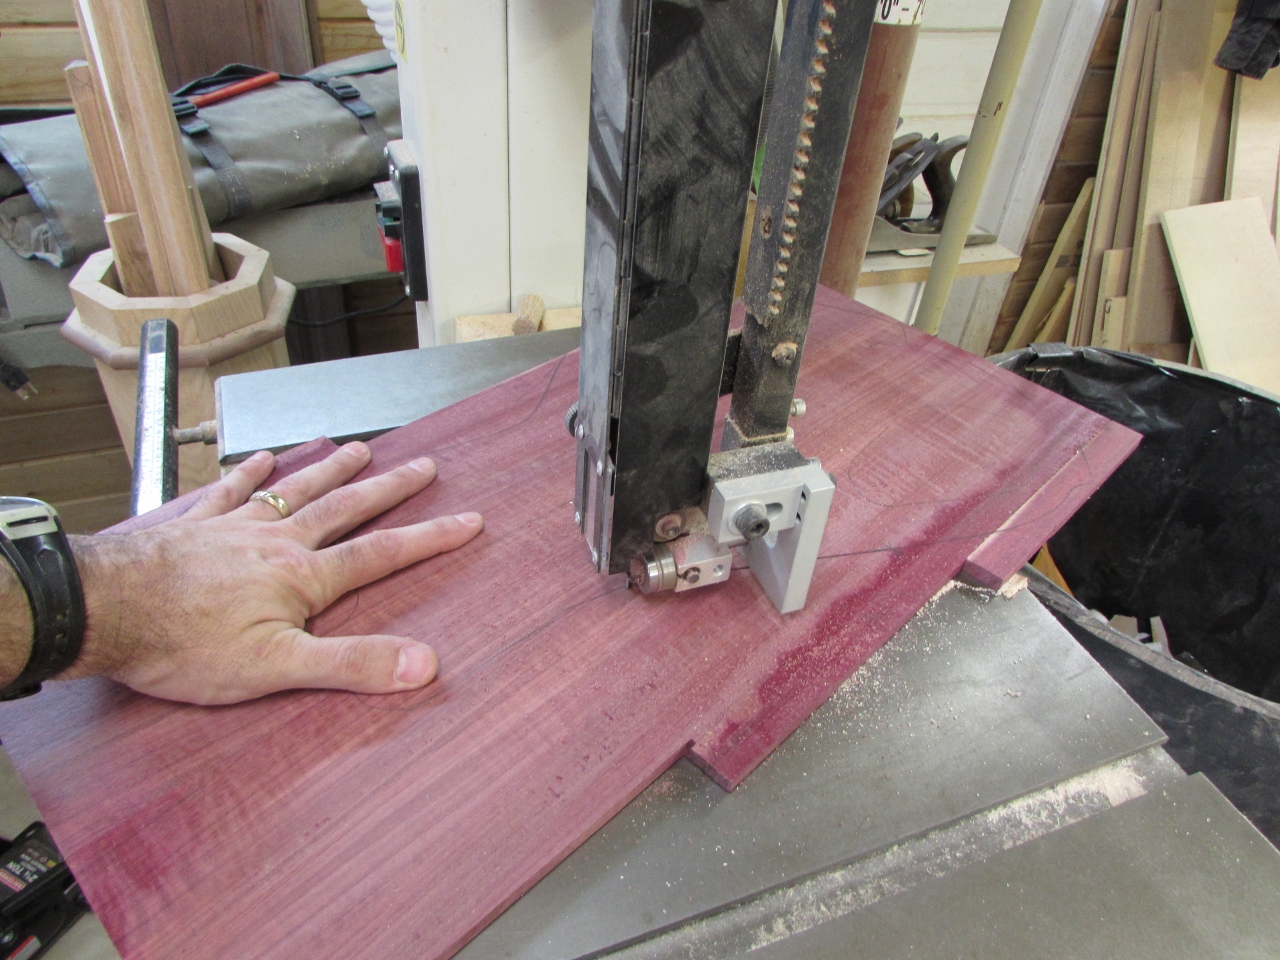
I flipped the body over and traced the outline onto the purpleheart.

Tracing the body
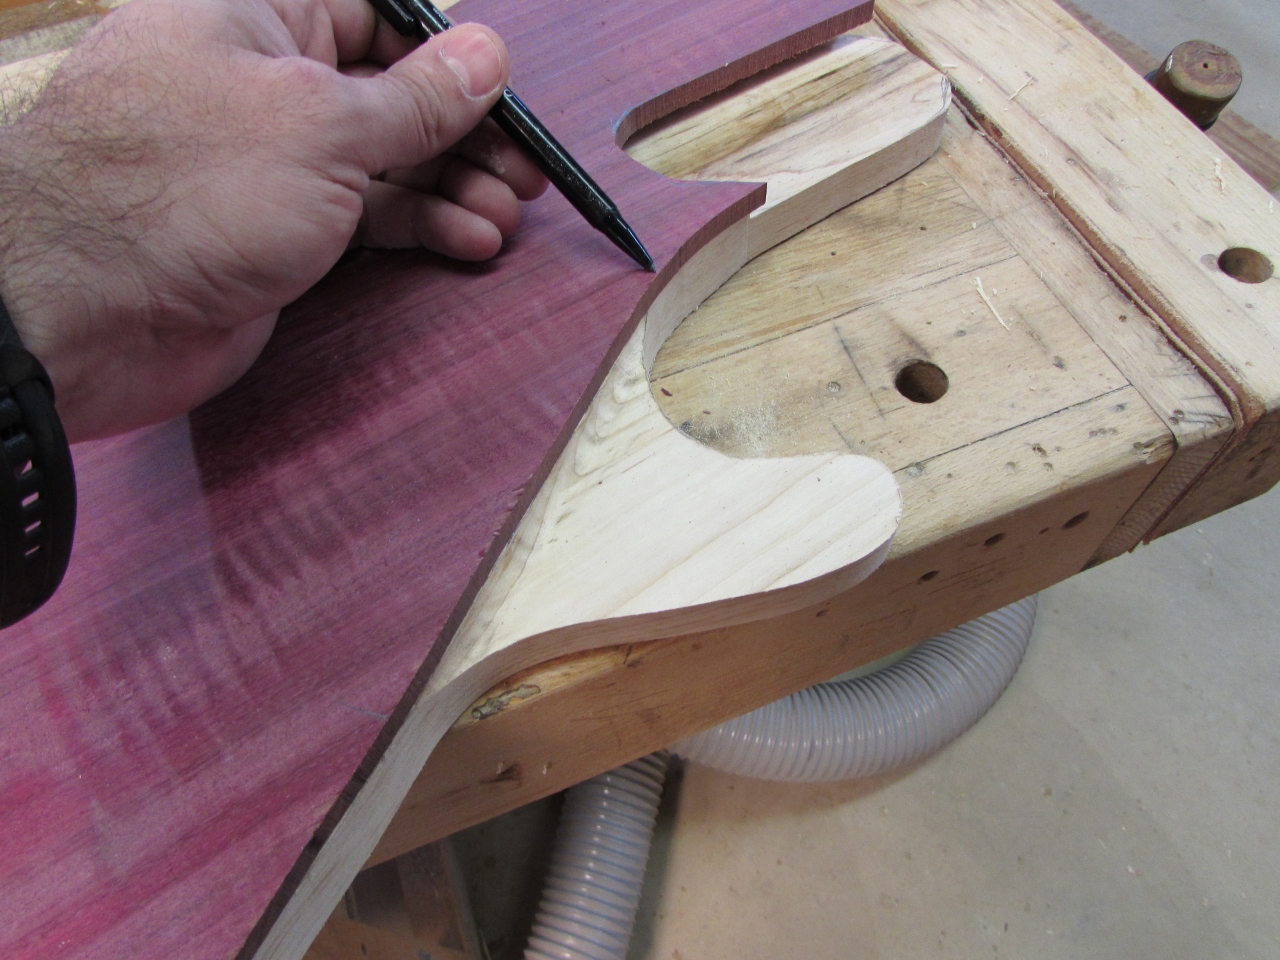
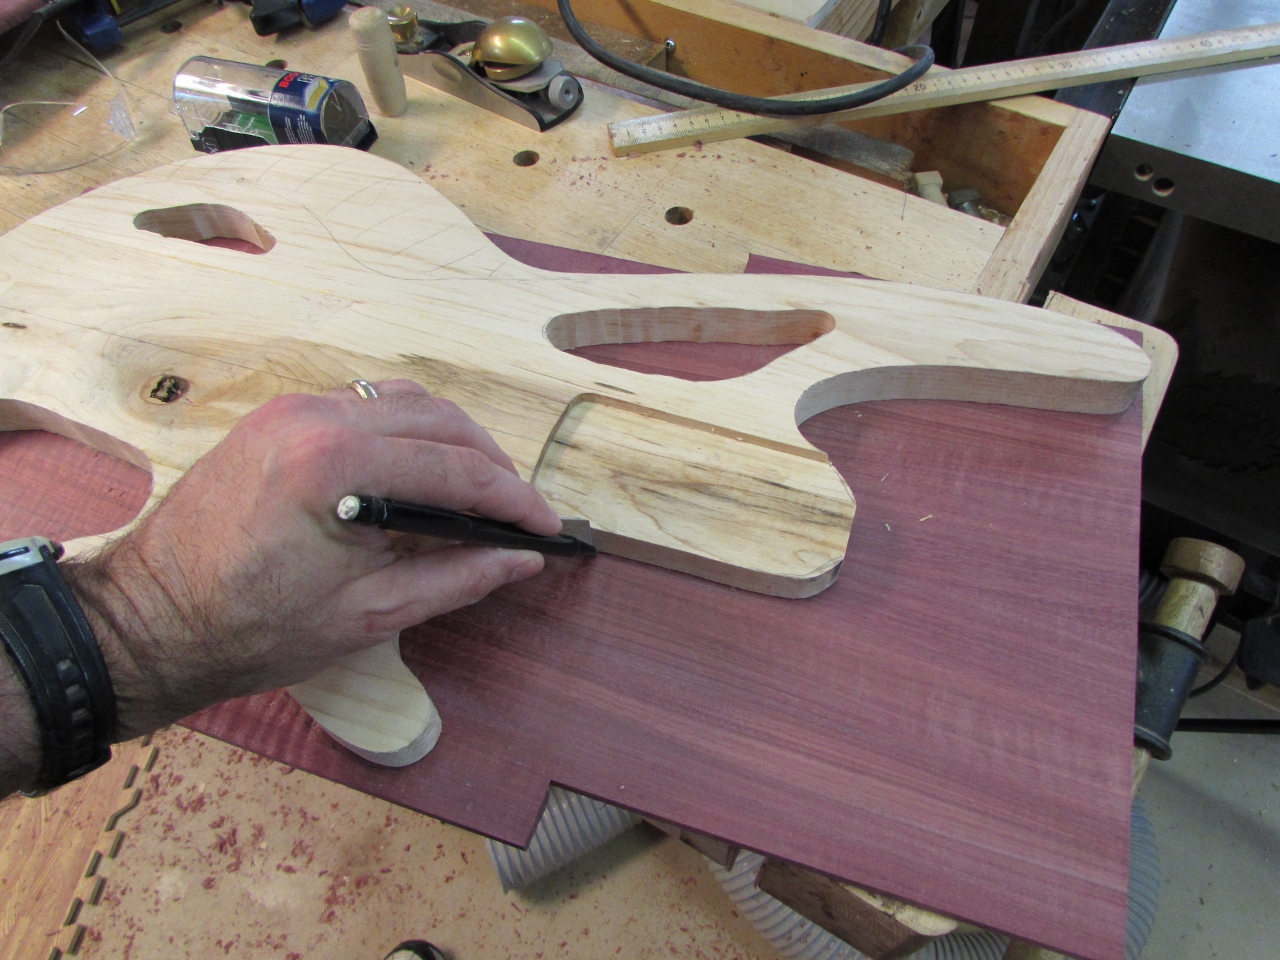
I carefully marked the recessed edge near the smaller horn, on both sides. Then I connected the two lines using a straight edge.

Locating the relief edge
Cutting out the face piece
I cut out the purpleheart top piece, then used my awl to mark the lower curve.
Tracing the lower curve with an awl
I connected the dots and created the new curve, then cut it out.

Sketching the curve through the awl punch marks
Test fit was not too bad.

Test fit

Need a flowing curve here
I marked the start and finish of my smaller horn. I need to put the radius along this edge, before glueing it up.
Marking the curve location
I clamped the top piece flush to my bench.

Clamping my edge flush to the bench top
I am using a 3/8″ round-over bit to create the curve, and I am running the bearing along the work bench.

3/8″ round-over bit
It turned out pretty good, the two curves flow together for the most part.
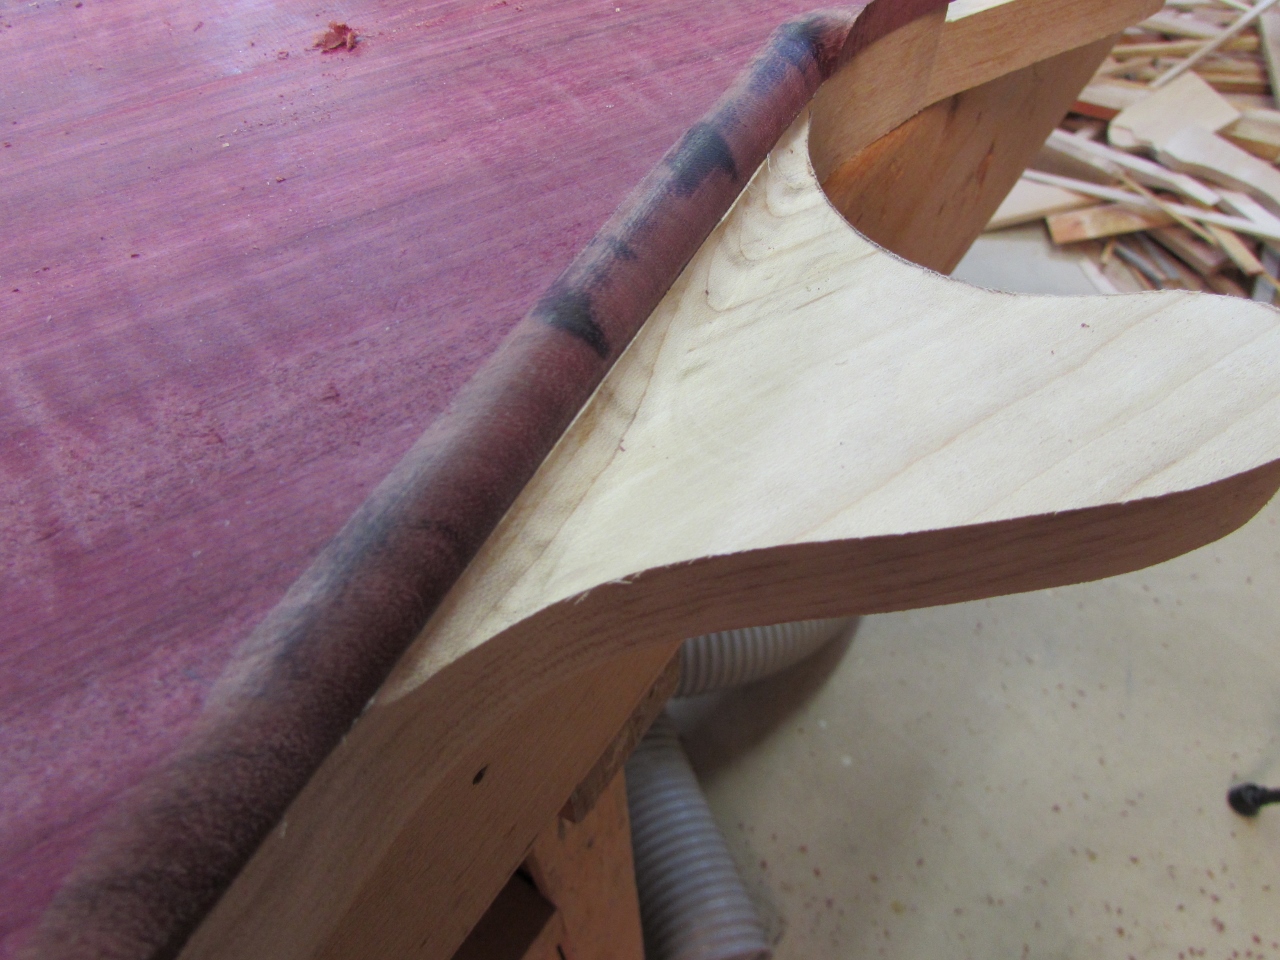
Voila, flowing curve…

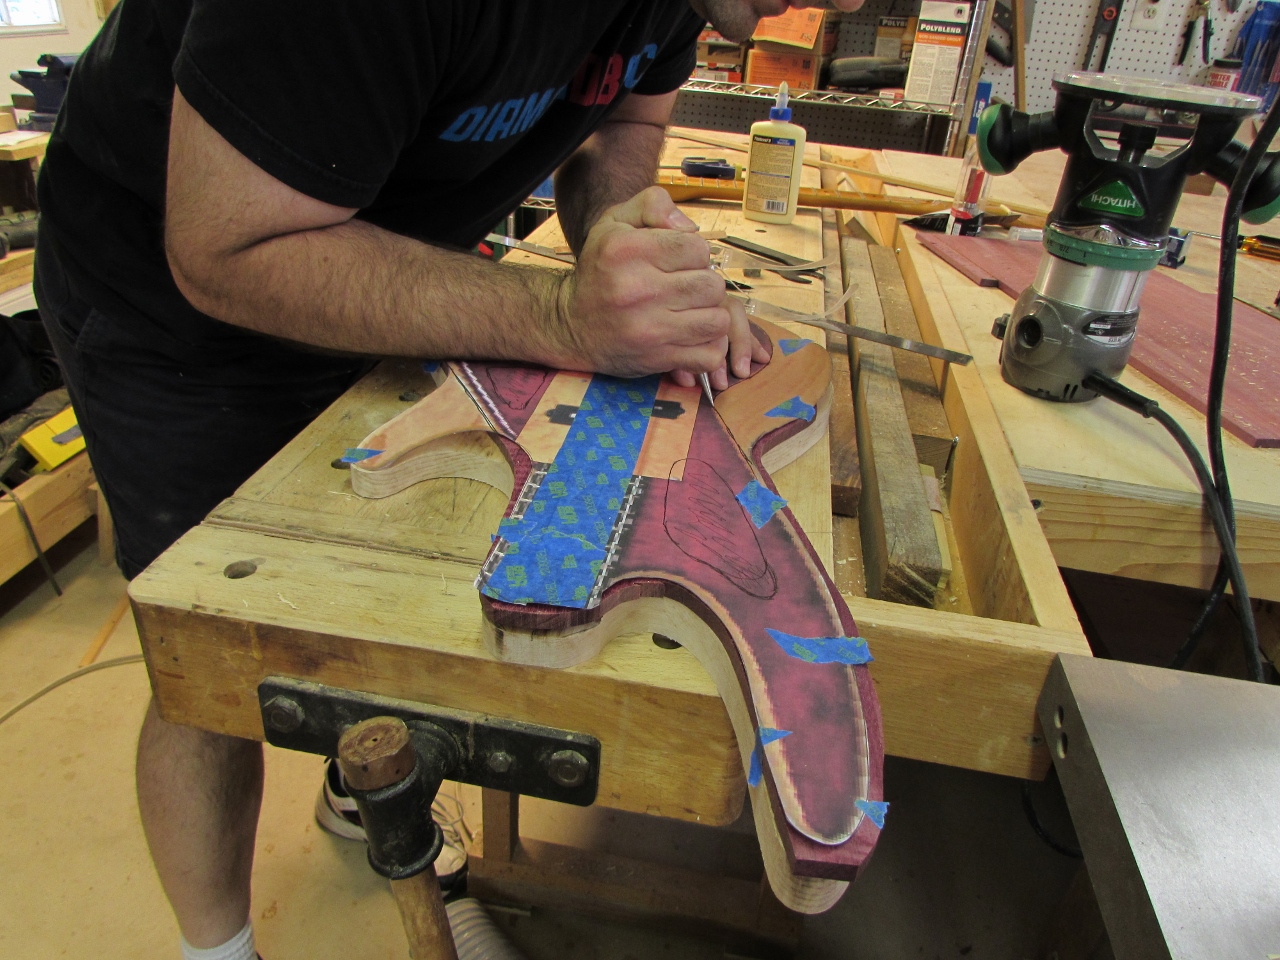
Next problem…
Next problem area will be the neck pocket. It might have been better to lay out the neck and cut it after the top piece was glued in place, but I didn’t.
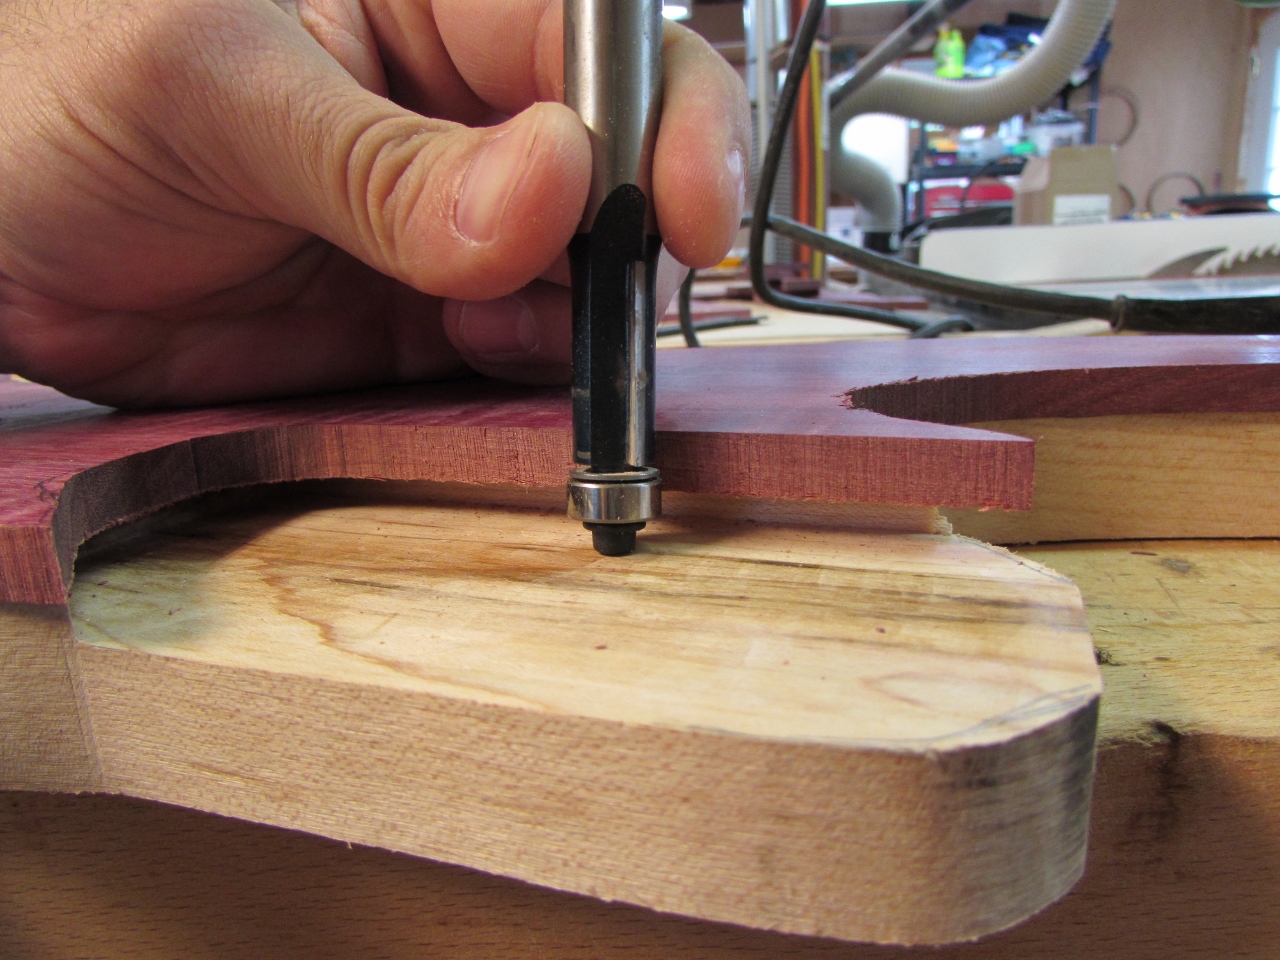
Too shallow
The 1/4″ depth of the pocket is too shallow to follow with the bearing of my flush trim bit. Maybe if I carefully raise the top piece onto 1/4″ shims, I will have enough room.

Perhaps?
Looks like it will be just enough. The purpleheart is very hard and difficult to work with. I have to be very careful because the straight router bit keeps wanting to tear out the grain.

I will try routing the neck pocket with the top on shims
With a lot of patience, I got the pocket trimmed with a minimum of tear-out.
Not bad
Tracing the bottom board
I traced the back piece next, before I glued on the top. This was because I wanted to mark the location of the control pocket. It will be covered once the top is in place. Once marked, I cut out the back, and set it aside for later.

Cutting out the bottom
I laid my pickups and tail piece back on the maple board, to layout the path of the wires. It will be easier to rout in wire channels now, rather tan try to drill them blindly, at an angle later.

Laying out the wire paths

1/4″ spiral up-cut bit again
I loaded the 1/4″ spiral bit again and quickly routed those lines in.

Routing the wire paths

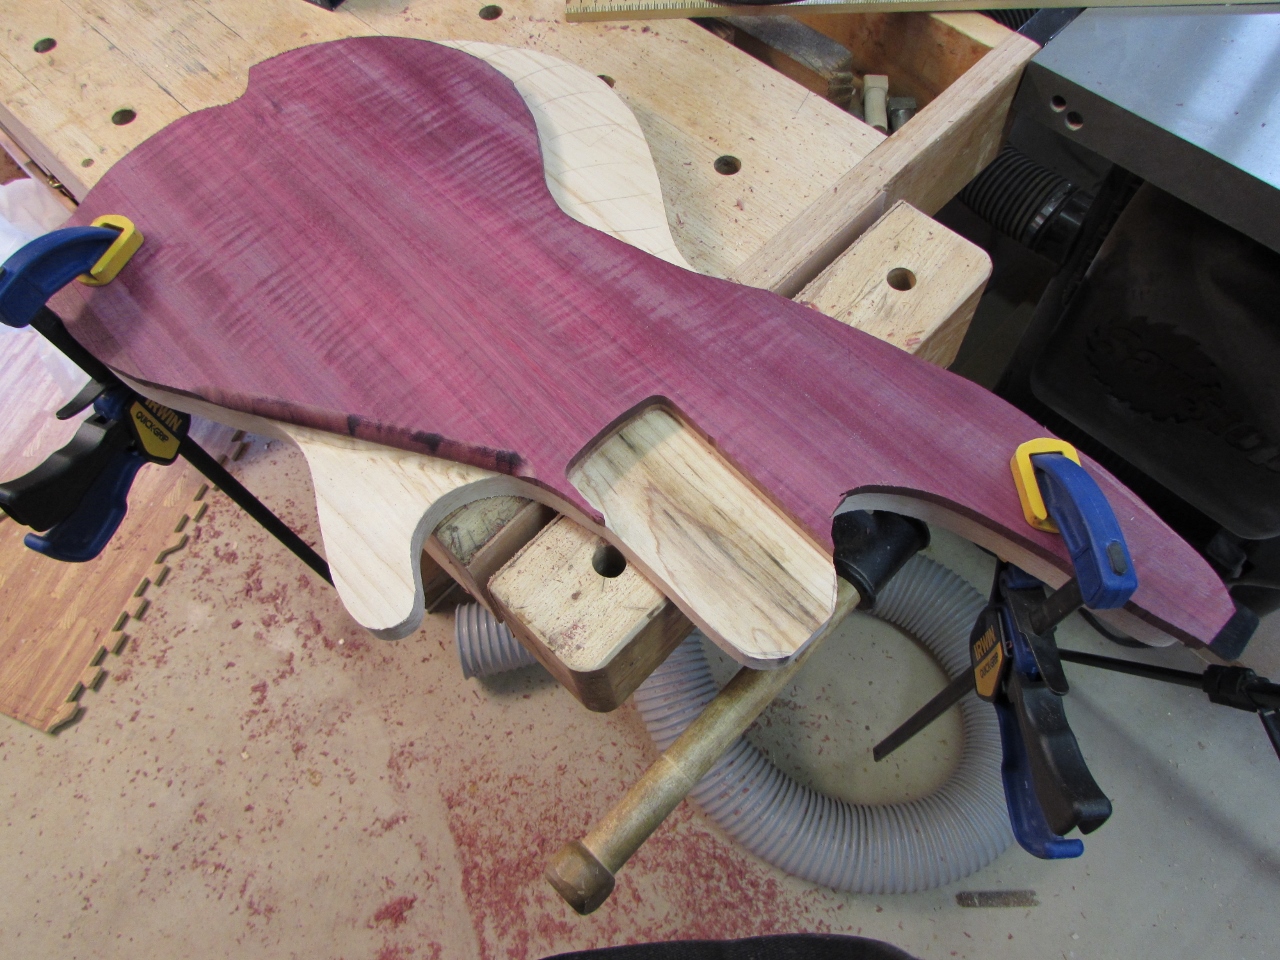
Applying glue to the front face
I applied a lot of wood glue and every clamp that I could fit, to glue the top on. I was careful to line up the neck pocket and the curves of the small horn.
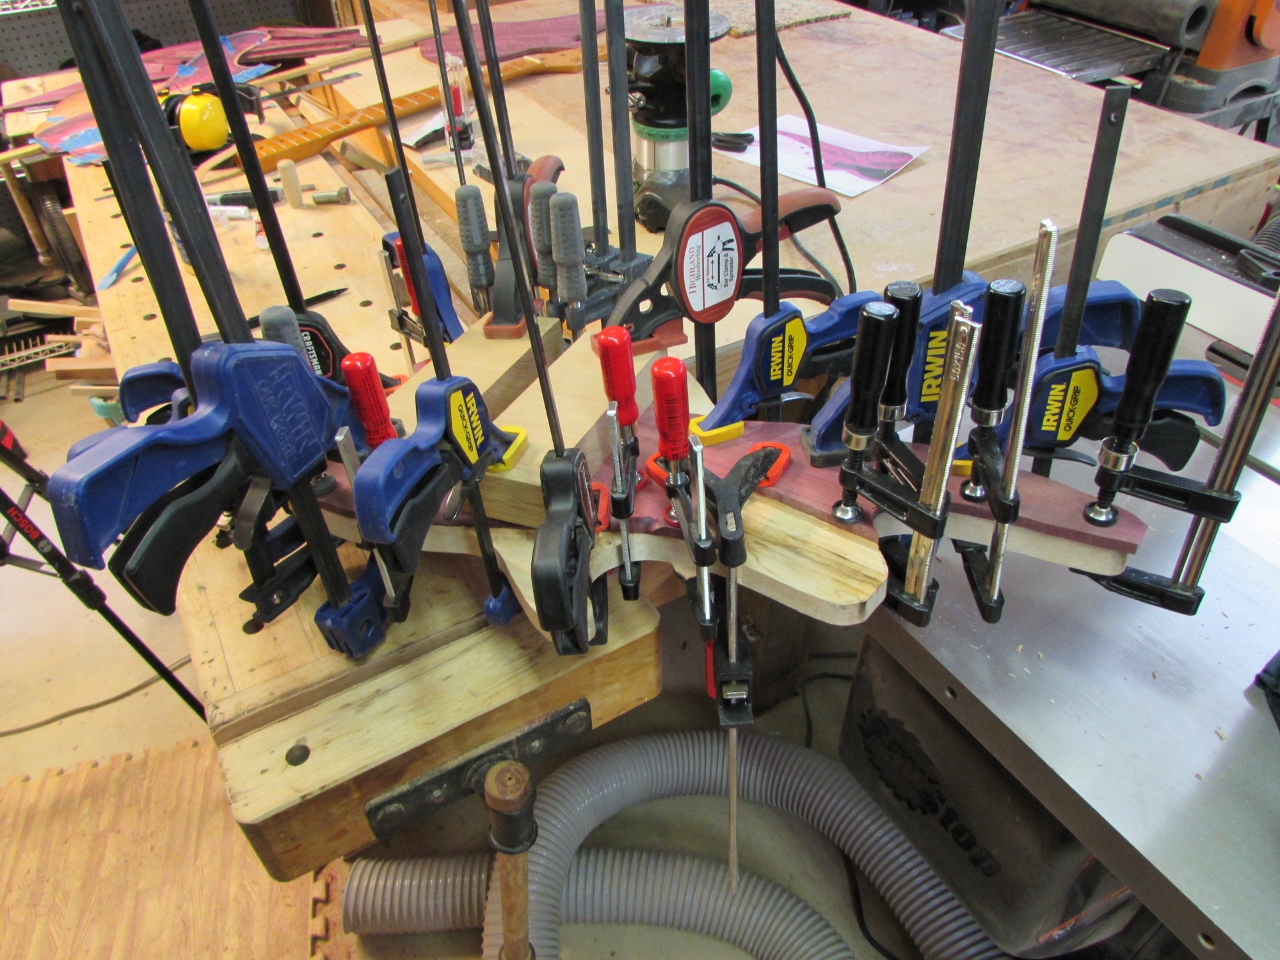
Use every clamp you can
While that glue is drying, I will be figuring out the next steps…
