
Reception desk – day 7
I wrapped up construction yesterday, but I didn’t get a chance to put up a post. So todays post has two days of effort.

Applying glue
The final big item on my list to still build is the cabinet door. I started by glueing up a large panel for the center of the door.

Glueing up the cabinet door panel

Cutting and planing the rails and stiles
While that was drying, I cut and planed down the wood for the frame of the door. I have set-up blocks for my rail and stile router bits, that I made on a previous project. I used these to set up two different routers with the bits.
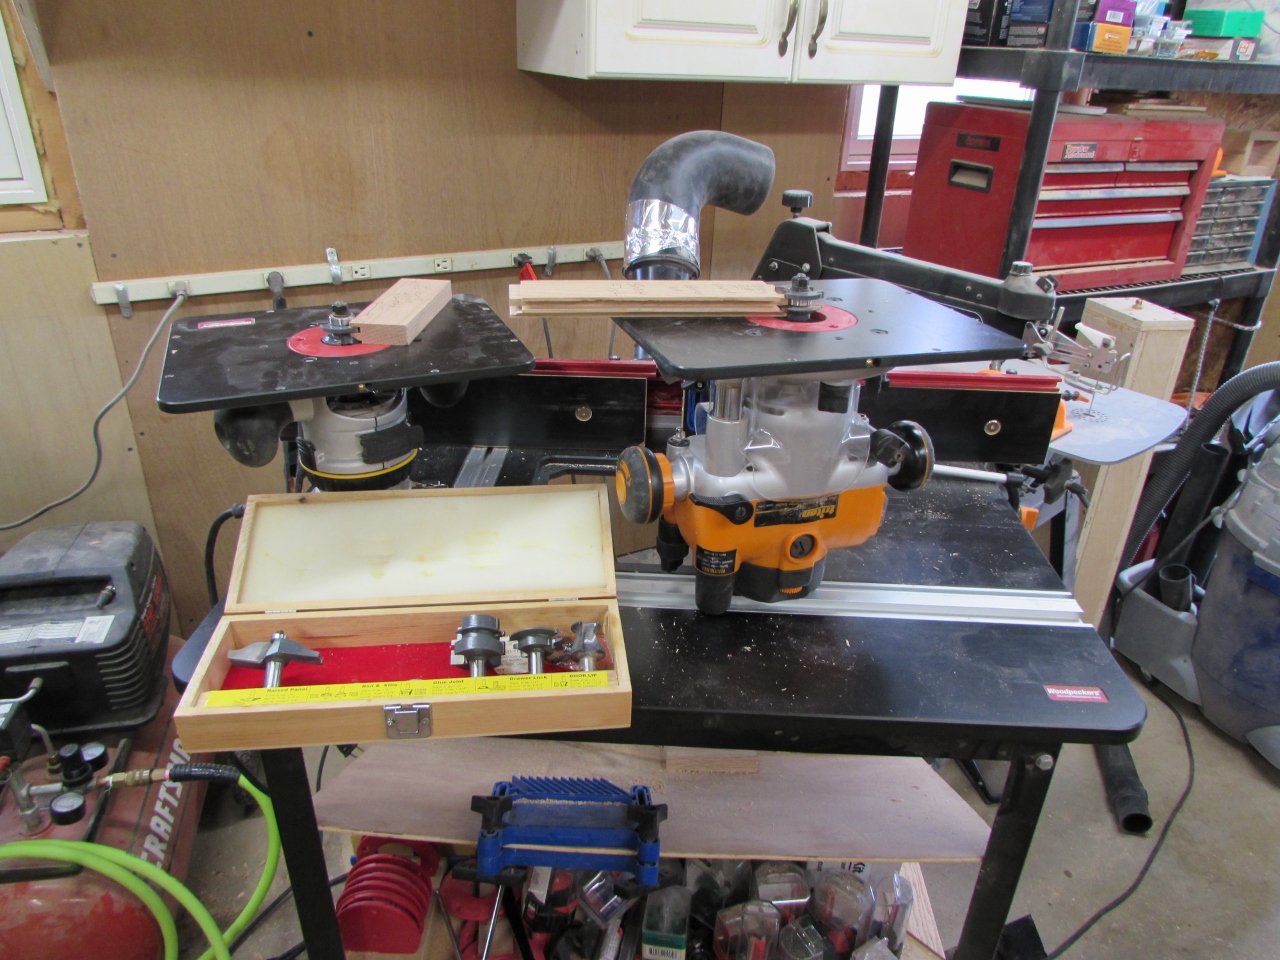
Setting up the rail and stile bits
I always make the end cuts first so that if there is any tear-out, it will be cut away when I cut the long side. When I can, I gang all of the short pieces together, with a scrap piece at the end. This makes the thin pieces safer to handle and the scrap at the end prevents tear-out.

Gang cutting the end cuts first
When the short ends are done, I run all the long inside edges.

Cutting all the long sides
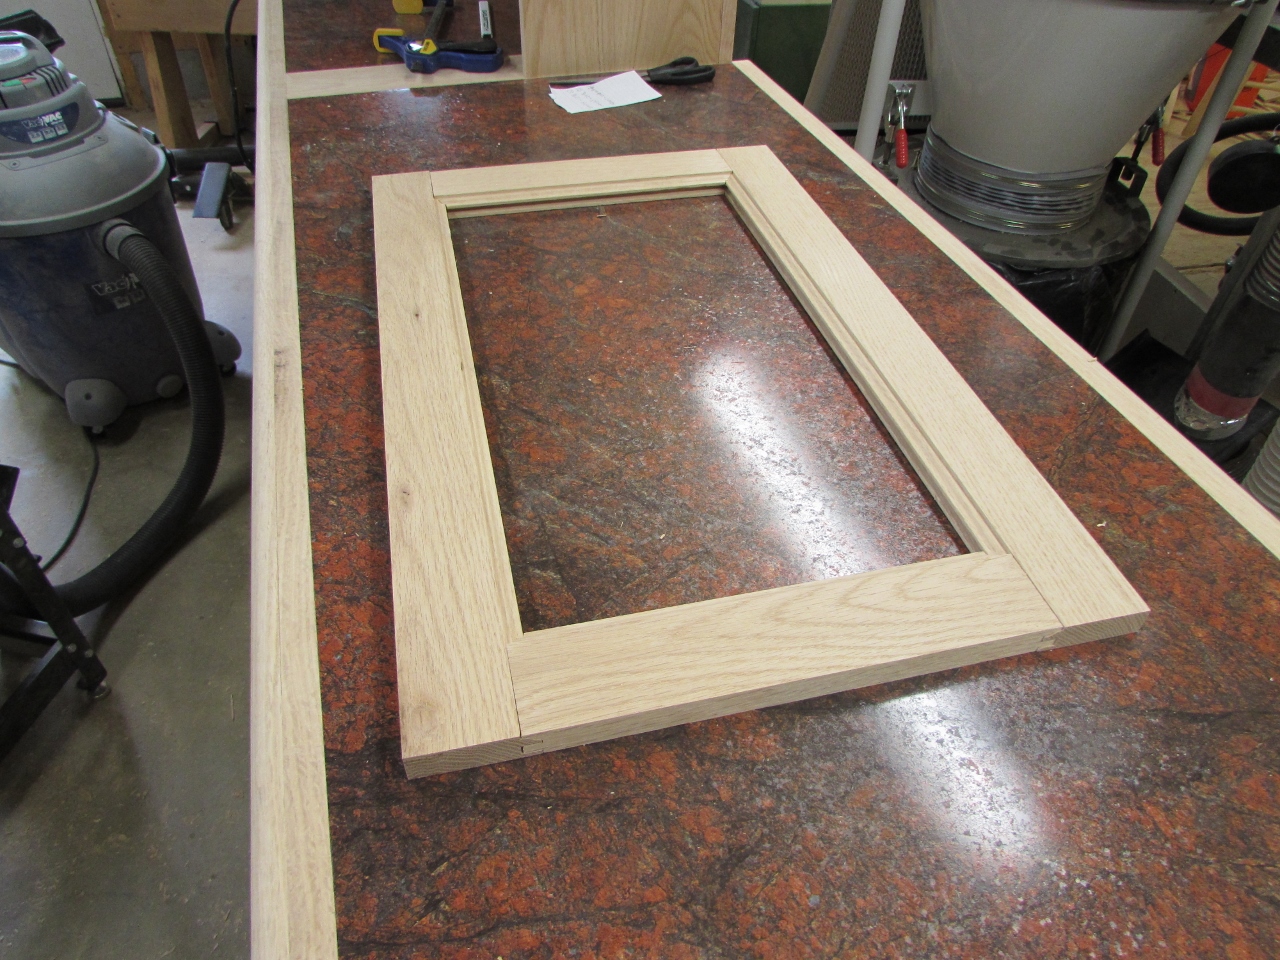
Test fitting the frame
The test fit looks good, so I move back to the panel which is now dry enough to plane down to its final dimension.

Planing the door panel

Routing the panel
After cutting the panel to the exact size, I set up the raised panel bit in one of my routers and trimmed the edges of the panel.

Panel complete
I sanded all the pieces down, then prepared to assemble the door.

Installing spacers
I have a few space balls and even fewer space barrels. They both do the exact same thing, keep the panel from rattling while allowing room for expansion. I like the barrel-shaped ones better because they are a tad squishier. Since I have just enough of them to do one panel, I decided to use them. Normally I use a foam strip, similar to a dense weather stripping material, but I am fresh out of that. I put three spacers up the long sides, and two on each end.
Applying glue to the ends of the short pieces only
I applied glue to the ends of my short pieces only, then clamped the door together, at each end. I put one clamp perpendicular to the other two to prevent the short pieces from spreading out. They are under a little pressure, with the panel pressing the rubber spacers, so the clamp keeps them retained till the glue dries.
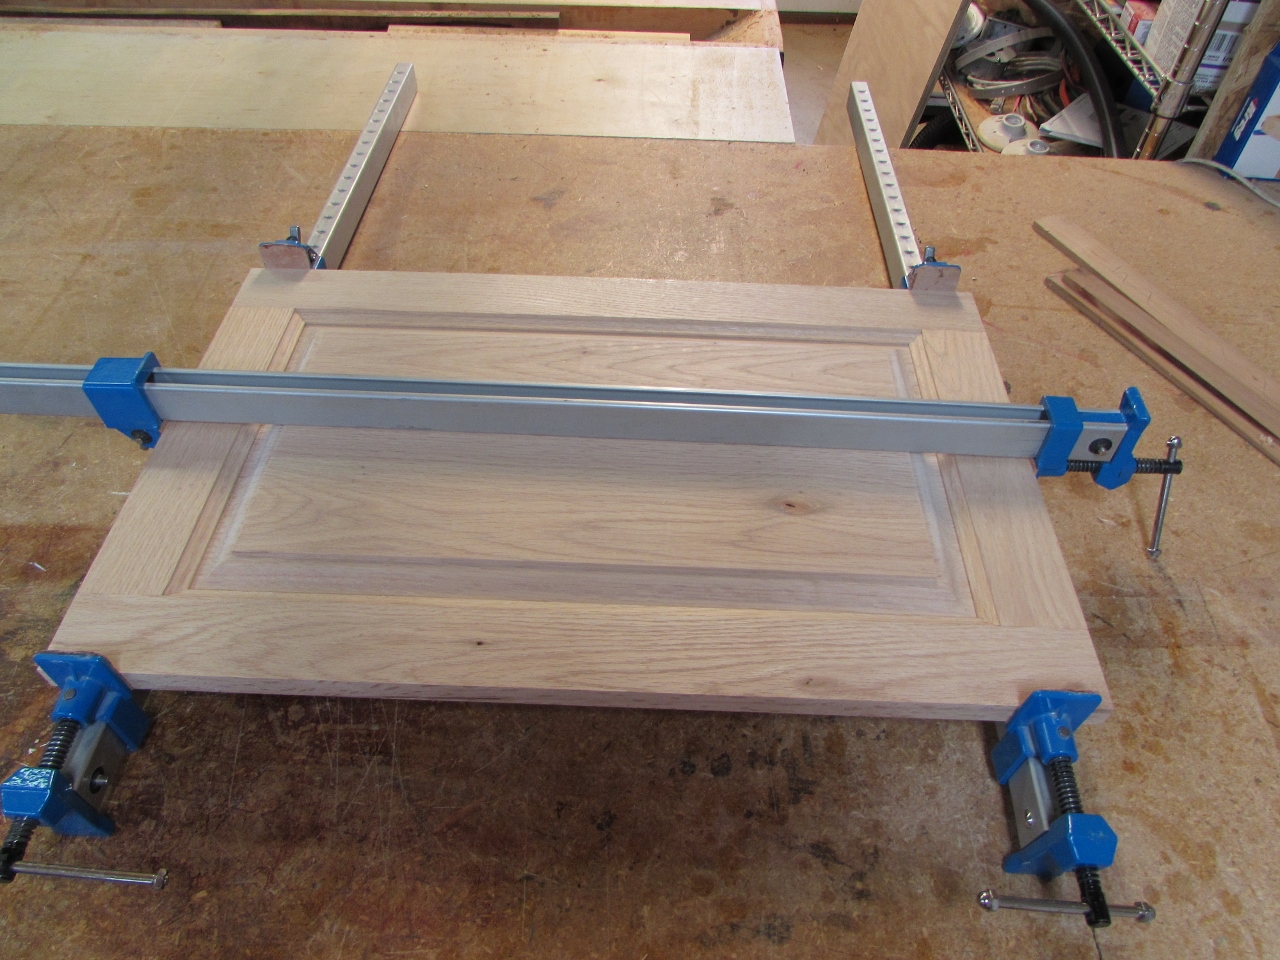
Glueing up the panel

Cutting notches in the shelf
While that is drying, I cut a piece of plywood down to use as a shelf in the cabinet. I notched the corners in the back to go around the trim inside the cabinet. I cut a couple of 11″ long spacers to locate the horizontal rail. I glued and nailed the rail in place, then removed the spacers and used them to add a rail to the opposite side.
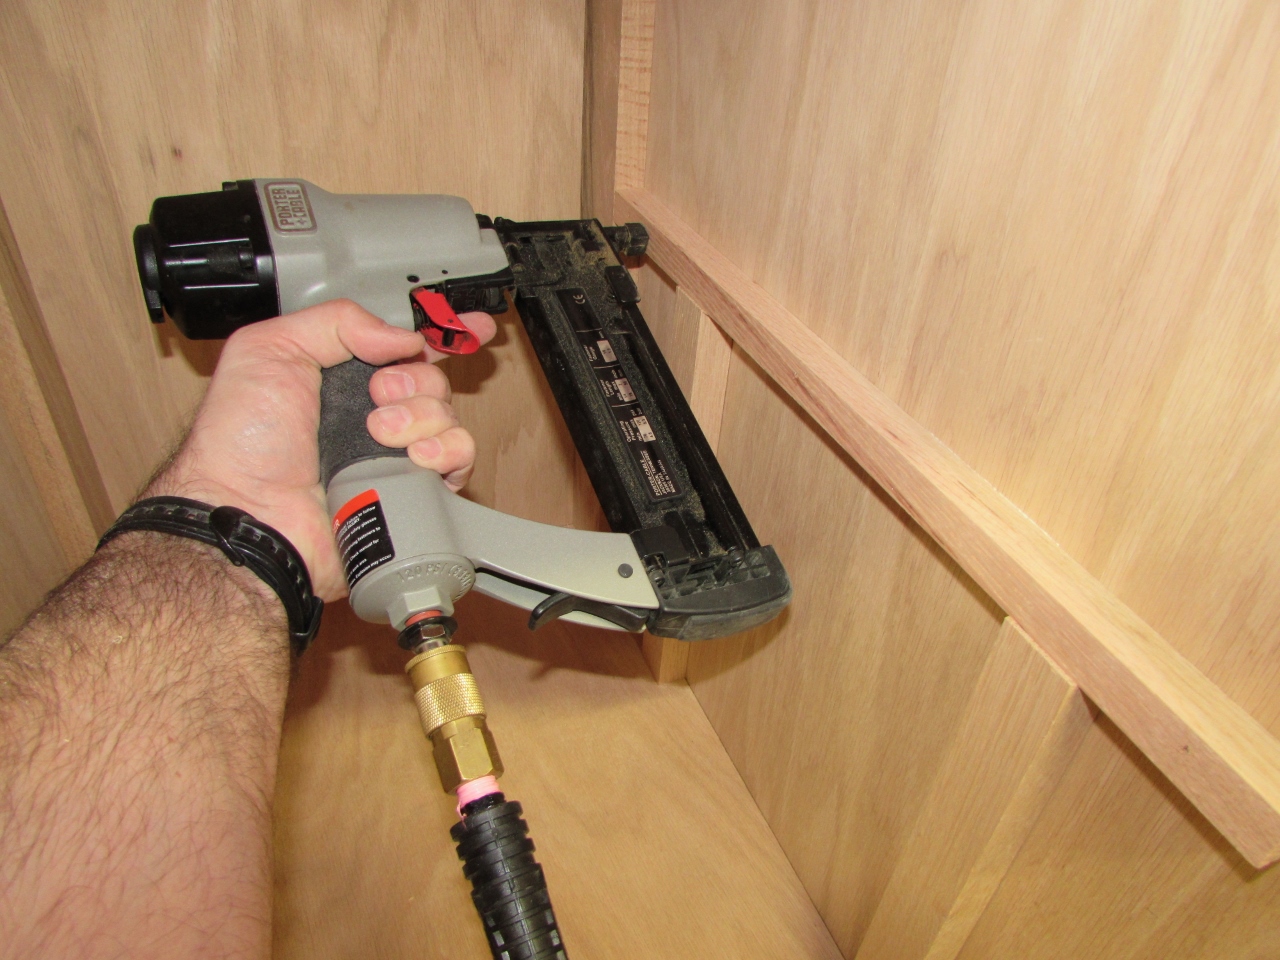
Installing shelf rails
I applied a bit of glue to the top of each rail, then nailed the shelf in place.
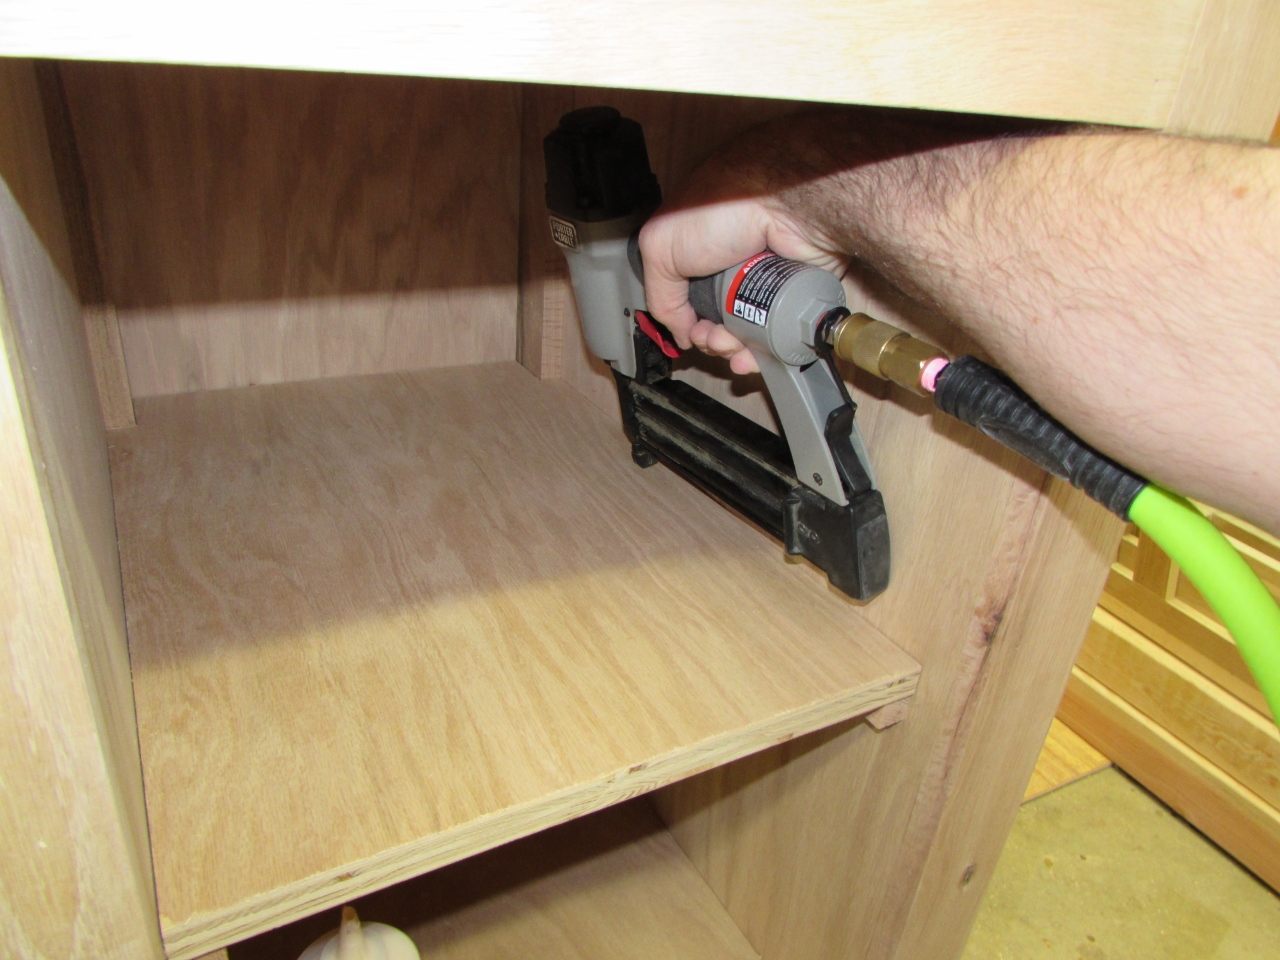
Glueing and nailing the shelf
I cut a 14″ long, 1-1/2″ wide strip to cap the end of the shelf. I routed a 45 degree chamfer on three sides of the cap, just to prevent knuckles from banging into any sharp edges.

Routing chamfers to shelf cap
I attached the cap with glue and more brads.
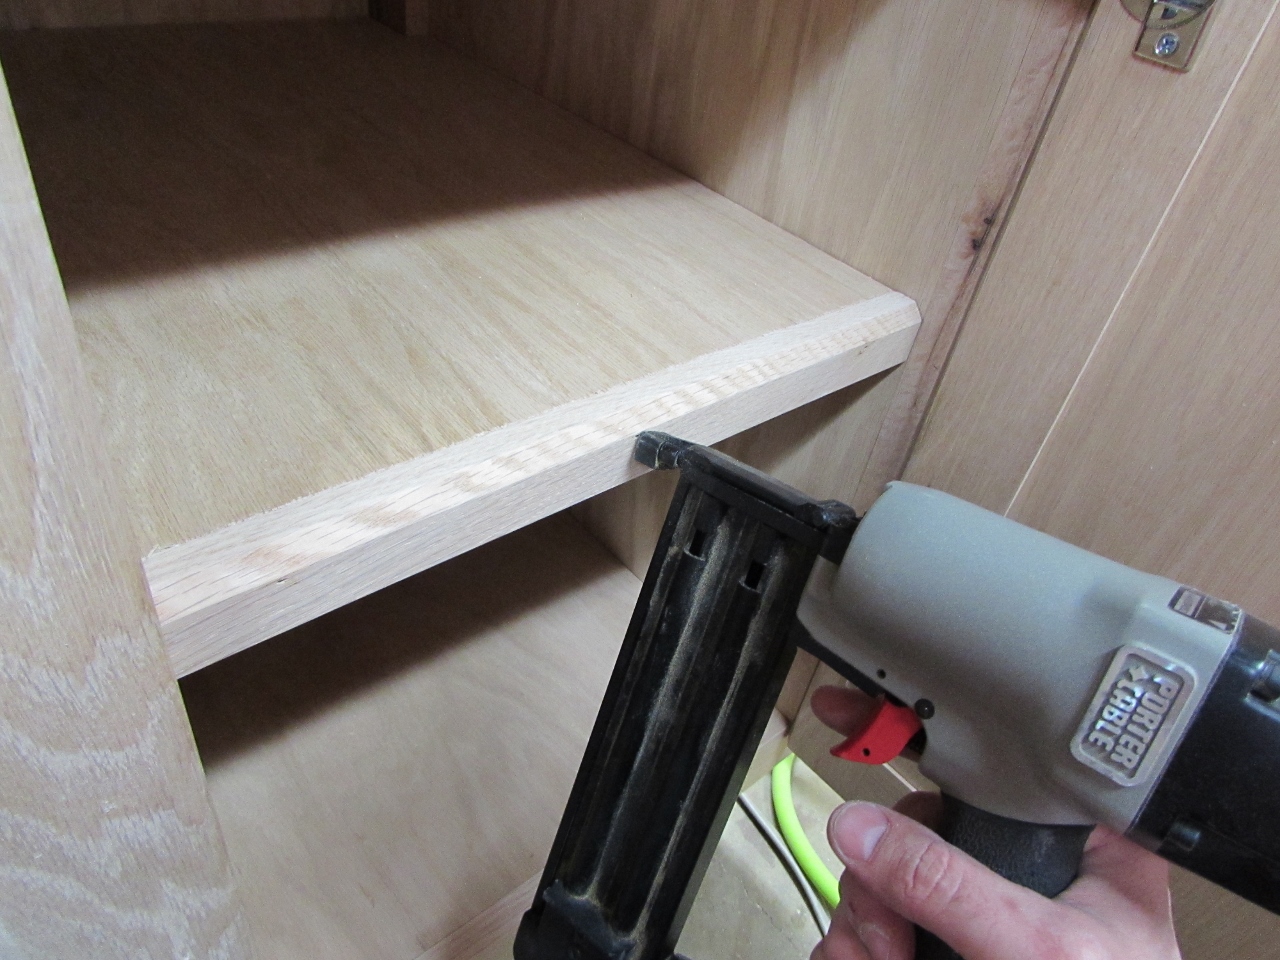
Attaching shelf cap
At this point the glue on my cabinet door had dried, so I set up the door lip bit in my router table and ran a lip all the way around the edge of the door.

Routing the door lip
My cabinet door is now complete. Time to install it.

Door panel complete
I like the versatility of the European style hinges. They are very strong, but also adjustable. You can also get them with different features. These open only to 110 degrees, which will prevent the door from swinging open past the side of the desk, where people could run into it. It also has a soft closing option that will hold it closed, preventing the need for a magnetic catch. The instructions are always in metric, so I take my time figuring out the layout. I always make a test piece before making a single mark on my project. As you can see from the test piece, my first hole was not where it should have been…

Test fixture for the hinges

Drilling out the doors
Once I had the layout, I drilled the large holes in the door panels, then laid out the other side on the inside of the cabinet.

Locating hinge hardware

Marking the holes
I marked and predrilled all the screw holes.
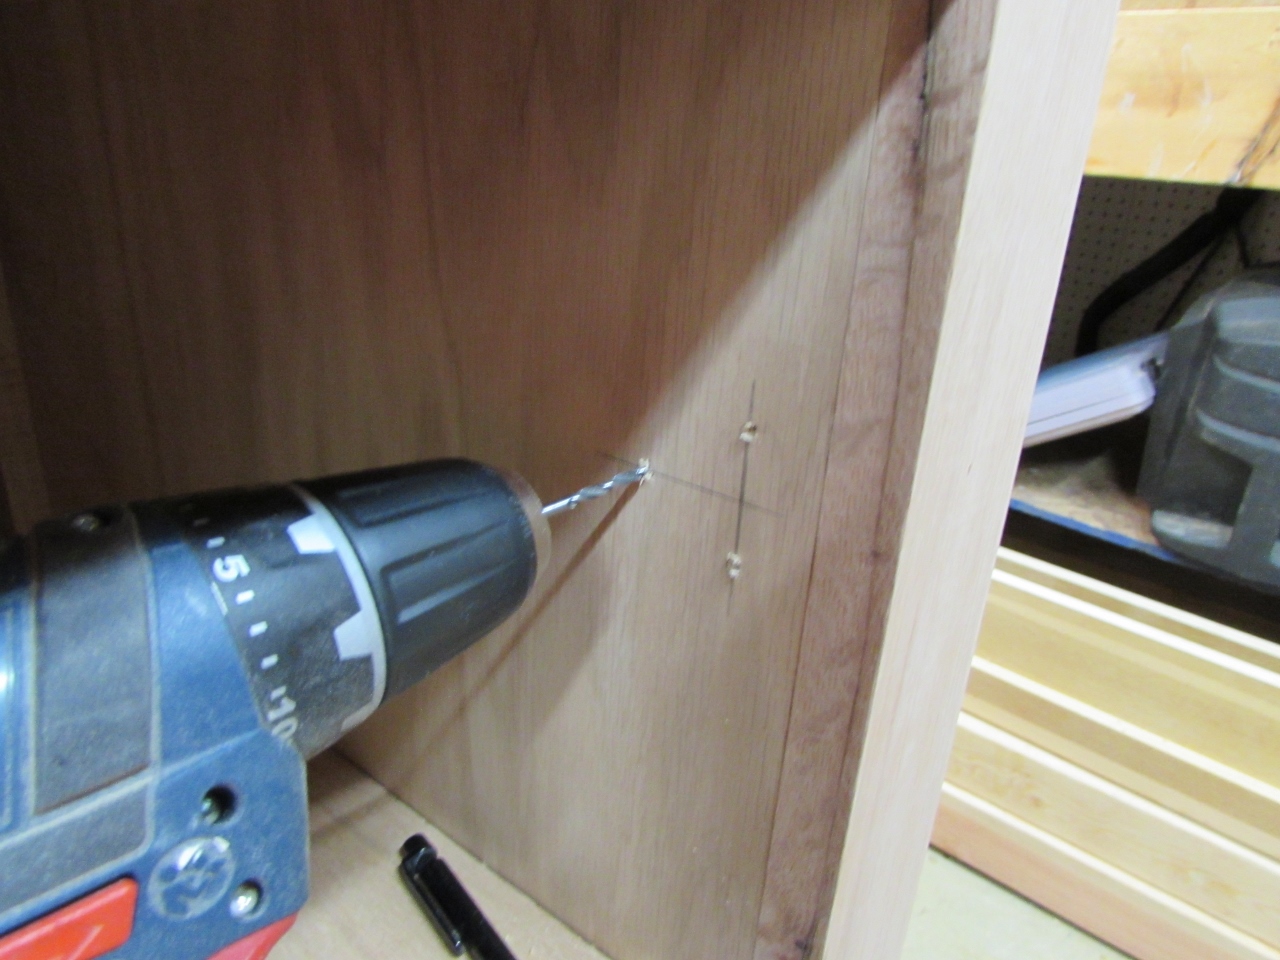
Pre-drilling

Hardware installed
I attached the cabinet side pieces, then pre-drilled the screw holes in the door panel and installed the rest of the hardware.
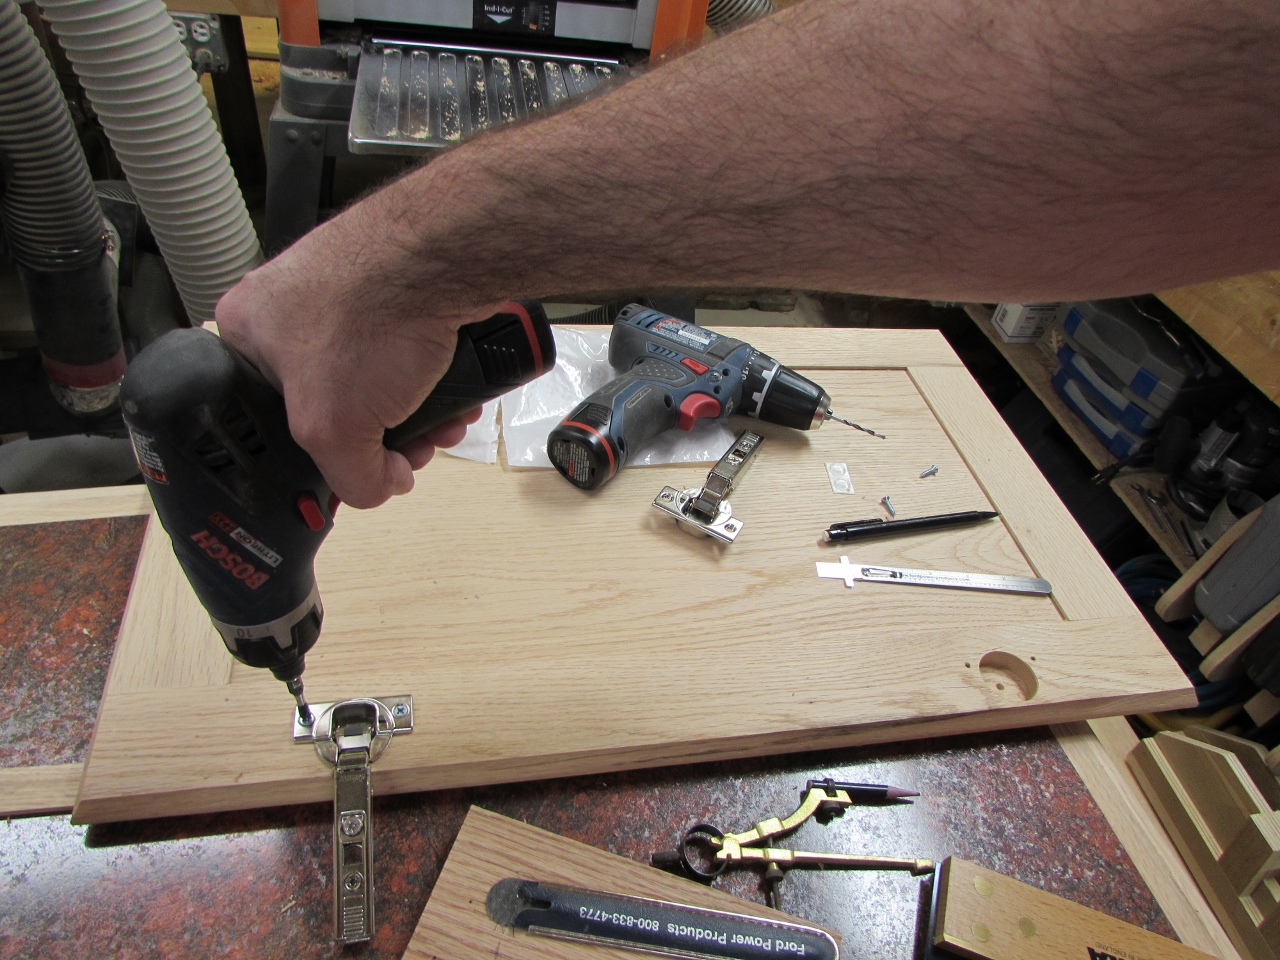
Attaching the hinges to the door panel
I was surprised that the door fit perfectly. Usually a little tweaking is required…
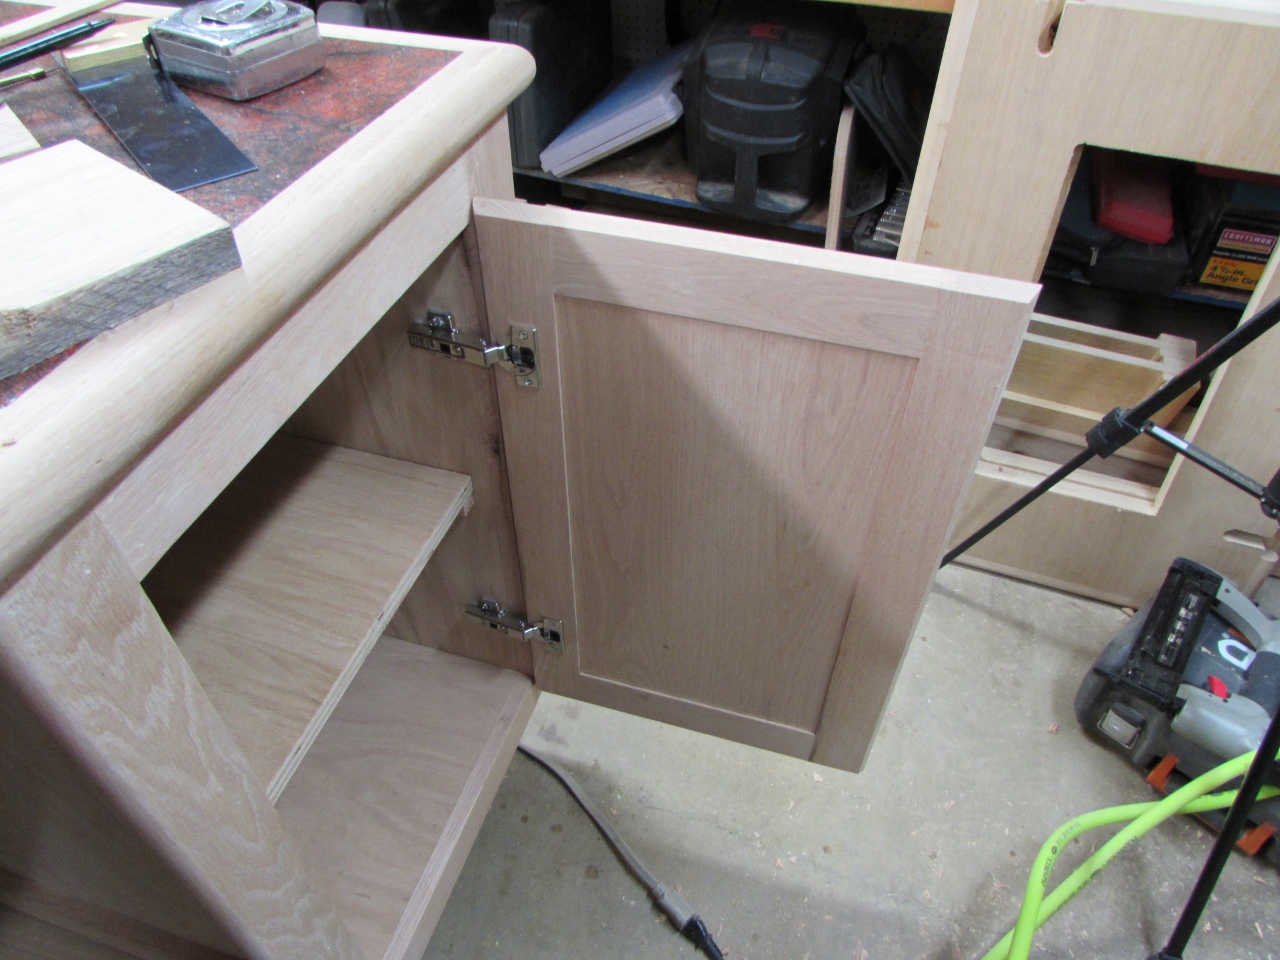
Surprisingly perfect fit
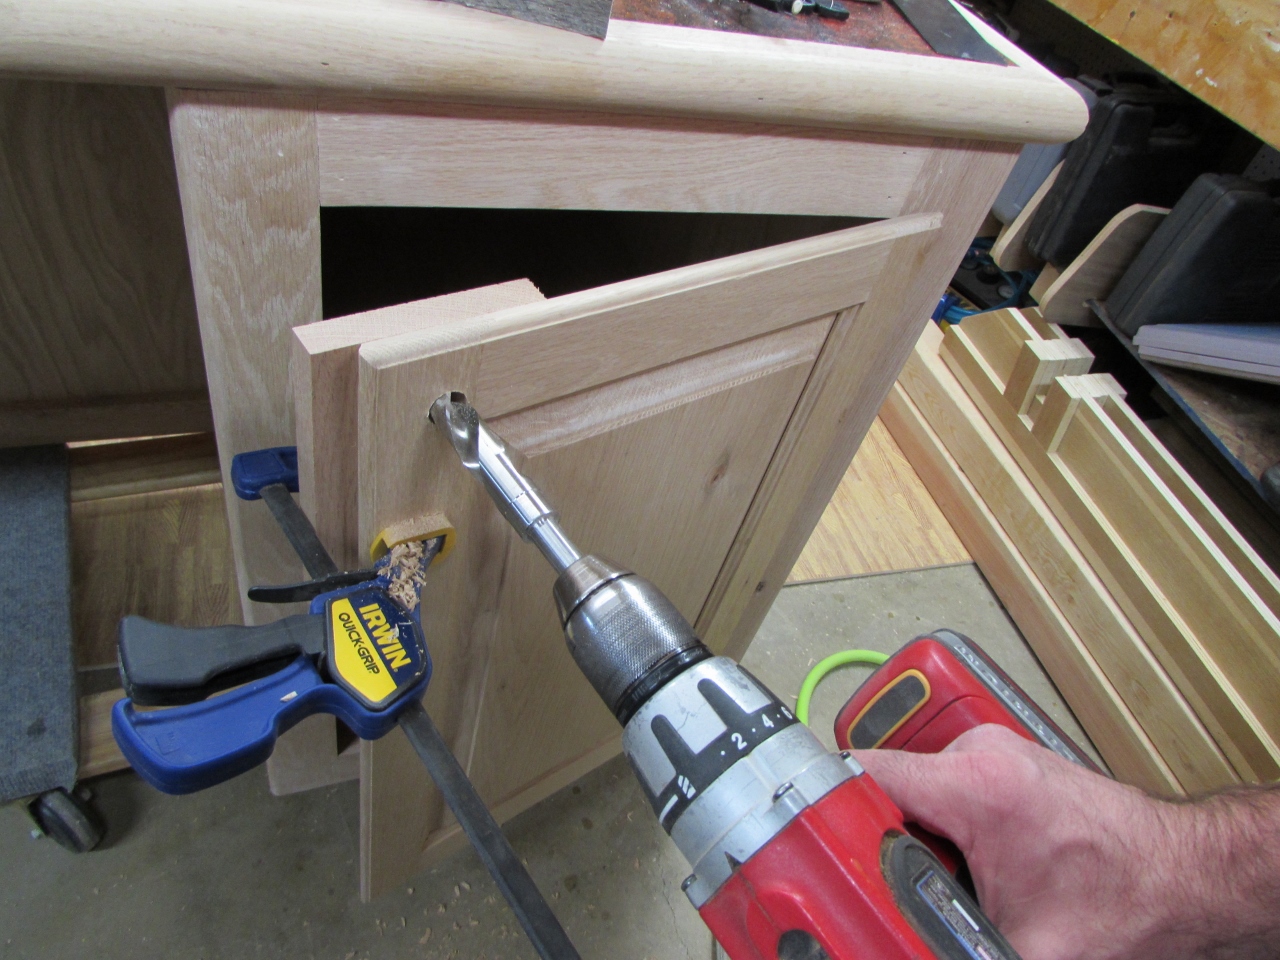
Drilling out the lock
Now that I can see exactly where the door will land when closed, I can drill out the hole for the lock. I clamped a backer board to the door to prevent any blow-out on the back side.

Lock installed
With the door hardware installed, the construction phase is complete.

Desk construction complete
Before I can stain the desk, I want to fill all of the more visible nail holes. For the last couple of days, I have been sanding without hooking my sander to the vacuum. This was so I could collect the very fine dust it created in the bag. This fine dust is called wood flour and it is perfect for making your own wood filler.

Harvesting wood flour

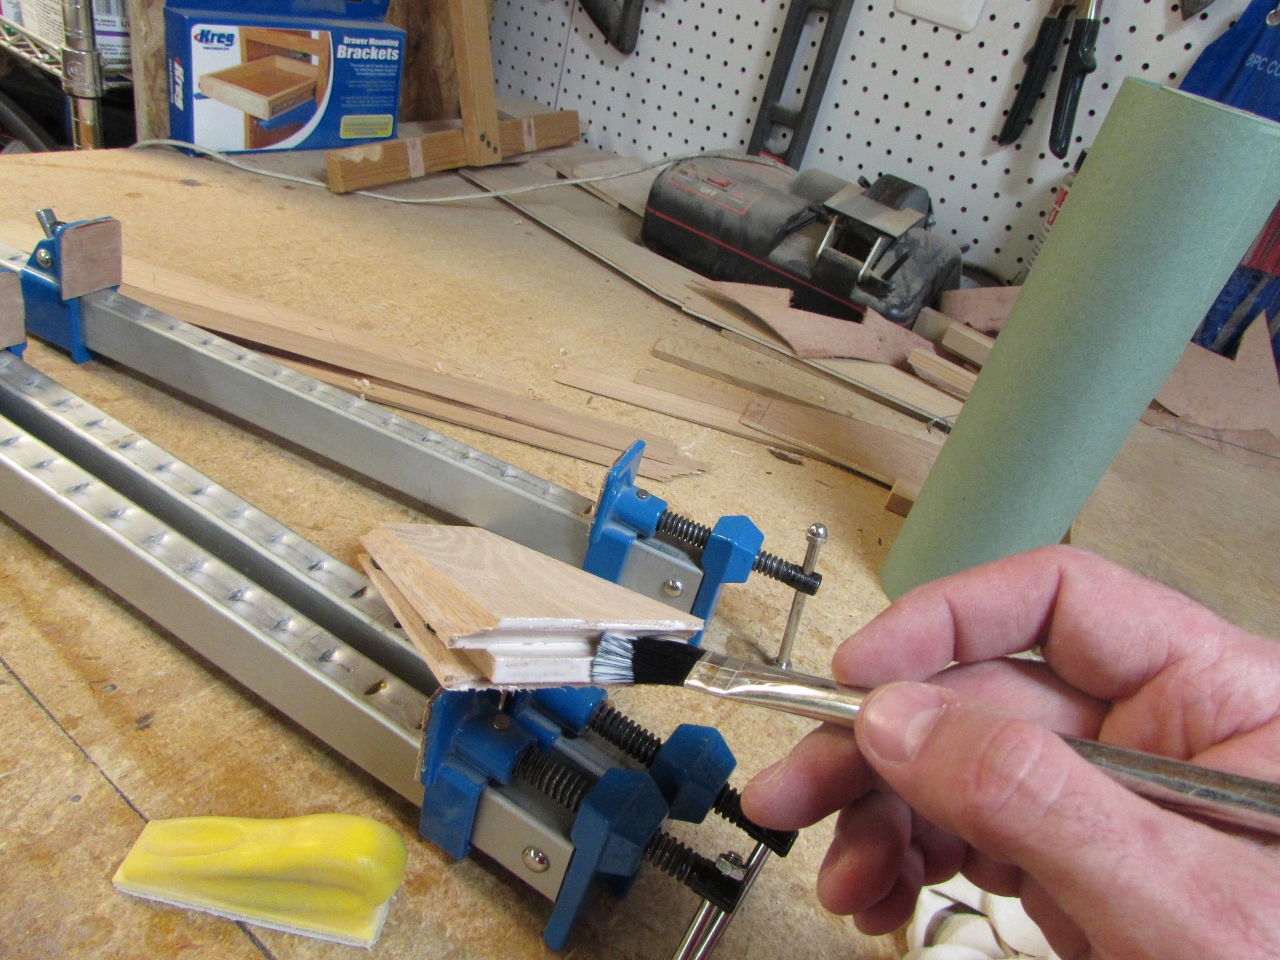
Adding hide glue
Most wood glues fill the pores of the wood and create a barrier that prevents stain from adhering properly, even with sanding. Hide glue does not create that barrier, so I mix hide glue with the wood flour to create a paste. It makes the filler a lot darker than the wood, but I am staining this project, so it will be fine. If I were not staining it, I would use shellac instead of the hide glue, so the color would be lighter.
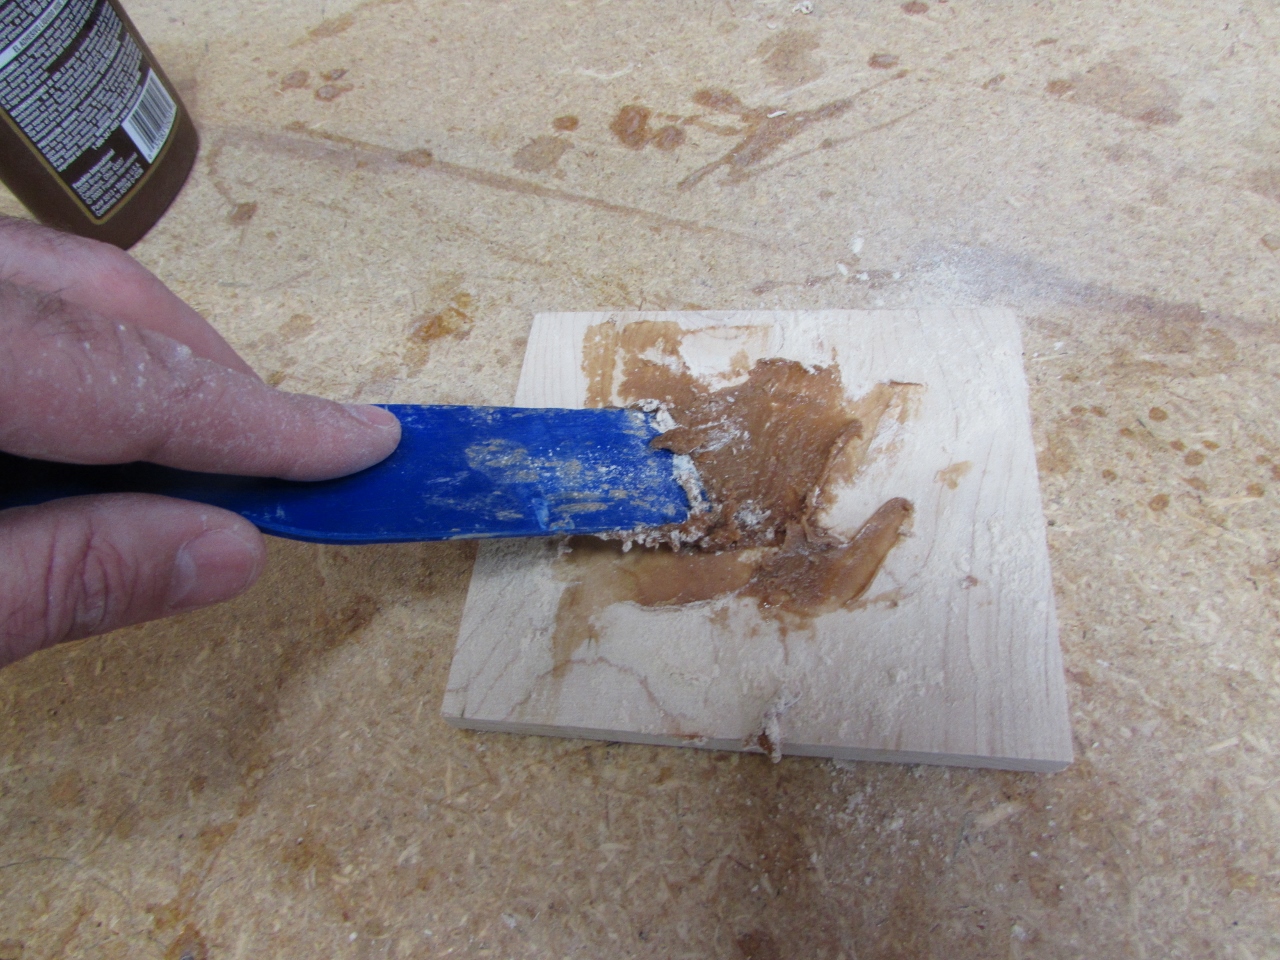
Creating a filler paste
I used a putty knife to apply the wood paste to all of the visible nail holes, then moved on to masking off the Formica while that dried.
Filling nail holes

Masking the Formica edges with Frog tape
I used Frog tape to mask the edges of the Formica because it has a chemical, in the adhesive, that prevents your finishes from sticking to it. Then I filled in the rest with paper and held that in place with regular painter’s tape.
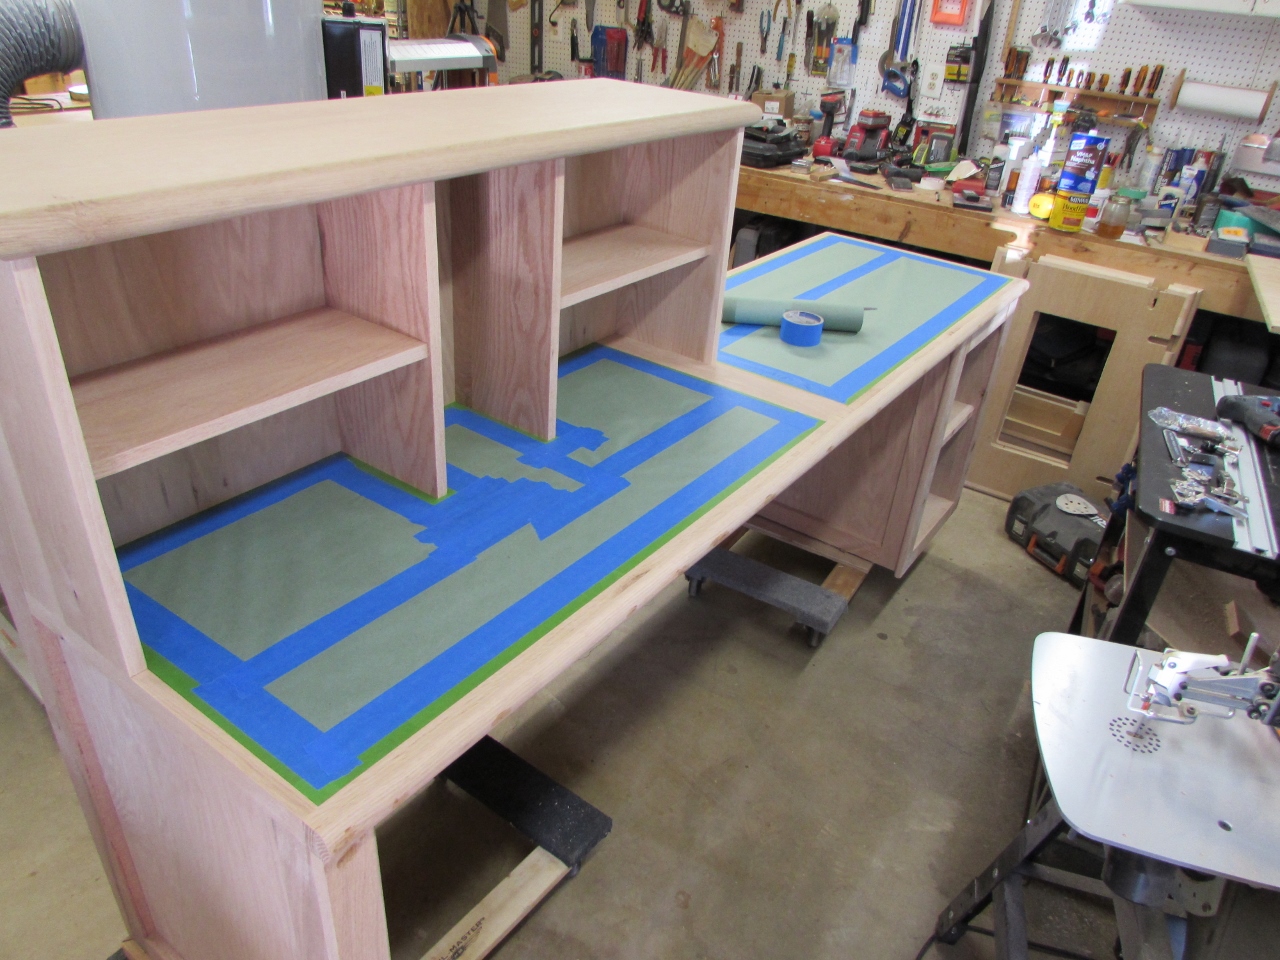
Masking the rest with paper and painter’s tape
After an hour or so, the wood filler dried enough that I could sand away the excess, leaving only a slightly darker spot behind.
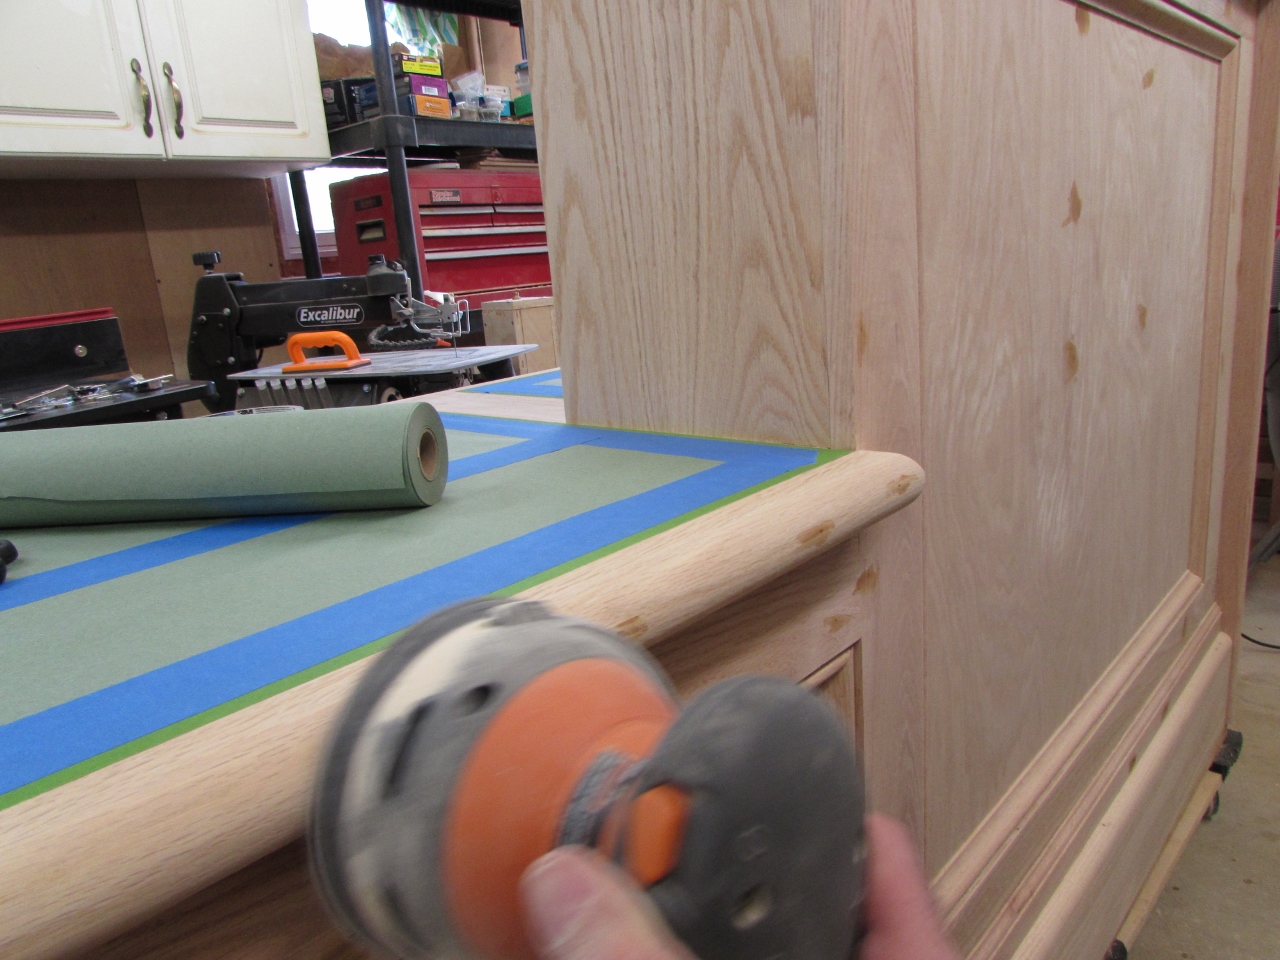
Sanding down the wood filler
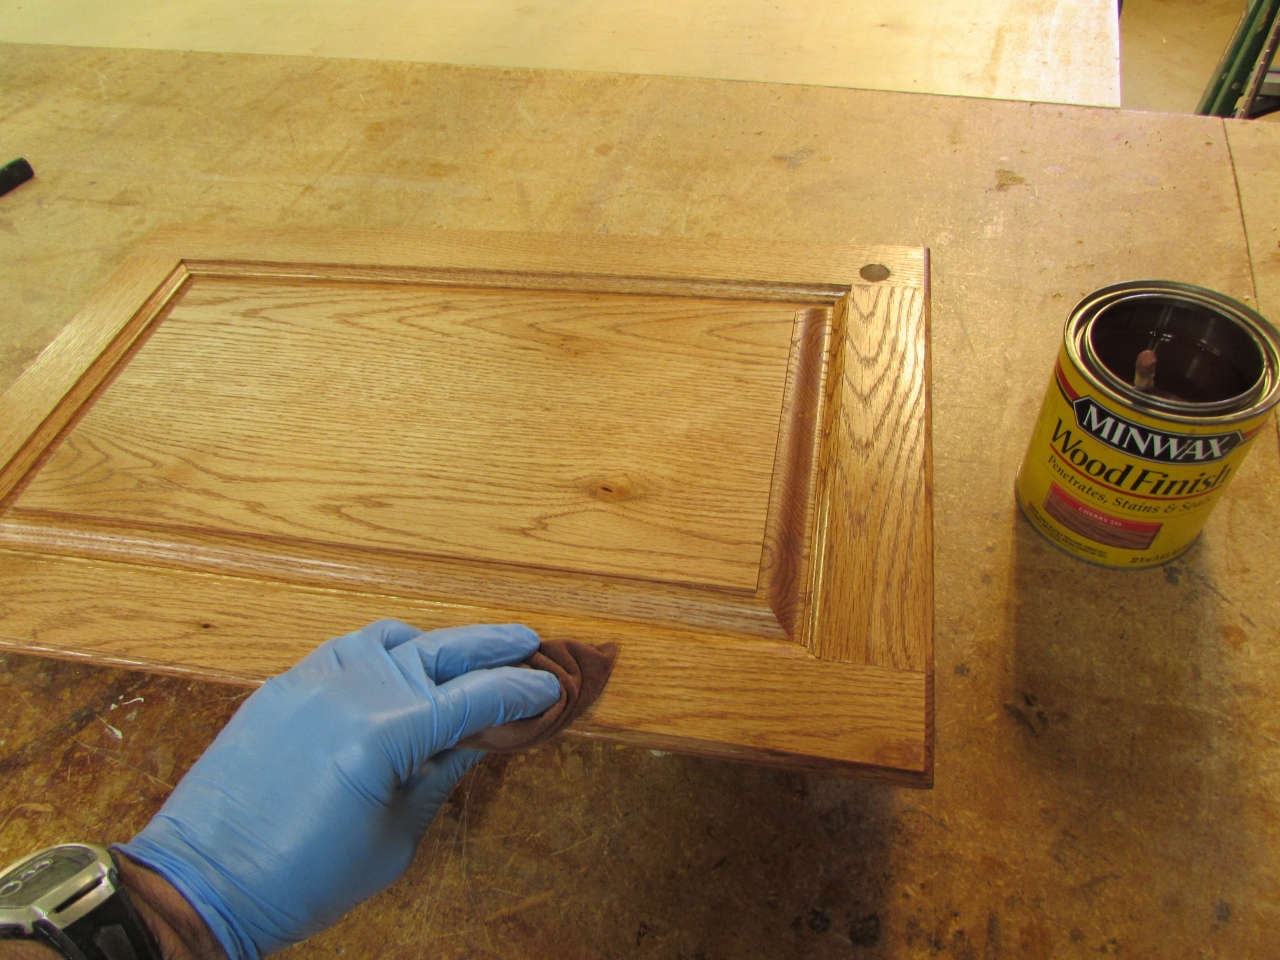
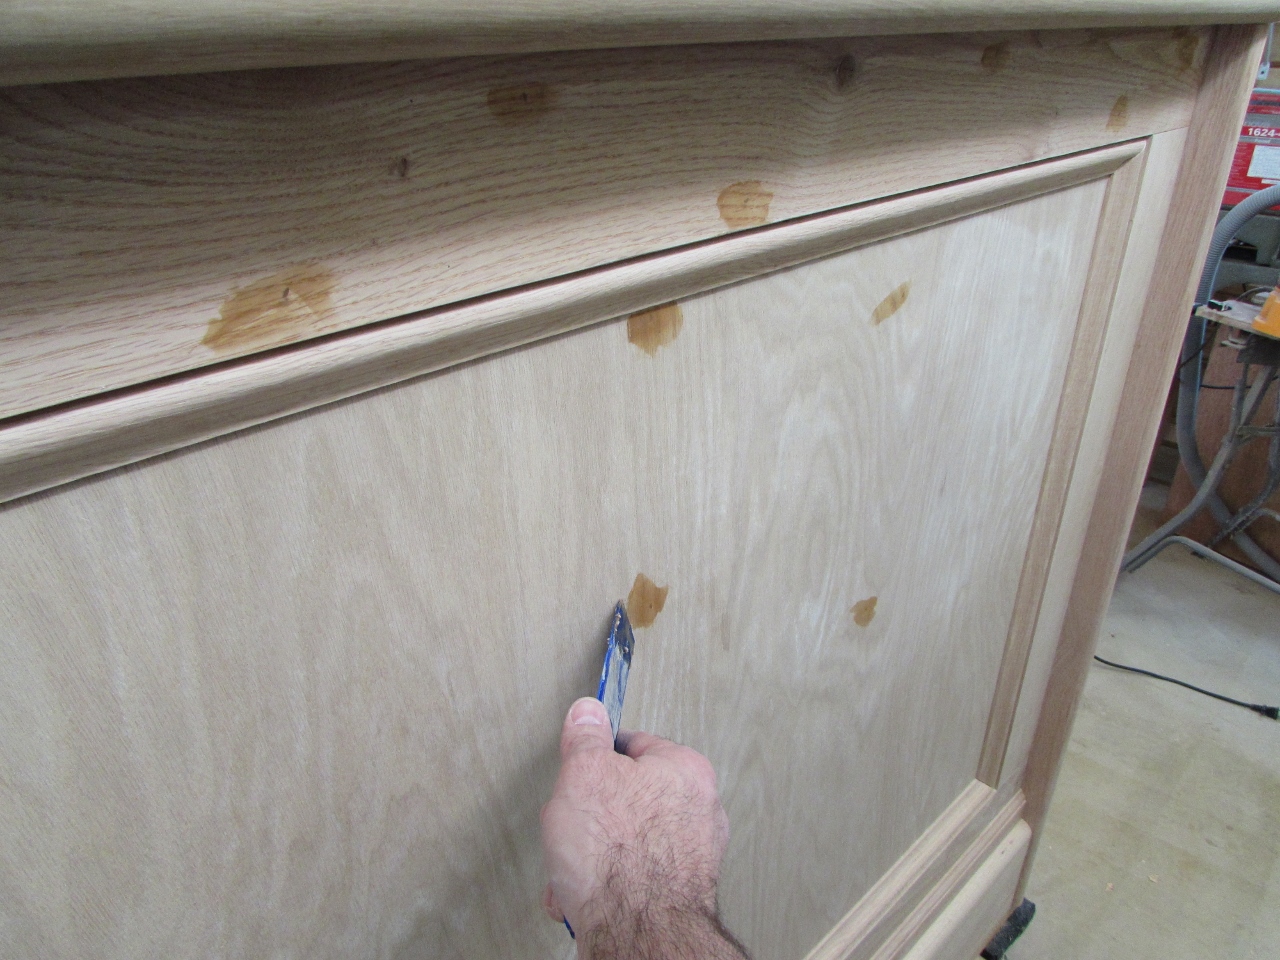
Staining the door
After sanding, I stained the door panel first, then moved over to the front of the desk.
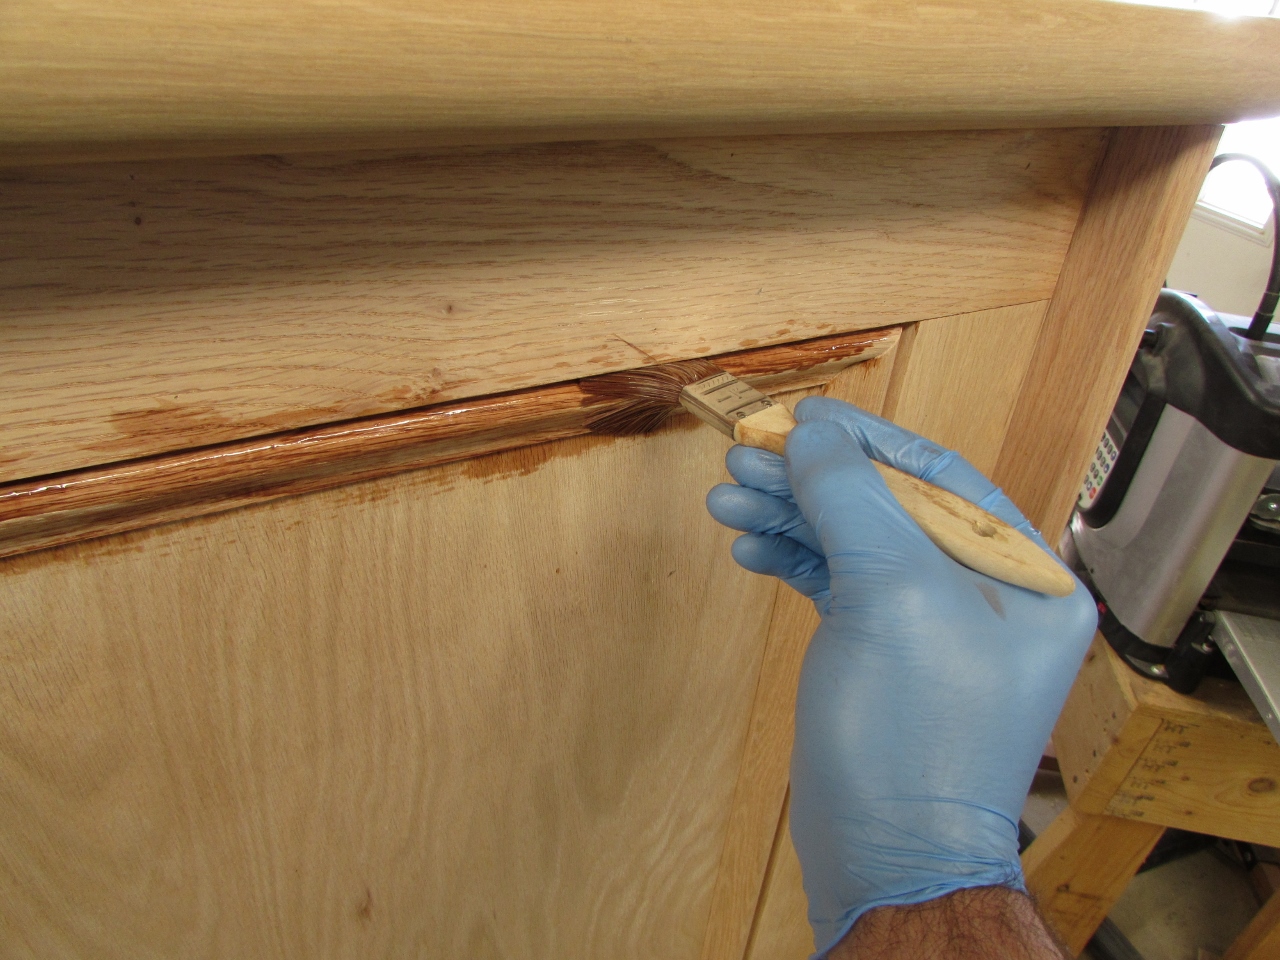
Using a brush to stain the tight spots
I used a small disposable brush to cram into the tight corners and spread the stain where the rag couldn’t reach. The rag, that I am using, is just a piece from an old tee-shirt. It has been sufficiently worn out so it is mostly lint-free at this point.
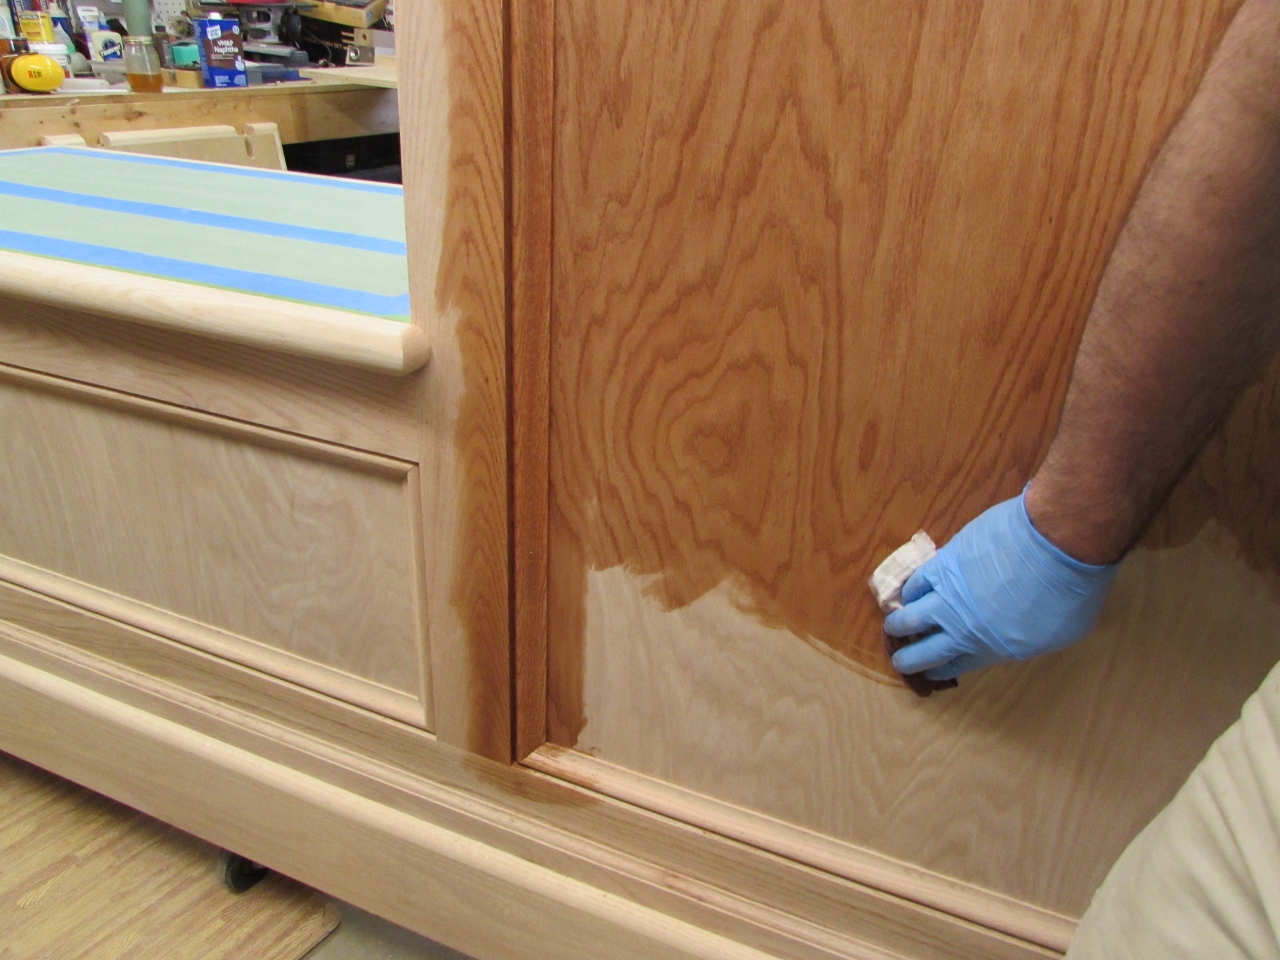
Applying the stain with a rag

Front stained
I spent quite a lot of time crawling around, staining everything but the bottom of the counter top.

Side and cabinet stained
I will give the stain 24 hours to dry, then figure out how I want to apply the polyurethane.

Staining complete!

Beautiful!