
Reception desk – day 6
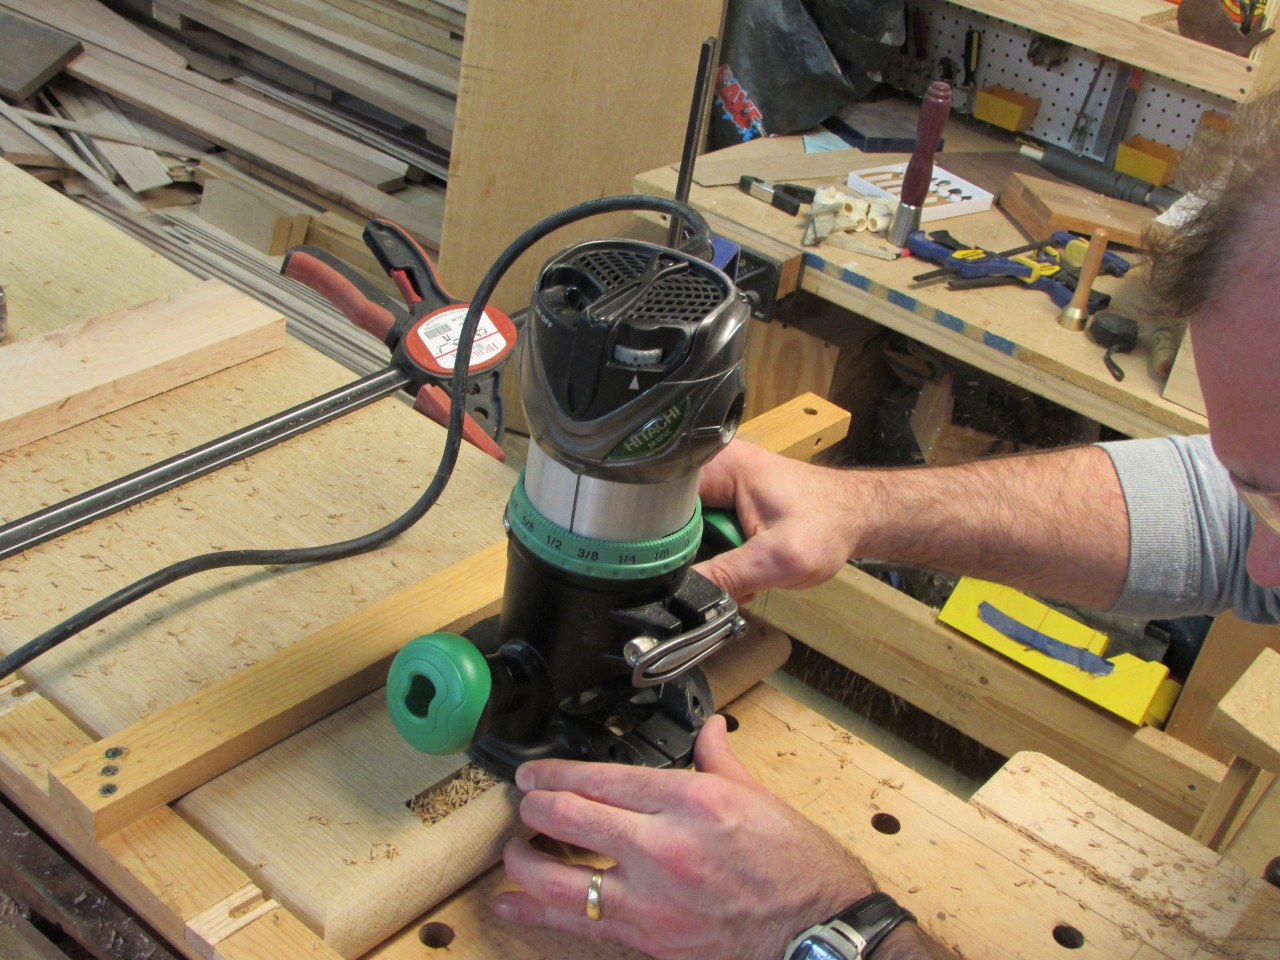
Since I have large round-overs around the counter top, My T-square jig won’t work the same as it did for the shelves. I won’t be able to line up the notch with my cut. I cut down a block to the exact distance from the edge of the router base to the far side of the router bit. I line this block up on my mark, and clamp the T-square down.

Locating the straight edge
This locates my cut perfectly in line with the edge of my dado. I made three passes with the 1/4″ router bit to create the dado, then cleaned up the bottom of the dado and squared up the ends with a chisel.
Routing the stopped dados
I repeated the process on all four dados.

Dados all cut
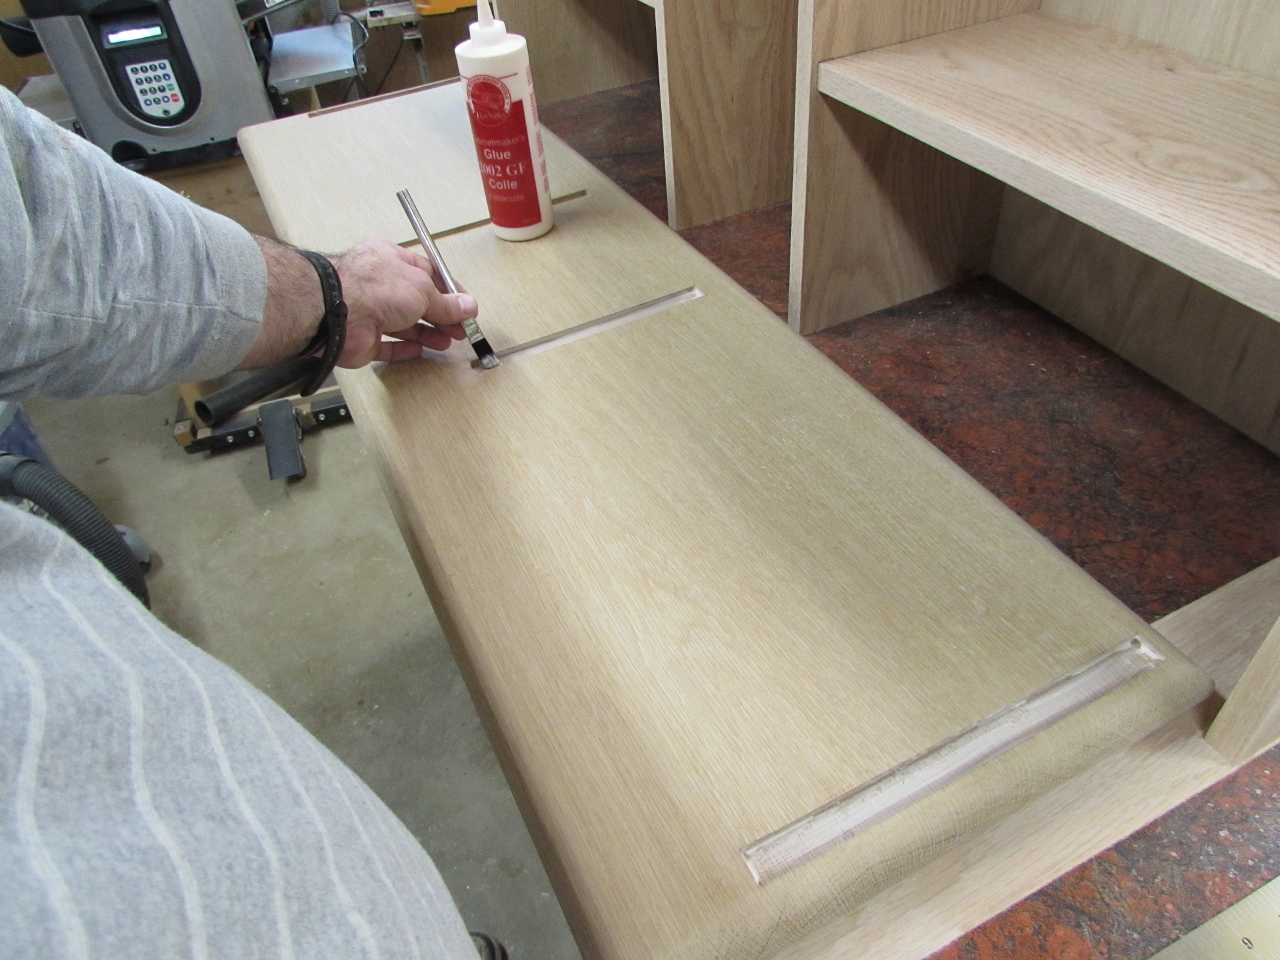
Applying glue
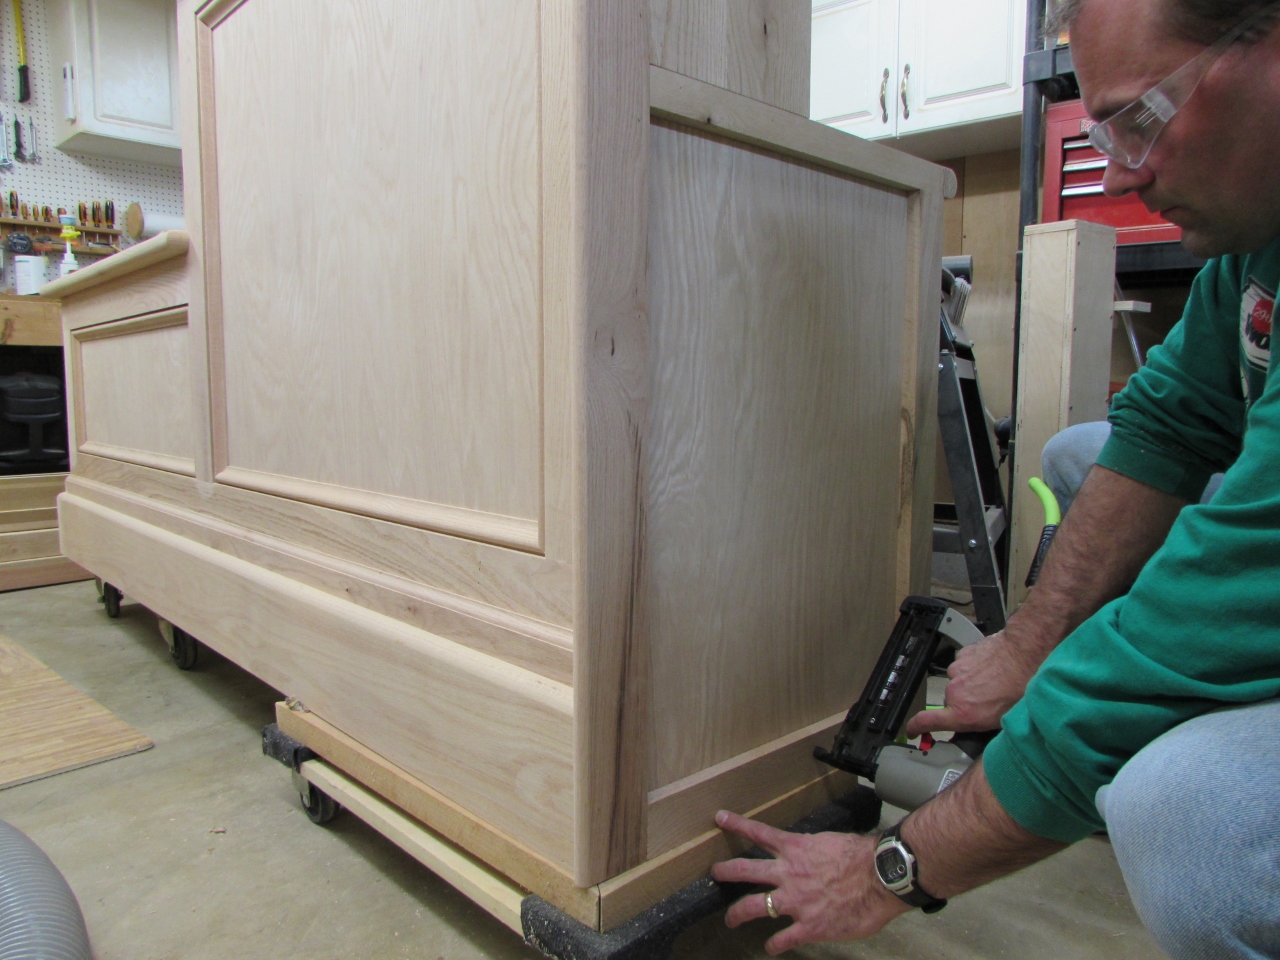
I applied glue to the inside of the grooves with a stiff brush, then flipped the counter top over and pressed it into place. I used my brad nailer to toe-nail the vertical panels to the shelf, to hold it while the glue dries.
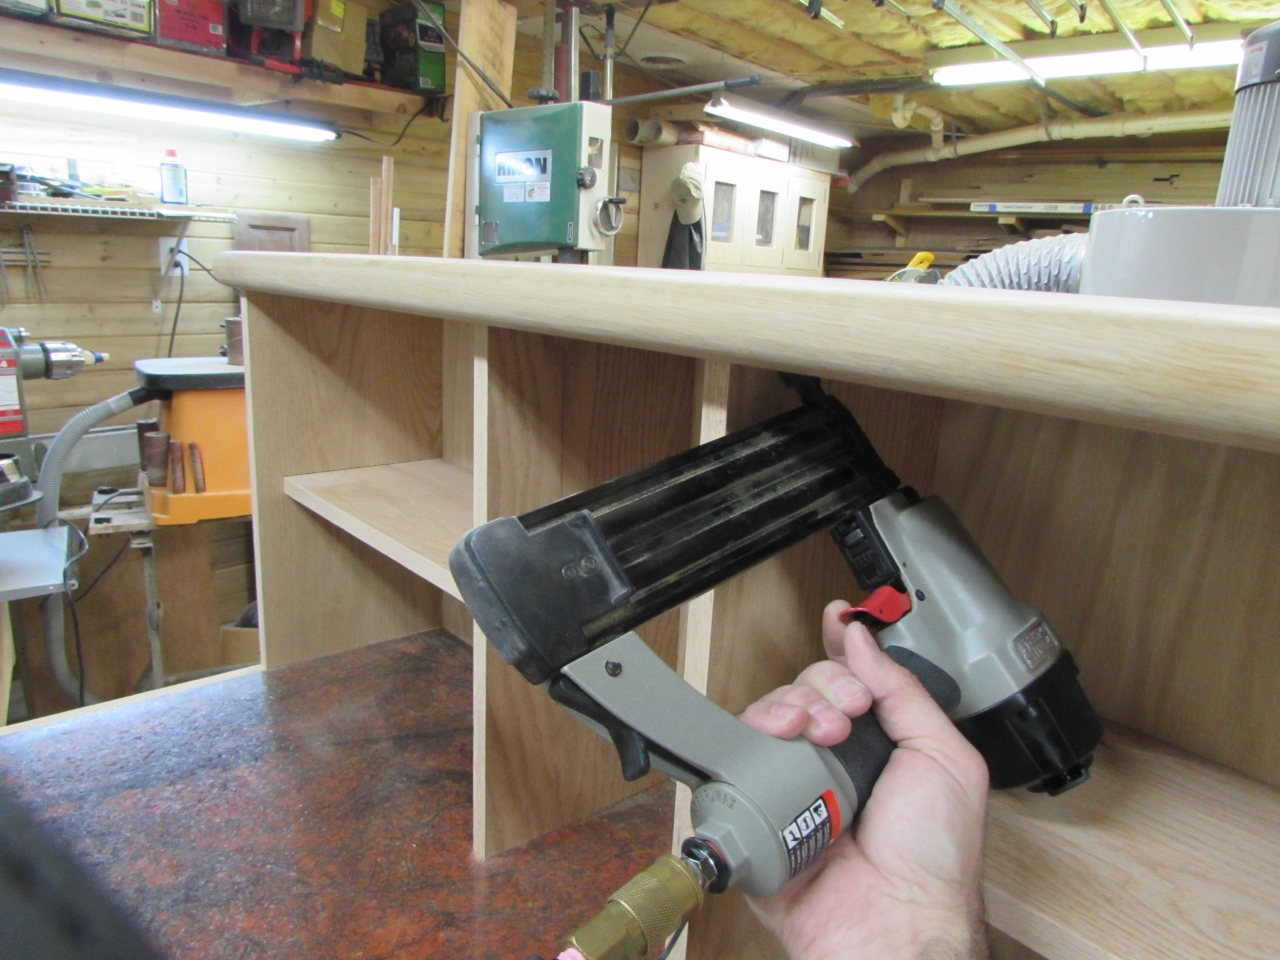
Toe-nailing on the top
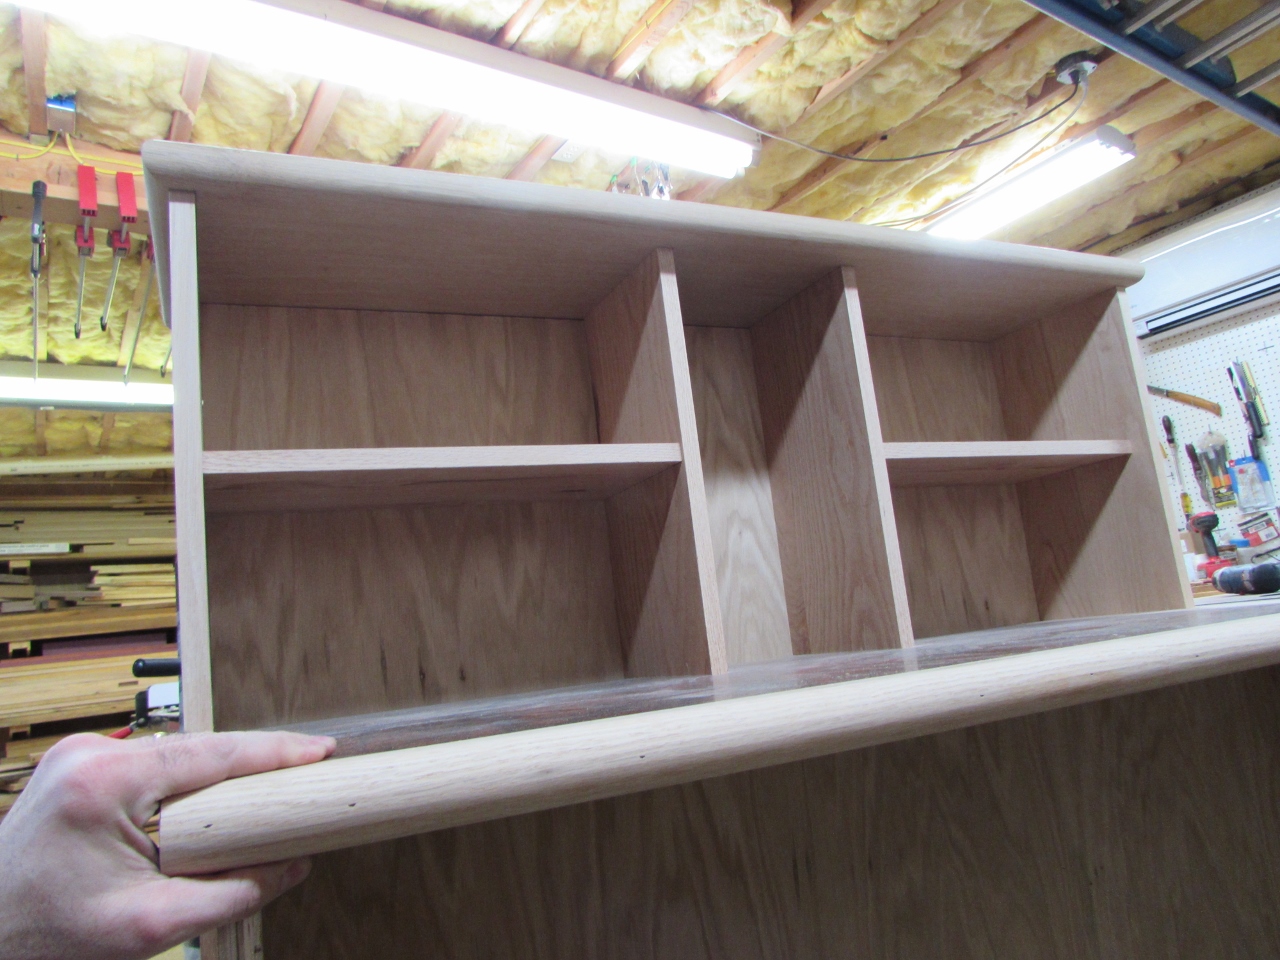
Top installed
With the top done, I moved on to cutting out the trim for the inside of the desk. Most of the pieces will be 2-1/4″ wide. Just wide enough to cover up the pocket hole screws.

Cutting out the trim for the inside

Applying glue to the back of the trim
I applied glue to the backs of each piece of trim and attached them with 1-1/4″ brads.
Attaching the side trim
I finished trimming the left side first, then I trimmed out the main inside area, top and bottom. I also placed vertical trim at the corners and one in the middle to cover the plywood seam.

Attaching the inside trim
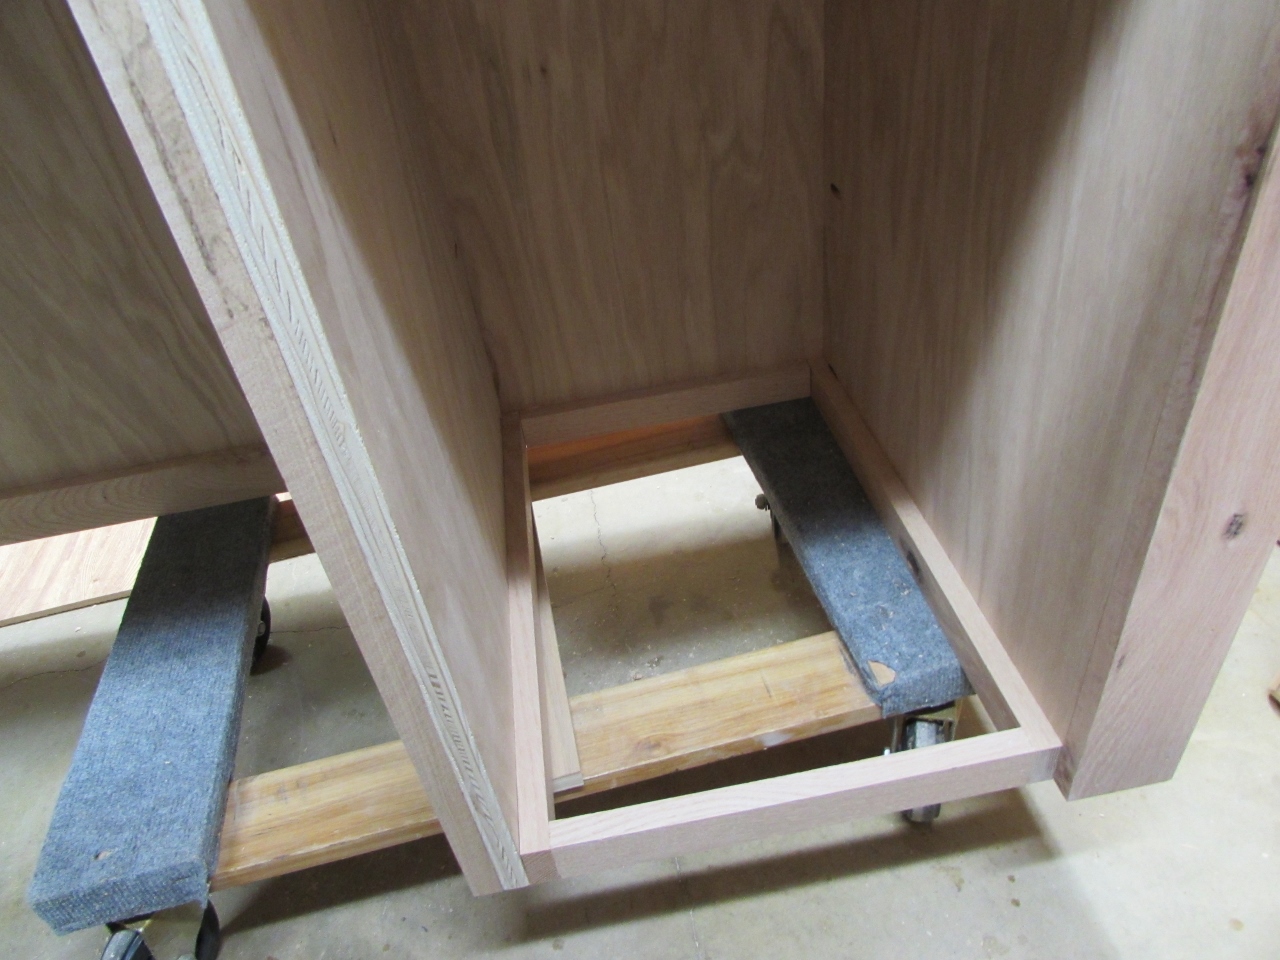
Framing the bottom
Before trimming the cabinet area, I created a 1-3/4″ base at the bottom, then placed a piece of 3/4″ oak plywood on top of it.

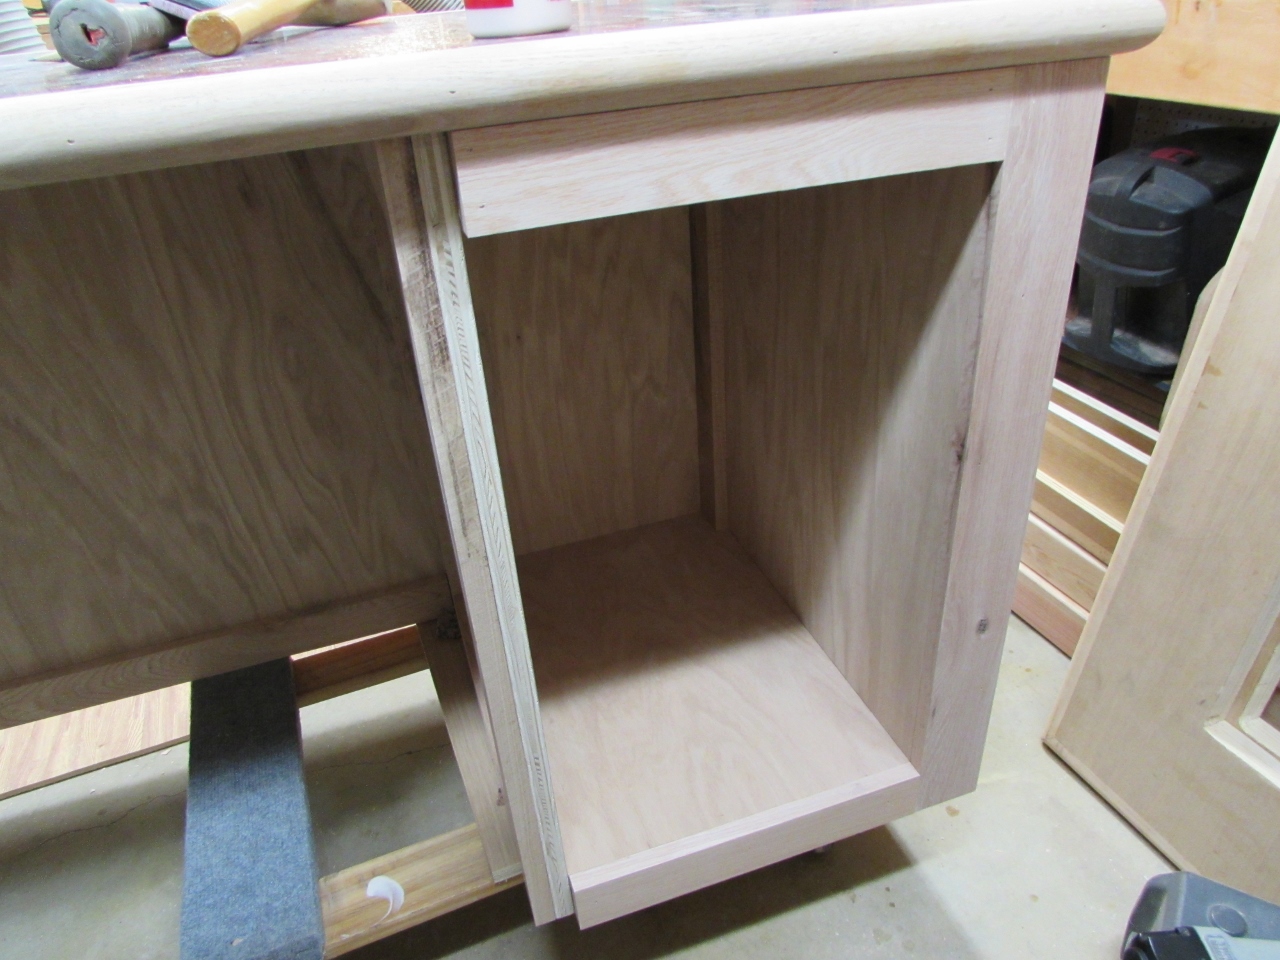
Installed shelf
Next, I trimmed out the rest of the inside, then added a face piece to the top and bottom.
Installed inside and face trim

Routing a double round-over
The last two vertical pieces will have a fully rounded over edge to match the piece on the far right. I rounded over two pieces on the router table, then glued and nailed them in place.
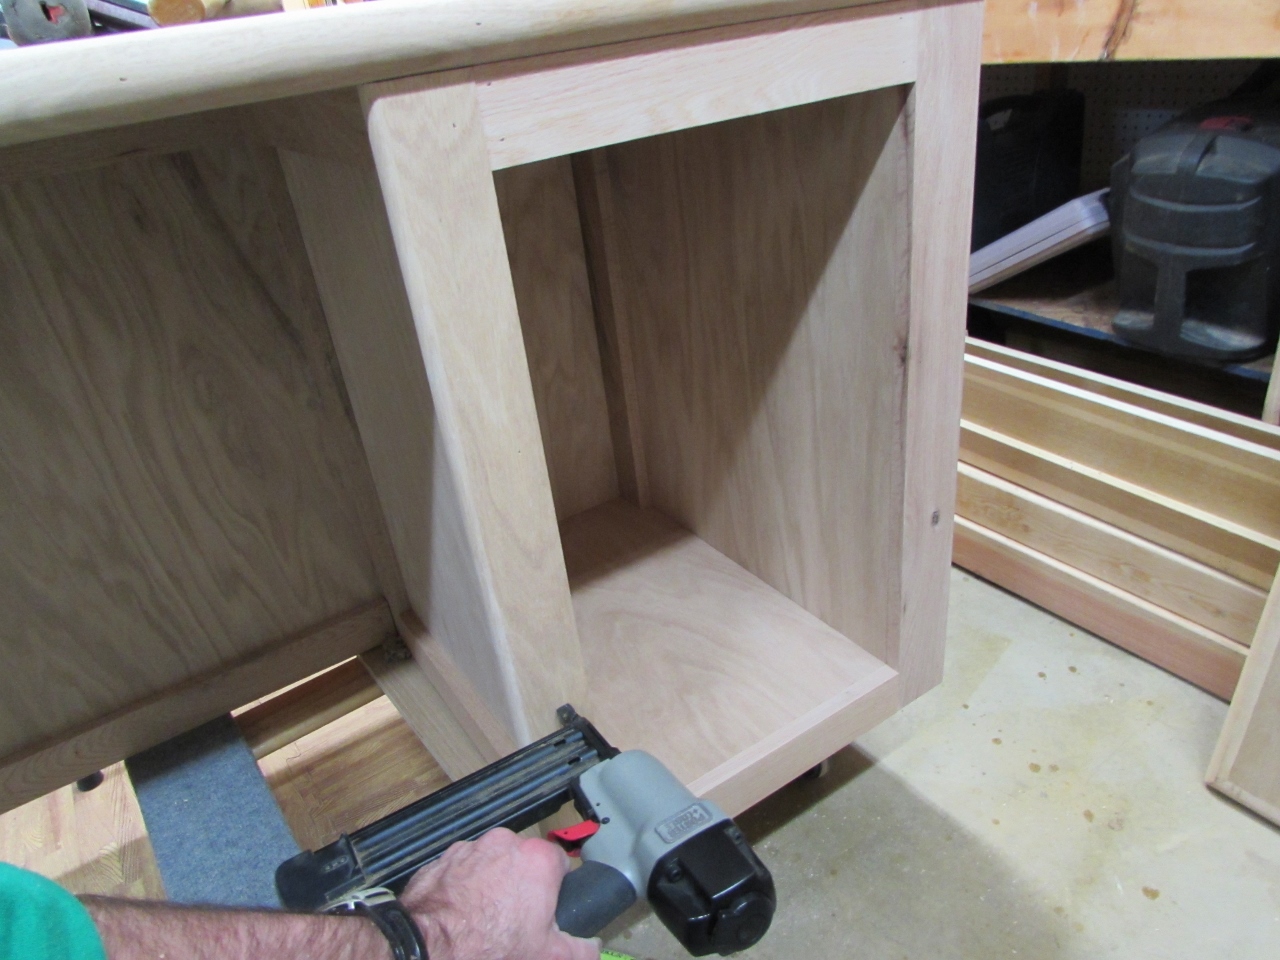
Installing the last two pieces of trim

Trim complete
Well it is coming up on midnight again, and I have had a long day. I am going to leave the shelf and cabinet door for the weekend. That and finishing are all that is left on this project.
