
Reception desk – day 5
Yesterday’s panels are cured, so I ran them through the planer, taking them down to 3/4″ thick.

Planing down the panels
I ran all of the boards through the table saw to take them down to the final width. Next, After squaring up one side on the miter saw, I clamped all of the boards together and cut them all to exactly the same length. The upper level of the desk is 17-1/2″ tall, so I made these boards 1/4″ longer than that.

Cutting them all to the exact same length
I want a shelf located halfway between the counter tops on each side. I marked the location on the side piece then squared up a shelf in that spot. Holding the shelf in place, I traced a mark all the way around.
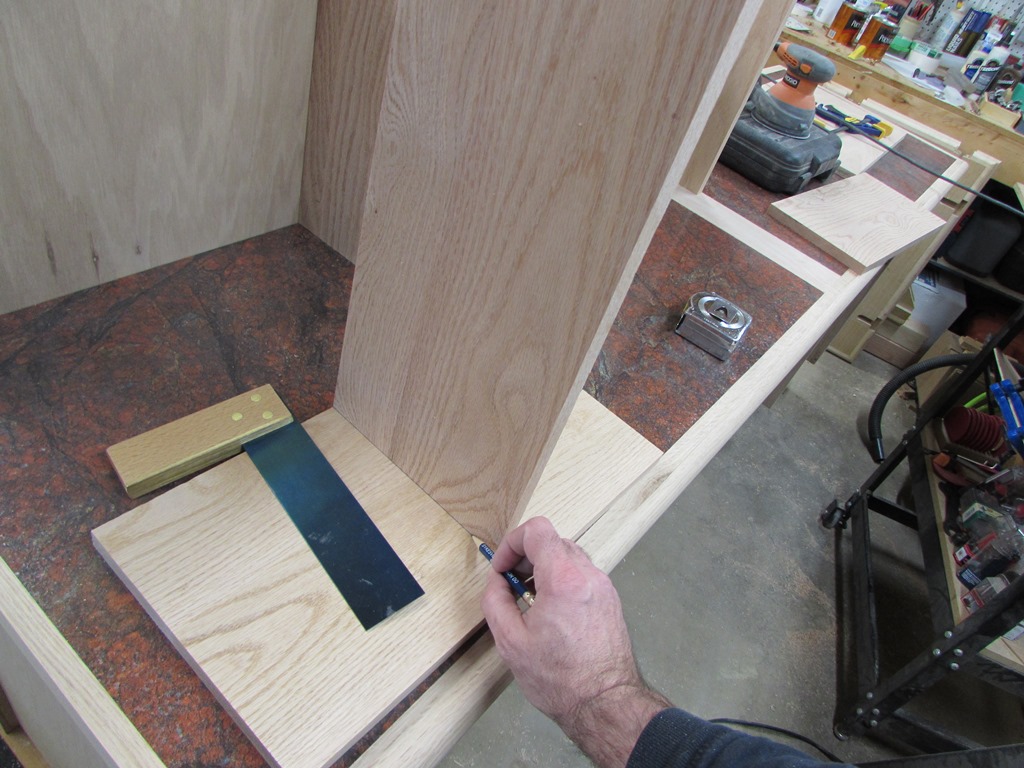
Marking the stopped dado for the shelf

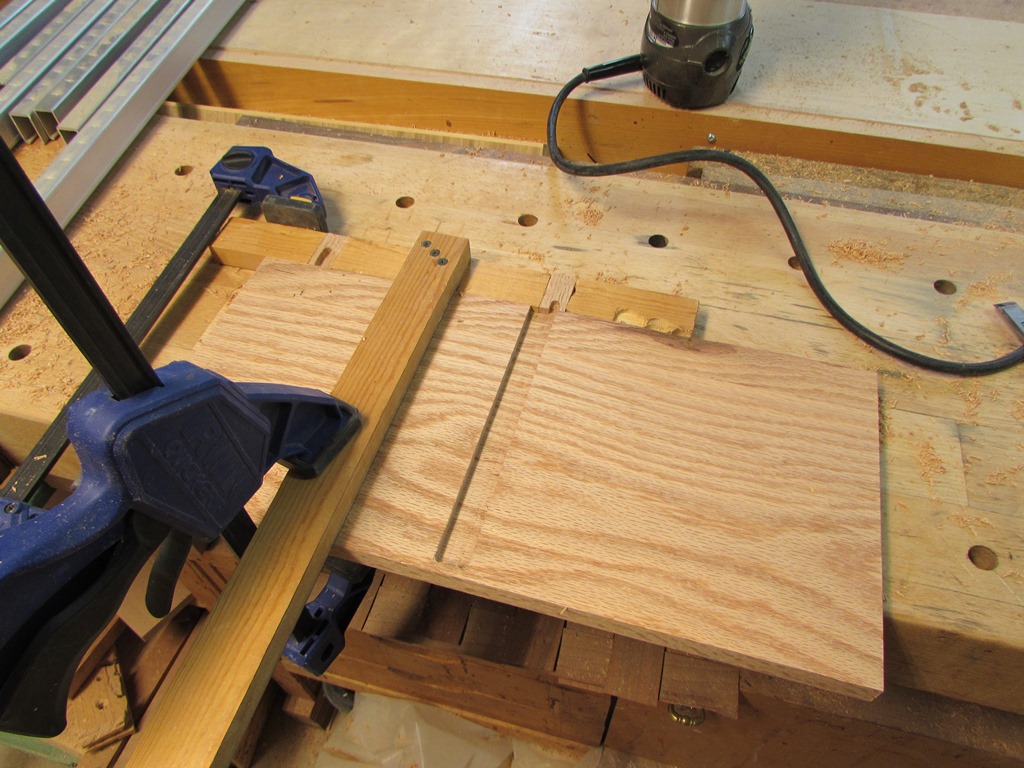
Routing against a T-square
I clamped the board down with my T-square jig. It is a simple jig that you run the router against to create a straight line. The cool part is that you run your cut through part of the top of the square and you have a mark that shows you exactly where your next cut will be. I used a 1/4″ bit, so I moved the T-square over and made three successive cuts to create the 3/4″ wide stopped dado.
First cut
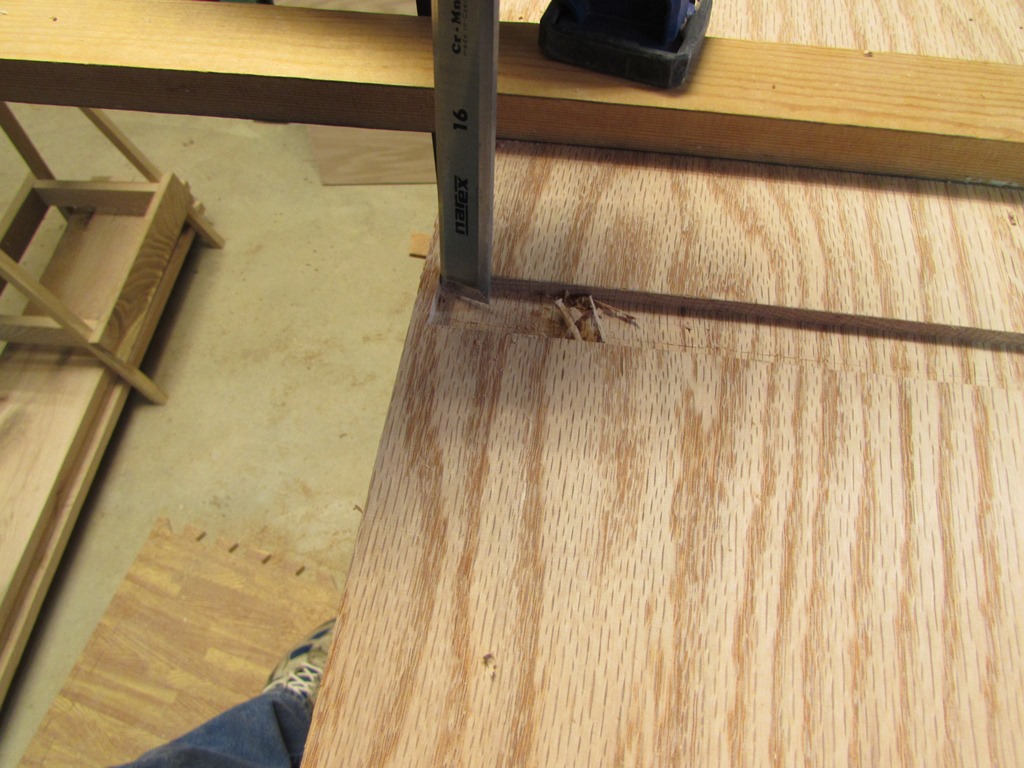
Squaring off the corners
Next, I cleaned up the dado and squared off the stopped end with a chisel, and test fitted a shelf. After the successful test fit, I repeated the process on three other boards.

Perfect fit

Lining the dados with glue
I applied glue to each of the dados and tapped the boards together with a rubber mallet, assuring a tight fit all the way around. I applied glue to the back surfaces, and set the shelf in place.


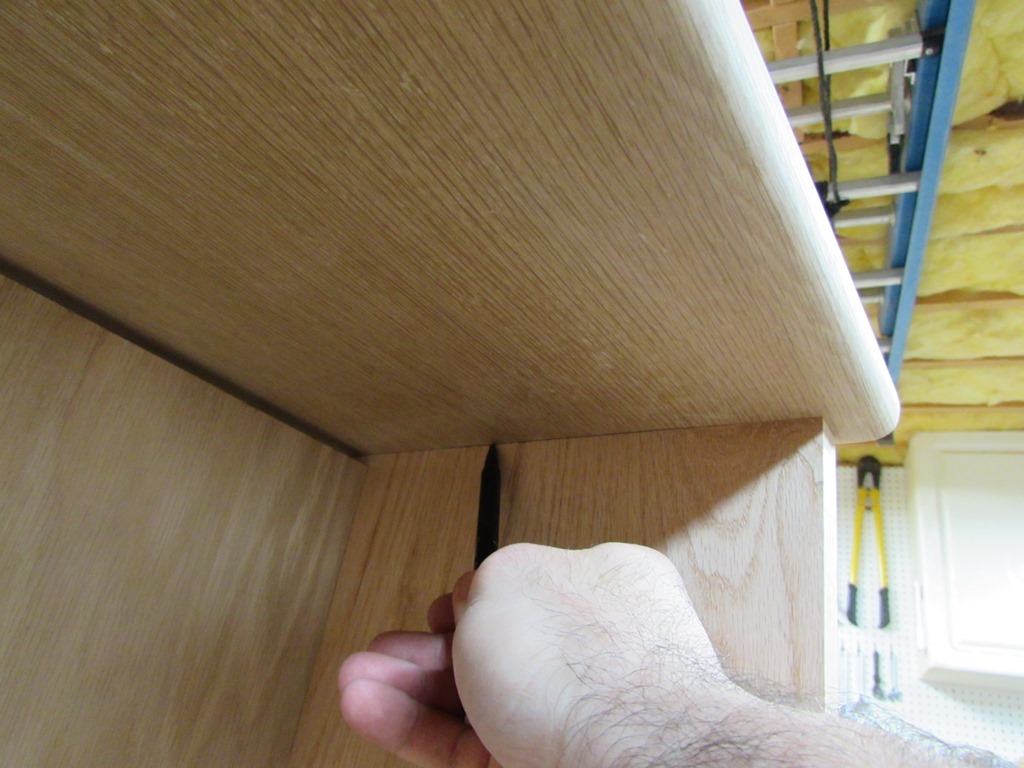
Tacking the verticals in place with brad nails
After making sure it was square and in the correct location, I held it in place with some brad nails. I also carefully shot nails in through the front panel into the backs of the shelves.
Right side shelf installed
The glue, along the back will hold everything in place, but I didn’t glue it to the Formica. I ran a couple of pocket hole screws up from below to secure the bottoms.
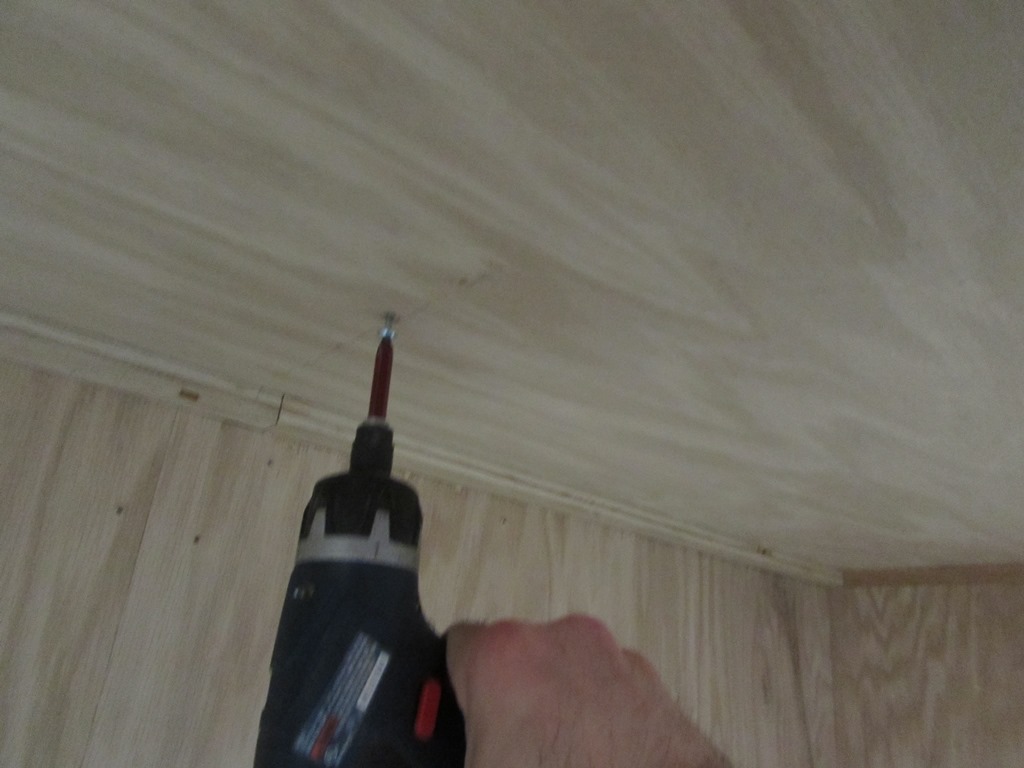
Screwing the verticals in from the bottom
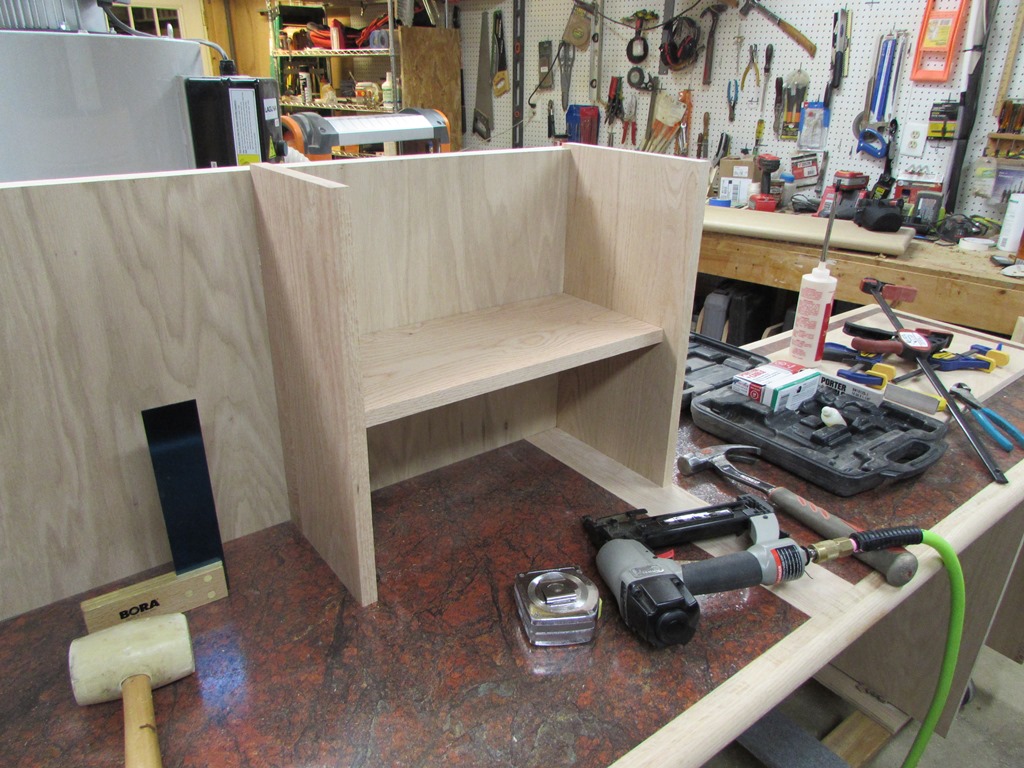
After repeating the process on the left side, the shelves were installed.

Both sides installed

Upper counter top located
I placed the upper counter top, and marked the locations the four vertical boards.
Marking out where the verticals hit
Tonight, when I have time, I will route out 1/4″ deep pockets to receive the verticals.
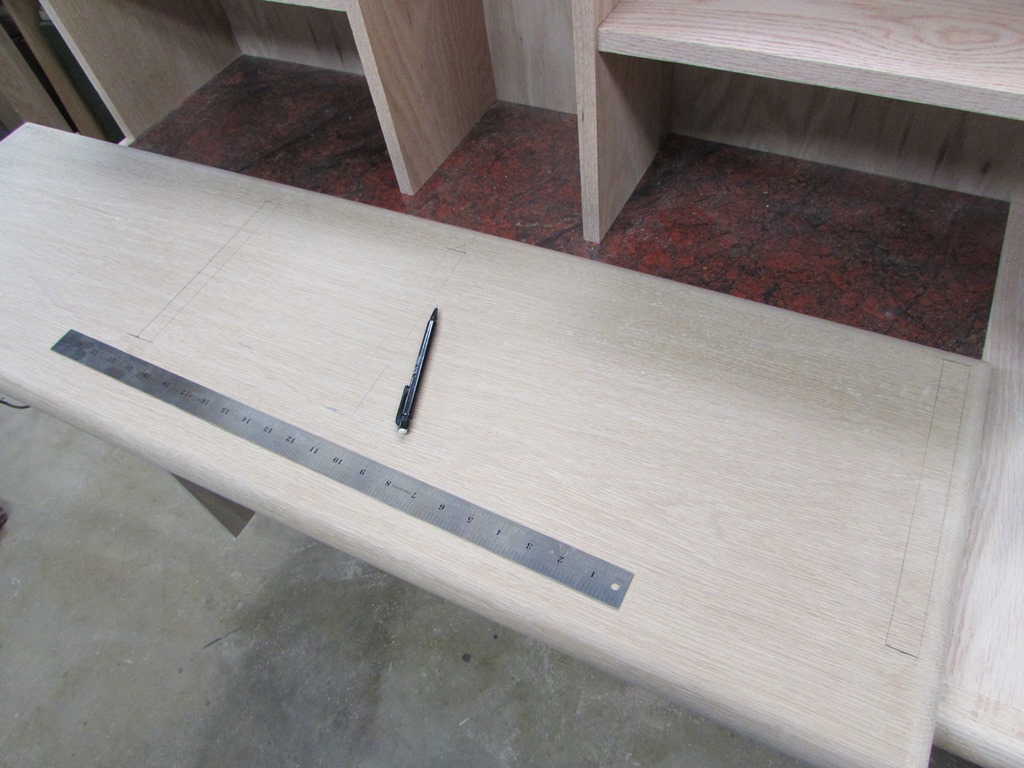
Receiving dados marker and ready to be cut
