
Reception desk – day 4
I have decided to work on the upper portion of the desk next. For the counter top, I want to use a solid piece of 6/4 oak. For this, I dug into my stack of wood and came up with a massive piece of white oak, that I have been saving. This piece is nearly 16″ wide x 1-5/8″ thick x 8′ long.

Massive piece of white oak
This board is even a bit too wide for my sliding miter saw. I had to flip the board to cut all the way through.
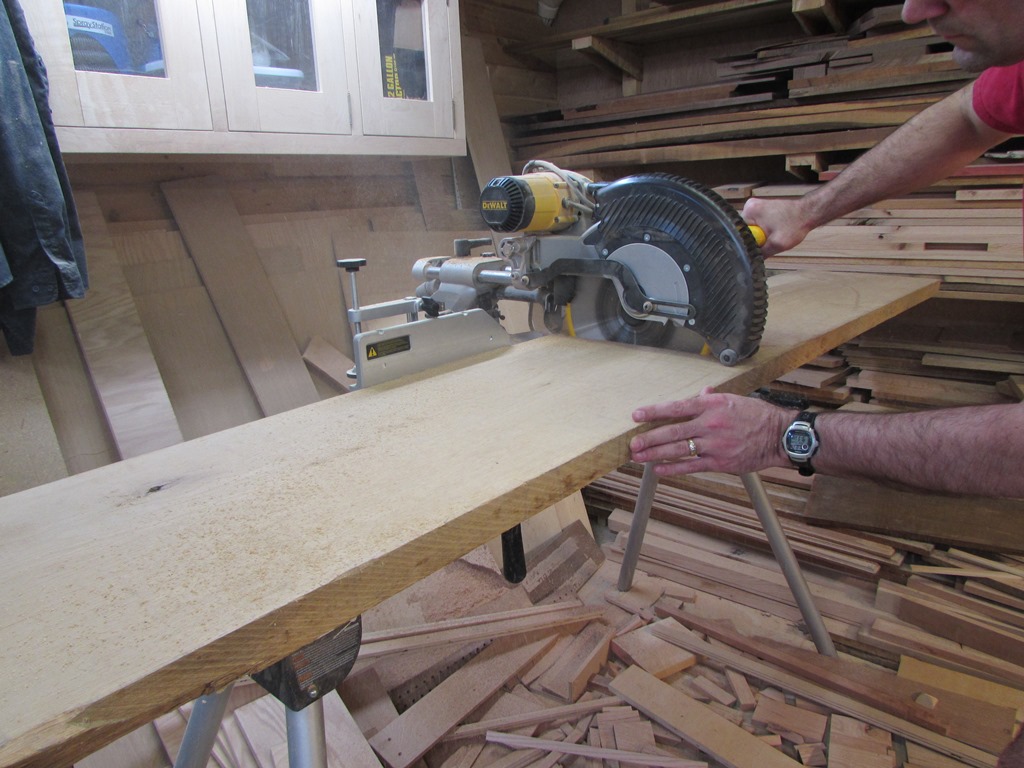
Cutting down the big board
I trimmed the edges of the newly shortened board to clean them up and to take the width down to 14″ wide.
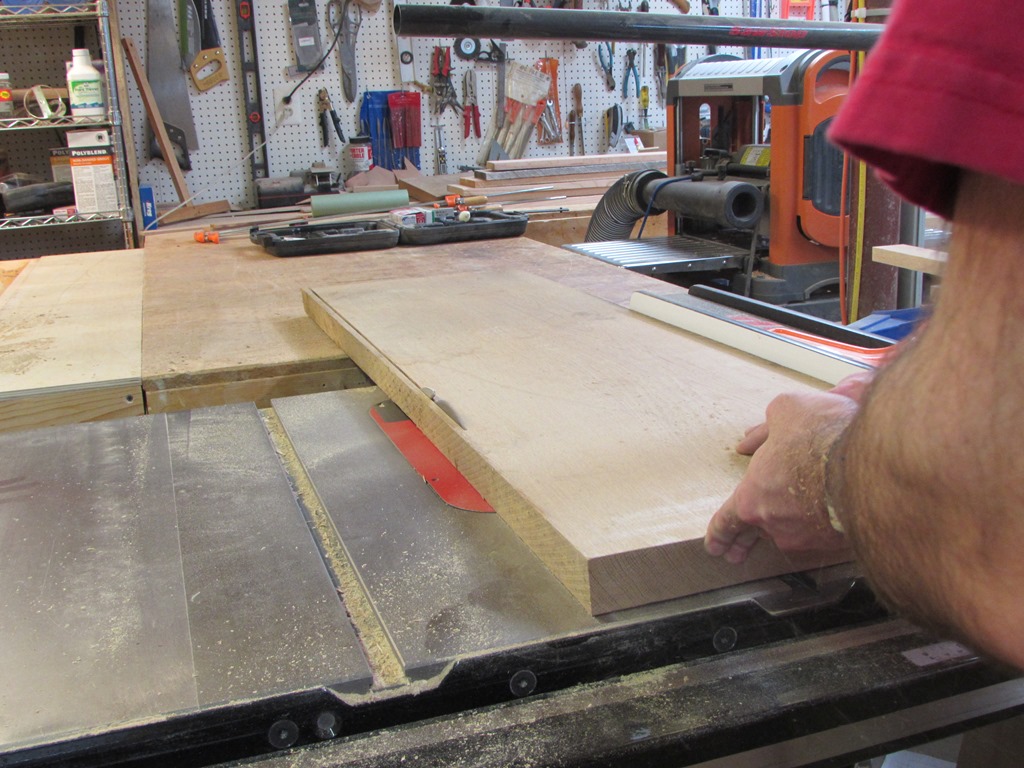
Cleaning up the edges
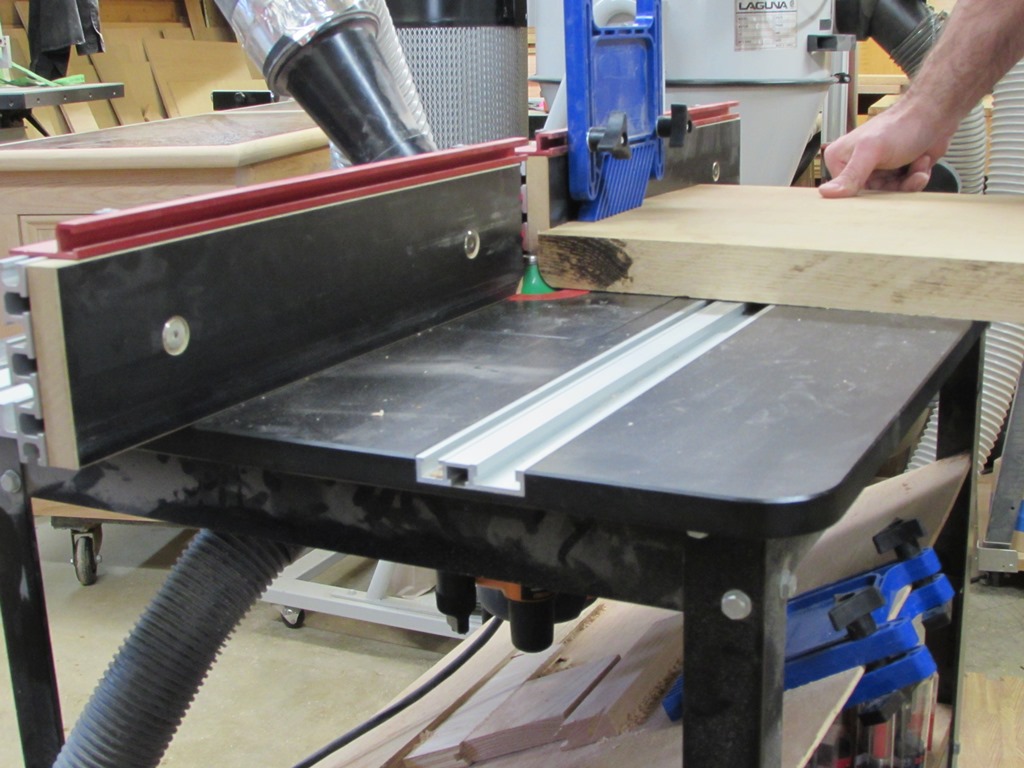
Starting the 3/4″ round-over
I put a 3/4″ round-over on both sides of the board at the router table.
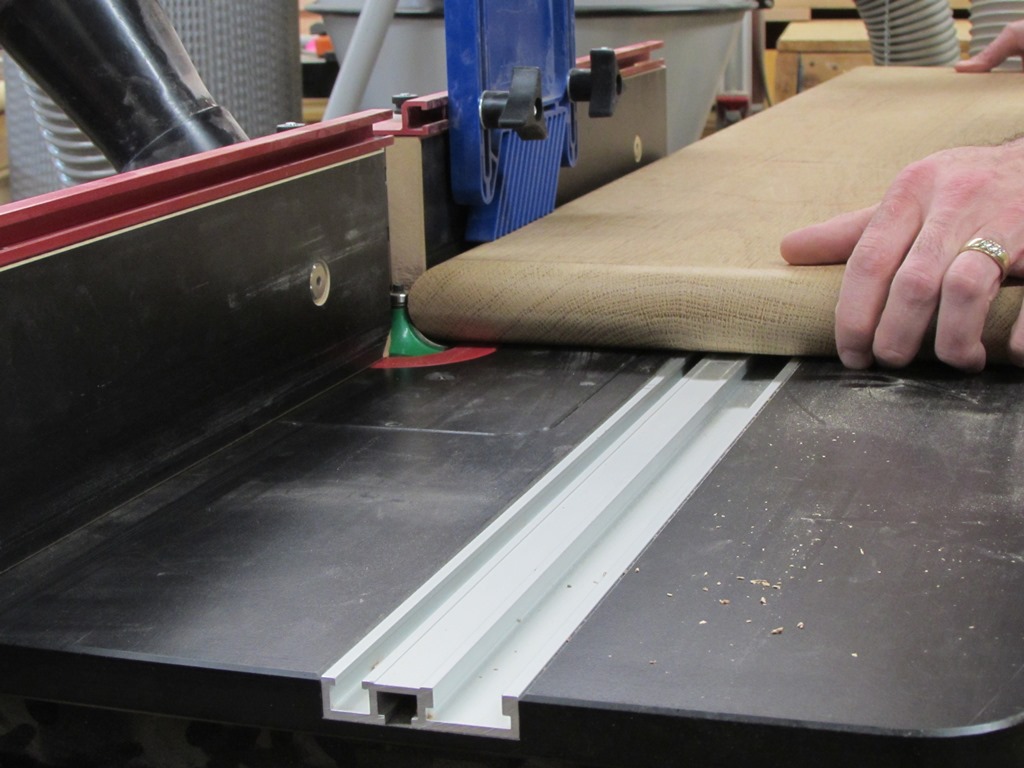
Routing side two
Even at 48″ long, I swear this board weighs at least 80 pounds.
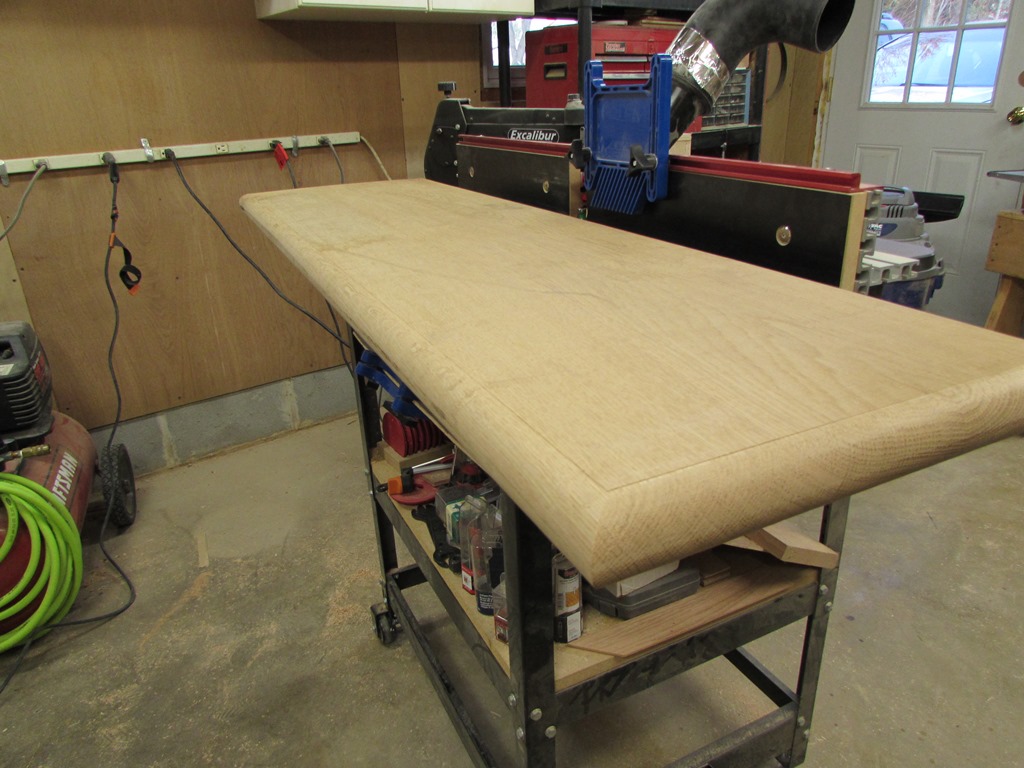
Edges radiused
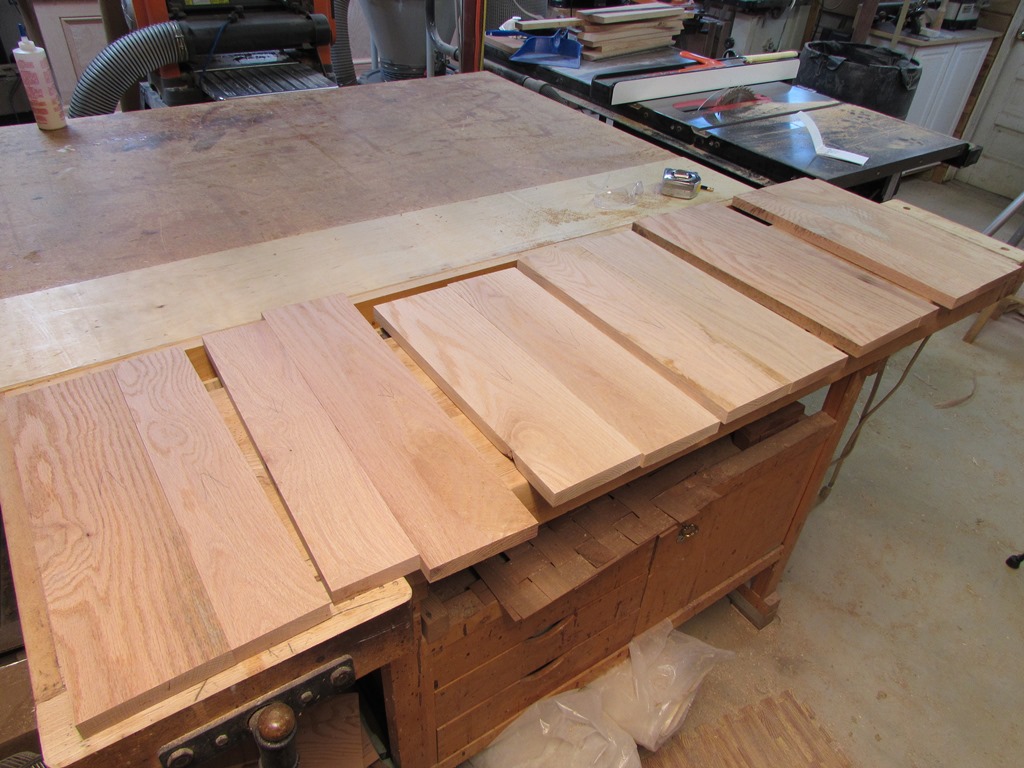
Grain matching
I set the counter top aside for a bit to cut and glue up the boards that will become the shelves and supports under the solid oak counter top. I started by matching grain direction and trying to line up the patterns in the grain.
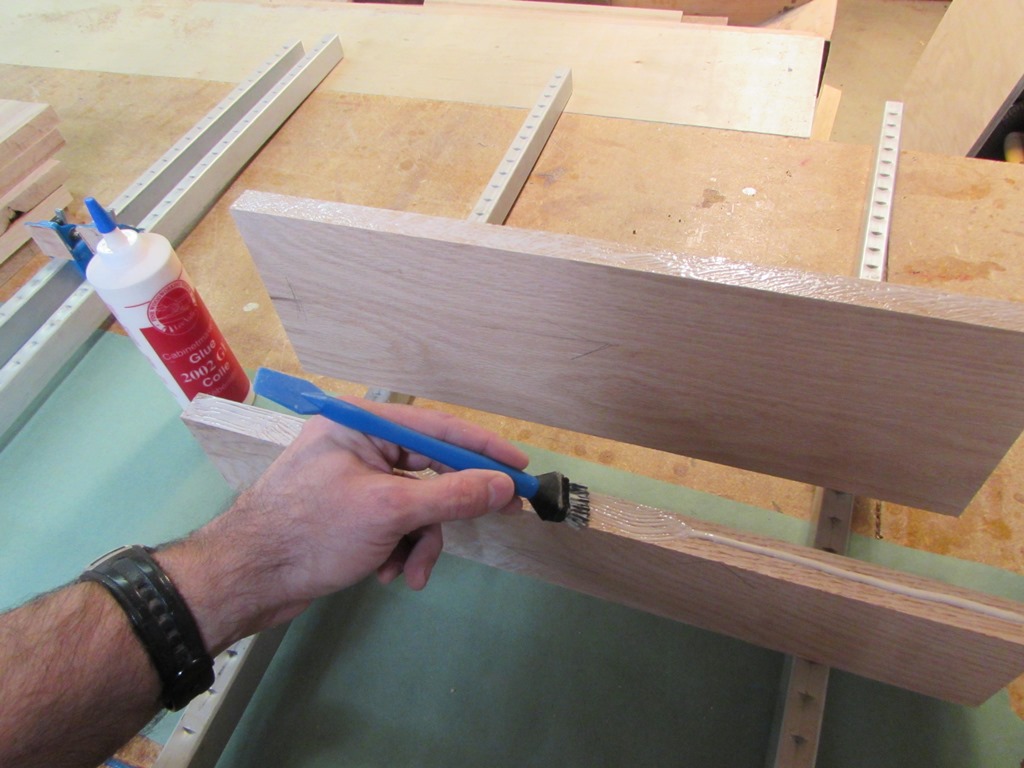
Applying glue to both edges
Since the final size of the panels will be under 12″ wide, I will glue them together first, then plane them down to their final thickness.
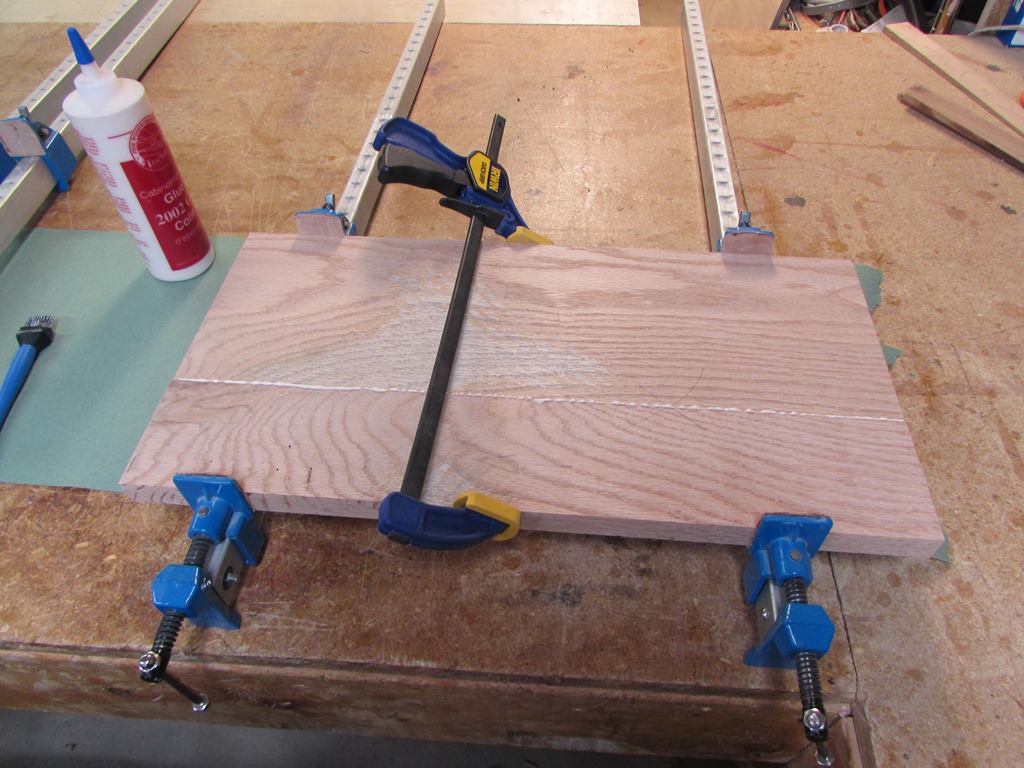
Clamping up panels
I glued up six panels, enough for 4 vertical supports and two shelves.

Half a dozen panels drying

Trying the sander to clean up the counter top
Leaving them to dry, I moved back to the counter top. I was hoping to be able to clean it up by using some course sand paper on my orbital sander, but after a few minutes of working, I realized that I needed to be more aggressive.

Resorting to the smoothing plane
I re-sharpened the blade on my smoothing plane and started planing down the surface.
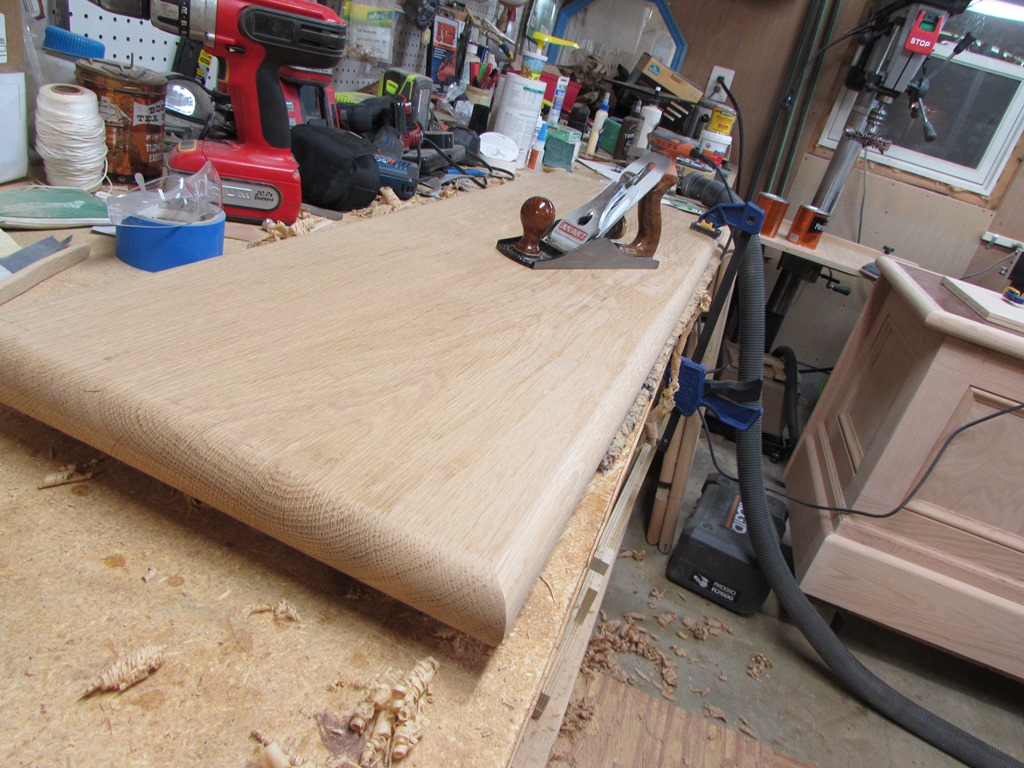
Side one cleaned up
In just a few minutes I had a large pile of shavings and side one was clean and smooth.
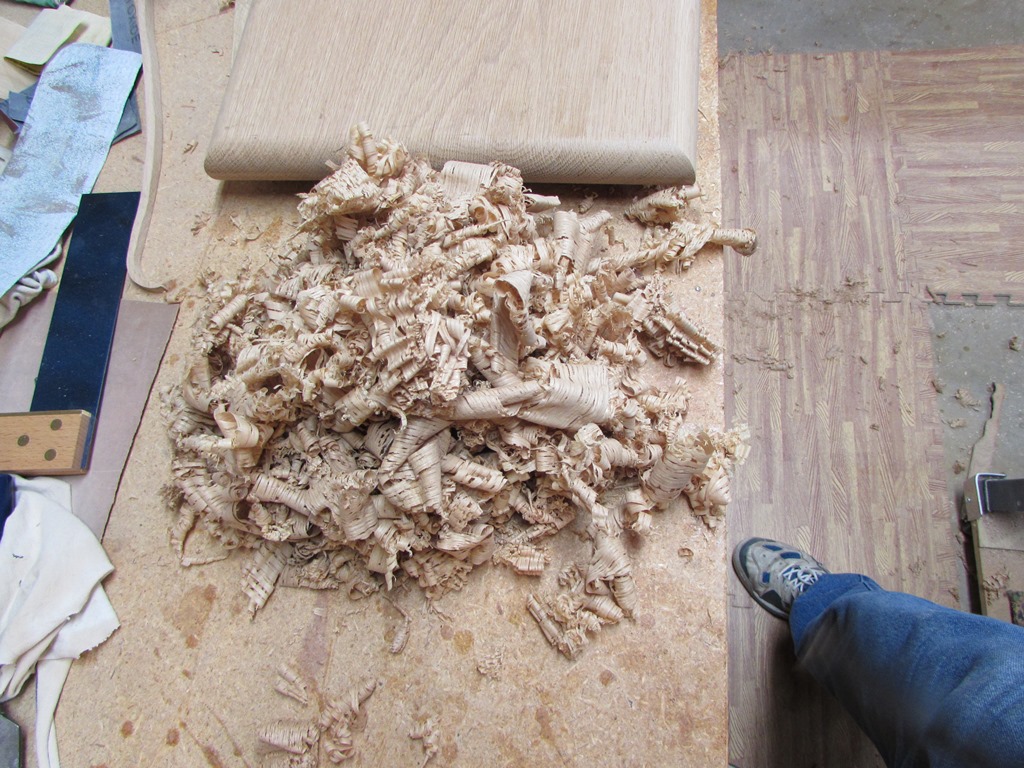
First side’s shavings
I did take the sander to the edges to clean up some areas where the grain was a little swirly.

Cleaning up the edges
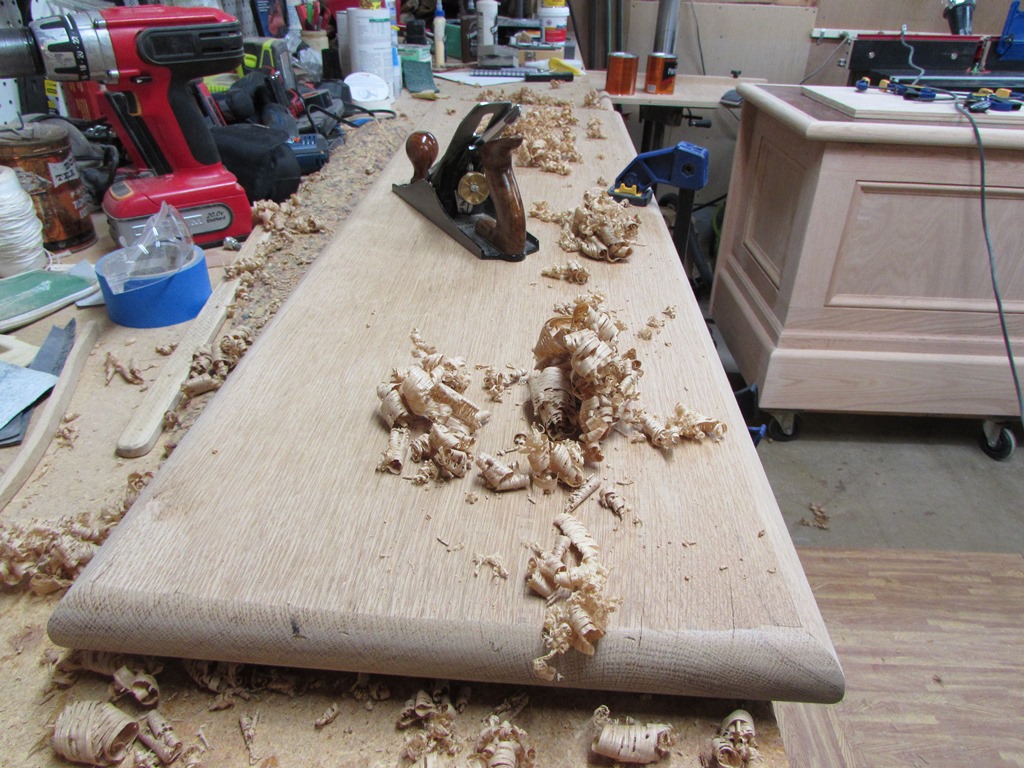
Some more planing on the back side
I flipped the board over and repeated the process on the back side as well, then I rolled the sander all around the rounded edges to clean up any flat spots or tear-out.

Sanding the rounded edges
Cleaning up the board went surprisingly quickly. Having a really sharp blade does make a difference…

Planed and sanded
The last thing I did for the evening was run my 2″ wide chisel along the glue joints of the glued up panels. The glue was about half-dried and that is the perfect time for doing it. It just peels off at this point.

Cleaning up the glue joints
The next step will be to figure out how to mount the supports and the shelves, but the glue is still curing, so I am done for the night.
