
Reception desk – day 3
Well I managed to sneak in a few hours of shop time this weekend around Rob’s wedding. Enough time to finish the counter top anyway.

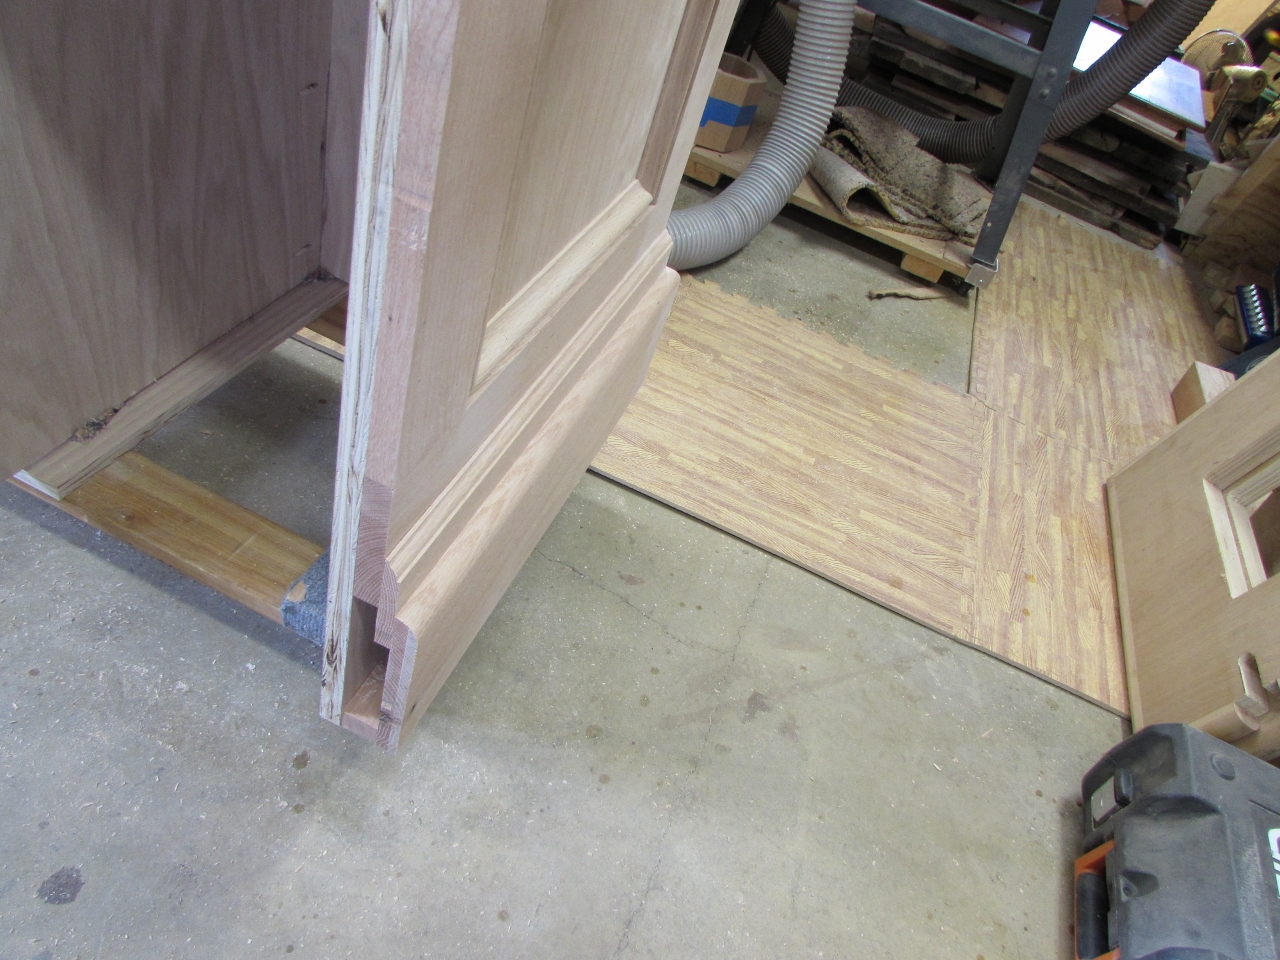
Adding one more support rib
I realized that I forgot to add an additional rib above the side of the cabinet, so I took care of that, then applied glue to the top edge.

Applying glue before installing the top
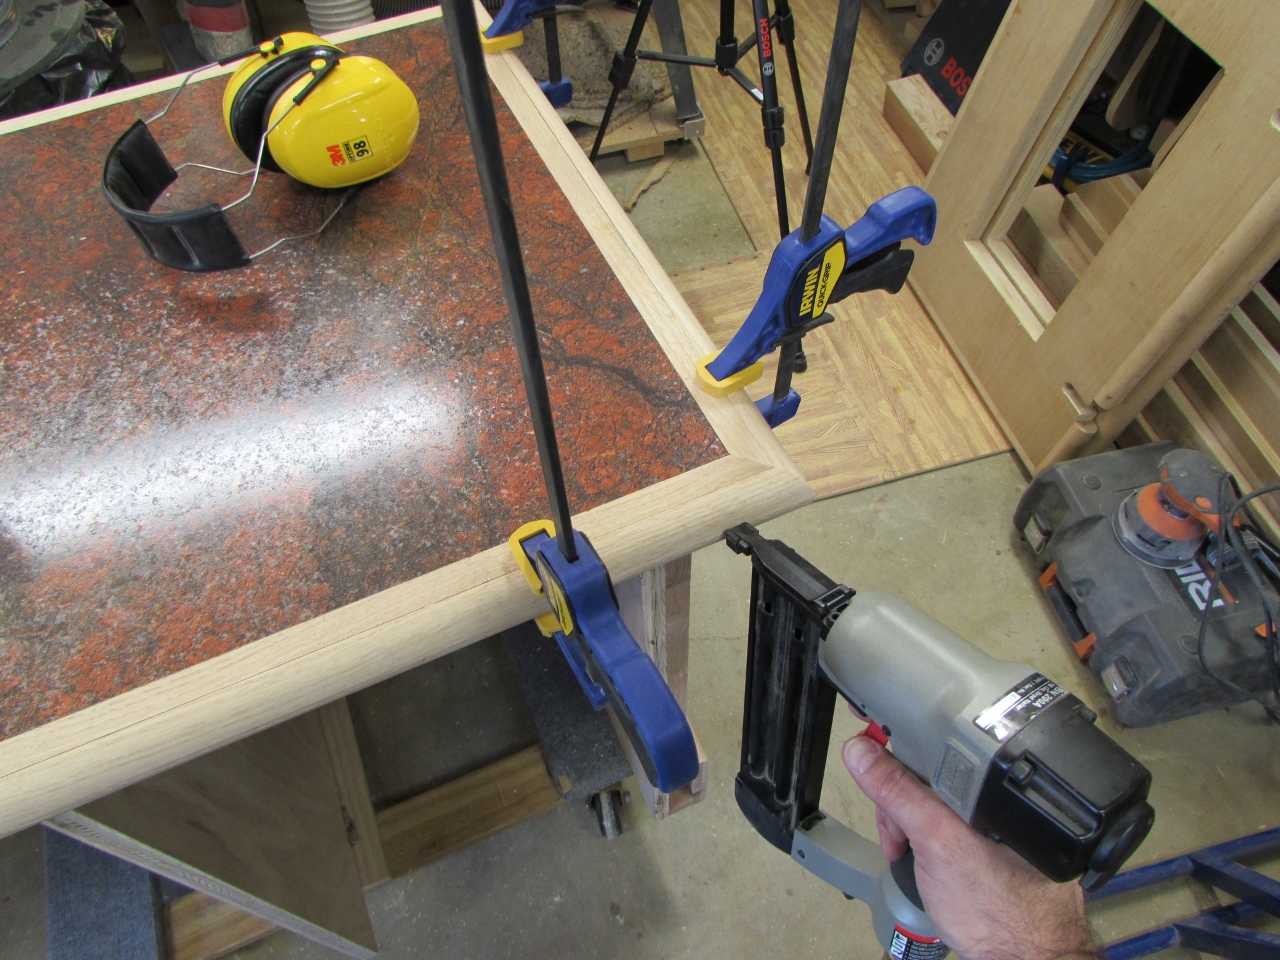
After locating the counter top, I screwed in the pocket hole screws through the holes I had in the top of the sides.
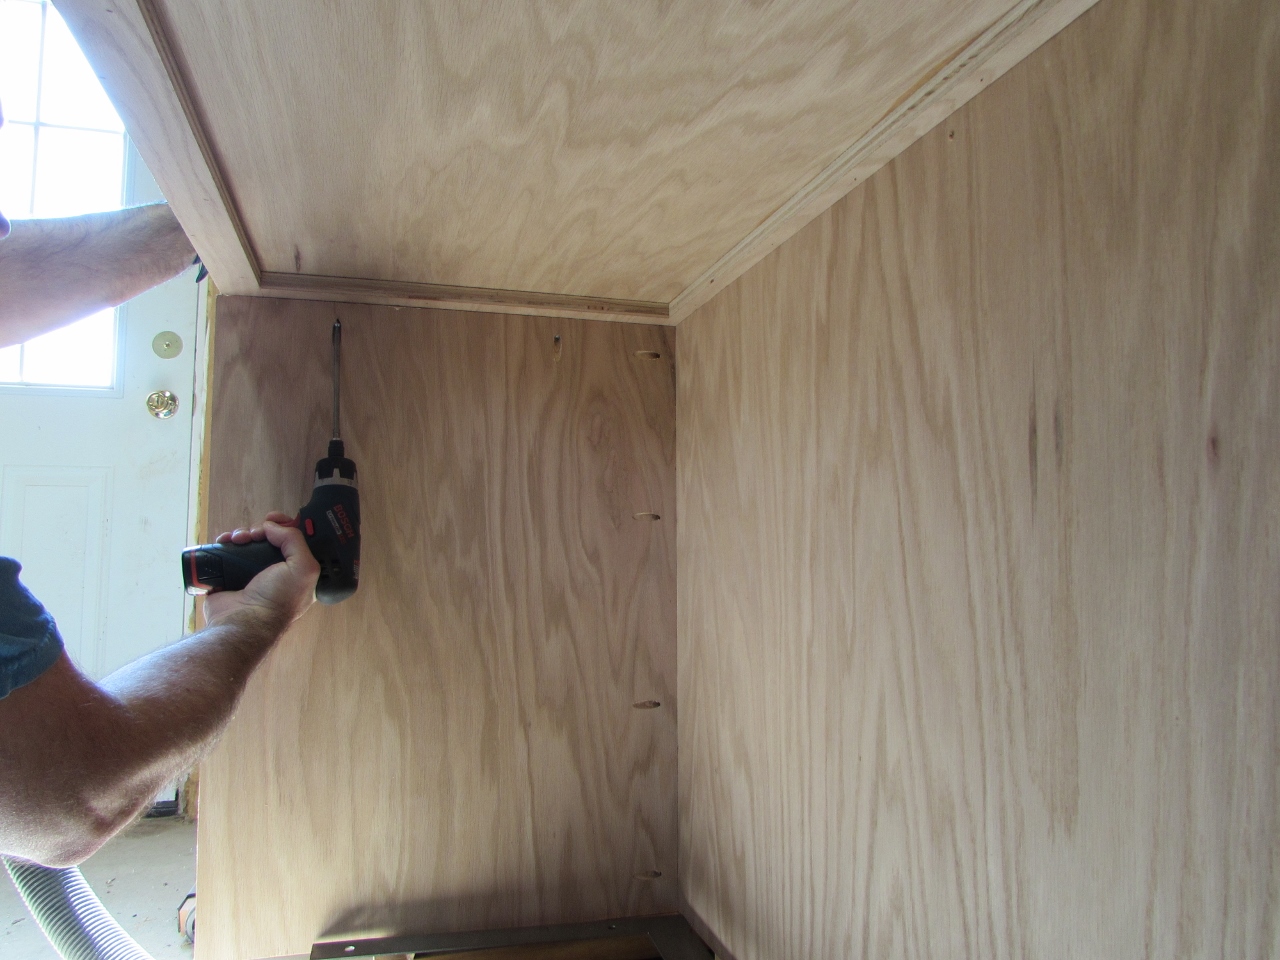
Using pocket screws to hold down the counter top

Ripping strips for trim
With the top in place and drying, I started cutting some 1-1/2″ wide strips of clear oak to band the edge of the counter top. I cut enough to wrap the top twice. You will see why in a bit.

Planing the strips down to 3/4″ thick

Gang jointing the trim strips
I cut the strips a bit over-sized, then ganged them up to joint the edges on the planer.

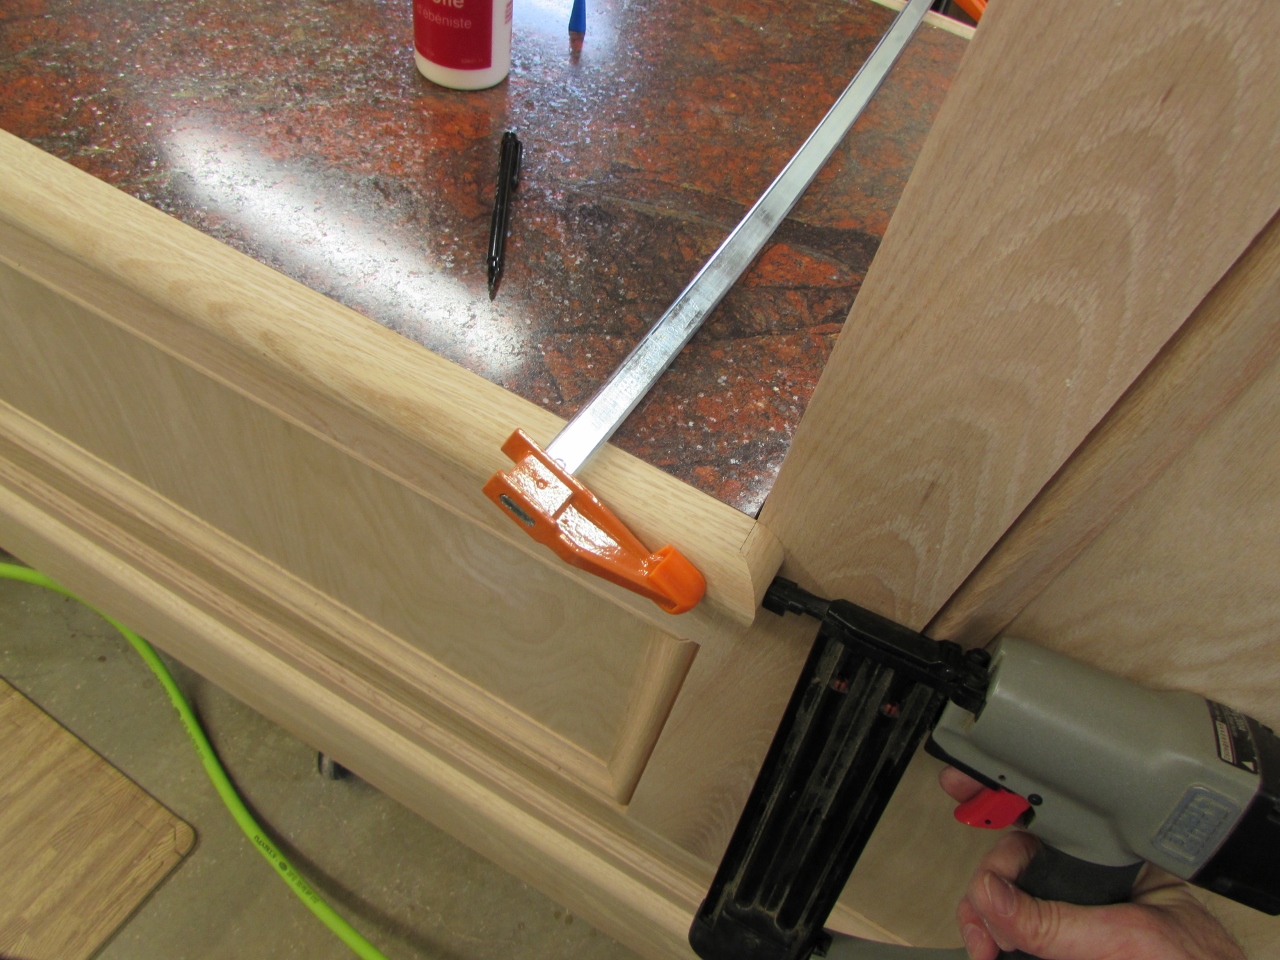
Cutting the miters on the first layer of trim
I cut the miters on the ends, then glued and nailed the first layer of banding around the top.

Applying glue to the banding

Nailing on the banding
It looks pretty good like that, but I don’t want people to have to deal with the sharp, square edges.
Banding installed
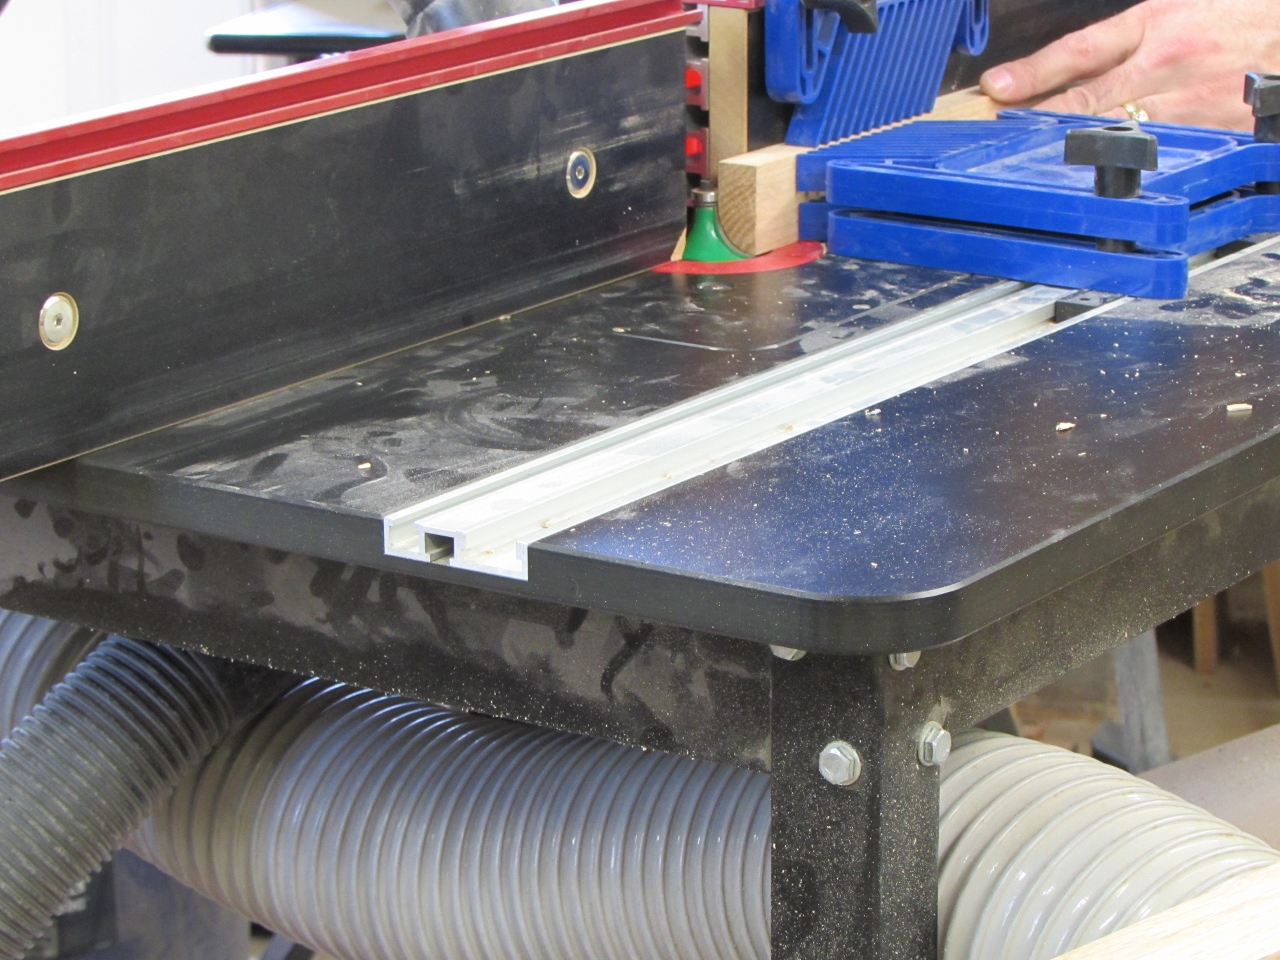
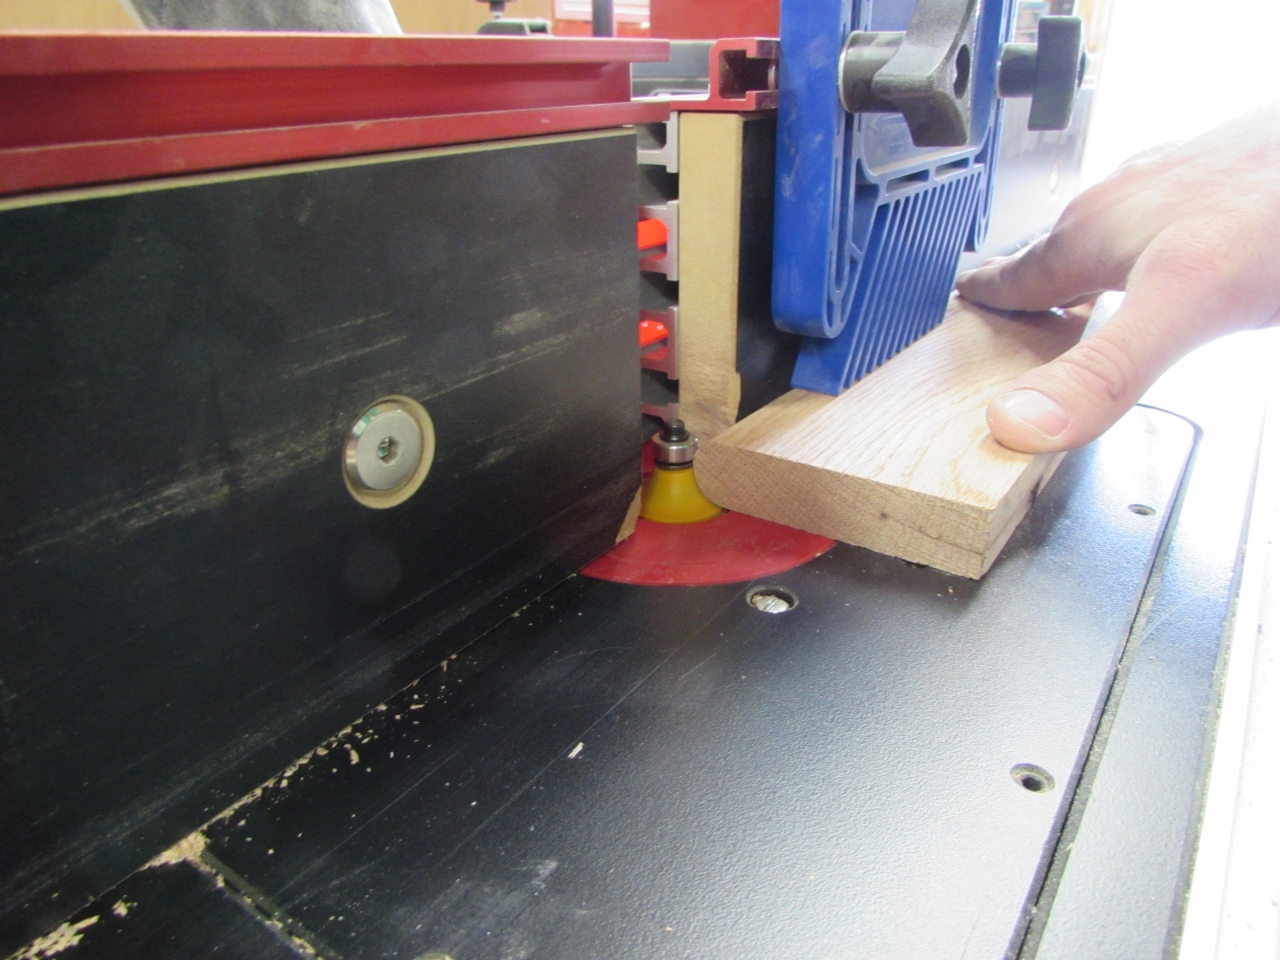
First pass across 3/4″ round-over bit
I put my 3/4″ round-over bit in the router table and ran the other half of my strips through twice, cutting a 1/4 radius each time to create a half-round piece of trim.

Second pass to create a full radius
This will keep the edge smooth and comfortable to lean on.
Looks good
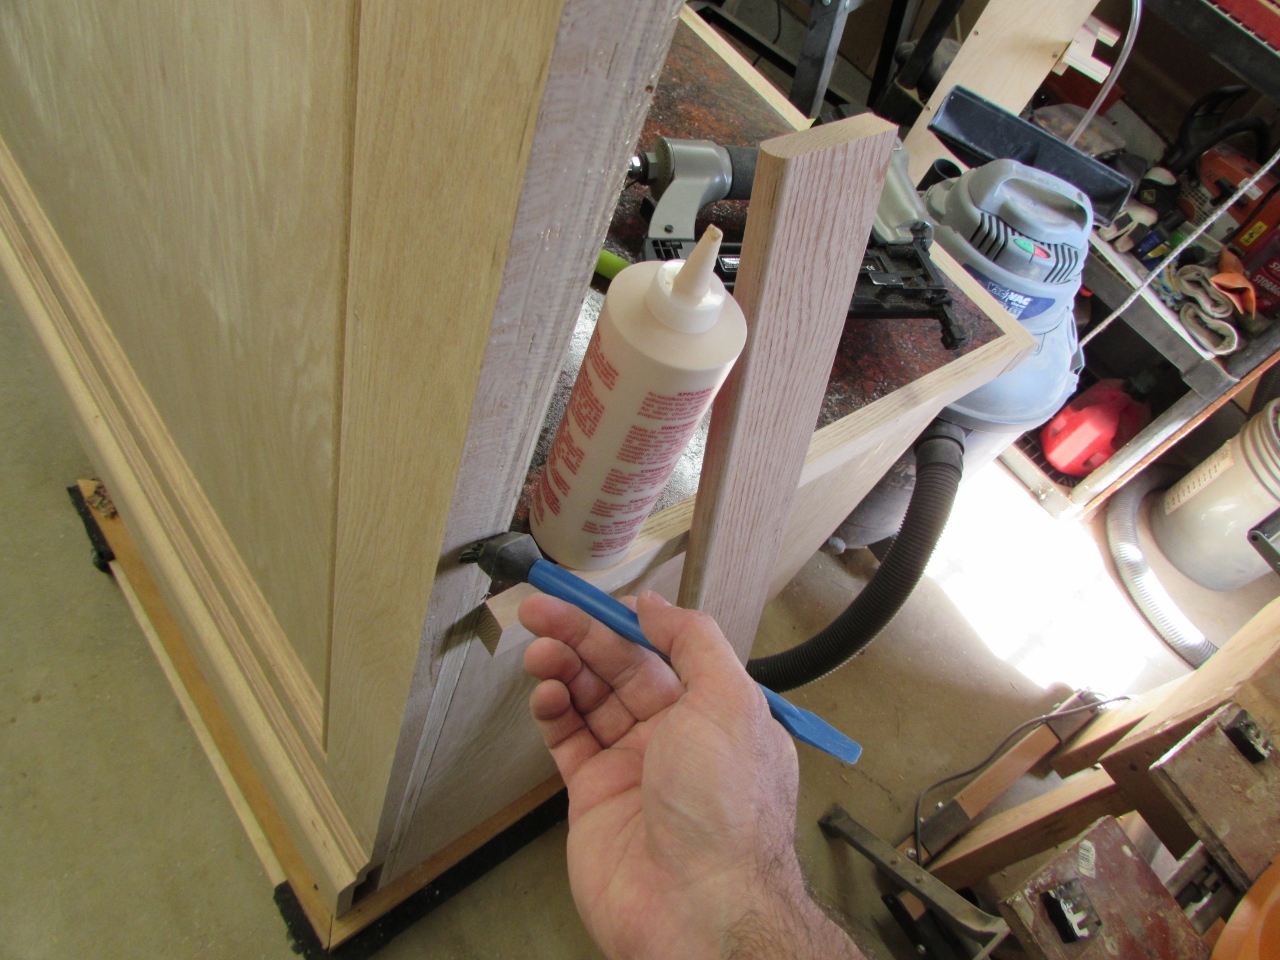
I repeated the process of mitering, glue and nailing.
Attaching the radiused trim
I created a small return piece to complete the trim at the middle of the front of the desk.
Nailing on the last piece
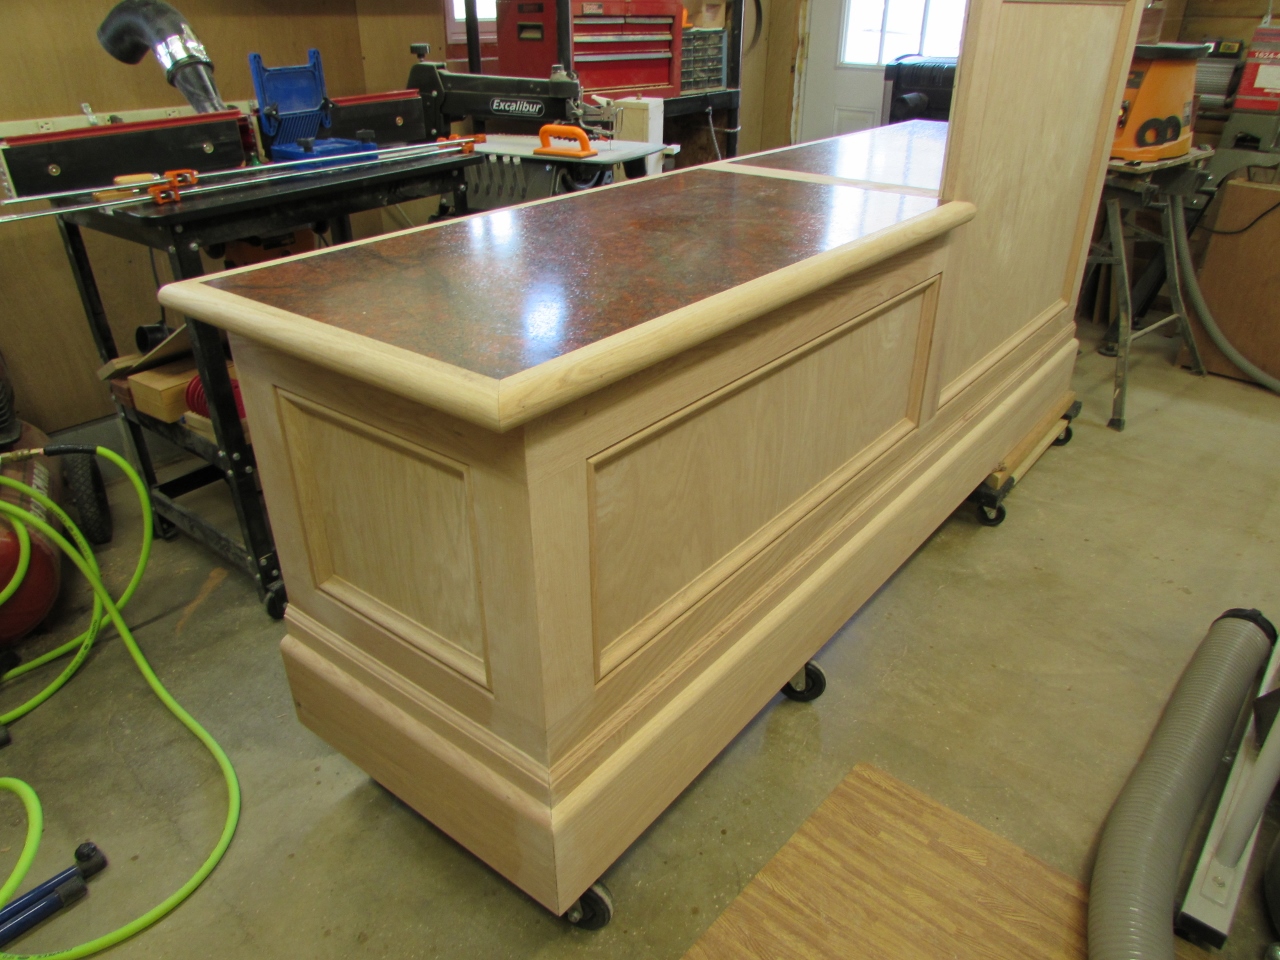
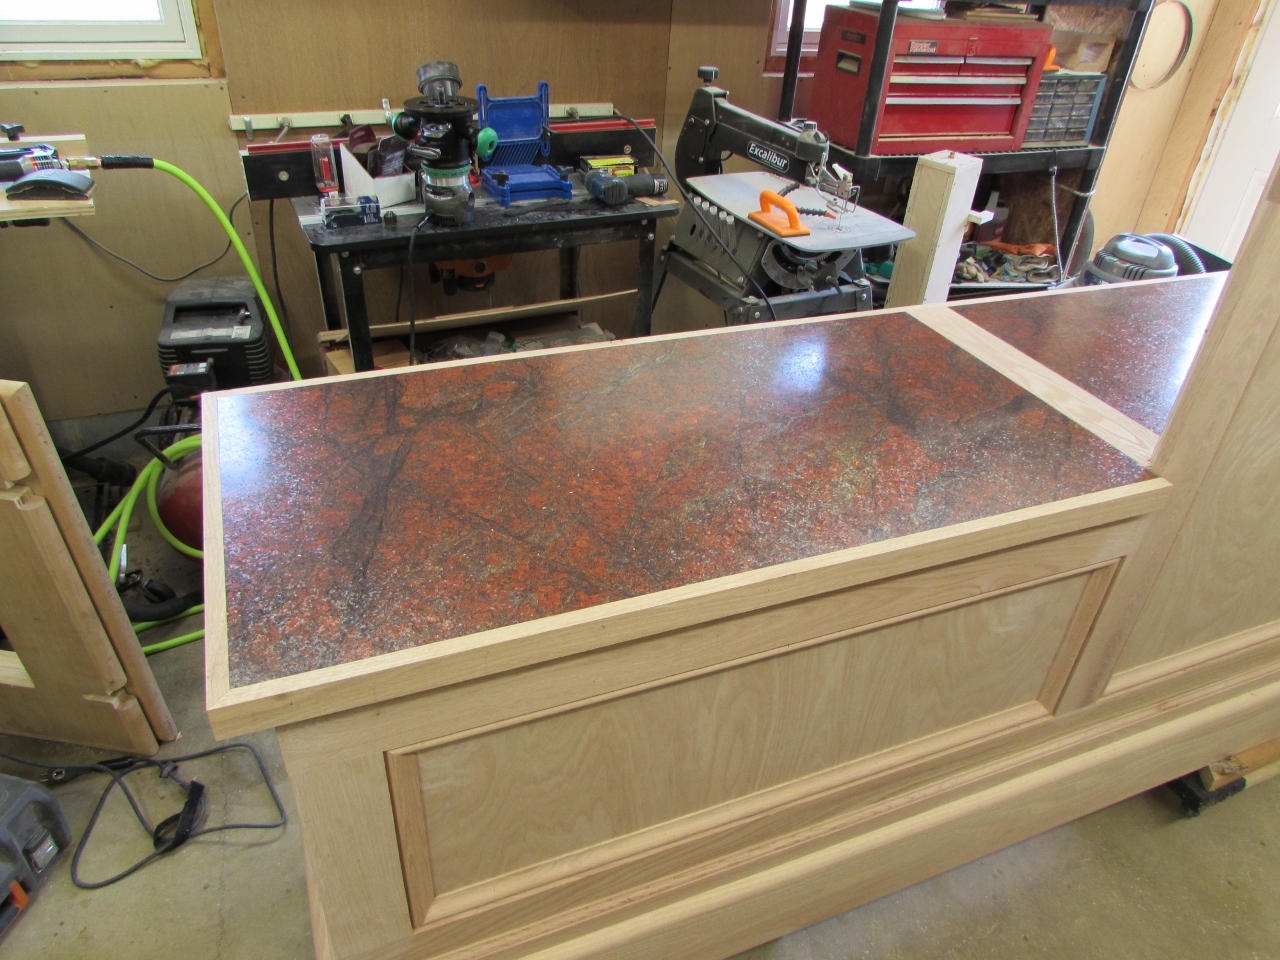
Front view
I think it turned out pretty nice.

Top view
Returned corner
I used a sanding block and my orbital sander to carefully sand around the edges of the top.

Thoroughly sanded smooth
Open ends
Both, the front and the side, end with an open edge that needs to be trimmed.
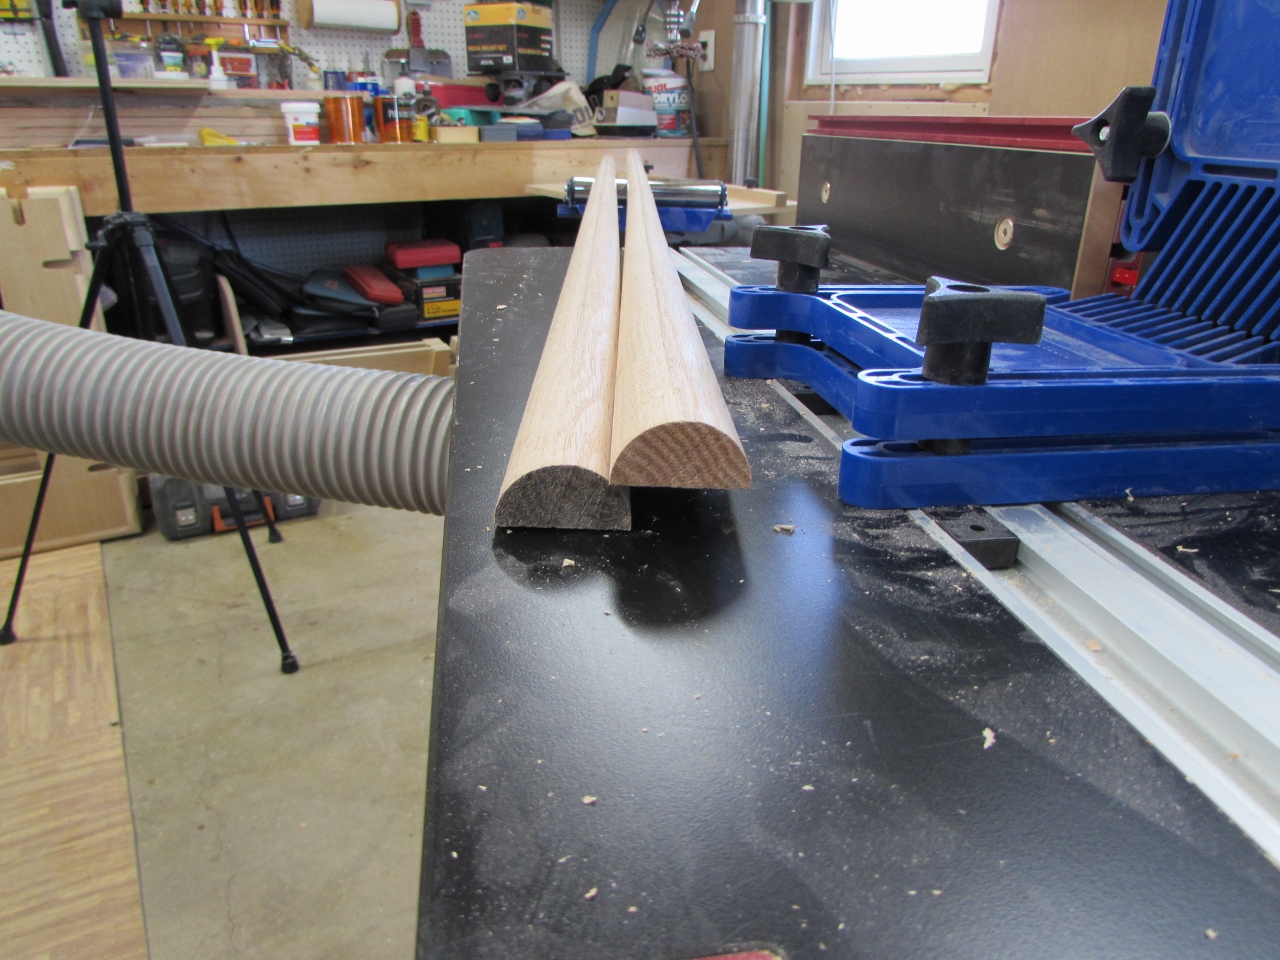
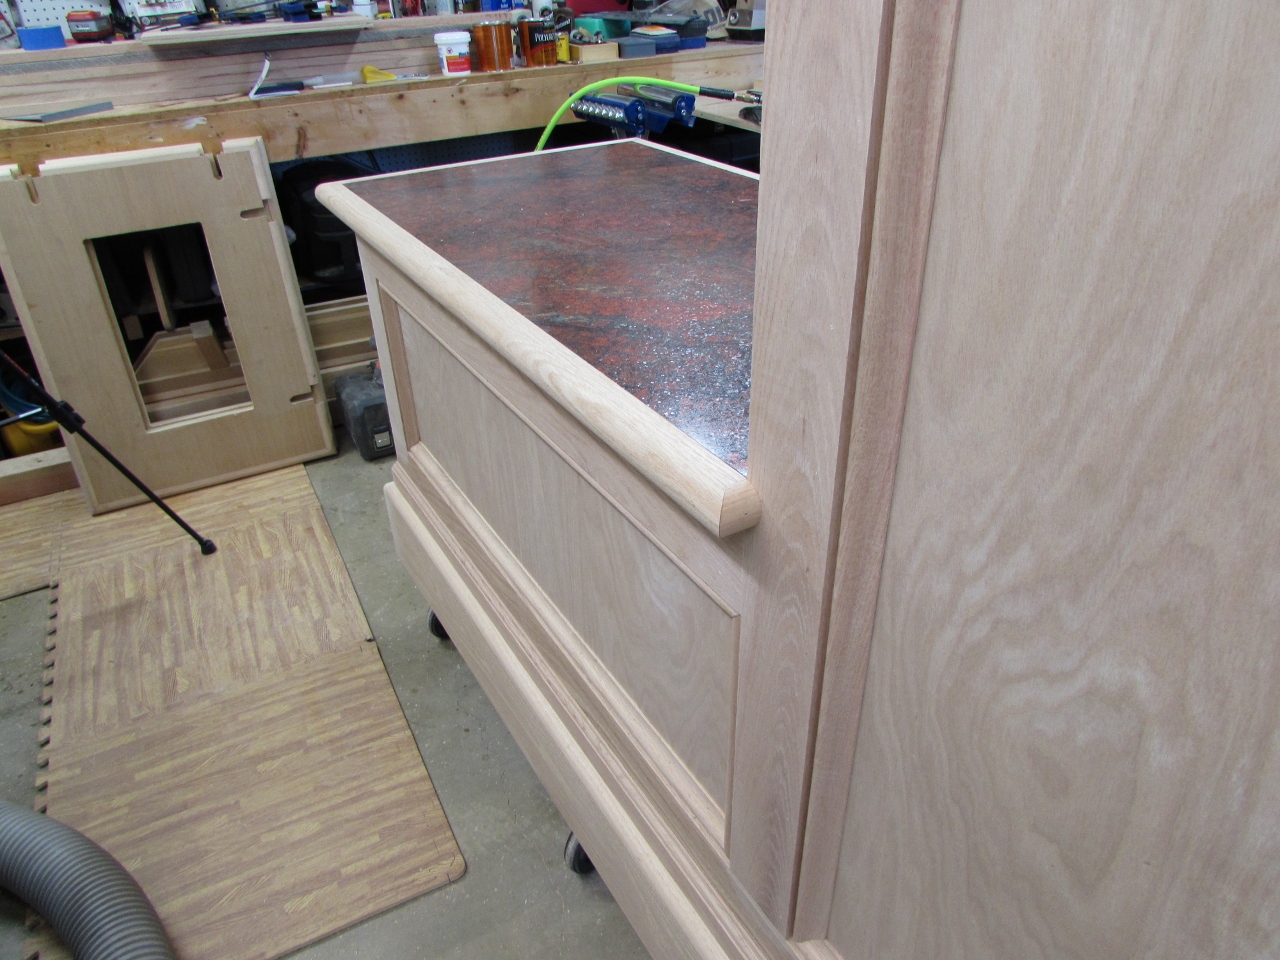
Creating a full radius on end caps
I opted to create an end cap instead of trying to return that three-layer molding. I cut a 3-1/8″ piece and created a full radius on one edge, then cut them down to fit the vertical edges on both sides.
Applying glue to the edges
I applied glue, then nailed on the end caps.

Nailing on the end cap

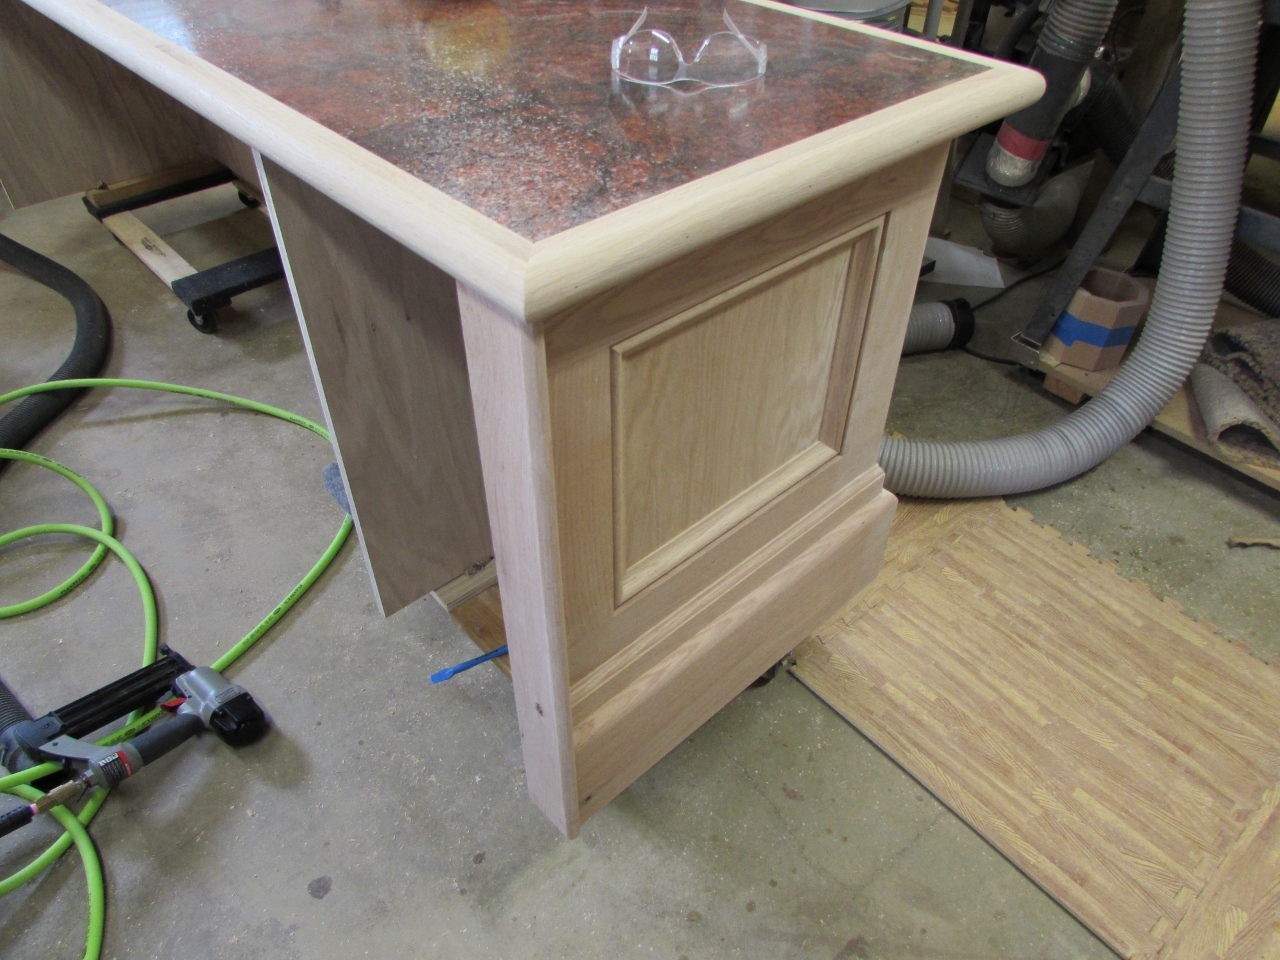
Looks good
It seems to terminate the edges nicely.

End cap on the short side
Rear view
Well, that is all that I had time for this weekend, I still need to trim the inside to cover all of the pocket hole screws, and I need to build the cabinet below and the shelves above as well as figure out what the upper counter top will look like. Lots to do this week…

Looking great!