
Reception desk – day 8
I am down to one thing left to do on the desk and that is the polyurethane finish.

Half and half, Poly & Naphtha
I really don’t have the room to set up the spray booth and be able to move around the desk, and I have too many vertical surfaces to brush it on. I would have runs all over the place. So I am going to slow down my pace a bit and wipe on the finish. You can’t do that with straight polyurethane. You have to thin it first and create a wiping poly. There are a couple of methods to do this. The usually way is to cut the poly with lacquer thinner. Some people also add boiled linseed oil to help draw out the grain a bit more. The stain already did a good job of popping the grain, so I will forgo that ingredient since it seems to take longer to cure. I can’t stand using thinner, it requires a respirator and it eats through my nitrile gloves. That implies, to me, that it is a bit hazardous. I prefer to cut my poly with Naphtha instead. It is basically a more refined version of thinner. The fumes are not that strong and it doesn’t destroy my gloves.
To create my wiping poly, I grab an old jar from the recycling bin and fill it half-way with semi-gloss polyurethane and the rest of the way with Naphtha, and stir it thoroughly.

Start with the door panel
I am wiping it on with a piece of an old tee-shirt. Just soak the rag and wipe on as much as you want, then rub it in and wipe away the excess.
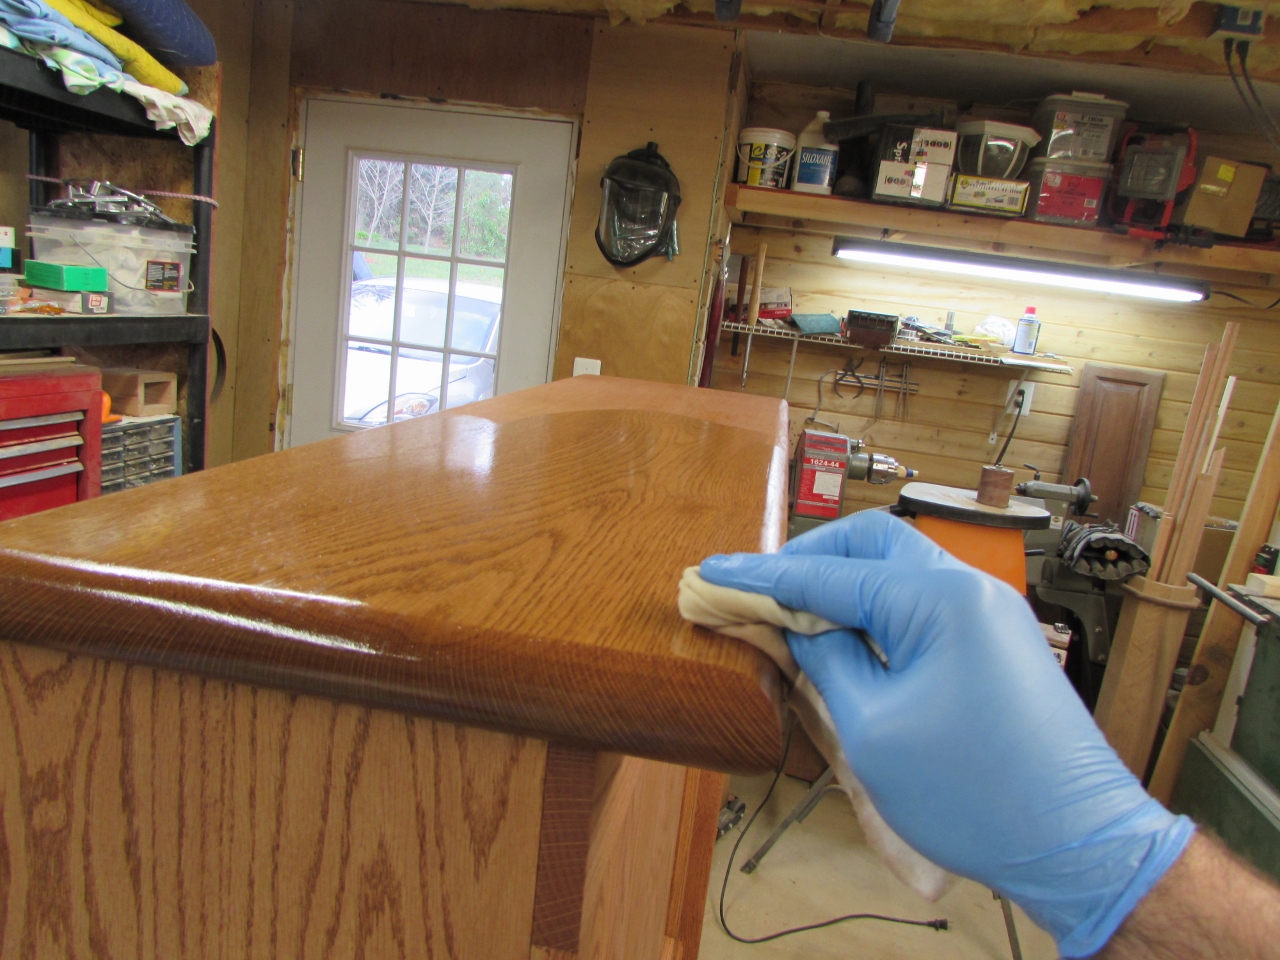
Rubbing a coat on the top
I still need a brush to reach into the tight recesses, but I just apply liberally and wipe away the drips.

A brush for the nooks and crannies

First coat on the front
I finished the front and moved to the back. That was a lot less fun since it mostly involved kneeling on my concrete floor. Upon further reflection, I will save the counter tops for last on future coats. I need them to pull myself back up to a standing position…
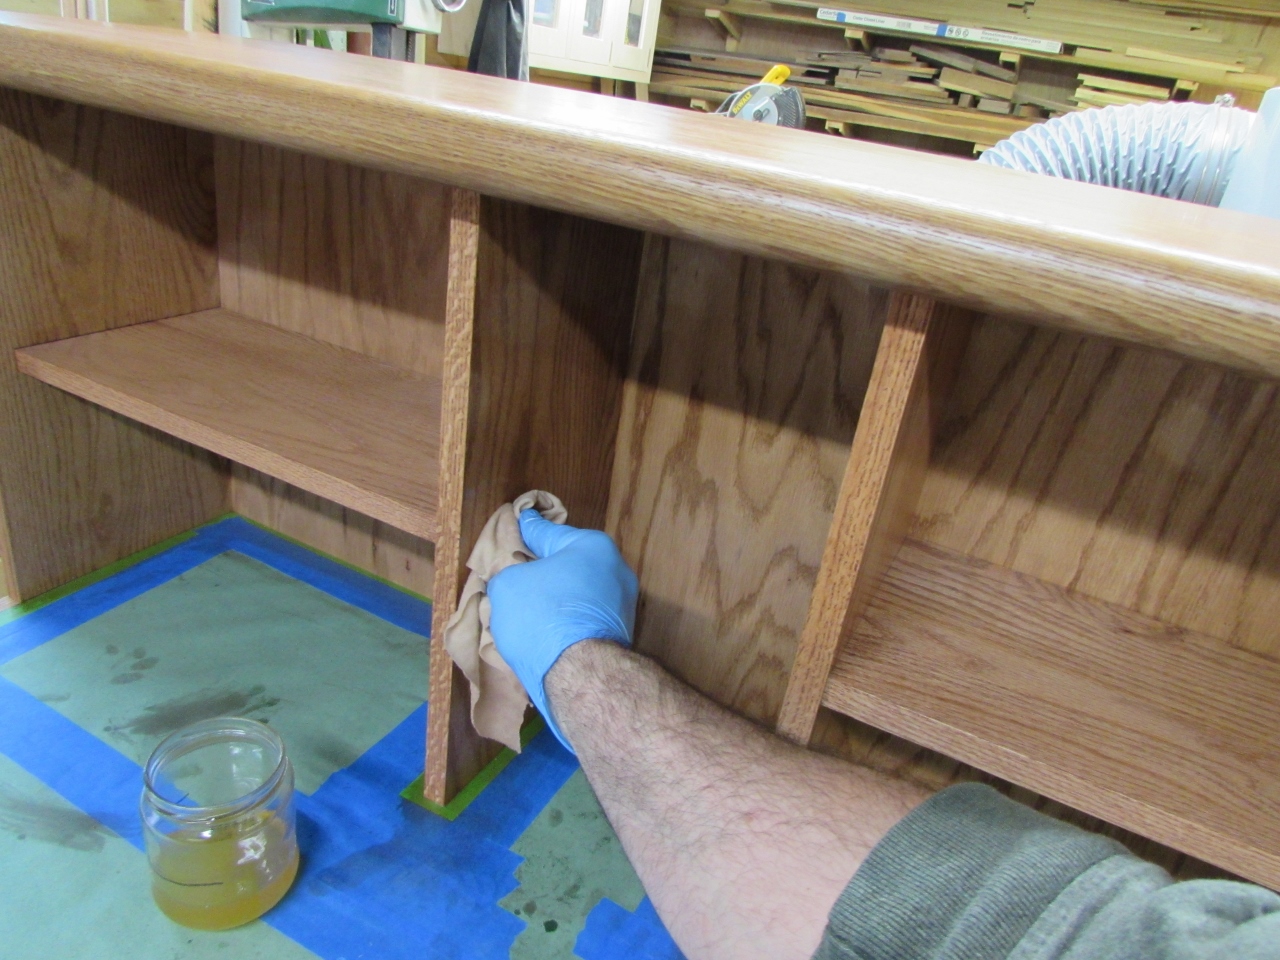
Wiping down the cubbies
After about an hour or so of rubbing on finish, I have completed the first coat and nearly used up my entire jar of poly. To save what is left, I screwed back on the lid, but first, I laid a piece of cling wrap over the mouth of the jar. I have had several jars permanently sealed with poly before, because I forgot this step. You can re-use the same jar for several projects, if you can get it open…

First coat complete
I will be trying to get a coat of poly on each night for the next couple of days. Hopefully it will be done by the weekend. Since I cut the finish in half, I will be applying at least four coats of the wiping poly to build a sufficiently protective film.
