
Baby sitar build – day 4
The upgraded sitar seems to have met with the owner’s approval so far, so it is now time to pick a finish. I did a bit of additional sanding to the guitar to get everything smoothed out and ready. I was considering trying a lacquer finish on this guitar, before working with the burled veneer. This stuff is softer than it appears. It seems to dent rather easily. I am afraid that a thin shell of lacquer may not be enough protection. I decided to switch to a tung oil finish instead. I won’t be using “pure tung oil”. The Formby’s tung oil that I find at Lowes is actually a polymerized tung oil. The reason I like it is that the poly in it is thinned and mixed with the tung oil. The oil soaks deeply into the wood, taking the poly into the wood with it. There, it will dry under the surface. Each successive layer, that I apply, will bring the finish closer to the surface. It usually takes about three or four coats before you start to see a surface finish. The end result is a hardened outer layer of wood, under the several coats that I choose to apply to the surface afterwards. This should strengthen the veneer sufficiently to resist dents and cracking. Since it is thinned, it also wipes on smoothly, leaving an even, smooth surface behind.
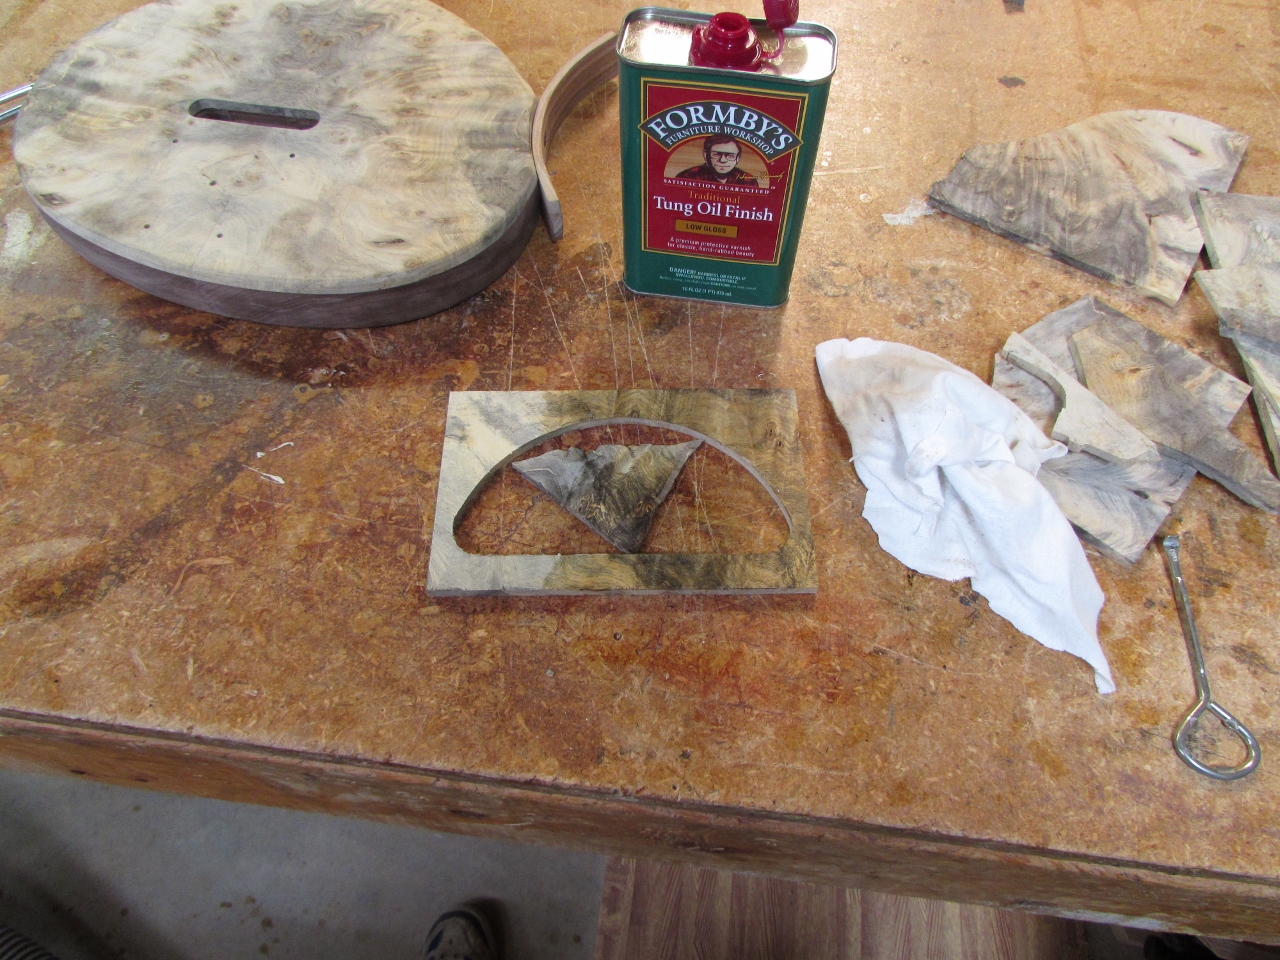
Testing the finish
My client was concerned about using a finish that would darken the wood too much, so I did a few tests on the scraps of veneer that I had left over. The tung oil really highlights the grain and draws out the golden hues, while not overly darkening the wood. Determining that it would be acceptable, I broke the guitar back down and got started.
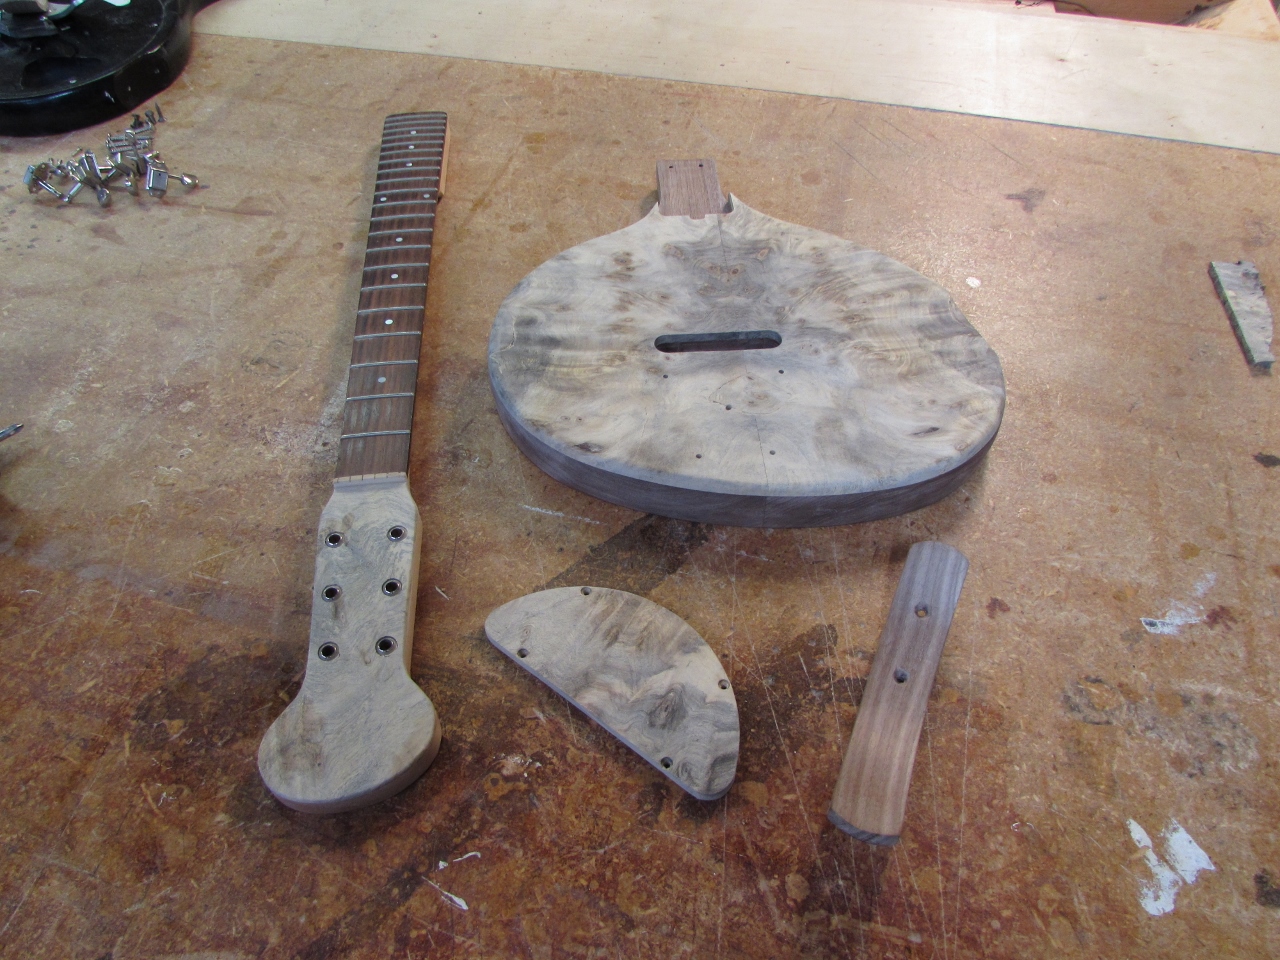
Broken down and ready for finish
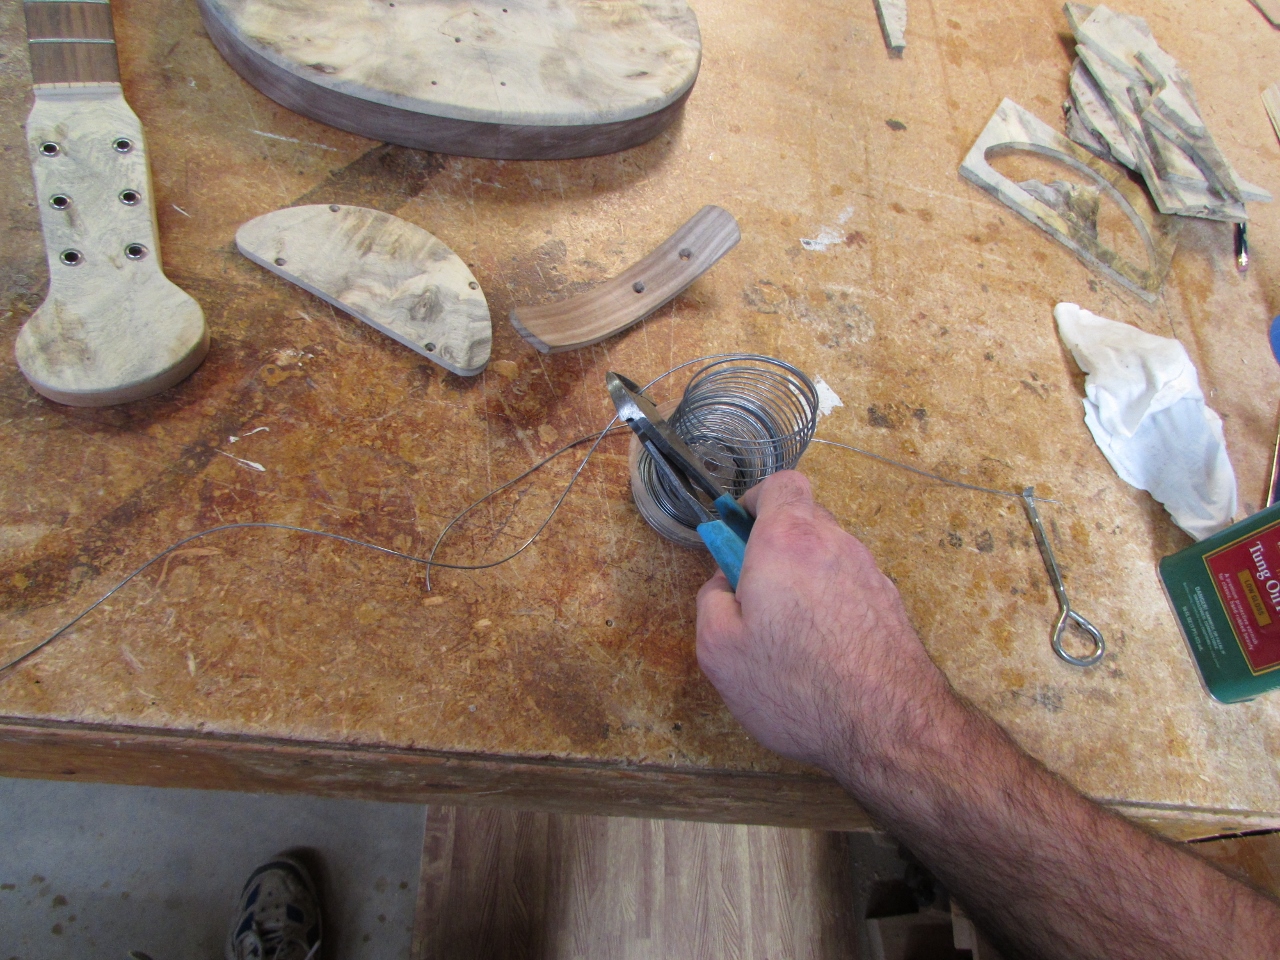
Cutting wire for hangers
To use my time more efficiently, I tend to try to finish both sides of a piece at the same time. Small parts like these make that easy. Especially if there are holes in them. I cut and bent up some heavy gauge wire to attach to my overhead shelf. I created a hook on the lower end to suspend the parts from. The only sides that got touched were the insides of the holes where the finish would not be visible.
Small parts oiled
I wiped any residual dust off of the pieces and started rubbing in the oil with an old tee-shirt. The grain of this veneer really pops out.

Head stock oiled
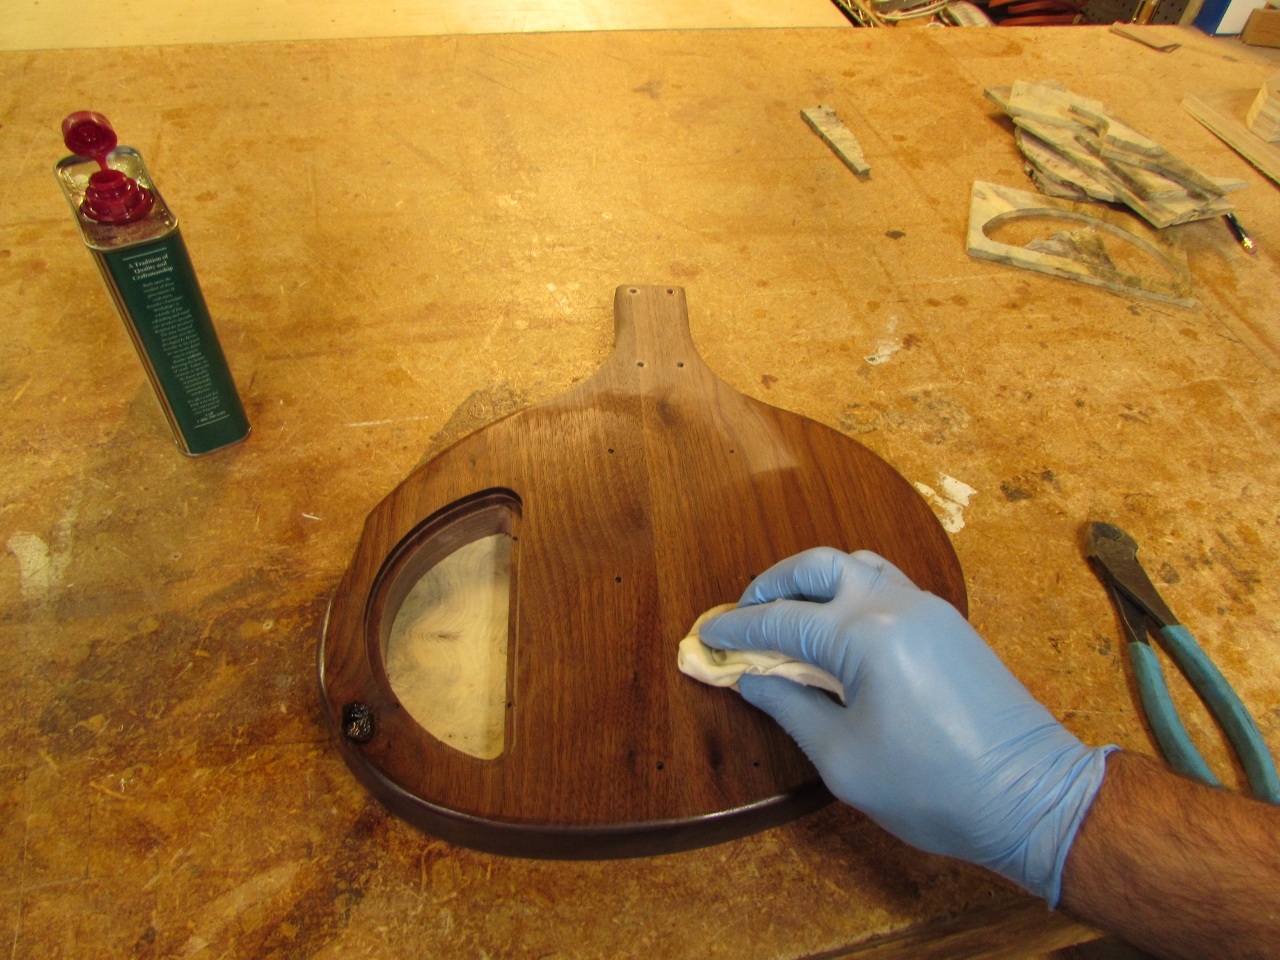
Applying first coat to the body
I gave everything its first coat yesterday afternoon, then came back about several hours later and applied a second. Since I have to line some of the carved-out pockets with adhesive-backed copper, I did not apply finish to those areas. This offers the added bonus of leaving some unsealed surfaces so that the wood can continue to breathe, allowing the wood to continue drying over time.
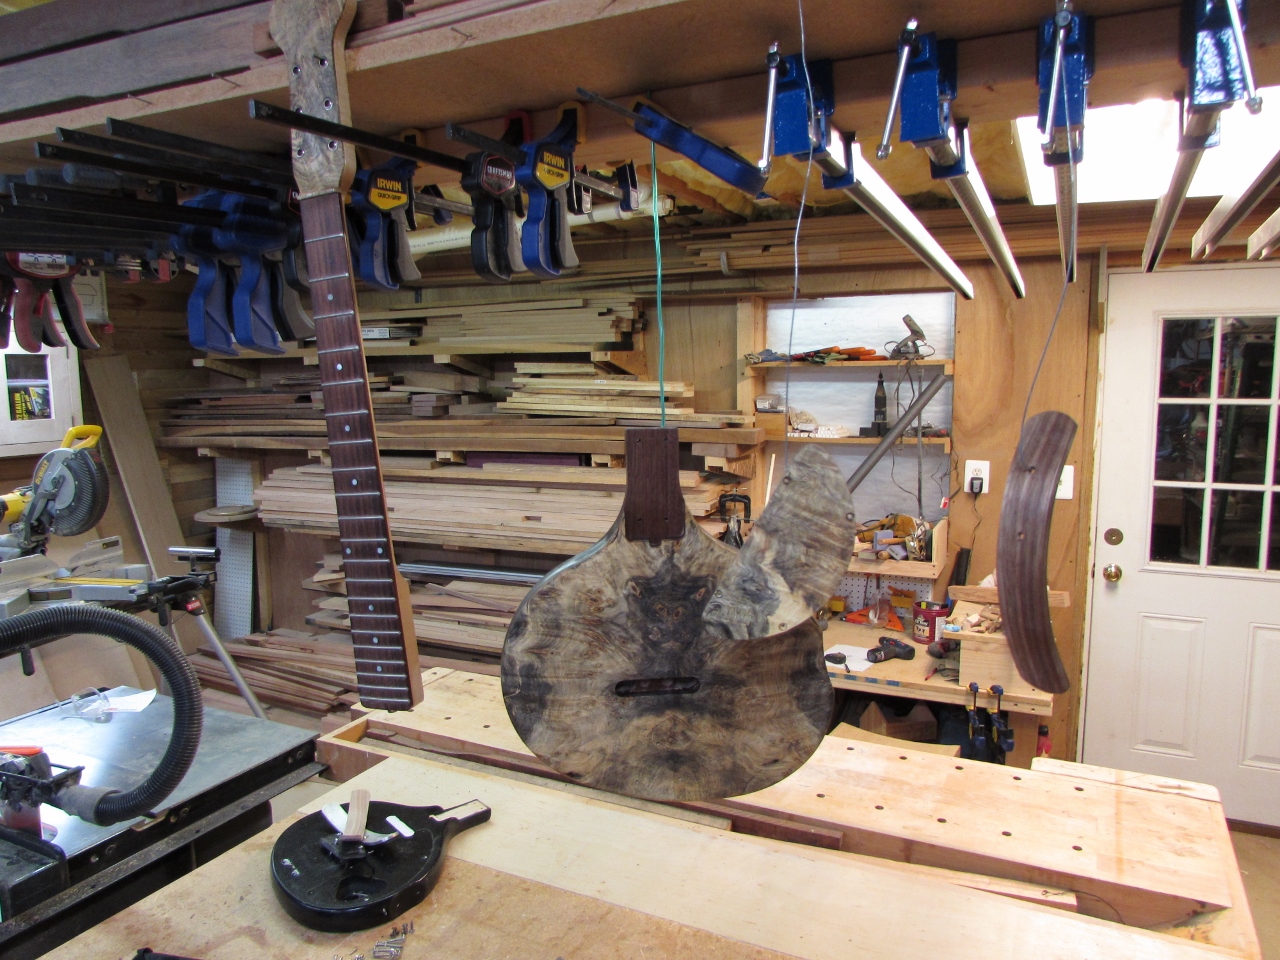
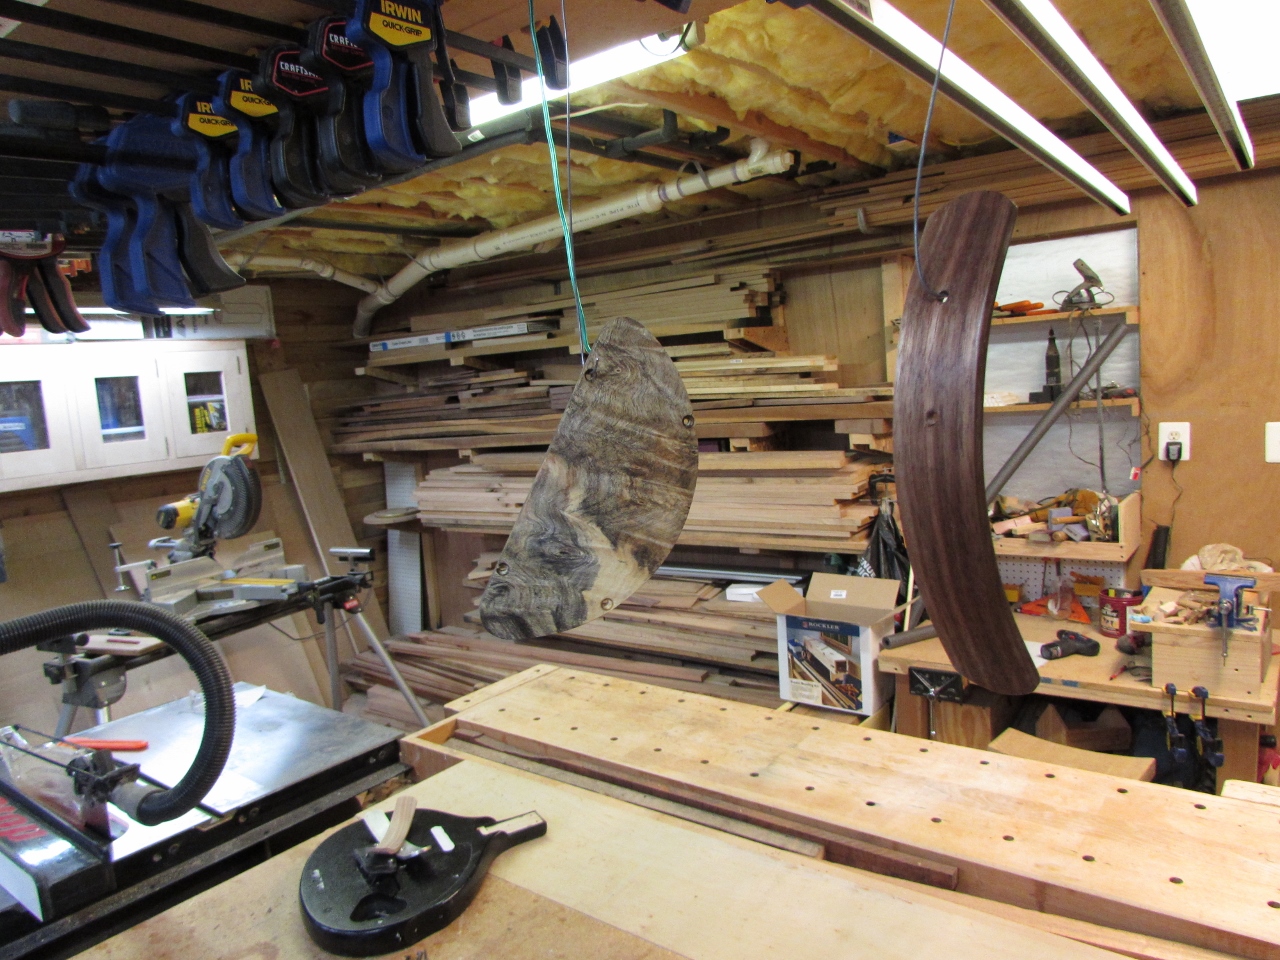
Hung out to dry
I plan to do at least six coats, rubbing everything down with some fine steel wool, between each coat. Once the first couple coats are applied, I will wait about twelve hours between each coat, to make sure they each dry thoroughly.
