
Baby sitar build – day 3
I finished running the carve last night. It turned out nice.

Carve complete
I pulled off the tape and cut the tabs that held the body in place.

Cutting away the tabs

Sitar body
It requires a bit of sanding around the edges, but it turned out pretty much the way I had planned. I took a few minutes to salvage as much of the excess burl as I could. This stuff is pretty soft, so I took my time and pulled it off with a wide chisel.
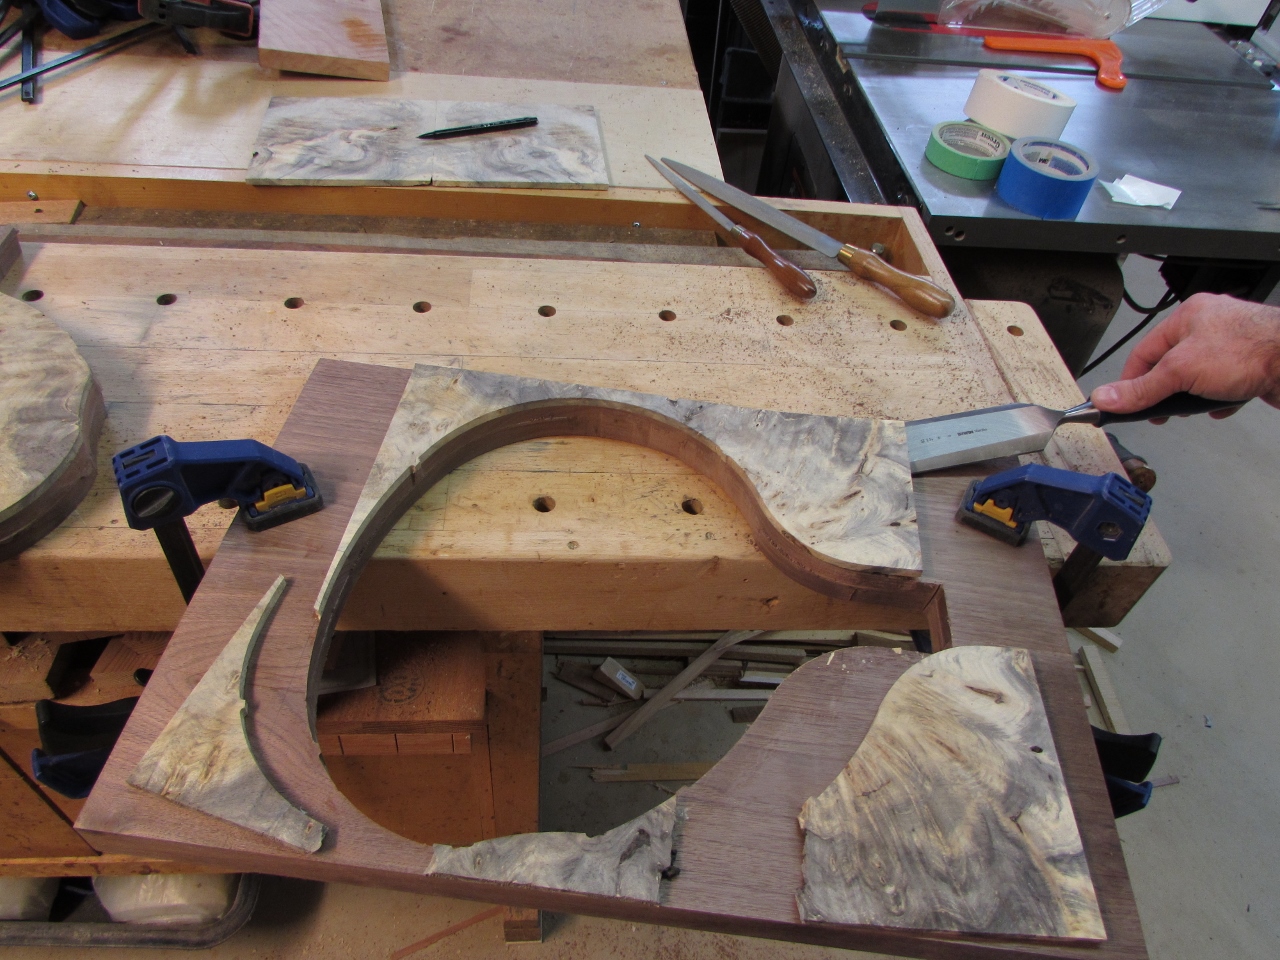
Freeing up the scraps

How to fix this?
There was a notch in the side of the board that became a hole when the veneer was book matched. I deliberately placed it where the buzz-bridge will cover it completely, but I want to fill it so it doesn’t affect the operation of the buzz-bridge.

Press the tape in to create a pattern
I applied a piece of painter’s tape to the area and pressed down around the edges. This gave me a line to trim around with the scissors. I cut it out just a bit larger to create smoother edges. I then applied the piece of tape to a similarly colored piece of the scrap.

Apply the pattern to a matching piece of wood
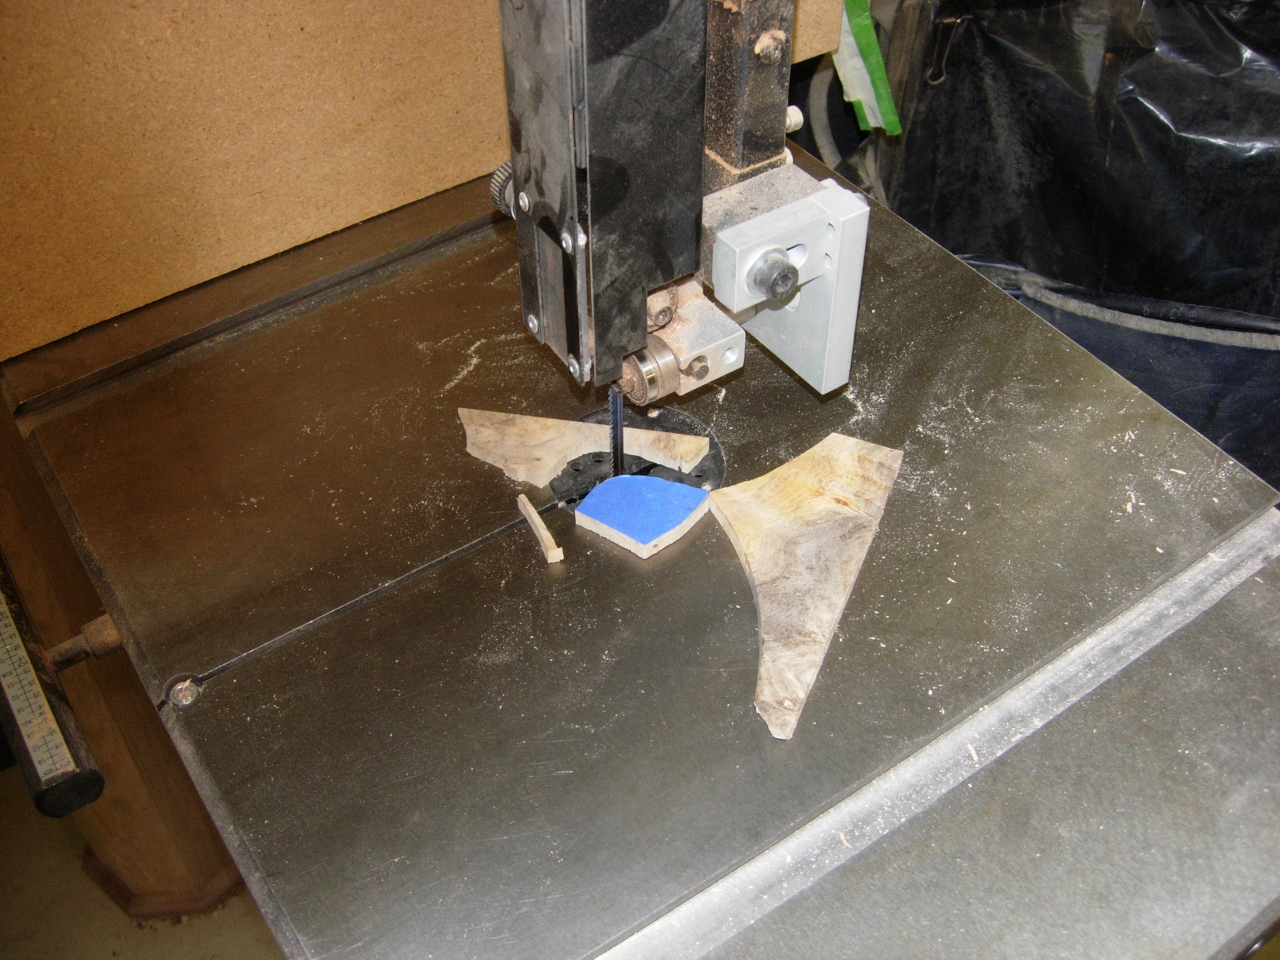
Trim on the band saw
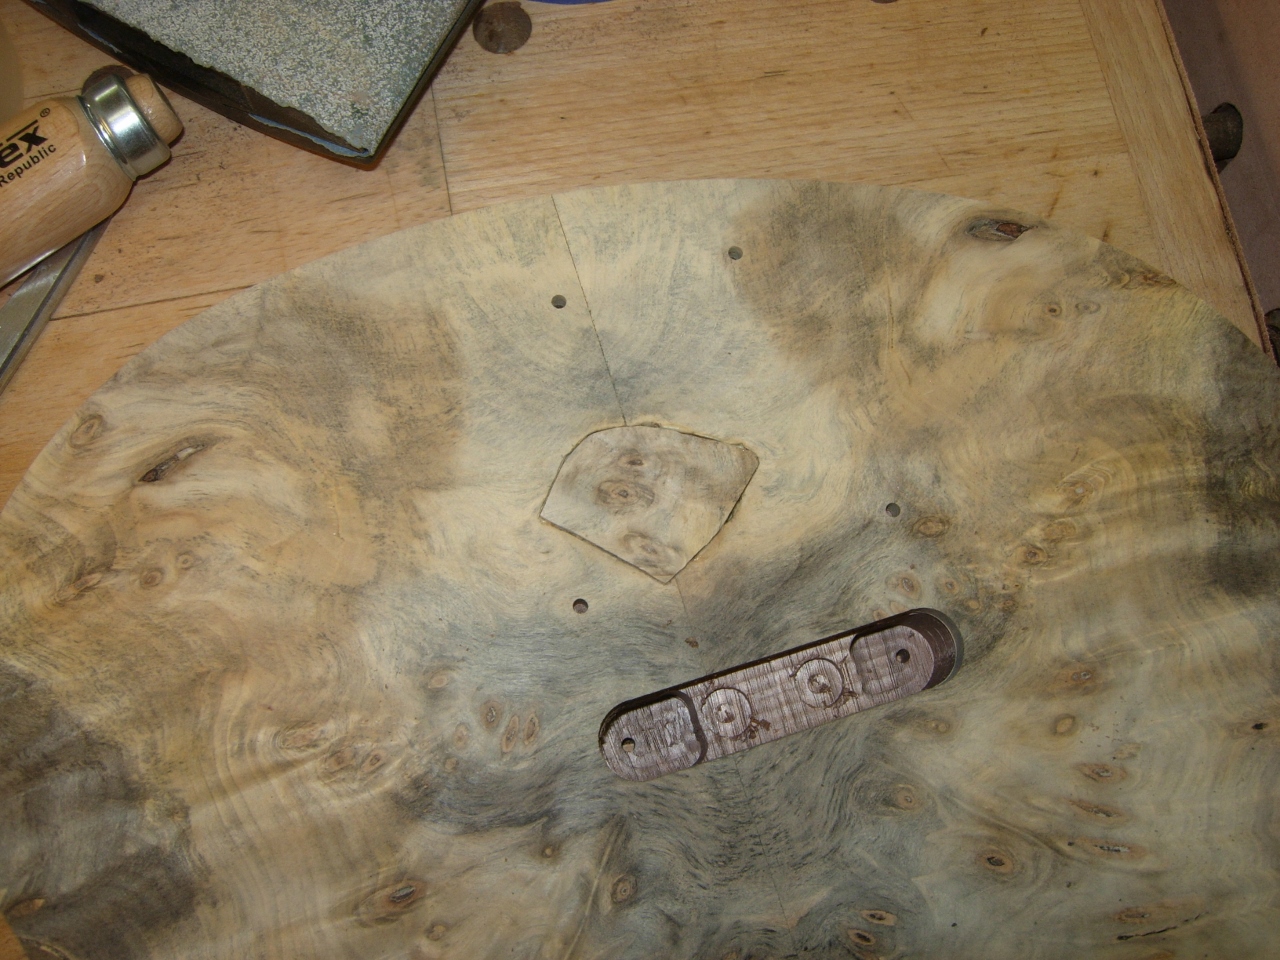
I cut the plug out on the band saw, and sanded the edges smooth. Next, I placed the plug over the hole and traced the edges.

Trace the plug
I carefully chiseled out the excess material inside the outline, then sanded my plug to fit snugly within.

Chisel away everything inside the mark

Apply glue
I applied wood glue to the bottom and edges, then pressed the plug into place.
Press in plug
While that was drying, I took the opportunity to fill some of the other inclusions with CA glue.

Applying CA glue to fill inclusions
When the glue was dry, I sanded everything down smooth. The plug isn’t a perfect match, but it looks pretty good. It will be completely covered anyway.

Sanding everything down smooth
Prepping a blank for the control cover
When the glue was drying on the plug, I took the opportunity to take one of my scraps of the veneer and create a blank large enough to cut the control cavity cover from. The carve only took a couple of minutes.

Control cover carve complete
I pulled it apart and sanded it down. It was a perfect fit.

Perfect fit
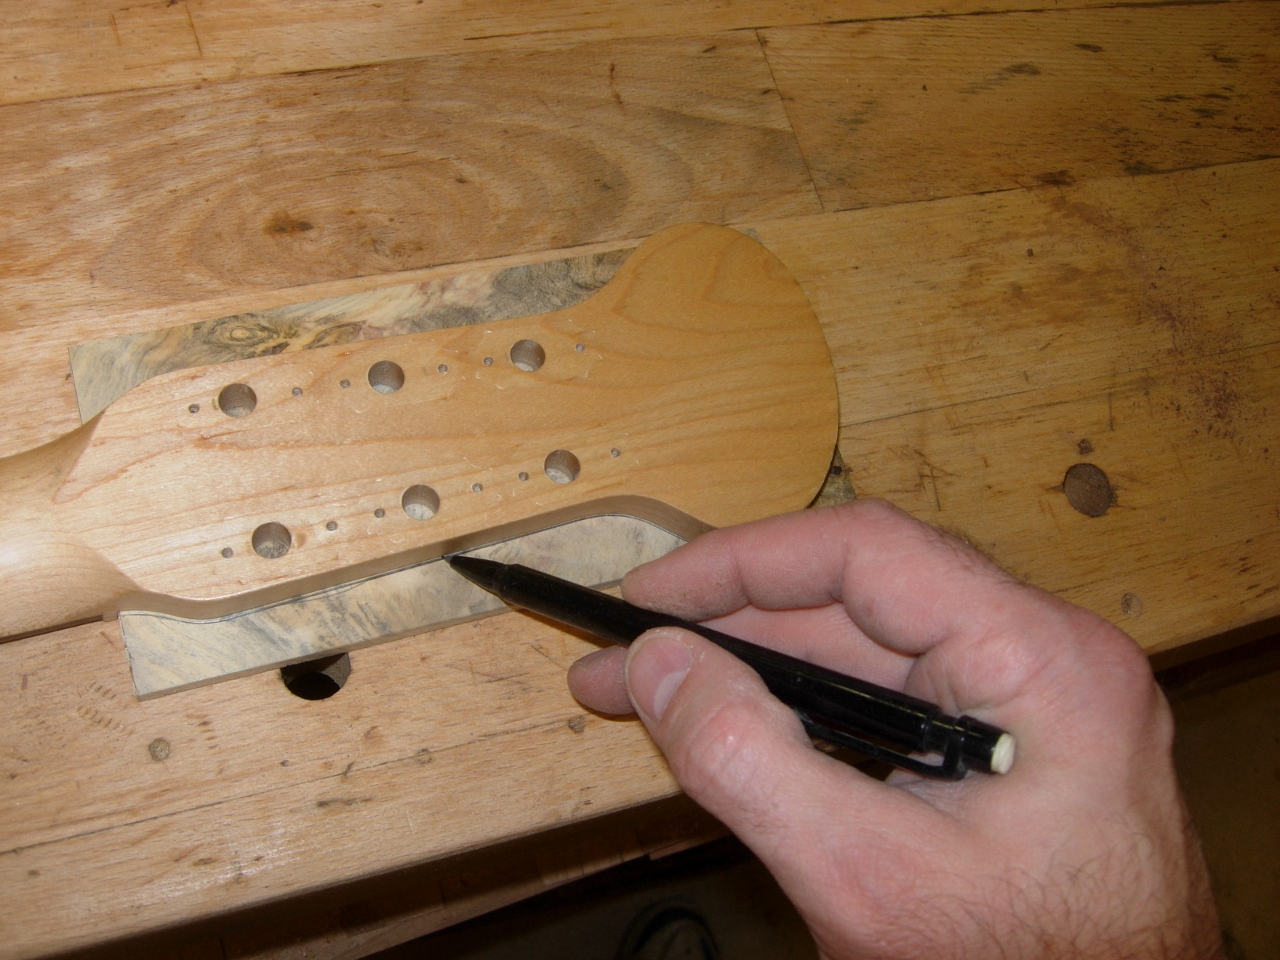
Tracing the head
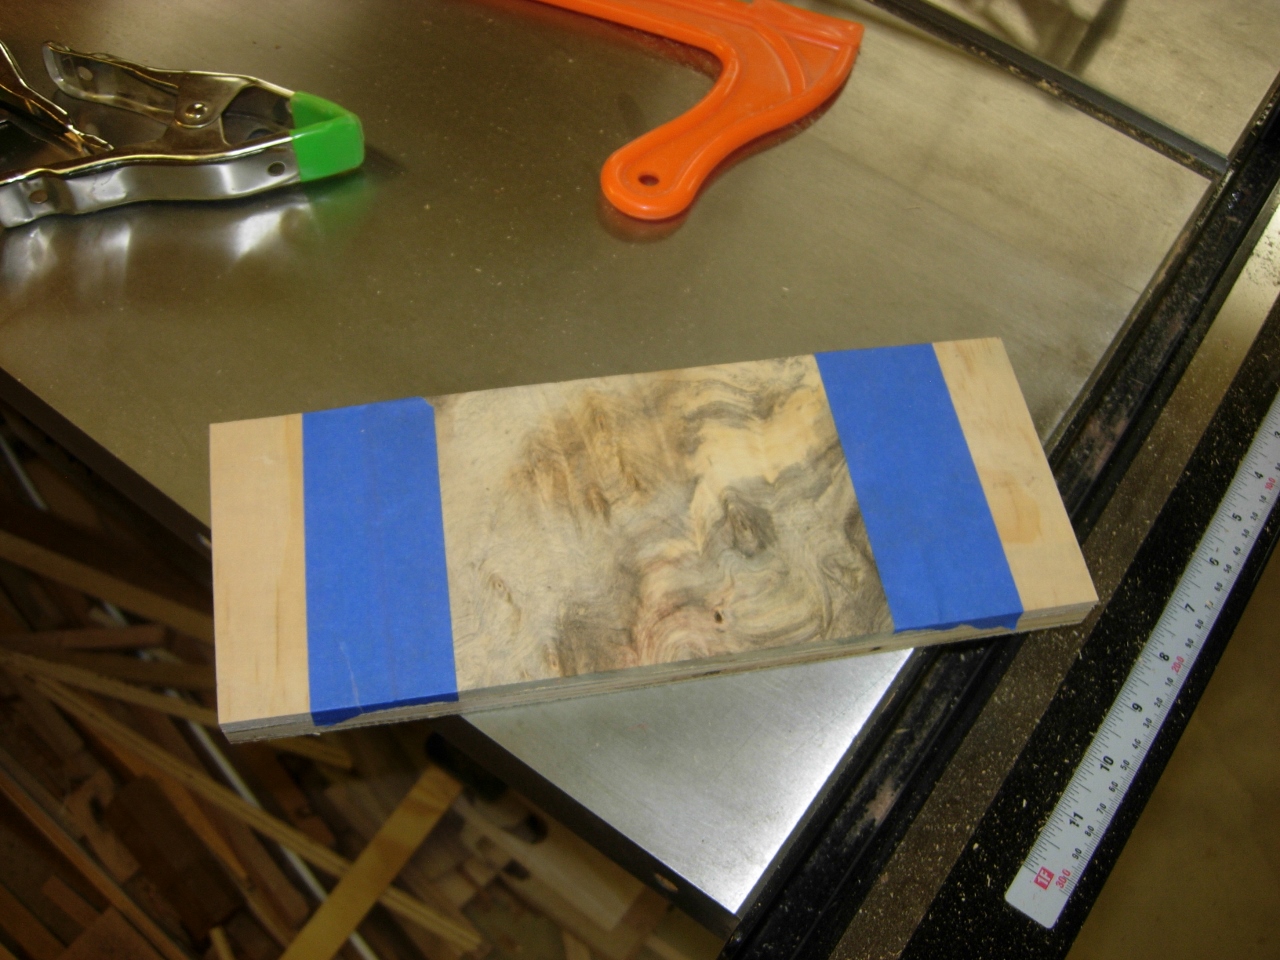
Using one of the few remaining scraps of veneer, I traced the head of the guitar. I want to apply a very thin veneer to the head stock so I re-sawed it down to about 1/16″ thick.

Re-sawing the veneer
I cut out the veneer, on the band saw, staying just outside the line.

Cutting outside the lines

Sanding off the existing finish
I sanded off the existing finish and applied a thin layer of wood glue.
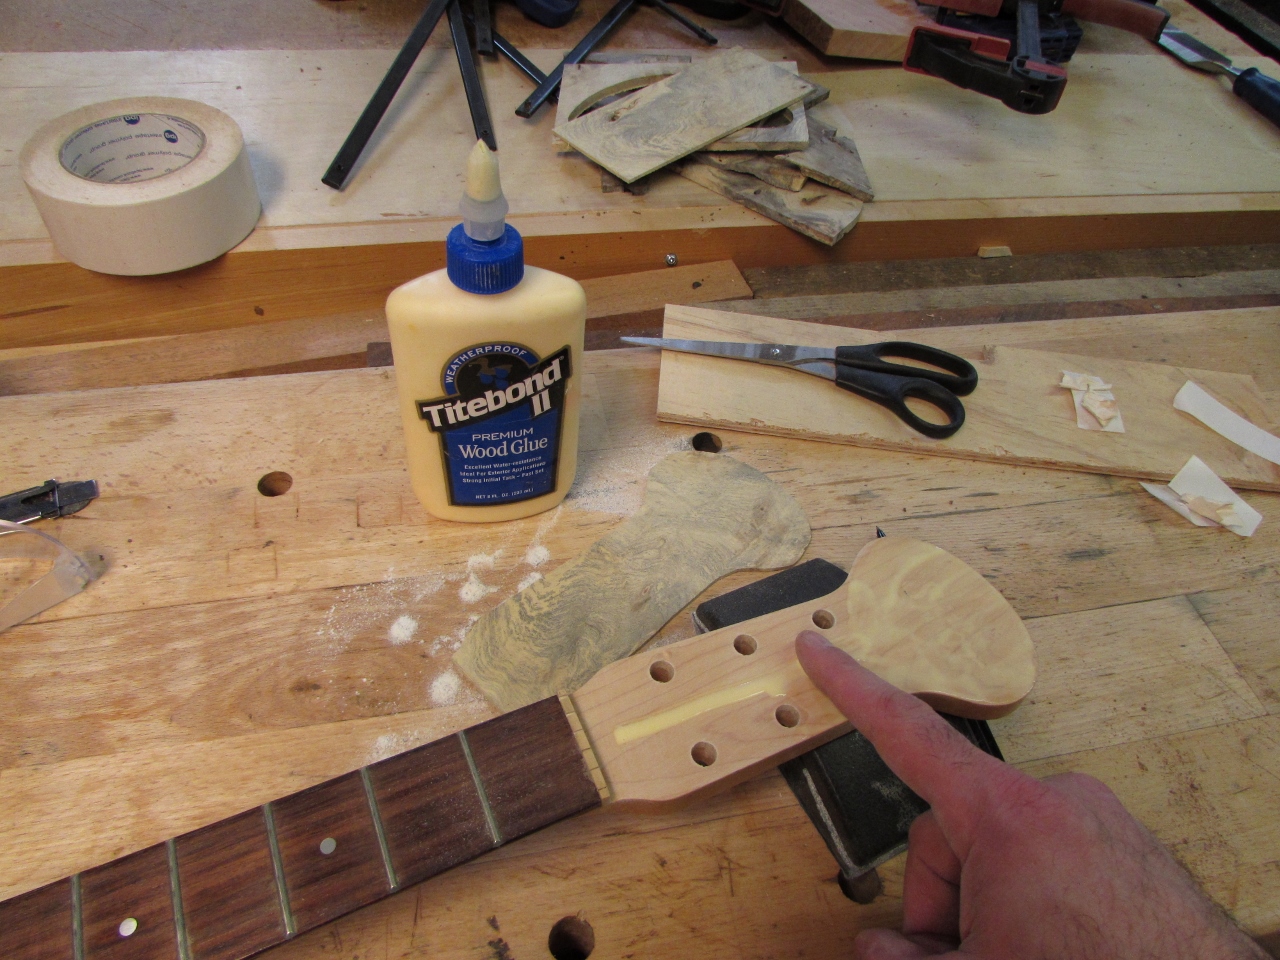
Spreading some glue
I clamped the new piece of veneer into place and let it dry for an hour.
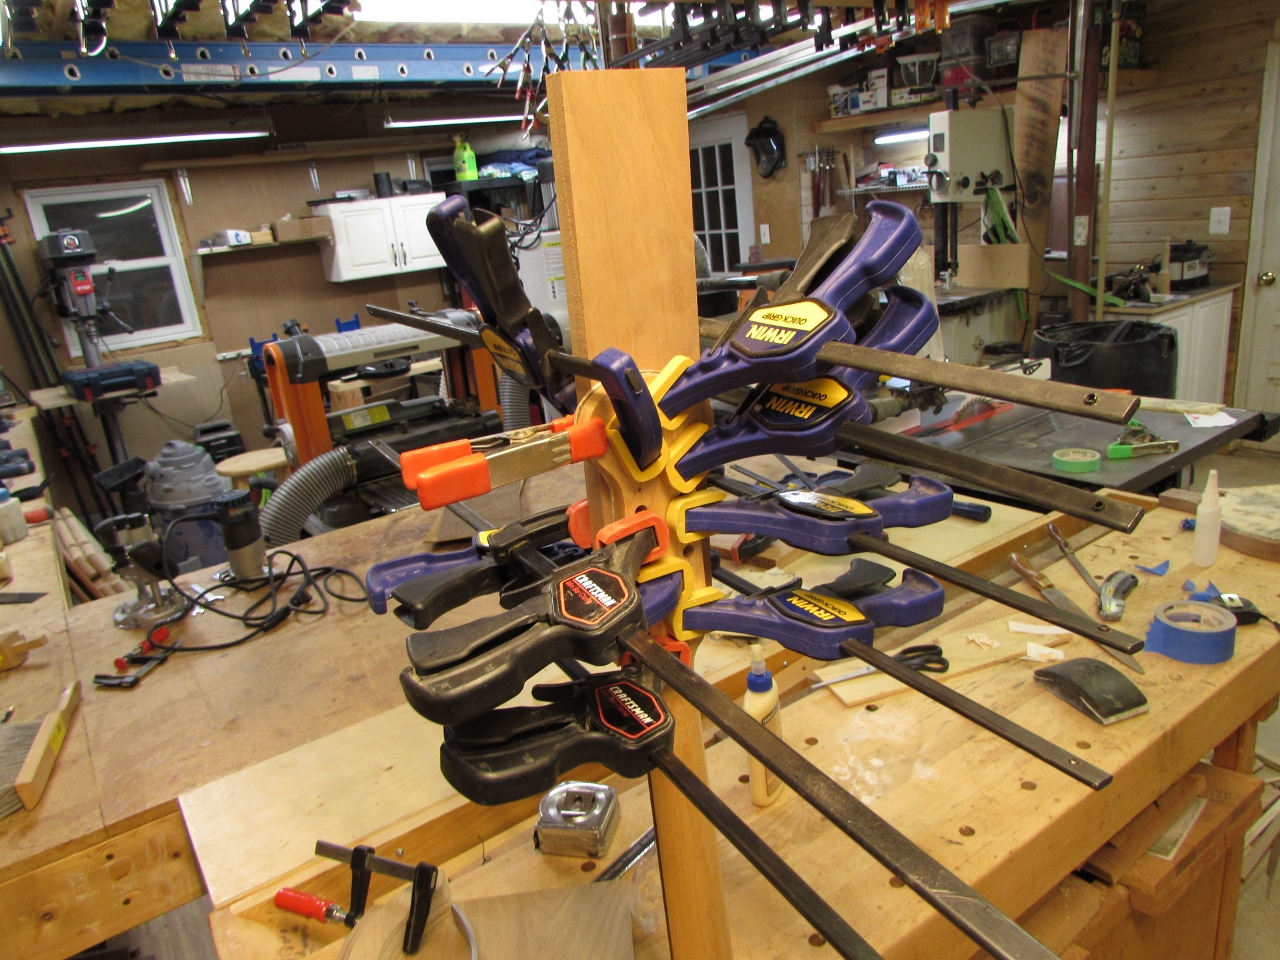
Clamping the crap out of it…
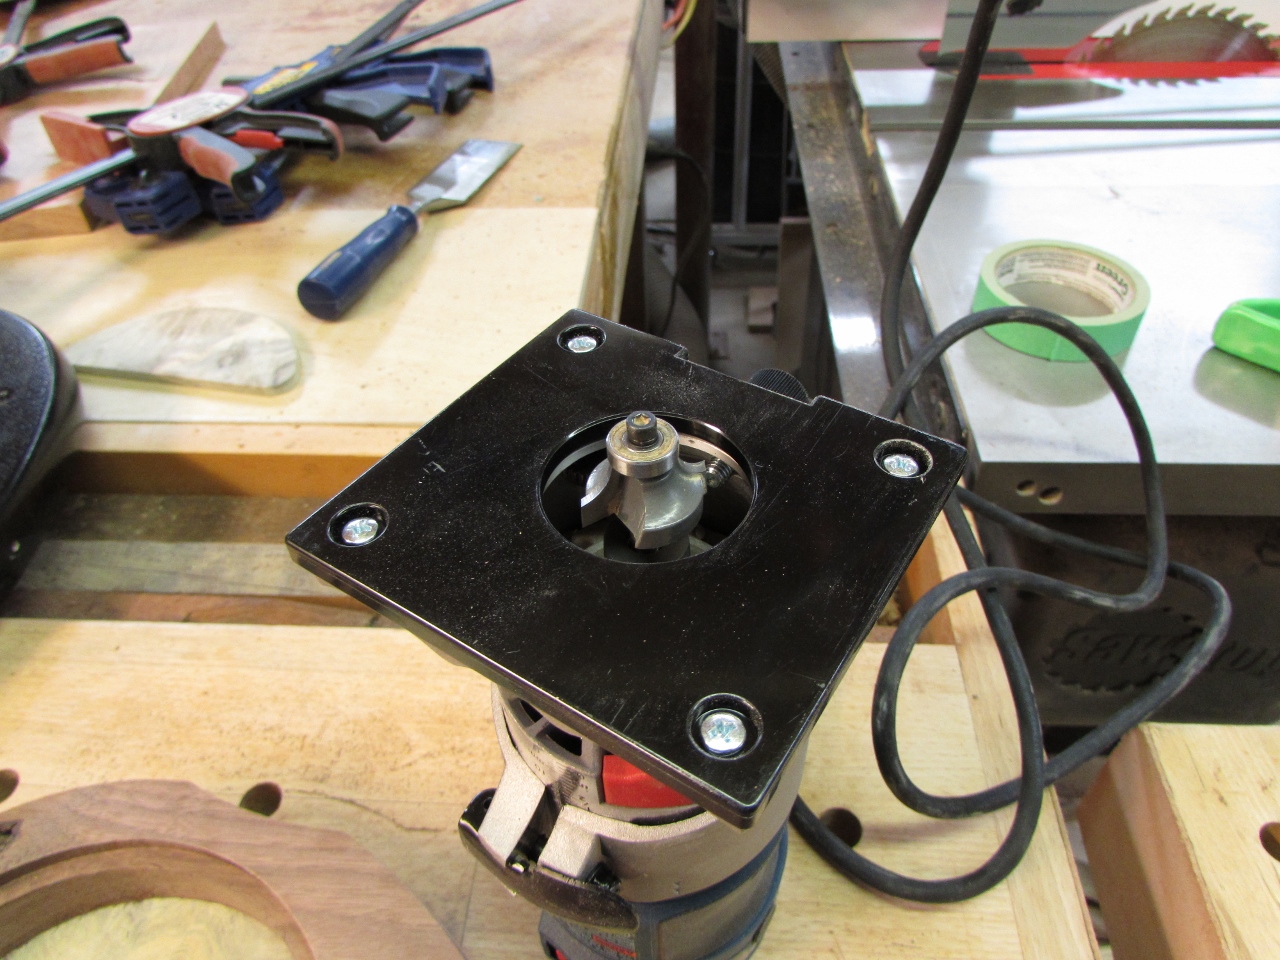
1/4″ round-over bit
While that was drying, I loaded my 1/4″ round-over bit into my trim router and rounded all the edges of the guitar body.

Rounding all the edges

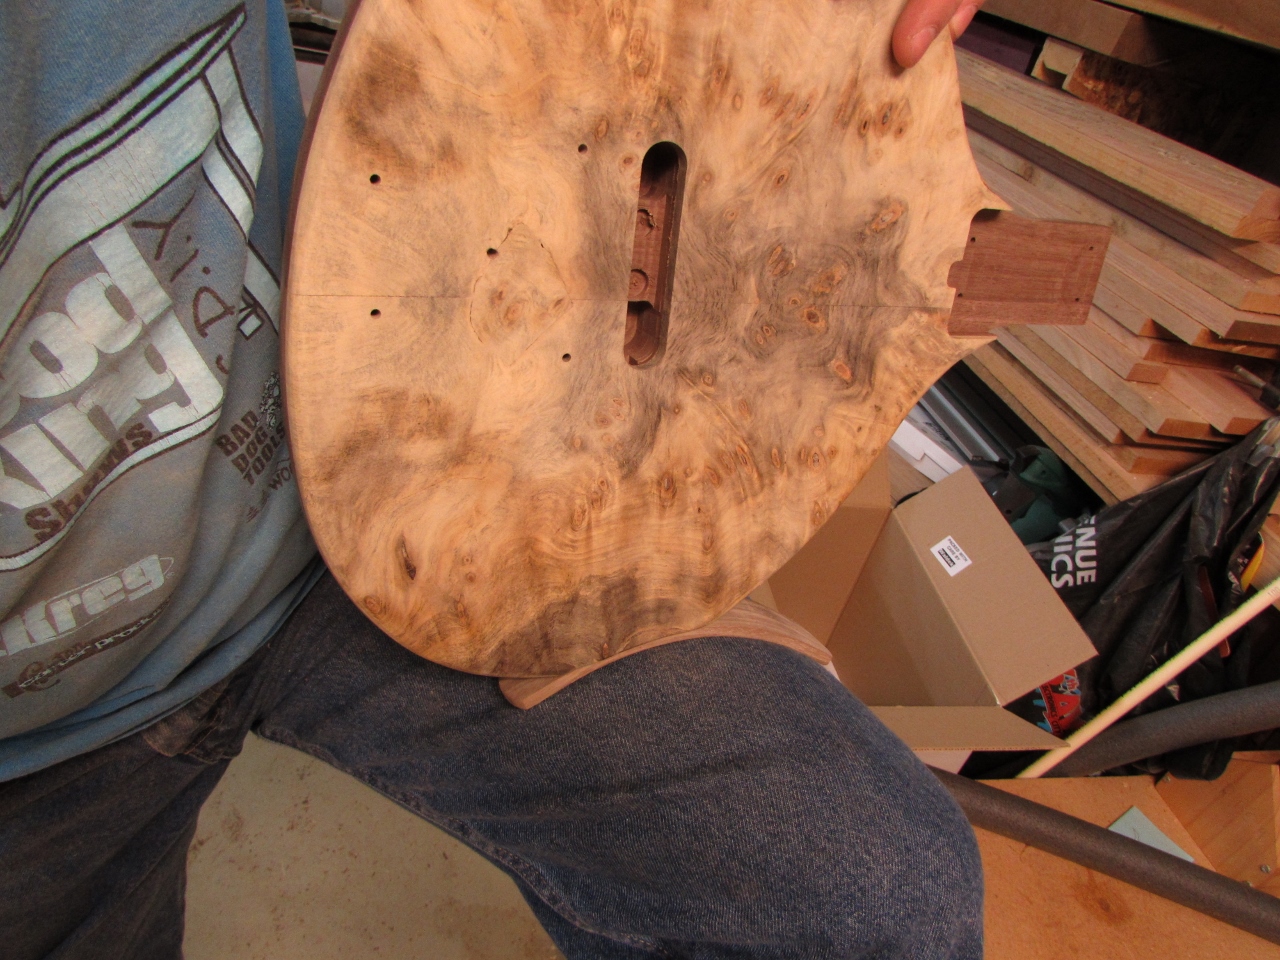
Front, wiped down with naphtha
After a good sanding, I wiped down the entire body with naphtha to clean it up.

Rear, wiped down with naphtha

Dried and sanded
When the head was dry, I sanded it down. The burled veneer is so soft that I was able to sand it flush to the side all the way around in just a few minutes. When it was sanded, I clamped the head stock face down and drilled out the veneer through the existing tuner holes.

Re-drilling the tuner holes
The tuners have bushings that need to be pressed into place. I used a hammer for that delicate job… I actually pressed the bushings down into the veneer till they were nearly flush with the top face. The tuner pegs do not come too far through the top face, so this was necessary in order to leave room for the strings.
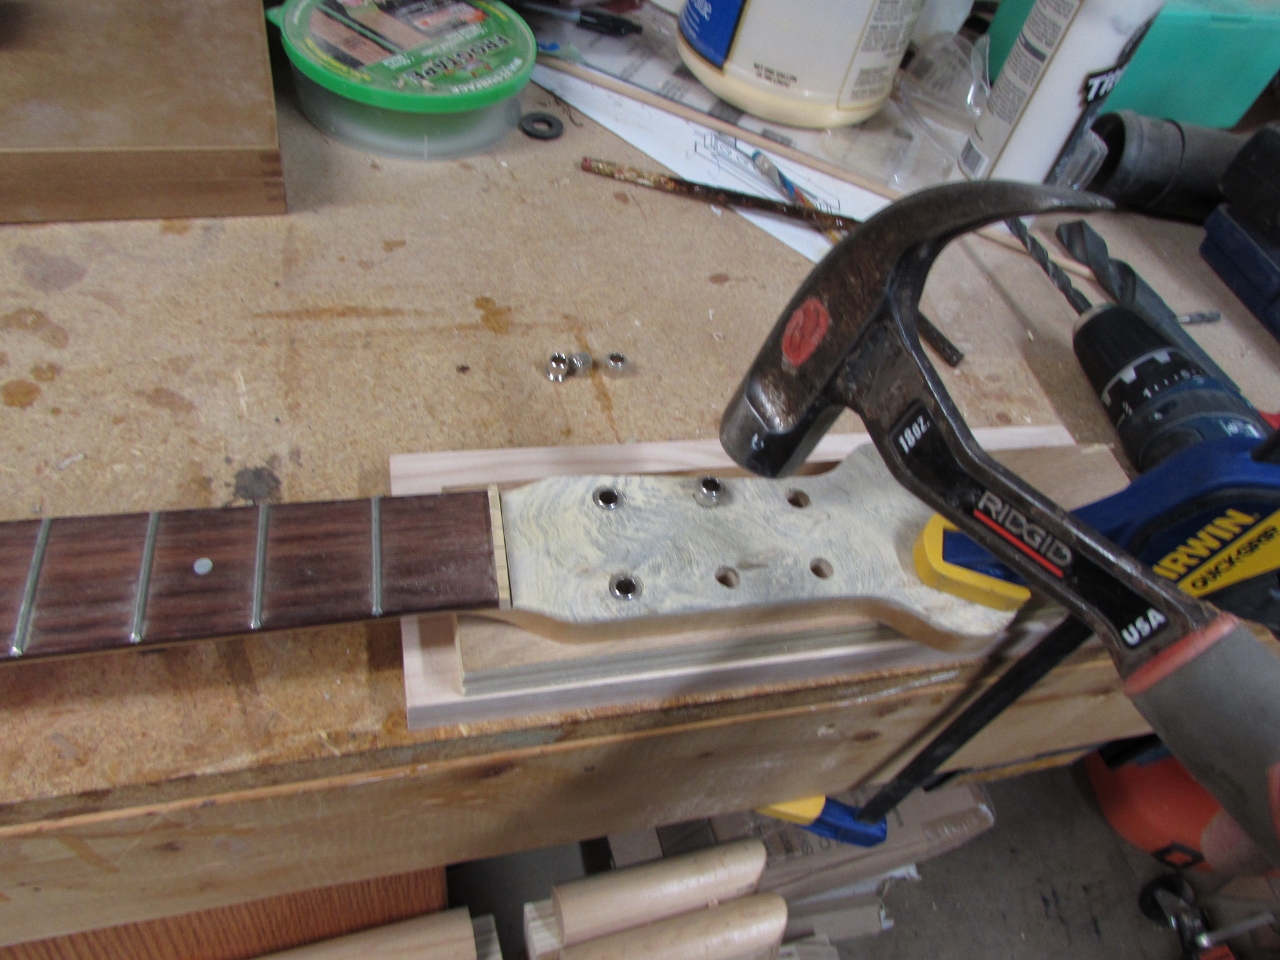
Press-fitting the tuner bushings
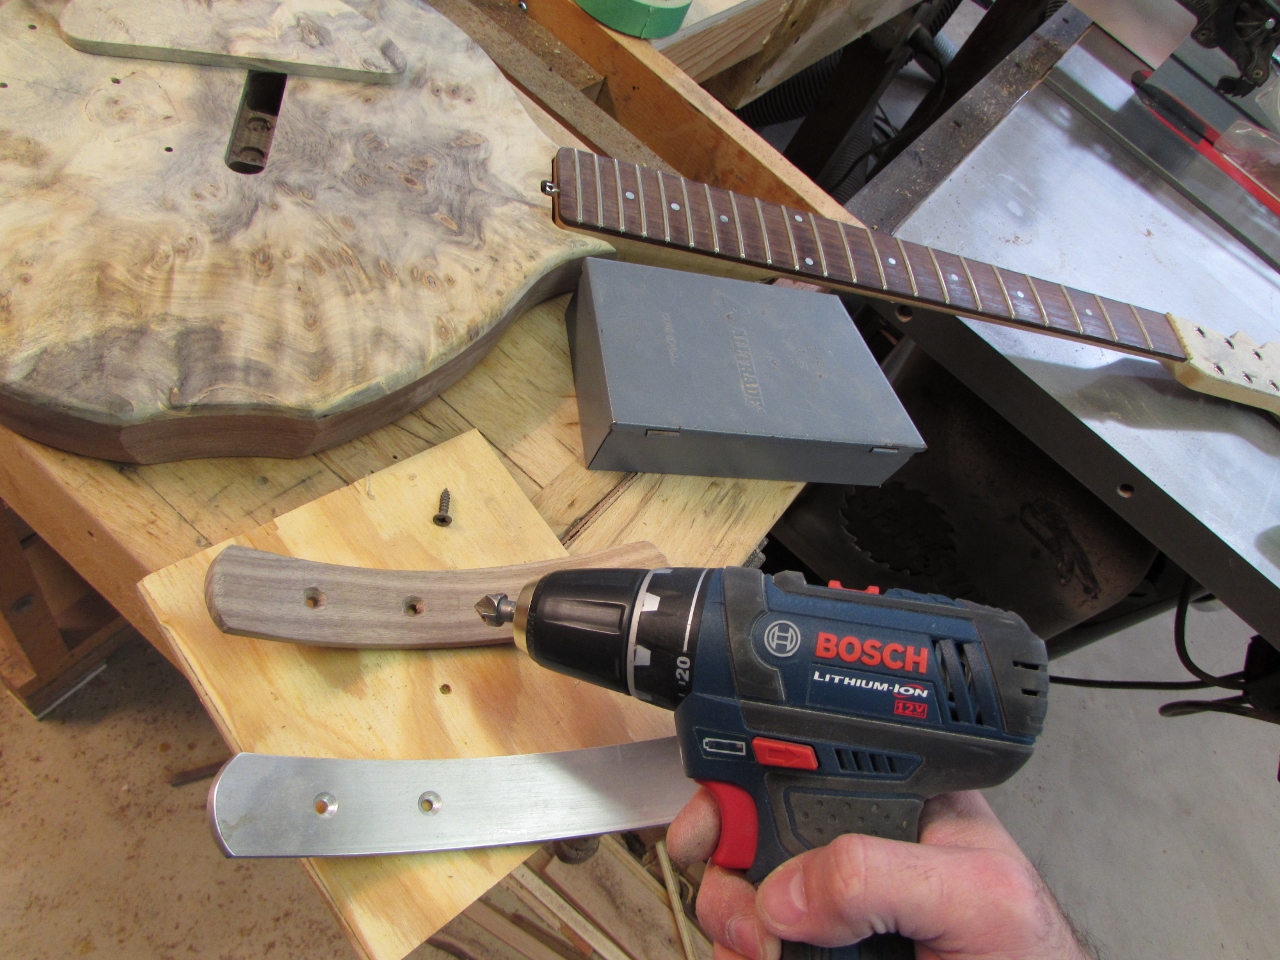
Drilling and counter-sinking the mounting holes
One of the last details is mounting the leg rest that I bent. I located the holes using the original, then drilled and counter-sunk the mounting holes. I attached the rest with some wood screws and gave it a test rest on my thigh.
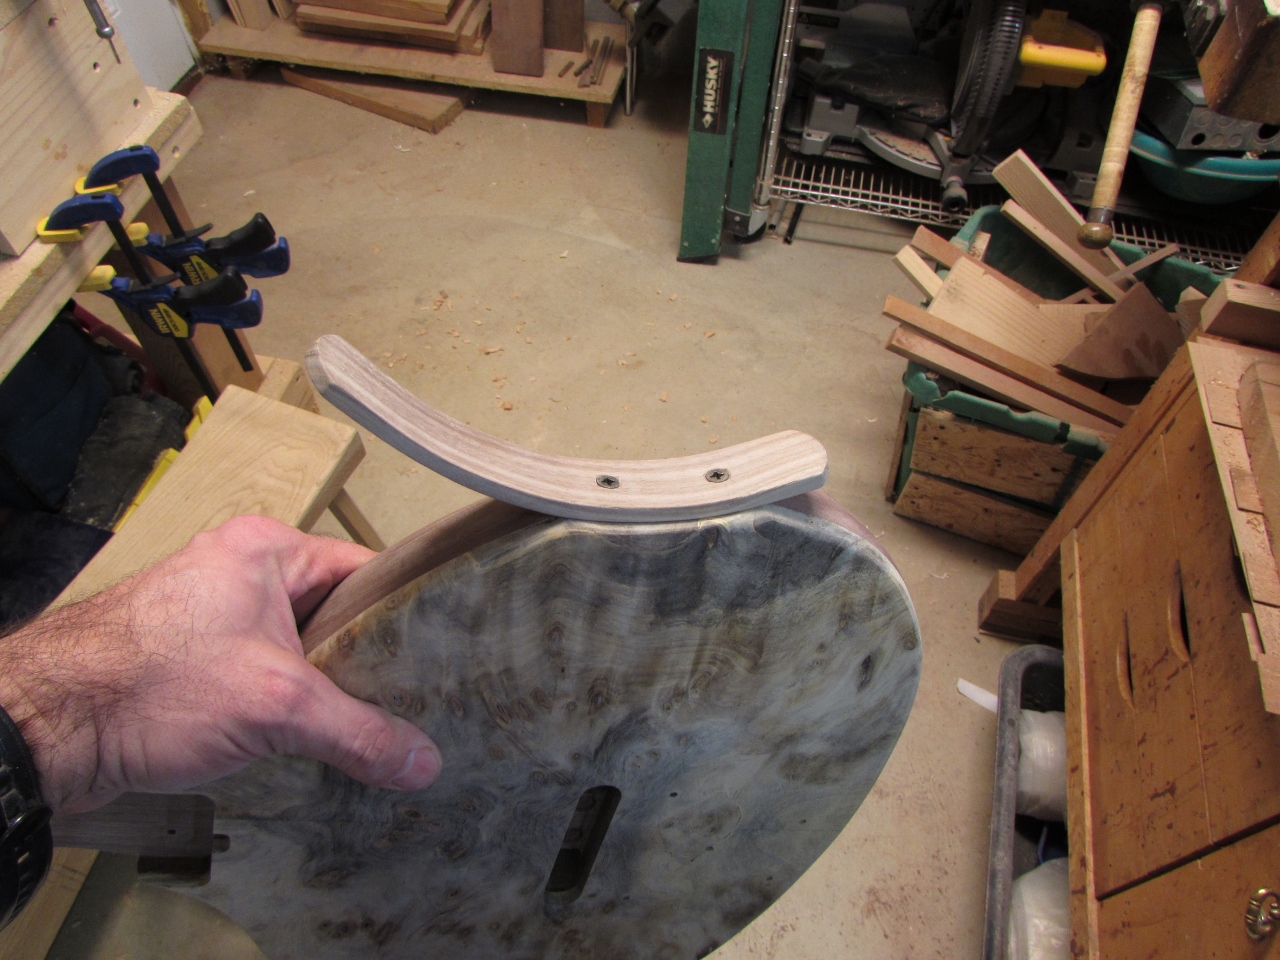
Leg rest mounted
Test fit…

Drilling mounting holes in the control cover
The last little detail is the control cavity cover plate. I drilled and counter-sunk four mounting holes and attached it in place. The wood is soft, and I got a bit of cracking near the edge of the counter-sinks. Not sure that I can do much about that.

Cover plate mounted
I assembled the main components of the guitar so I can take it to the client for review before finishing.

Ready for finish
Well it is after midnight again and I have to get up for work in about five hours, so that is all for today.
