
Baby sitar build – day 2
I pulled the clamps on the steam-bent crooks that will be used for a leg rest on the baby sitar. They did spring back a bit as I had planned, so they almost perfectly match the metal one that I was trying to reproduce. Even though my steam box delaminated the first time out, the bend was a success.
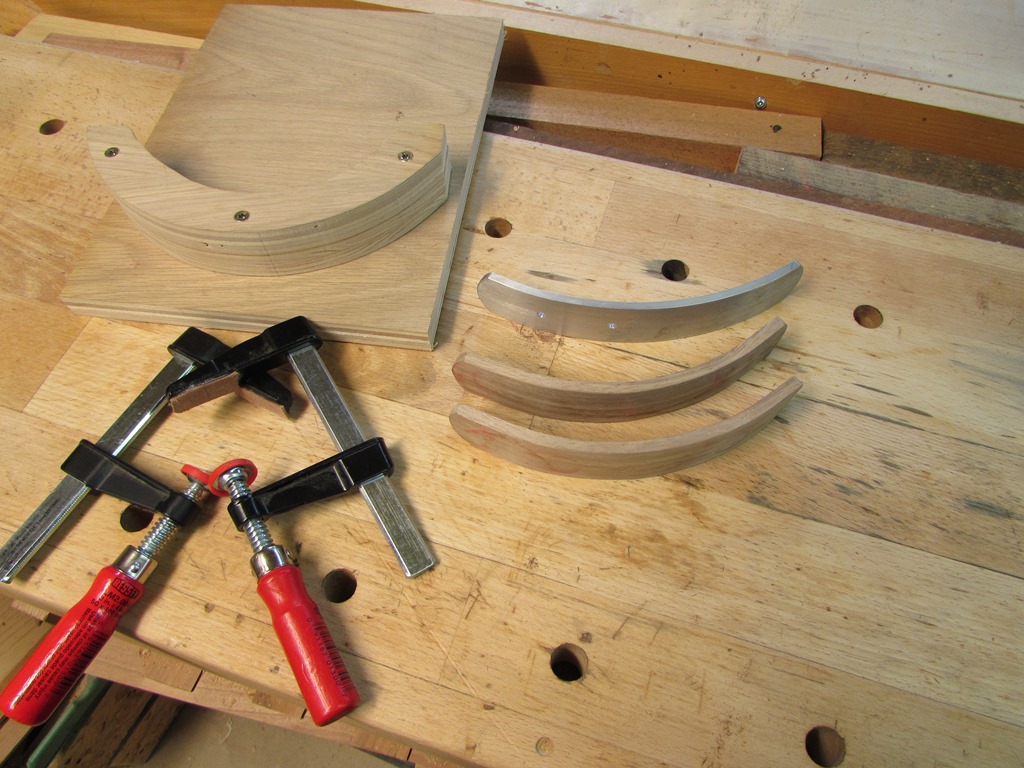
Unclamping the steam bent leg rests
Perfect fit
When my cut motor died a couple of weeks ago, I was in the middle of carving the front side of the walnut body of the sitar. I adjusted the program to remove the sections that were already cut, and ran the program again. Everything lined up fairly well with a slight variation on the depth of cut in some of the hollowed out pockets. That is not a problem, since they will be covered up anyway. I did remove a few too many cuts from one of the pockets in the middle though.

Mostly finished carve…
I decided to manually remove those areas. It was a good excuse to try out my new router with the plunge base. I loaded a 1/4″ spiral up-cut bit and finished cutting the pocket by eye.

Cleaning up what I missed

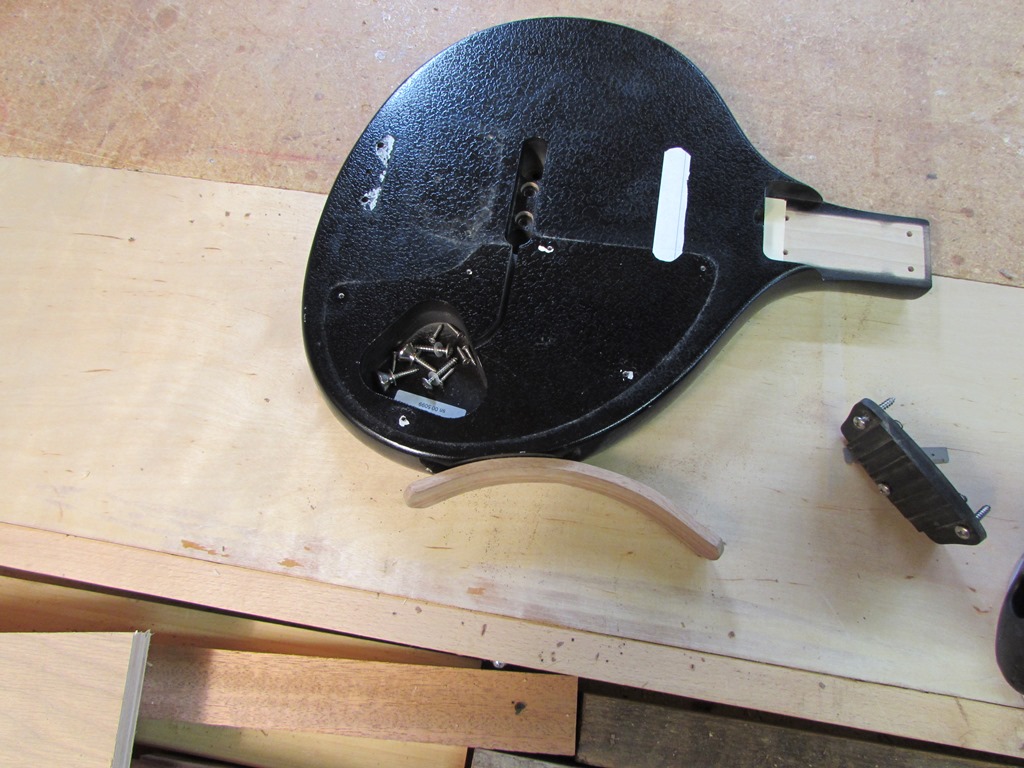
Locating the guitar profile
The piece of buckeye burl veneer that I have is only a few inches larger than the guitar, and it was rather expensive. I need to save some of the material to create a cover for the control pocket, as well as enough to veneer the head stock to match. To salvage as much of the material as possible, I lined up some of the through holes in the old guitar body with the new one, so I could trace the approximate outline of the new carved body.
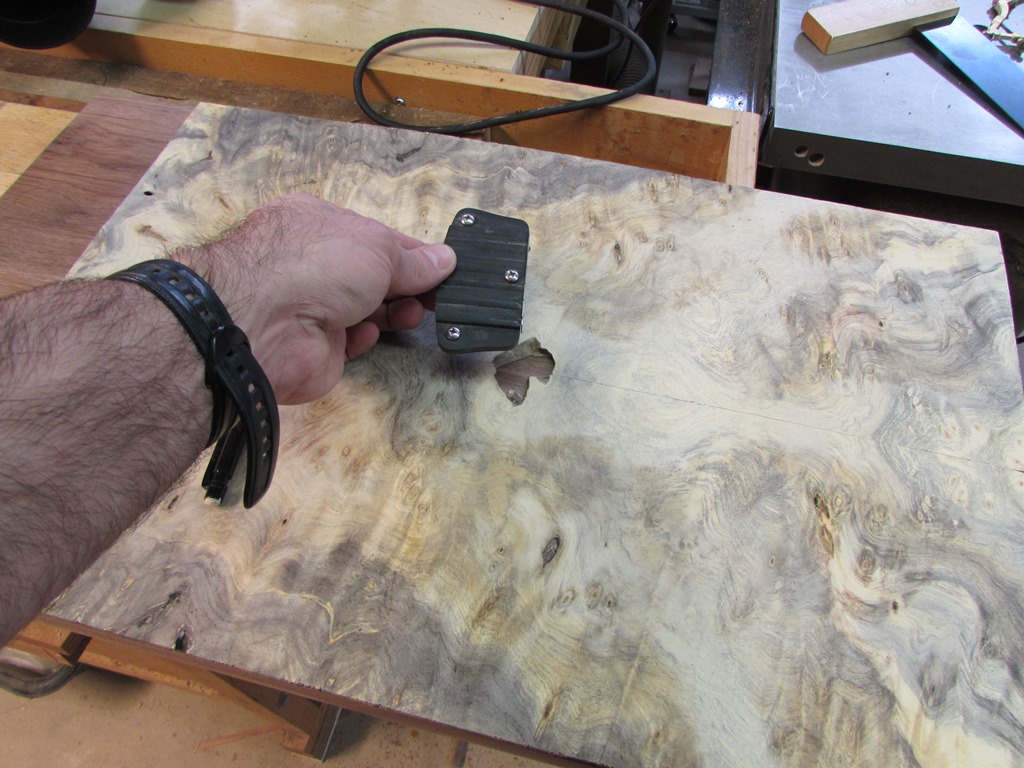
Centering the hole in the veneer under the buzz bridge
I shifted the veneer to line up the hole in it with the location of the buzz bridge, then marked just past the body.

Marking just past the carve location

Cutting away the excess for later
I cut off the excess for later use, then planed down a few pieces of plywood to match the 1/4″ thickness of the veneer. I marked and cut down the plywood to fit exactly to the edge of the walnut.

Adding plywood blanks to make up the extra
I applied double-sided tape and attached the plywood. These ends won’t be used in the carve, but the CNC requires a few extra inches on each end to hold the material, and for the entire blank to appear to be the same thickness.

Taping on the blanks
In hopes of recovering even the scraps of veneer at the corners, I applied double-sided tape there as well, then applied glue to the location of the guitar body and just a bit beyond.

Adding glue and tape to hold the veneer
Before clamping it all up, I applied blue painter’s tape to all the edges and joints. The tape hides any gaps or seams from the carver’s sensors. The gaps could fool the carver into thinking it had a smaller piece of wood and mess up the program.
I clamped along all the edges and placed some boards across the center to act as clamping cauls. I let it dry for about an hour and pulled the clamps.

Taped and clamped
I loaded it back into the CNC and started the third and final carve.

Final carve running
It was still running the carve at 12:30 AM, so I paused it for the night and went to bed. I will finish The carve tonight and see how it turned out.
