
Baby sitar build – day 1
I got a new camera for Christmas. It is a Canon PowerShot SX510. It is not the latest and greatest, but it is perfect for my needs documenting my builds. This build will be the first one documented with the new camera. Hopefully I won’t drop this camera nearly as much as I dropped the last one…
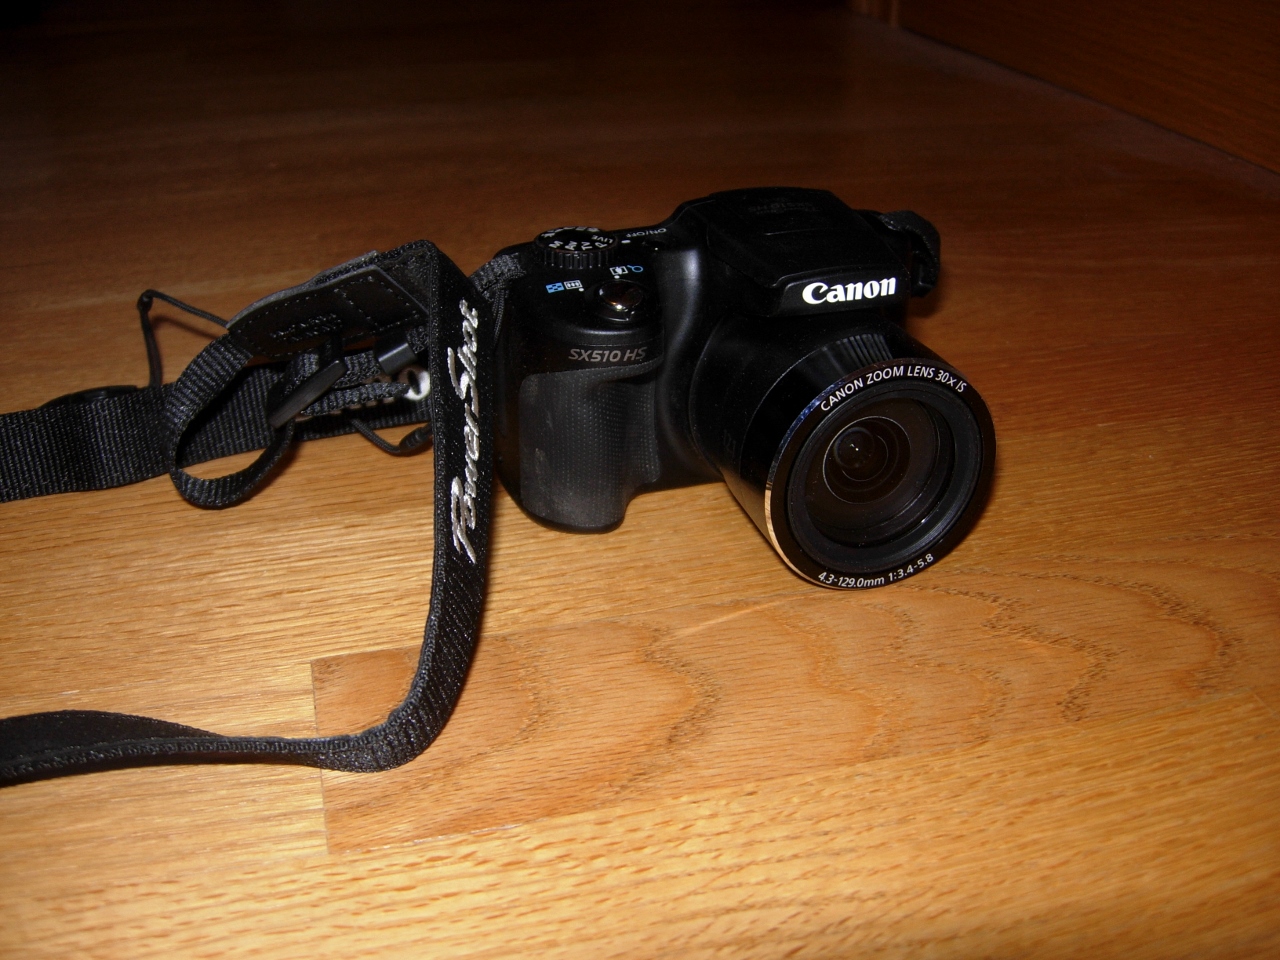
My new camera
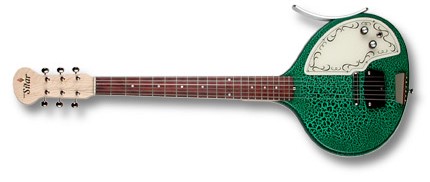
Jerry Jones Baby Sitar
I have a friend at work who owns a bunch of guitars. He has a few projects in mind, that he wants me to do with some of them. This one is a Baby Sitar, made by Jerry Jones. It is an electric guitar with a buzz bridge that gives it a different sound, similar to a sitar. My friend wants me to build a new body for the guitar out of walnut with a buckeye burl veneer on the top.

Sitar disassembled
My first step was to completely disassemble the entire thing. Step two was to measure and draw up the existing guitar. I started by laying in on a scanner and getting full-scale digital images that I could trace in my CAD software. I will be redesigning it a bit, removing the pick guard and adding a second lipstick pickup. So I drew up the existing guitar then created drawings, from them, of the new concept.
To import the info into the Carvewright software for my CNC carver, I have to create a series of DXF vector files. Here is a PDF that shows the different stages of drawings that I require to create the carve. There may be more efficient ways of doing this, but I haven’t found them.
Sitar layout.PDF
In the PDF, I layout each different type of cut out in a different color, then assign a key to the colors to tell myself what cutter and depth to use. I bring in each one of these different cuts as a separate DXF file so I can assign the tool to the cut paths individually, then I cut and paste that series of cuts into the compiled models seen below. I know it seems a bit confusing, but it is necessary to get an accurate double-sided model to carve.

sitar body-front
I will be carving an 1-1/4″ thick piece of walnut with the front and rear patterns shown here.

Sitar body-rear
Once the chambers are carved out, I will attach the 1/4″ thick, buckeye burl veneer, then run the next pattern. The veneer will act as the pick guard and I will put an access panel on the rear to wire up the controls.

Sitar veneered body – front
Enough with the software, on to the hardware.
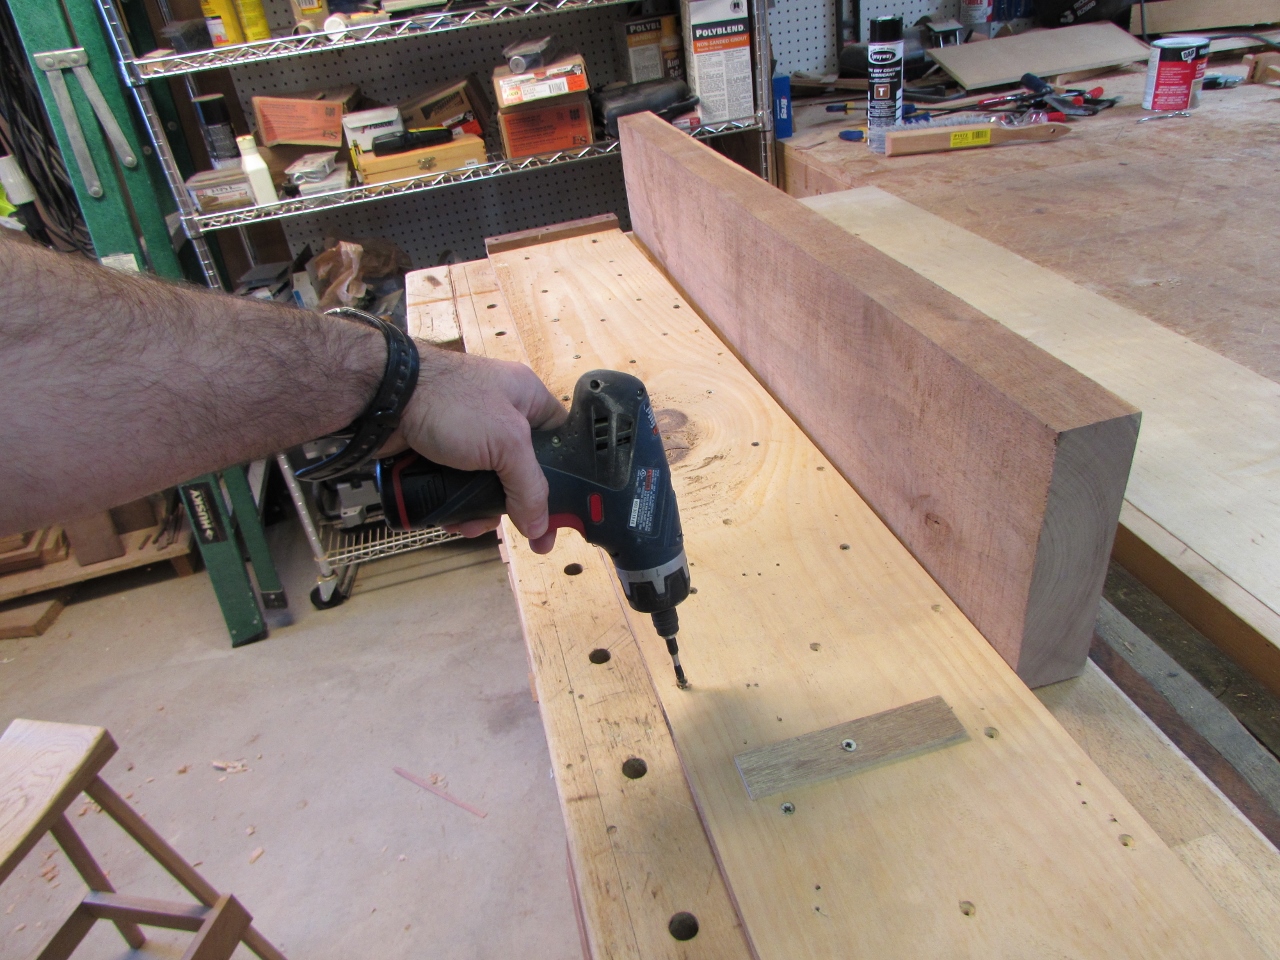
Adjusting the planing sled
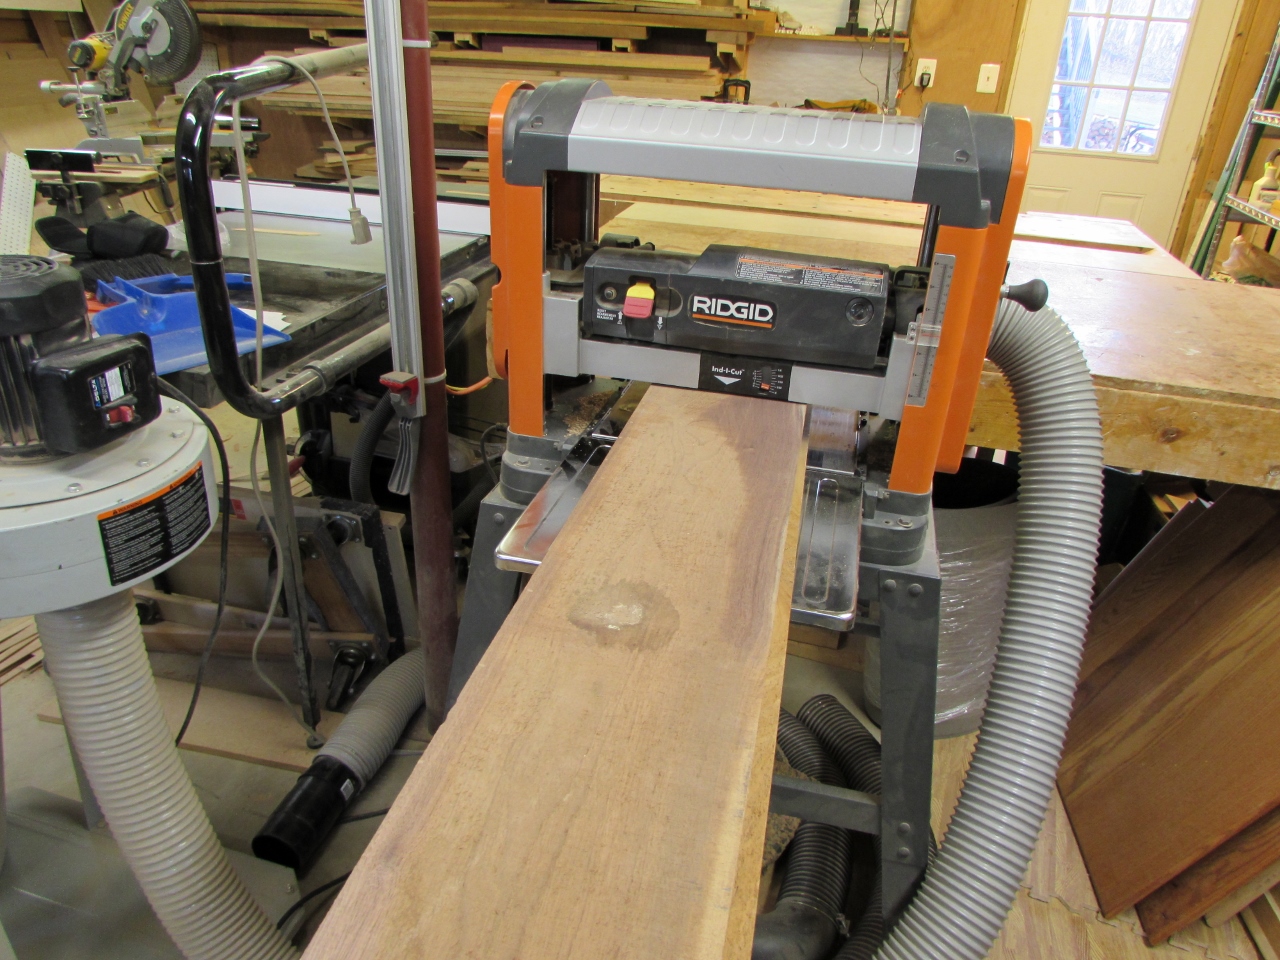
I have a nice piece of 8/4 walnut, about 7-1/2″ wide and 43″ long. I can cut it in half and join it into a panel that will work nicely. The only problem is that it has a bit of a twist to it. To fix the twist, I got out my home-made adjustable planer sled. There are screws arrayed across the entire surface that can be adjusted to meet the bottom of the board, preventing it from rocking or bending down, when it is running through the planer.
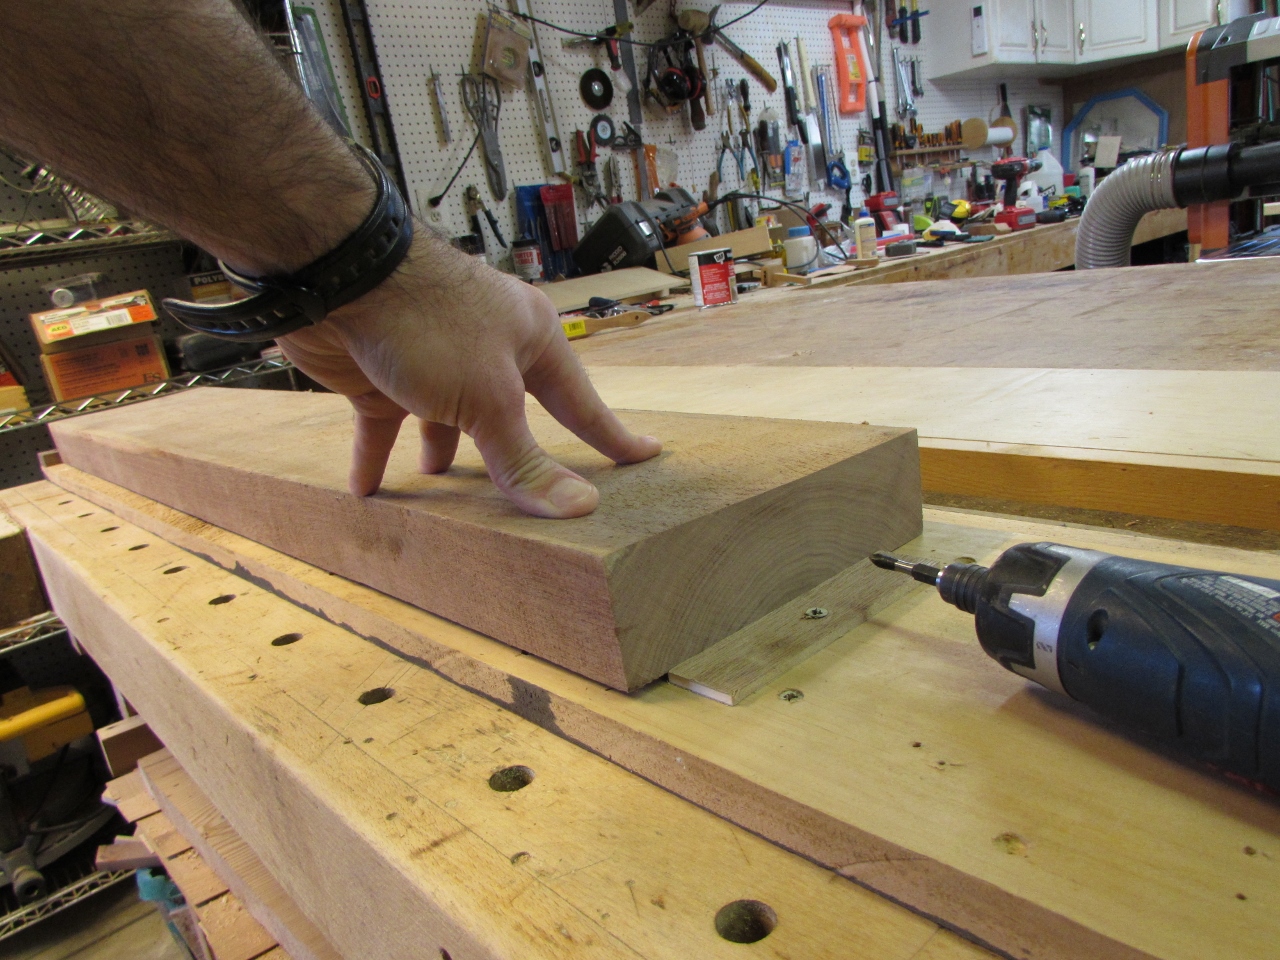
Screws adjusted to prevent rocking
Next, I adjust the required screws then screw a cleat at the end to keep the board from sliding. I ran the sled and board through the planer several times until I had one flat side.
Planing the first side flat
I took the walnut board back to my bench to check and verify that it was truly flat.

Checking for wobble
Since that side was wobble-free, I put the planer sled away and ran the board through the planer, newly flattened side facing down. This allowed me to plane a parallel surface on the opposite side.
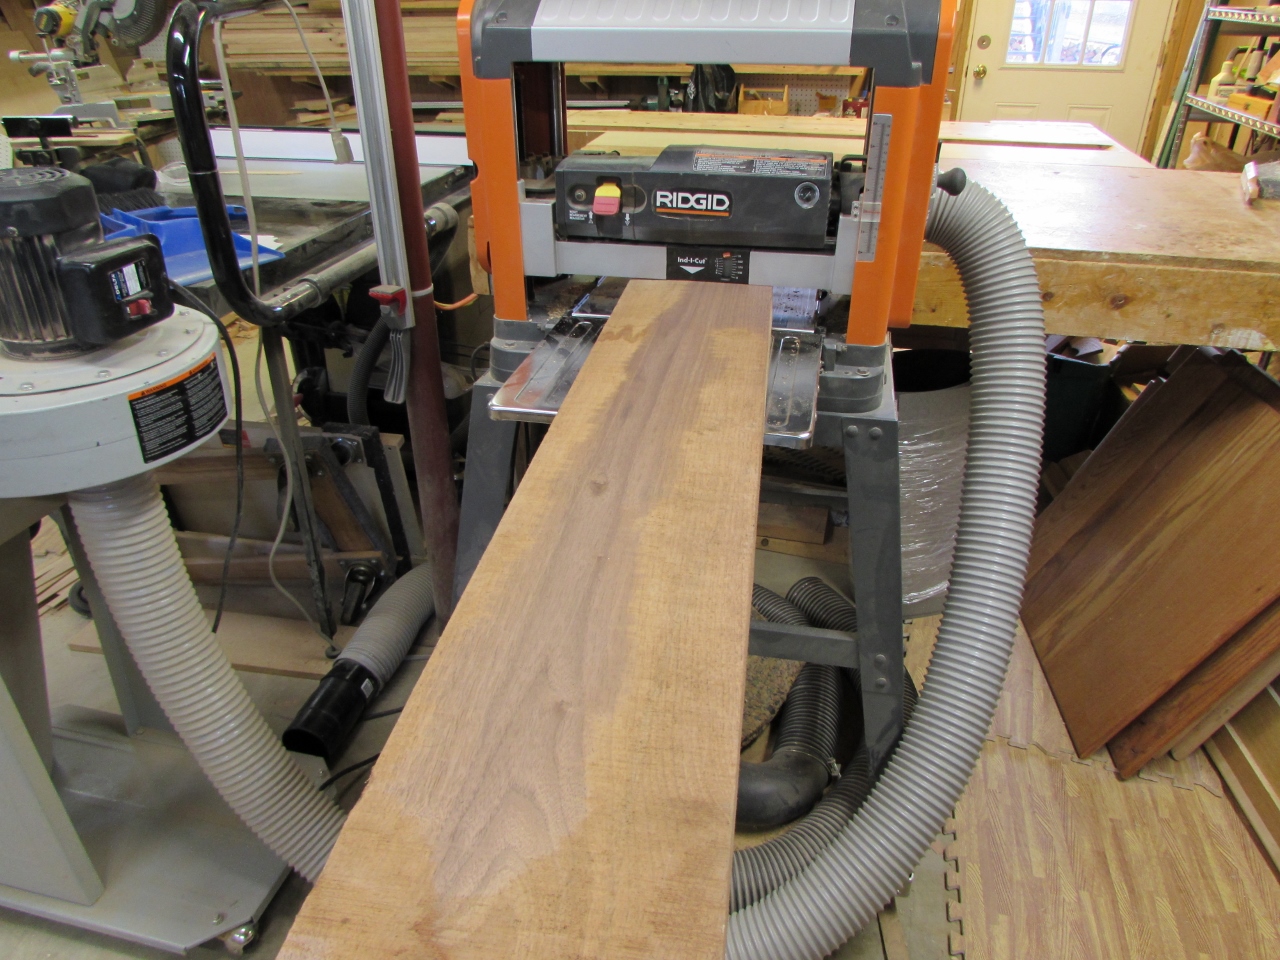
Planing the second side flat

Jointing the edges on the table saw
With the planing complete, I jointed both sides by running the board through my table saw.

Starting the re-saw on the table saw
I want to re-saw off about 1/2″ because I don’t want to just keep planing until I achieve the 1-1/4″ desired thickness. To do this, I cut as much of the resaw as I can in the table saw, then move over to my band saw to finish the cut.
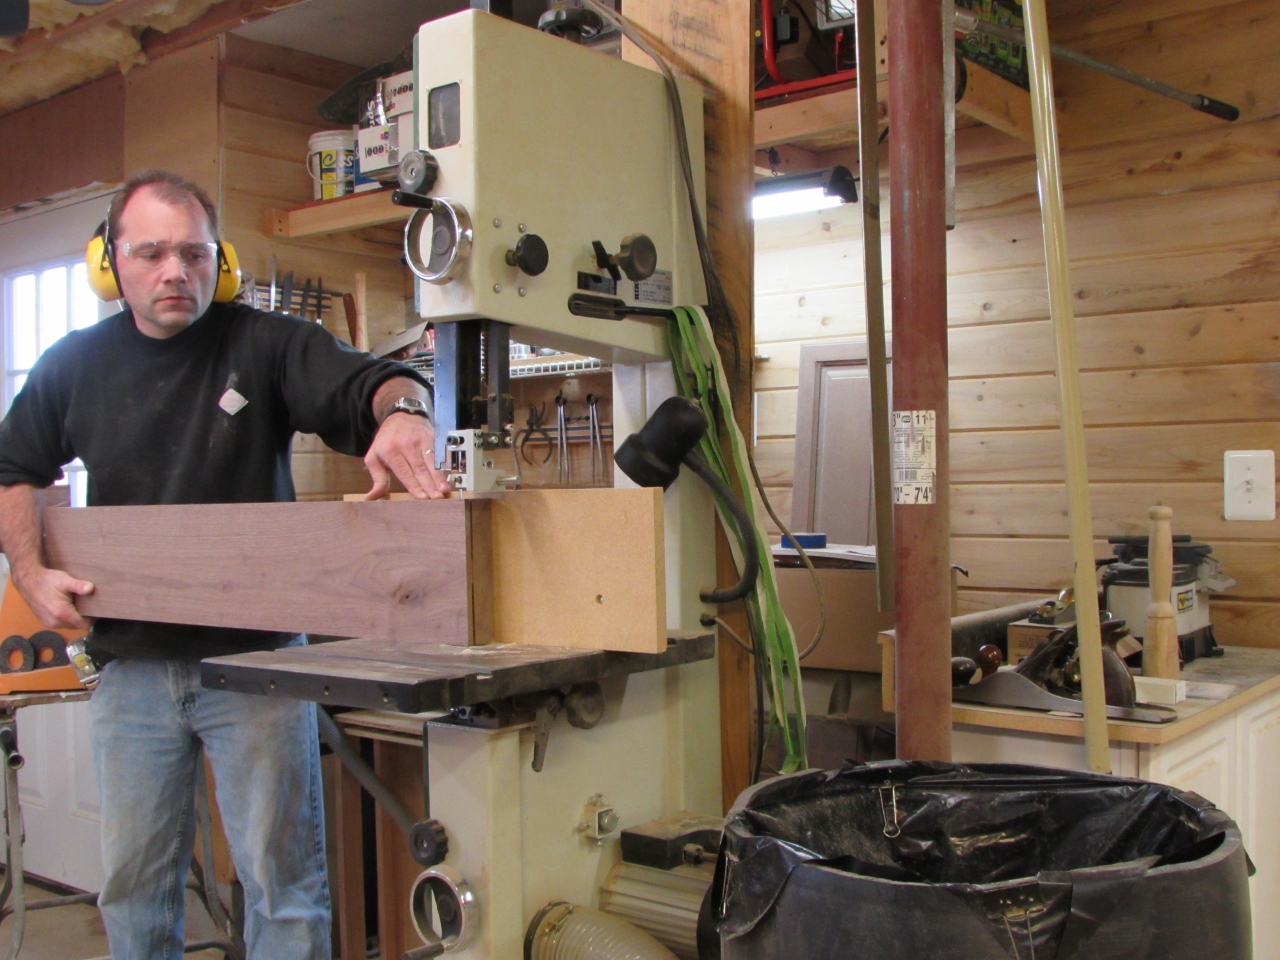
Finishing on the band saw
Re-saw complete
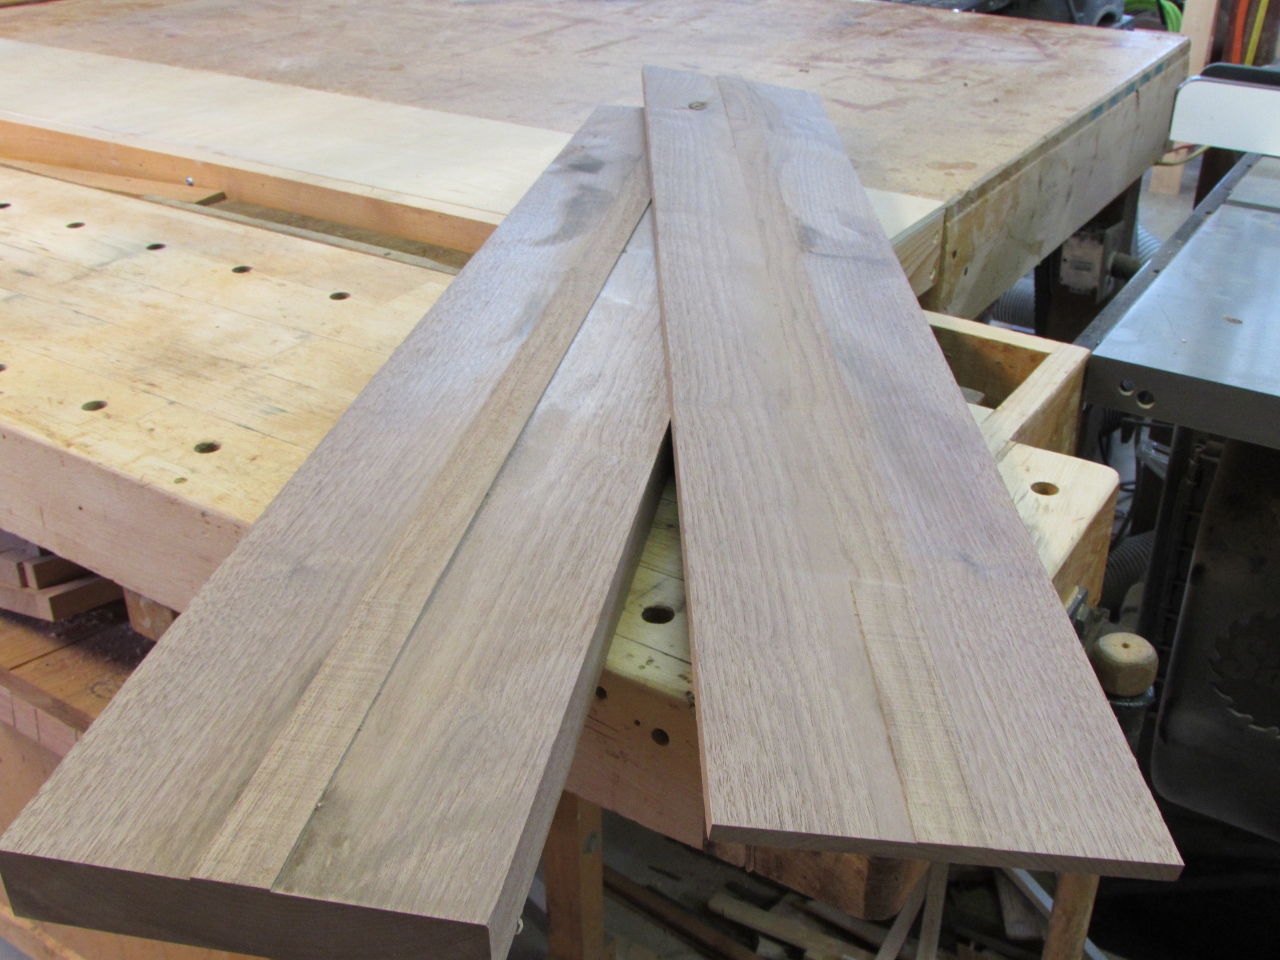
That complete, I run both boards through the planer to remove the rib down the middle.

Planing both pieces down

Re-sawn and planed
I put the thin piece back on the wood pile for another project and cut the thicker one in half.

Cut in half
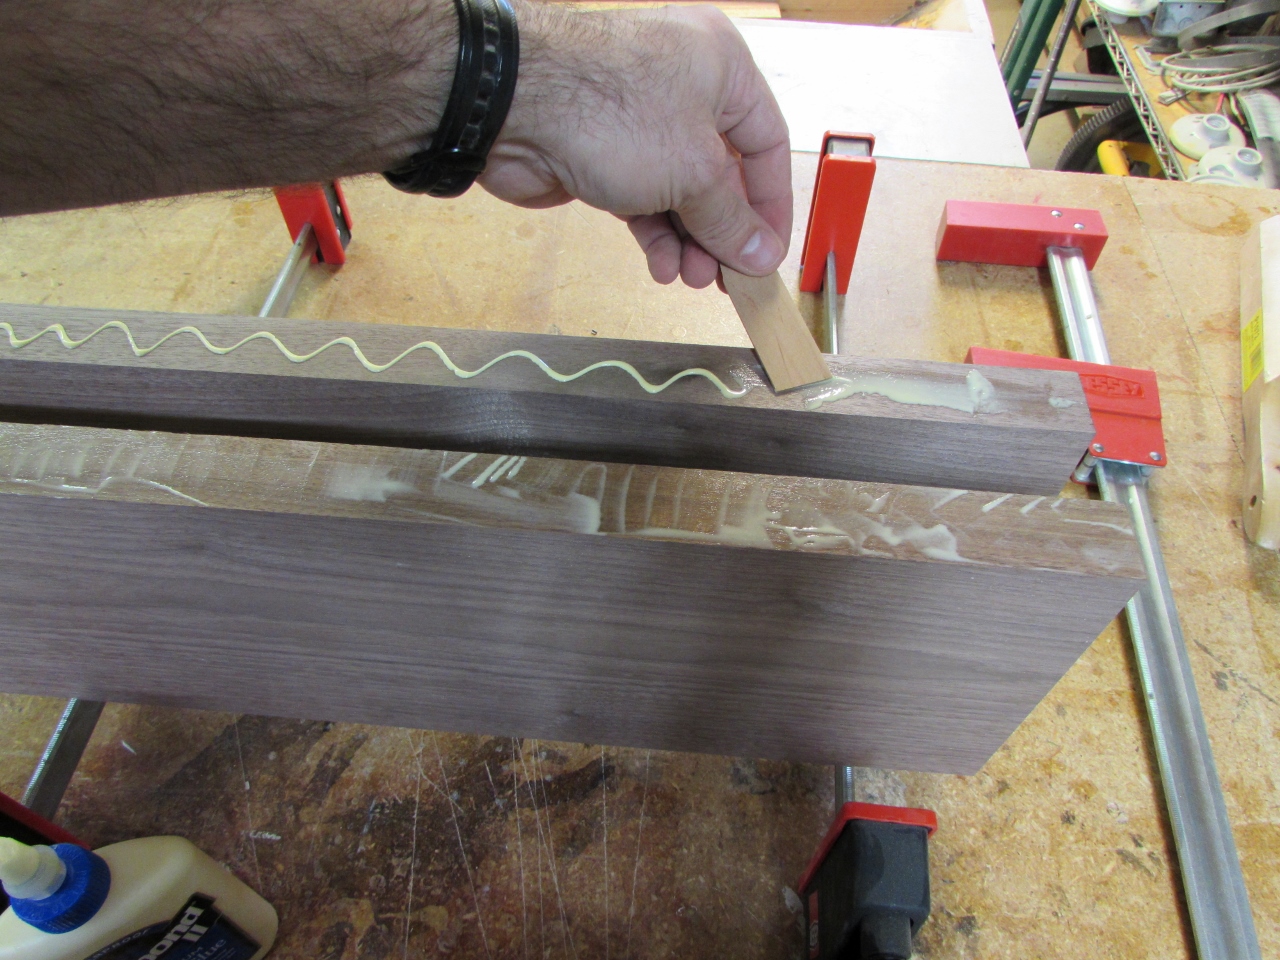
Glueing up the edges
I glue and clamp up the board to create a 15″ wide blank for the guitar.

Panel clamped
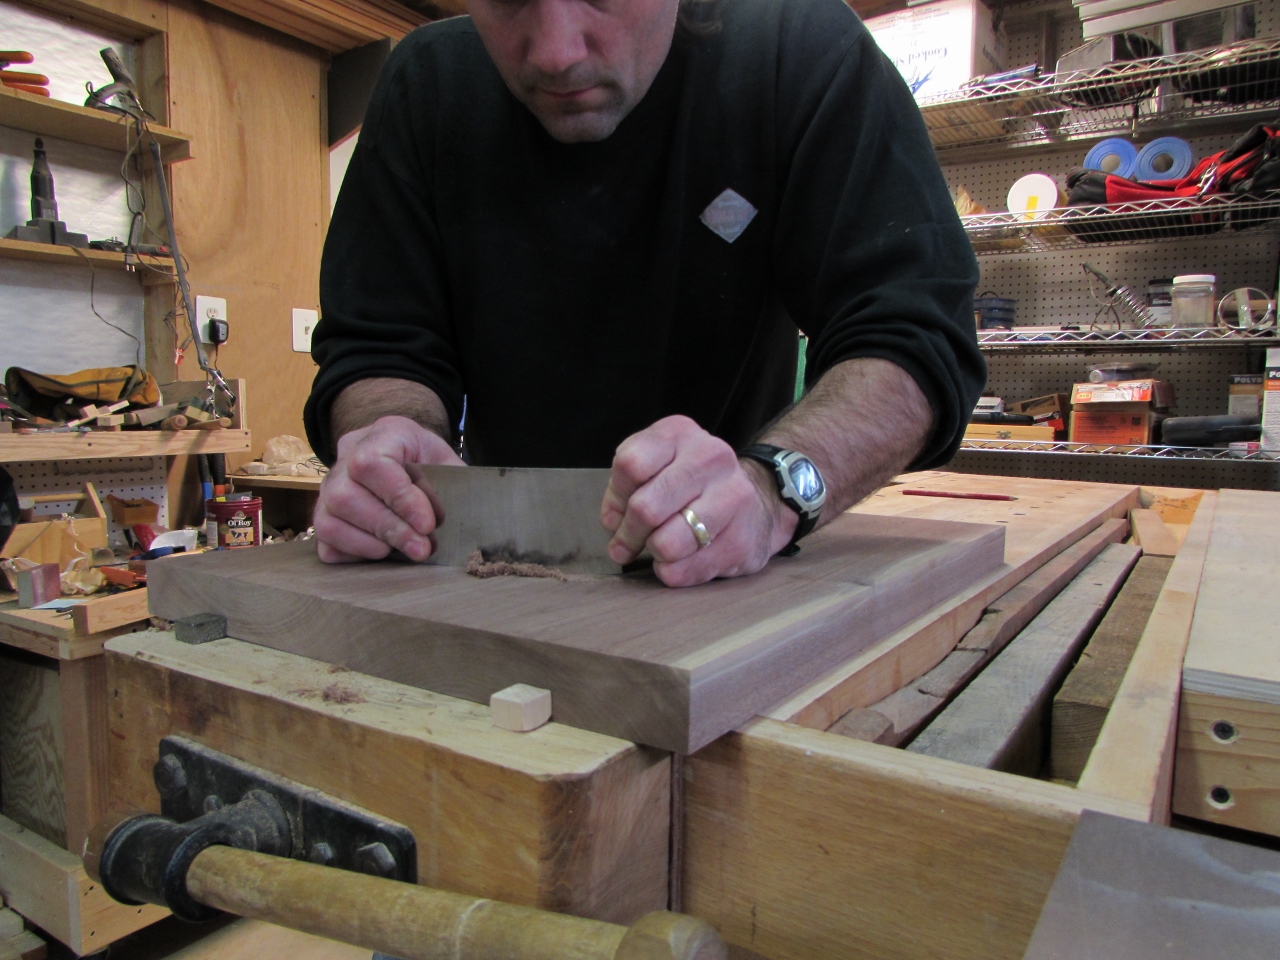
Scraping the glue joint
When the glue was dried, I cleaned up the joint with a card scraper, then loaded the finished panel into the carver.
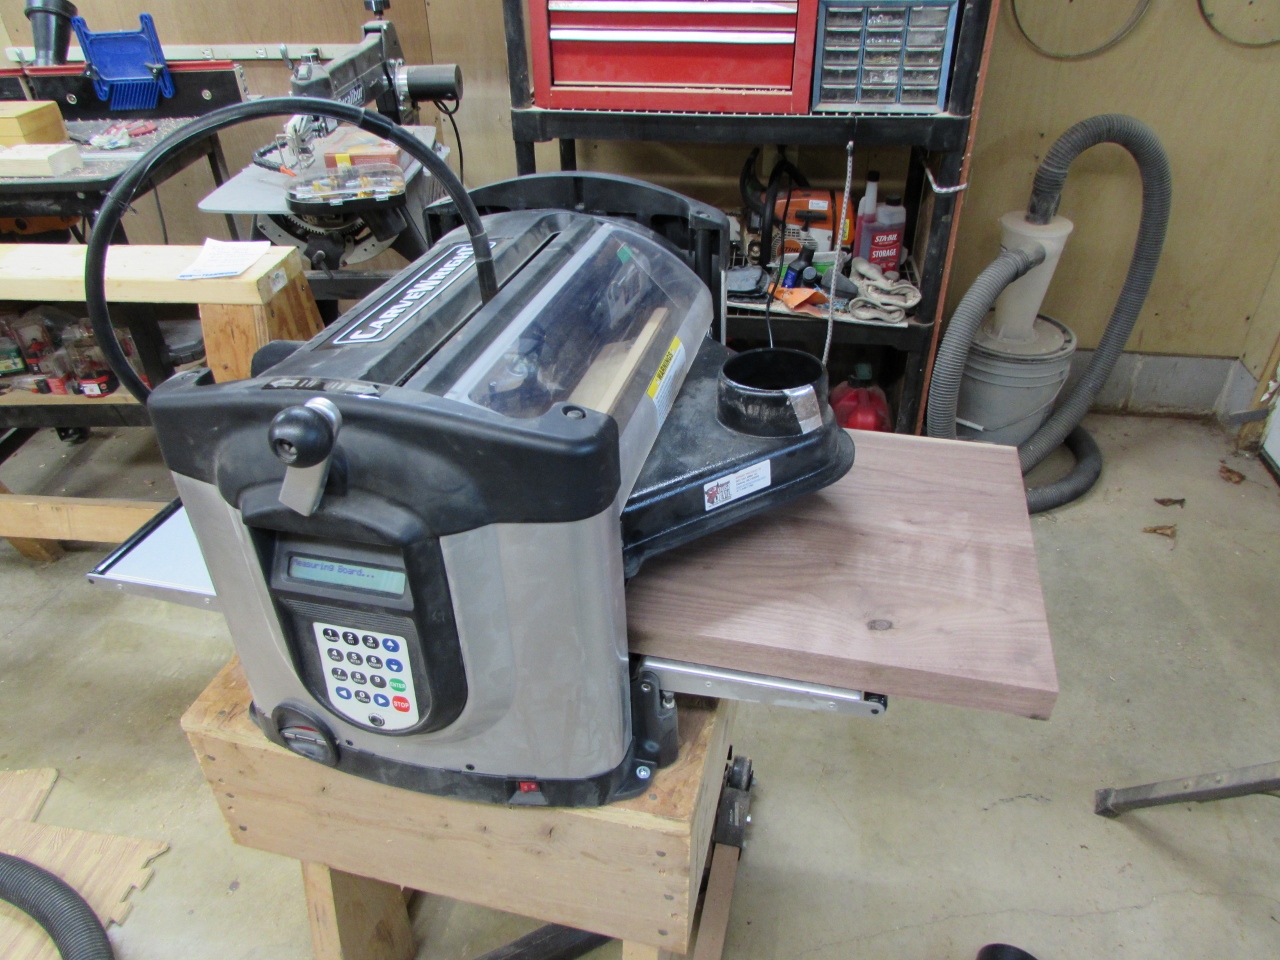
Setting up the carve
While the carve was running on the back side, I unpacked the two pieces of book matched buckeye burl to assess what needed to be done to them.

Jointing the edges of the veneer
To get the inside edges of the boards to line up perfectly, I used a table saw to clean up the edges and a hand plane to fine tune.
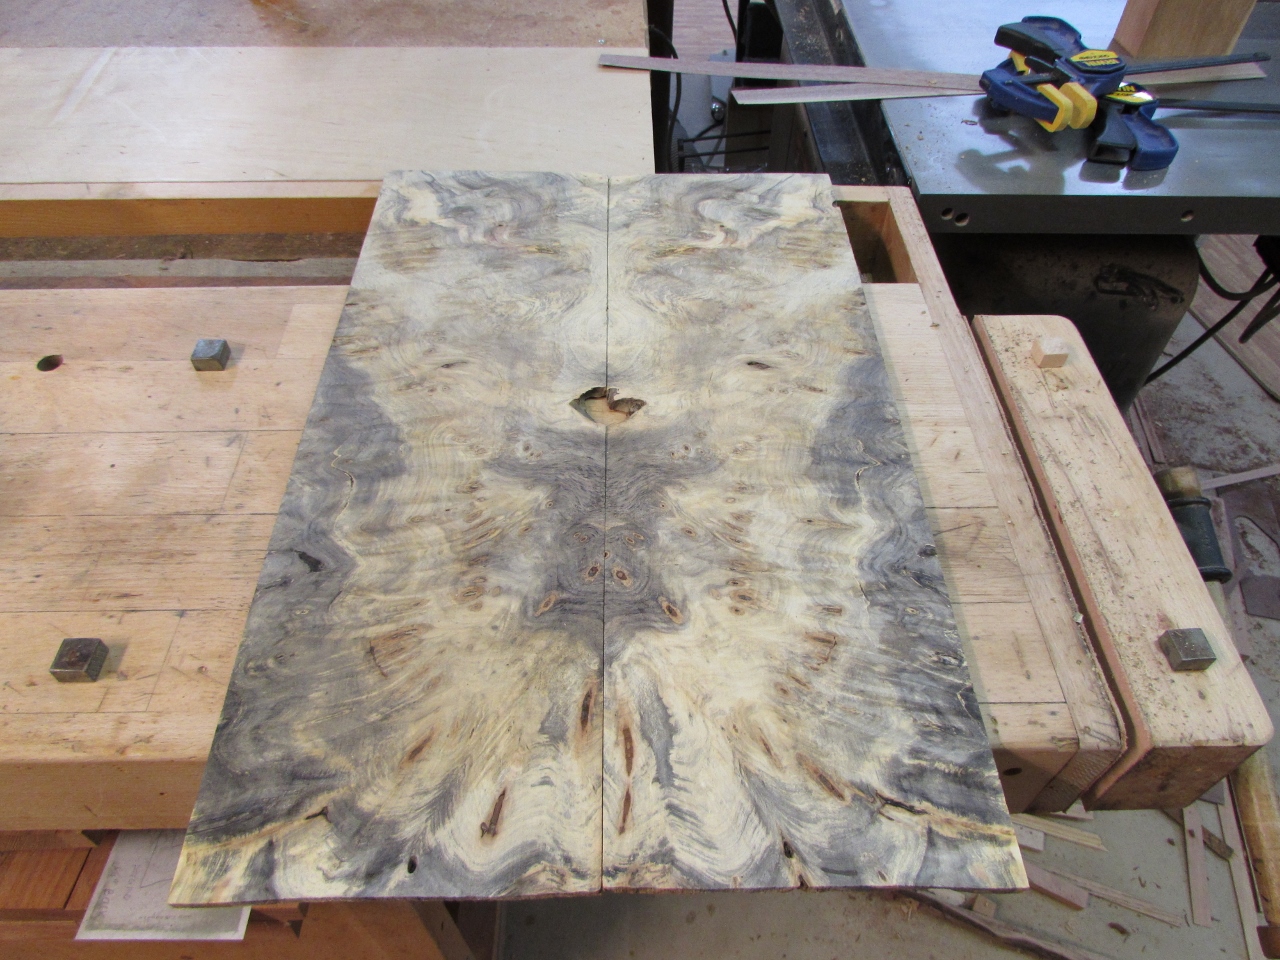
Jointed edges fit tightly together
About the time that I got the edges just right, the carver had finished running the rear carve. I flipped the board over and started running the second side.

Rear side of the carve complete

Taping the back side
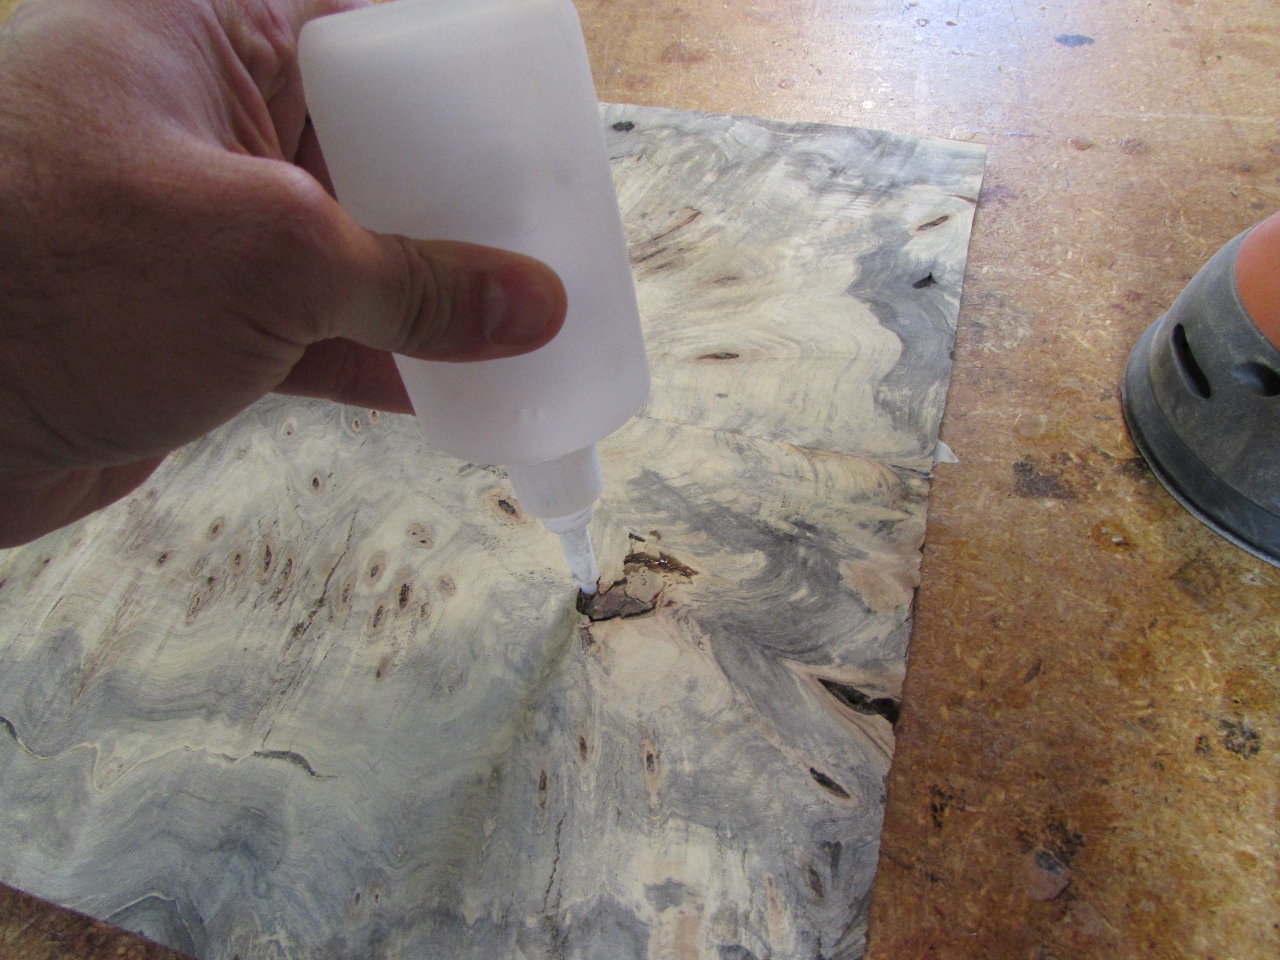
While that was droning on in the background, I moved back to the burl. I taped the back side, at the joint, then flipped the two boards over and opened the joint. I applied glue and spread it evenly.

Applying glue to the joint
I placed a backer board below the veneer to help prevent sagging, and clamped it all gently together.

Clamped and drying

The cut motor died in the carver
Suddenly all of the noise from the carver stopped. A quarter of the way through the carve, the cut motor failed. I called Carvewright and they told me I would have to remove the motor and the controller card and ship it to them in Texas for testing and repair. I would swear that carve is laughing at me. It looks like a happy face…
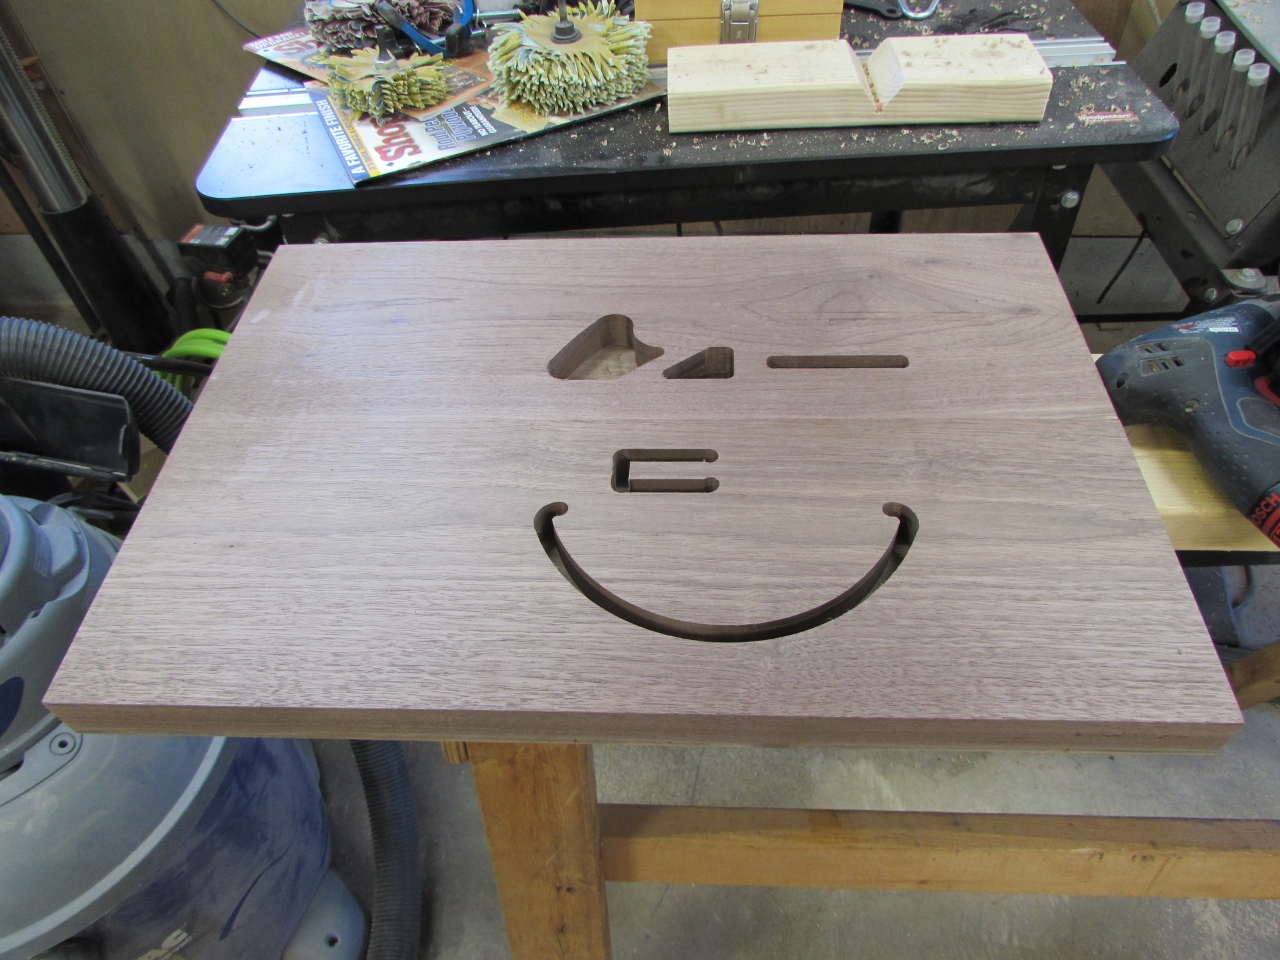
I think it’s laughing at me…
I have about 120 hours of carving time on the motor. It doesn’t seem like much, but I guess it was enough to burn something up. Unfortunately this is going to cause at least a two-week delay with shipping across the country, testing and repairs.

Sanding down the veneer
After pulling the failed components and boxing them up for shipping, I got back to work. The veneer had dried so I pulled the clamps and started sanding everything down smooth. I had an unstable knot that I fixed into place with some Nexabond (super glue), then I worked my way from 80 grit sand paper down to 220.
Locking in a loose knot
There are a few low spots that I don’t think will impact anything on the guitar top, but outside of that it really cleaned up nicely when sanded. I cleaned up the surface with Naphtha and the grain really popped out.
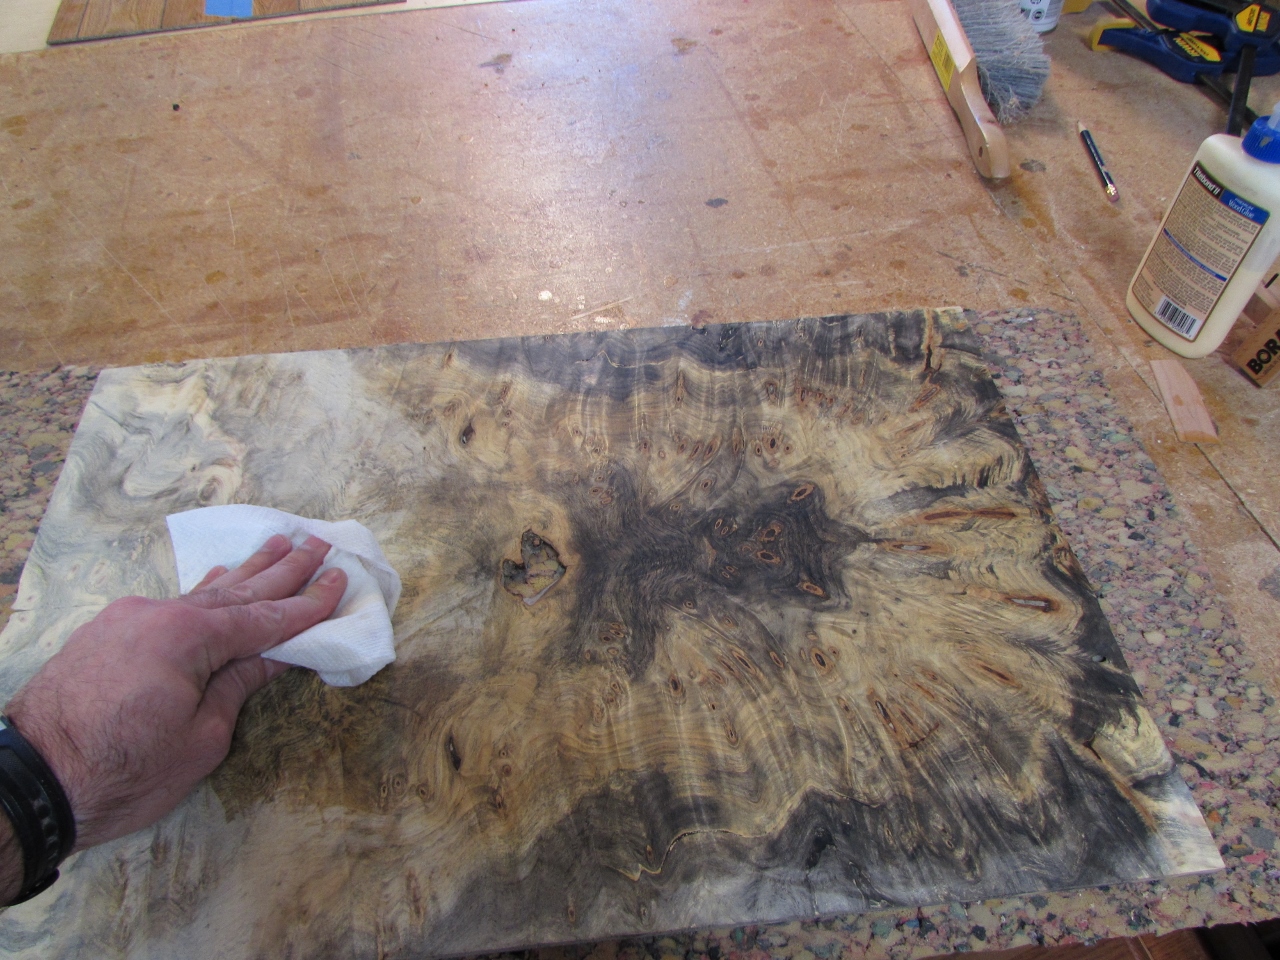
A little naphtha to highlight the grain
I may get frustrated waiting and finish the routing by hand, but I don’t think there is any particular hurry. I will probably set this project aside until the motor comes back and pick up where I left off.
