
Making a rustic sign
A friend requested that I make him a sign. His son has built a forge and has been learning the art of blacksmithing. He wanted a sign to hang outside the forge. He wanted something carved, but a bit rustic looking. The two big parts to this project are designing the CAD model, and selecting the right wood for outdoor use.
The CAD model
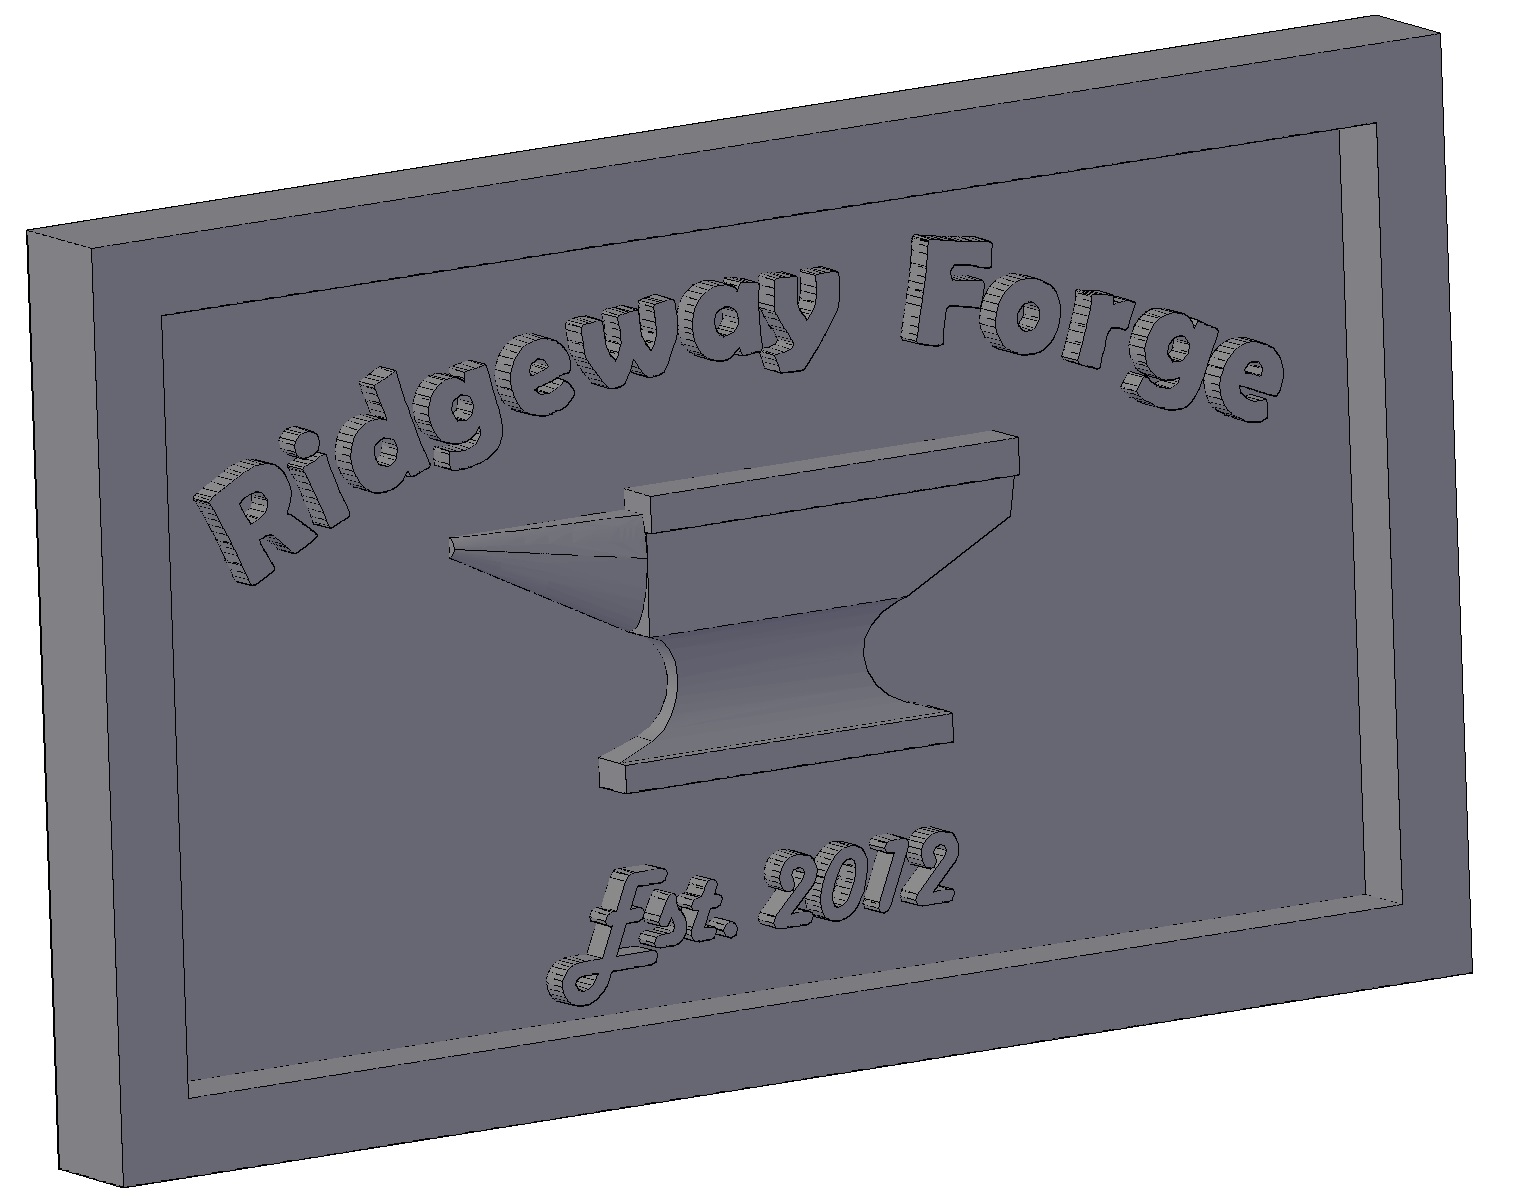
The CAD model was created in AutoCAD, then exported to a format that I could import to the Carvewright software. We worked through a few designs and settled on this one.

The Carvewright program
The next question was the wood. You want something that will weather outdoors well without any maintenance. I had one piece of Thermo wood left over from building my deck that I thought might work. Since I can’t do anything the normal way, my deck is built out of thermally modified wood (TMW). I had seen an article on it and thought it would be cool. Basically standard pine (or any other wood) is heat-treated, hardening the wood and rendering it impervious to rot and distasteful for insects. It will last 40 years outside without any chemicals. The only drawback is that the process leaves the surface vulnerable to deterioration under the sun’s UV rays. Basically the wood turns grey in a matter of months instead of years. The damage is only surface deep, so if you like the grey color, this is the wood for you. Since we were looking for outdoor and rustic, this is the wood I am going to try to use for this sign. If it doesn’t work out, I will fall back on white oak.

Contrast
I cut my last 2″x6″ down to roughly 26″ long then jointed the edges on my table saw.
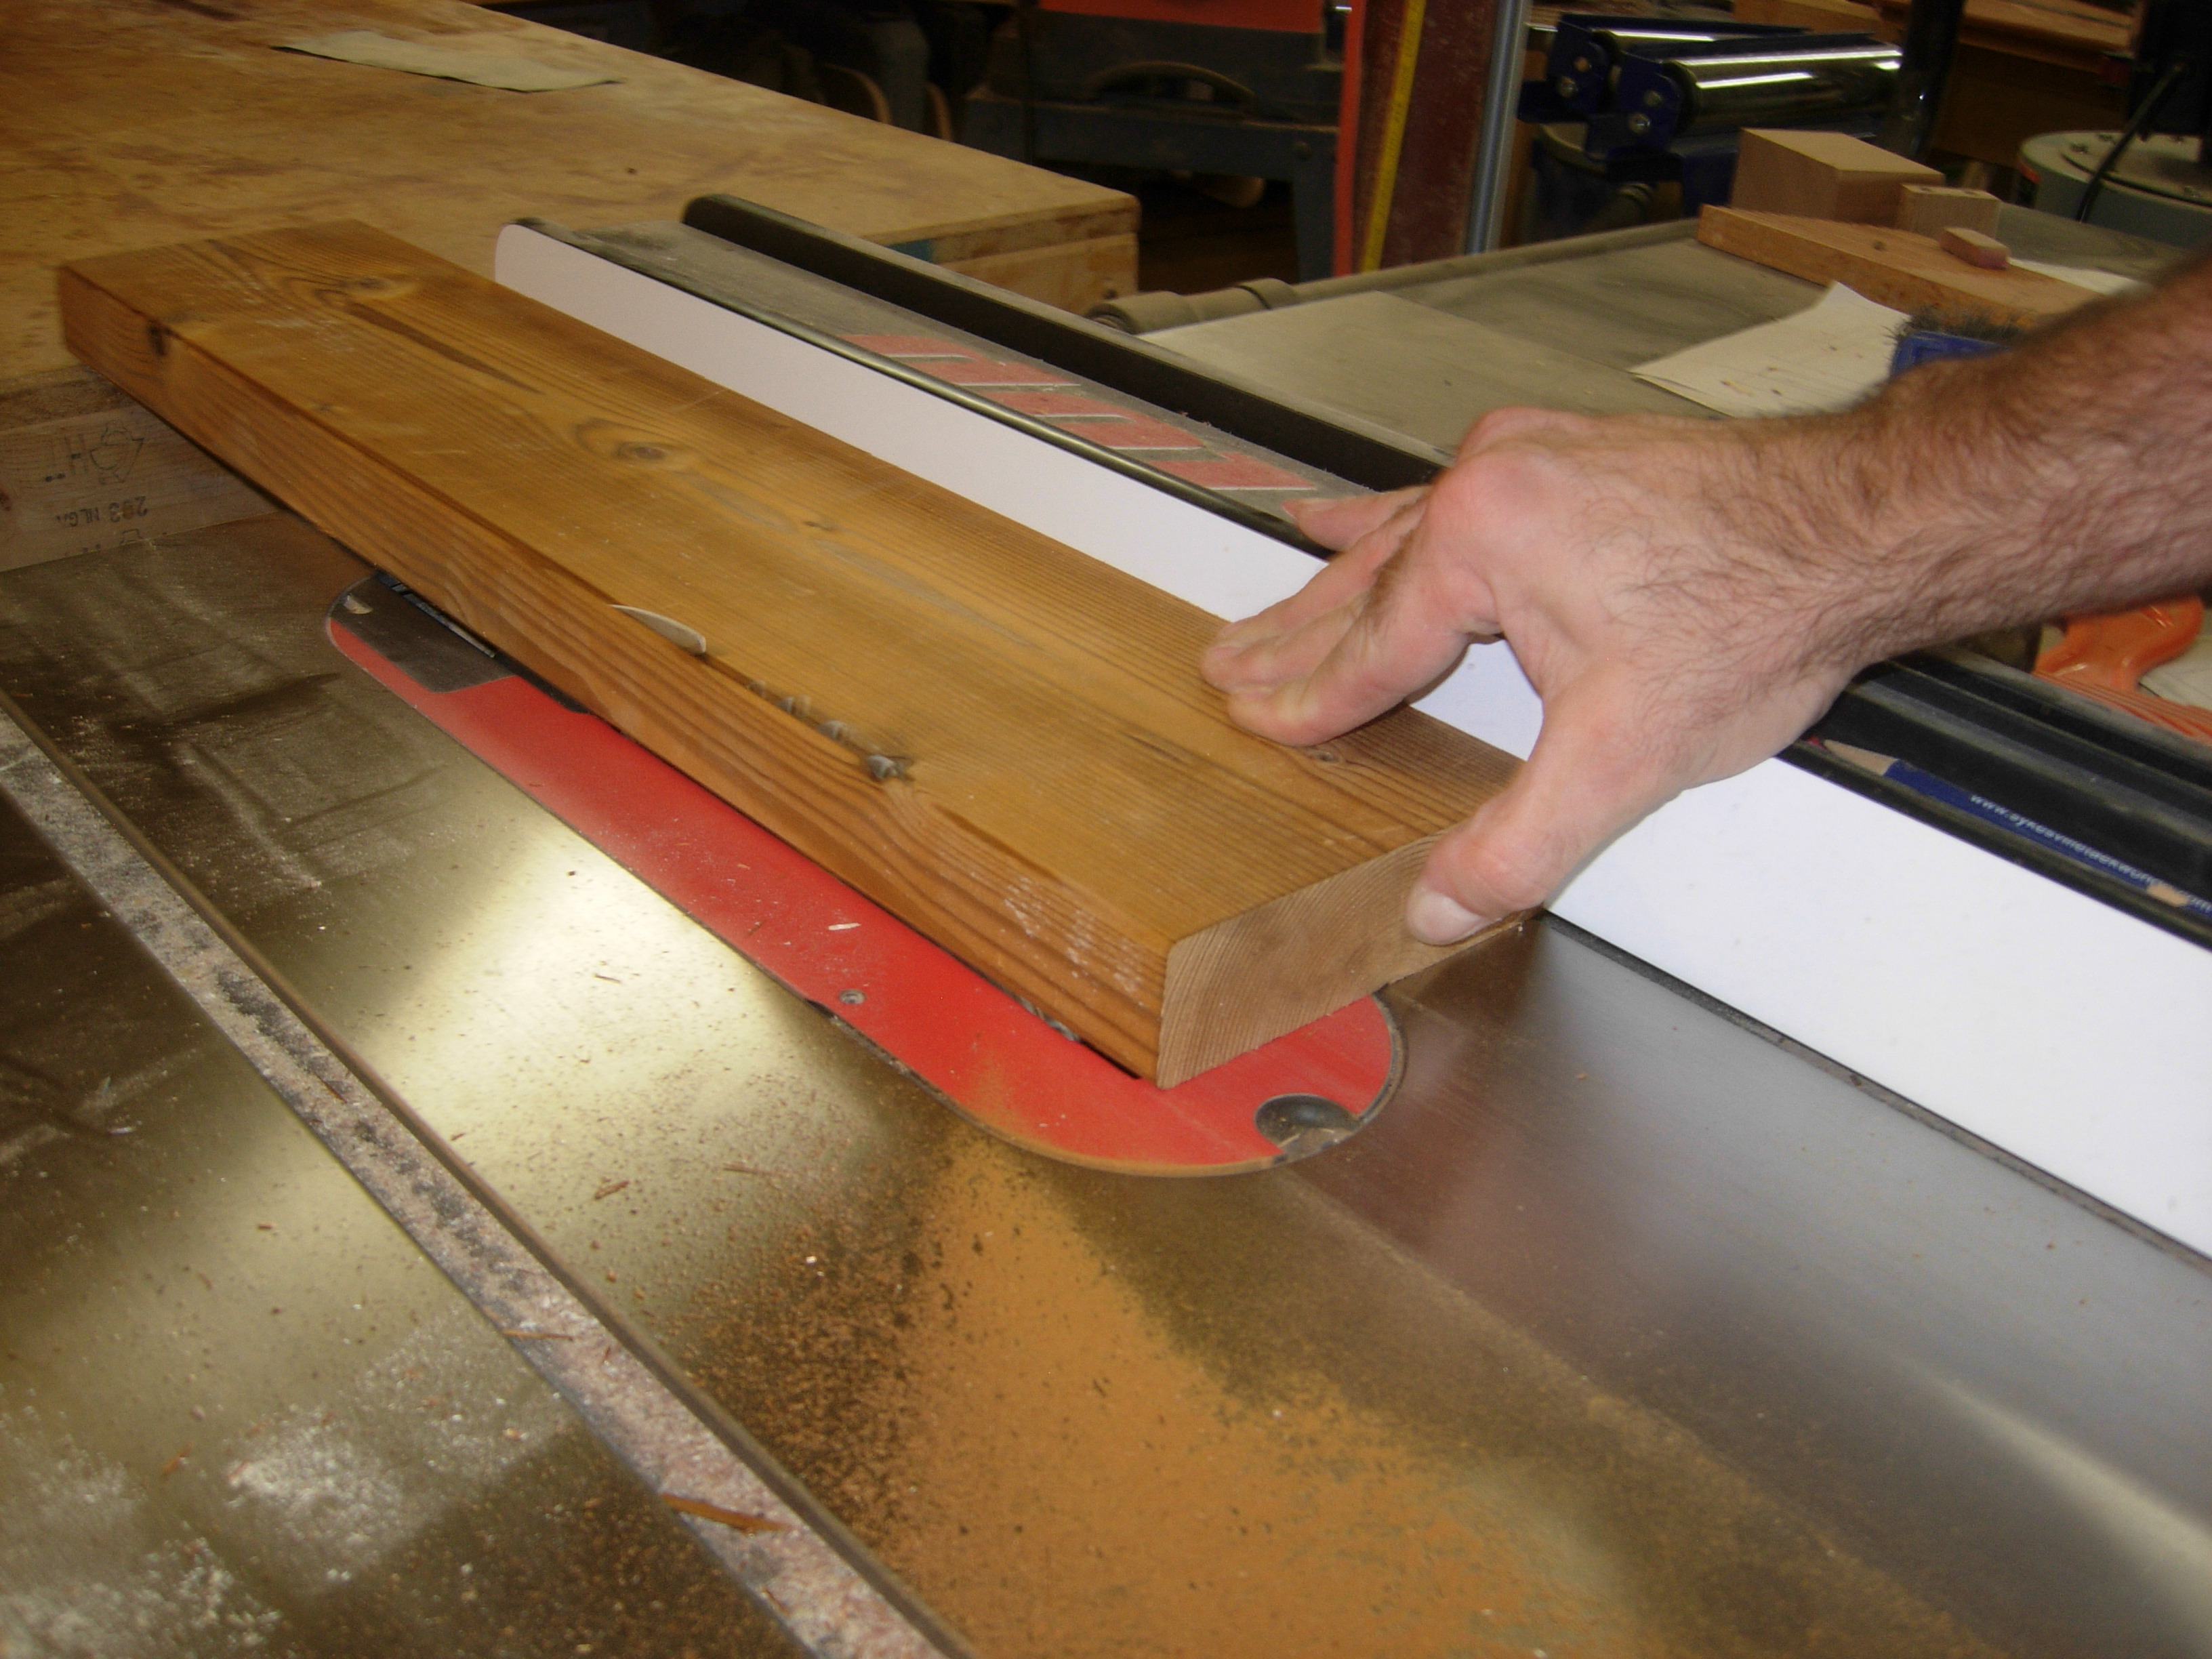
Jointing the edges
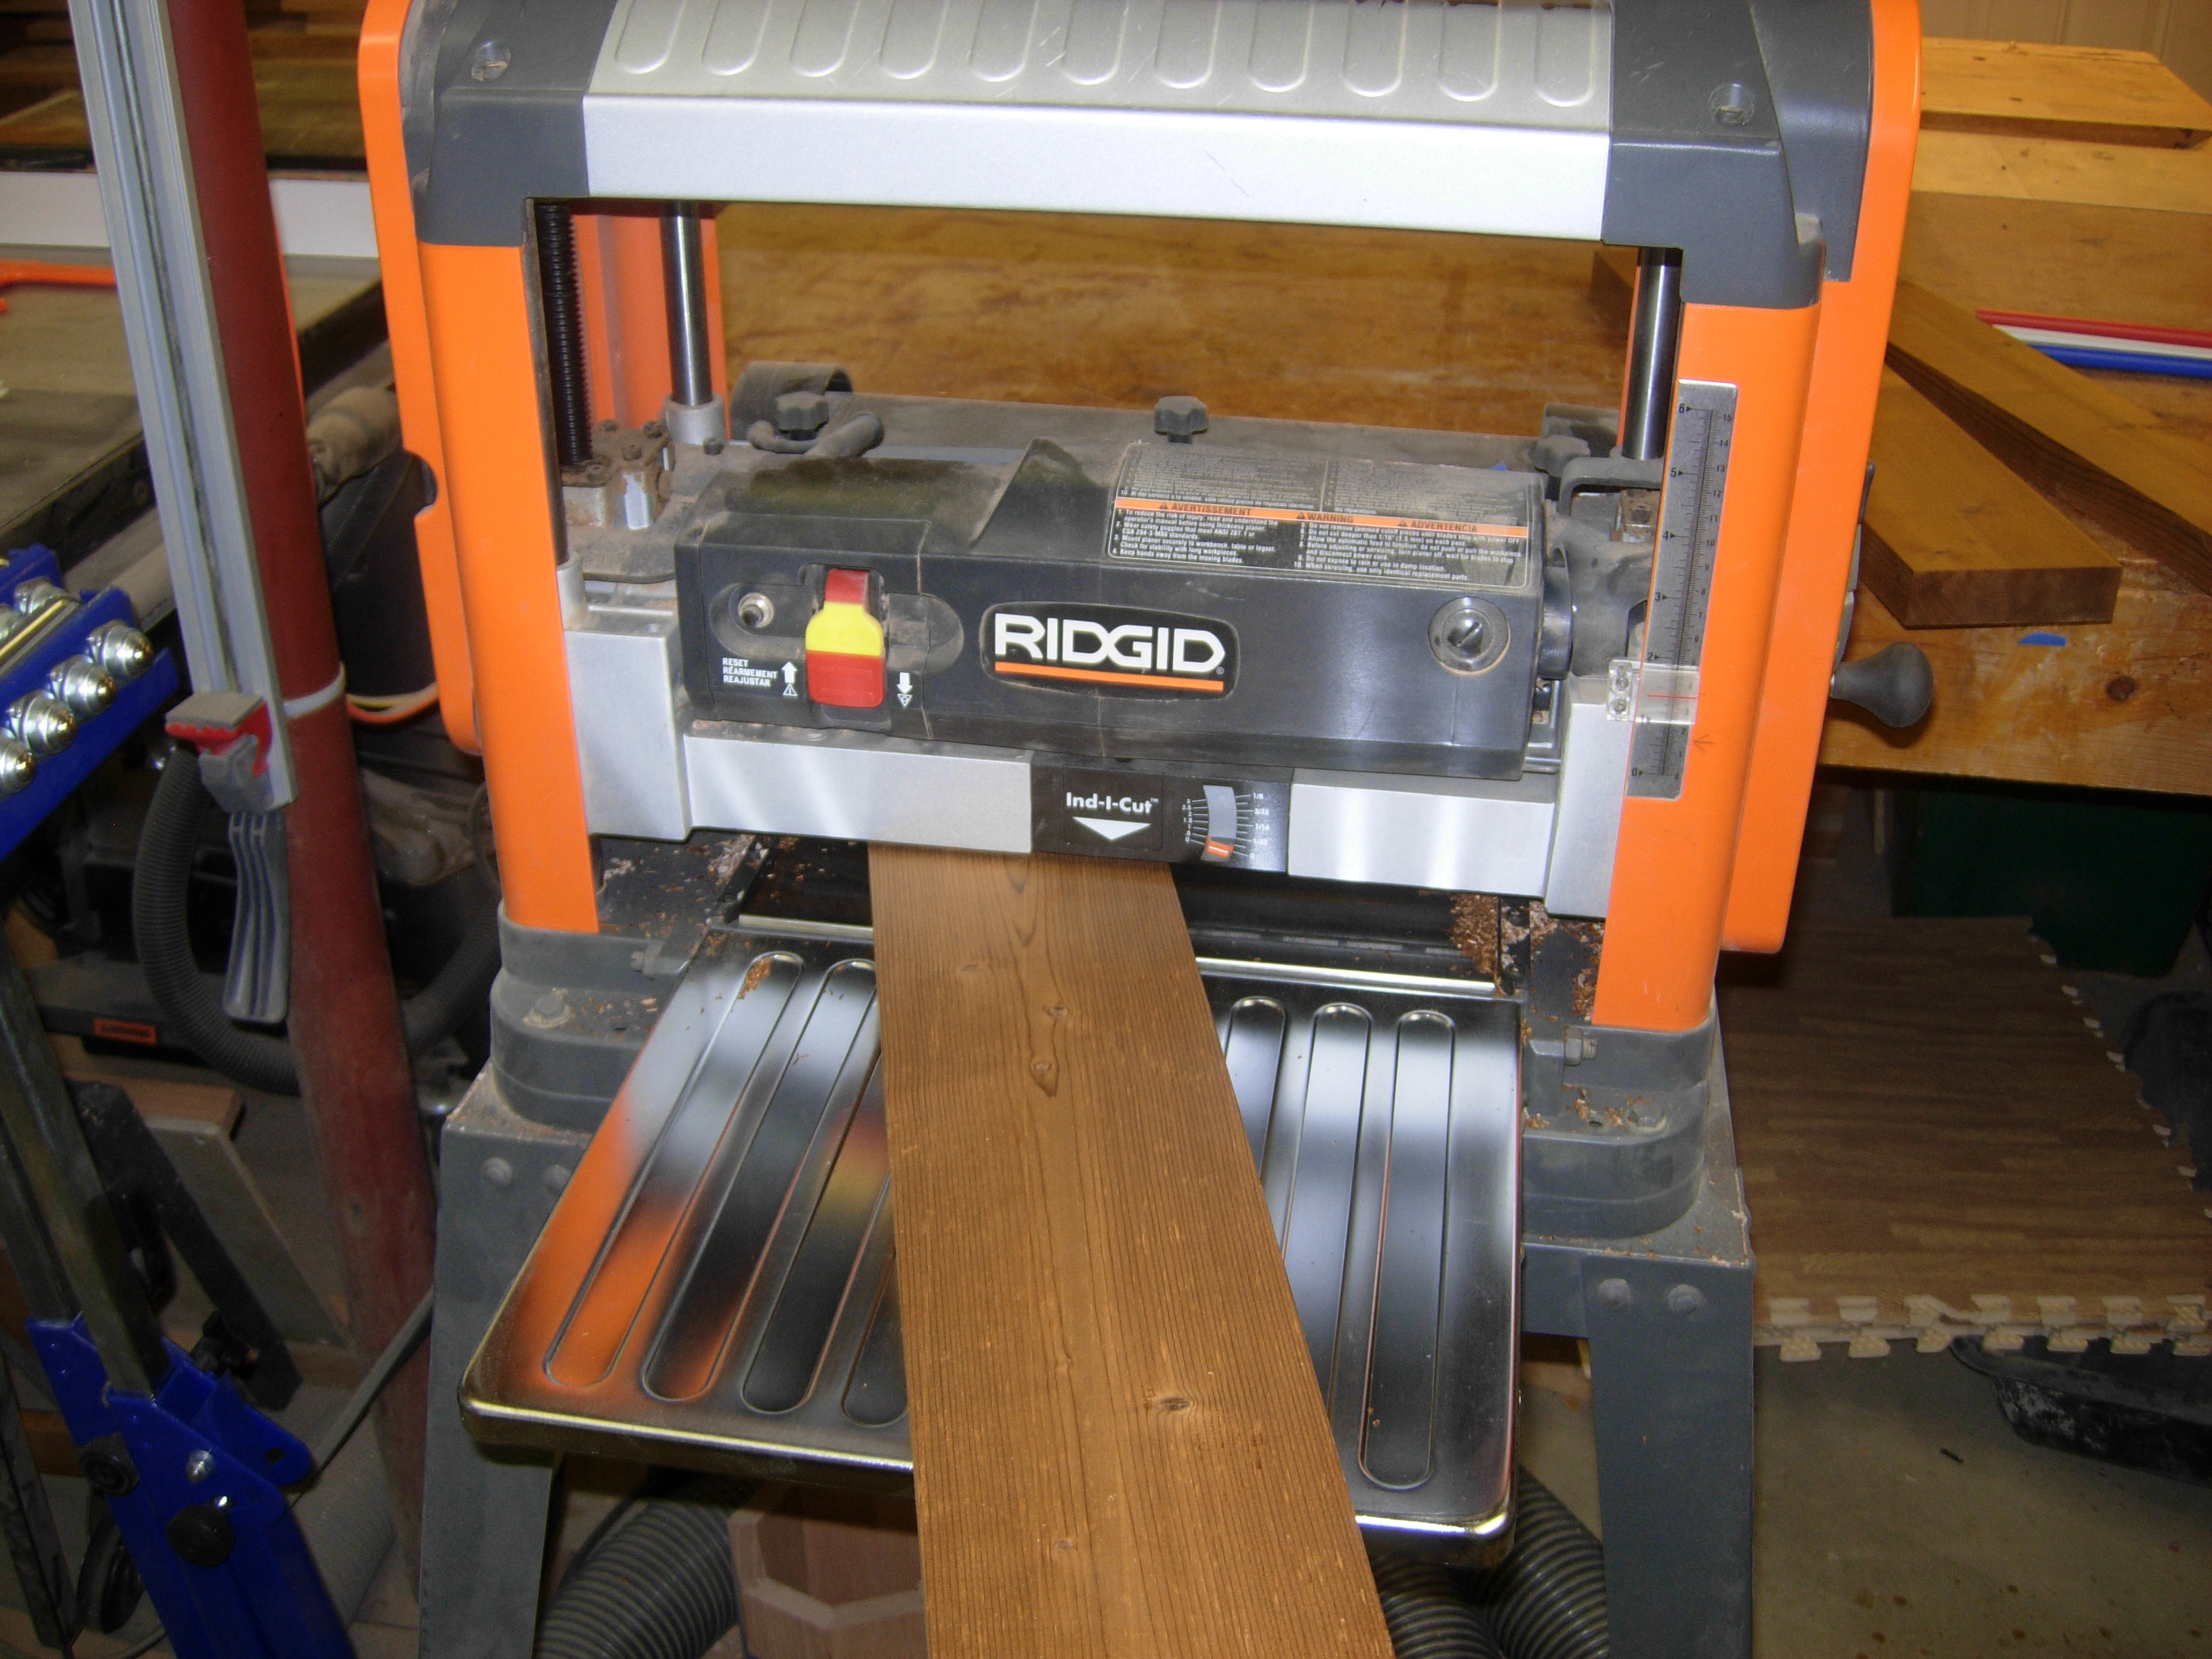
Planing the surfaces
I planed down the surfaces to remove any writing.

Applying glue
I applied weather resistant glue to the edges and clamped up the panel.
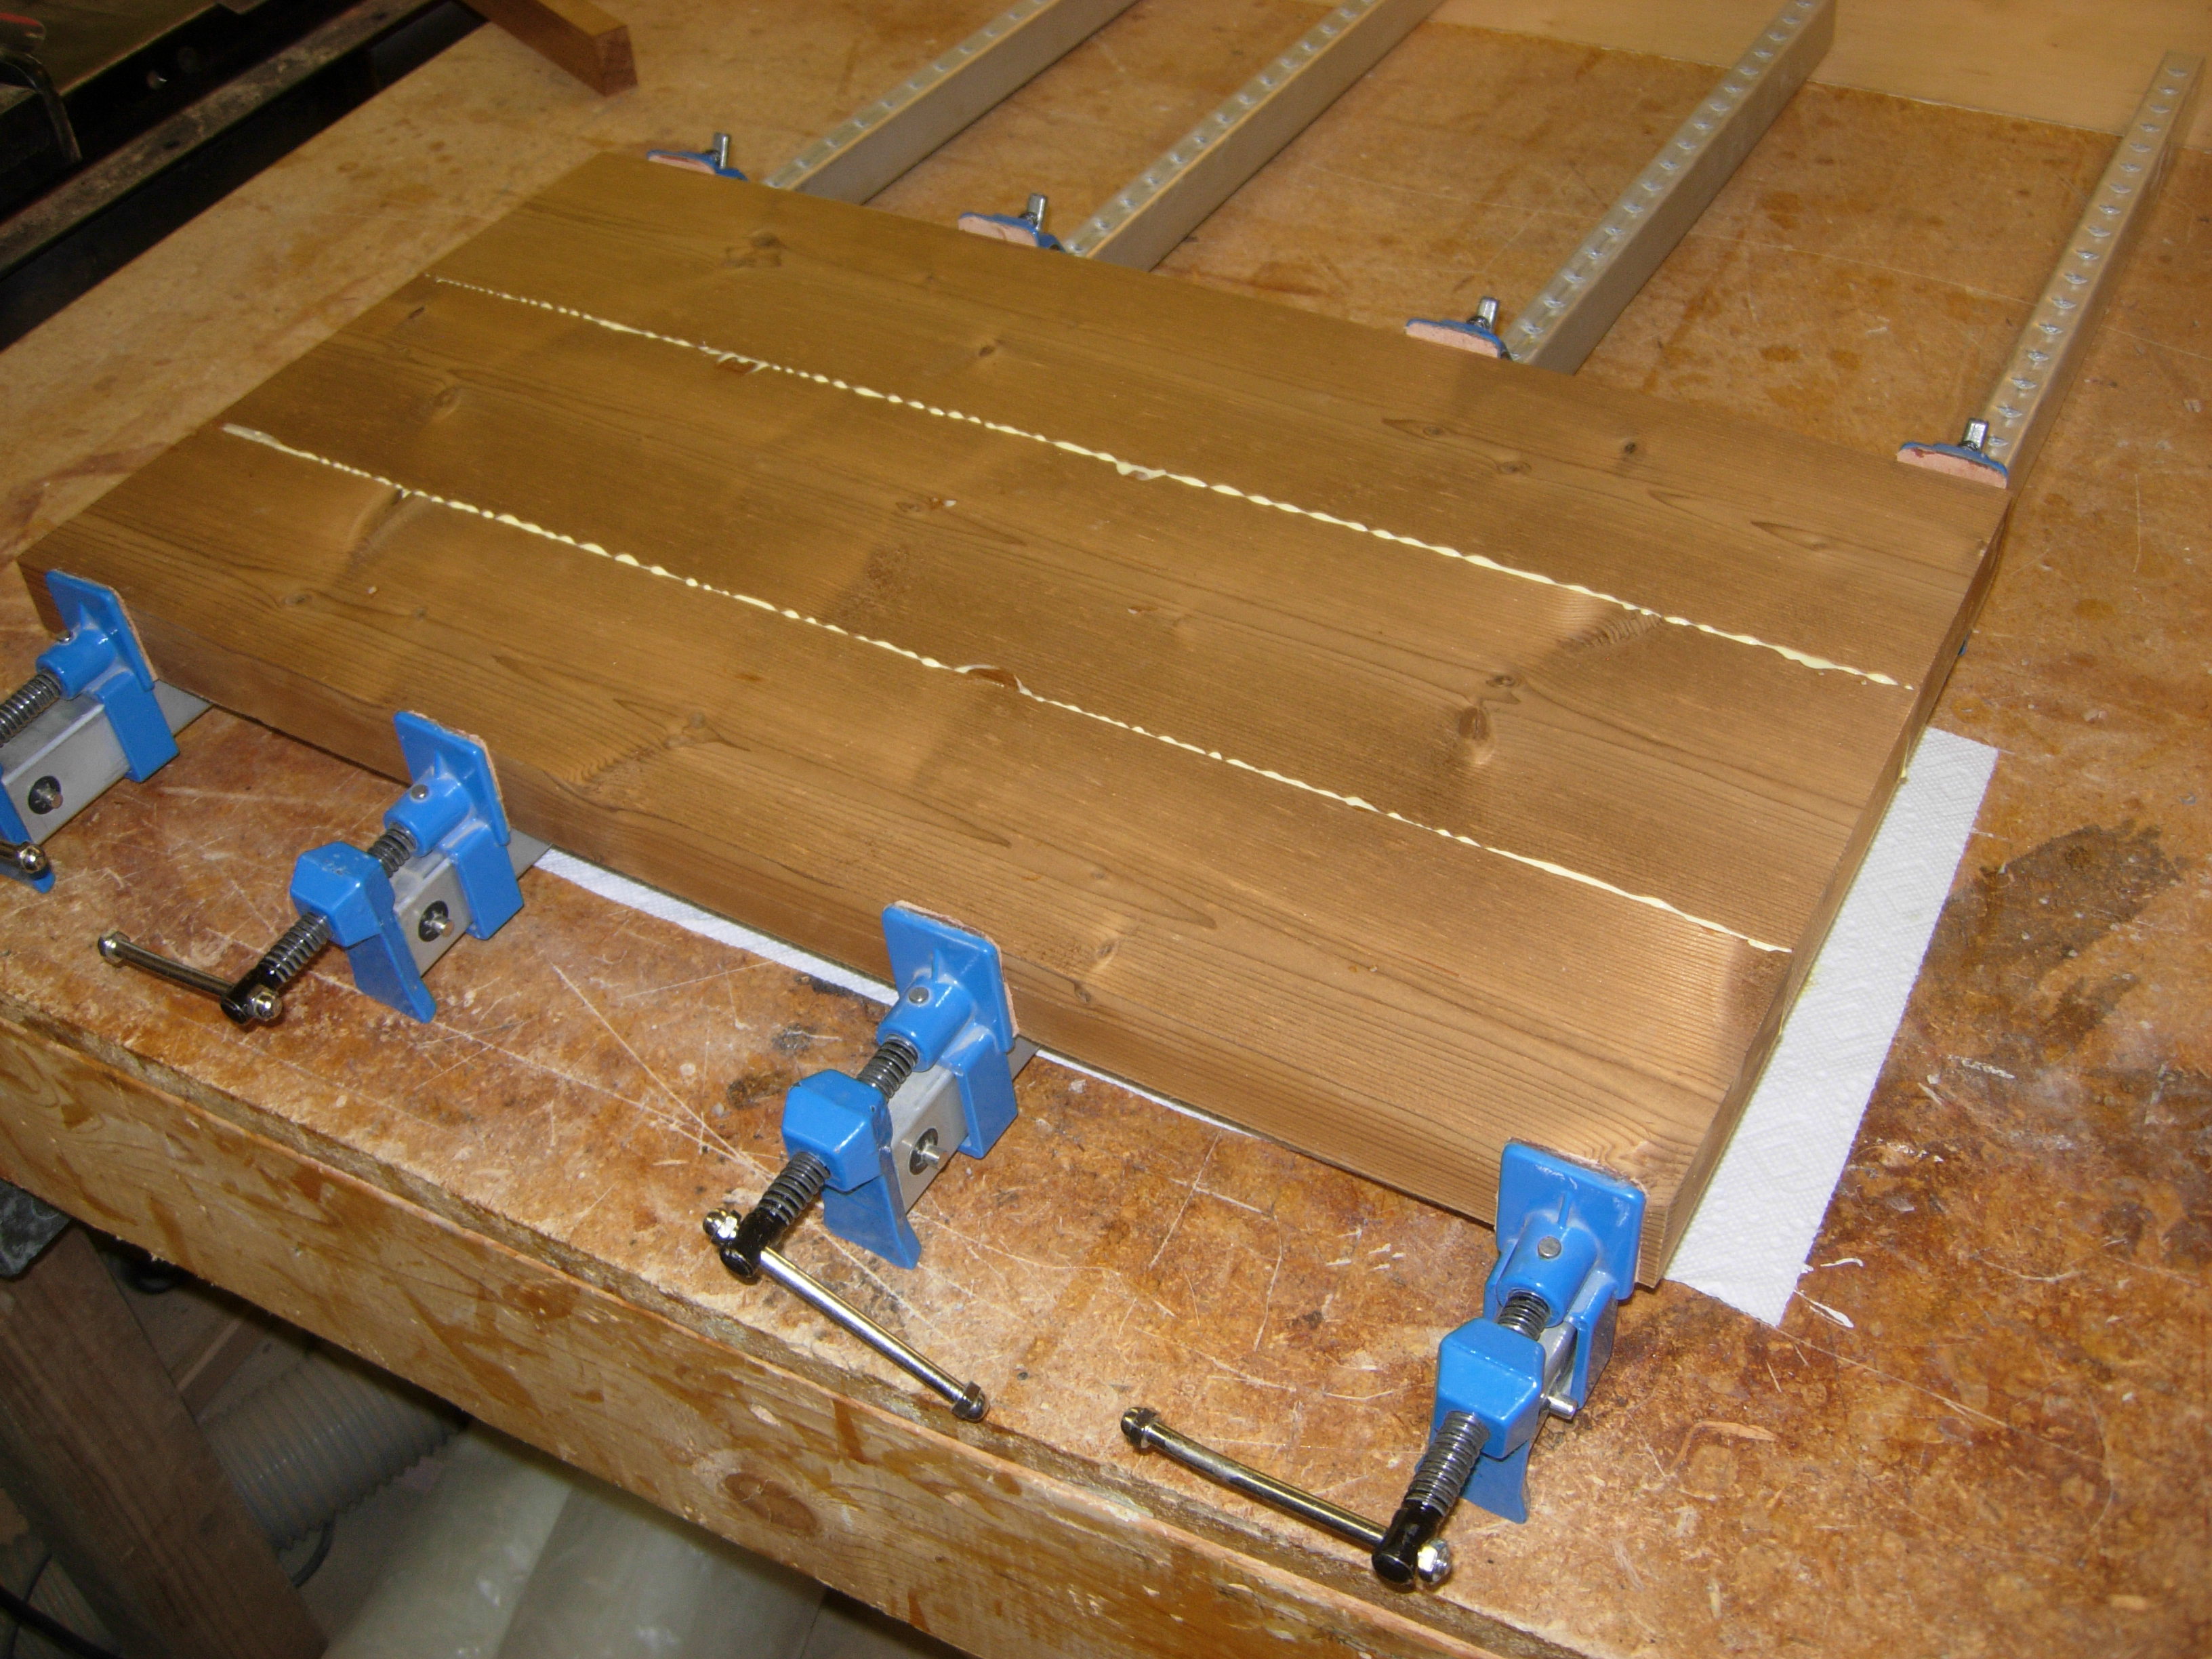
The glue-up
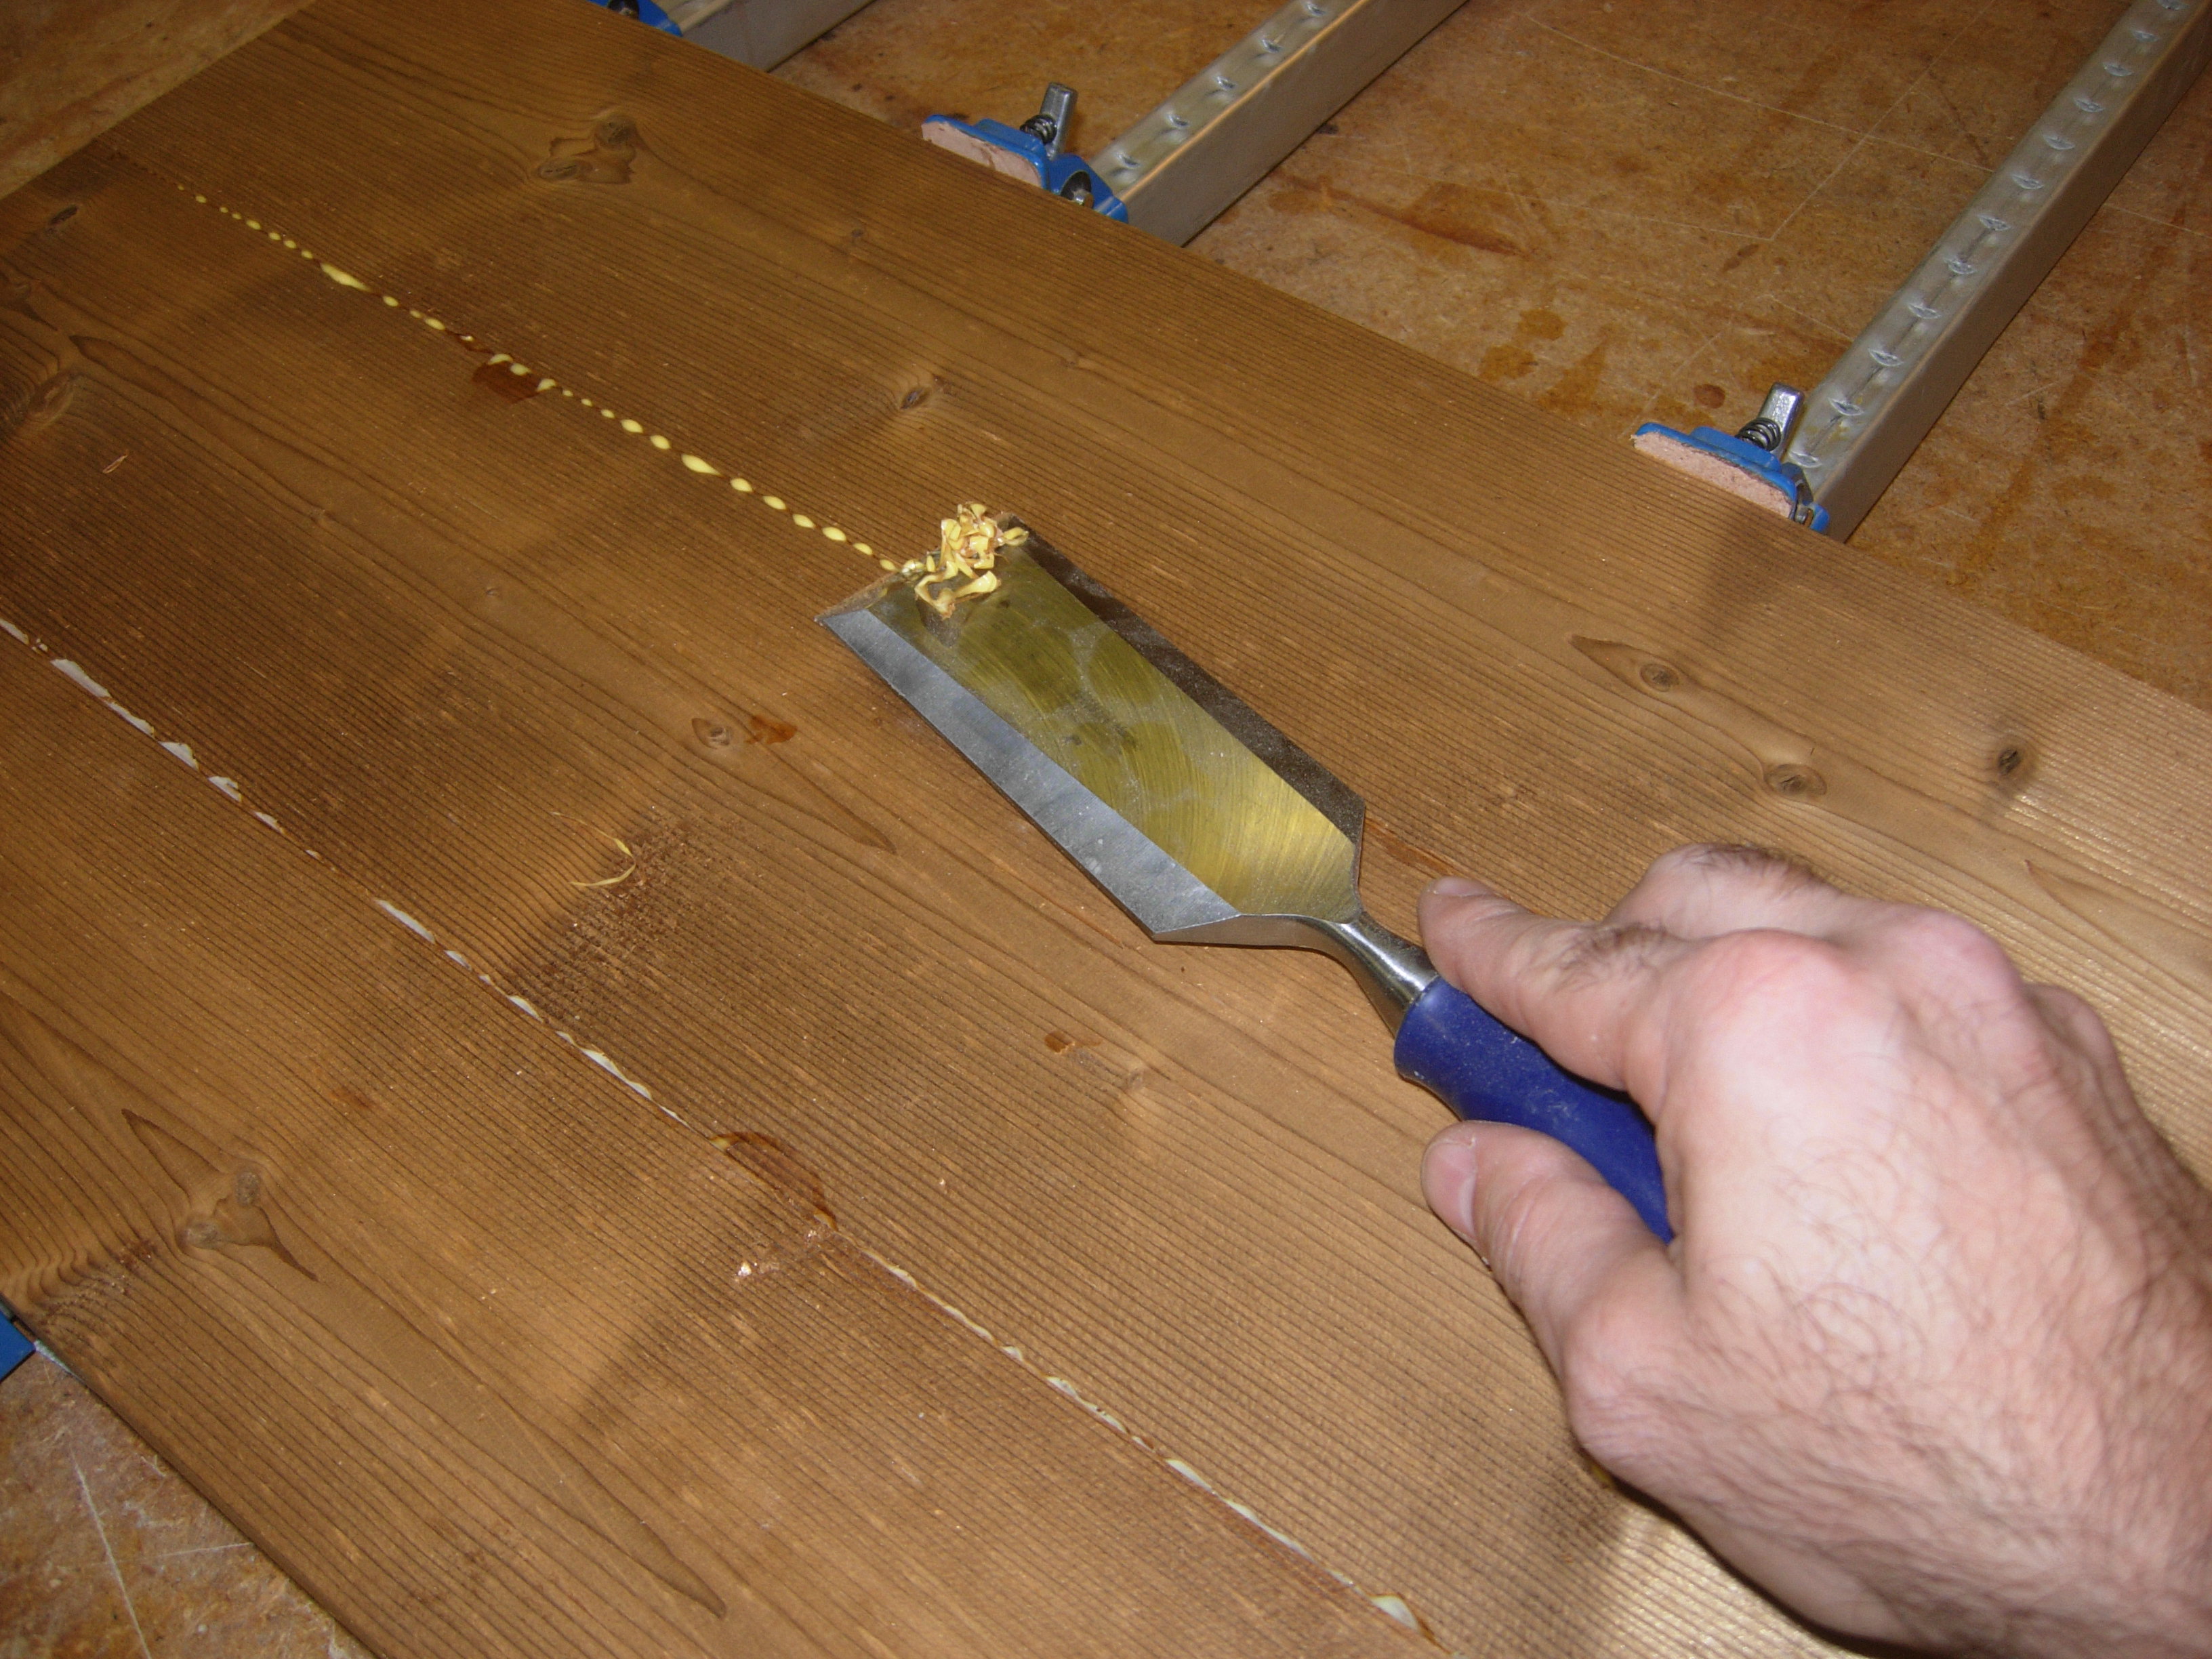
Scraping away the squeeze-out
After a few hours, I scraped away the glue squeeze-out, then placed the panel in the carver.

Setting up the carve
I set the program running. It was a six-hour carve, so I found something else to do for a while… When the carver was on the last five minutes of the carve, it tore out a large chunk of wood, from the end. The piece of wood messed up the tracking and the cutter shifted an inch and sliced through the border. Bummer!

The aborted carve
Since the pine was hardened, the wood tends to be a bit more brittle. The larger letters cut out fine, but the date at the bottom was thinner and some of the numbers didn’t do so well. Since this was my only piece of TMW and I would have to order a bulk load to get more, I decided to try redesigning the sign instead of tossing it in the trash.
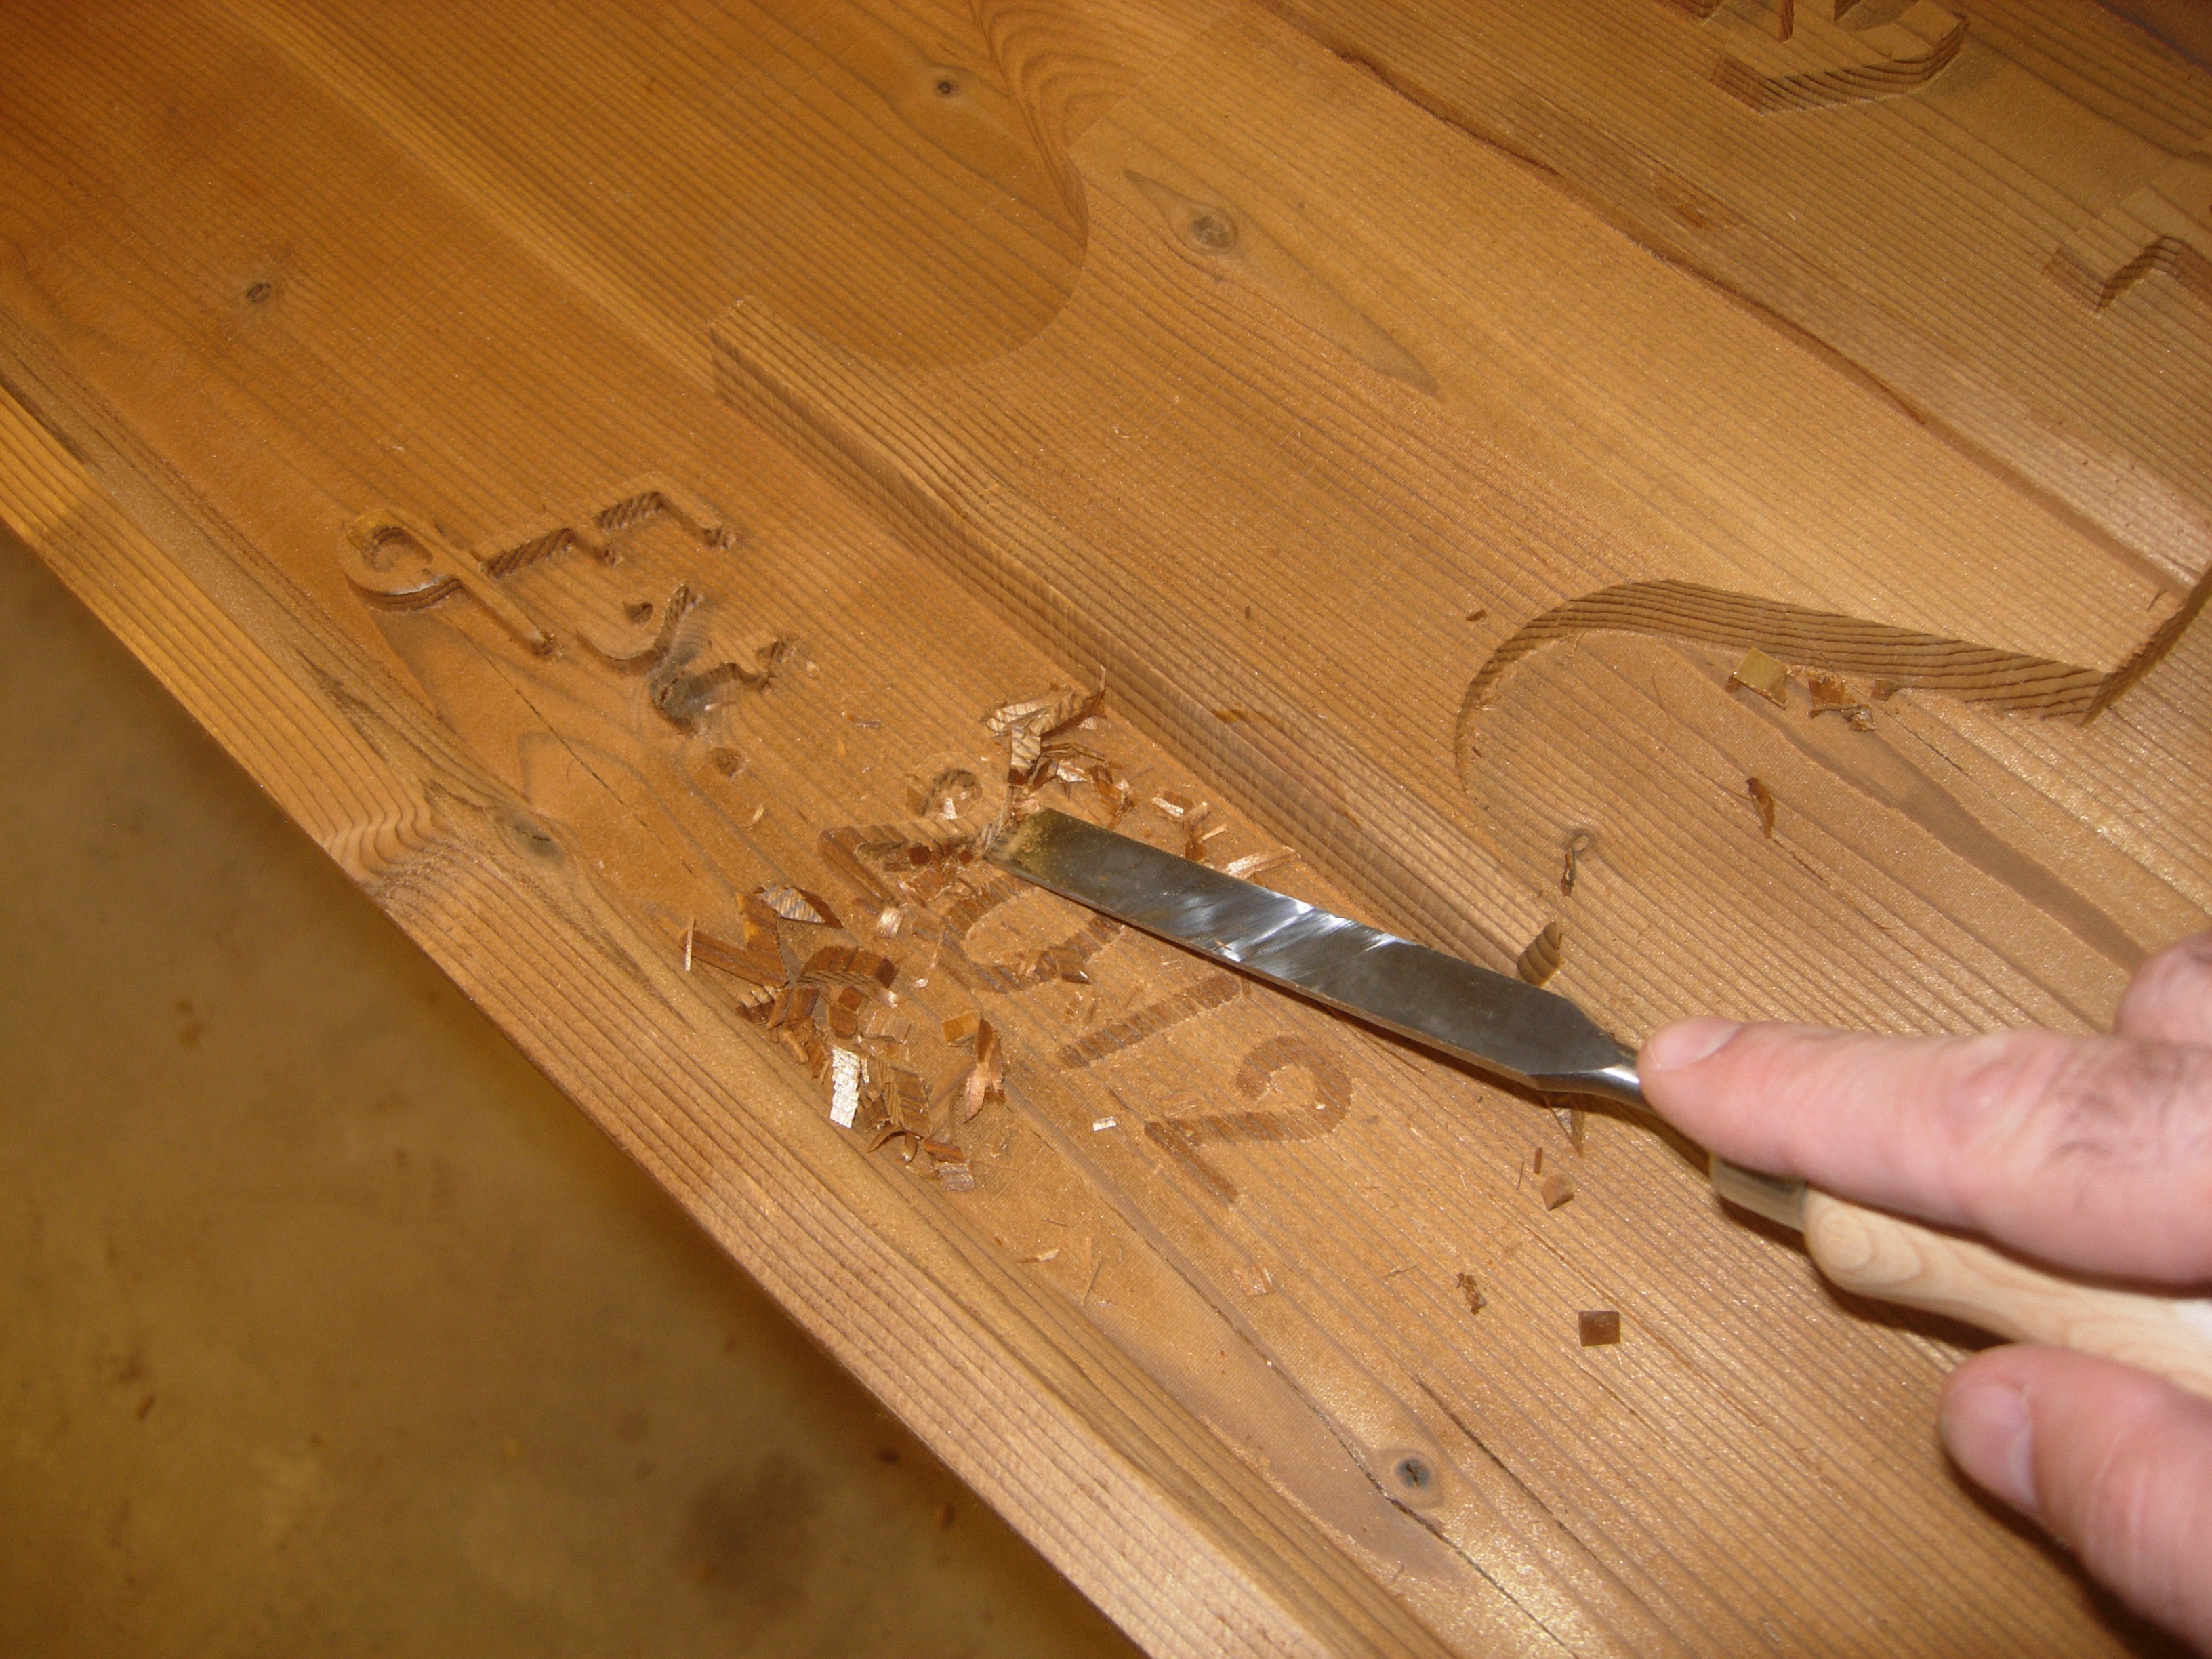
Cutting away the bad letters
I gently chiseled the letters away with a sharp chisel, then traced them out again with a marker.

Drawing in the letters again
I used a 1/4″ ball end router bit to carve the date out by eye. I had to rest the router base on the border and the base of the anvil, and extend the bit down about an inch to perform this task. Luckily the anvil base was just wide enough to do it.
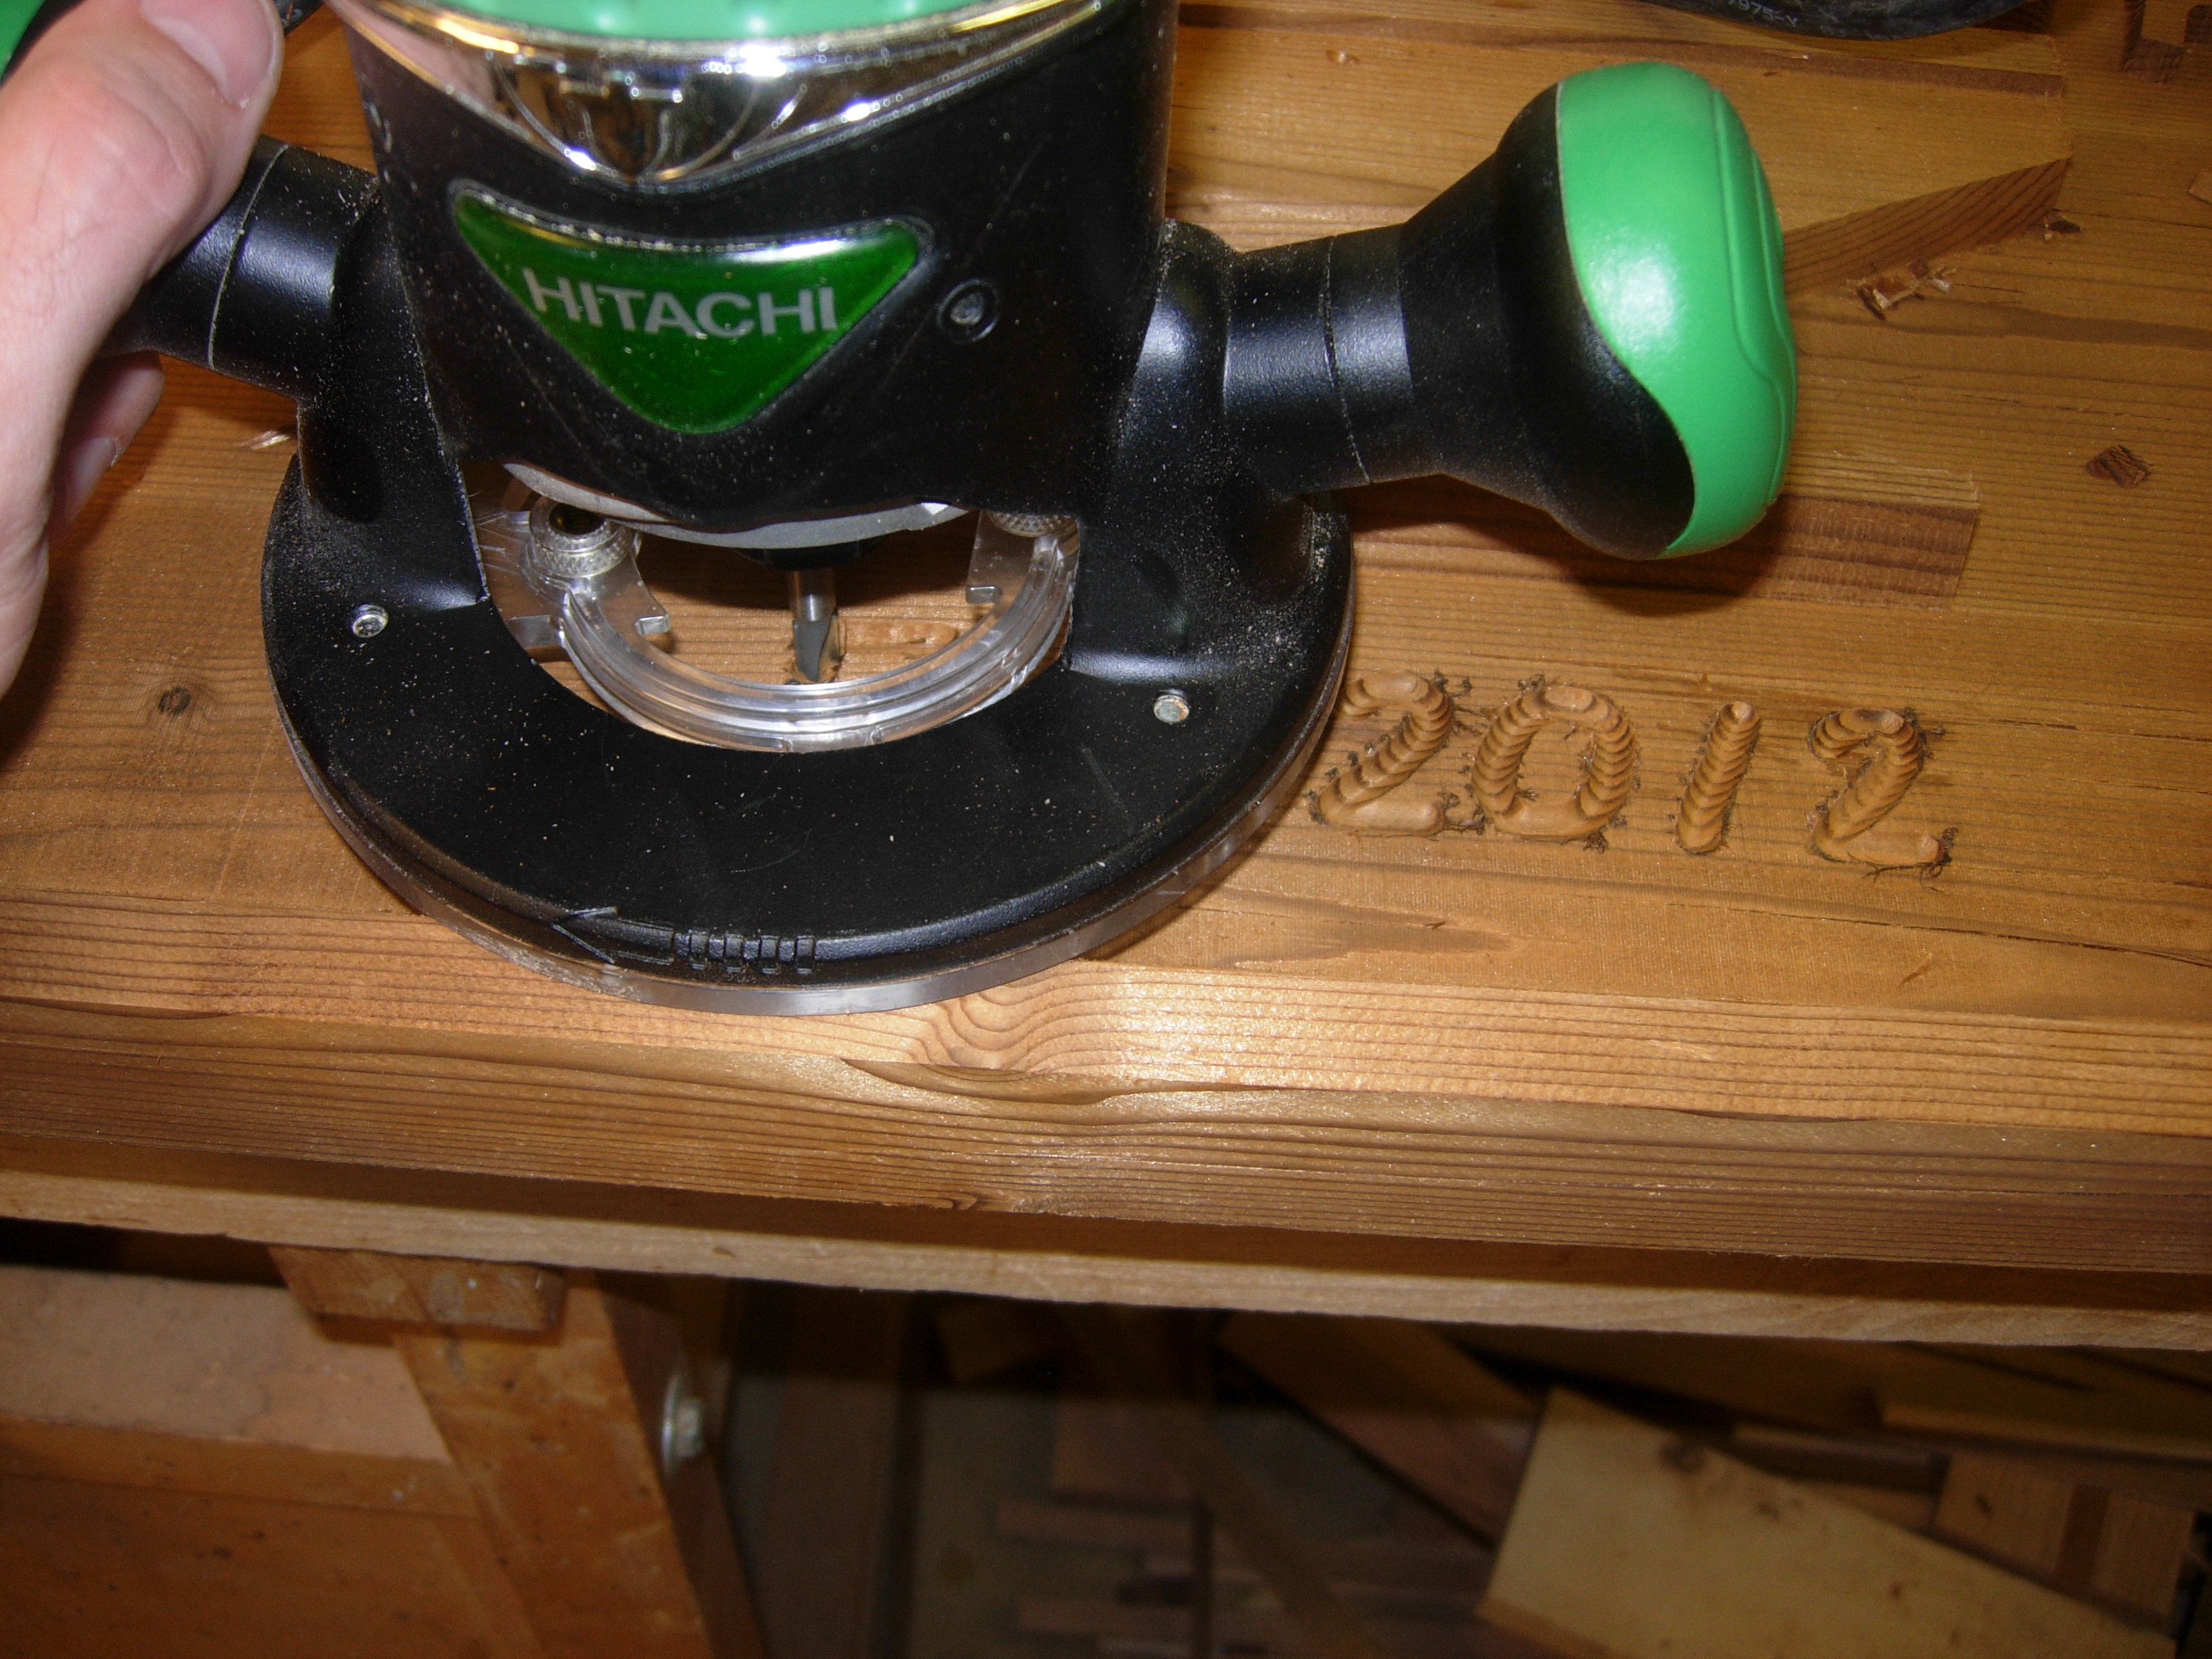
Routing in the date
I also had to sacrifice the thick border because of the tear-out and cut through one side. I ripped it off, on the table saw.
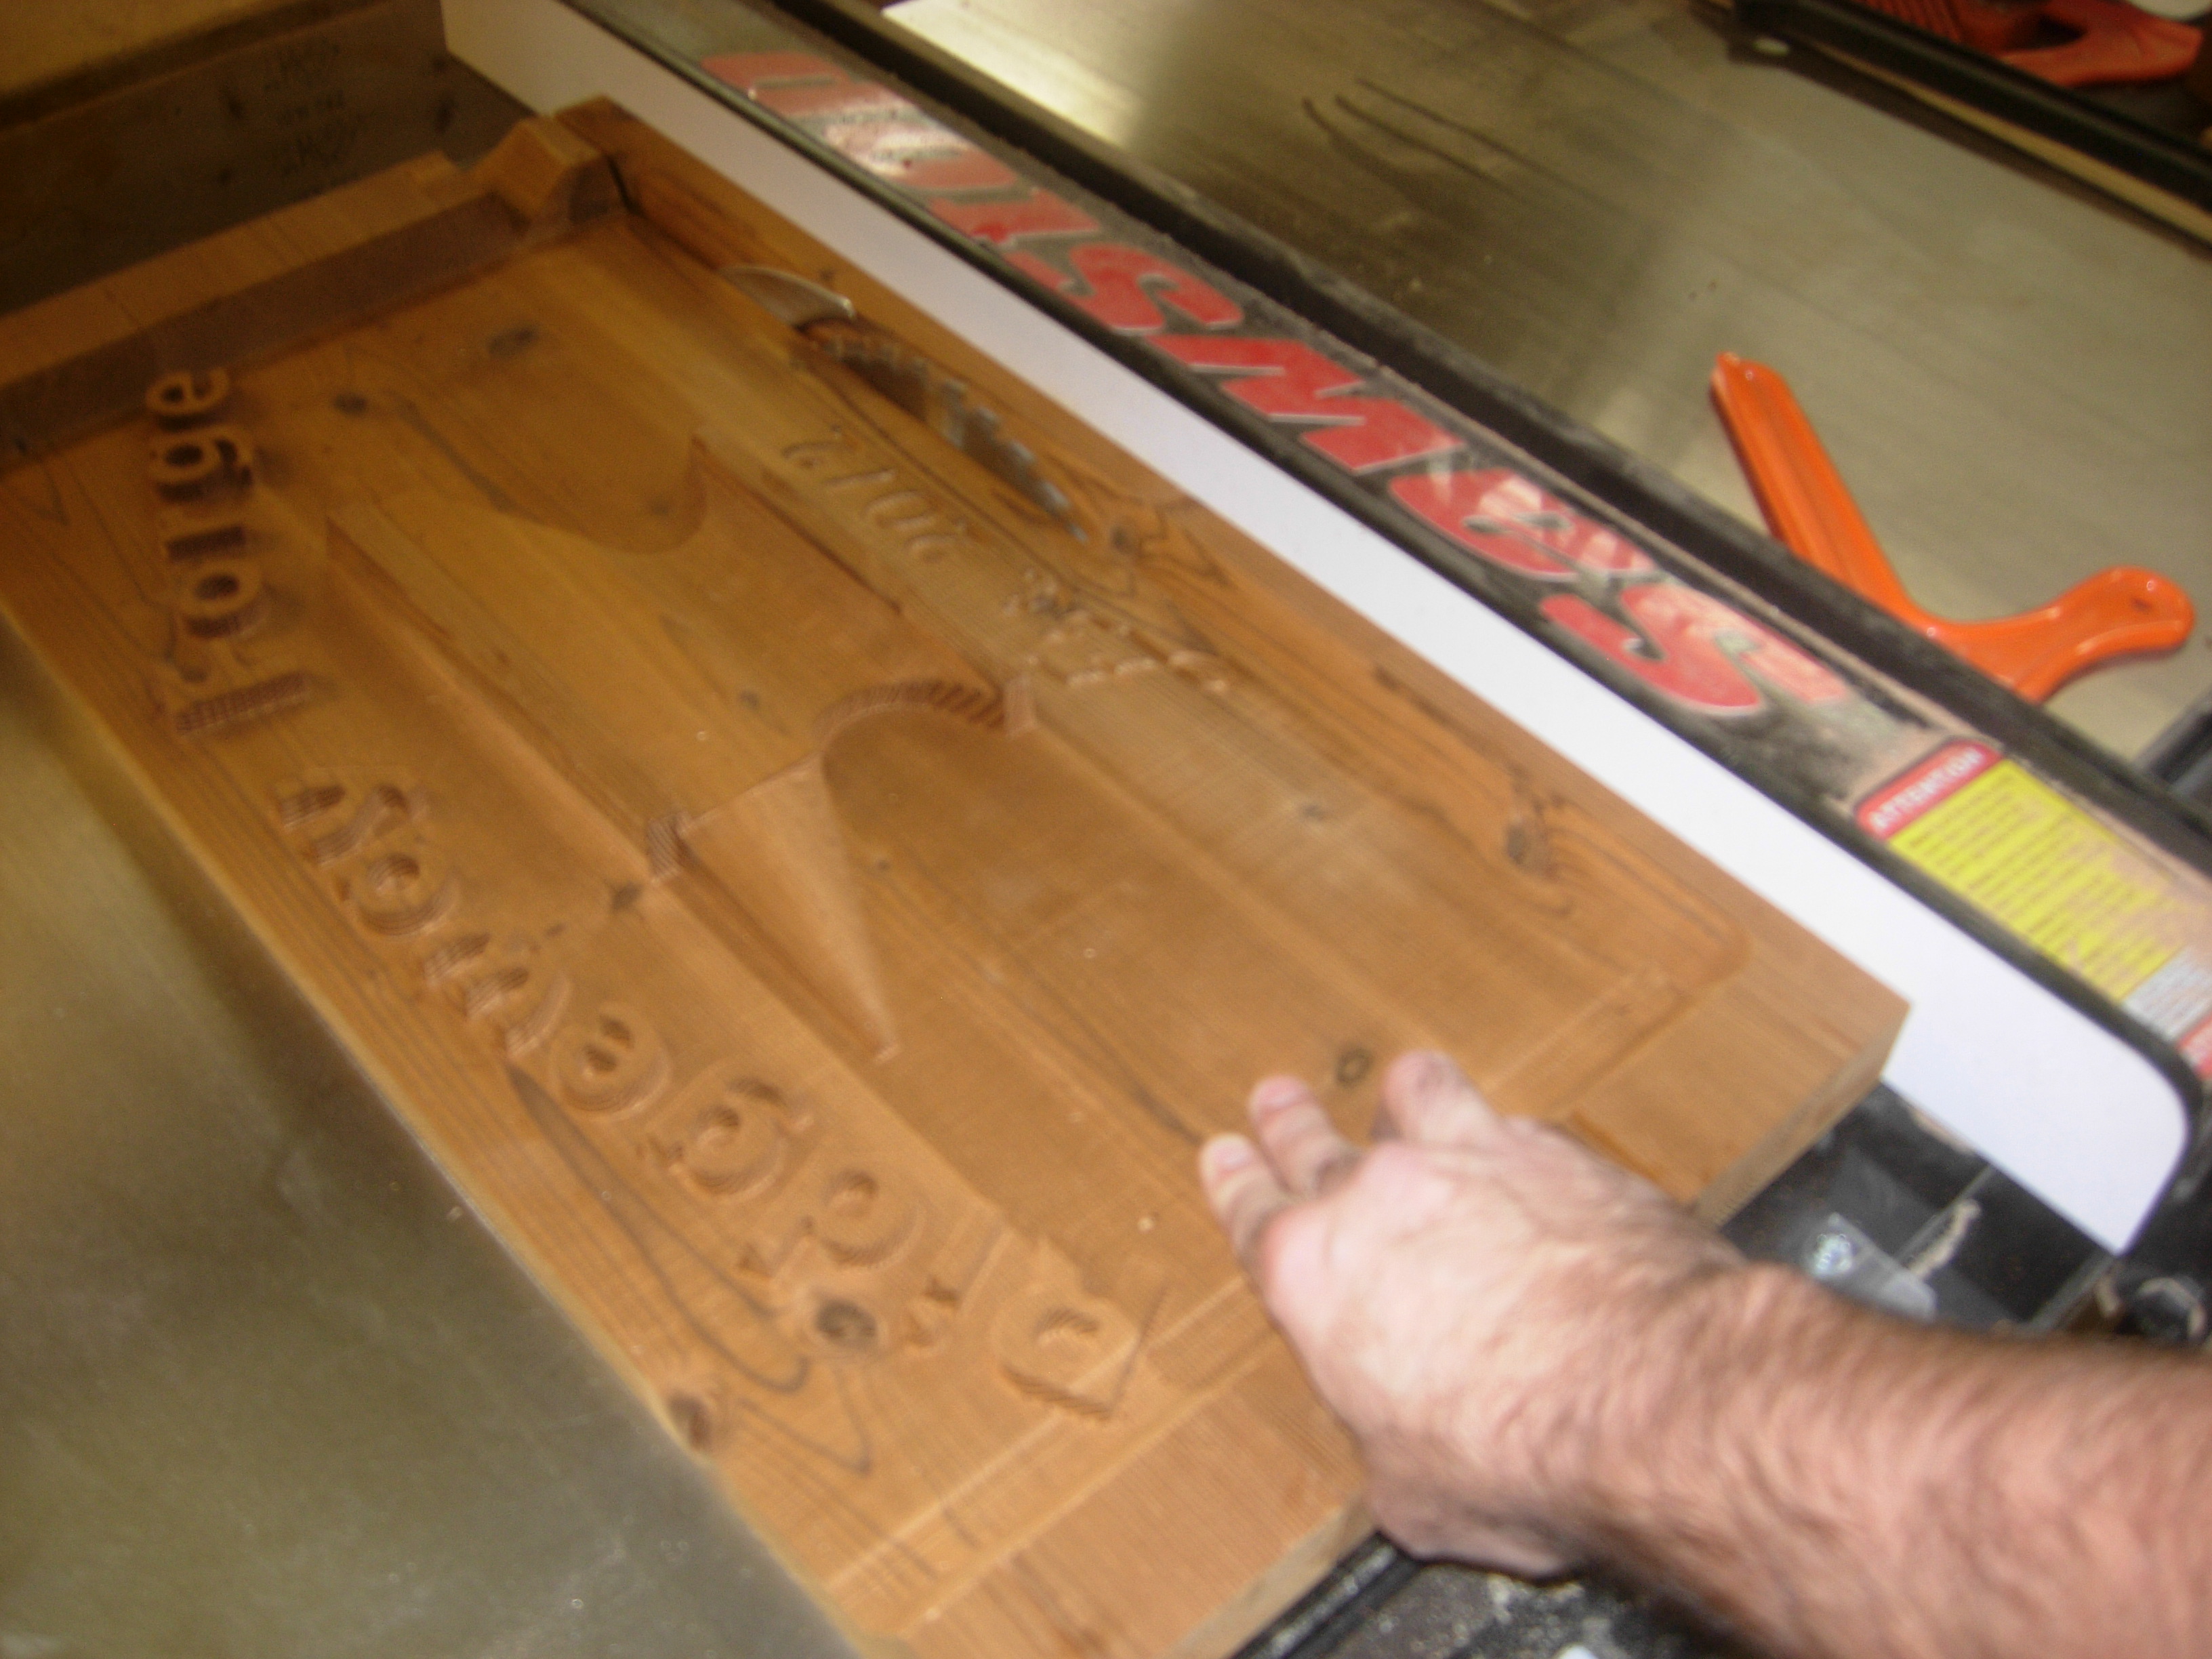
Cutting away the damaged border
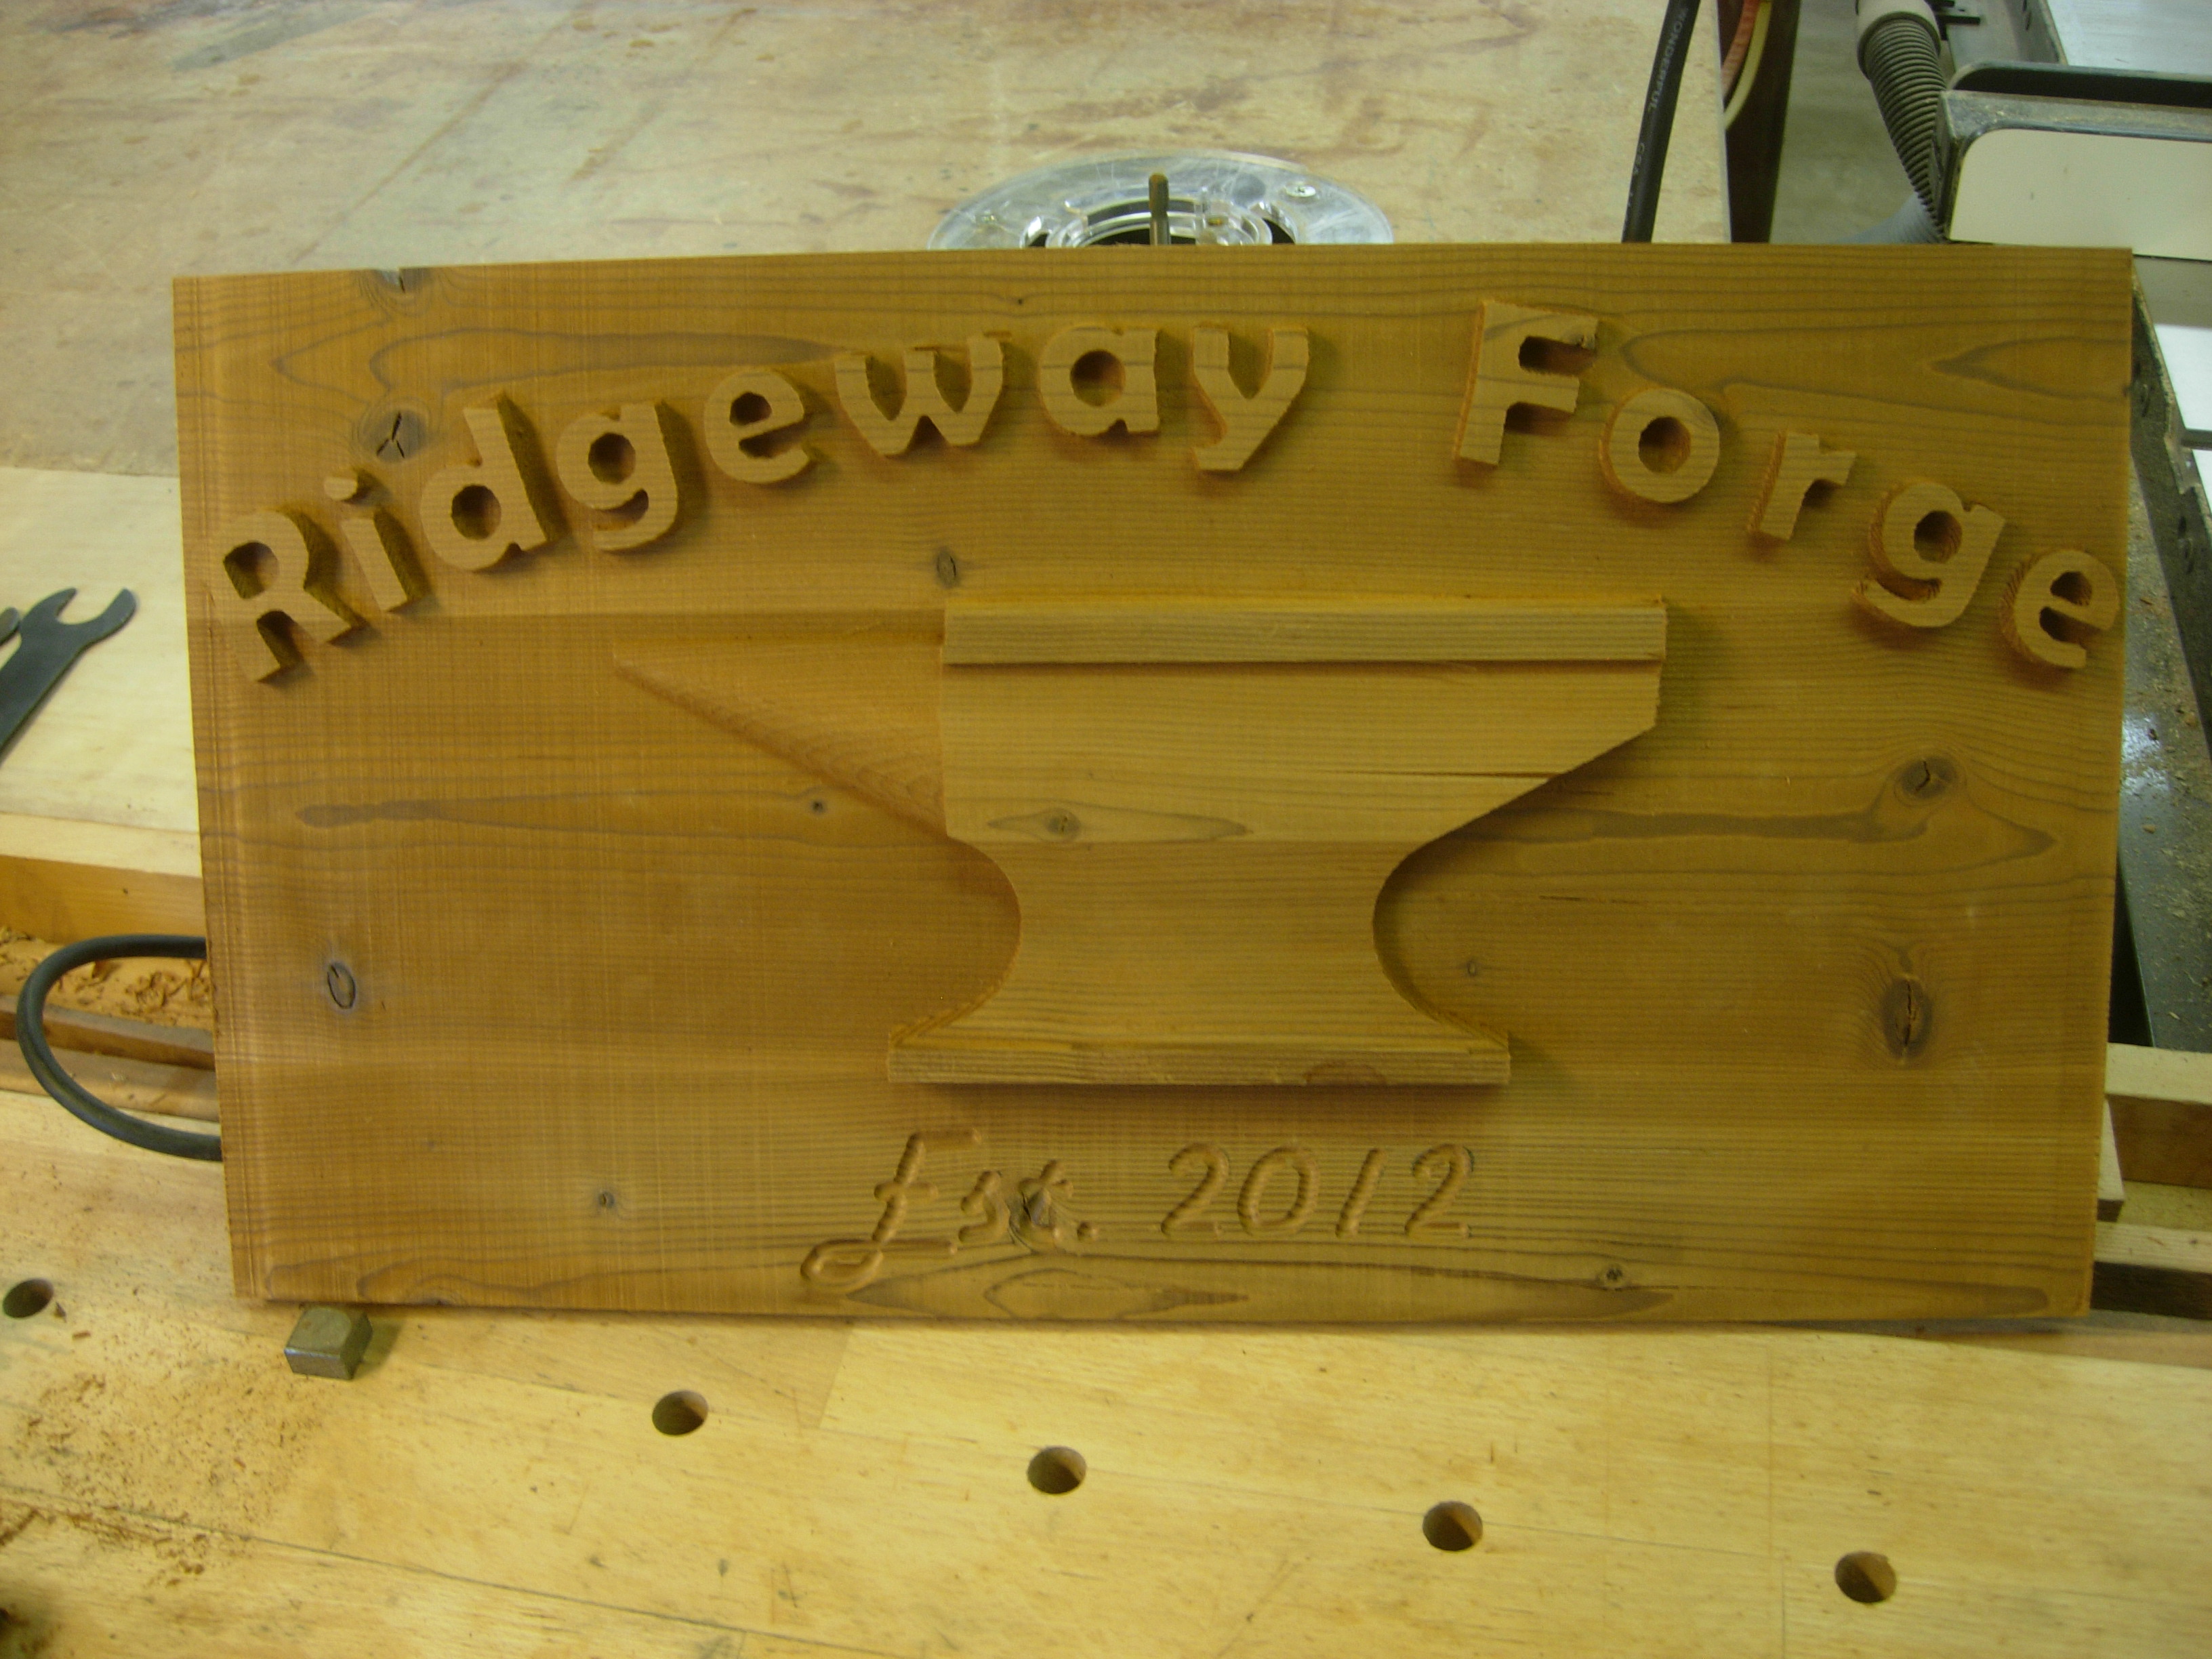
The finished product
Here is the revised finished product. In a few short weeks/months of exposure, the sign will be just as weathered looking as the deck behind it.

Contrast
I emailed photos to my friend and offered to remake it in white oak, but he graciously replied that he liked this version better. I am glad he likes it, but frustrated that it didn’t turn out the way that I planned. You are always you own biggest critic.
Update:
Patrick just received his birthday present today, and I have been told that he loves it. I hope to get a picture of it in a few months when it has had a chance to hang above his forge out in the sunlight. It should turn a beautiful weathered grey.
Happy Birthday Patrick!

Patrick’s birthday present

Wow! Looks great!