
Round table top – day 3/4
The stain set for about a day and a half with the heat cranked up, in my shop, to combat the freezing weather outside. My new mini-split heat pump makes a tremendous difference. Without it, my shop would be too cold to do any finishing.
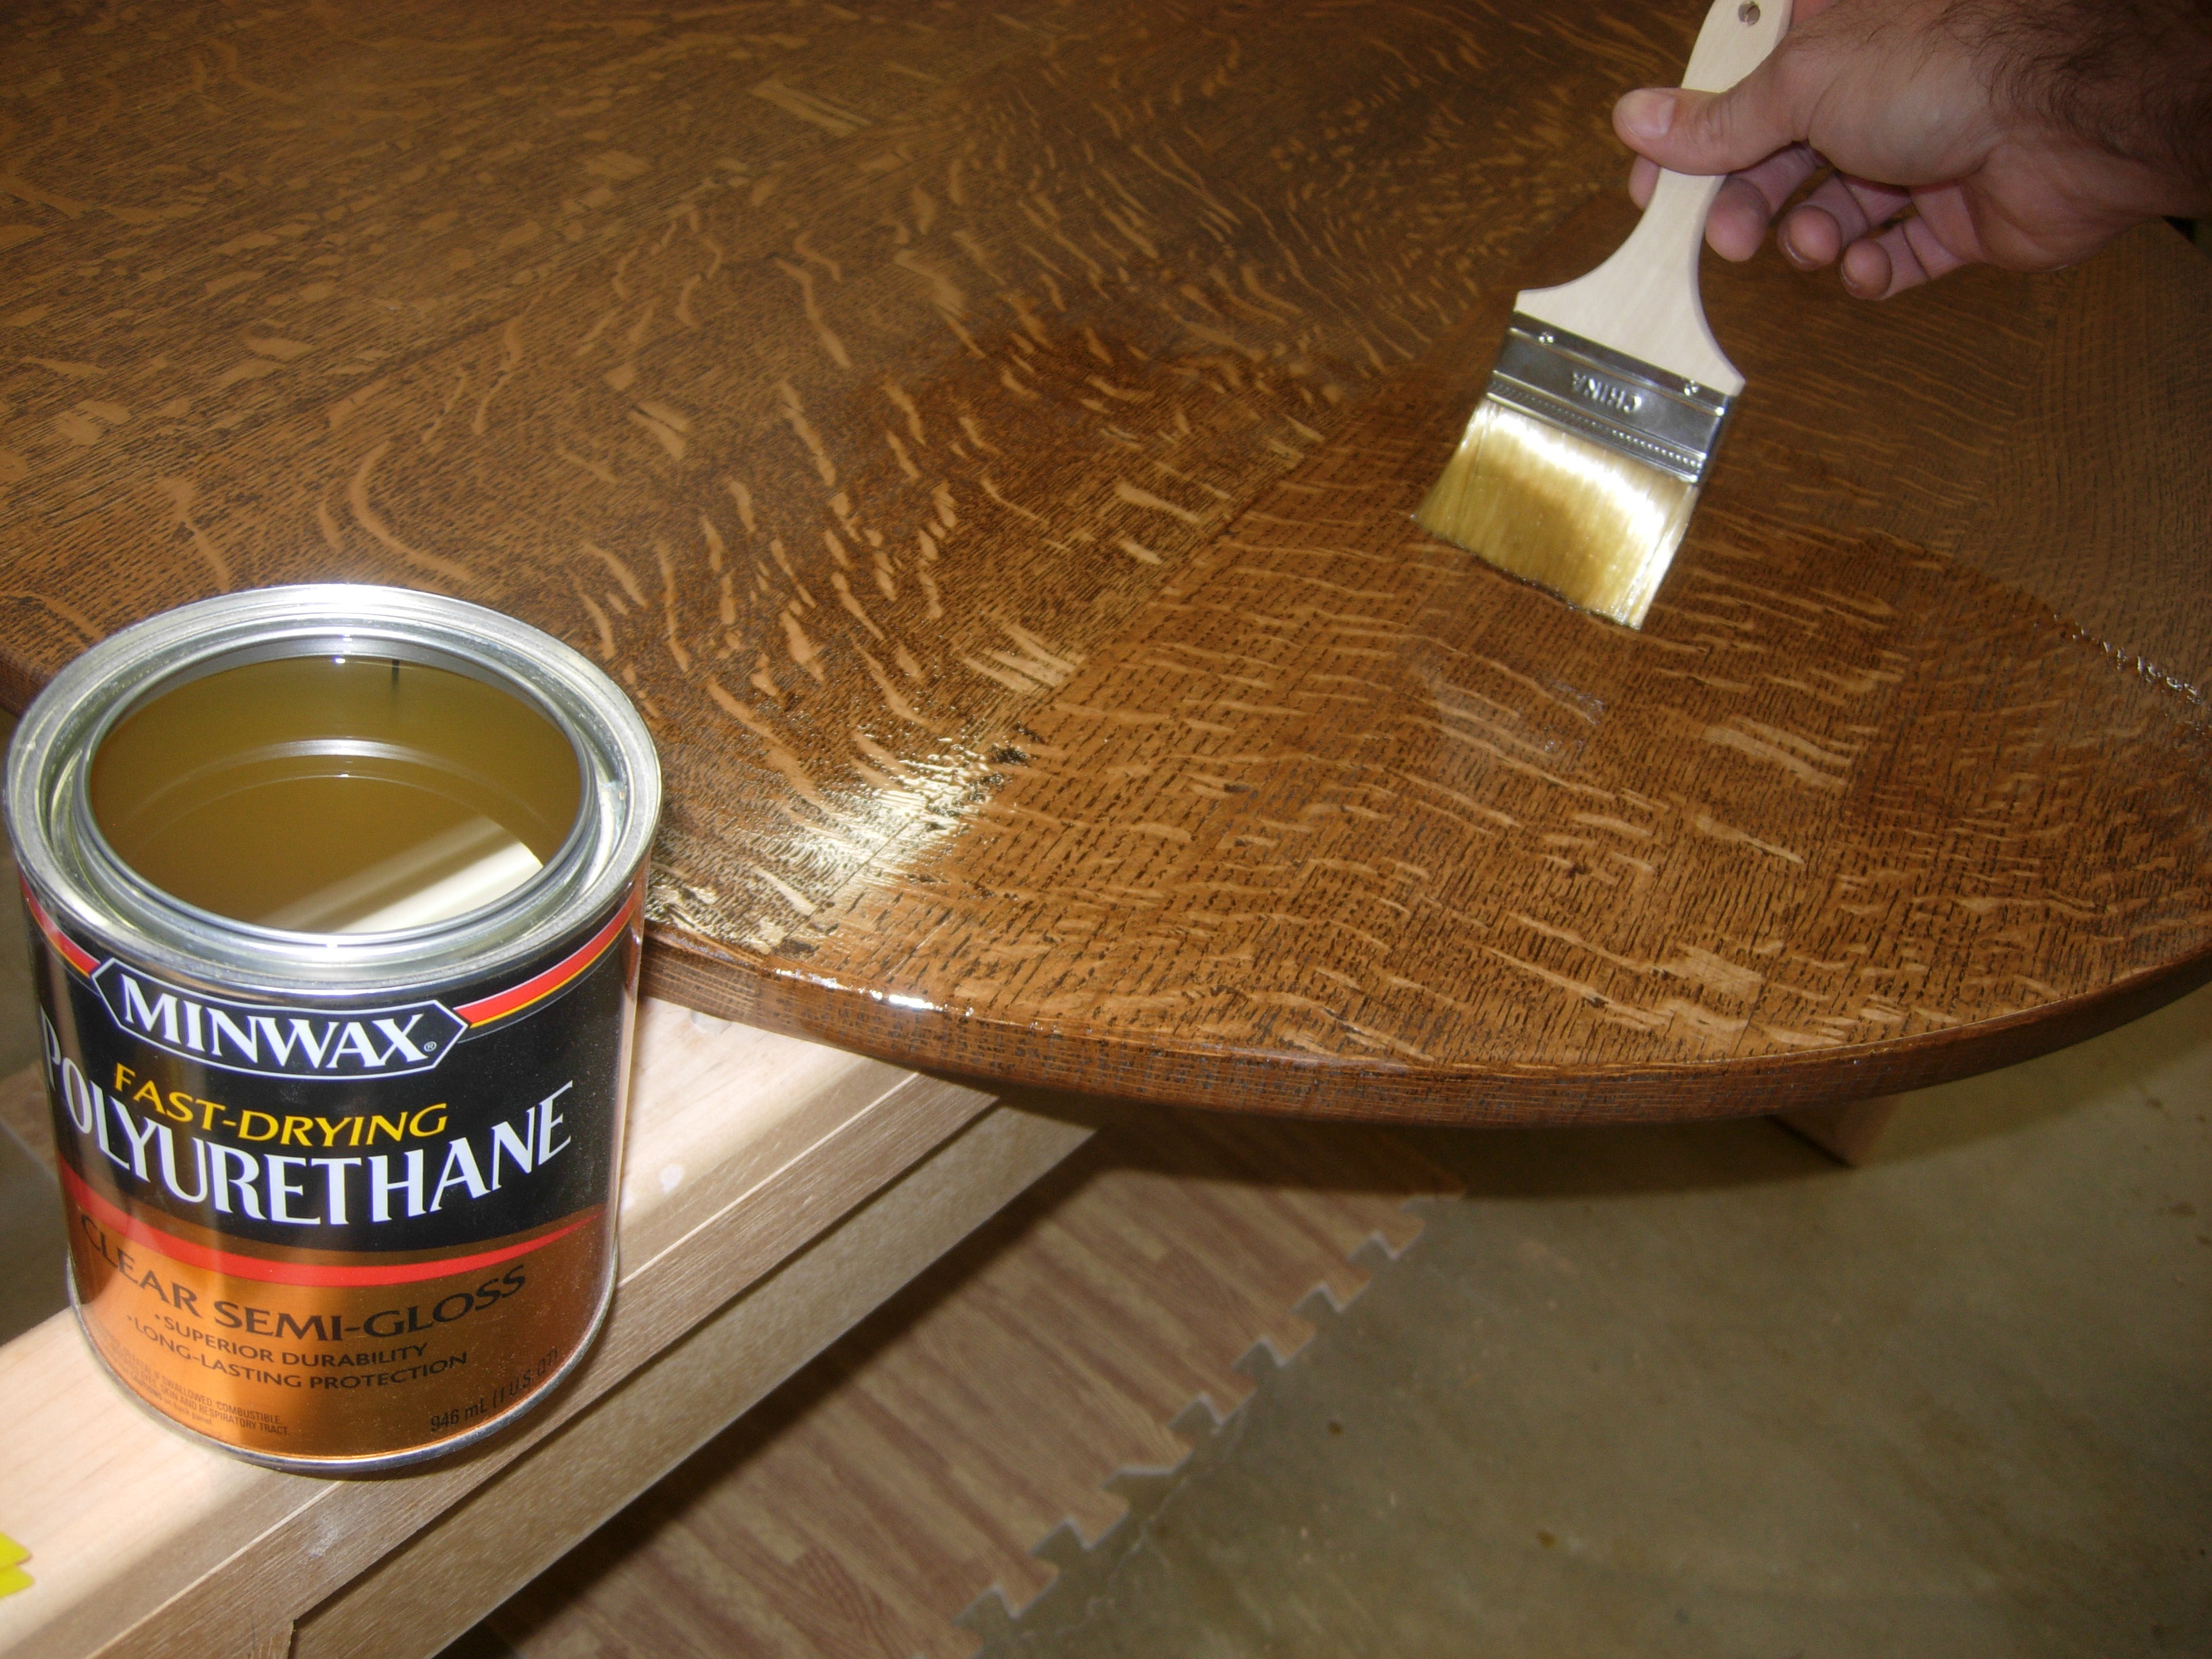
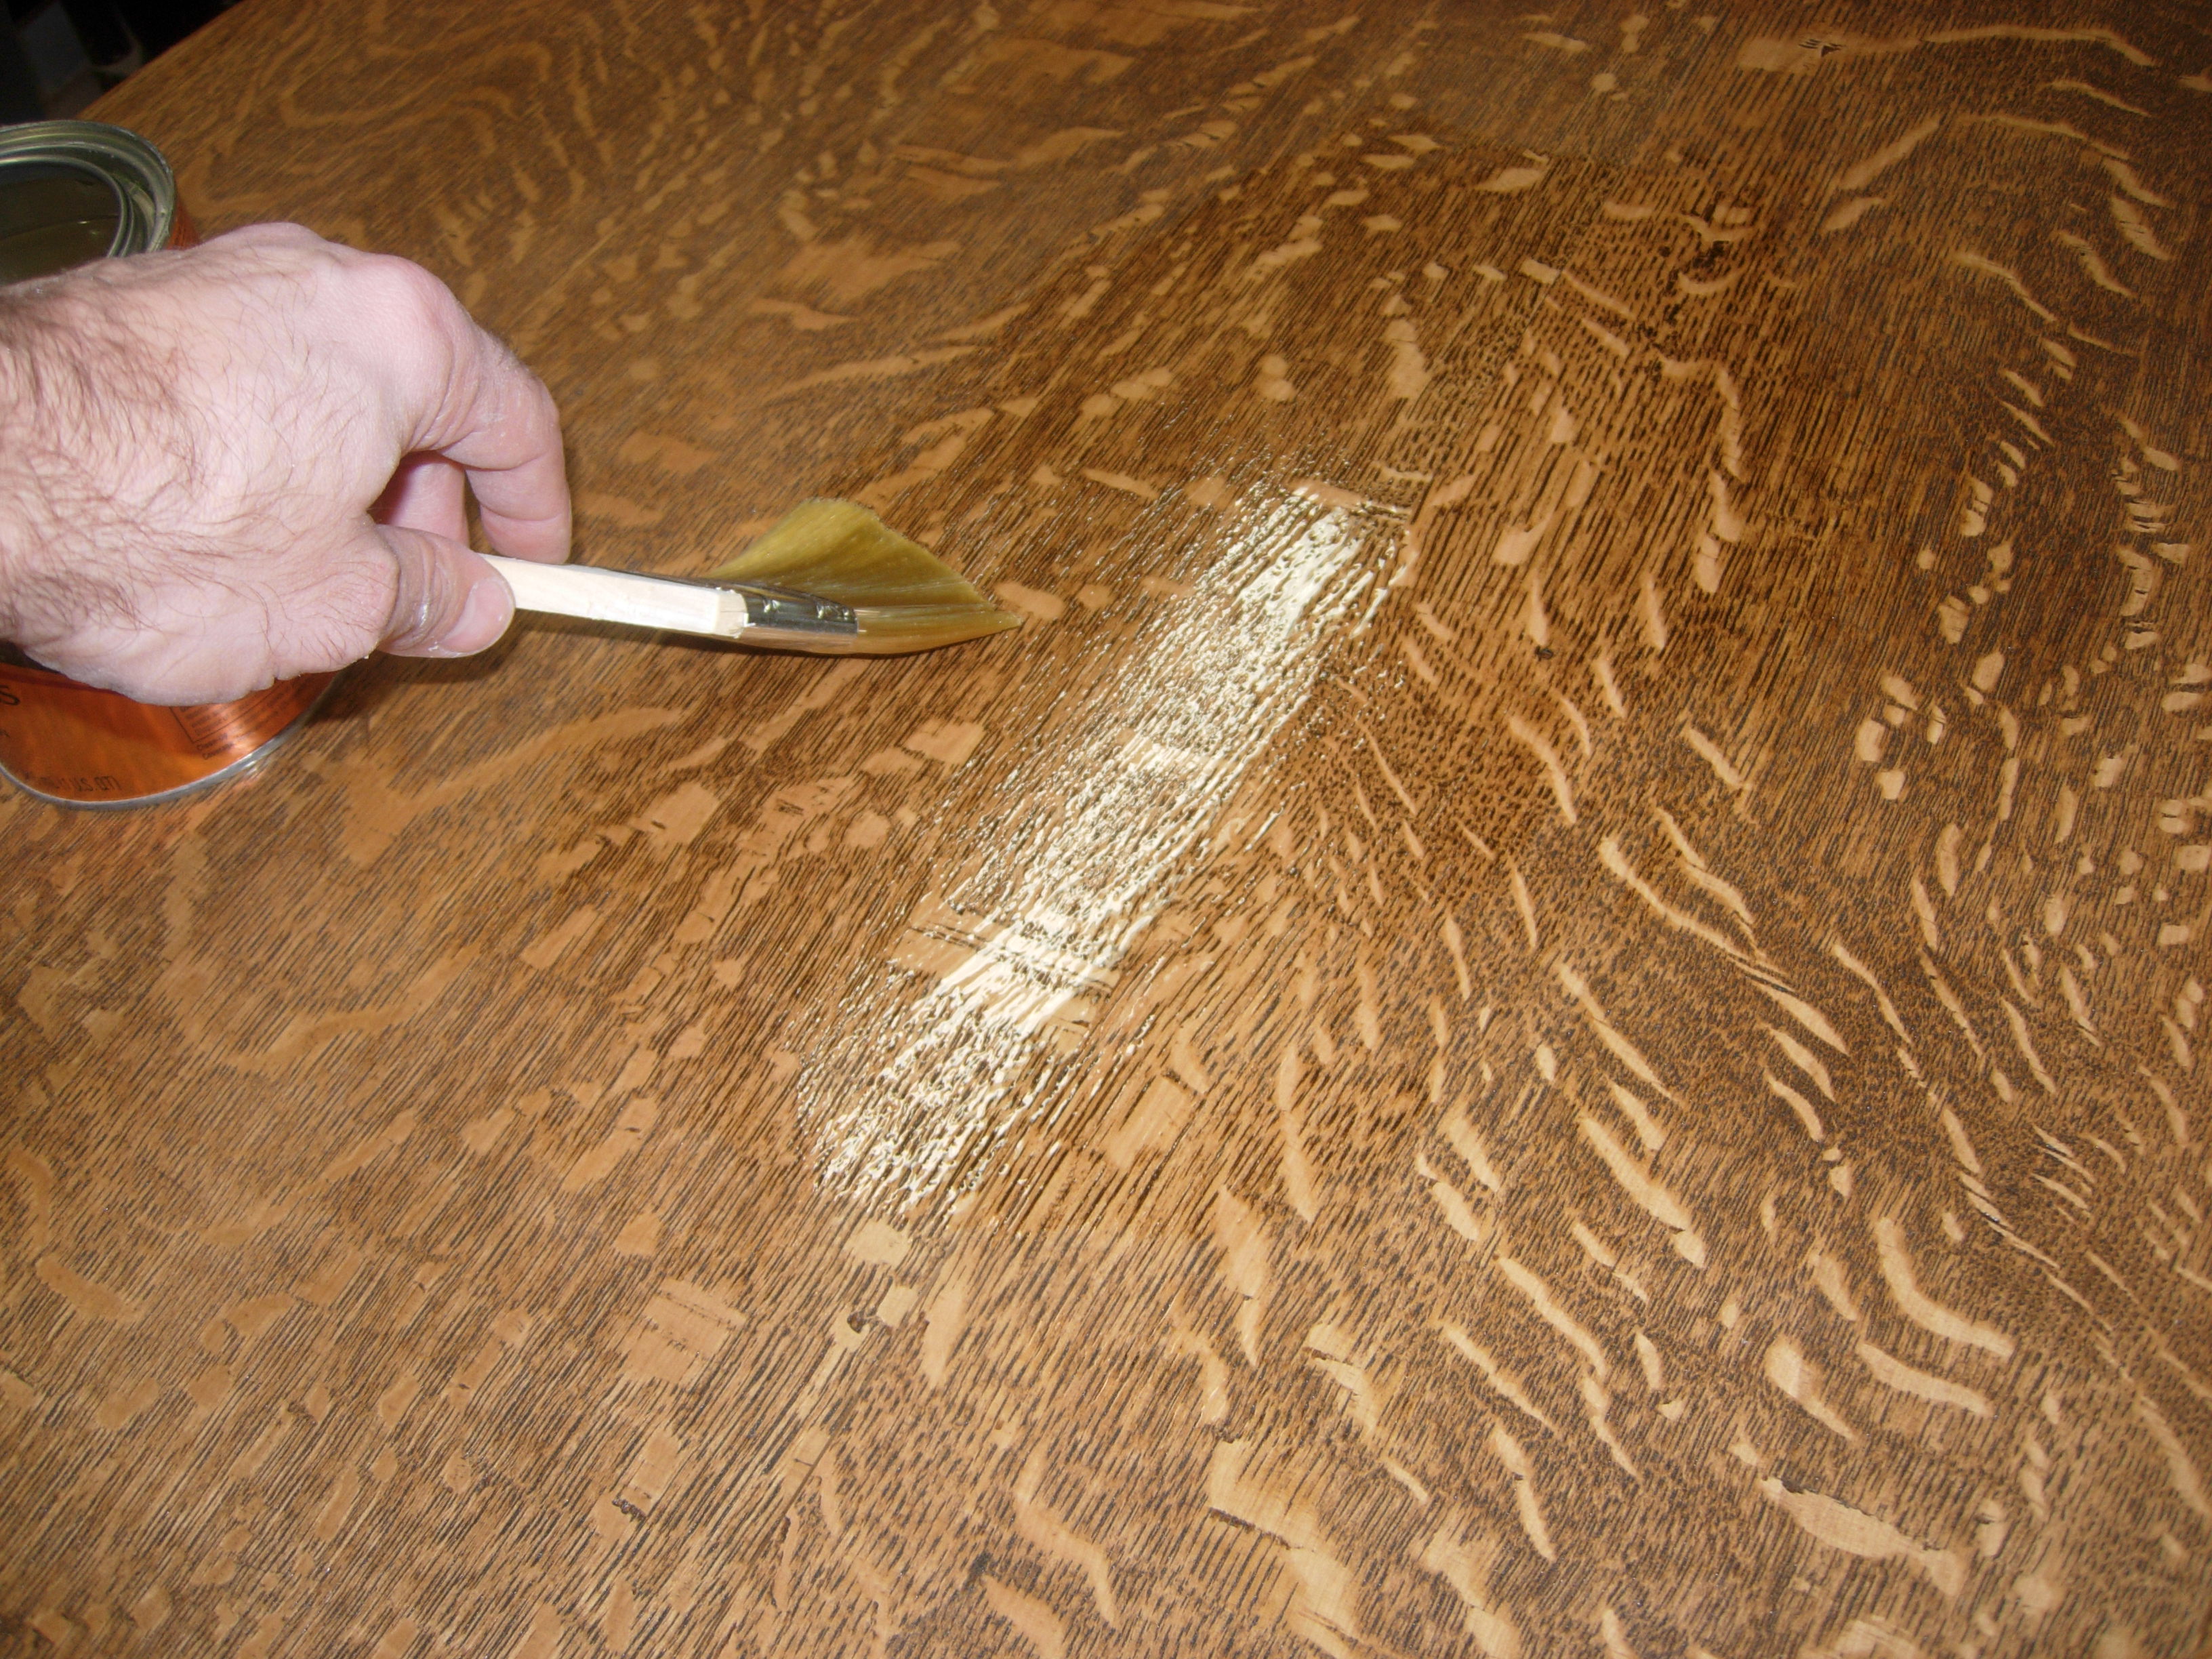
Applying the first coat
With the stain cured, I started applying some semi-gloss polyurethane to the rear first. I use cheap disposable chip brushes because I don’t like cleaning up with thinner. The chip brushes work great as long as you pull out any loose bristles before you start, and throw away the brush when you are done. I have tried keeping them in a bag to reuse them the next day, but they seem to shed a lot of bristles the second day, so just chuck them when you are done…
First coat – rear
Leaving a couple of dry spots, I flipped the table over onto painter’s pyramids and applied a coat to the top, sides, and the two clear spots on the bottom where my hands were.
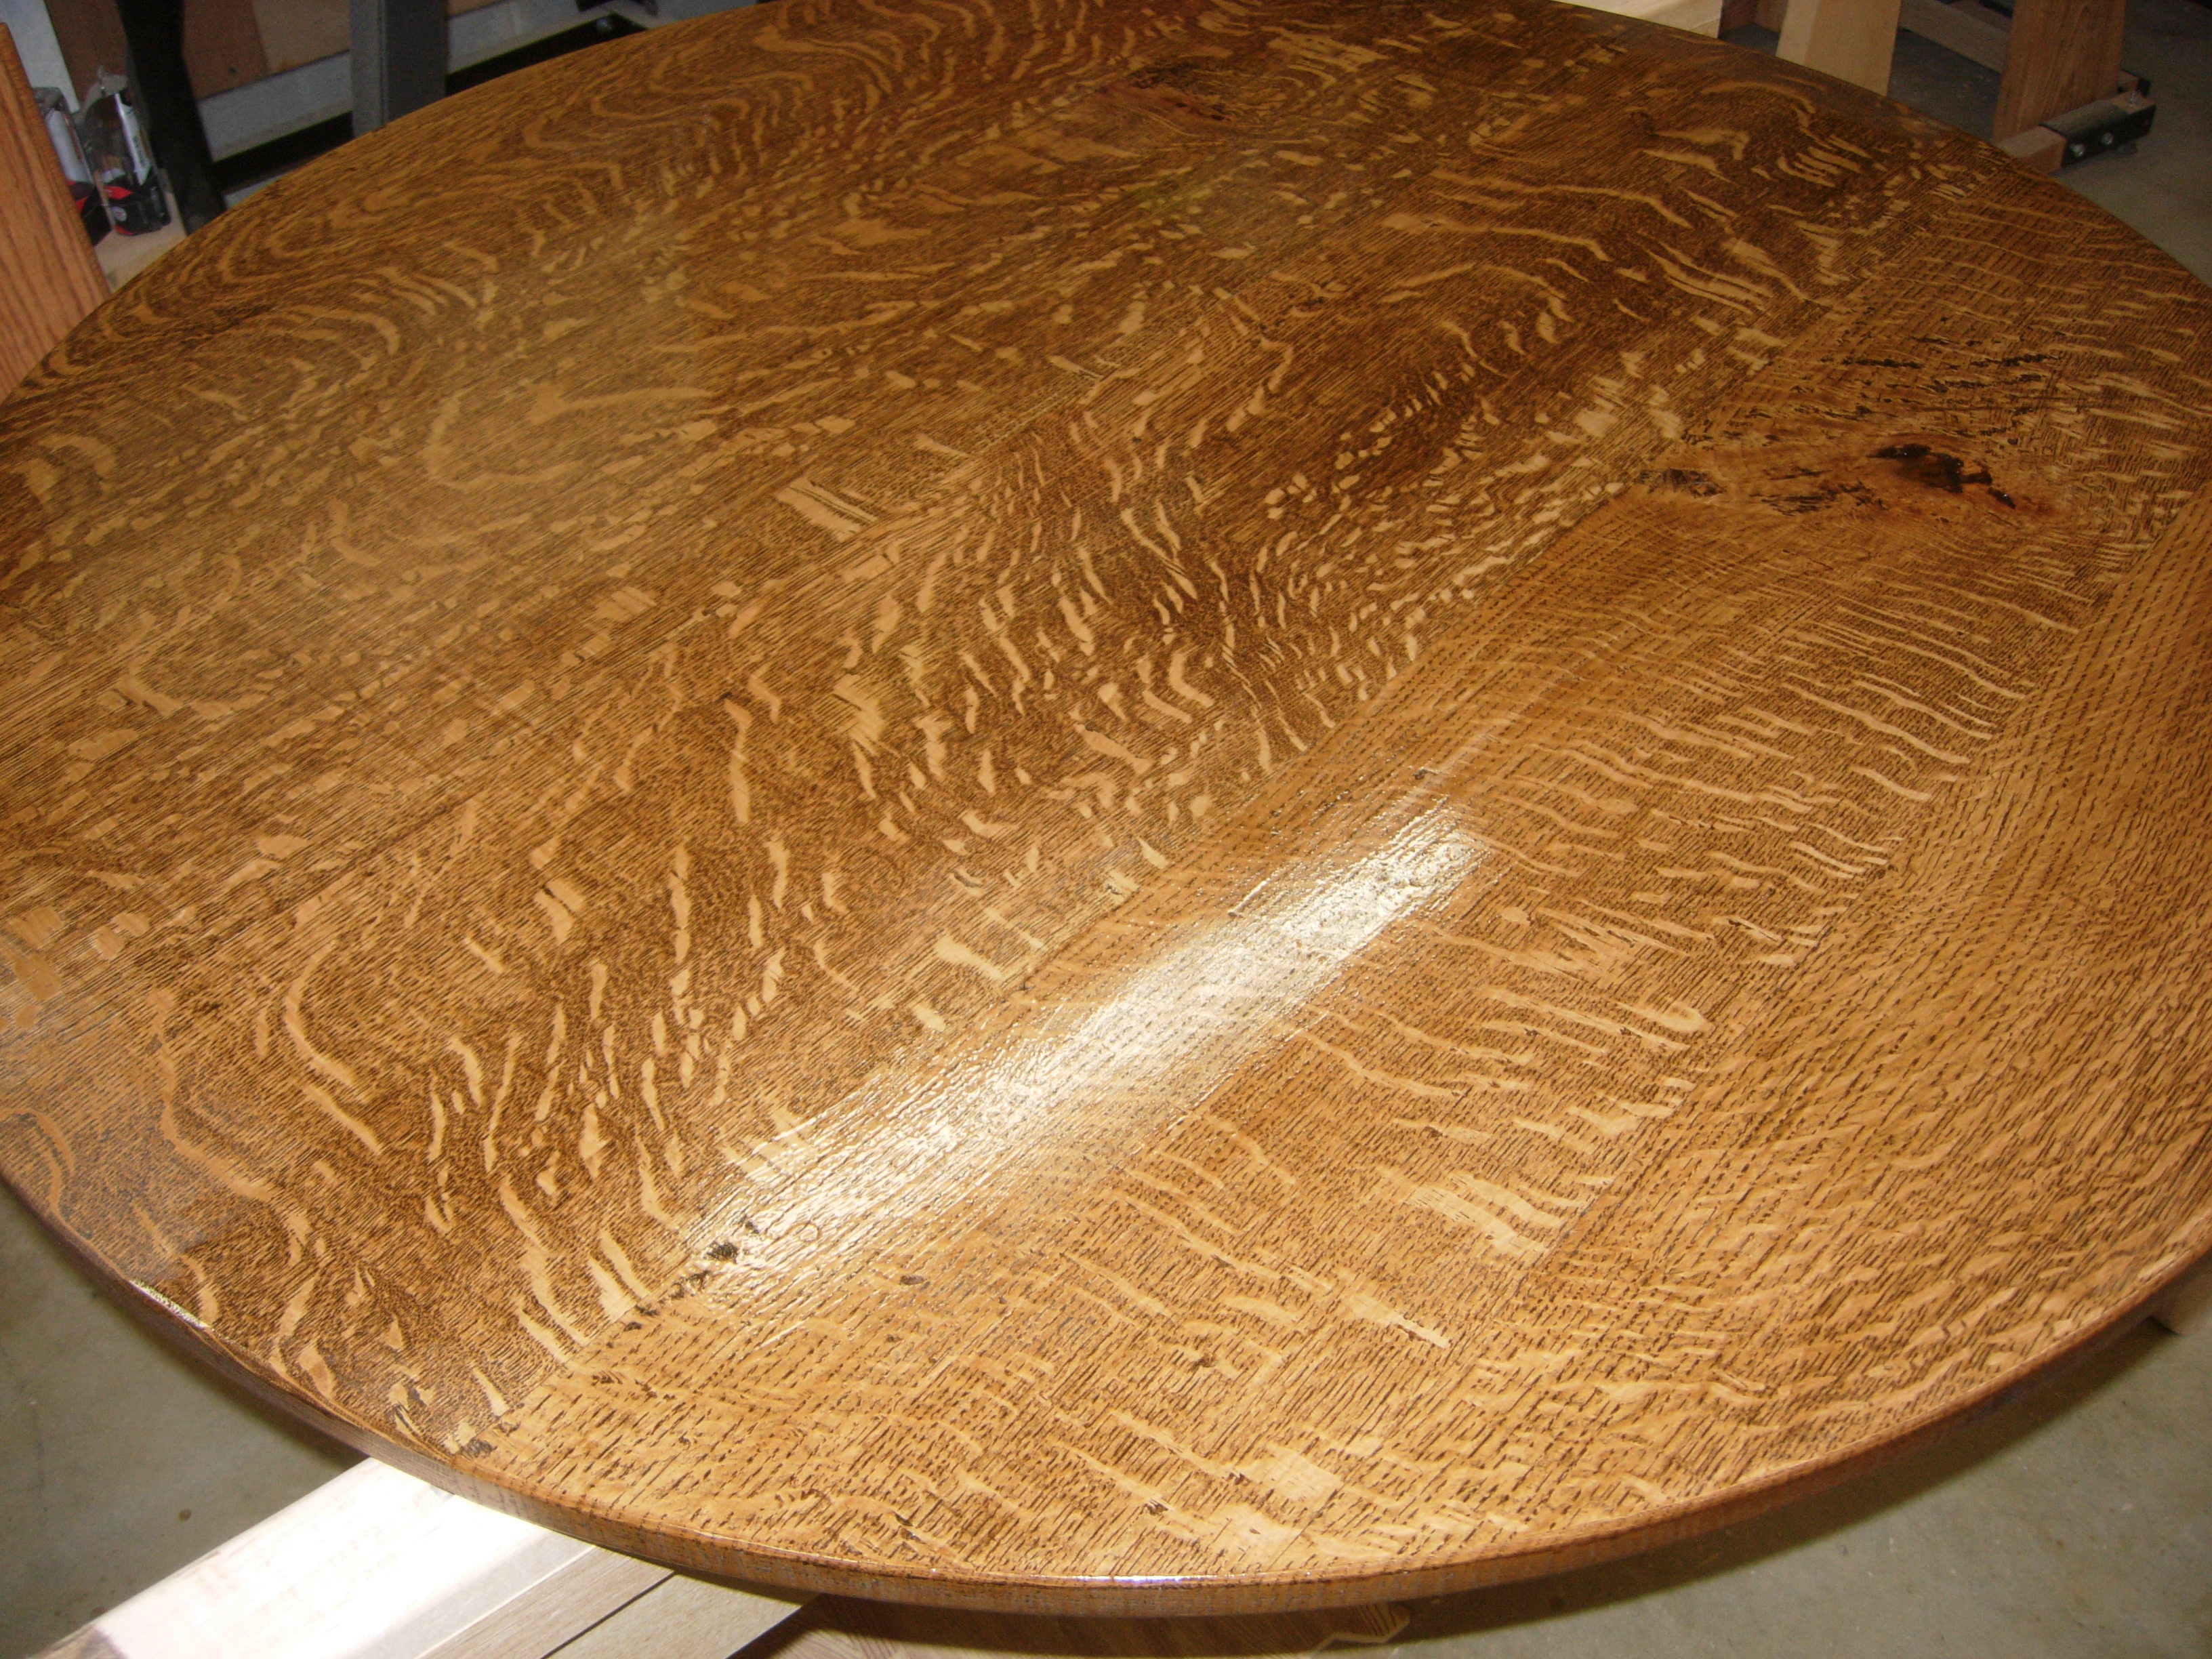
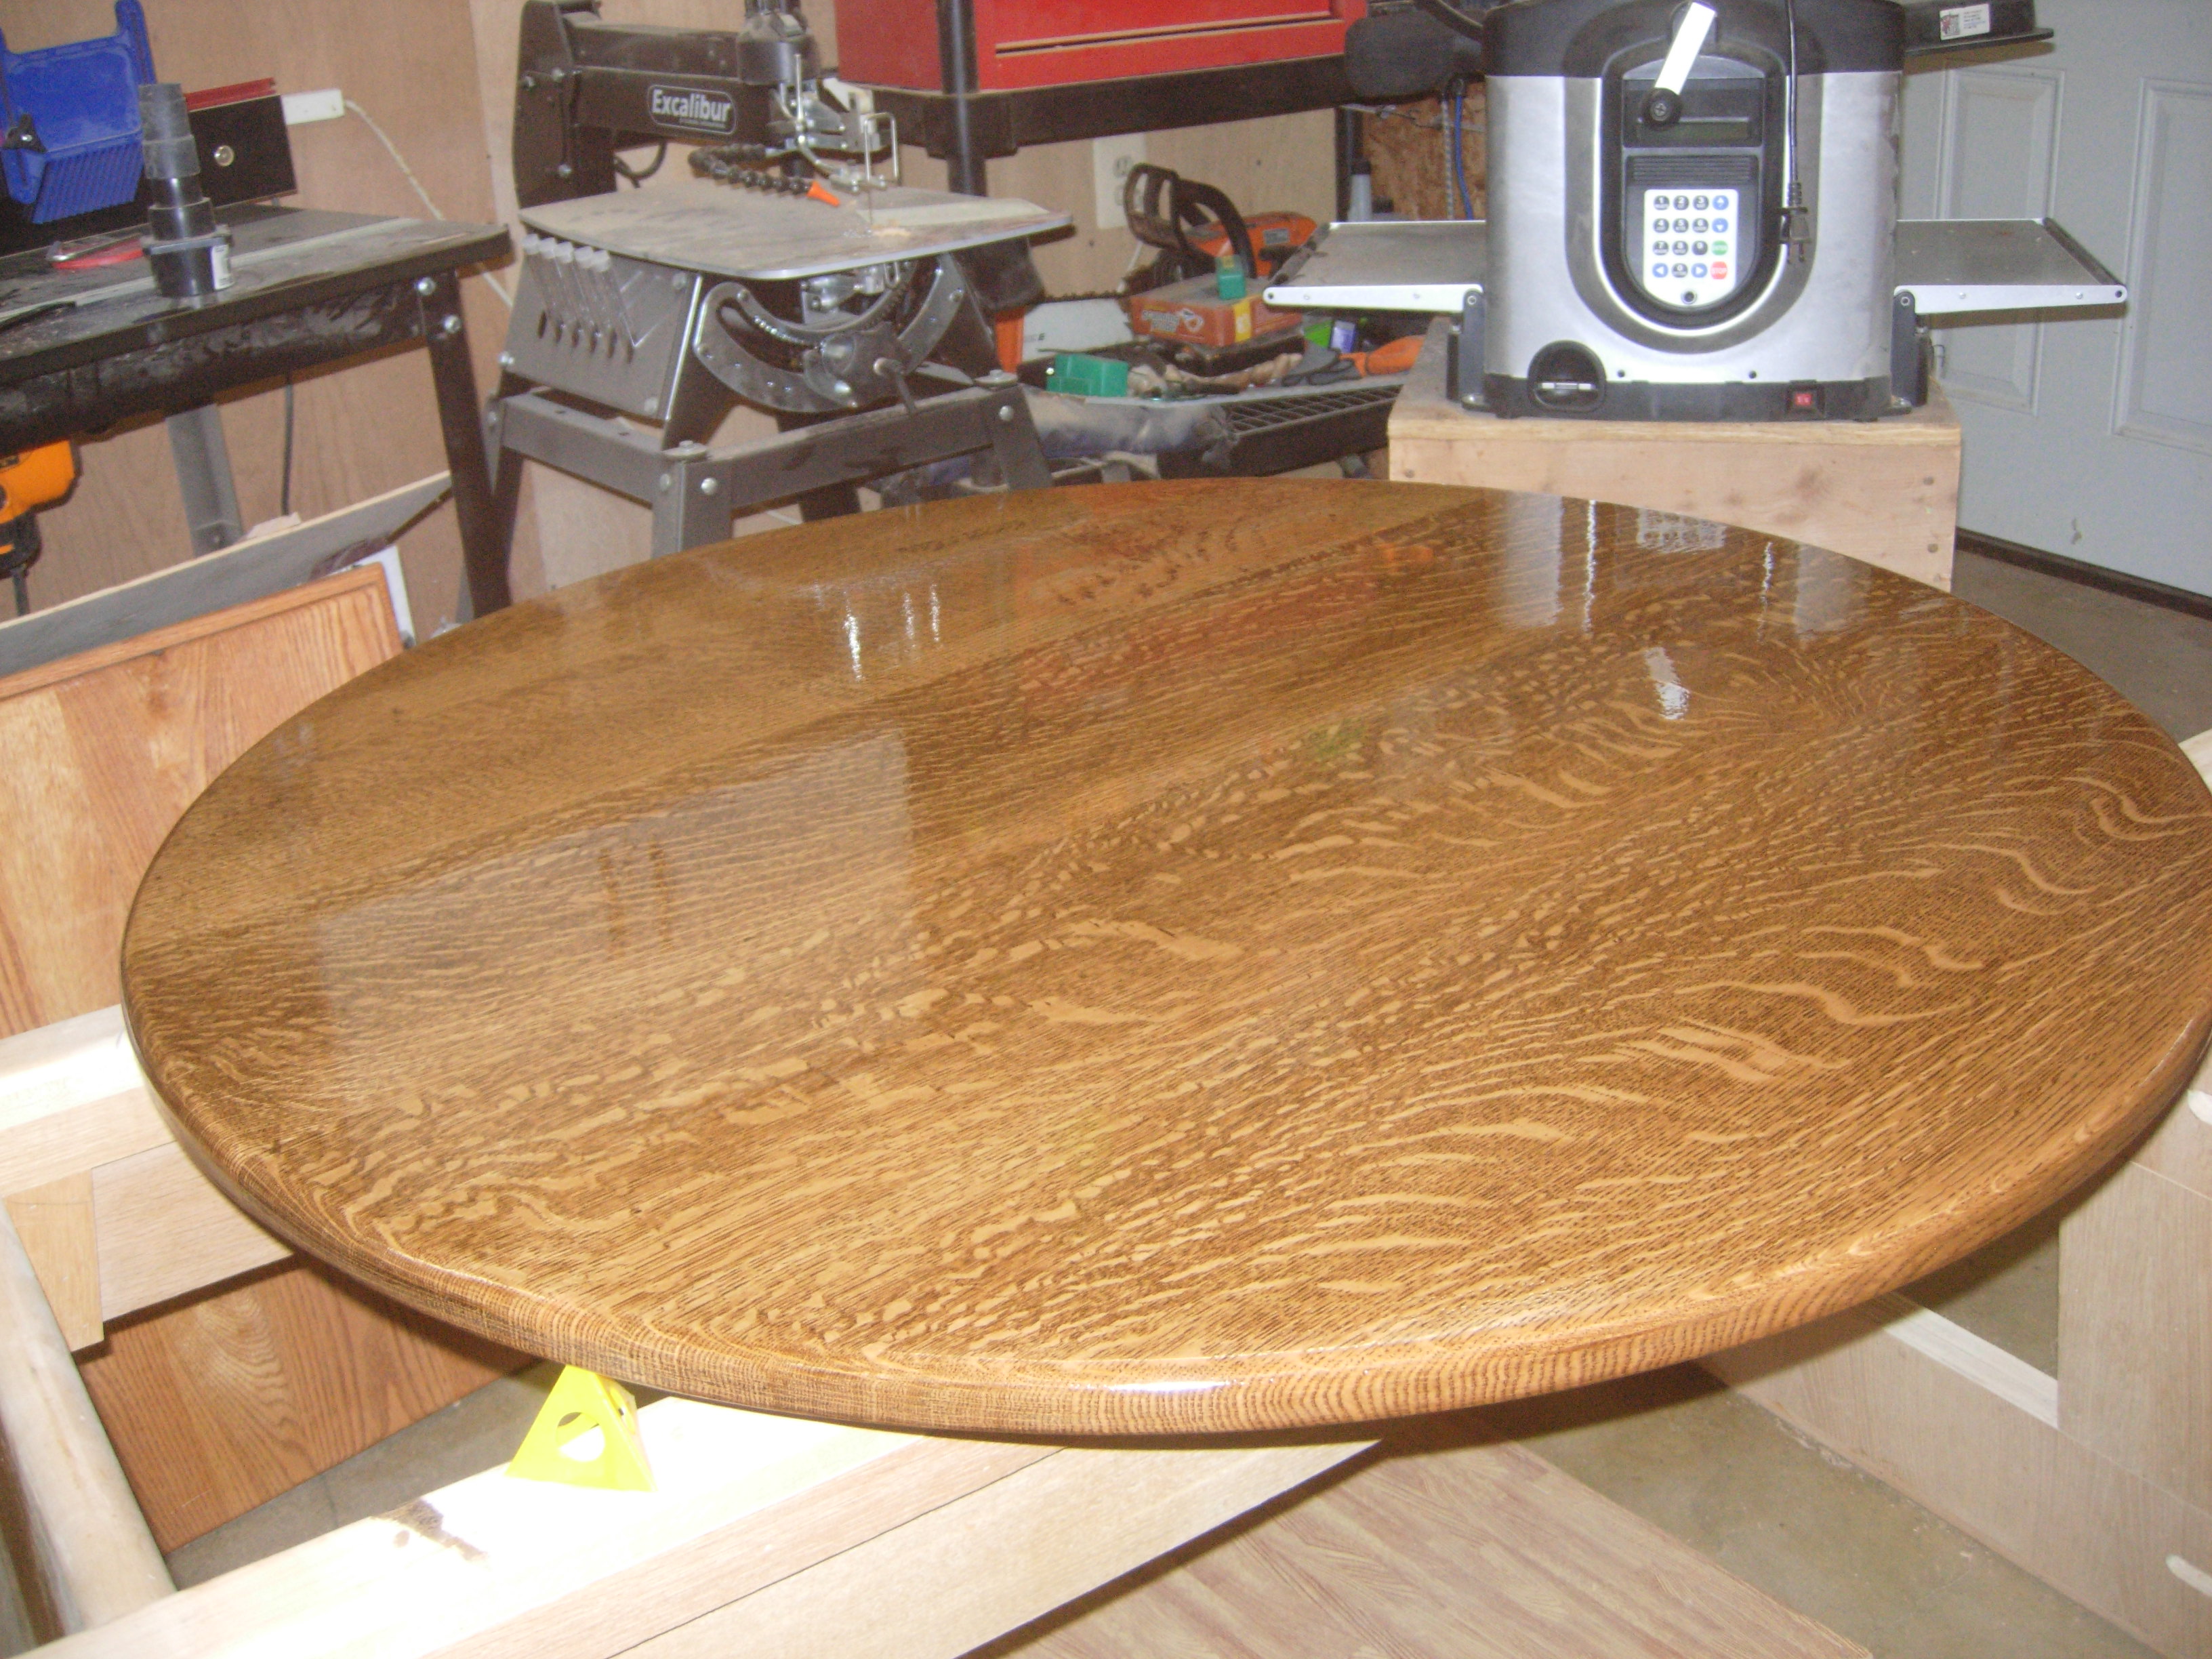
First coat – front
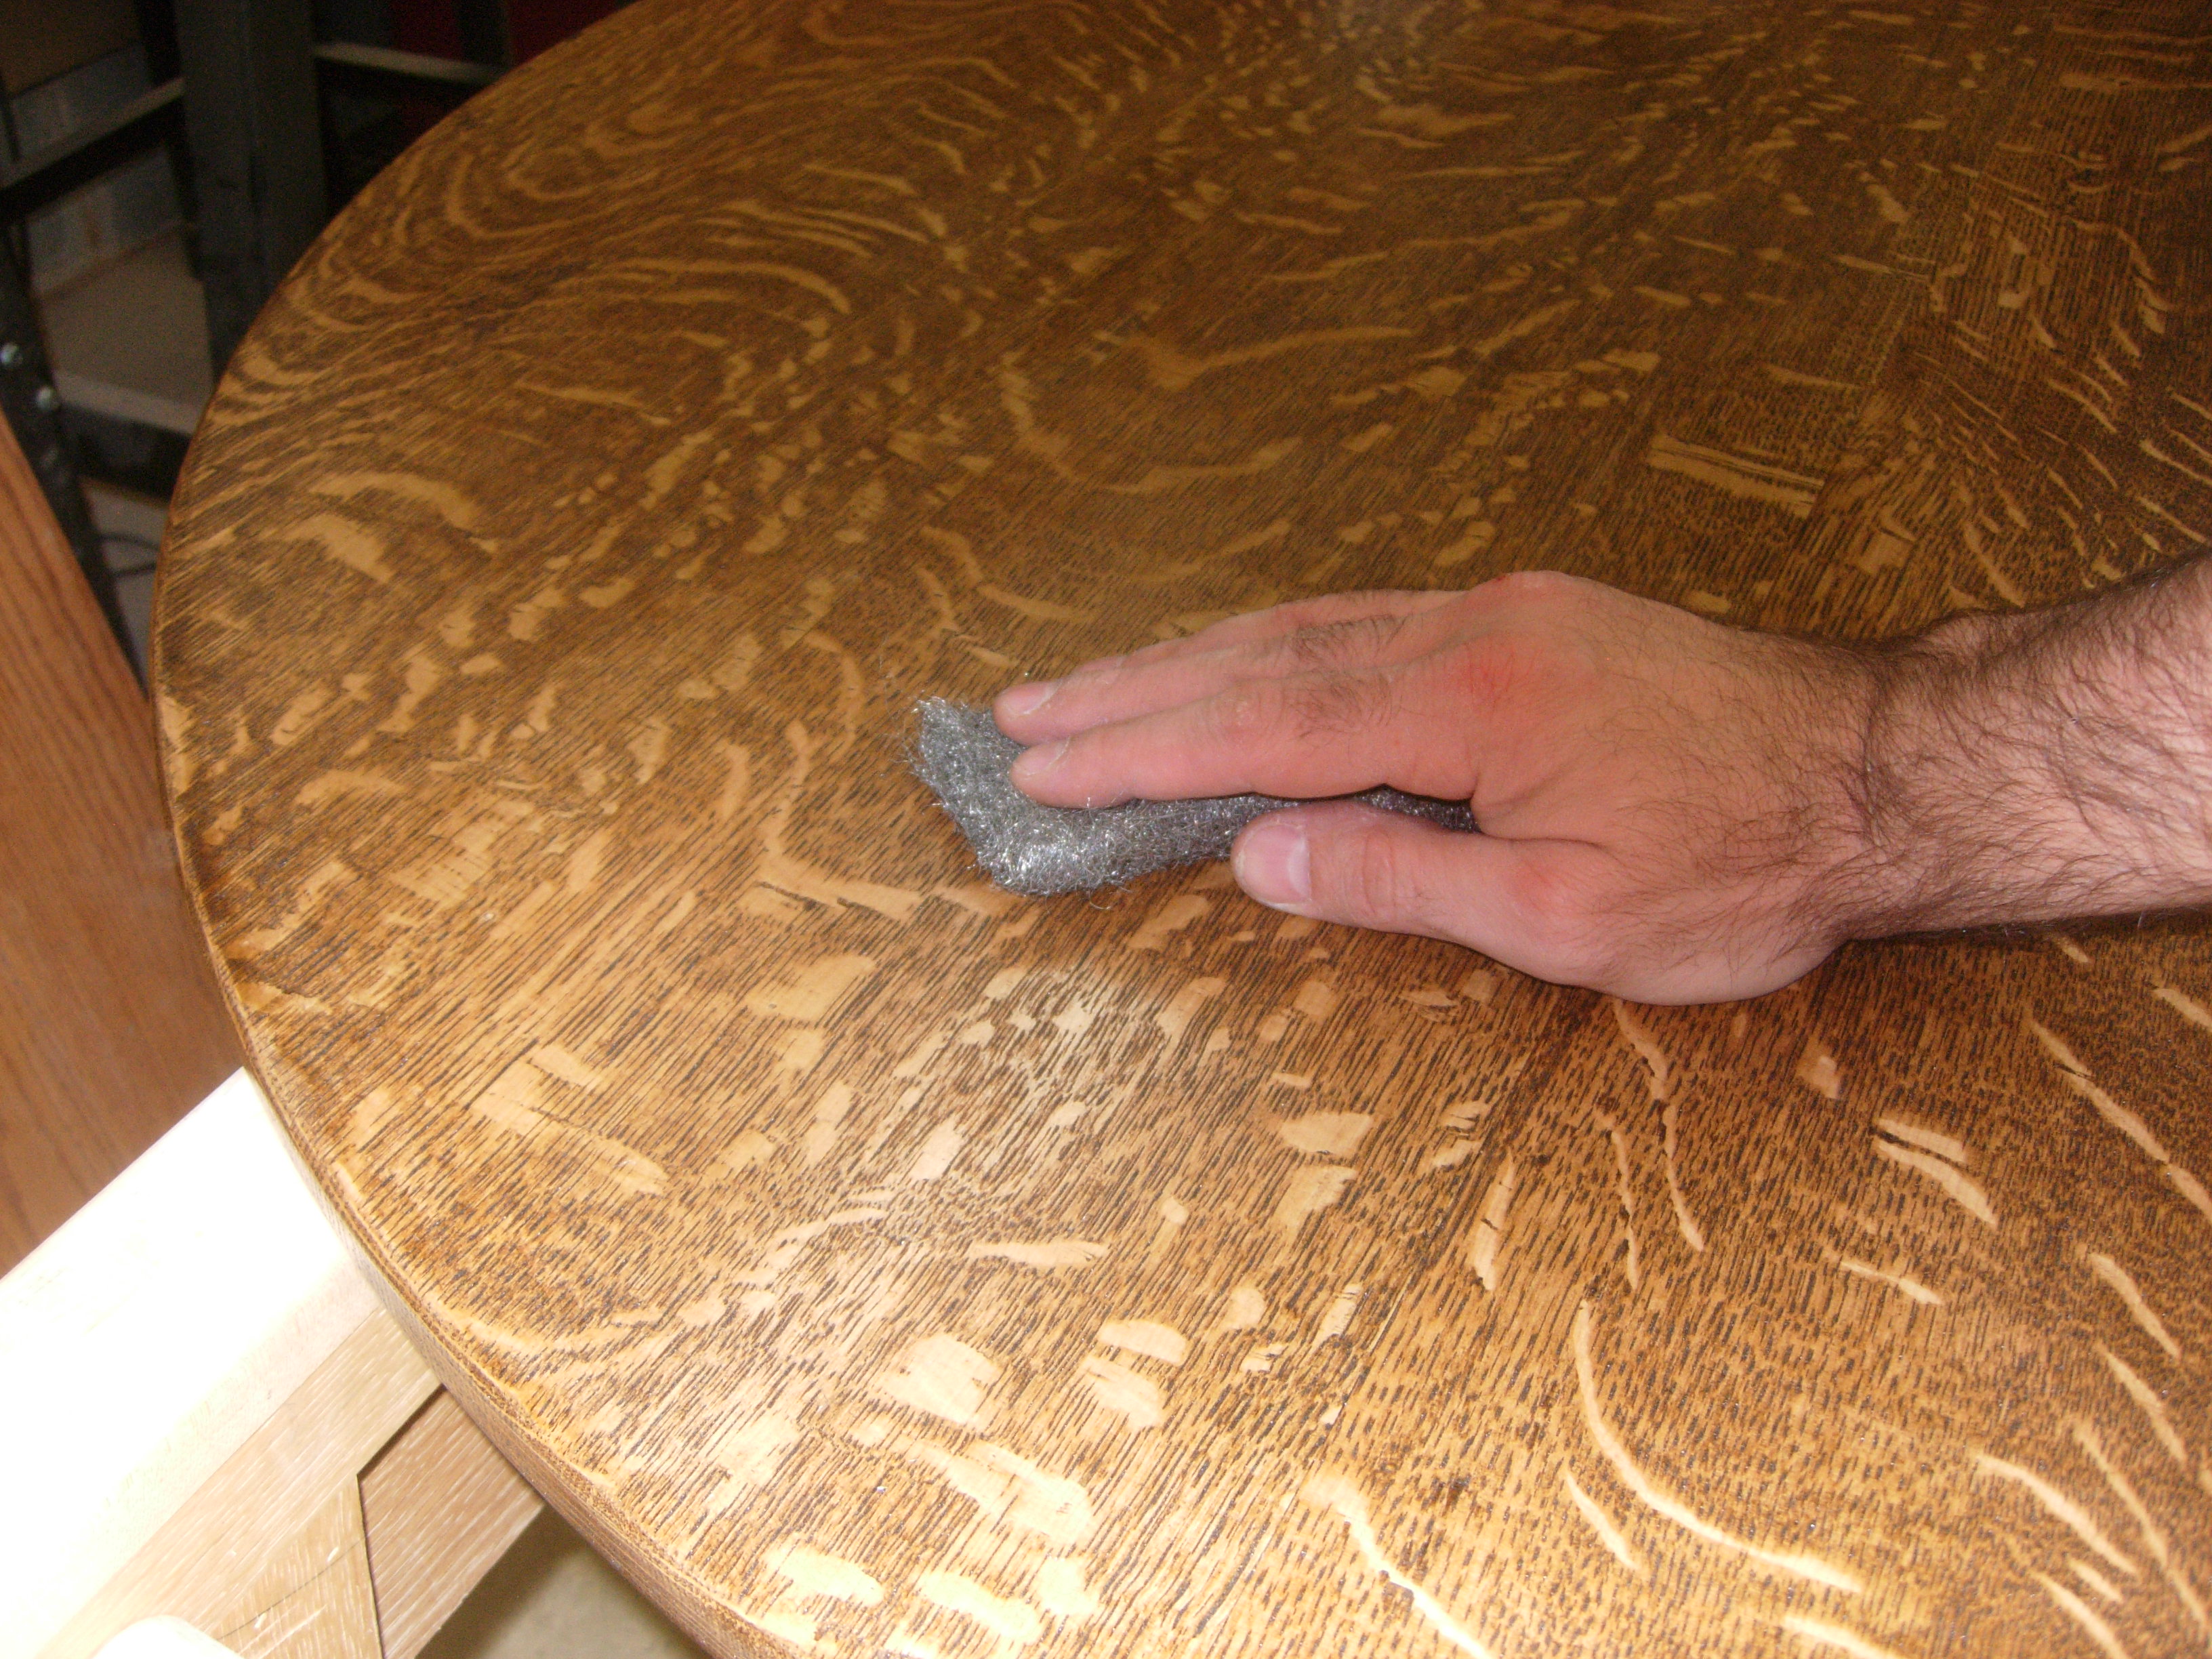
Sanding the surface with #1 steel wool
After the first coat dried (about 18 hours later), I sanded down the entire surface with a #1 pad of steel wool. This takes down all the spots where dust landed on the urethane. This happens while the urethane is applied, and while it is curing. the dust nibs will give the surface a rough texture if ignored.
Applying coat number two
I applied a second coat to the back and the front as well.
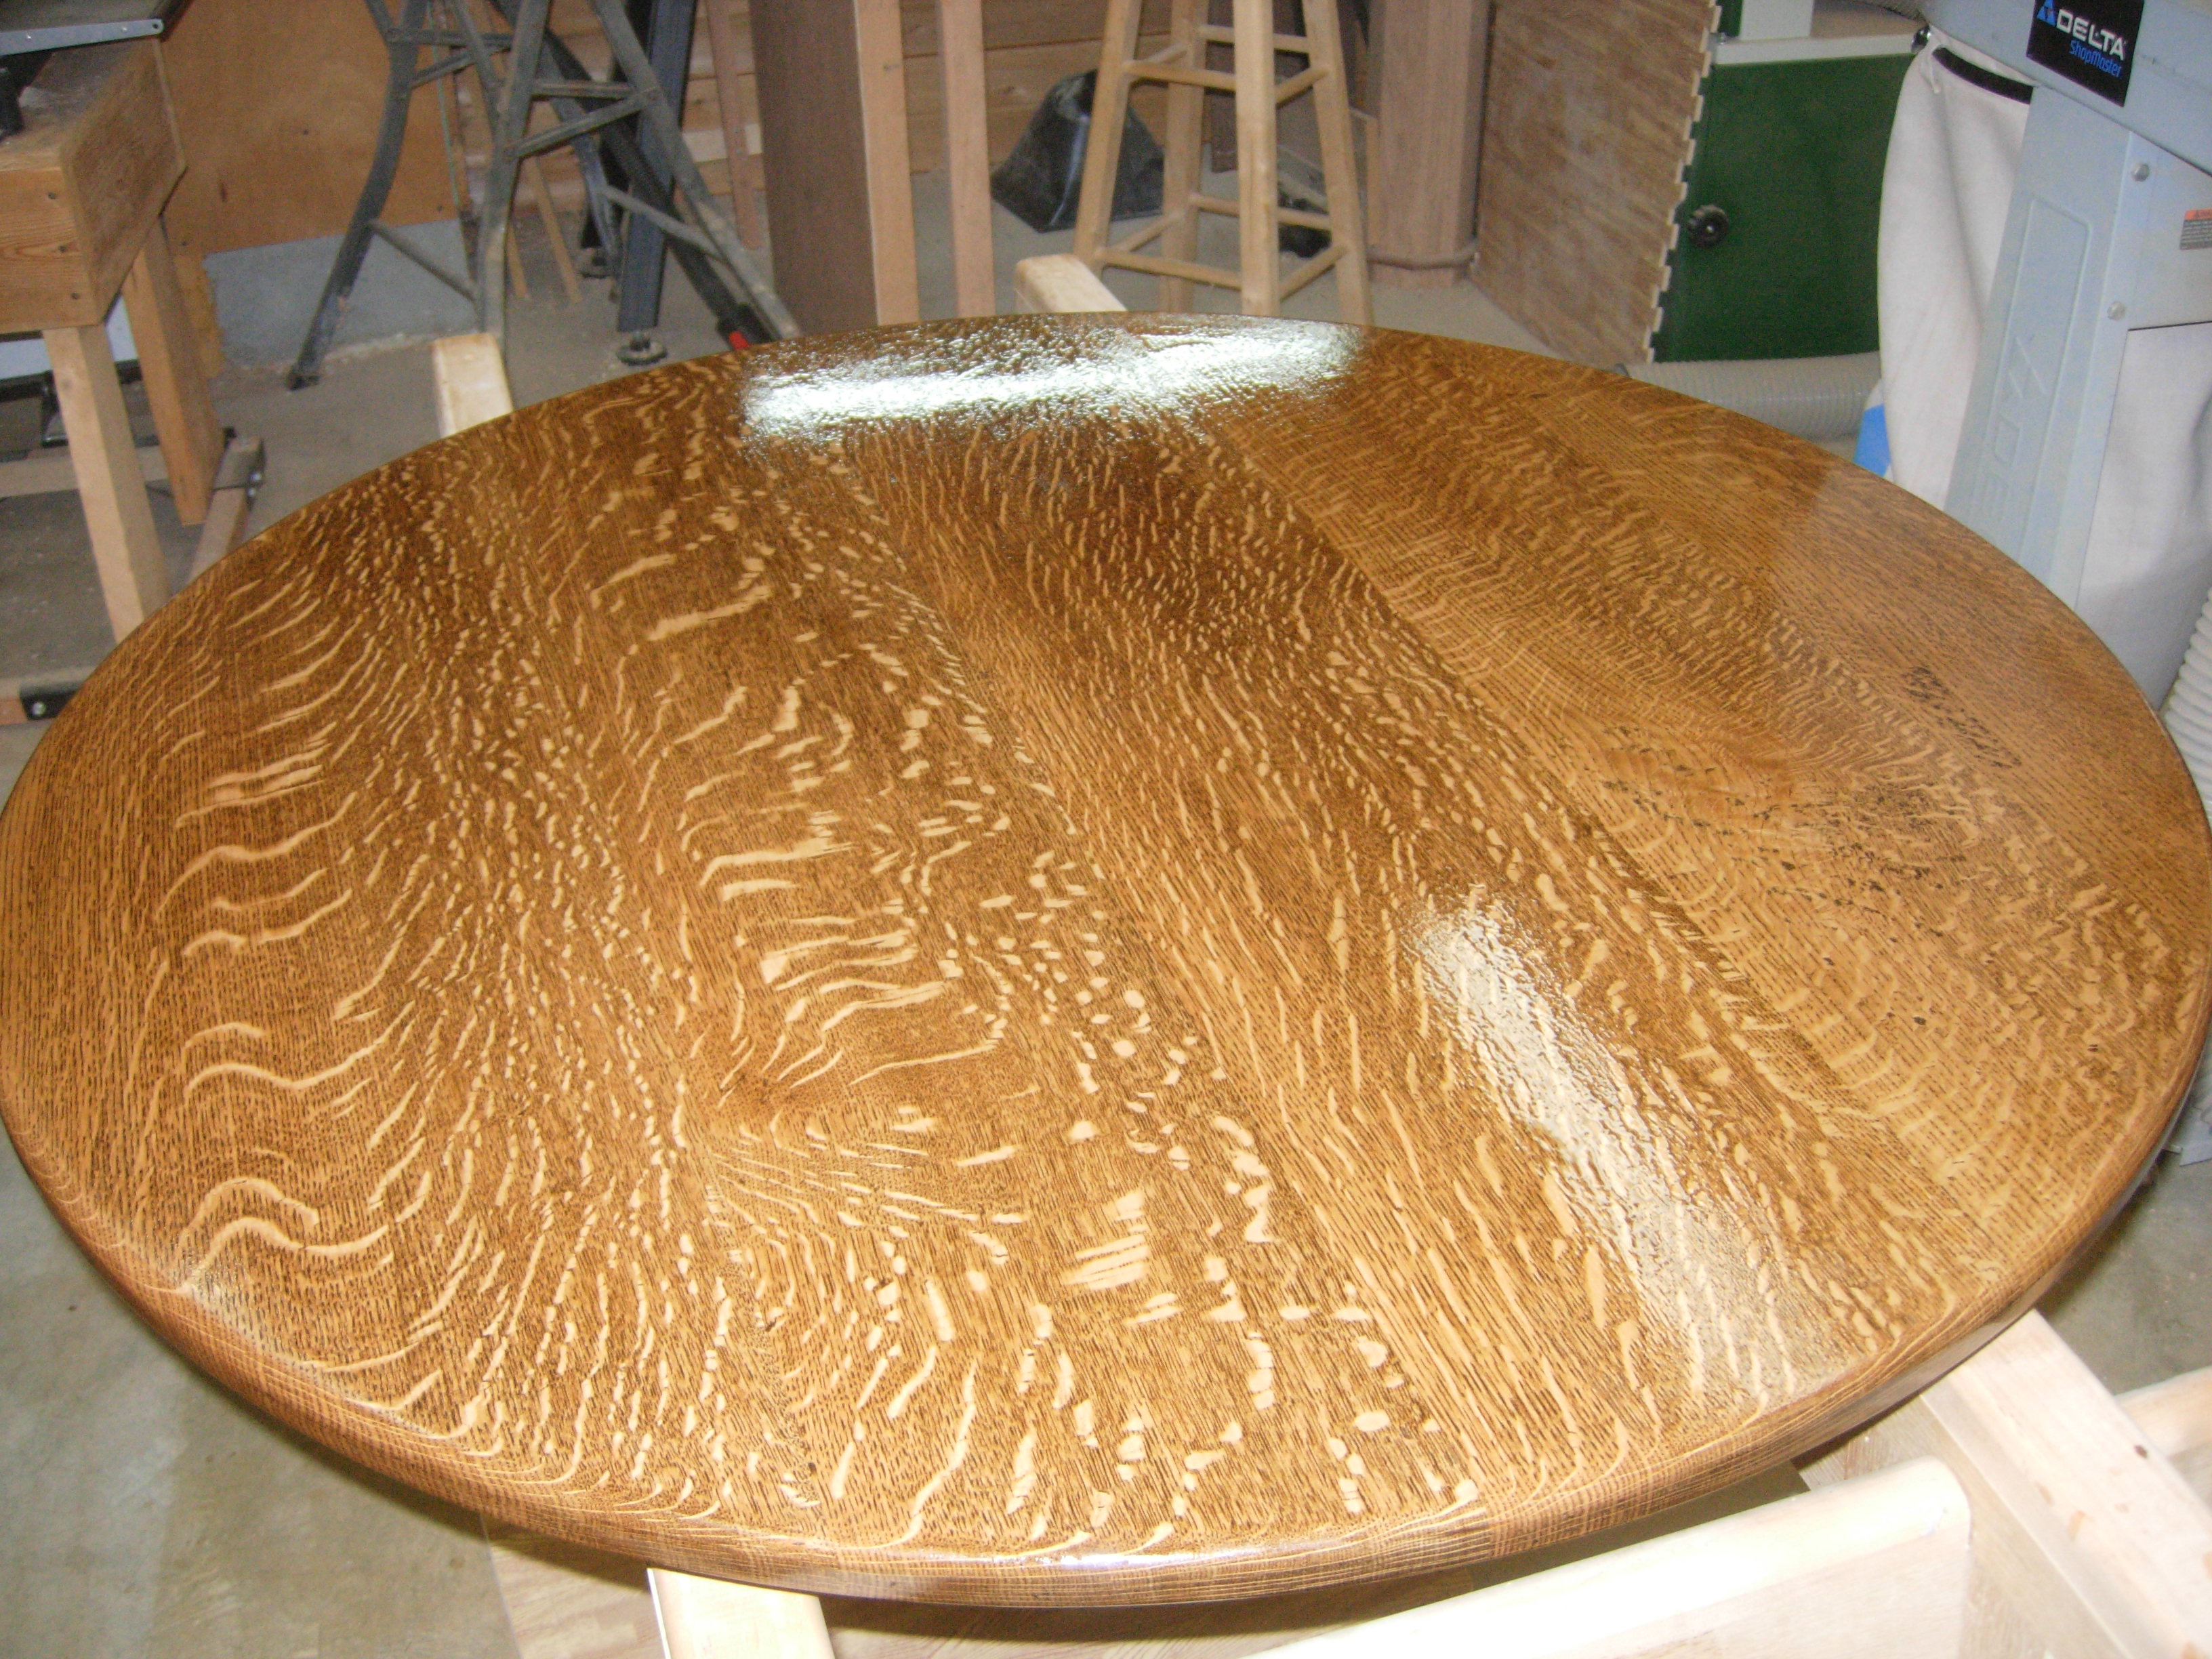
Second coat applied
For the third coat, I am only concerned with the top and sides. Two coats on the back is enough.
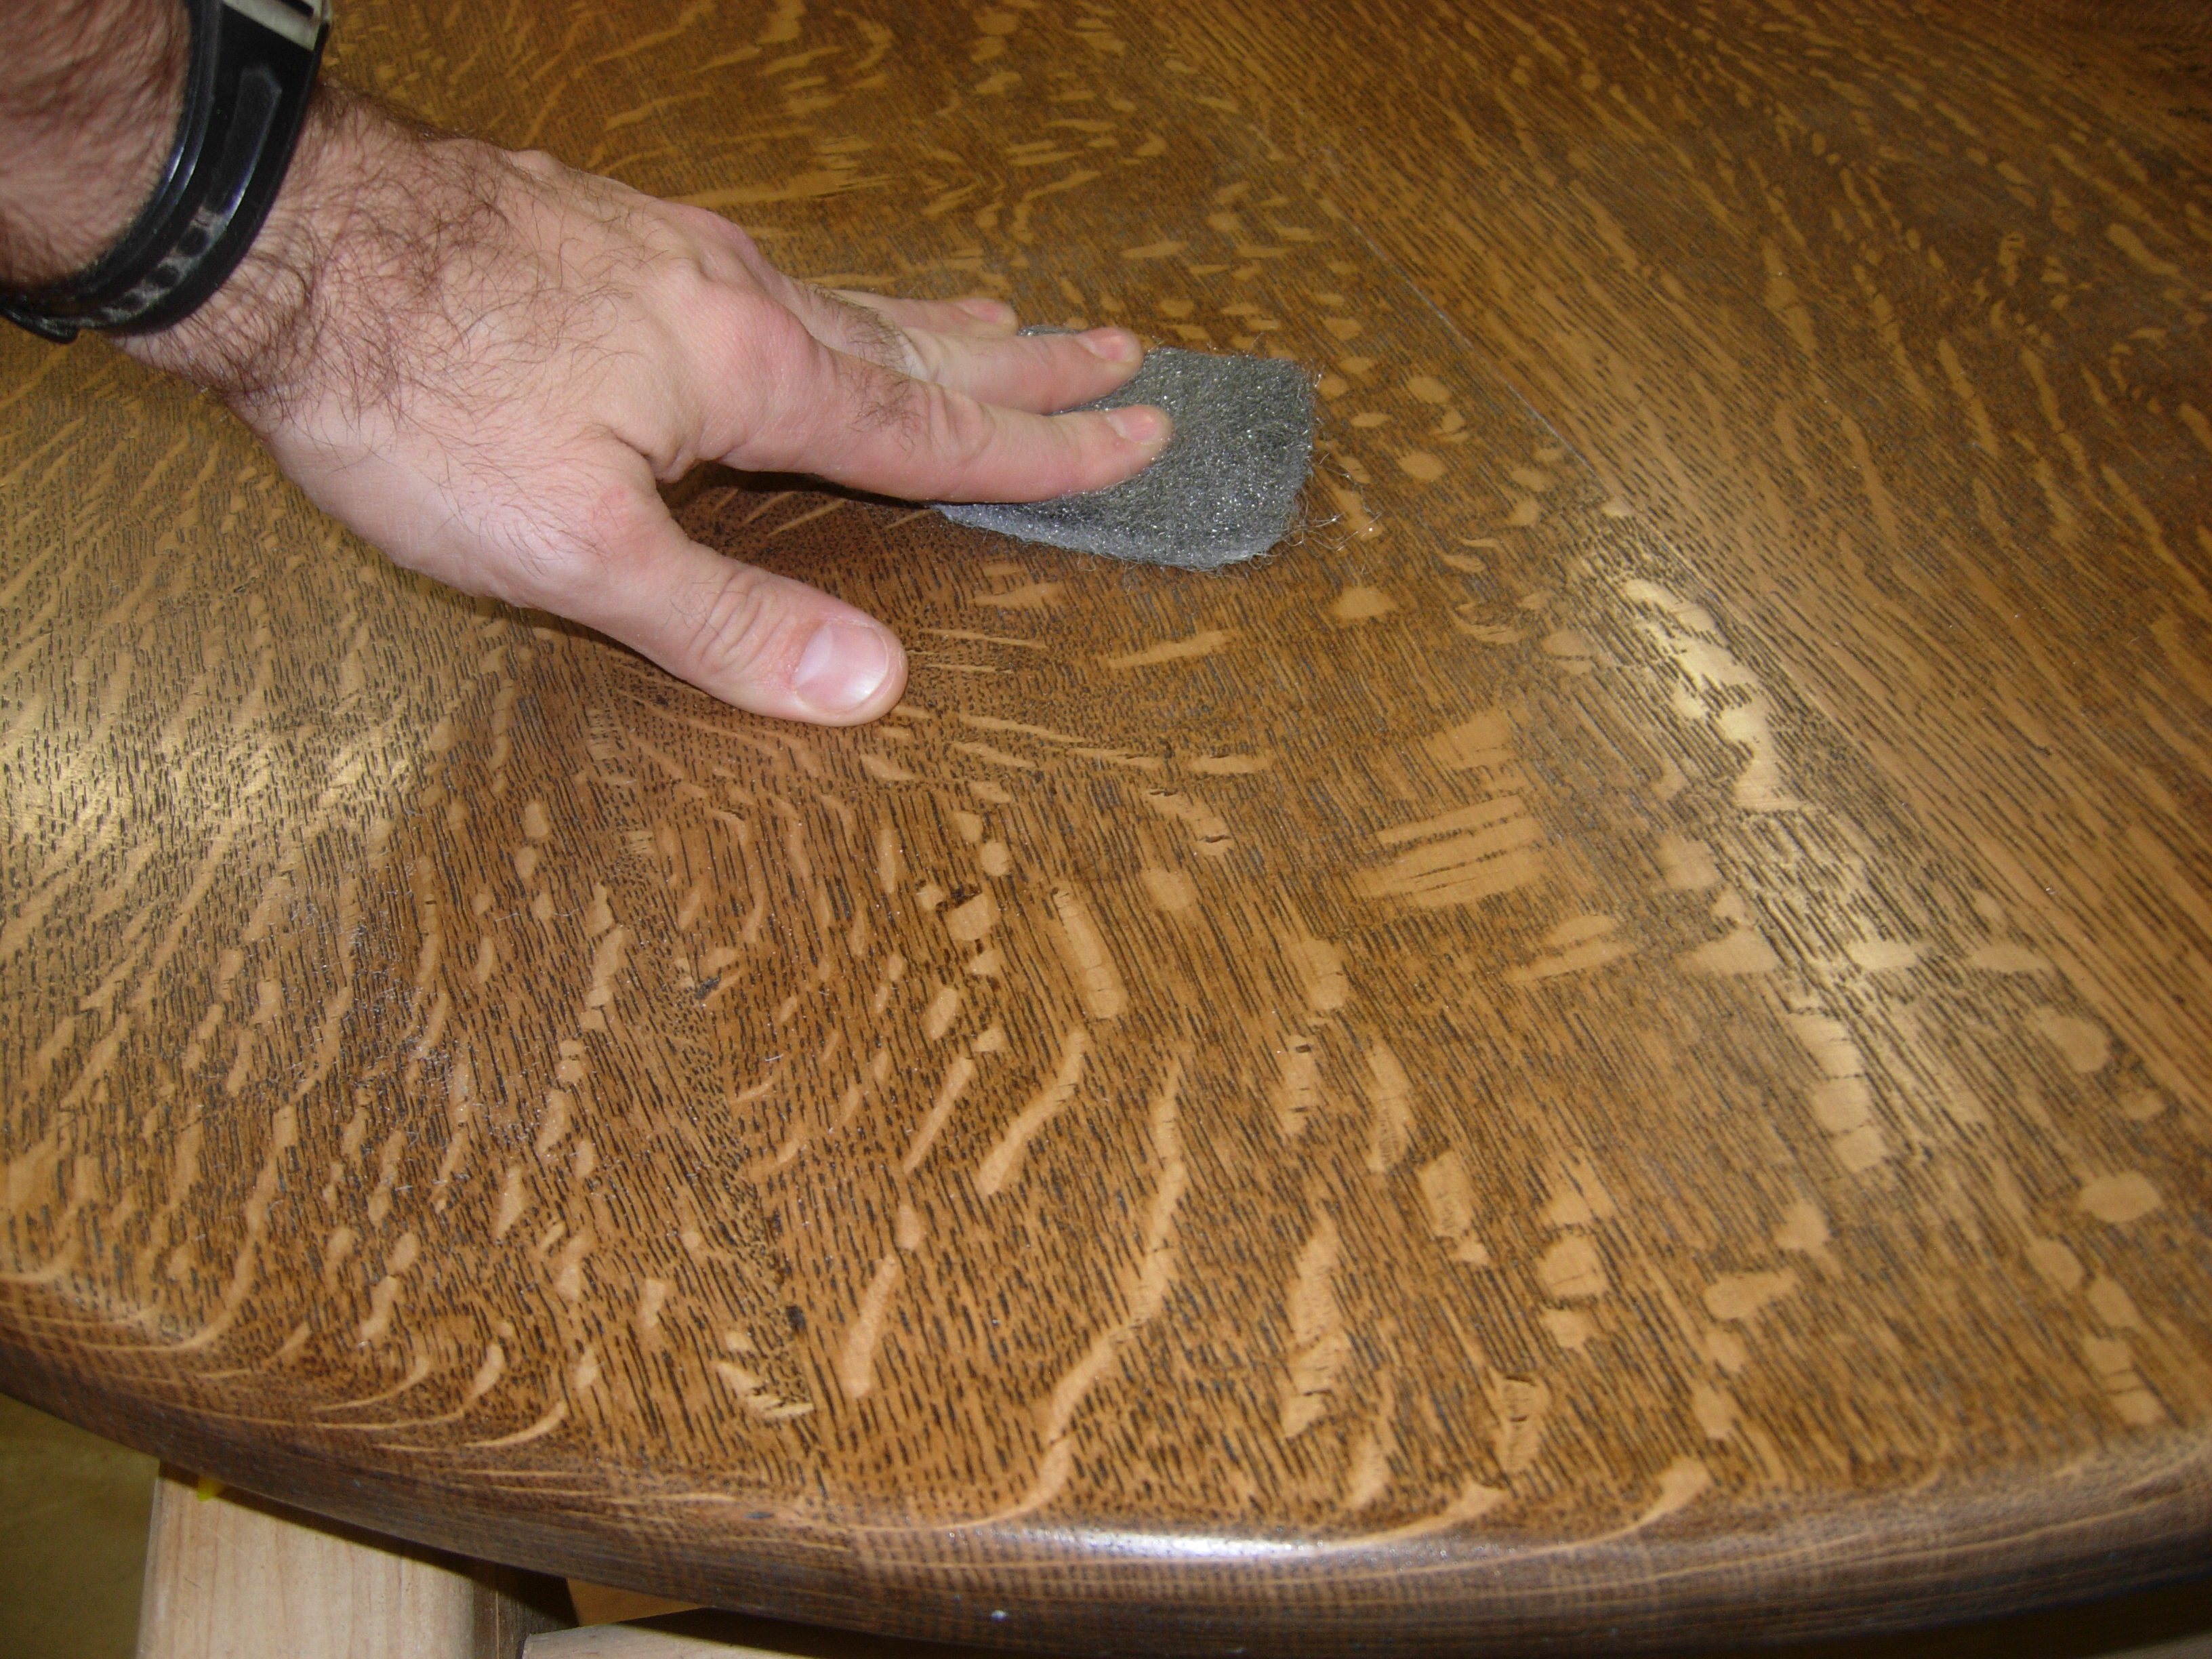
Sanding the surface with #00 steel wool
I stepped down to #00 steel wool to sand down the surface the second time, and I applied a third coat to the top and sides.
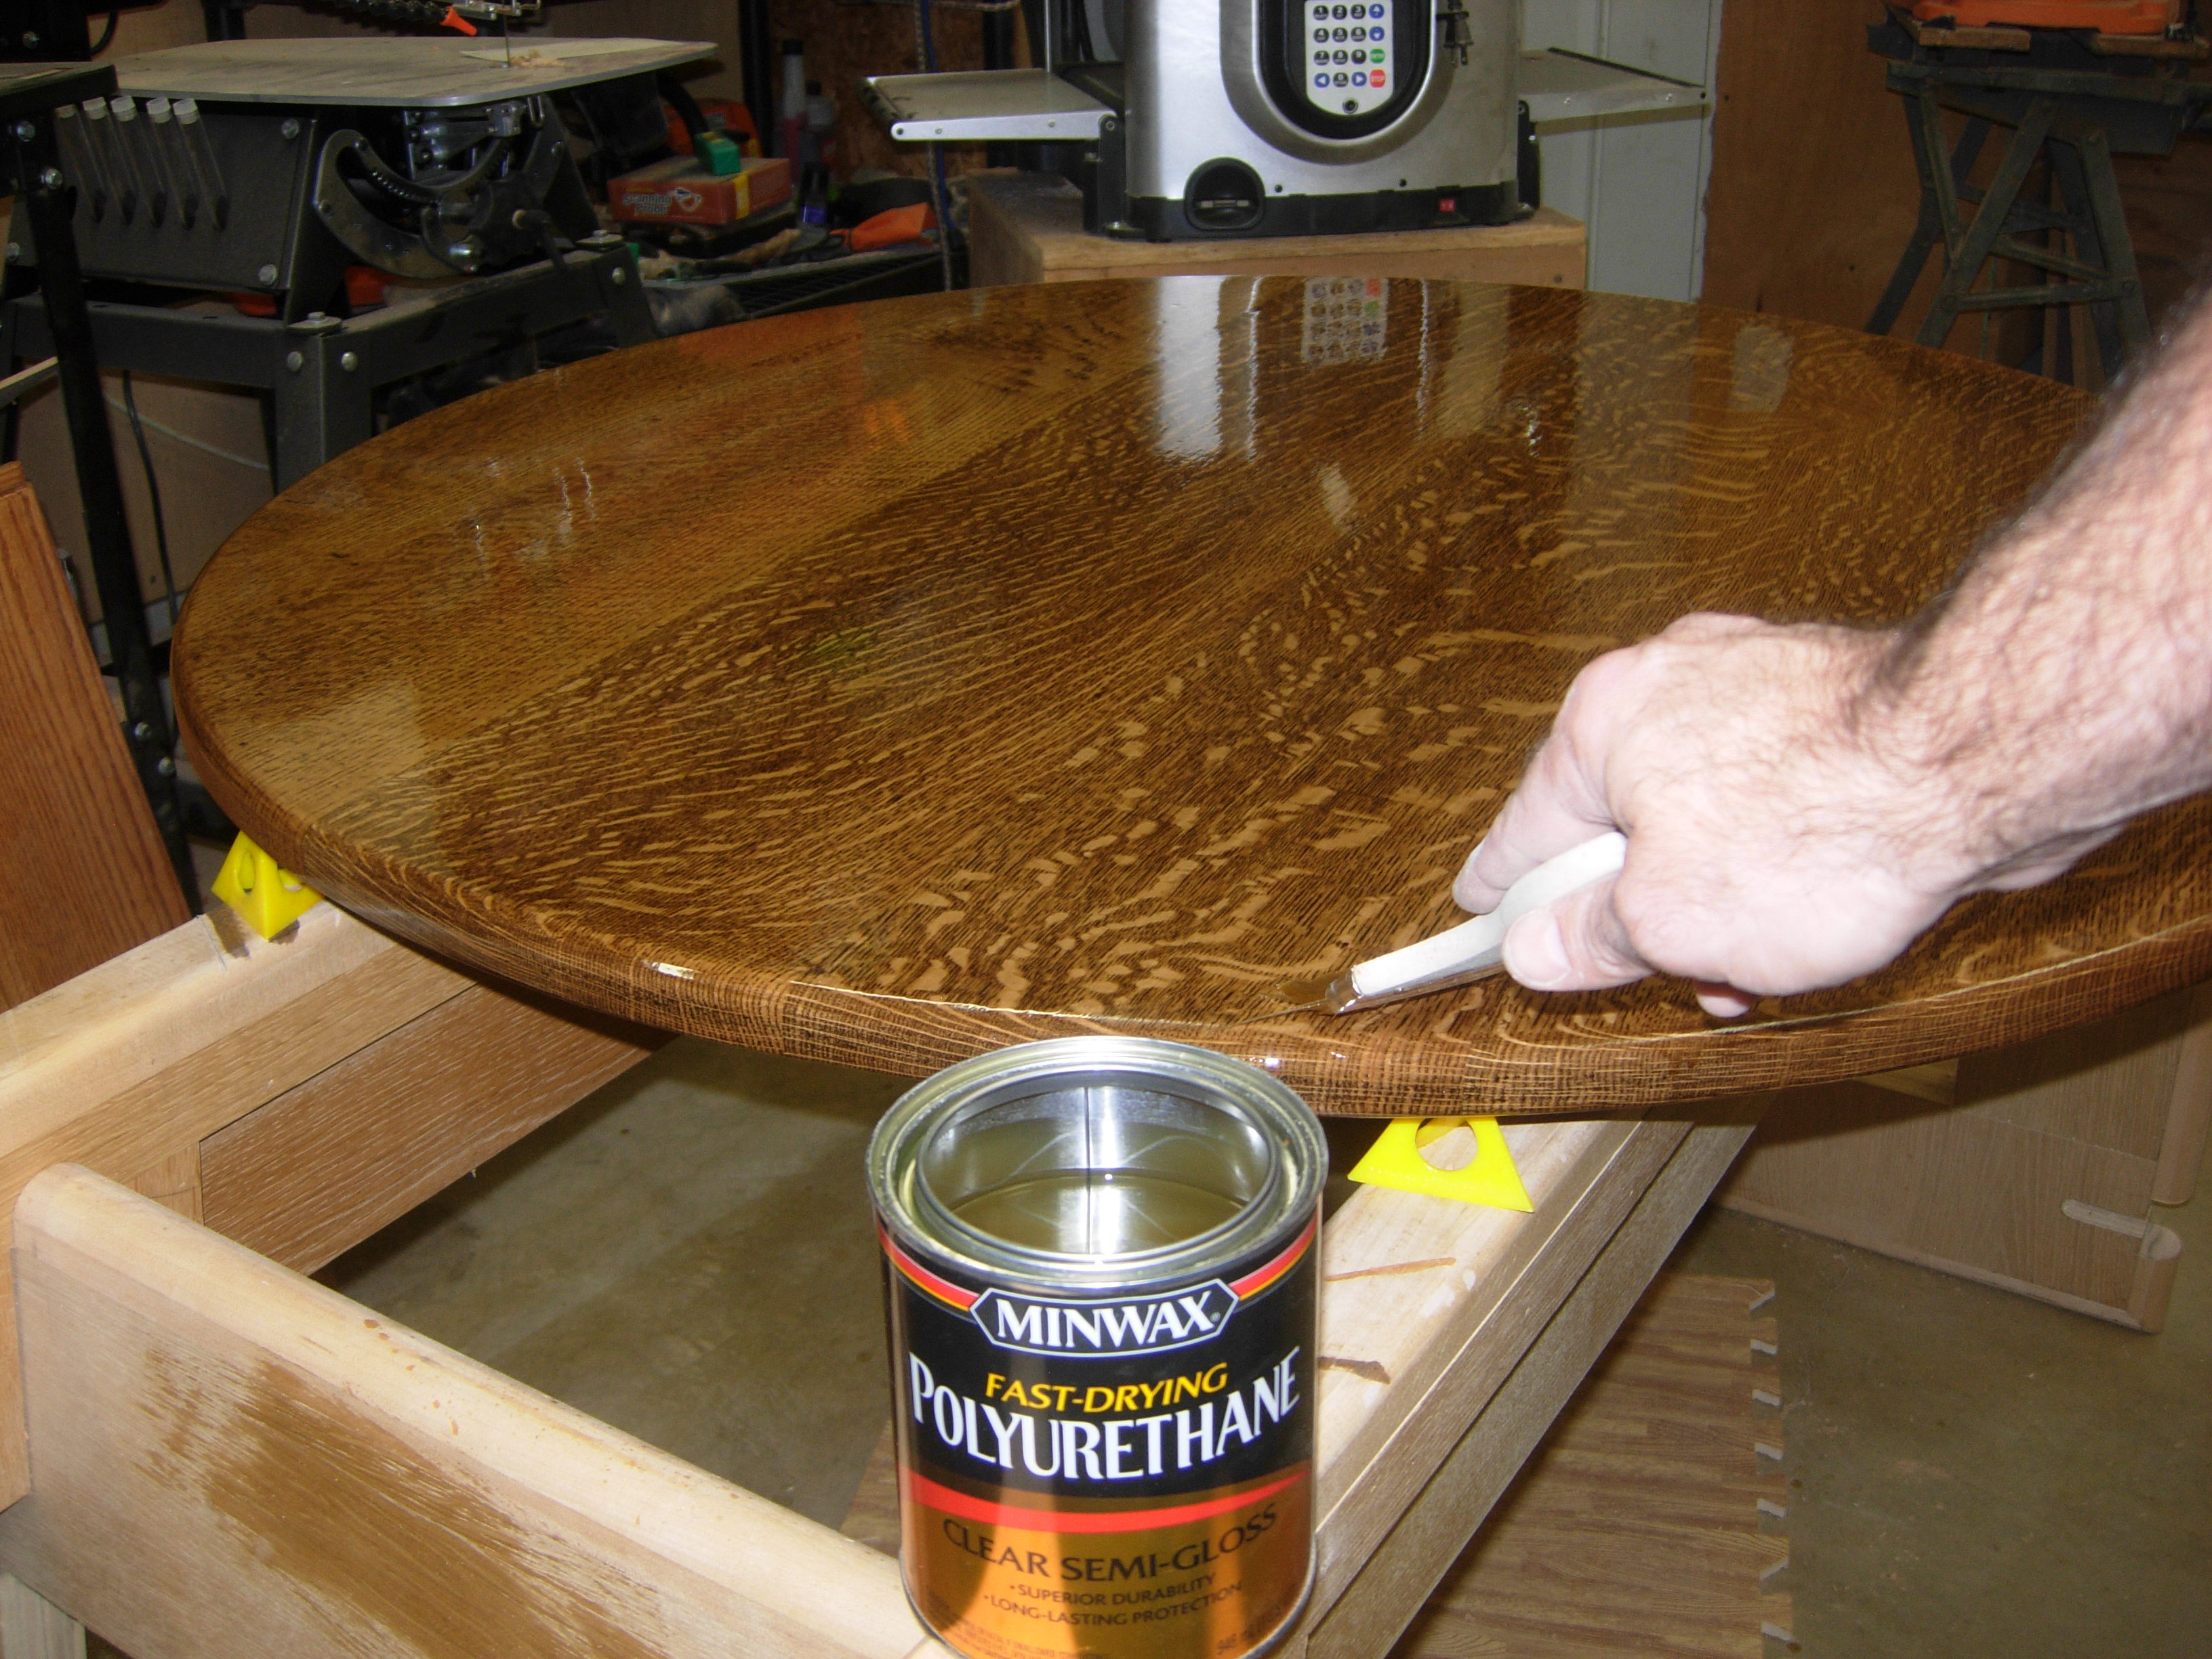
Applying the third coat
The finish on the table is now complete. It will be dry by tomorrow, but I will keep it for a few more days to allow it to dissipate the polyurethane smell. My client will be coming to pick it up later this week. I will post pictures of it installed on their wrought iron base, if they send me some.
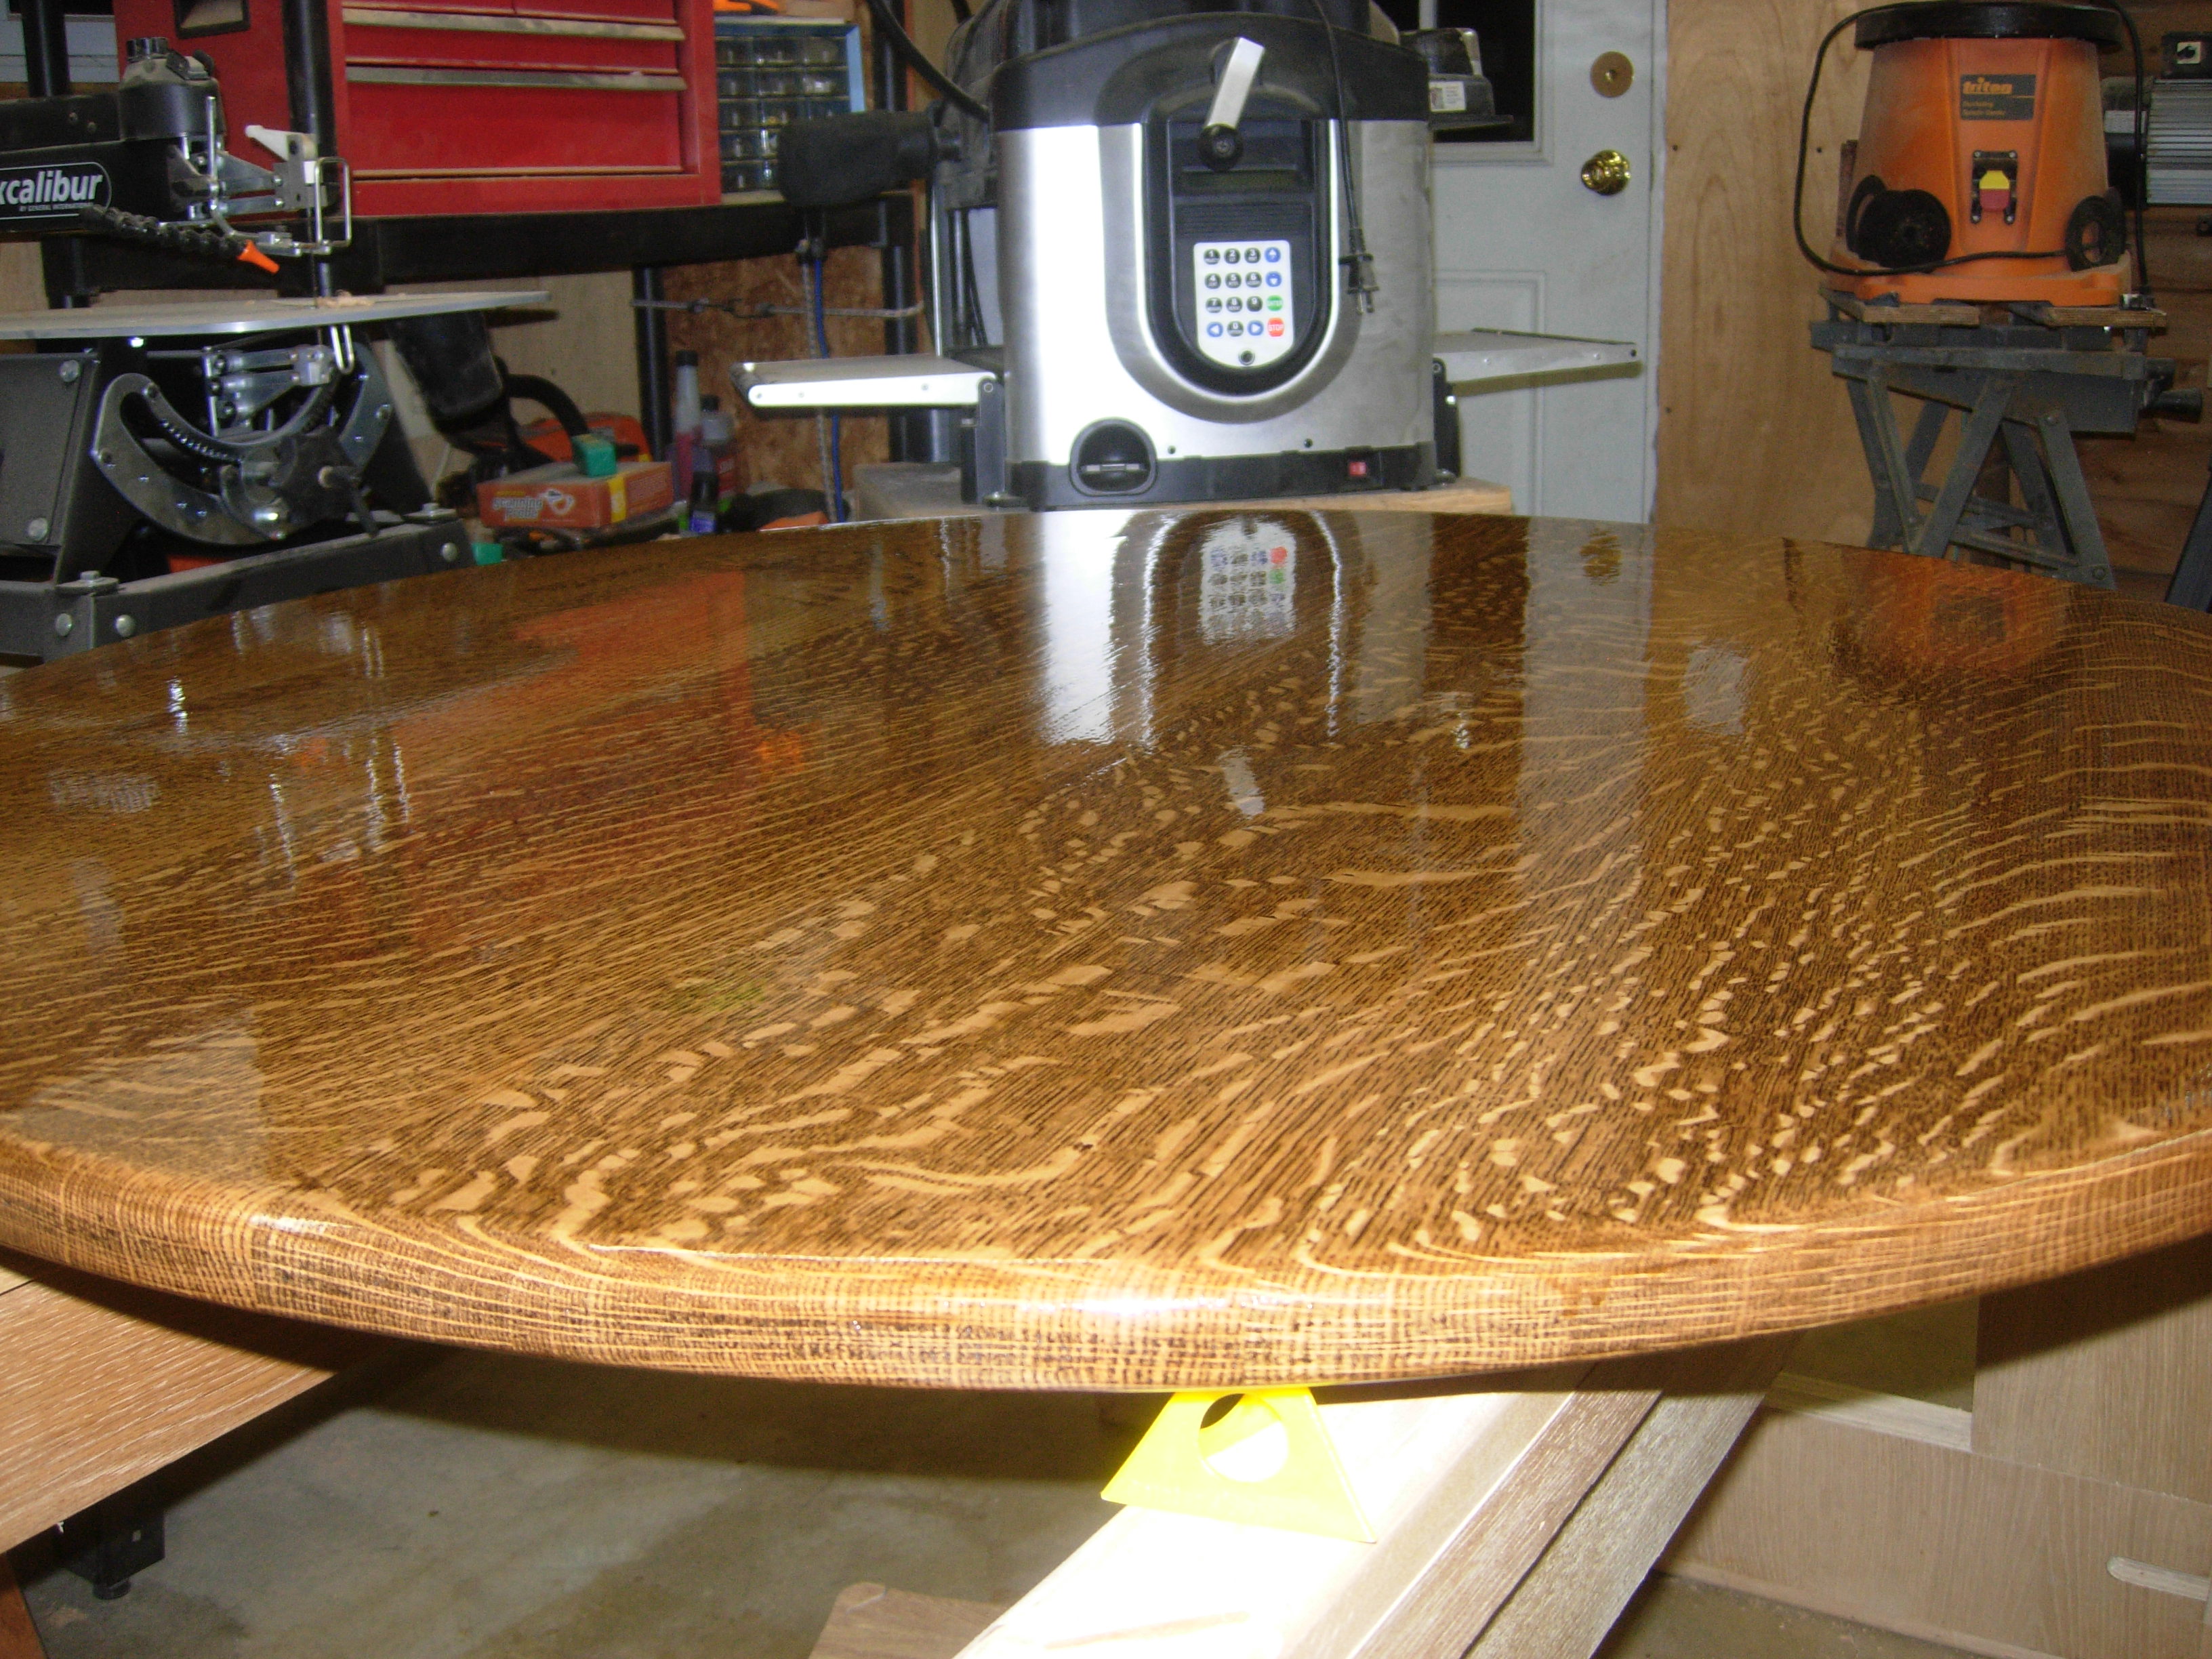
Finished!
Look closely at some of the pictures. I think the reflection improves with each successive coat of poly.
My client sent me a couple of photos of the top installed. She was very happy with it.
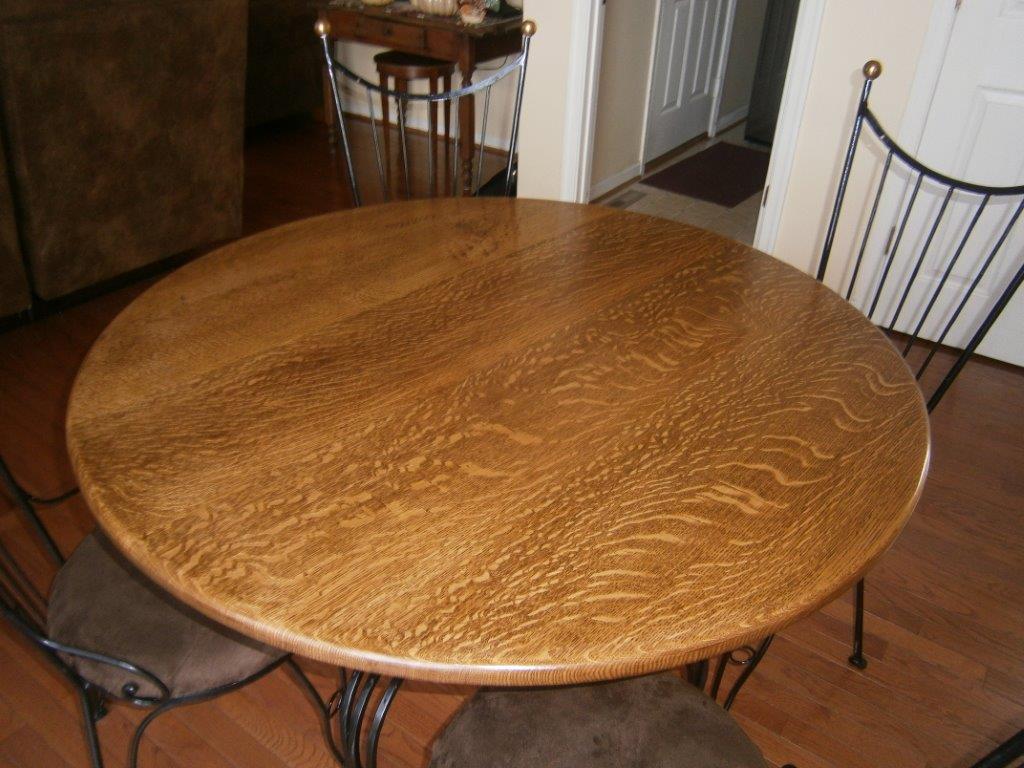
Table top installed

Ready for dinner

After your third coat, Did you use steel wool again or do any smoothing? Thanks.
It is actually still wet. But unless I find an area that I am unhappy with, when it is dry, it is done. I will just rub it down with a crumpled brown paper bag. It does a nice job of smoothing the last few dust nibs.