
Round table top – day 1
I started another new project this week. A friend of mine has a wrought iron table base that needs a top. The request was for a dark stained oak, 43″ in diameter.
Air-dried quarter-sawn white oak
I acquired some air-dried, 5/4 thick, quarter-sawn white oak for the purpose. The boards were roughly 8′ long, so I cut them all in half to make them manageable.

Cut down to 4′ lengths
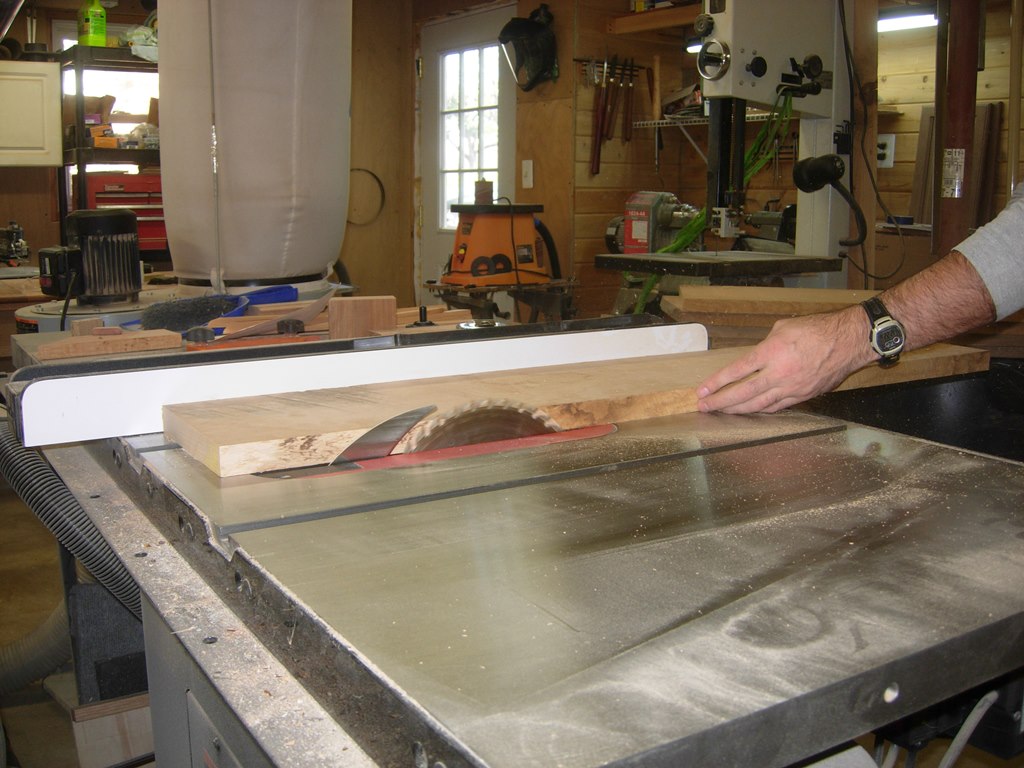
Using my table saw as a jointer
I used my table saw to joint the edges, then planed all the boards down to 1″ thick.
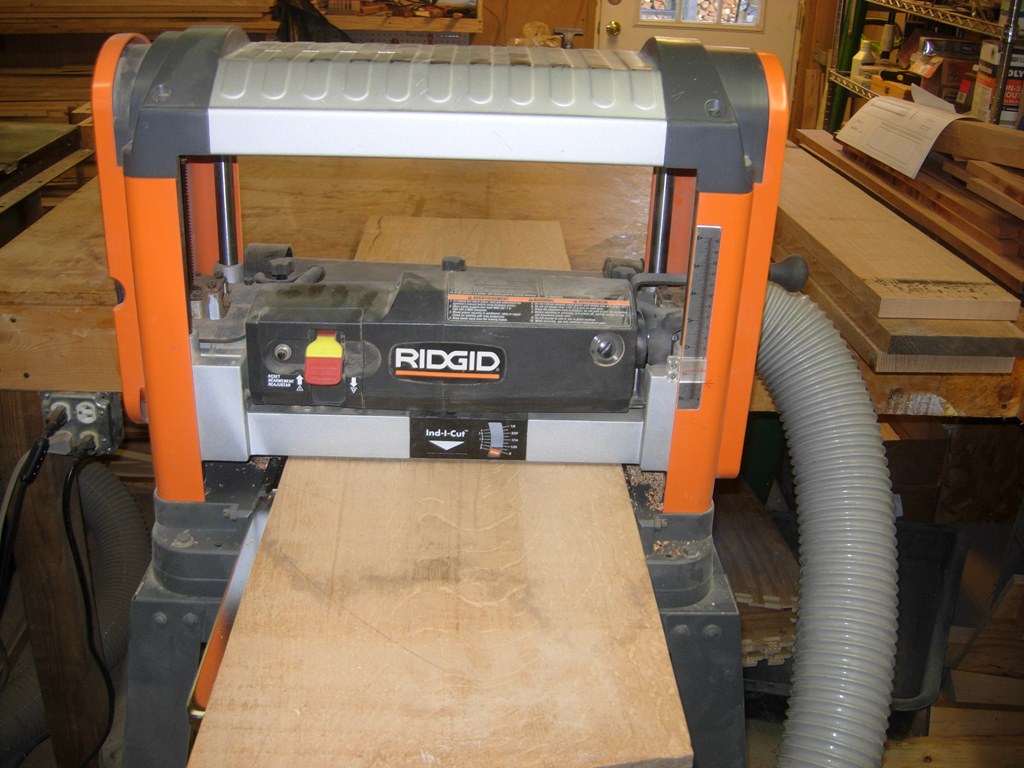
Planing down to 1″ thick

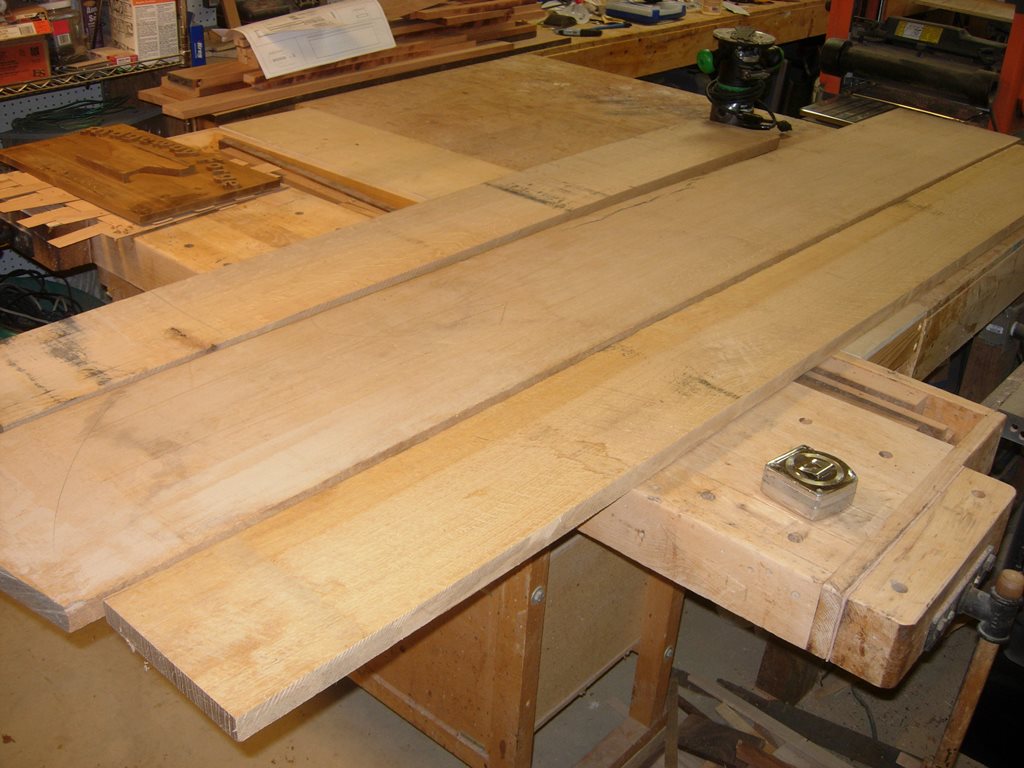
Grain matching
I laid out the boards to try to balance symmetry with grain matching. The quarter sawn oak has a beautiful grain that should be highlighted nicely with stain.

Slight gaps
My table saw jointing was not quite up to my needs so I located the high spots, on my edges, and planed them further by hand.

Final jointing by hand

Tape to protect the wood from the rusty pipes
I recently acquired three large pipe clamps. They will be perfect for glueing up all the panels. To avoid the slightly rusty metal from coming into contact with the wood, I applied a piece of painter’s tape to each of the rails. White oak and steel do not react well together. The oak tends to blacken with prolonged contact. The tape prevents that while protecting the rails from glue squeeze-out.

Applying wood glue
I applied glue to each of the edges and clamped everything together.
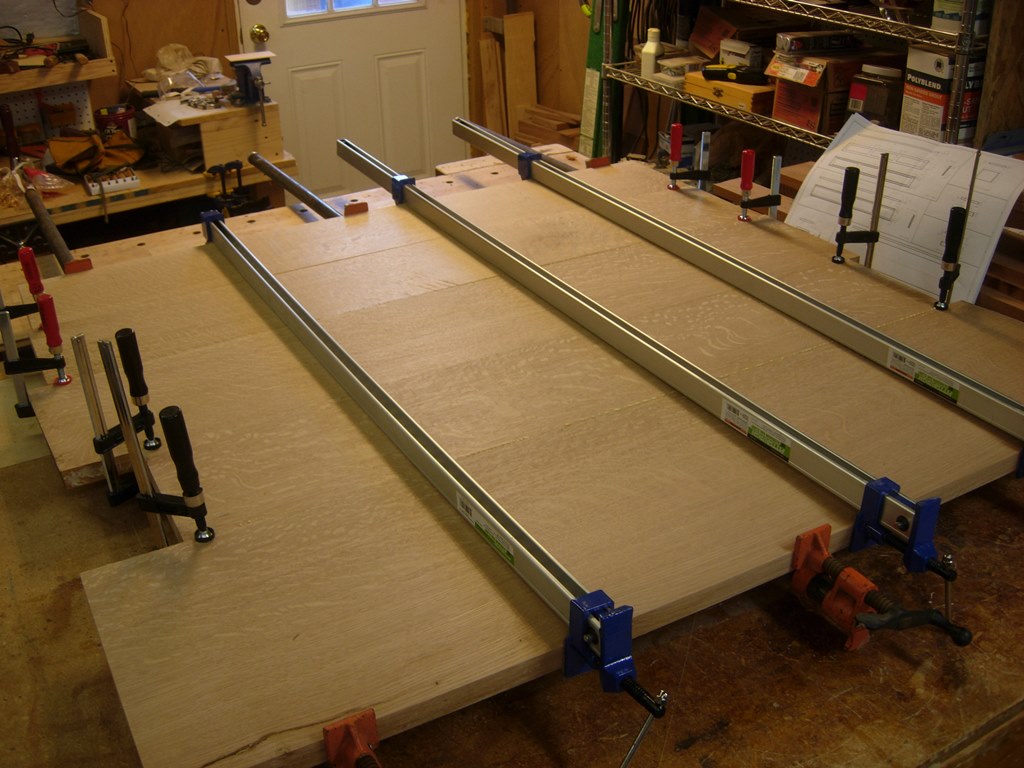
Clamped up to dry
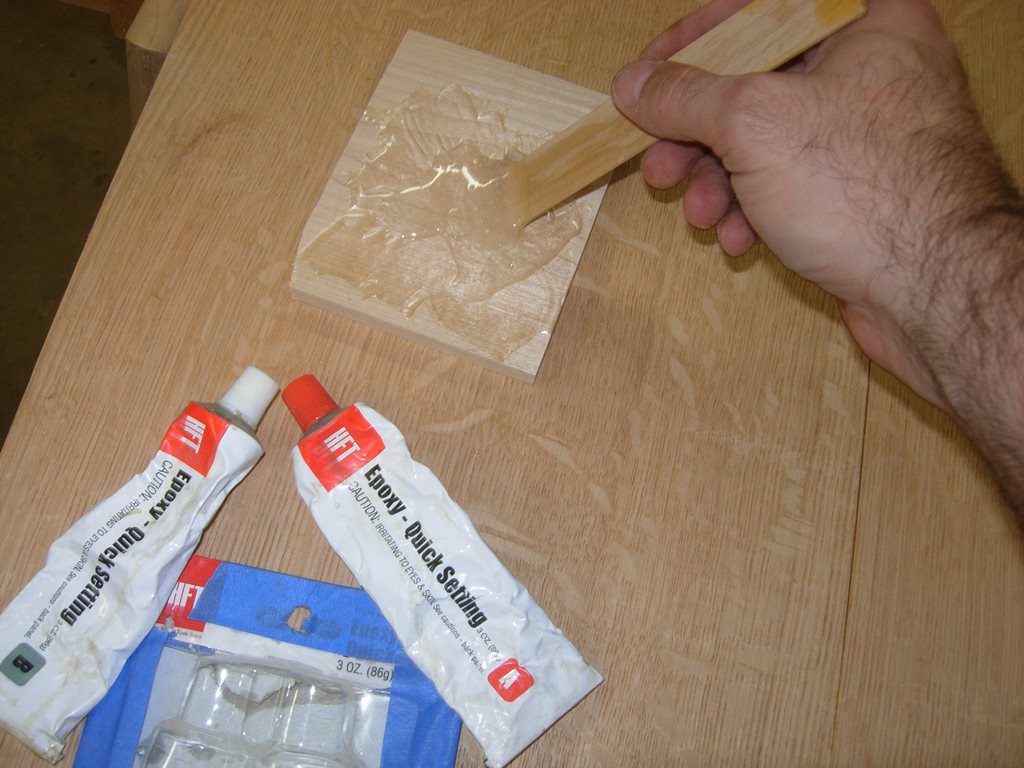
Mixing epoxy
After the glue had dried, I flipped the future table top over and found a few minor gaps in the joinery. There was also a knot with a few voids. To fill all of these, I mixed up some quick-setting epoxy, and applied it liberally to the voids. I forced the epoxy down into the thinner gaps with the edge of a piece of paper, to make sure it spread to as many surfaces as possible.

Filling voids with epoxy
After curing, the excess epoxy was removed with my jack plane.
Planing down the epoxy
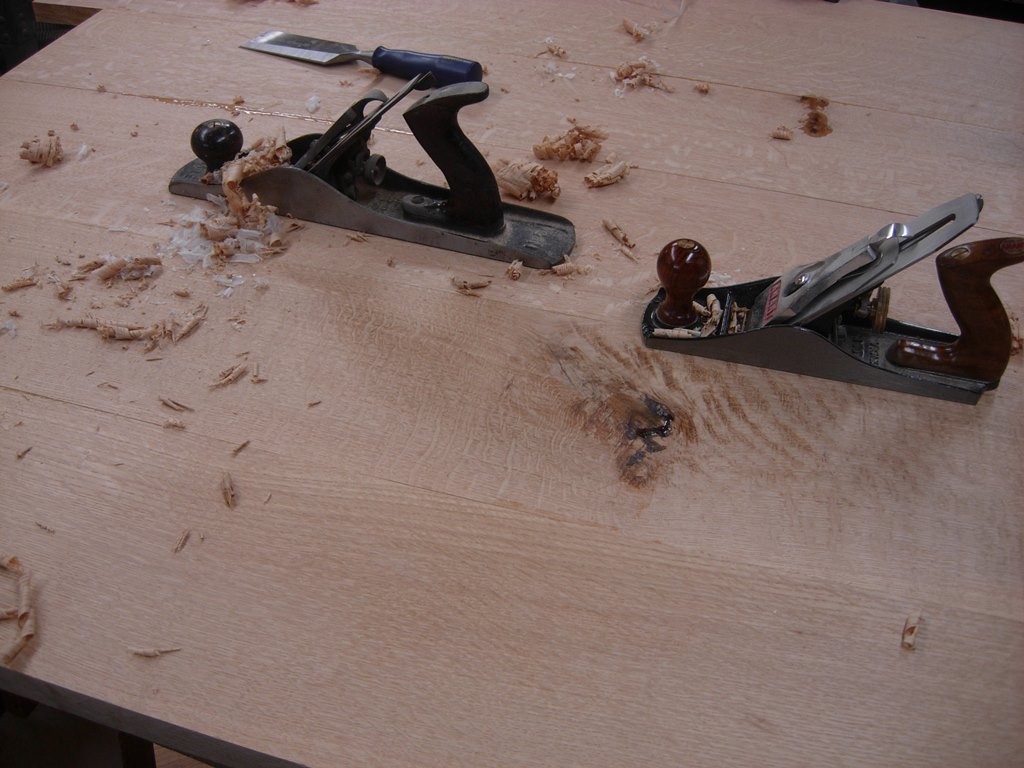
After re-sharpening my blade, I used my No.5 jack plane and my No.4 smoothing plane to flatten and smooth the back of the table.

The back side flattened
Since the clamping tends to force some of the panels up and down a bit, a fair bit of hand planing was required.

Flattening the top
I flipped the board over and planed down the top as well. After about an hour or so, and a good work out, the top and bottom were smooth and flat.

Flattened!
The next step is to cut the radius. I have several options for doing this. I could mark the 43″ diameter circle and lift the nearly 100 pound table top to the band saw, to cut it. I also have a really nice Jig saw that could cut out the circle. The problem with these two methods is that they require me to cut the circle by eye, then spend hours sanding them down to round, if I screw up at all. I think I am going to go with a third choice…
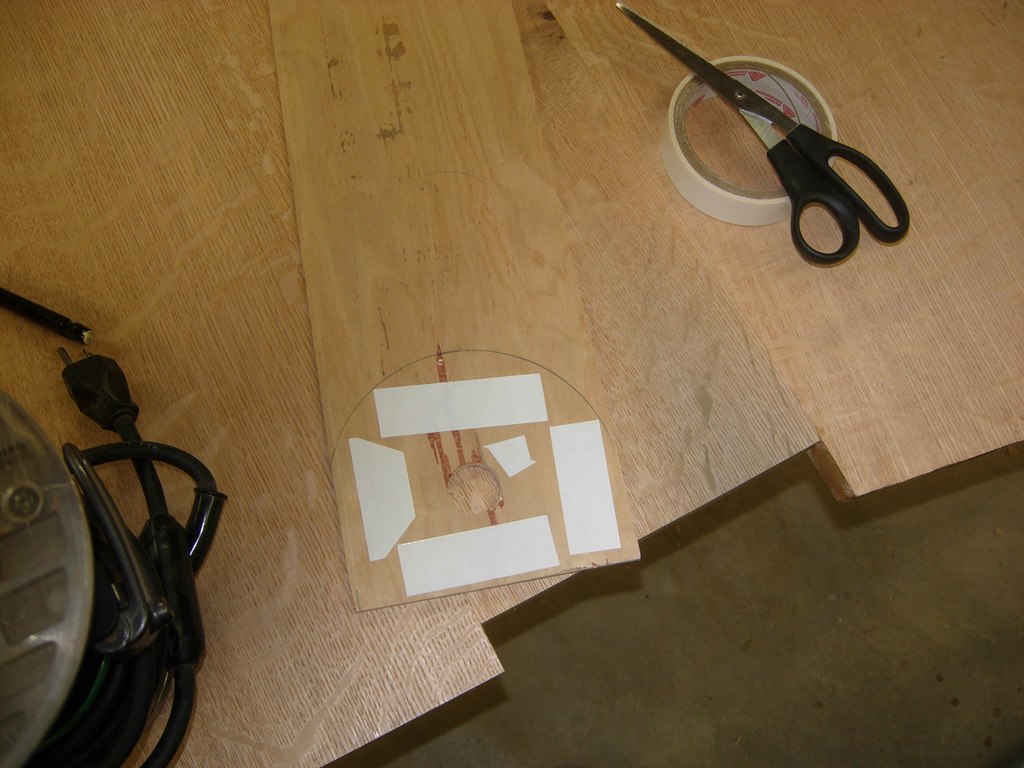
Creating a circle cutting jig
My friend Bryan at K&A Design uses a circle cutting jig, that he made. His is adjustable so he can mount it to his router then pick one of several different center points for pinning, then swing the router in a perfect circle like a compass. I decided to use a modified version of that jig. I grabbed a scrap piece of luan, 1/4″ plywood, and drilled a 1″ diameter hole in one end, and a 1/8″ diameter hole at the other. Since I want a 43″ diameter circle, I marked 41-1/2″ from the 1/8″ hole to locate the inside edge of my cutting bit.

Marking the bit location
I then marked the base of my router, with the bit at the proper location. Next I applied several pieces of double-sided tape at the base location.
Attaching double-sided tape

Tape holds well
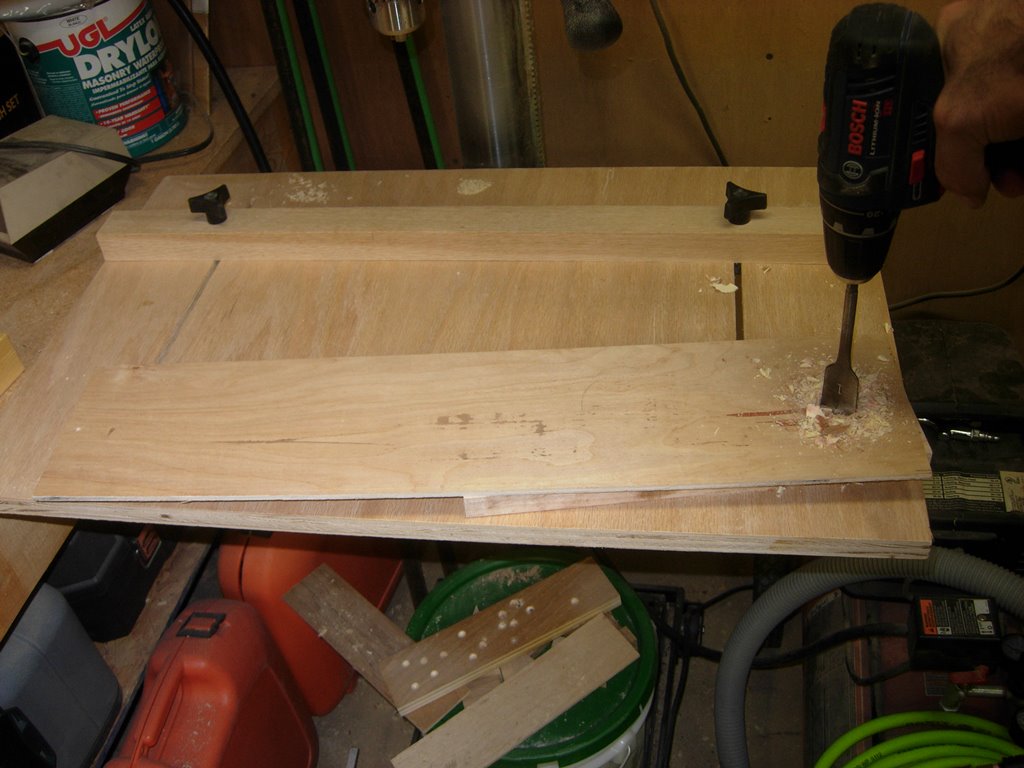
For the cleanest cut, I loaded a 1/4″ spiral up-cut bit into the router, then raised the router so the bit was recessed completely. I then attached the jig to the base. I located the center of my circle on the bottom side of the table top and ran a short screw through the pivot hole, on my jig. To keep the screw from going in too far, I used a nut for a spacer.

Pivot held with a screw and a spacer
I fired up the router, lowered the bit about 3/16″ down into the oak top, then started swinging my arc.

Starting the cut
After the first pass, I lowered the bit again, and repeated the process.

Bit lowered and second pass started

Radius cut
After several more passes, the outer edge was cut away completely.
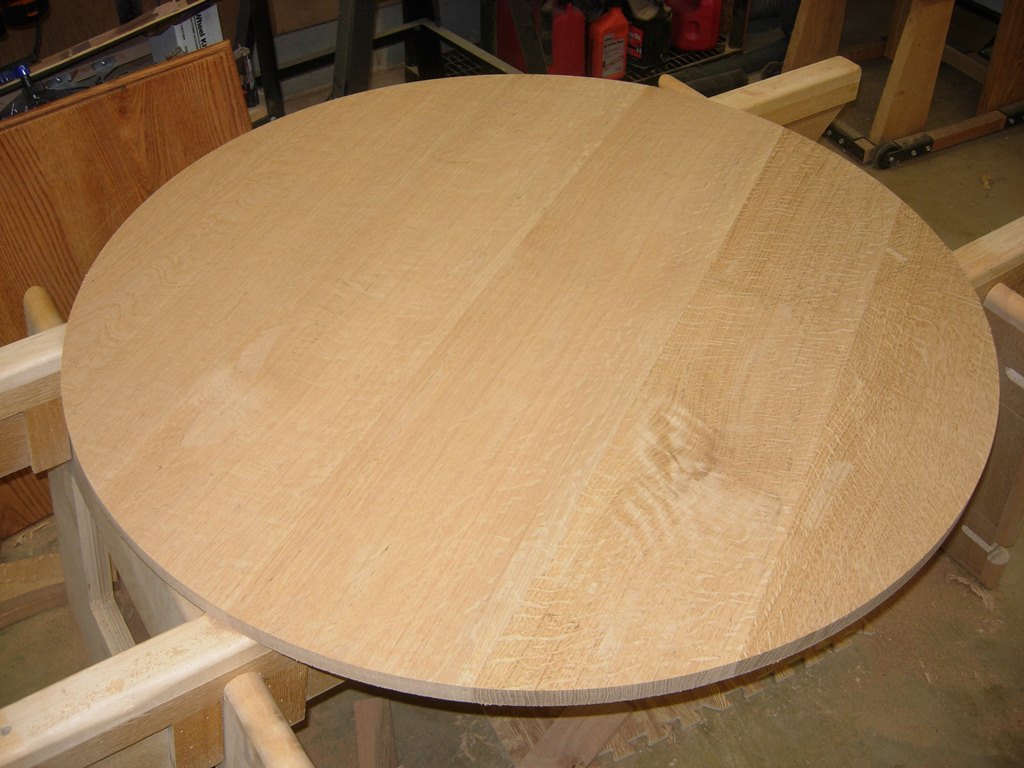
Top ready for sanding
The next step will be to sand everything down really well and radius the top edge. Then staining and urethaning. But that is enough for one day. It’s nearly midnight and time for bed.

This is going to be a beautiful table. Quartered oak is beautiful and stable.Thanks for the tip on making the router jig and the use of the spiral bit. I have yet to figure out when to use the spiral up bit vs the spiral down bit. Anyway, good post. I enjoy looking at all of them.
Herb
I can’t really tell the difference either. I use the same one in my hand held router as in the table. All I know is they cut better. They all seem to still make a mess so I don’t pay attention to which direction the chips are thrown… Glad you liked the post.