
Rob’s sofa table – day 3
We got the legs out of the way last week. Last night we worked on a few more components of the sofa table, the sides, the drawer guides, the drawer runners, and the top mounting braces.

Setting up a stop
All of those components, except the sides, start with the same size blank. We cut and planed the blanks to width and height a few weeks ago. Now we need to cut them to length. I clamped a block down on the miter saw to use as a stop block. This will allow us to make repeatable cuts at the same length. Rob cut the 13 blanks required, then we went to the table saw to notch the ends.
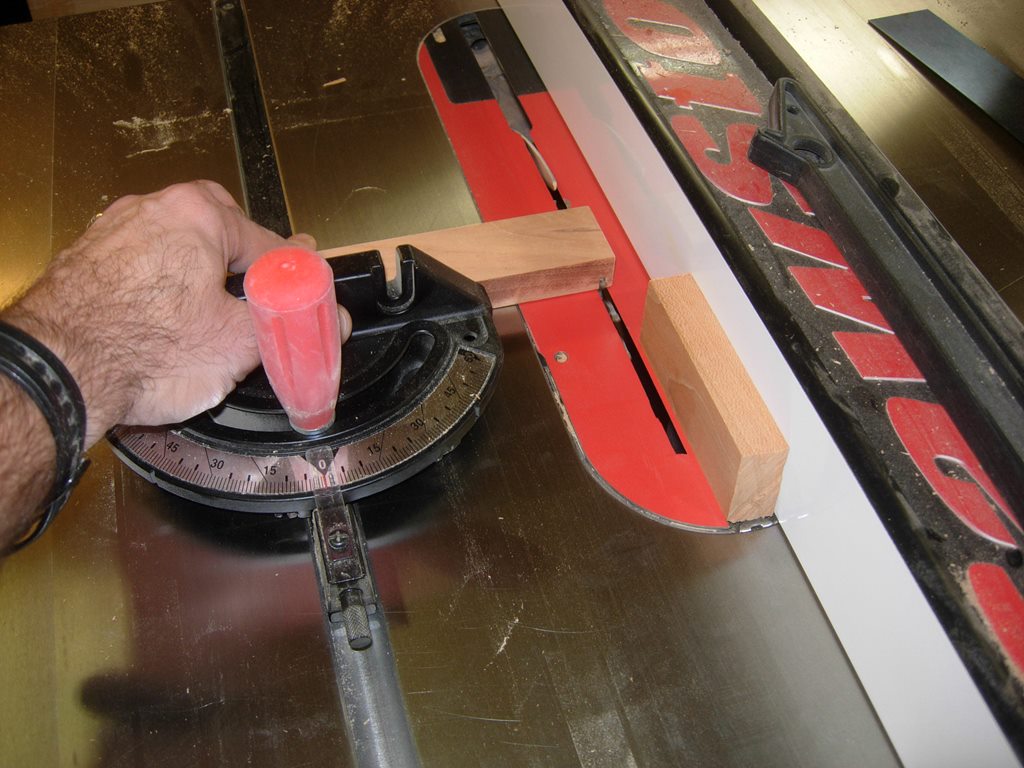
A block to prevent binding
Since combining the miter gauge and the table saw fence, in the same operation, can cause binding and possible a safety hazard, I attached a spacer block to the fence with double-sided tape. This allows Rob to locate the blank of wood, that he needs to notch, then push the wood through the blade, without binding.

Notching the ends
The 1/4″ x 1/4″ notch is repeated on each end of the blanks. Six of those blanks are the drawer runners. They are now complete and set aside.

Cutting a groove in the drawer guides
Three of those blanks will be used as drawer guides. A screw will be set in the top rear of each drawer. When the head of the screw is cut off, the headless screw will ride in a groove in the drawer guide blocks. To cut that groove, we left the blade set at 1/4″ high, but moved the fence over so the blade would cut down the center of the three blocks. The drawer guides are now complete and set aside as well.
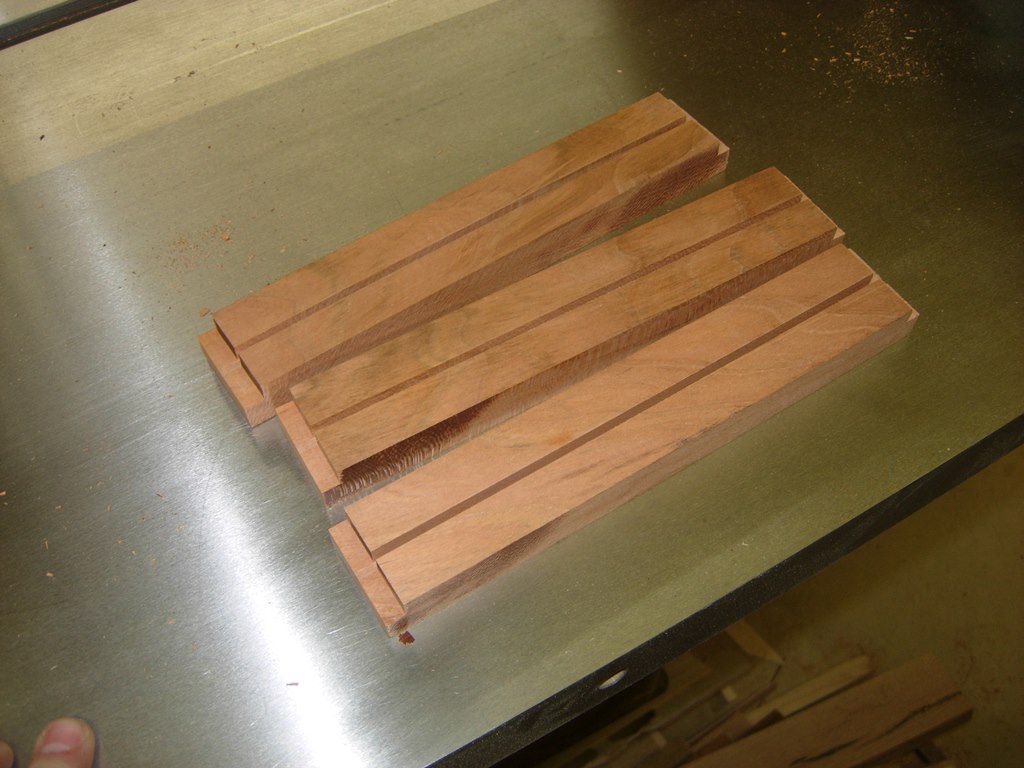
Drawer guides
The last four of the blocks will be used to mount the top to the table. They will need two clearance holes each for screws to pass through and attach to the top. Rob marked the locations on the blocks and drilled a 3/16″ through hole on each end of the blocks.
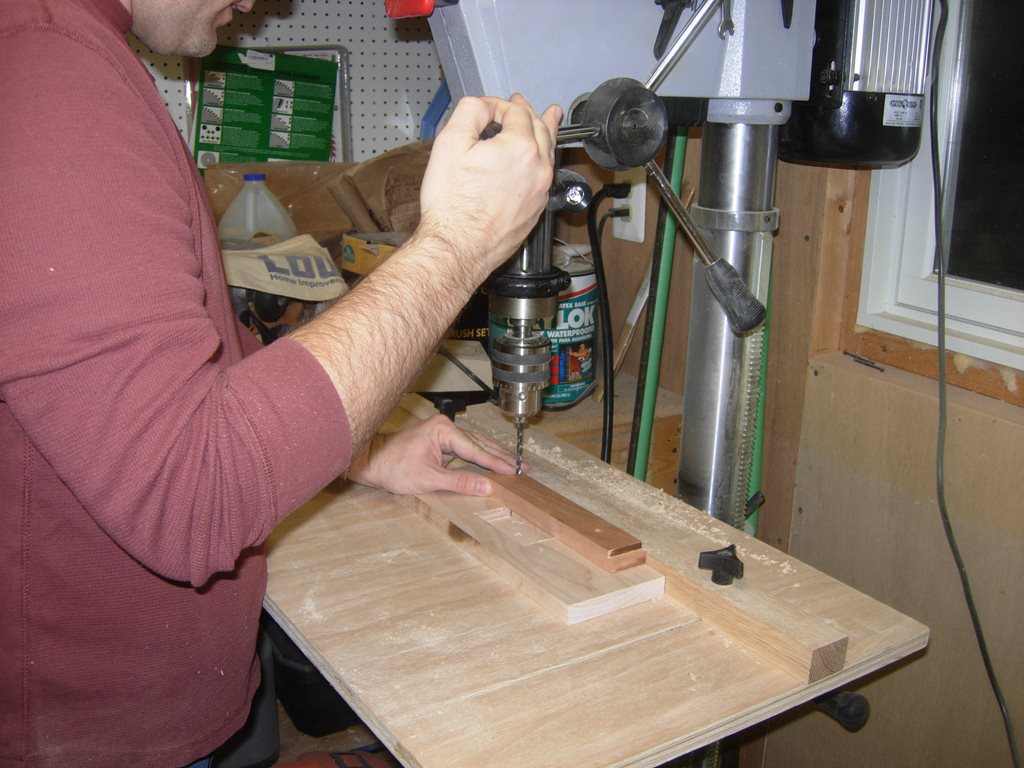
Drilling the top mounting holes

Cutting the sides to size
The last thing we worked on, last night, was the sides. Rob cut the blanks down to size on the table saw. When we made the legs, last week, we cut a 1/4″ mortise in the top. That mortise will receive a 1/4″ wide, 1/2″ deep tenon from the front, back, and sides. Cutting those tenons will be done the same way that Rob cut the notches on the boards that we just completed. I attached the stop block back to the fence, and rob ran repeated passes along the ends until we had cut out tenons.
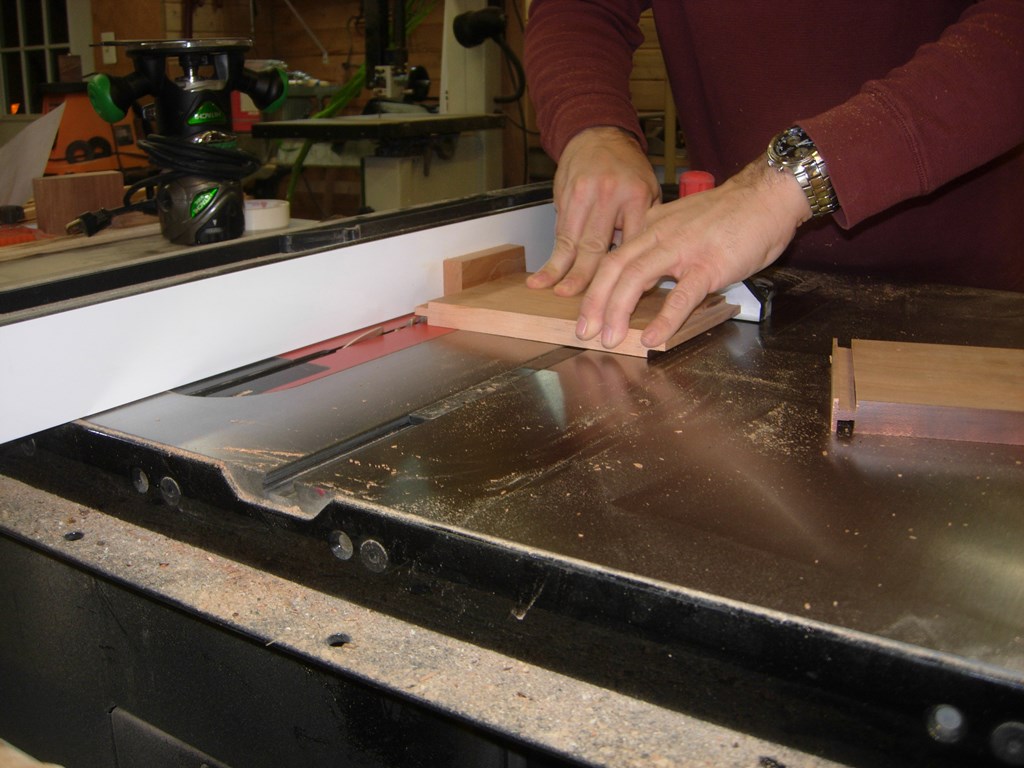
Cutting the tenons on the sides
To clean up the tenons and take them down a few thousandths, to perfectly fit into the legs, Rob ran my bull-nose plane along each side, a few times.
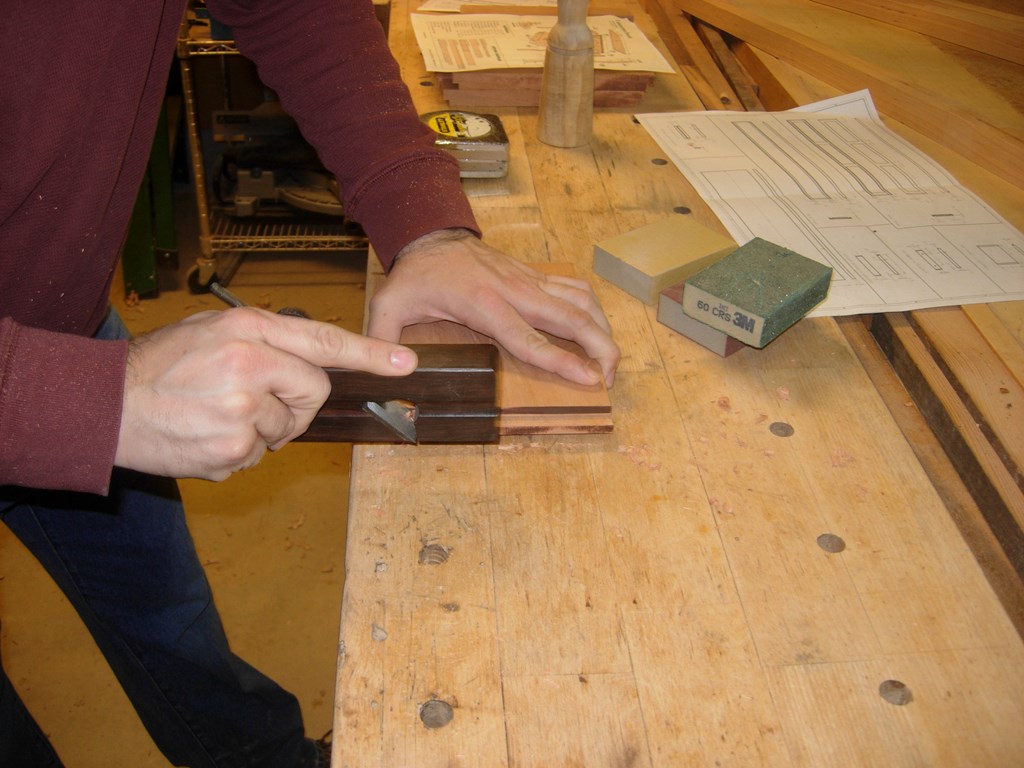
Cleaning up the tenons with a bull nose plane
Next week, we will cut the front, back, and top. Then we will be ready to assemble the entire carcass, leaving only the drawers to be made.
