
Rob’s sofa table – day 2
Rob hasn’t had much time to work on his sofa table lately, so he made some time yesterday. He wanted to work on the tapered legs so we cut the 4″x4″ post into quarters, to start.

Quartering the 4″x4″
Then we planed the 4 new leg blanks down to 1-1/2″ square.
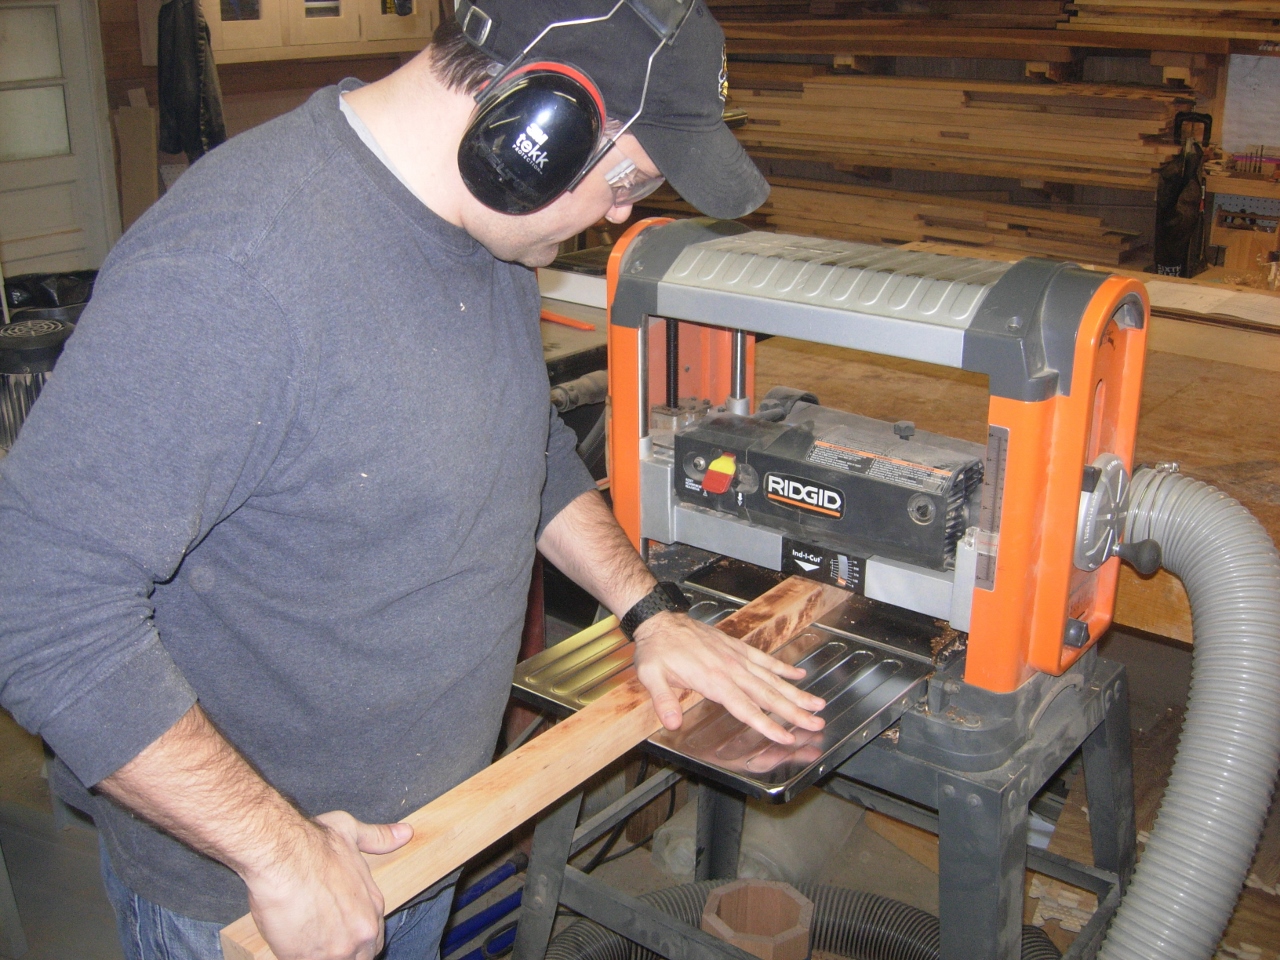
Planing the legs down

Marking the legs
Working around splits and pitch pockets, we marked and cut the legs to length.

Cutting them to the same length
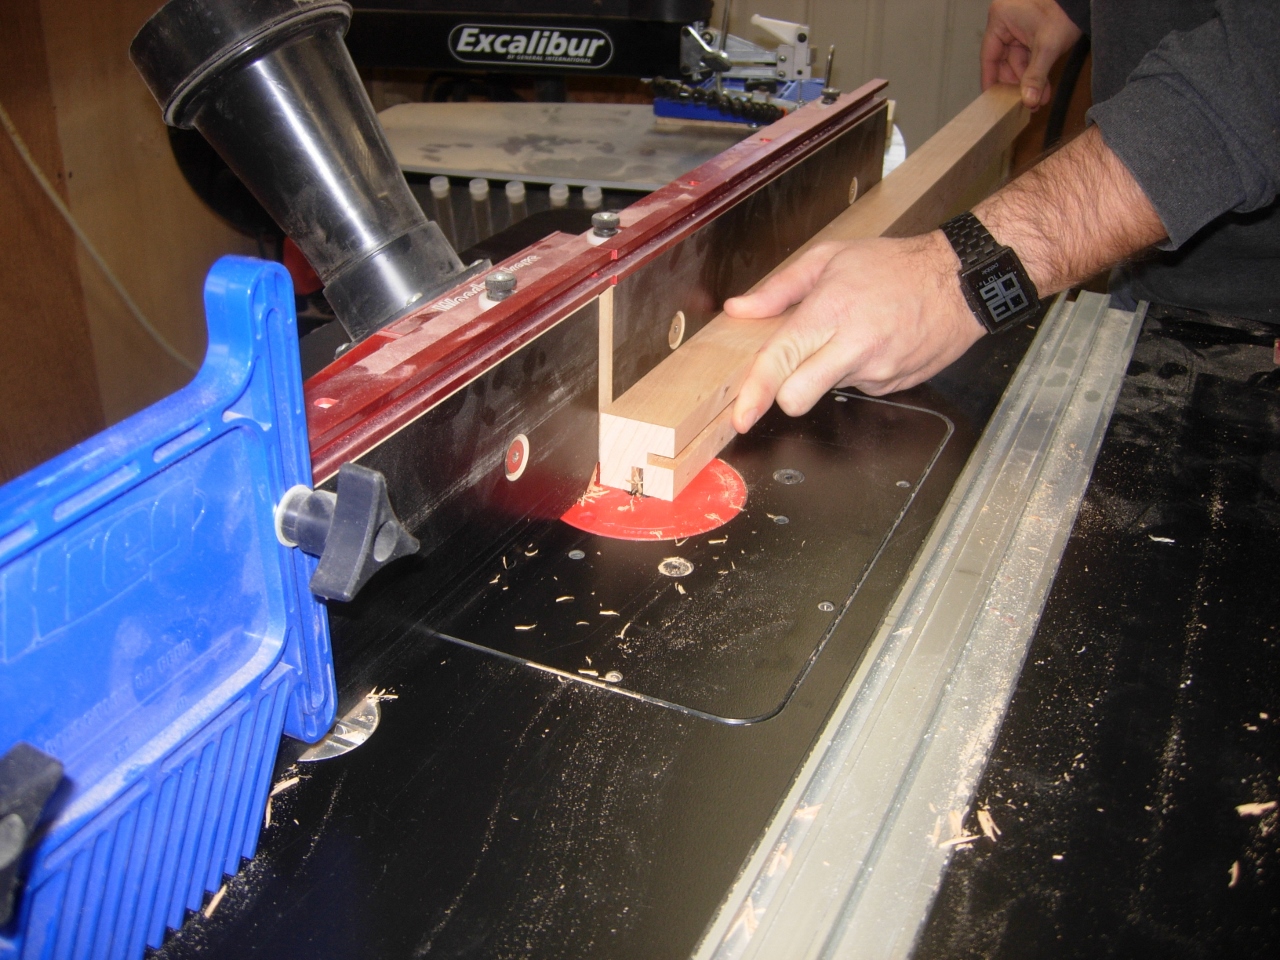
Routing the stopped grooves in the legs
I set a 1/4″ spiral bit in the router, then set my feather board as a stop. By running the leg into the feather board, then angling the leg up, off of the bit, we created a stopped cut. Rotating the leg 90 degrees, we repeated the process.

Lifting the leg out of the stopped cut
The next step was to cut the tapers. I saw a simple jig for cutting tapered boards. I modified it a bit for our purposes. Basically, I cut a groove in a piece of plywood, with the table saw. Next, we laid the leg across that groove, where the taper was to be cut, then screwed down a 2″x4″ right next to it, and a small cleat at the end, to retain the leg.

Taper cutting jig
We made sure that the fence had not moved from where we had cut the original groove. I raised the blade 1-1/2″ higher to cut the leg. Flipping the assembly over, leg down, we ran the leg, in the jig, through the table saw.
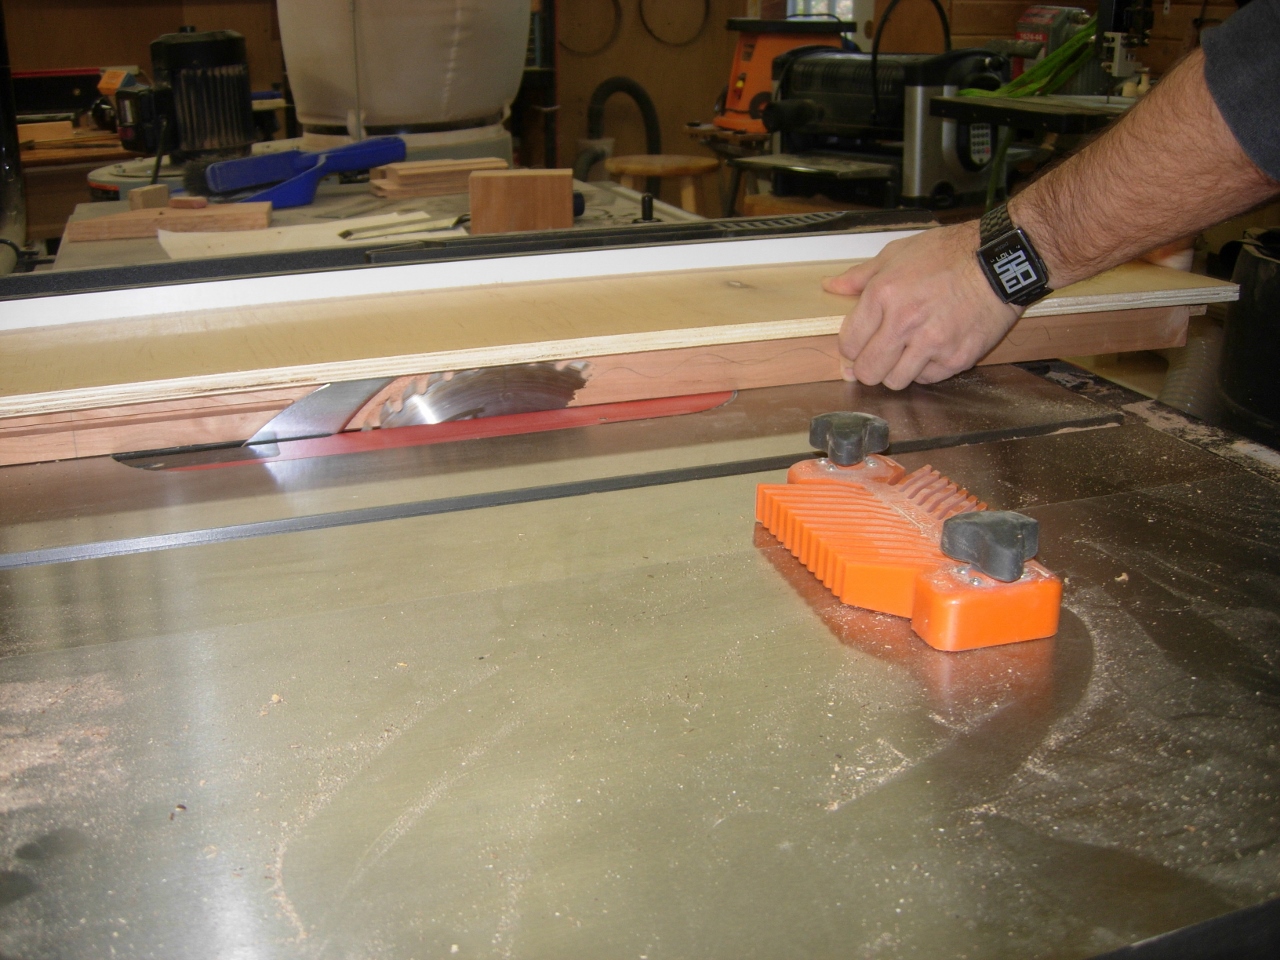
Cutting the first taper

First taper cut
Rotating the leg 90 degrees, we repeated the cut, and the leg was now tapered on two sides.

Both tapers cut

All four legs tapered
After doing this four times, we had a full set of tapered legs. Since cherry is very prone to burning, we needed to clean up the legs. Rob started with the orbital sander, but it was slow going on the hard cherry.

Trying to sand away the burnt wood
I broke out my smoothing plane and let him try that instead. Clamping the legs between the bench dogs, on my newish work bench, made the planing a breeze. The legs were cleaned up very quickly and the edges were sharp and clean.
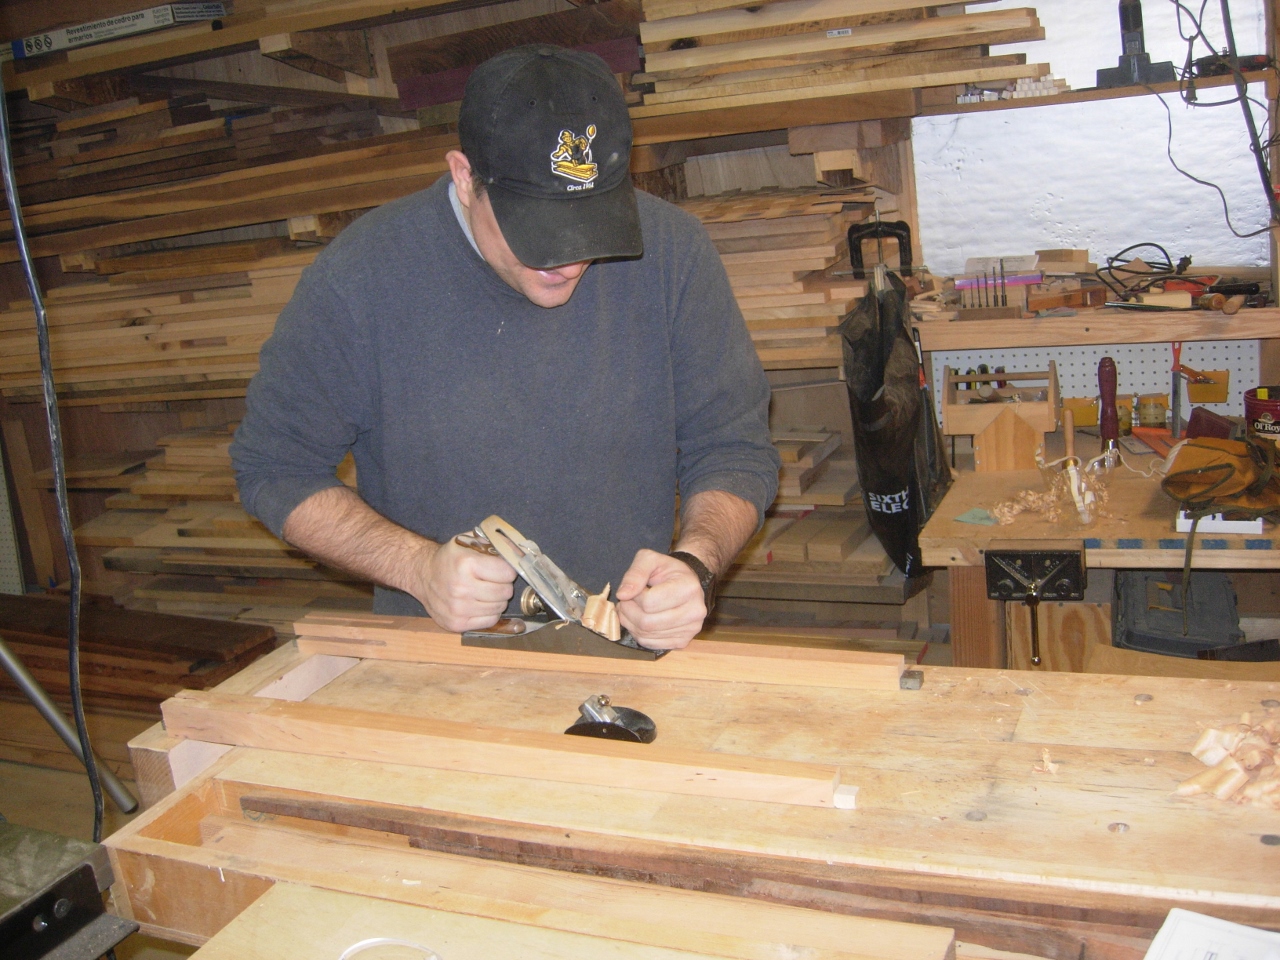
The smoothing plane works much better
To take away that sharpness, Rob borrowed one of Adam’s tiny block planes, and made a few passes along each corner.
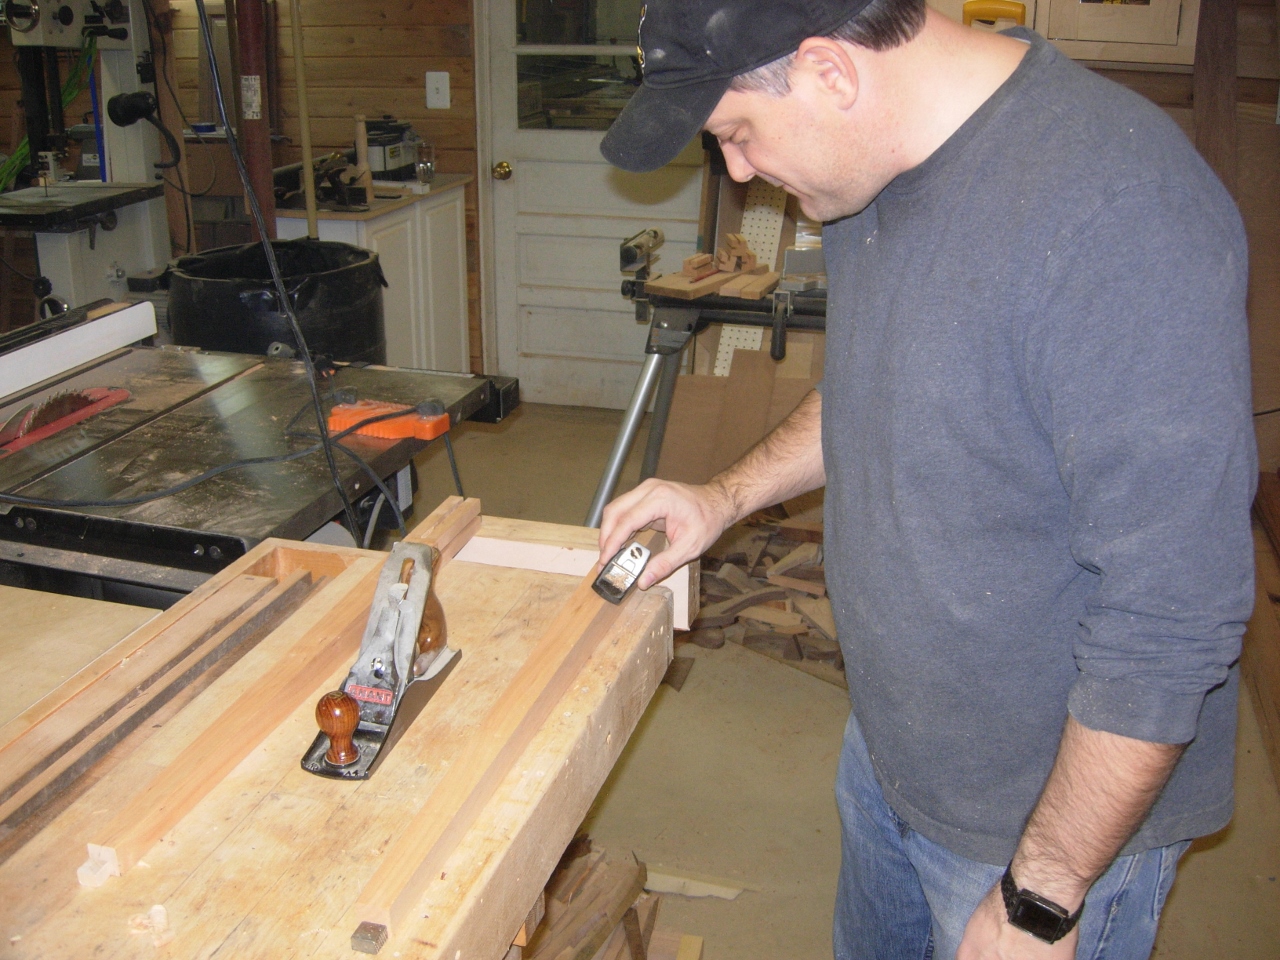
Breaking the edges
A few more passes with the sander cleaned up the flat areas near the grooves.

A final sanding
Rob is impressed by his legs
Rob was impressed with his new legs.

Leg shot
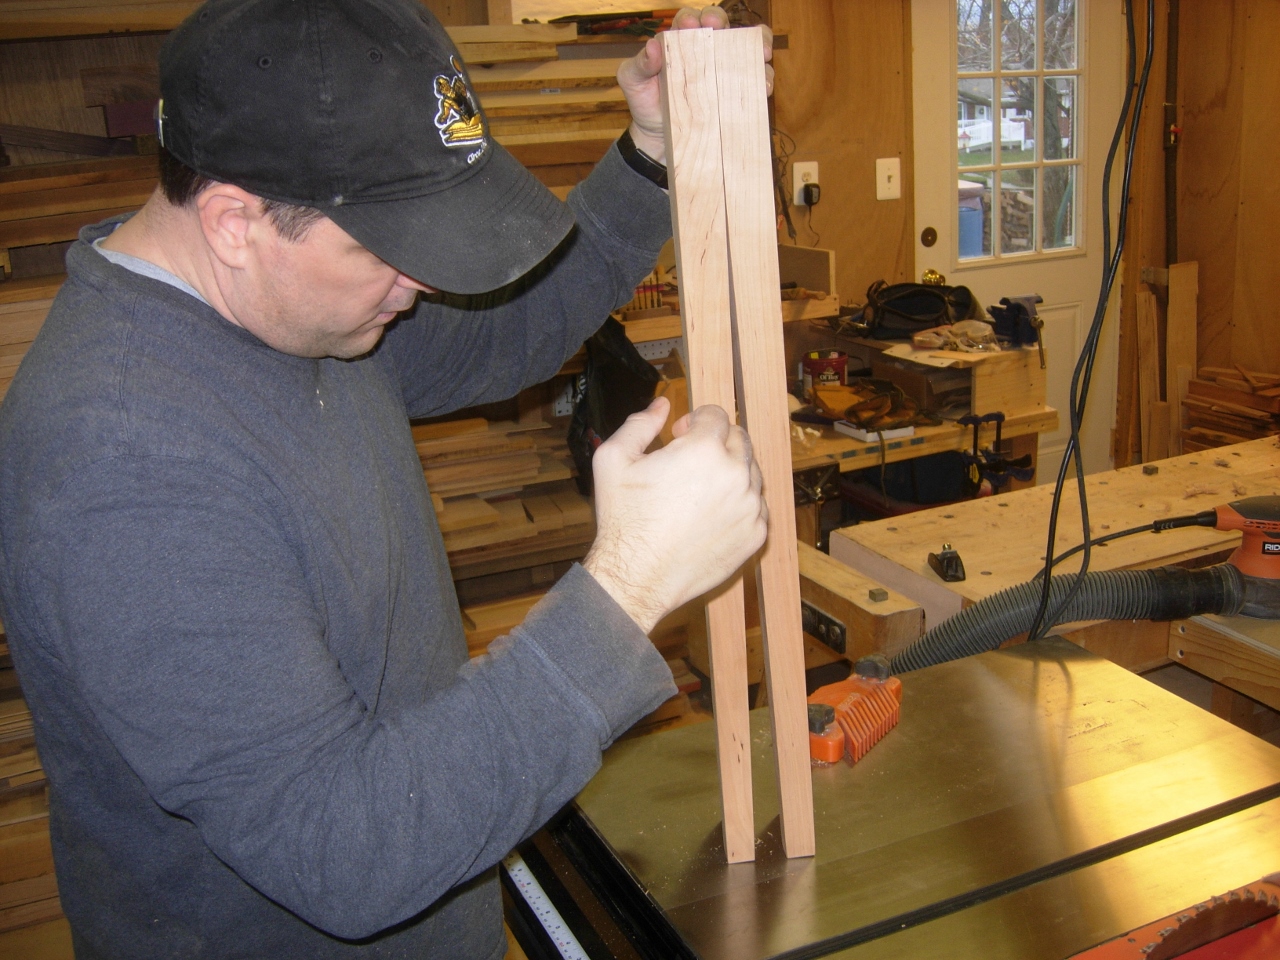
Here are a couple of shots of the legs standing together, by themselves to show the tapers.

Looking down the tapers
Now that the legs are done, we have to start cutting out the carcass, next time.
