
My wood tie
I have recently been helping my friends over at Kurtz and Atkins Design carve a new product line, Wood Bow ties. Since I don’t run with the dapper crowd, I figured that I would try a regular tie made from wood. I didn’t care for the designs that I saw online, so I made up my own. So while Adam was turning light saber handles yesterday, I made a tie. It was just a few hours work, and it turned out pretty nice. I attached the plans if anyone is interested. Please shoot me a picture if you make one. since I wear a tie about once a year, I won’t be making too many more, and it would be nice to see some variations. lwroten@midnightwoodworking.com
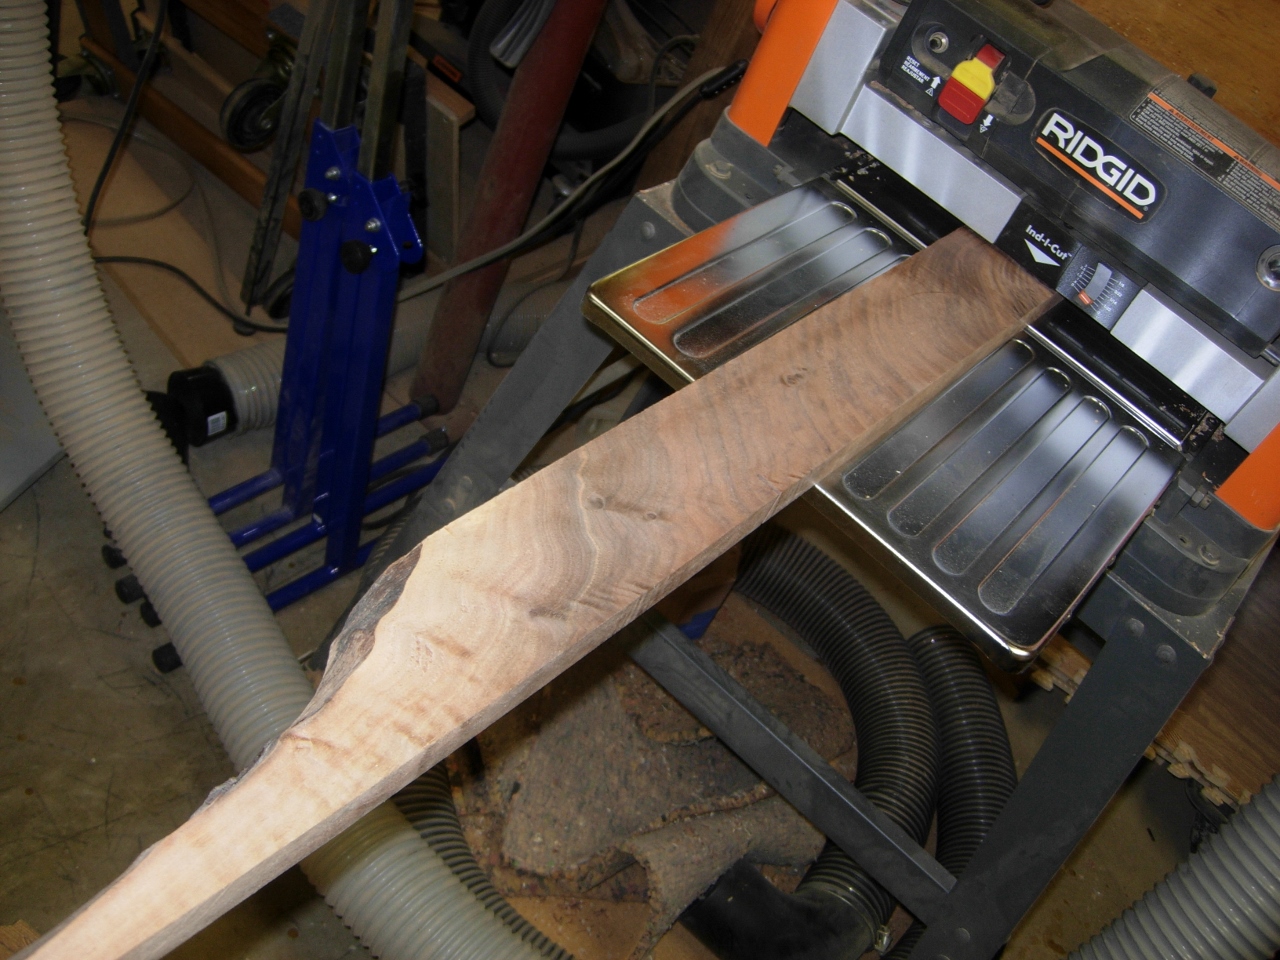
Start with a pretty piece
I started the project with a piece of walnut that has been sitting on the shelf for about eight years, waiting for the right project. I planed it down to about 1″ thick, then laid out the tie.

Layout time
The knot will be thicker than the rest of the tie, so I split the board down the middle, on the table saw, up to the knot.
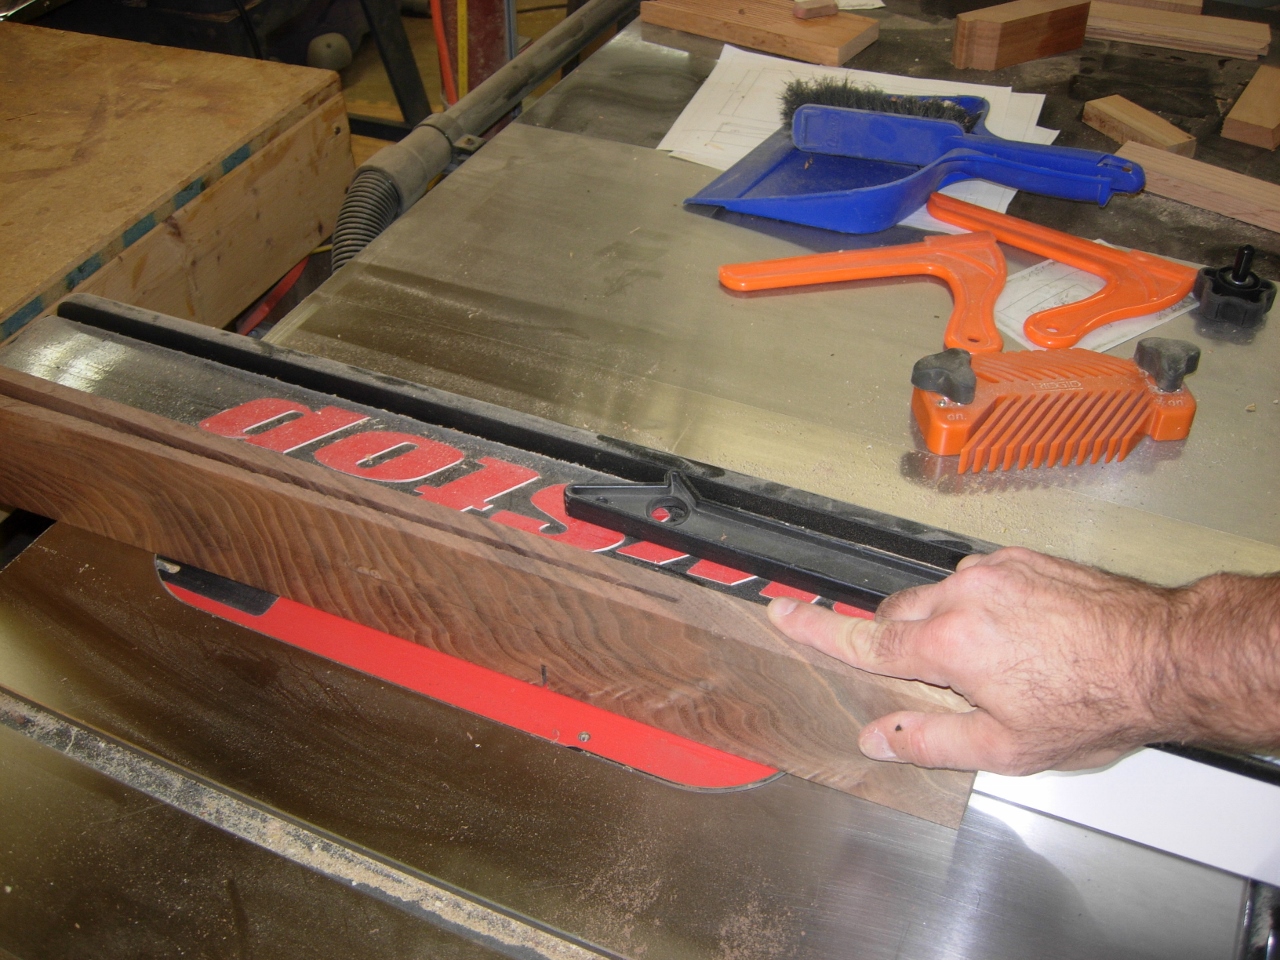
Resaw to size
Then I finished the resaw on the bandsaw to have as much thickness as possible for the knot. I would have re-sawn the entire board on the bandsaw, but my blade is dull and it likes to wander on long cuts.
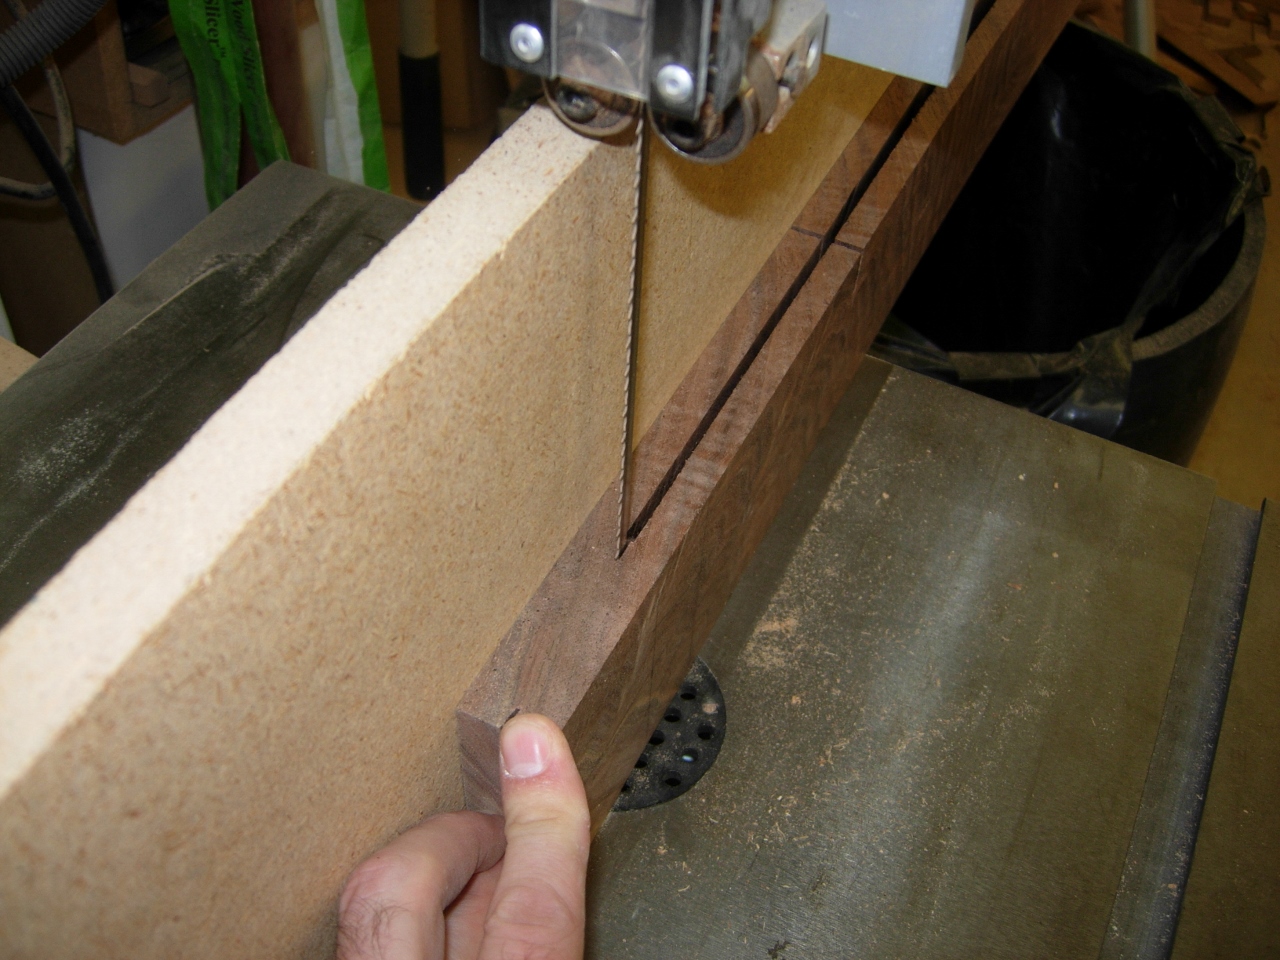
Finishing the re-saw
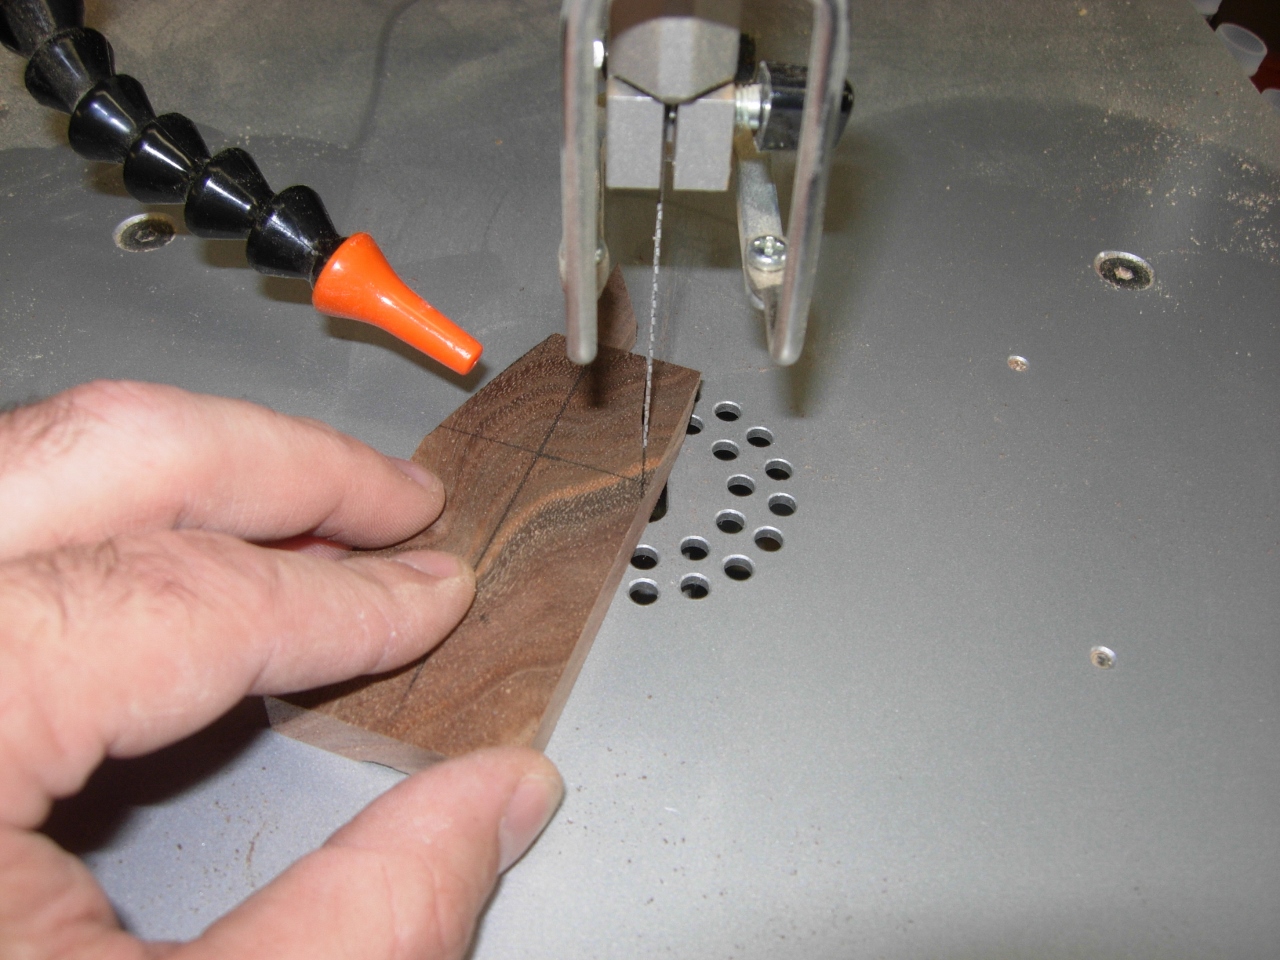
Cut all the knot off first
With my scroll saw, set at 45 degrees, I cut the knot off. I then planed the rest of the board down to 1/4″ thick.

Plane to 1/4″
Cutting out the knot
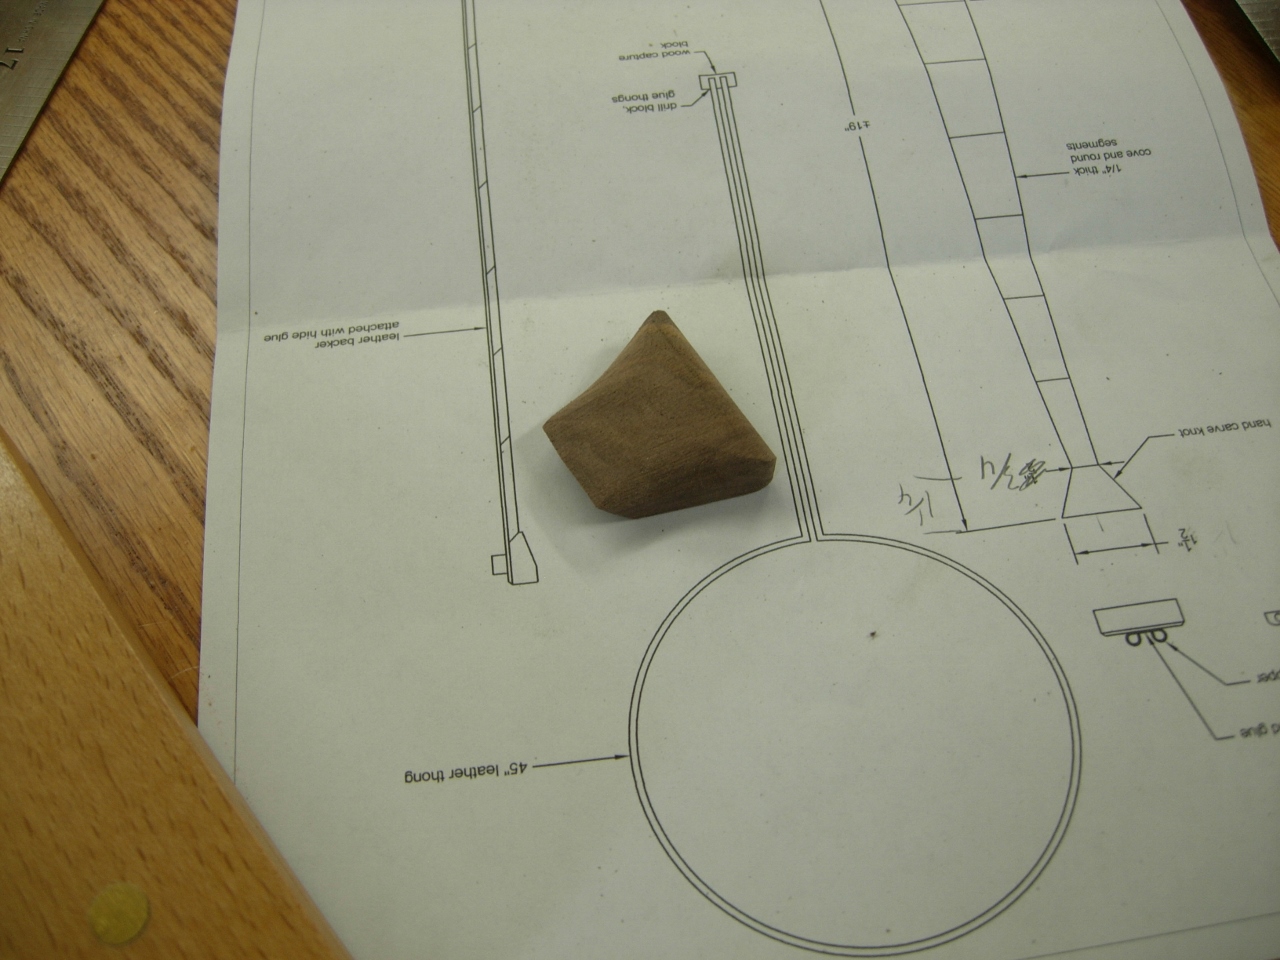
I finished cutting the knot out, then shaped it on my spindle sander.

Sanding and shaping the knot
Knot complete
I set the knot aside for later and marked off all of my 2″ sections while the sides were still parallel.
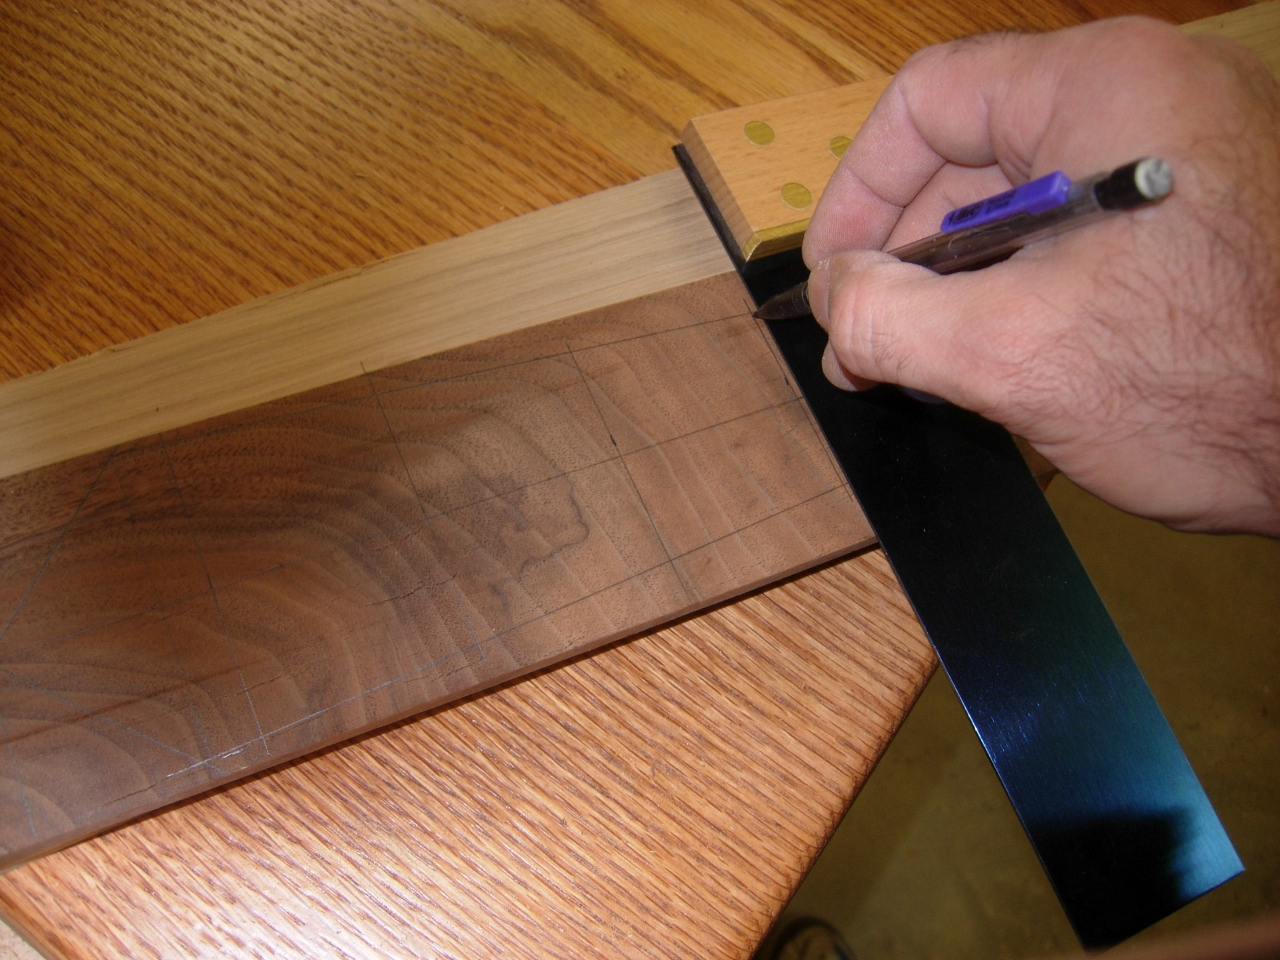
Mark all your section lines before cutting
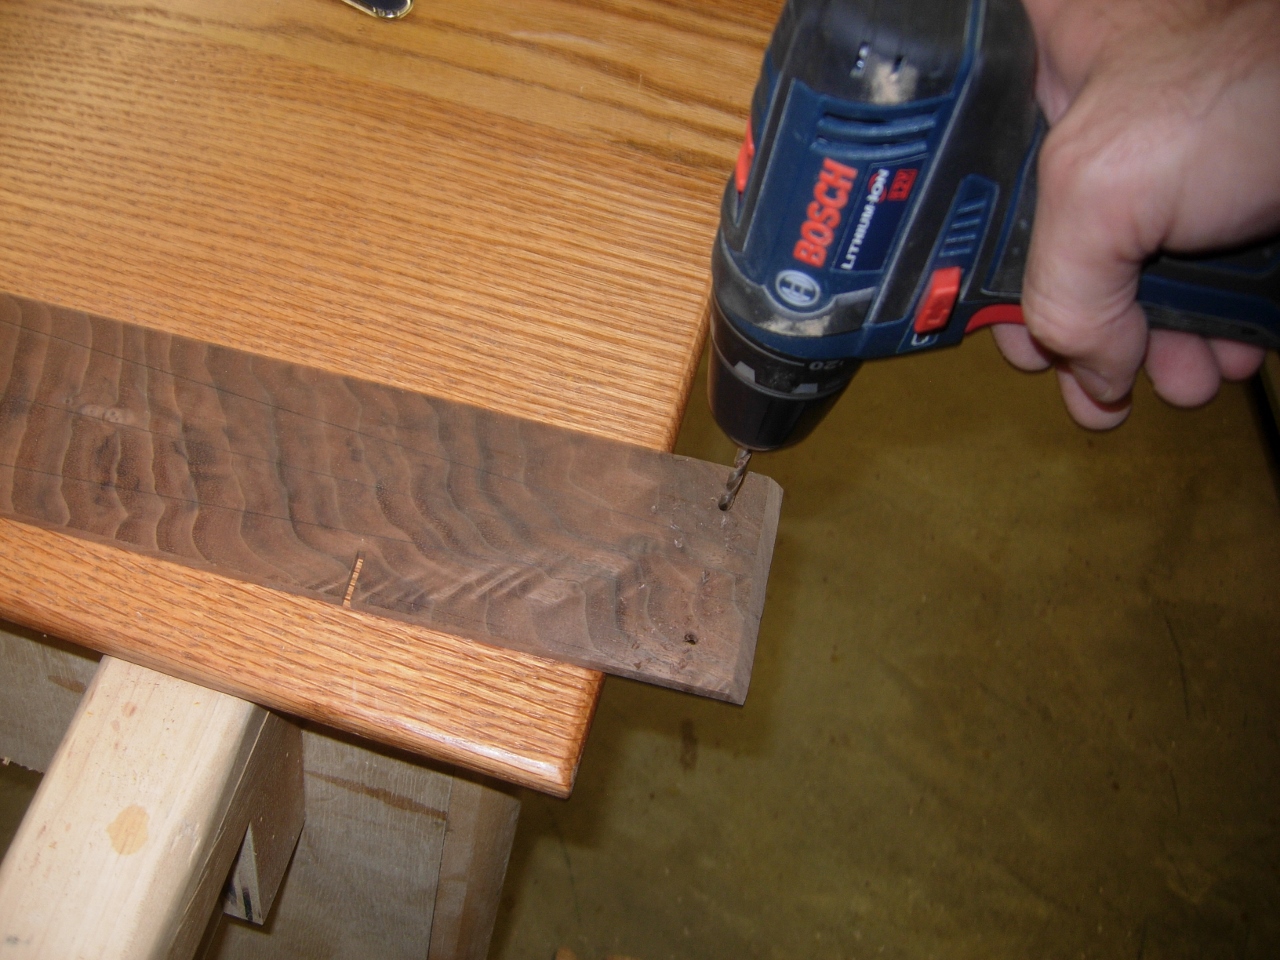
drill holes in the waste area
I drilled some holes into the waste areas of the piece of walnut, then screwed it to a piece of plywood, with one of the side lines, of the tie, lined up with the edge.

Screw to a backer board
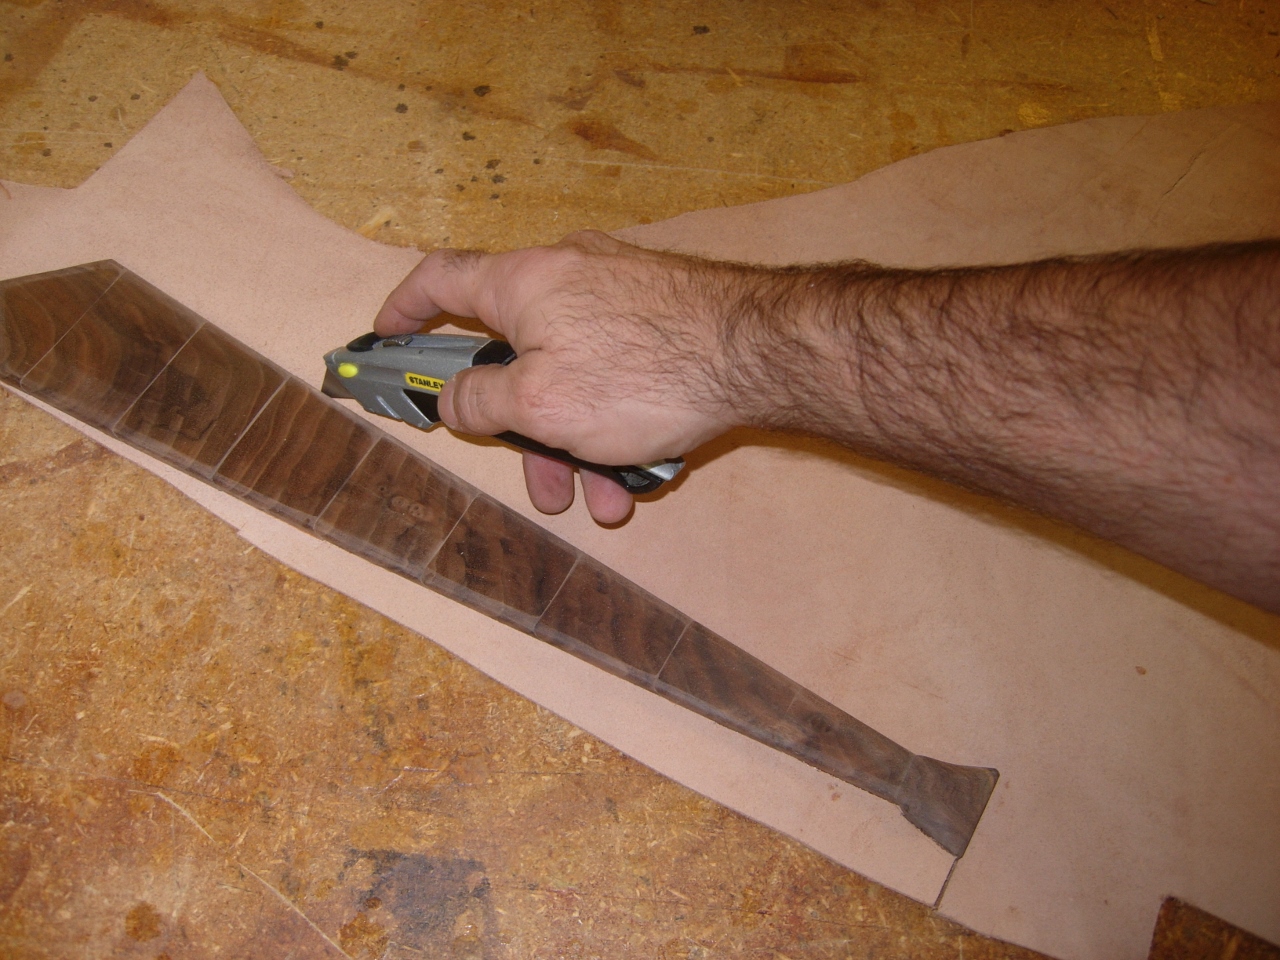
I ran it through the table saw, then flipped the tie to the other edge and cut the opposite side.
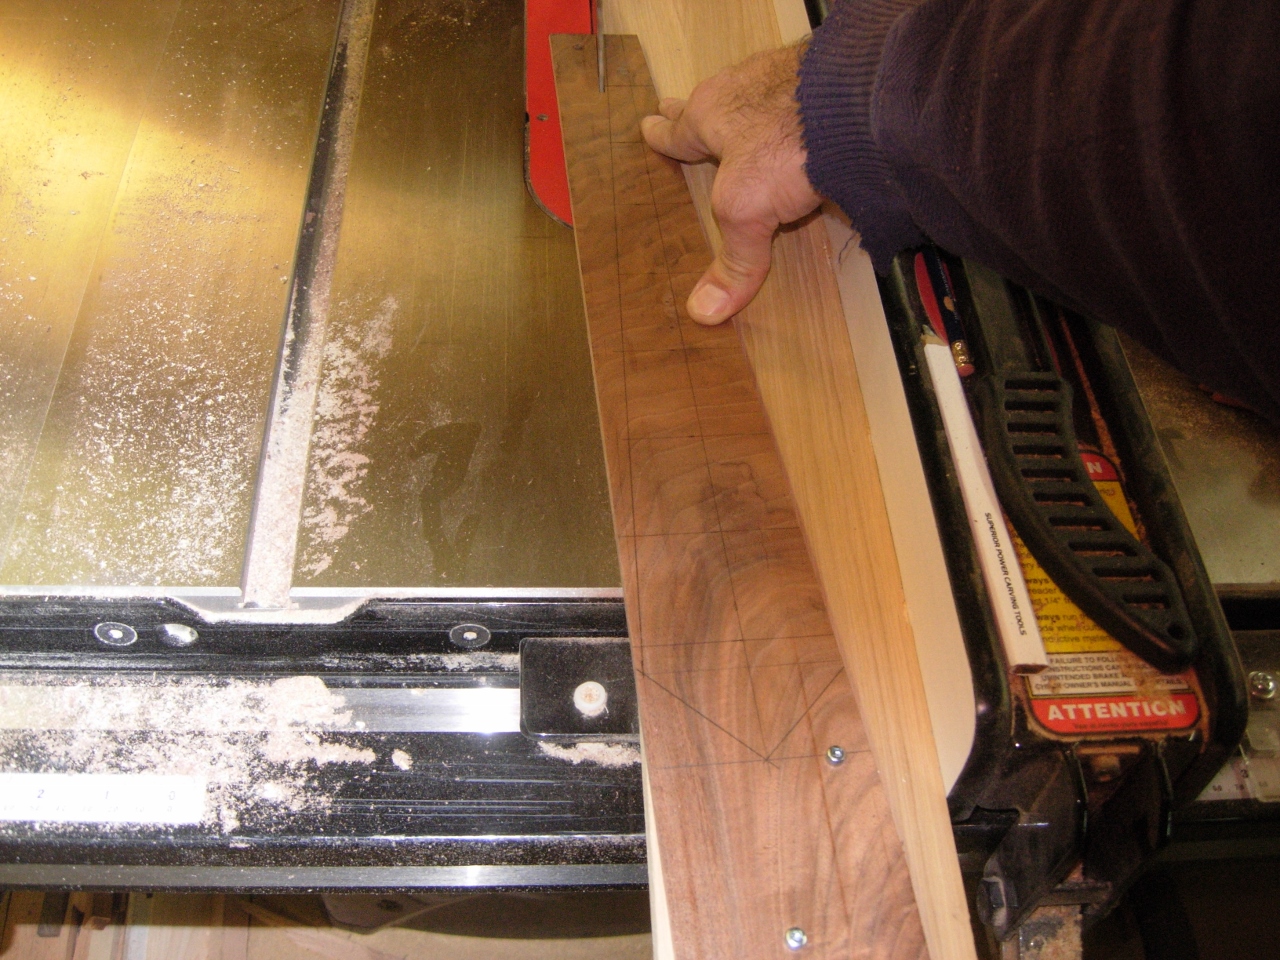
Cut angle on the table saw

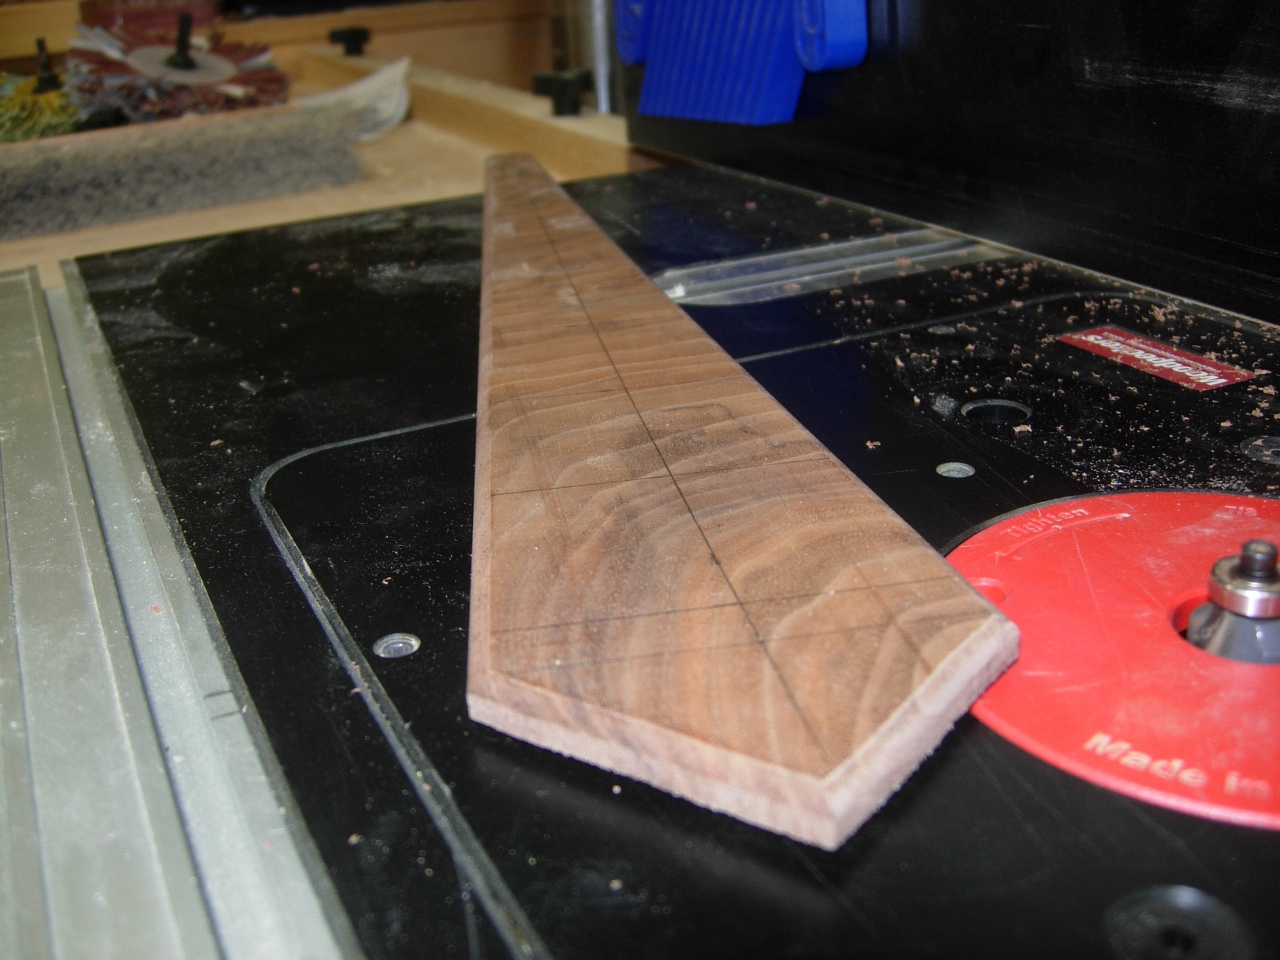
Cut the end of the tie
I finished cutting the point at the bottom of the tie, then set my 1/8″ round-over bit in the router table.

Add the 1/8″ round-over
Rounded…
After I rounded off the edges, I cut the 2″ segments at the scroll saw, again set to 45 degrees. I am using the scroll saw because it has the thinnest blade. The thinner blade ensures that the grain will match very well when the tie is put back together.

Cut the 2″ sections at 45 degrees
I did a bit of sanding, with my orbital, to clean up the edges.
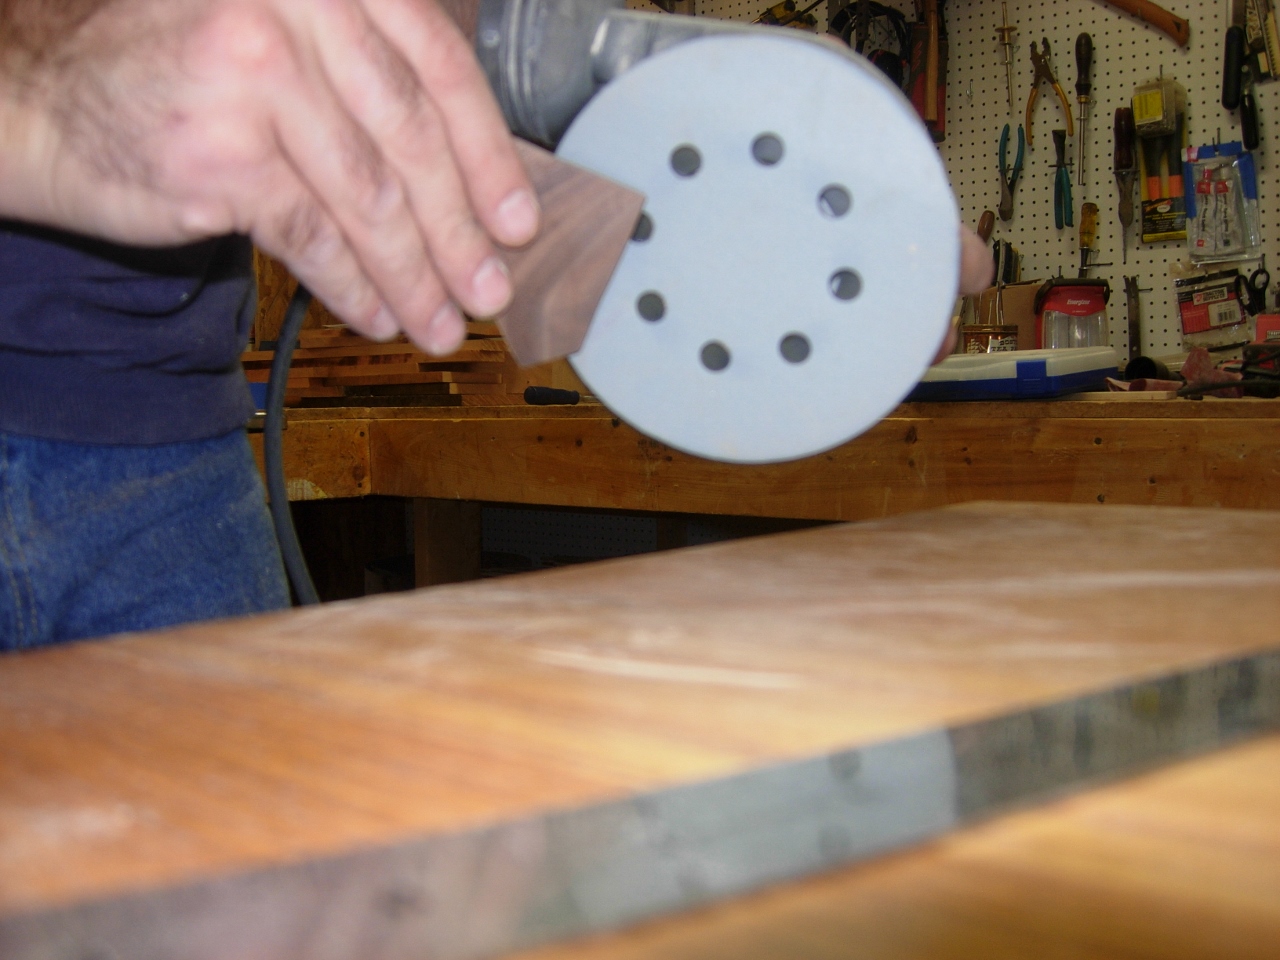
Cleaning up the edges
I suppose you could use cloth for the backer, but I have a nice piece of raw, veg-tanned leather, left over from My first Roorkhee chair that I wanted for the purpose. I have used hide glue on the leather, in the past, and was happy with the results, so I am going to use it again for the tie.

Hide glue to attach to leather
I cut the 45 degree edges on the pieces so the tie can flex at the joints without it being too noticeable. I applied hide glue to the bottom of each piece, leaving the 45 degree bevels clean and clear of glue. I pressed them all tightly in place and before I attached the knot, I made sure to leave a clear spot in the center for attaching the string guide.
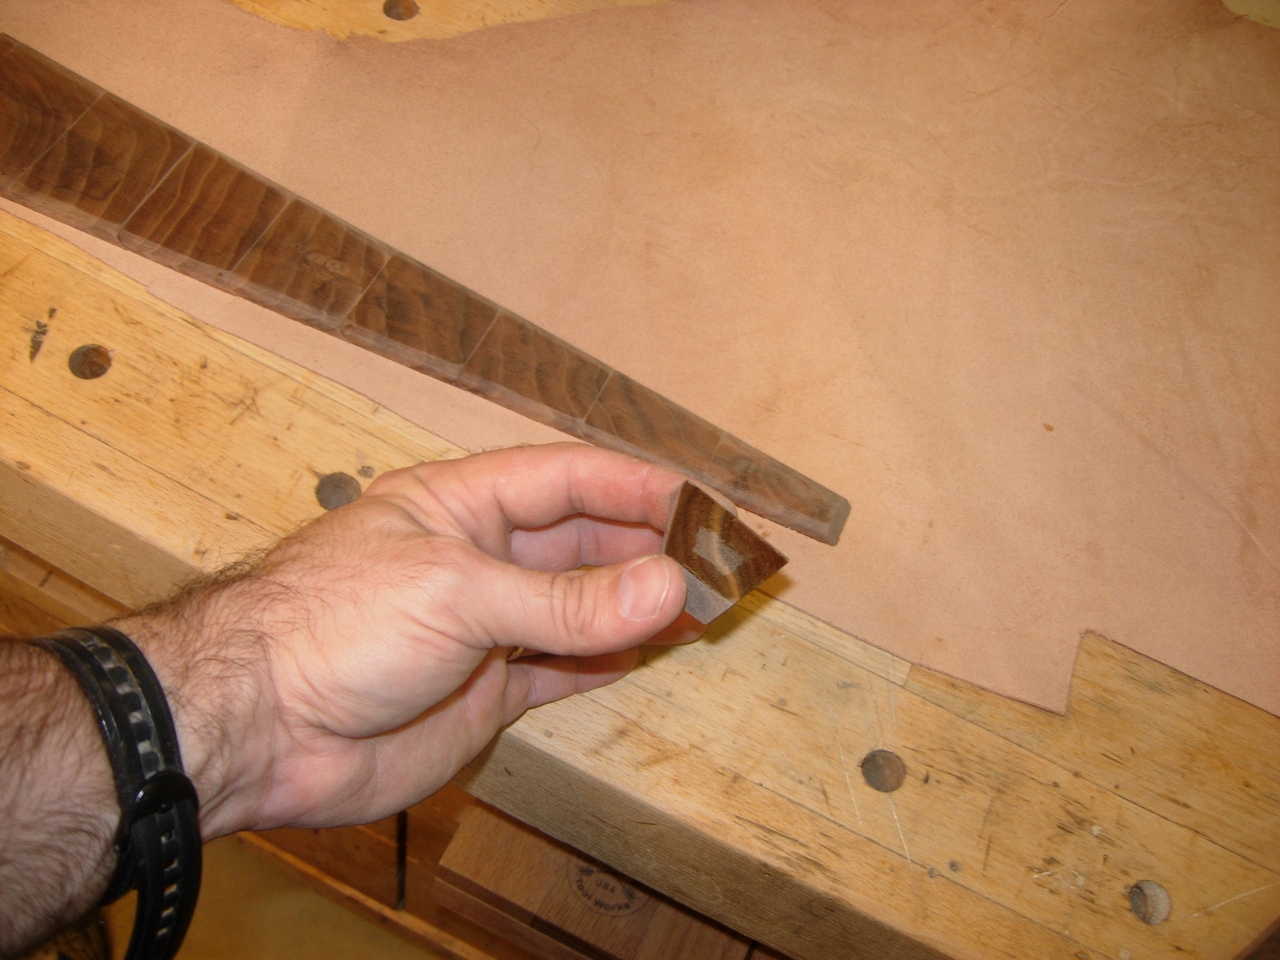
Leave an unglued area in the center
Denatured alcohol to clean up the pencil lines
Since I still had some pencil lines on the surface, I cleaned them off with denatured alcohol, then pressed the wood and leather together with a large pile of wood.
Apply a bit of weight while the glue dries
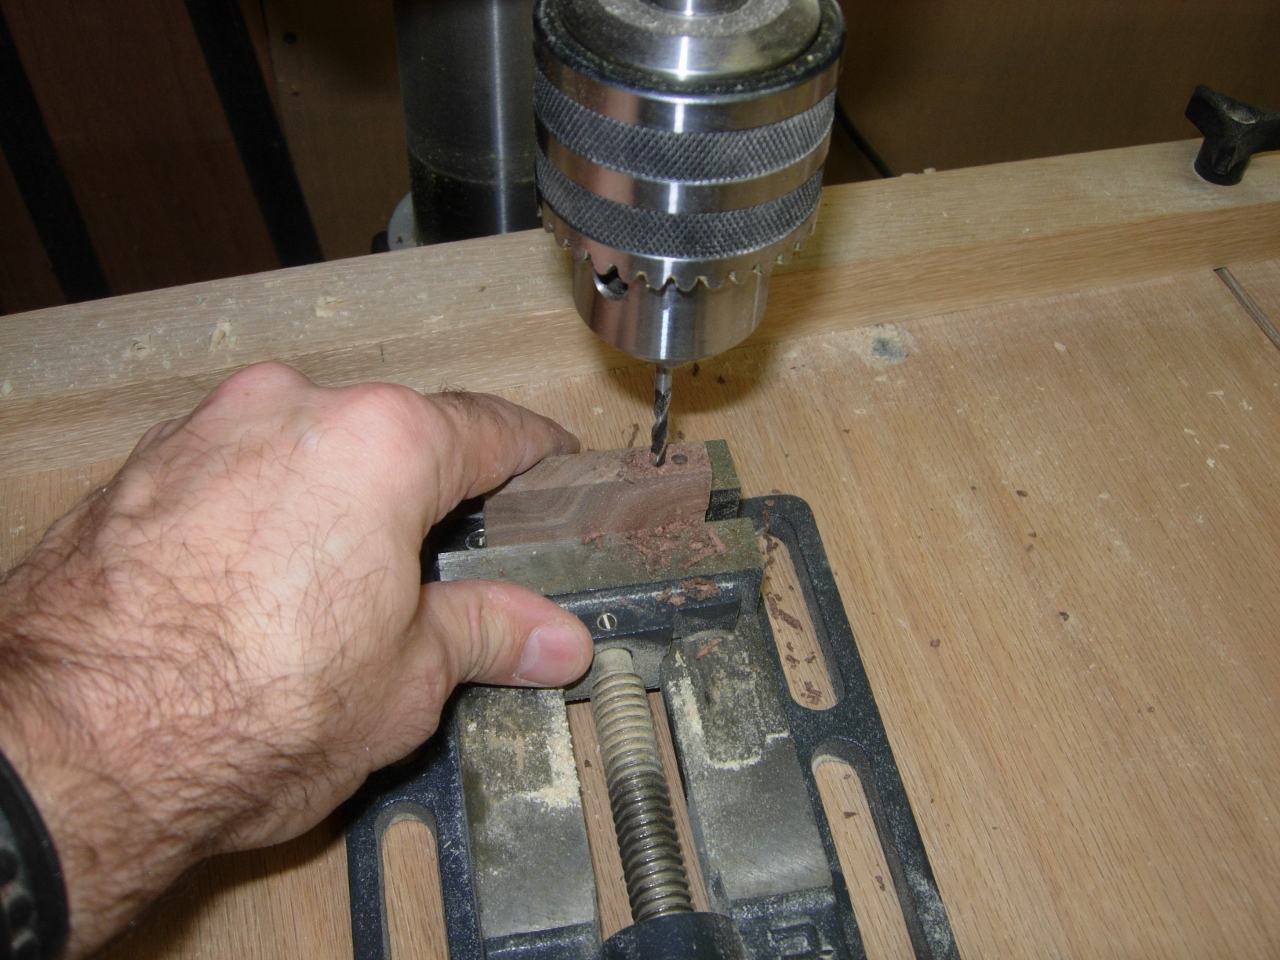
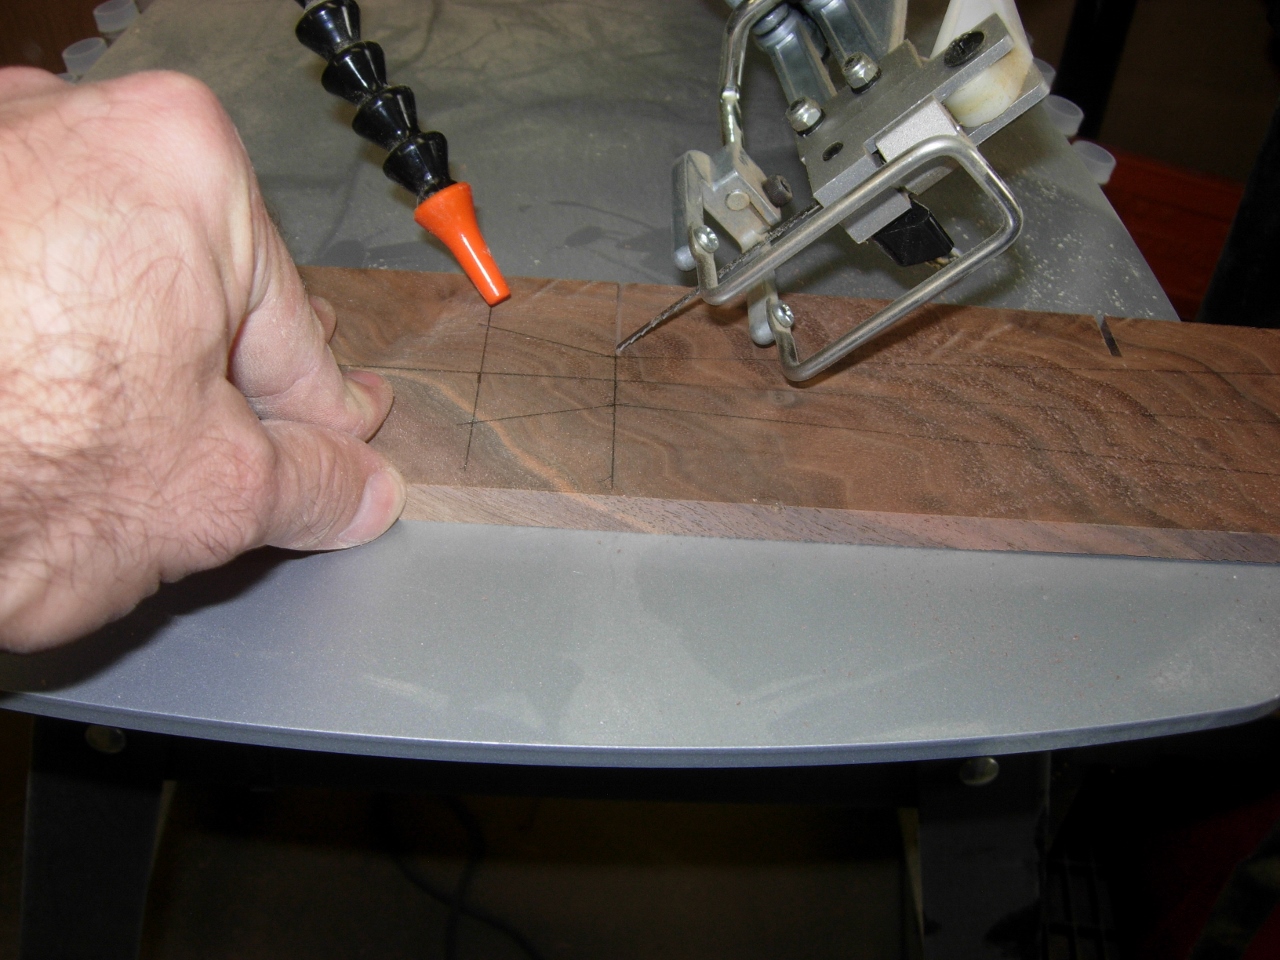
Drilling out the string guide
While the glue was setting up, I grabbed a chunk of scrap and drilled a couple of holes for the strings, then cut it out.
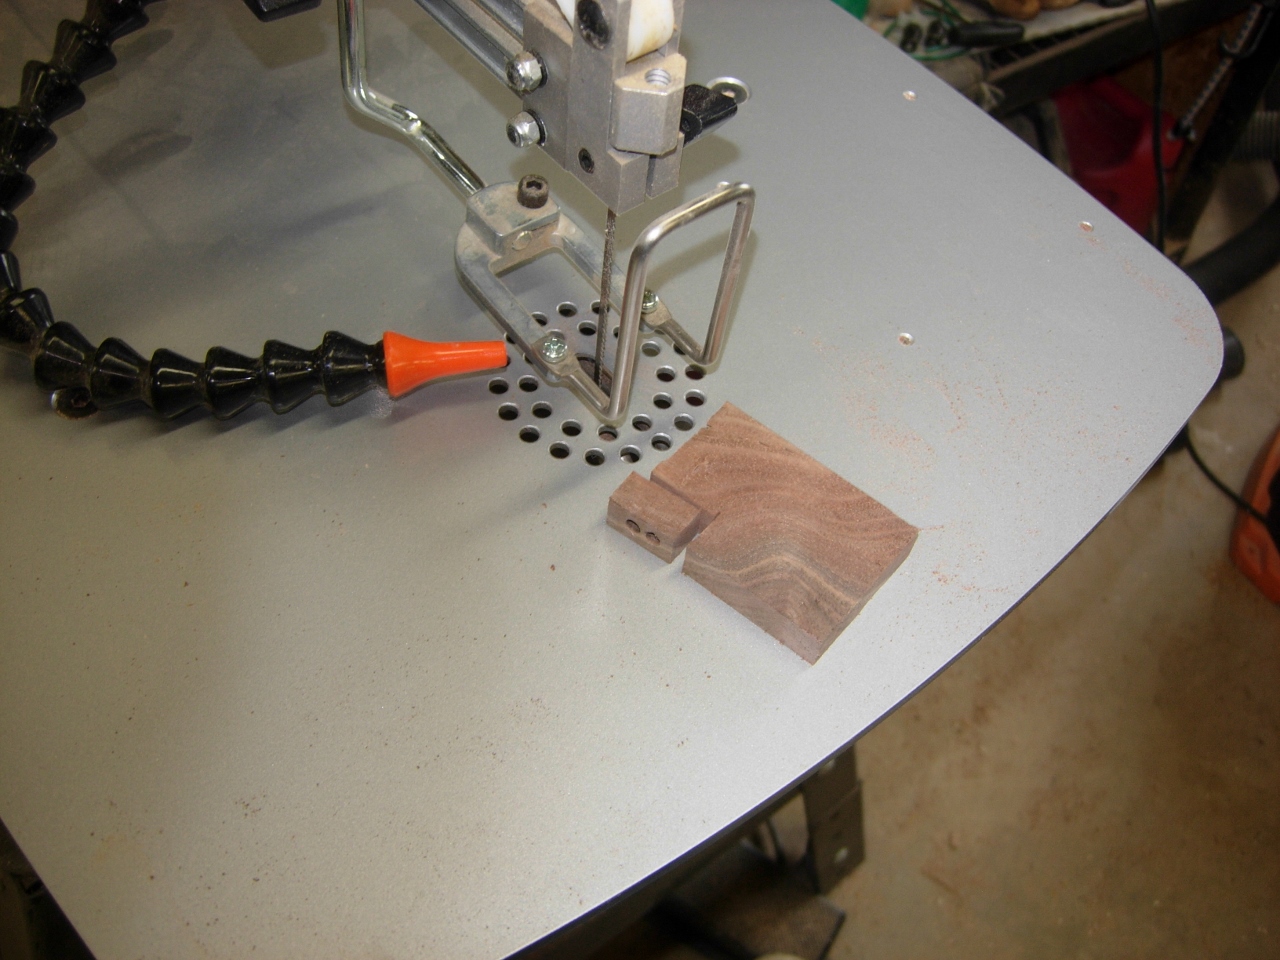
Cut out on the scroll saw
I rounded the edges on one side, on the spindle sander (not the safest choice for the finger tips…).

Carefully sand and shape
Backing the guide with another piece of wood, I placed my block plane in a vice and ran the guide back and forth across the blade a few times to flatten the back.

Flattening with a block plane
Trim the leather to the edges
A couple of hours later, I off-loaded the large pile of wood and freed up the tie. I trimmed the leather along the edges of the tie, with a utility knife, then marked the location of the string guide, with a pencil.

Mark the string guide
My knife kept wanting to cut more than I wanted, so I switched to a sharp chisel to cut out the pocket, in the leather, for the string guide.
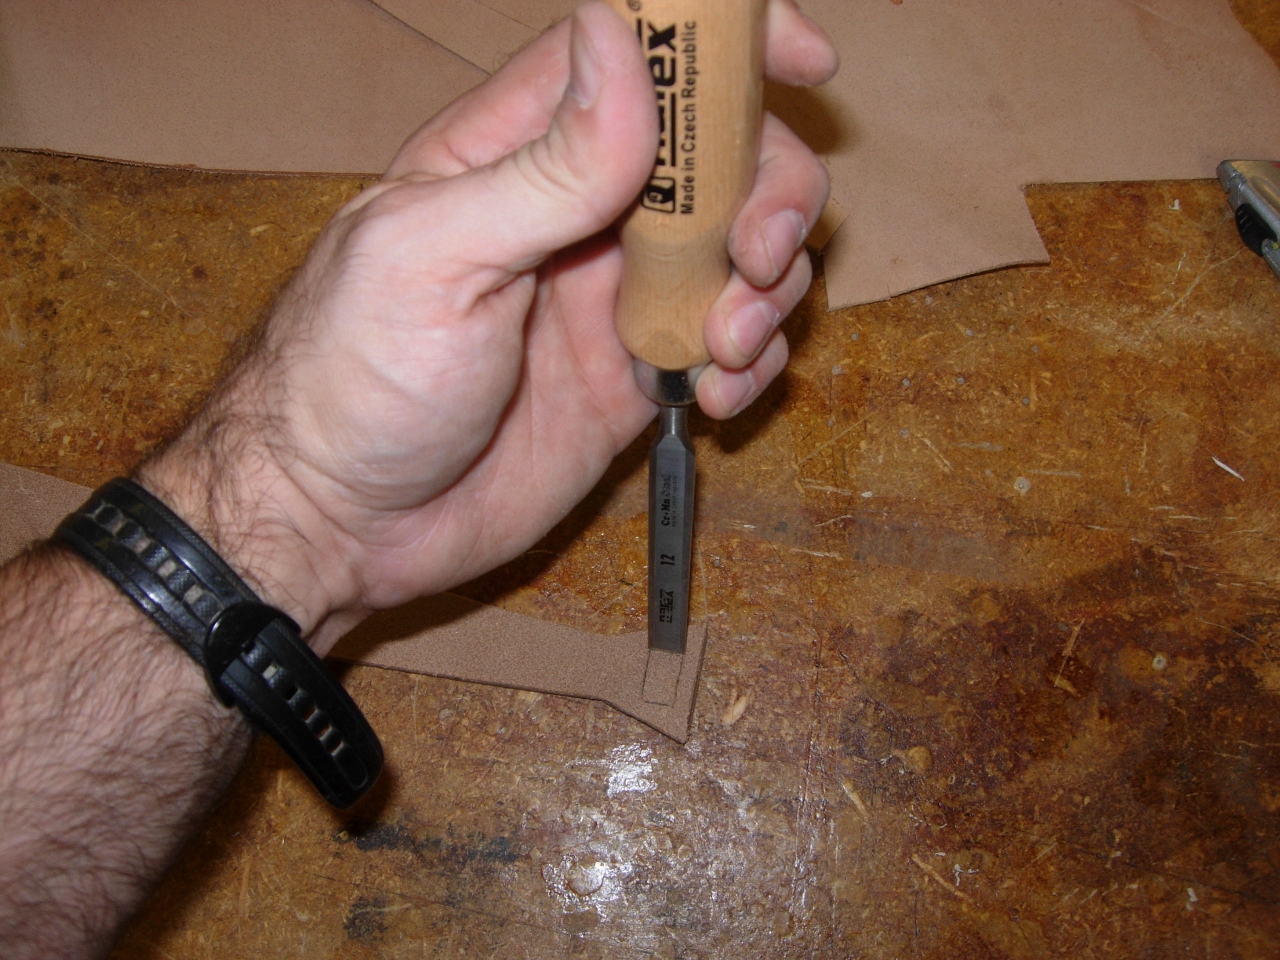
Remove the leather

Wood glue to attach block
A drop of wood glue and a clamp, and the guide was set.
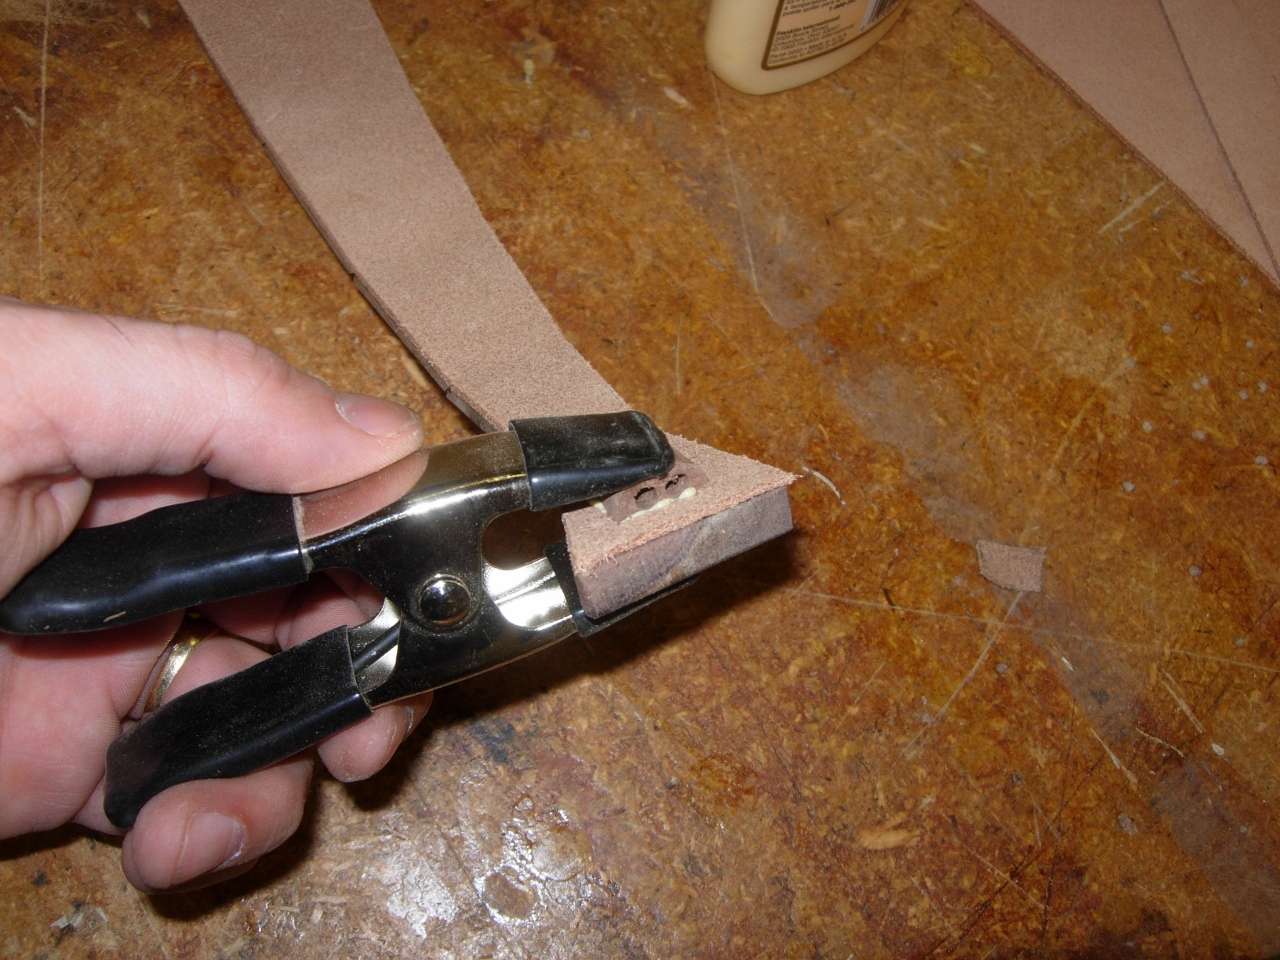
Clamp it up

Sand down the face
Before finishing, I ran the orbital across the completed tie with 220 grit paper.
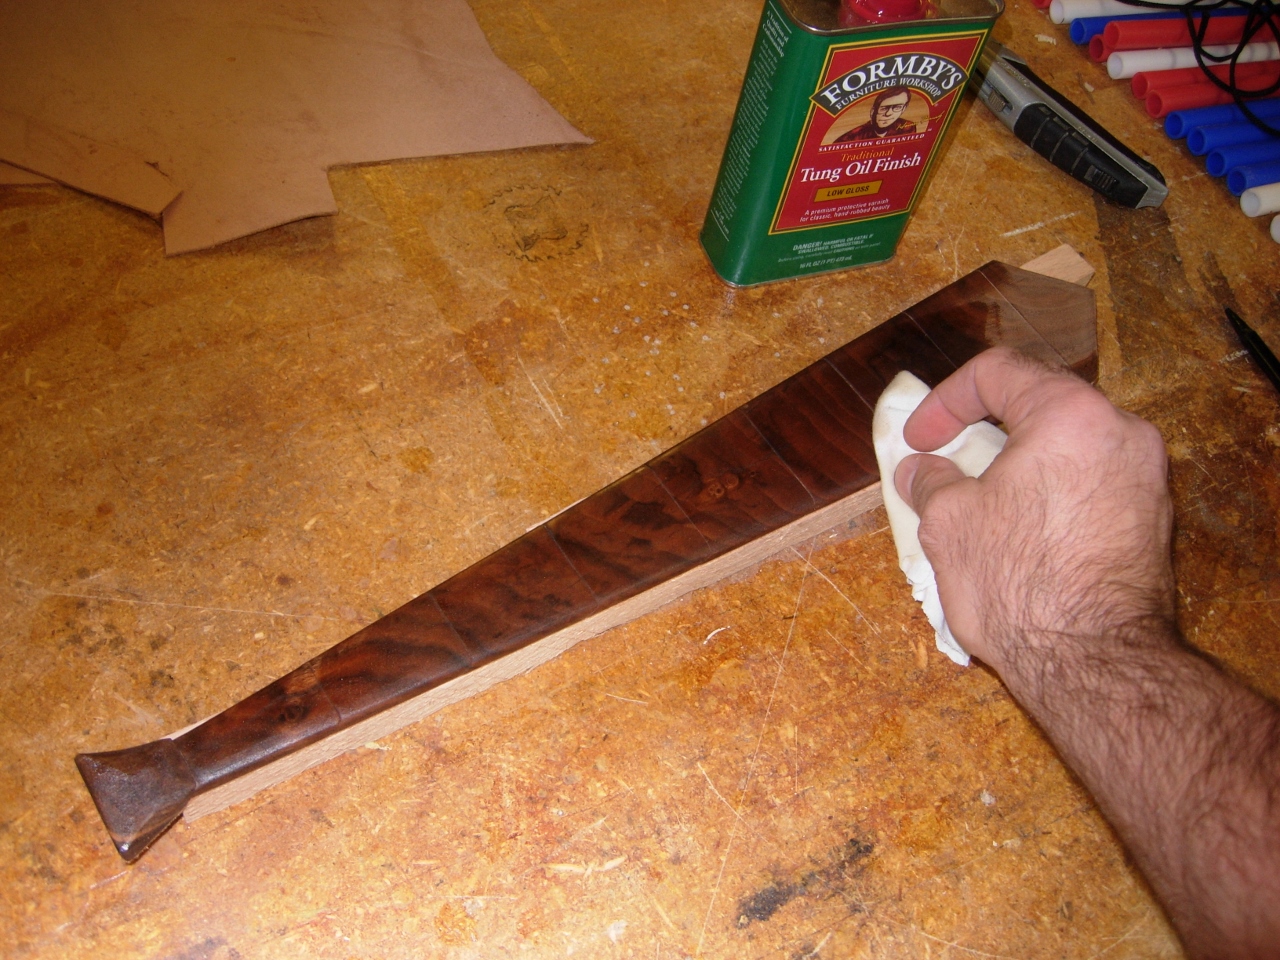
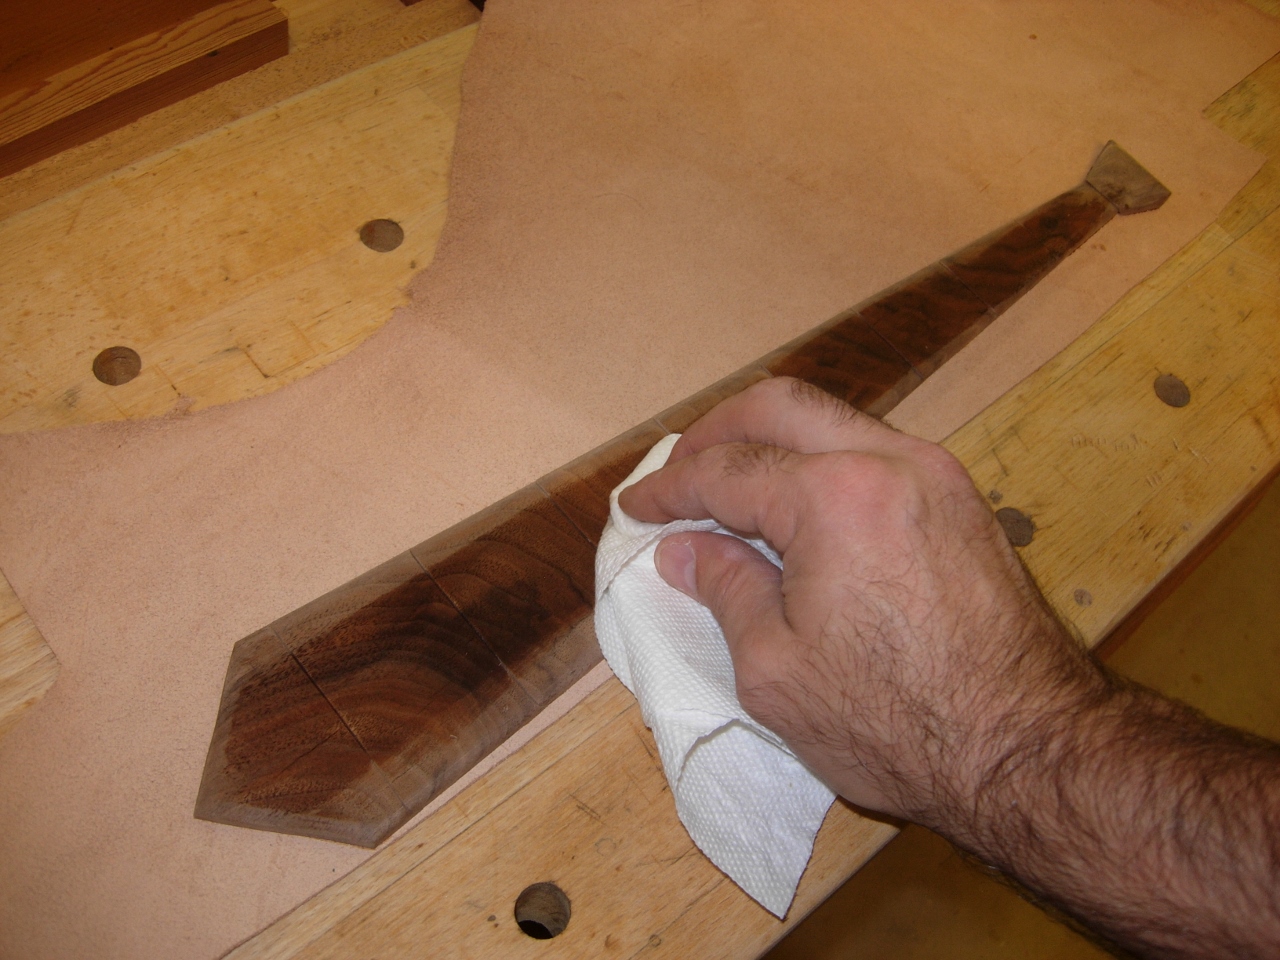
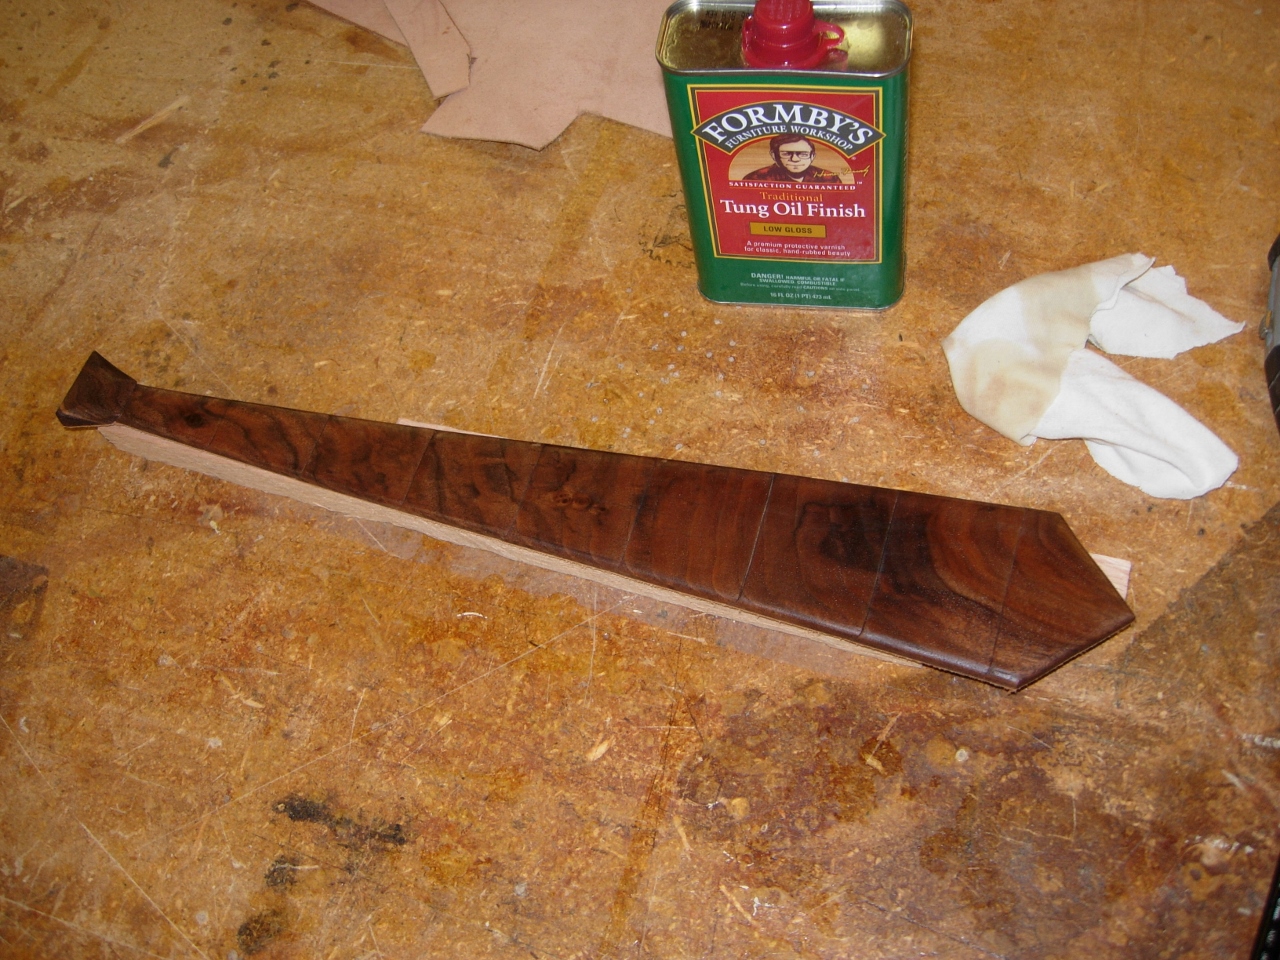
Low gloss Tung oil
I applied three coats of low-gloss Tung oil, and let it cure over night.
Let it dry and re-apply

I used a noose for the adjustable string
My original thought was to use a bolo tie setup to hold the tie in place, but the tie was a bit heavy for that. There are various spring-loaded options that I have seen on jackets, that can hold the string tight, but I opted for one that I think is most fitting for a tie, a simple noose.

Noose/tie, same thing…
It actually works perfectly in this case. It adjusts easily and well. A tie is basically a noose anyway…

One of the few times you will ever see me in a dress shirt
To test it out, I broke down and put on a dress shirt. That can count as my one time this year. It actually fit very well and stayed tight.
The flexible leather backing is will also perfectly conform to various shapes of a manly physique as well.

Flexible
This was a fun little project and easily finished in a day. The perfect use for that special piece of wood that isn’t big enough for most projects. Again, please let me know if someone makes one. There are several options that could be added to spruce it up a bit, including embedding a tie-tack, or placing polka dots made with a plug cutter, dyed wood laminated in stripes. If I liked to wear ties, those would be a few things that I would try. Send pictures, I would like to post them.
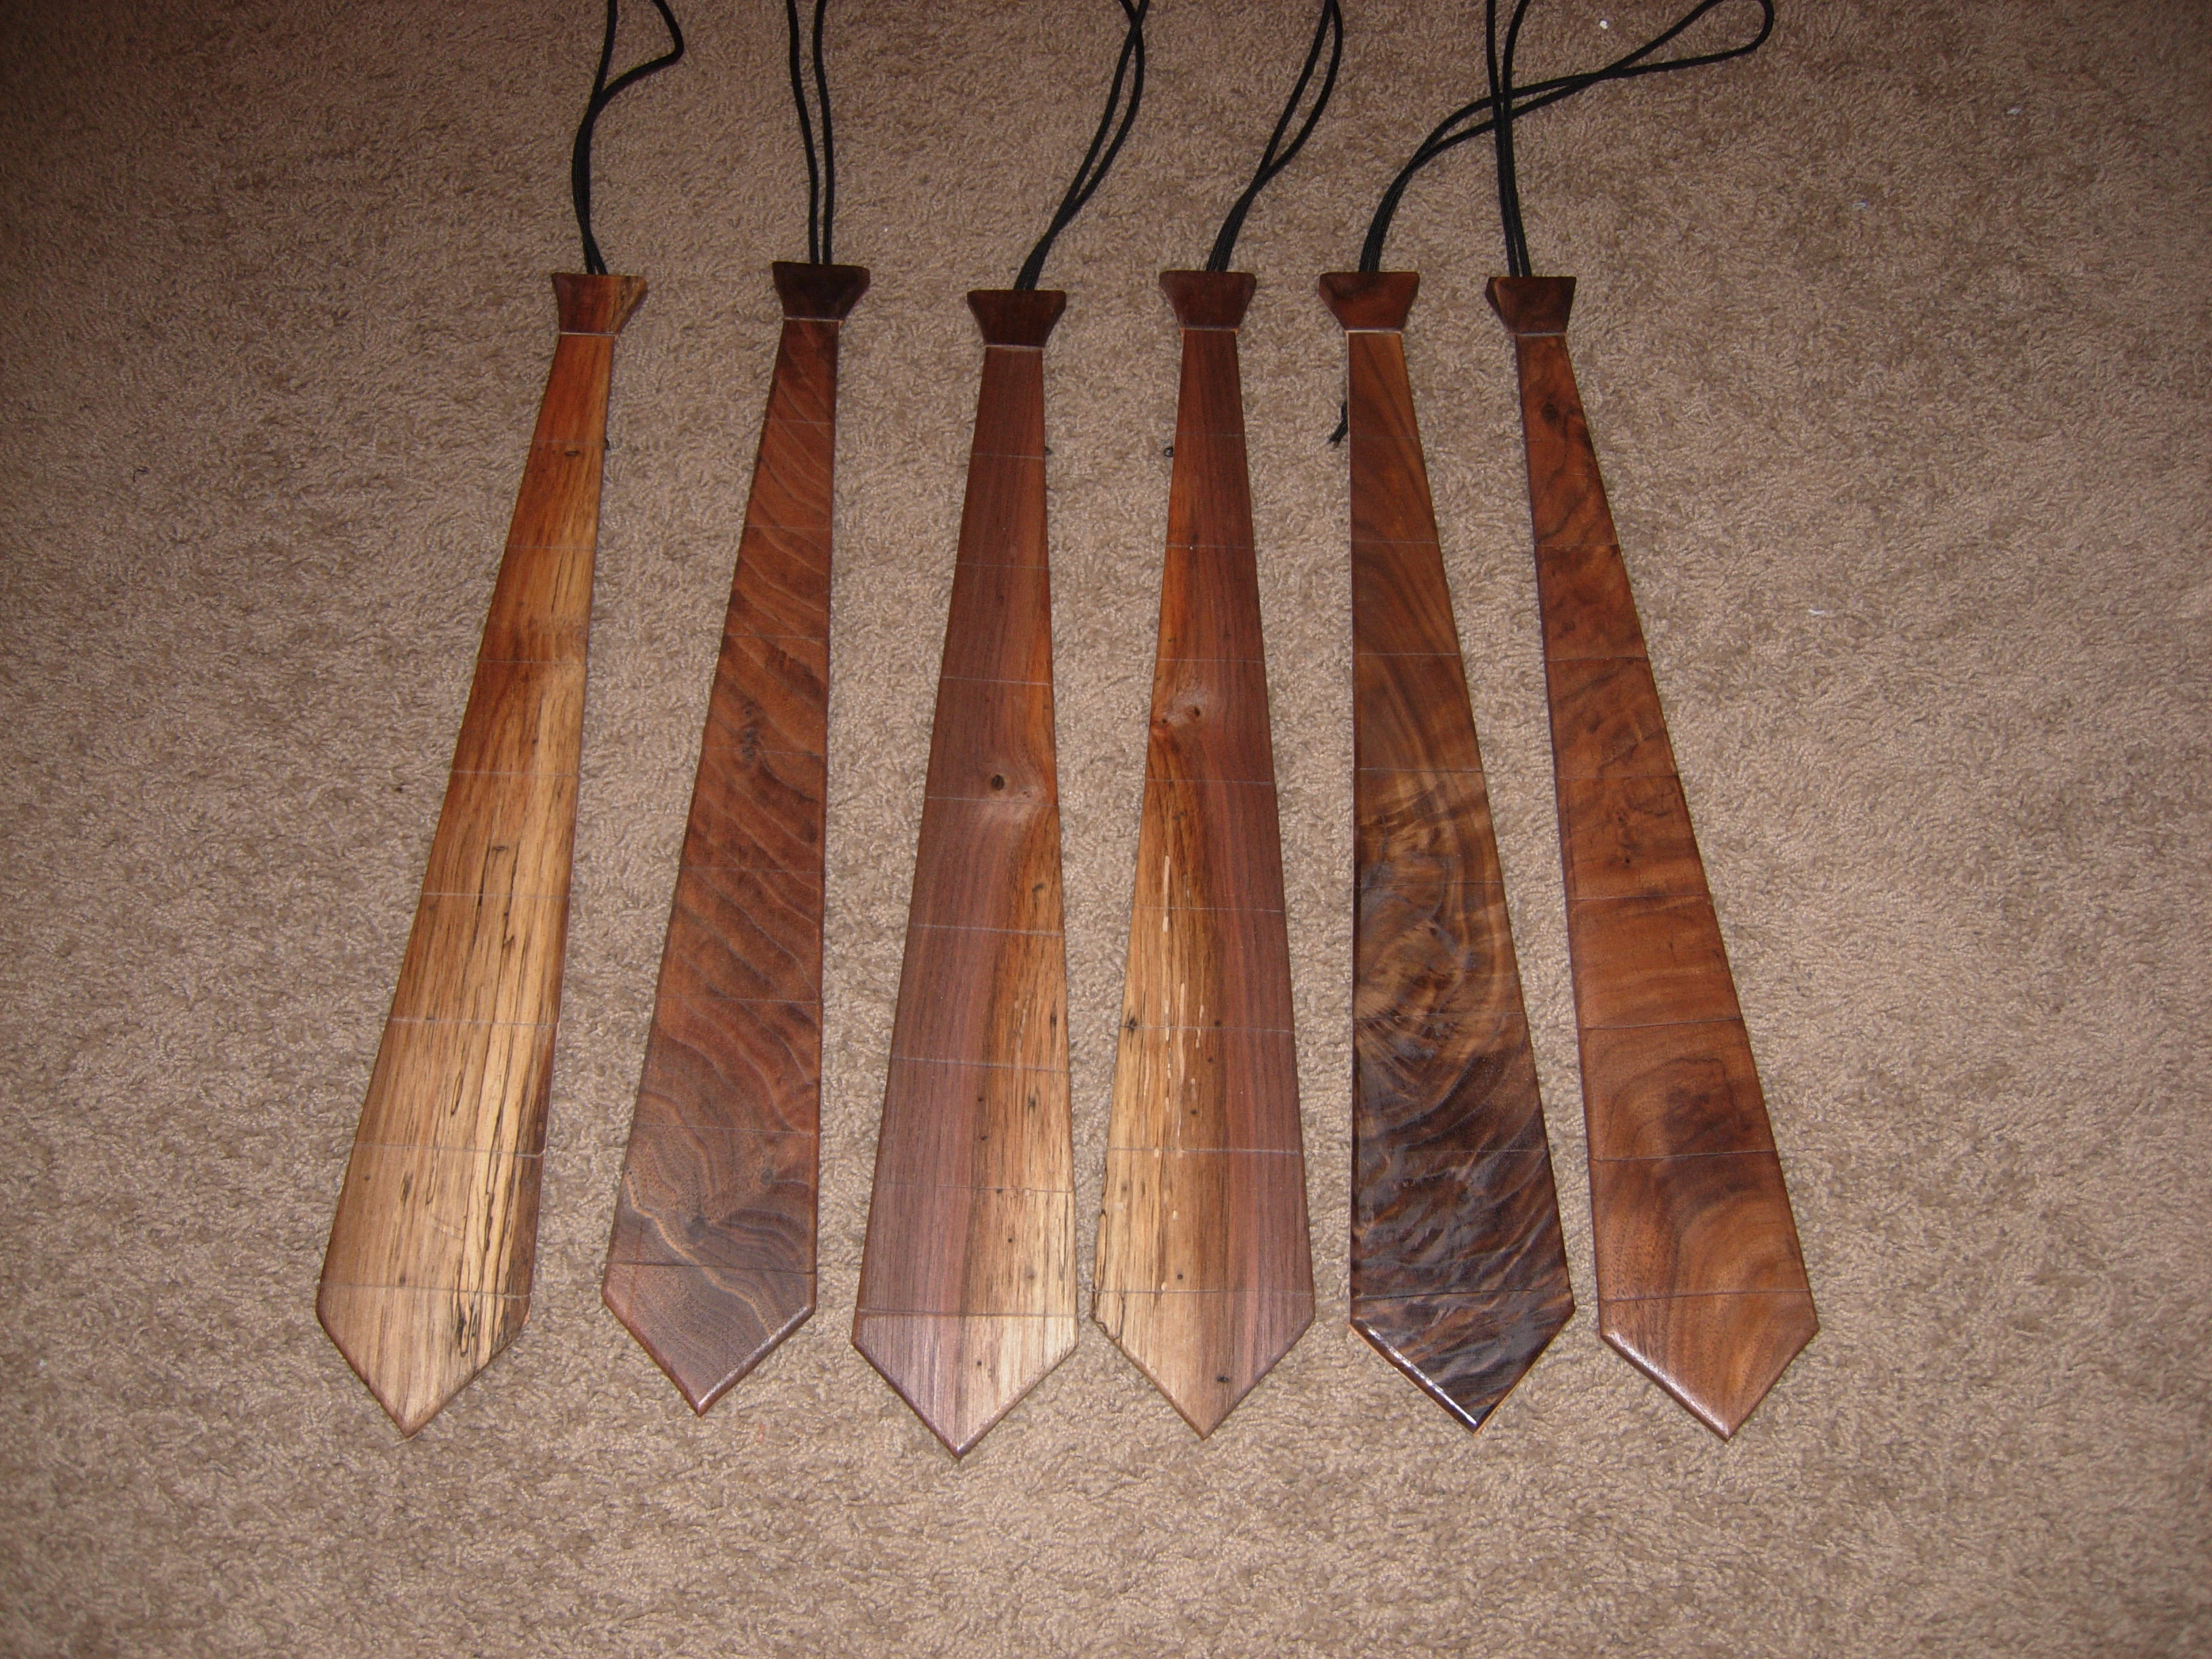
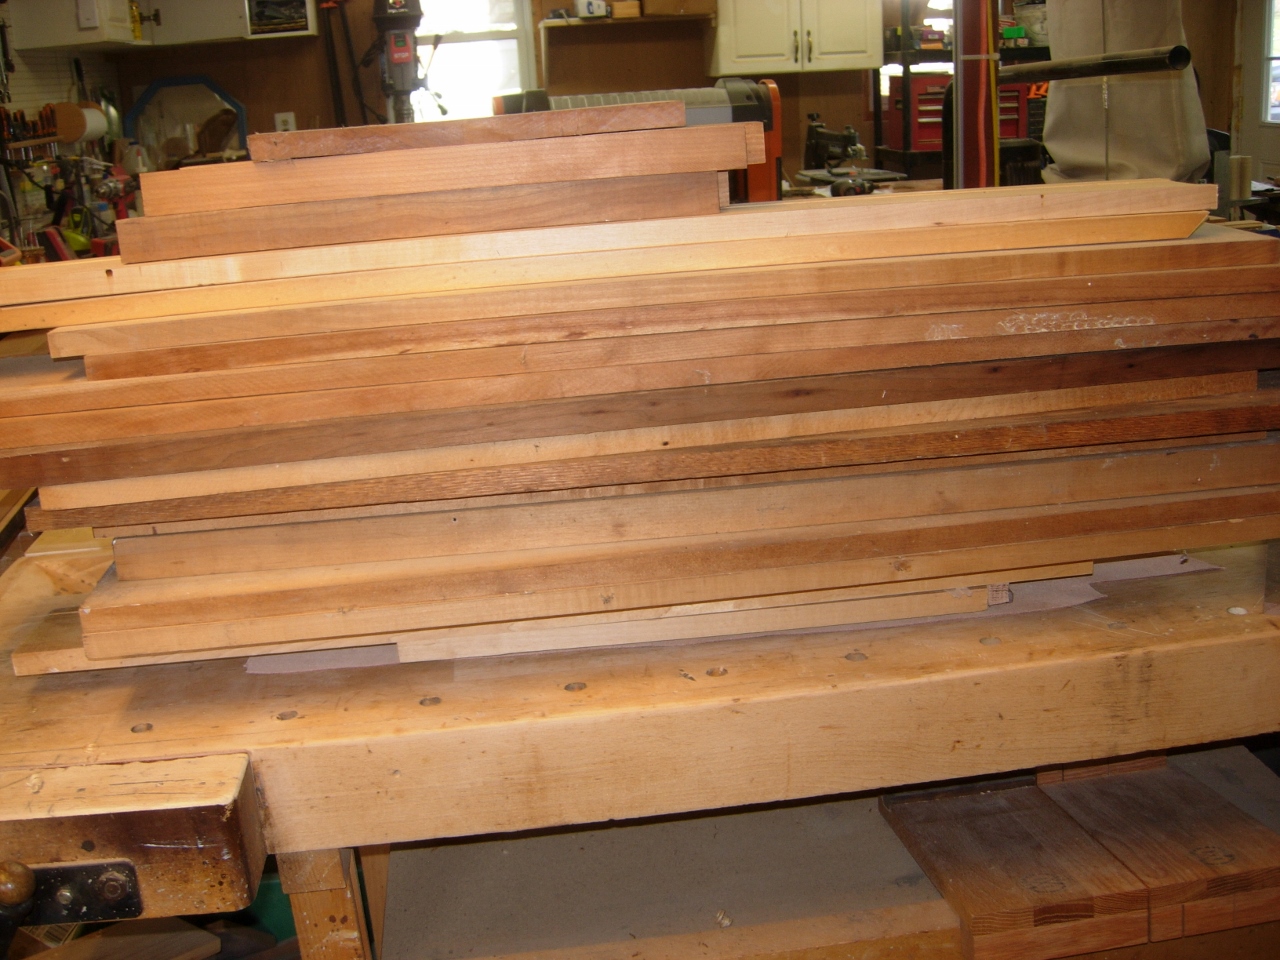
Some Christmas presents
I made a few more for Christmas presents this year. It took about three hours to make one and about four hours to make five, so build them in bulk.
