
Raised panel doors
I am helping a friend to complete a project that he is working on. He is building a set of book cases with cabinets below. He is doing all the work in his spare time, at the job site. To save him some time and money, I offered to help him with the mill work in my shop. He is nearing the end of the project, so I am building the raised panel doors, to finish it up. Raised panels are not exactly an interesting project, but I did take pictures of the process, so I thought I would post them.
Ripping the rails and stiles
I have ten panels to make, so I cut oversized blanks for all of the panels, rails, and stiles. I planed them all down to the desired thickness, then cut each piece to length.
Rail and stile blanks for ten doors
For the short pieces, I set up a stop block. For the longer ones, I clamped together four pieces at a time and cut them to length.

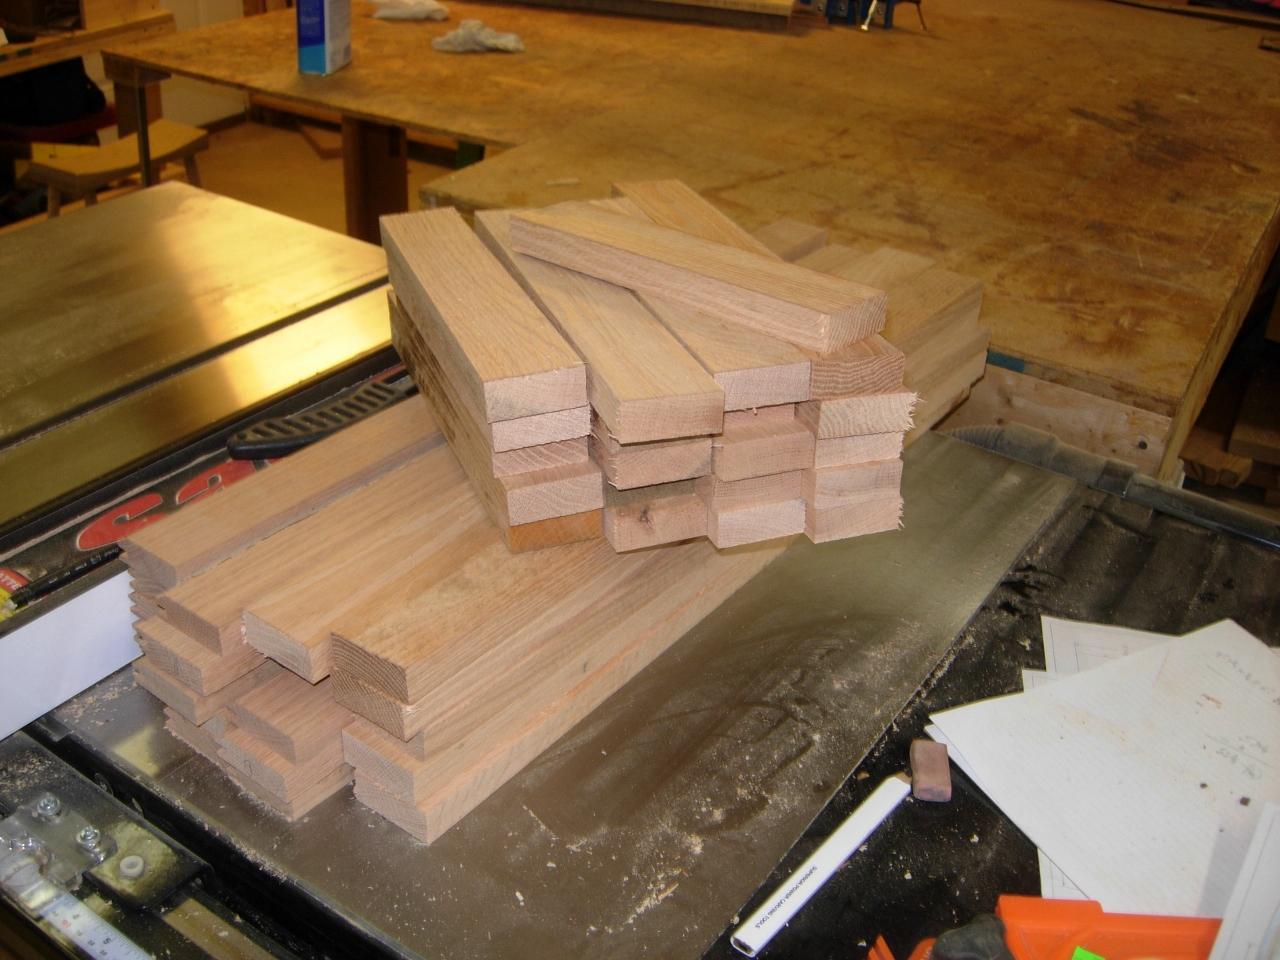
Cutting to length
Blanks milled and cut
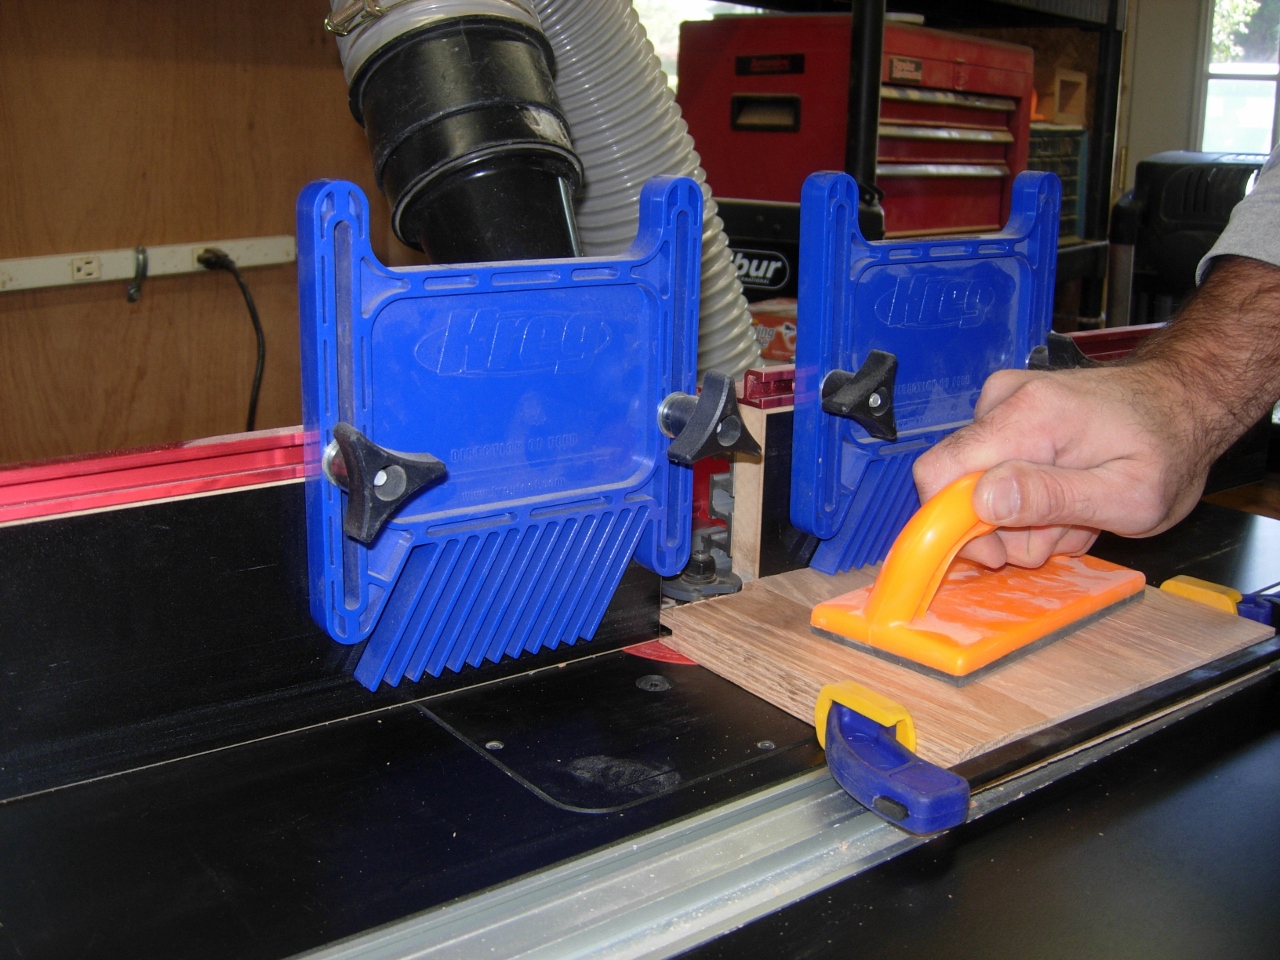
Gang cutting the end cuts
Once all the pieces were cut and milled, I set up my two routers with the rail and stile bits. I have a couple pieces of 3/4″ stock that I cut these profiles into, that I save as setup blocks. I use two different routers so I don’t have to swap bits and set everything up again. I can leave the routers set up until I am satisfied that everything was cut correctly. I even cut a few extra pieces in case I miscalculated anything (which always seems to happen). I did all of the end cuts, on the short pieces first. I like to clamp together four at a time. This gives me a longer surface to run along the fence and it reduces tear-out. After all the ends are cut, I swap routers and cut the long sides.
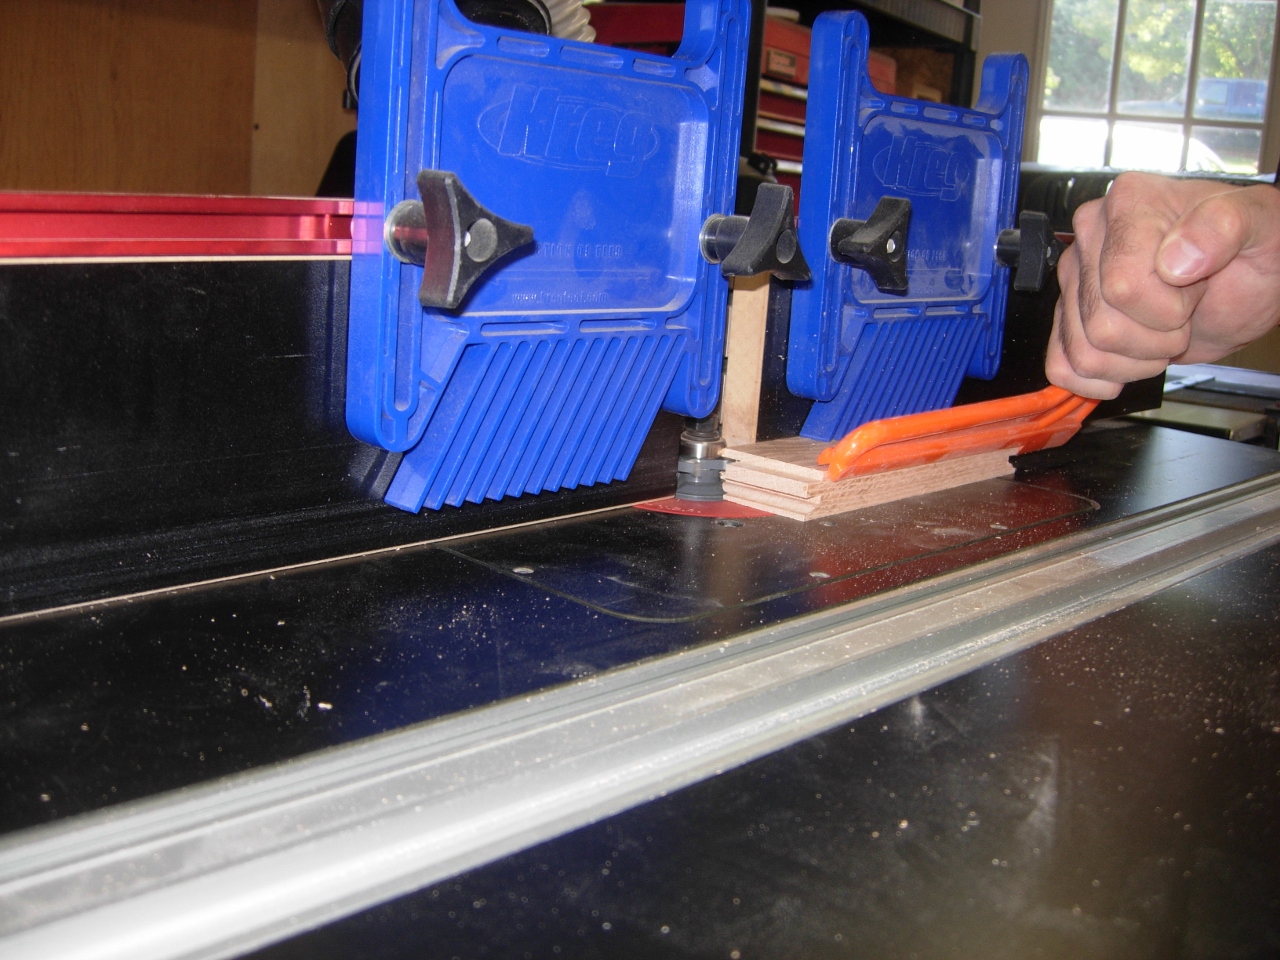
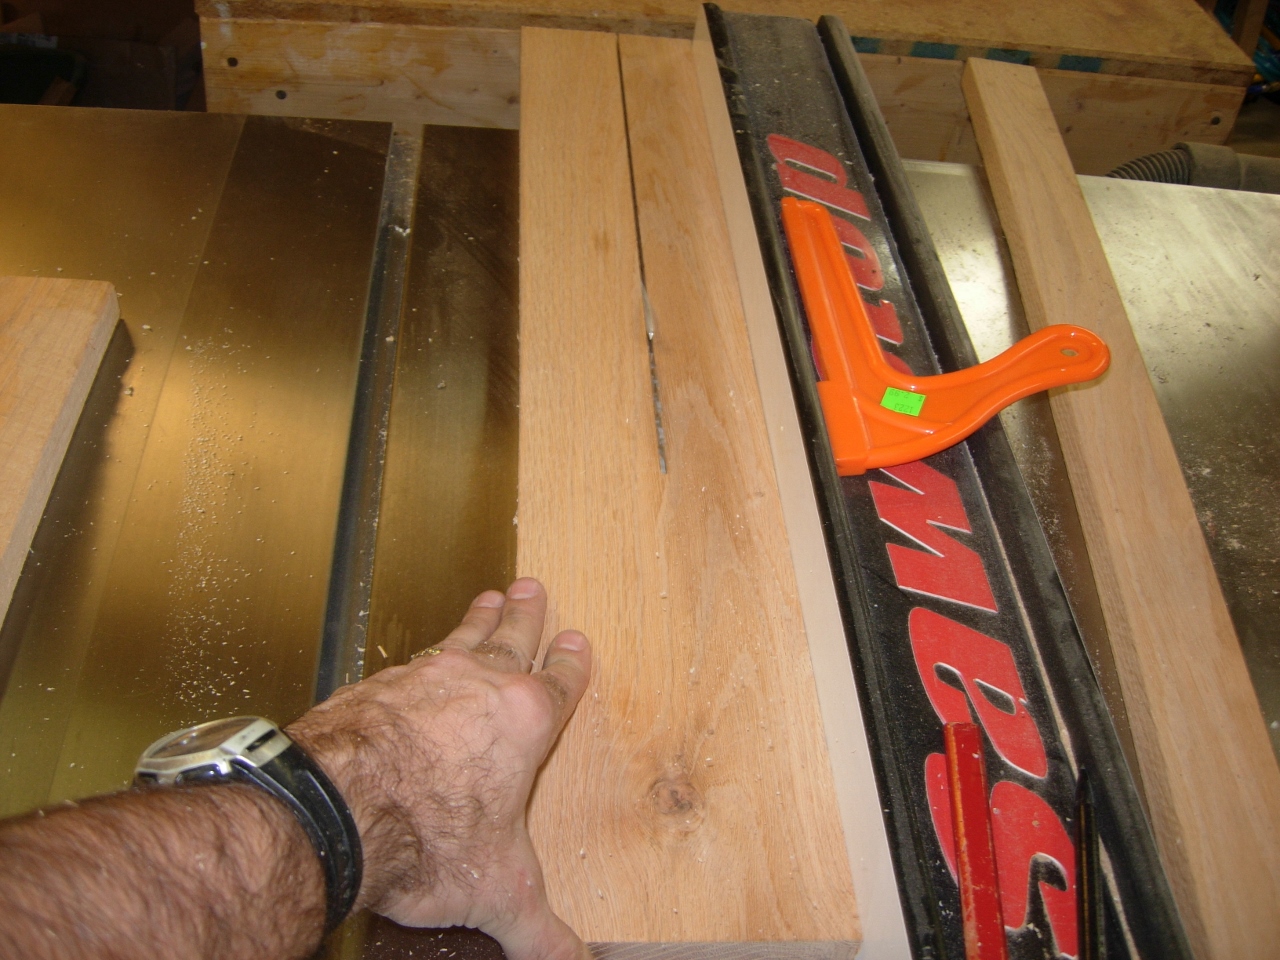
Cutting the long sides
I found a cool feature on my cheap push-stick. It has a Vee groove that allowed me to push from the outer corner, at a 45 degree angle. Usually I repeatedly bang my knuckles on the knobs of the feather boards. This feature allowed me to lean my hand away but still be able to push the board through easily, while keeping downward and inward pressure on the board.

Push tool designed for holding at 45 degree angles

Cutting the panel edges
When I was confident that the rails and stiles were acceptable, I switched to my panel bit, and cut all of the panel faces.
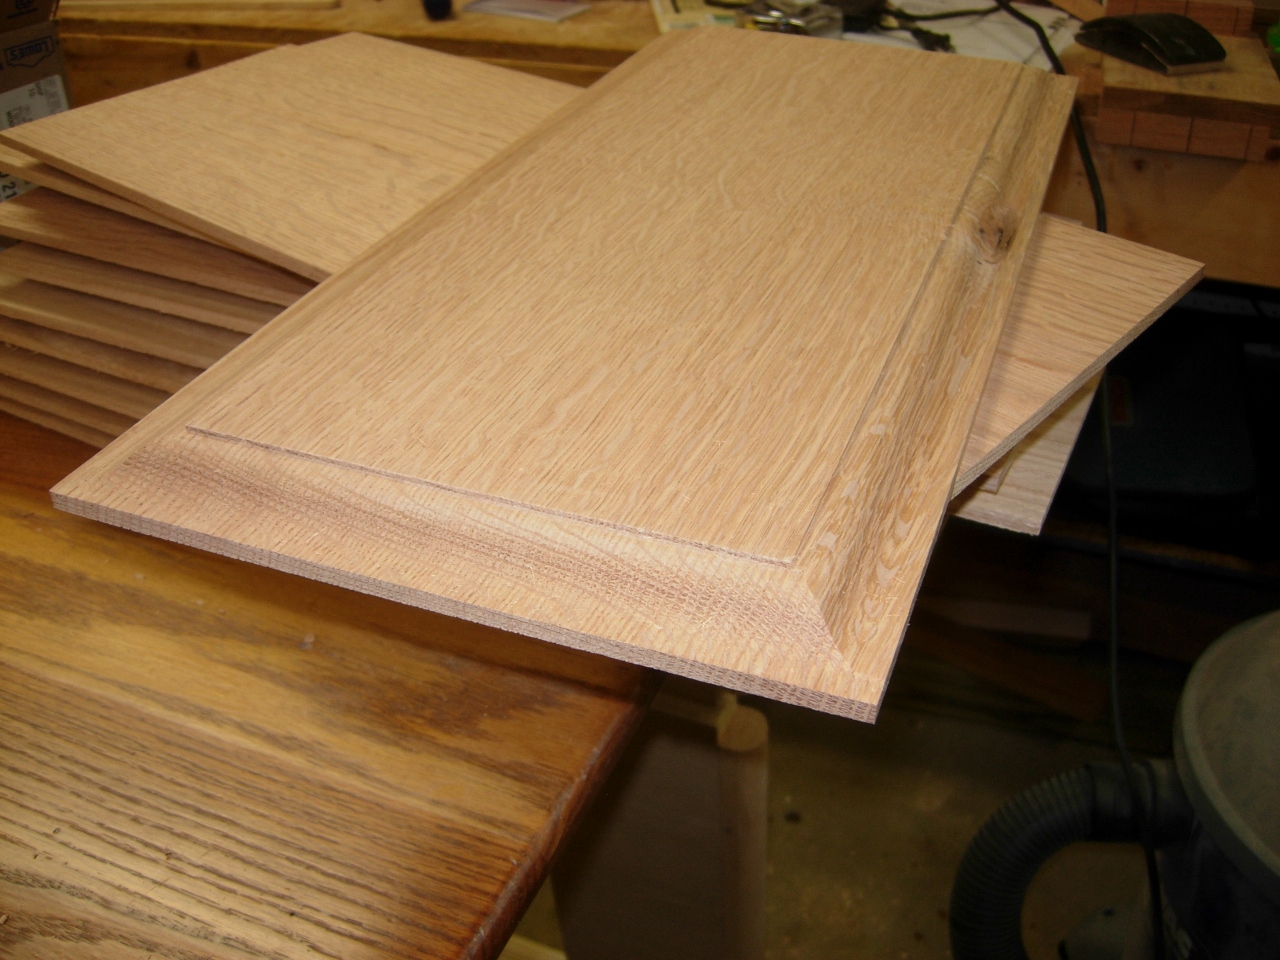
One panel down

Cleaning up the faces
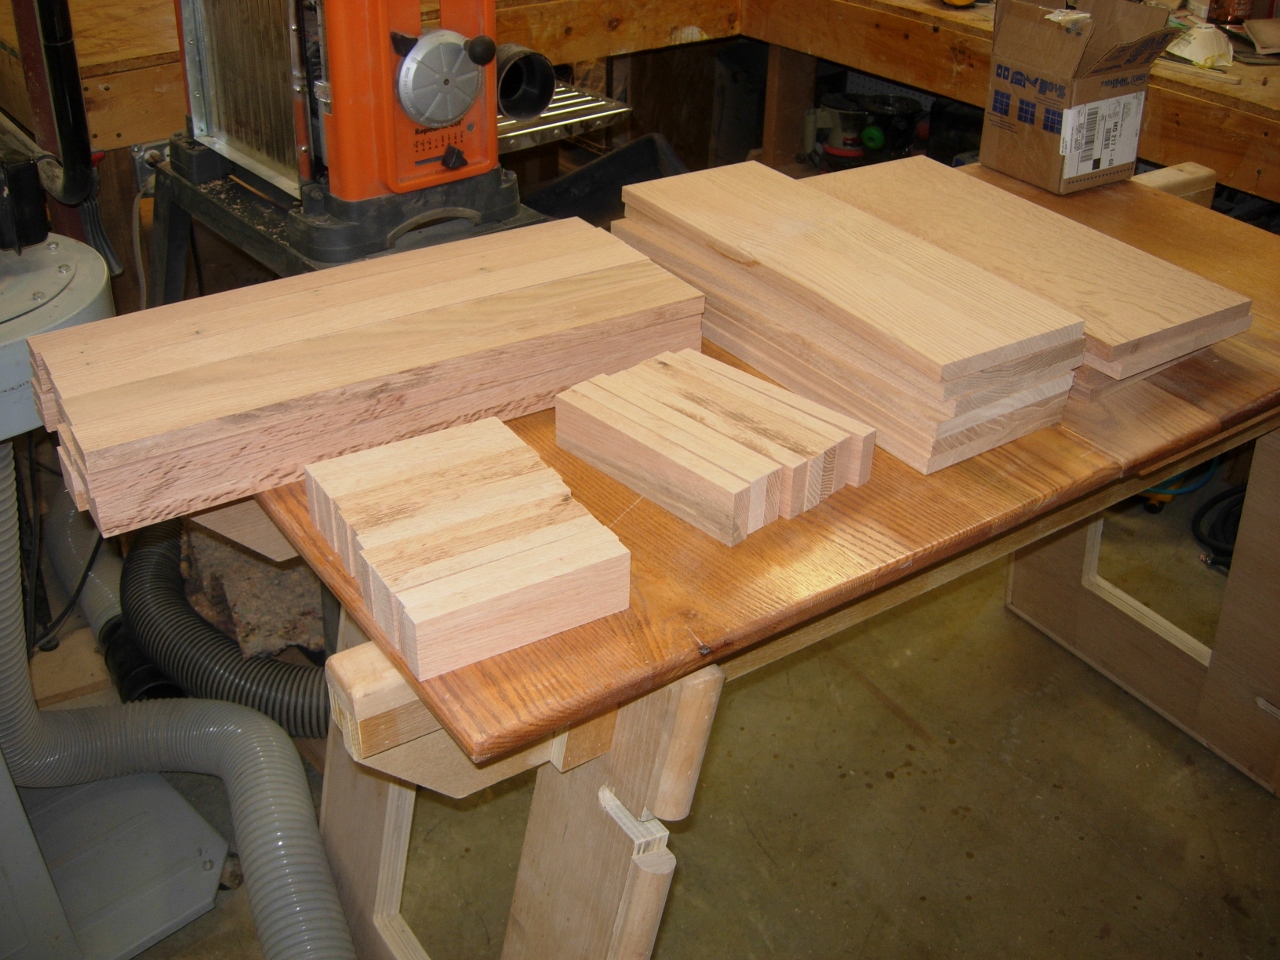
After a quick sanding, all of my components were ready for assembly.
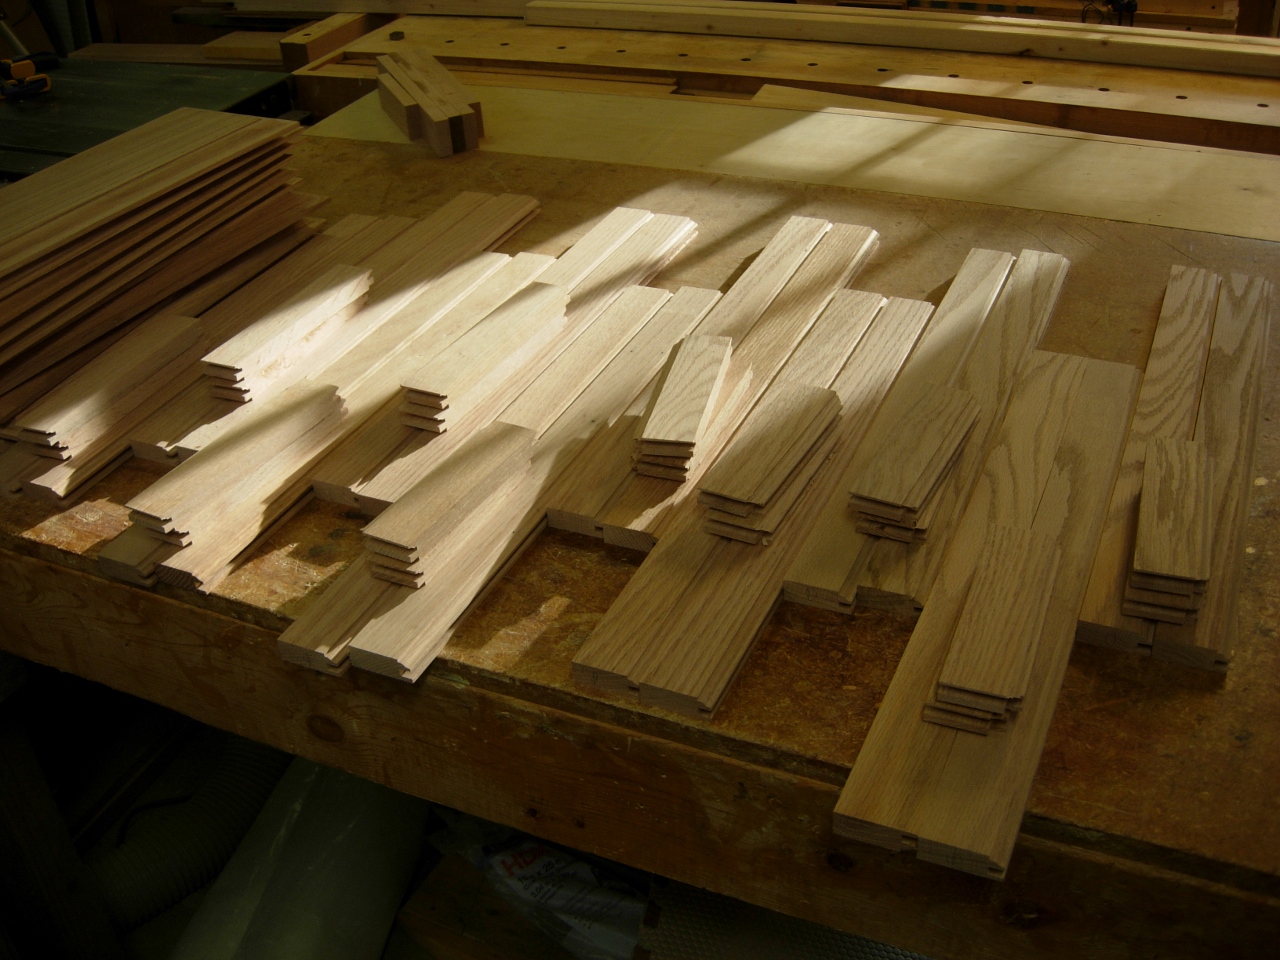
All parts prepped and ready for assembly
I purchased space balls for spacers, on this project. I didn’t like them nearly as much as other spacers that I have used in the past. They were not as squishy as I would like, so they only left about 1/8″ for the panel before I had to start compressing them. On the last set of doors, that I did, I used barrel-shaped ones that Lee Valley sells. They were smaller in diameter and they had more give to them, allowing the panel to be inserted 1/4″ into the groove. My favorite spacer material is an adhesive foam tape, that I get from MLCS. It looks like weather stripping foam, but a bit denser. It is only 1/8″ thick, but compresses easily if needed. Unfortunately I was out of those others, and the space balls were only $5 (with free 2-day shipping), so I thought I would give them a try. they did the job, but they affected my dimensions a bit.

Installing spacers
Spacers inserted, I started the glue-ups. I only need to apply glue to the end profiles of the shorter rails.

Adding the glue to the ends of the rails
I laid the panels against a framing square, then clamped them up.
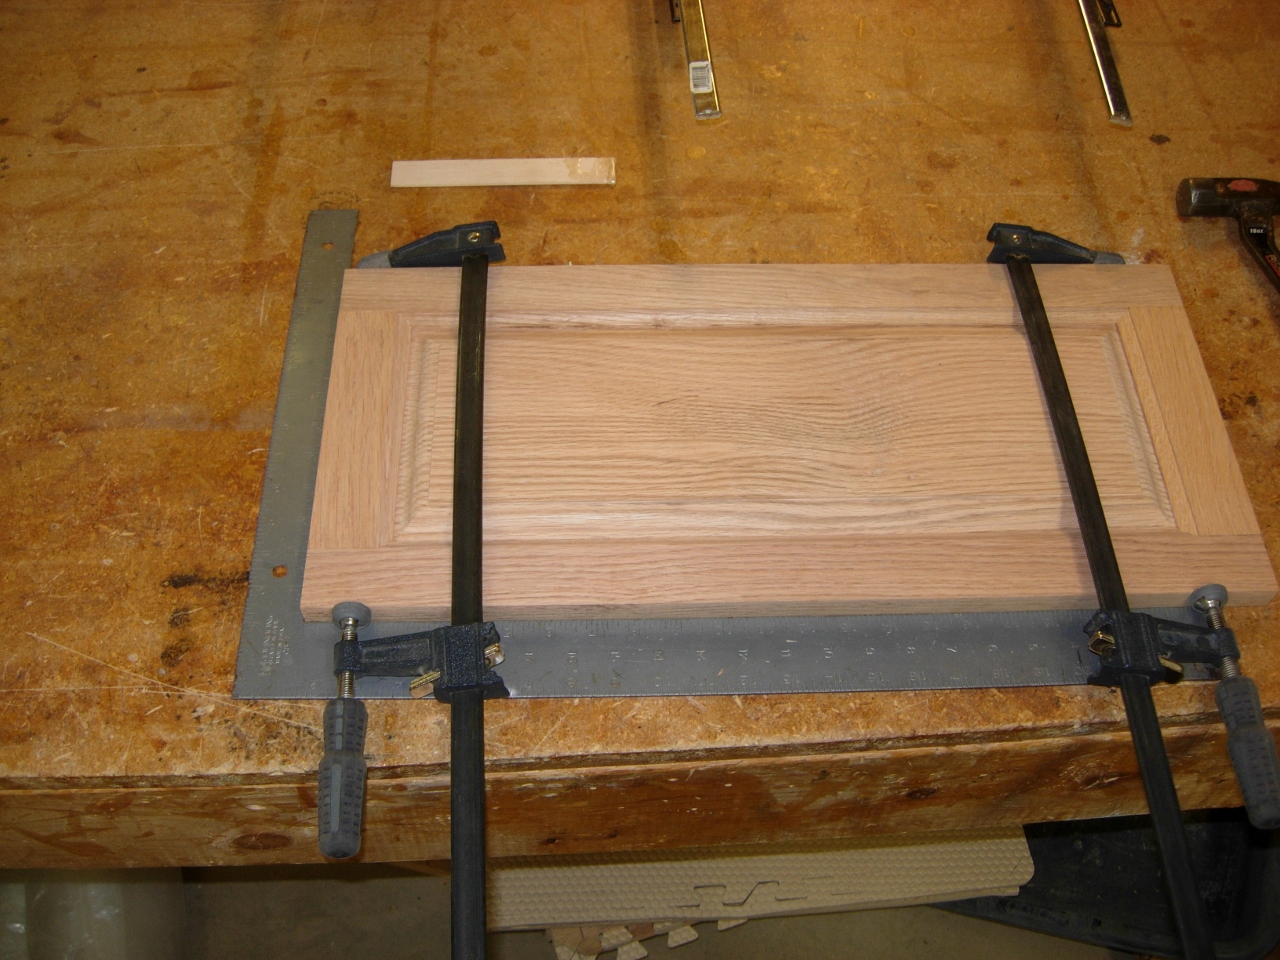
Squaring and clamping
I left them all clamped up and drying overnight.
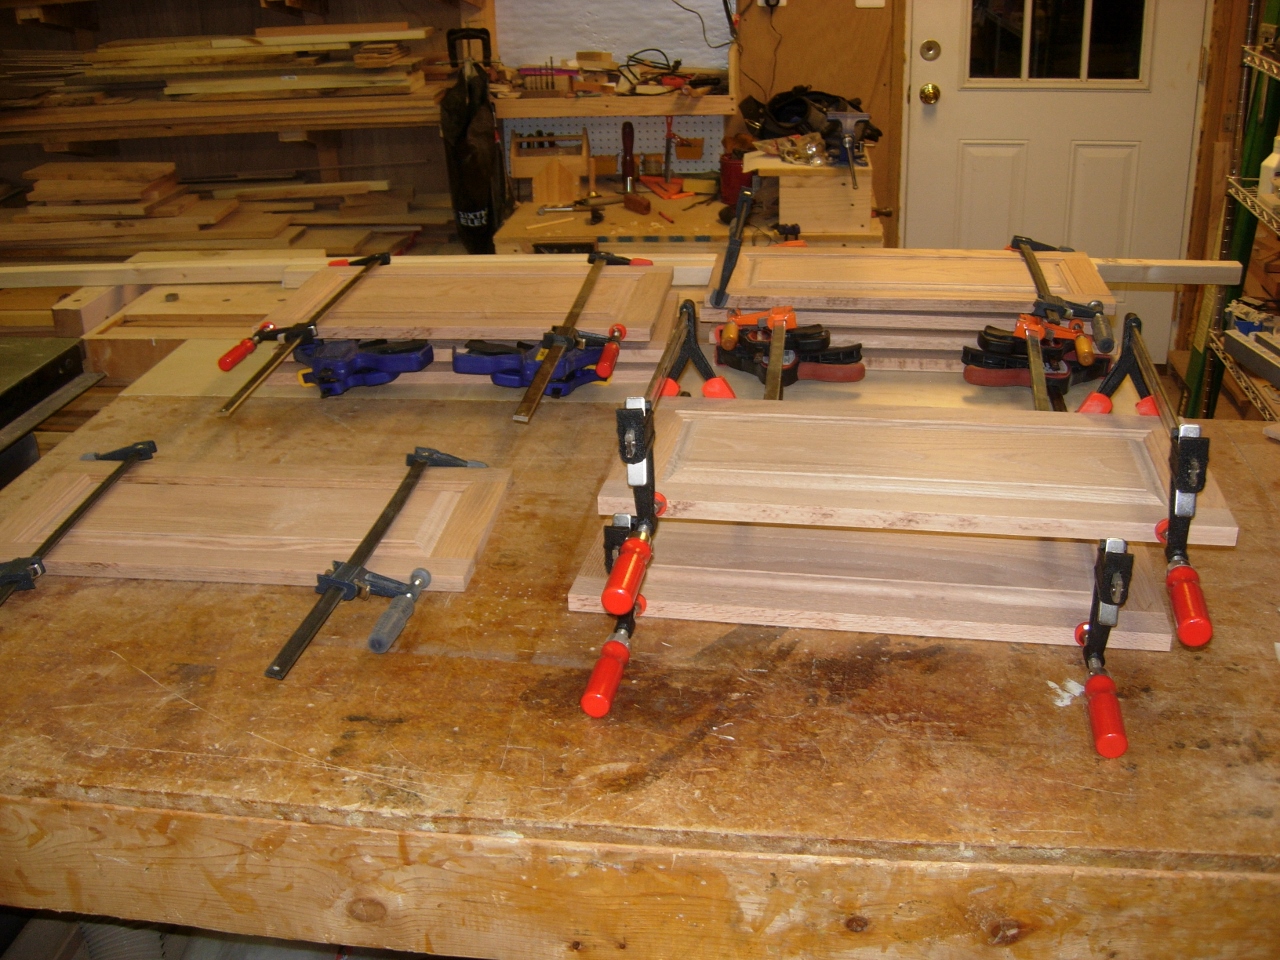
Panels all glued up

Sanding off glue squeeze-out
I sanded down the glue joints to even out any shifting wood and glue squeeze-out, then set up the door lip bit in the router. I ran all of the panels through, starting with the short ends first. That way all the tear-out could be cleaned up by the cuts on the long sides.

Routing the door lip

Drilling holes for hinges
The last thing to do is located the hinge hardware. I used some of my scrap pieces to locate the hinge pocket from the back edge of the door. It is easier to do with a square edge door, you just stop the hole 1/8″ from the edge, but with the door lip, you have to move it in far enough that you don’t cut too far into the door lip, but not too far because the door will hit the cabinet, when opened. I did several test drills on the extra rails I cut and found a happy medium location. I just barely cut into the edge of the lip, ensuring structural integrity, but I wound up sanding down the back side of the lip radius a bit flatter to avoid hitting the cabinet face. Next I divided the door height by five and came in 1/5 of the length, from each end, and drilled my pockets.

Test fit
That is pretty much all I have to do with these panels. Now they go to Bill to get finished and installed.
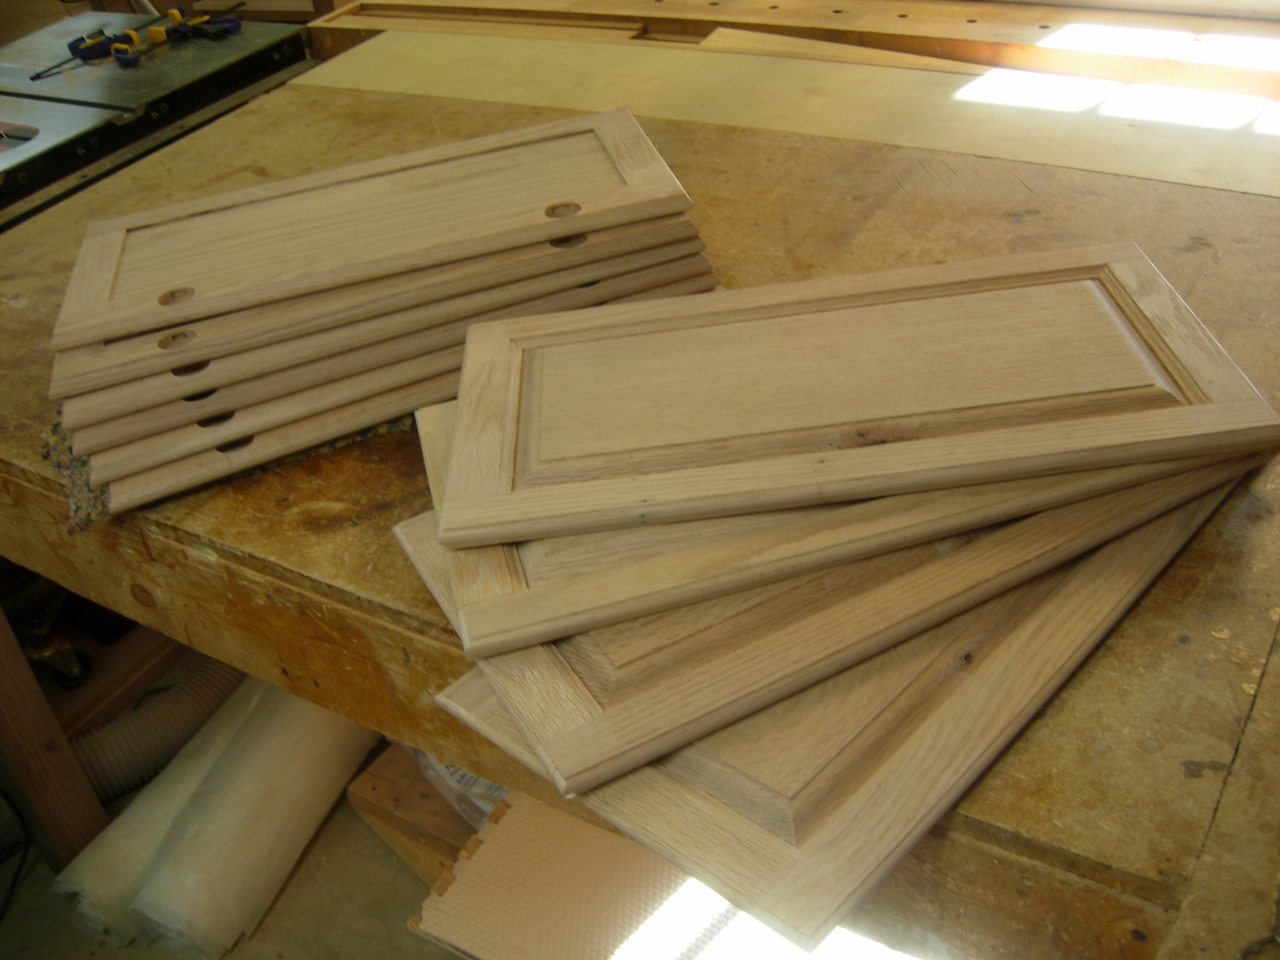
Ten doors complete!

Nice Lawrence. Great pics and steps for making these doors. What part did Adam do? Keep up the good work!
Adam only wants to work on fun stuff…