
Giving an old workbench a new home
My friends over at K&A Design got a letter from a retired woodworker. He was selling off everything in his shop. Bryan and Jodi were going to take a ride down and pick up a few things and asked me if there was anything on the list they could pick up for me. There wasn’t much that I didn’t already have, but there was an old workbench. Since the only bench, in my shop, that has a vice, belongs to Adam, I asked them to take a look at the bench for me. Bryan’s assessment was that it was worth the asking price, so I asked him to grab it for me. He kindly delivered it earlier this week and last night, I had a chance to start cleaning it up and getting it located in its new location.

This old bench needs a little work
It was rather rough looking, but it had two good vices and a bunch of storage space.

Lots of storage space
Step one was to clean and tighten all the vice hardware. I used WD40 and steel wool to clean the rails and lead screw, then applied grease to all the metal parts that moved. There was a dramatic difference once the cleaning and lubing was complete.
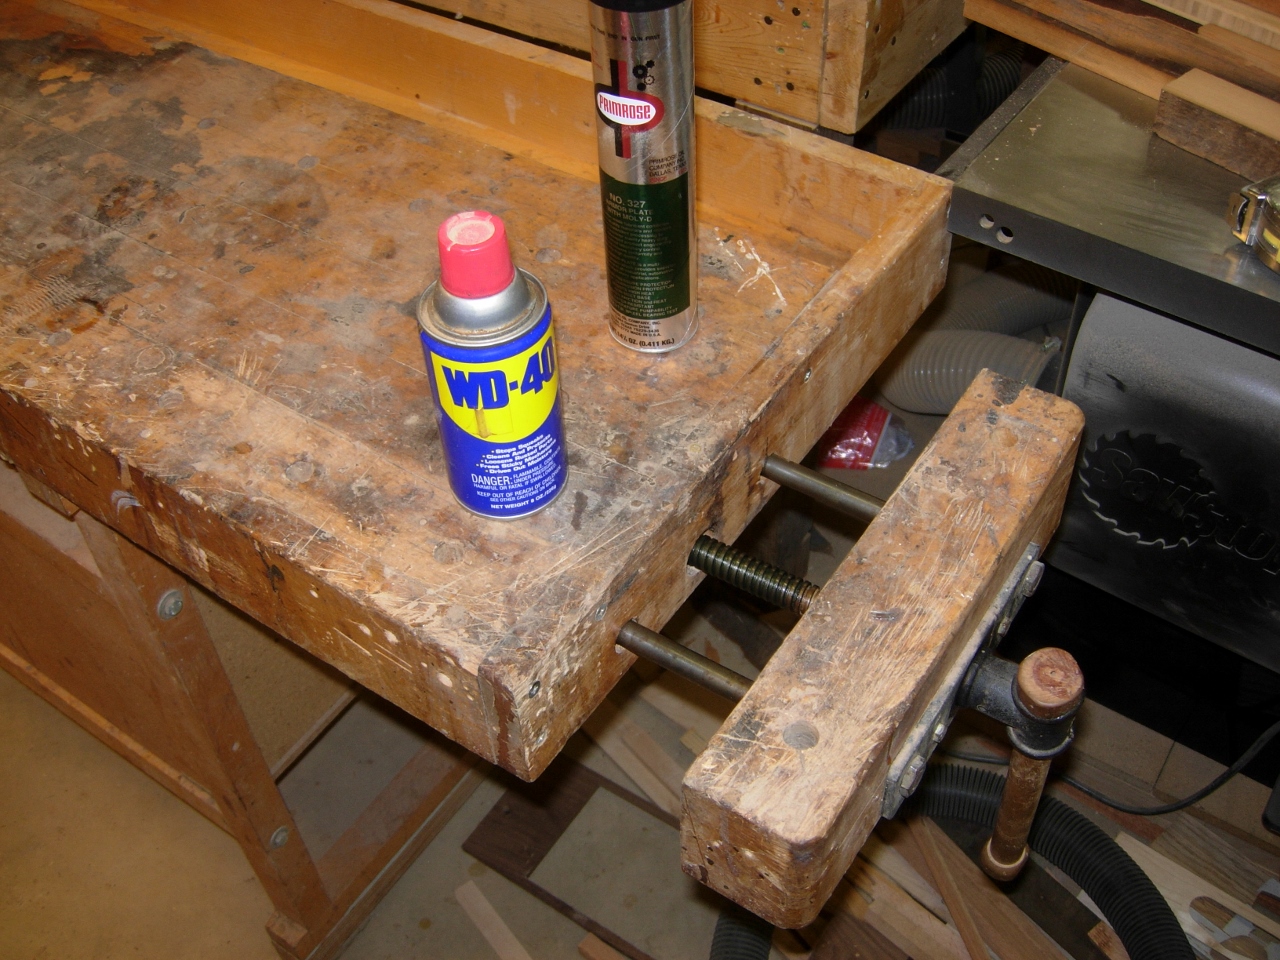
Cleaning and greasing up the vice hardware
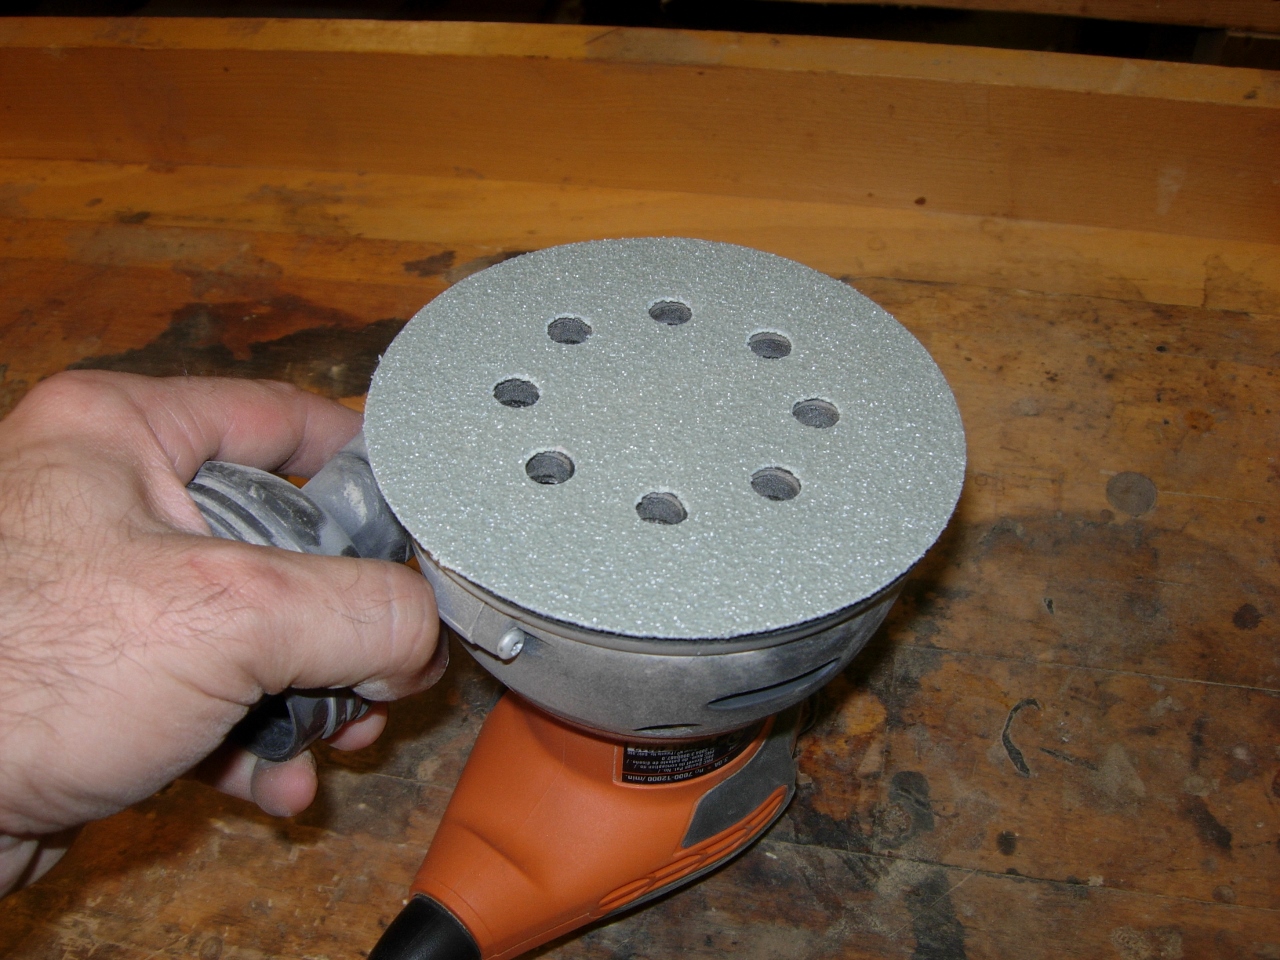
40 grit paper
The surface was rather battled-scarred, and covered with glue and stains. For step two, I broke out the 40-grit paper on my orbital sander and went to town on the glue.
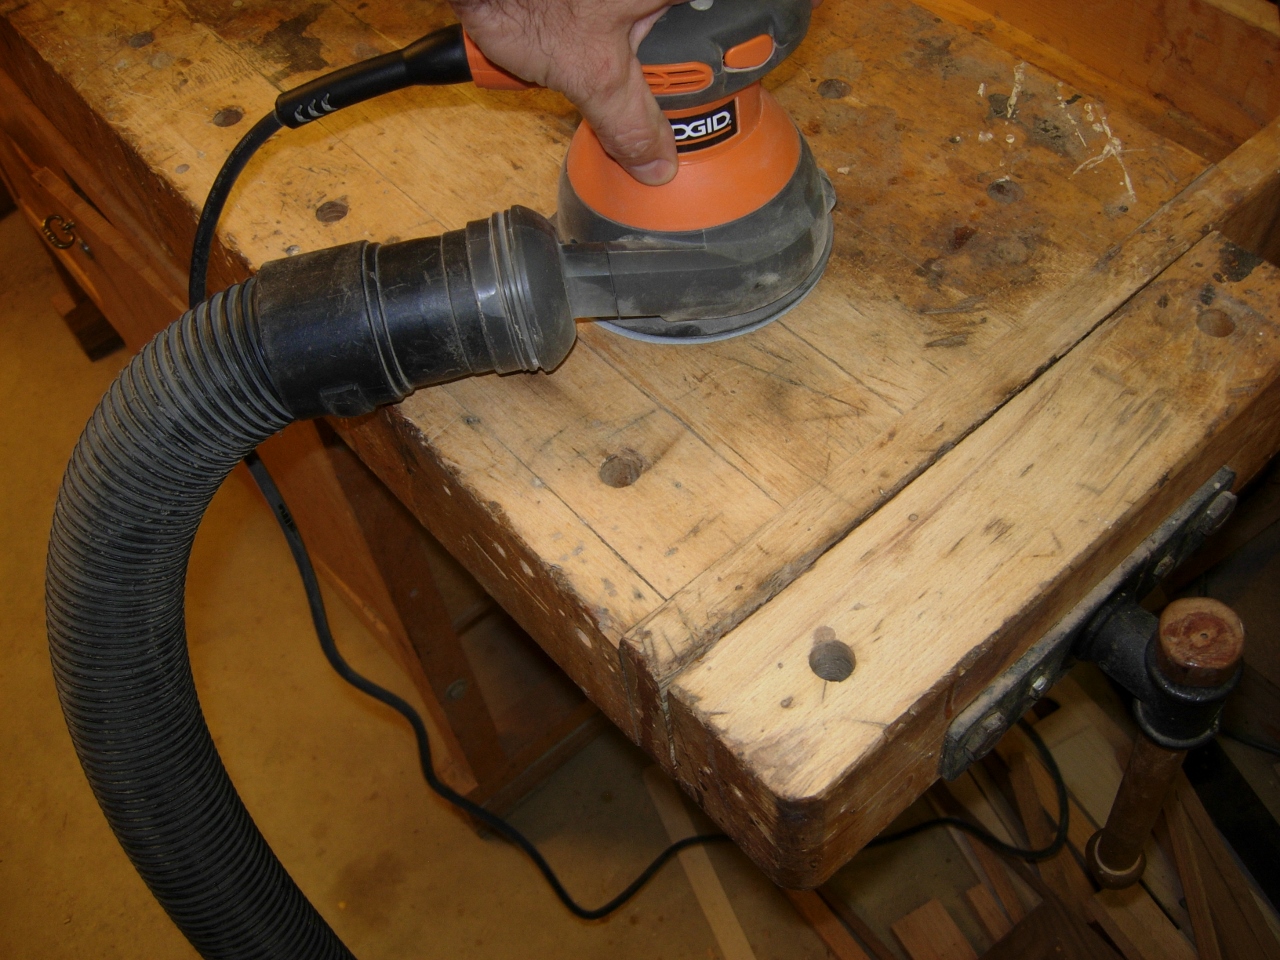
Taking down the glue and evening up the surface
It did a fantastic job on the glue, but didn’t really dig deep enough to remove the stains. Once the glue was removed and the surface smoothed, I dropped down to 80-grit paper and that removed most of the stains.
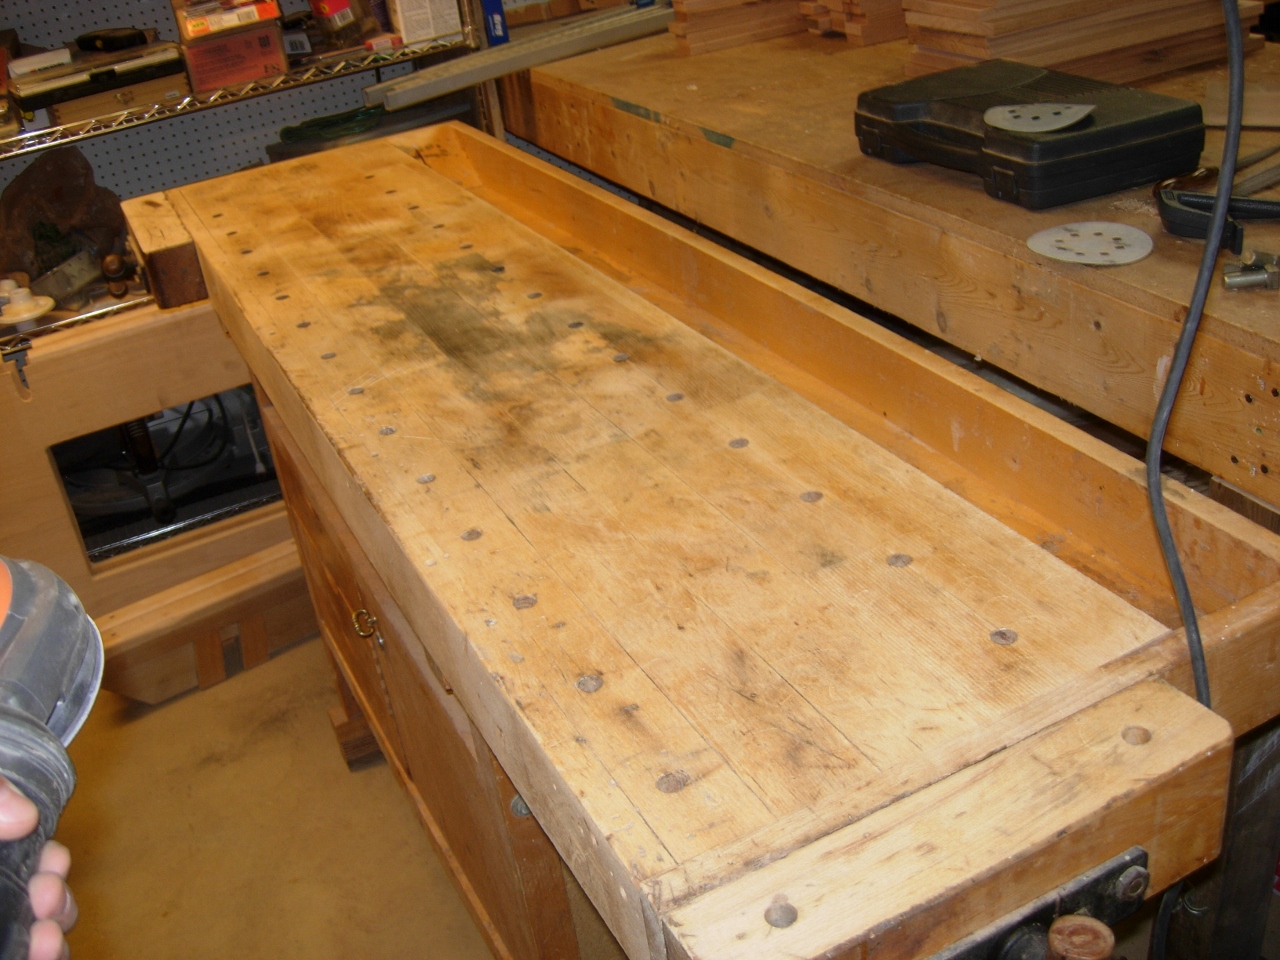
First pass after the 40 grit

Tracing leather faces for the vice jaws
Step three was to dig out some veg-tanned leather, that I had left over from one of my Roorkhee chairs. I created a pattern, that matched the vice face and traced four of them, then cut them out. I spread hide glue on them, reasoning that I could remove it later if needed by heating them up.
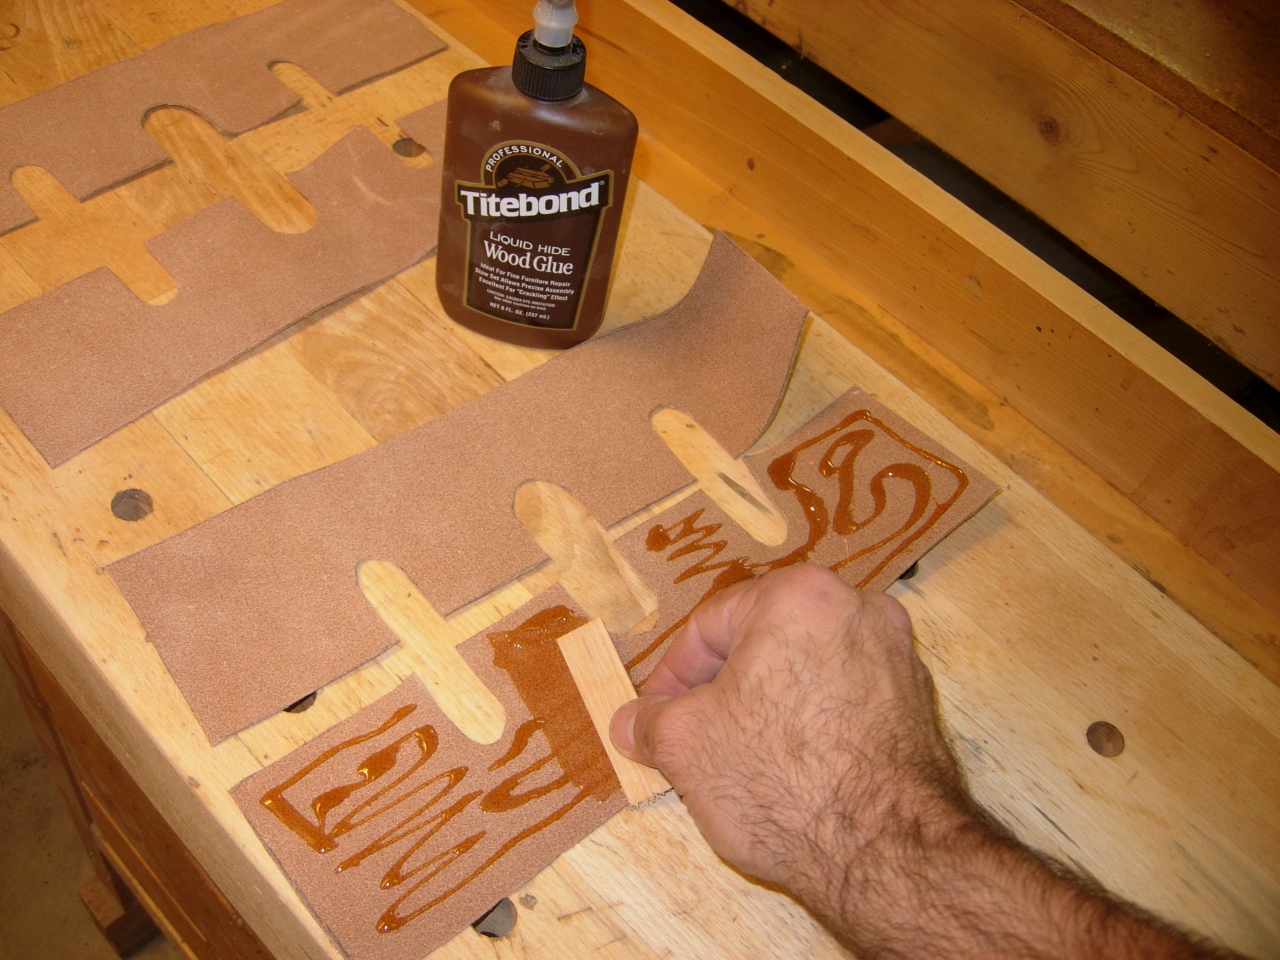
Spreading hide glue
I attached the leather, then tightened the clamp, and let it set over night.
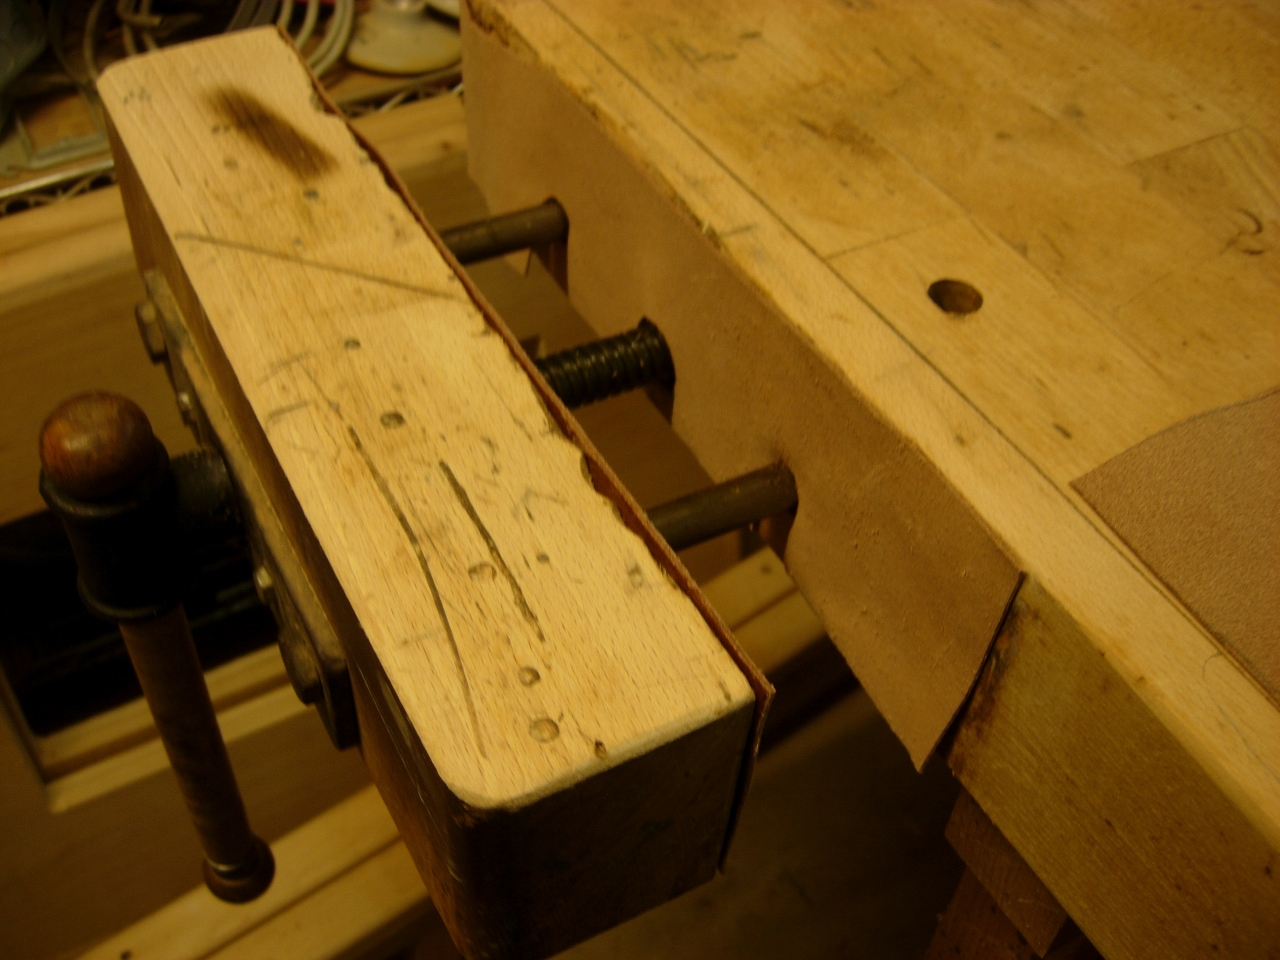
Placing the leather

Last two all glued up
I repeated this on the second vice as well. When the glue was dry, I trimmed away the excess with a sharp chisel.

Trimming the excess, once dry

Ripping rails for table extension
The new home for this bench will be along the back of my existing bench, where my drop-down outfeed support table used to live. Since this new bench is about 20″ deep, I need to add an extension wing to my existing bench, so I can butt them all together. The new extension and bench can still act as outfeed support for my planer and table saw. I started the extension wing by ripping a 2″x6″ in half and drilling and countersinking the pieces.
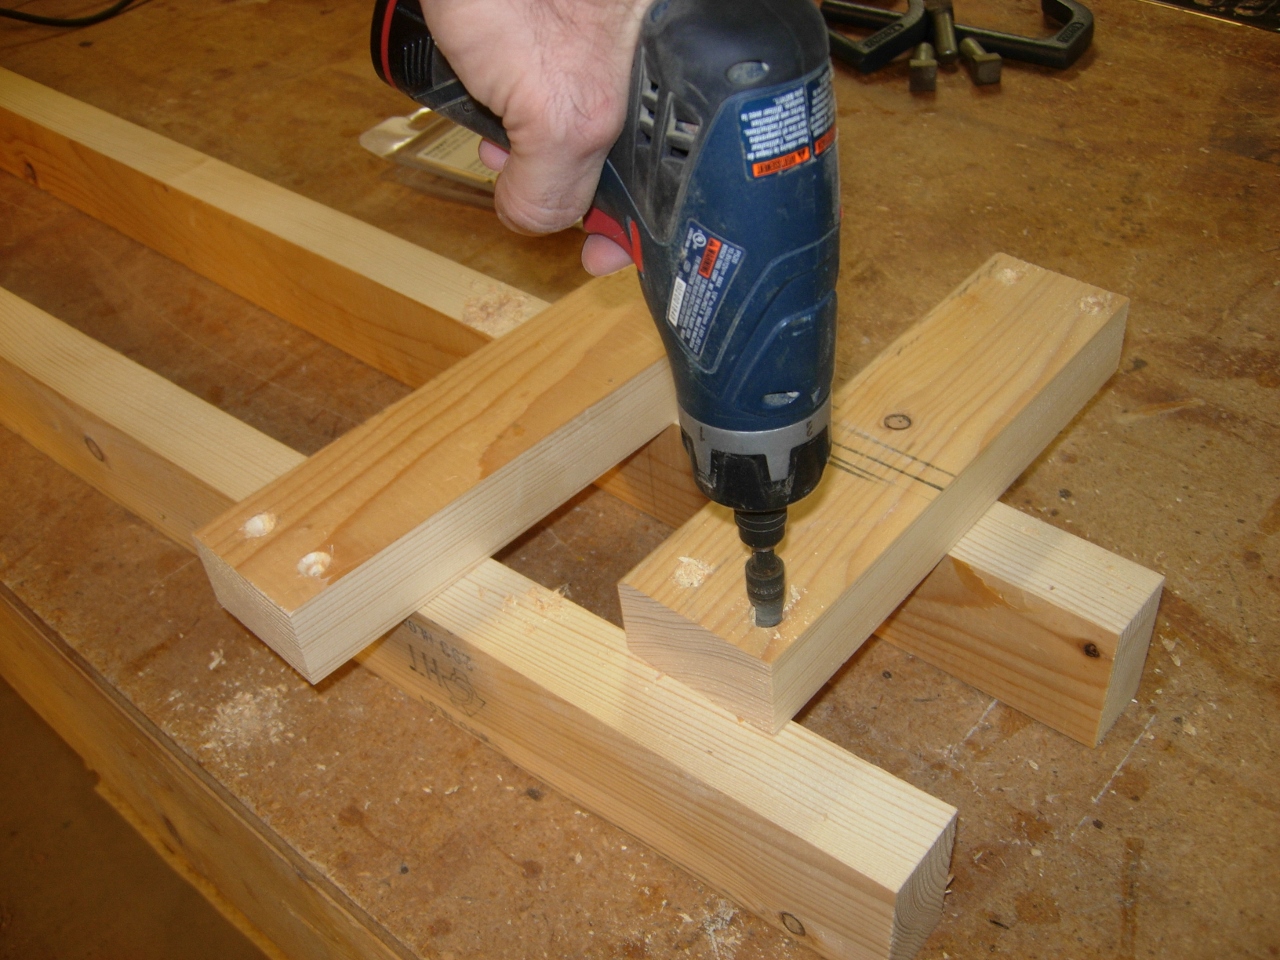
Countersinking the frame
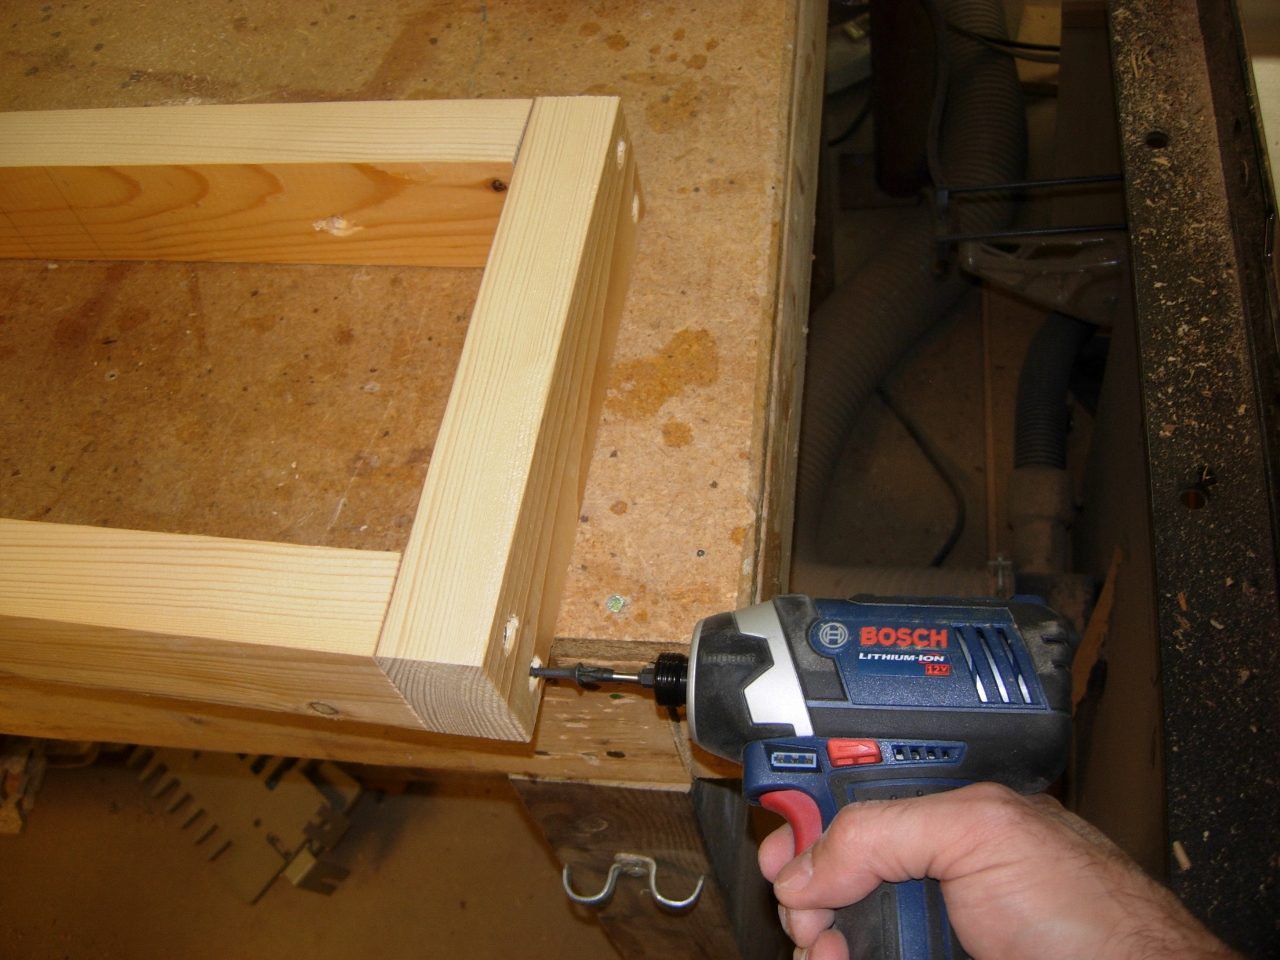
Screwing it up!
I screwed them into a 60″x10″ rectangle, then cut down a sheet of plywood to the same size.

Cutting the top

Extension box nailed up
I nailed the plywood on, then clamped the wing in place. I used my 5′ bar clamps to act as straight lines to locate the surface.
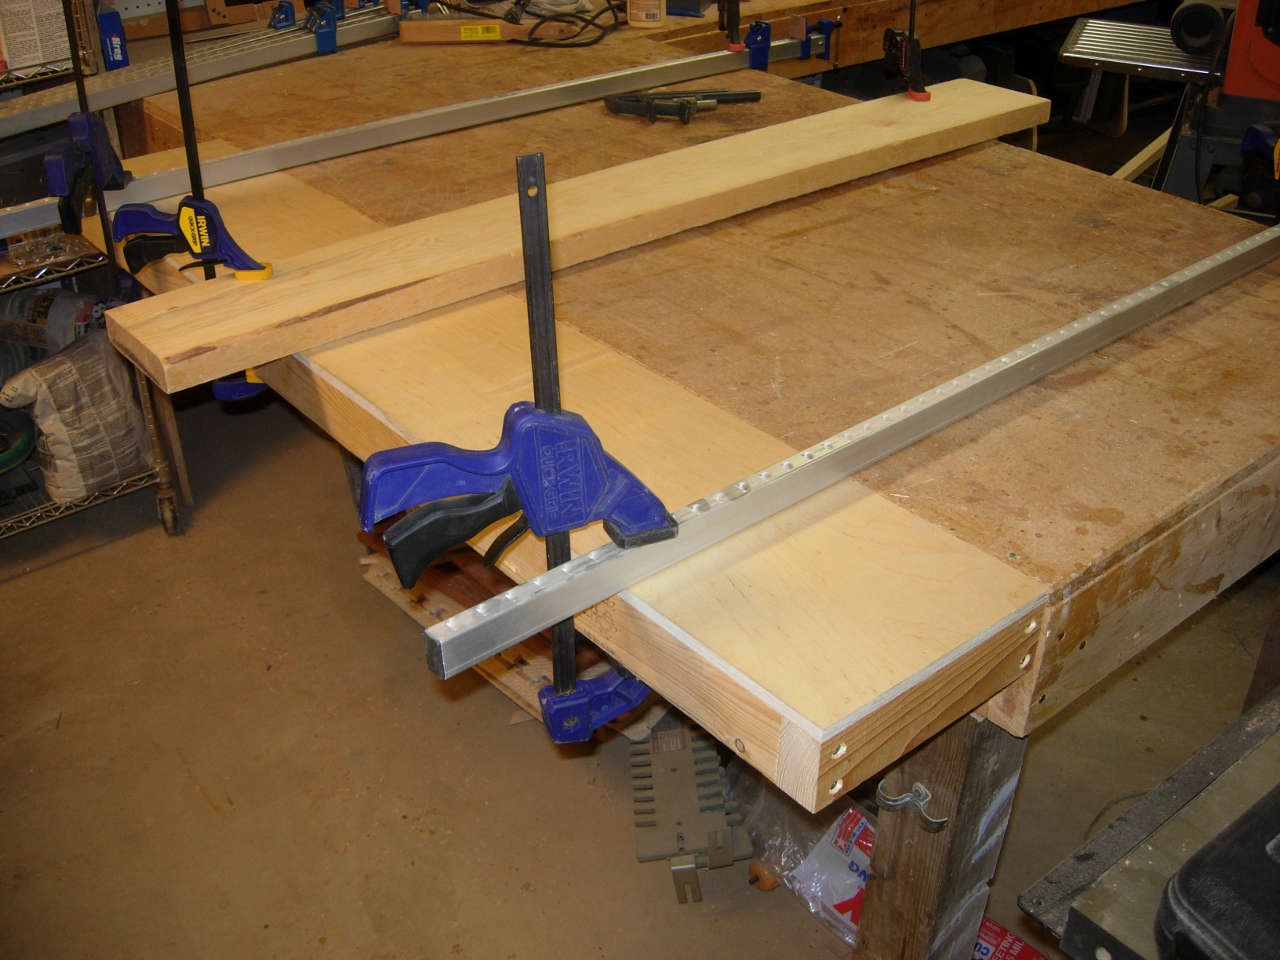
Locating and clamping box on place
Once flush with the old bench, I screwed it in place.

Attaching with screws
The new bench was about 1/4″ shy of the existing bench height so I made some shims and attached them with double-sided tape.

Adding shims for height
Once that was done, I slid the newly refurbished bench in place. My planer outfeed has been restored, and I now have two functional vices with loads of dog holes for clamping up panels and such. I am not sure yet if I am even going to bother applying a finish, I kind of like the bare wood.
Since this bench sits right across from Adam’s bench, I suspect that he will soon take over the storage areas. I also think he will want to use it for his carving, so I intend to build a platform that will slide beneath the storage area. It will be tall enough that he can work at this bench comfortably, then slide the step out of the way, when he is done.

Bench located and outfeed support restored
I also suspect that I will continue to modify and upgrade the bench over time. I will definitely be expanding the dog holes to 3/4″ in diameter. The existing ones are 5/8″ and too small for anything but the three metal bench dogs that came with it. I plan on making wooden dogs and I have a couple of iron hold-fasts that are 3/4″. Other changes will probably involve the storage area below, but that is not high on my list at the moment.

Looks great!!
Bryan Atkins 240-204-3579
http://www.KurtzandAtkins.com
>
OK, I’ll ask the question everyone else is thinking: What is a bench dog? Most puppies can’t jump high enough to get up on that workbench. (LOL) Seriously though… I haven’t seen that term before.
Bench dogs are pegs, square or round, that can be set in holes on the top of the vice as well as holes in the bench. You can lay something, such as a cabinet door, on the top of the bench, and hold it between the dogs on the bench and the dogs in the vice. When you tighten the vice, it clamps the panel in place. The dogs are adjustable, so they can be set below the surface of the panel. This would allow you to safety plane the surface without hitting the dogs with the plane blade.